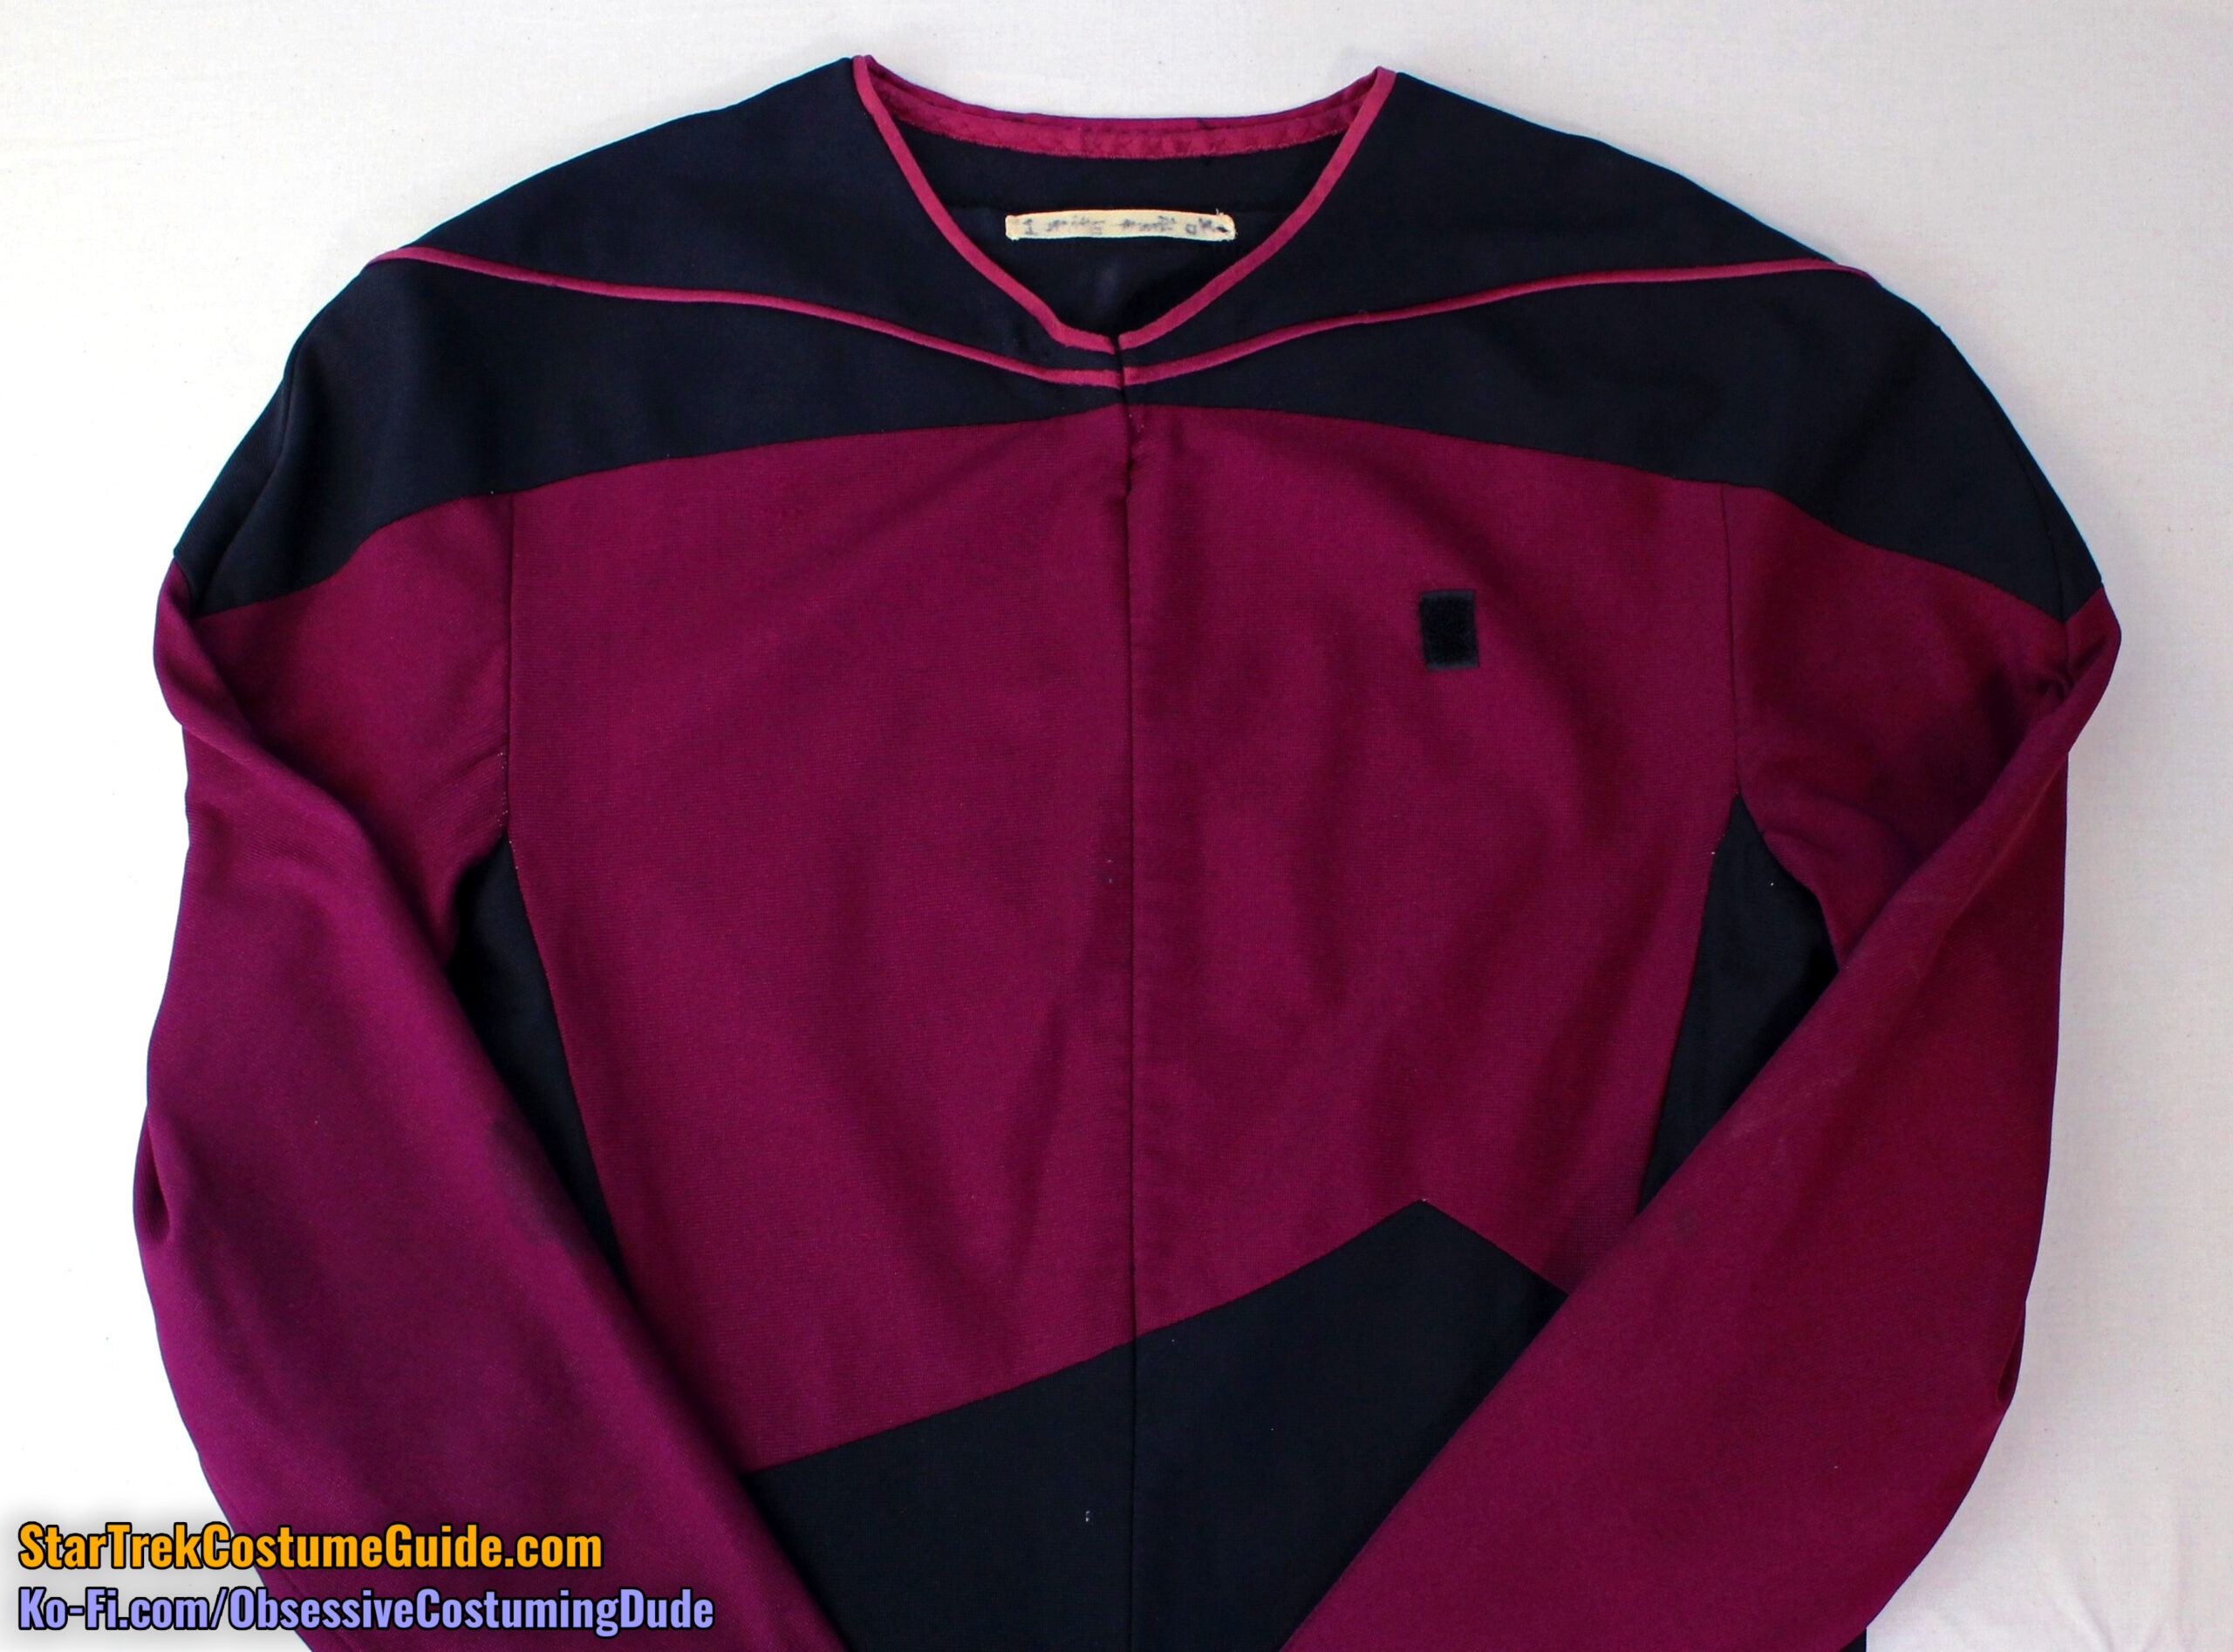
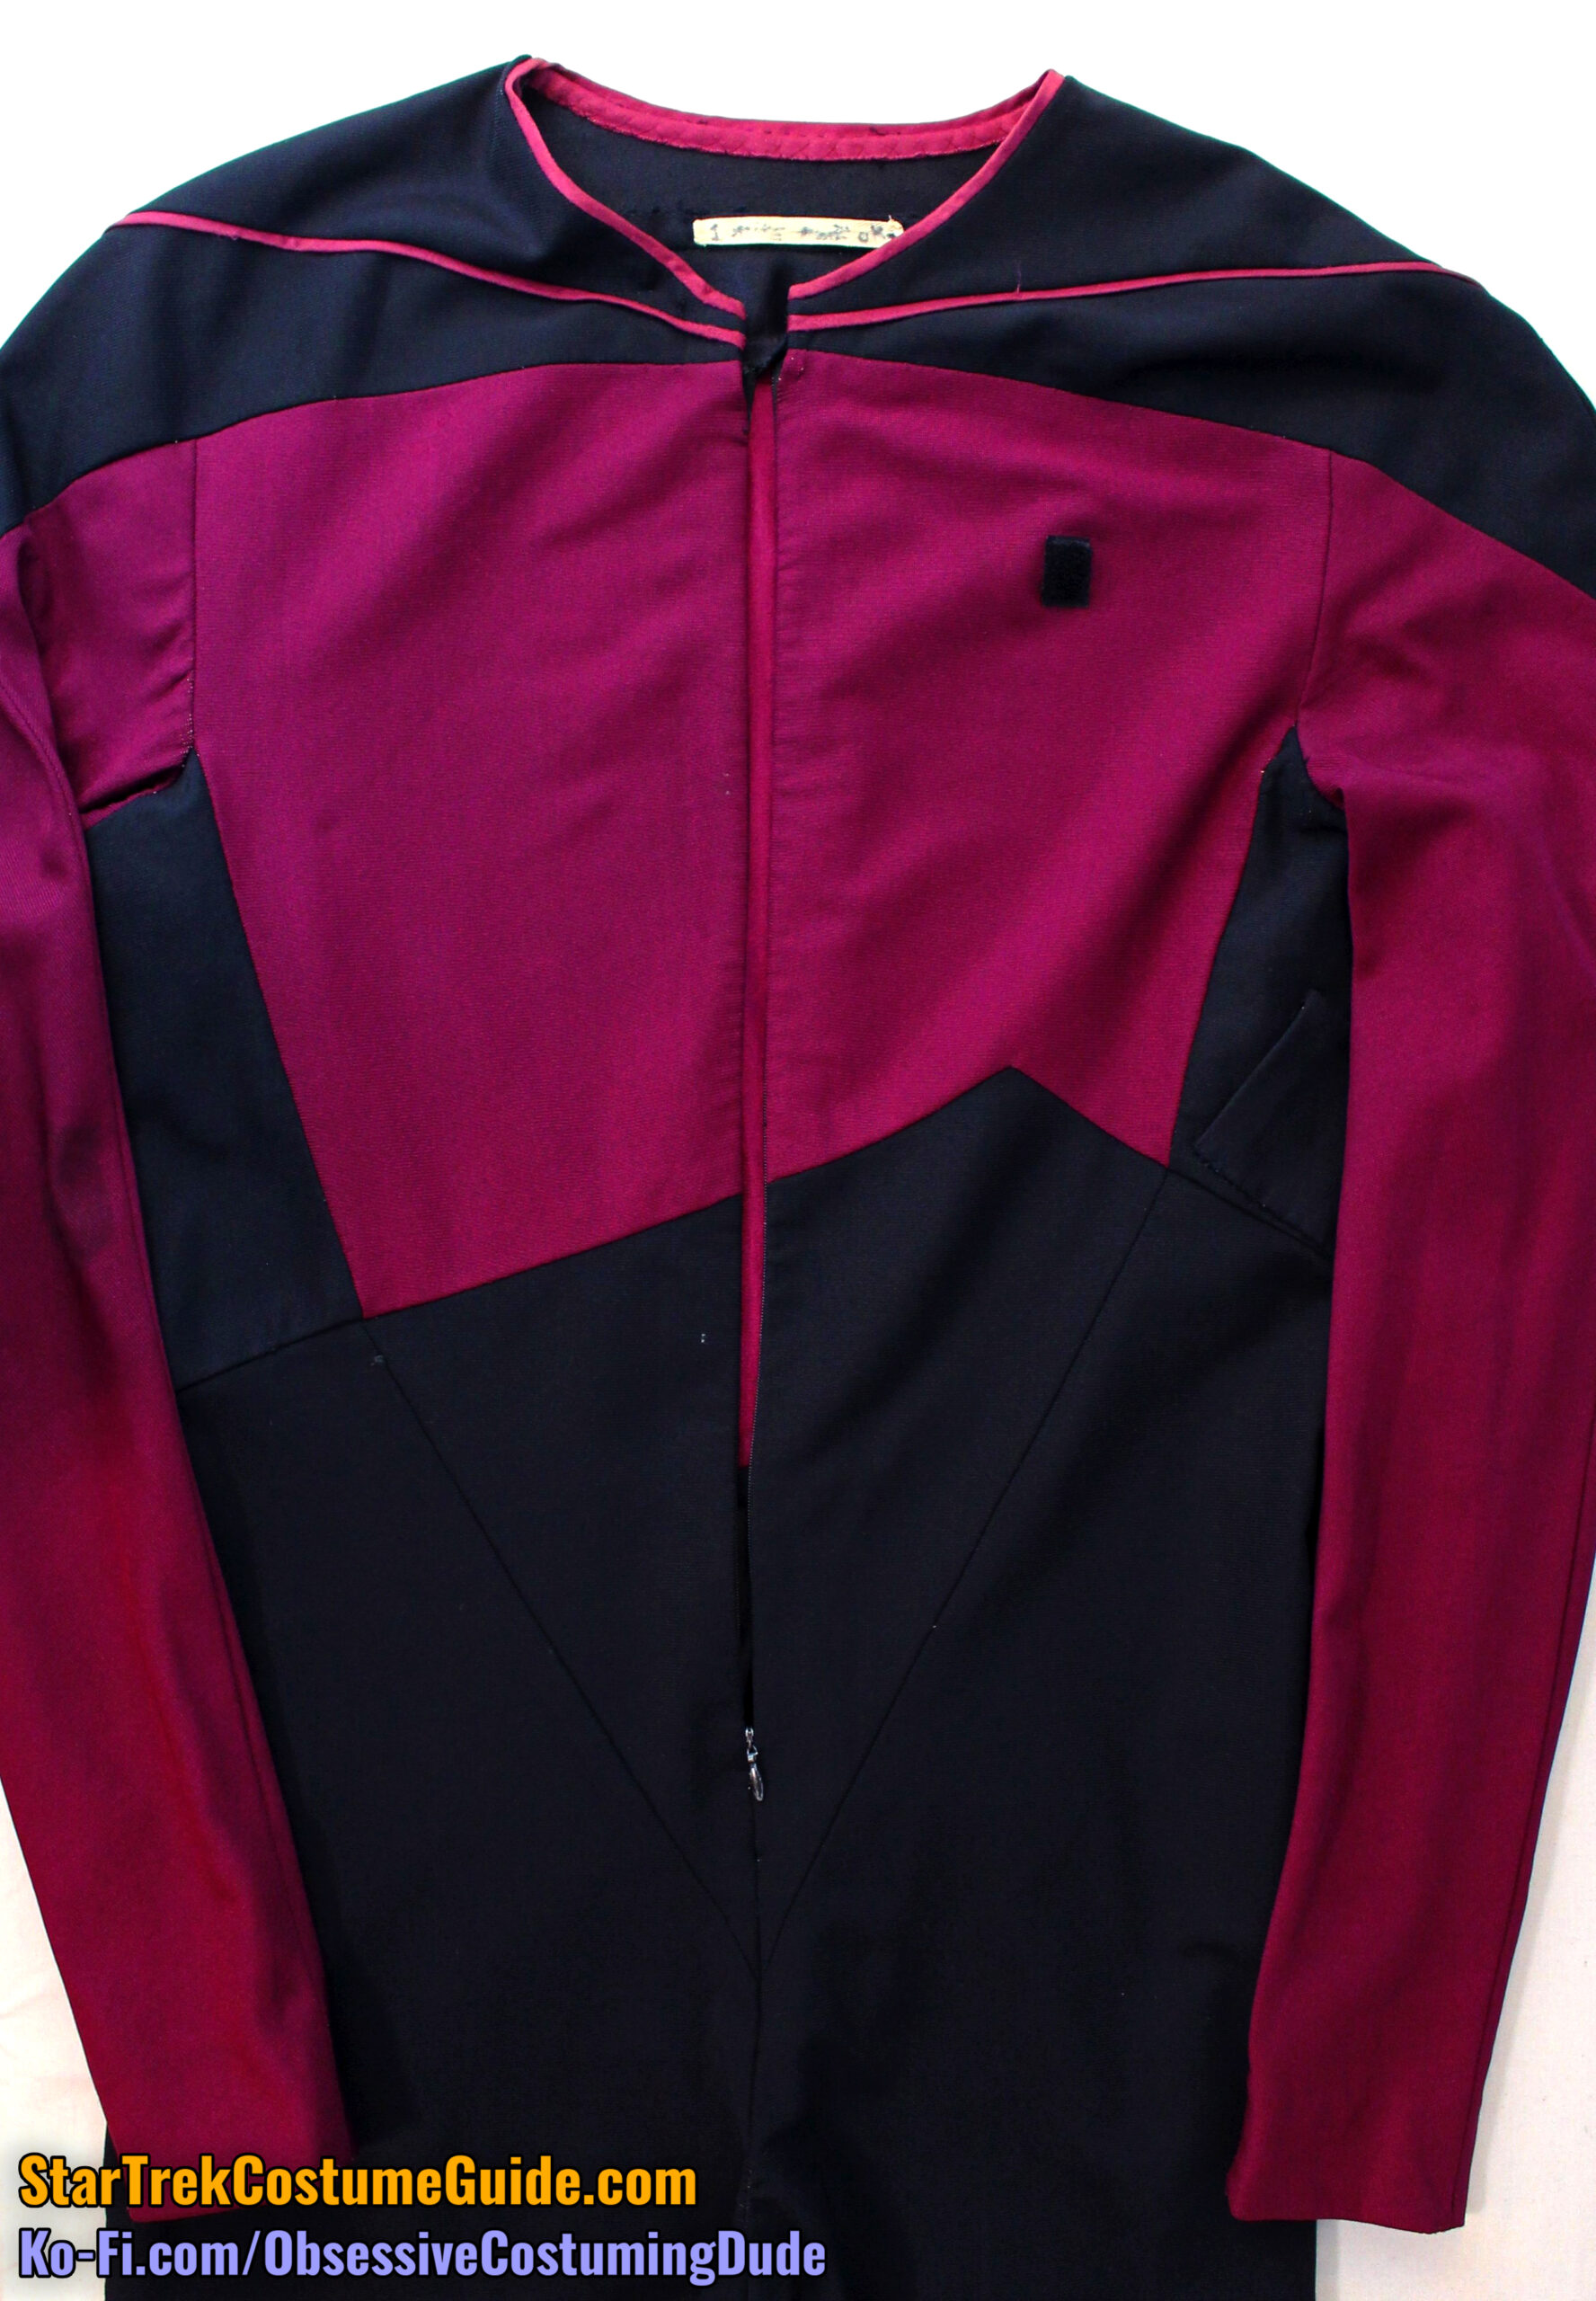
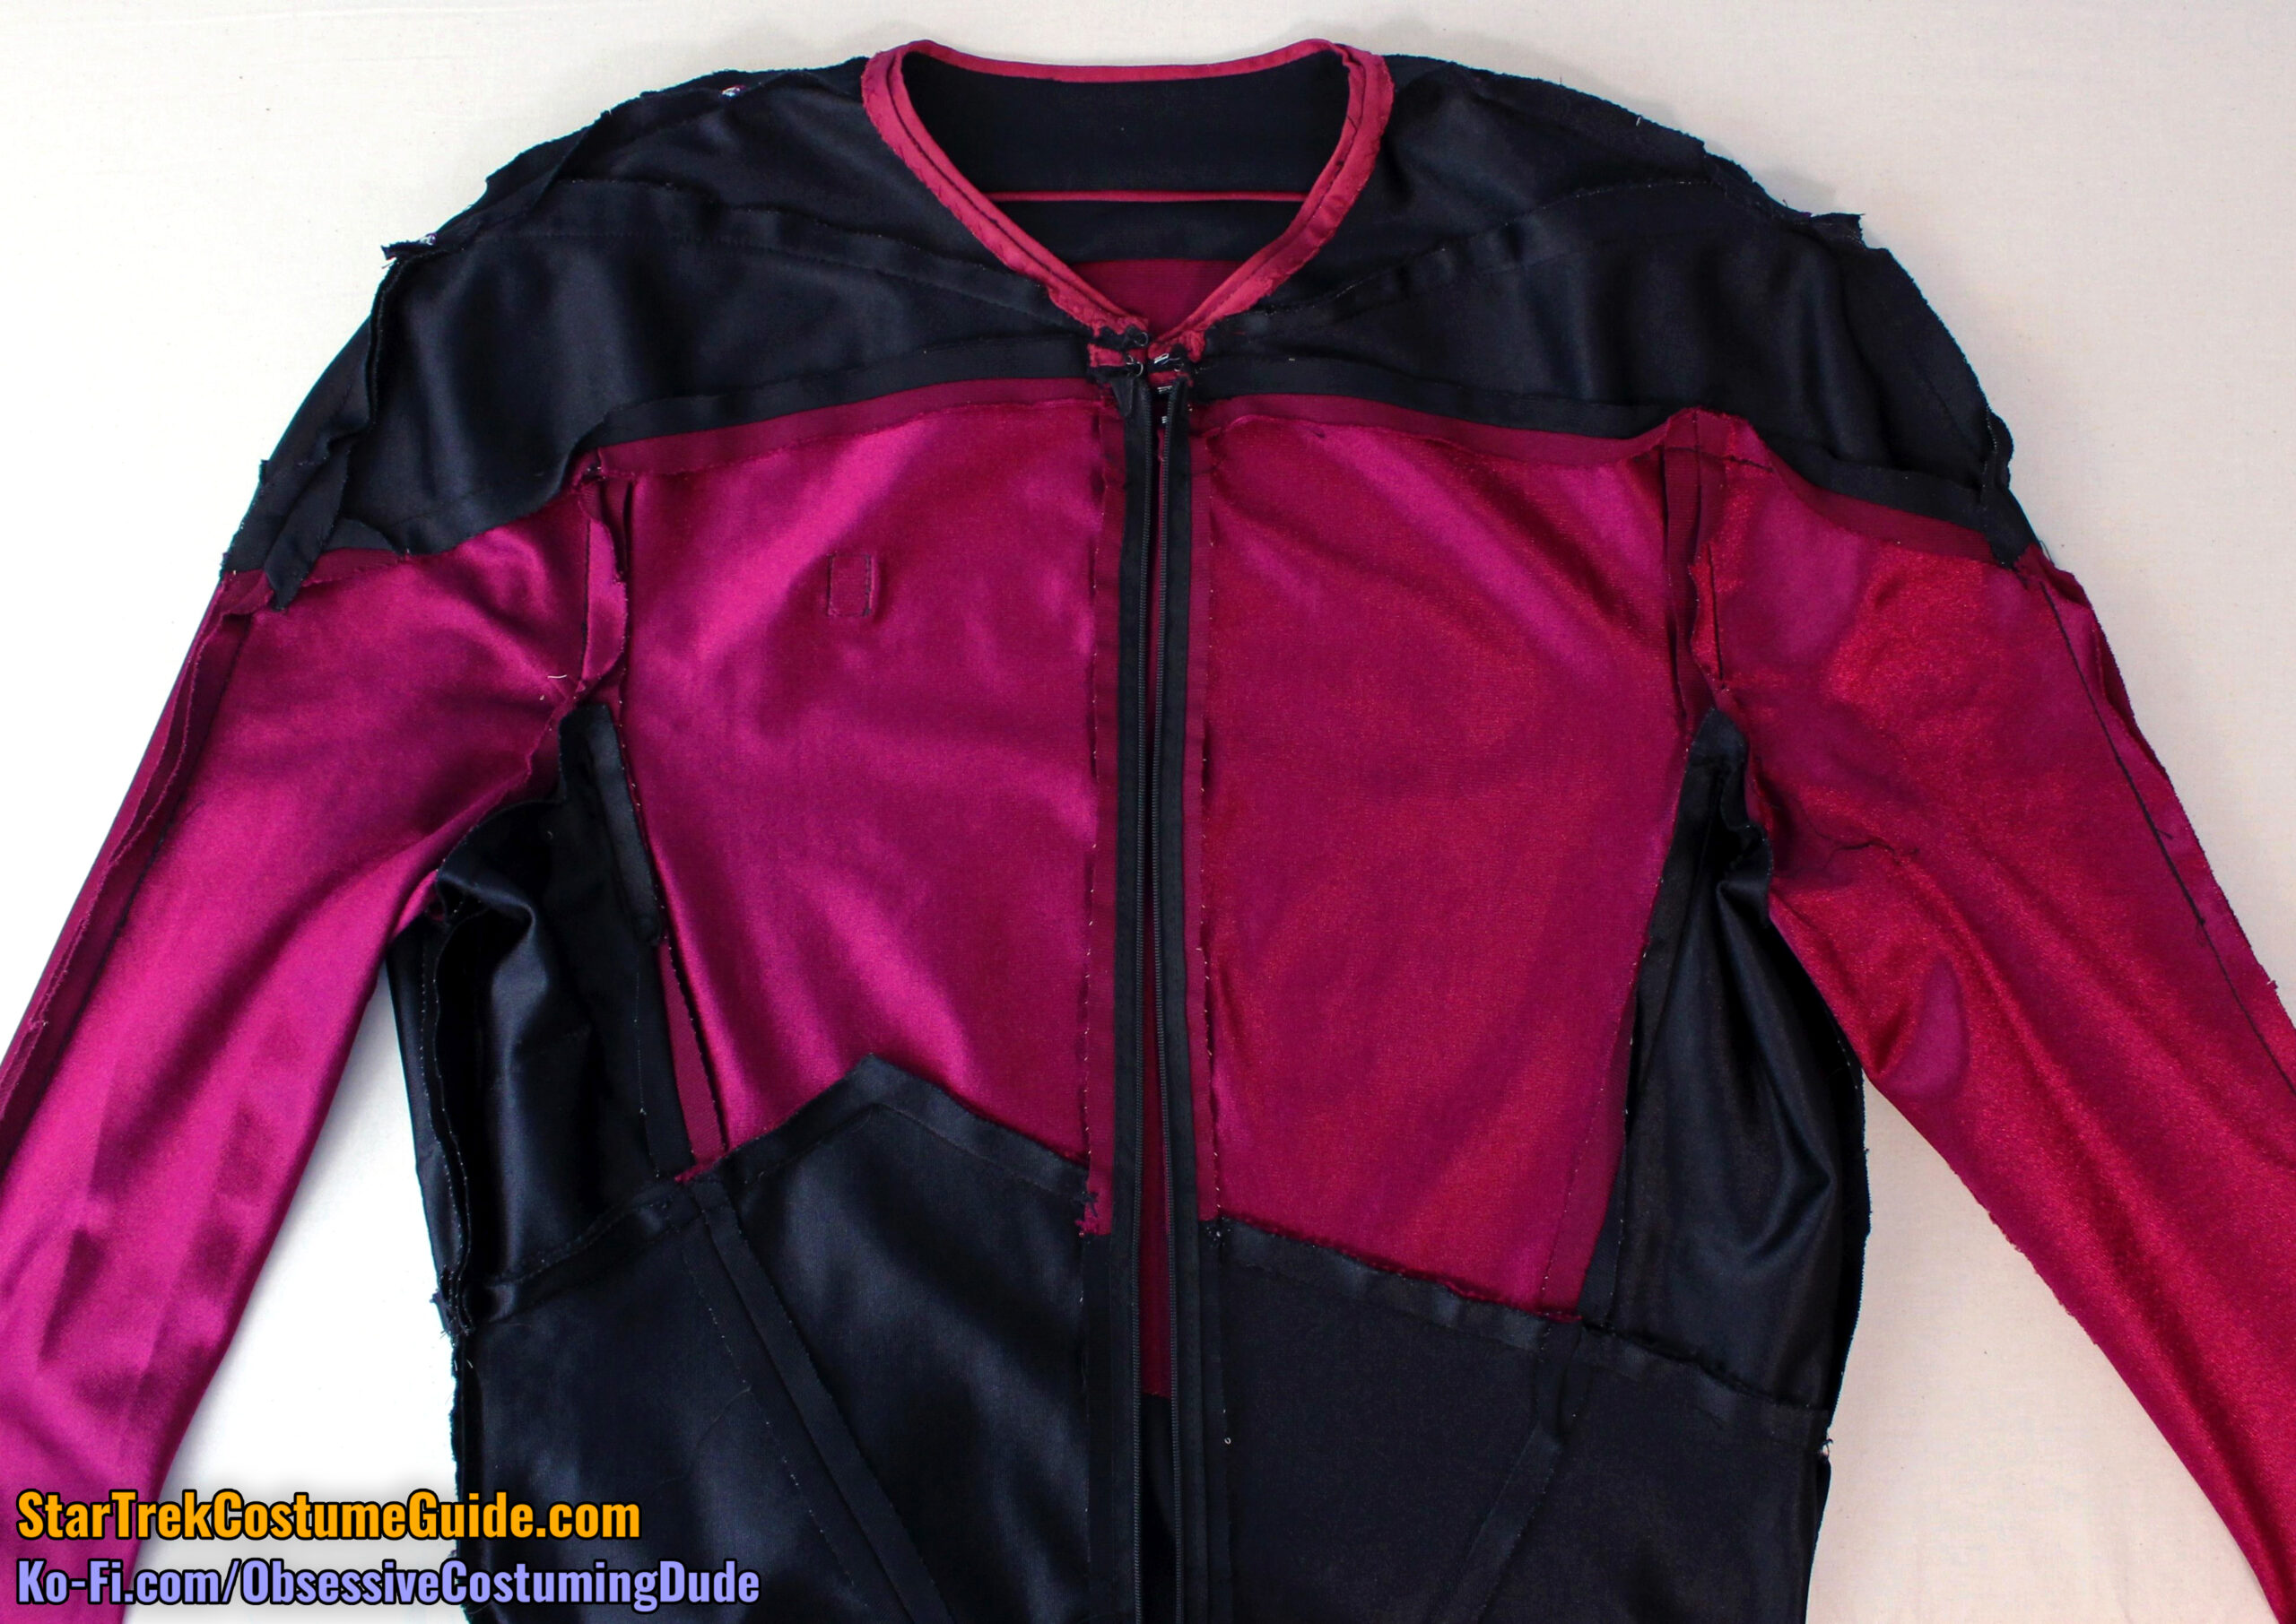
In this blog post, we’ll be taking a look at a screen-used Lieutenant Worf TNG jumpsuit from season 1, again courtesy of Star Trek collector extraordinaire Angelo Cifaldi. 🙂
In this corresponding video, I discuss some of the highlights from the following post:
Aside from being a fantastic costume in its own right, there are several interesting differences to both of the previous season 1 uniforms I recently posted about (Tasha Yar and Beverly Crusher, respectively).
Special thanks to Angelo and my Ko-Fi supporters for helping making this possible. 🙂

FABRIC COLOR
One day I might stop being surprised by the actual fabric colors of screen-used uniforms … but not this time!
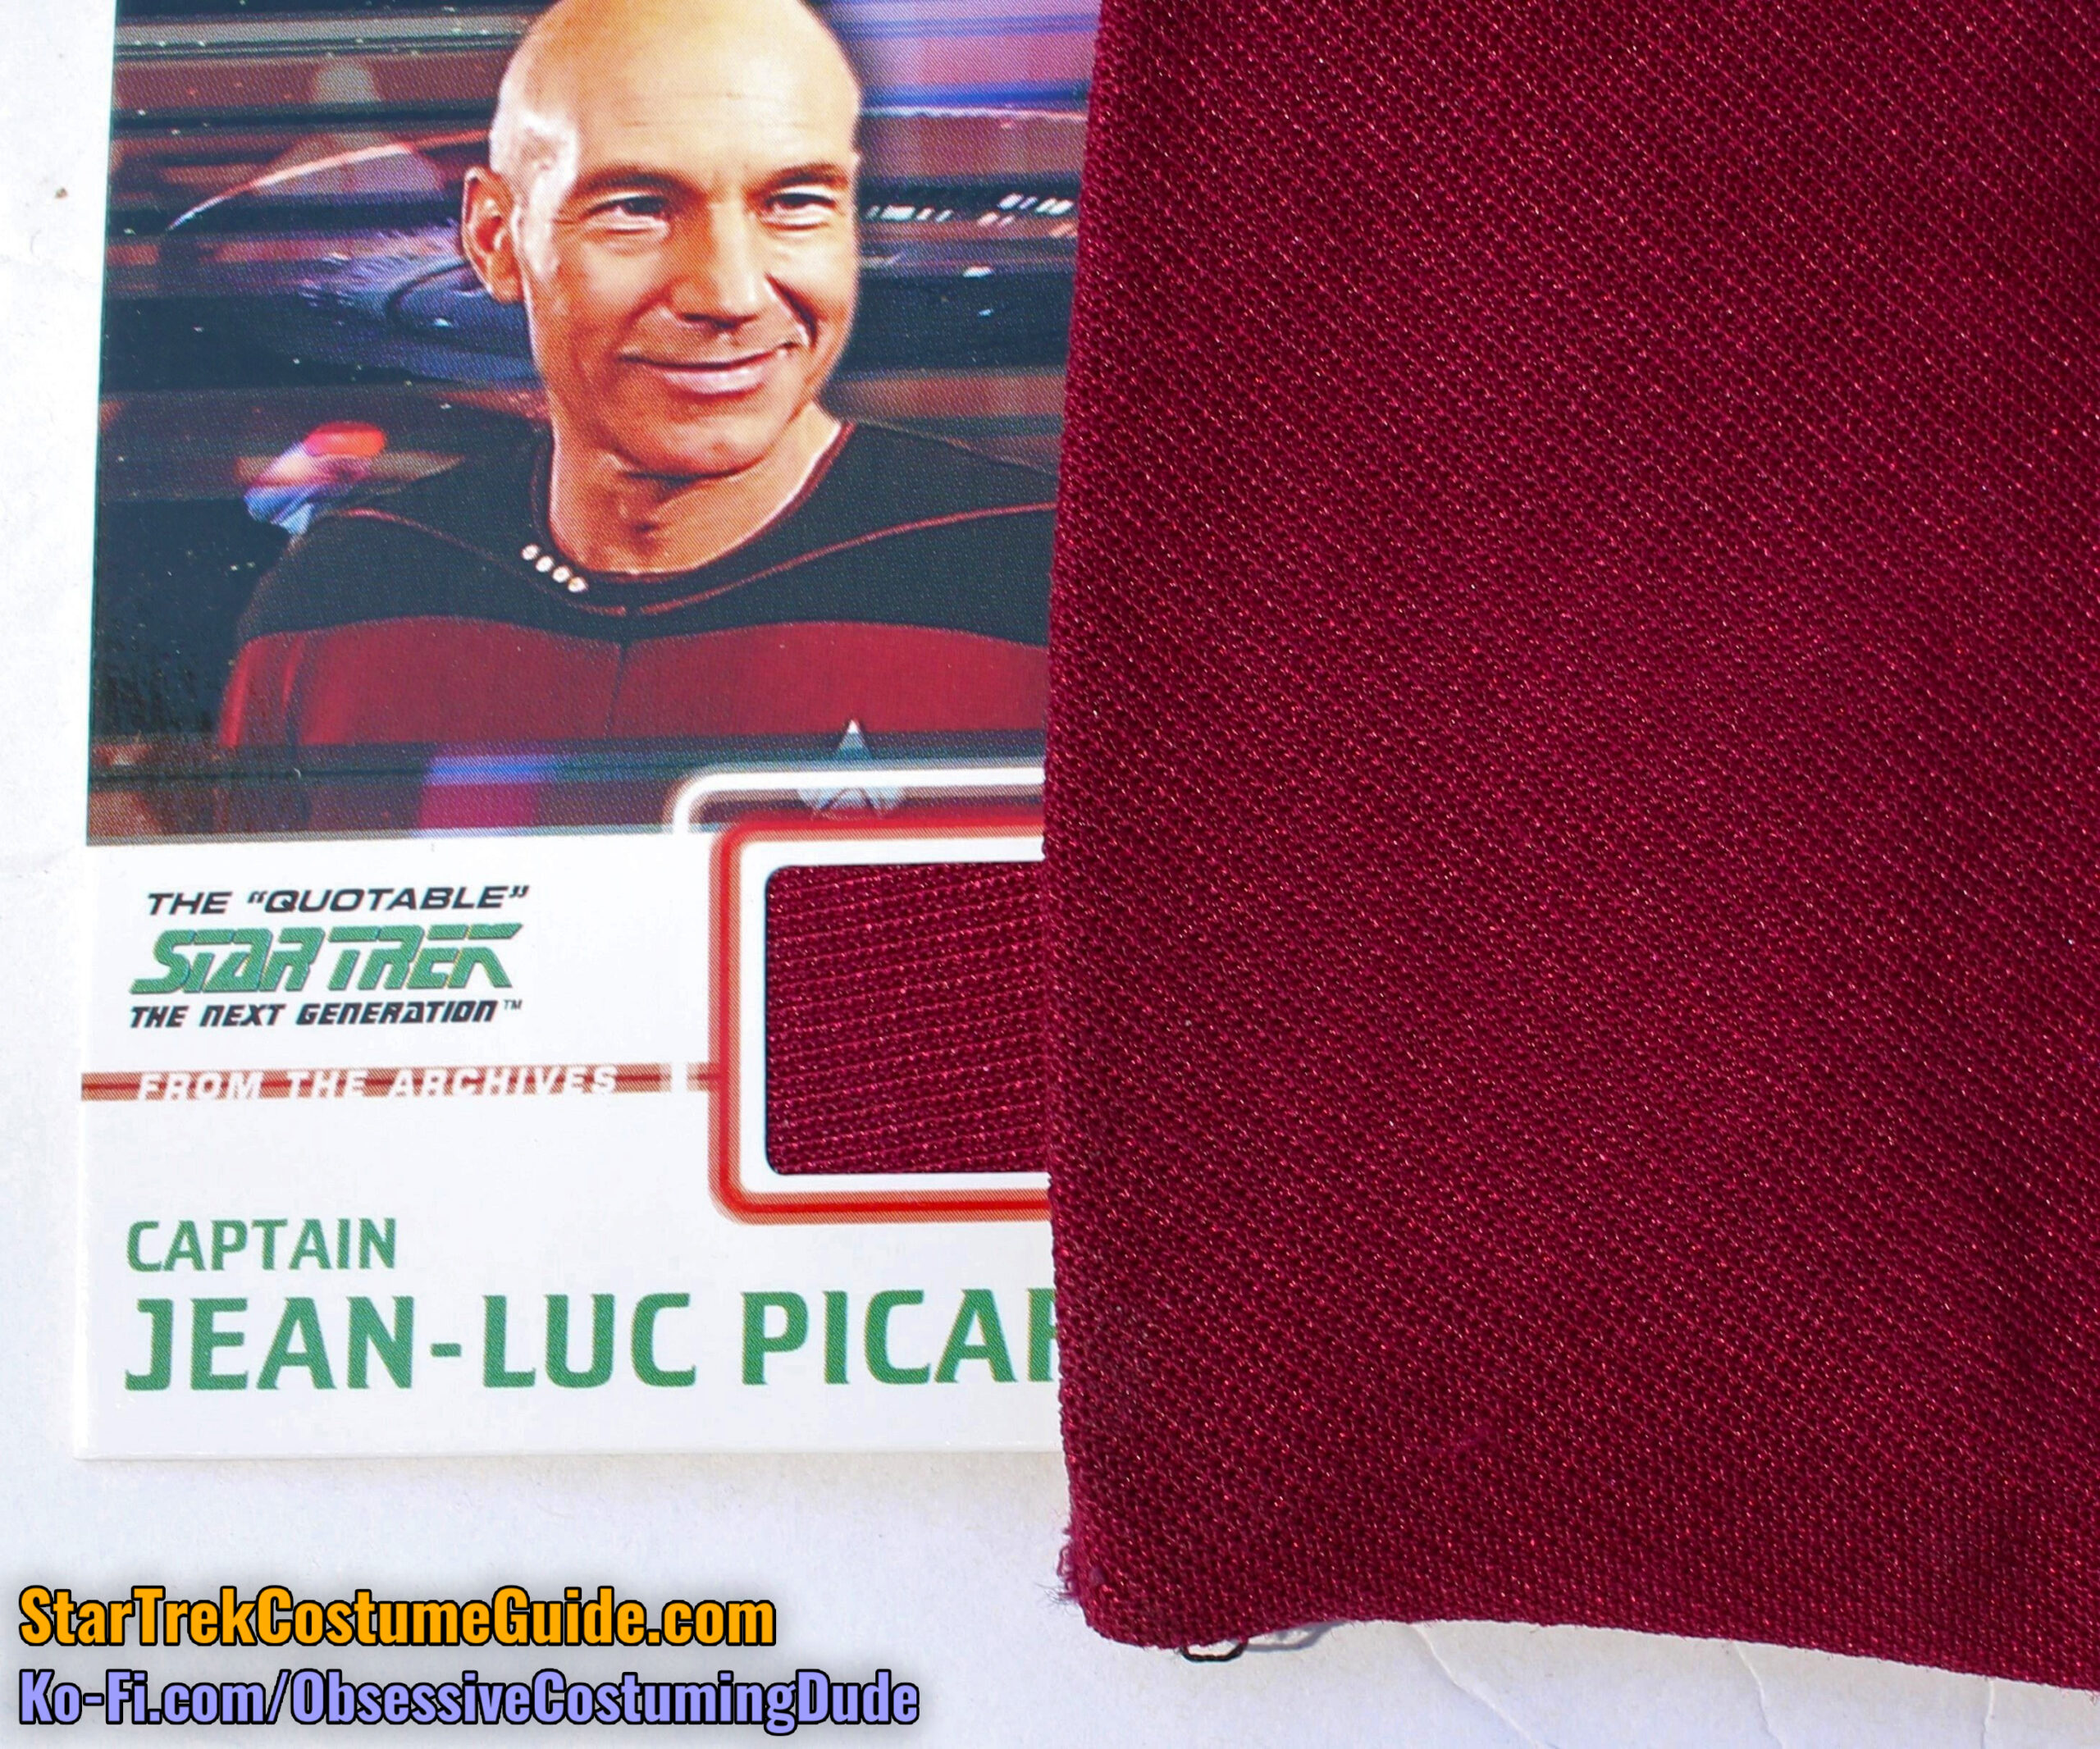
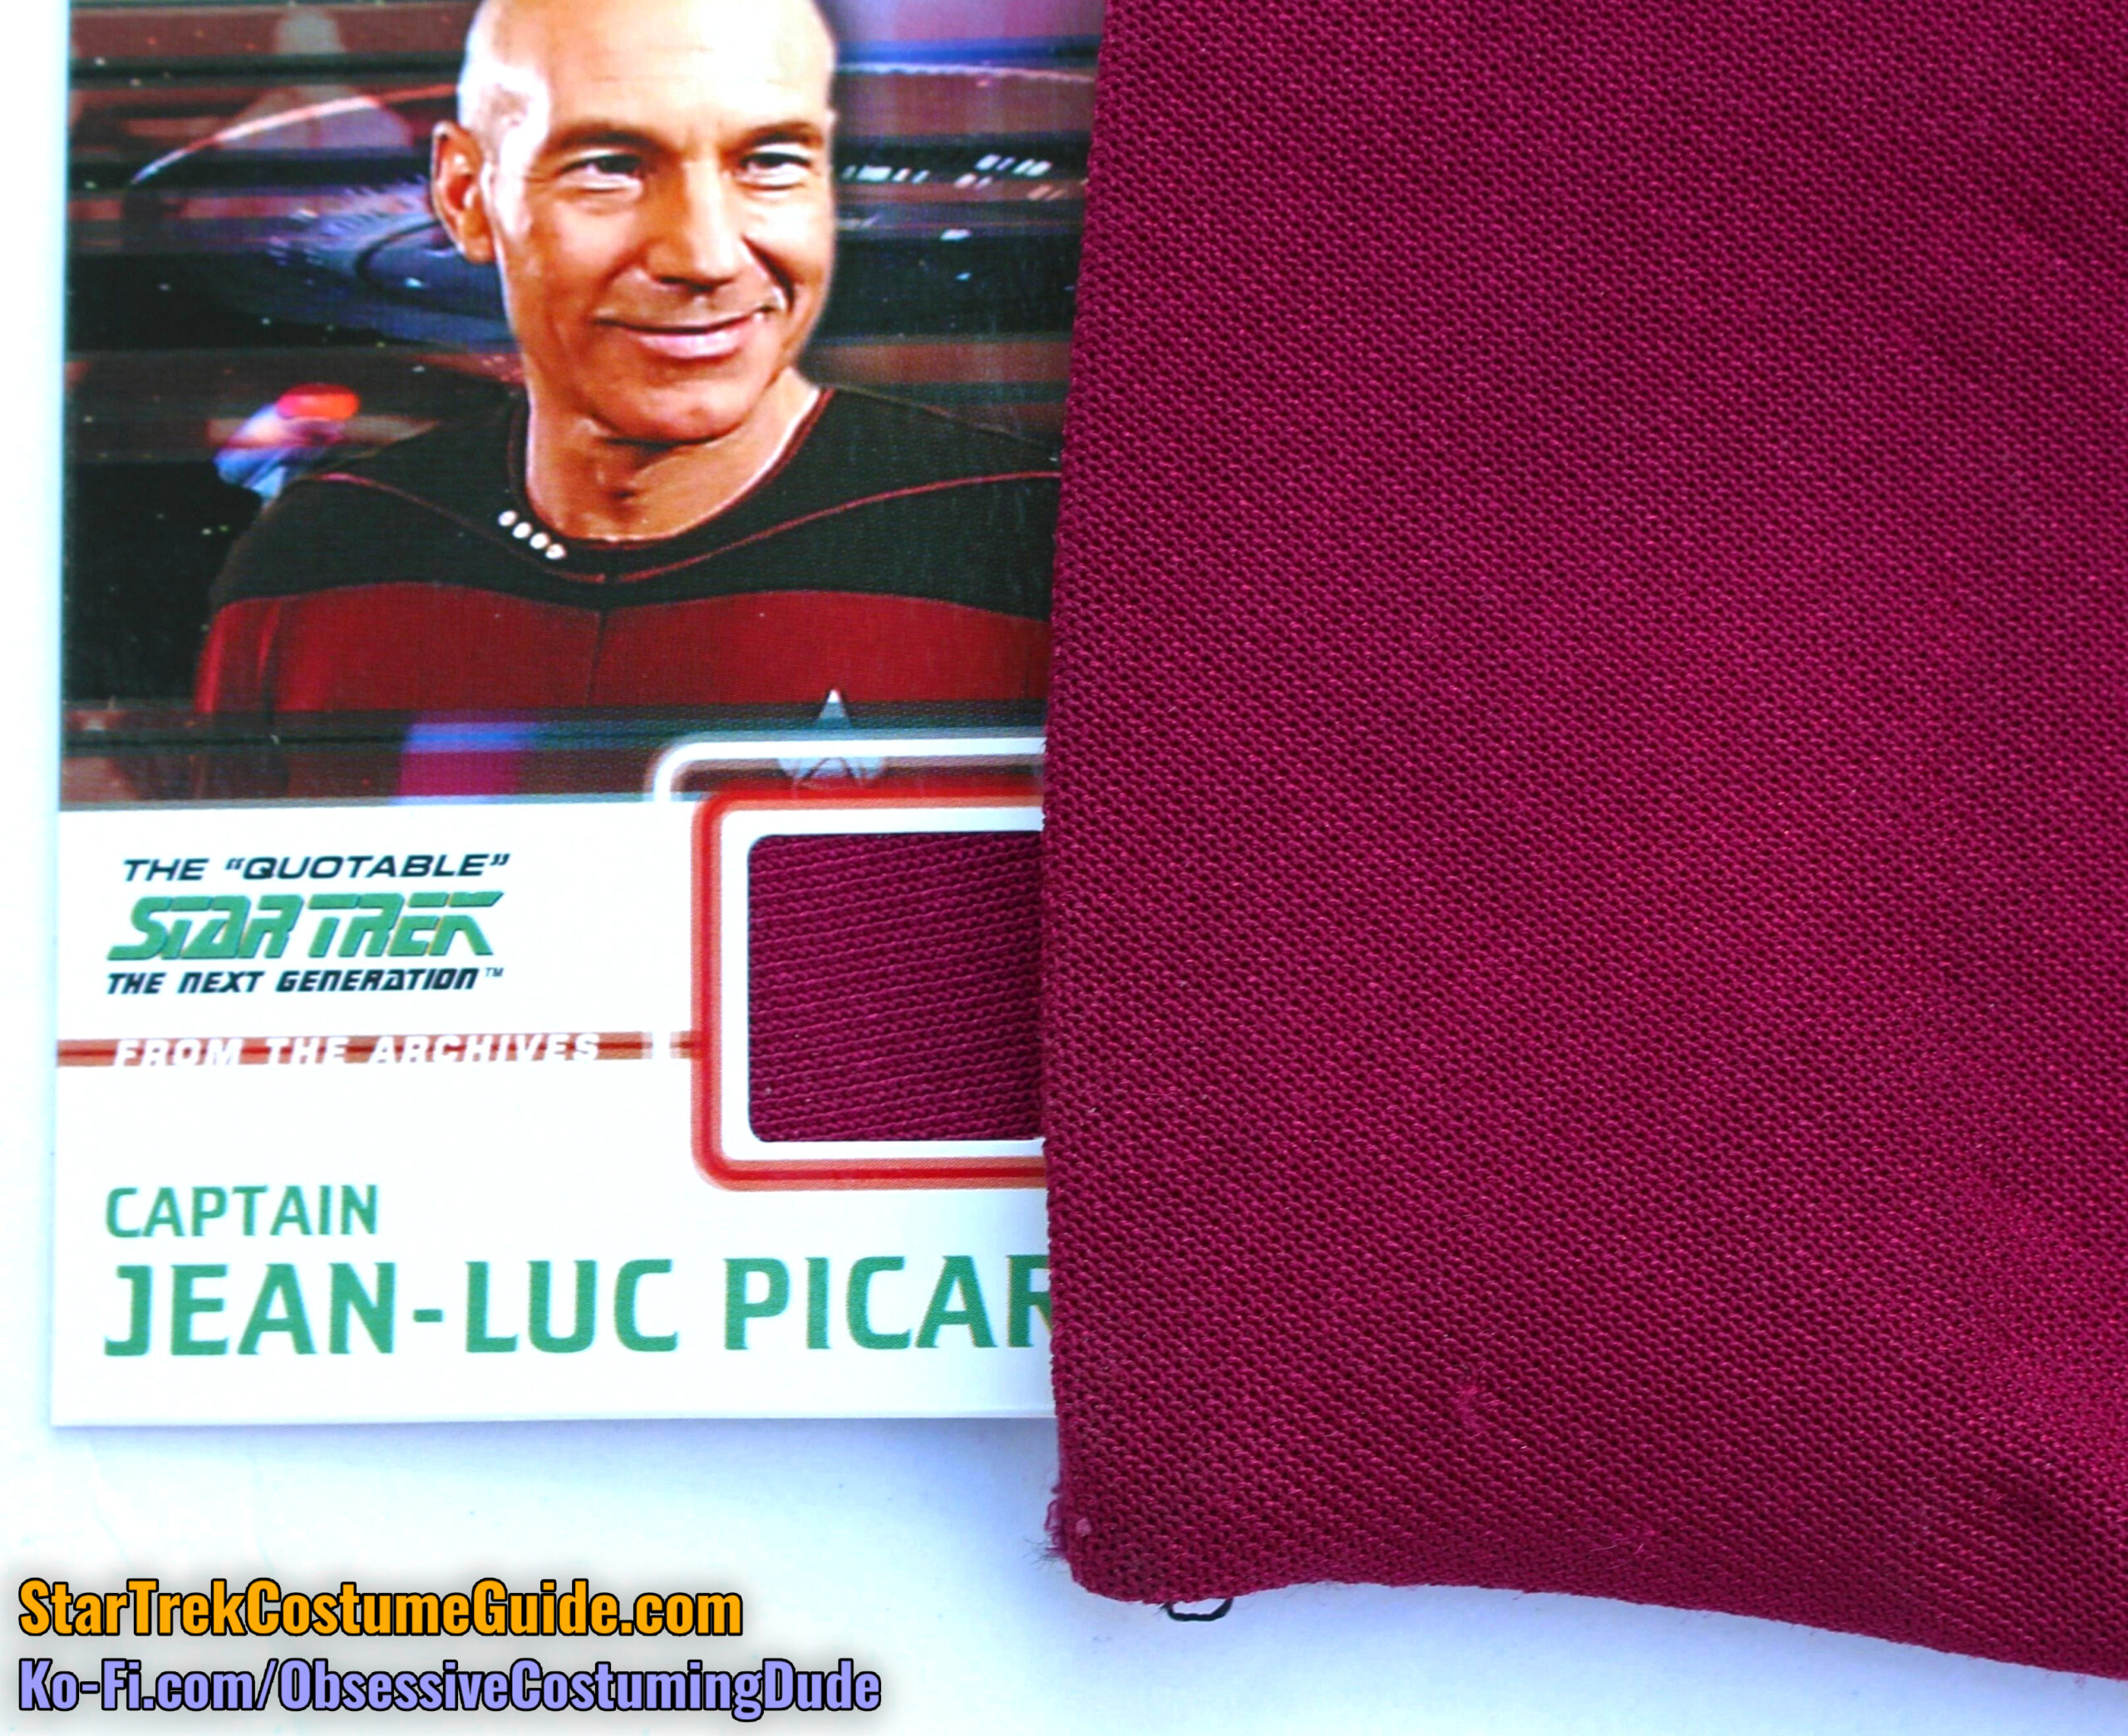
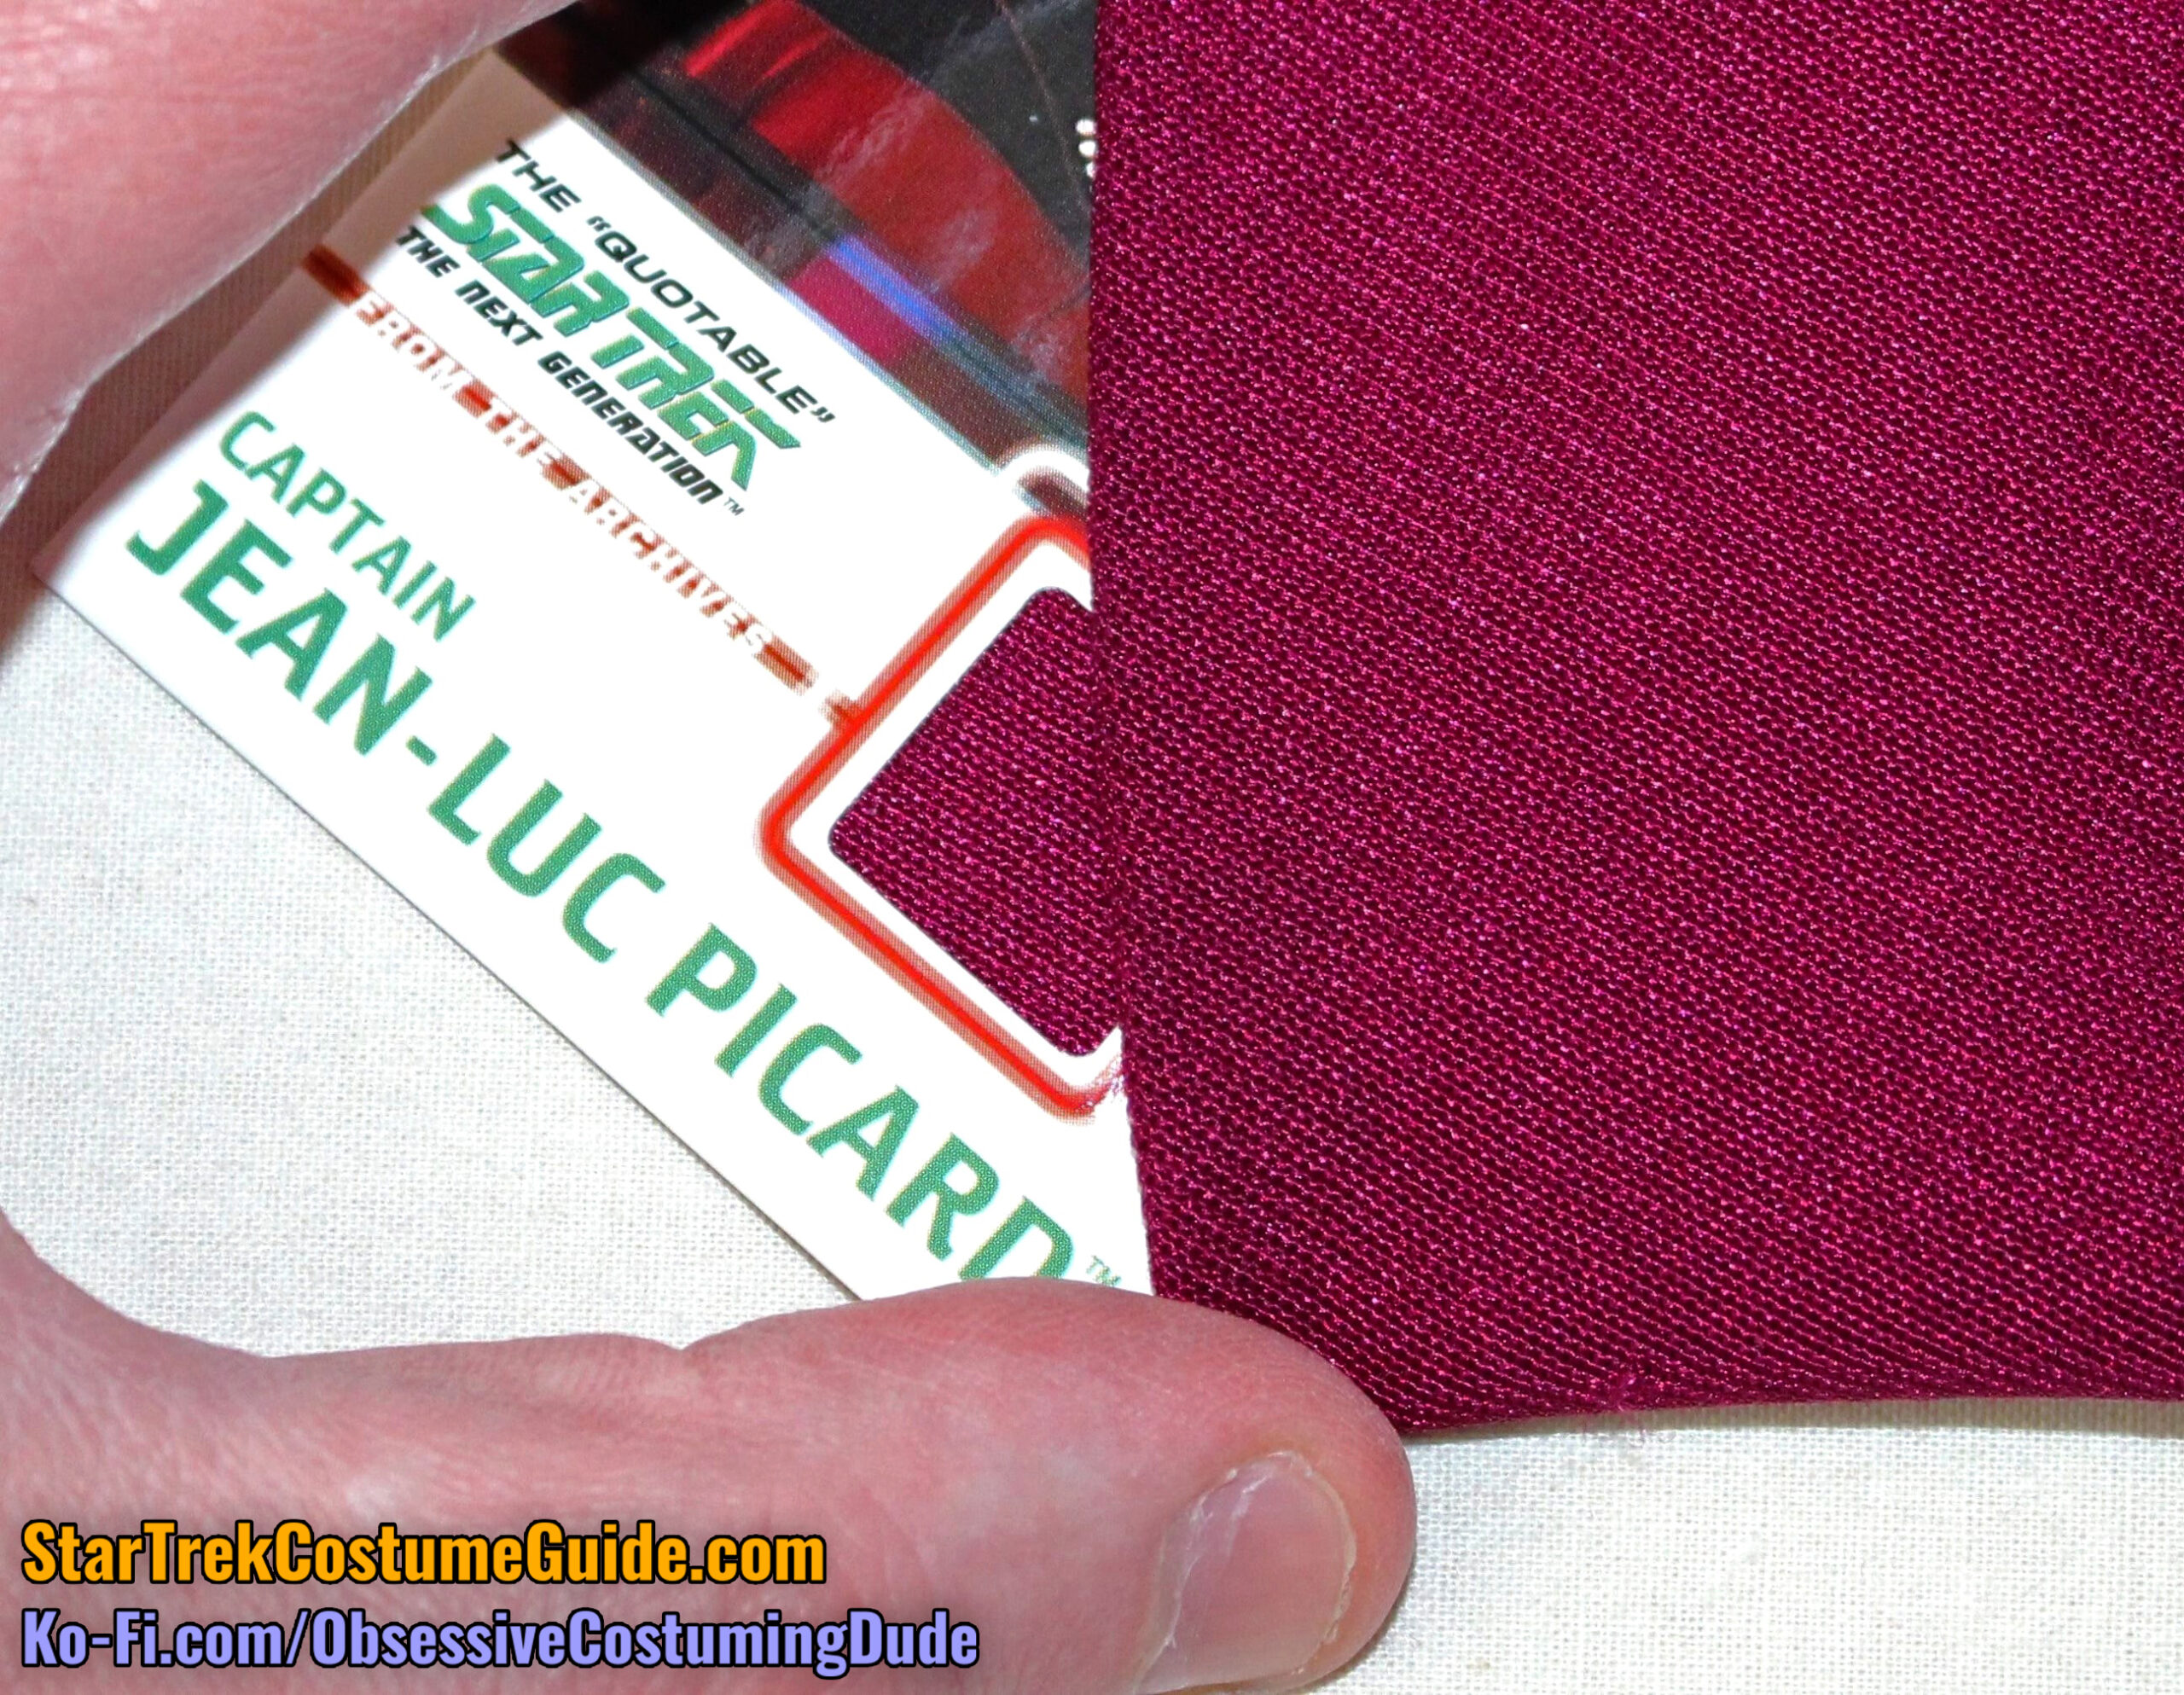
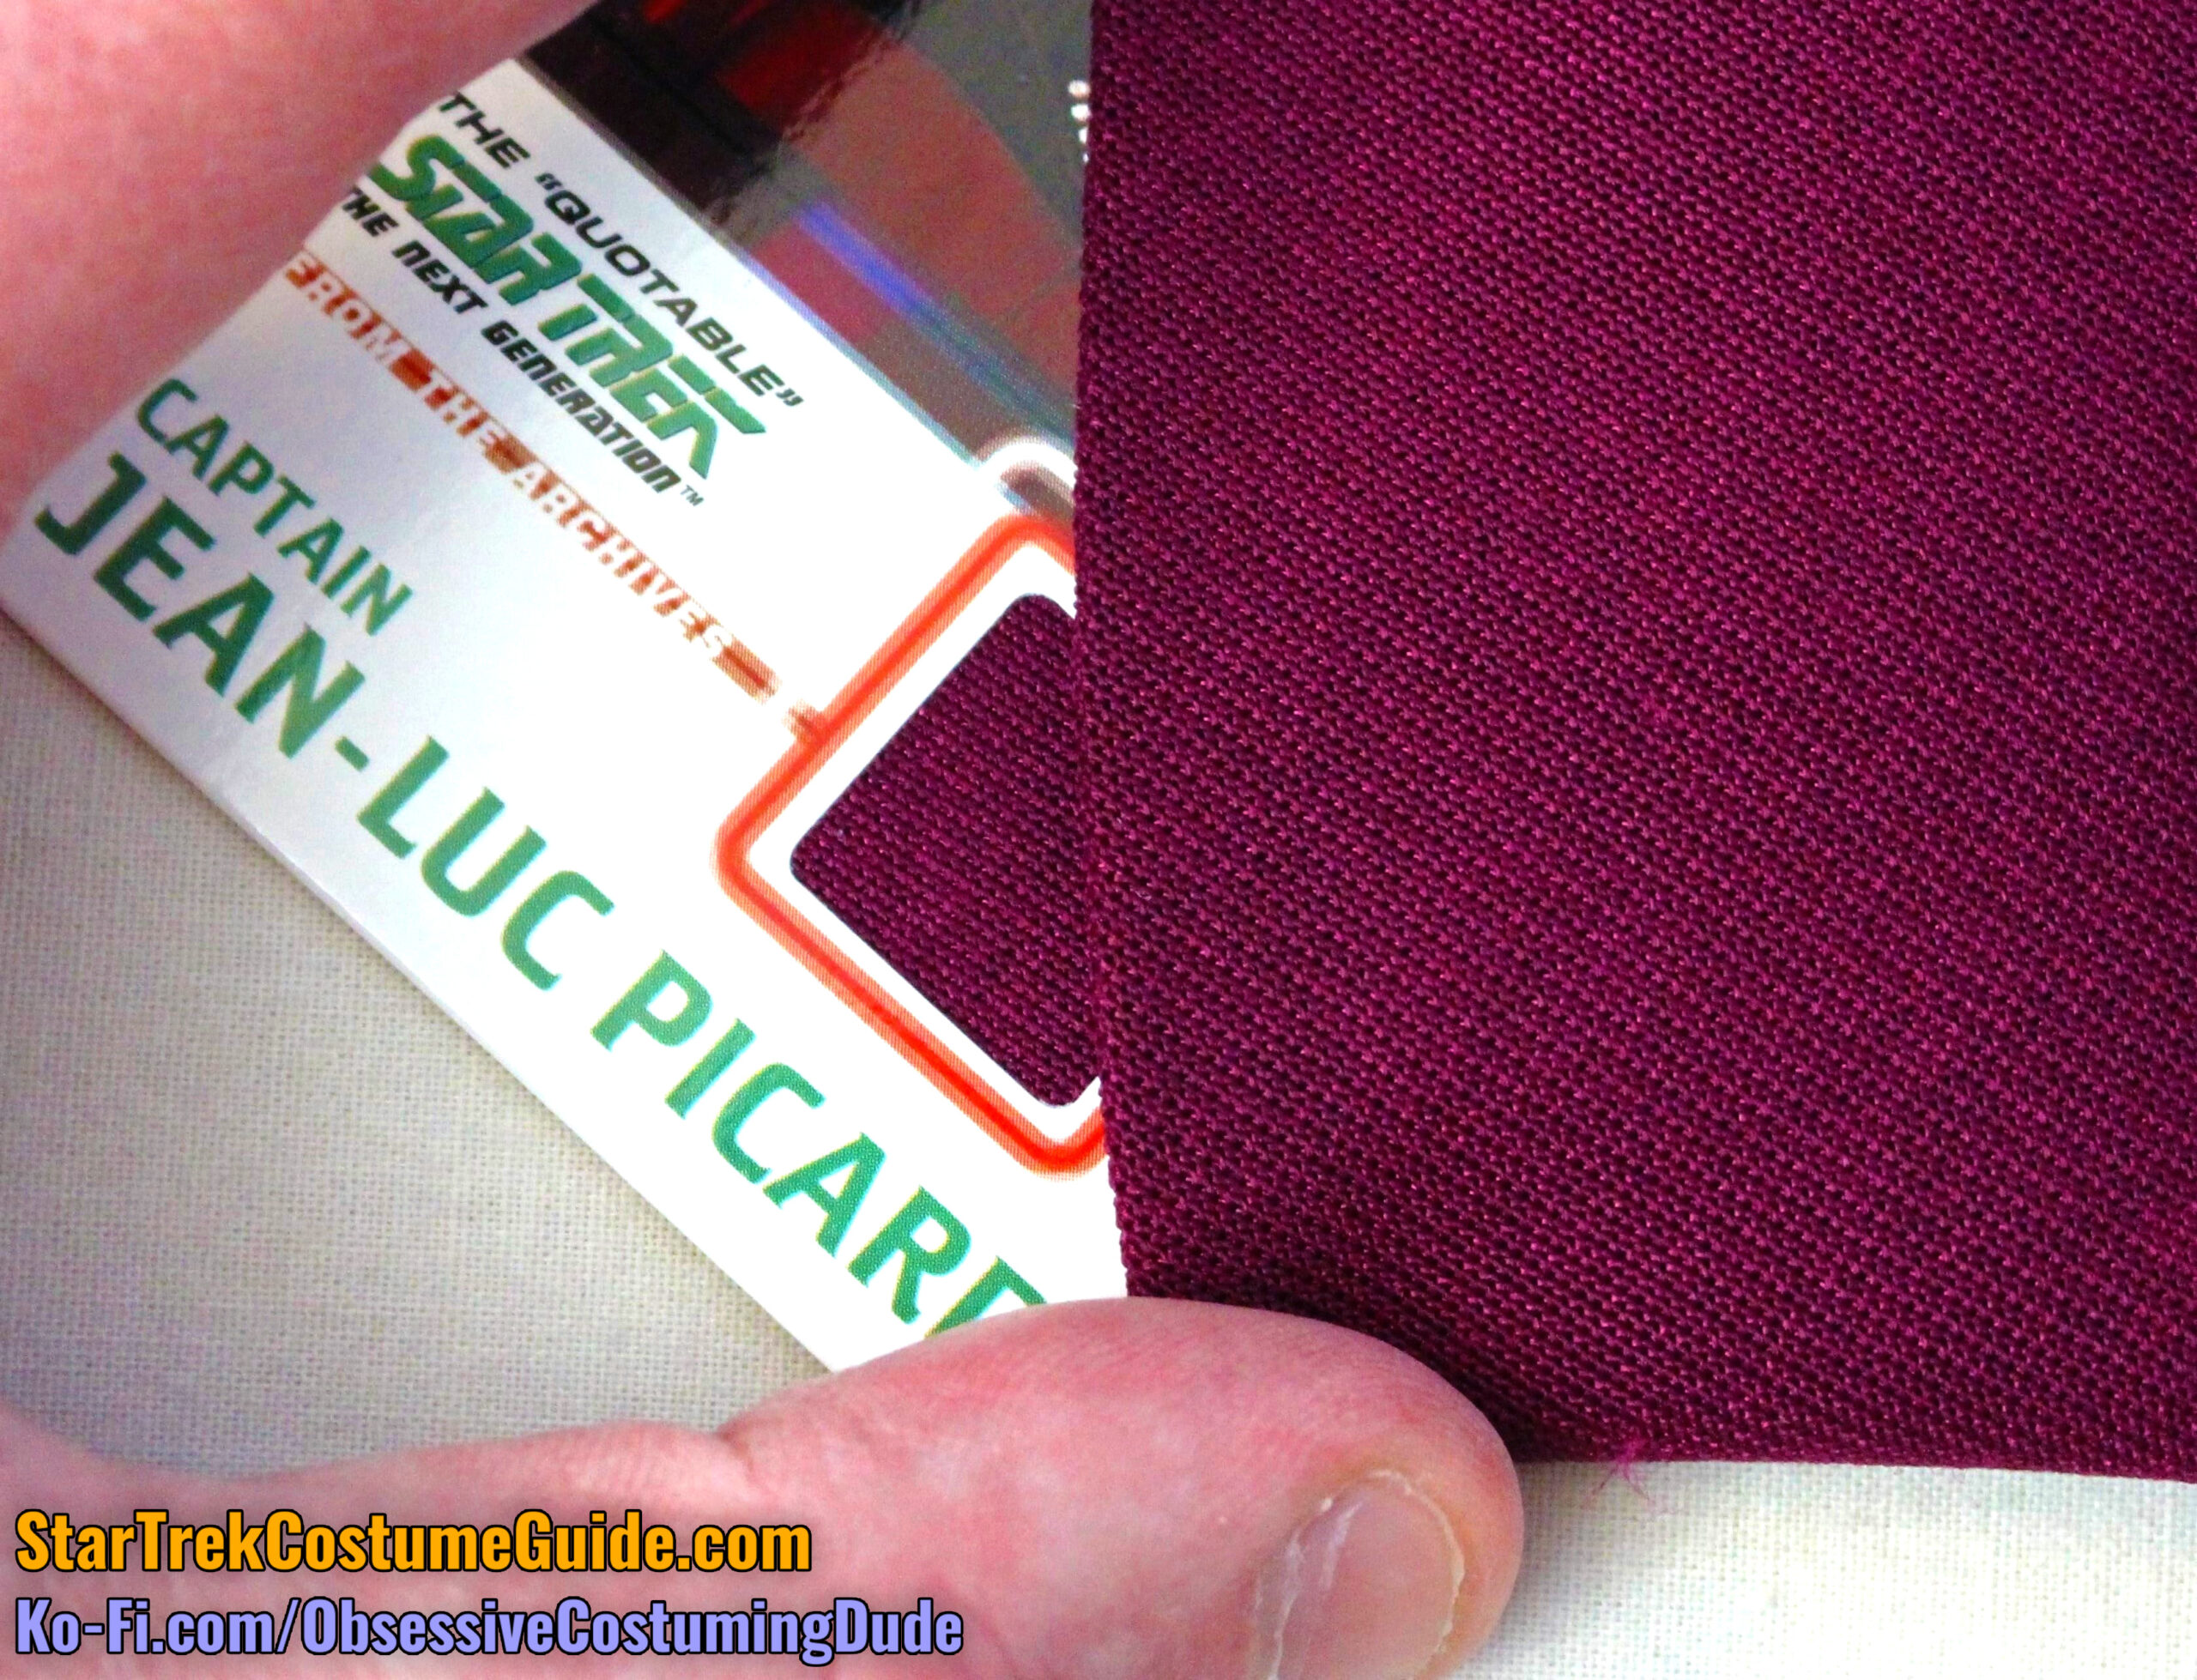
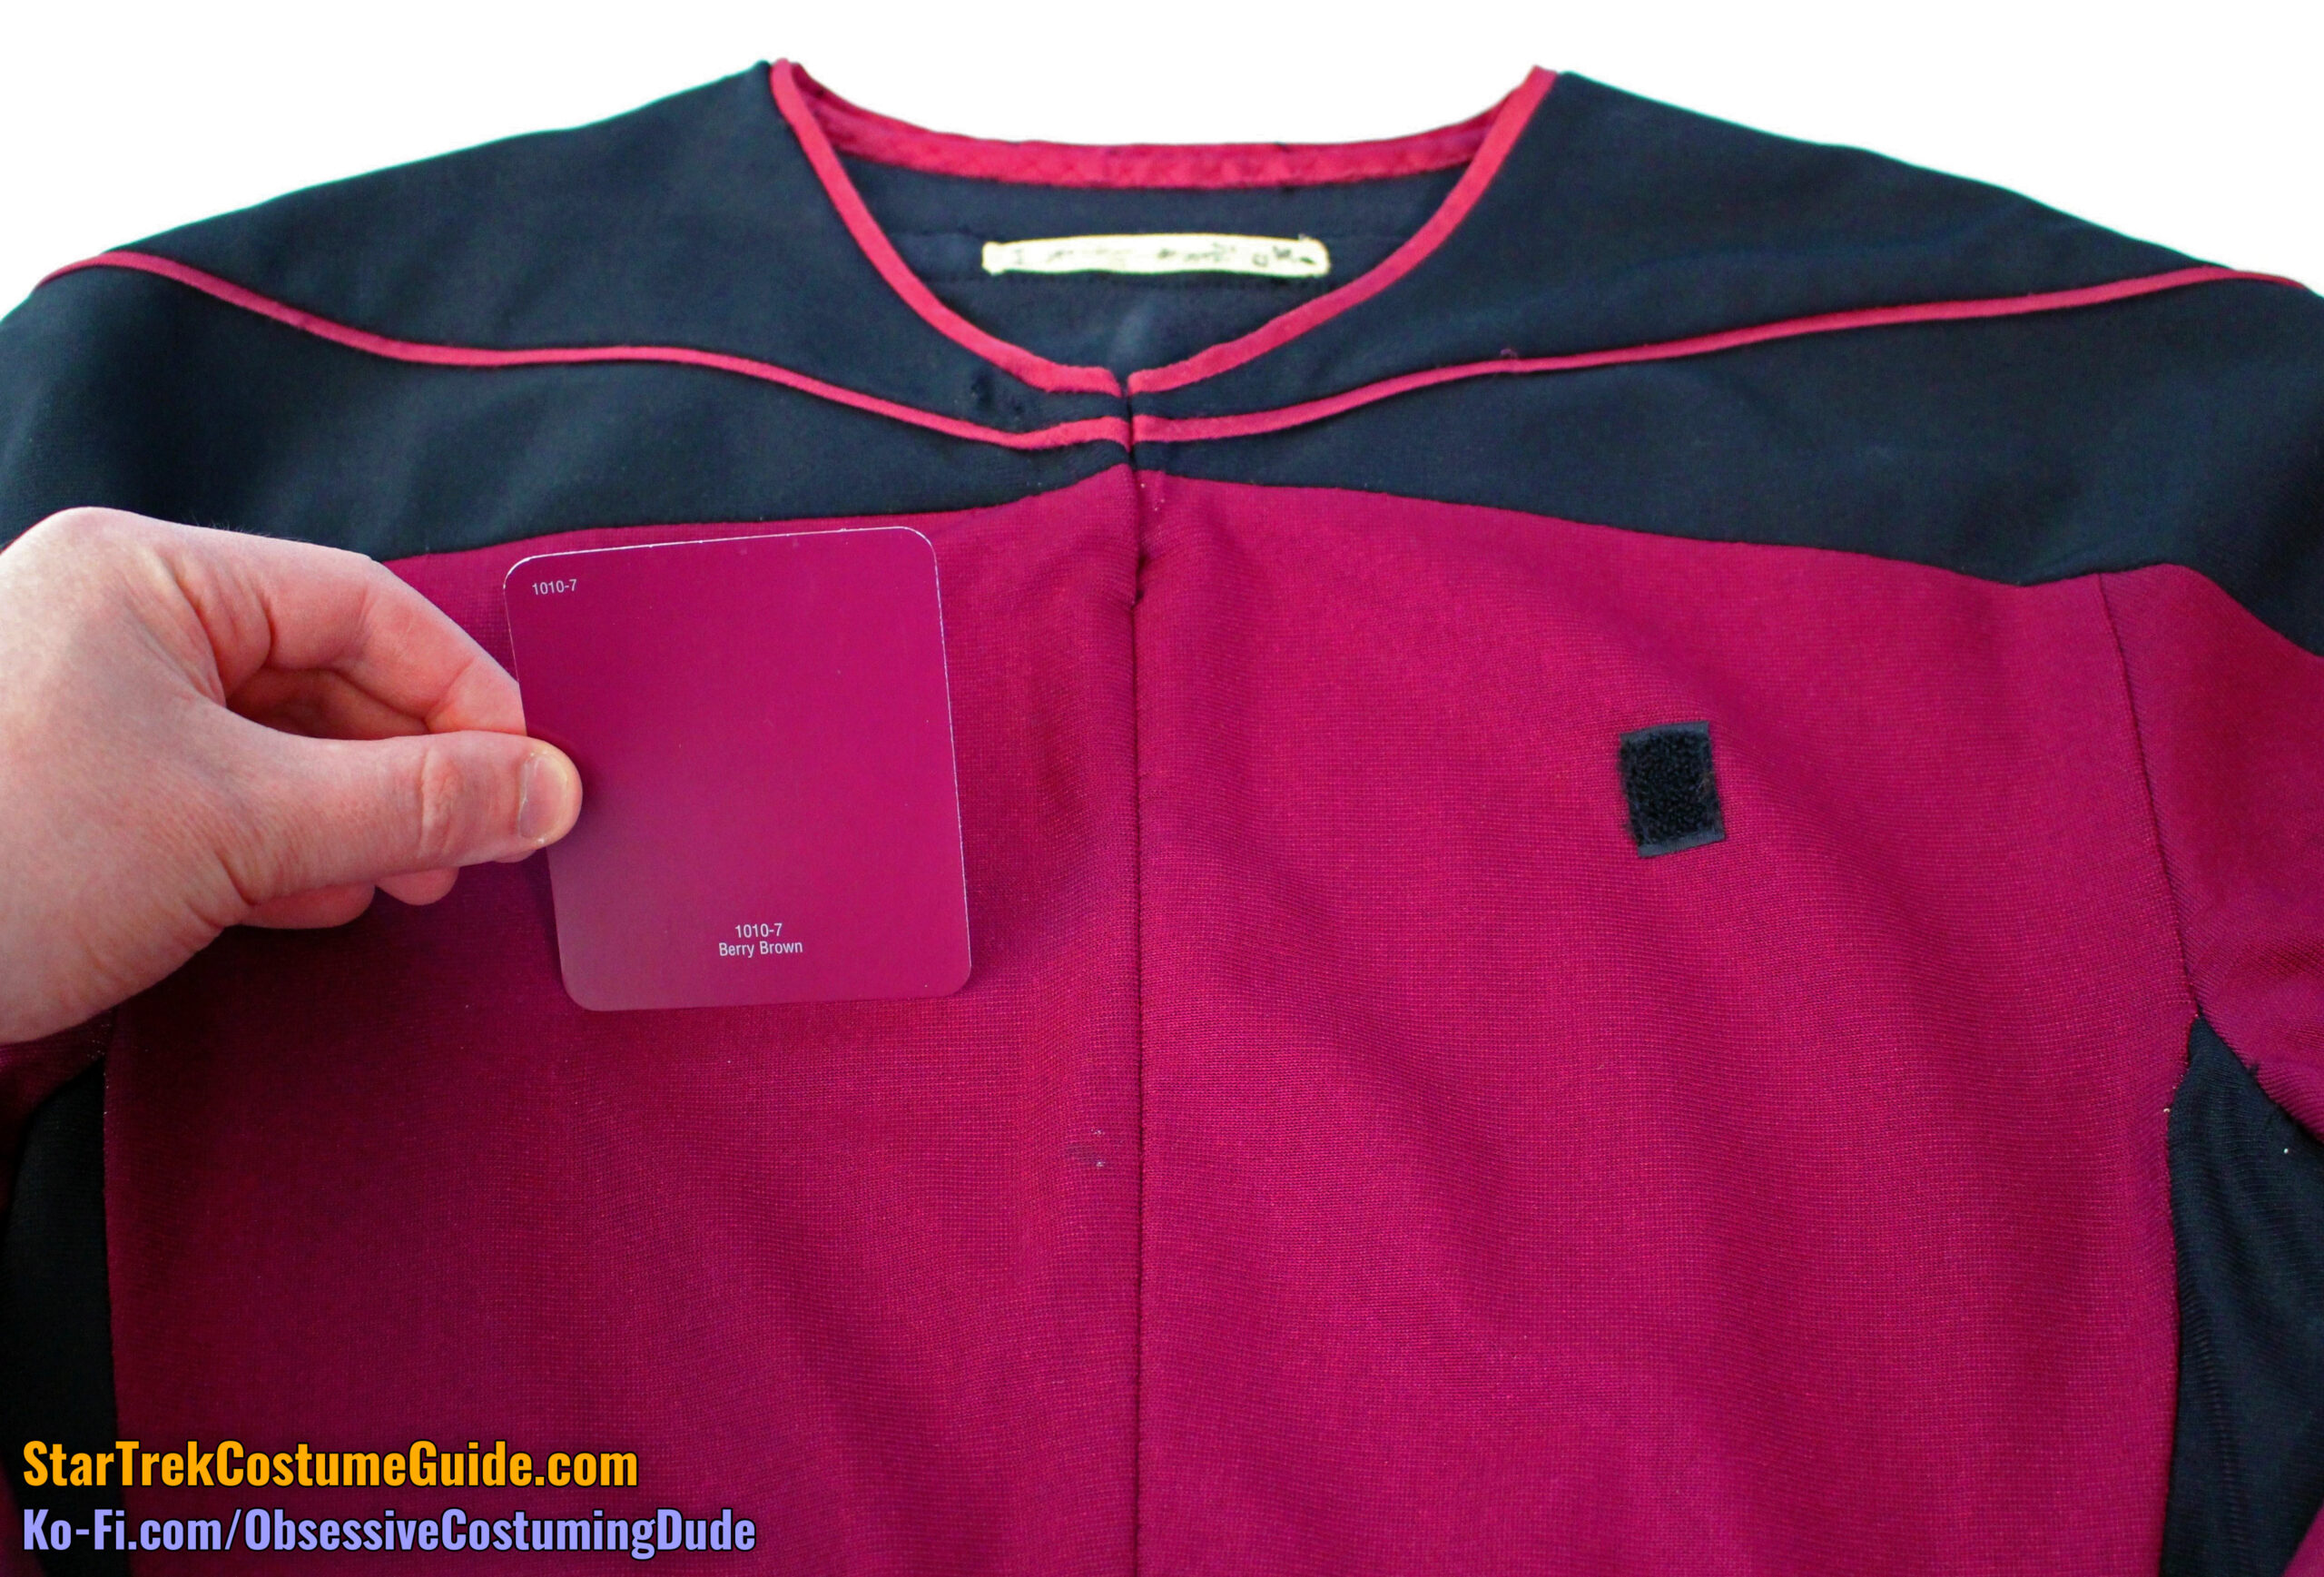
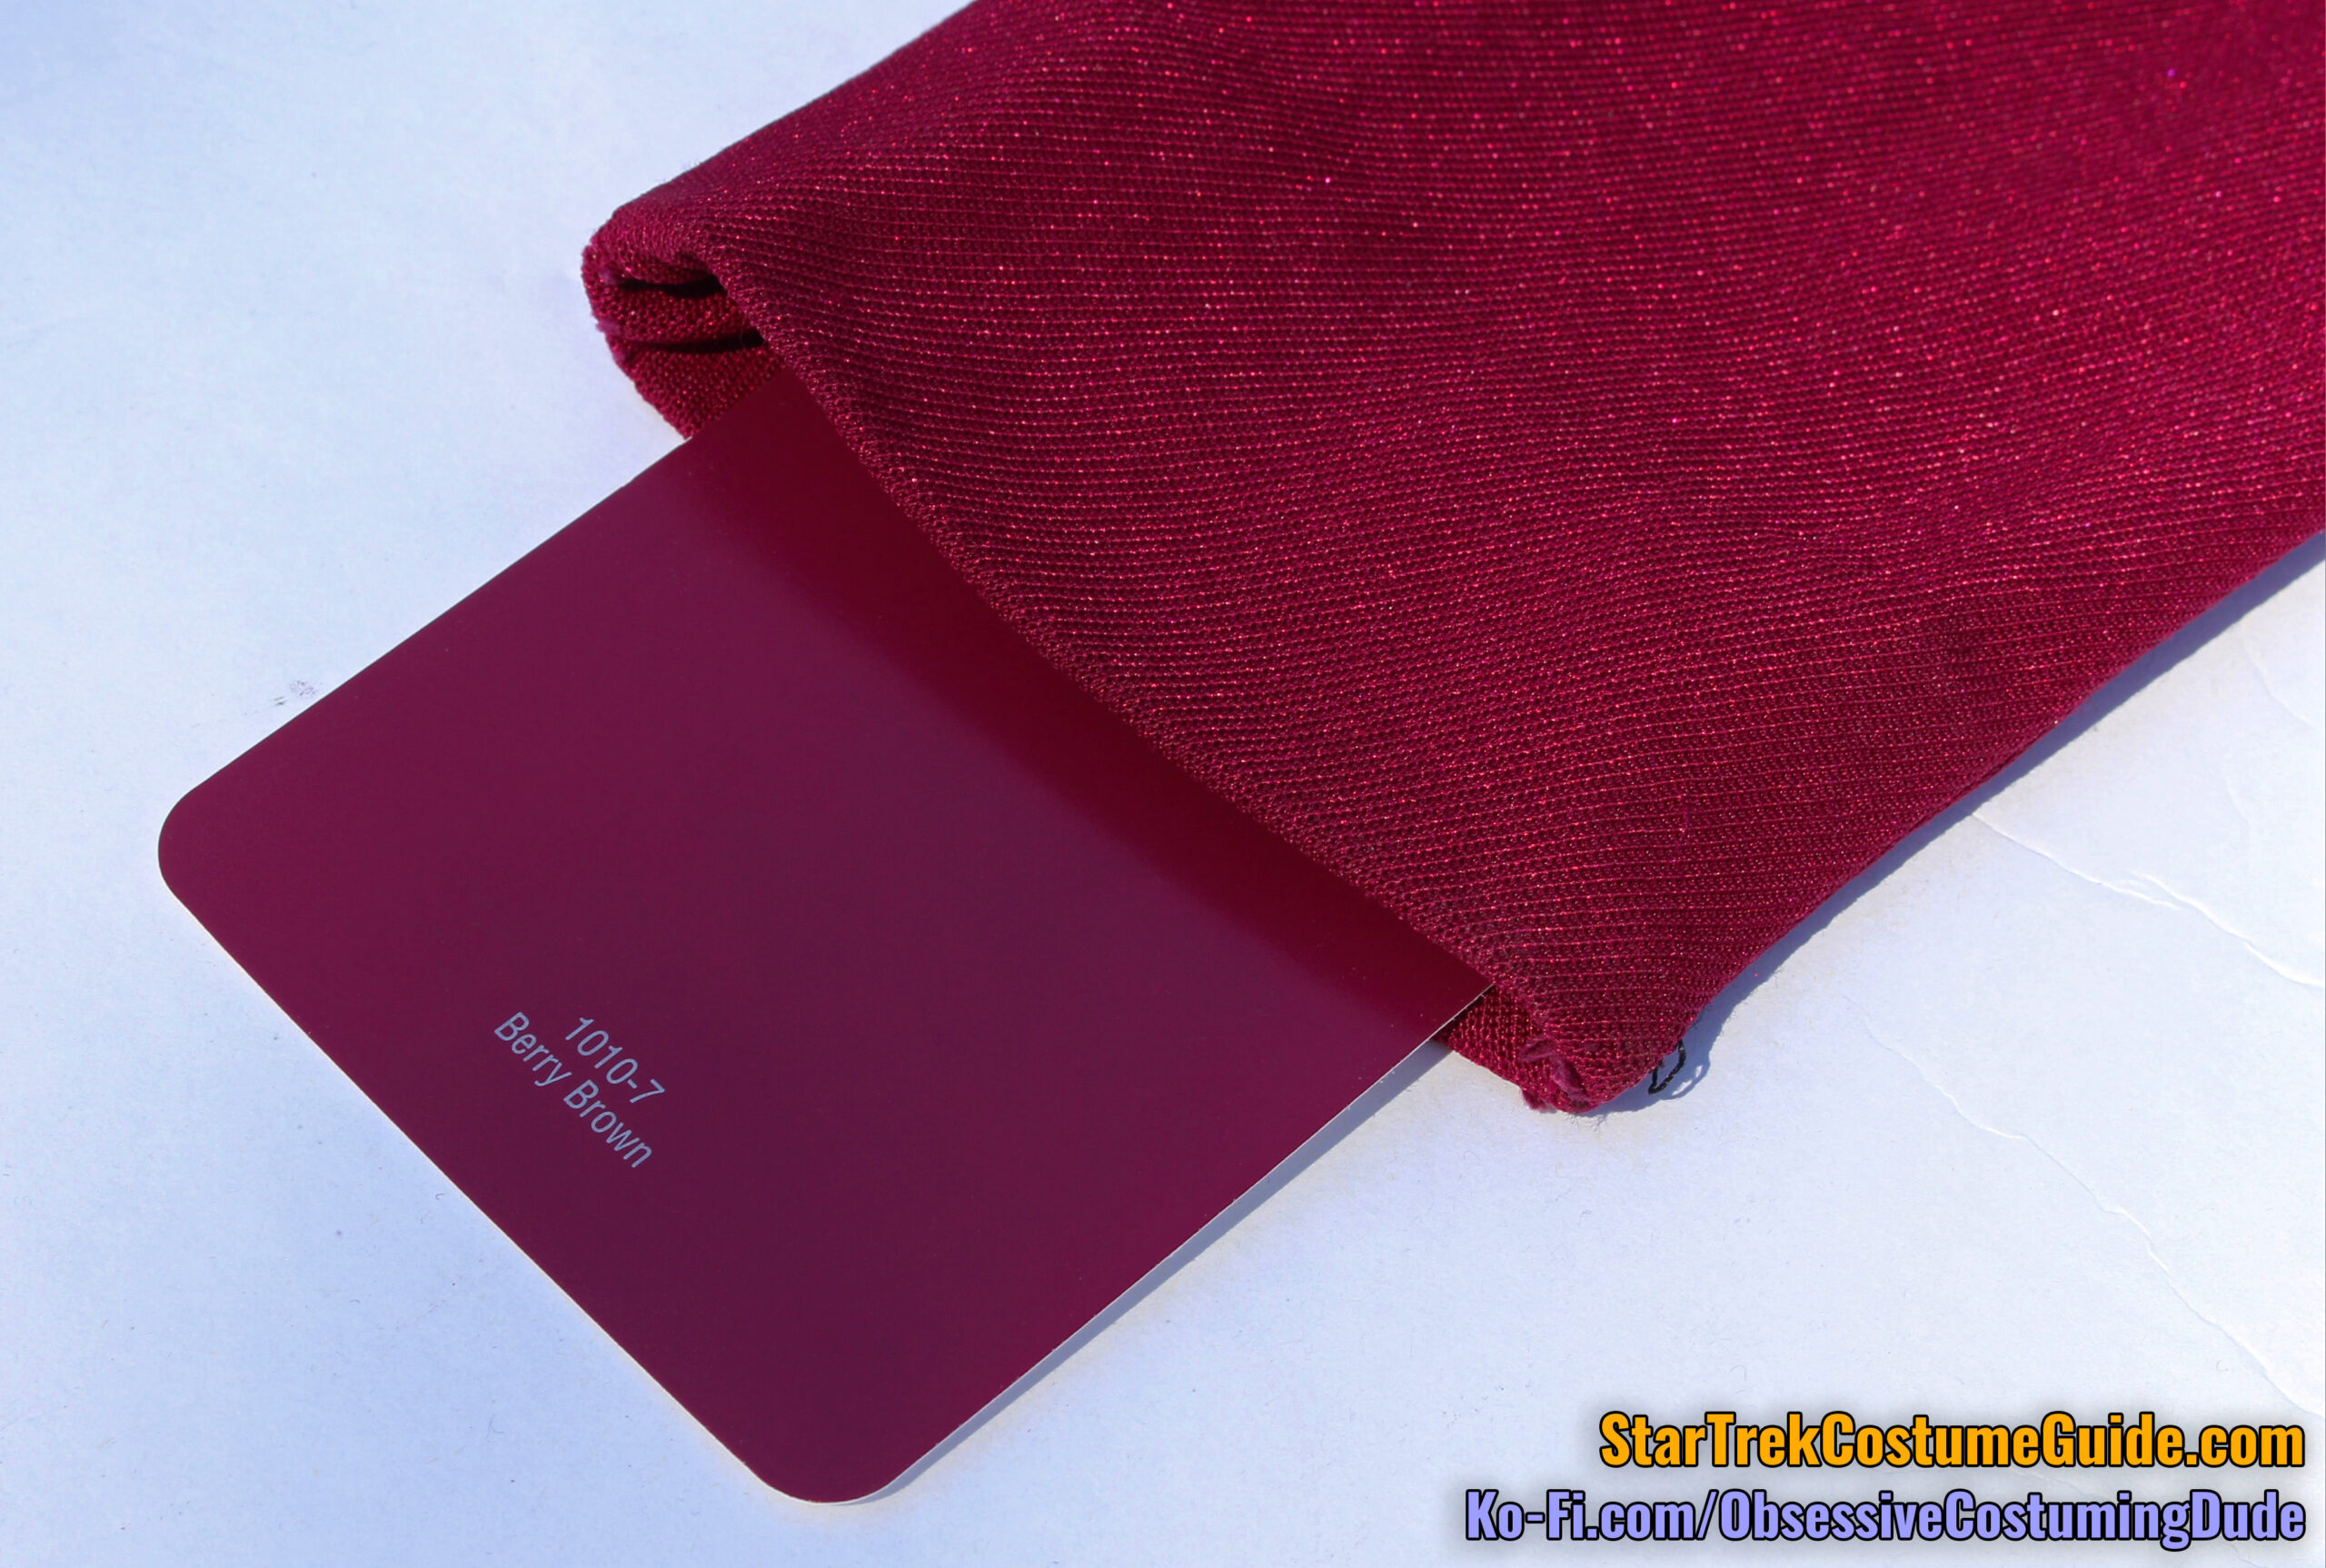
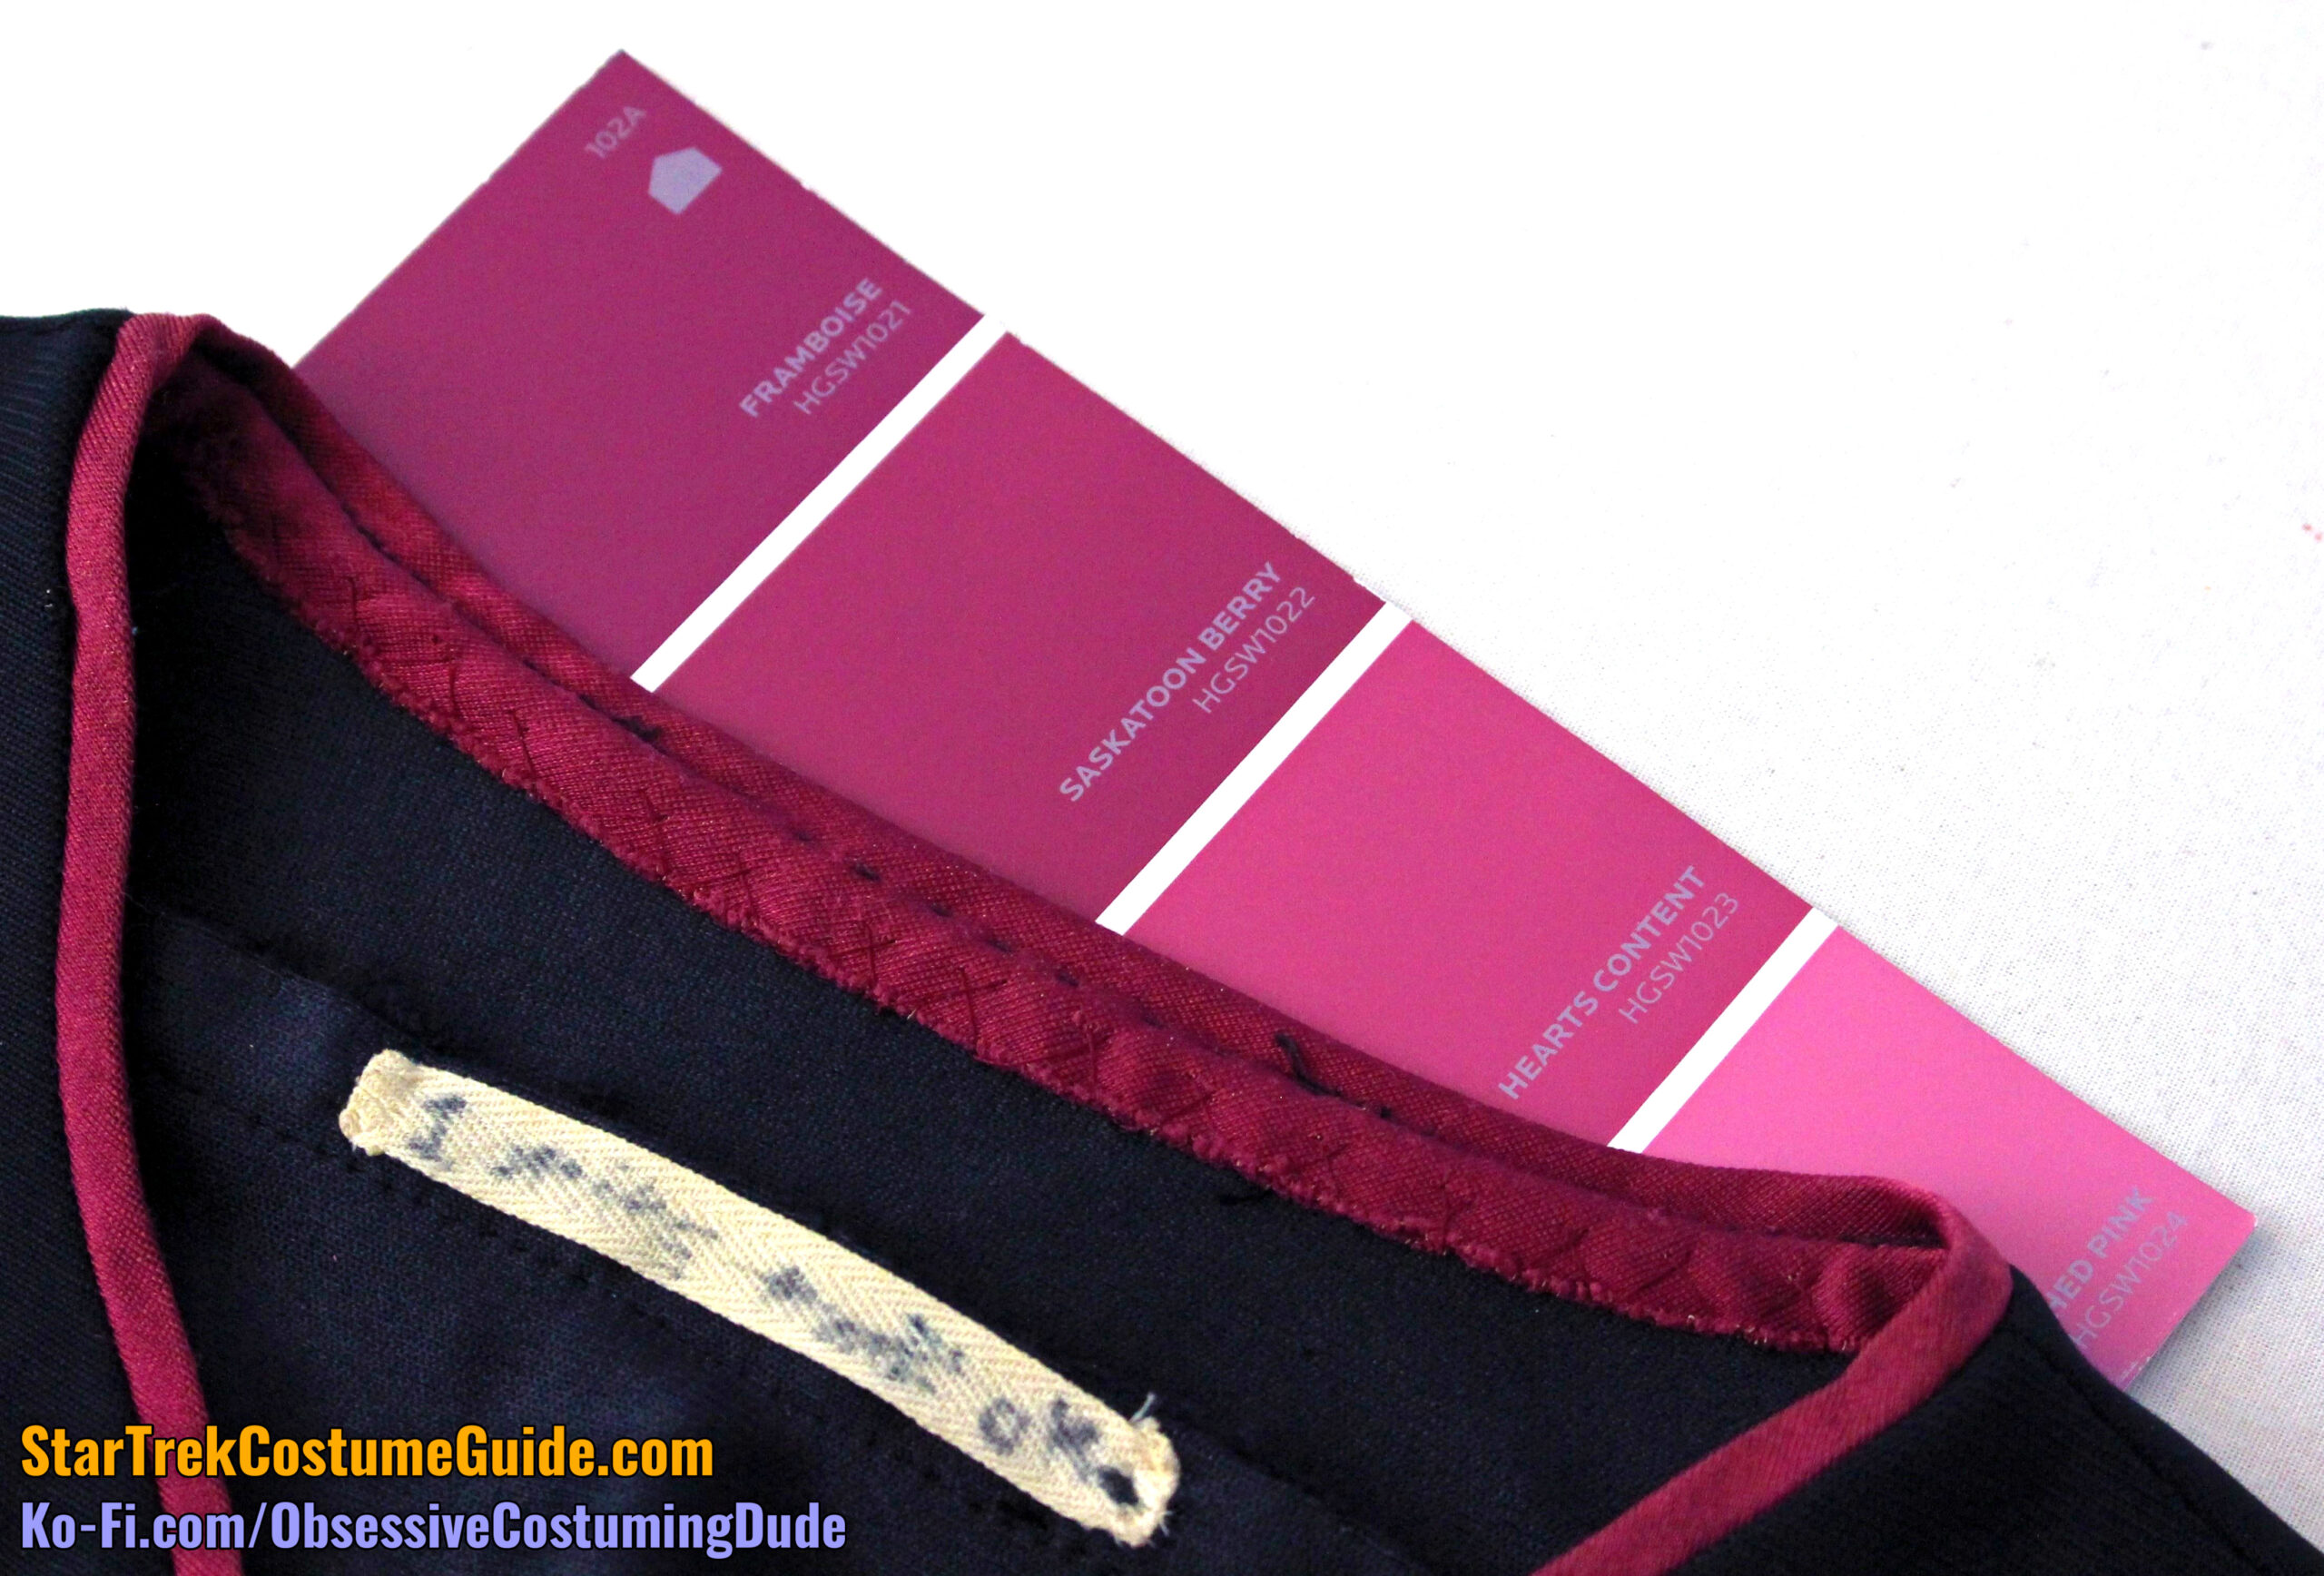
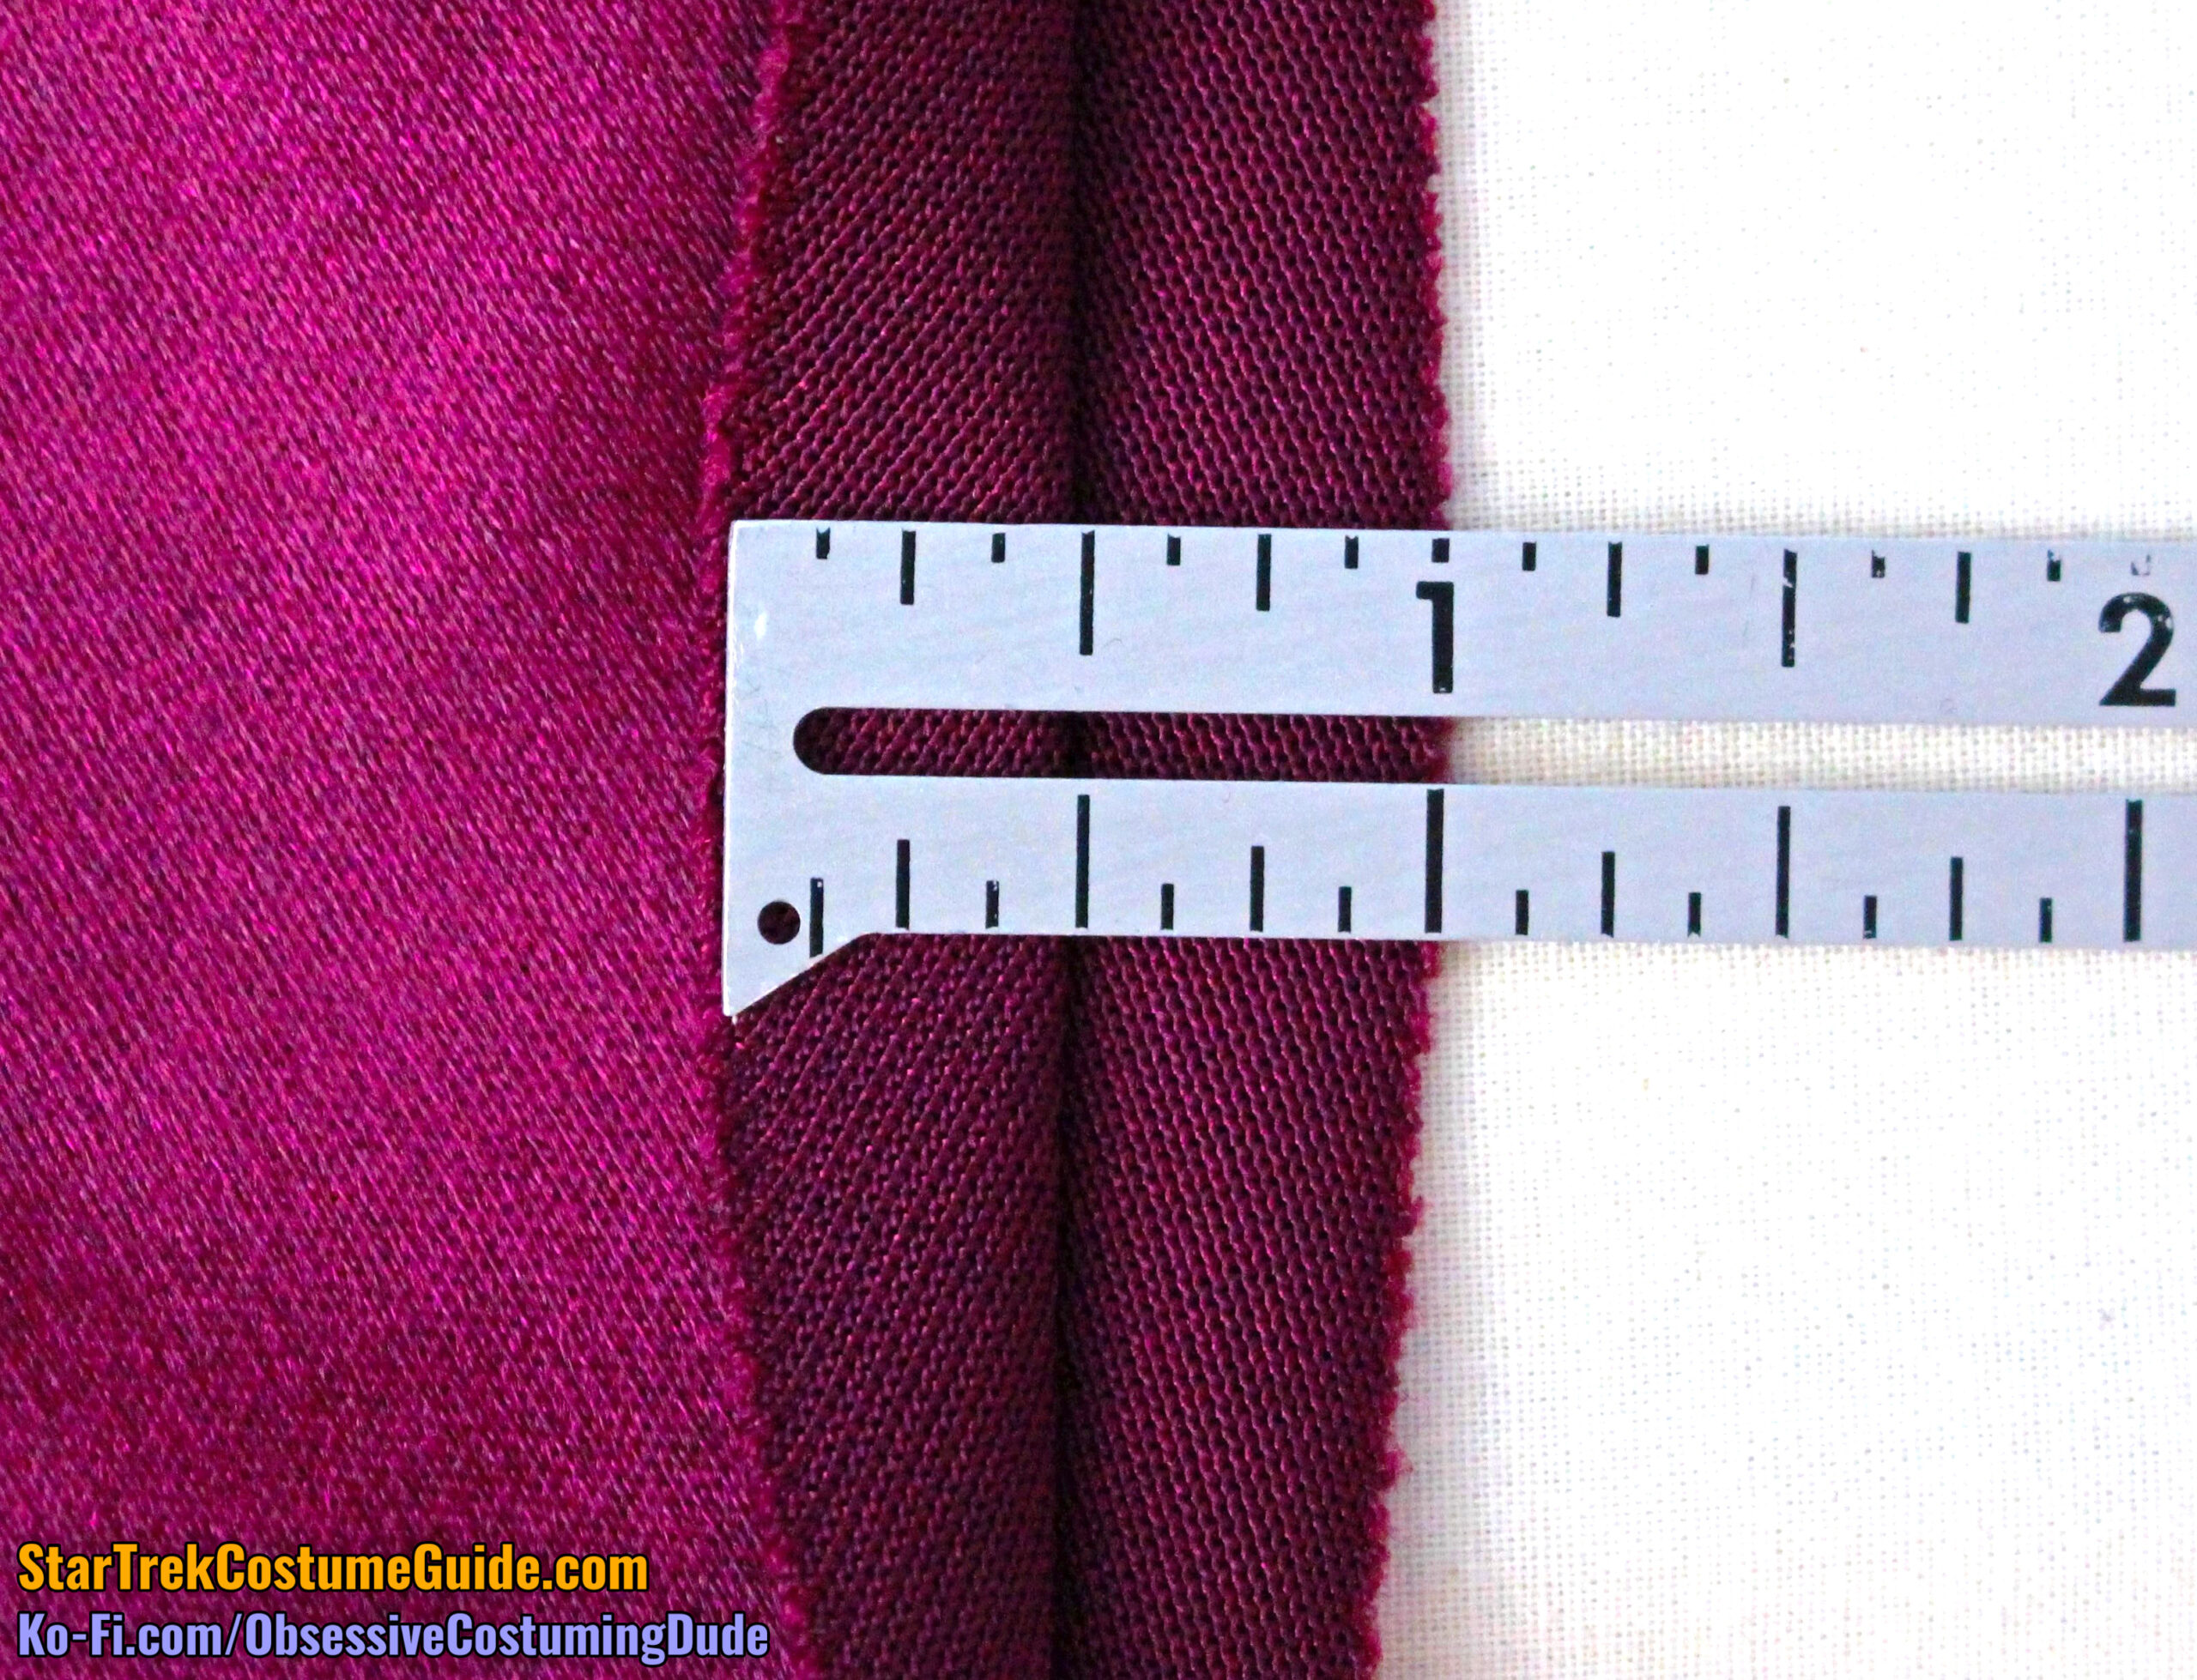
Although it usually photographed as red, in-person this Worf jumpsuit was actually a dark, purple-ish “berry” color.
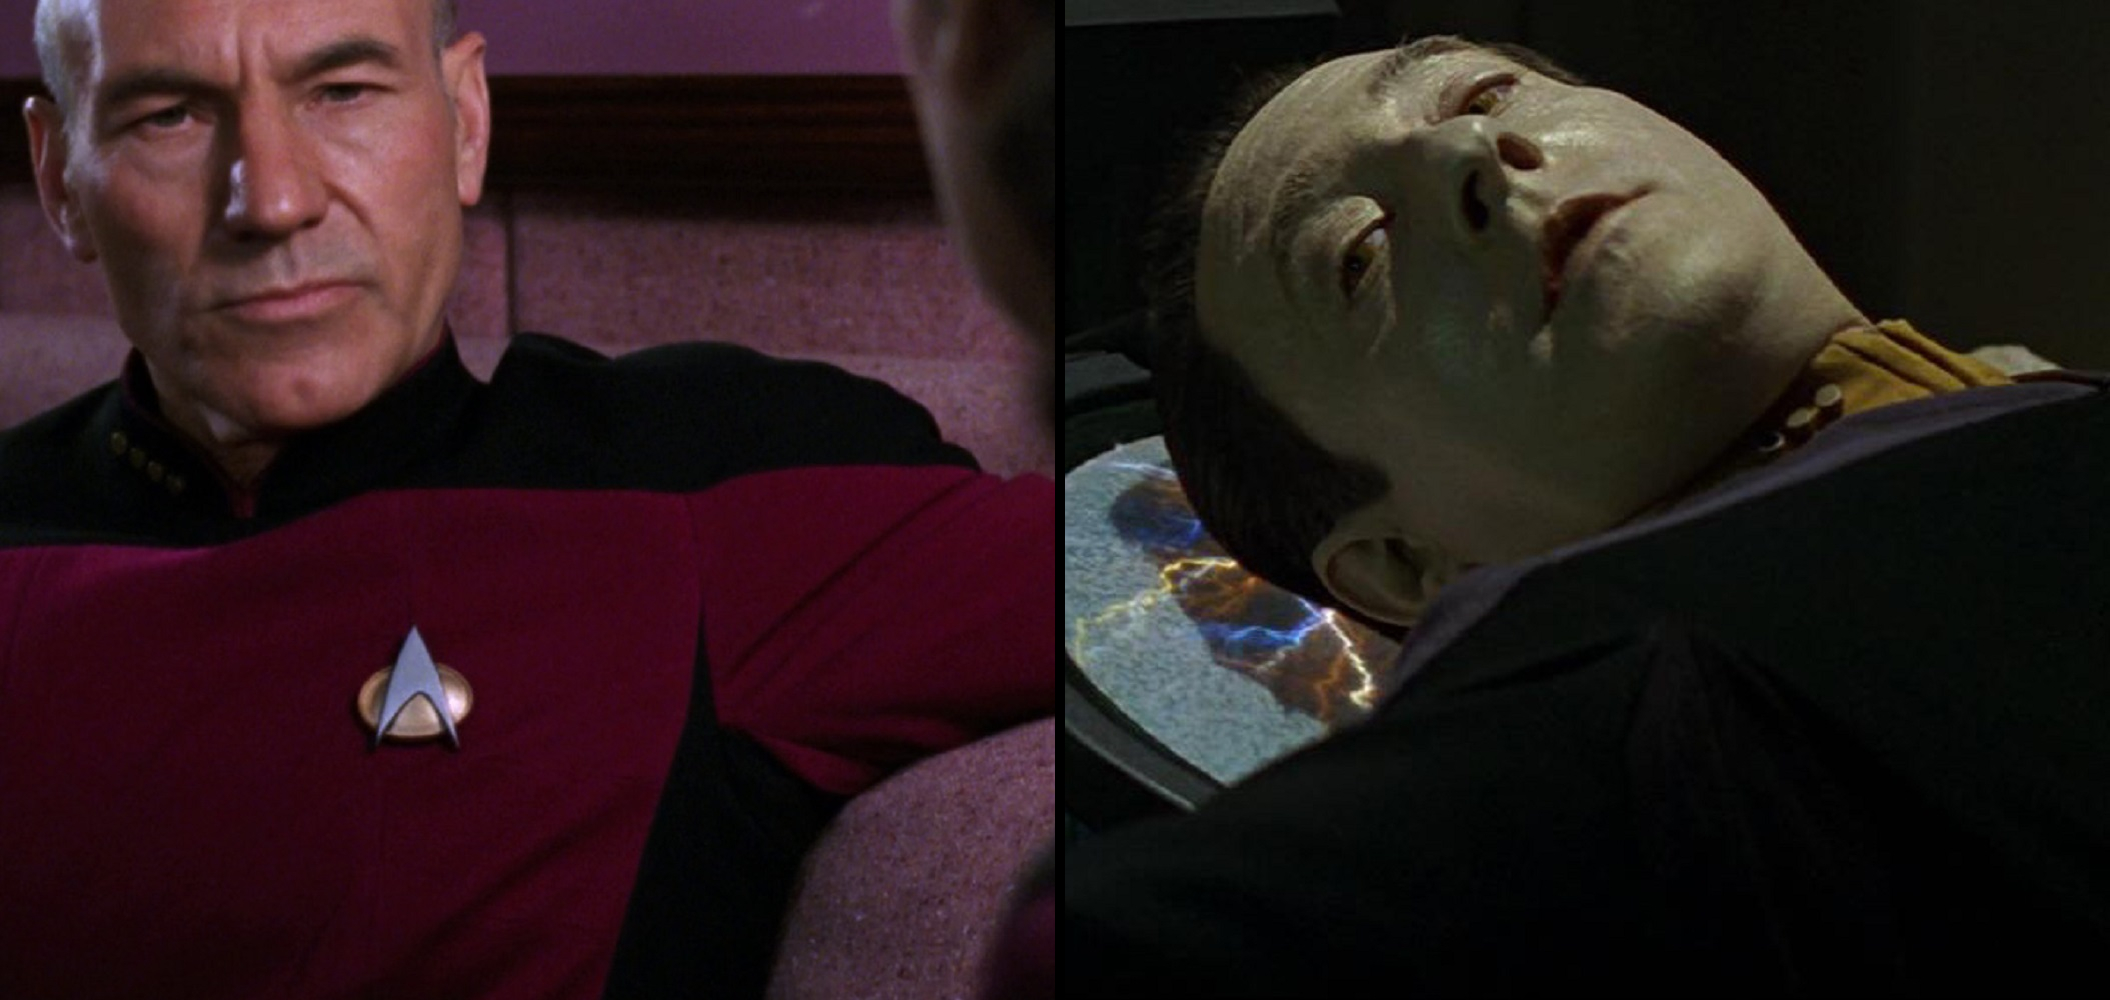
It was a close color match to my Captain Picard swatch (presumably from one of his seasons 1-2 uniforms), although it seems to photograph in reverse of how it looks in-person; the Picard swatch was actually a little bit darker and redder, but for some reason the Worf fabric wanted to photograph as slightly darker.
Regardless, they’re quite close!
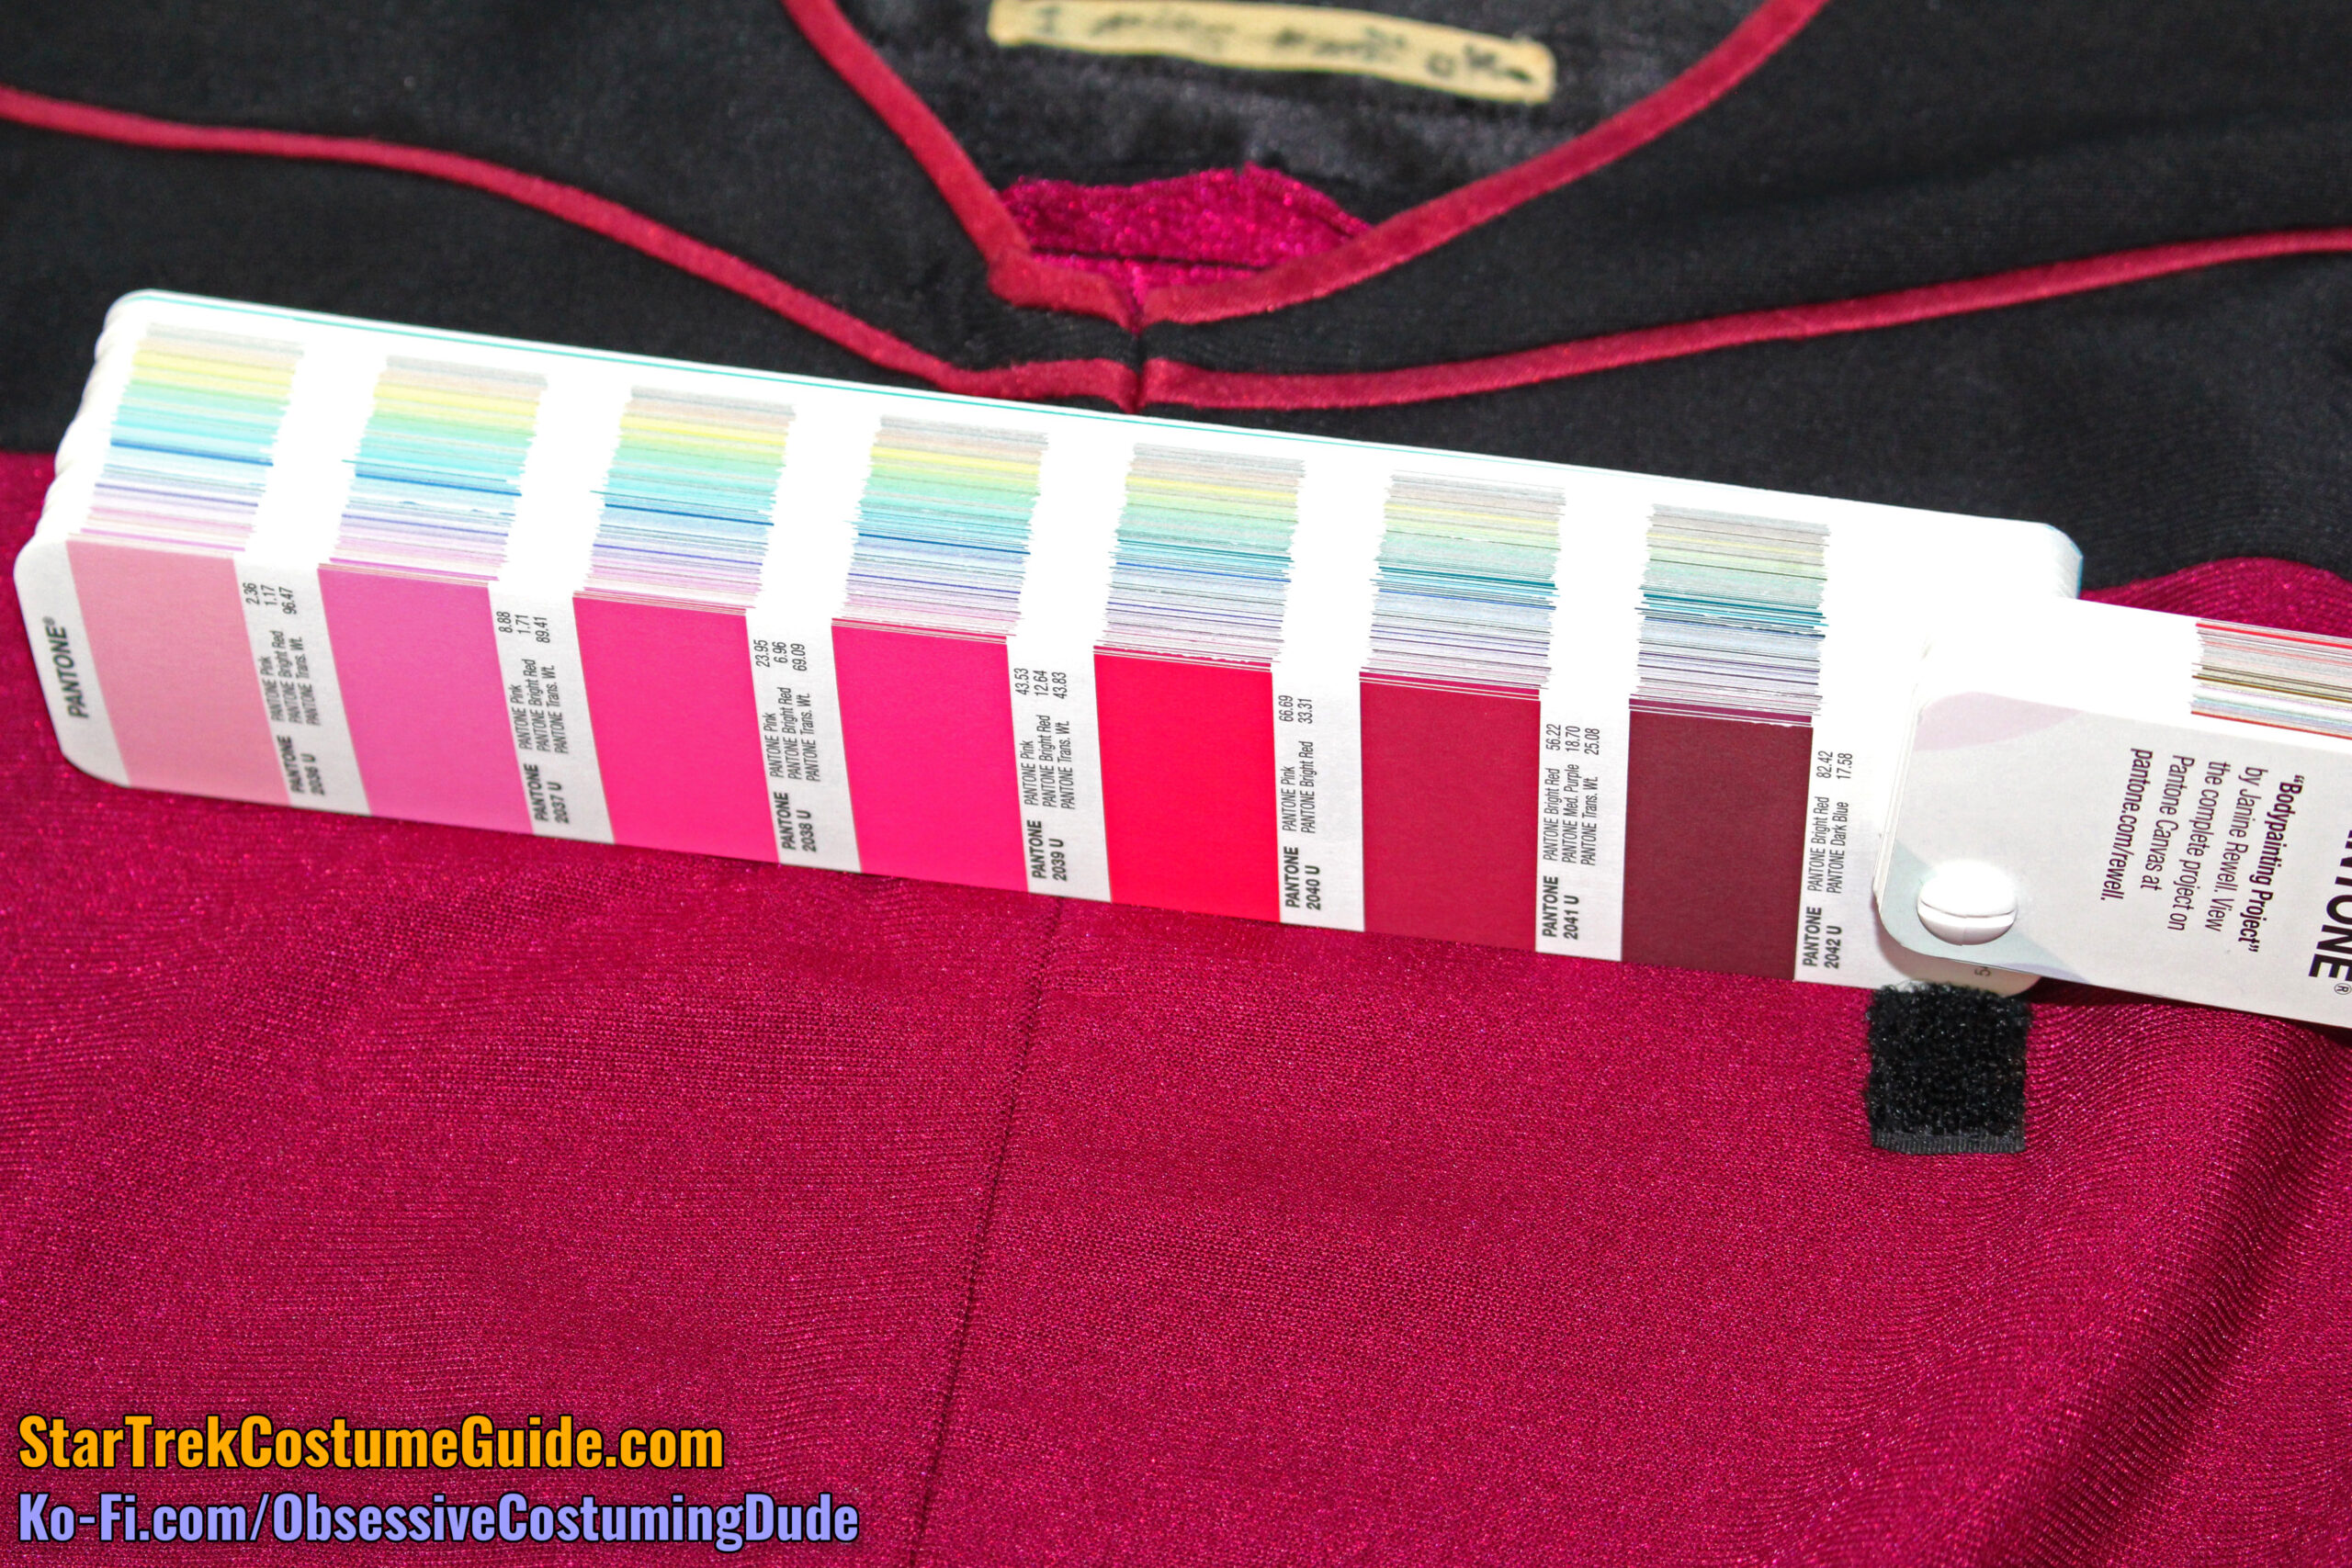
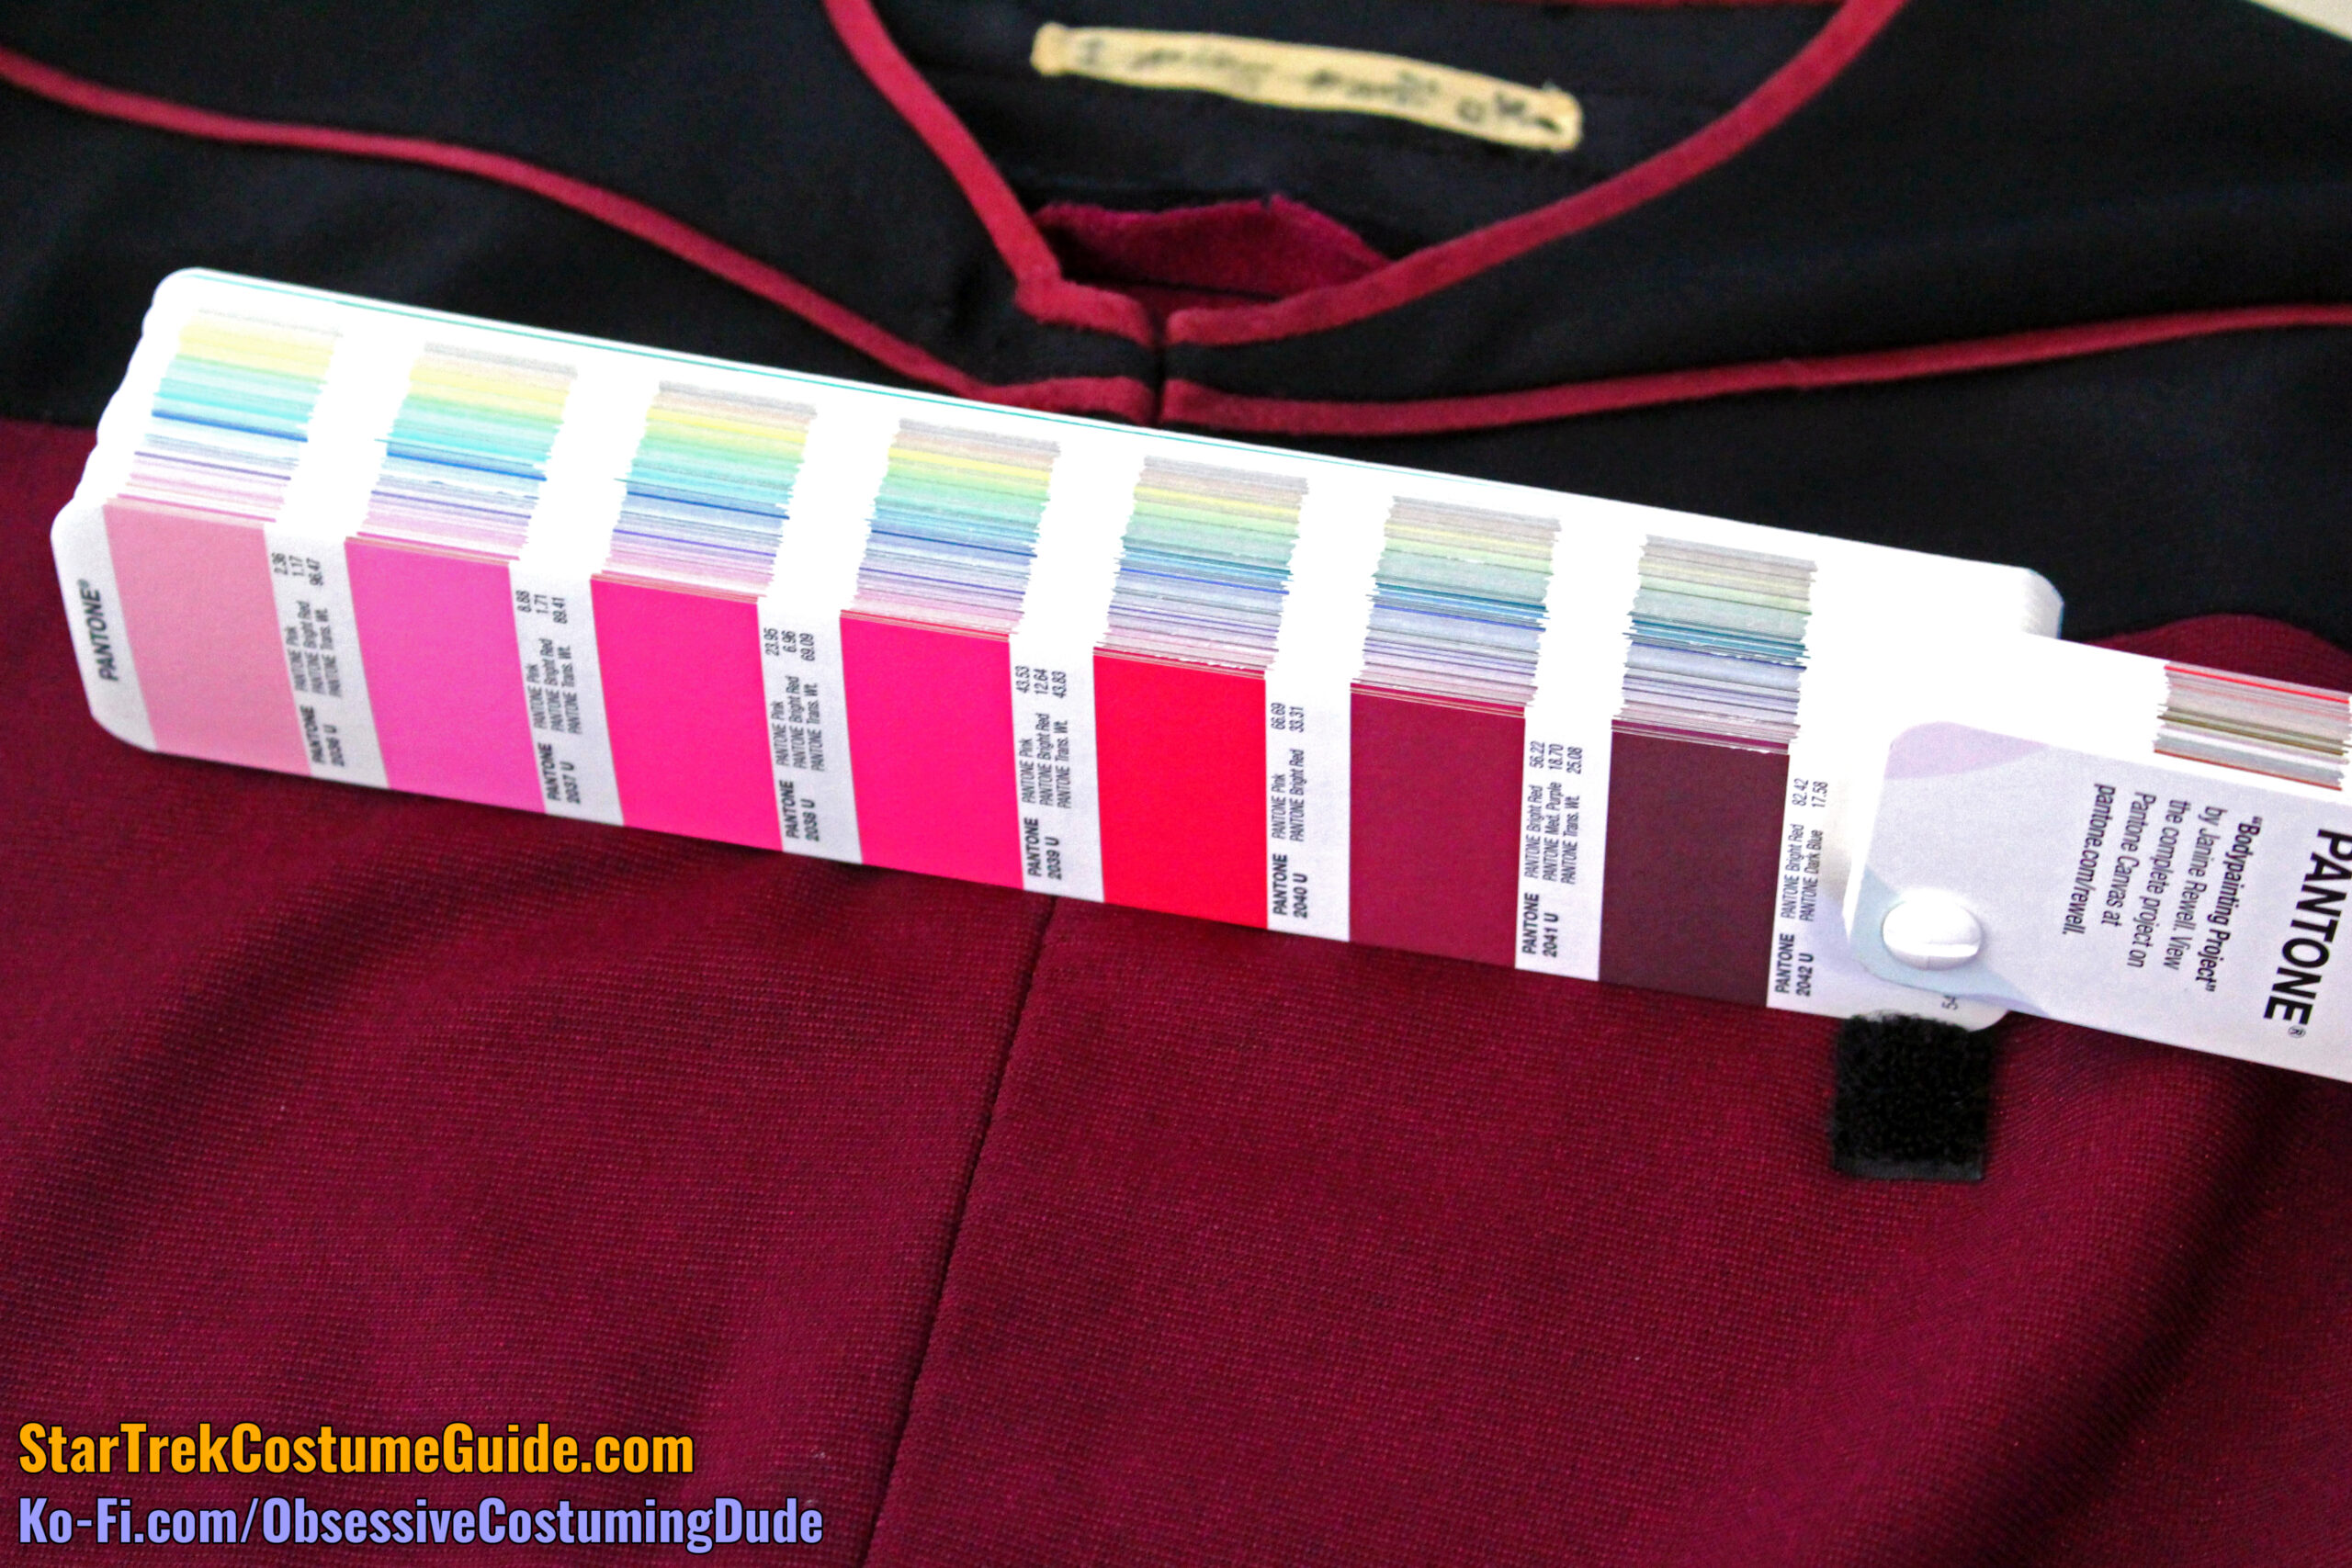
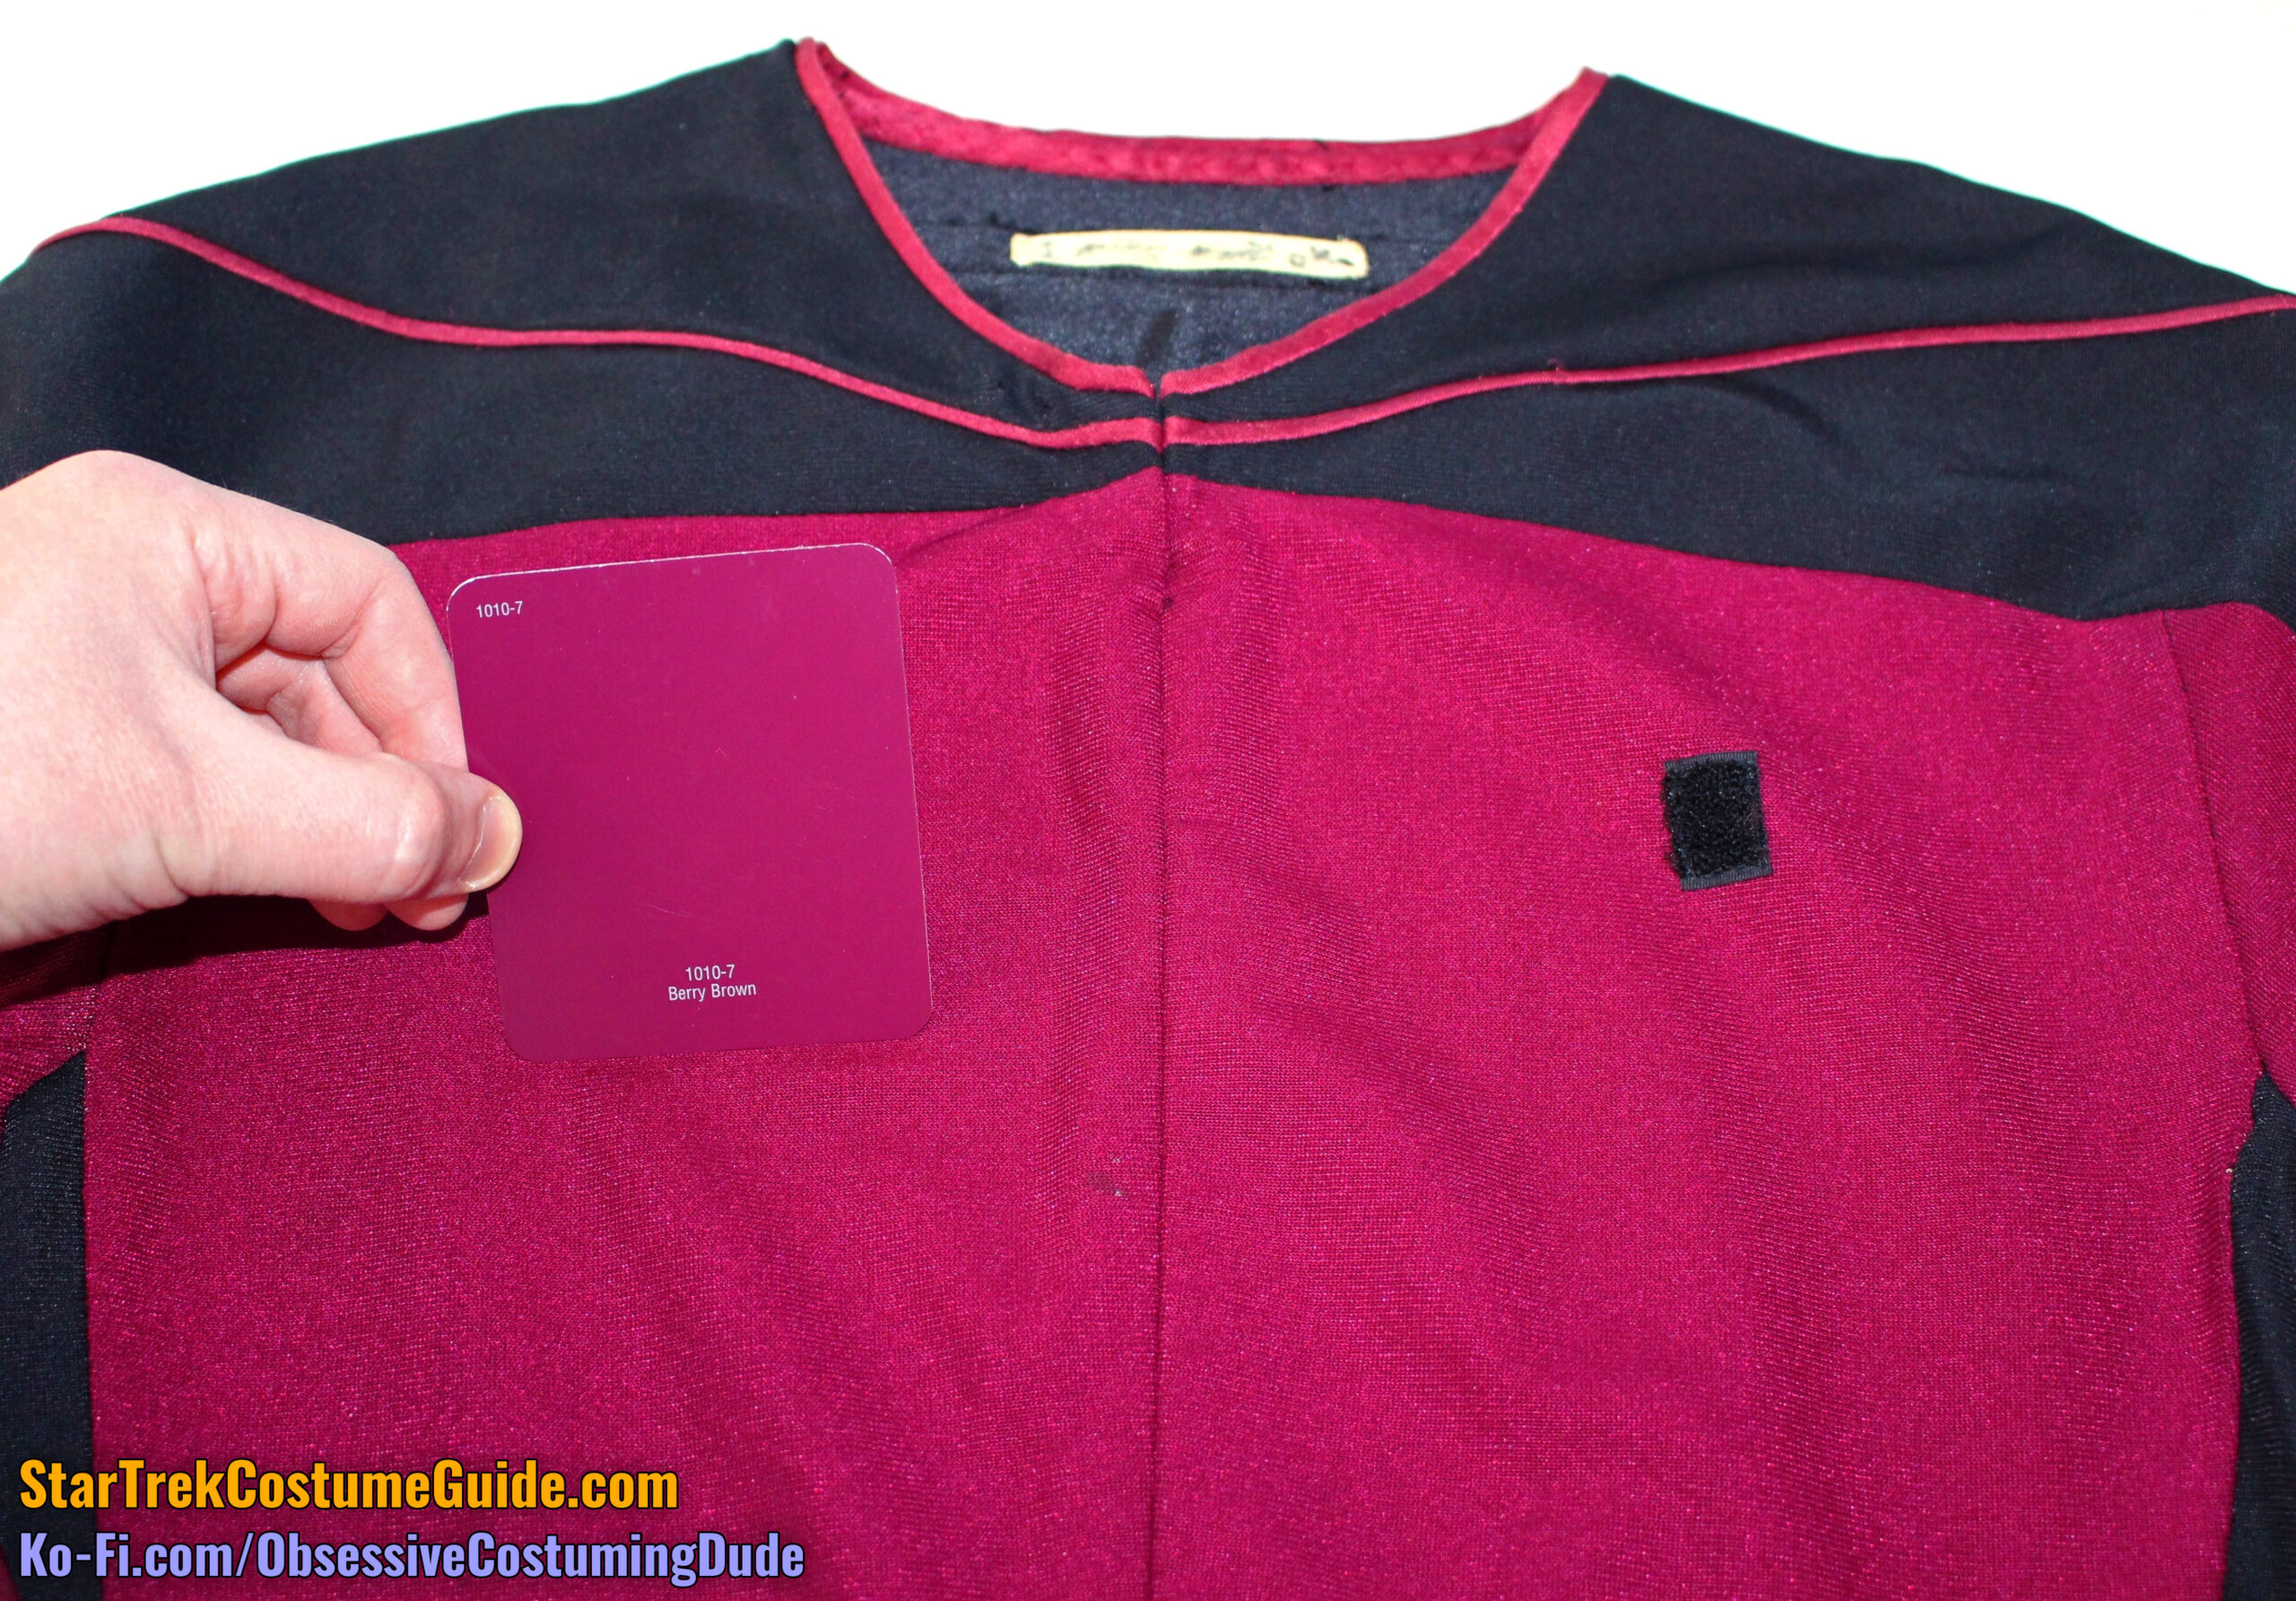
Here are some direct comparison photos, in a variety of lighting conditions.
As with the Admiral Nakamura season 2 uniform I examined, there didn’t seem to be a good Pantone match to the fabric – at least, nothing that was anywhere near dark enough.
The closest I found was #2014 U, which at least photographed semi-favorably at some angles.
For an approximate representation of the fabric color, you can pick up the Valspar paint chip #1010-7, “Berry Brown” from your local hardware/paint store.
(This is the same paint chip I determined to be the closest match to the season 1 Admiral Jameson uniform I examined.)
It isn’t quite a perfect match to the Worf jumpsuit color, but it’s the closest I found.
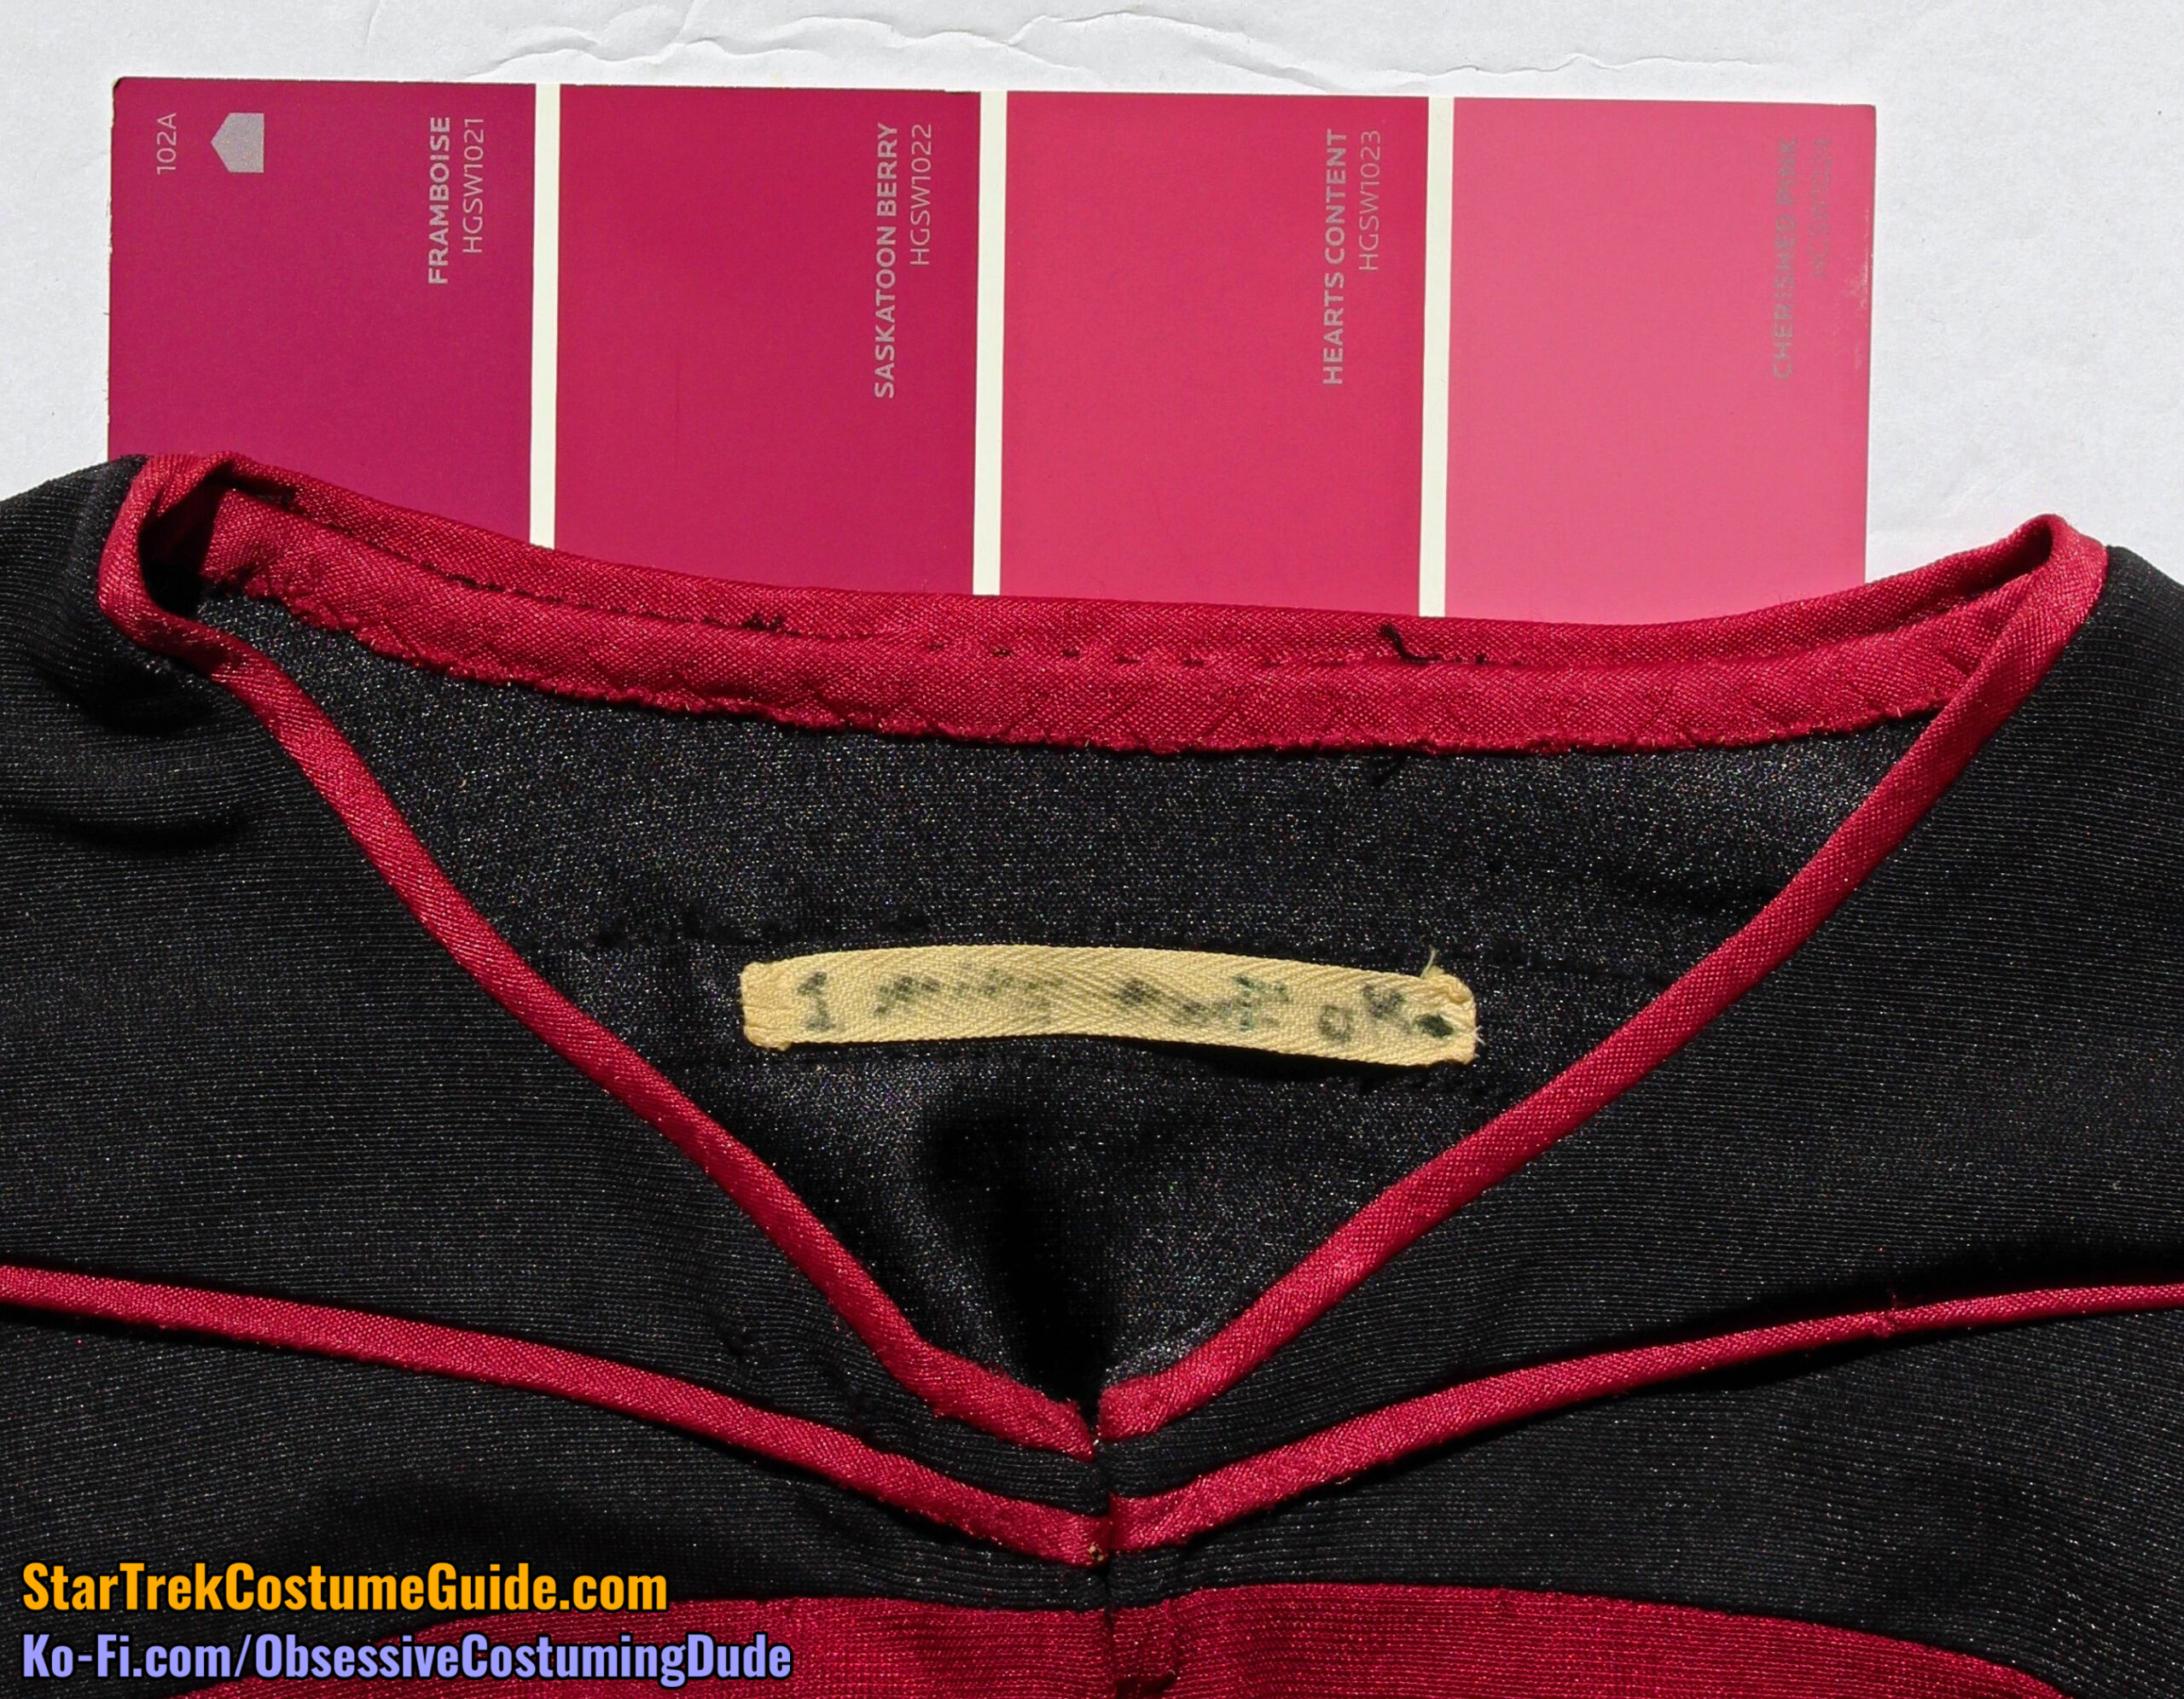
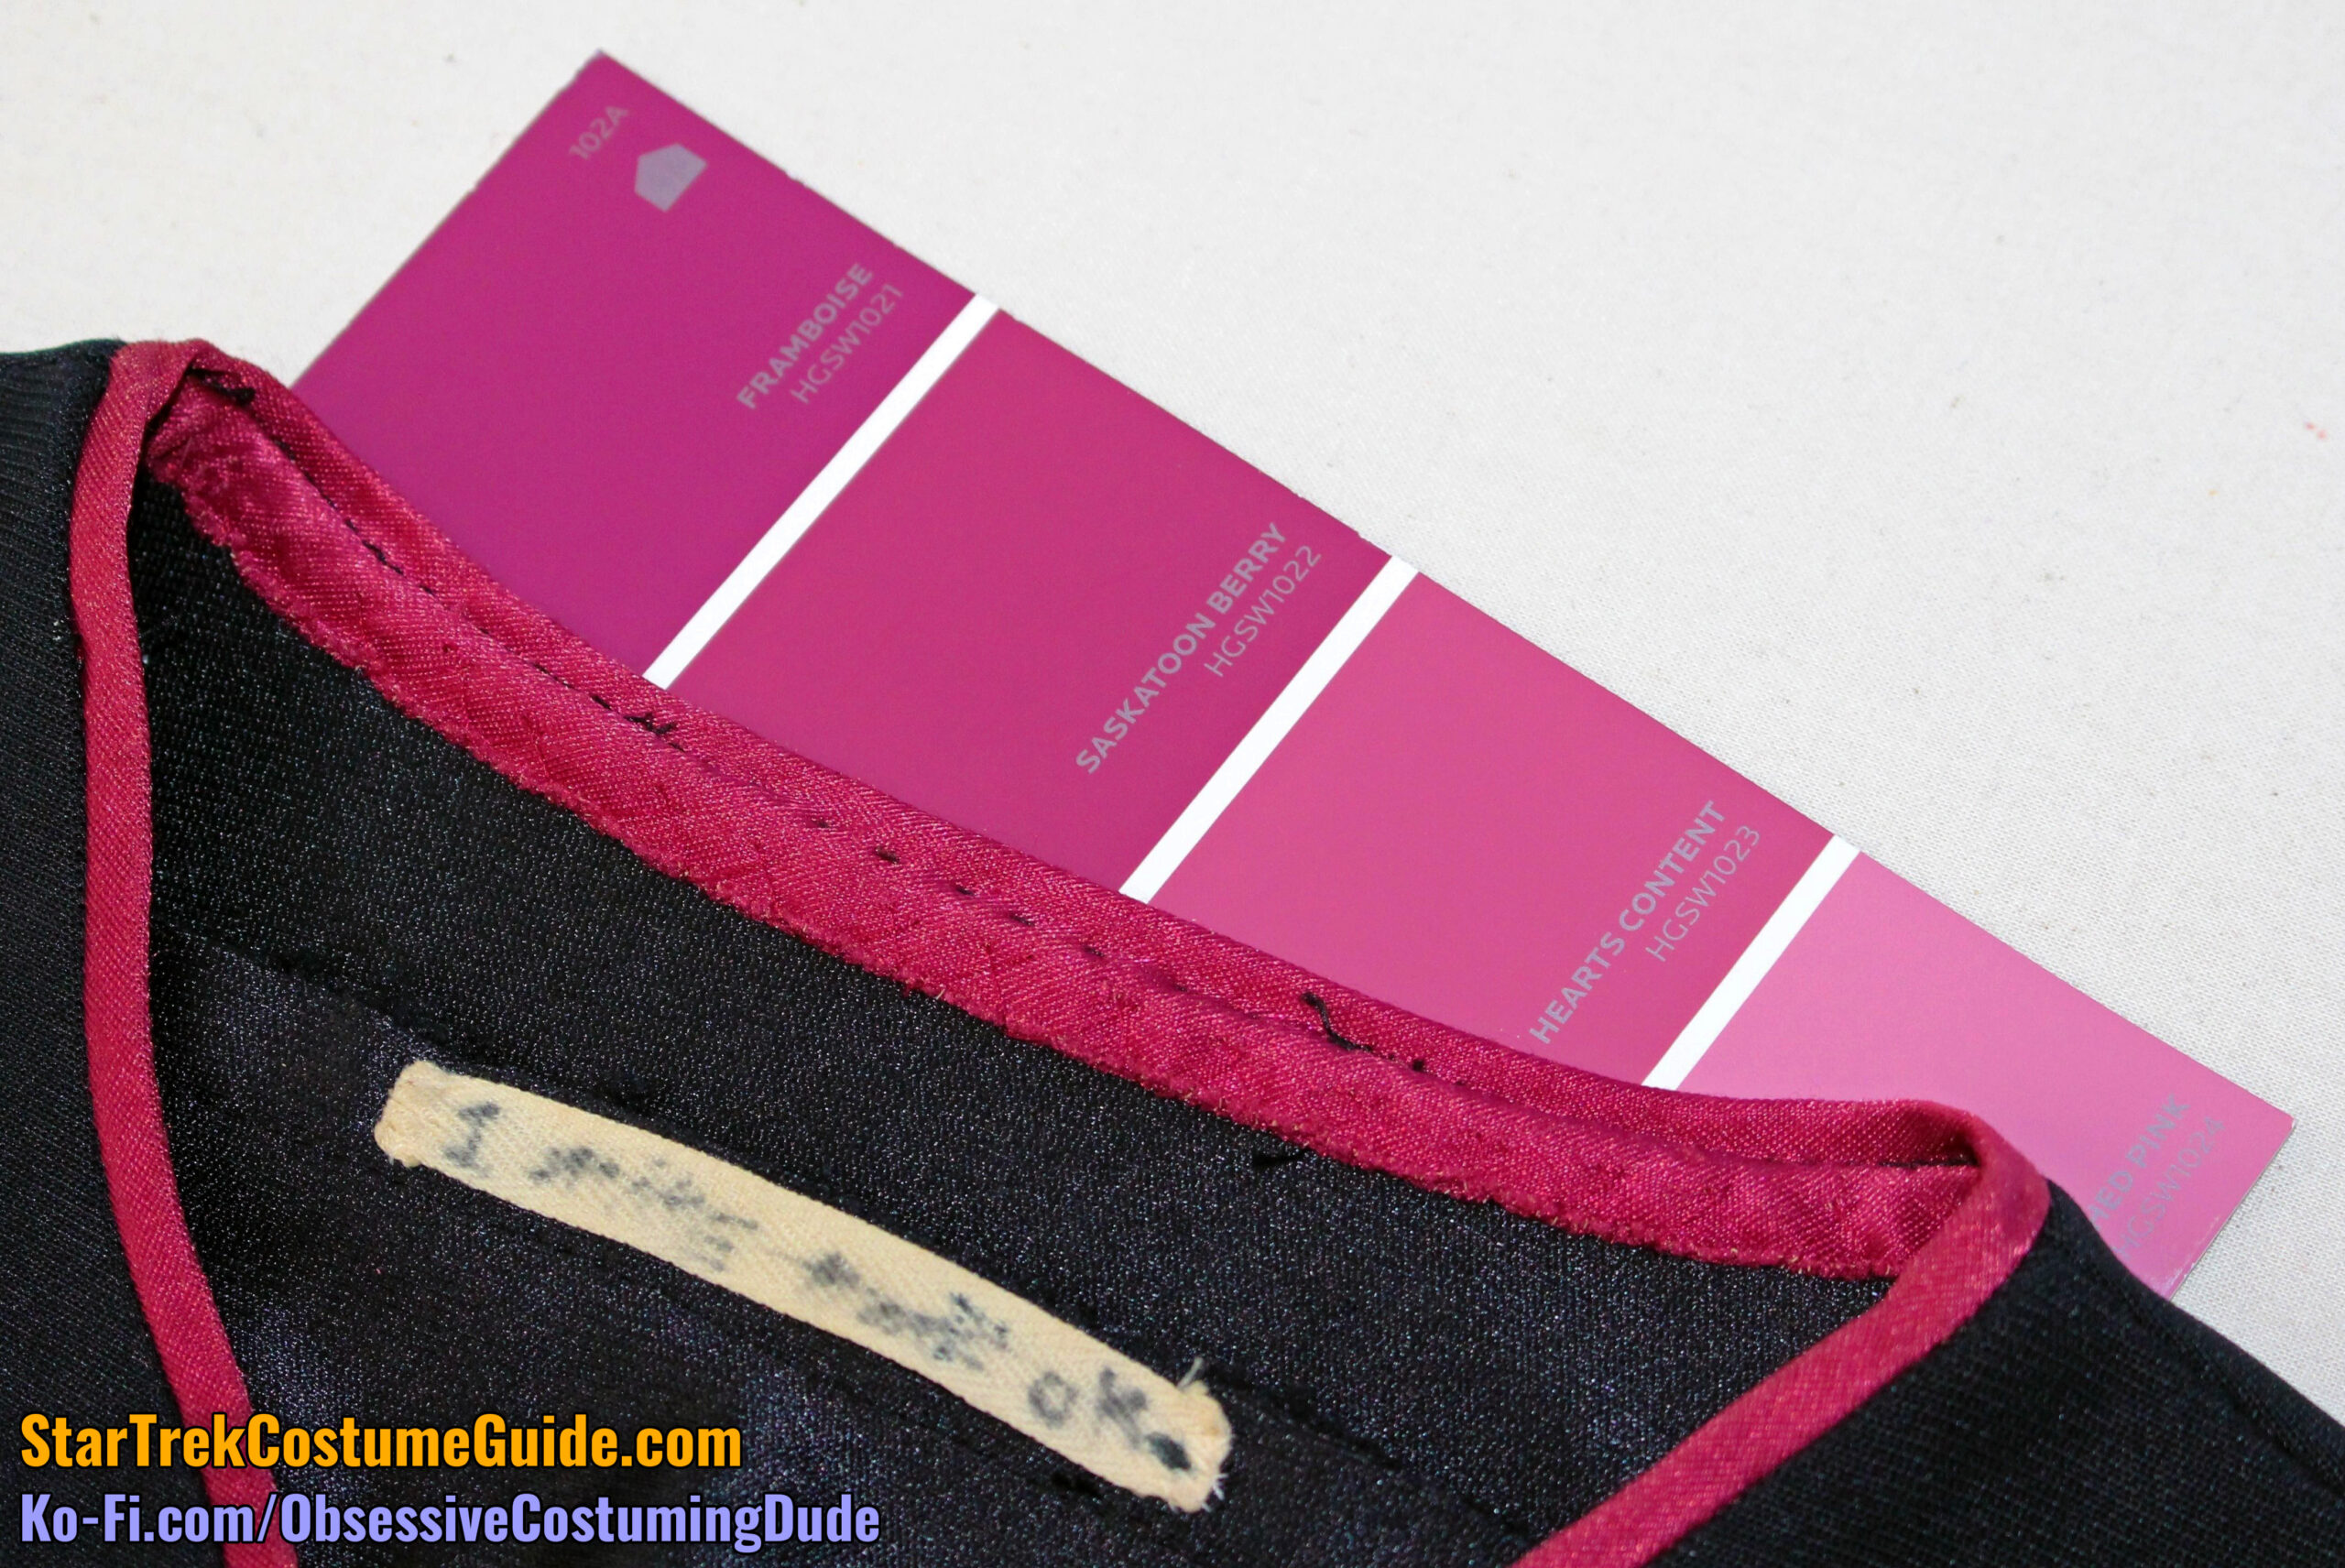
As usual, the neckline/yoke trim was made of a different, lighter-weight (spandex?) fabric, which was also a lighter color.
For an approximate representation of the neckline/yoke trim color, check out the Sherwin-Williams paint chip #HGSW1022, “Saskatoon Berry.”
EXTERIOR DIMENSIONS and CONSTRUCTION
After documenting the color as best I could, I grabbed my measuring tape and began the process of documenting the jumpsuit’s dimensions and construction, generally working from the top down; front, then back; outside, then inside.
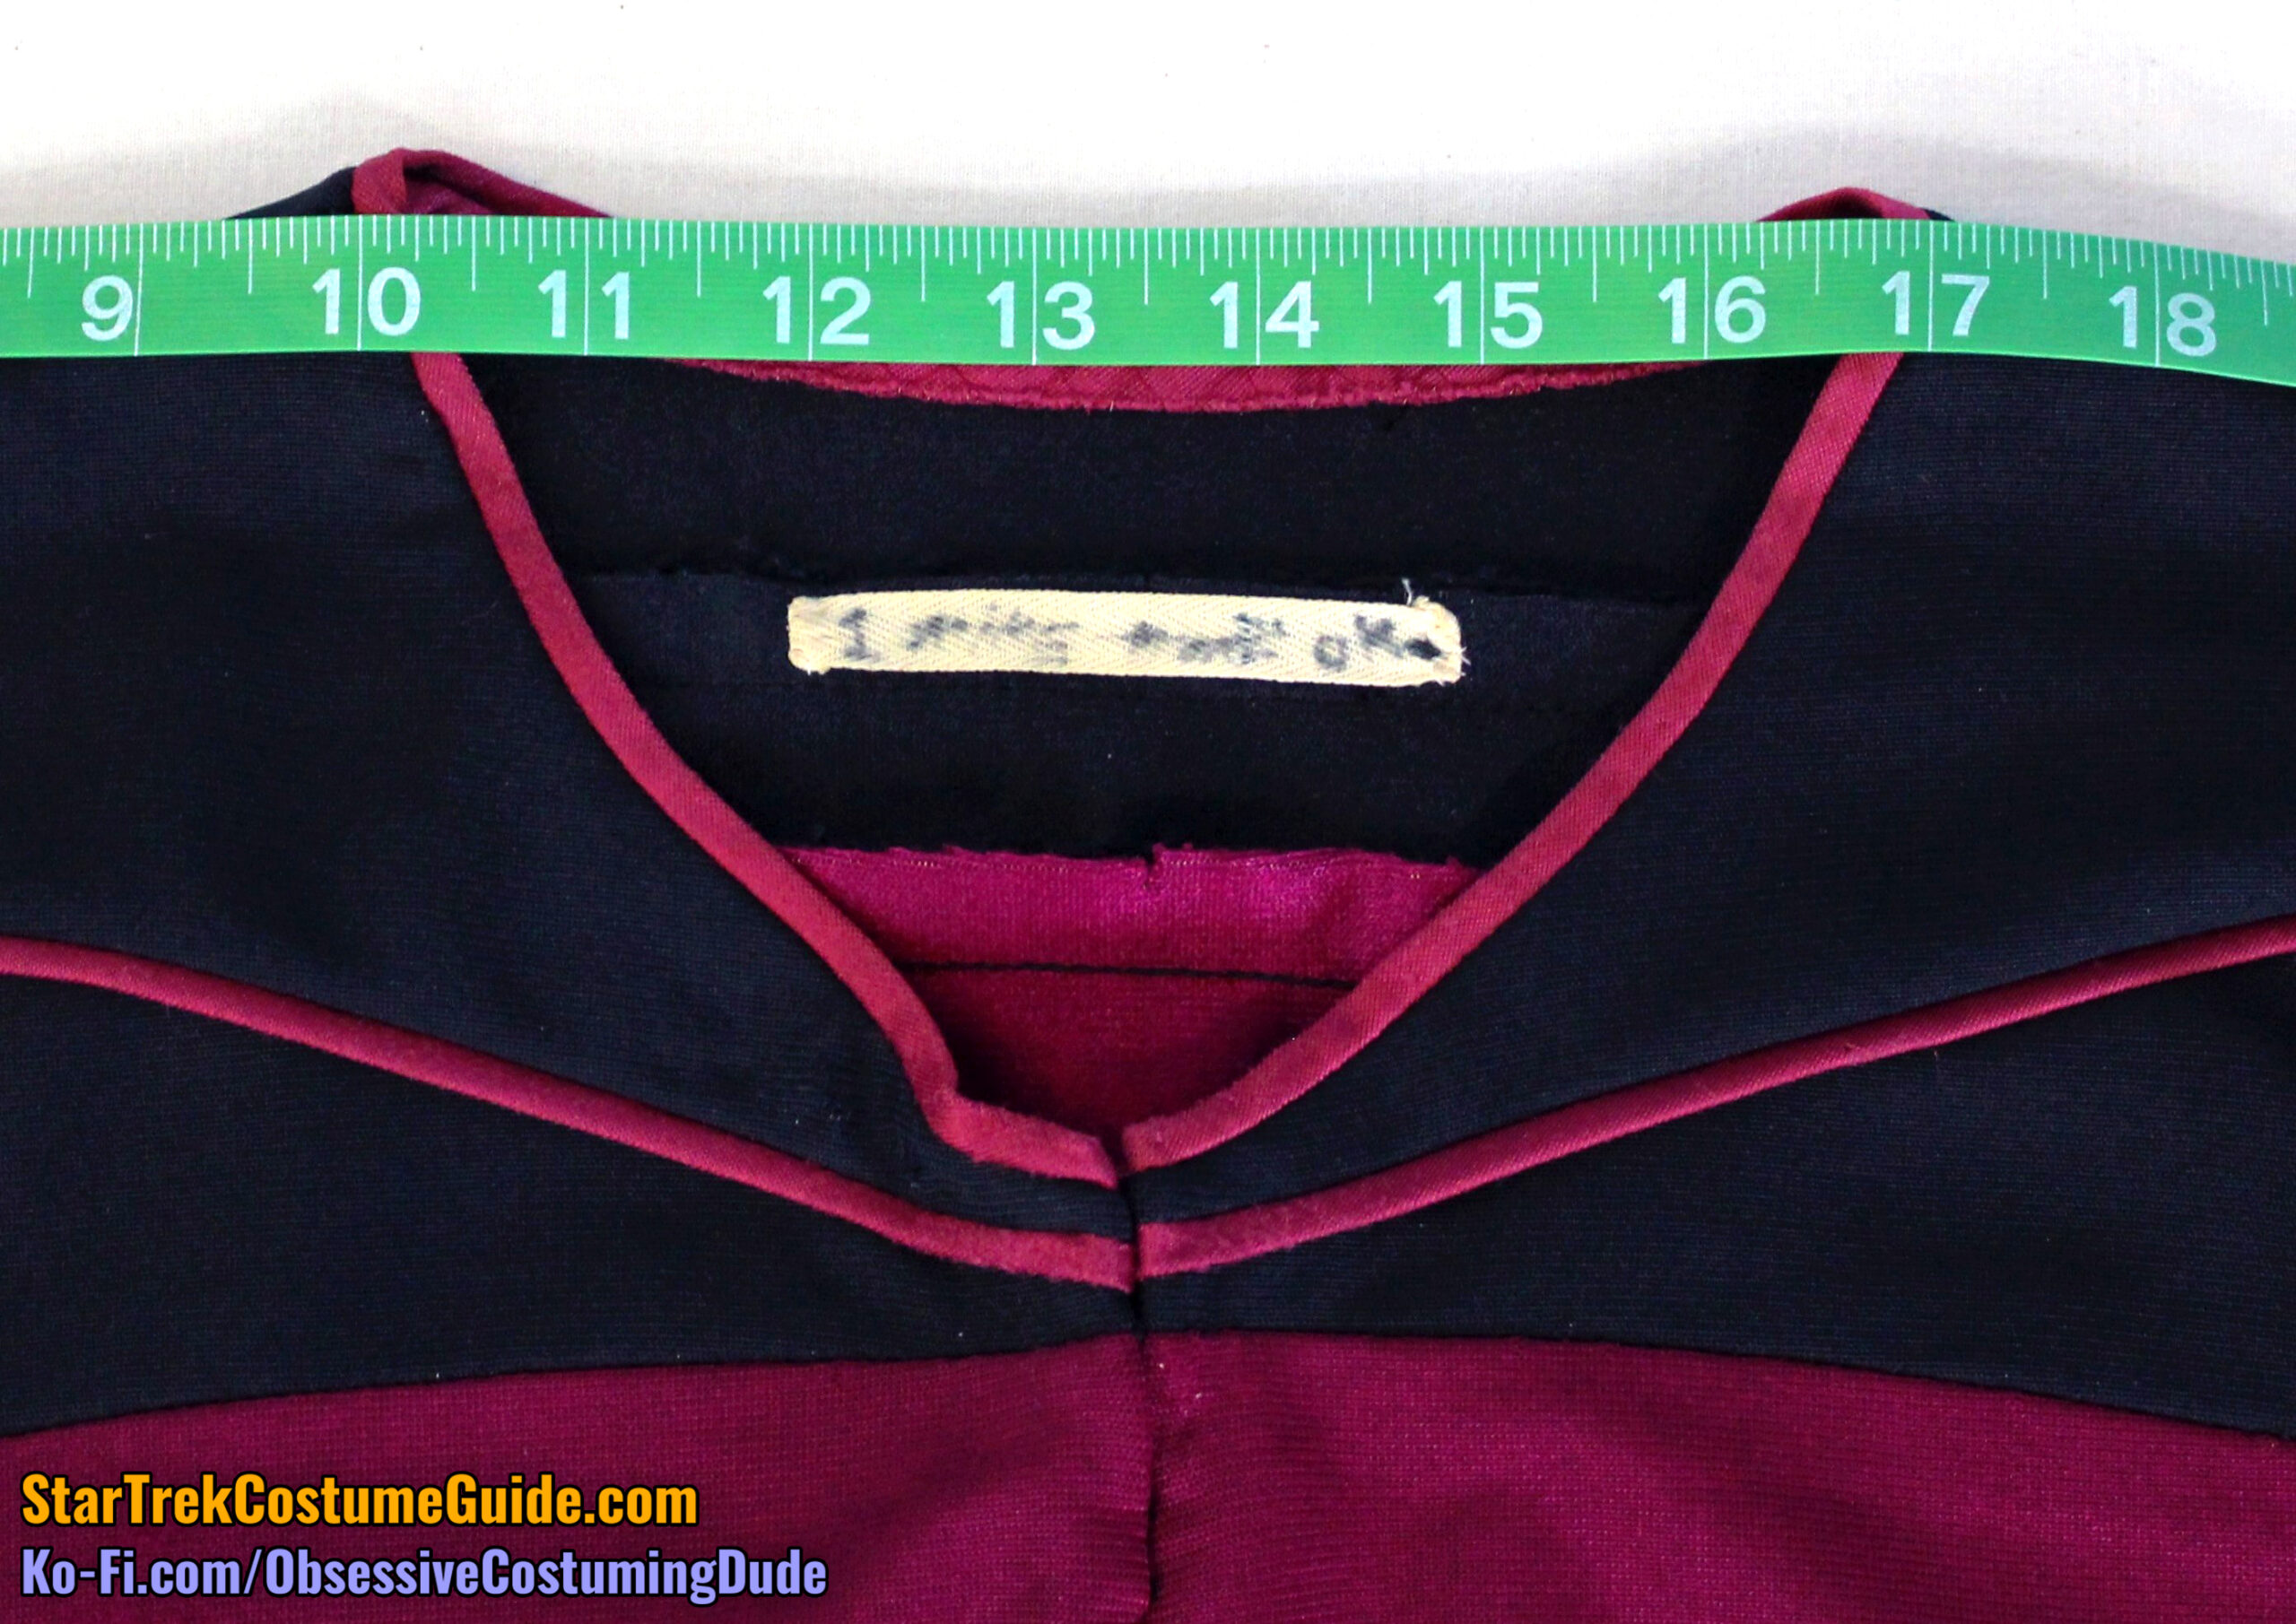
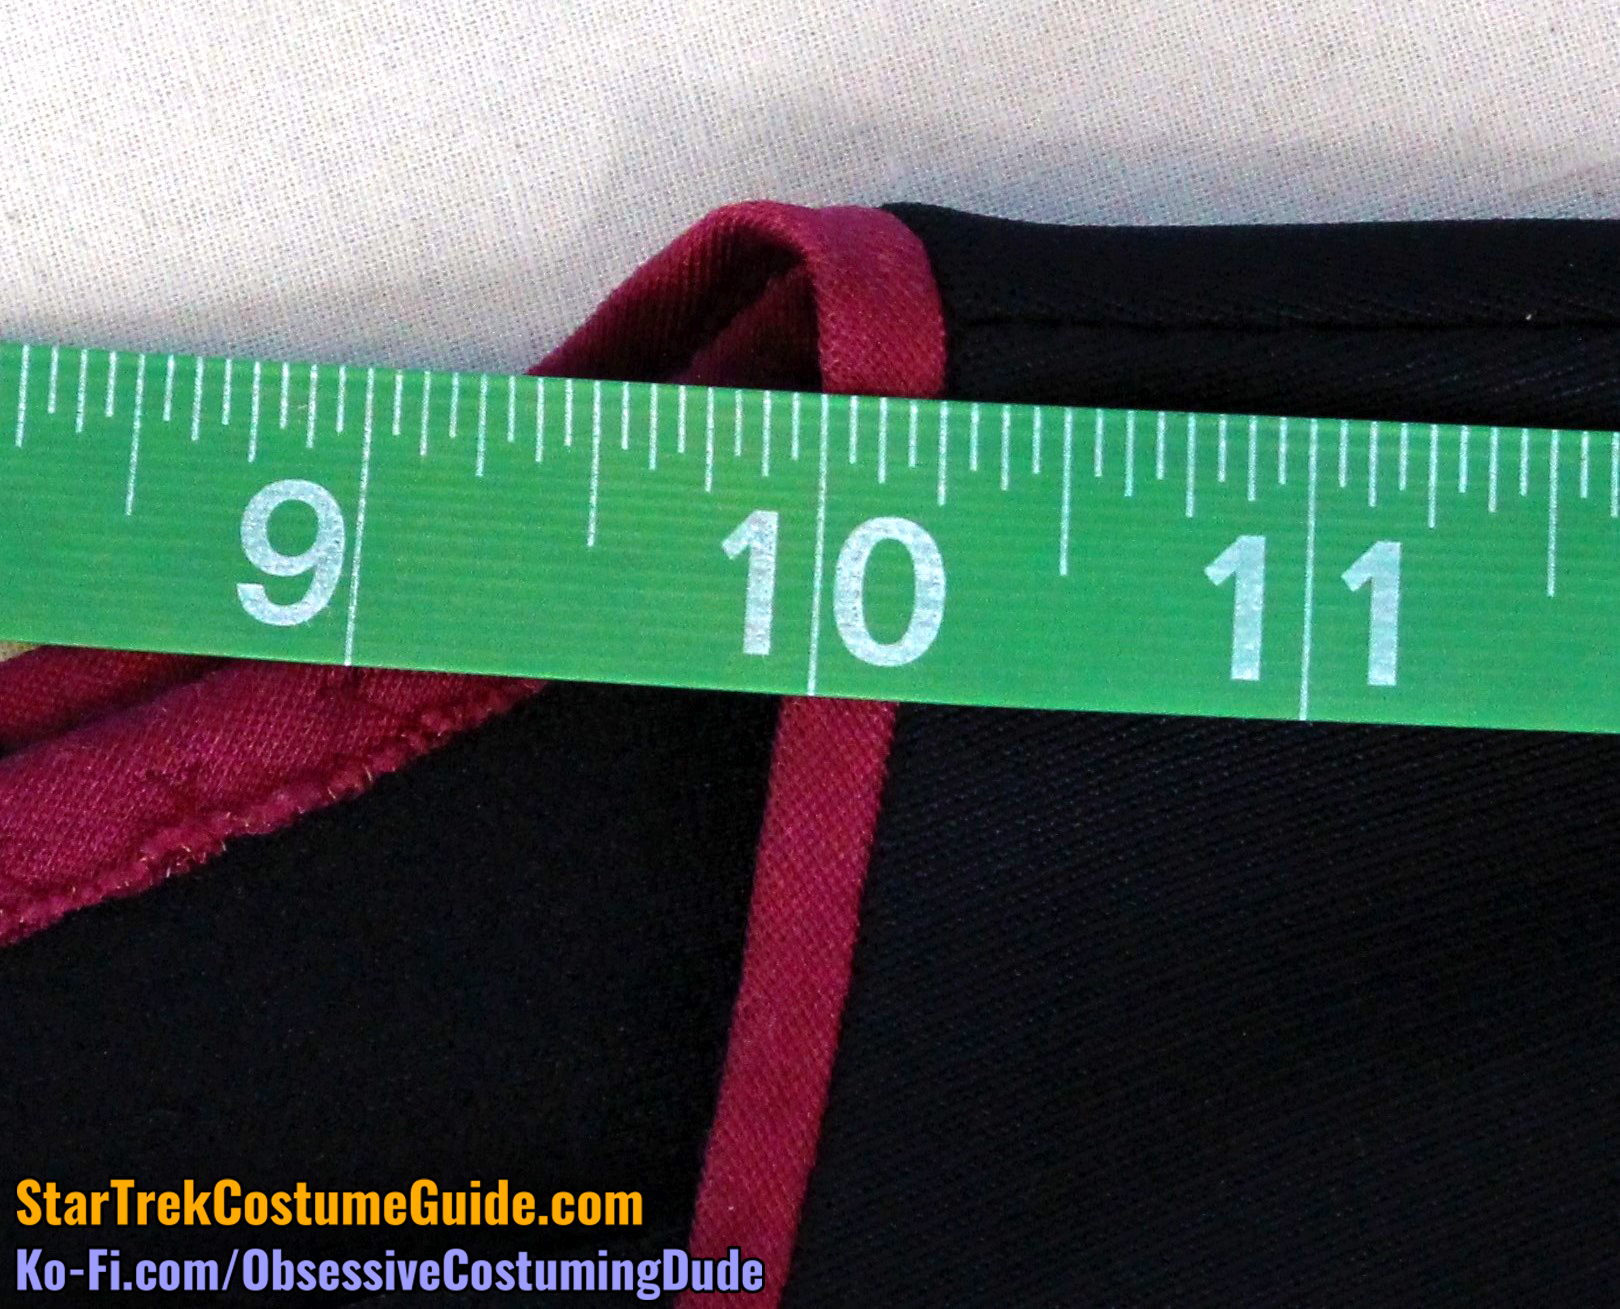
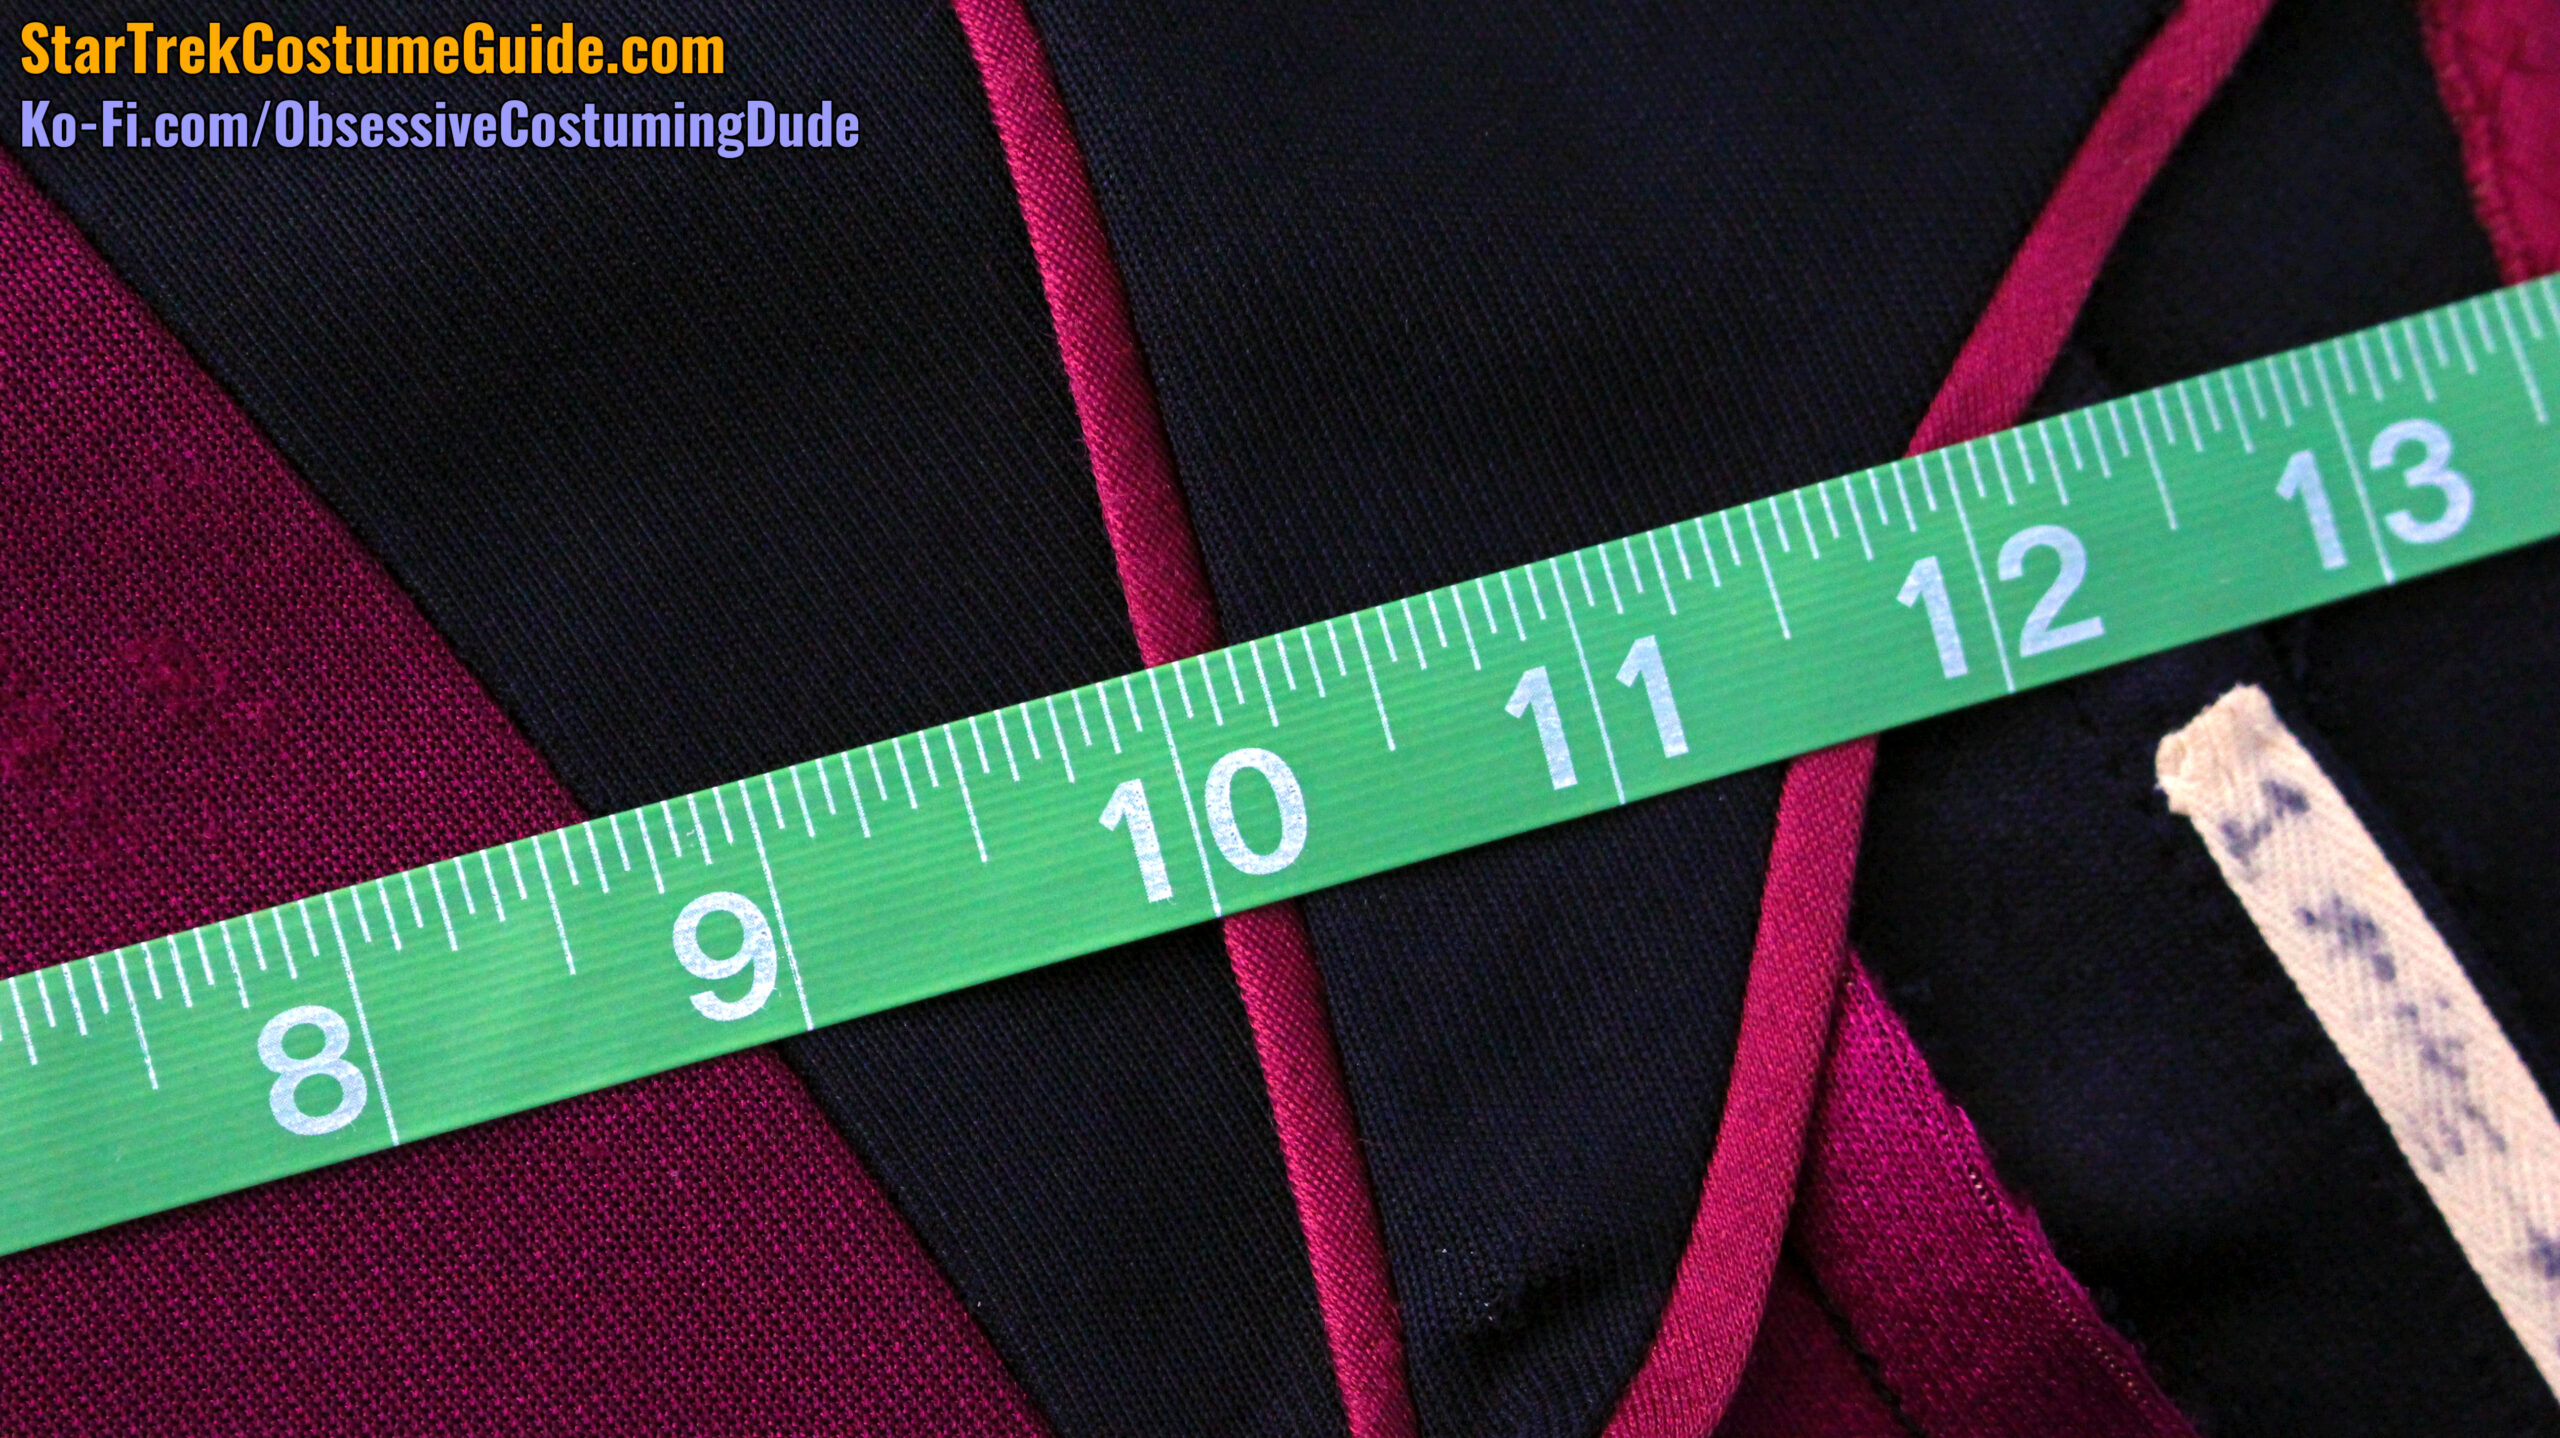
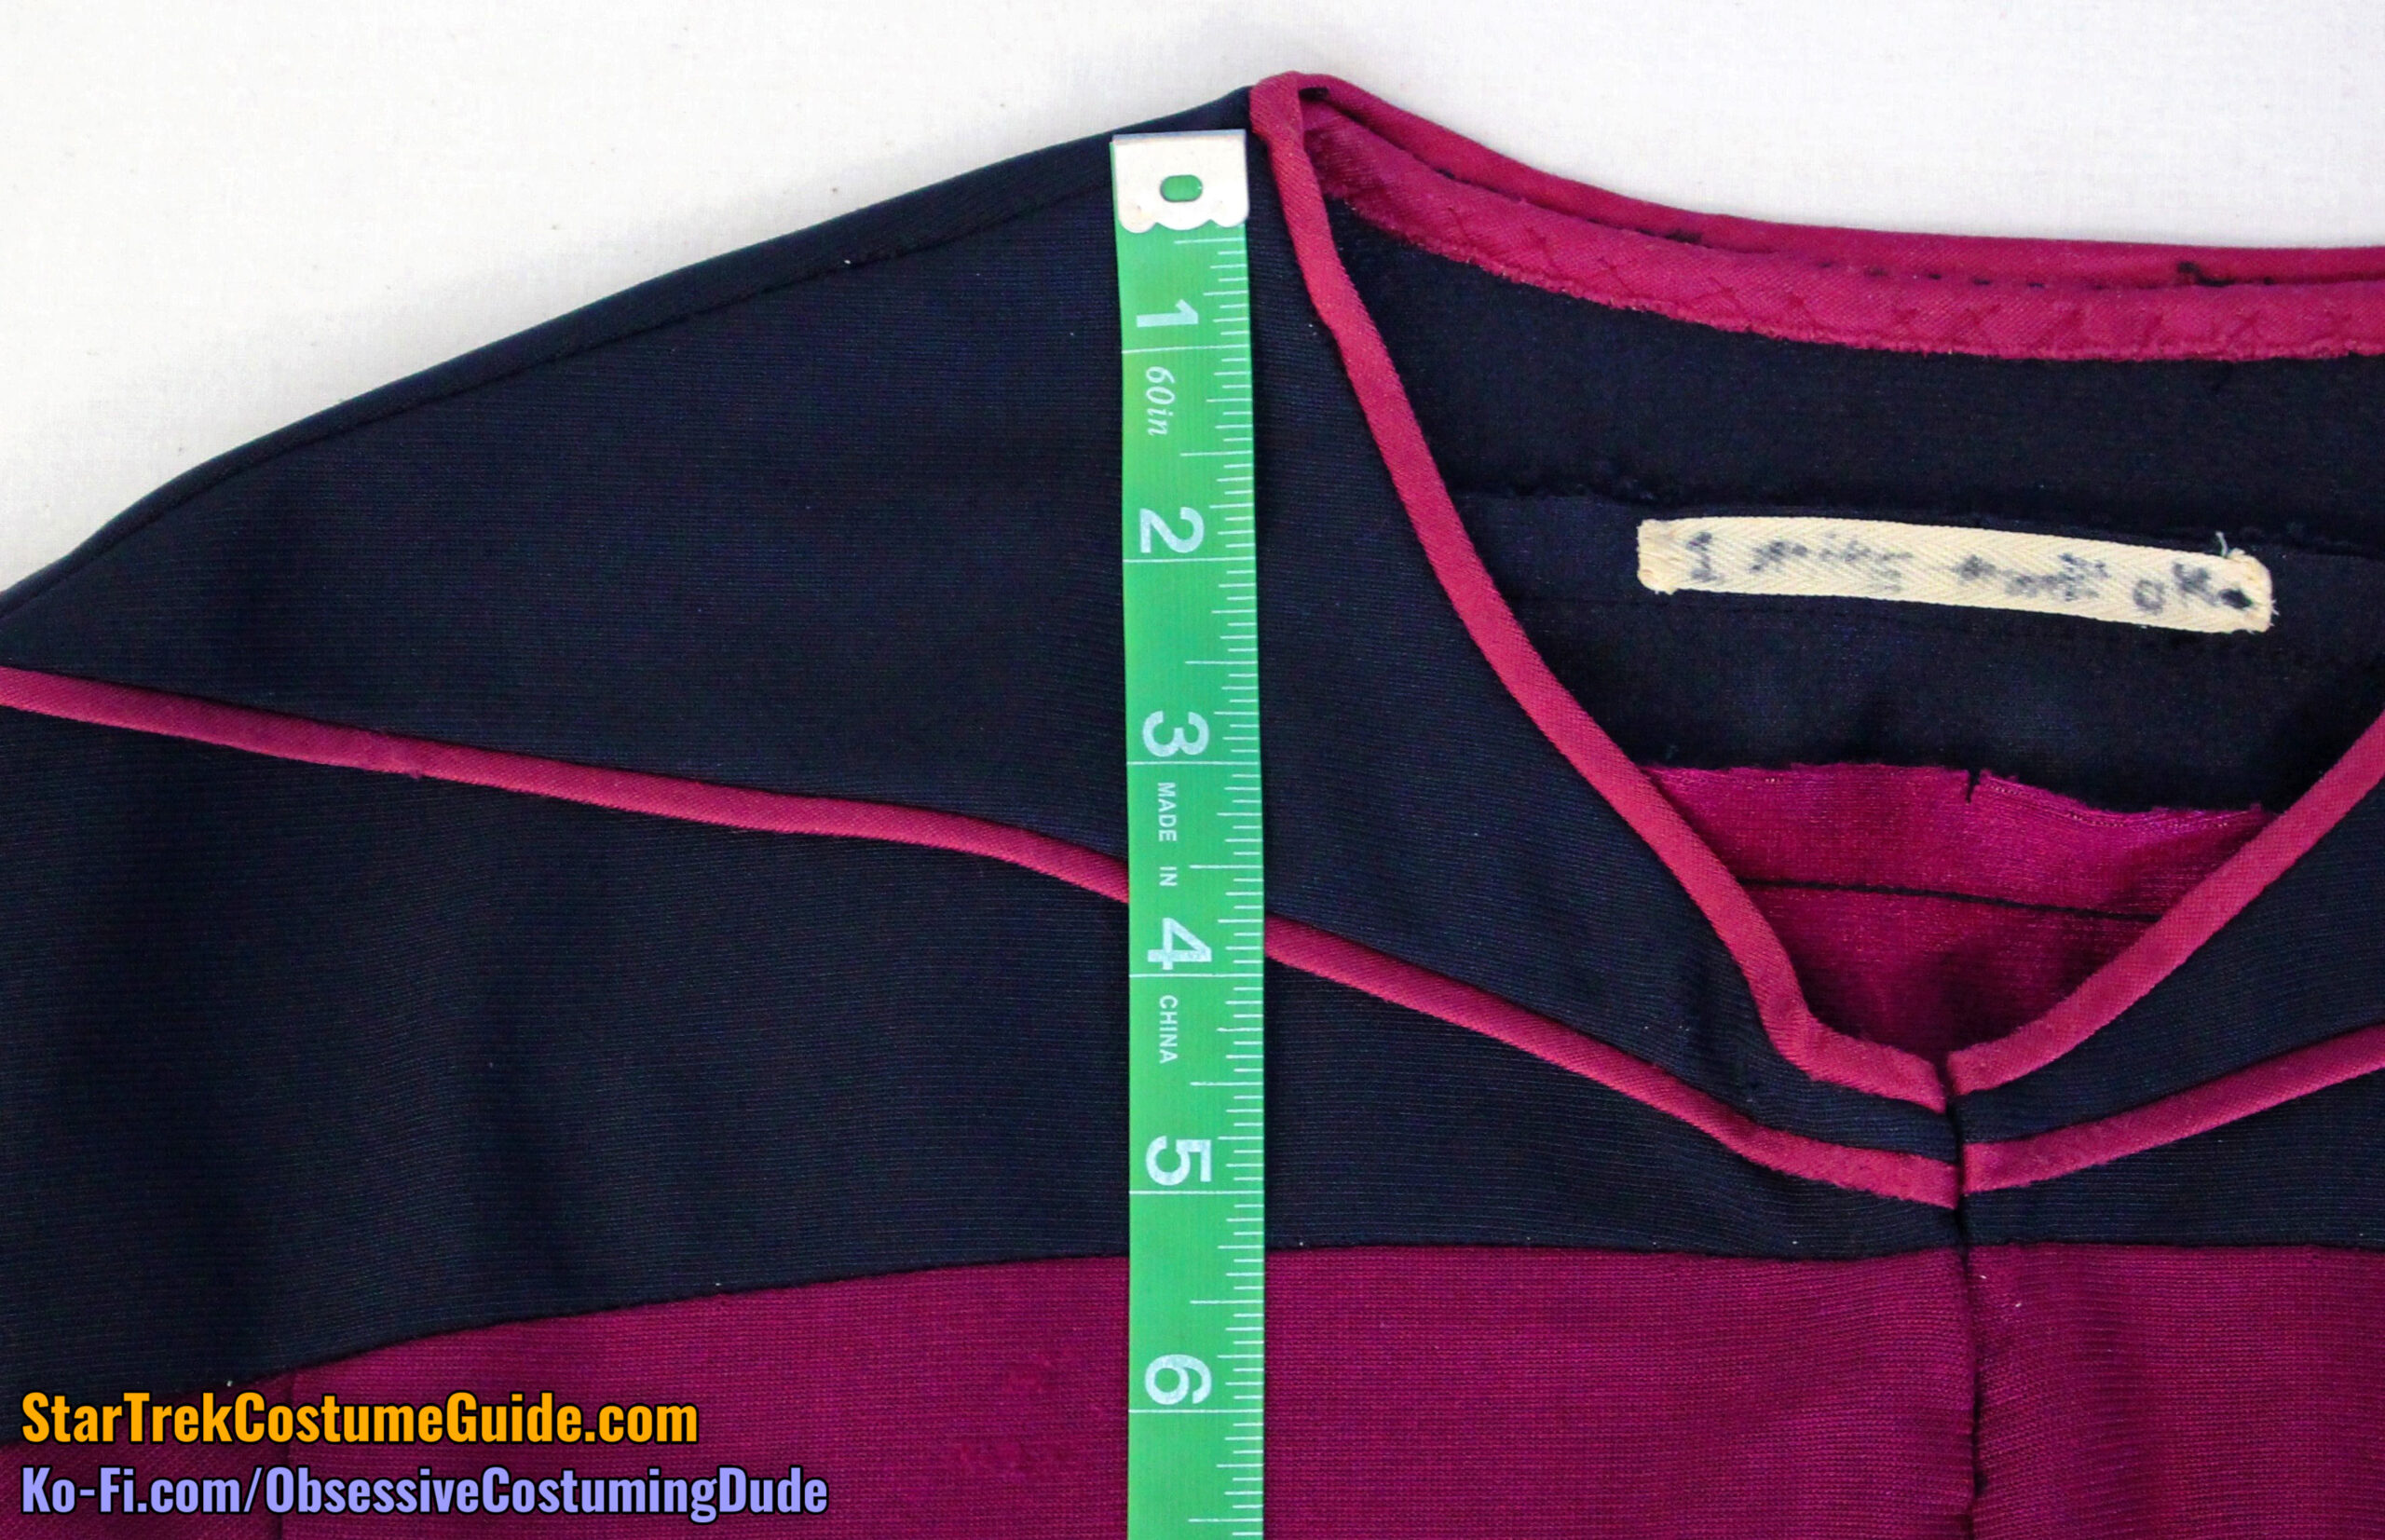
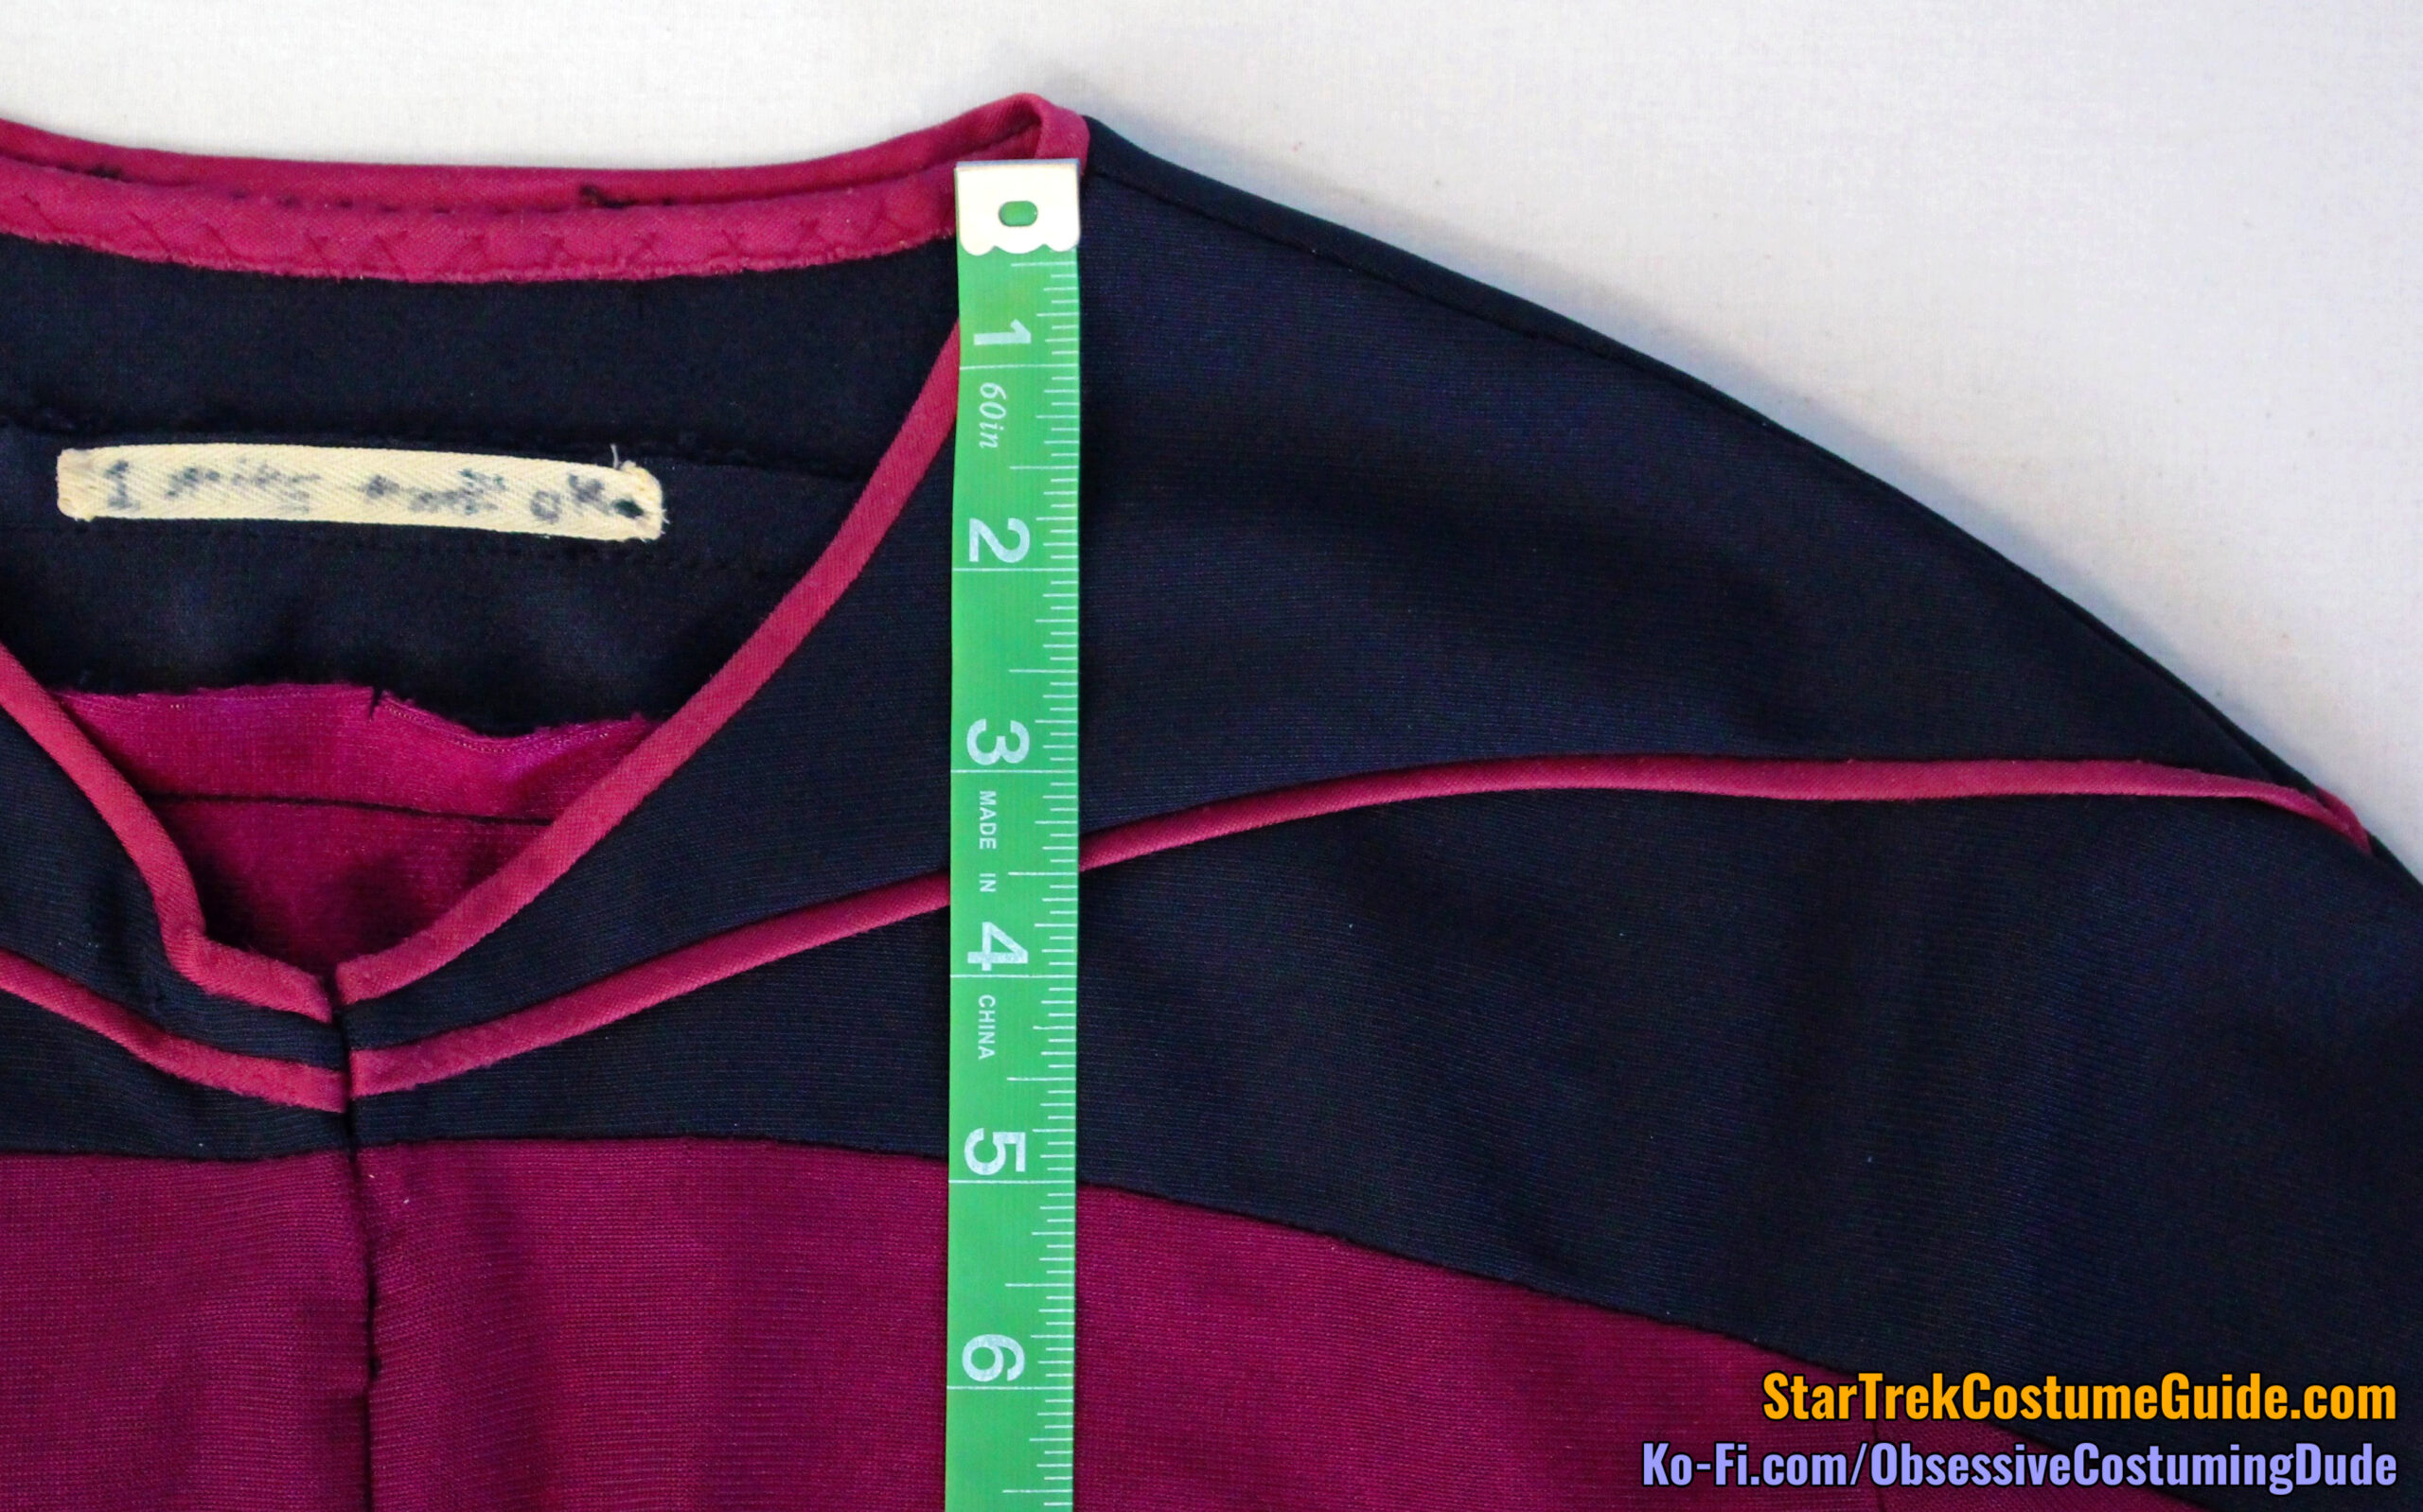
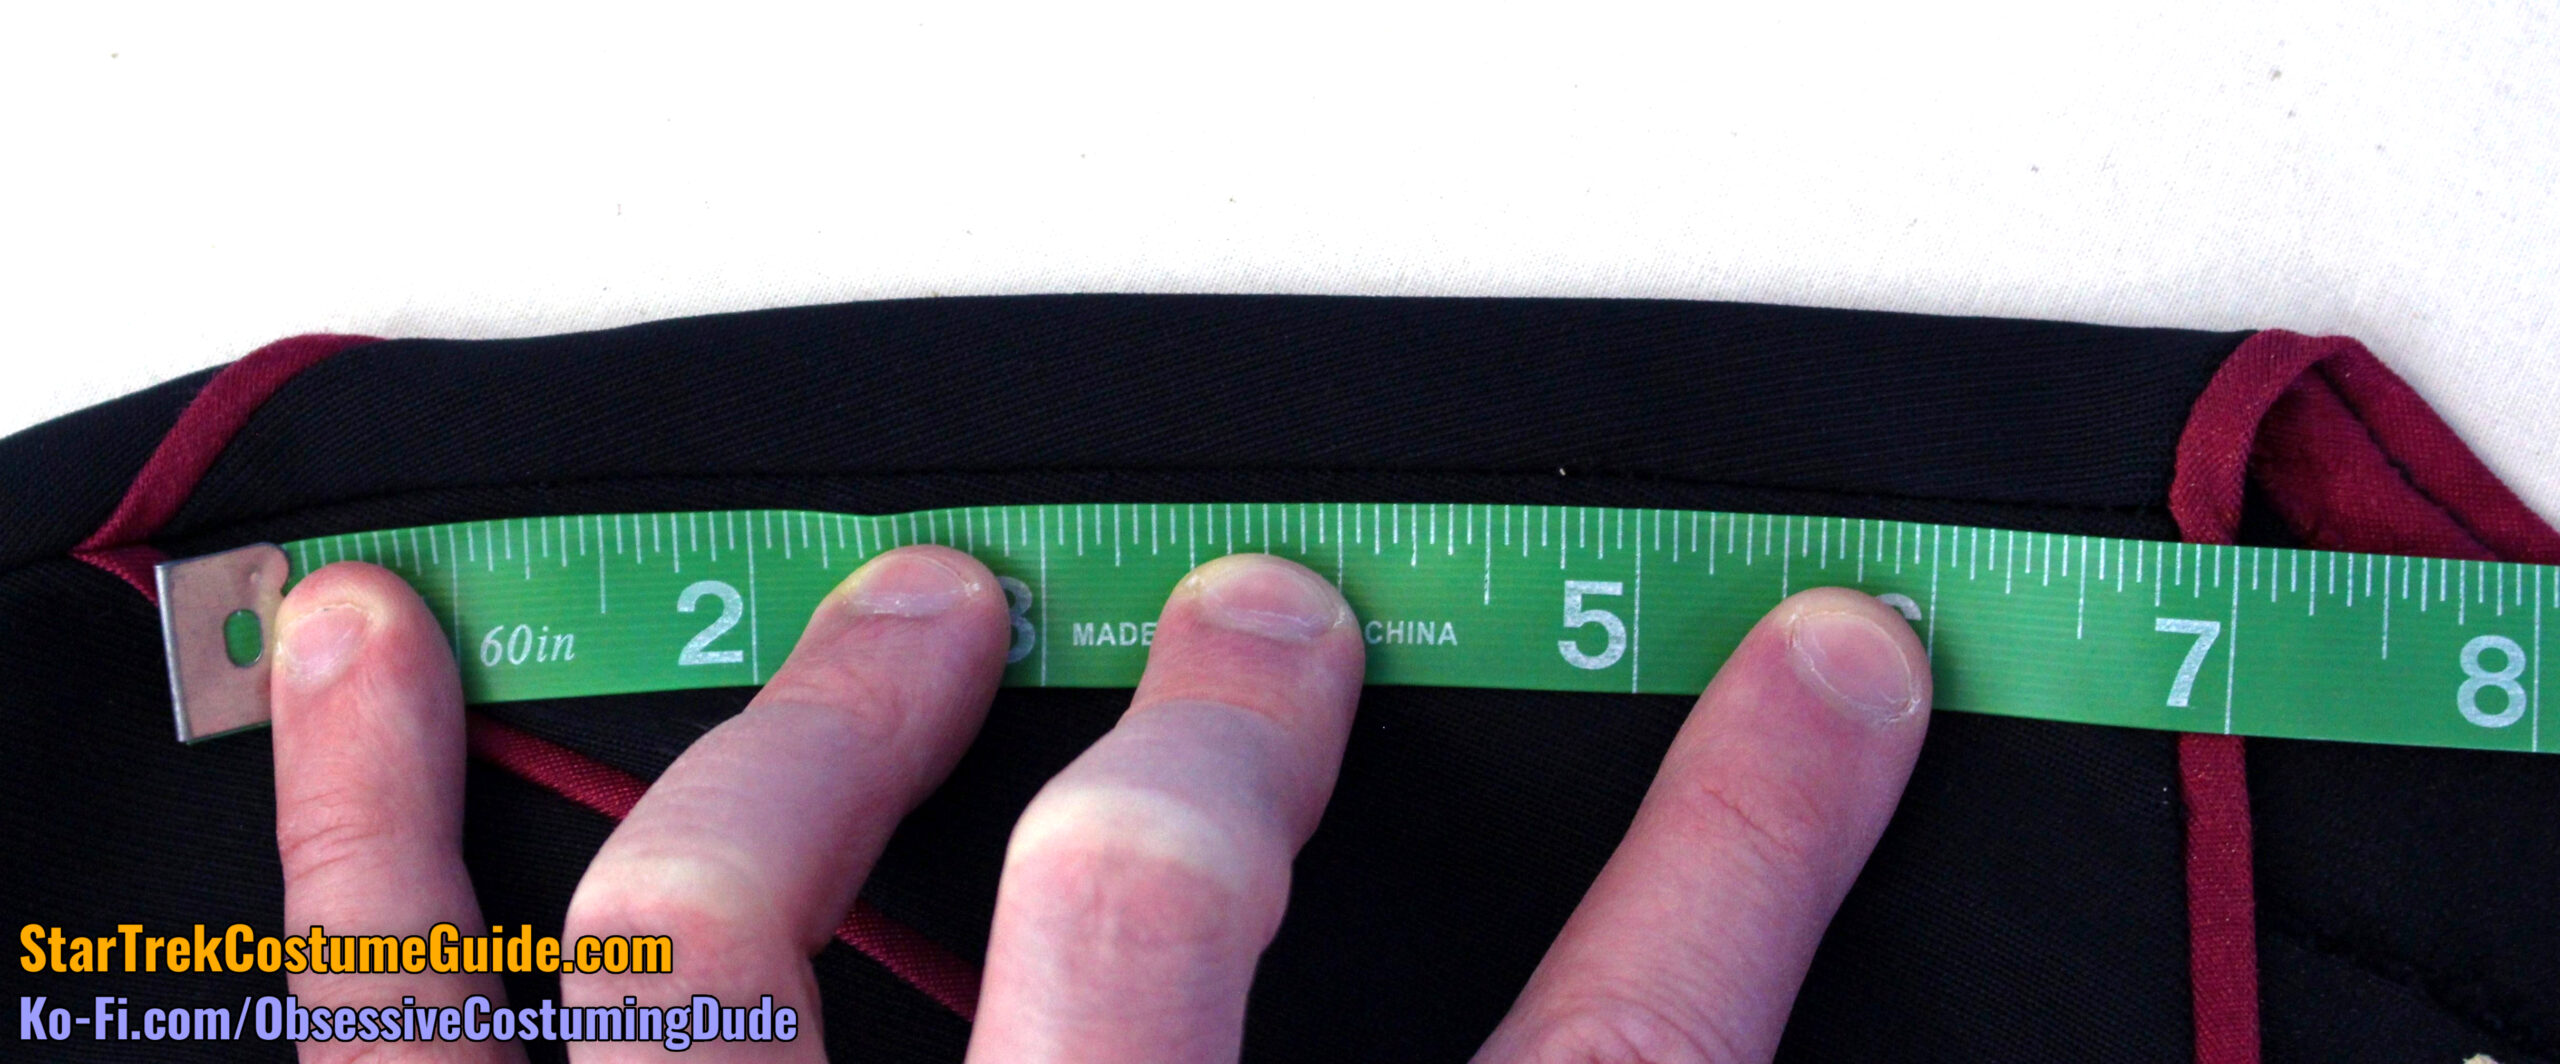
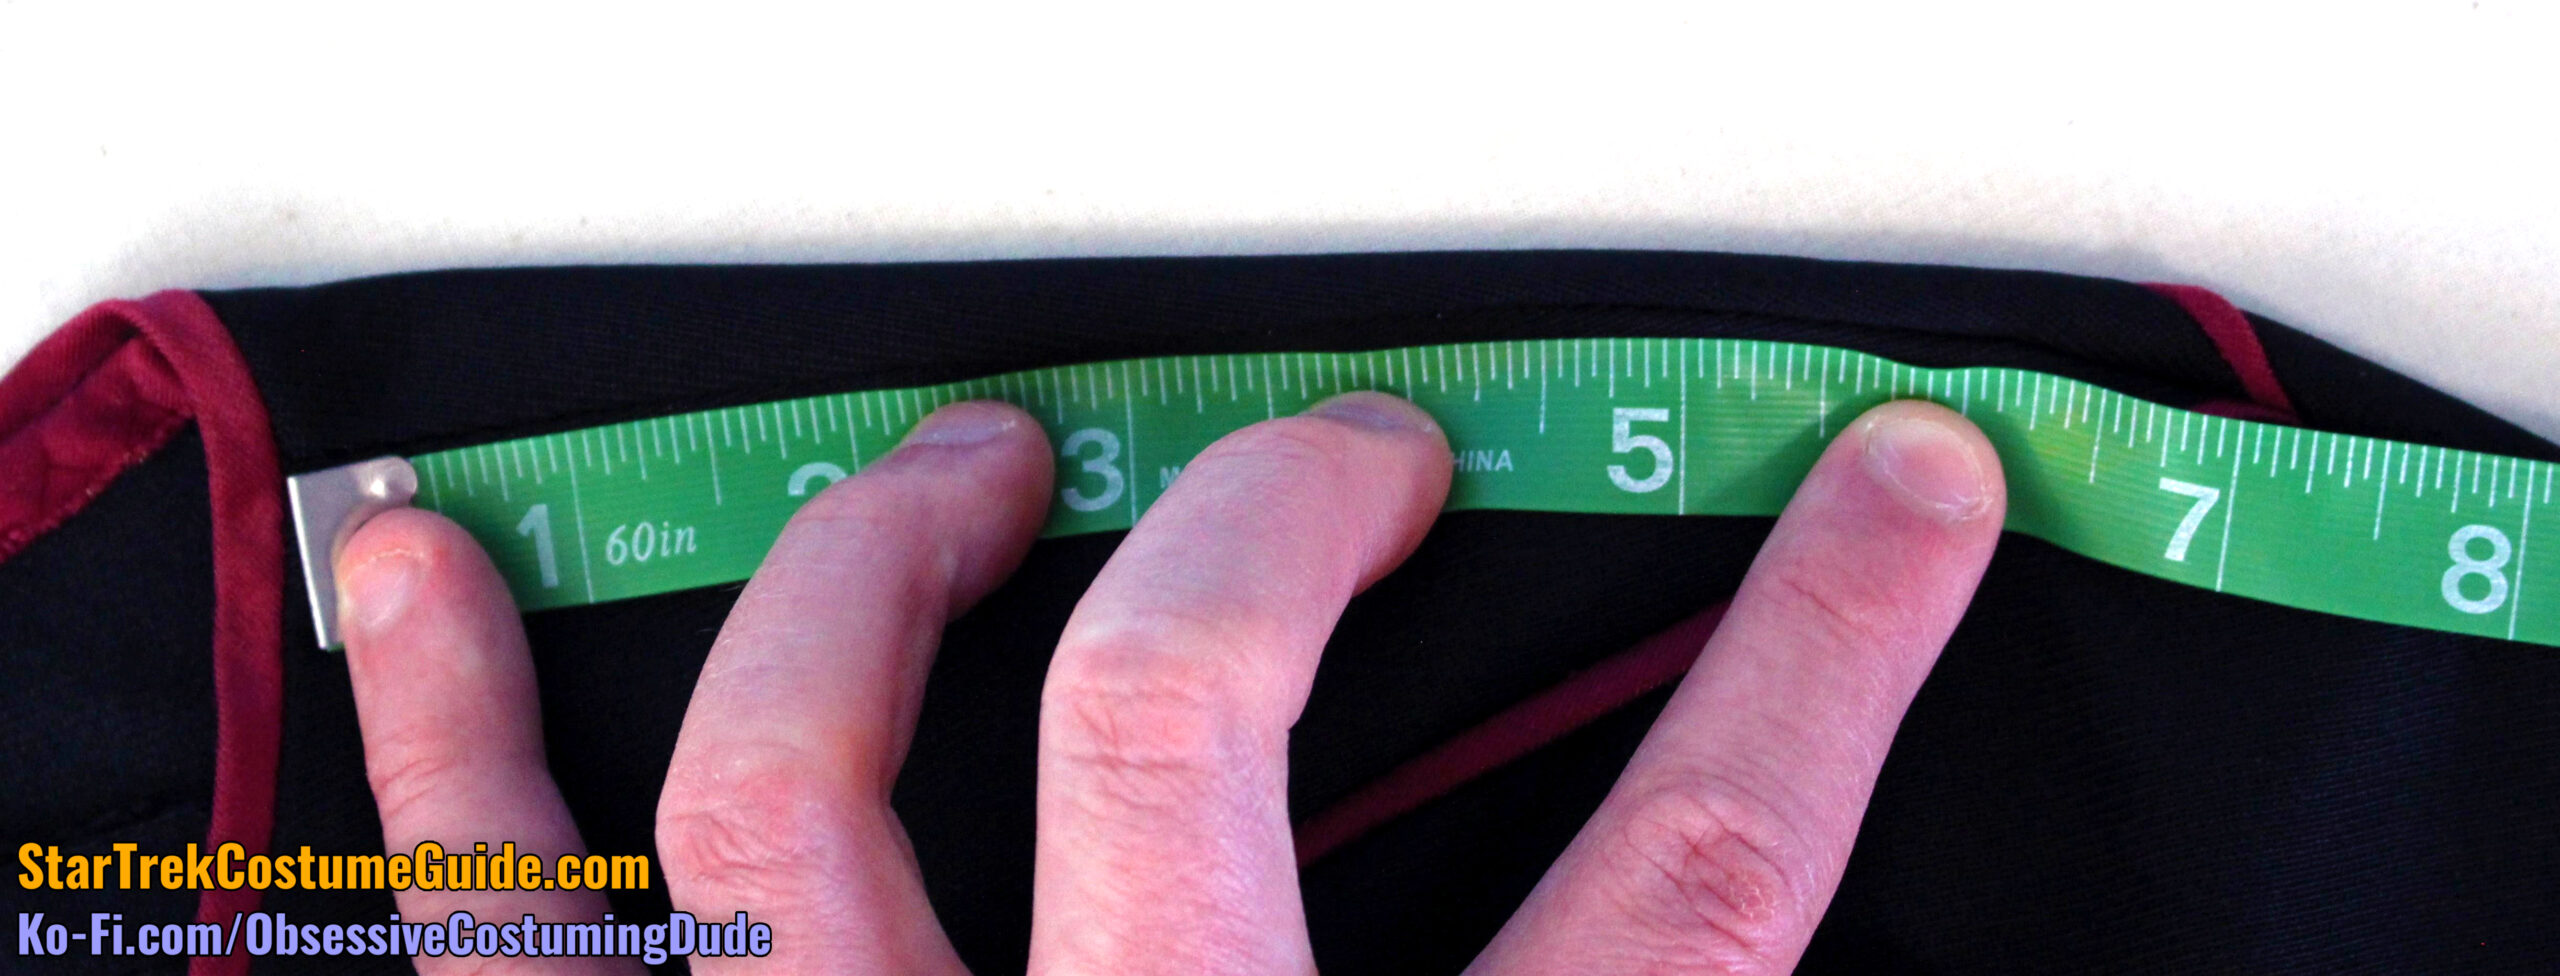
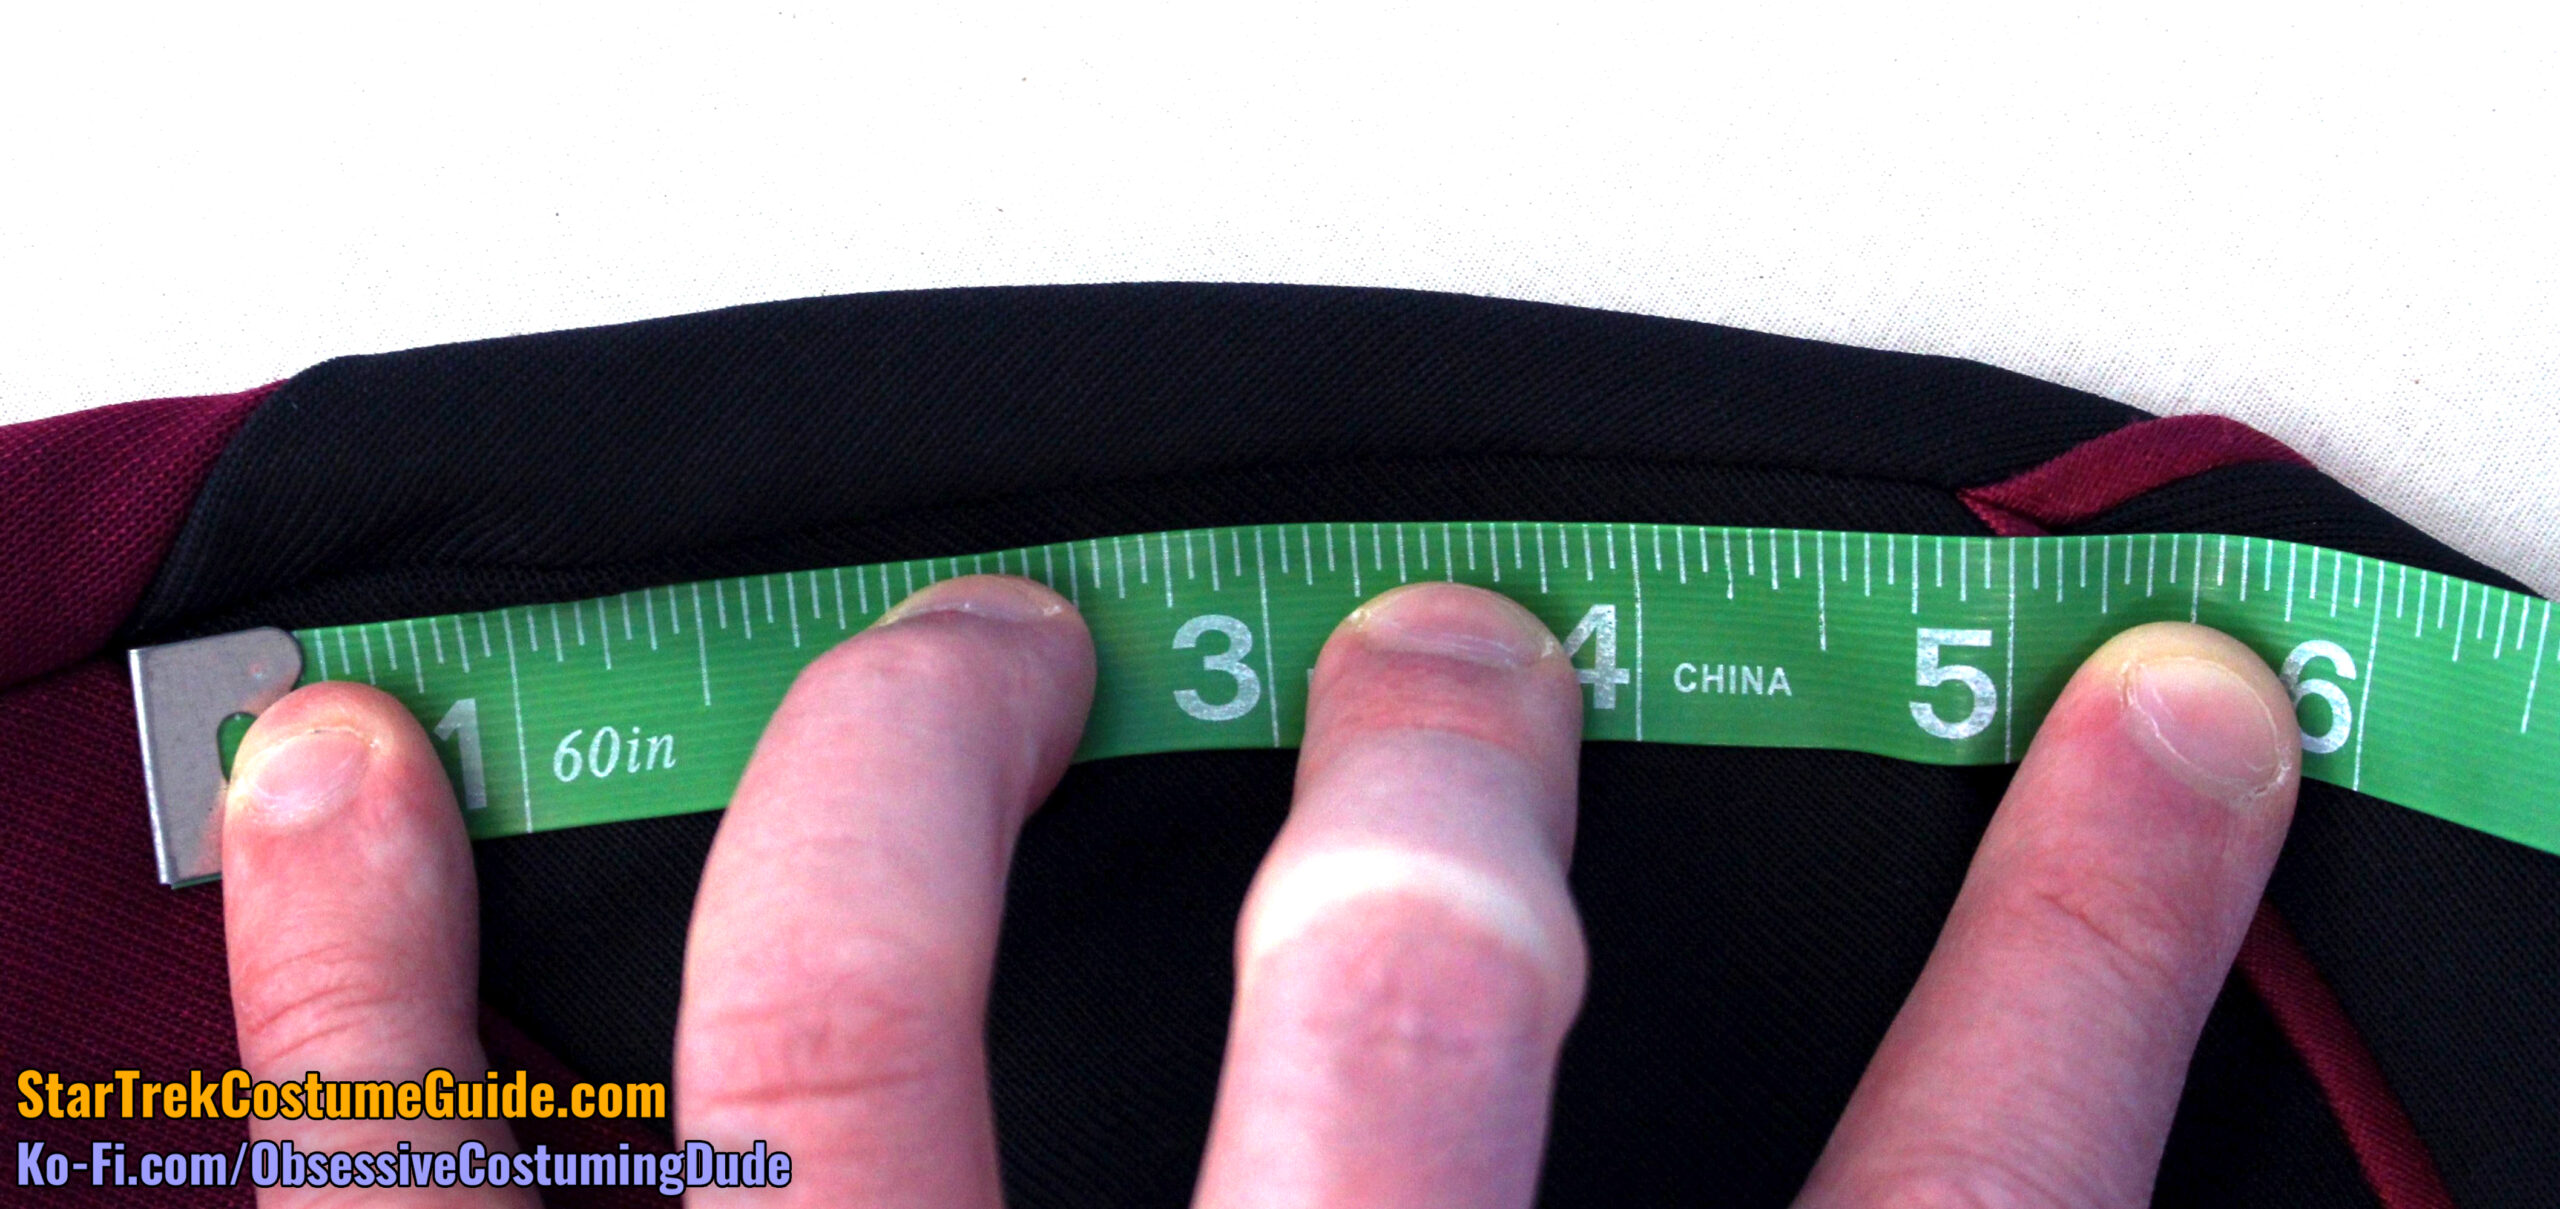
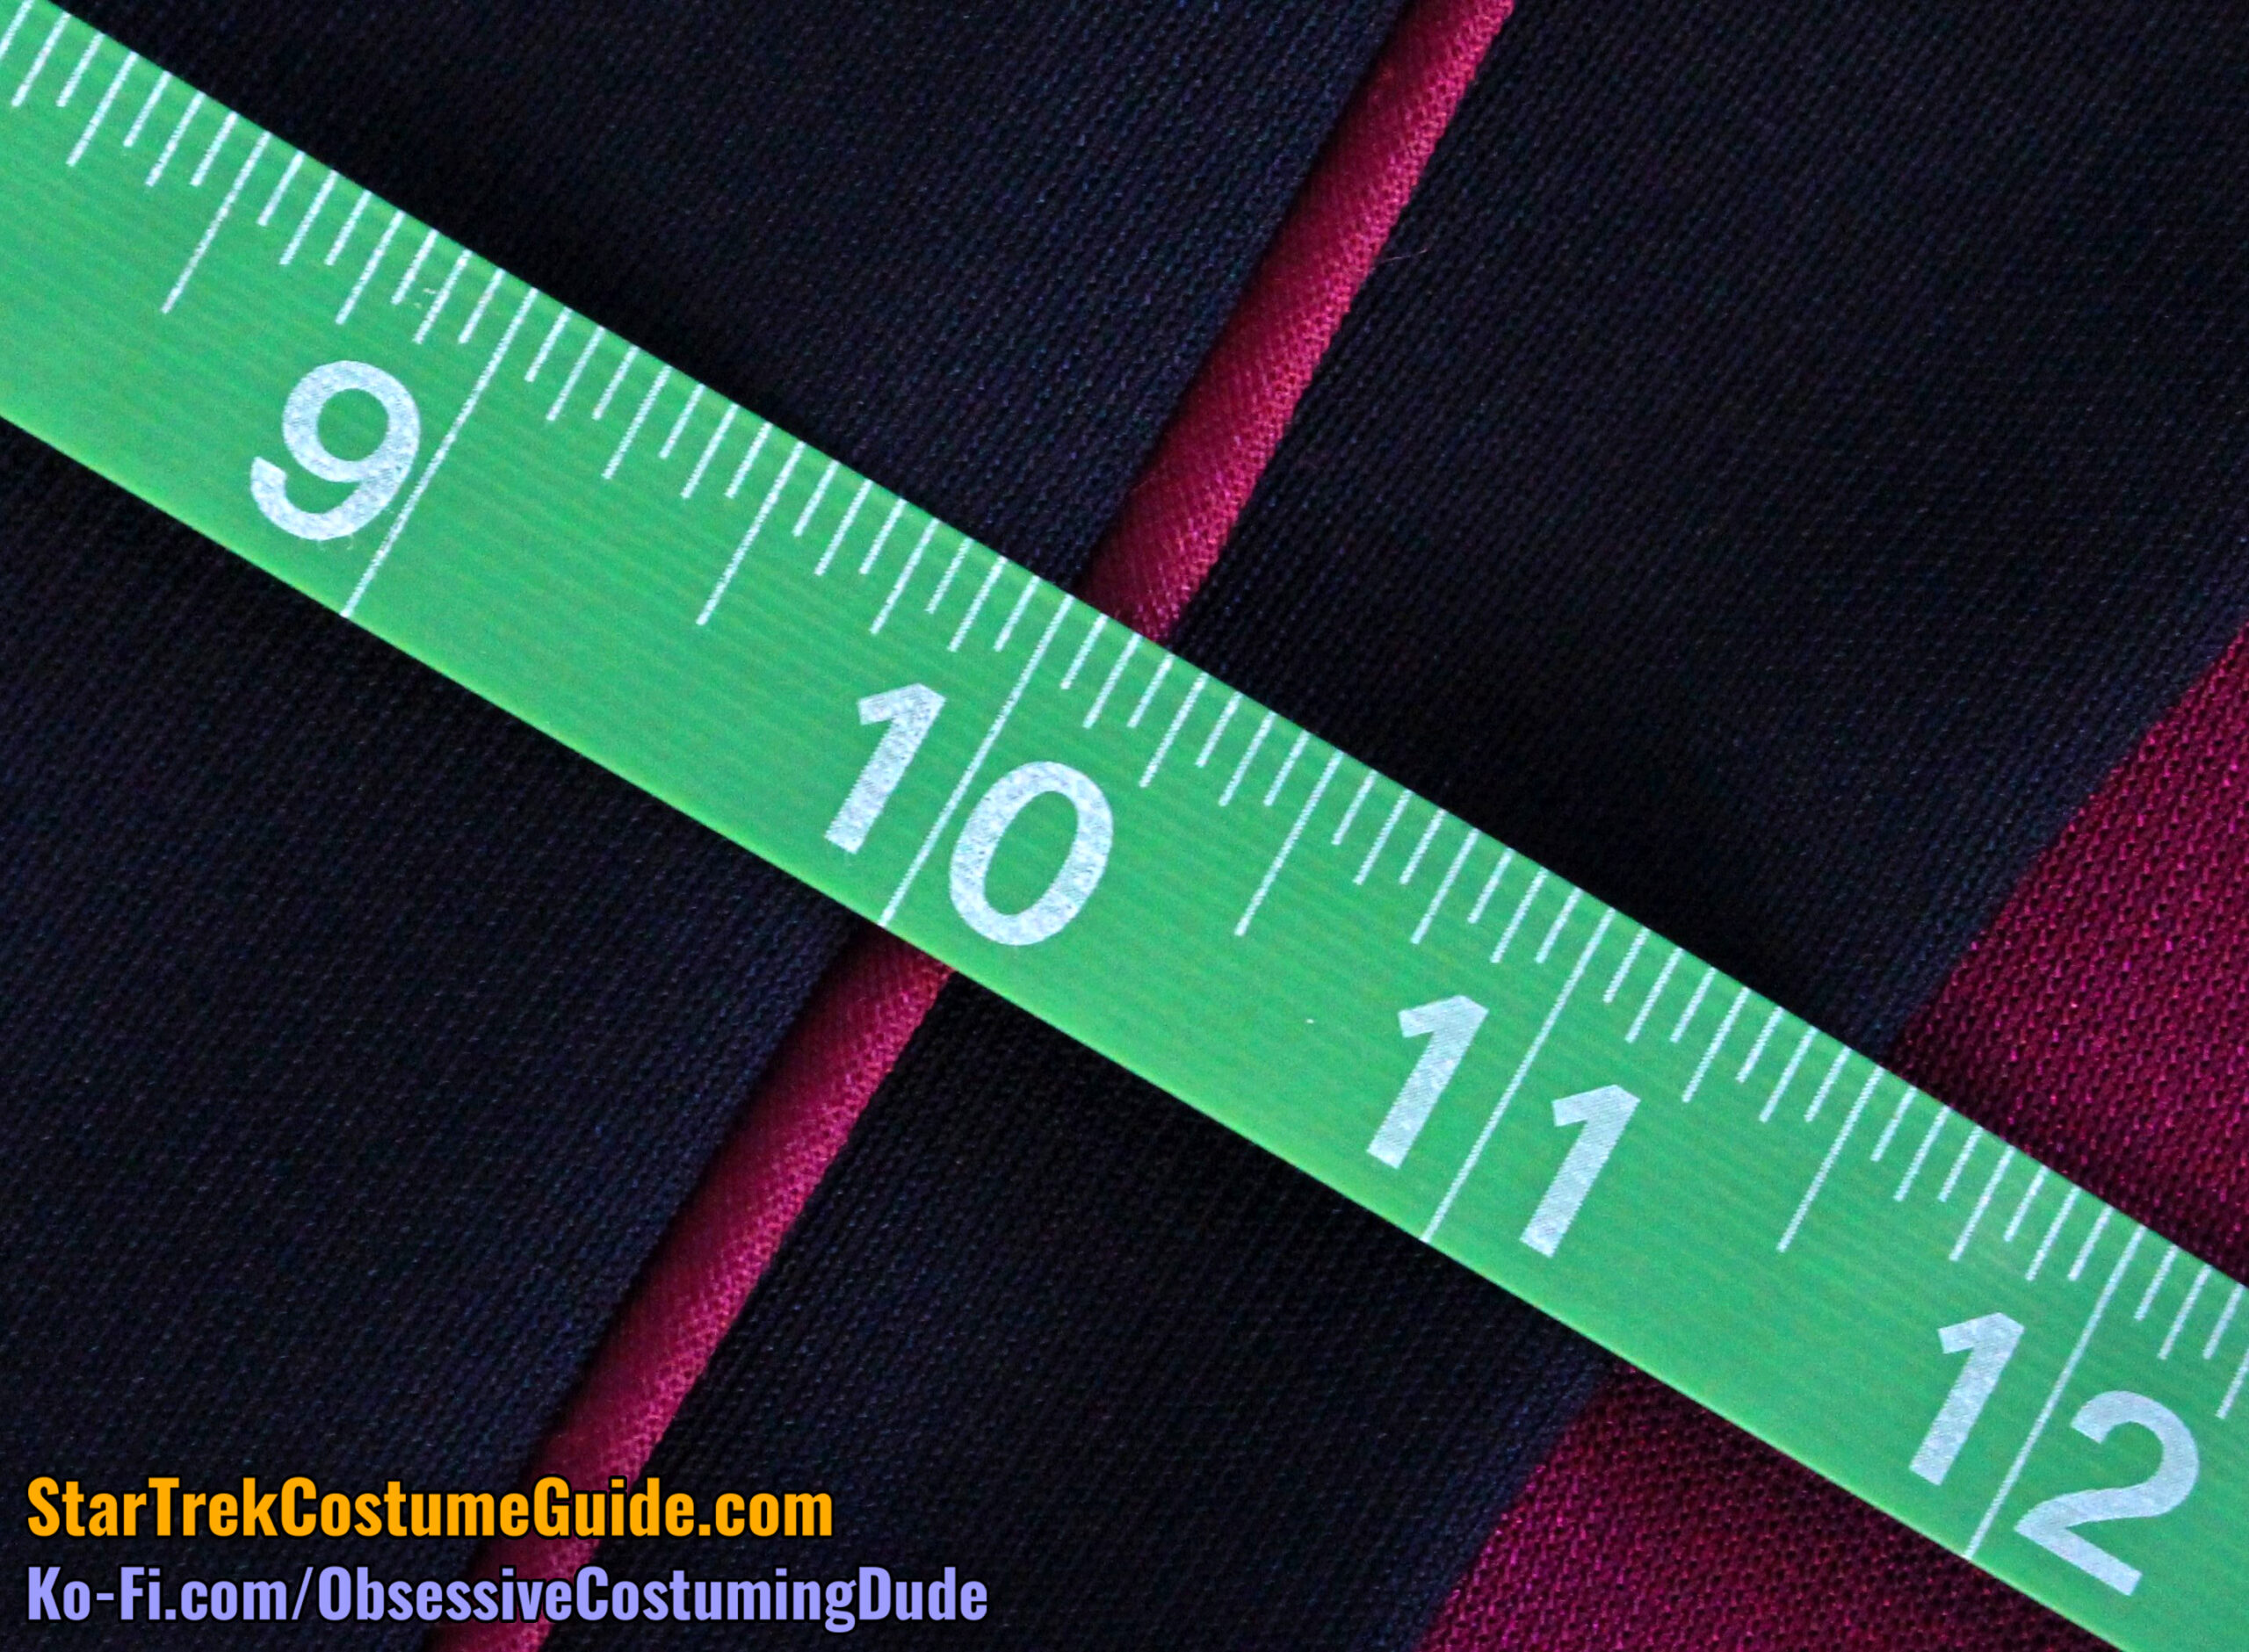
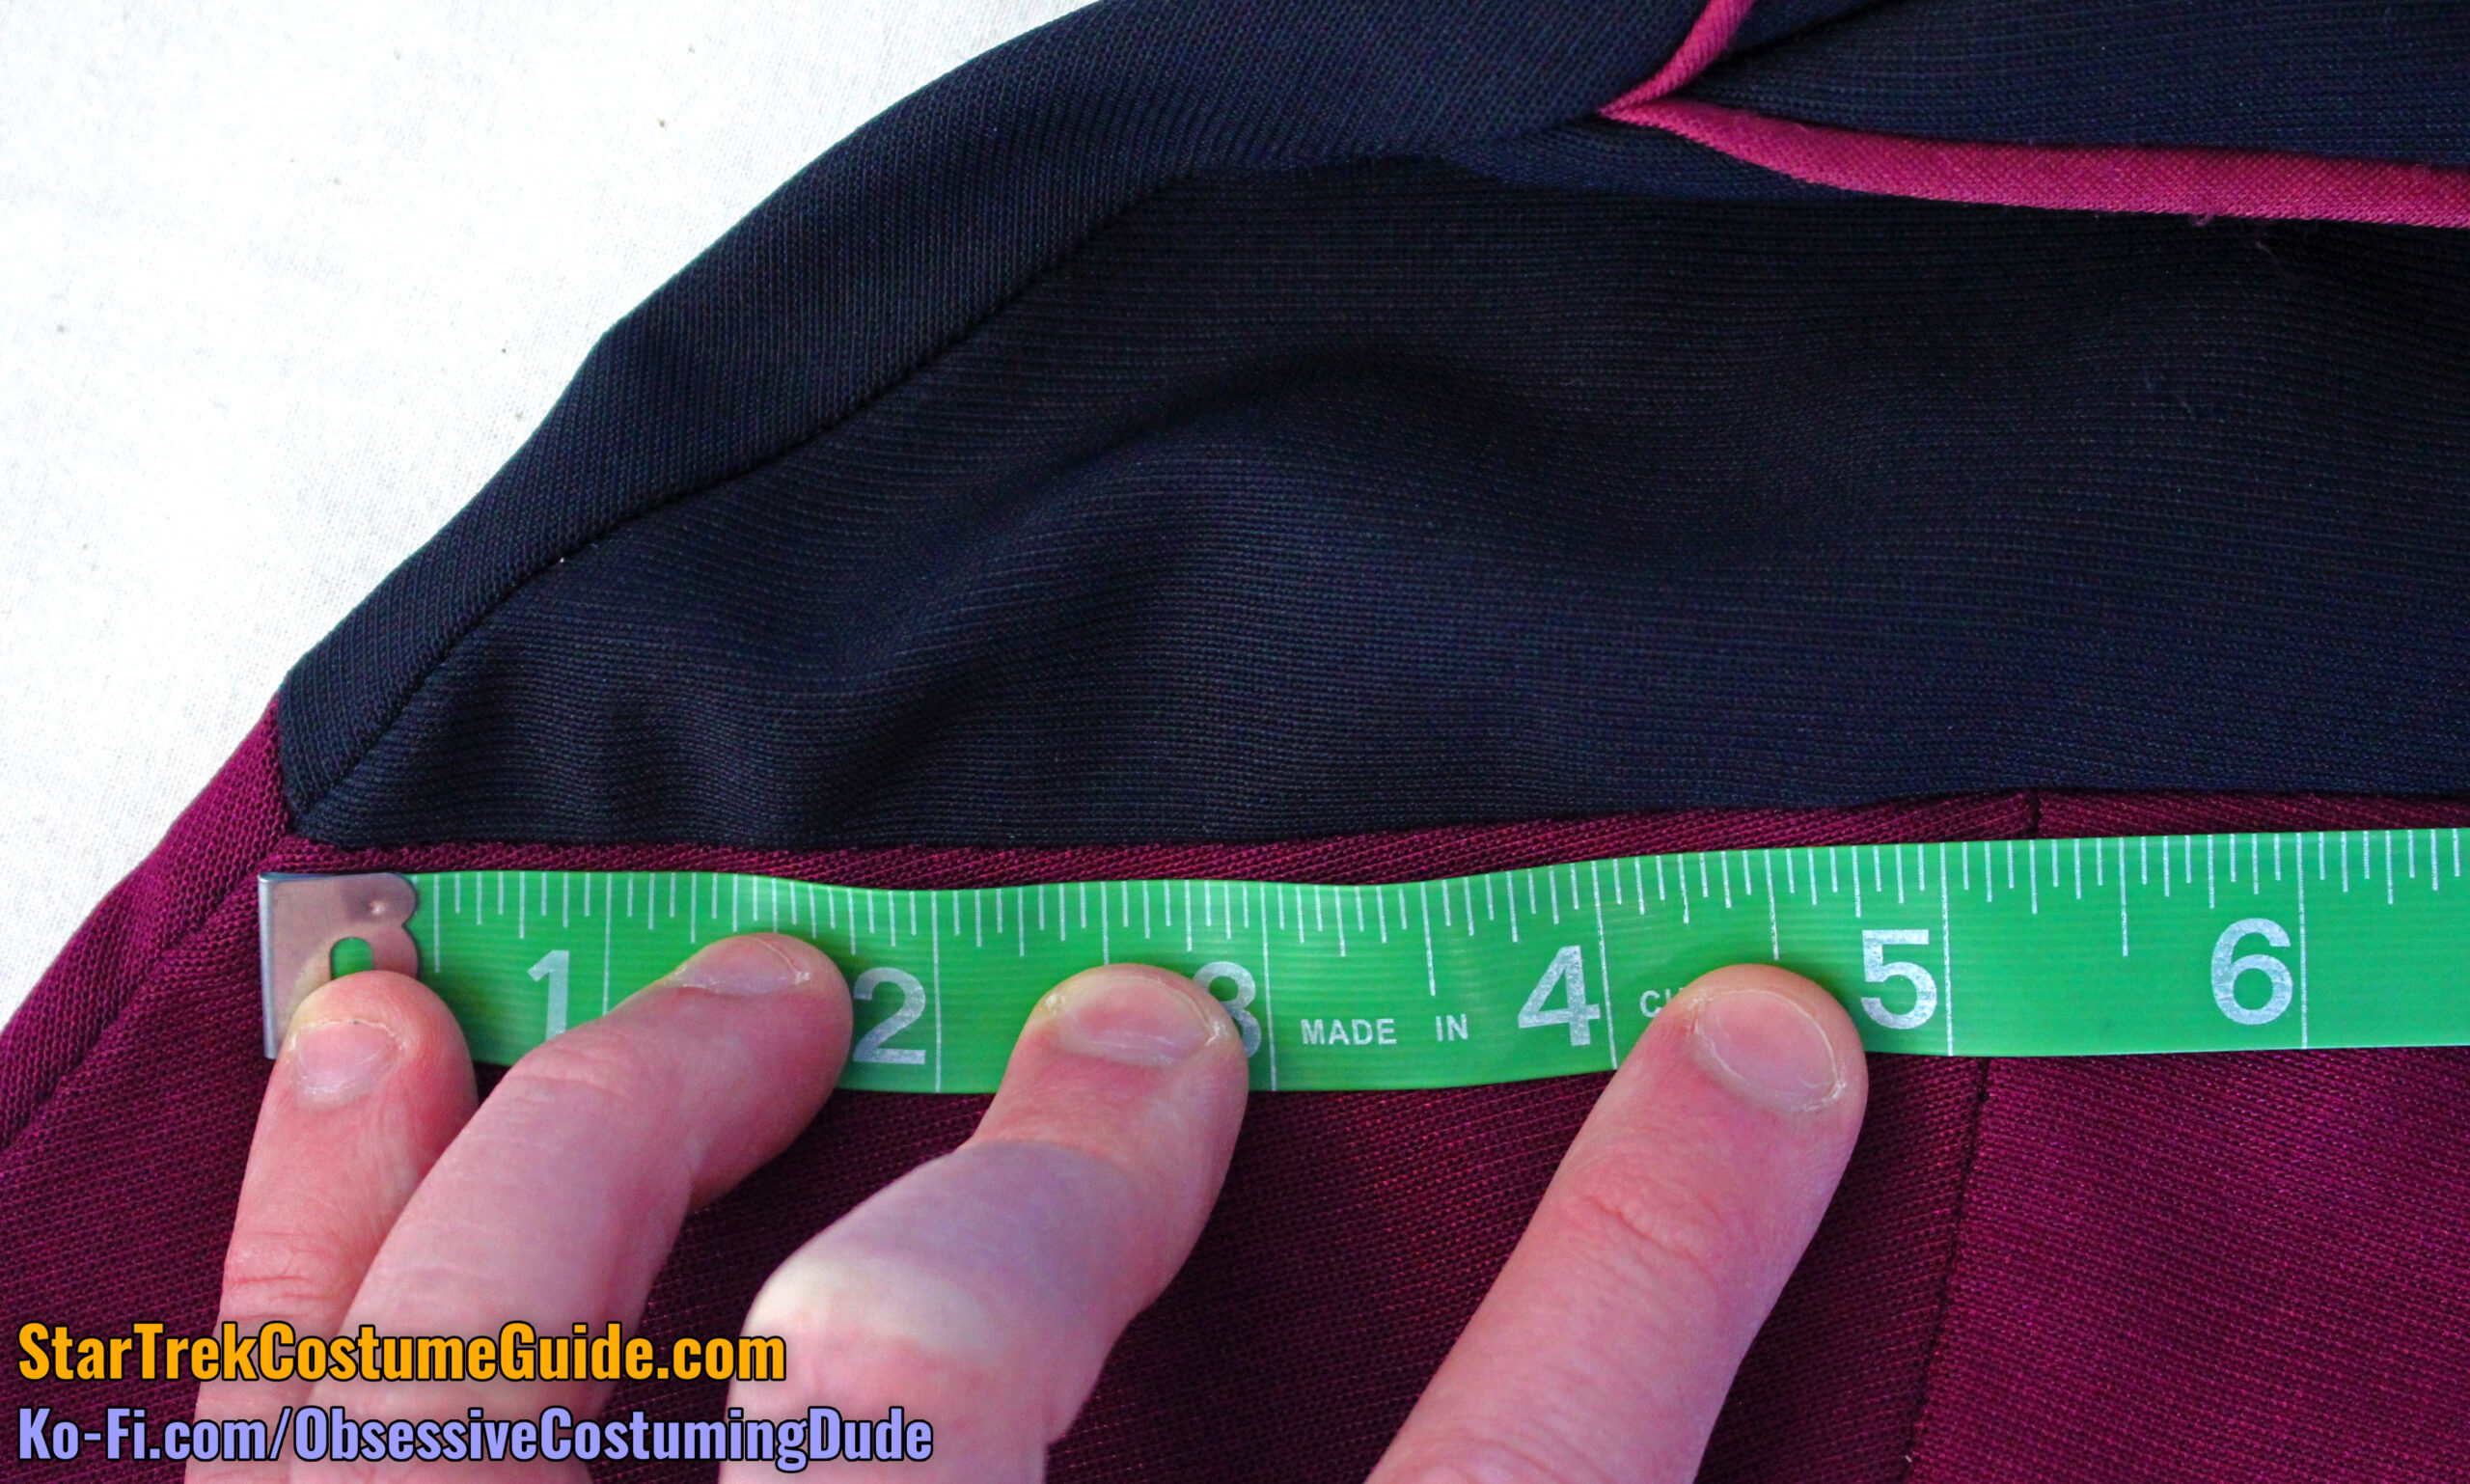
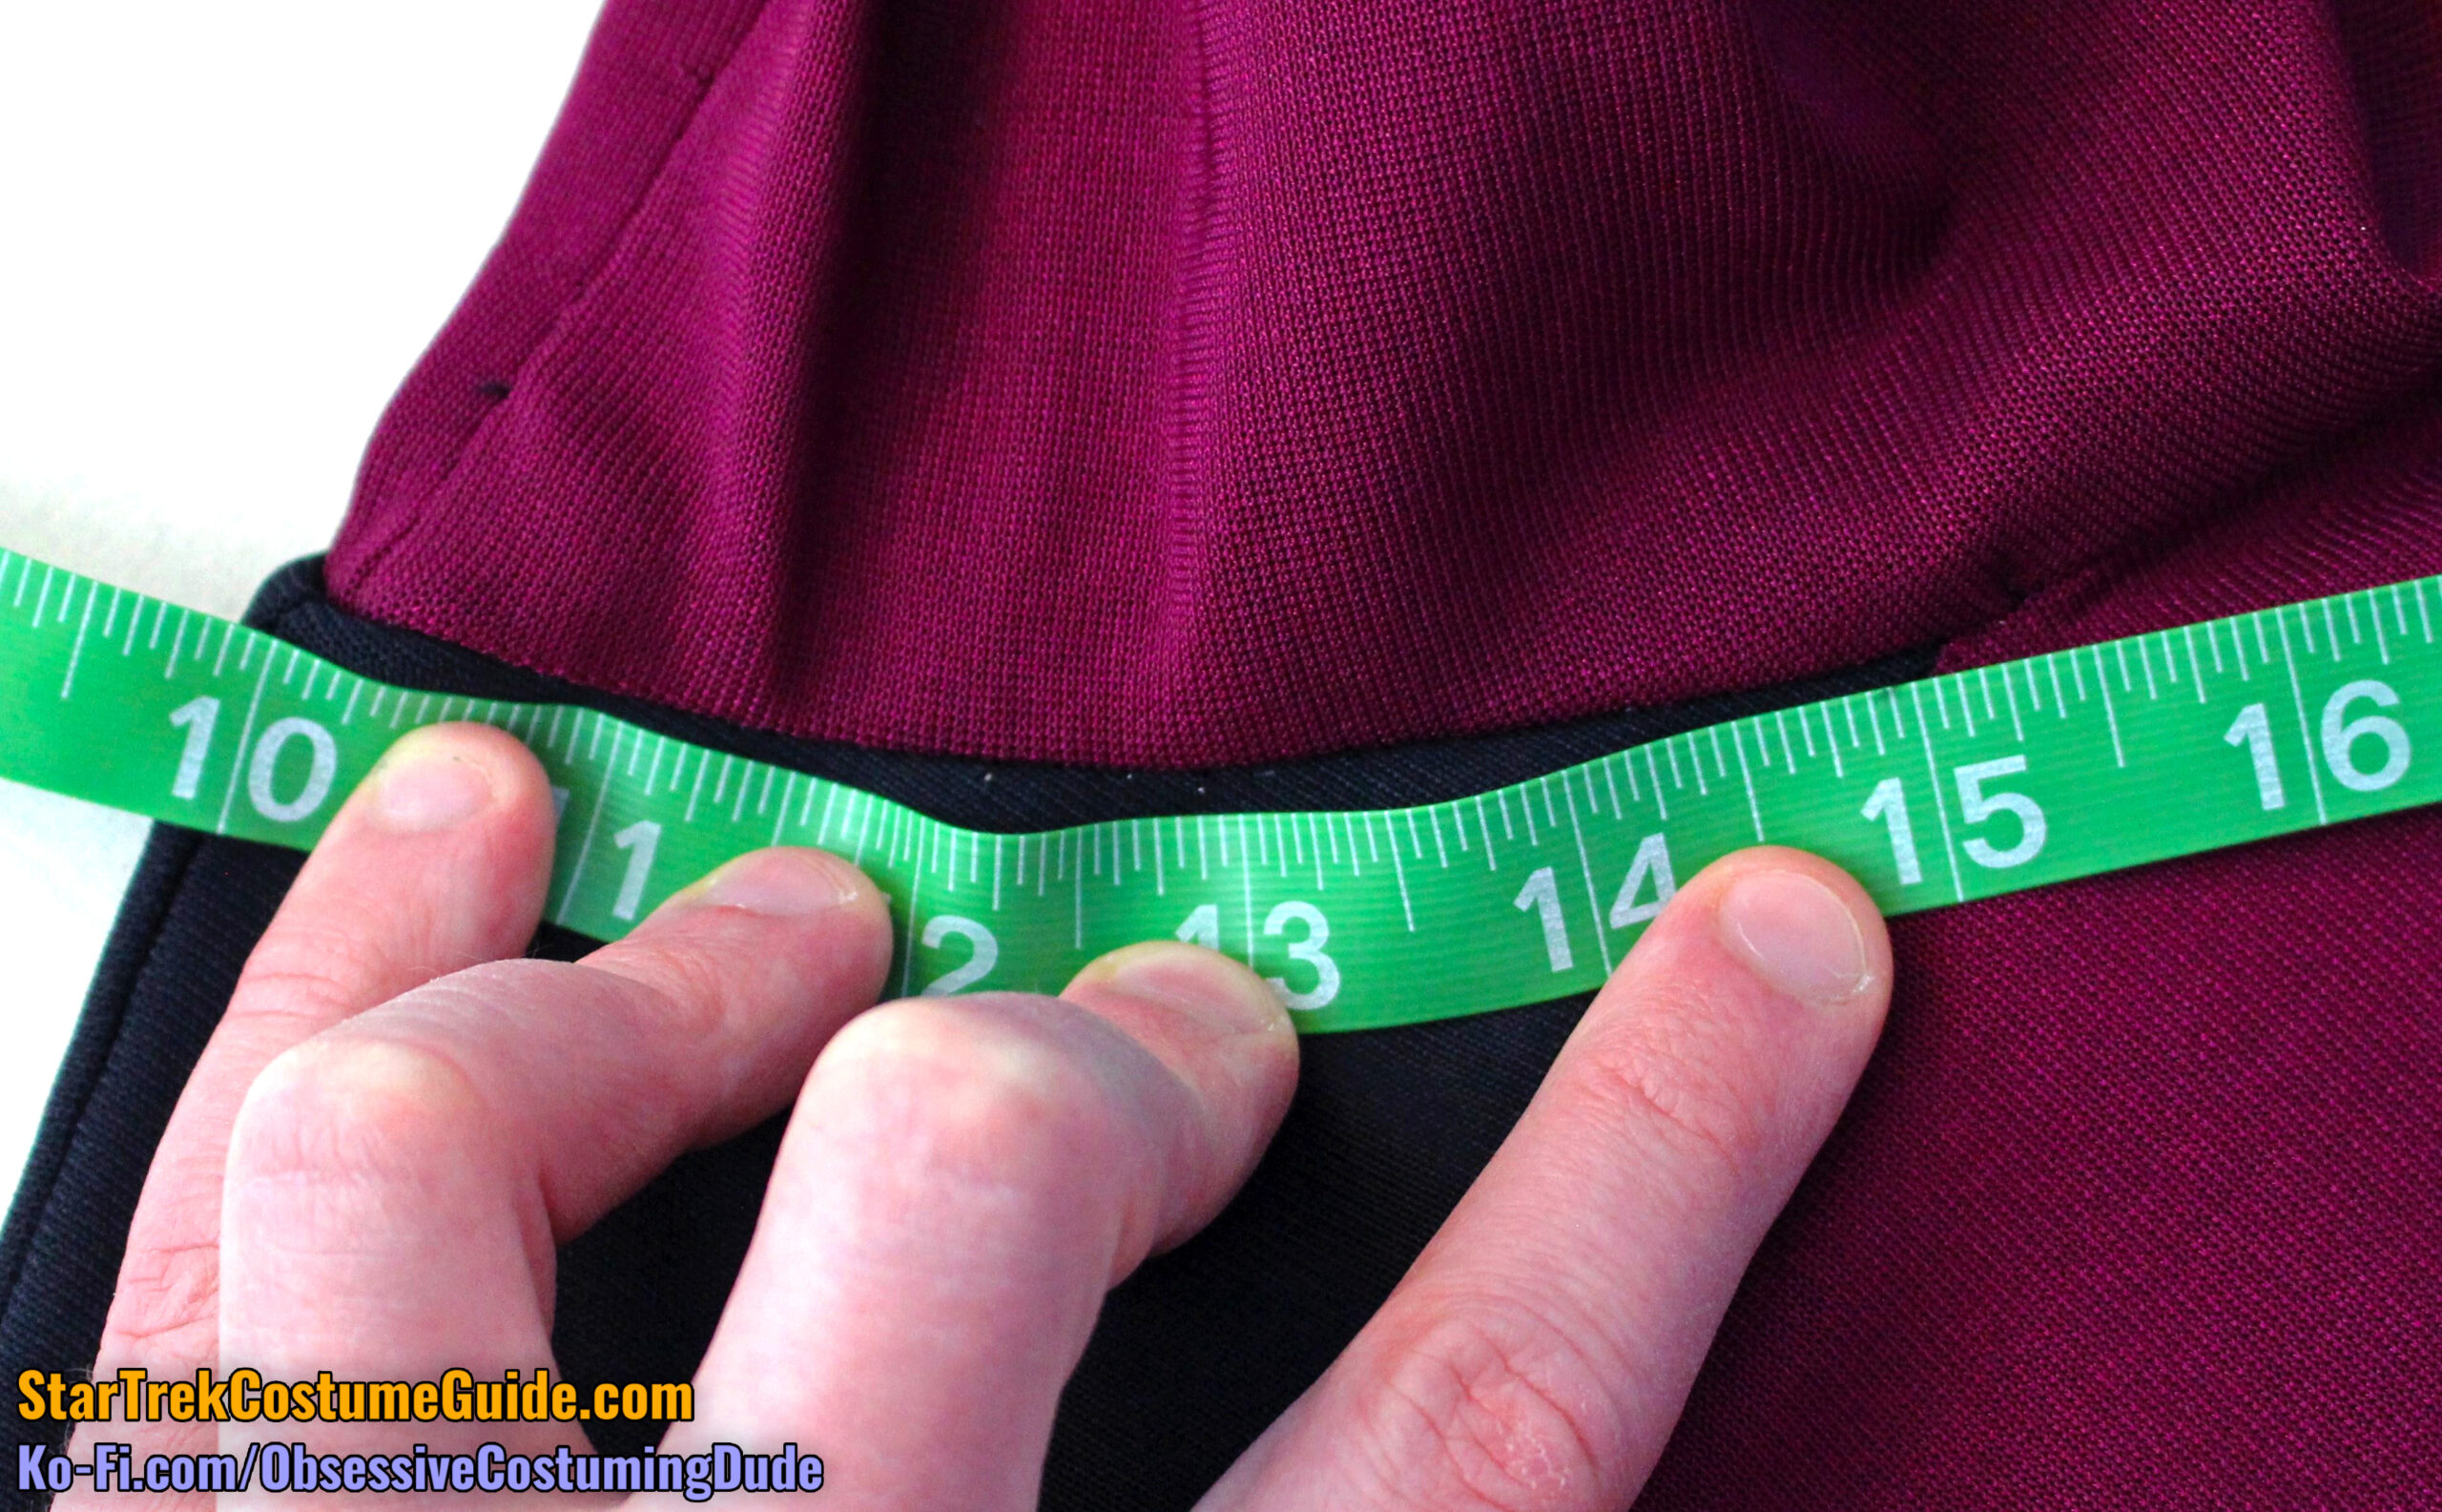
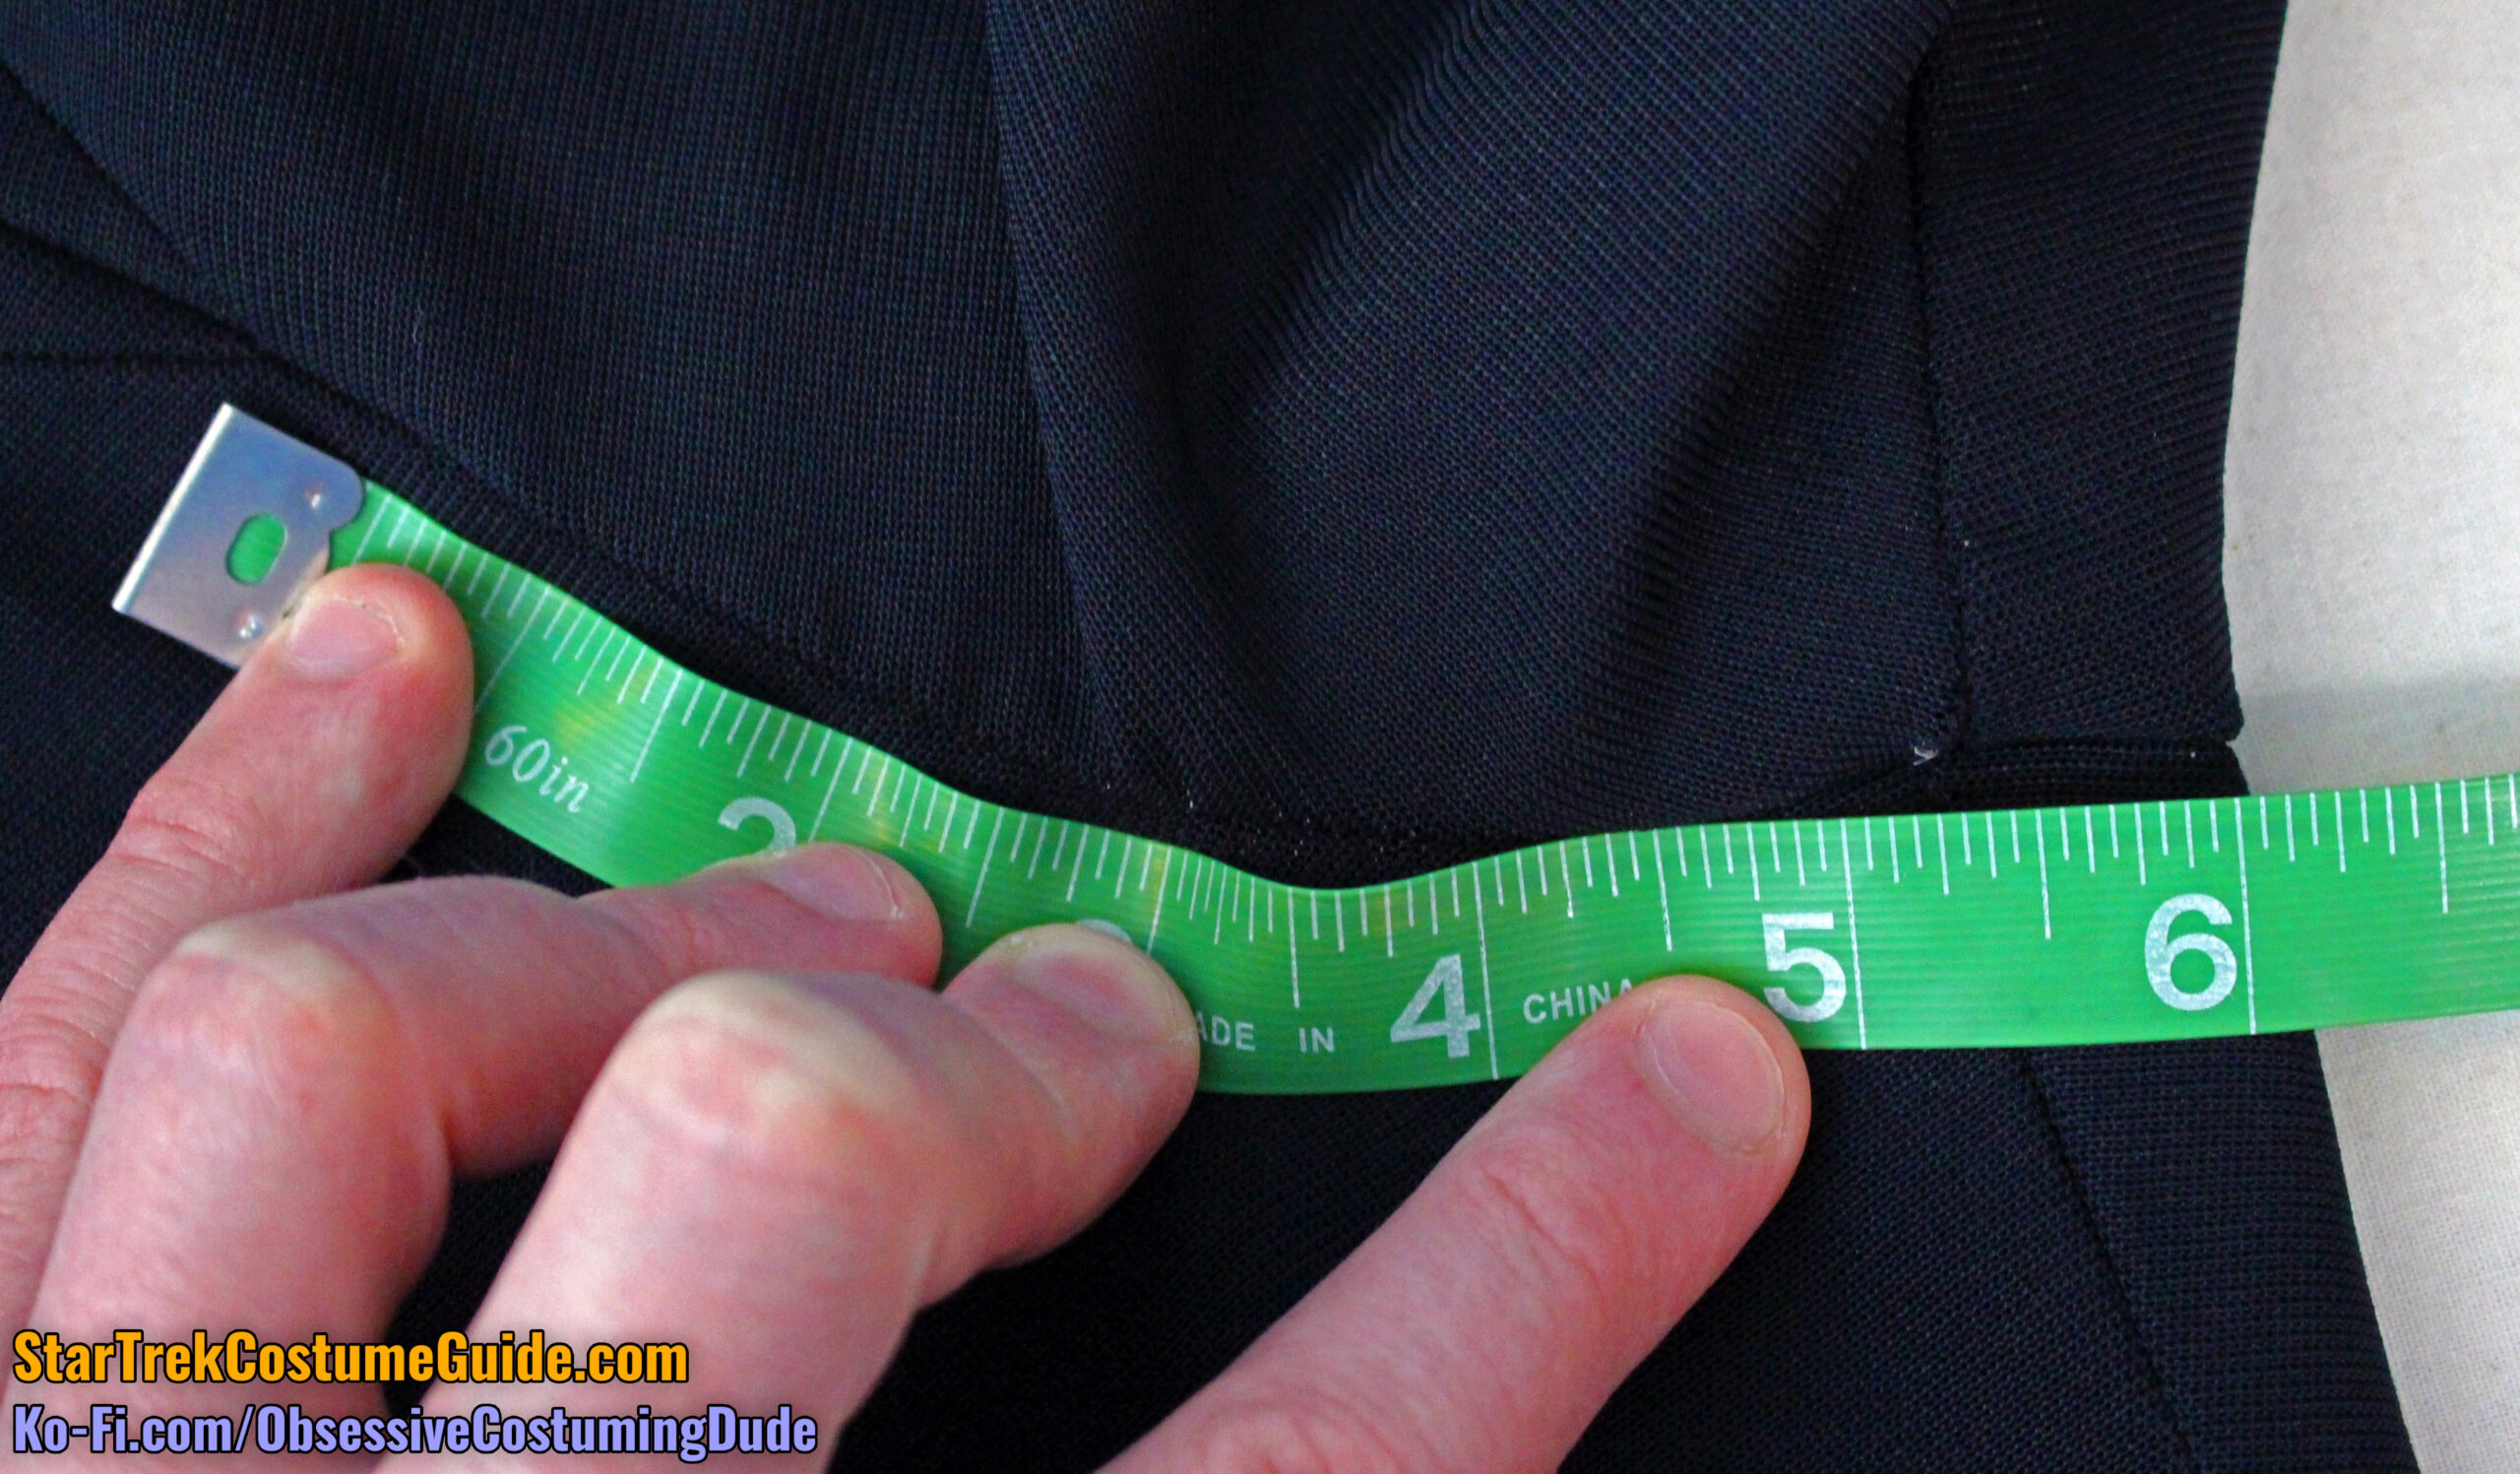
The neckline on Worf’s jumpsuit was 7” wide at the shoulder seam (sans neckline trim).
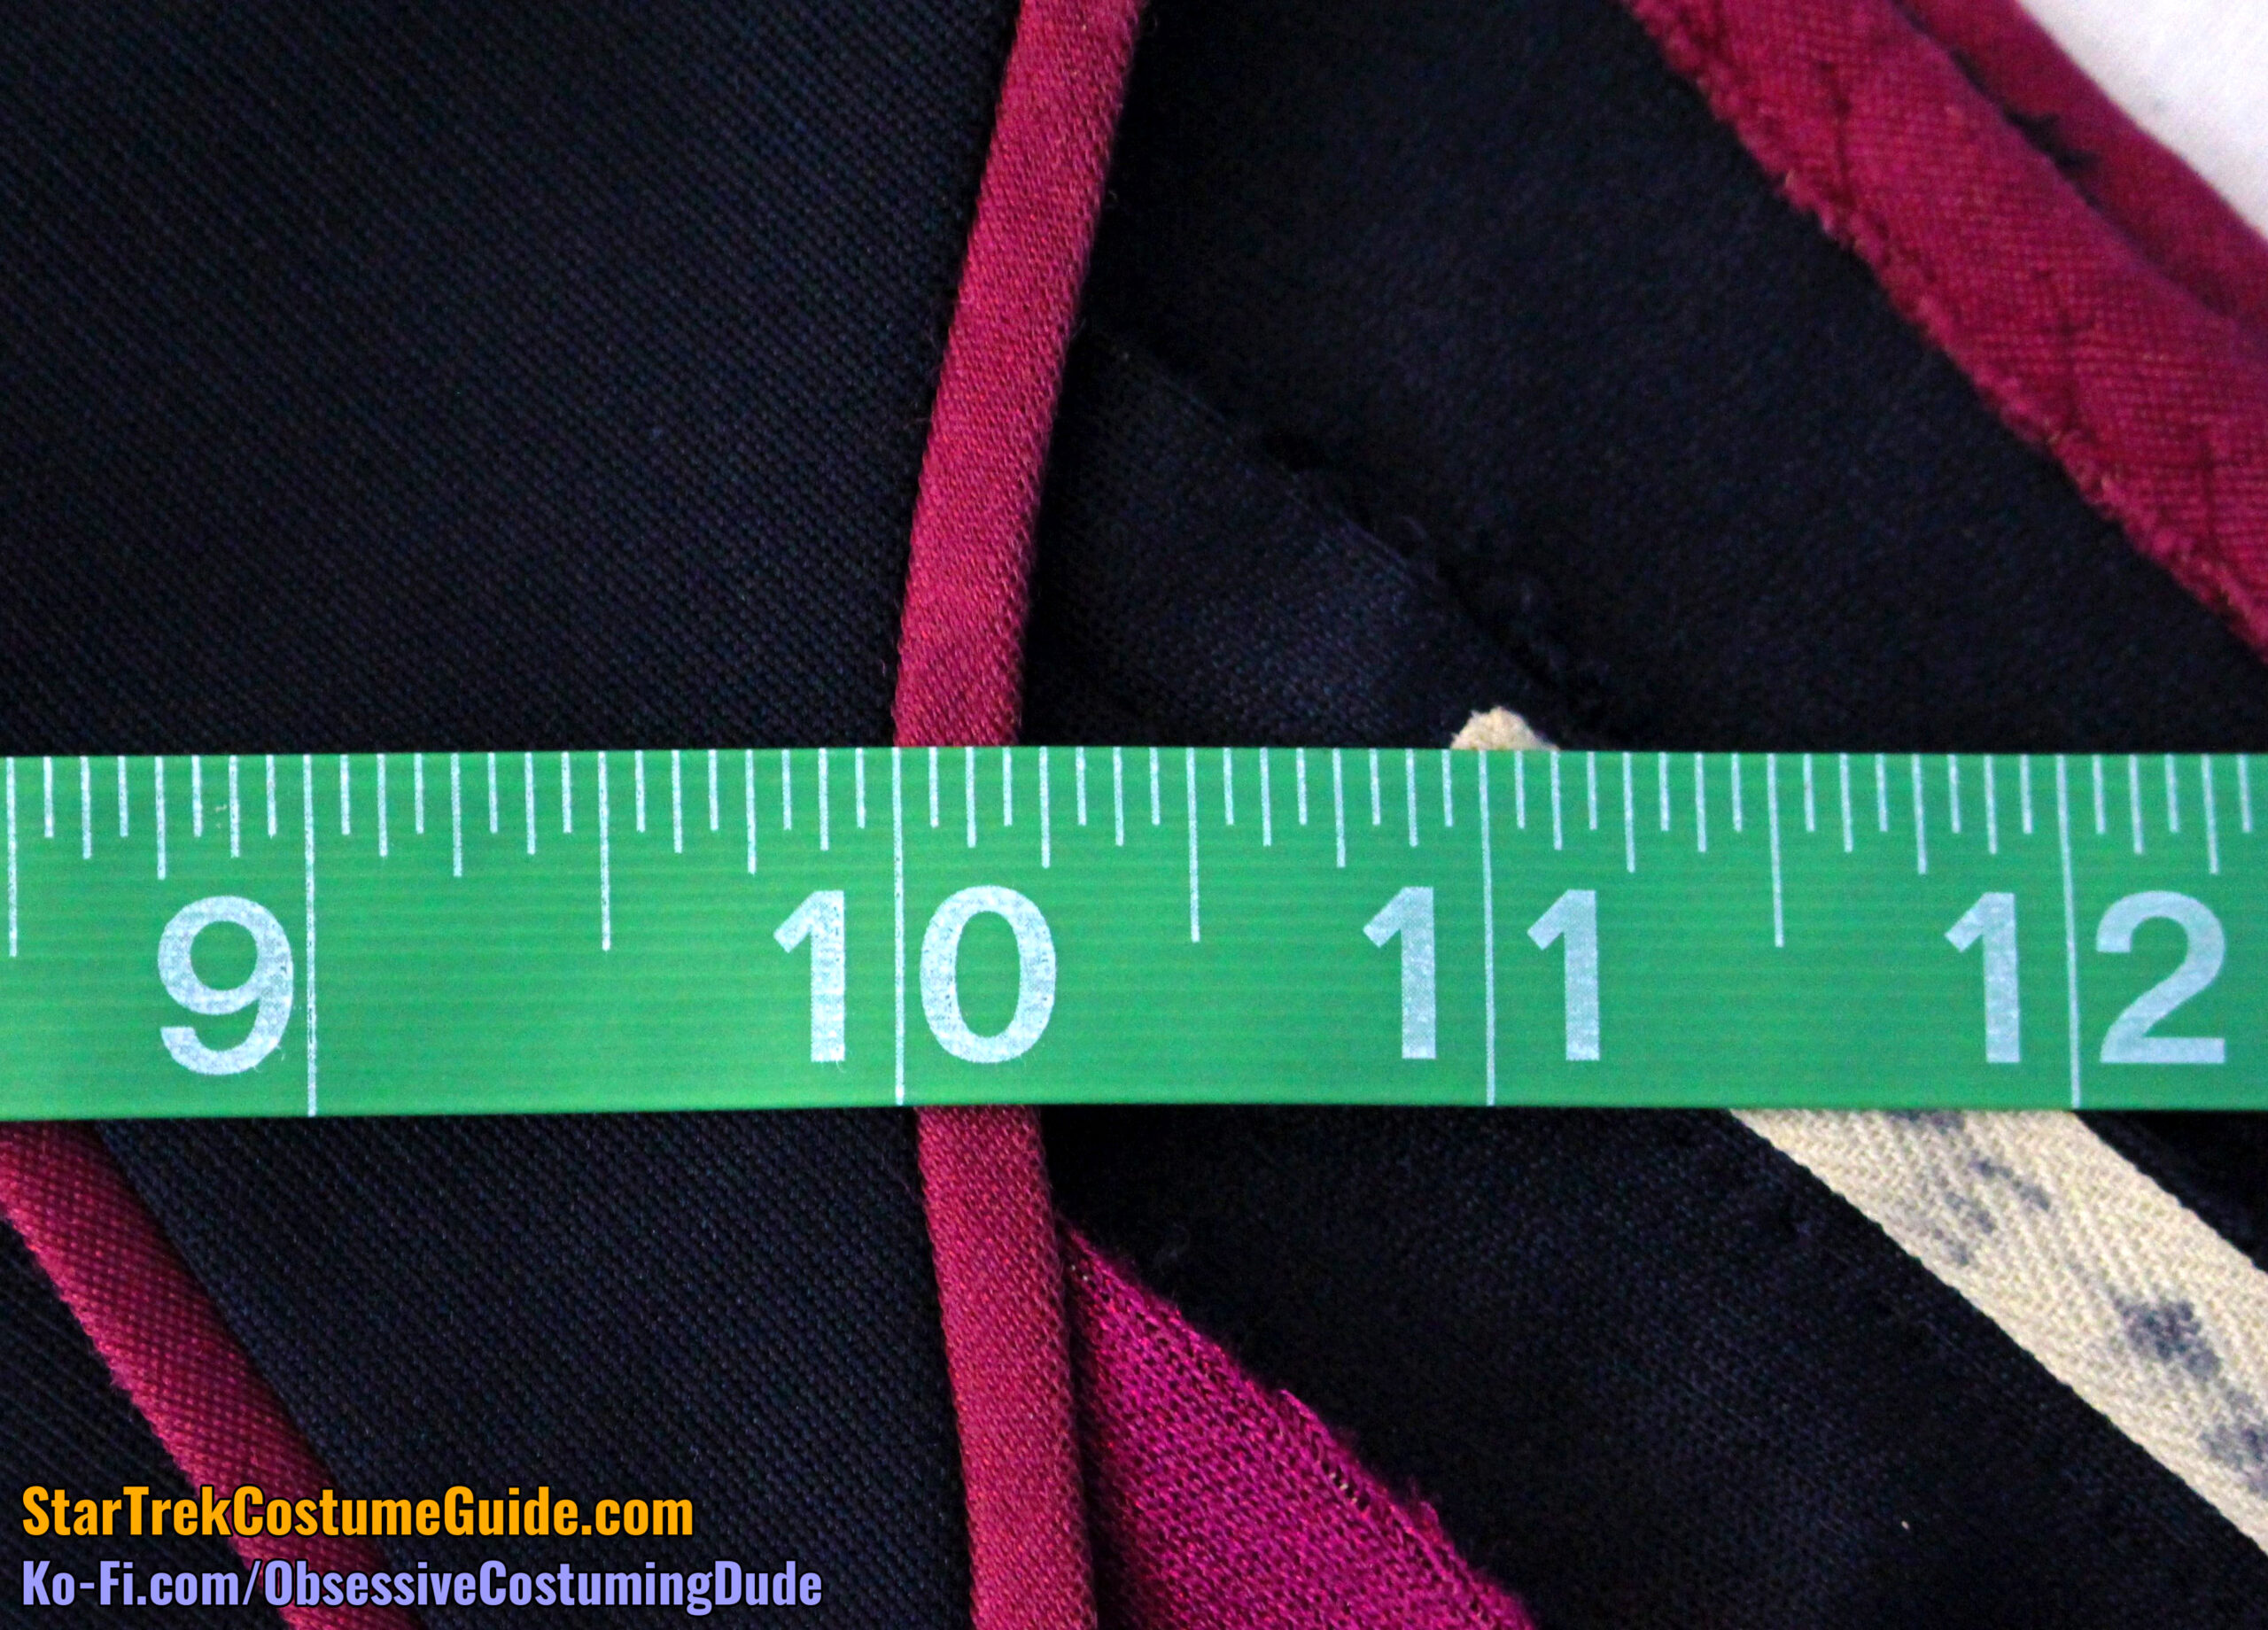
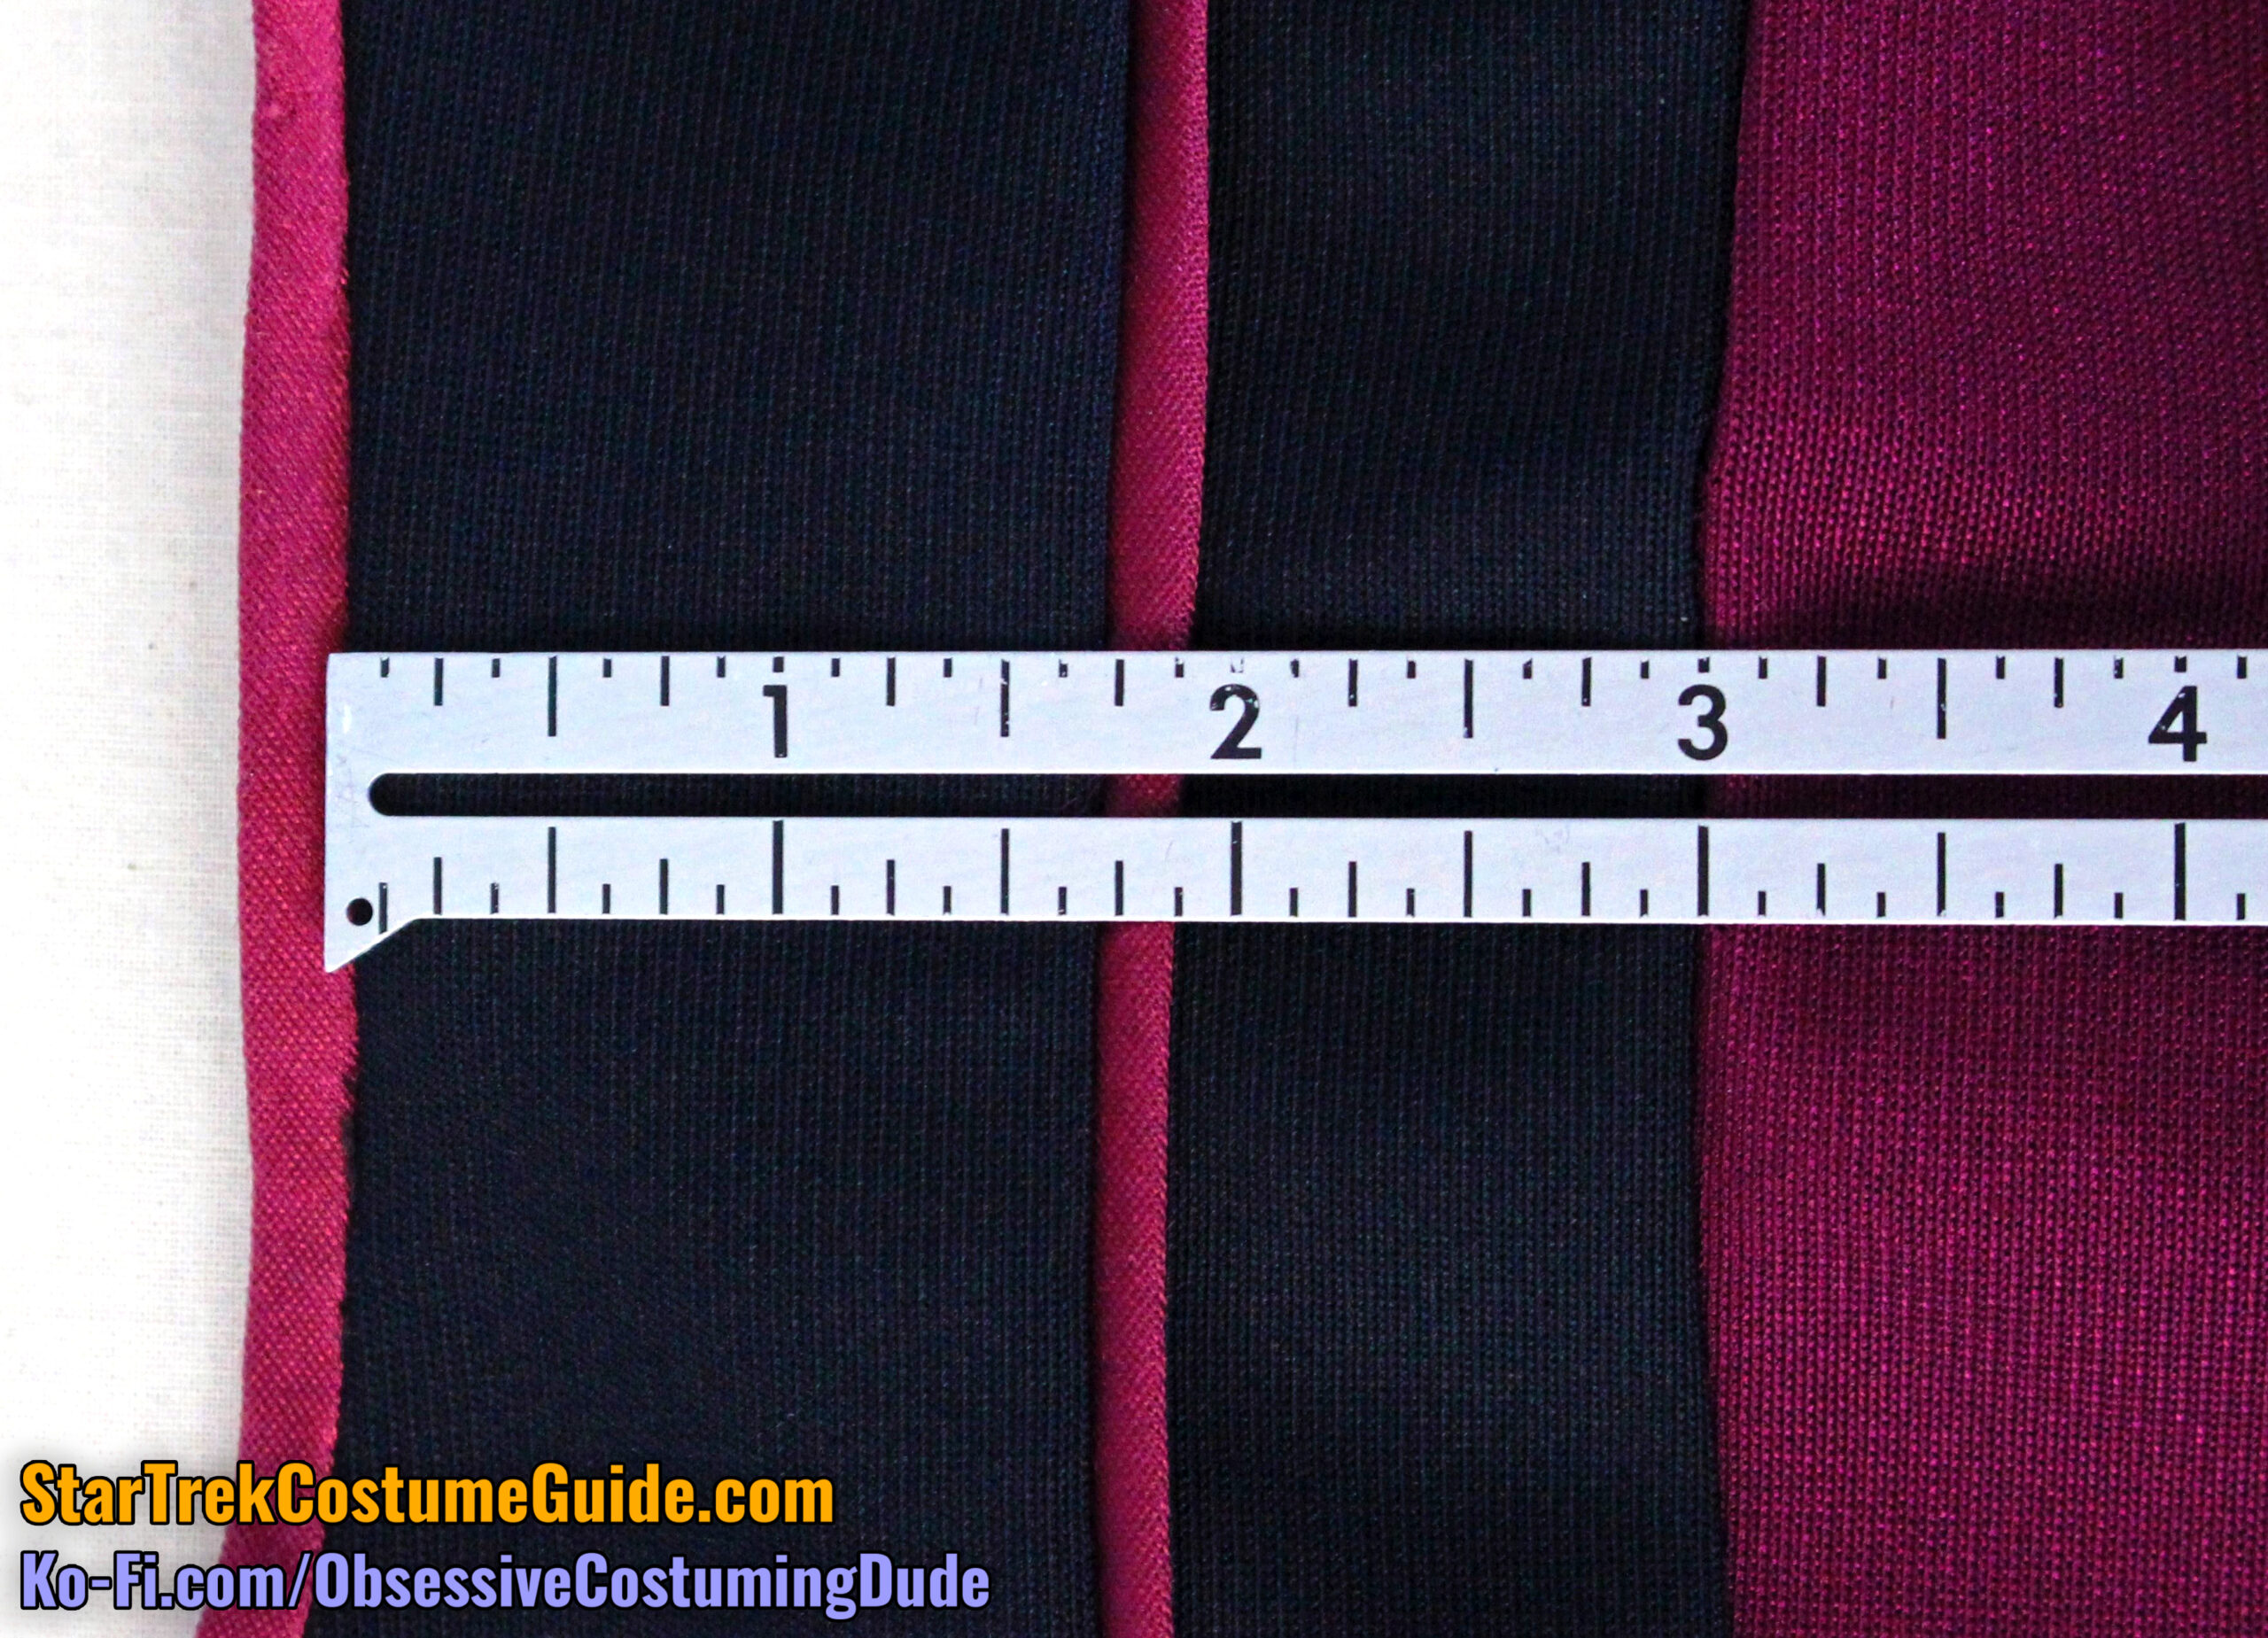
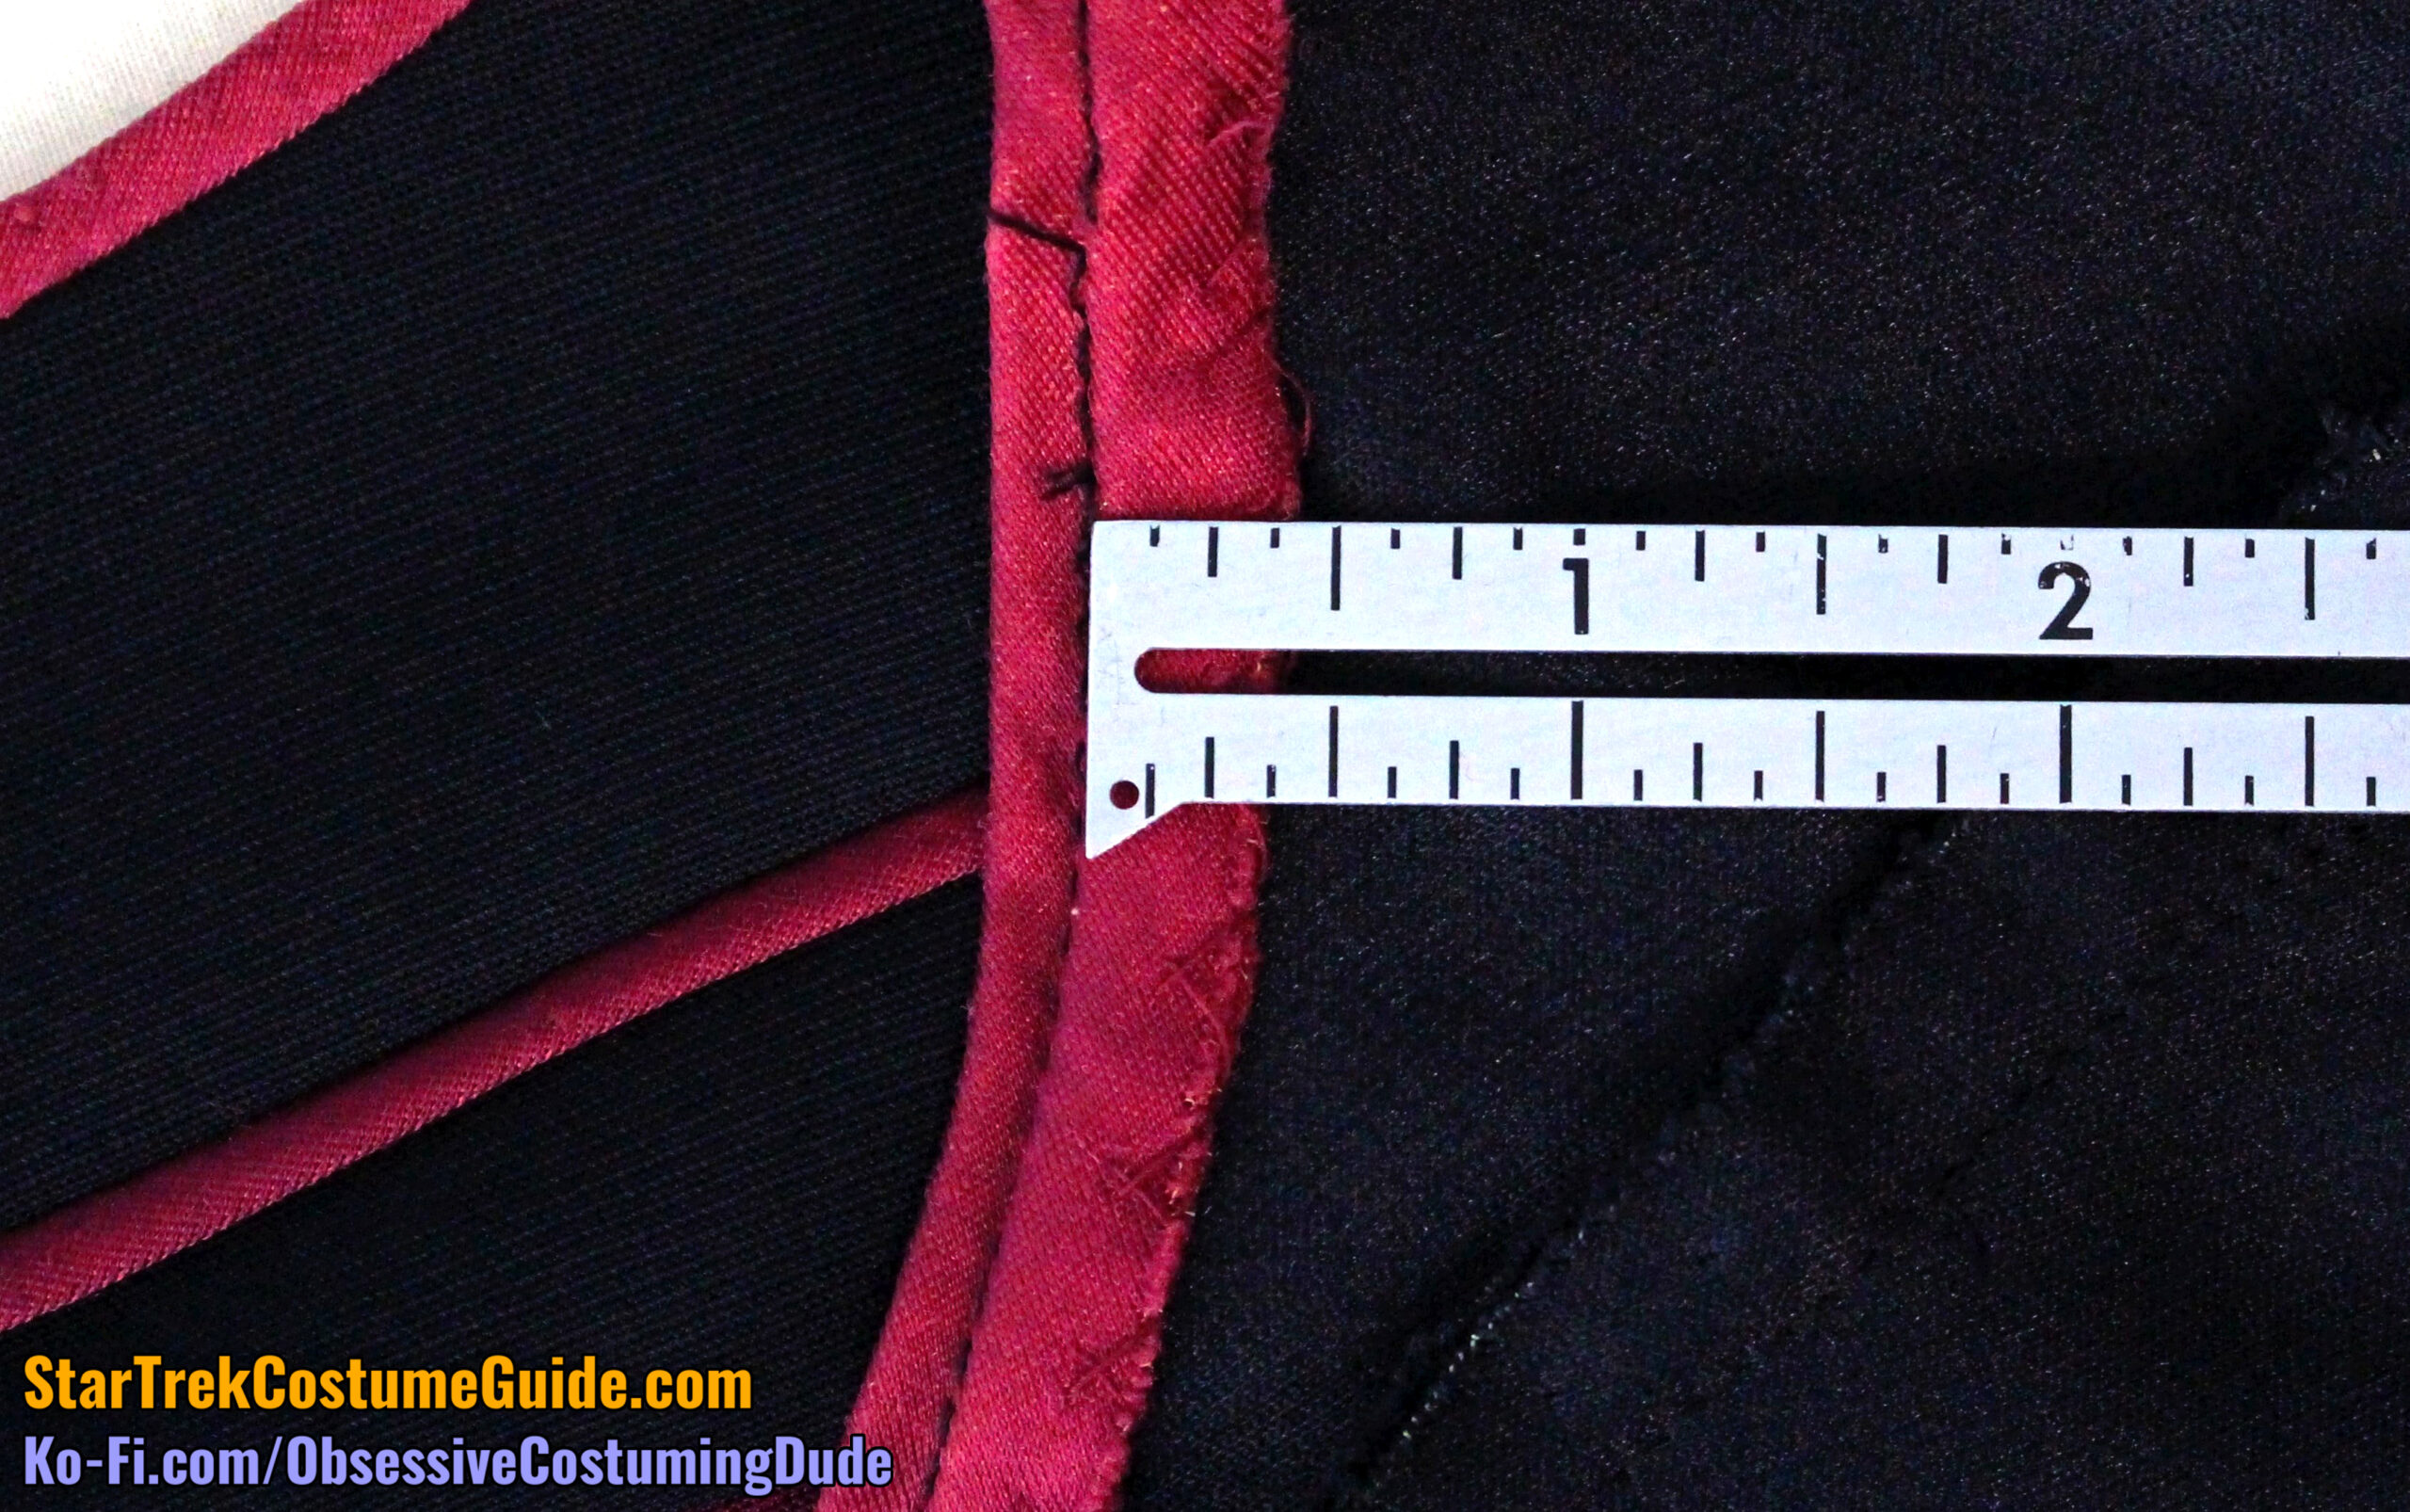
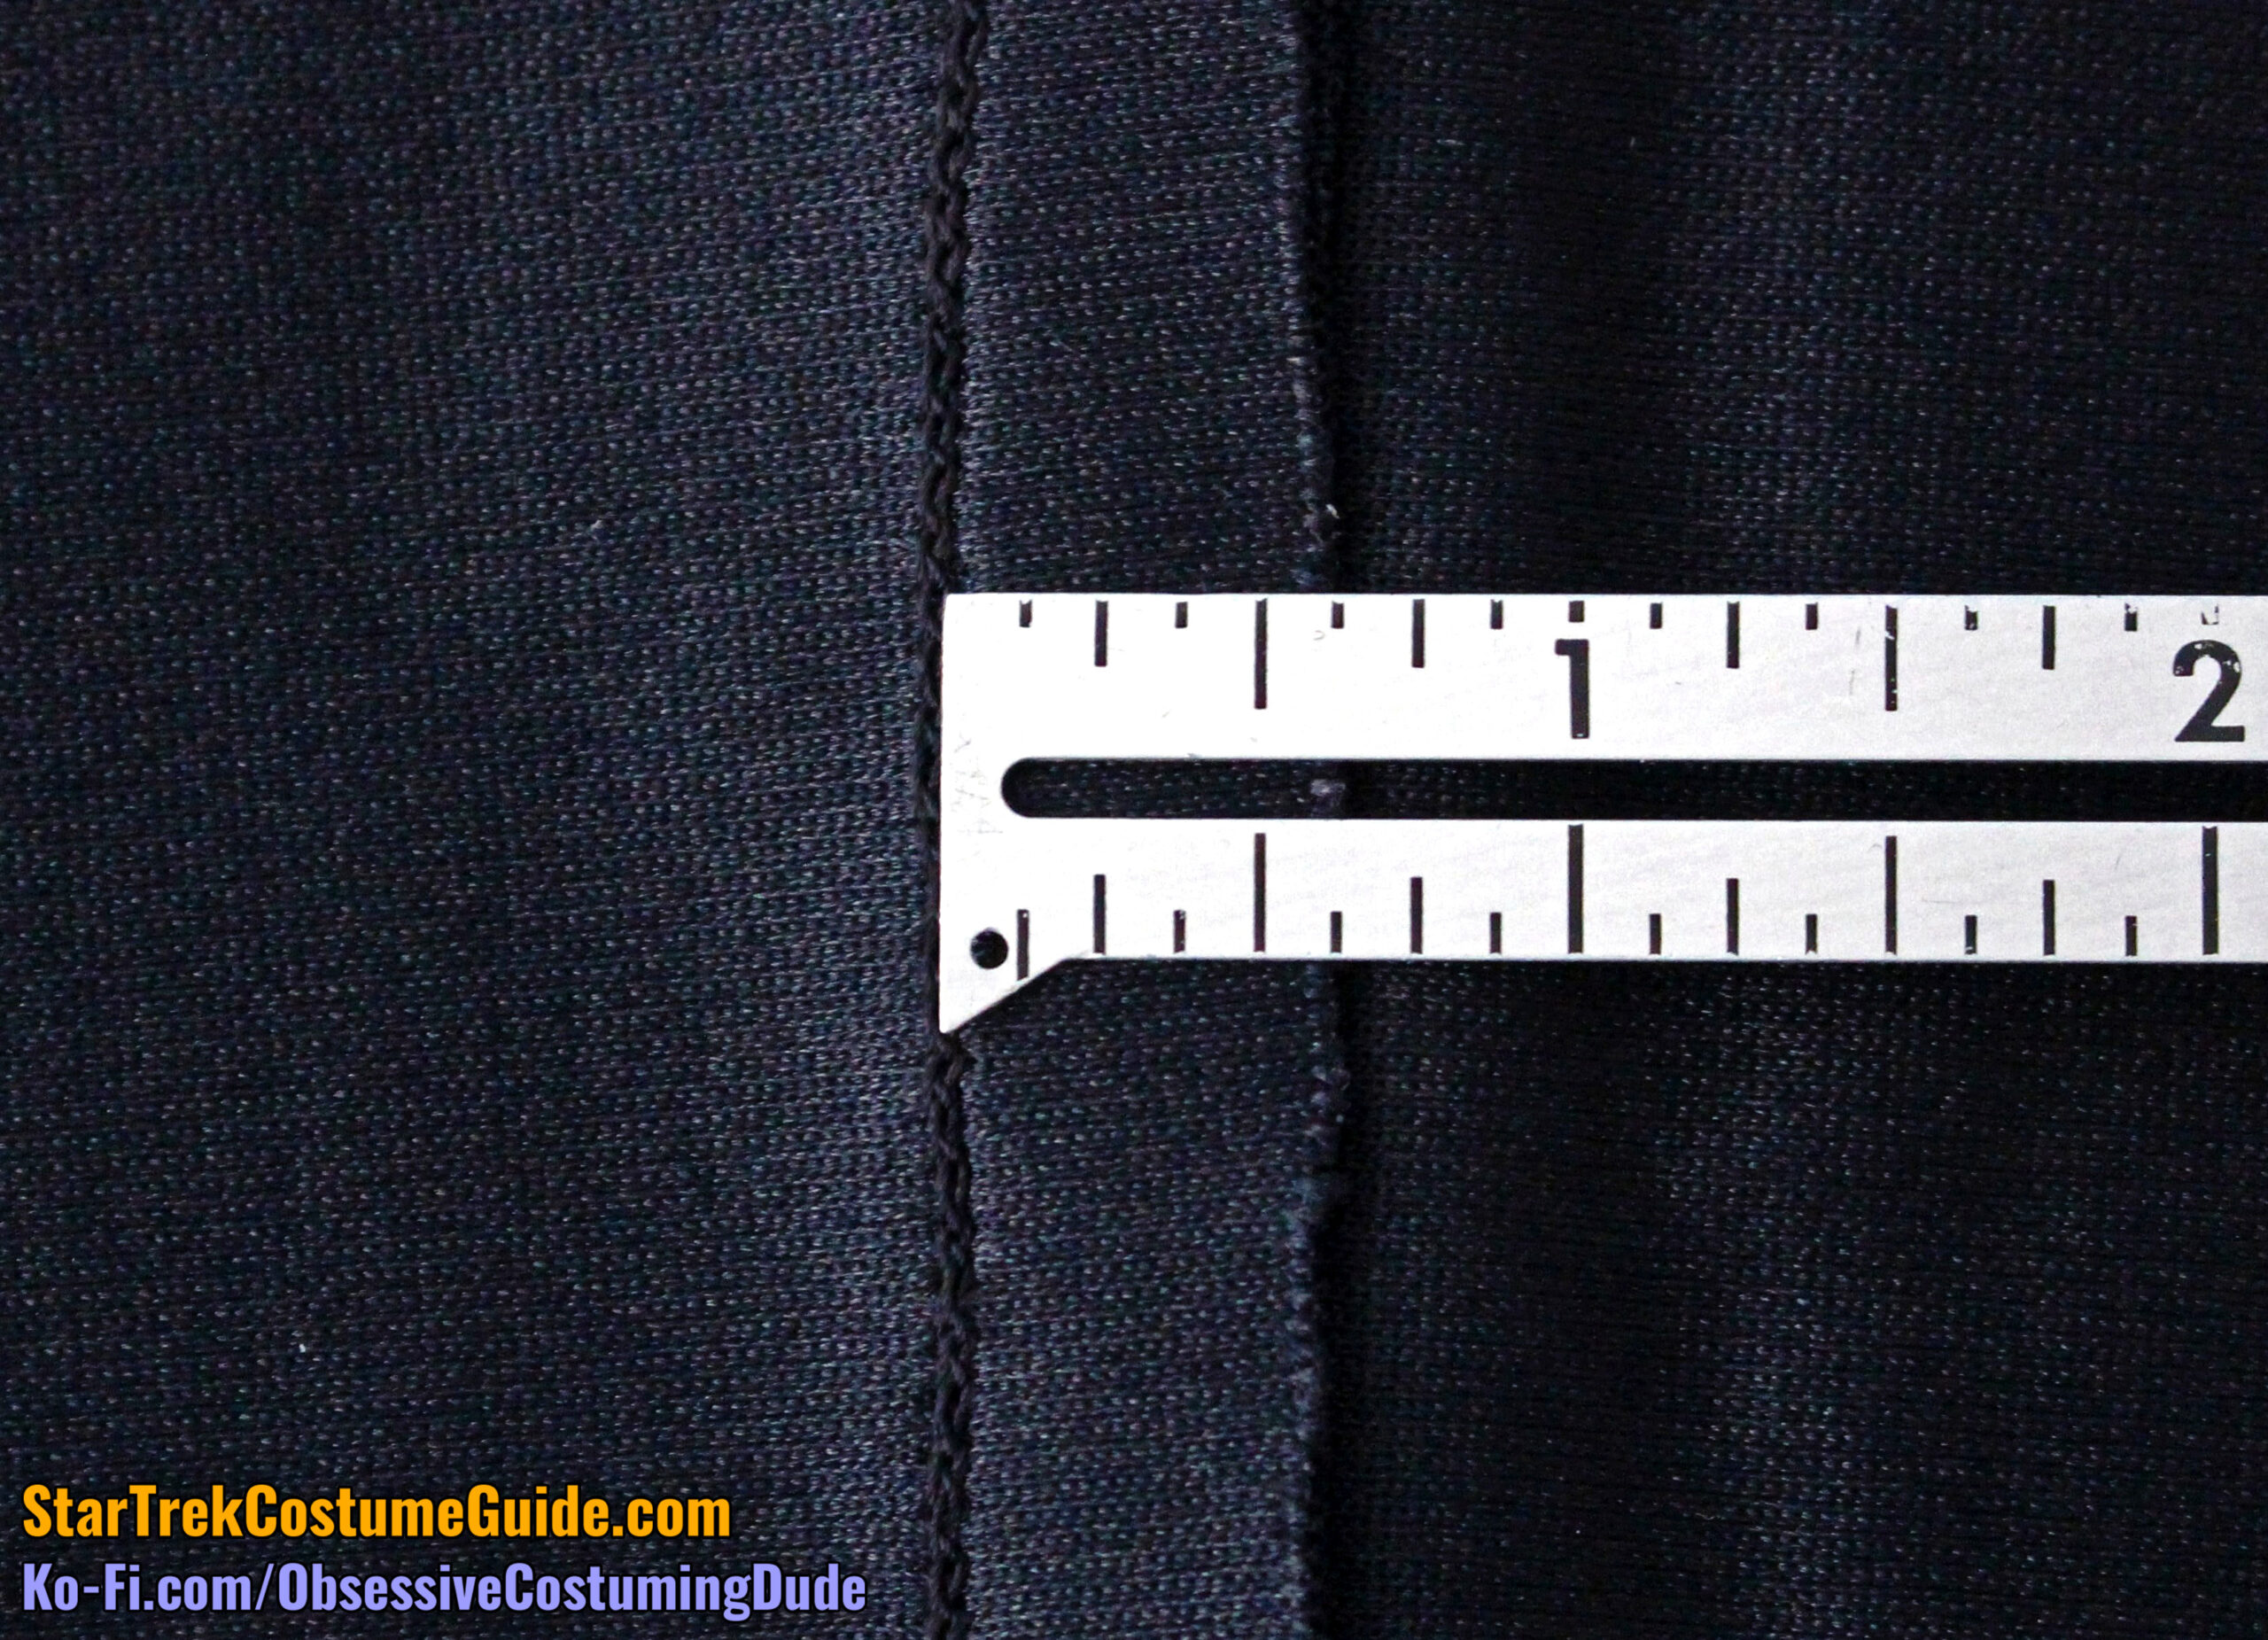
Like on the screen-used Tasha Yar and Beverly Crusher season 1 jumpsuits I examined (as well as the screen-used TNG skant), the neckline trim was usually 3/16” wide, although it did sometimes vary a little bit (in this case, up to about ¼” at the widest).
The yoke piping was likewise 3/16” wide.
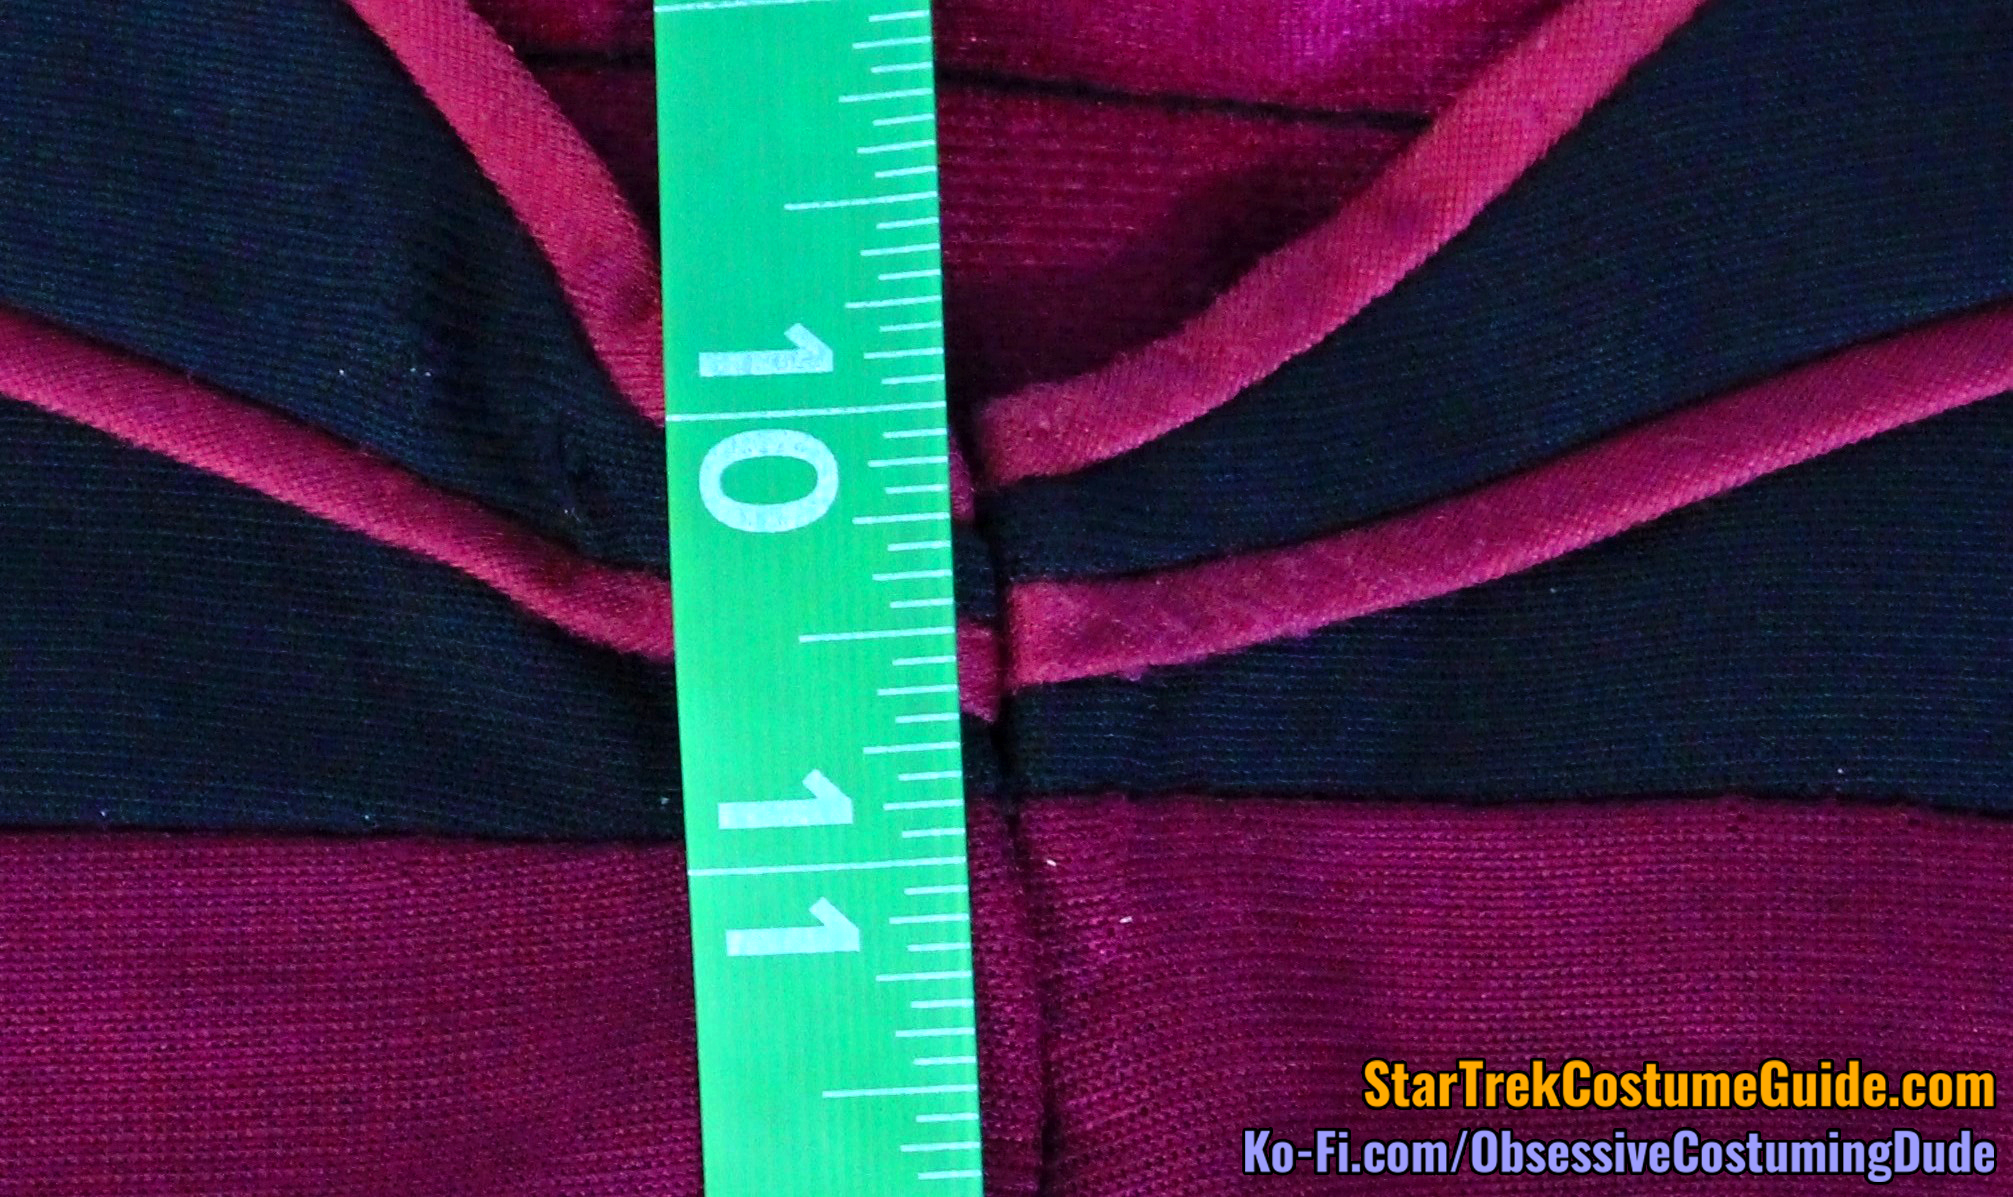
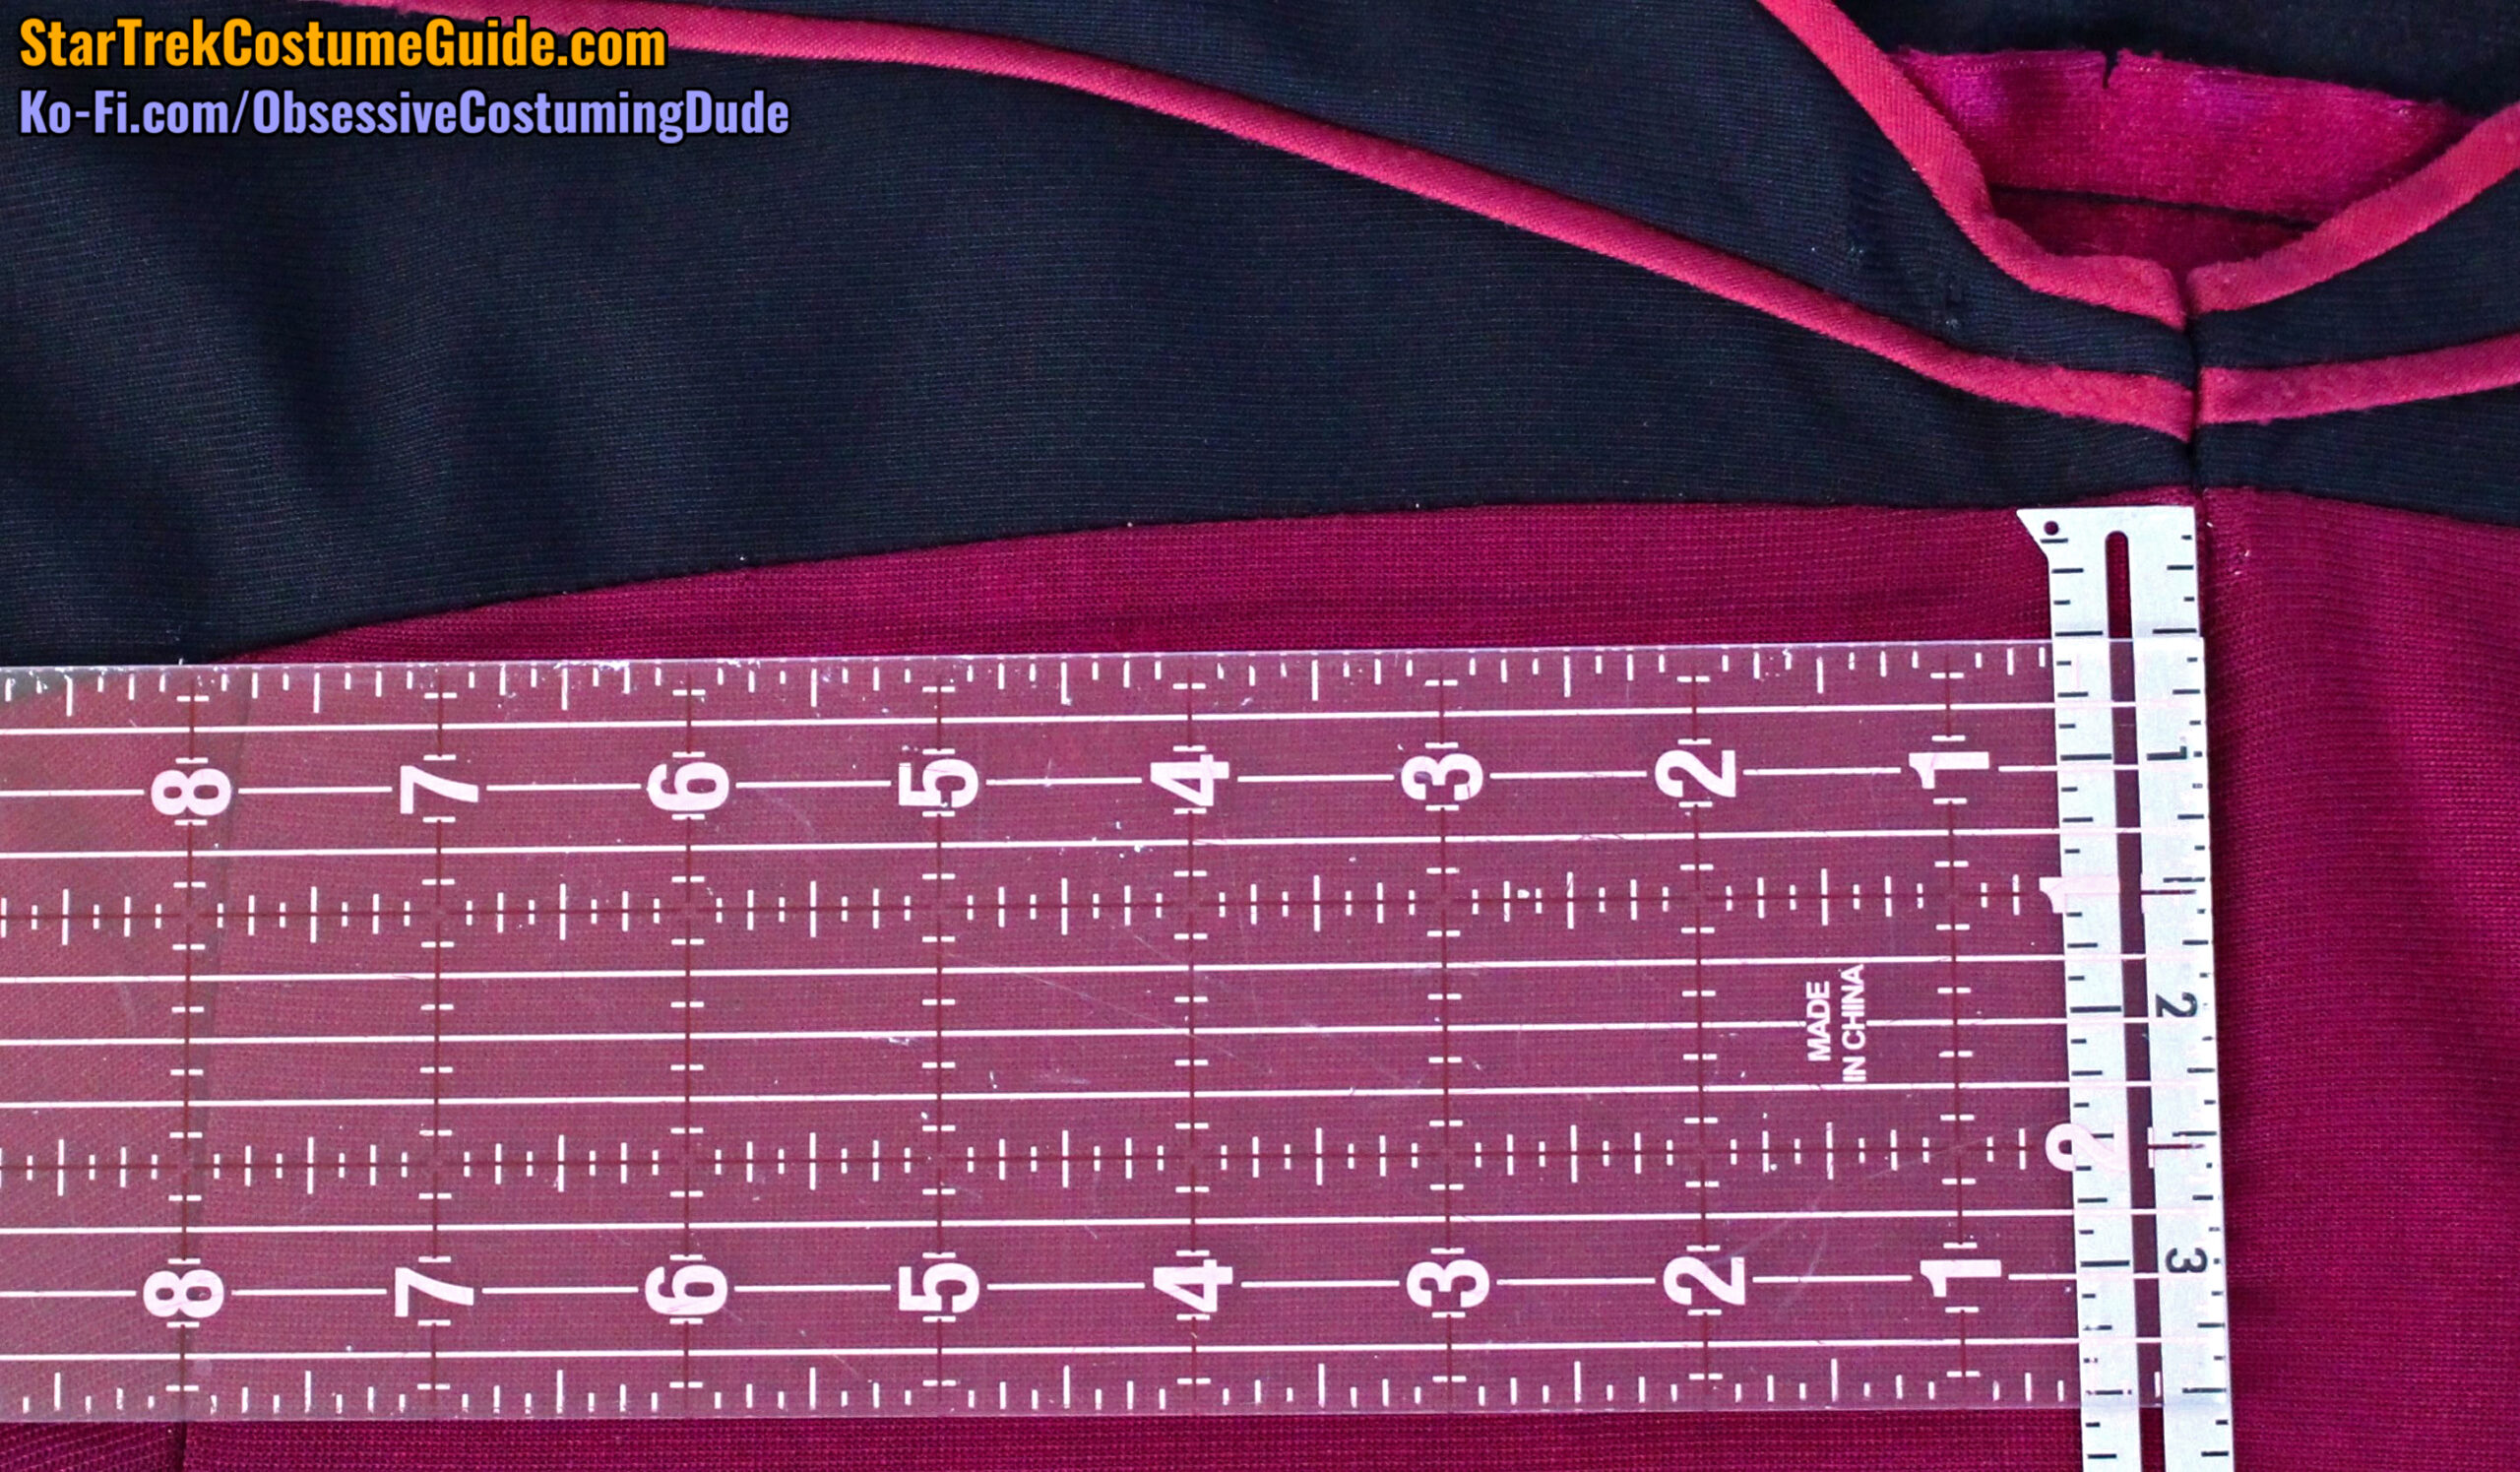
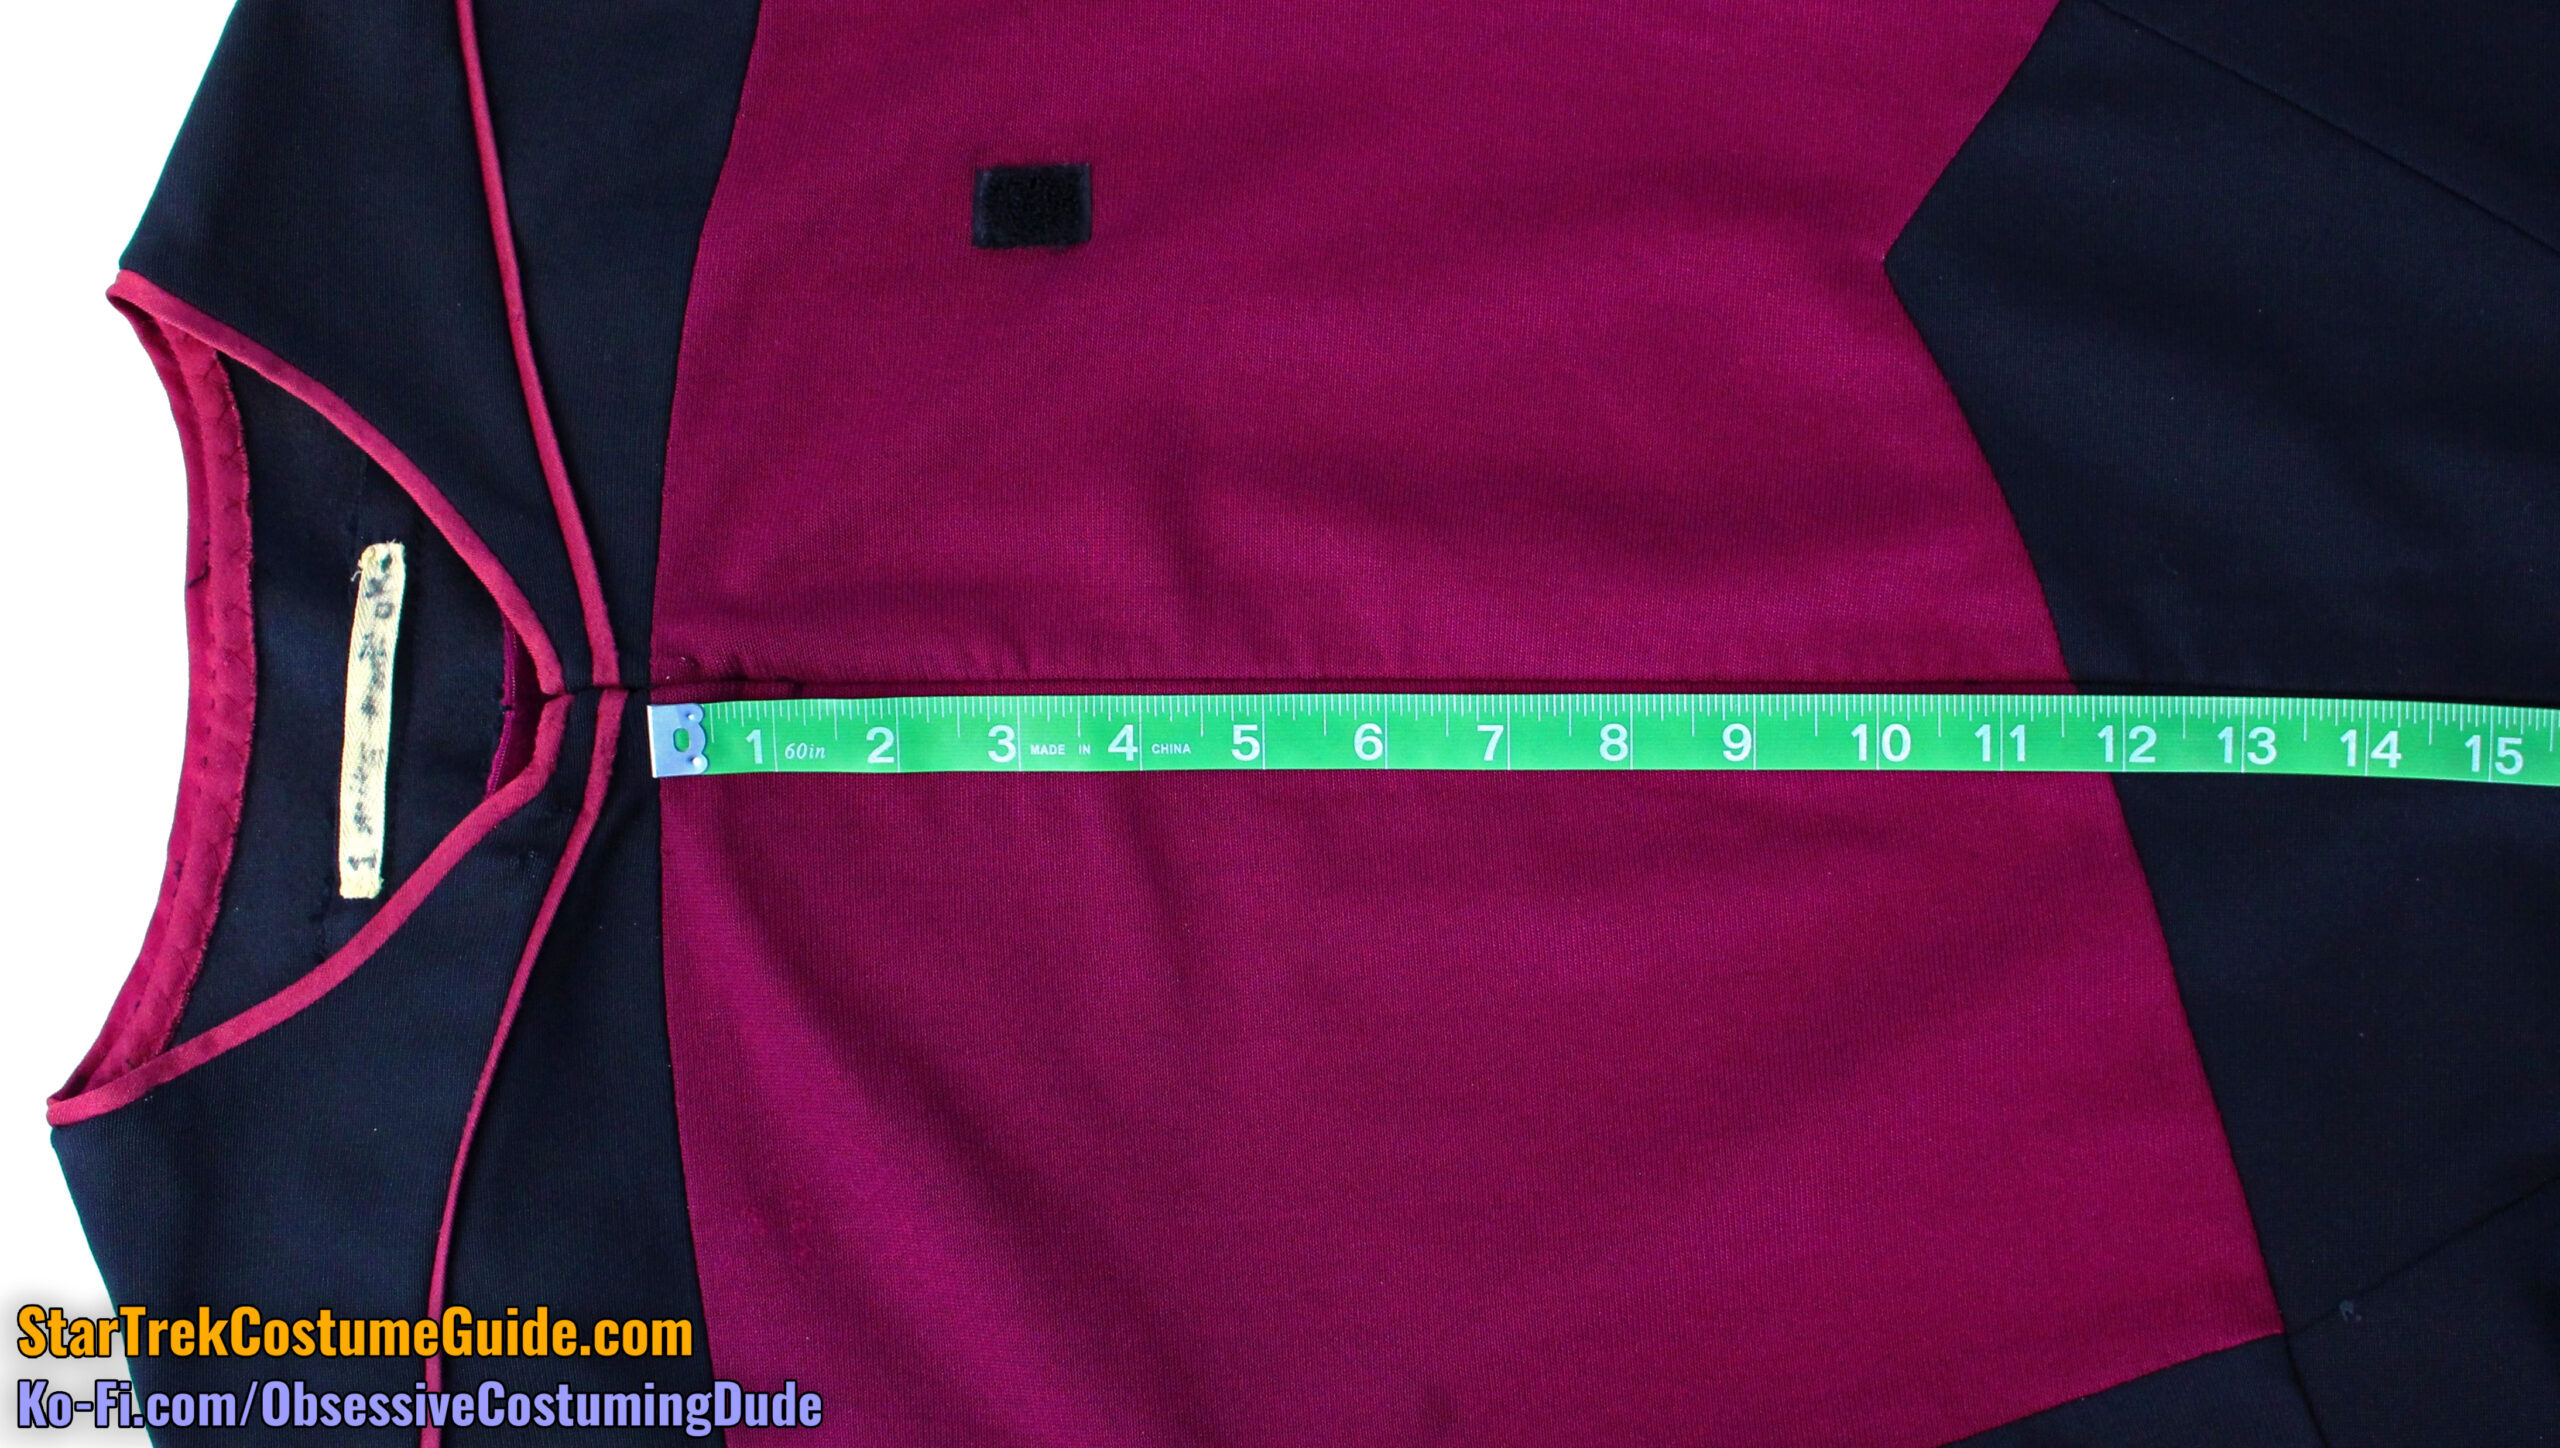
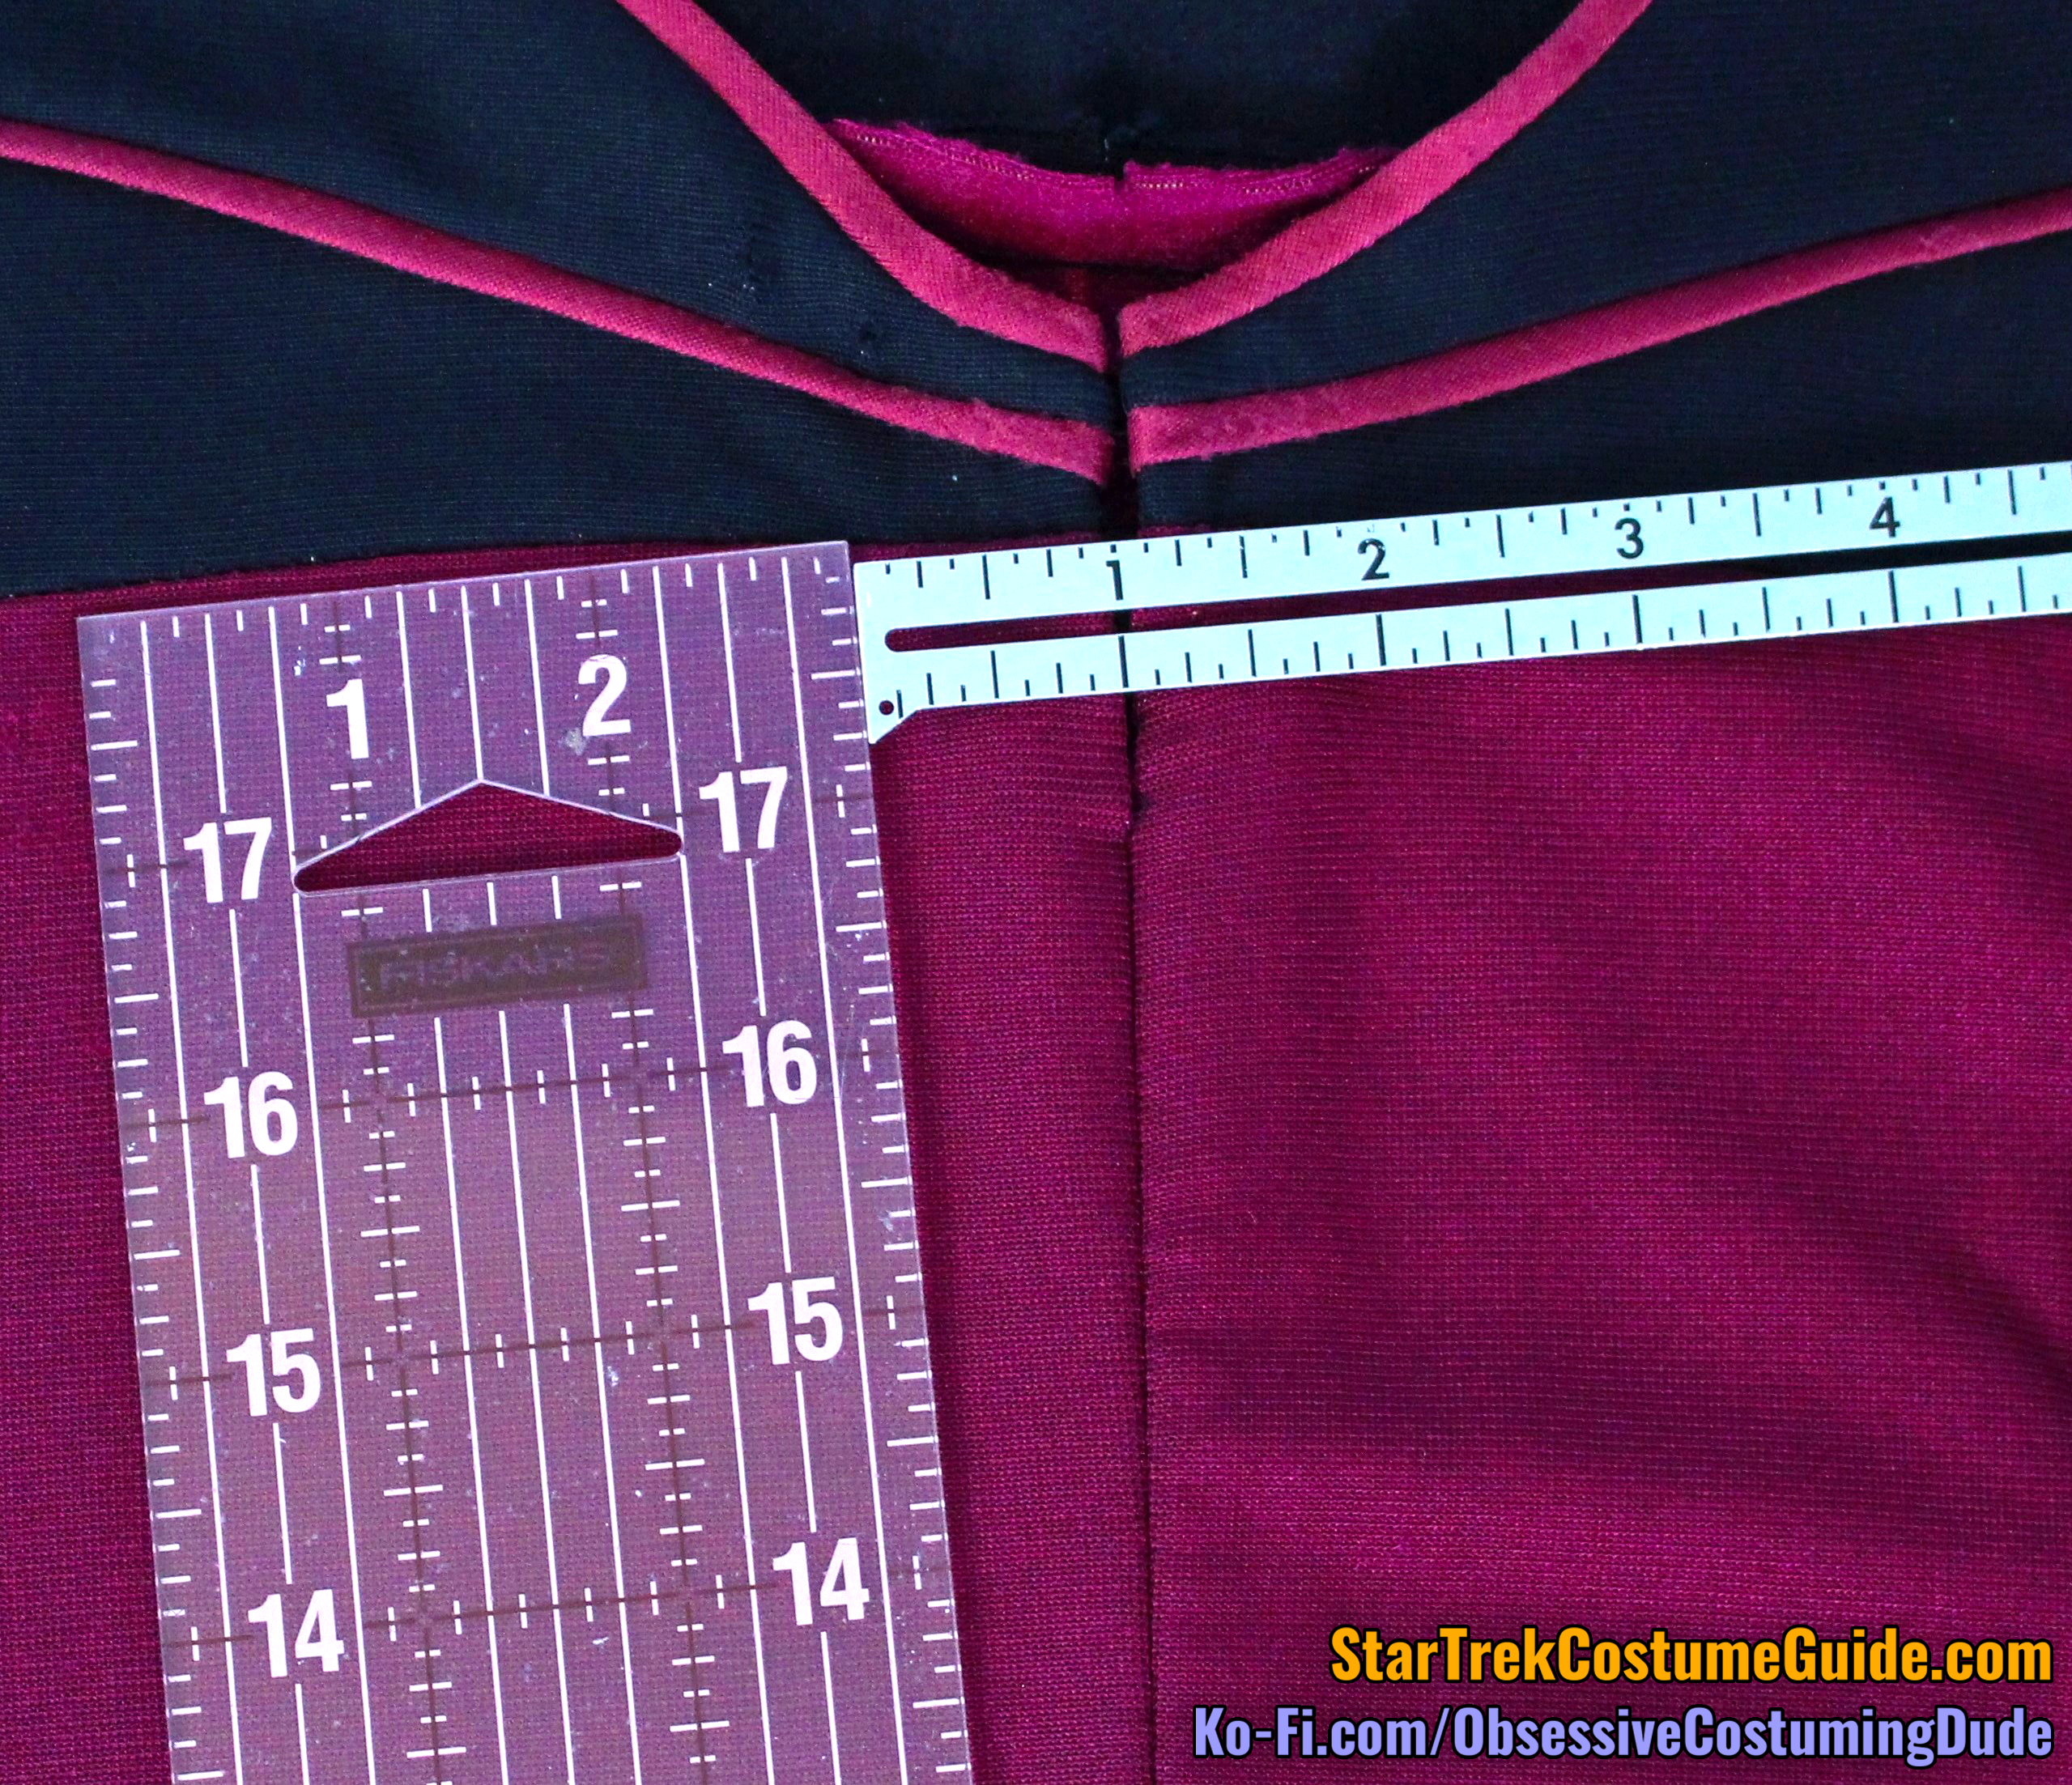
The yoke was ⅞” deep at the center front, including the neckline trim.
As you may recall from my TNG jumpsuit analysis, the yoke depths and proportions varied considerably over the first couple seasons – both unintentionally (it can be difficult to properly control the spandex in this area during construction) and by design (Durinda Rice Wood seems to have intentionally deepened the yokes over the course of season 2).
Personally, I regard these Worf yoke dimensions as the “ideal” for the early TNG jumpsuits.
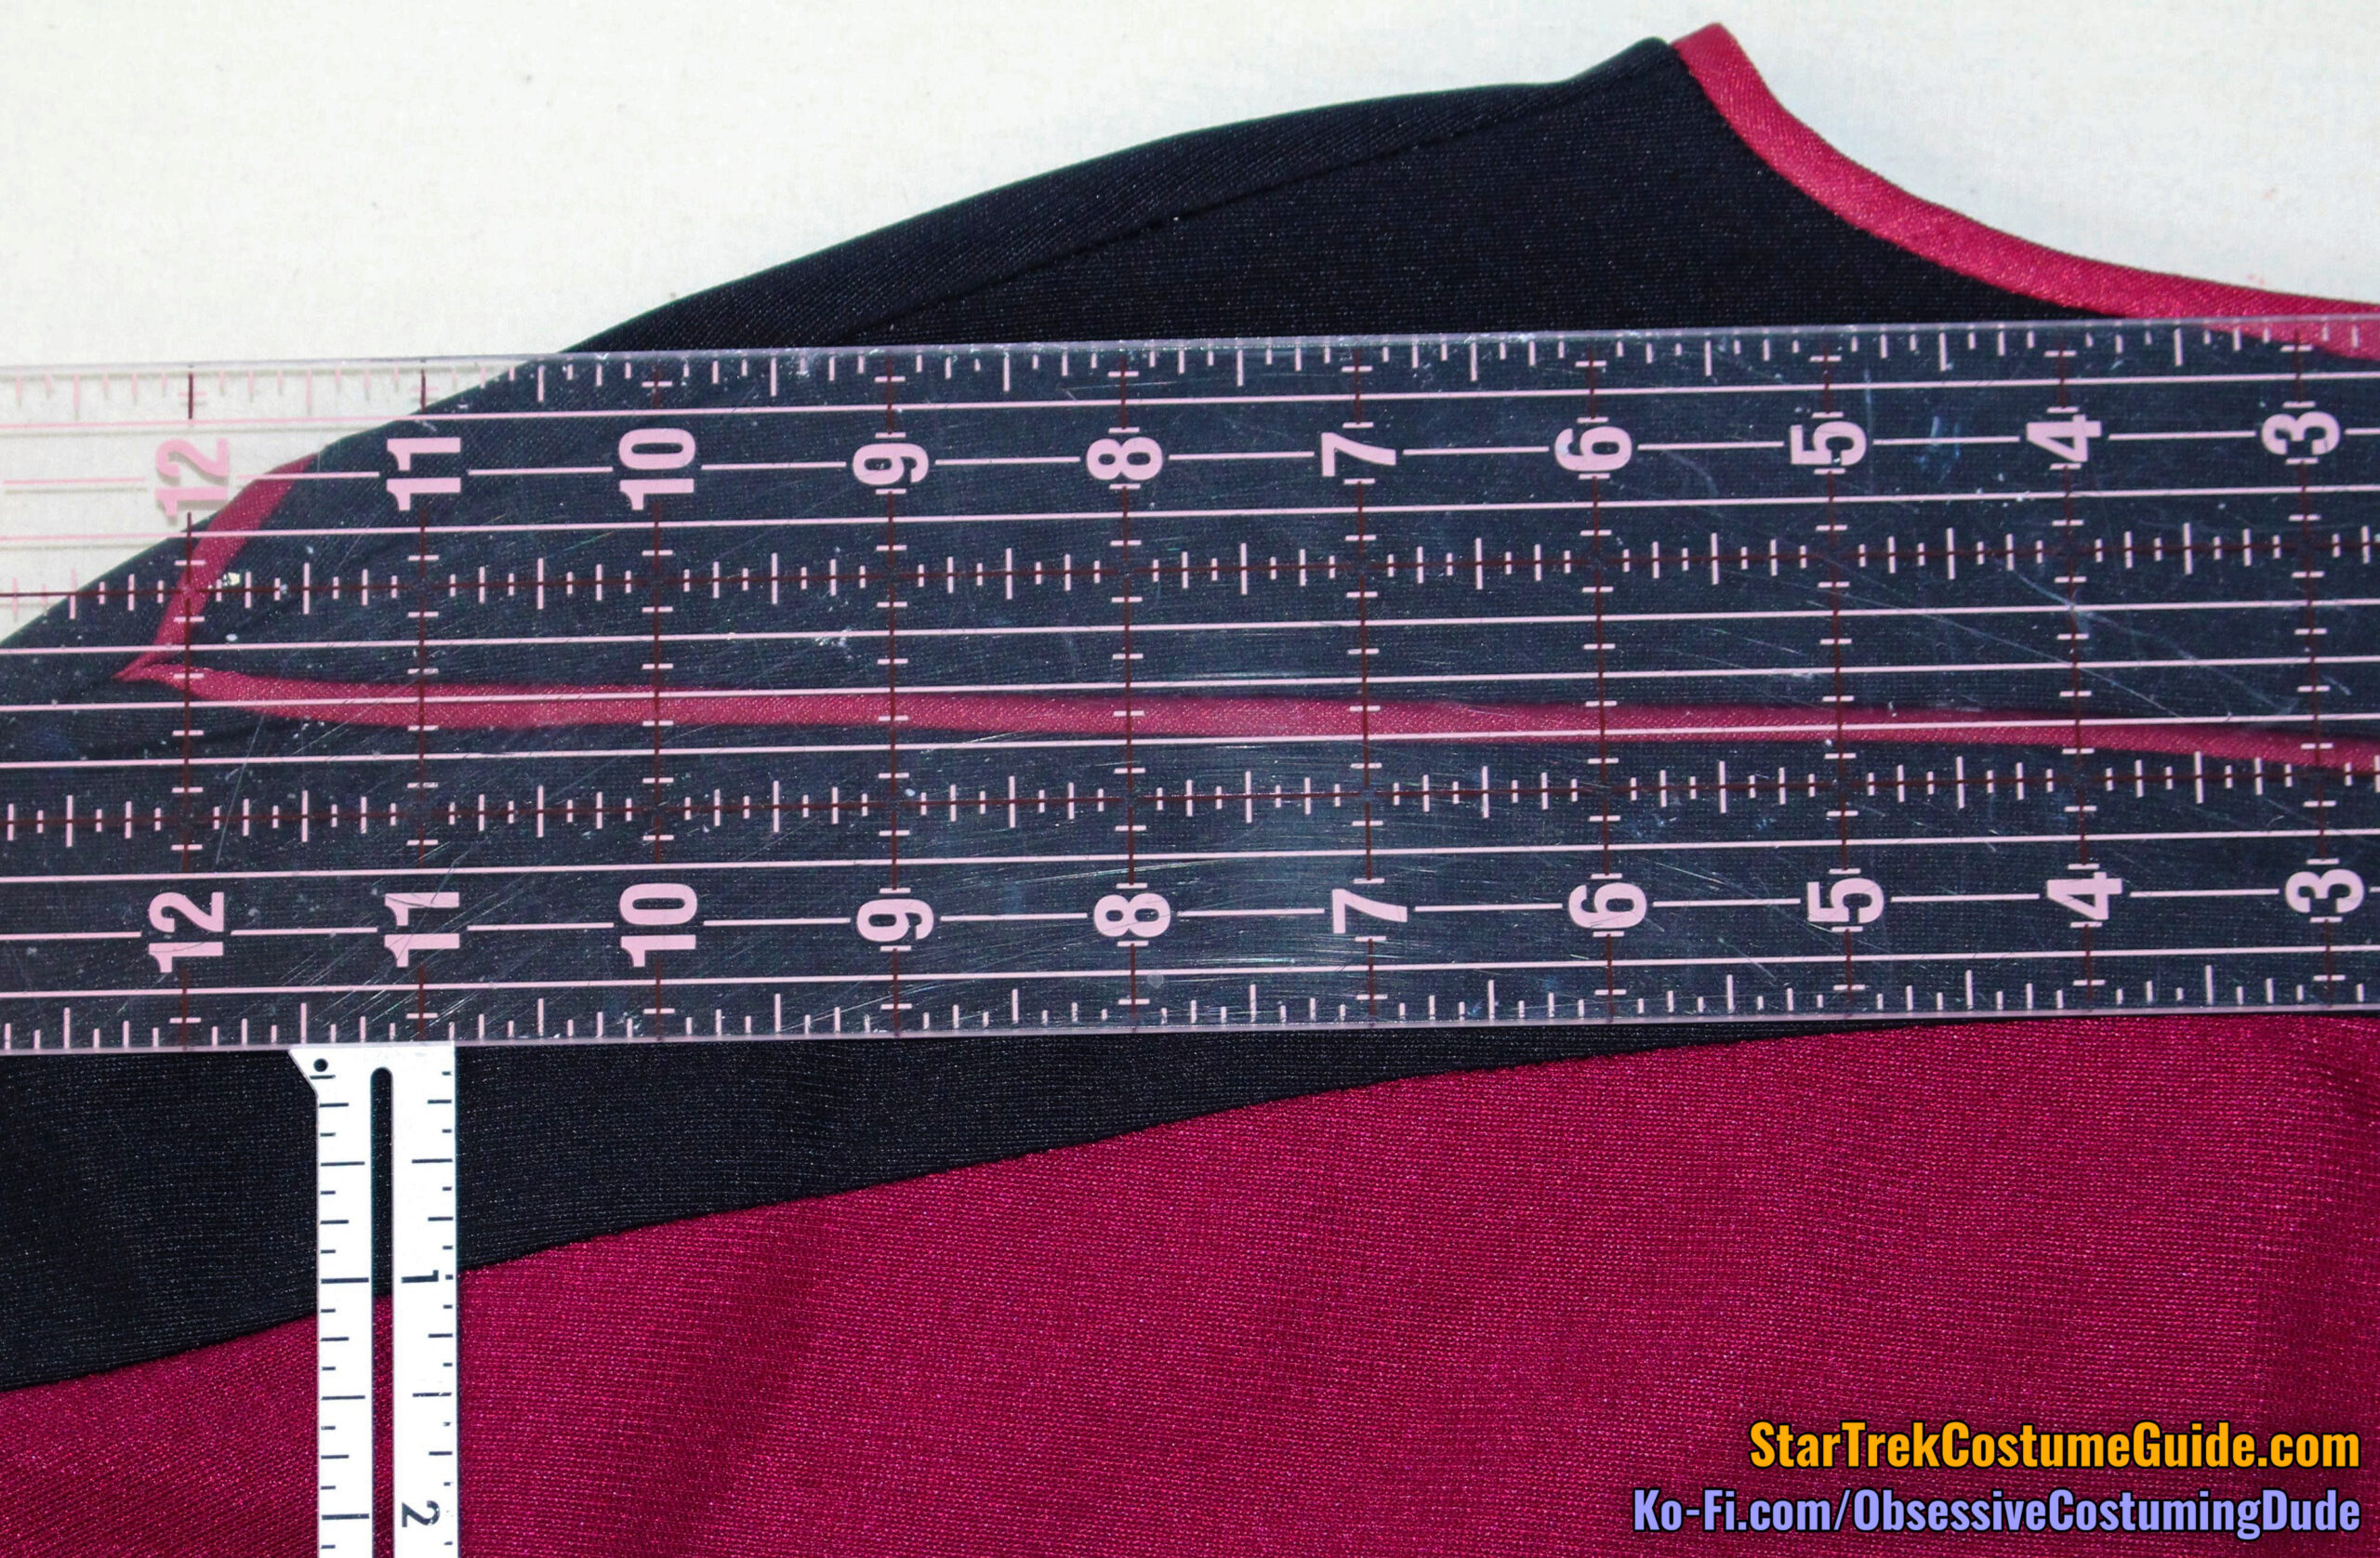
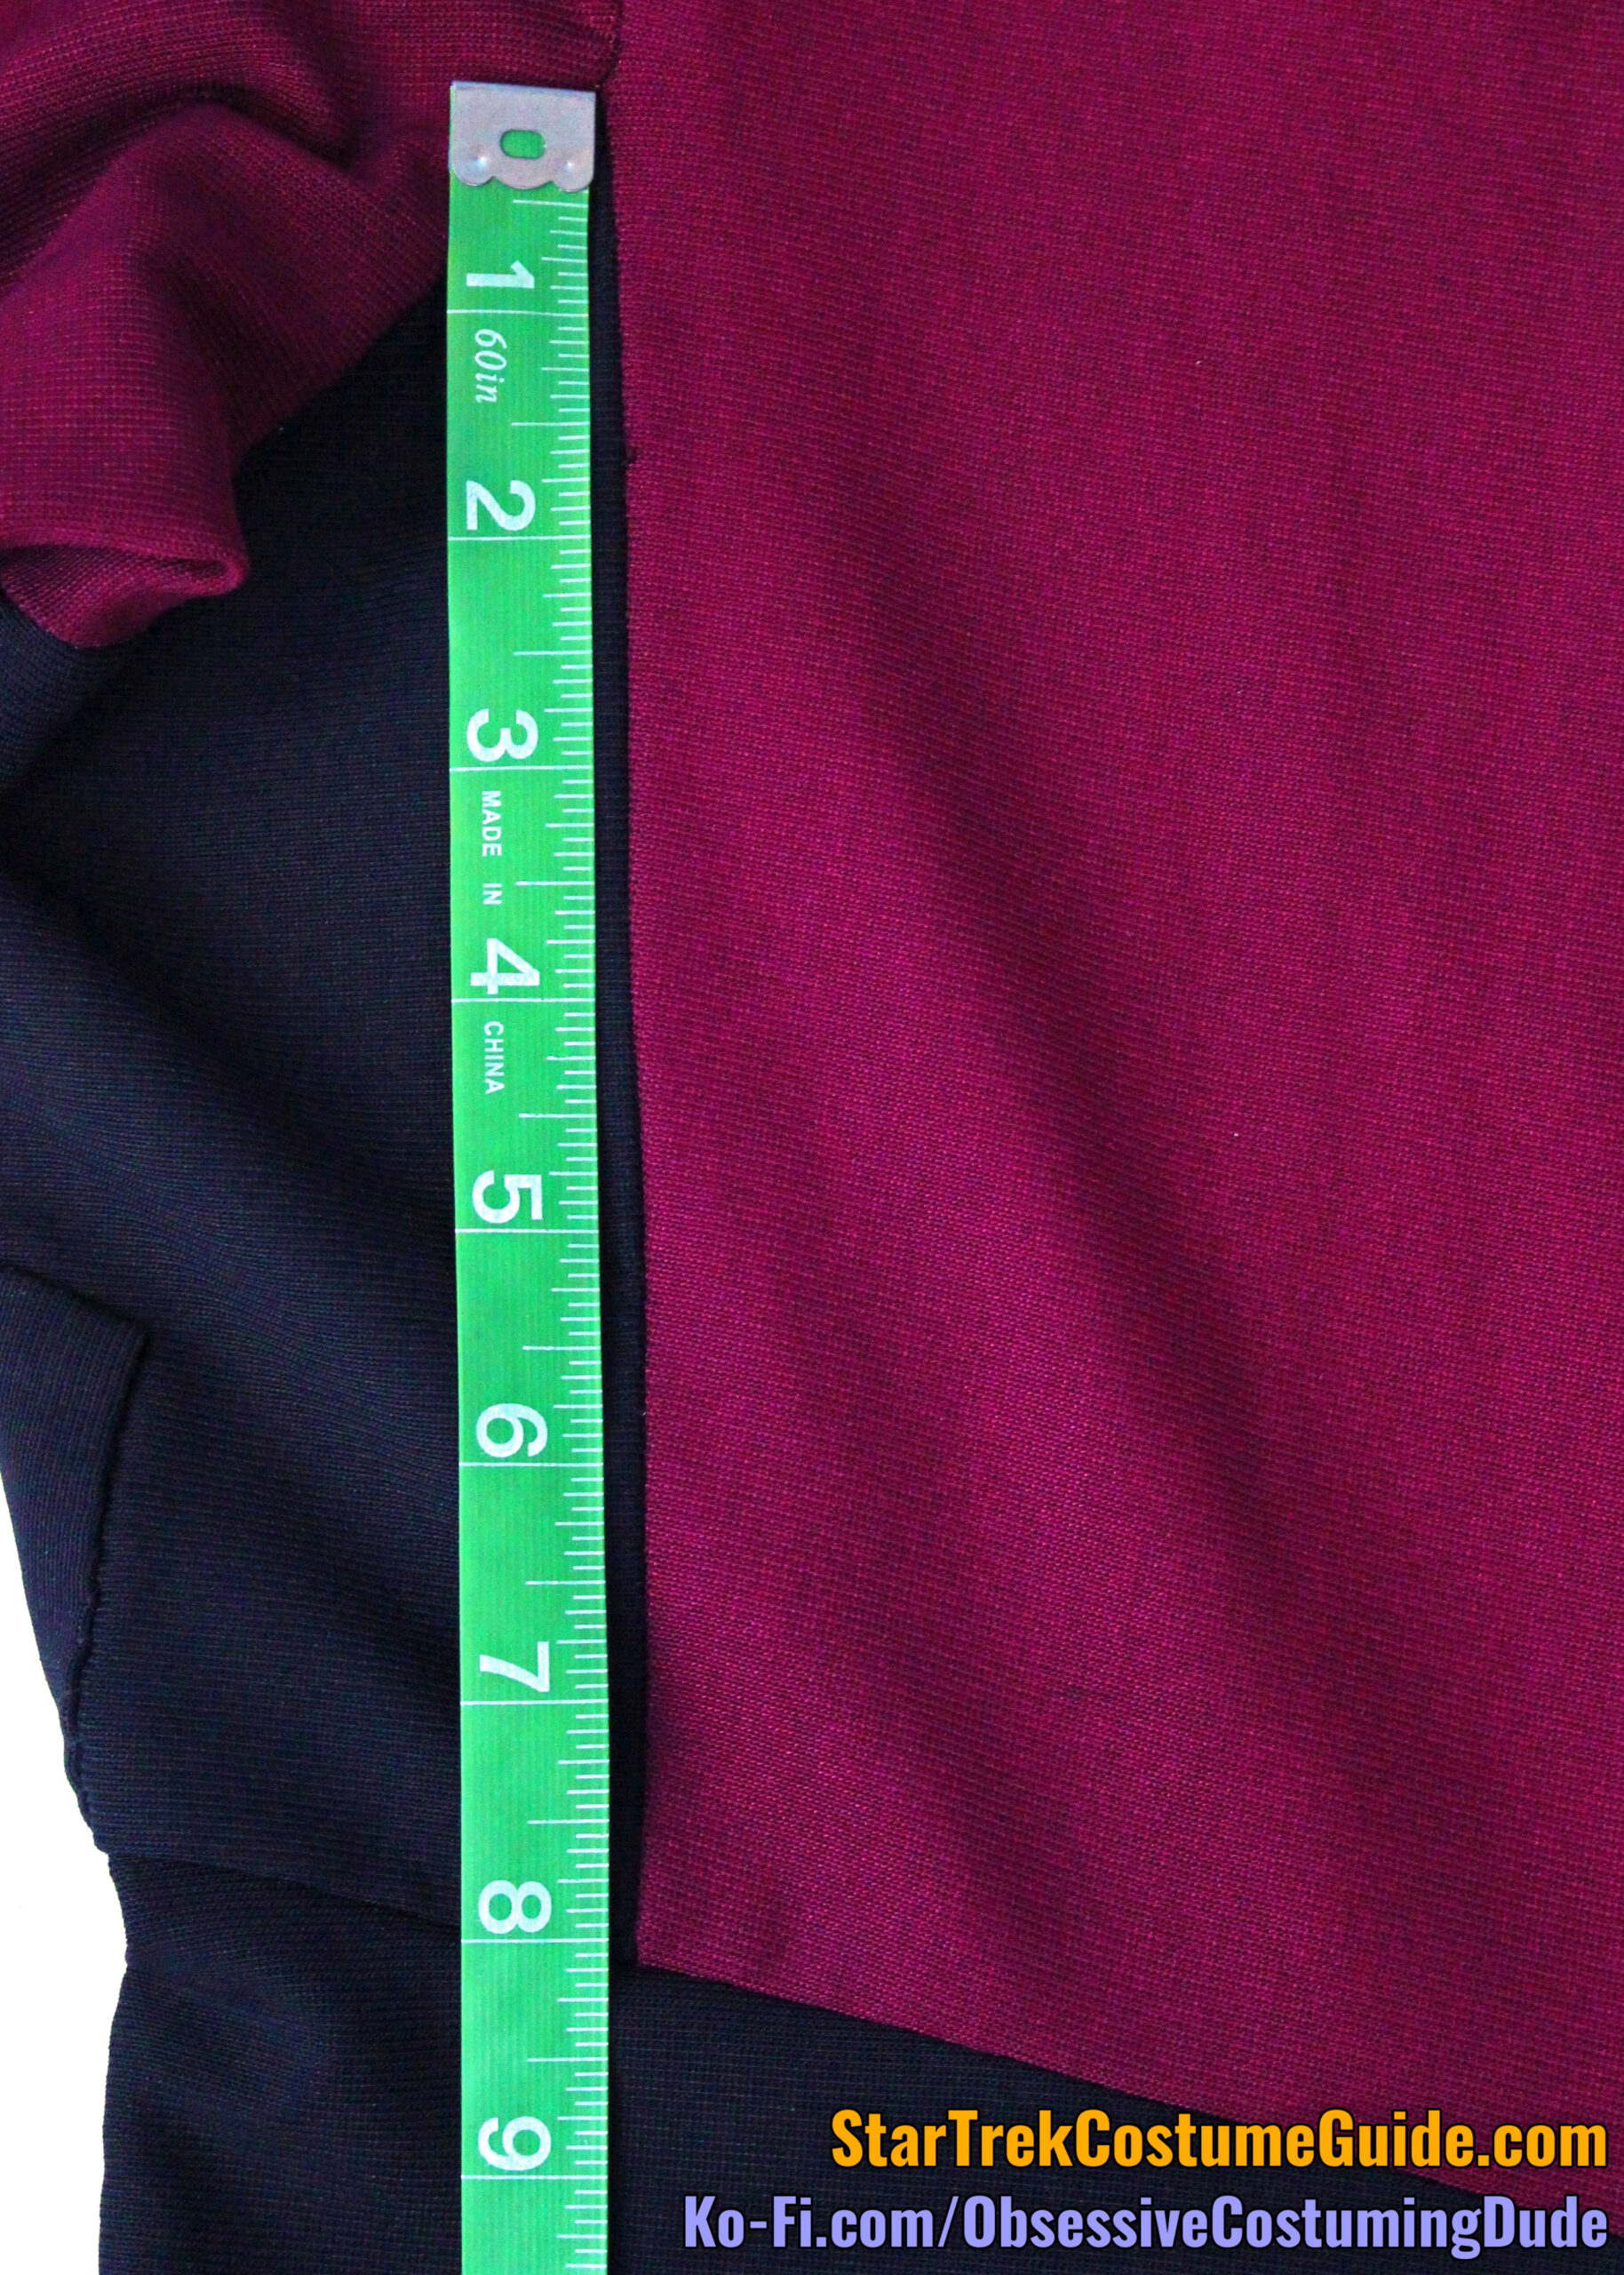
The right front yoke was 5 ¼” deep at the shoulder seam, but the left front yoke was only 5” deep.
The right upper yoke/shoulder seam was 6 ¾” (measured from the outer edge of the neckline trim to the upper edge of the yoke piping).
However, the left upper yoke/shoulder seam was ¼” longer, measuring 7”.
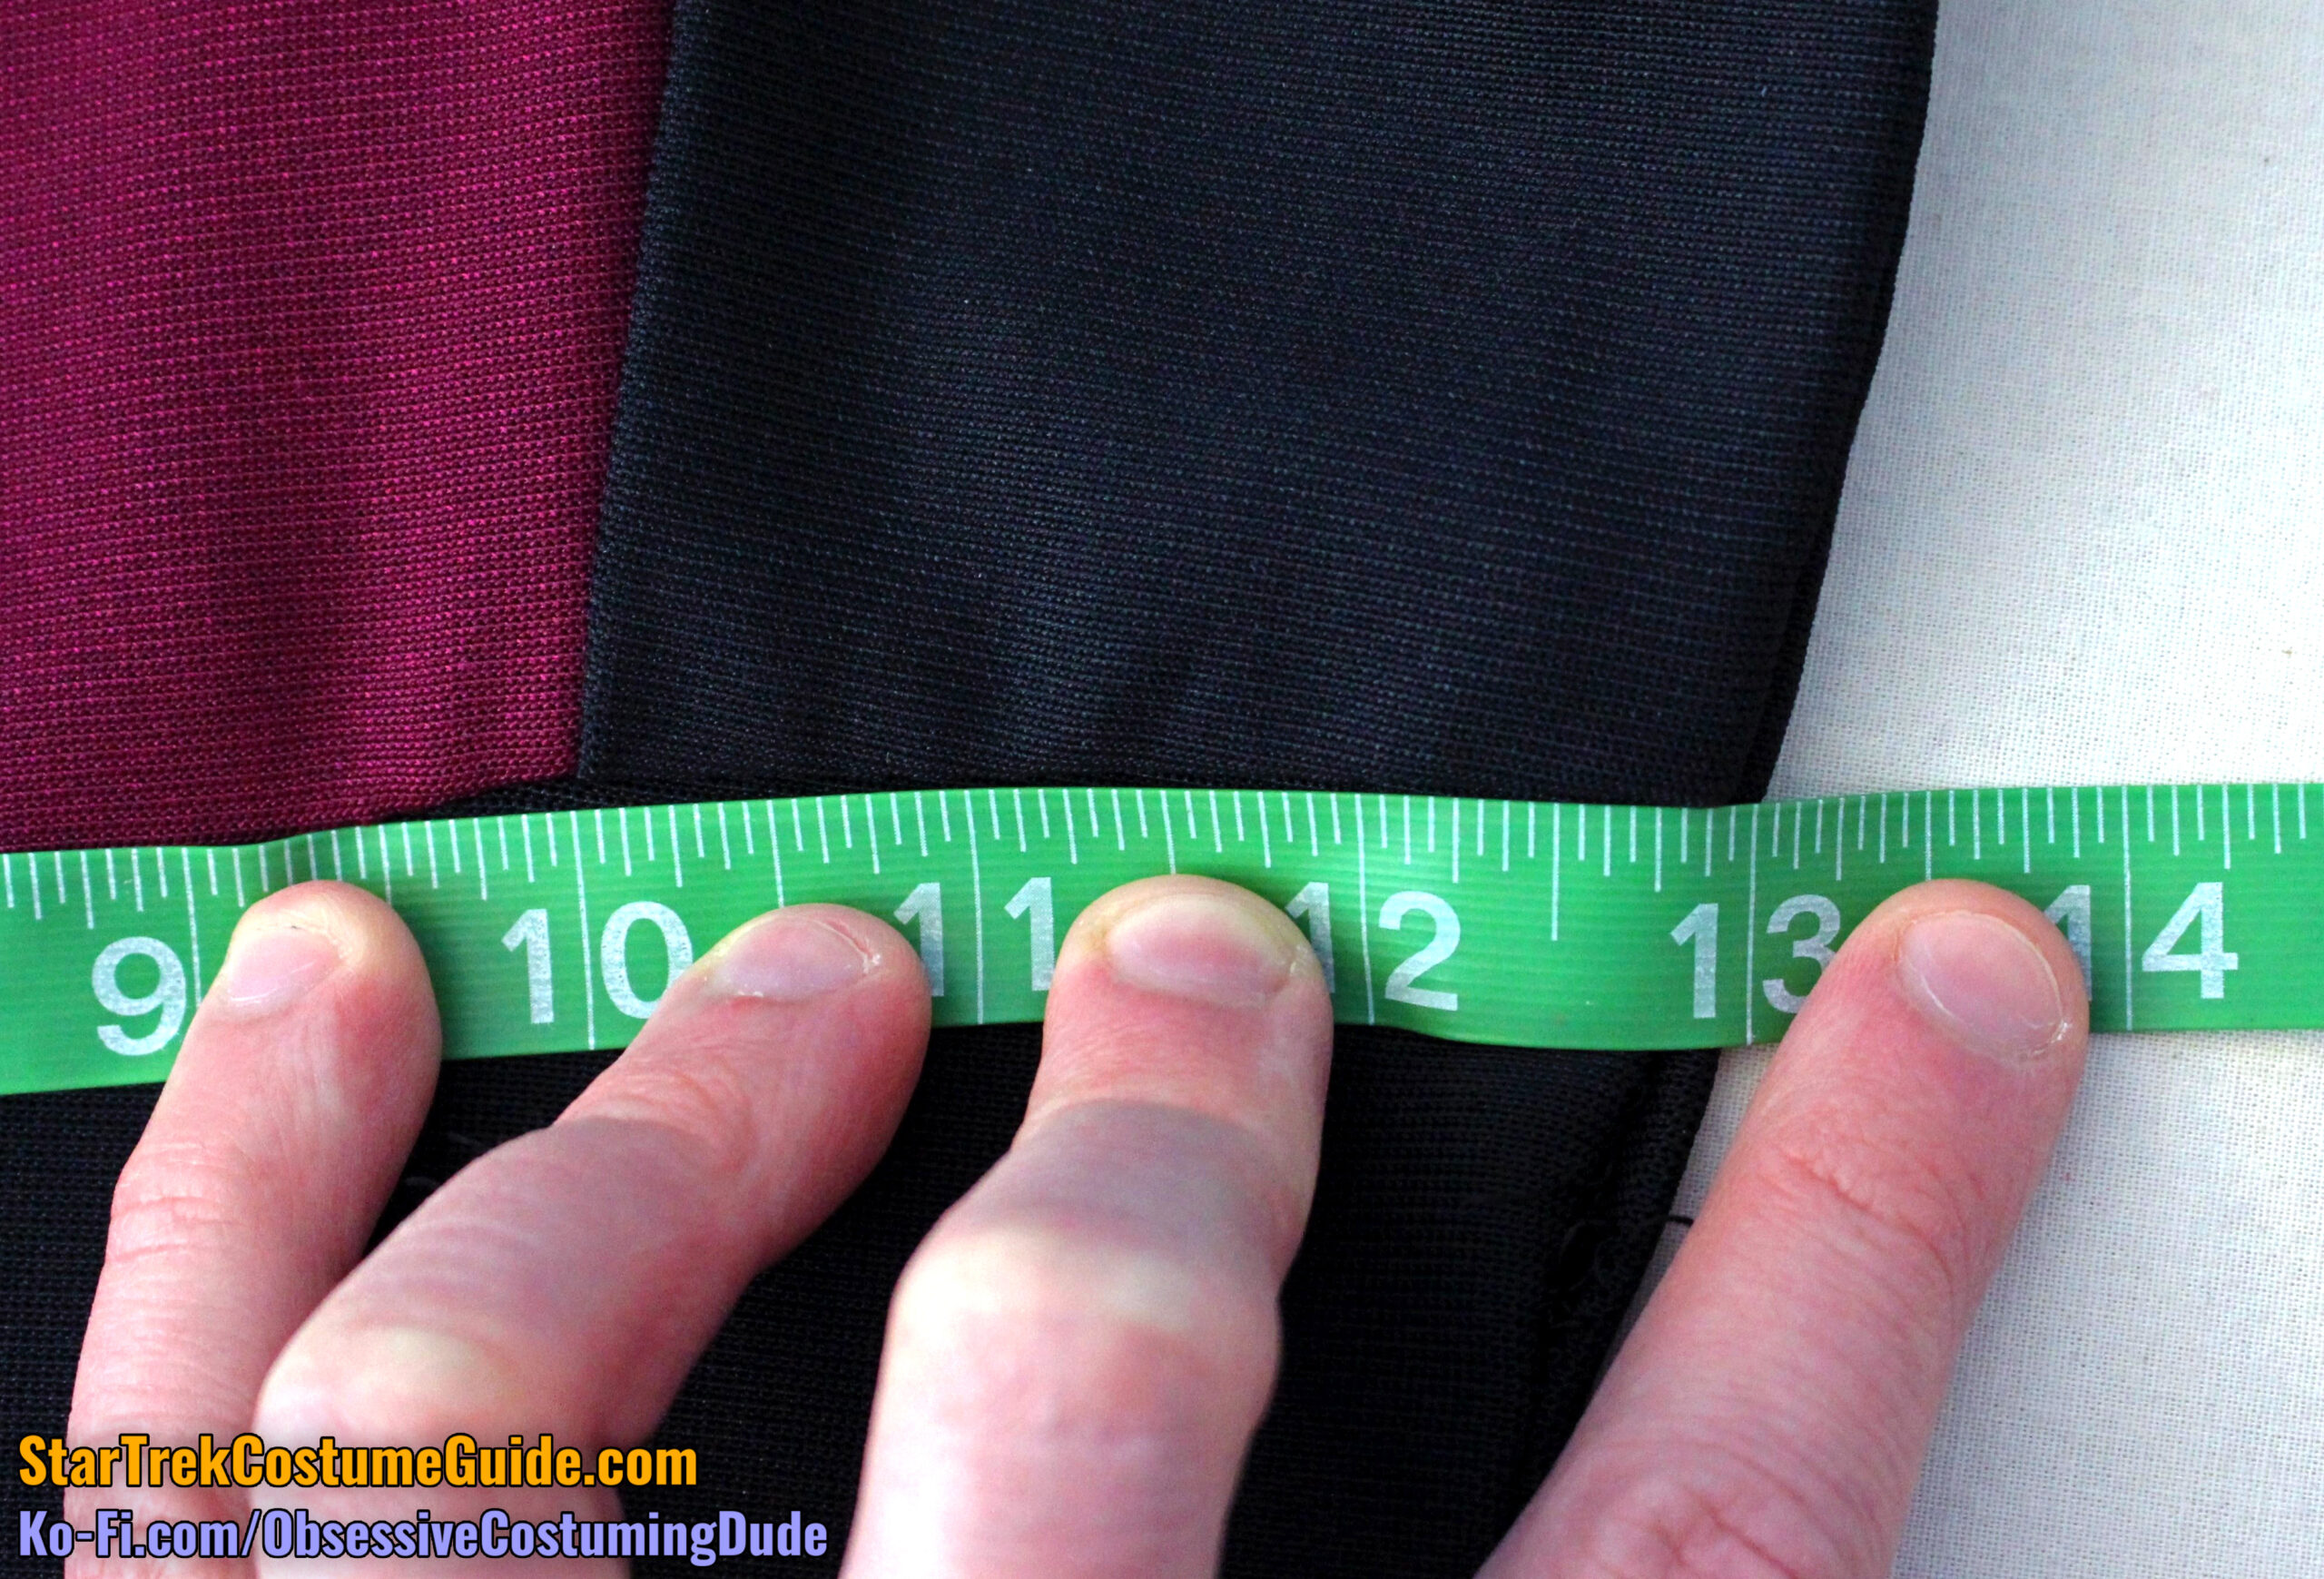
Both yokes extended onto the sleeves 4 ⅞” (measured from the lower edge of the yoke piping to the lower/outer corners of the yokes).
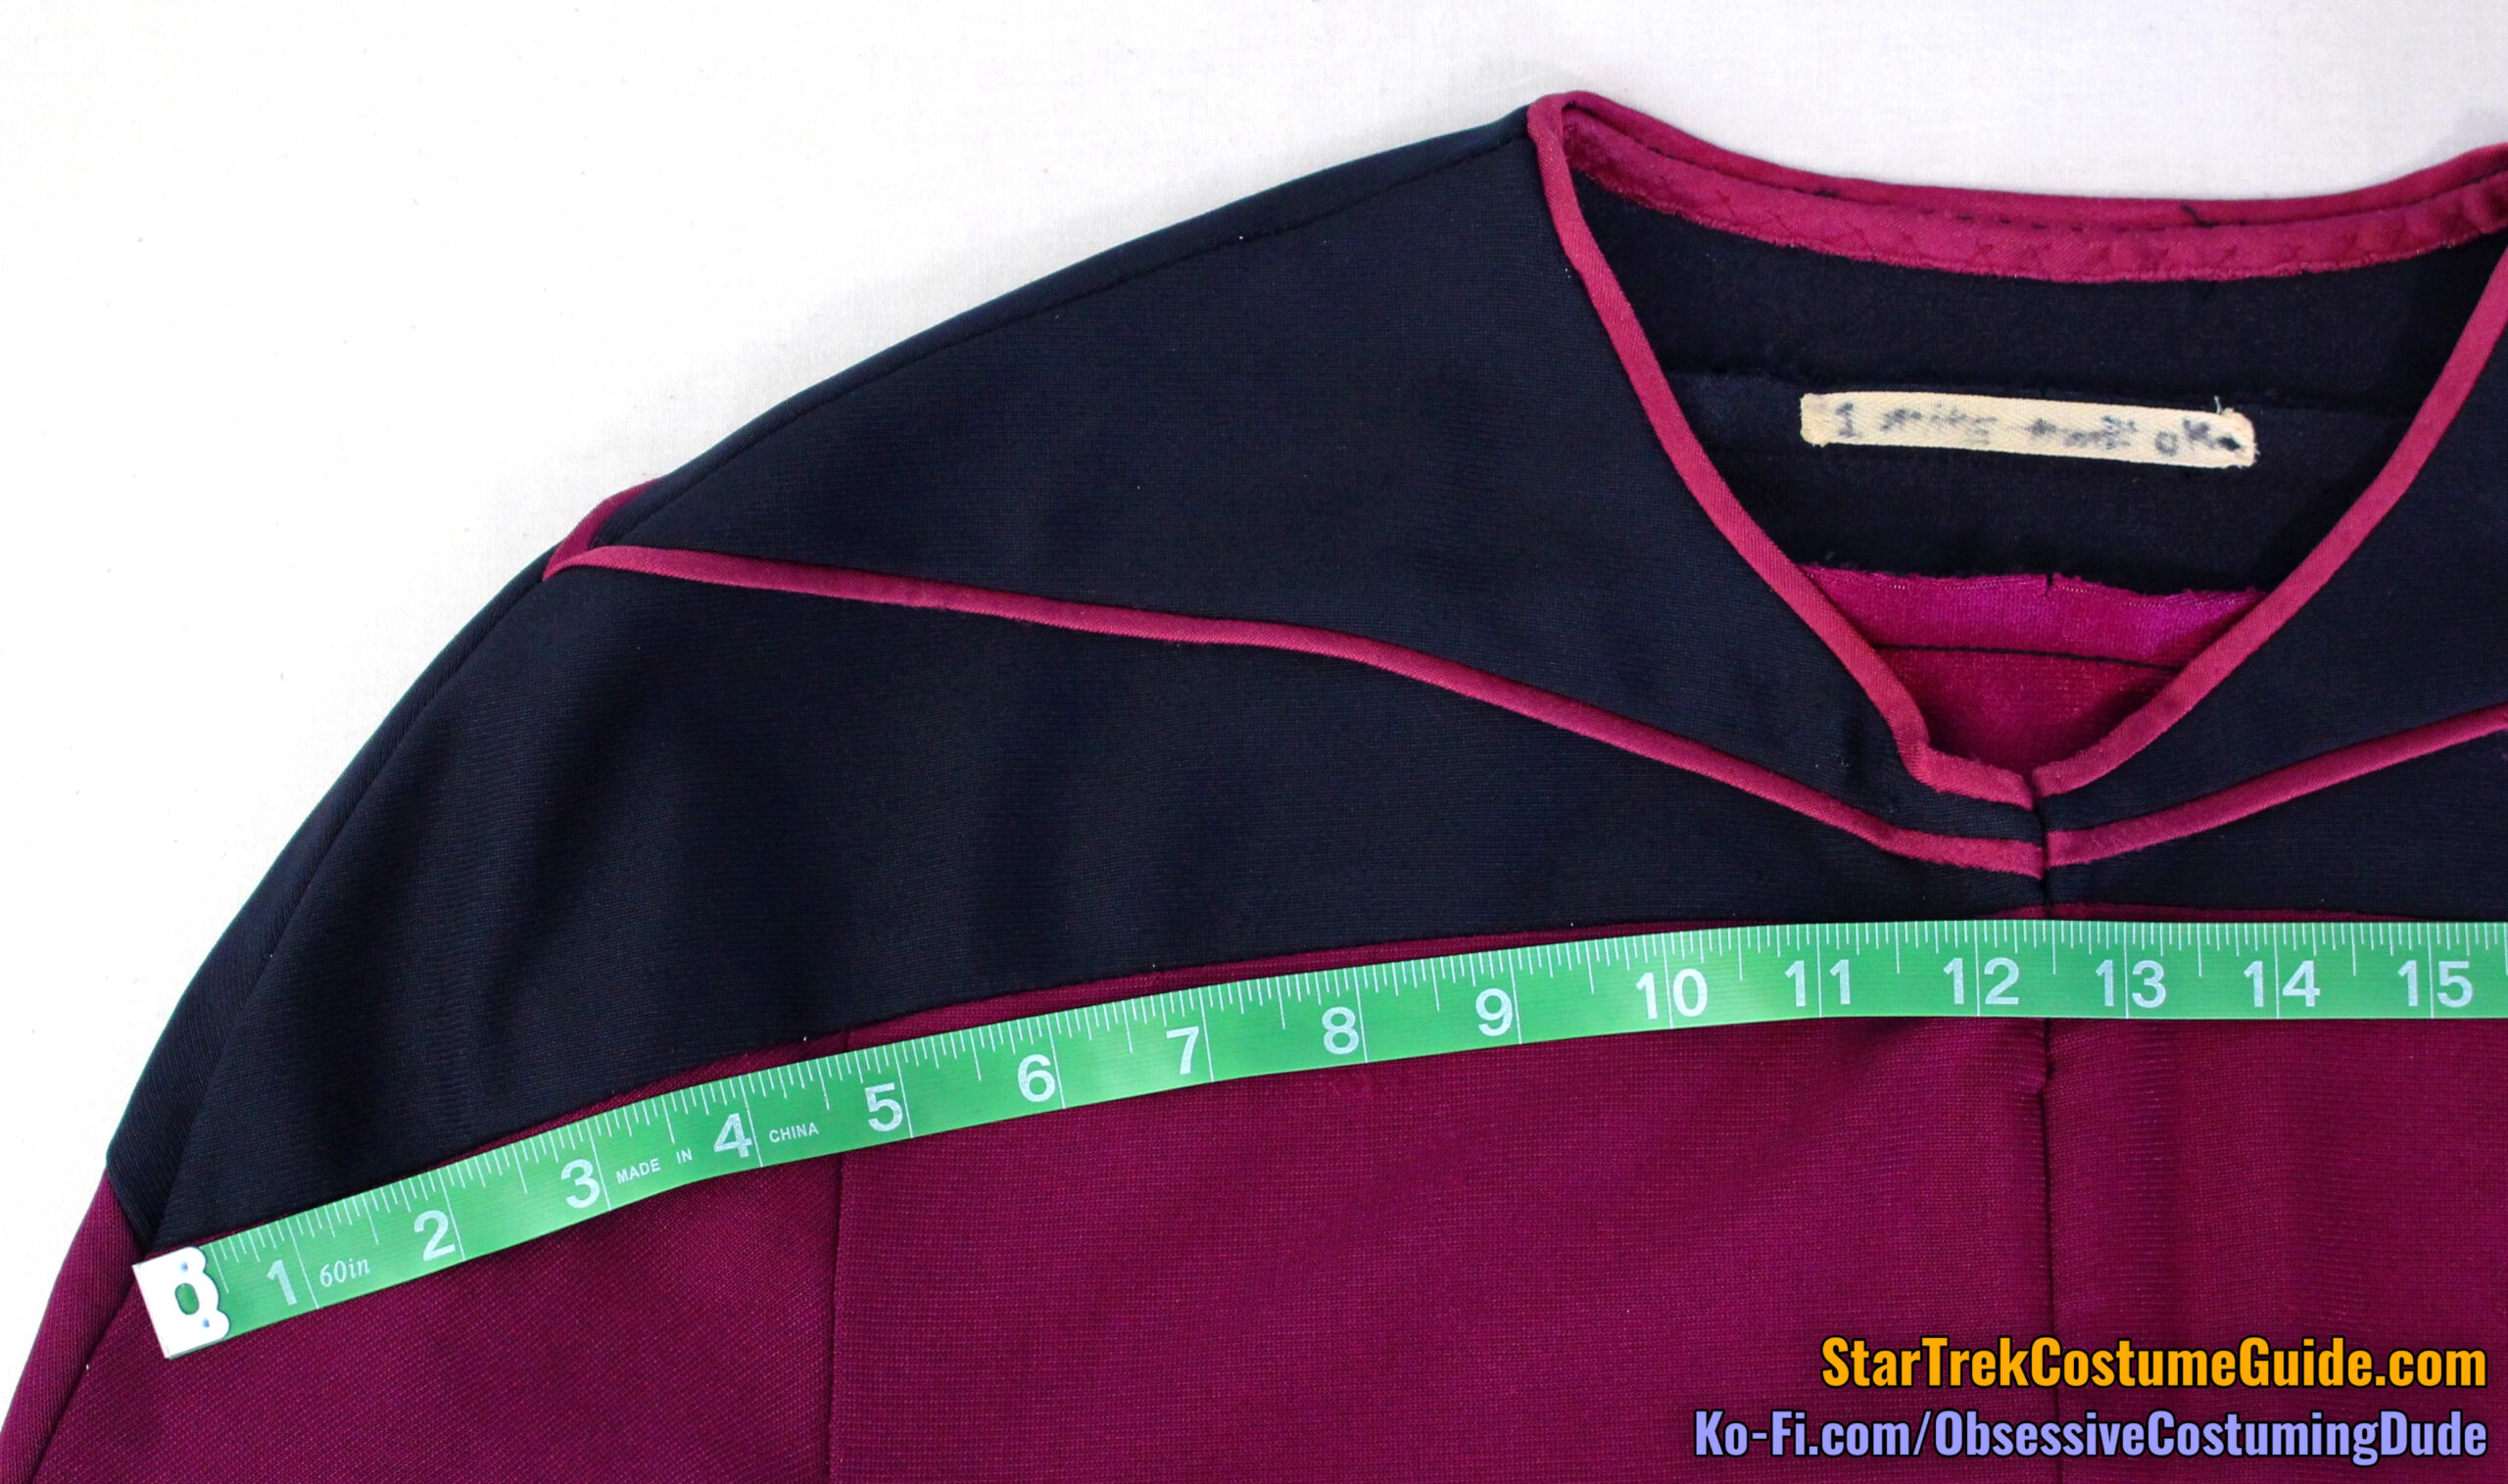
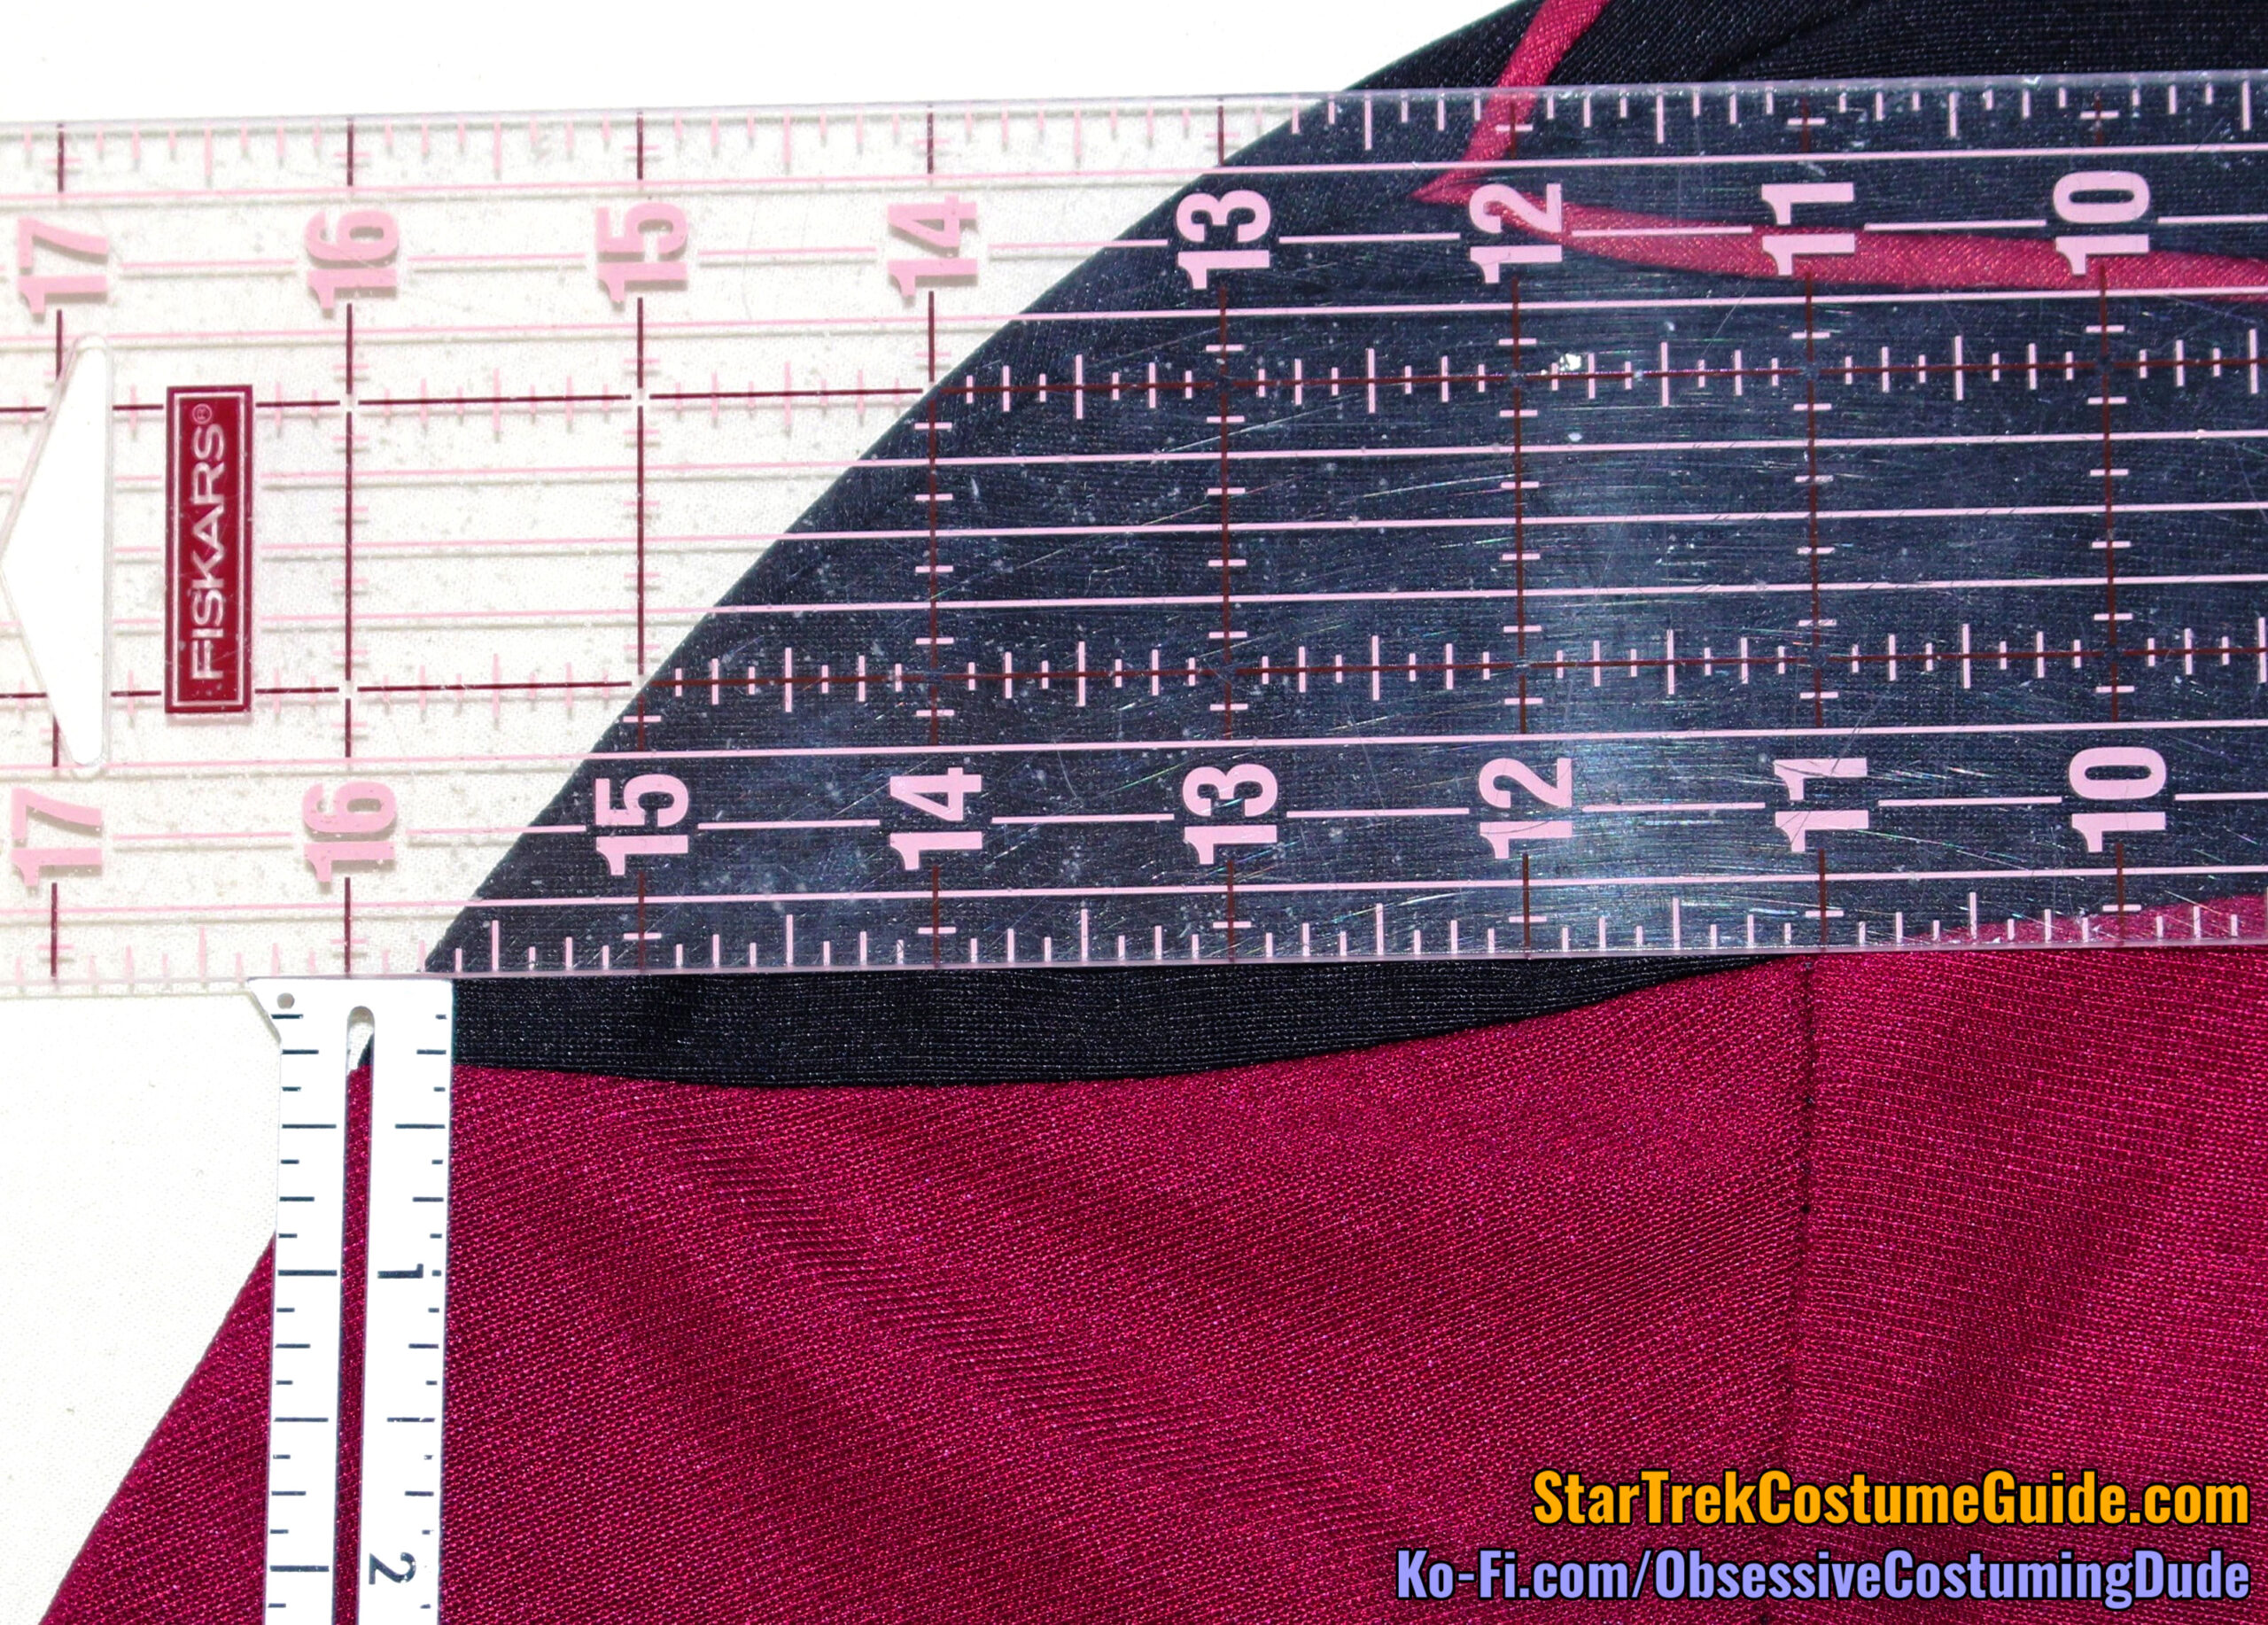
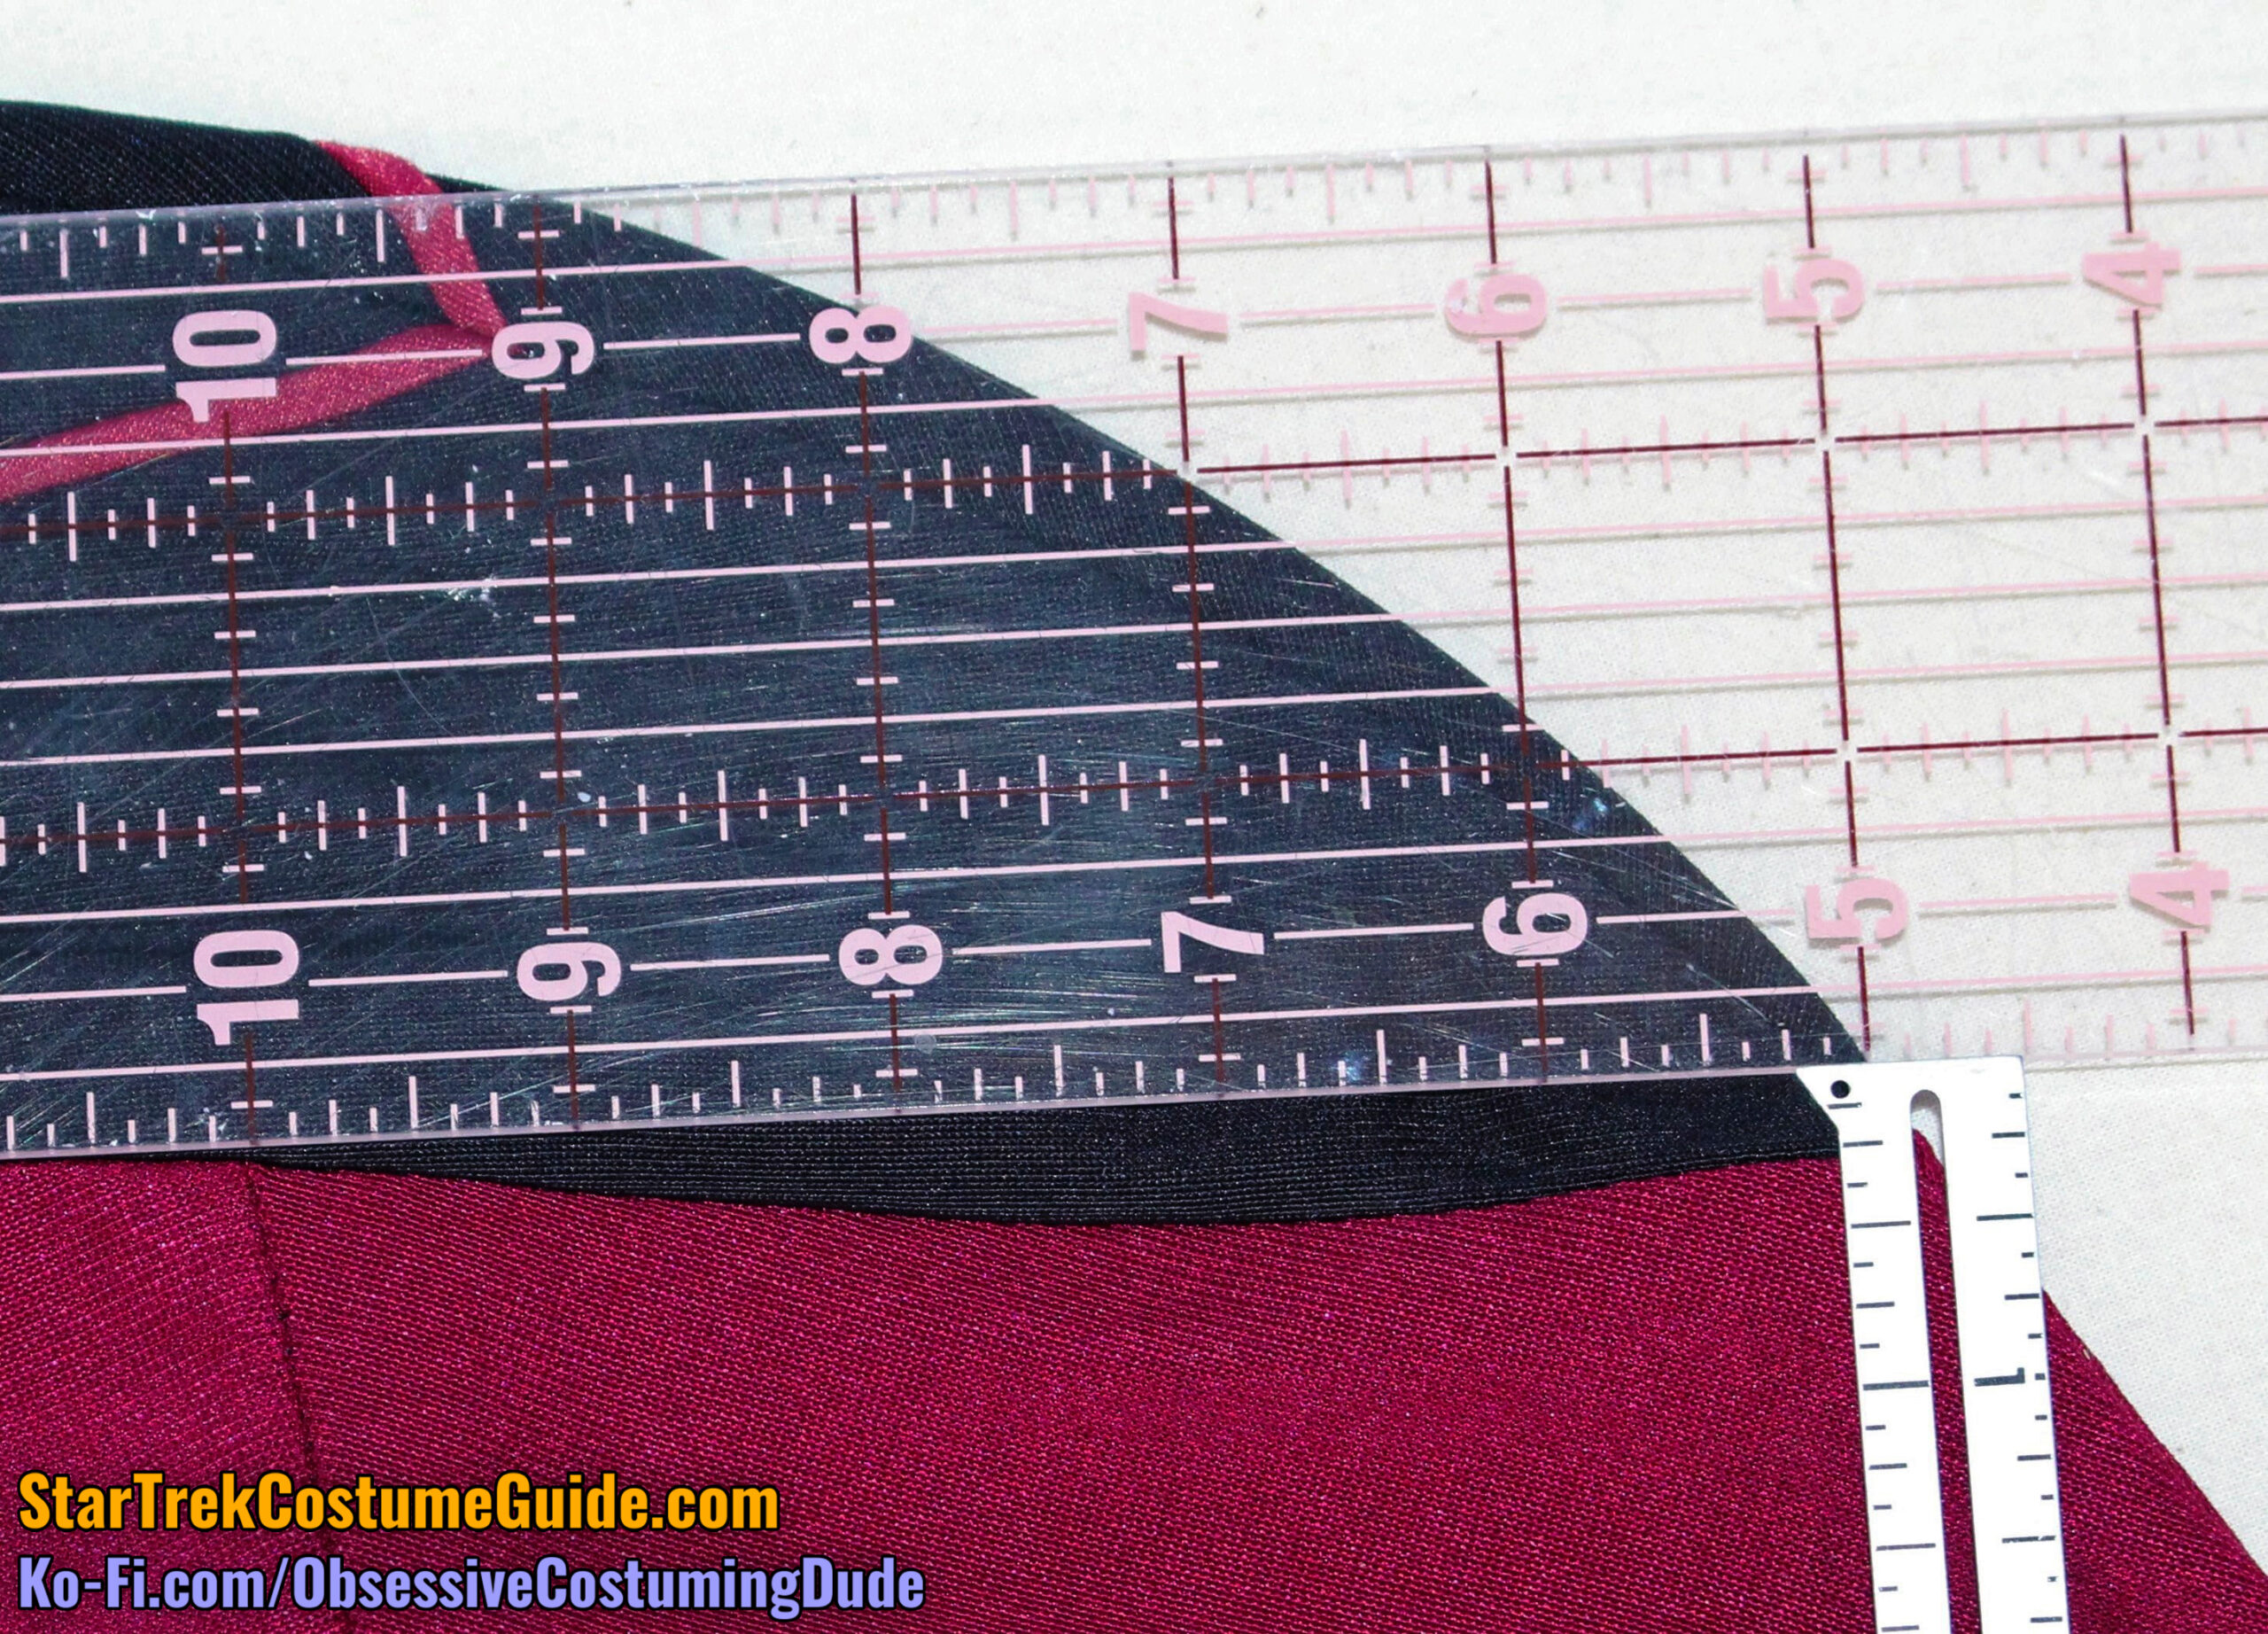
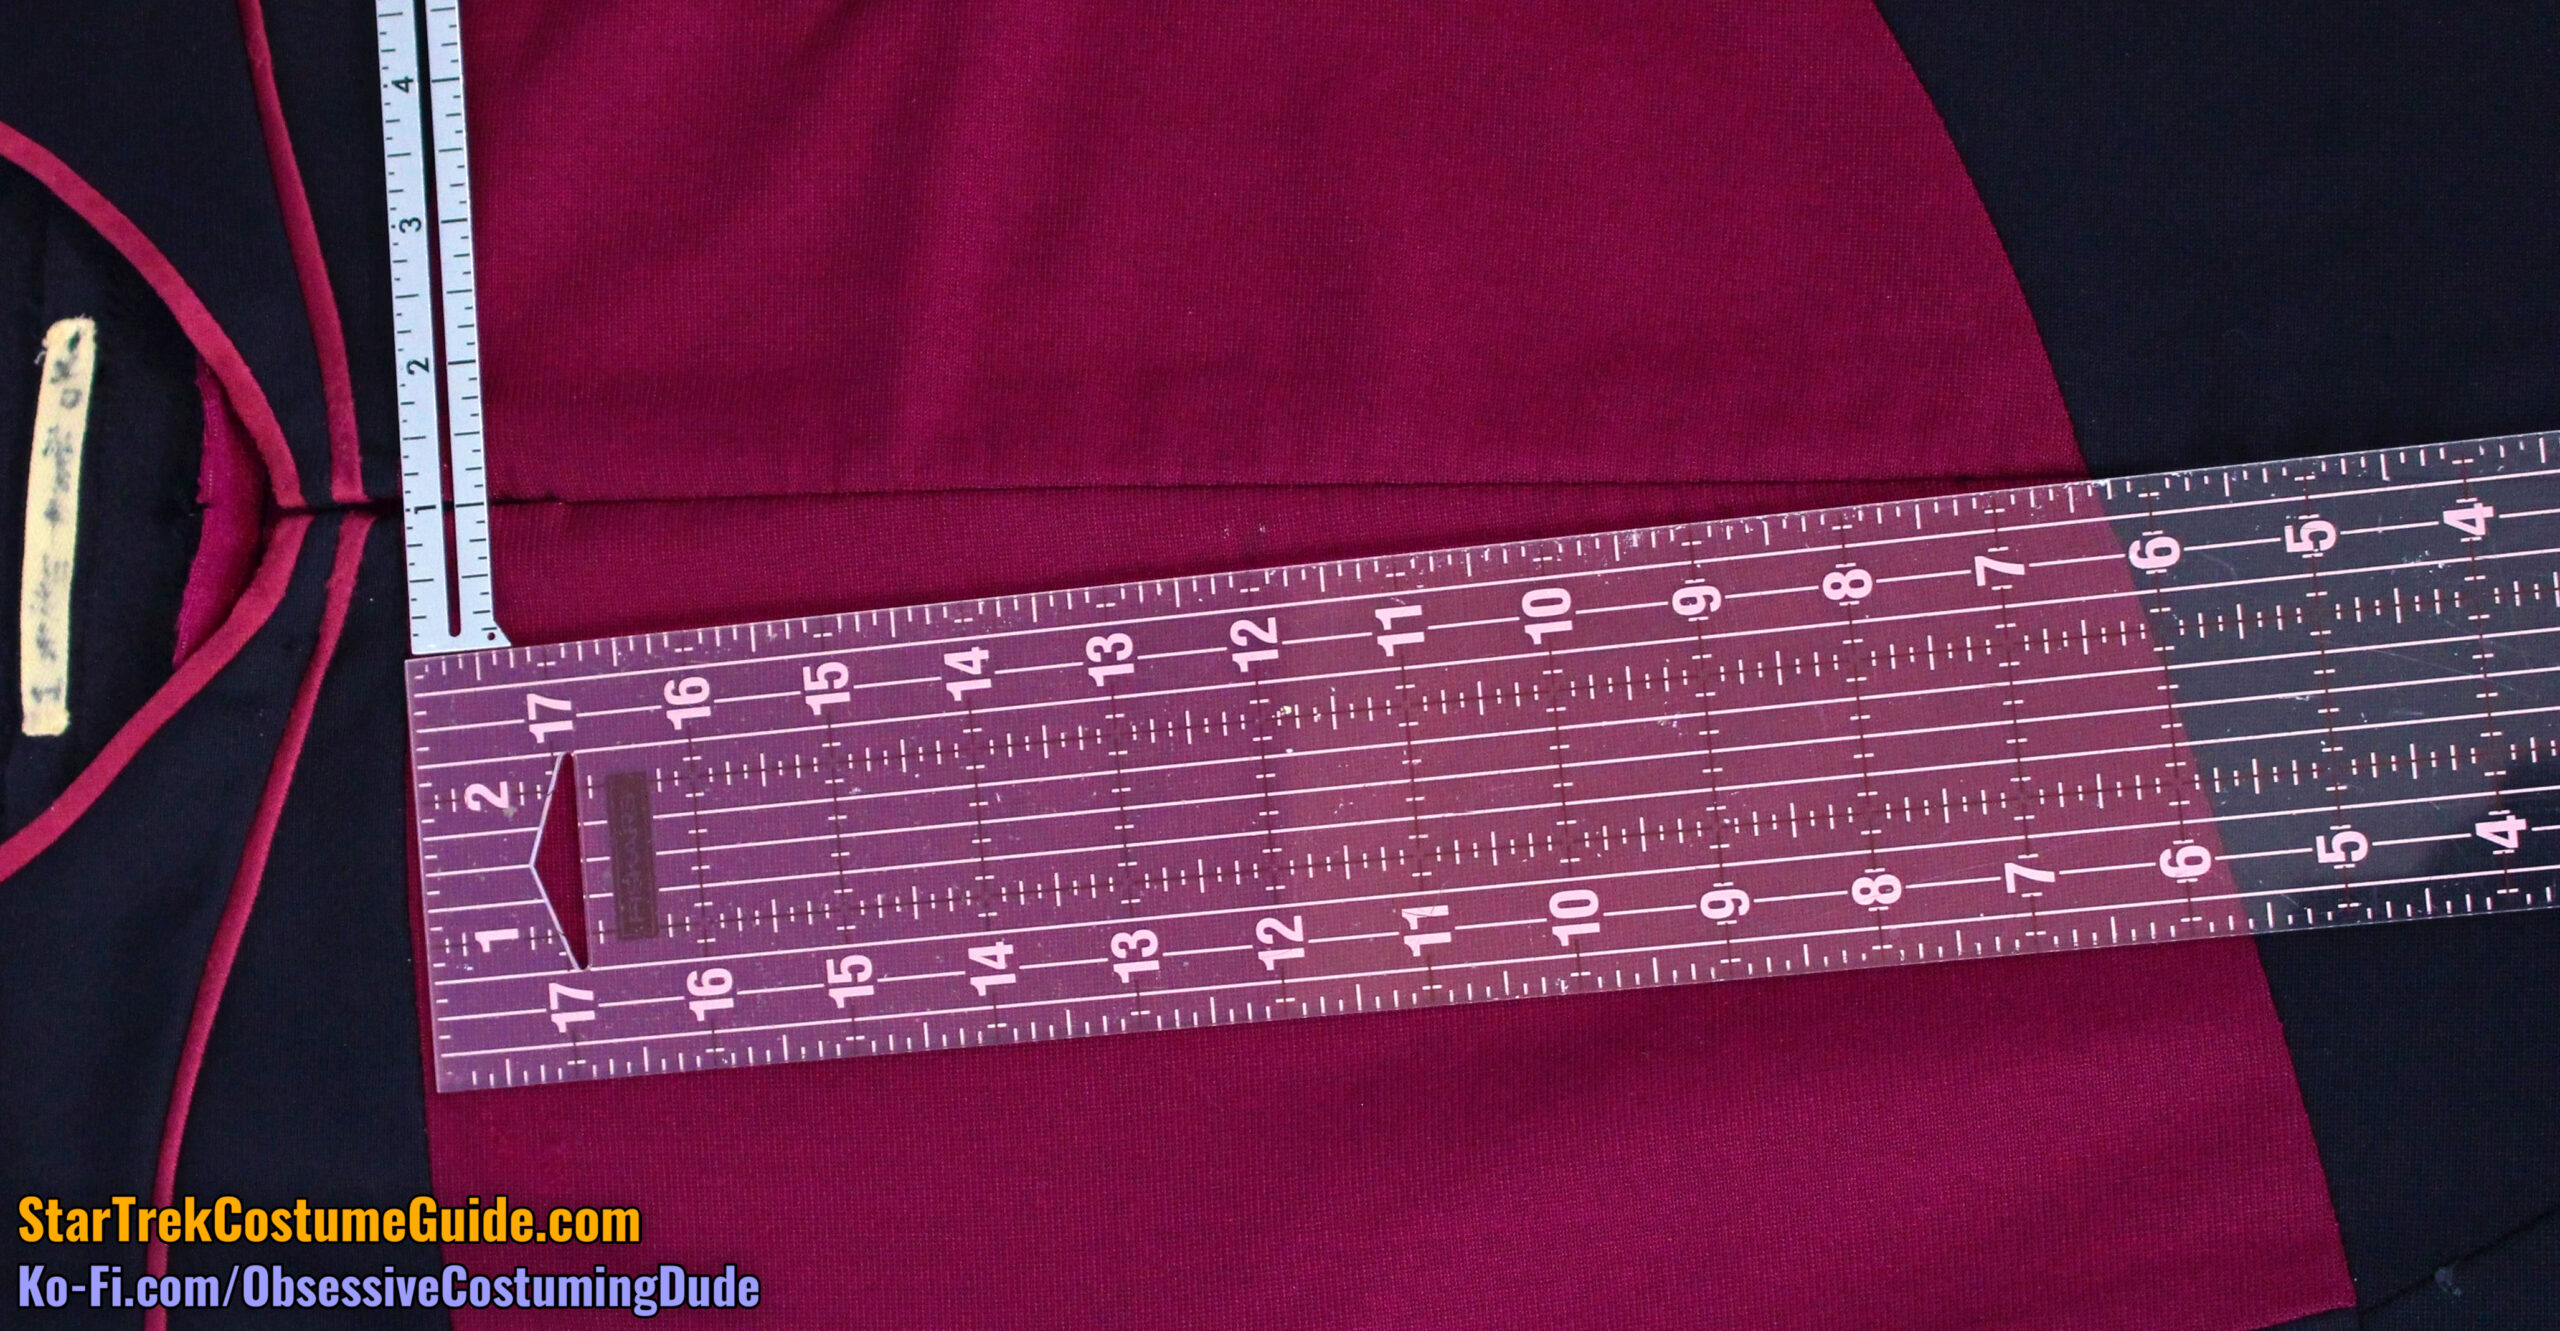
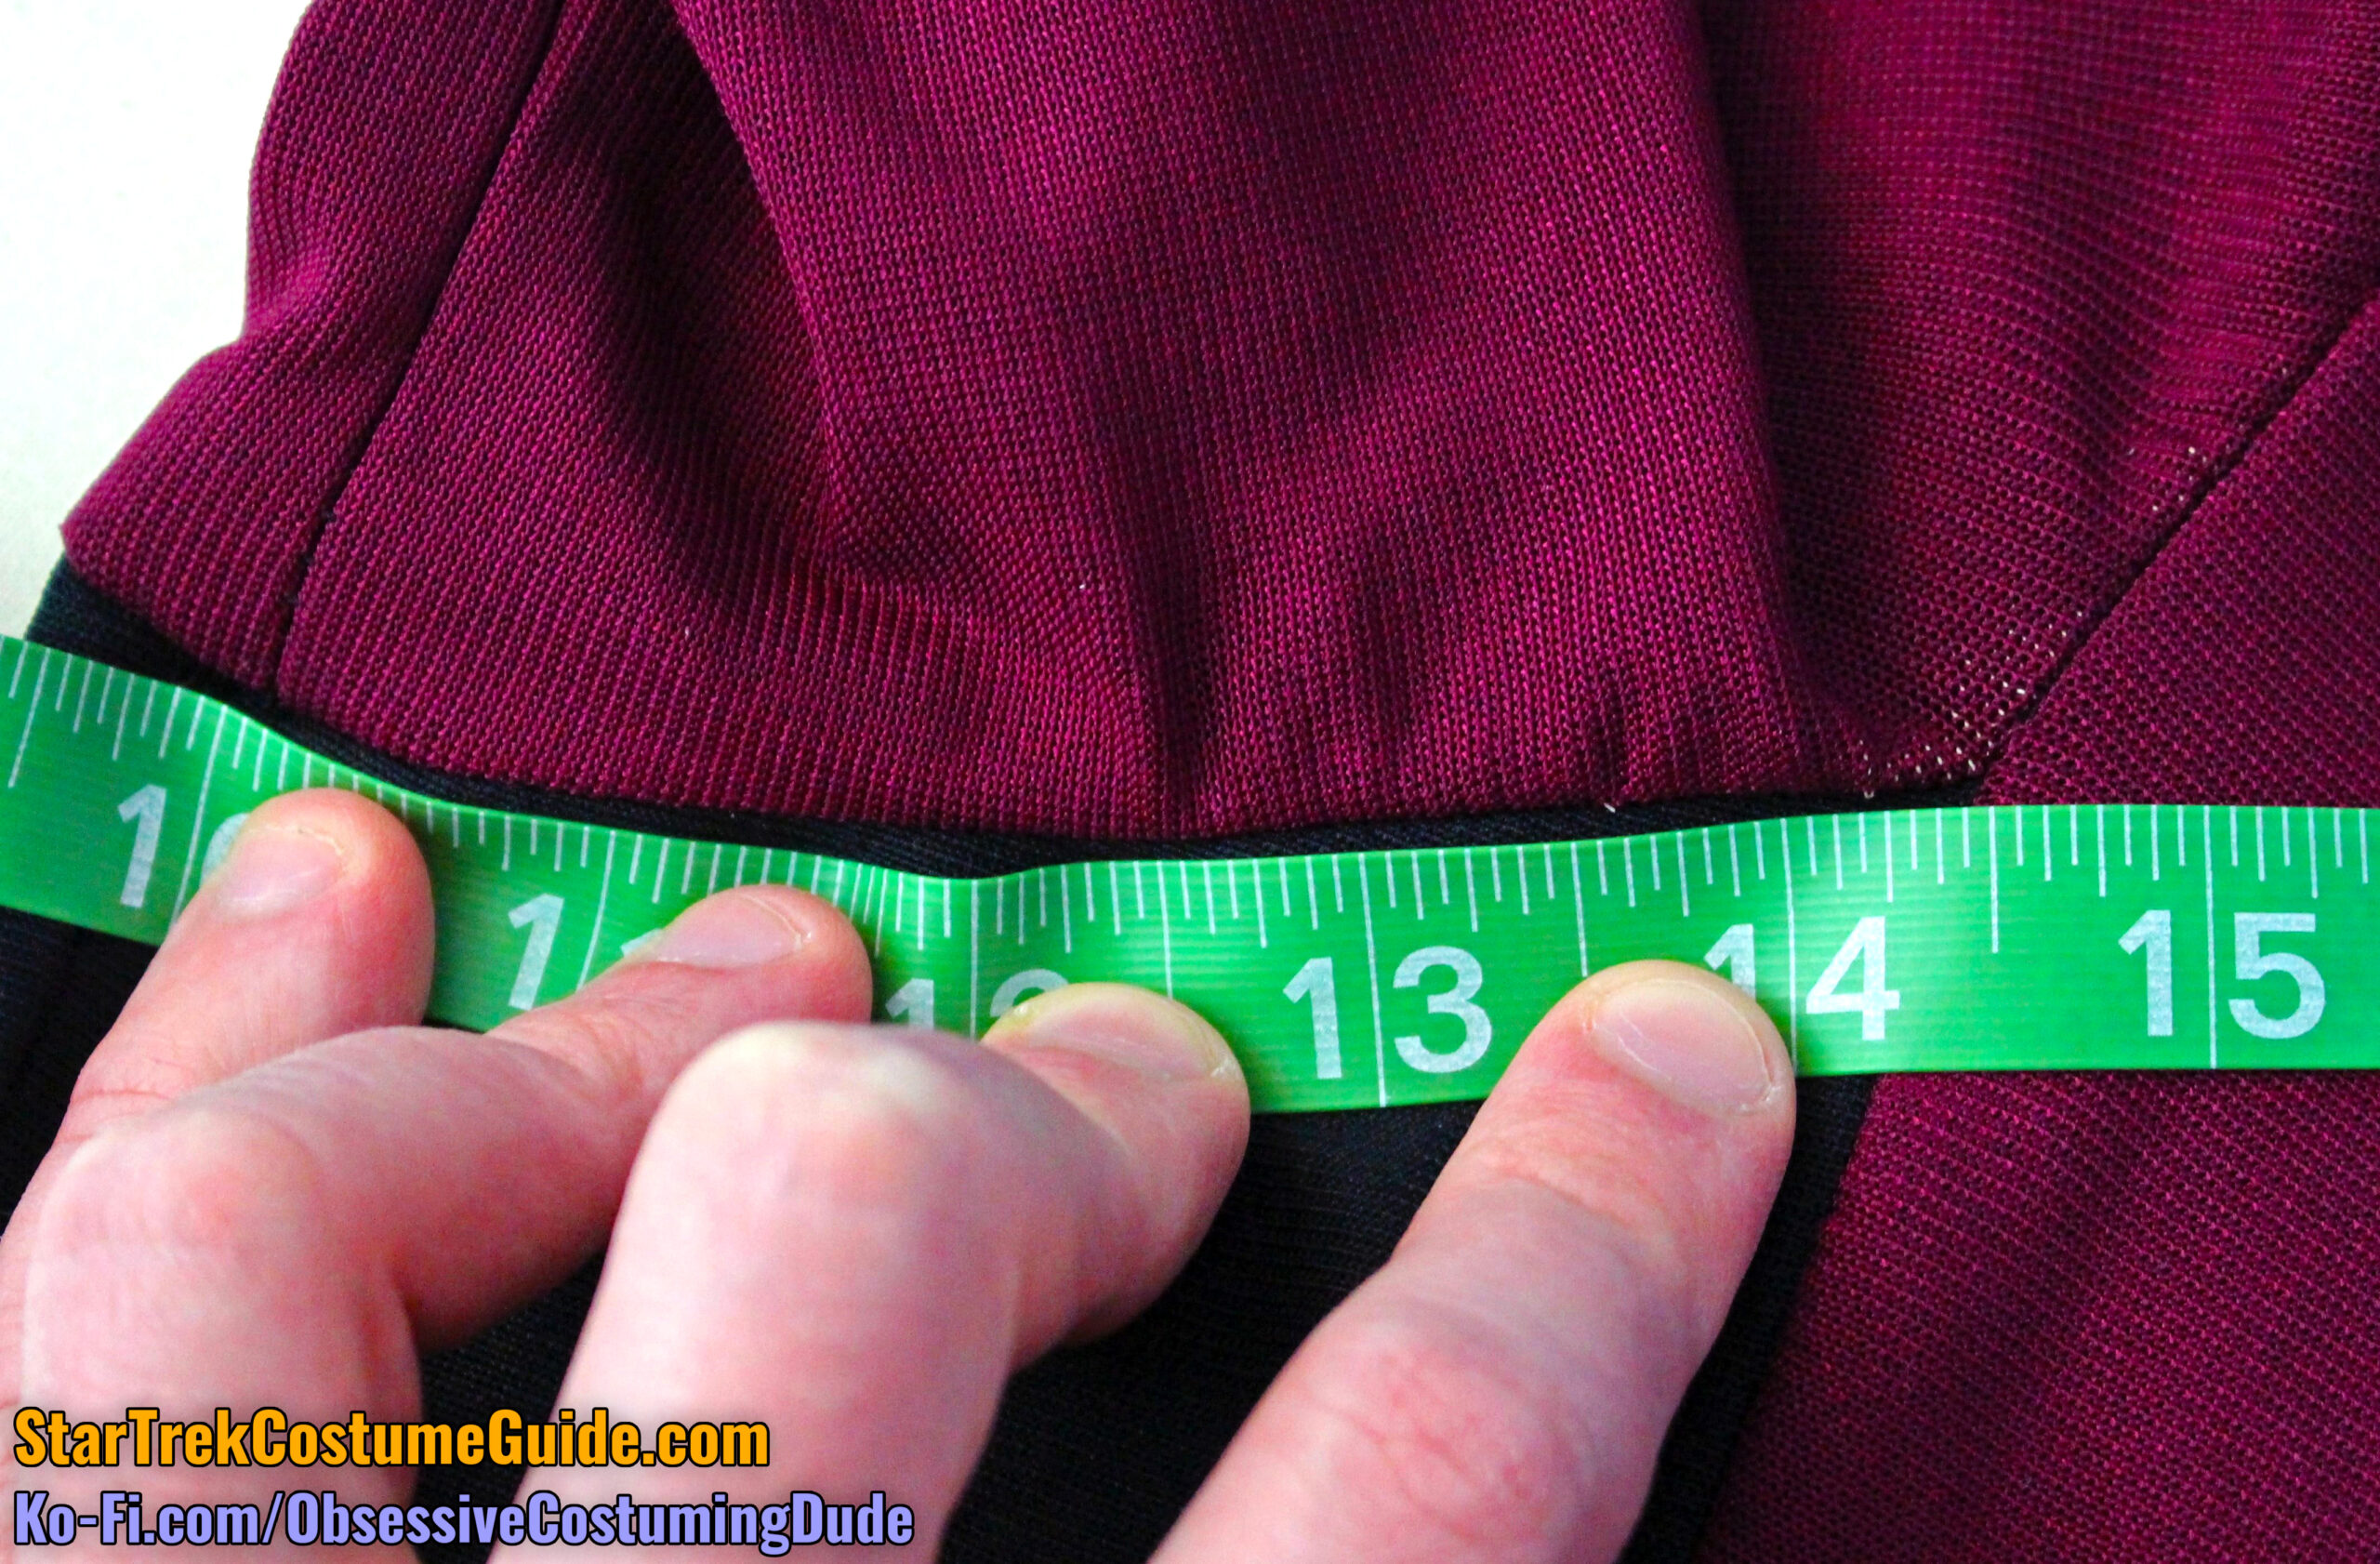
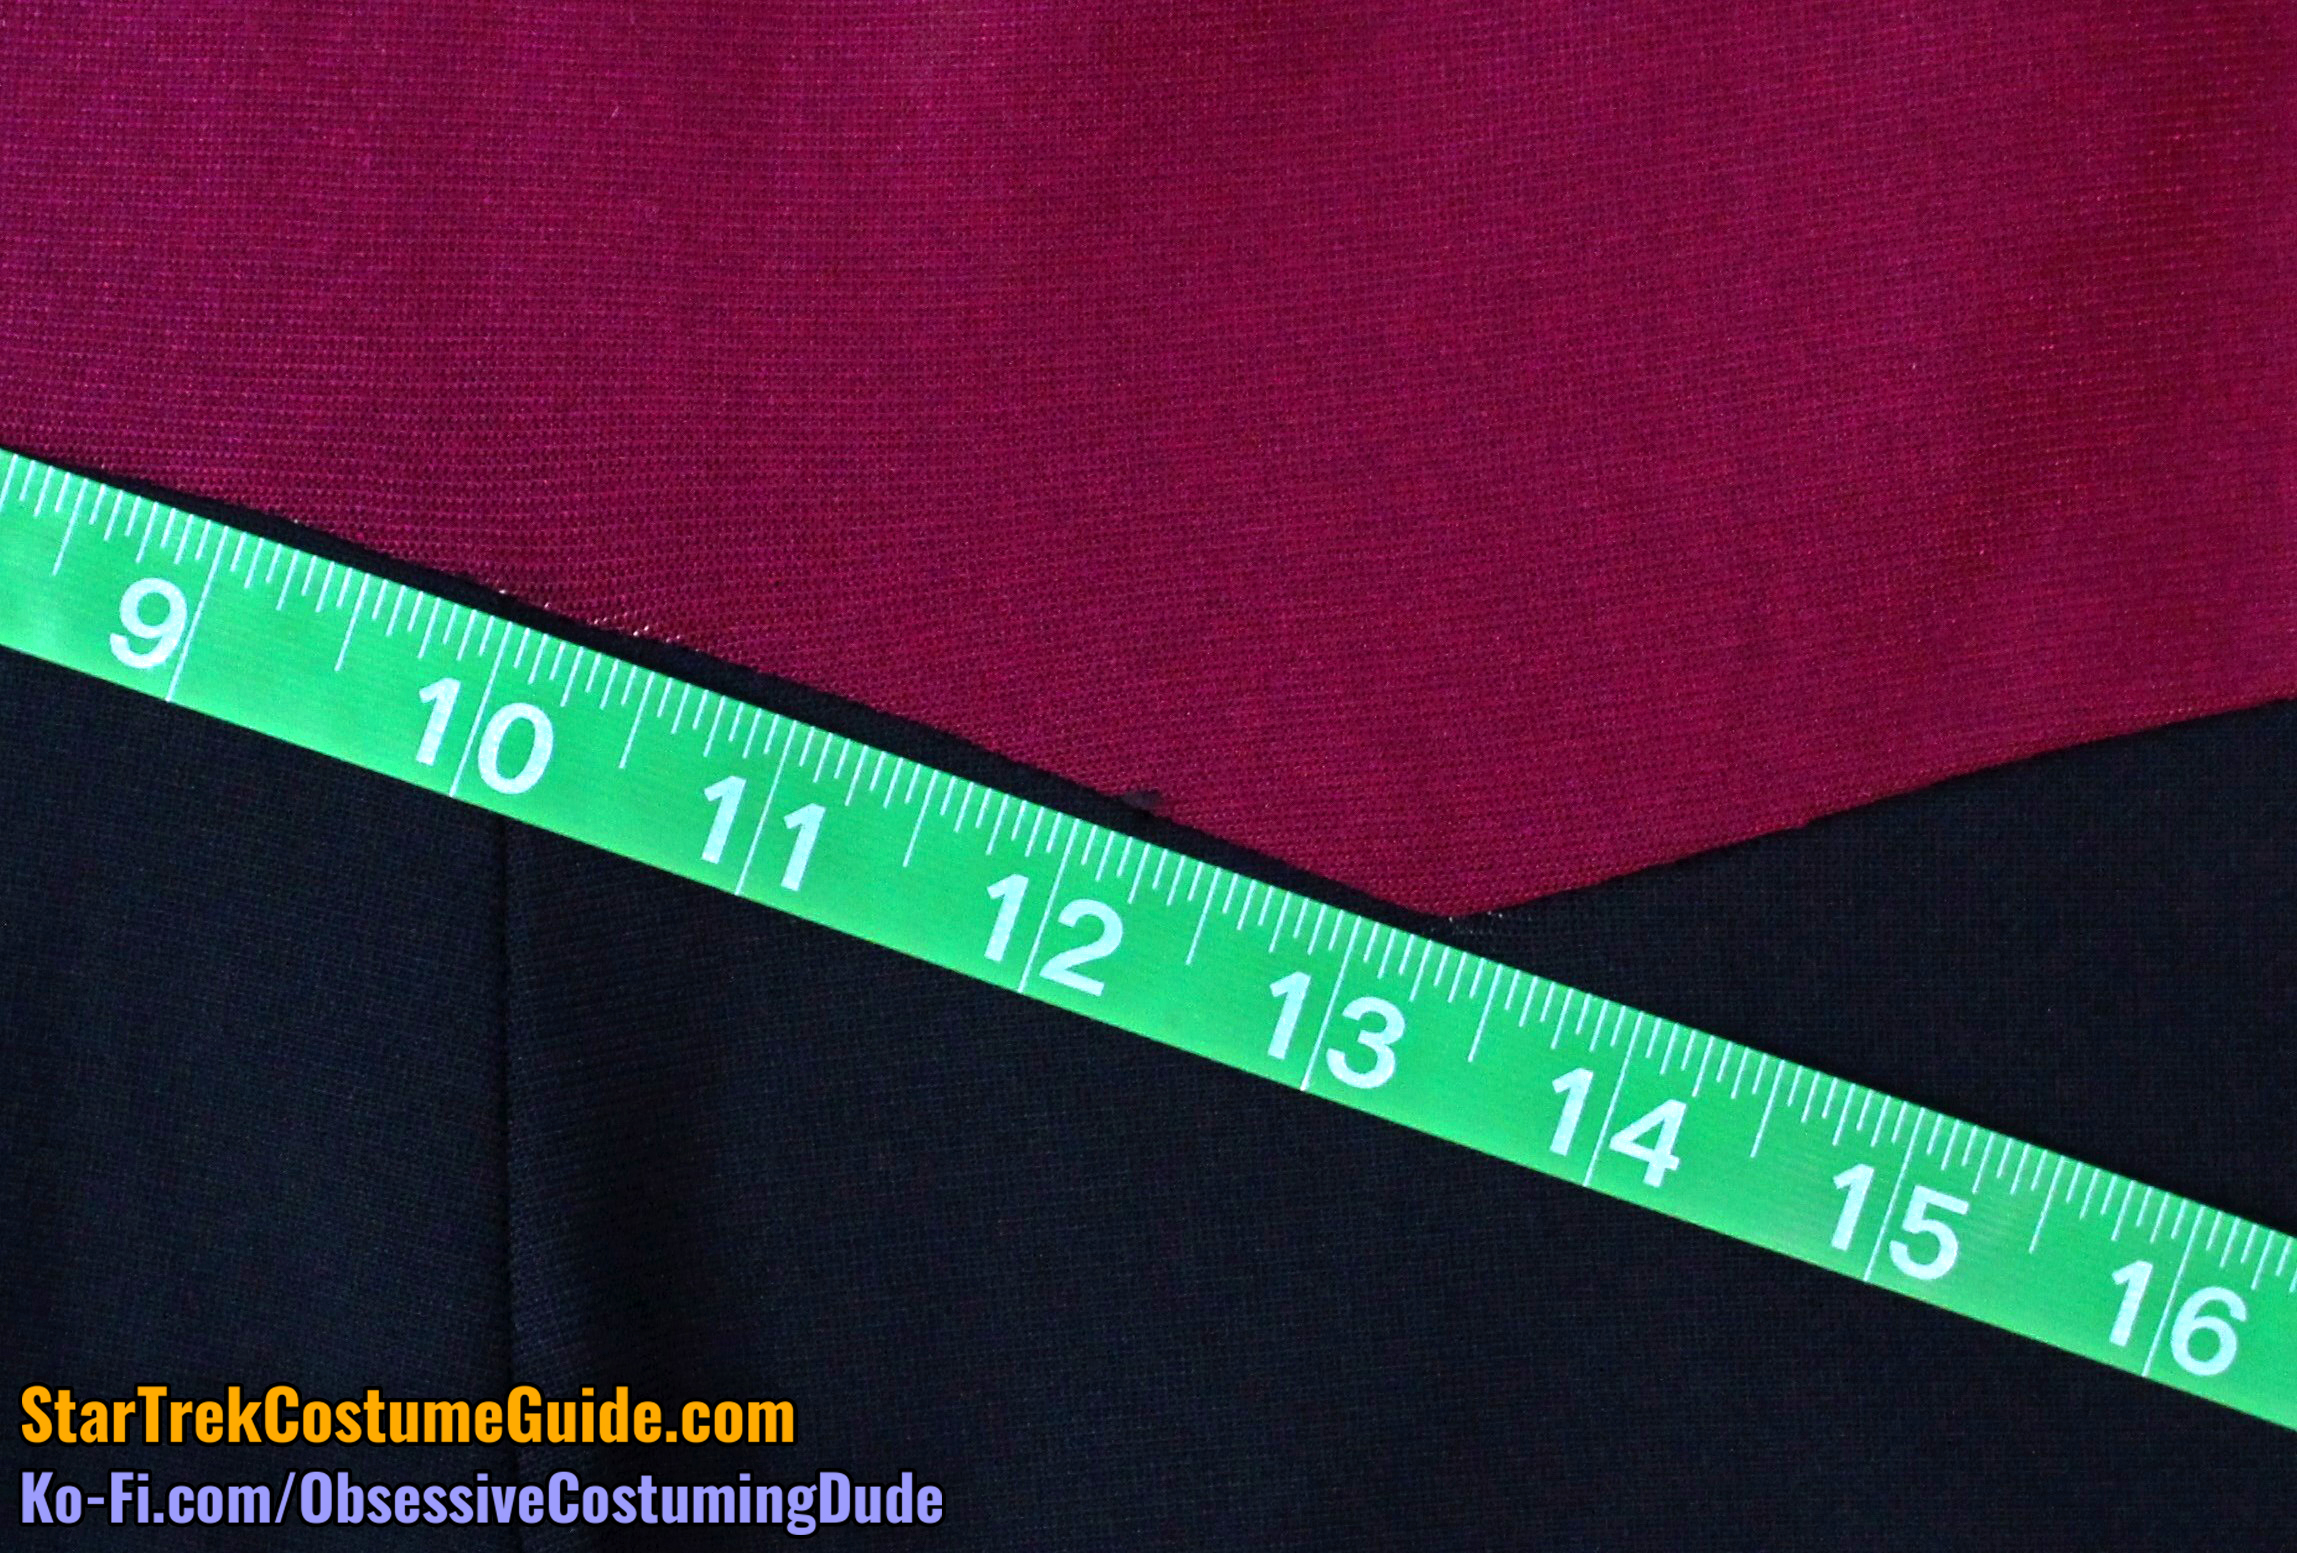
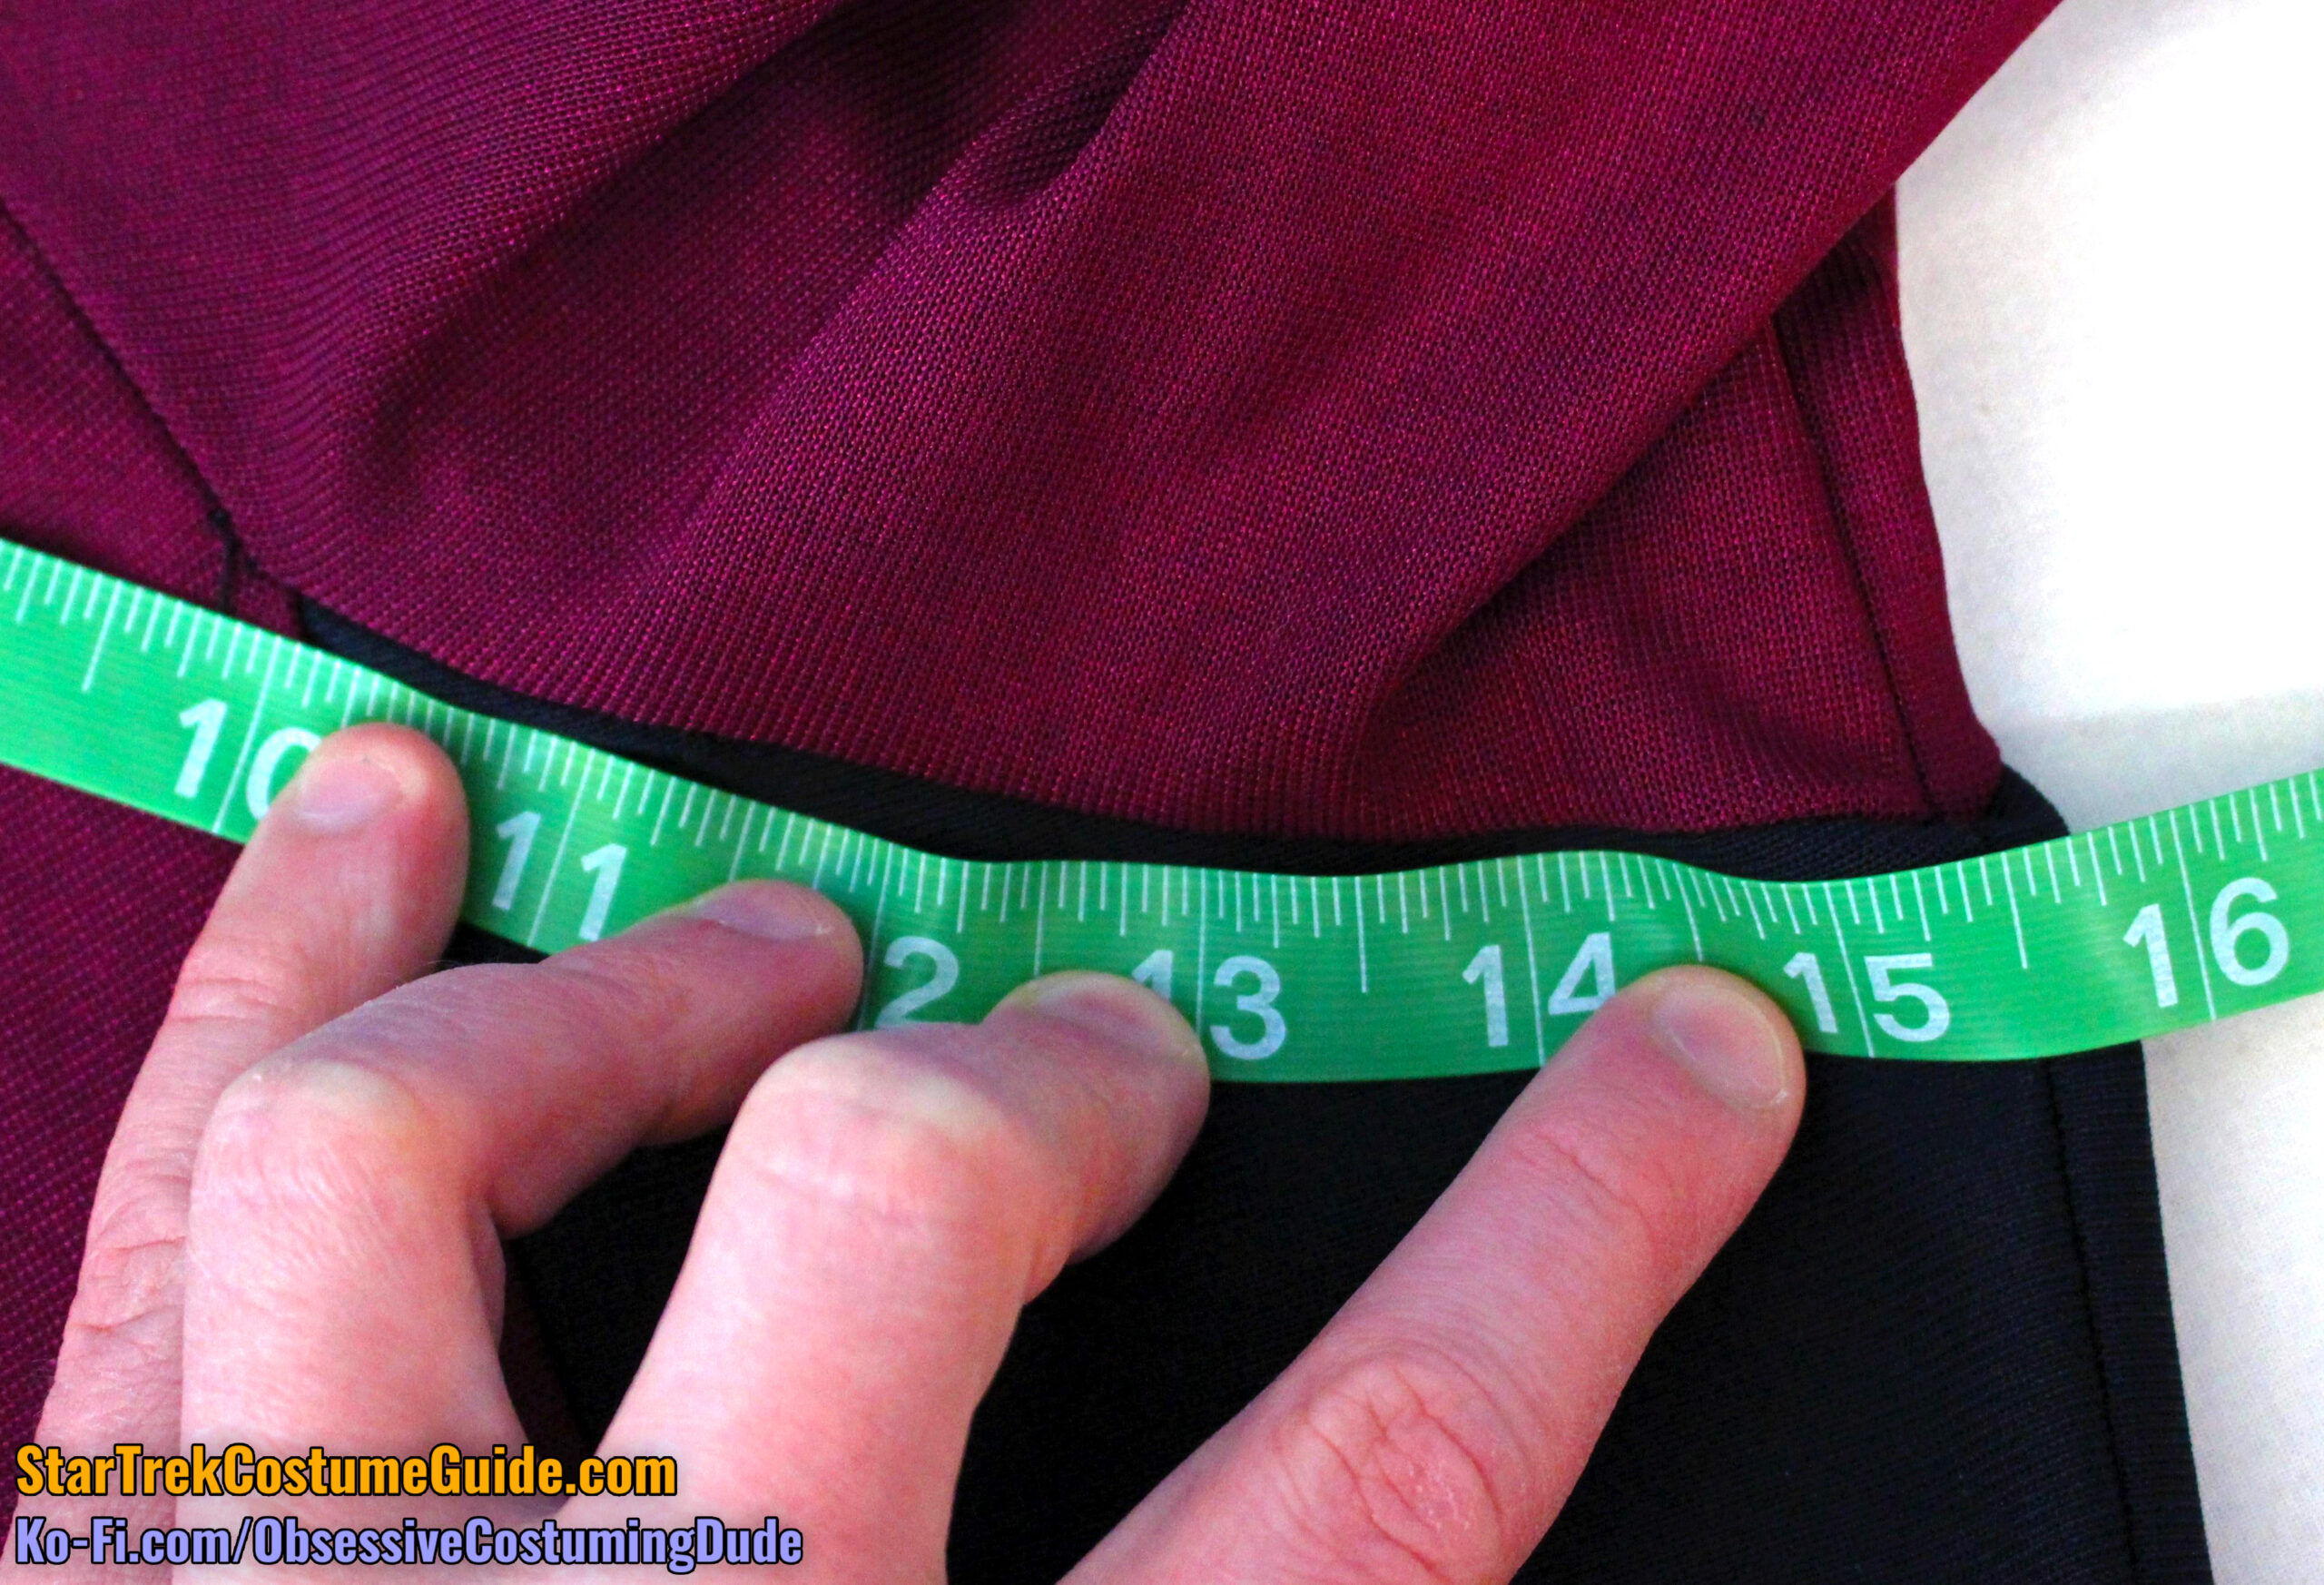
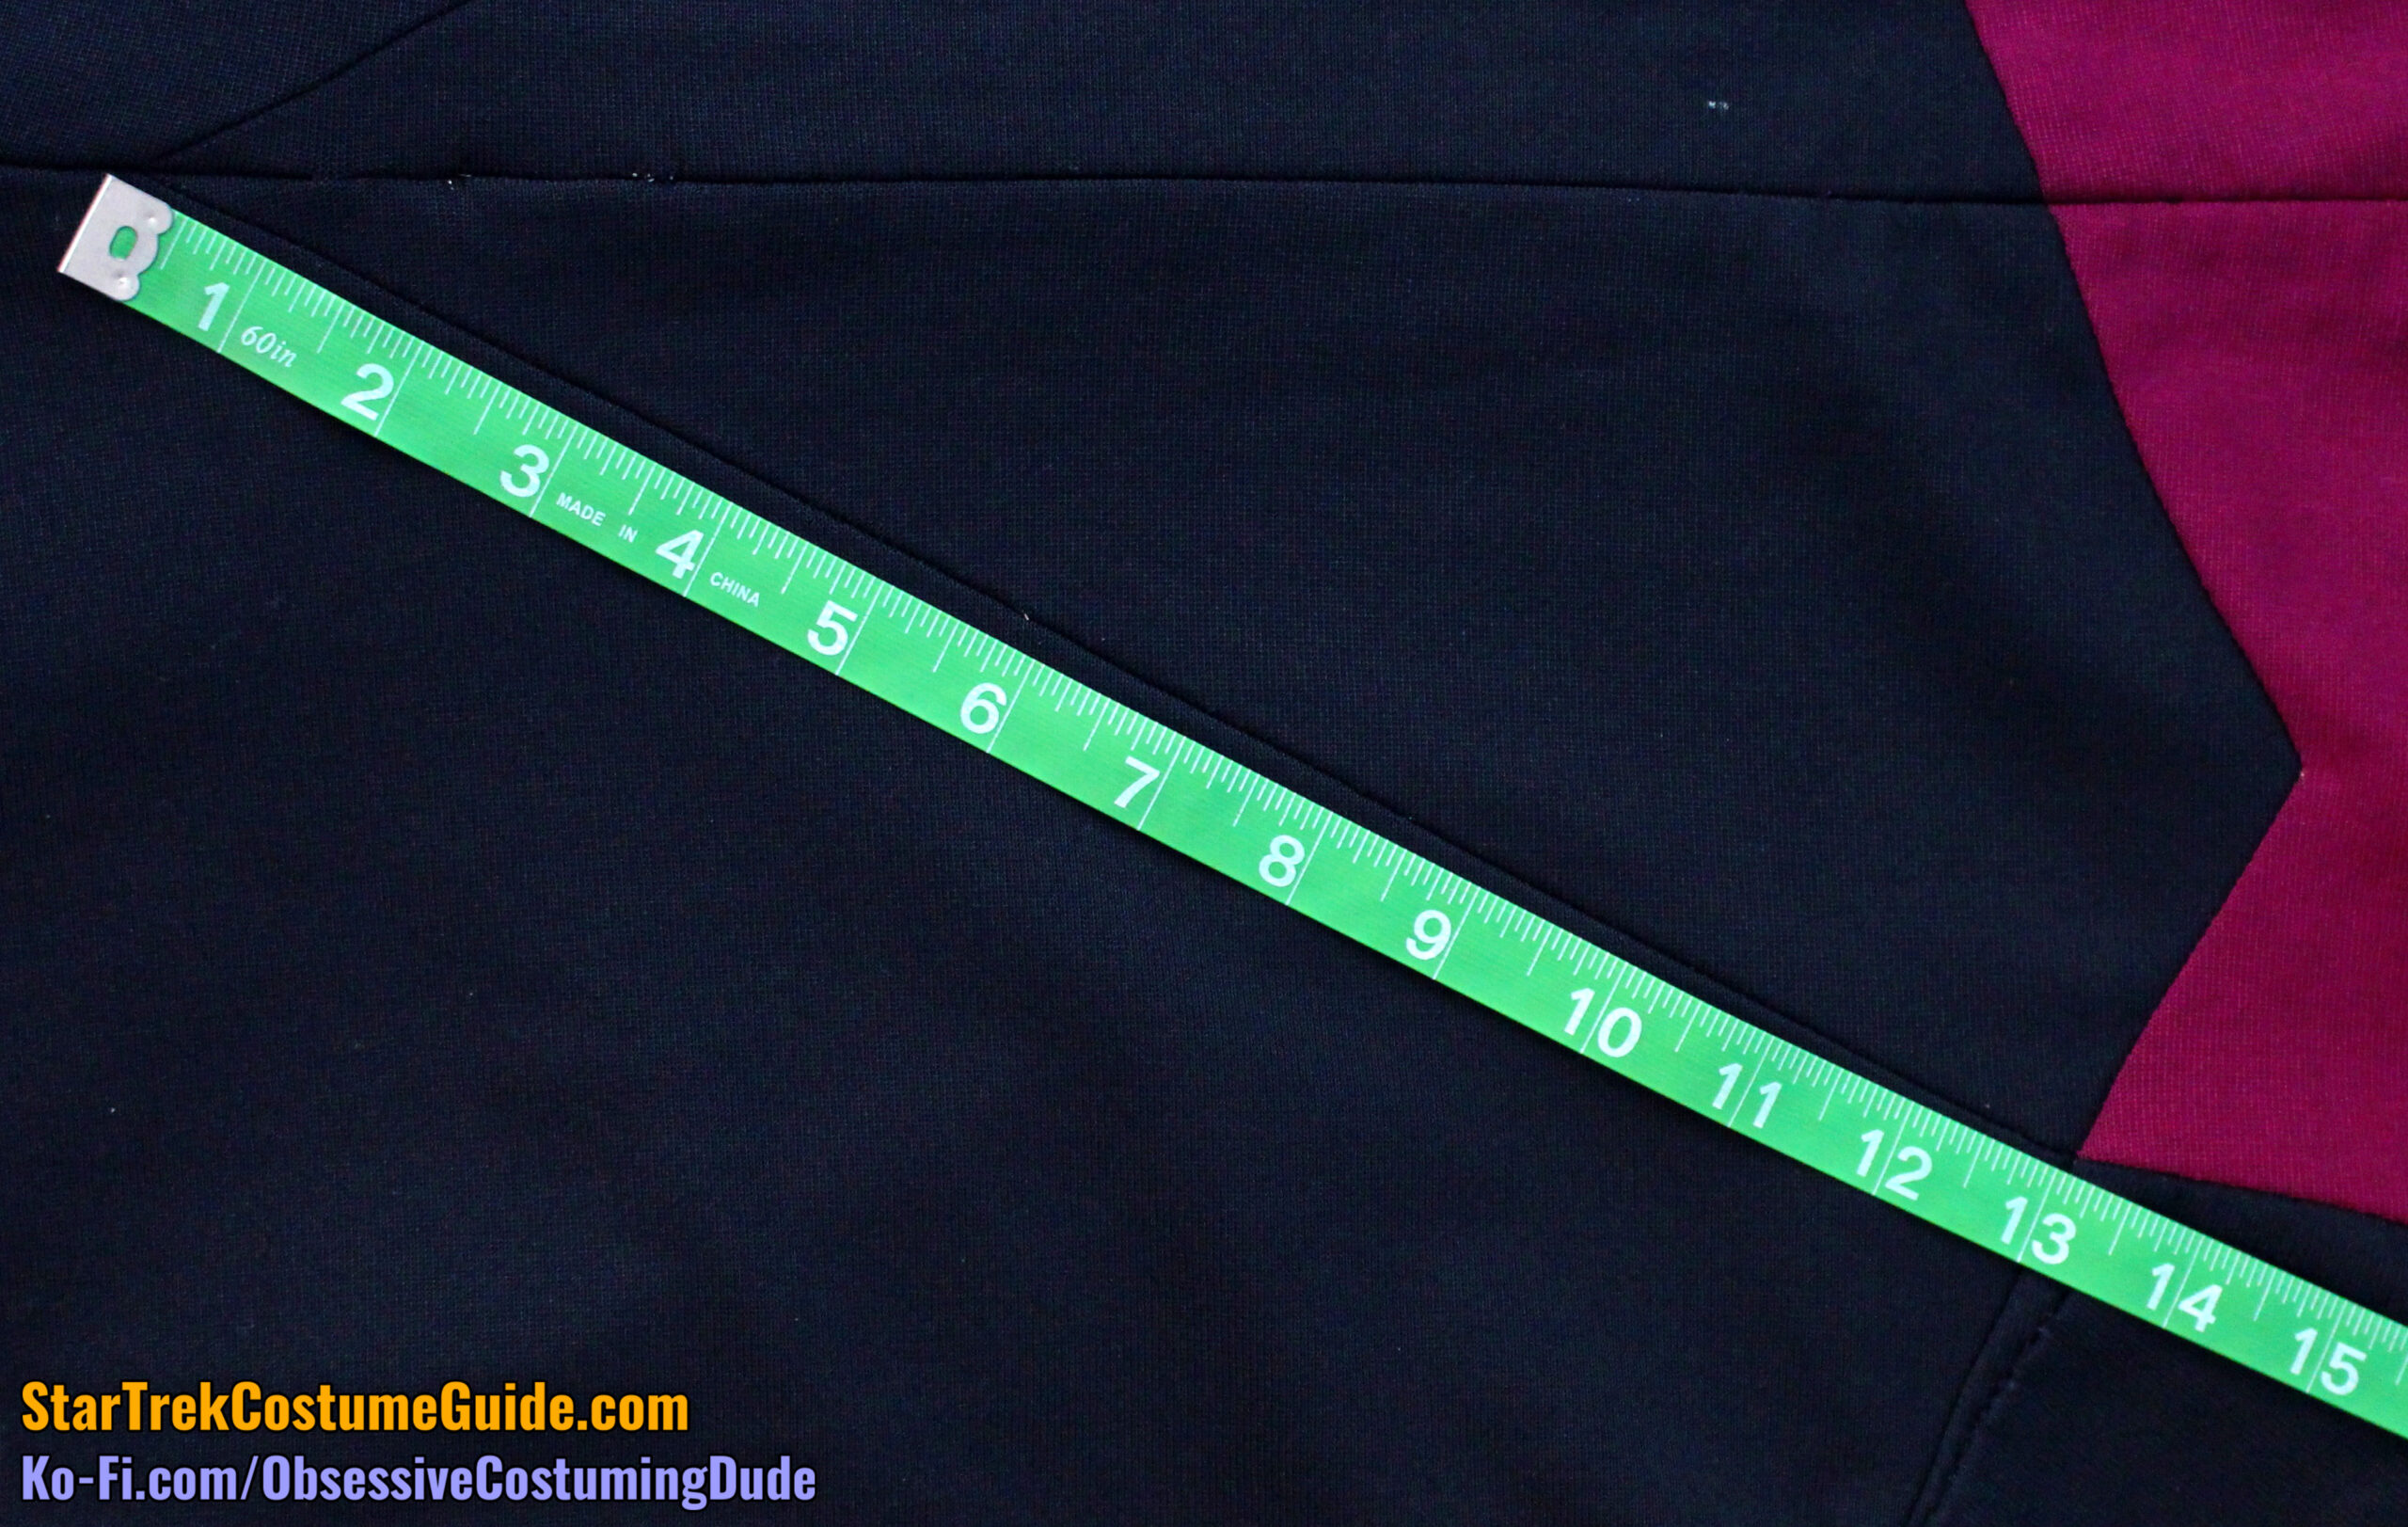
The lower front yoke seam was 12 ½” total, measured from the center front to the lower/outer corners on the sleeve.
Of this total seam line, 7 ¾” was allocated to the upper front body, and 4 ¾” extended onto the upper front sleeve.
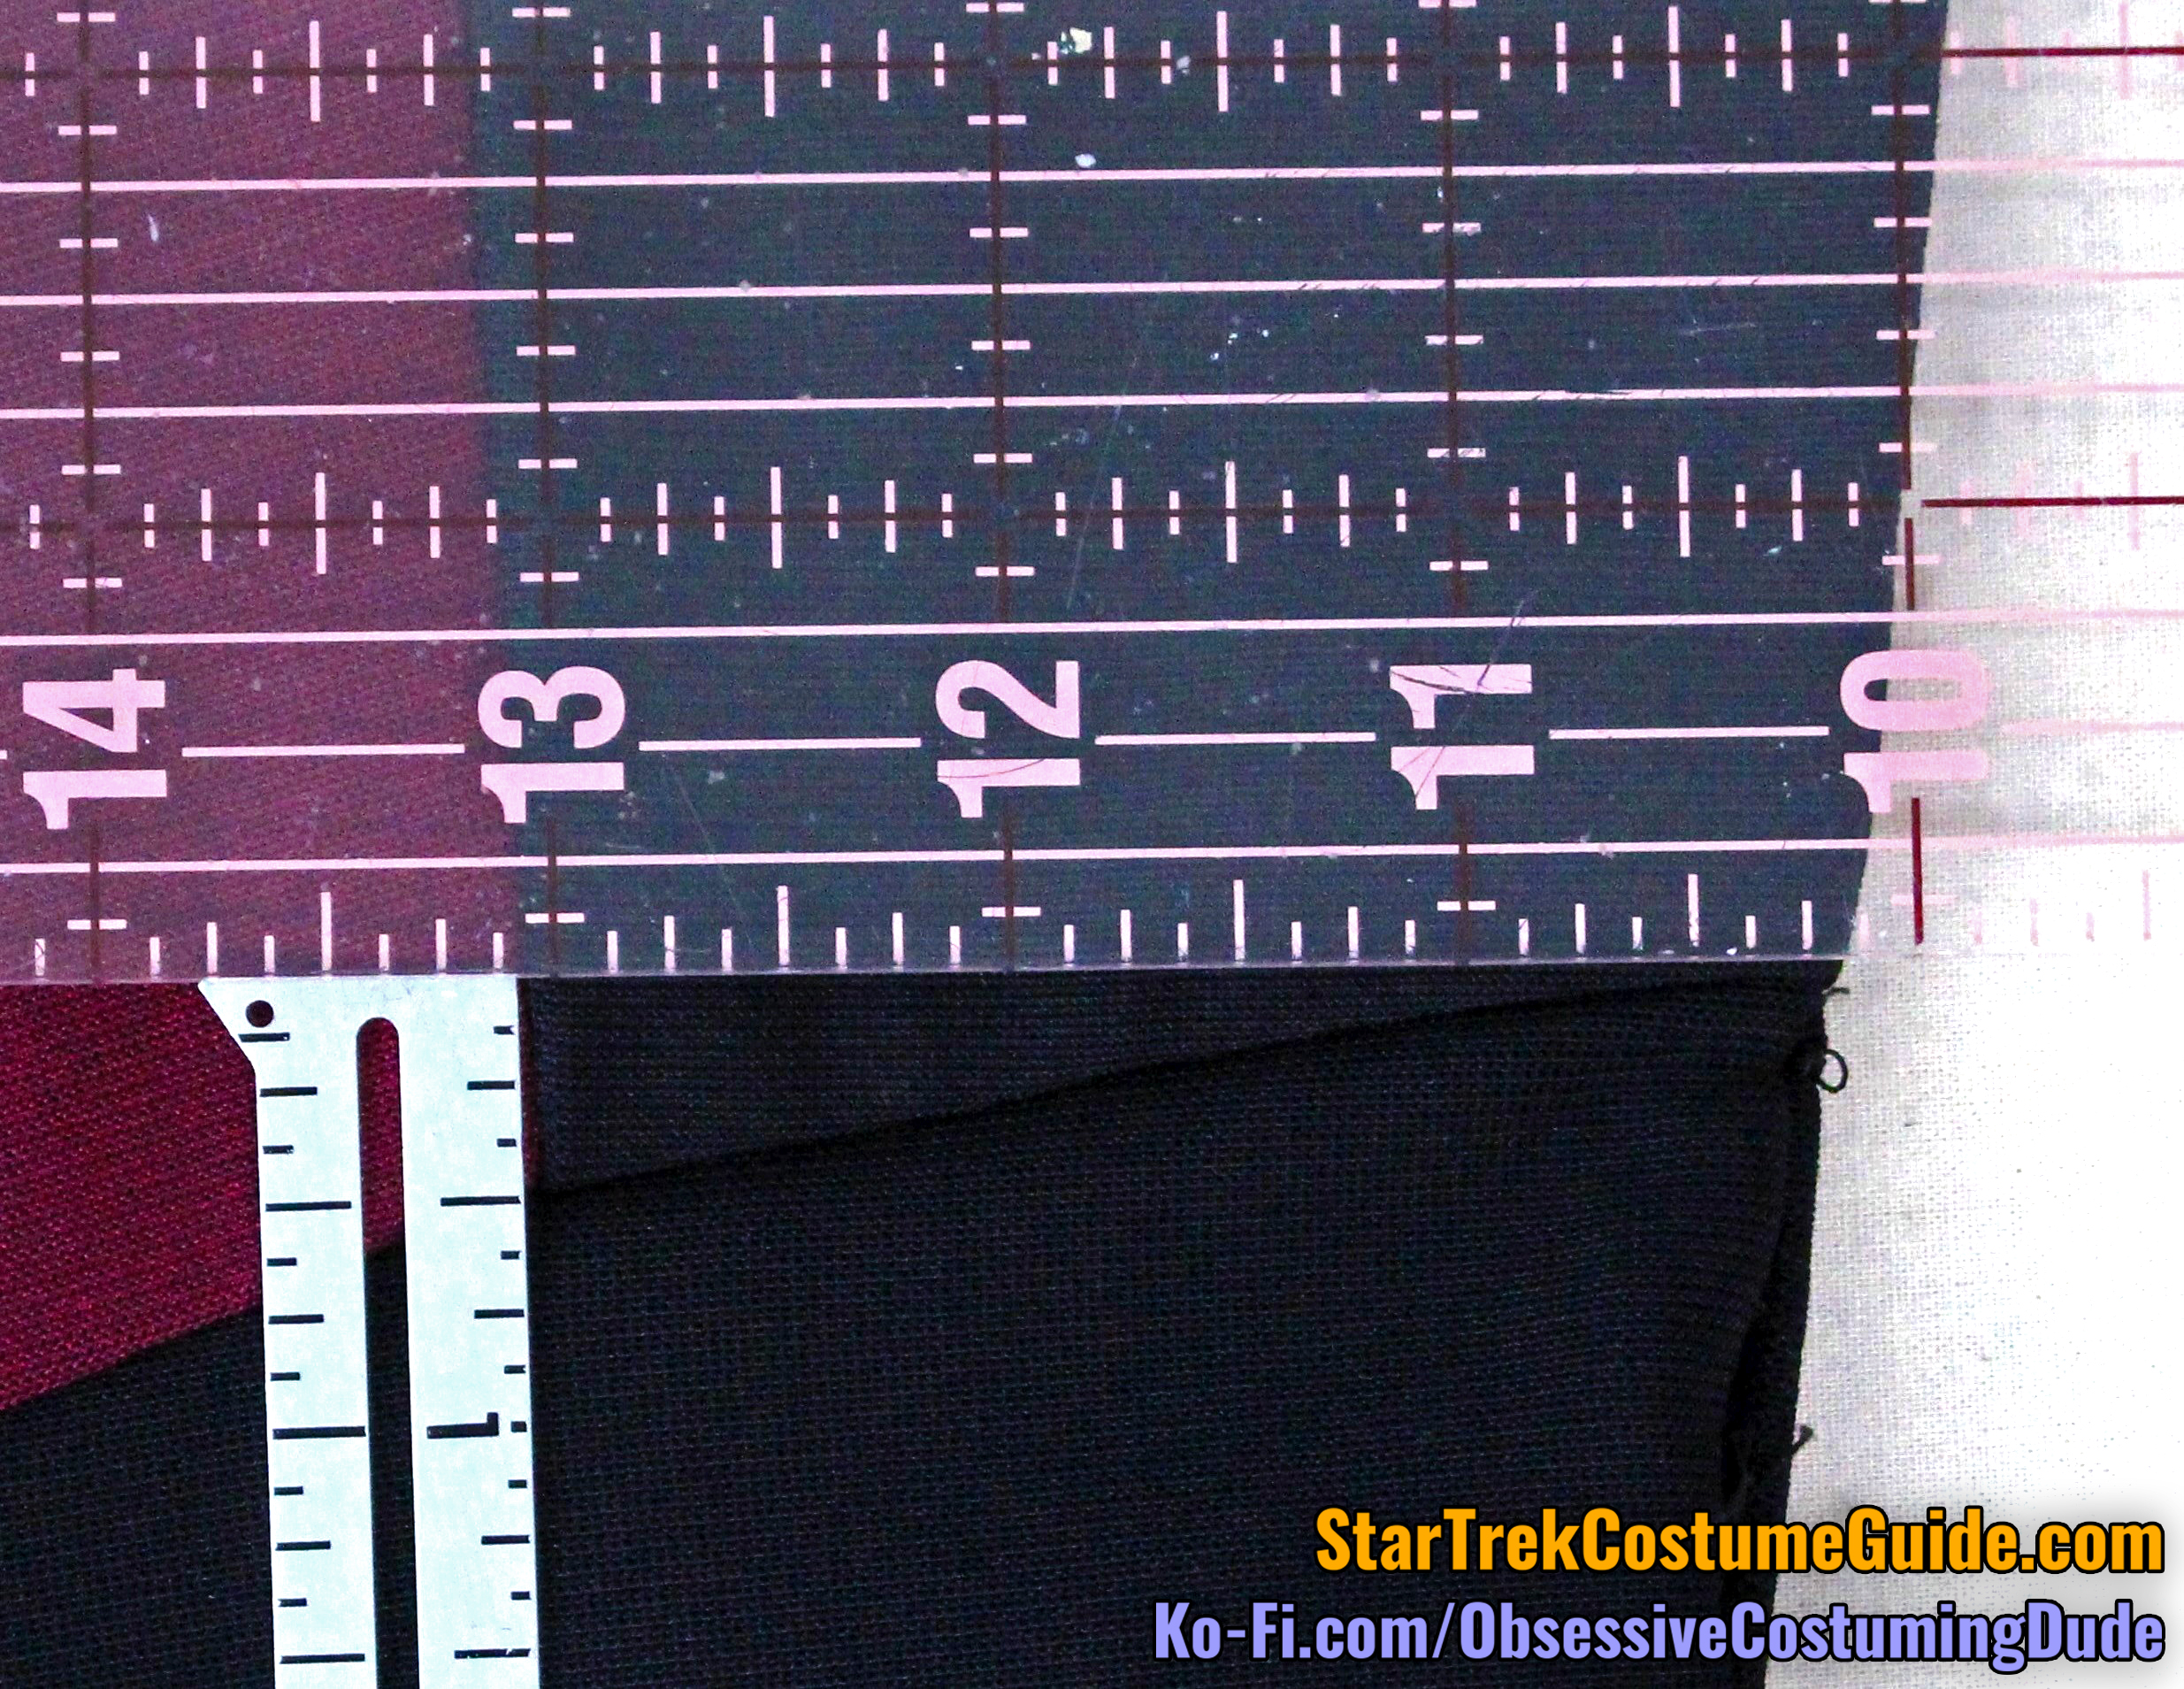
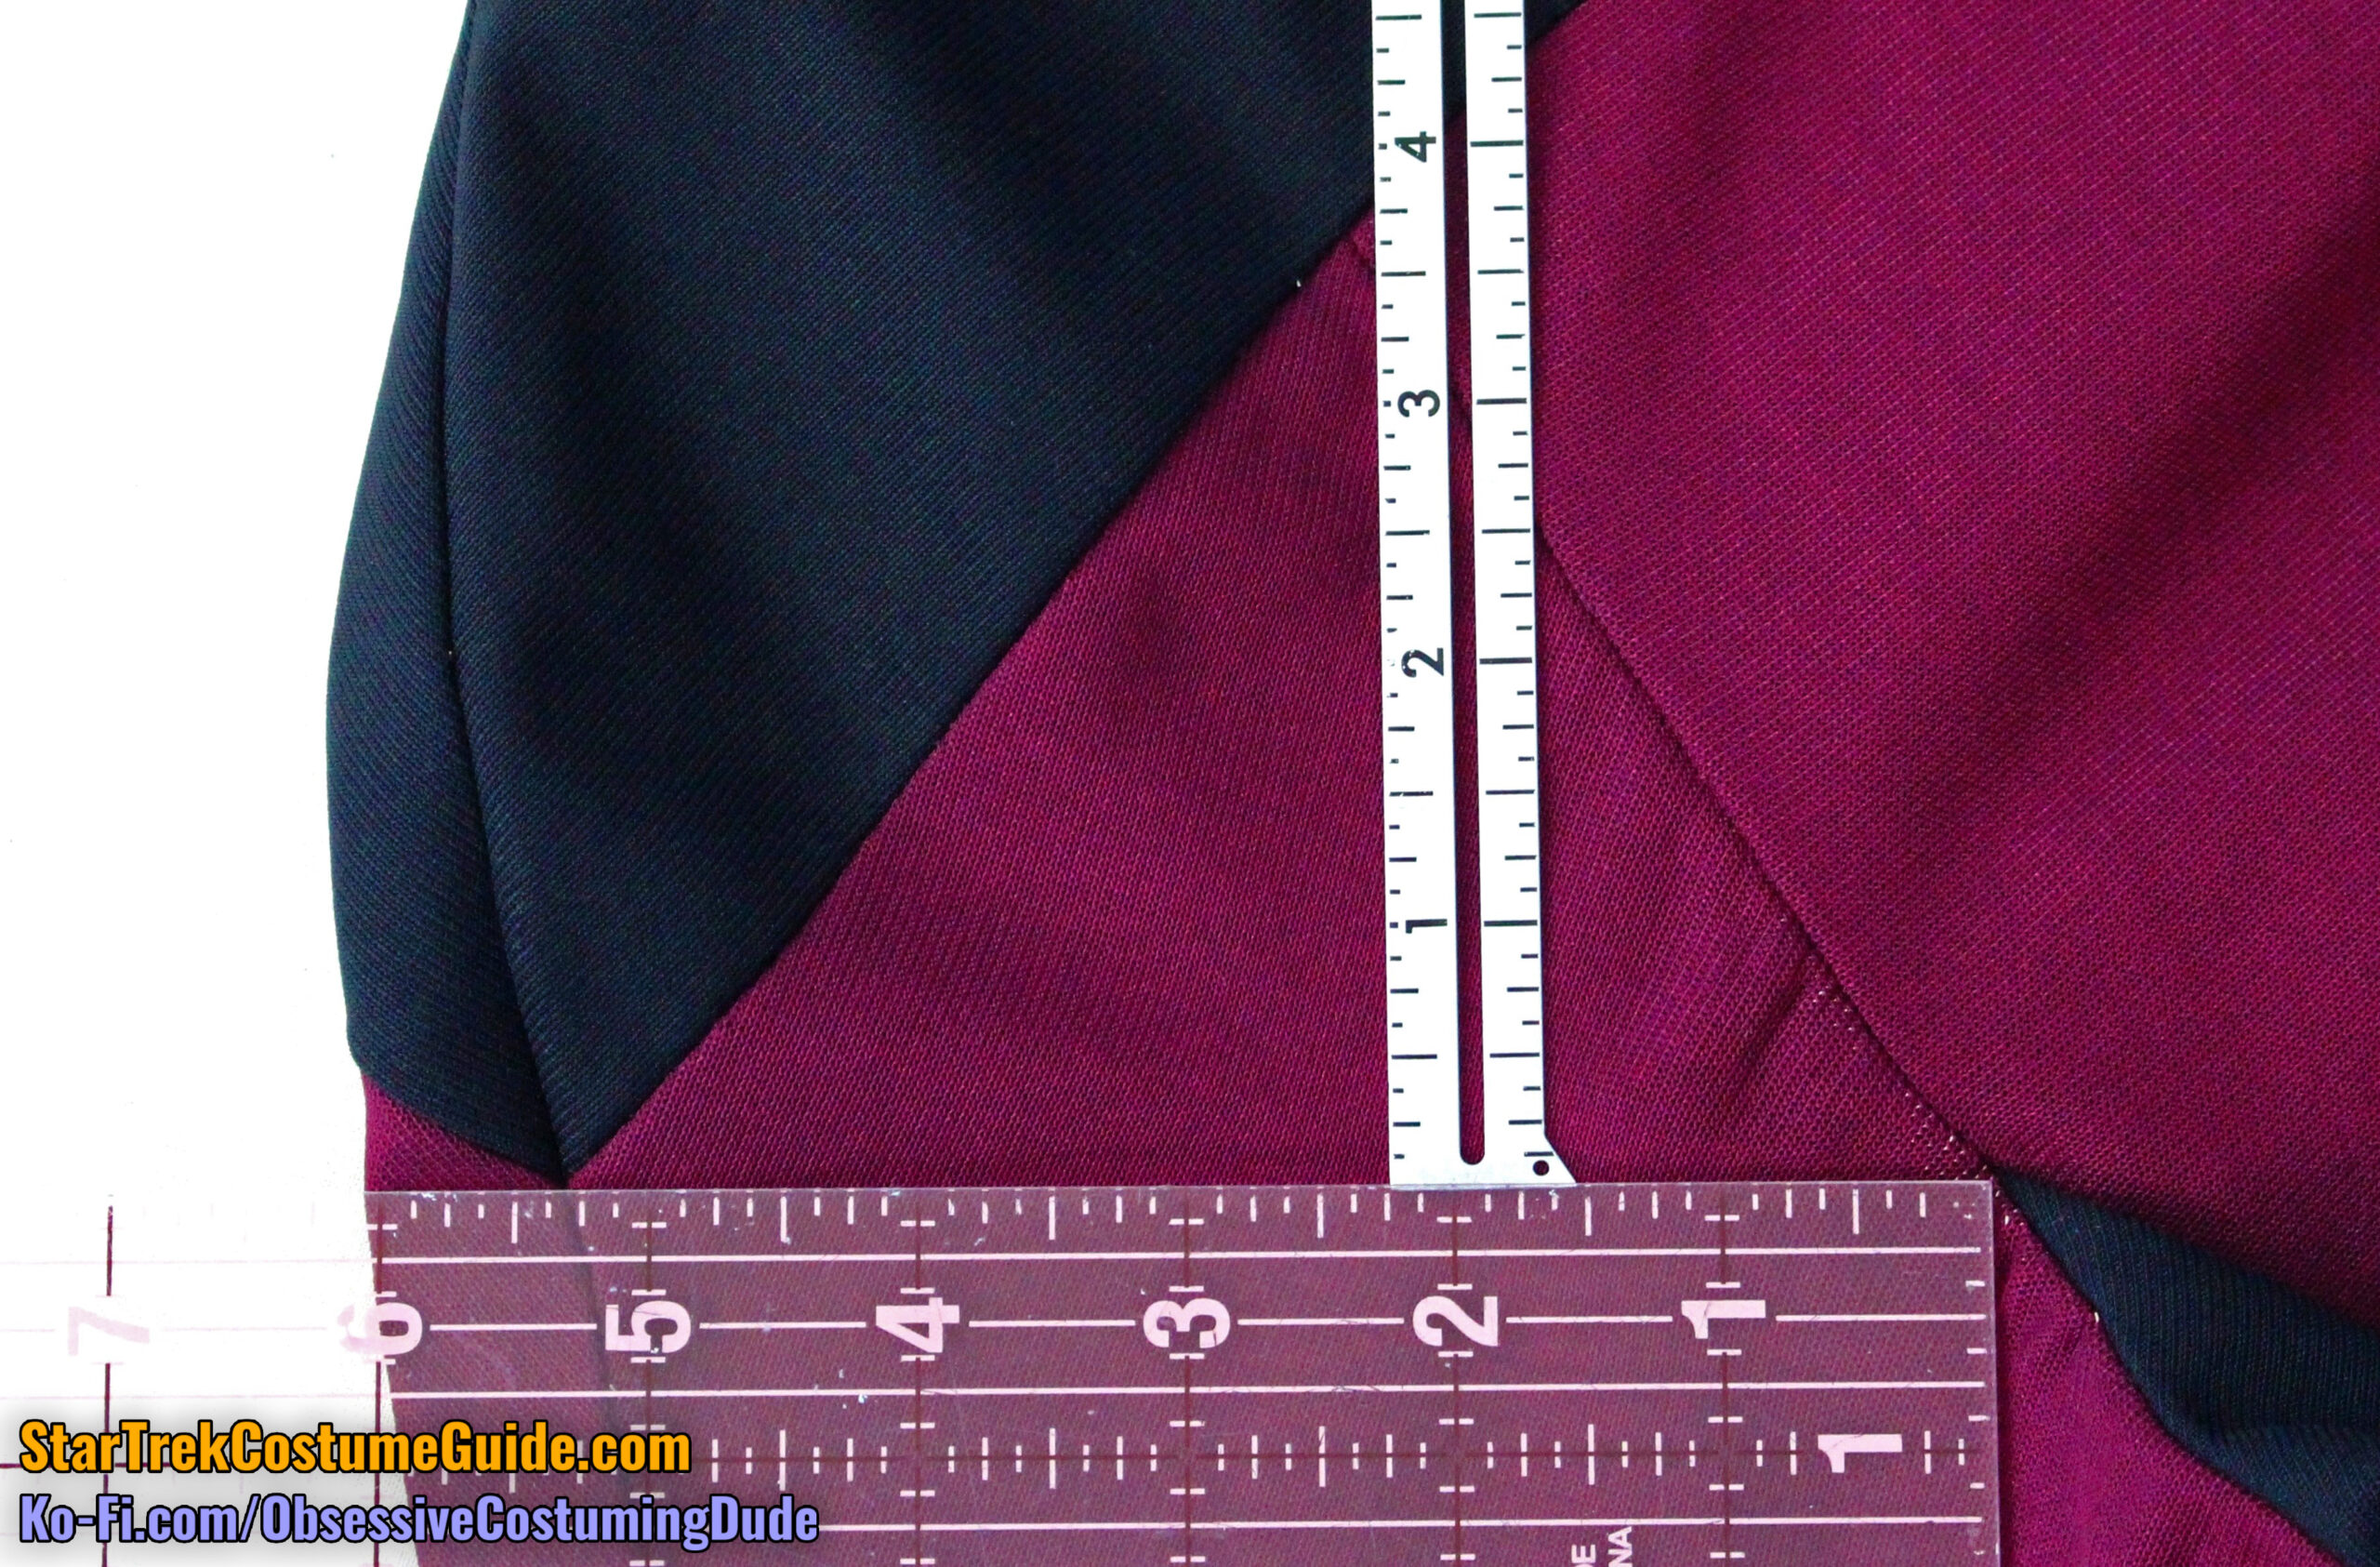
Using the horizontal “weave” of the jumbo spandex as a guide, we can see that the lower front yoke seam gradually curved downward 1 ½”, again from the center front to the lower/outer corner at the sleeve.
Like on the front, the back yoke piping was usually 3/16” wide.
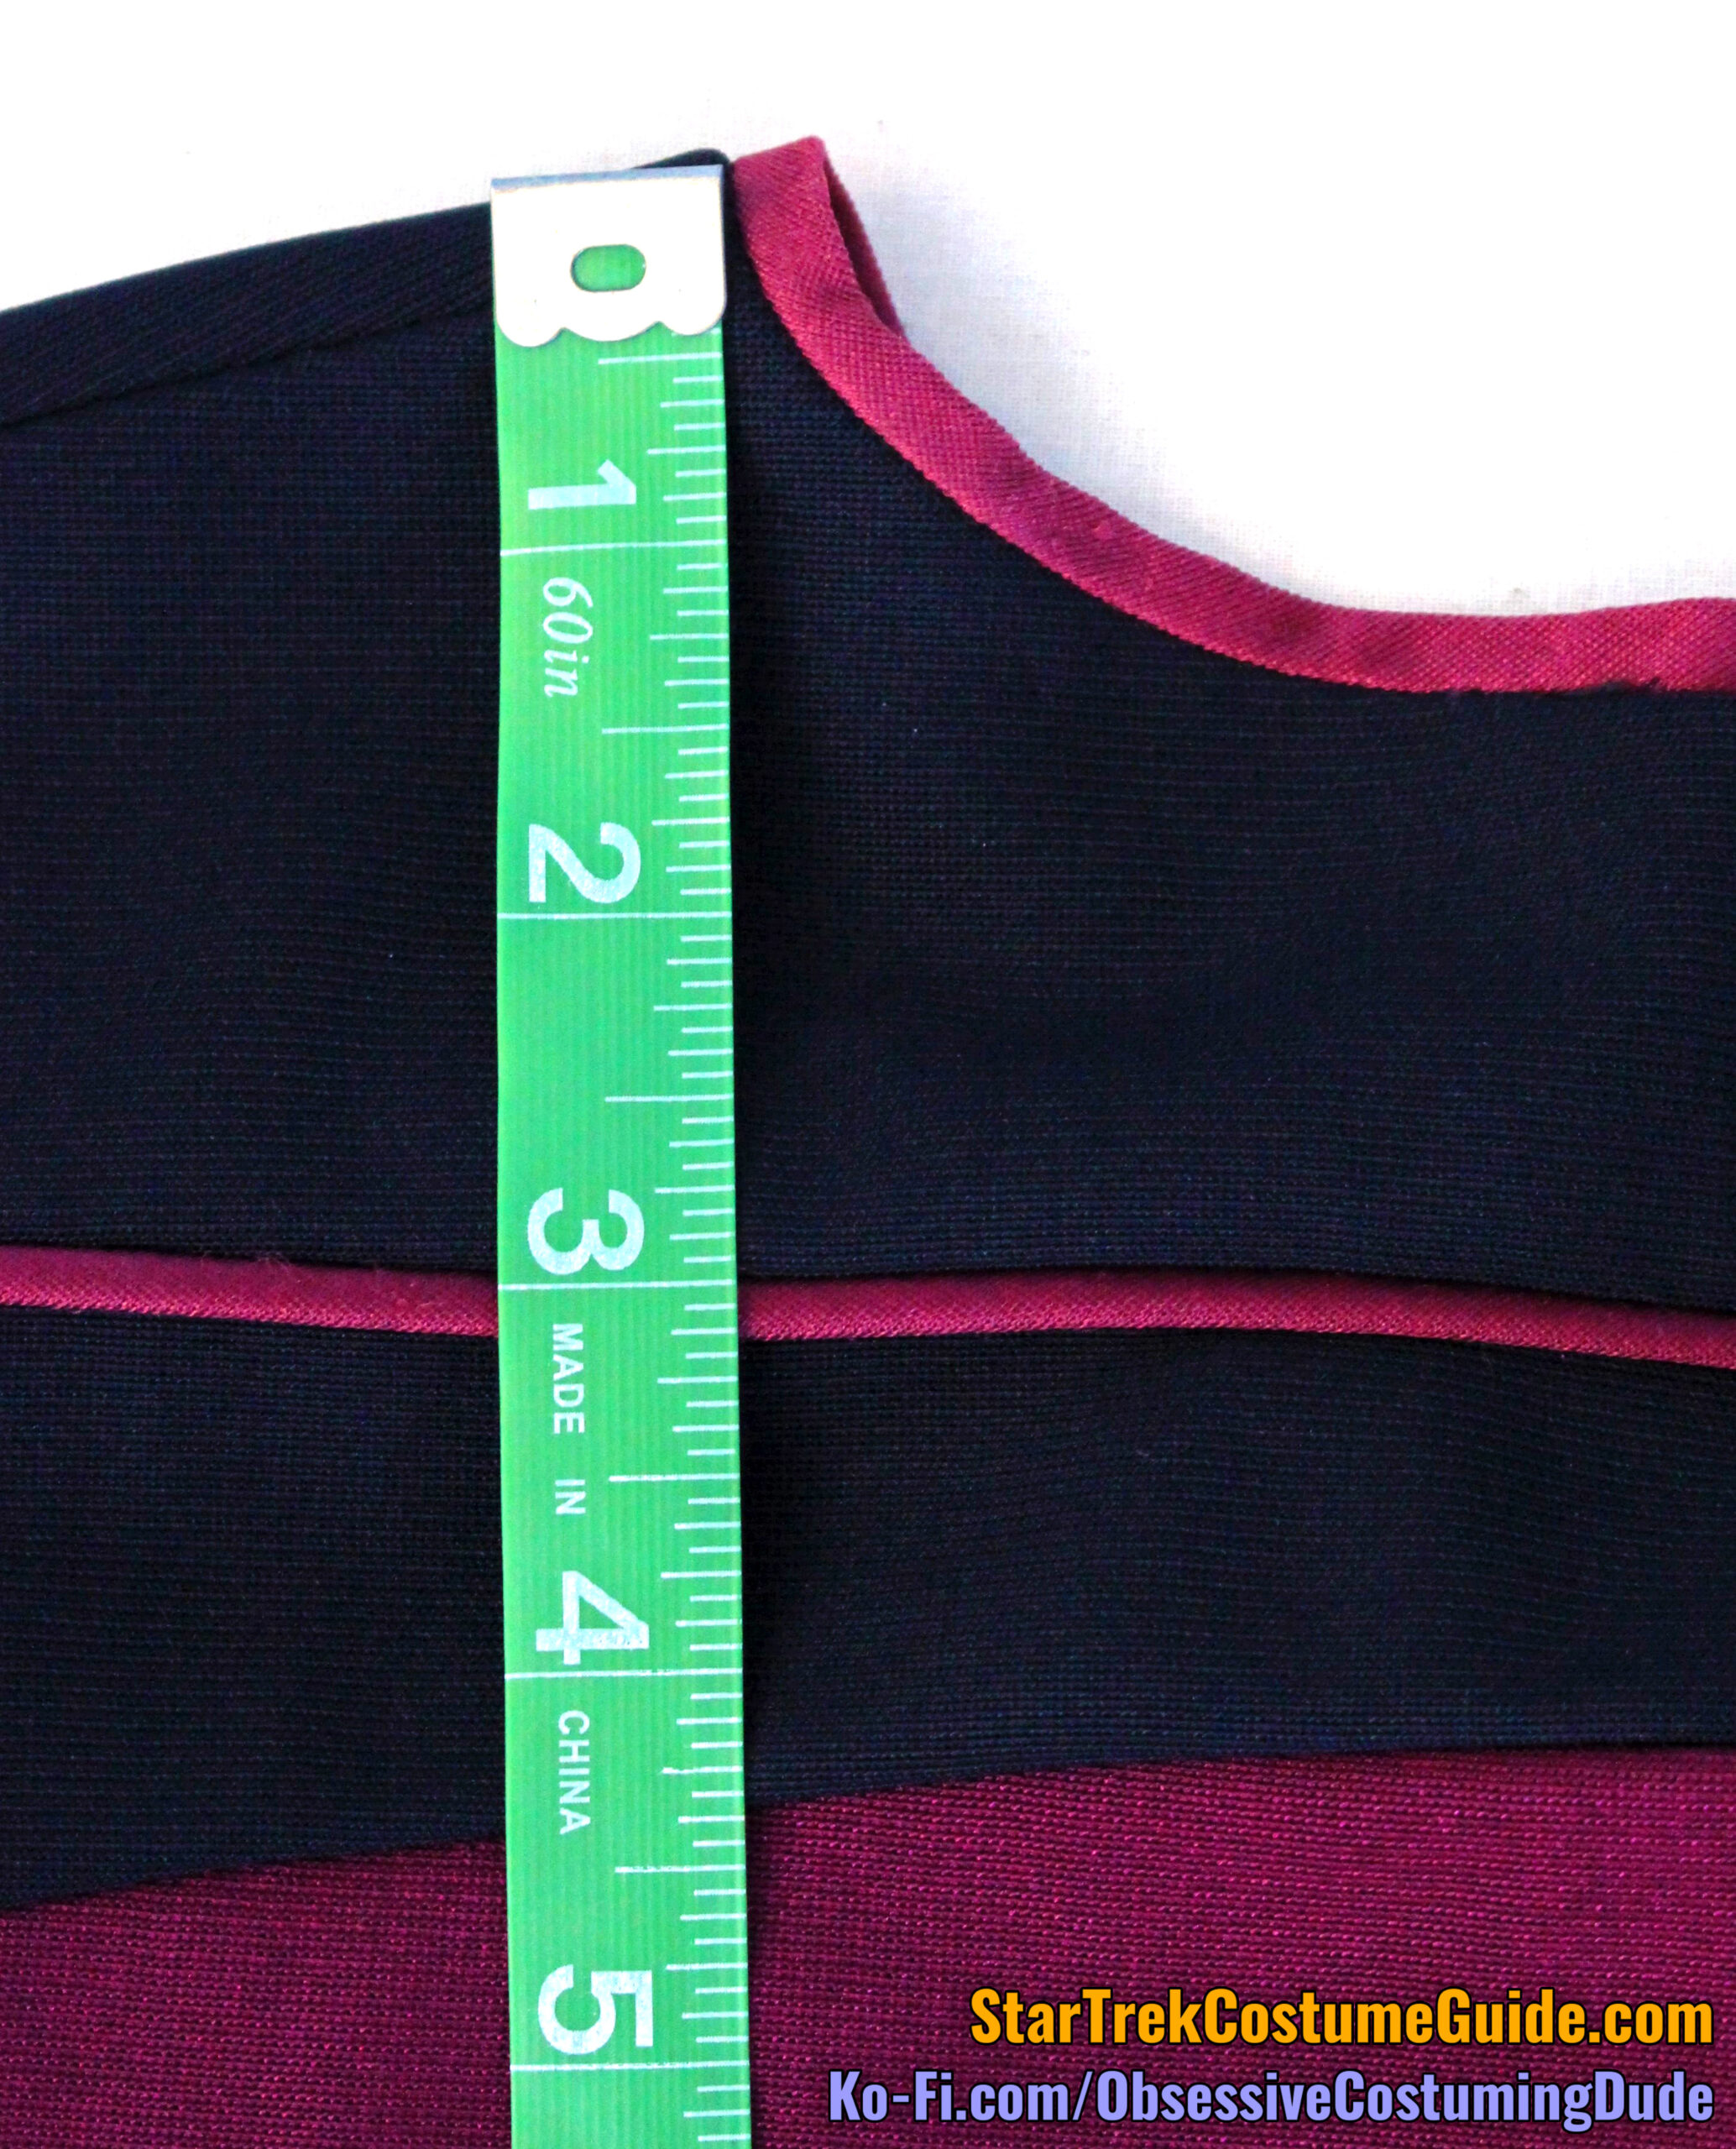
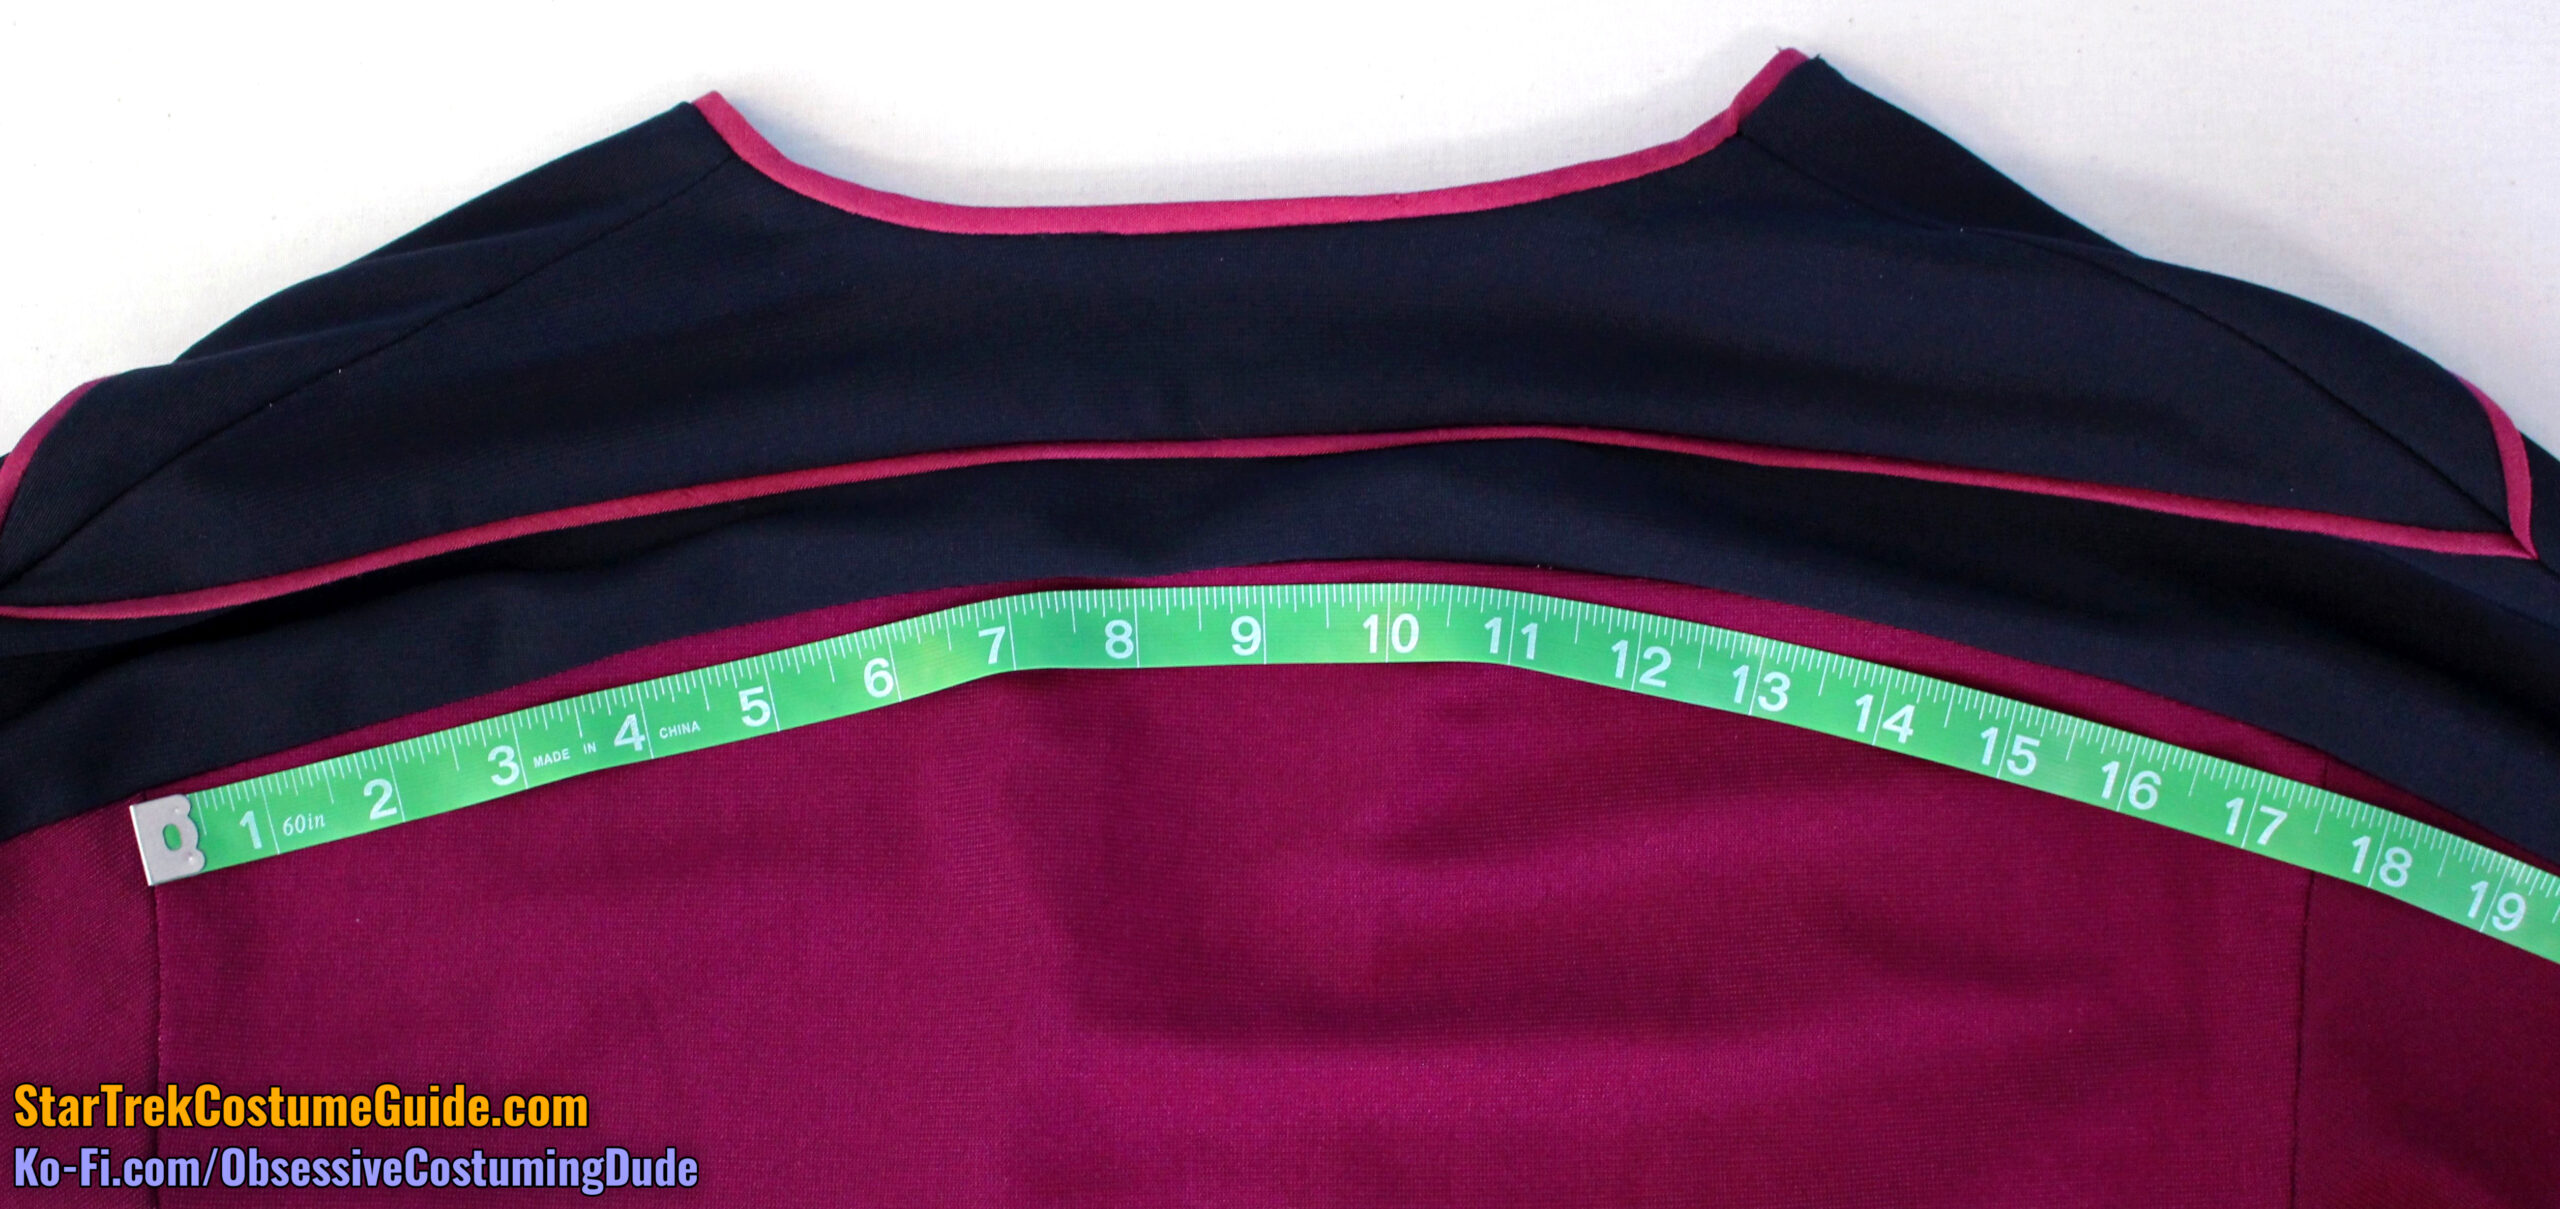
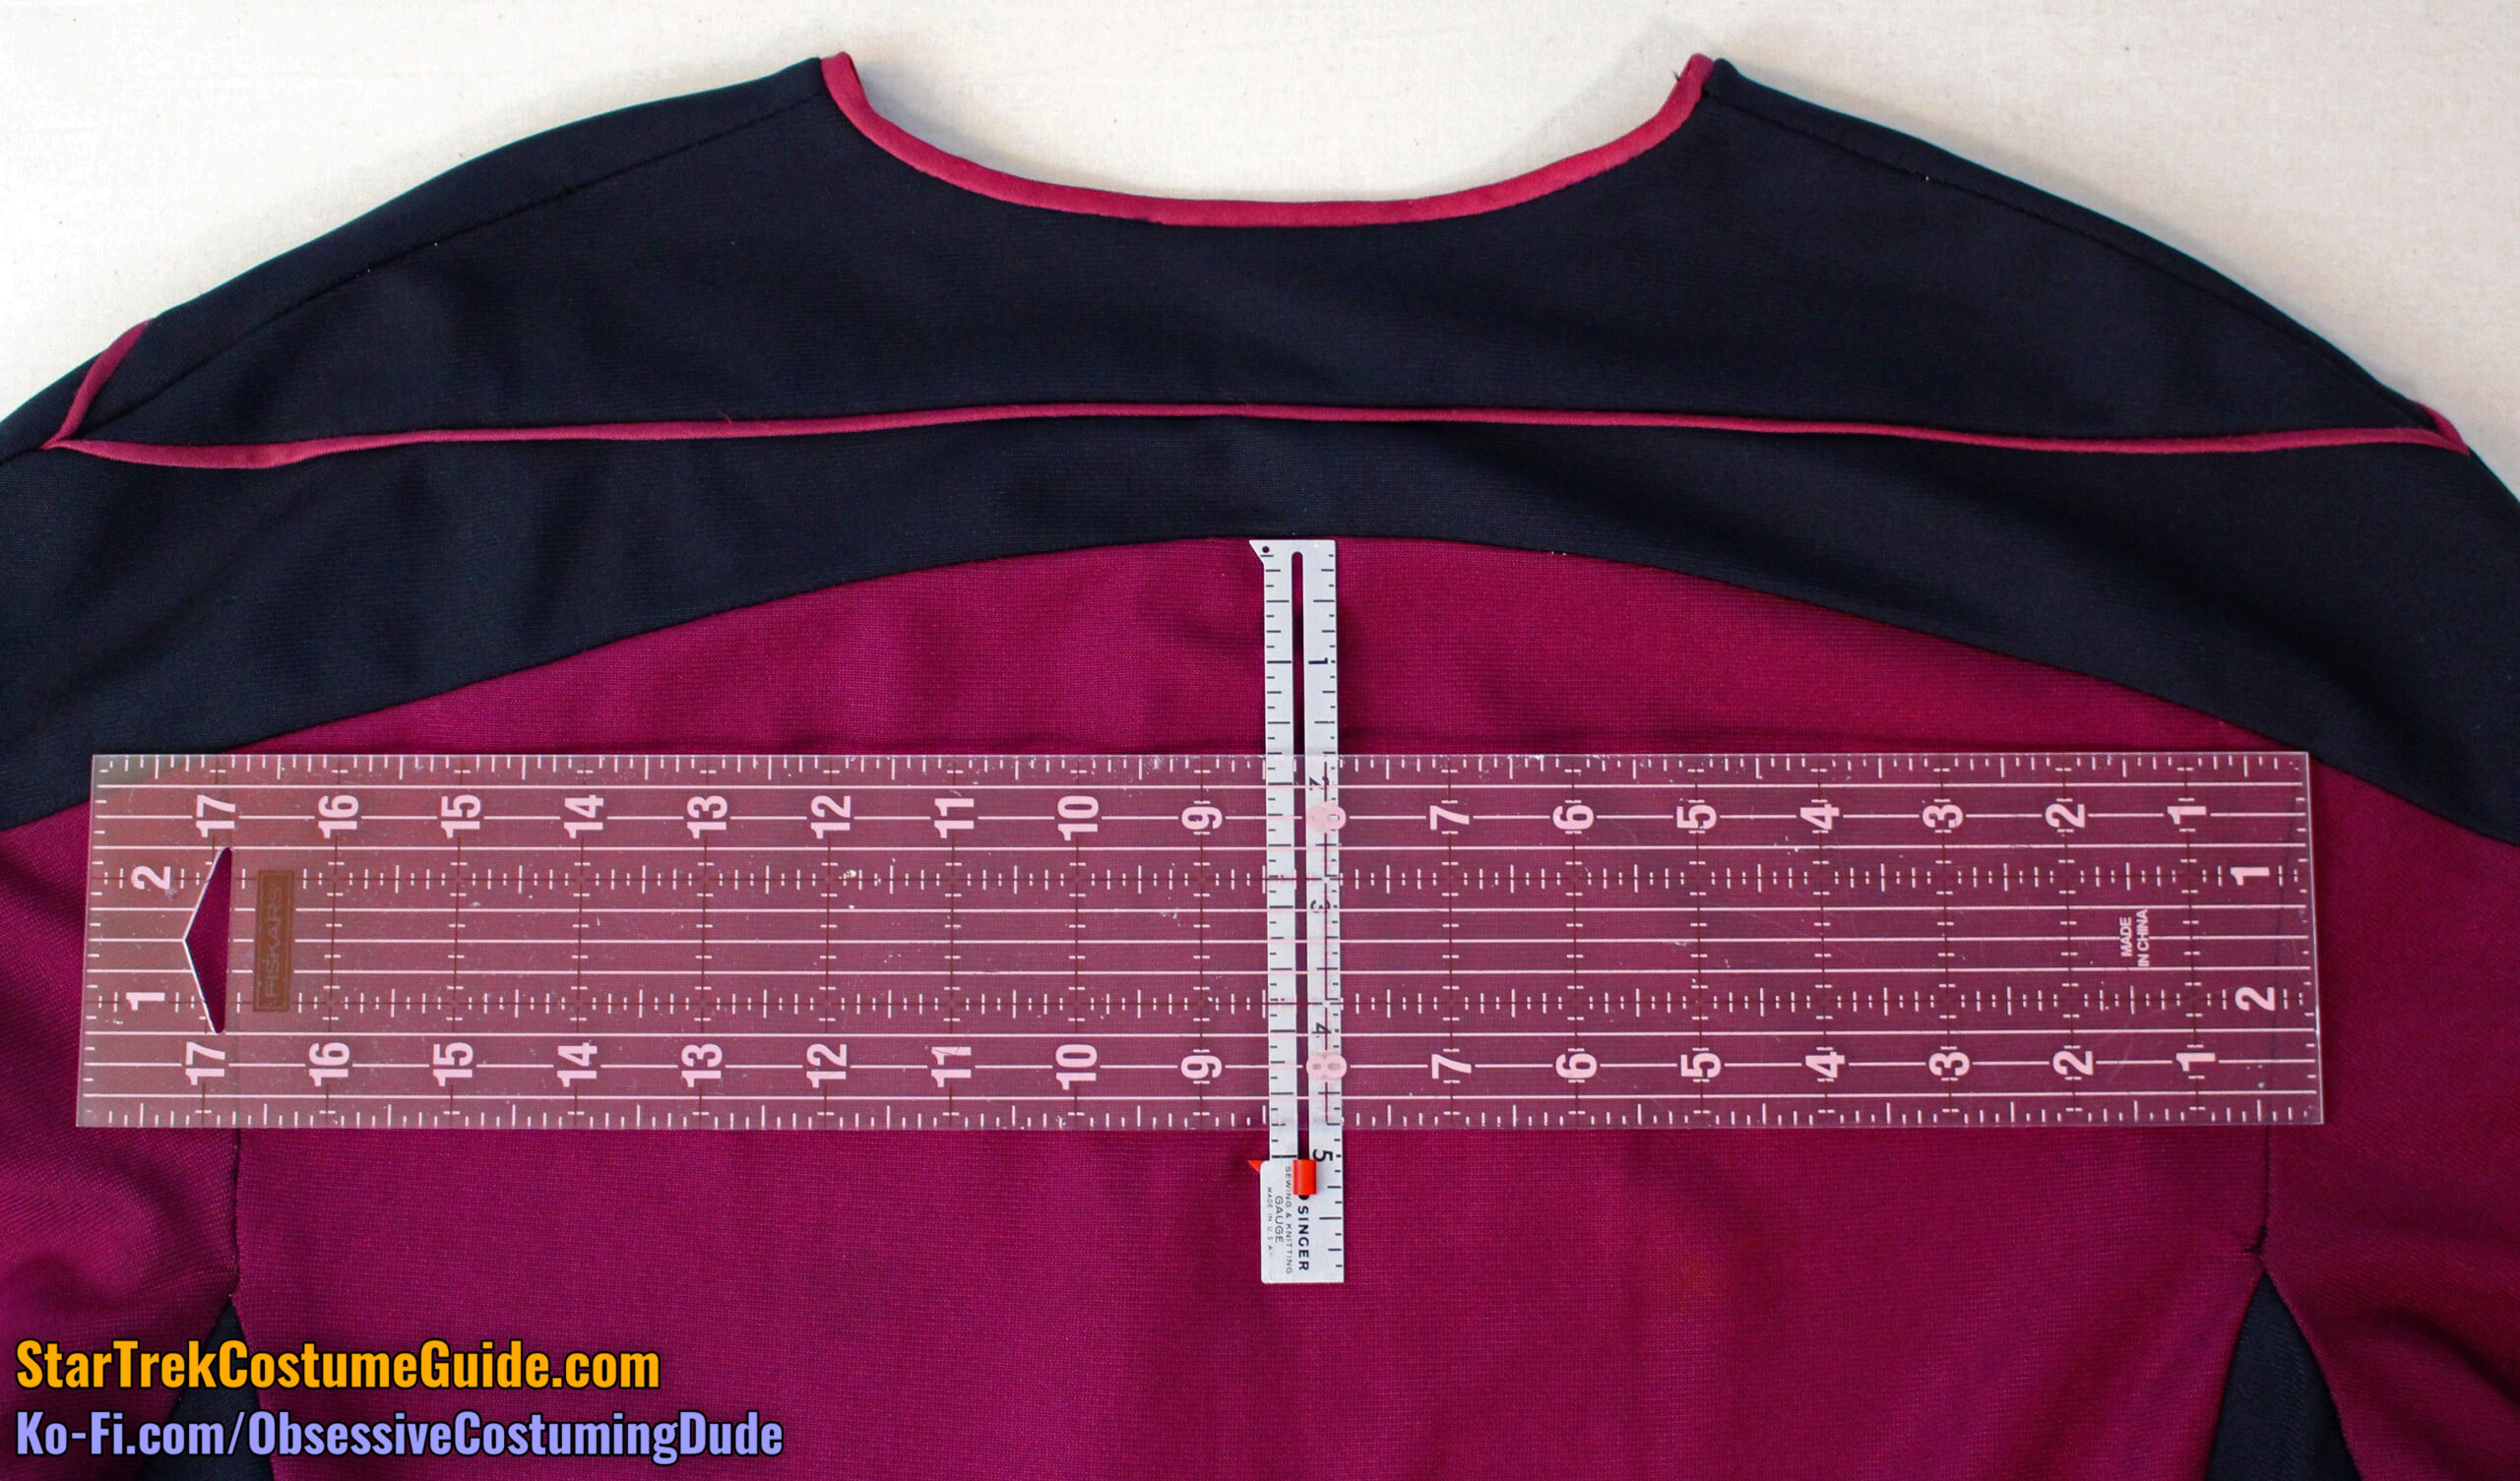
The back yoke was 4 ⅜” deep at the center back (sans neckline trim).
The upper yoke was 1 ¾” deep, and the lower yoke was 1 ¼” deep (including the yoke piping).
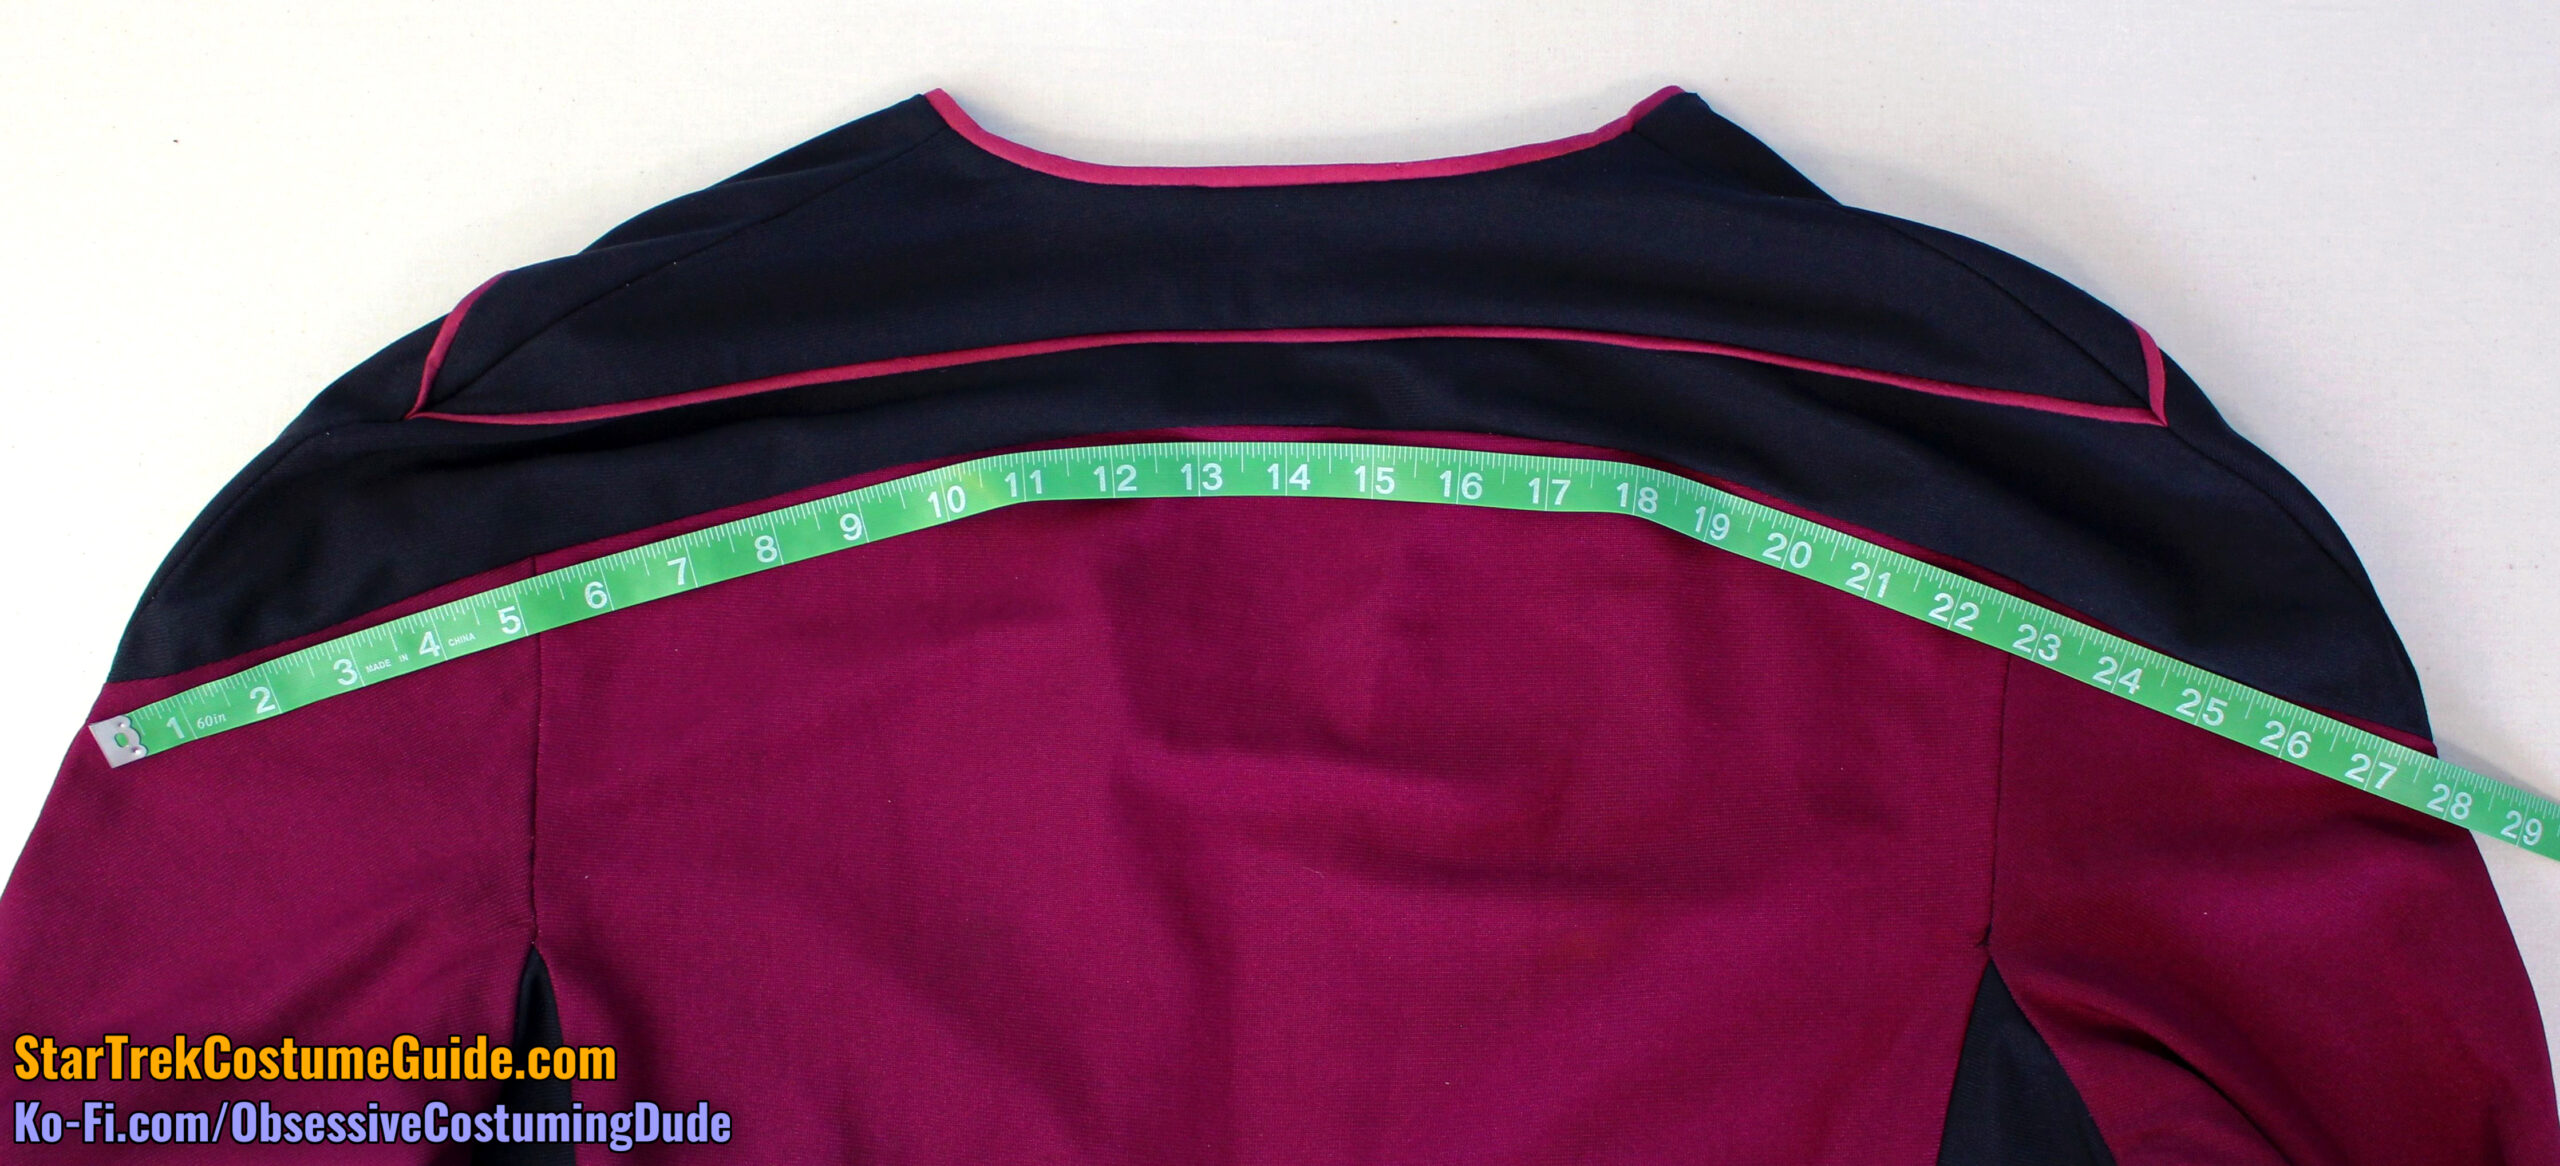
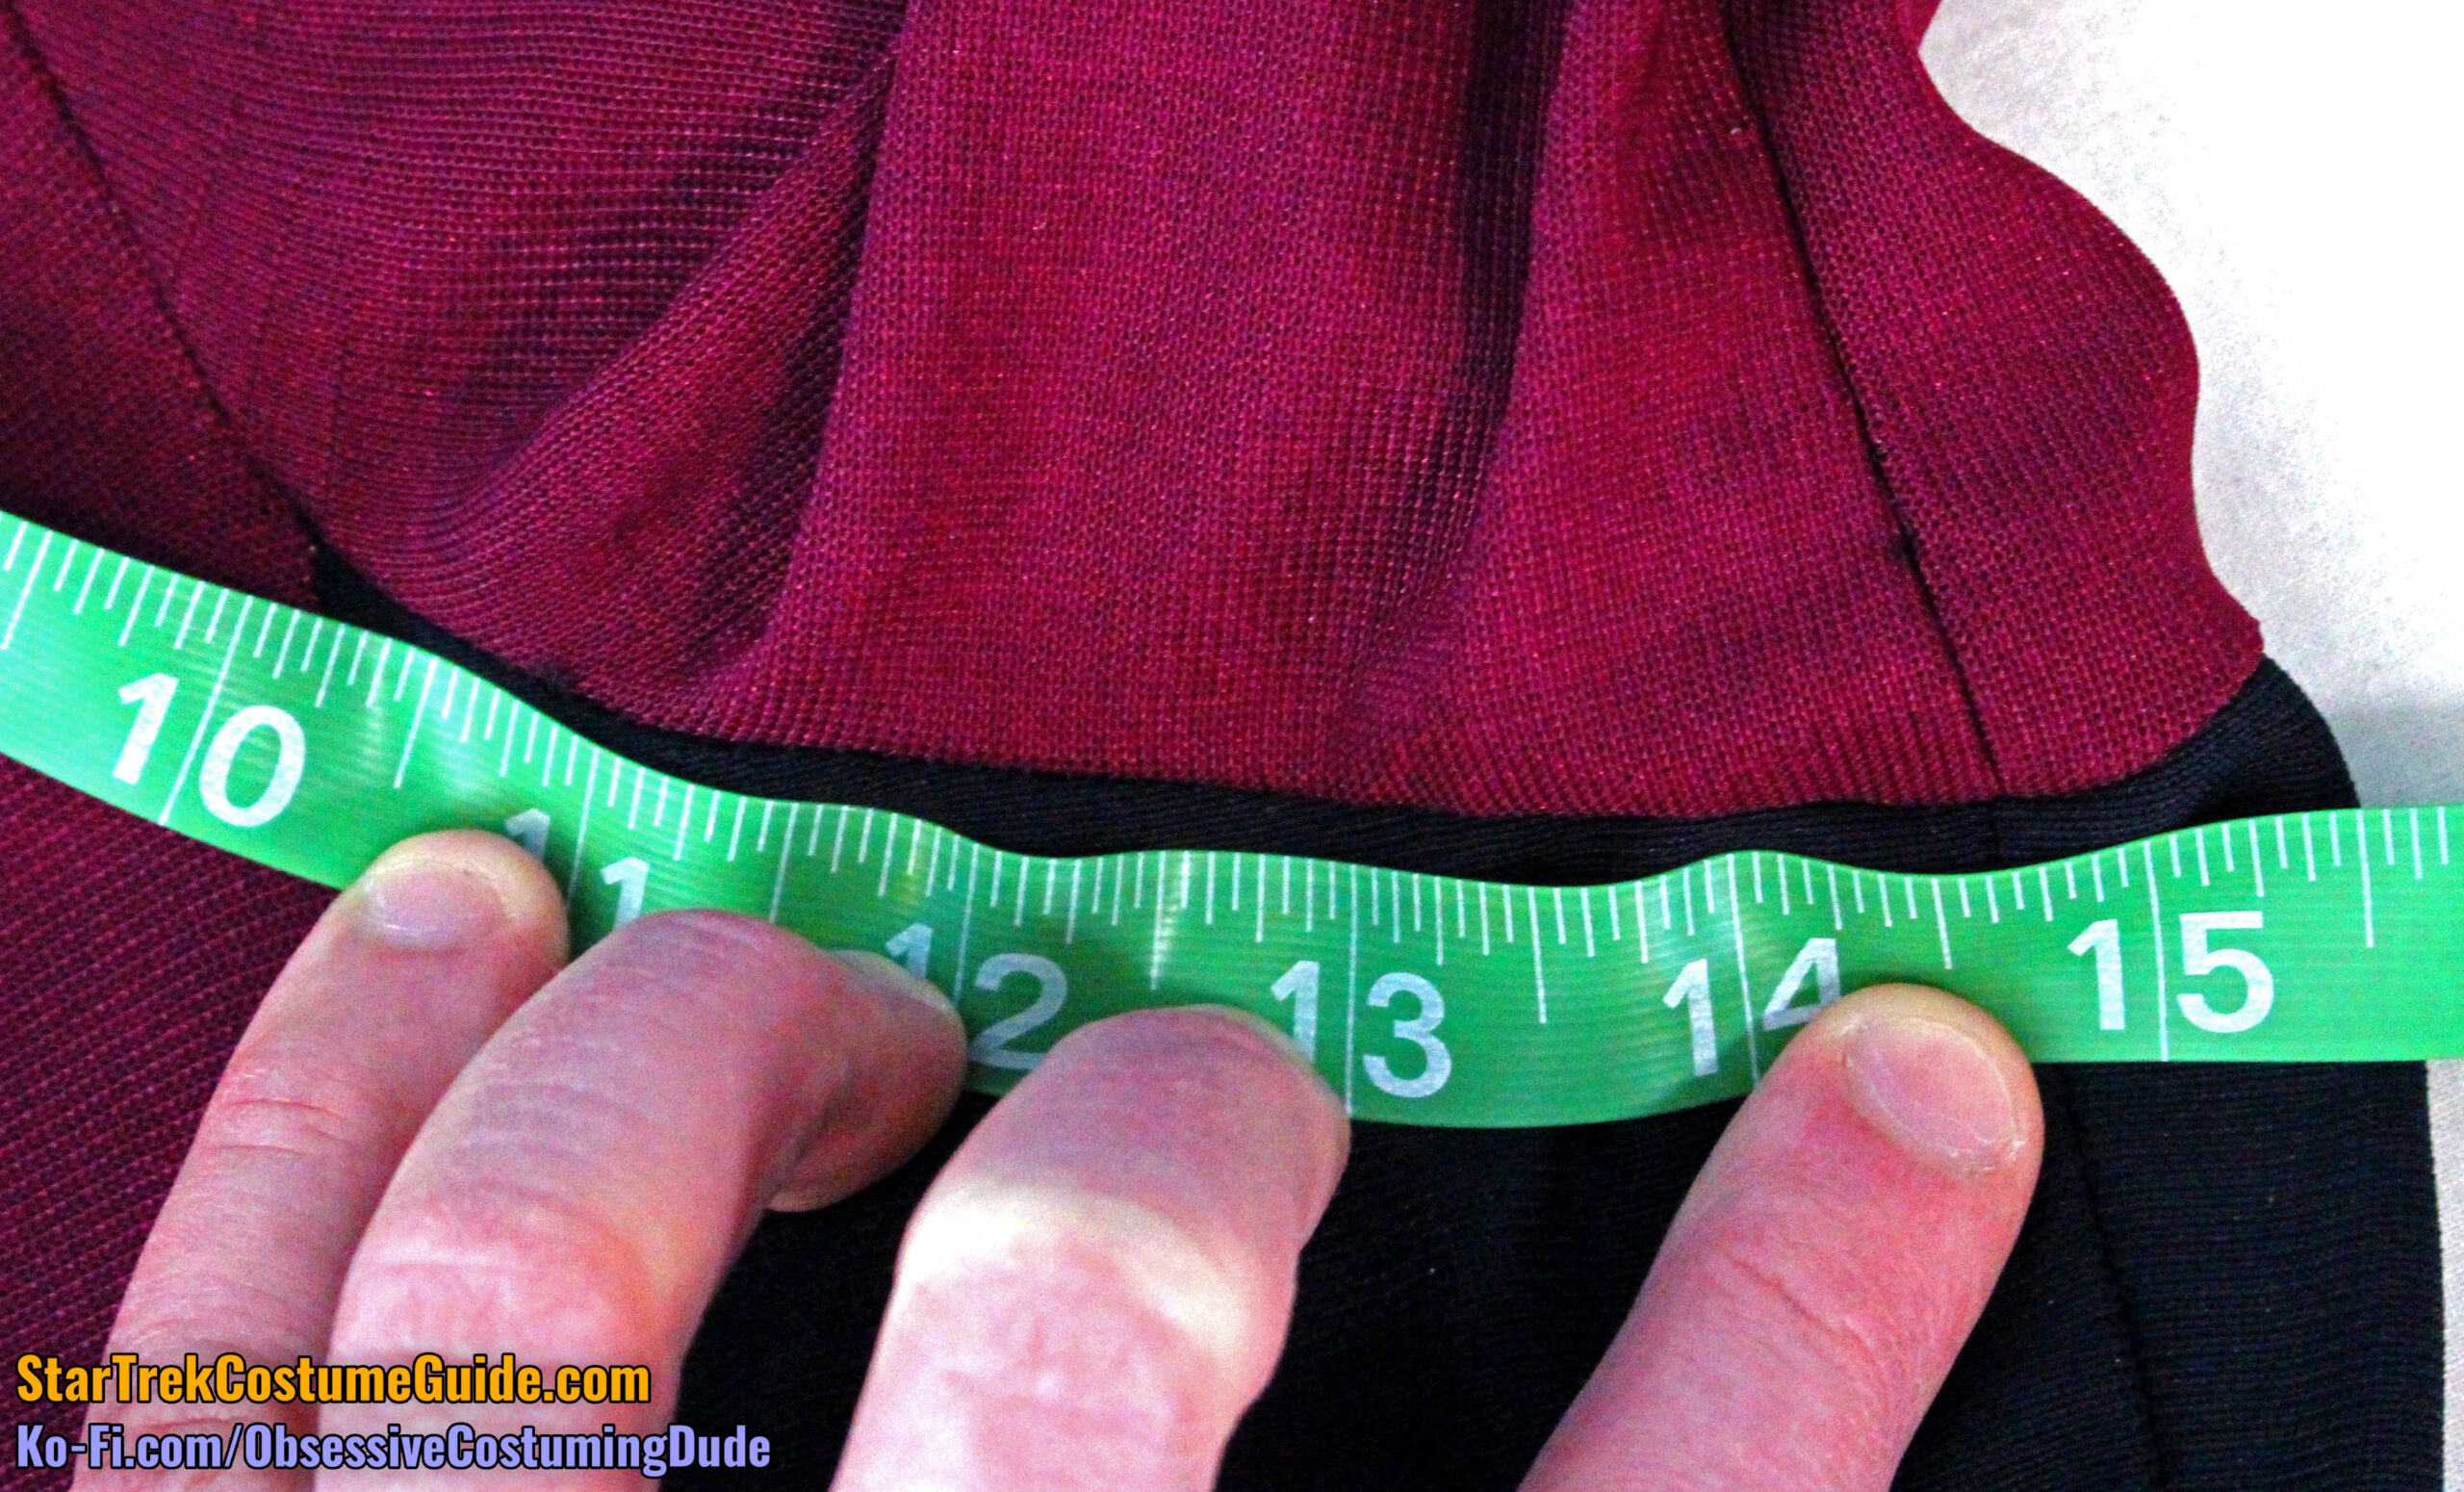
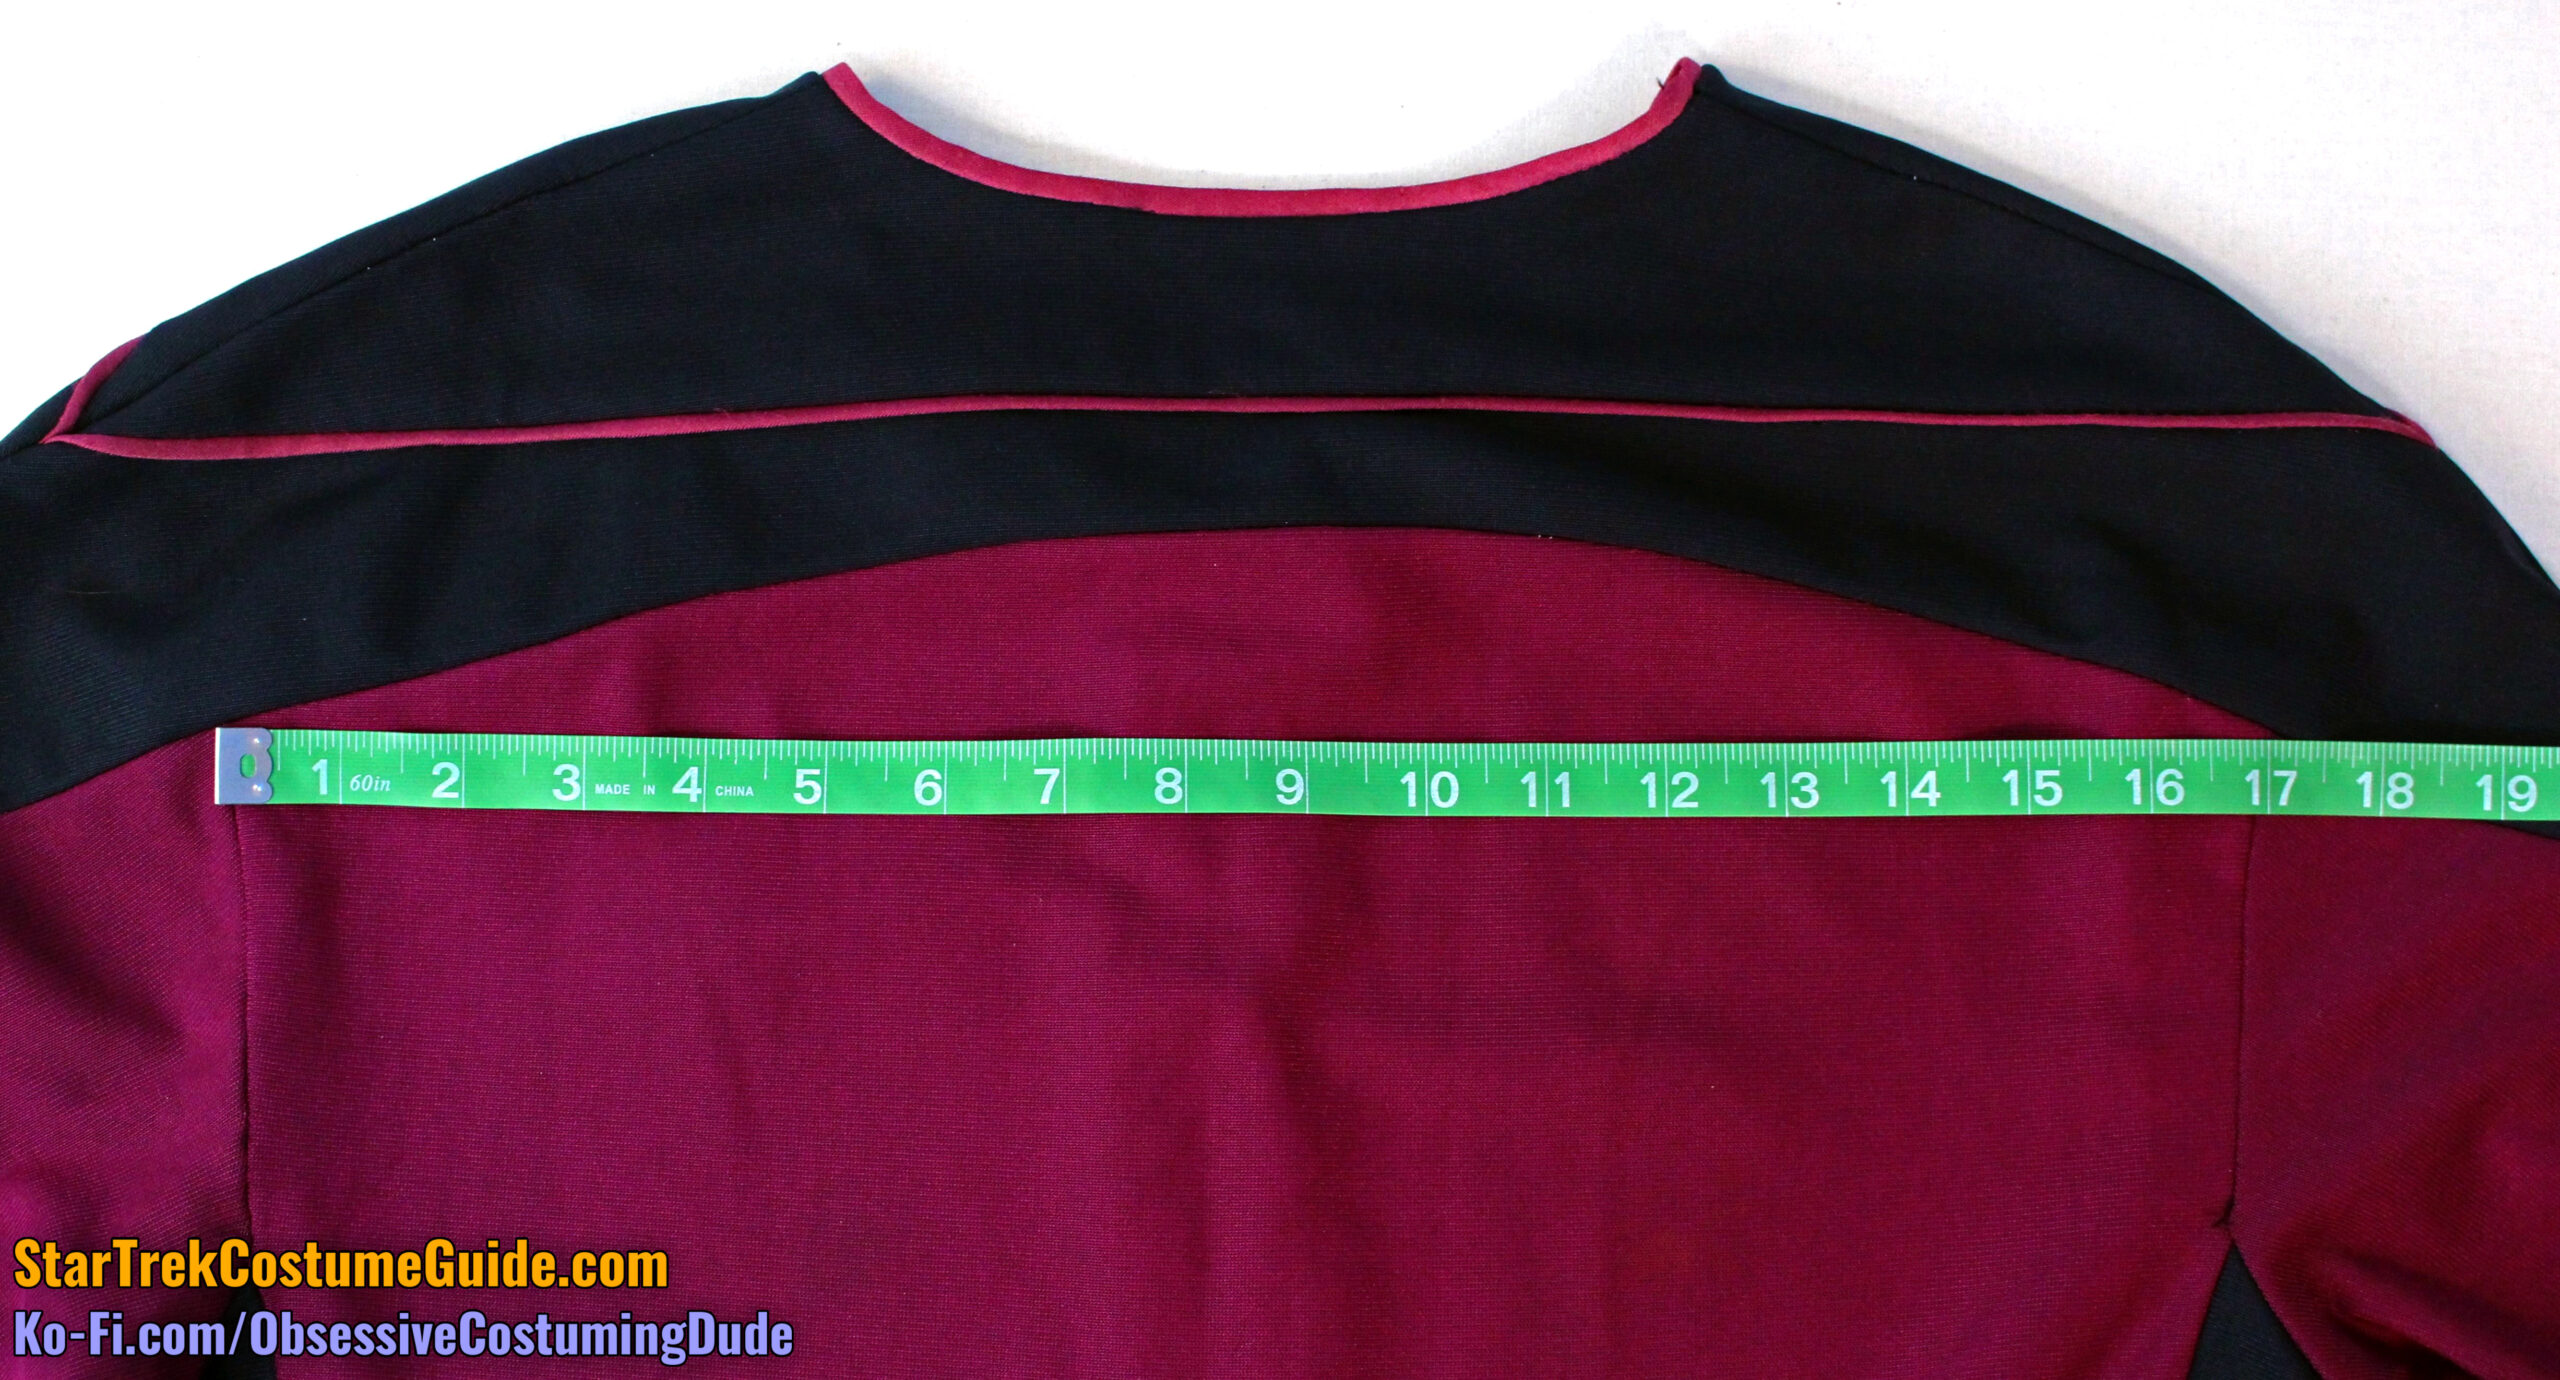
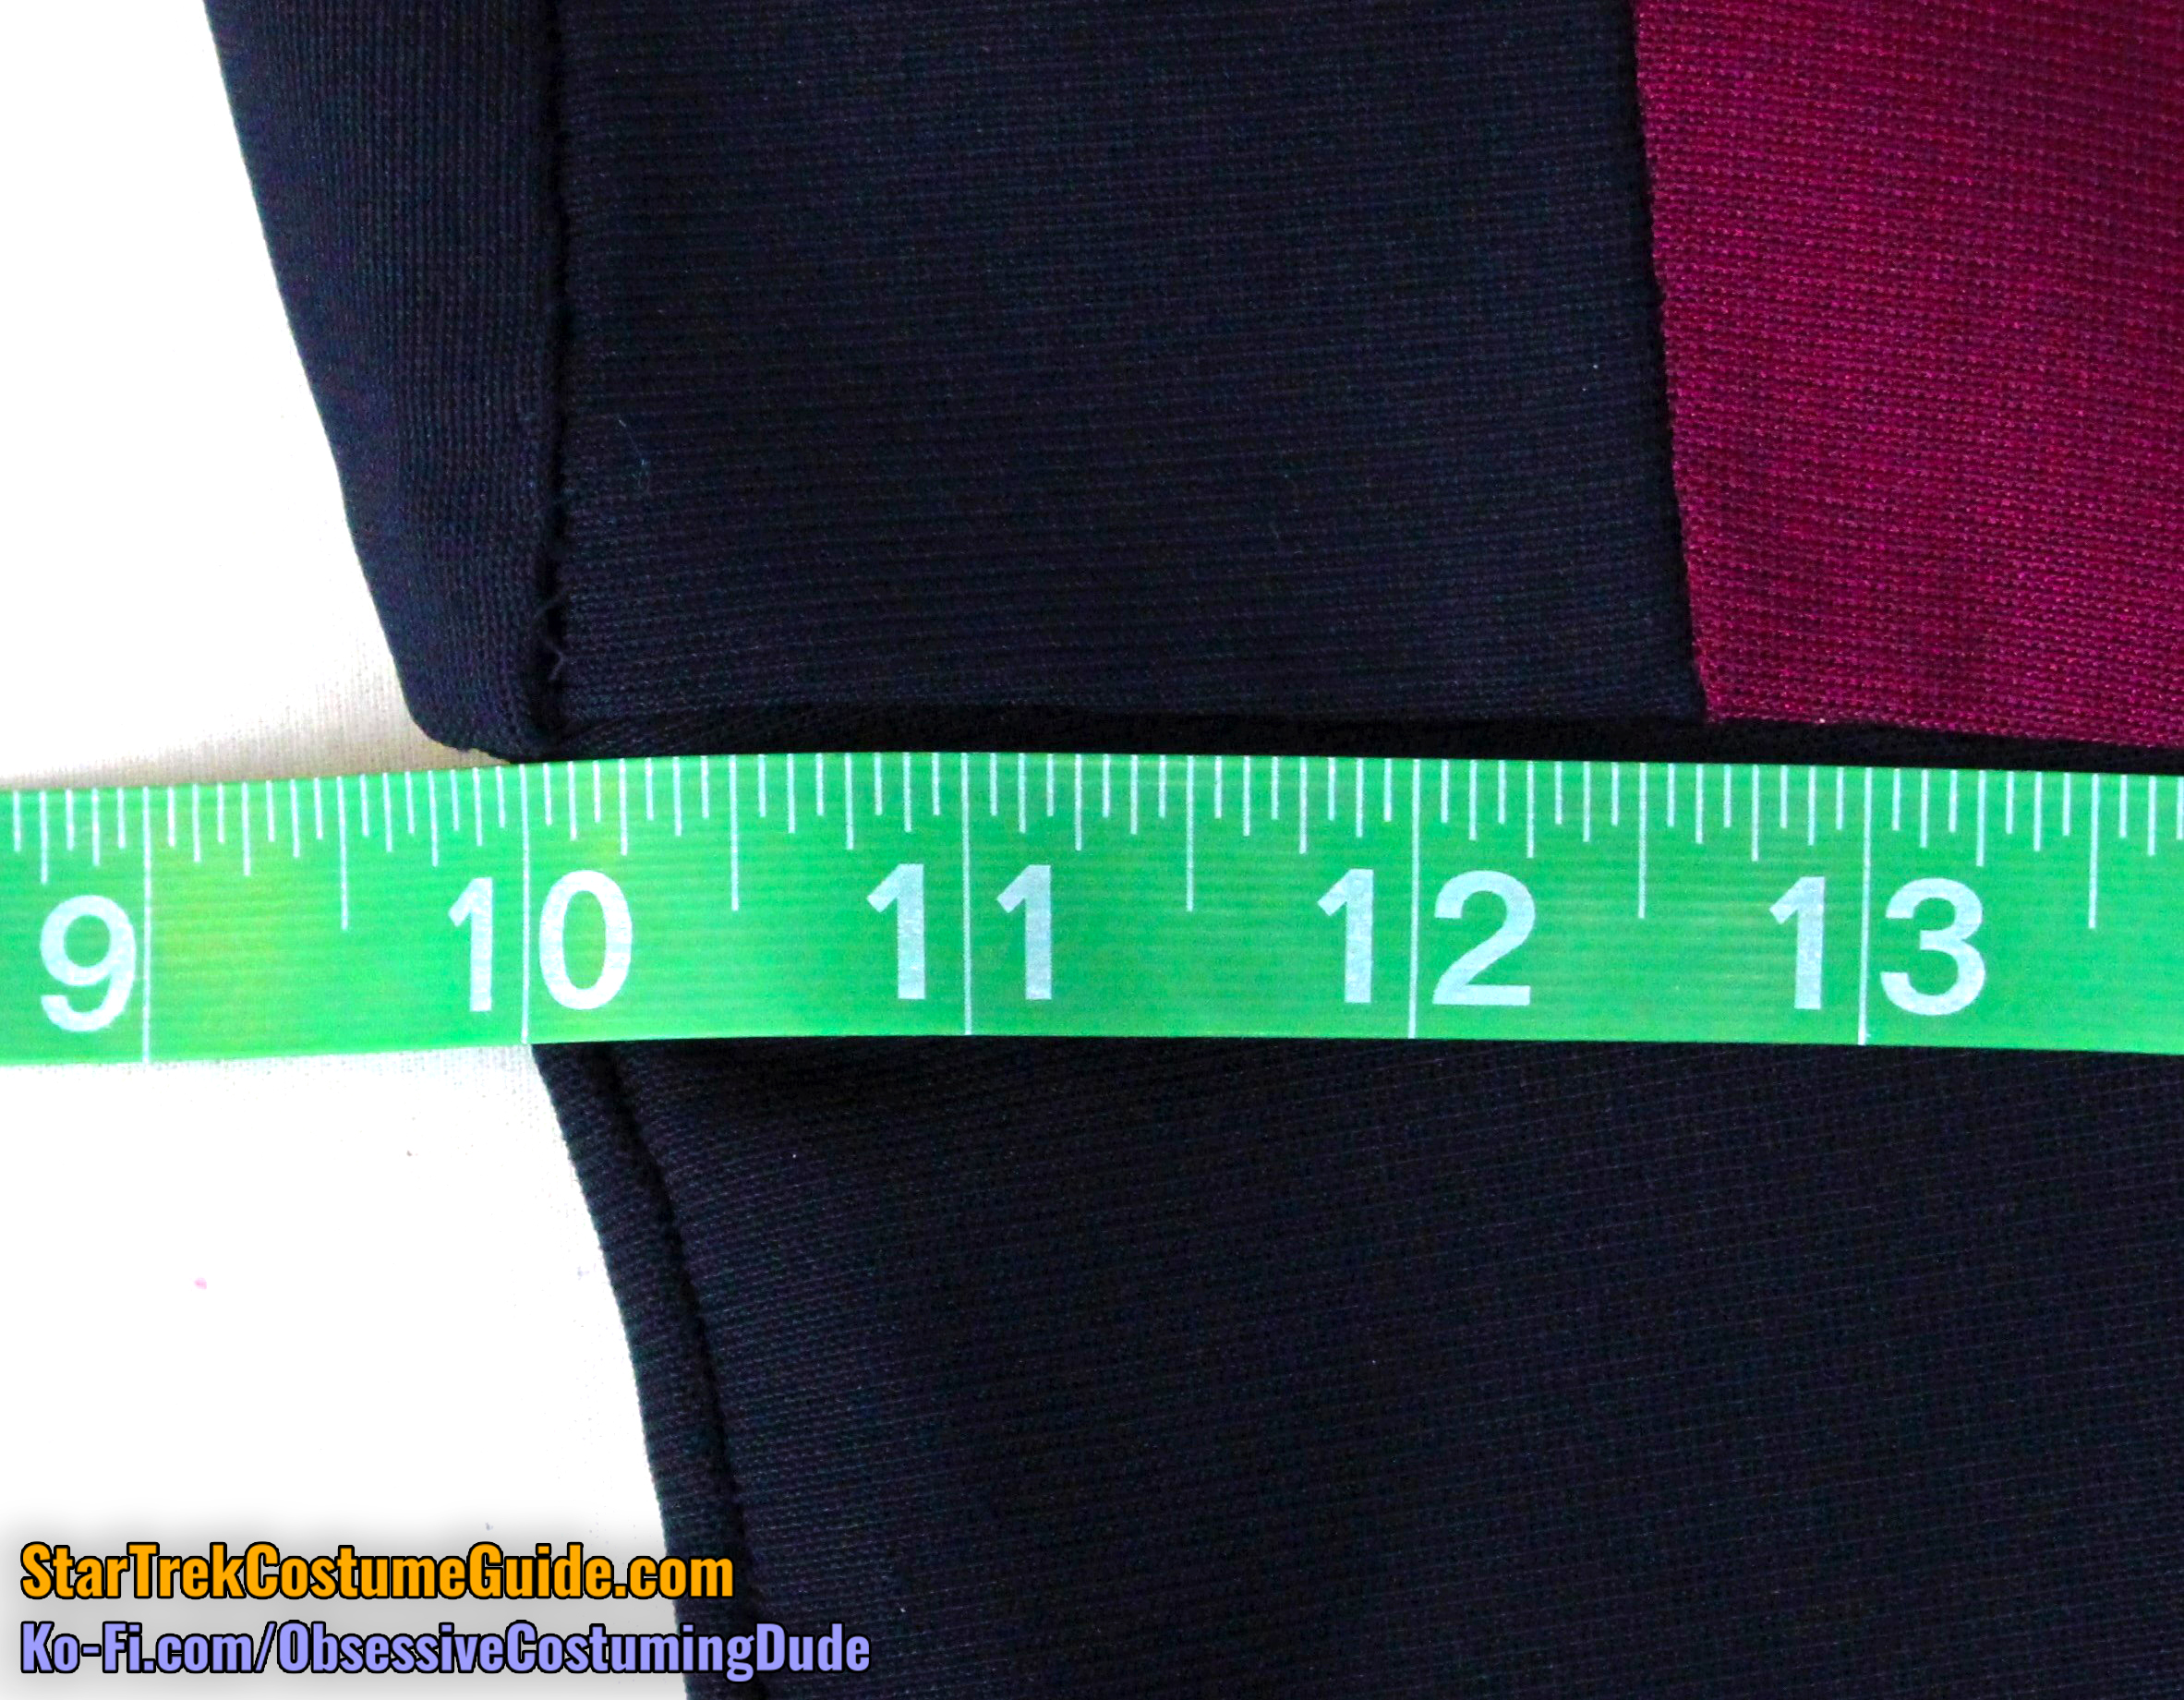
The lower back yoke seam line was 28” total.
Of this total seam line, 14 ½” was allocated to the upper back body, and 5 ¼” extended onto each of the upper back sleeves.
Like the front, the lower edge of the back yoke seam also curved downward.
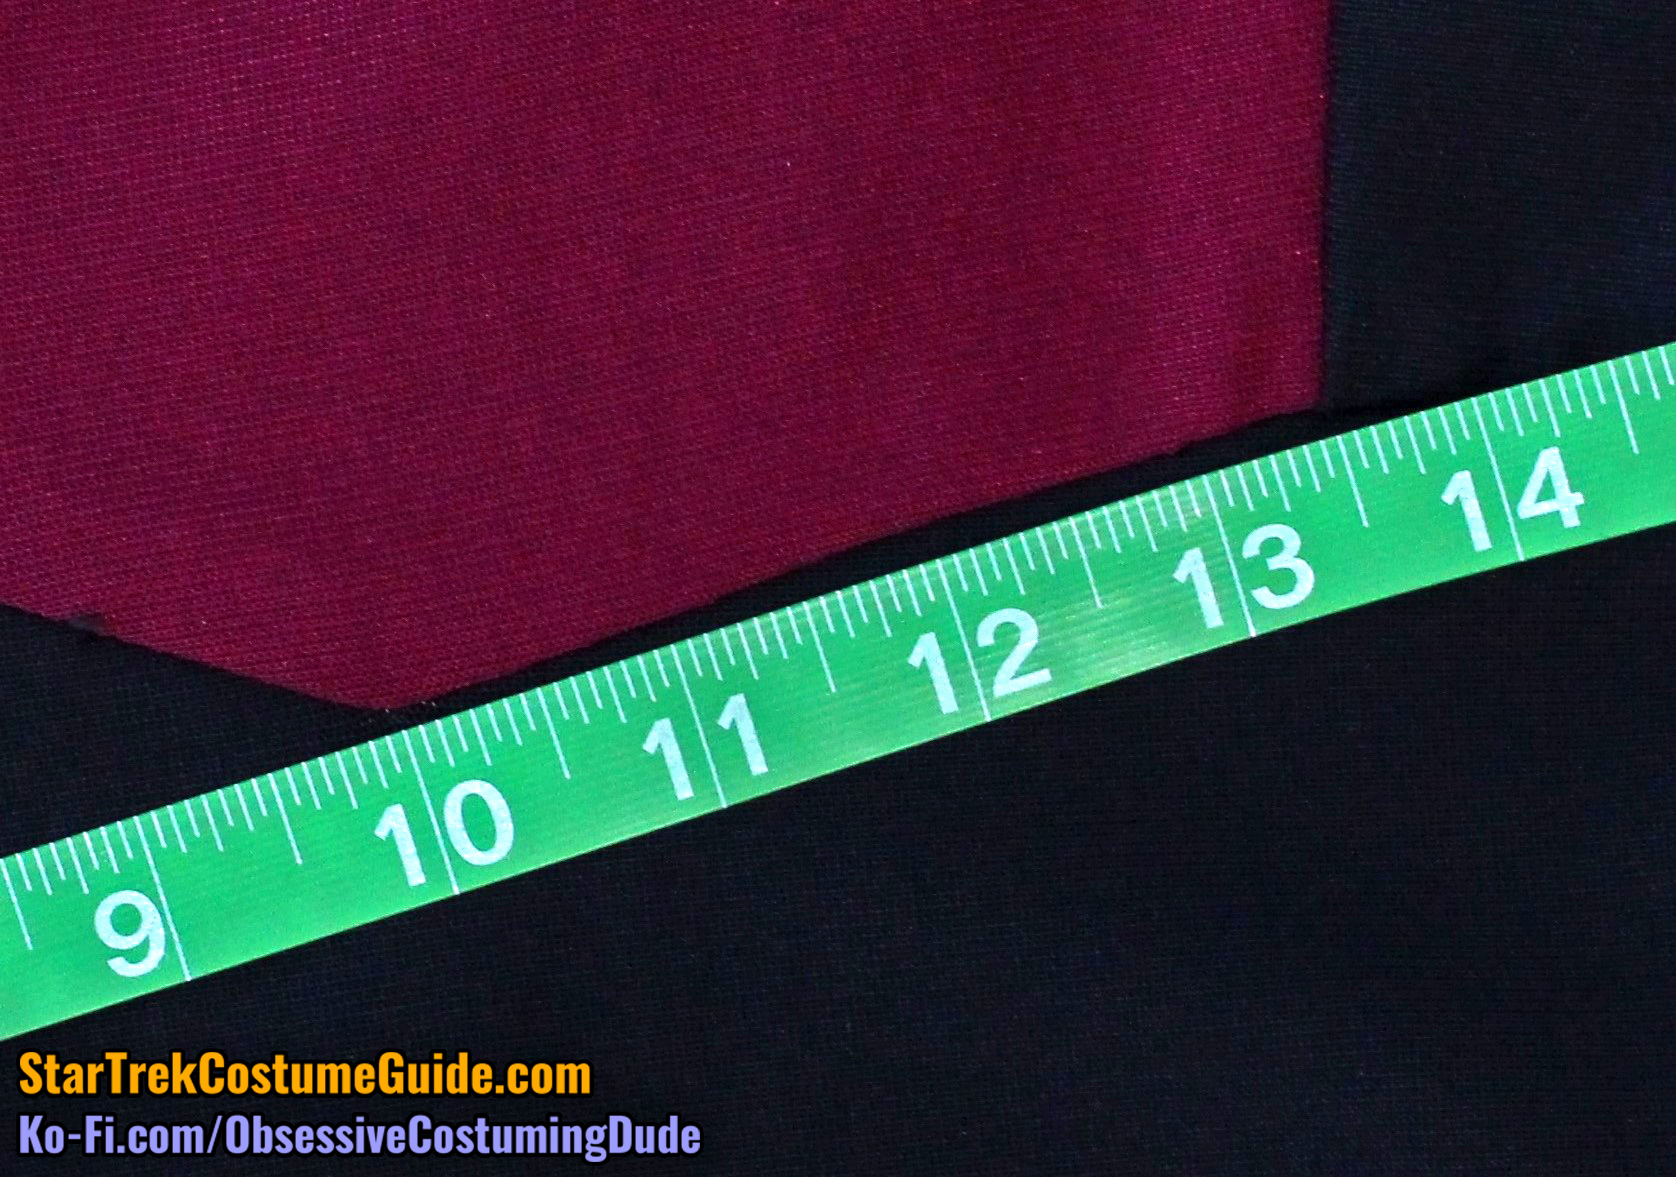
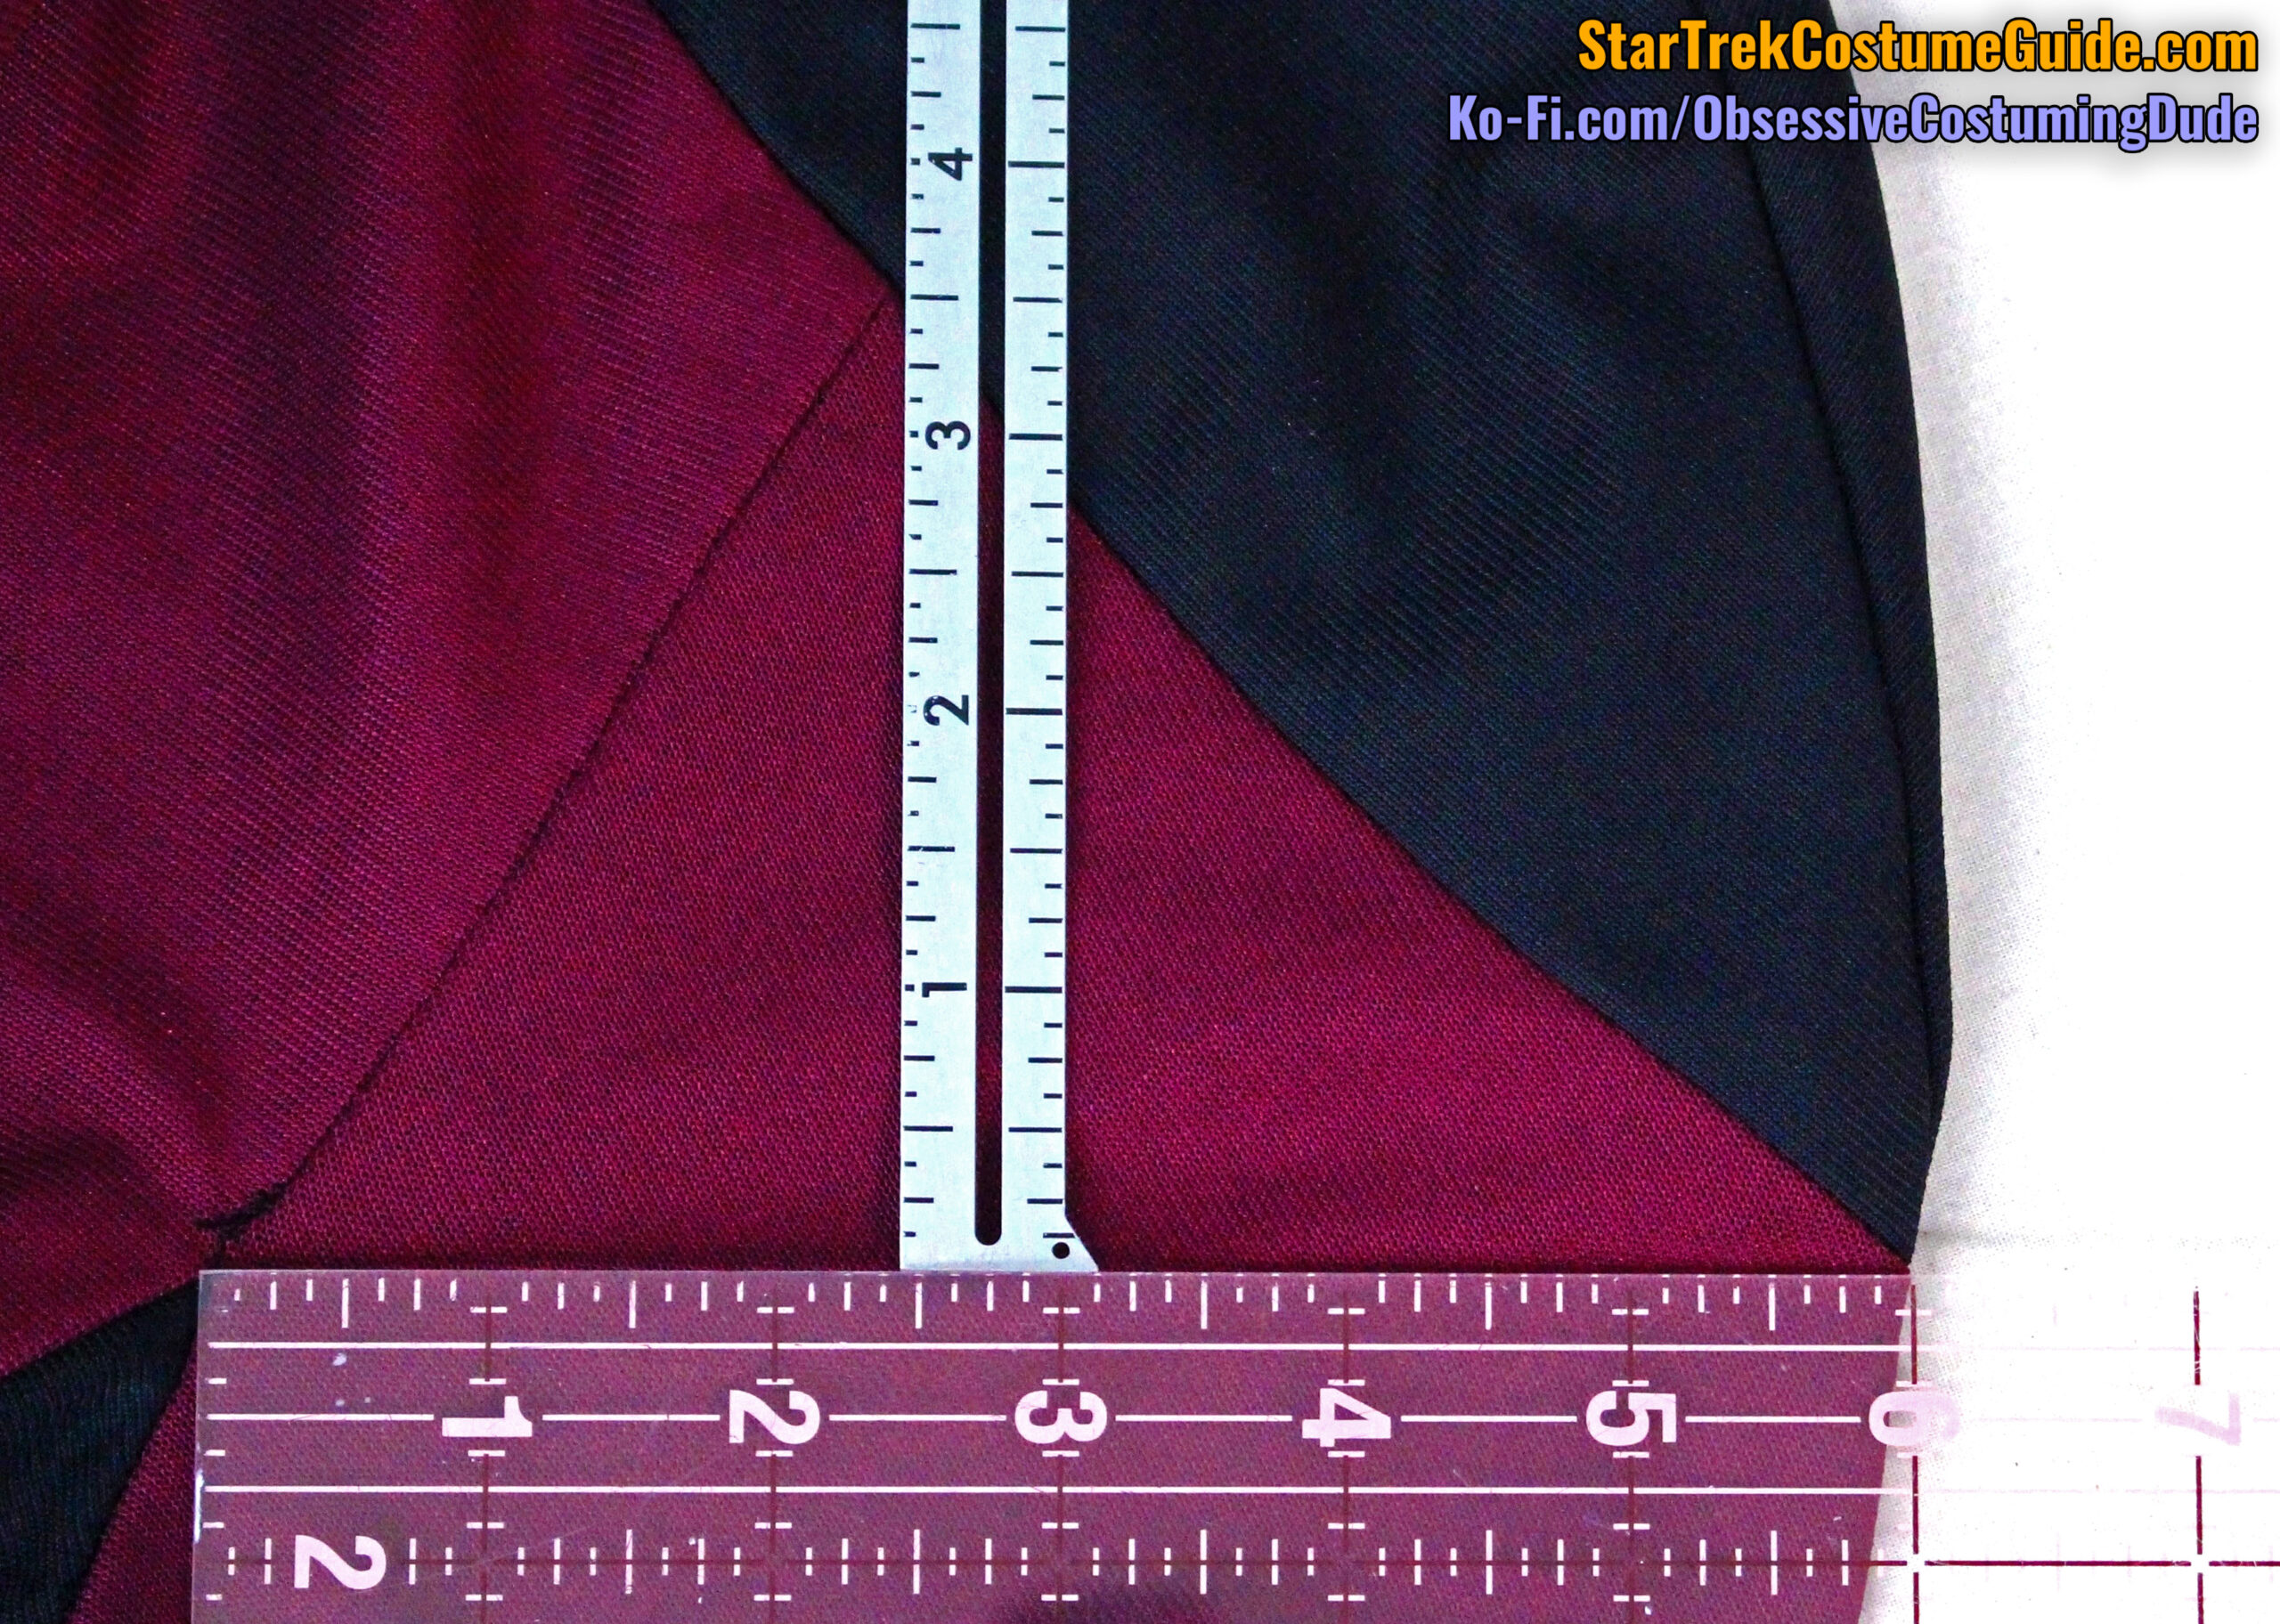
And again using the jumbo spandex “weave” as a reference, we can see that the back yoke curved downward 1” from center back to the armscye seams.
From the armscye, the back yoke continued to curve downward an additional ¼” to the lower/outer corners.
However, note that the lower/outer edges of the back yoke segued into a “reverse curve,” similar to the way the back yoke was shaped on the screen-used Dr. Pulaski uniform I examined.
However, these curved seam lines were actually fitted!
In other words, they weren’t just “drawn on” a flat pattern base; these seams were cinched in a bit and actually functioned like darts in that regard.
The upper front body panels curved downward as well, but only ½” from center front to armscye.
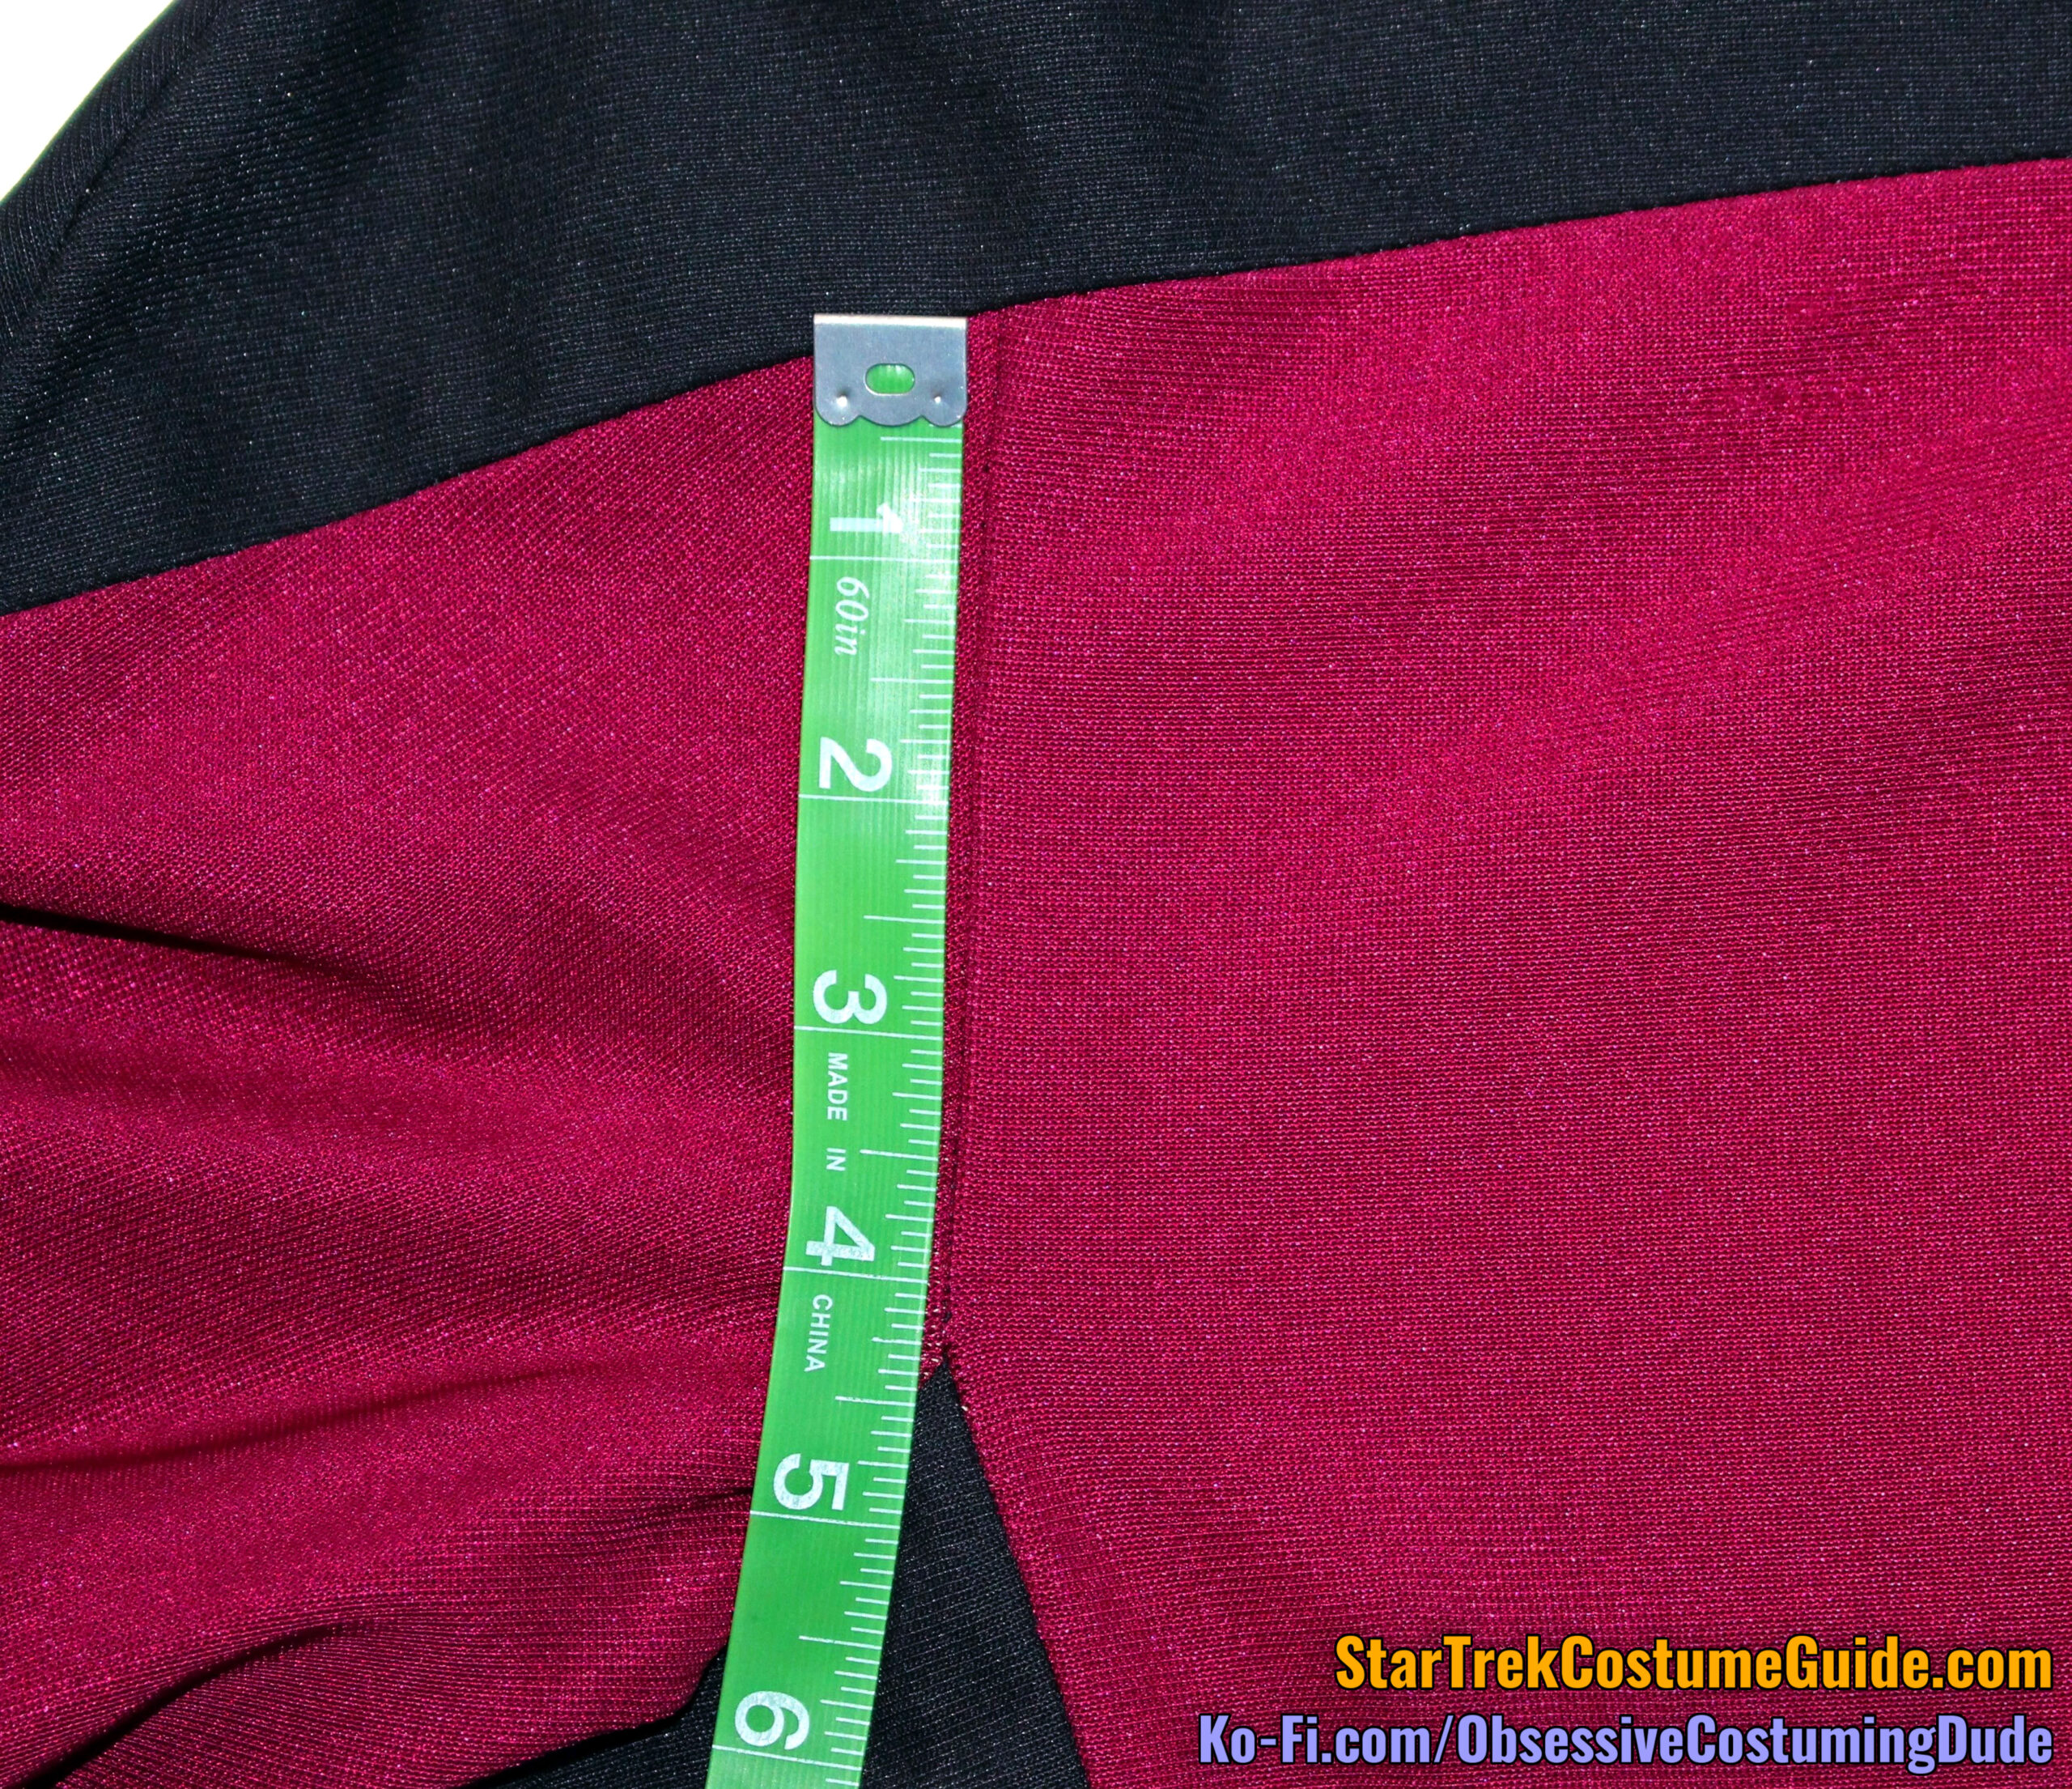
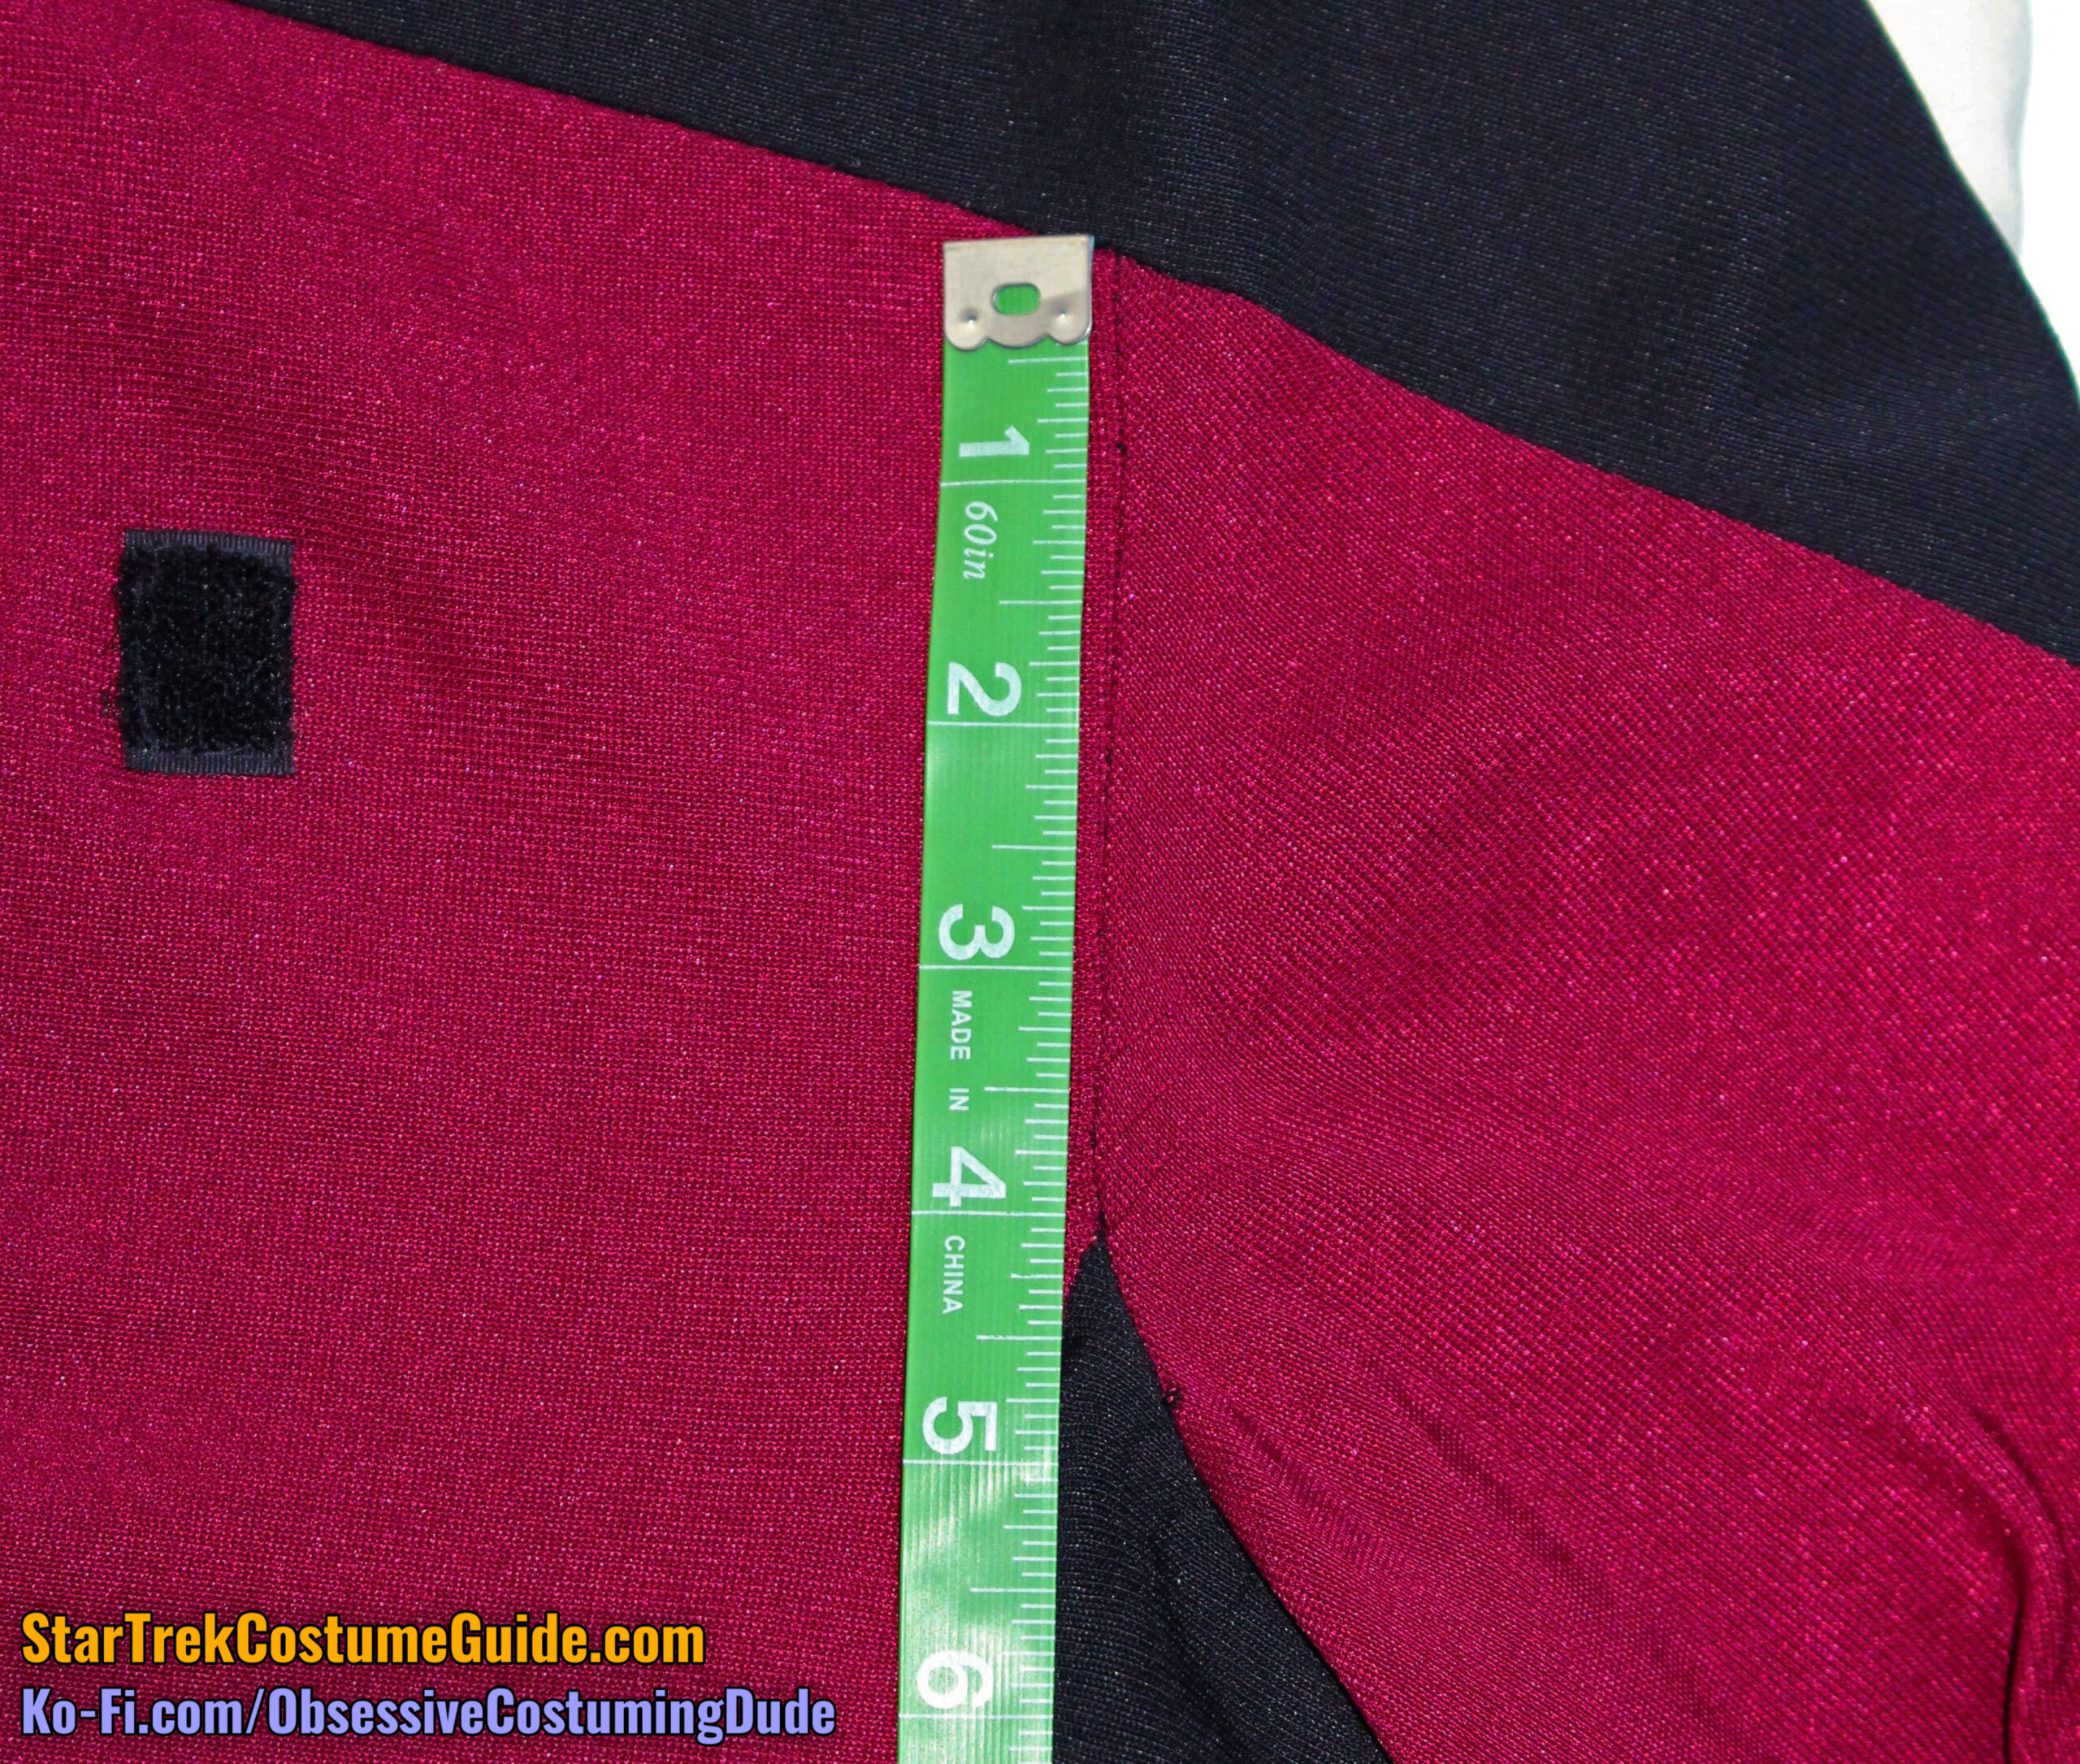
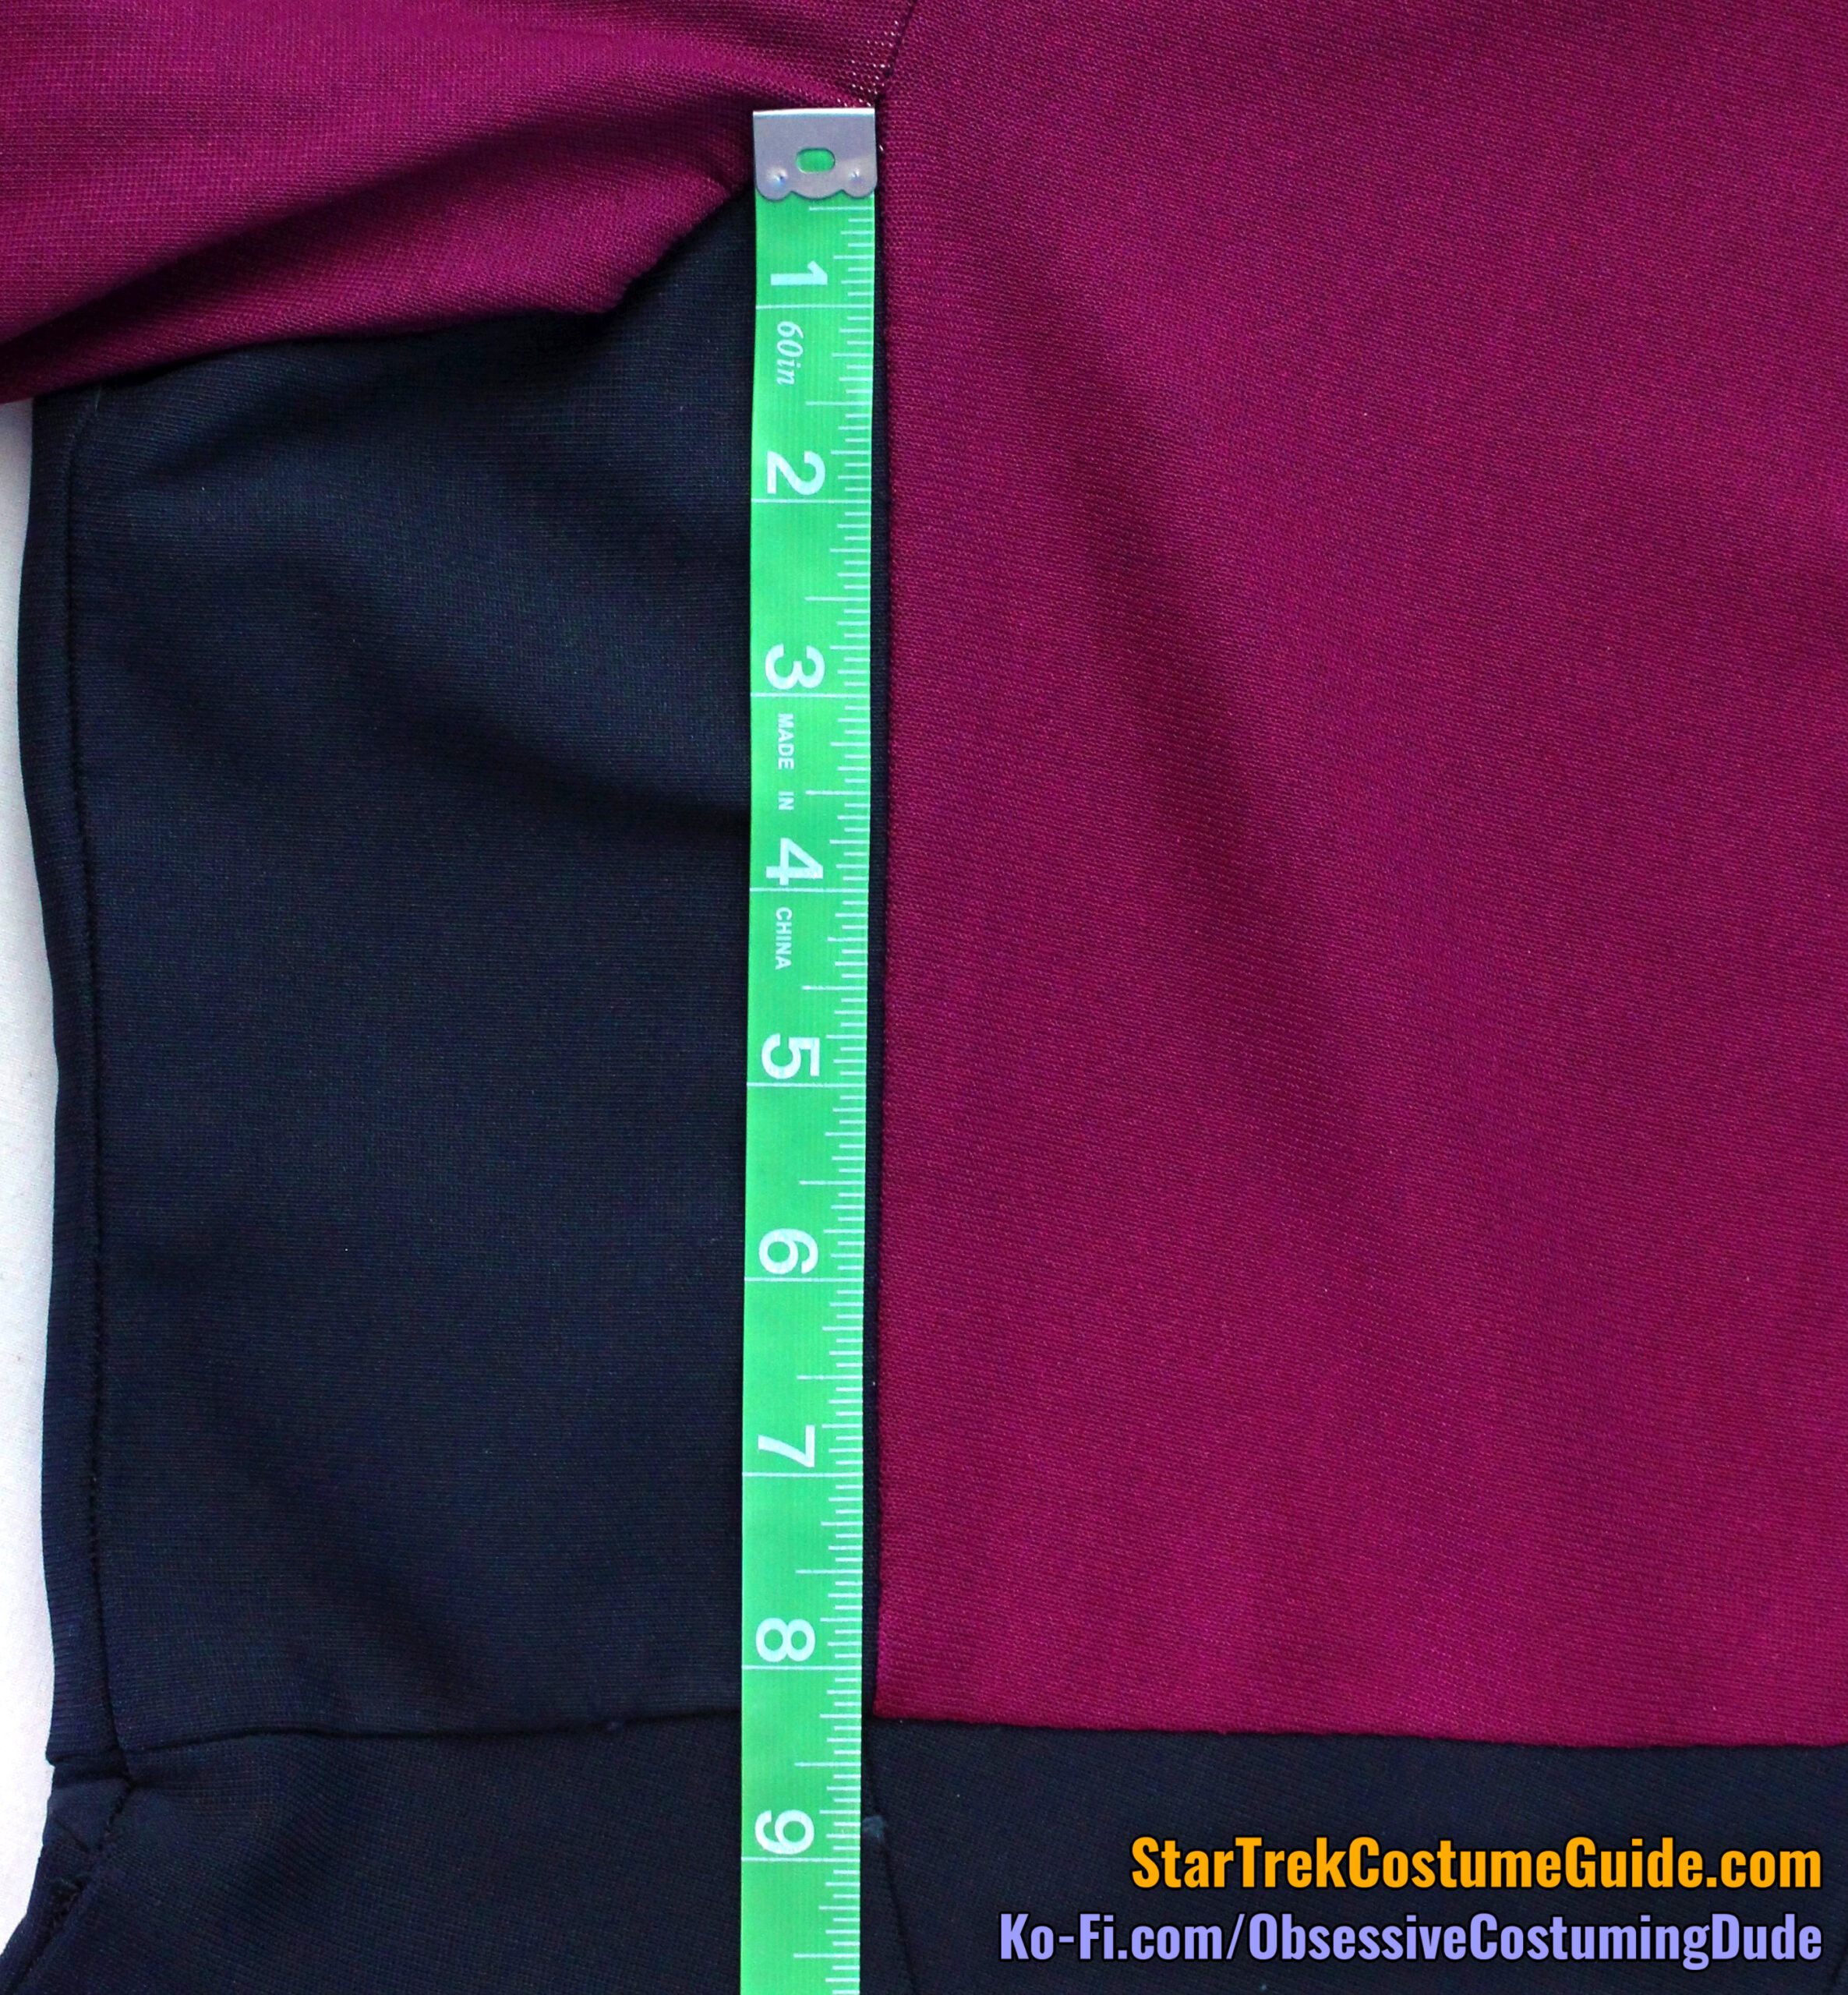
The right side front seam was 4 ⅜” below the yoke at the armscye, but the left side front seam was only 4 ⅛” lower.
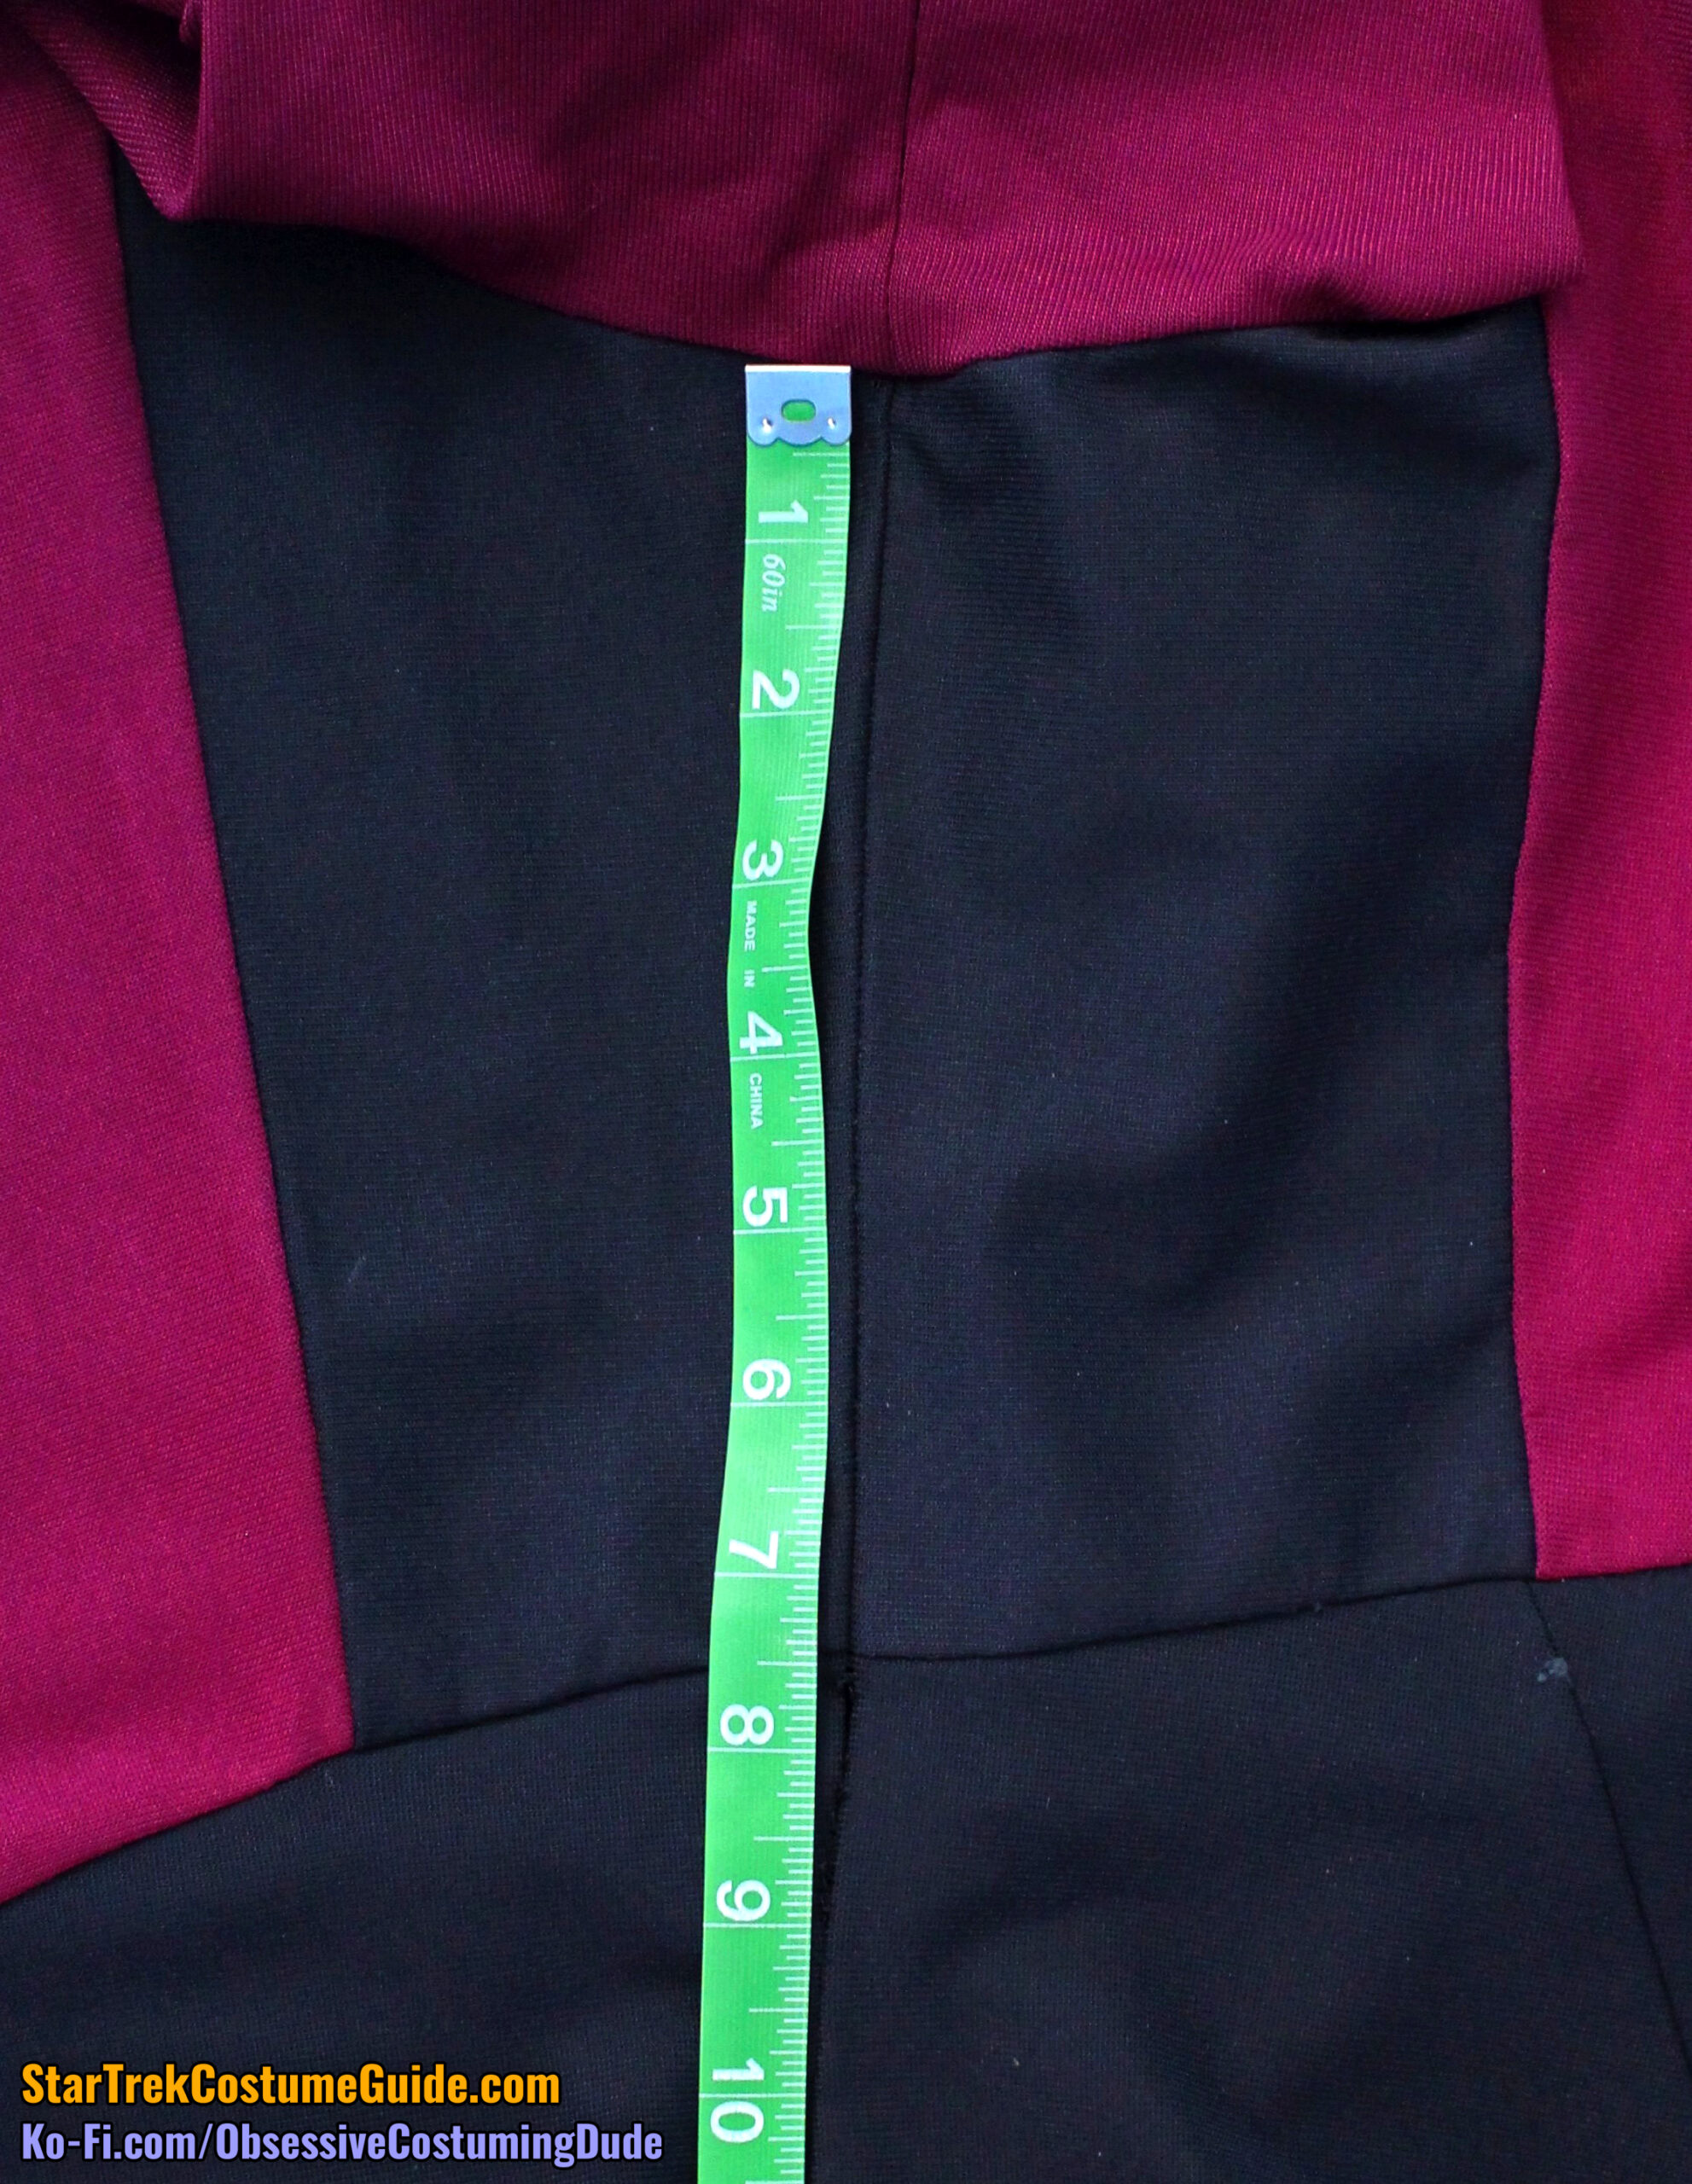
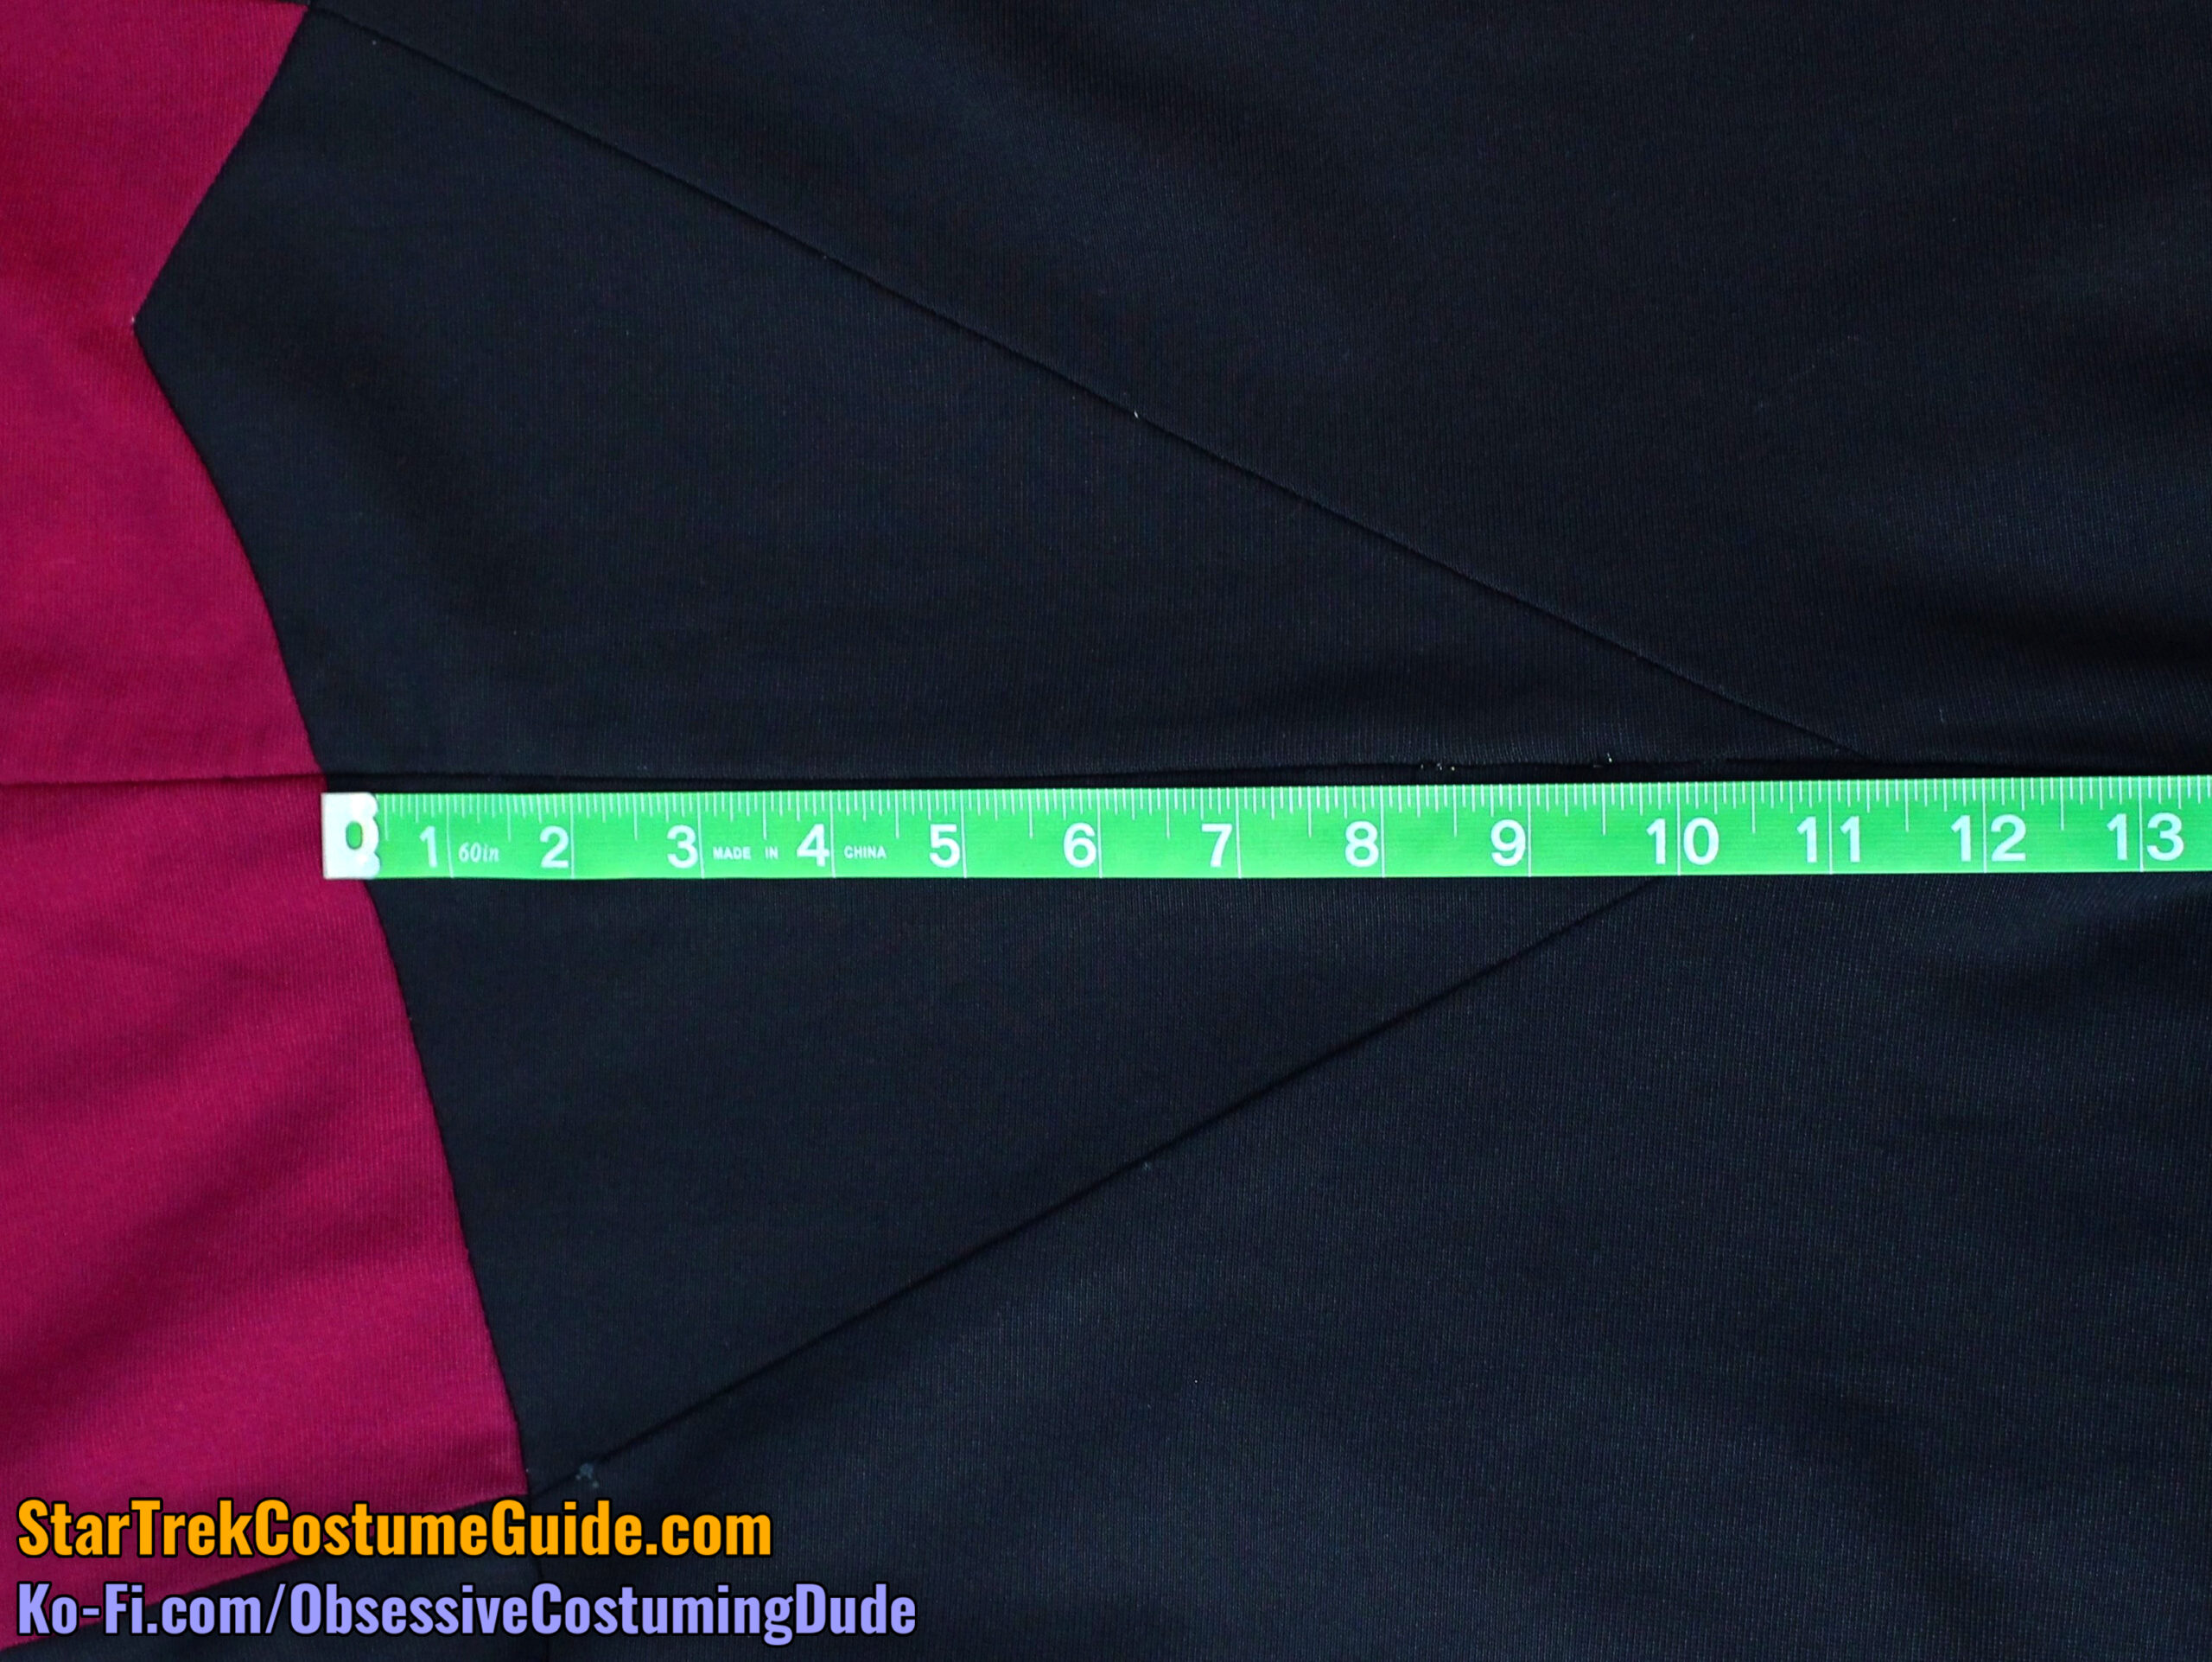
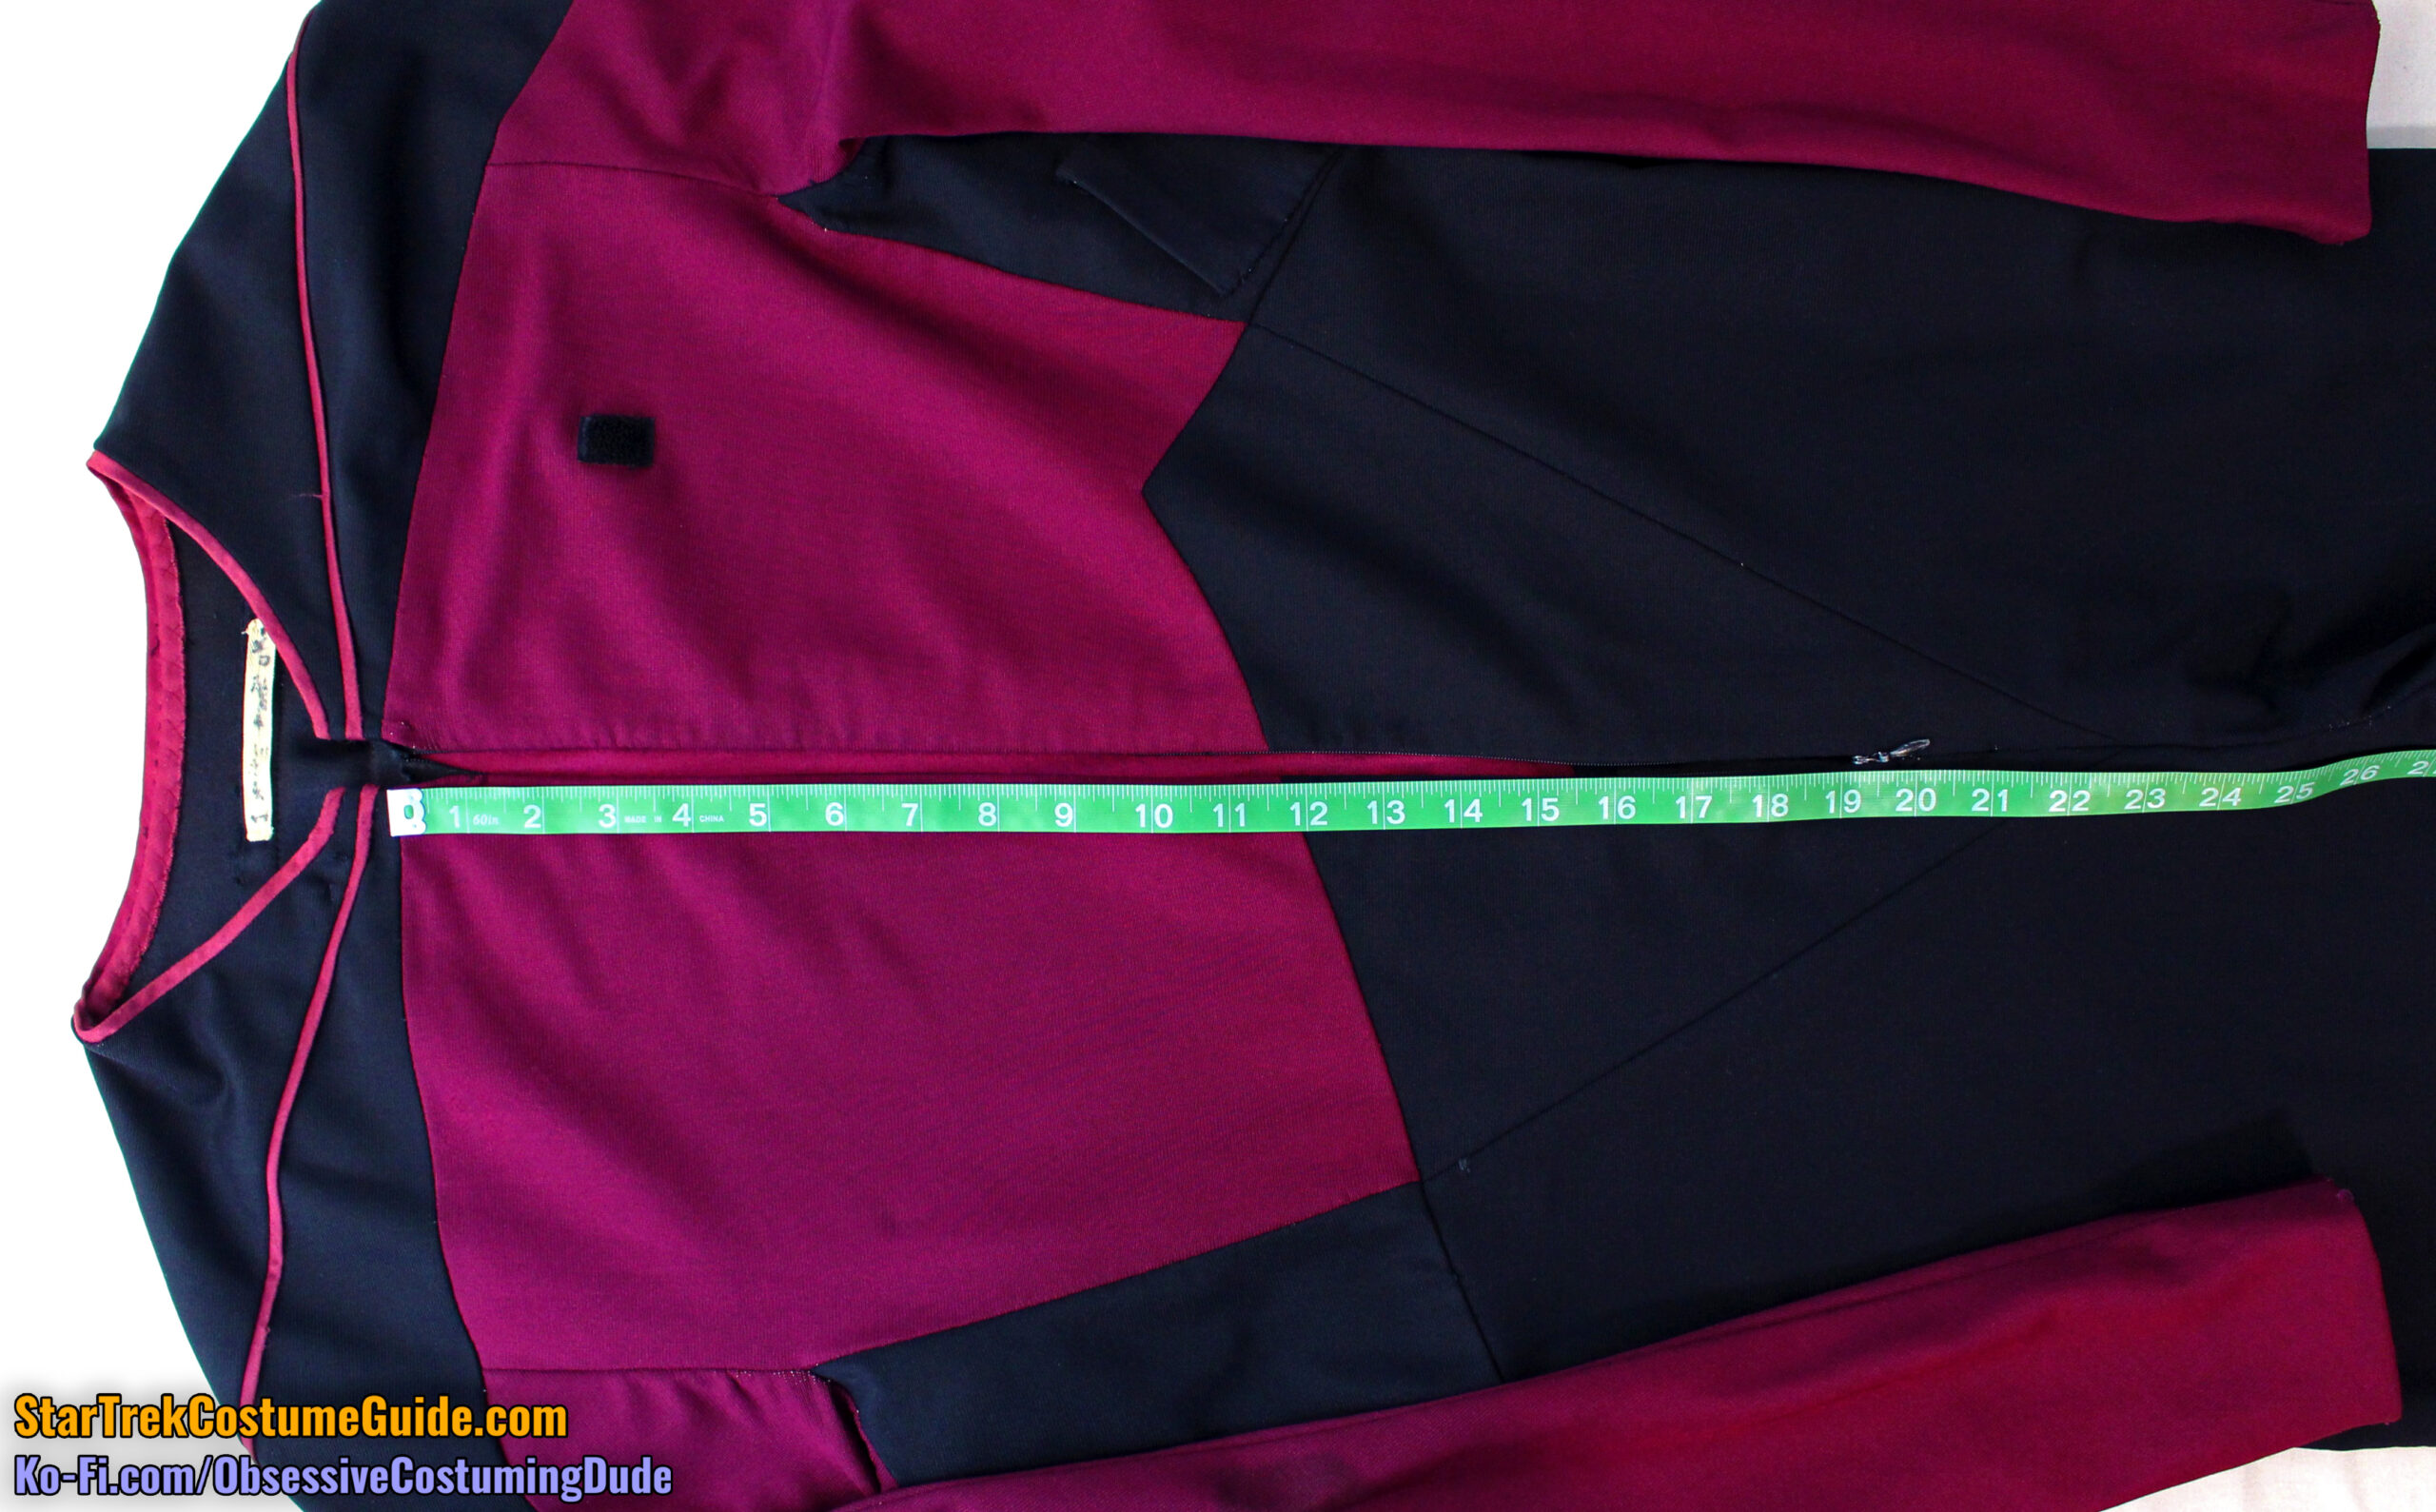
The center front/zipper seam was 11 ⅝” long, measured from the lower yoke seam to the asymmetrical “wedge” insert.
Unlike both the Tasha Yar and Beverly Crusher season 1 jumpsuits, the center front of this Worf jumpsuit actually tapered down to the waist.
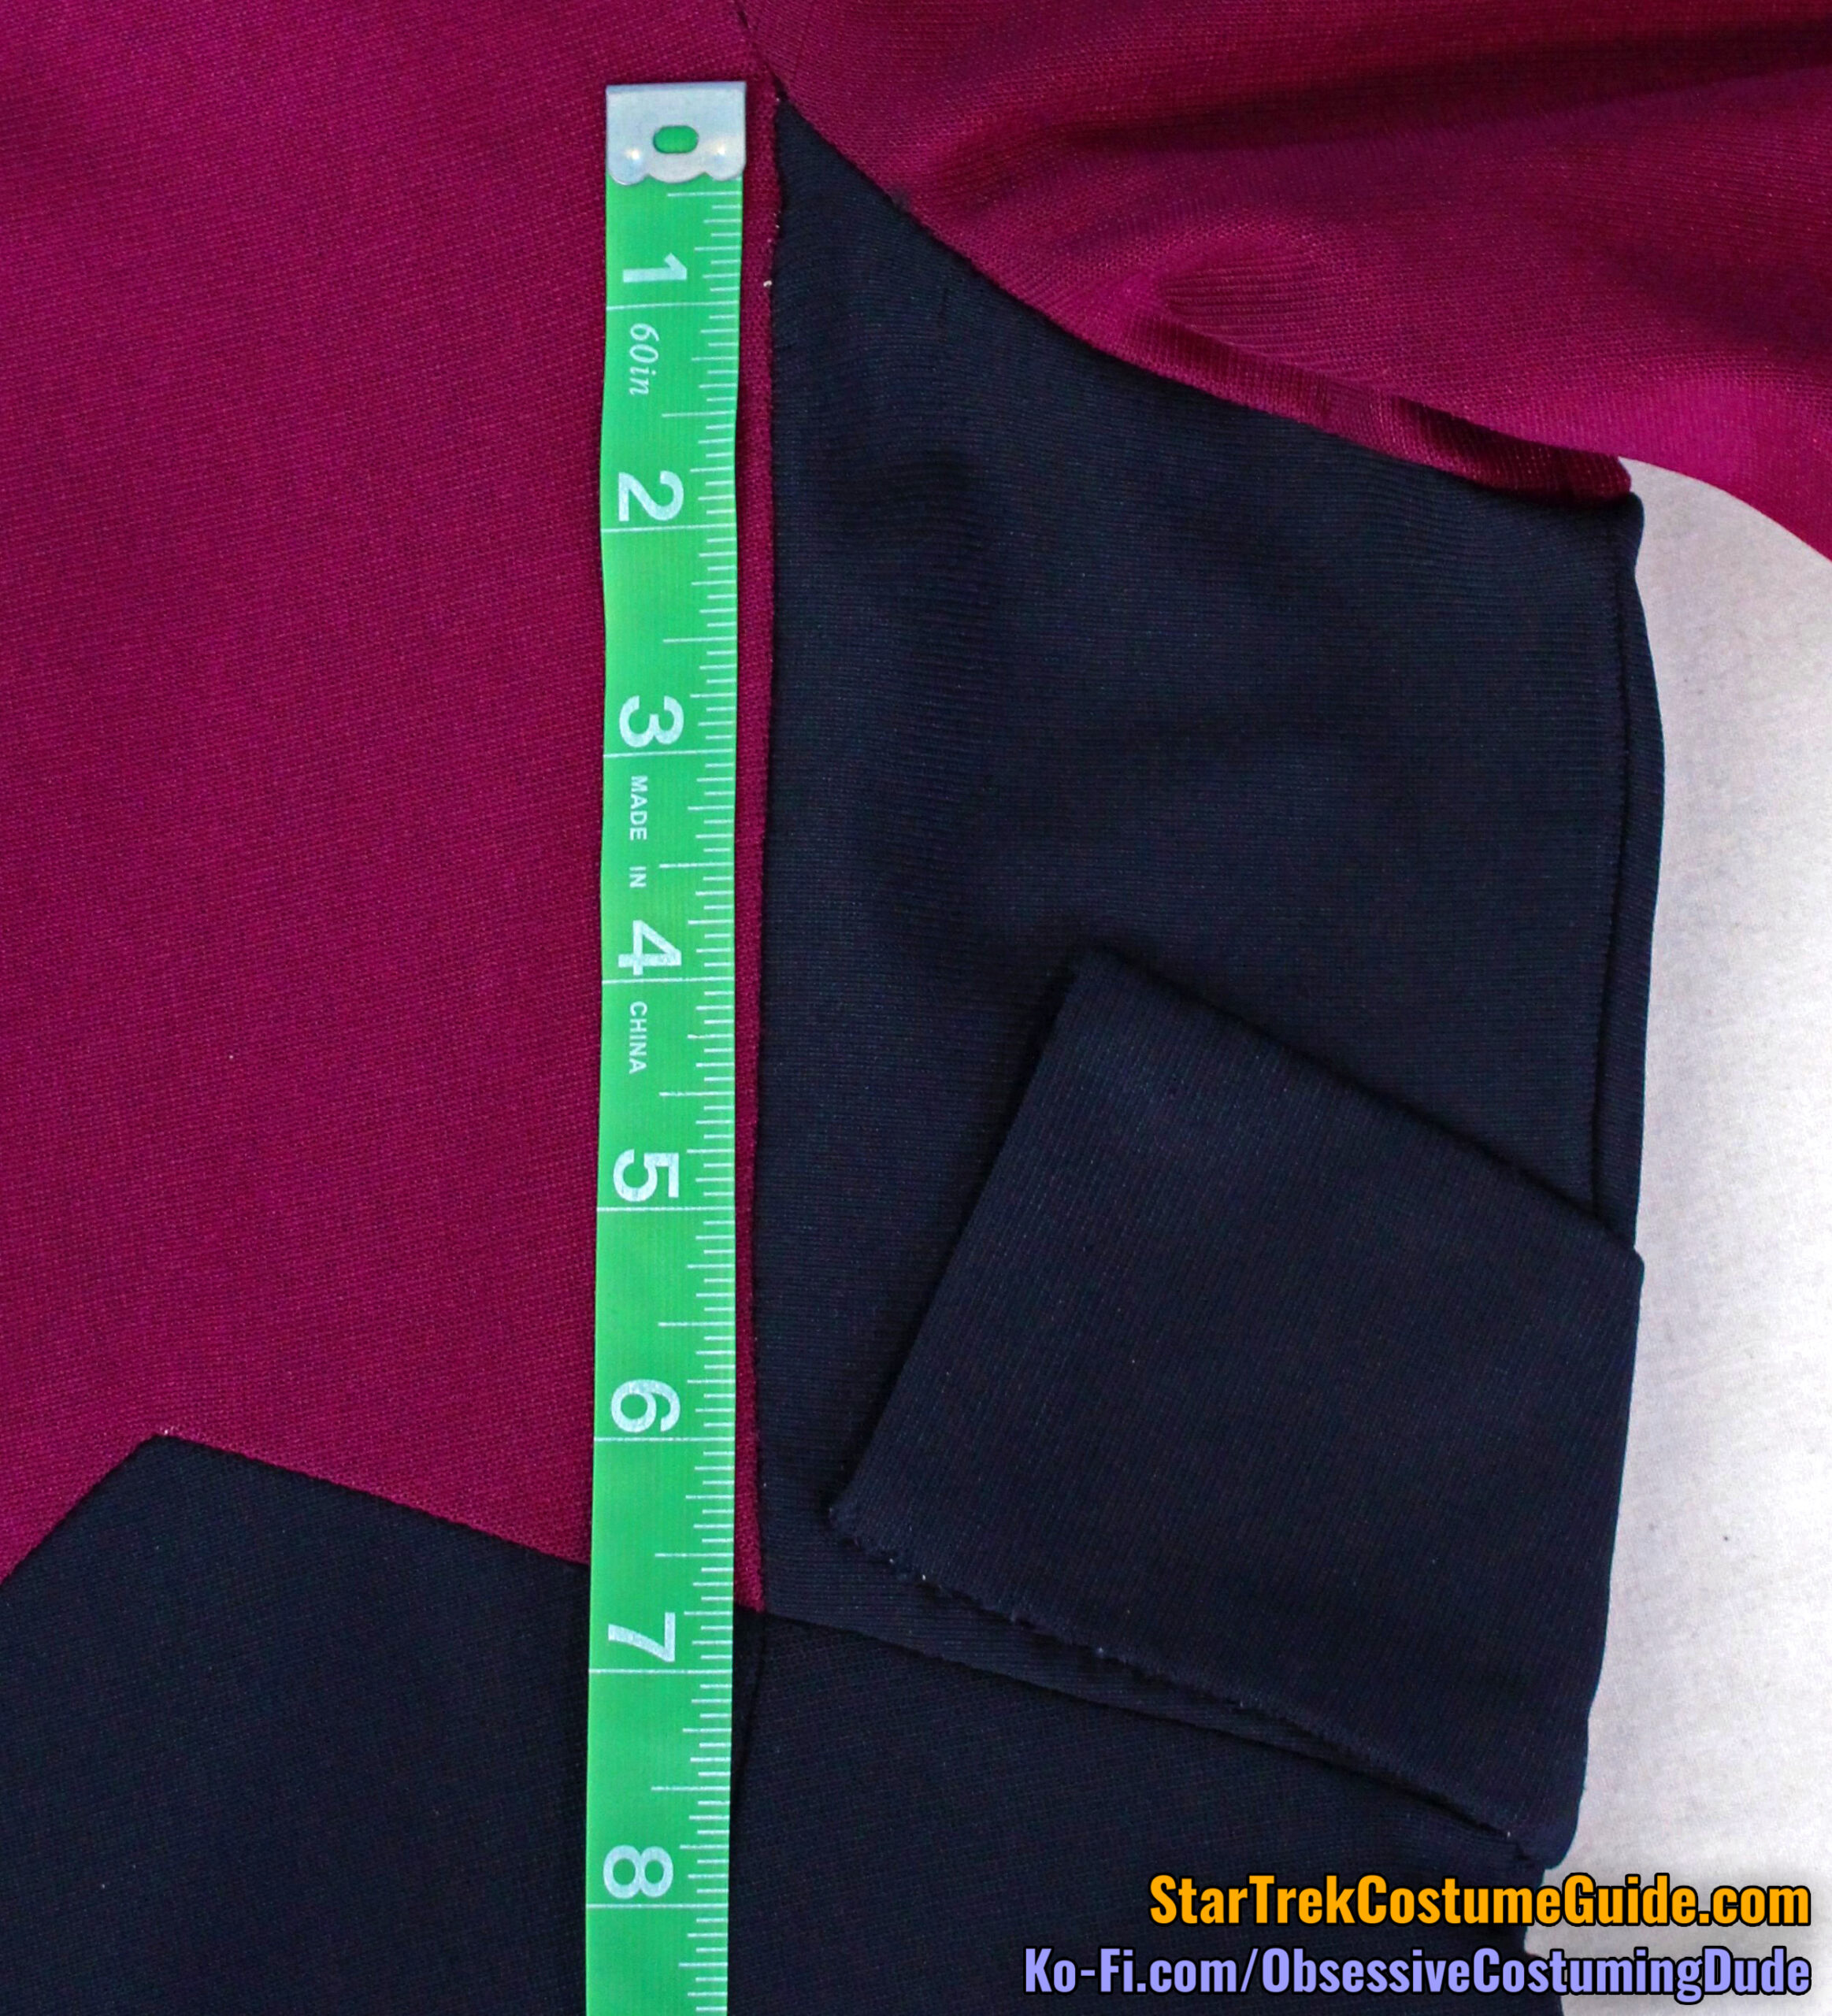
Again using the “weave” of the jumbo spandex as a visual reference, we an observe that the center front was taken in 2” (1” on each side) down from the yoke to the waist.
None of the other TNG jumpsuits I examined were fitted in this manner.
Obviously I can’t say for certain whether this tapered front was exclusive to Worf/Michael Dorn, but I suspect it was probably to accommodate his unique (e.g. “barrel-chested”) physique.
The right front lower seam line was 5 ½” long, with approximately 1 ¼” upward slant.
The lower left front seam lines were 3 ⅞” and 2 ¾”.
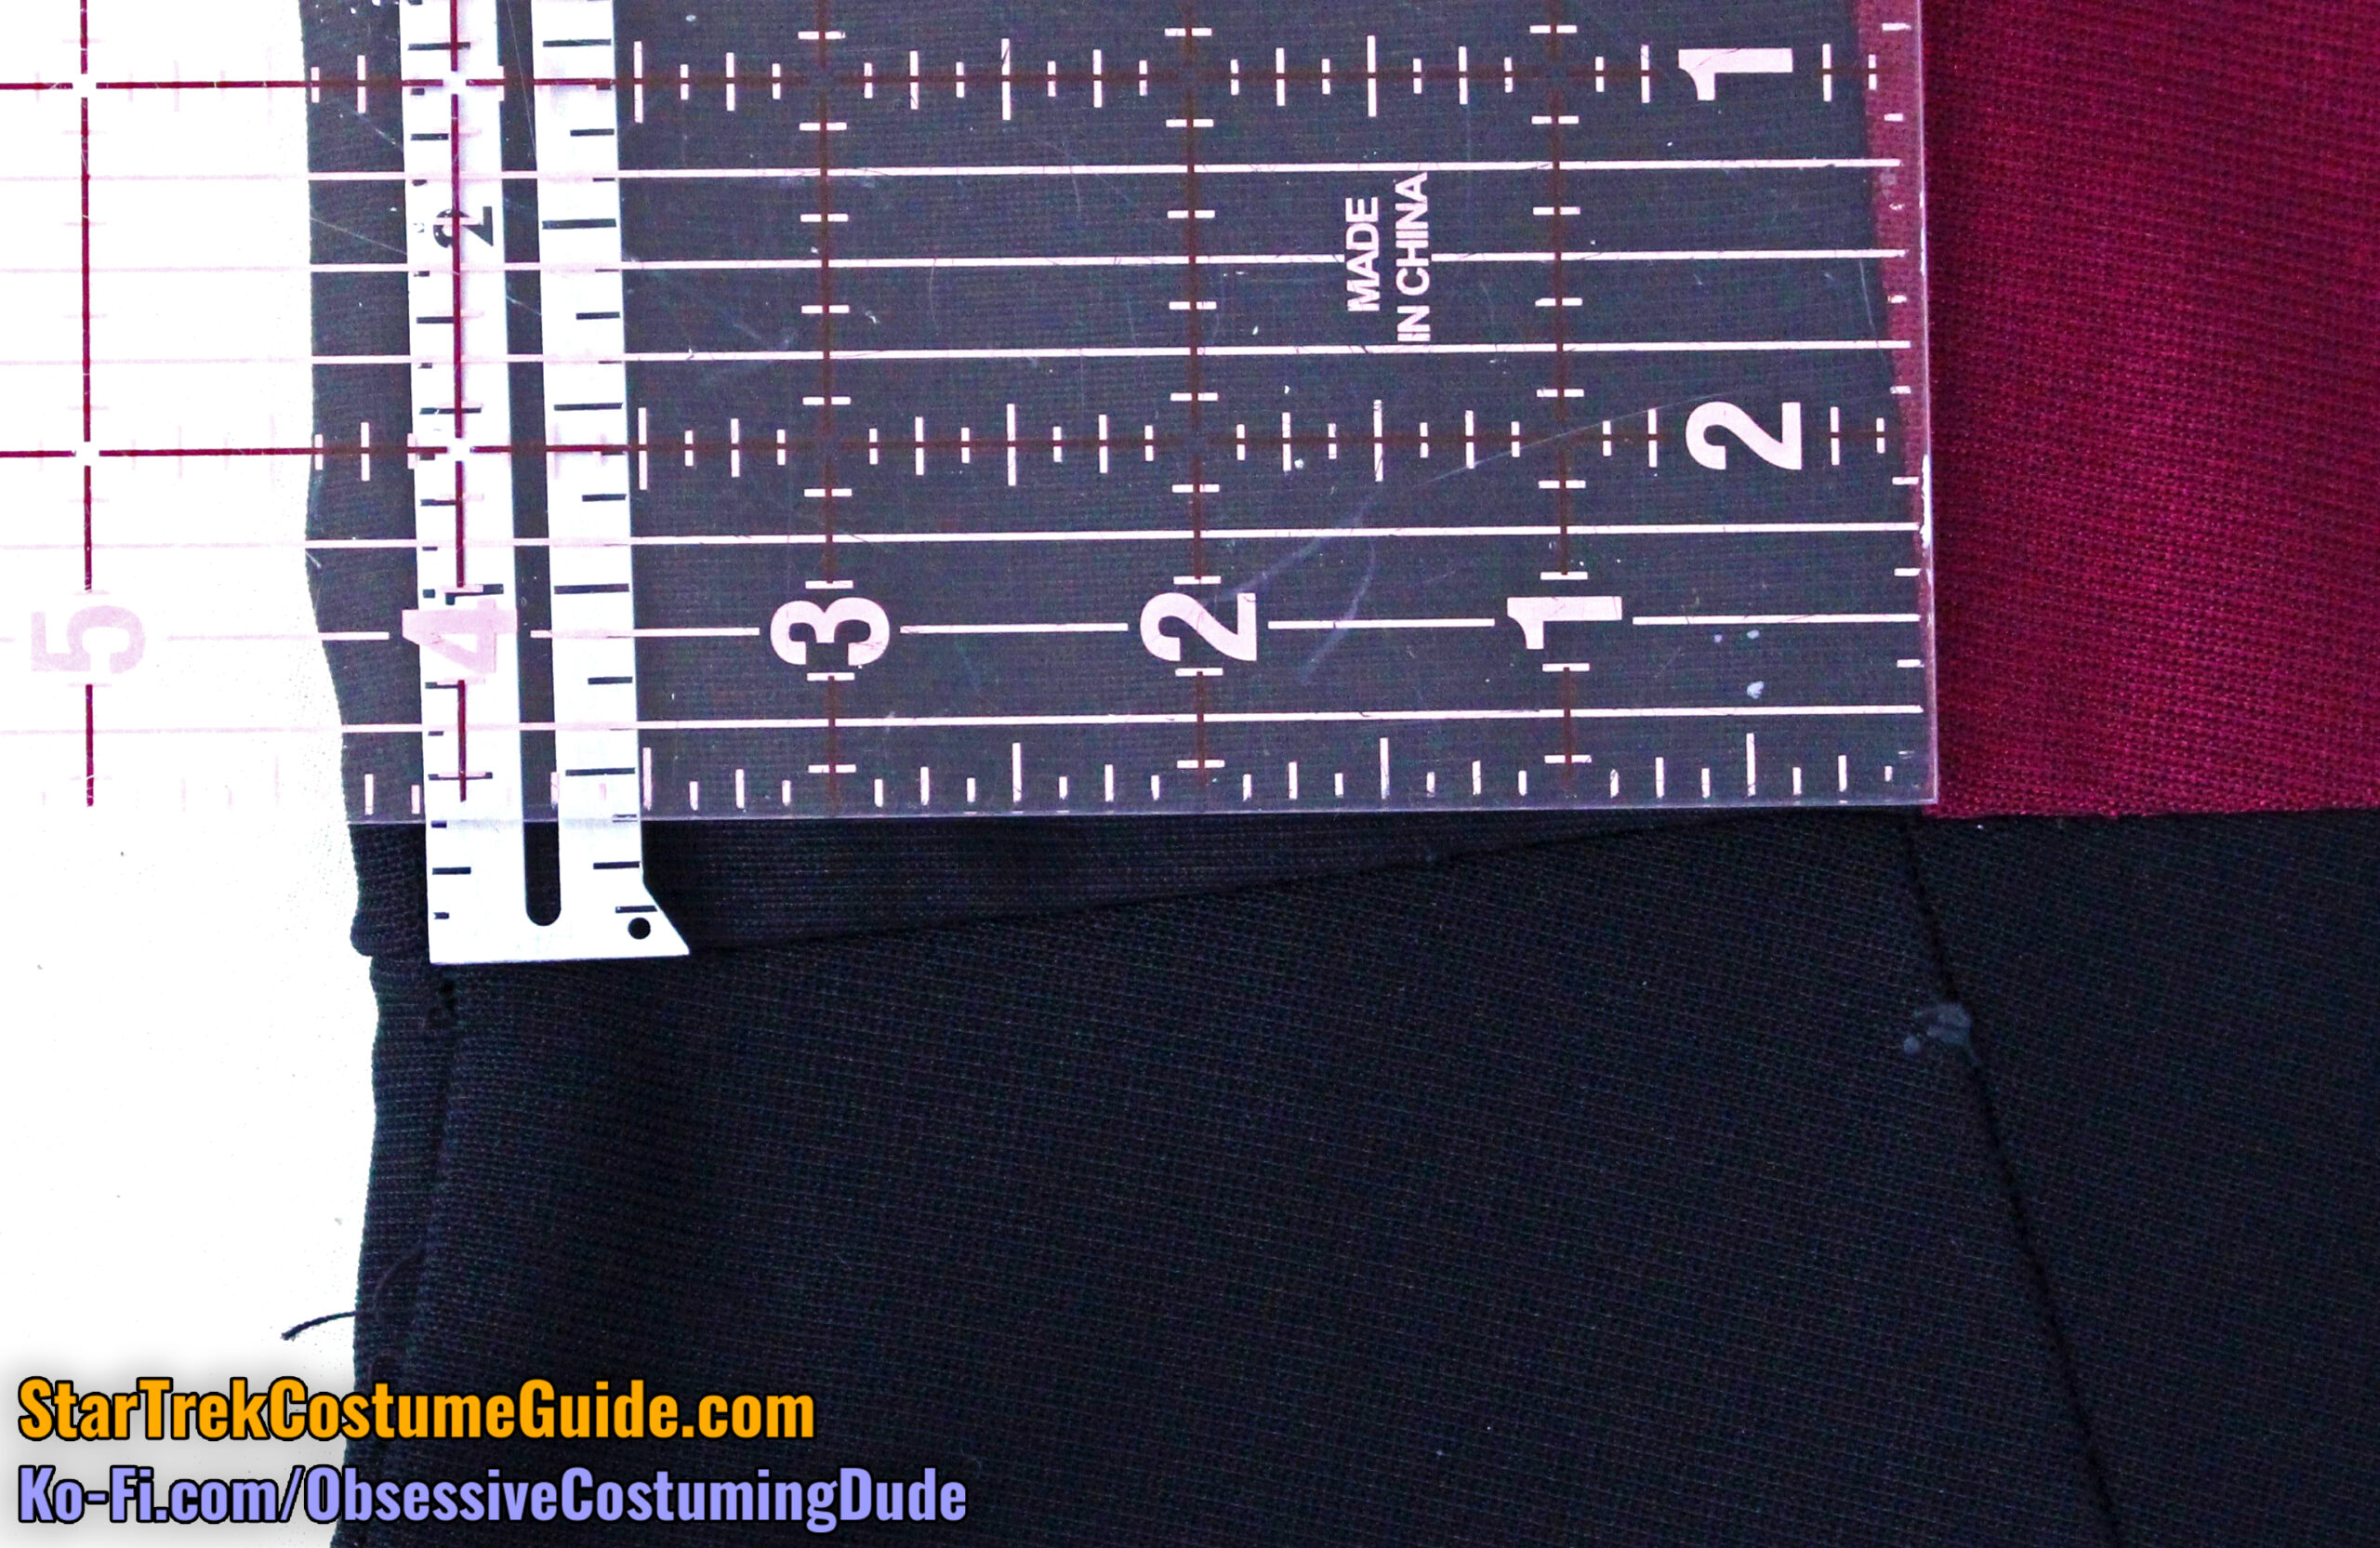
This wedge-shaped insert slanted upward 1 ¾” away from center, then downward 1 ¼” toward the side front seam.
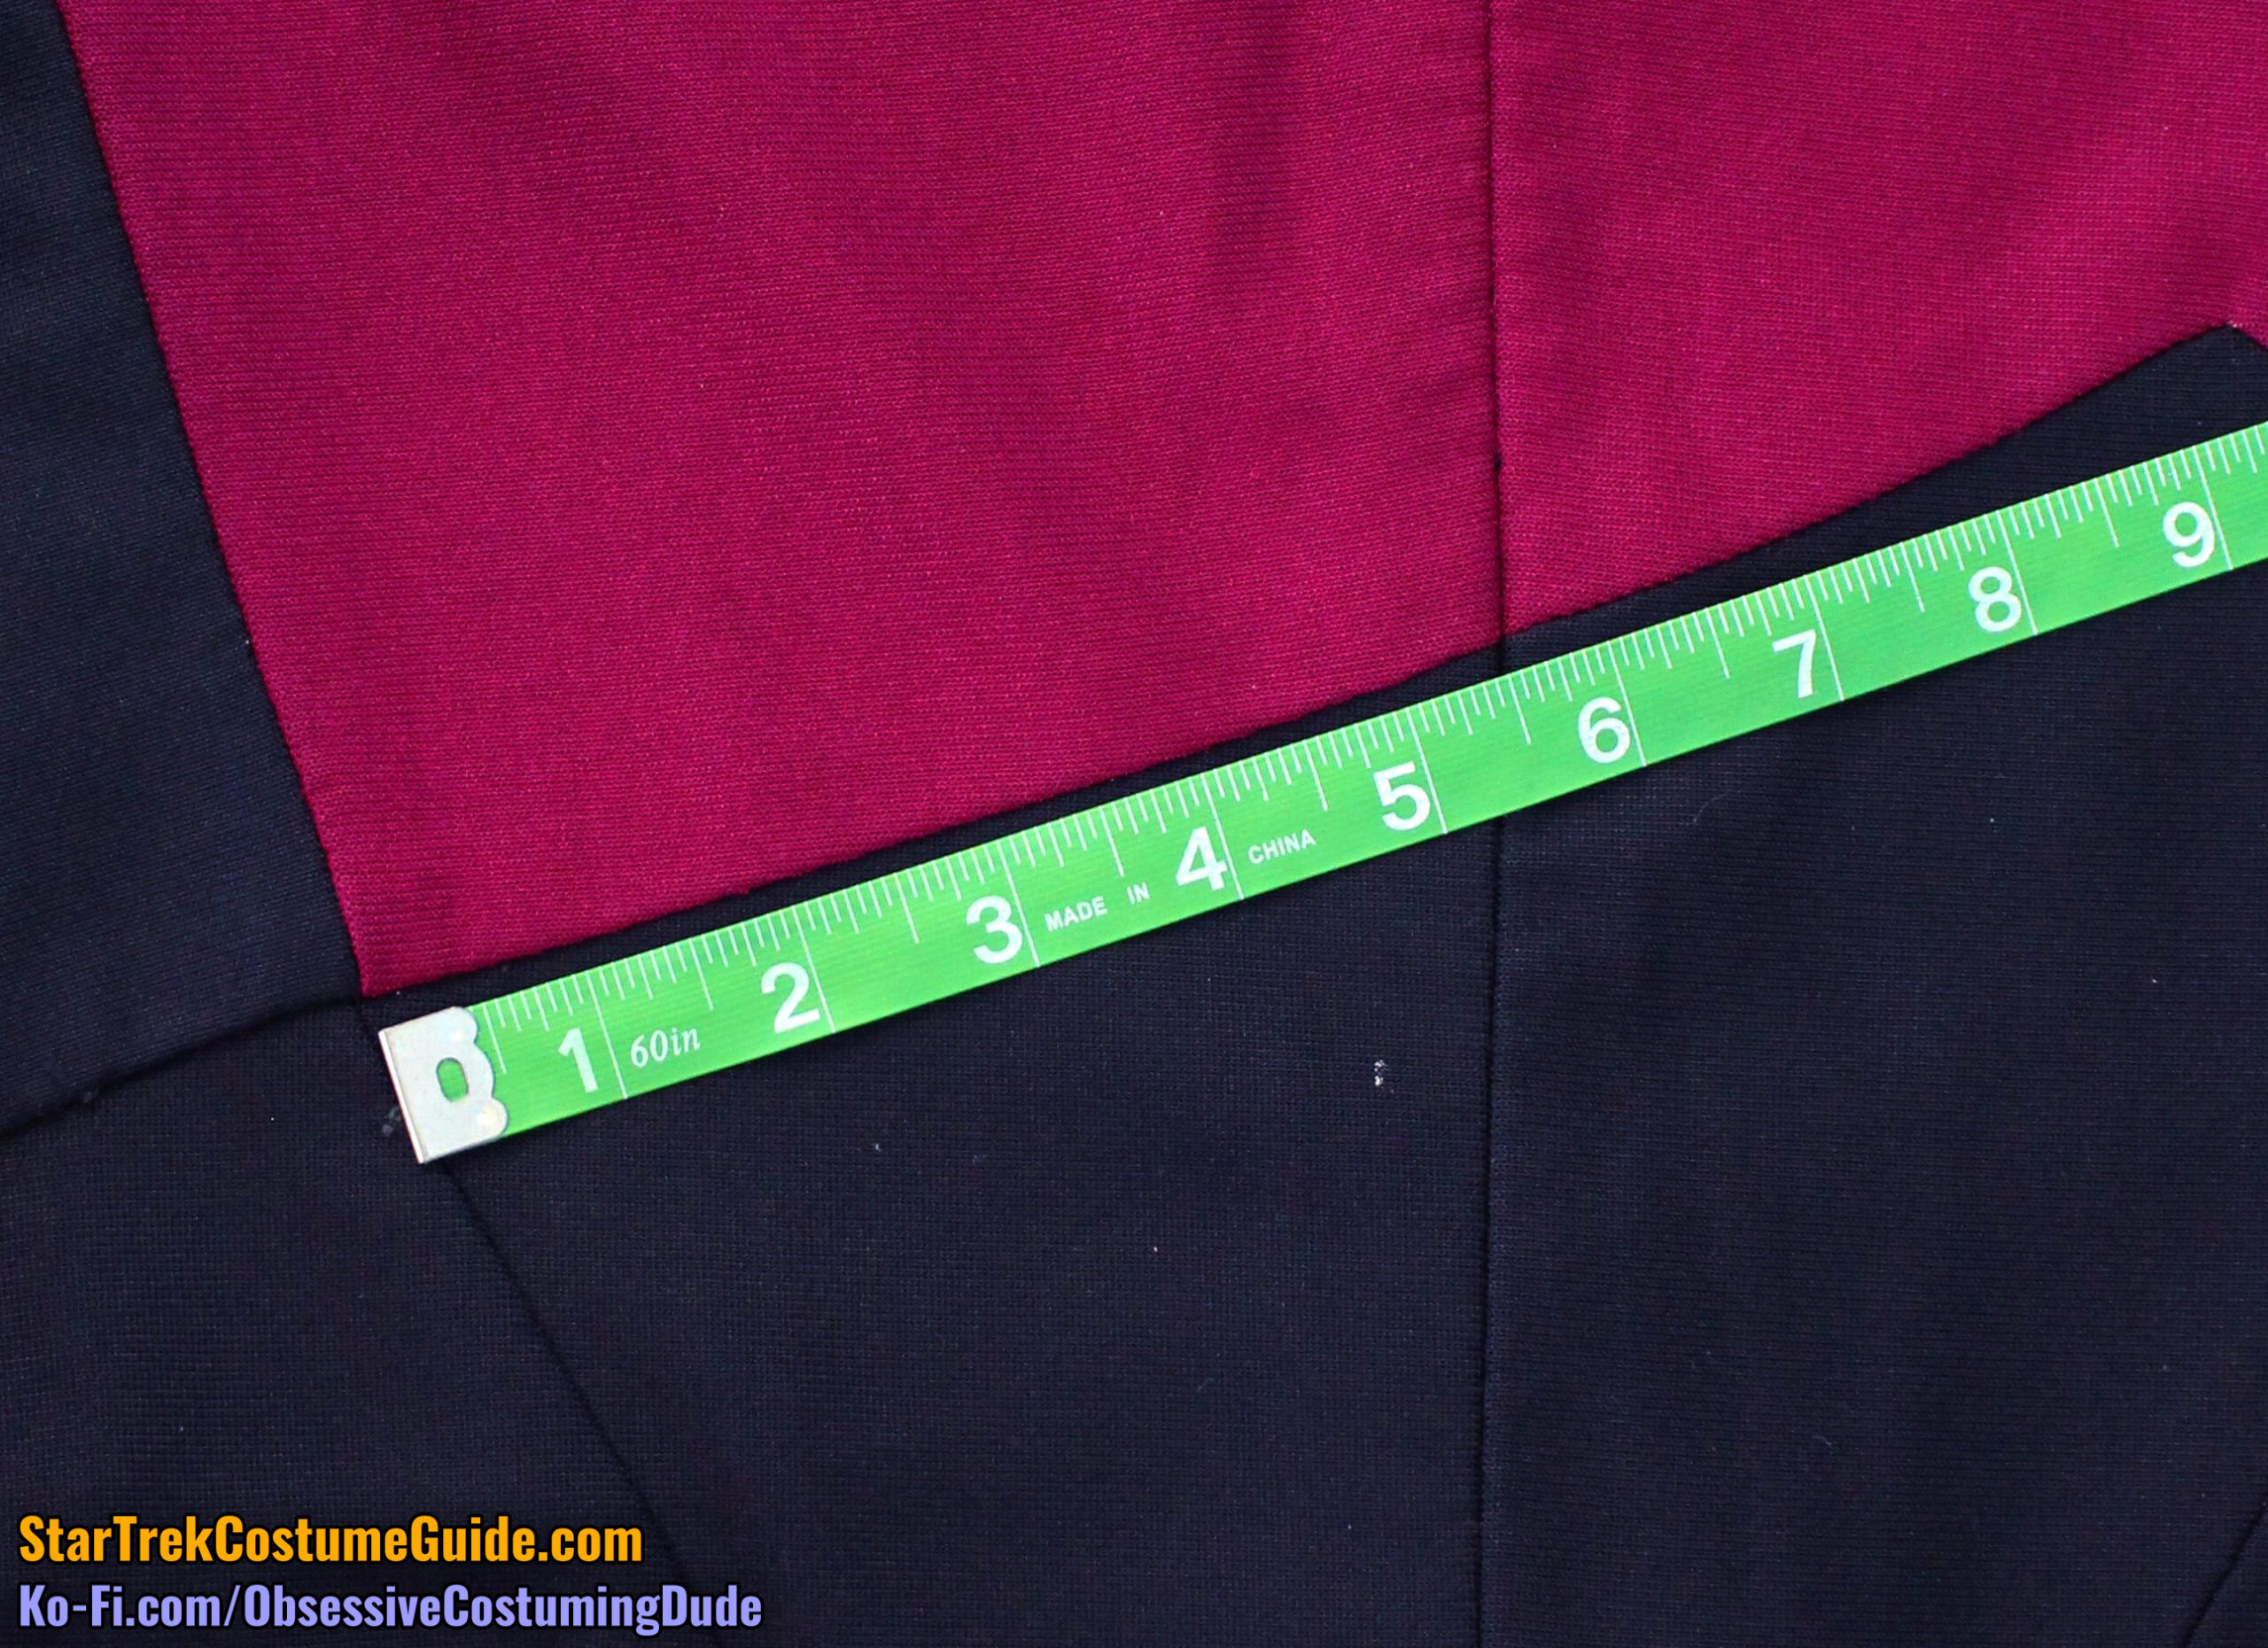
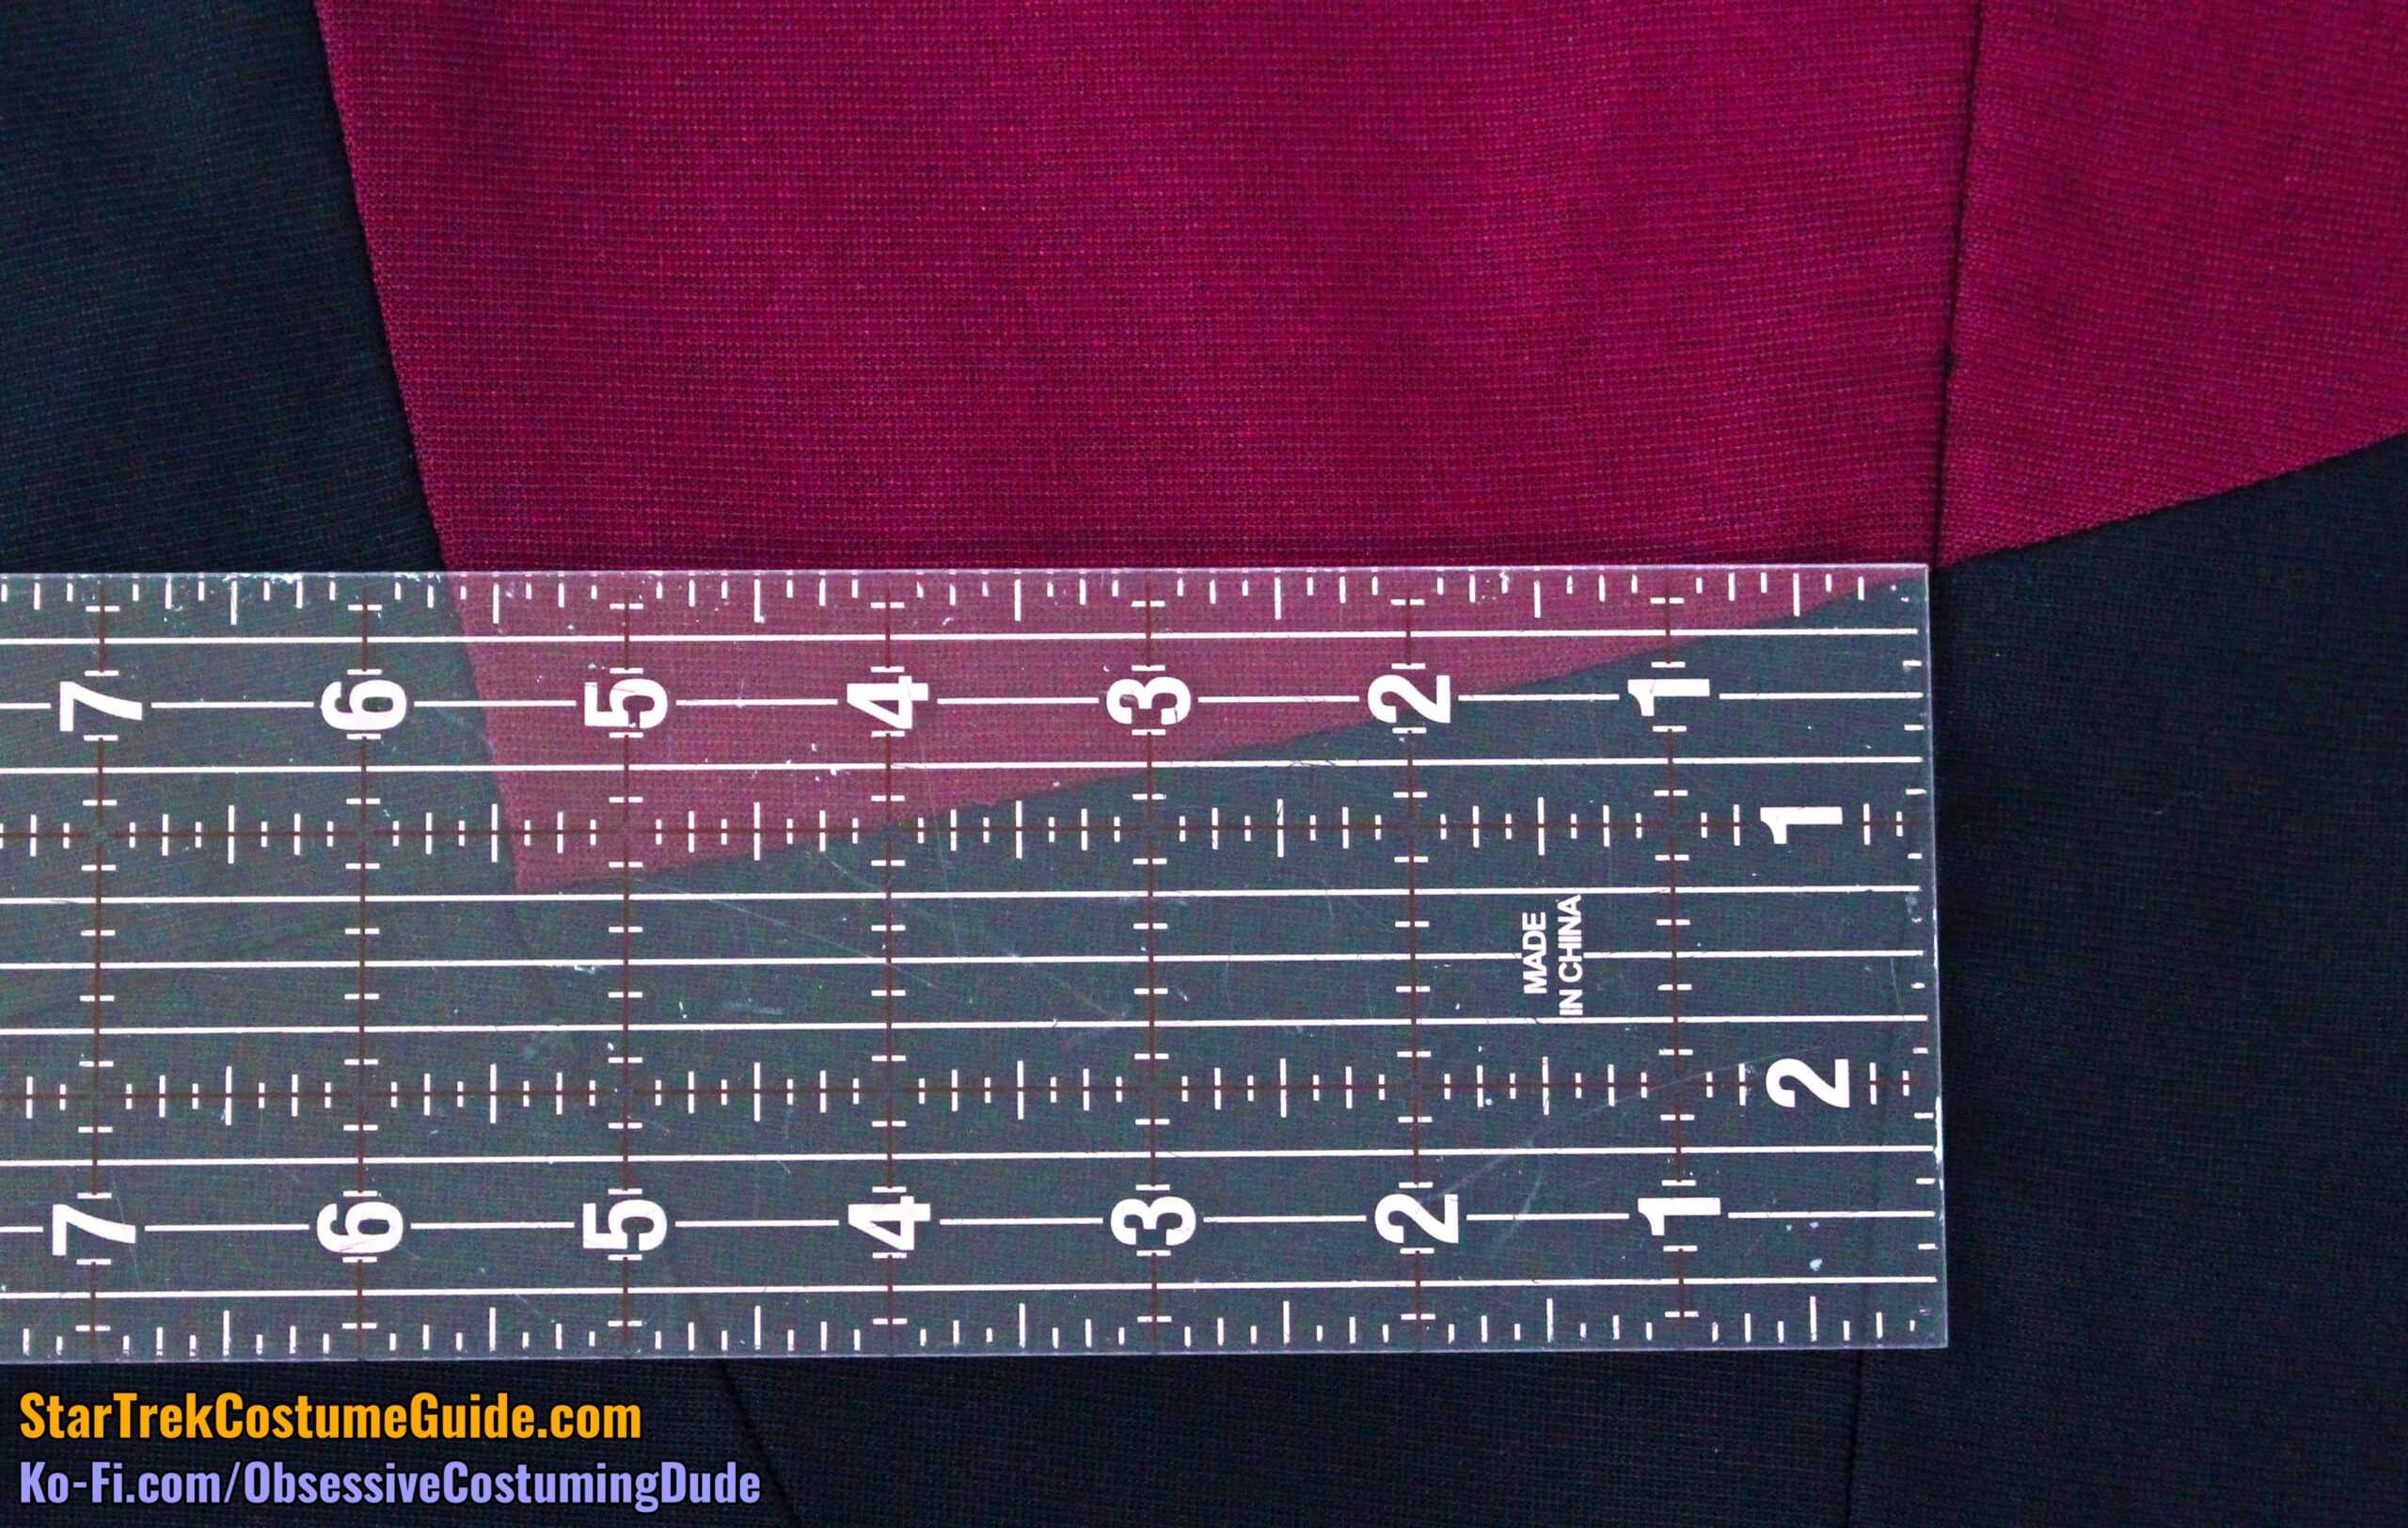
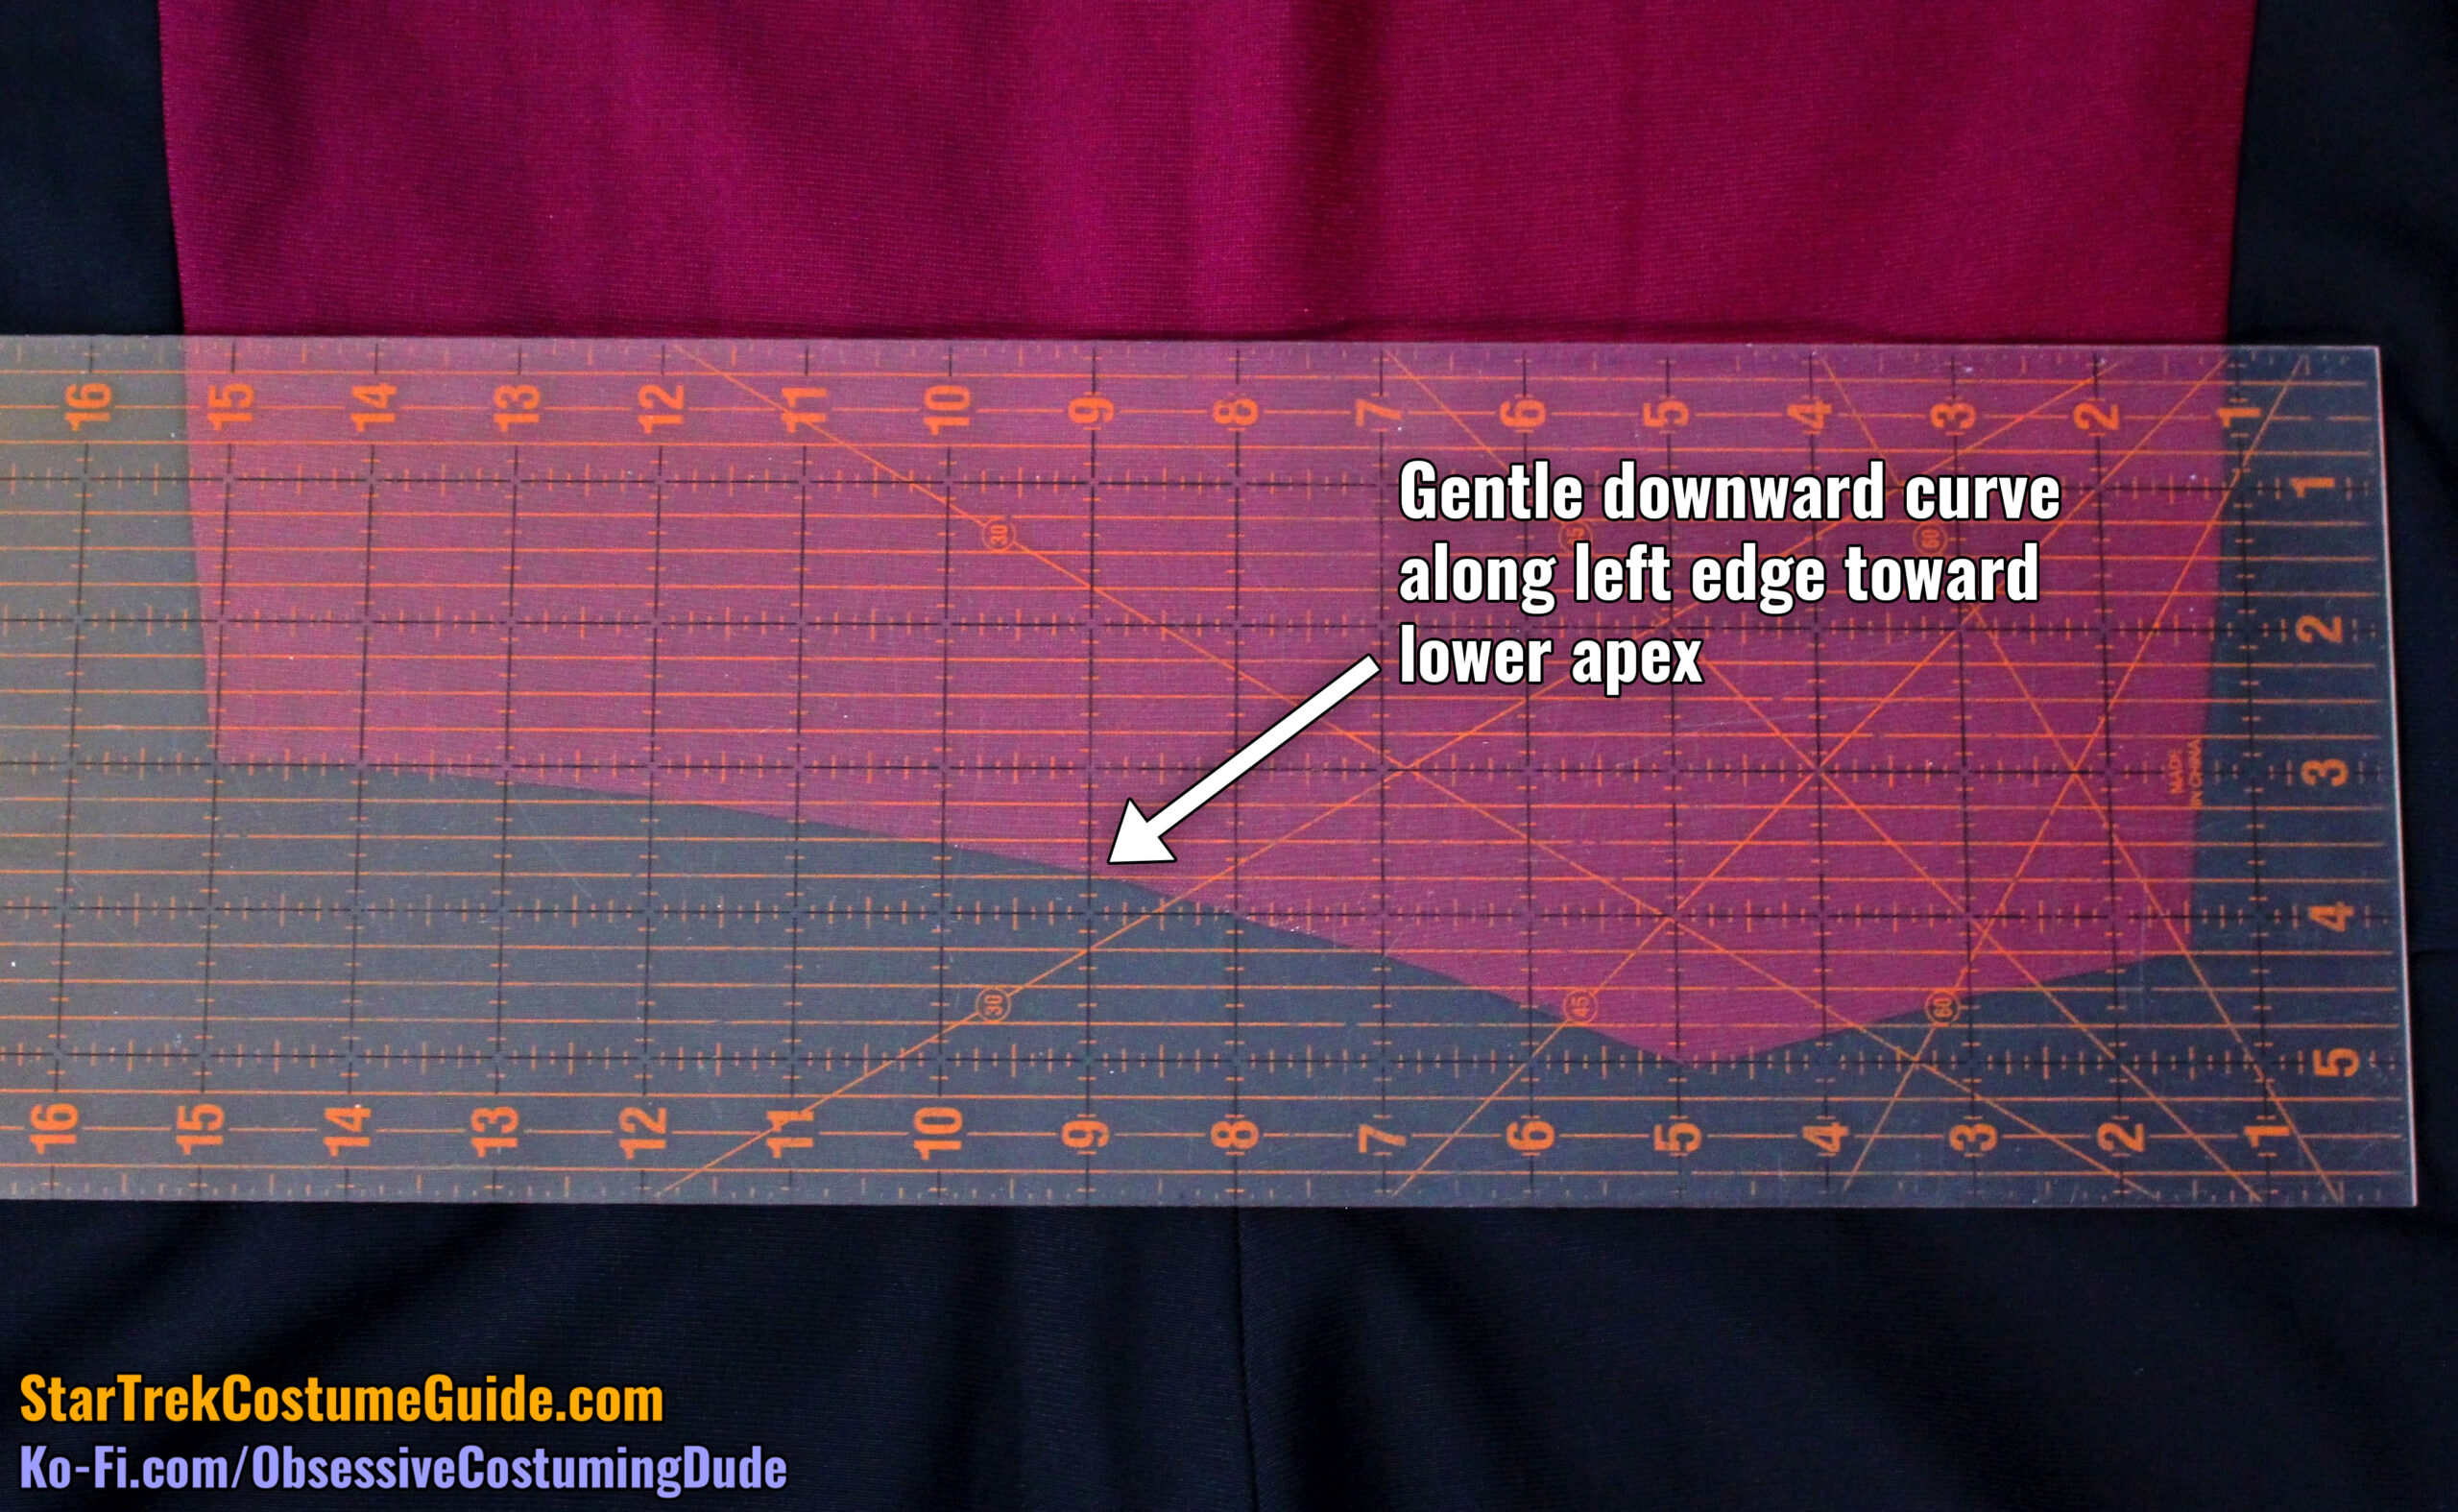
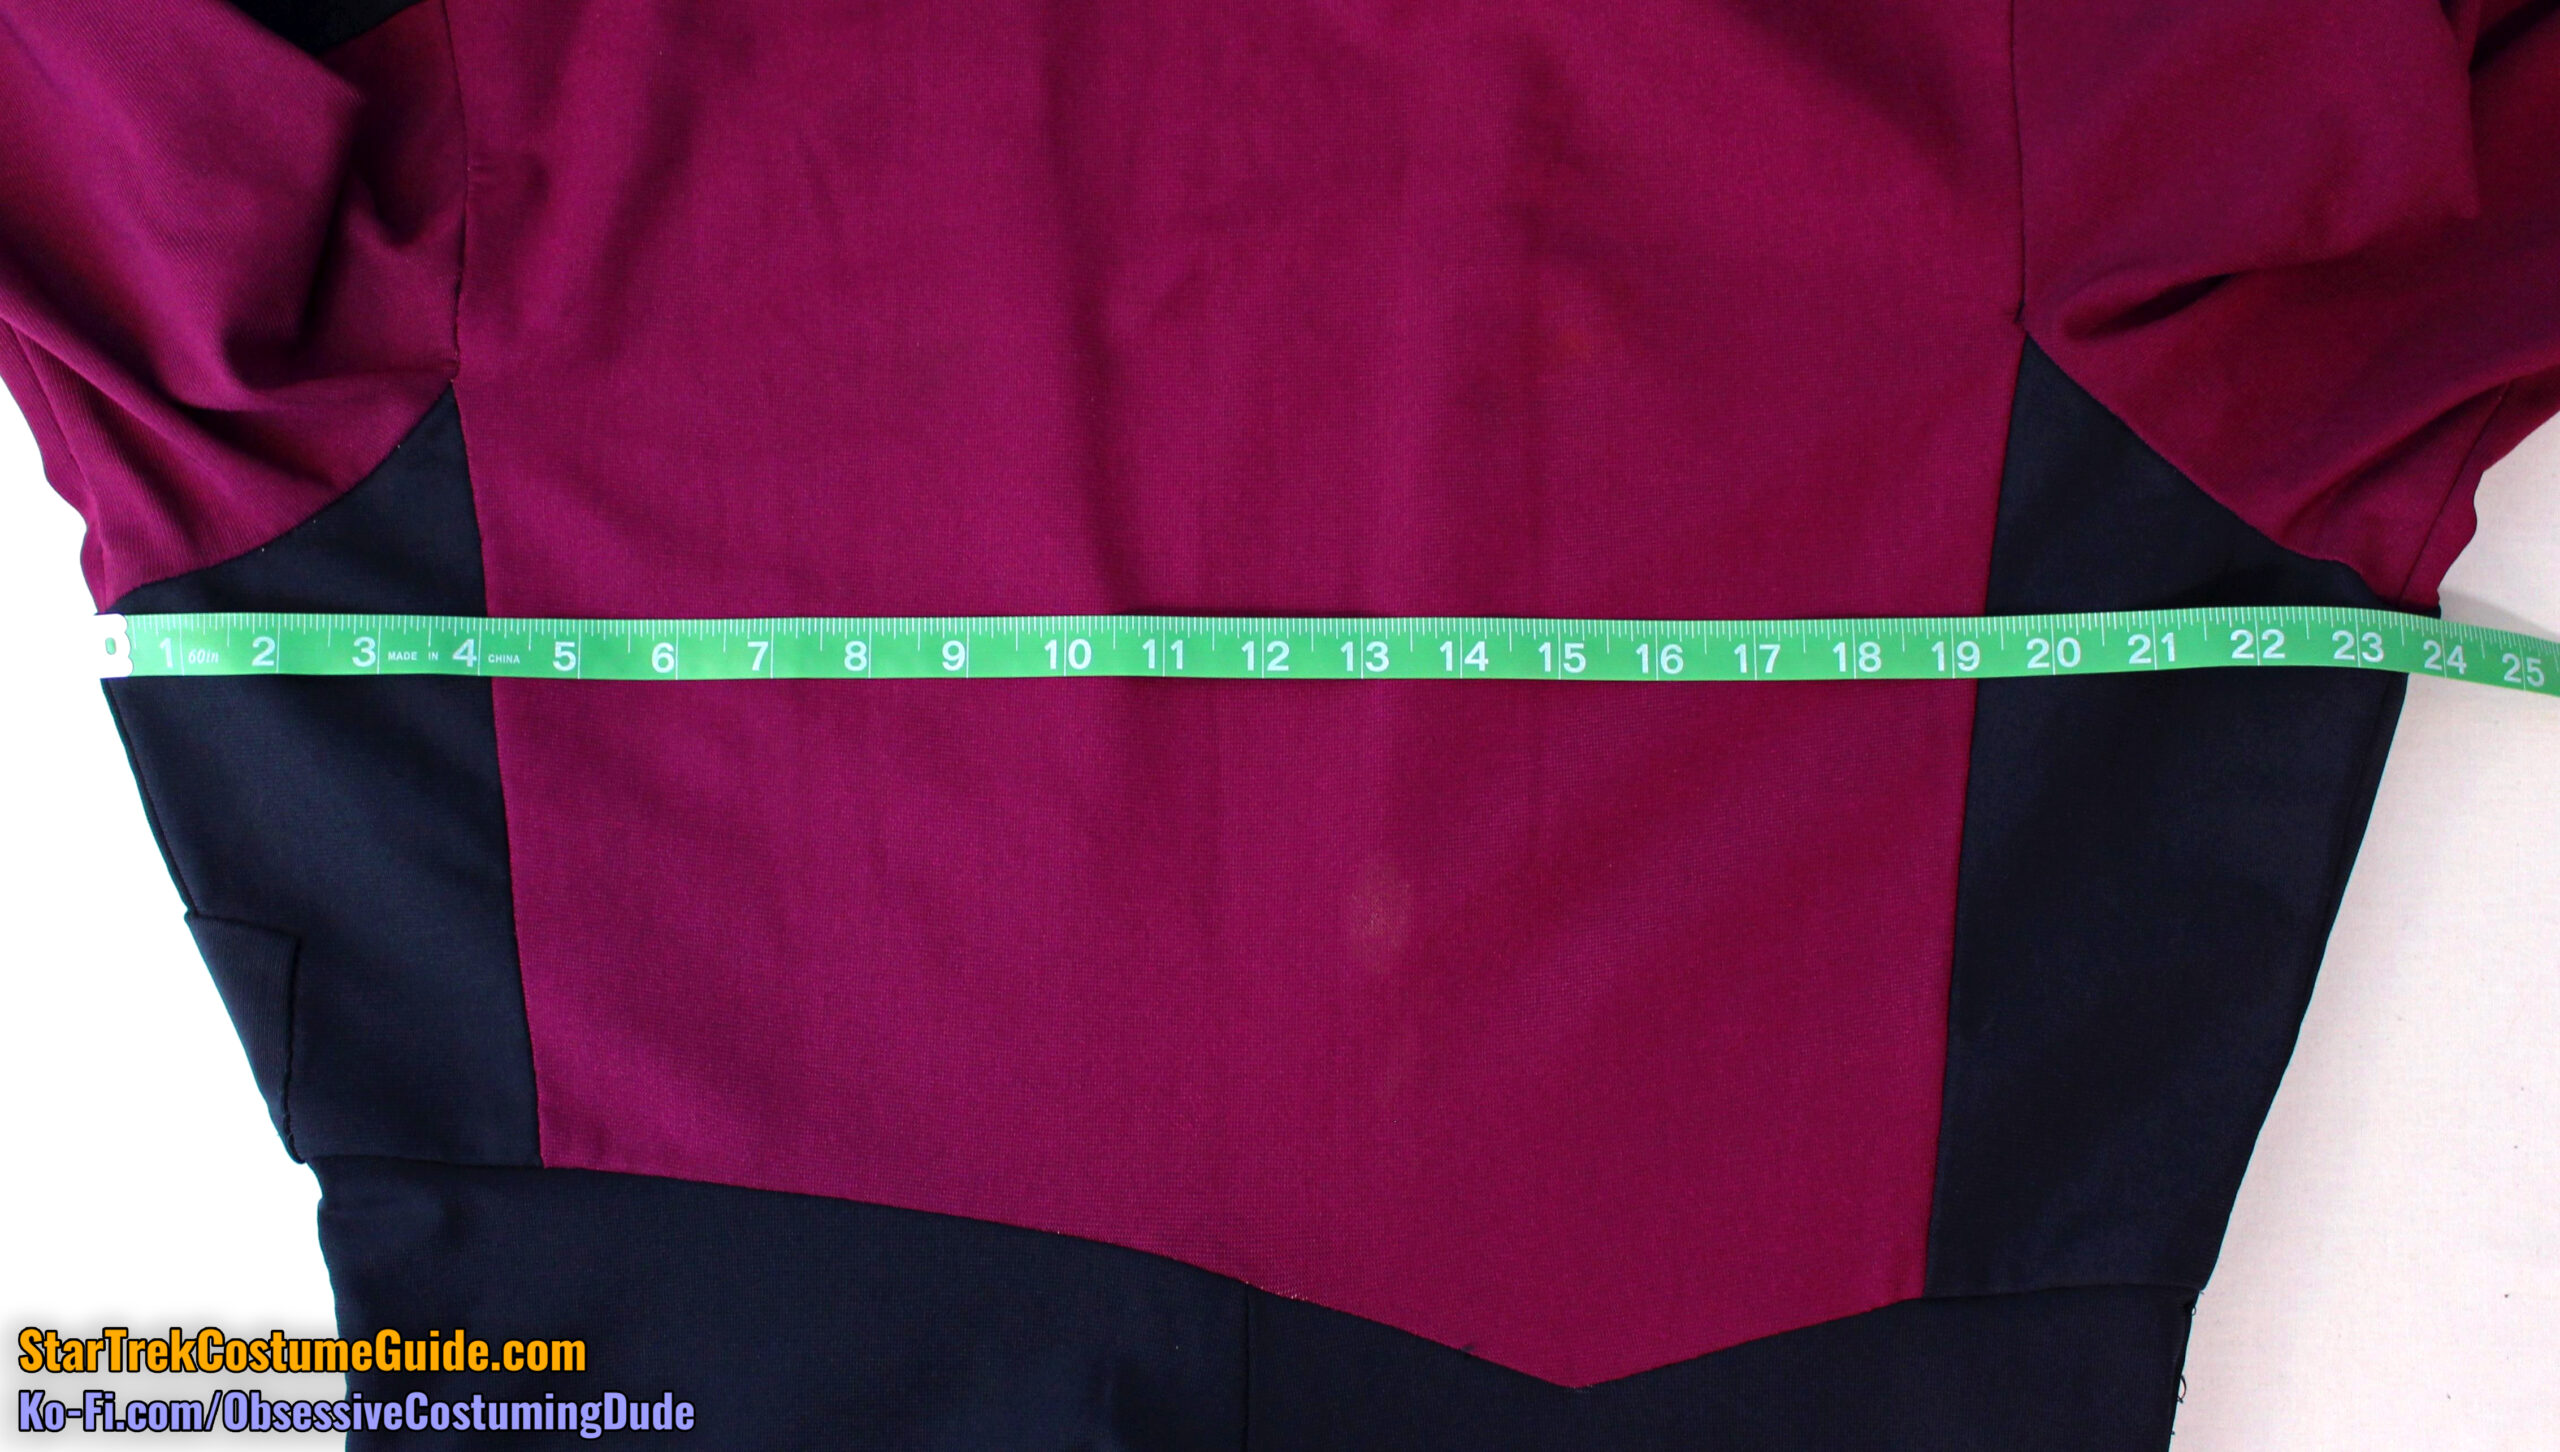
Keeping in mind that the upper front body panels were let out upward toward the chest – or taken in downward toward the waist, if you prefer – making the fitted jumpsuit not lie flat on the table), here are the overall dimensions/proportions of the front asymmetrical design.
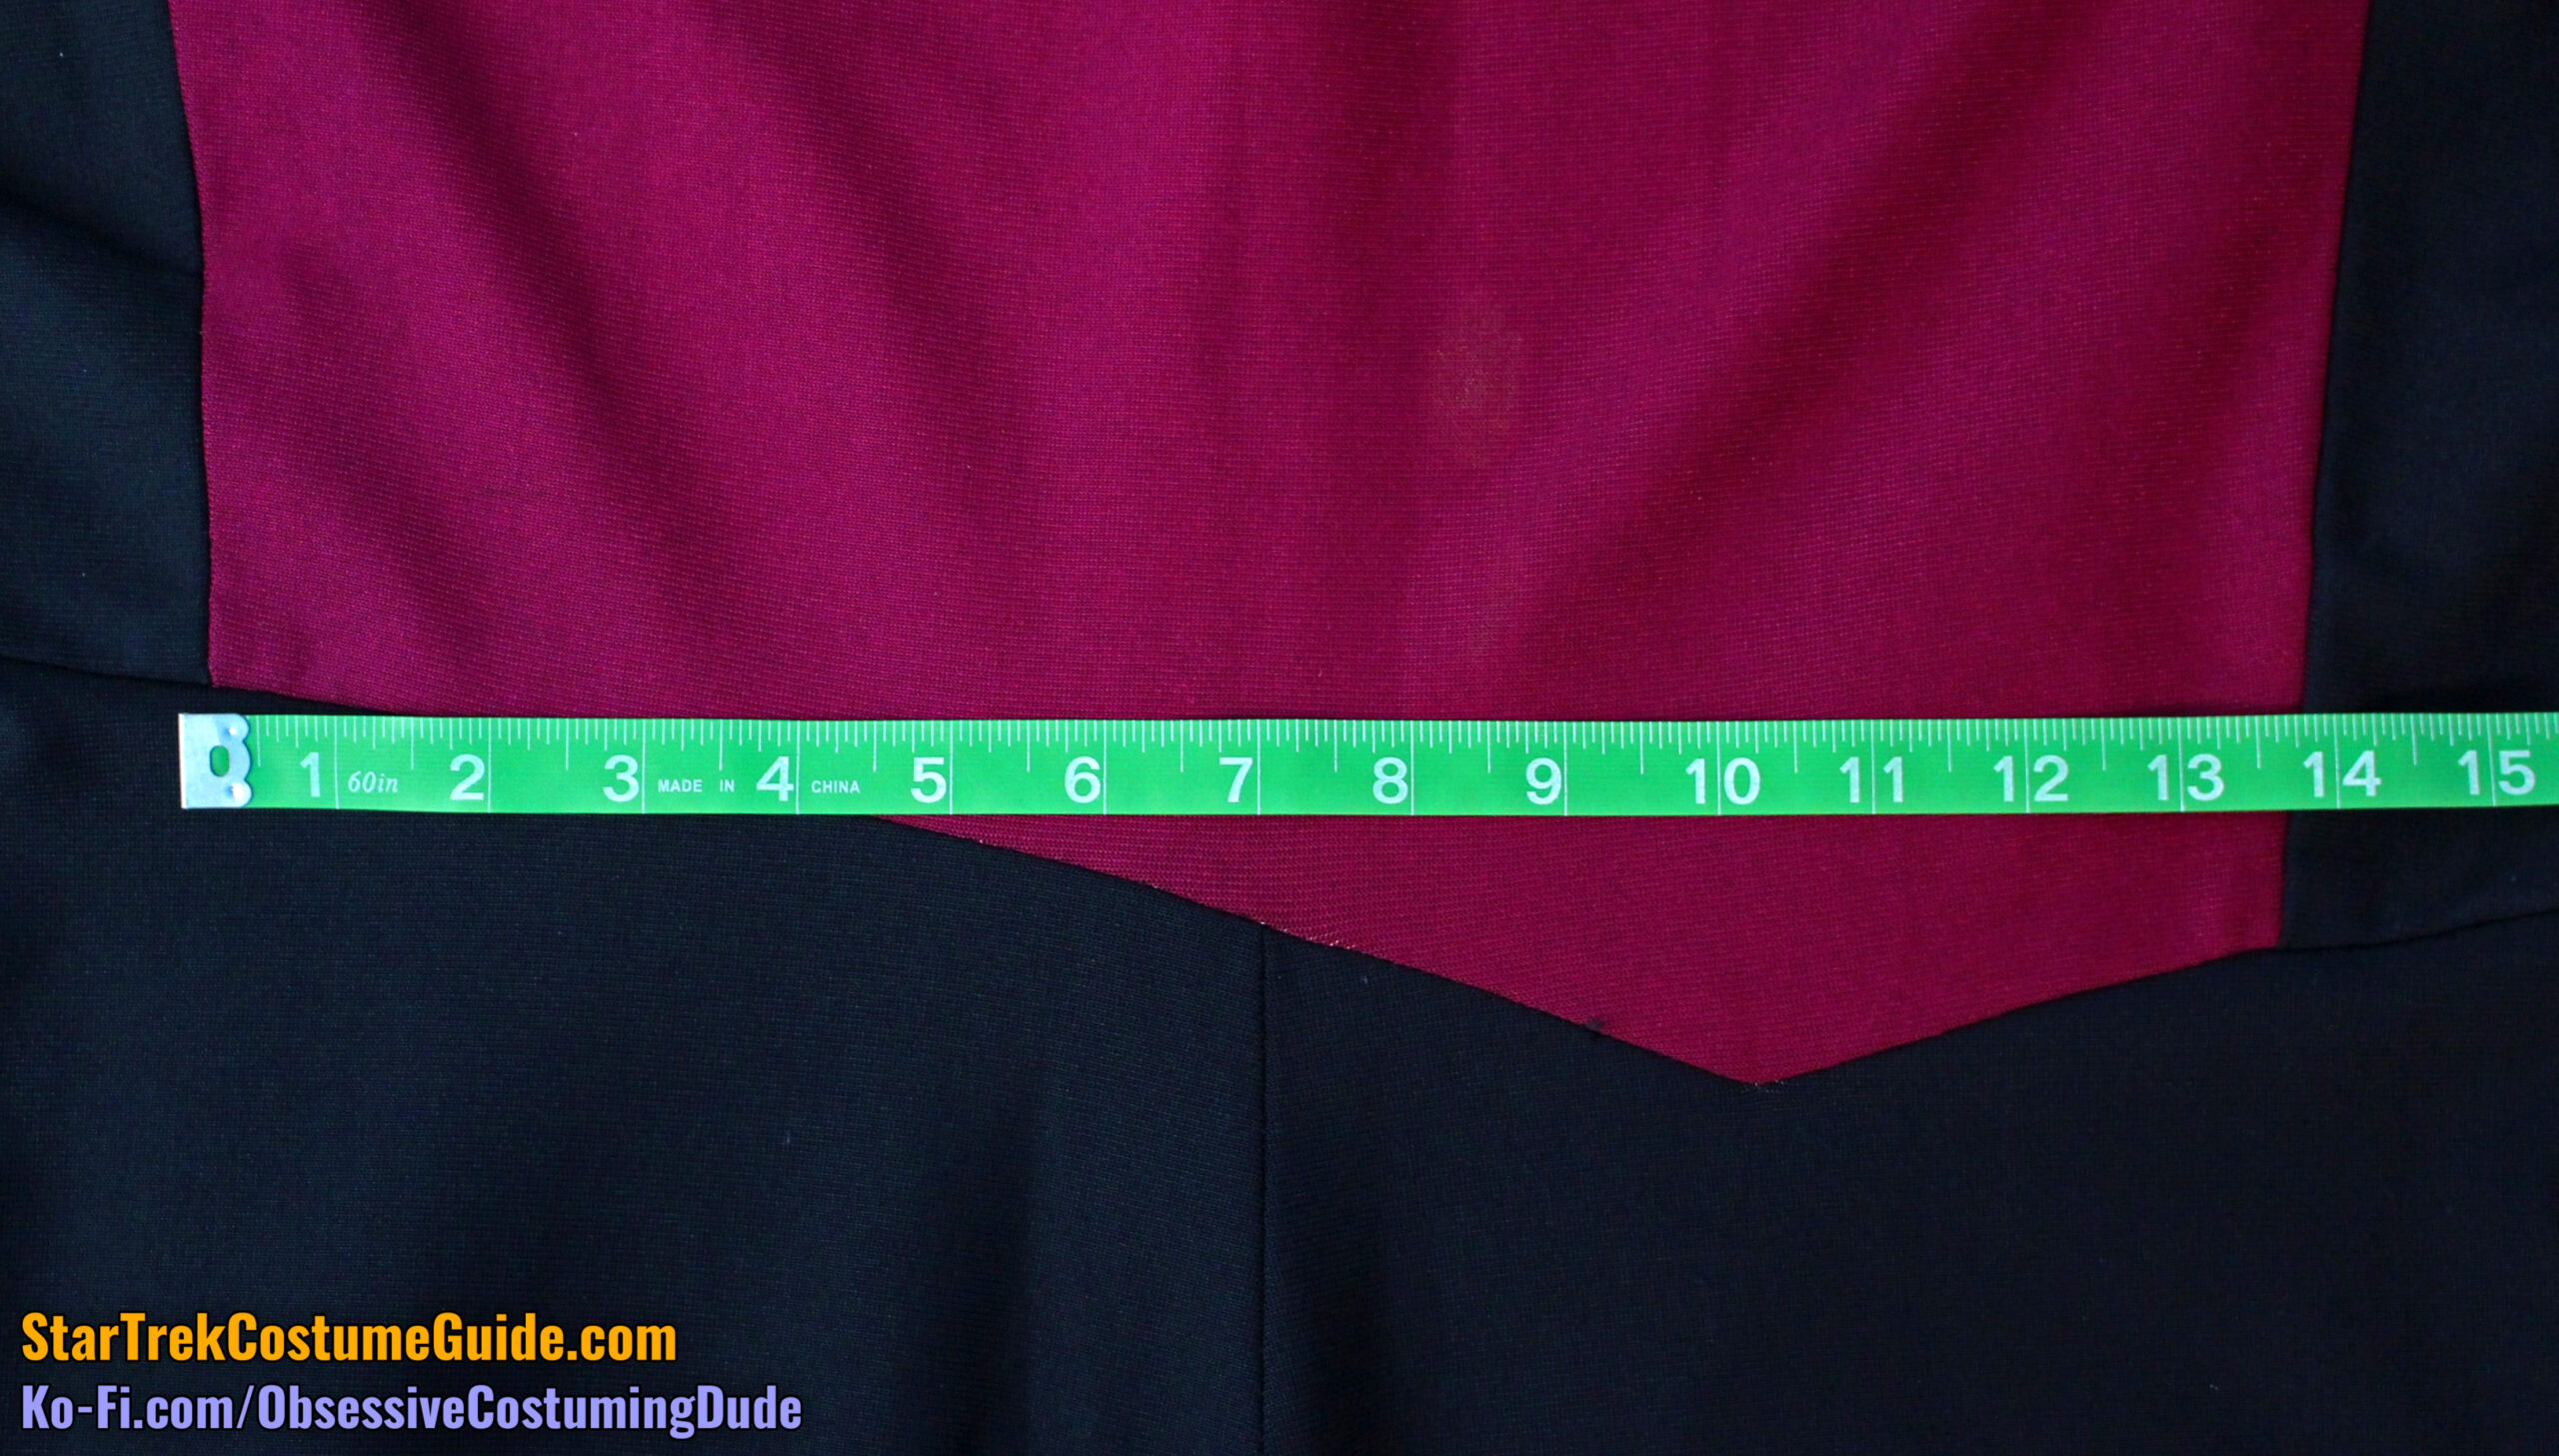
As you can see, measured from the side front seams, the asymmetrical insert ascends approximately 2 ¼” from (picture) left to right, then descends approximately 1 ½”.
Also note the slight upward curve as the insert approaches the apex – a subtle, but lovely little detail!
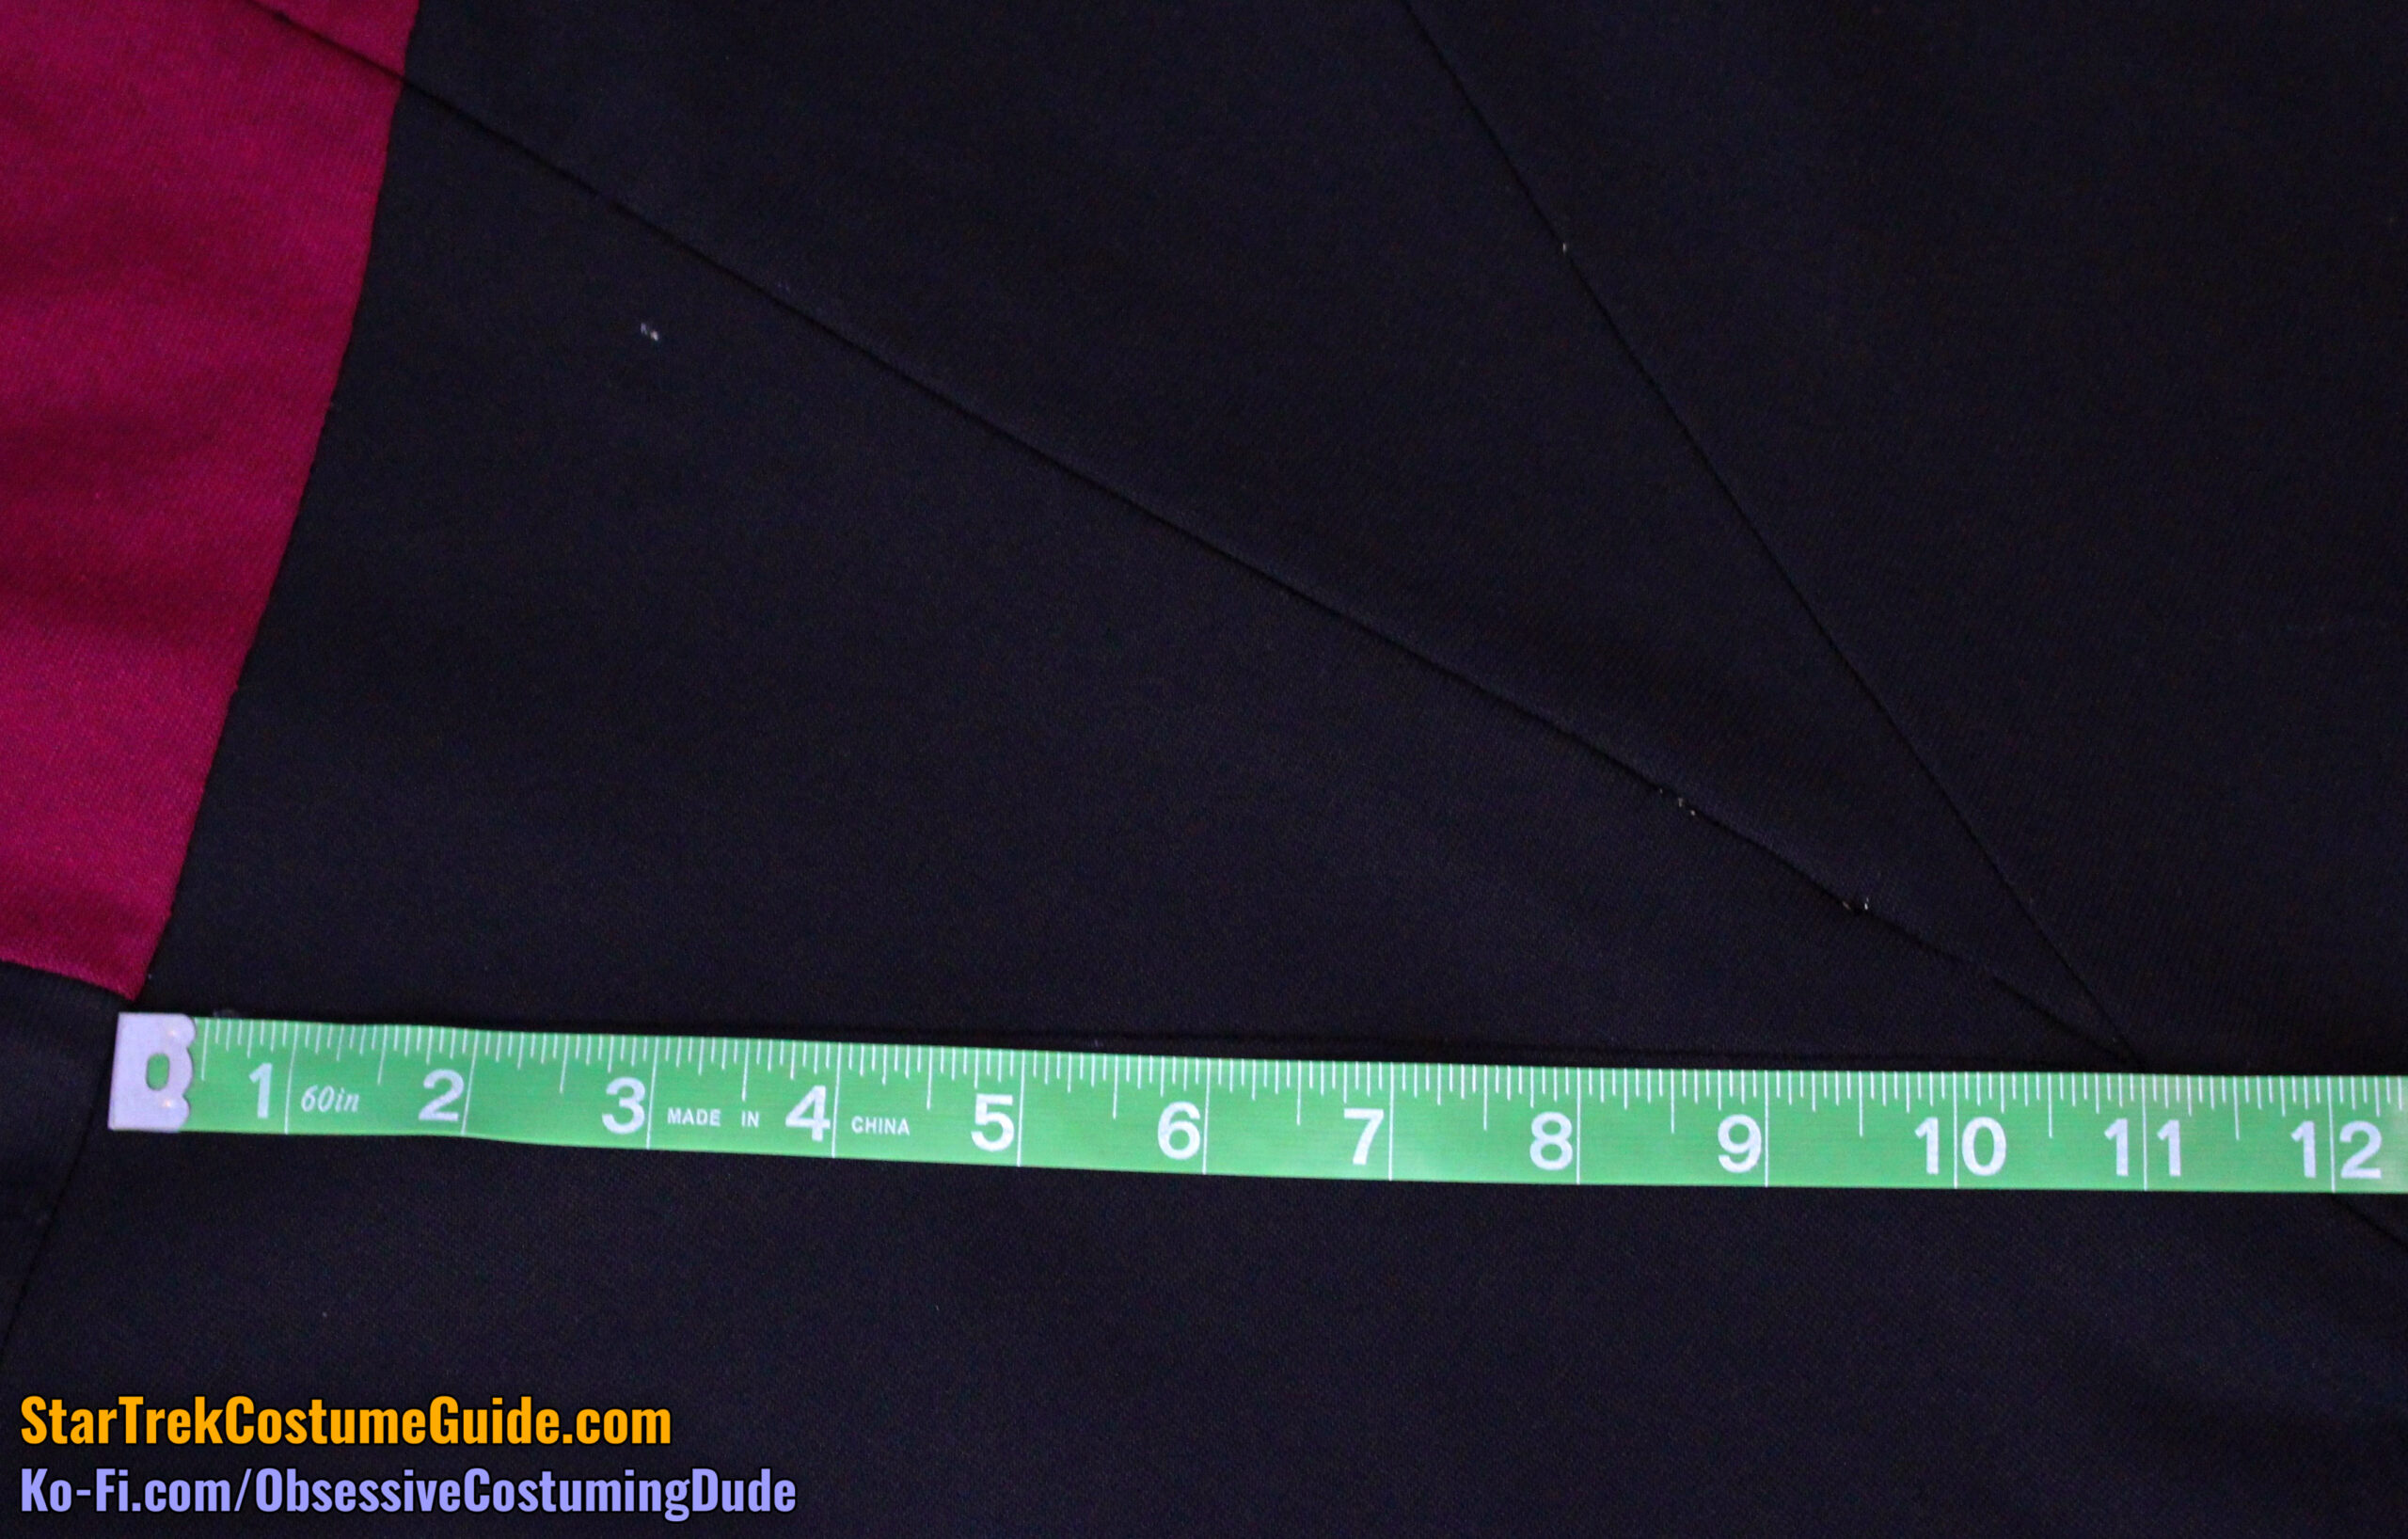
The right side front (lower) armscye was 4 ½”, measured from the side front to side seams.
The right side front lower seam line was 4”, with a ⅜” upward slant.
The left side front (lower) armscye was a bit longer than the right, measuring 4 ⅝”.
The left side front lower seam line was 3 ⅝”, with a ⅞” slant.
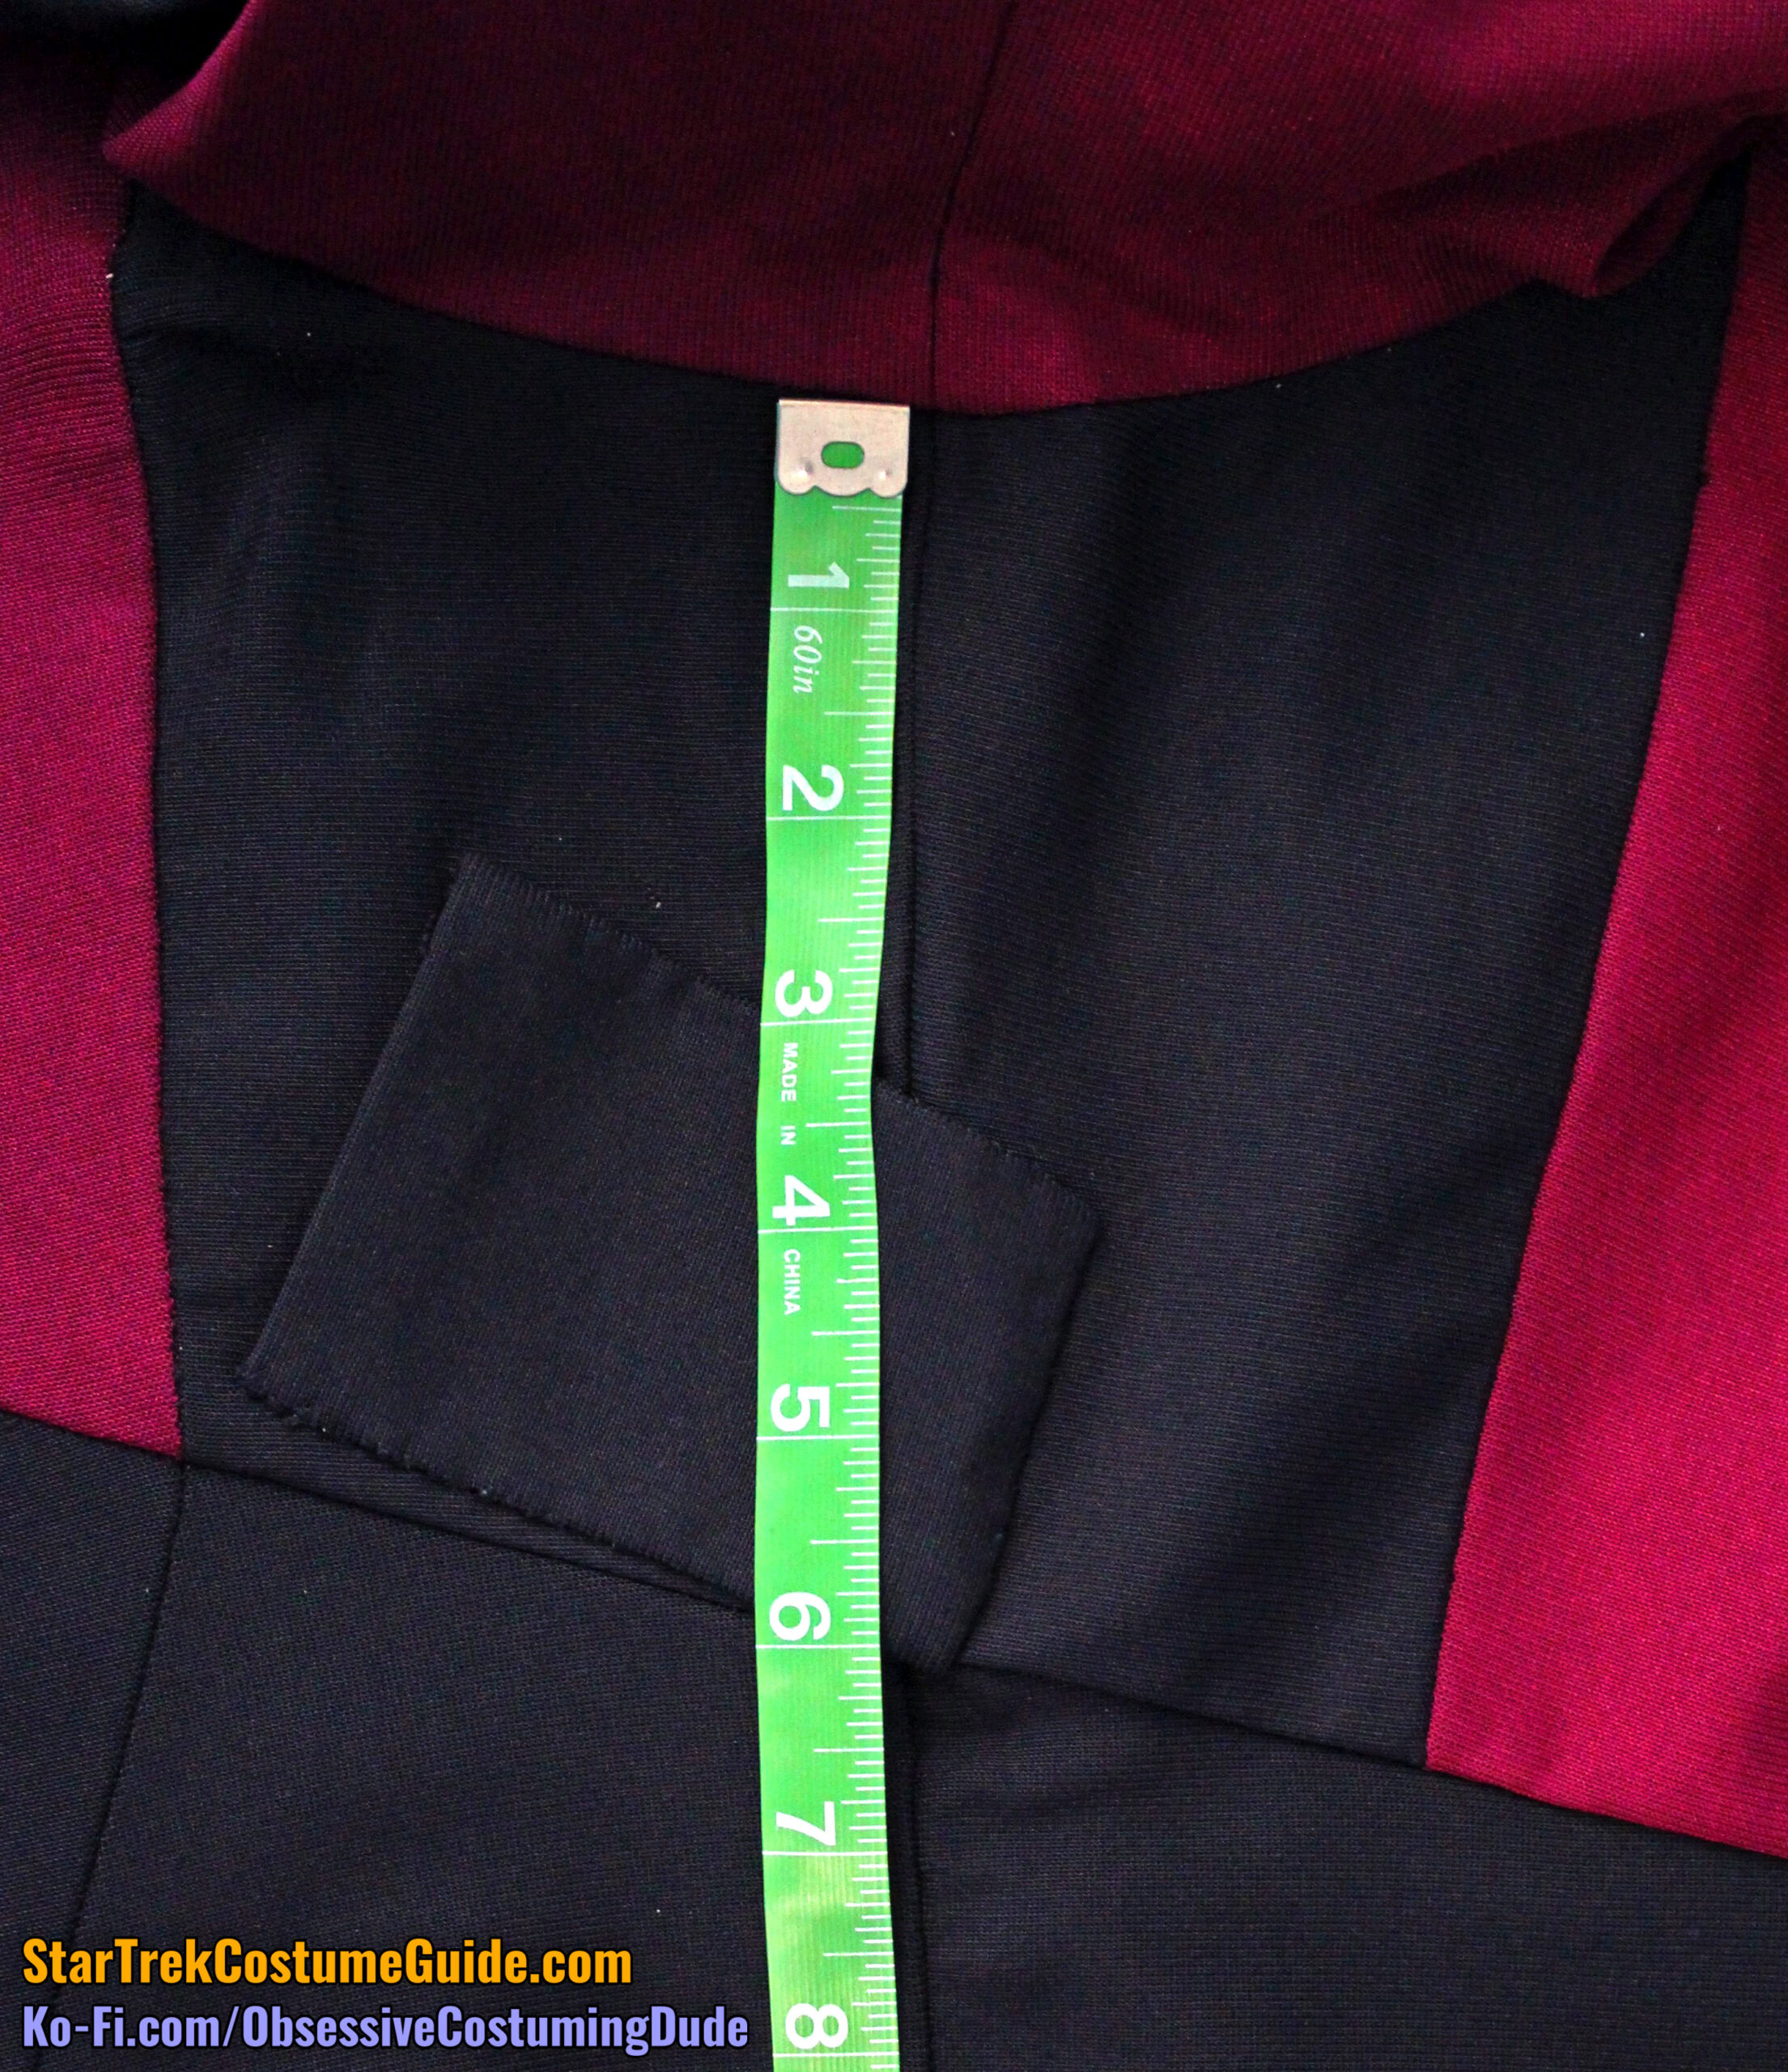
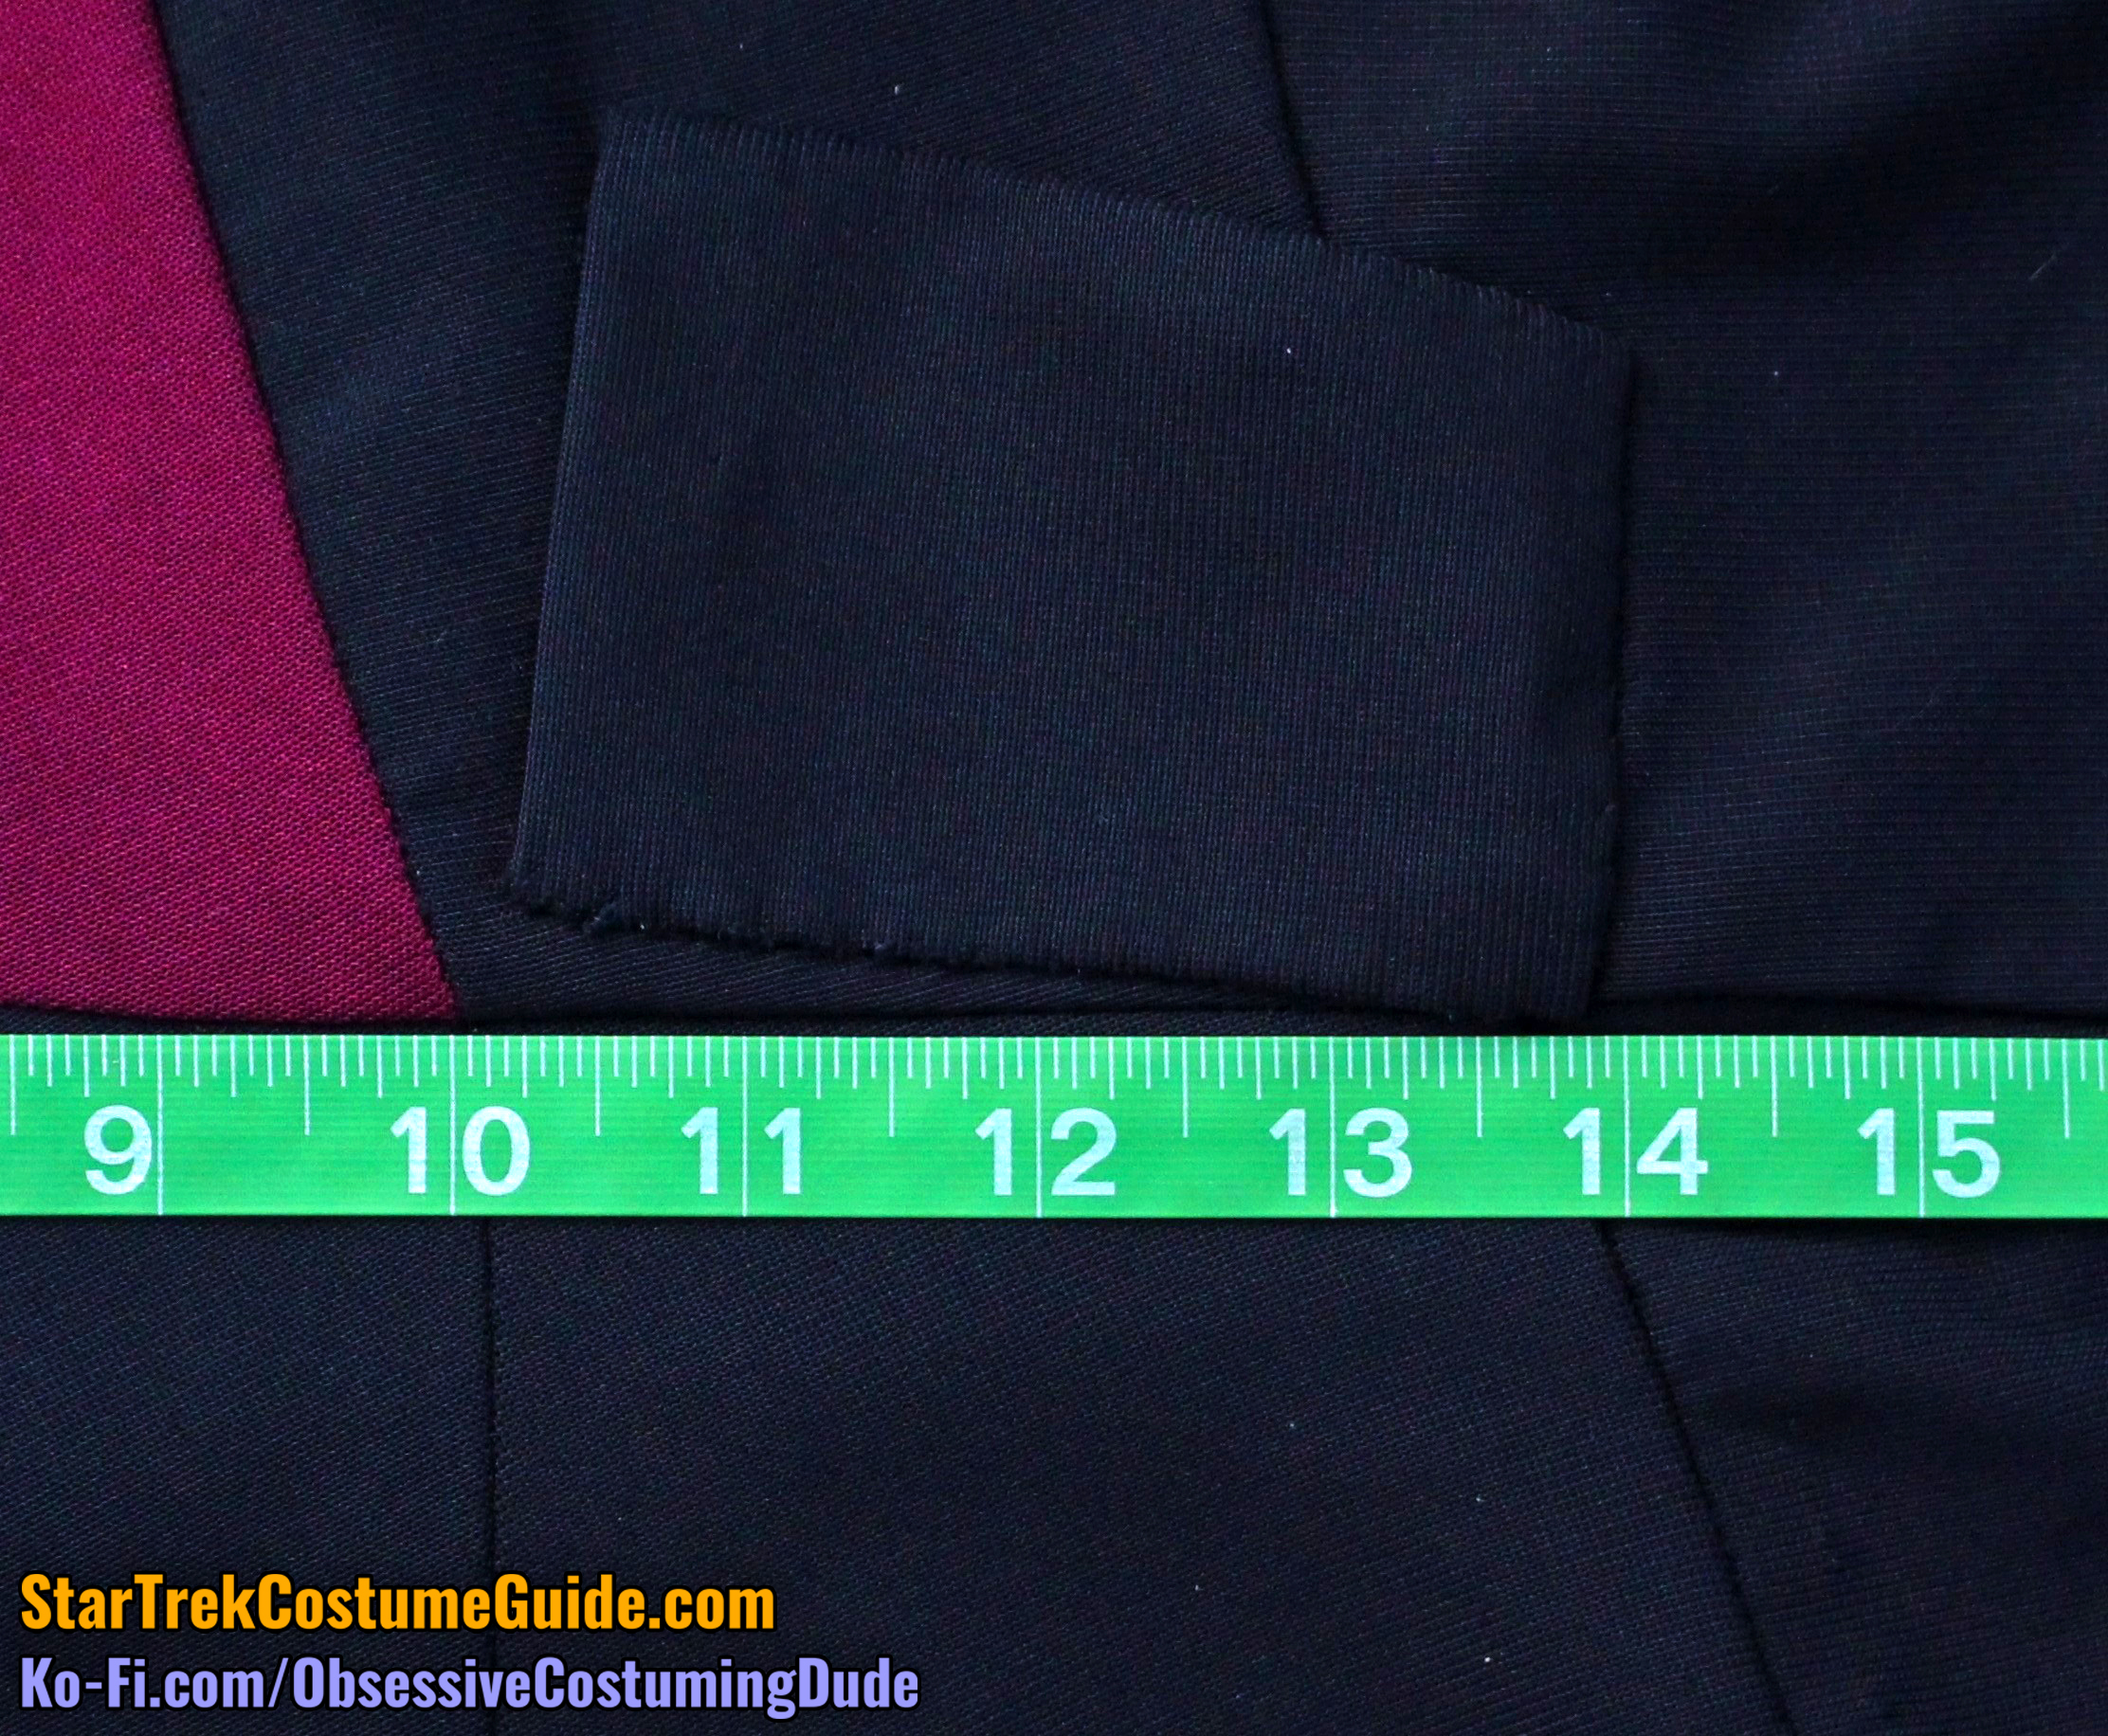
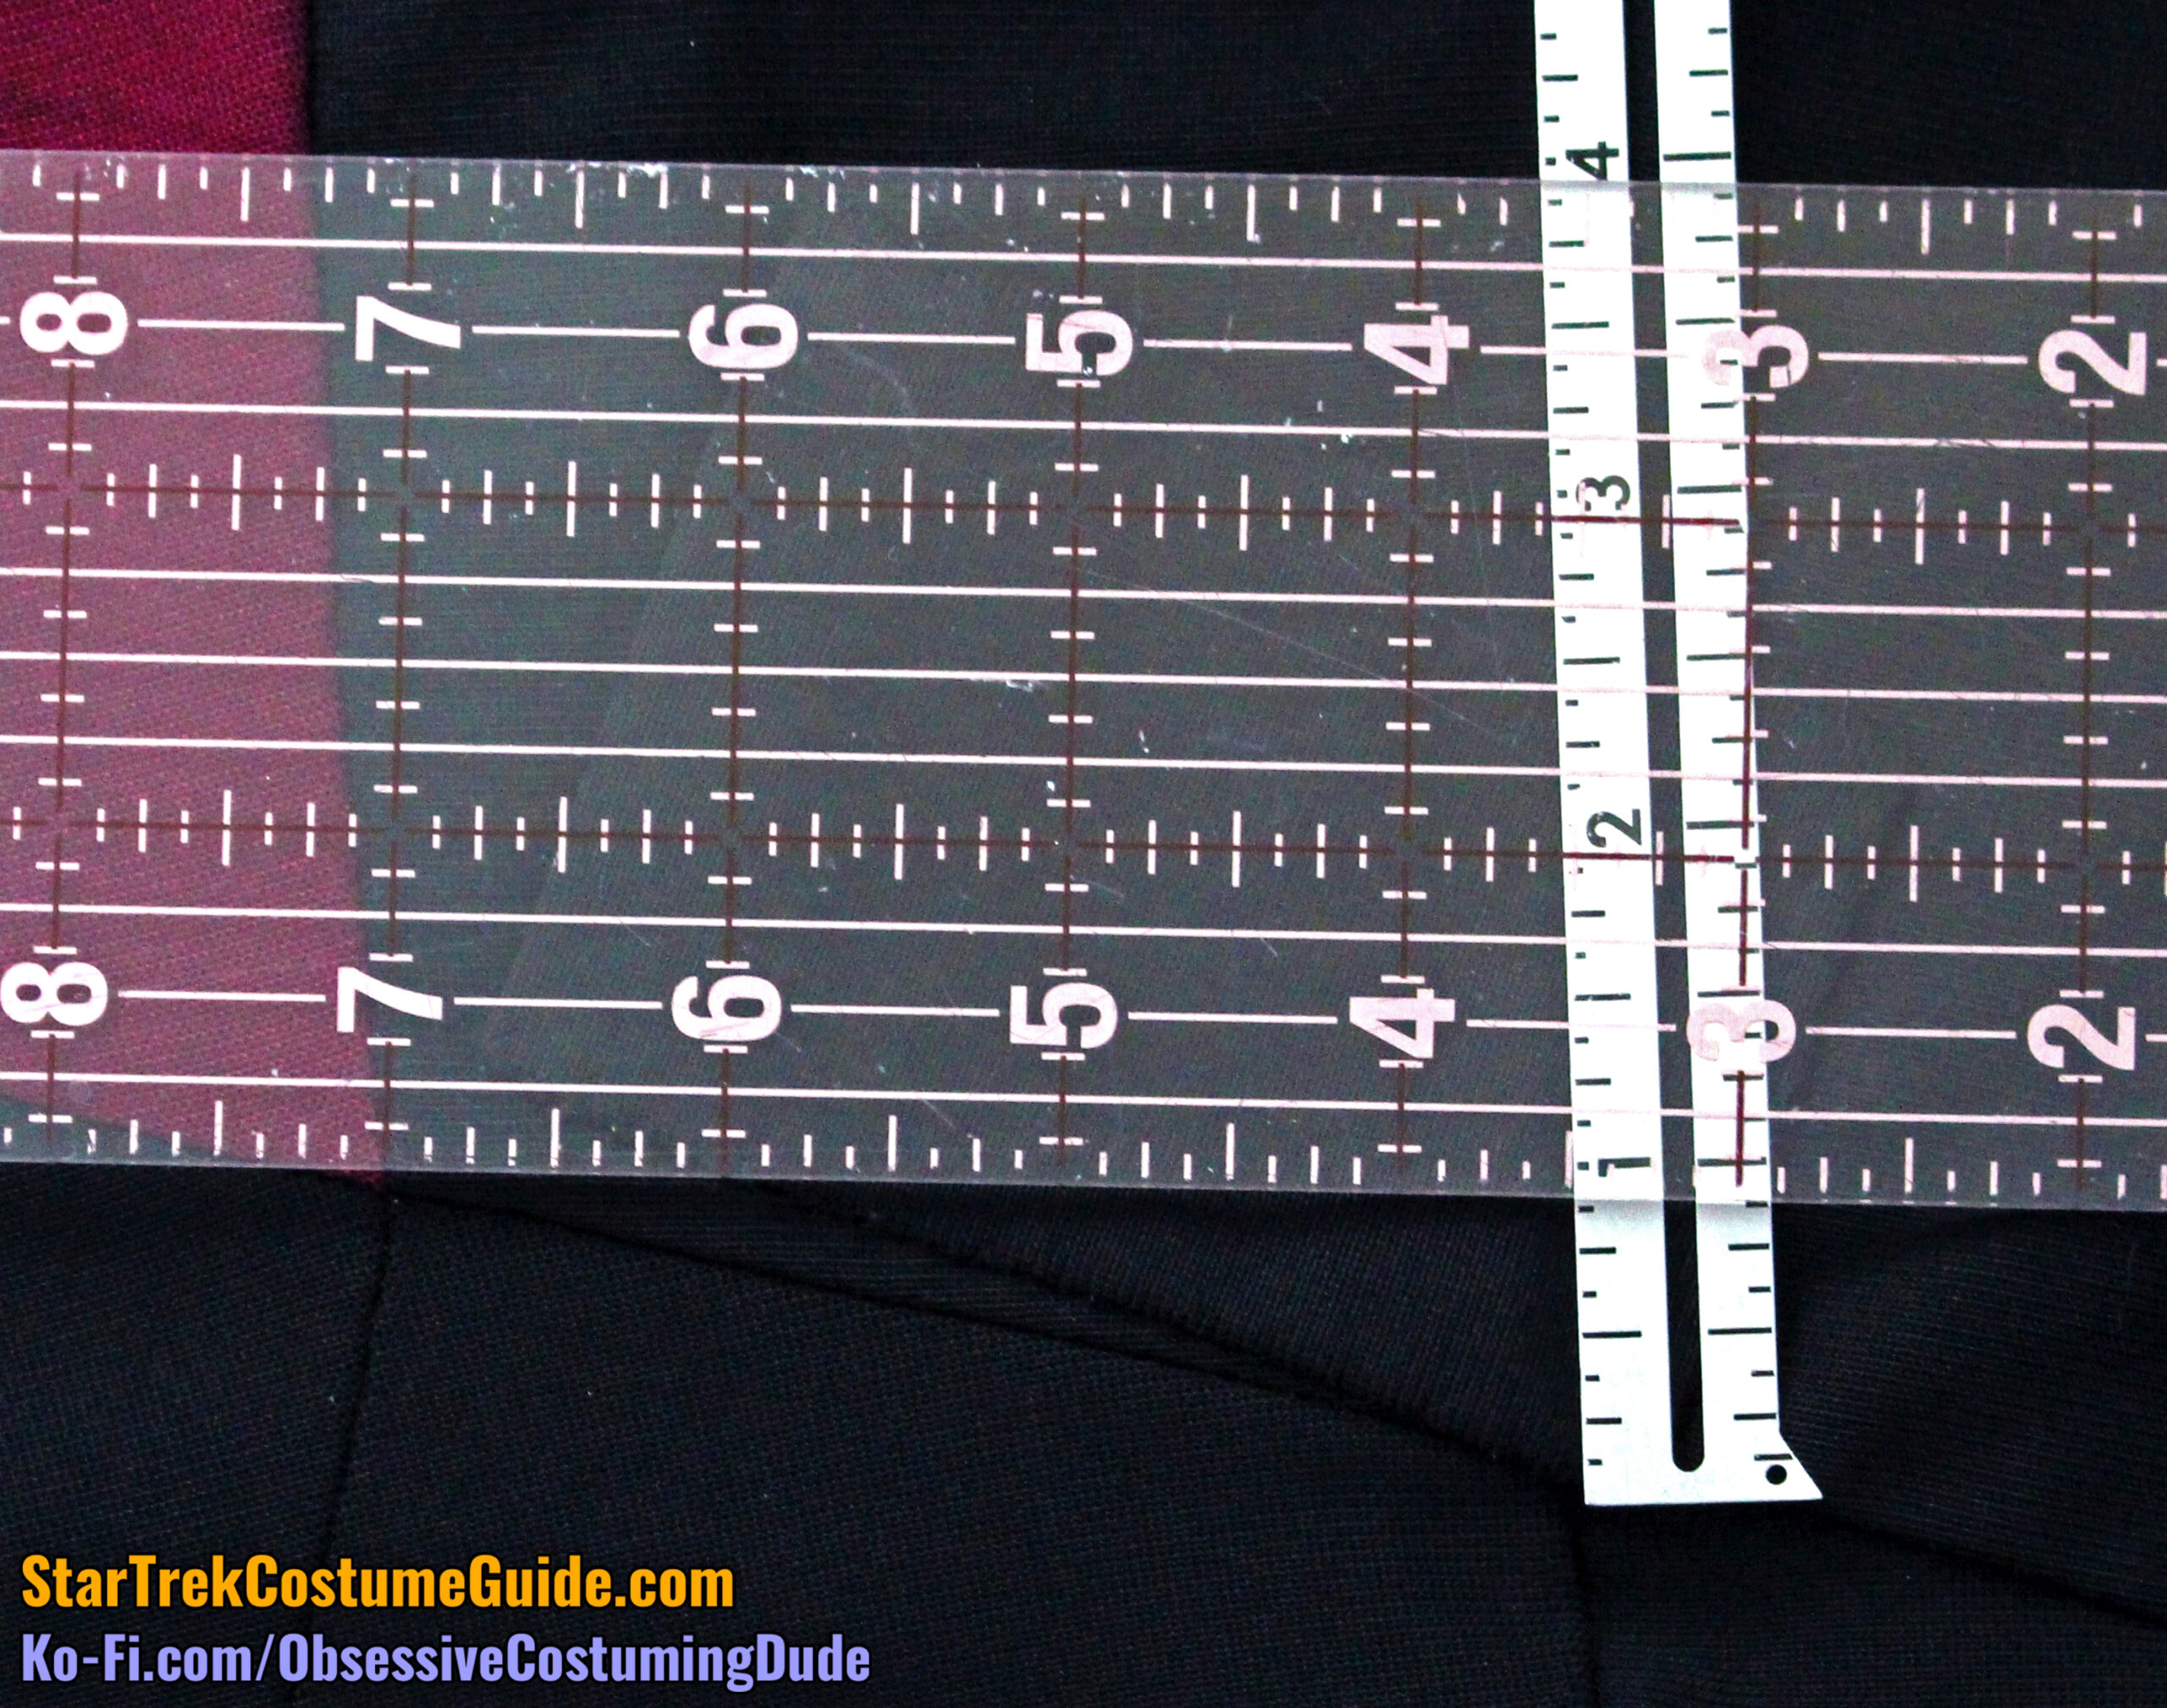
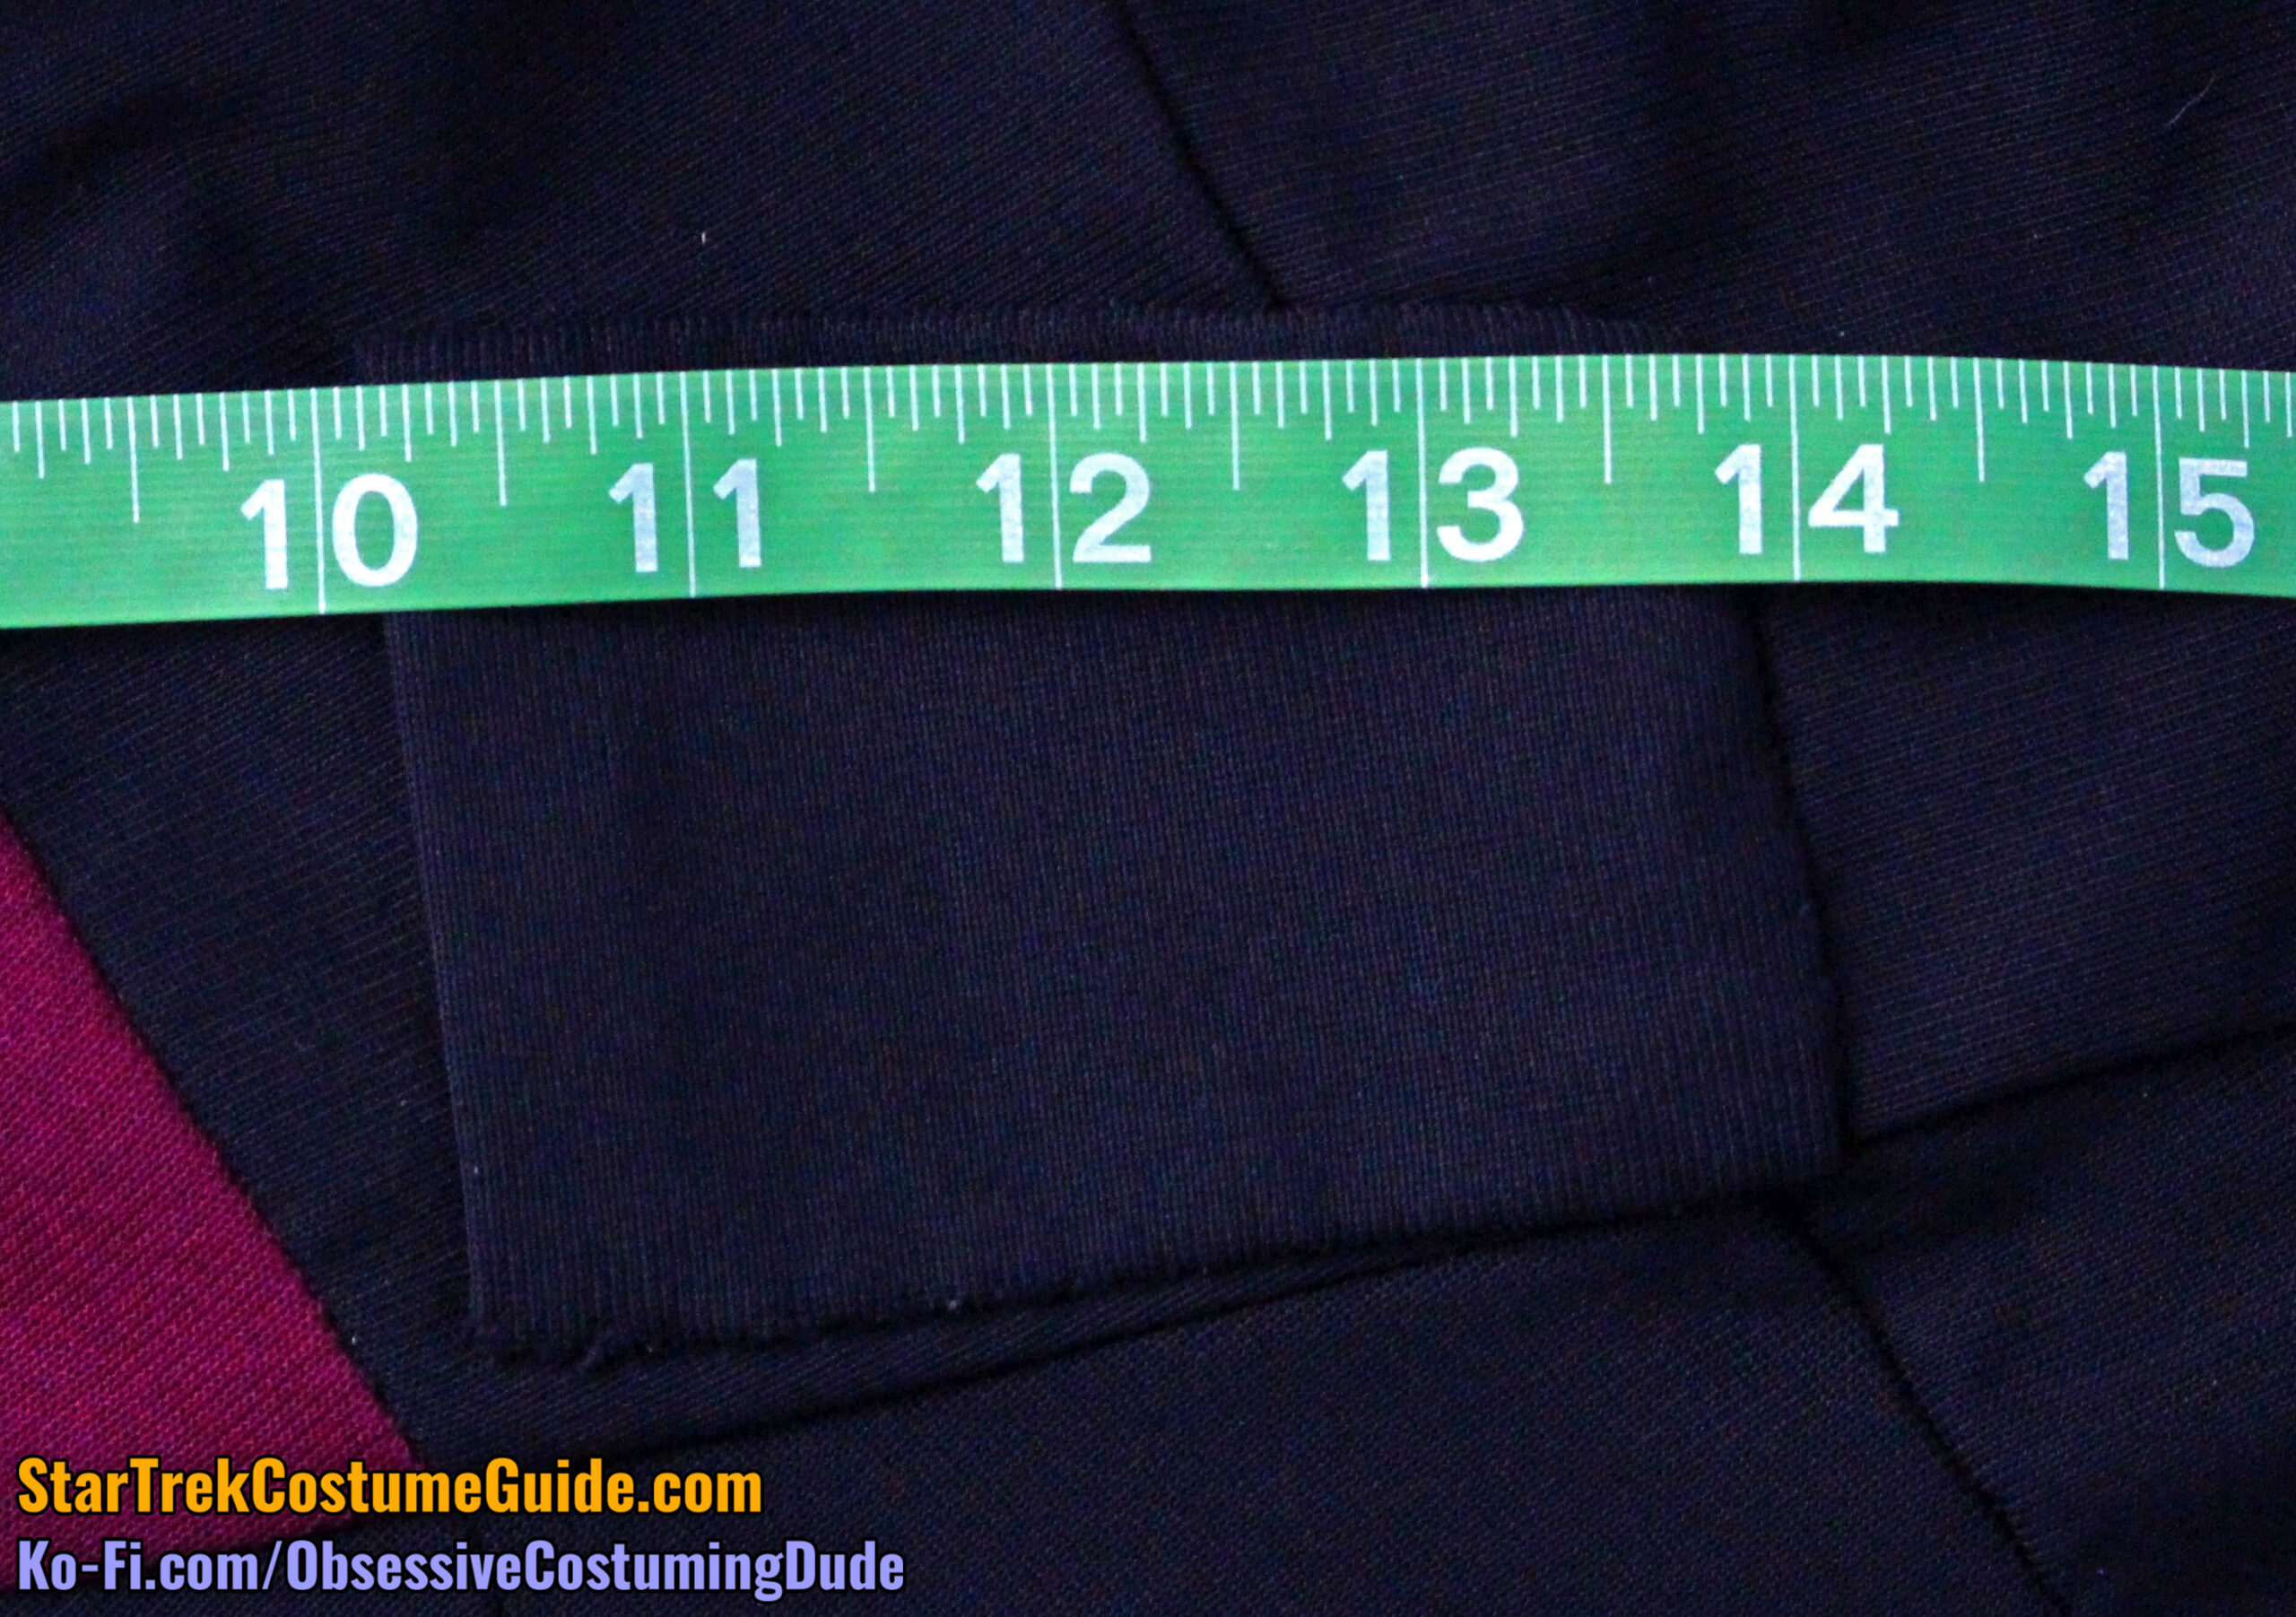
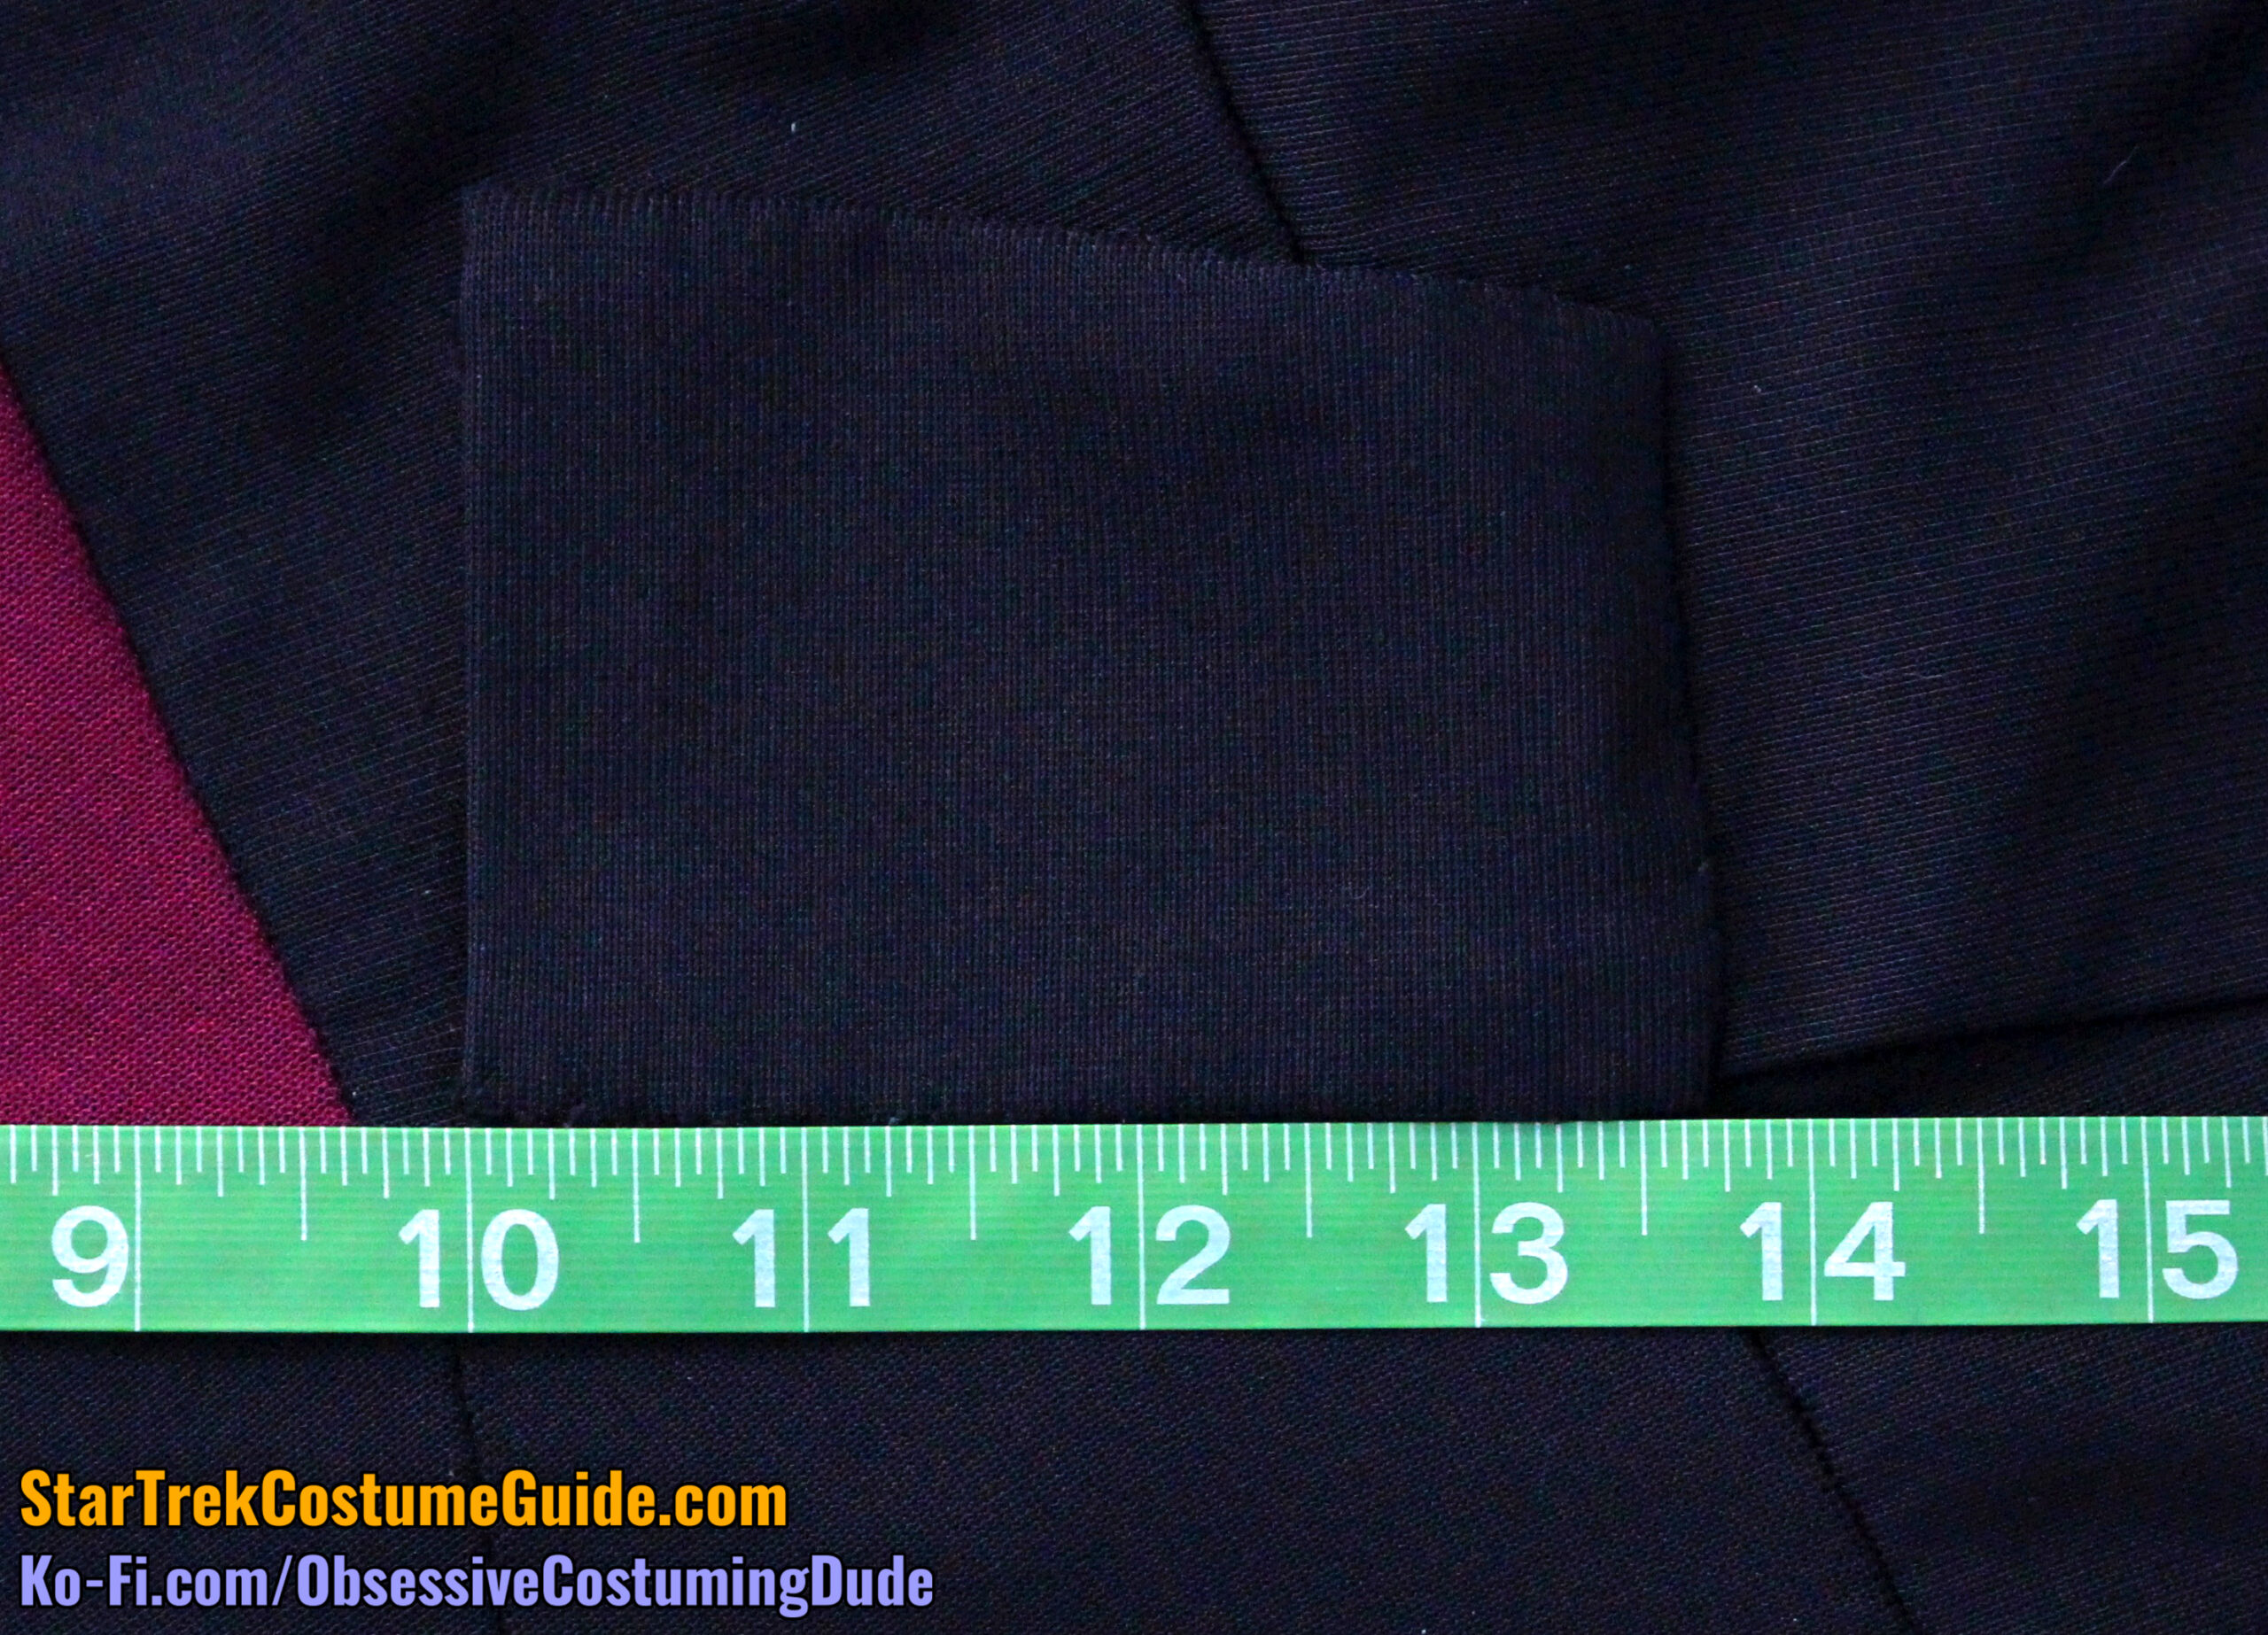
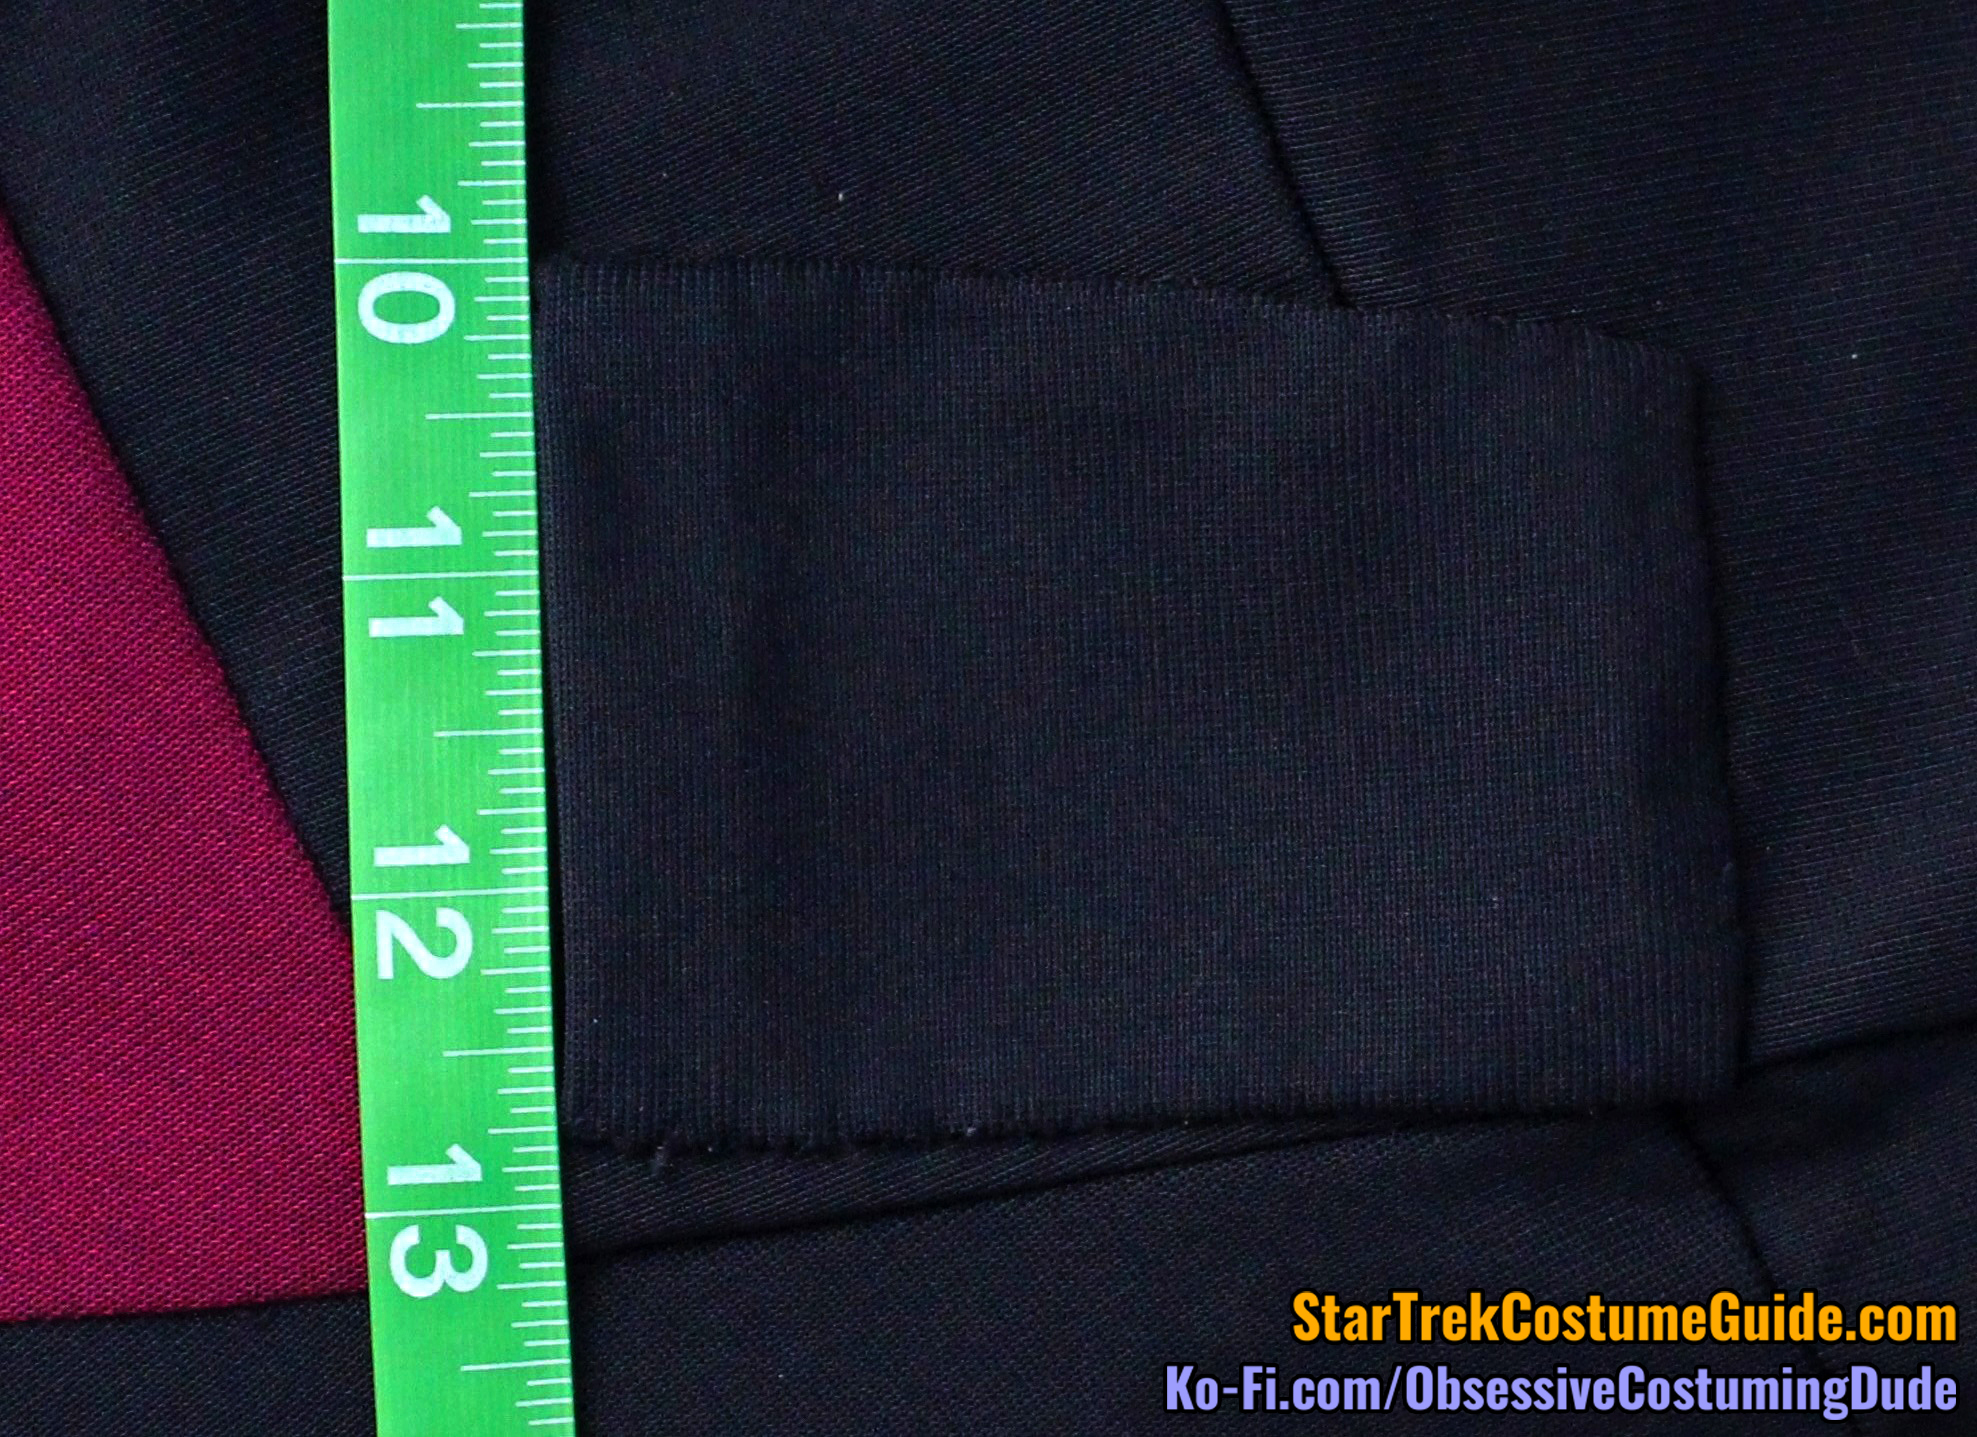
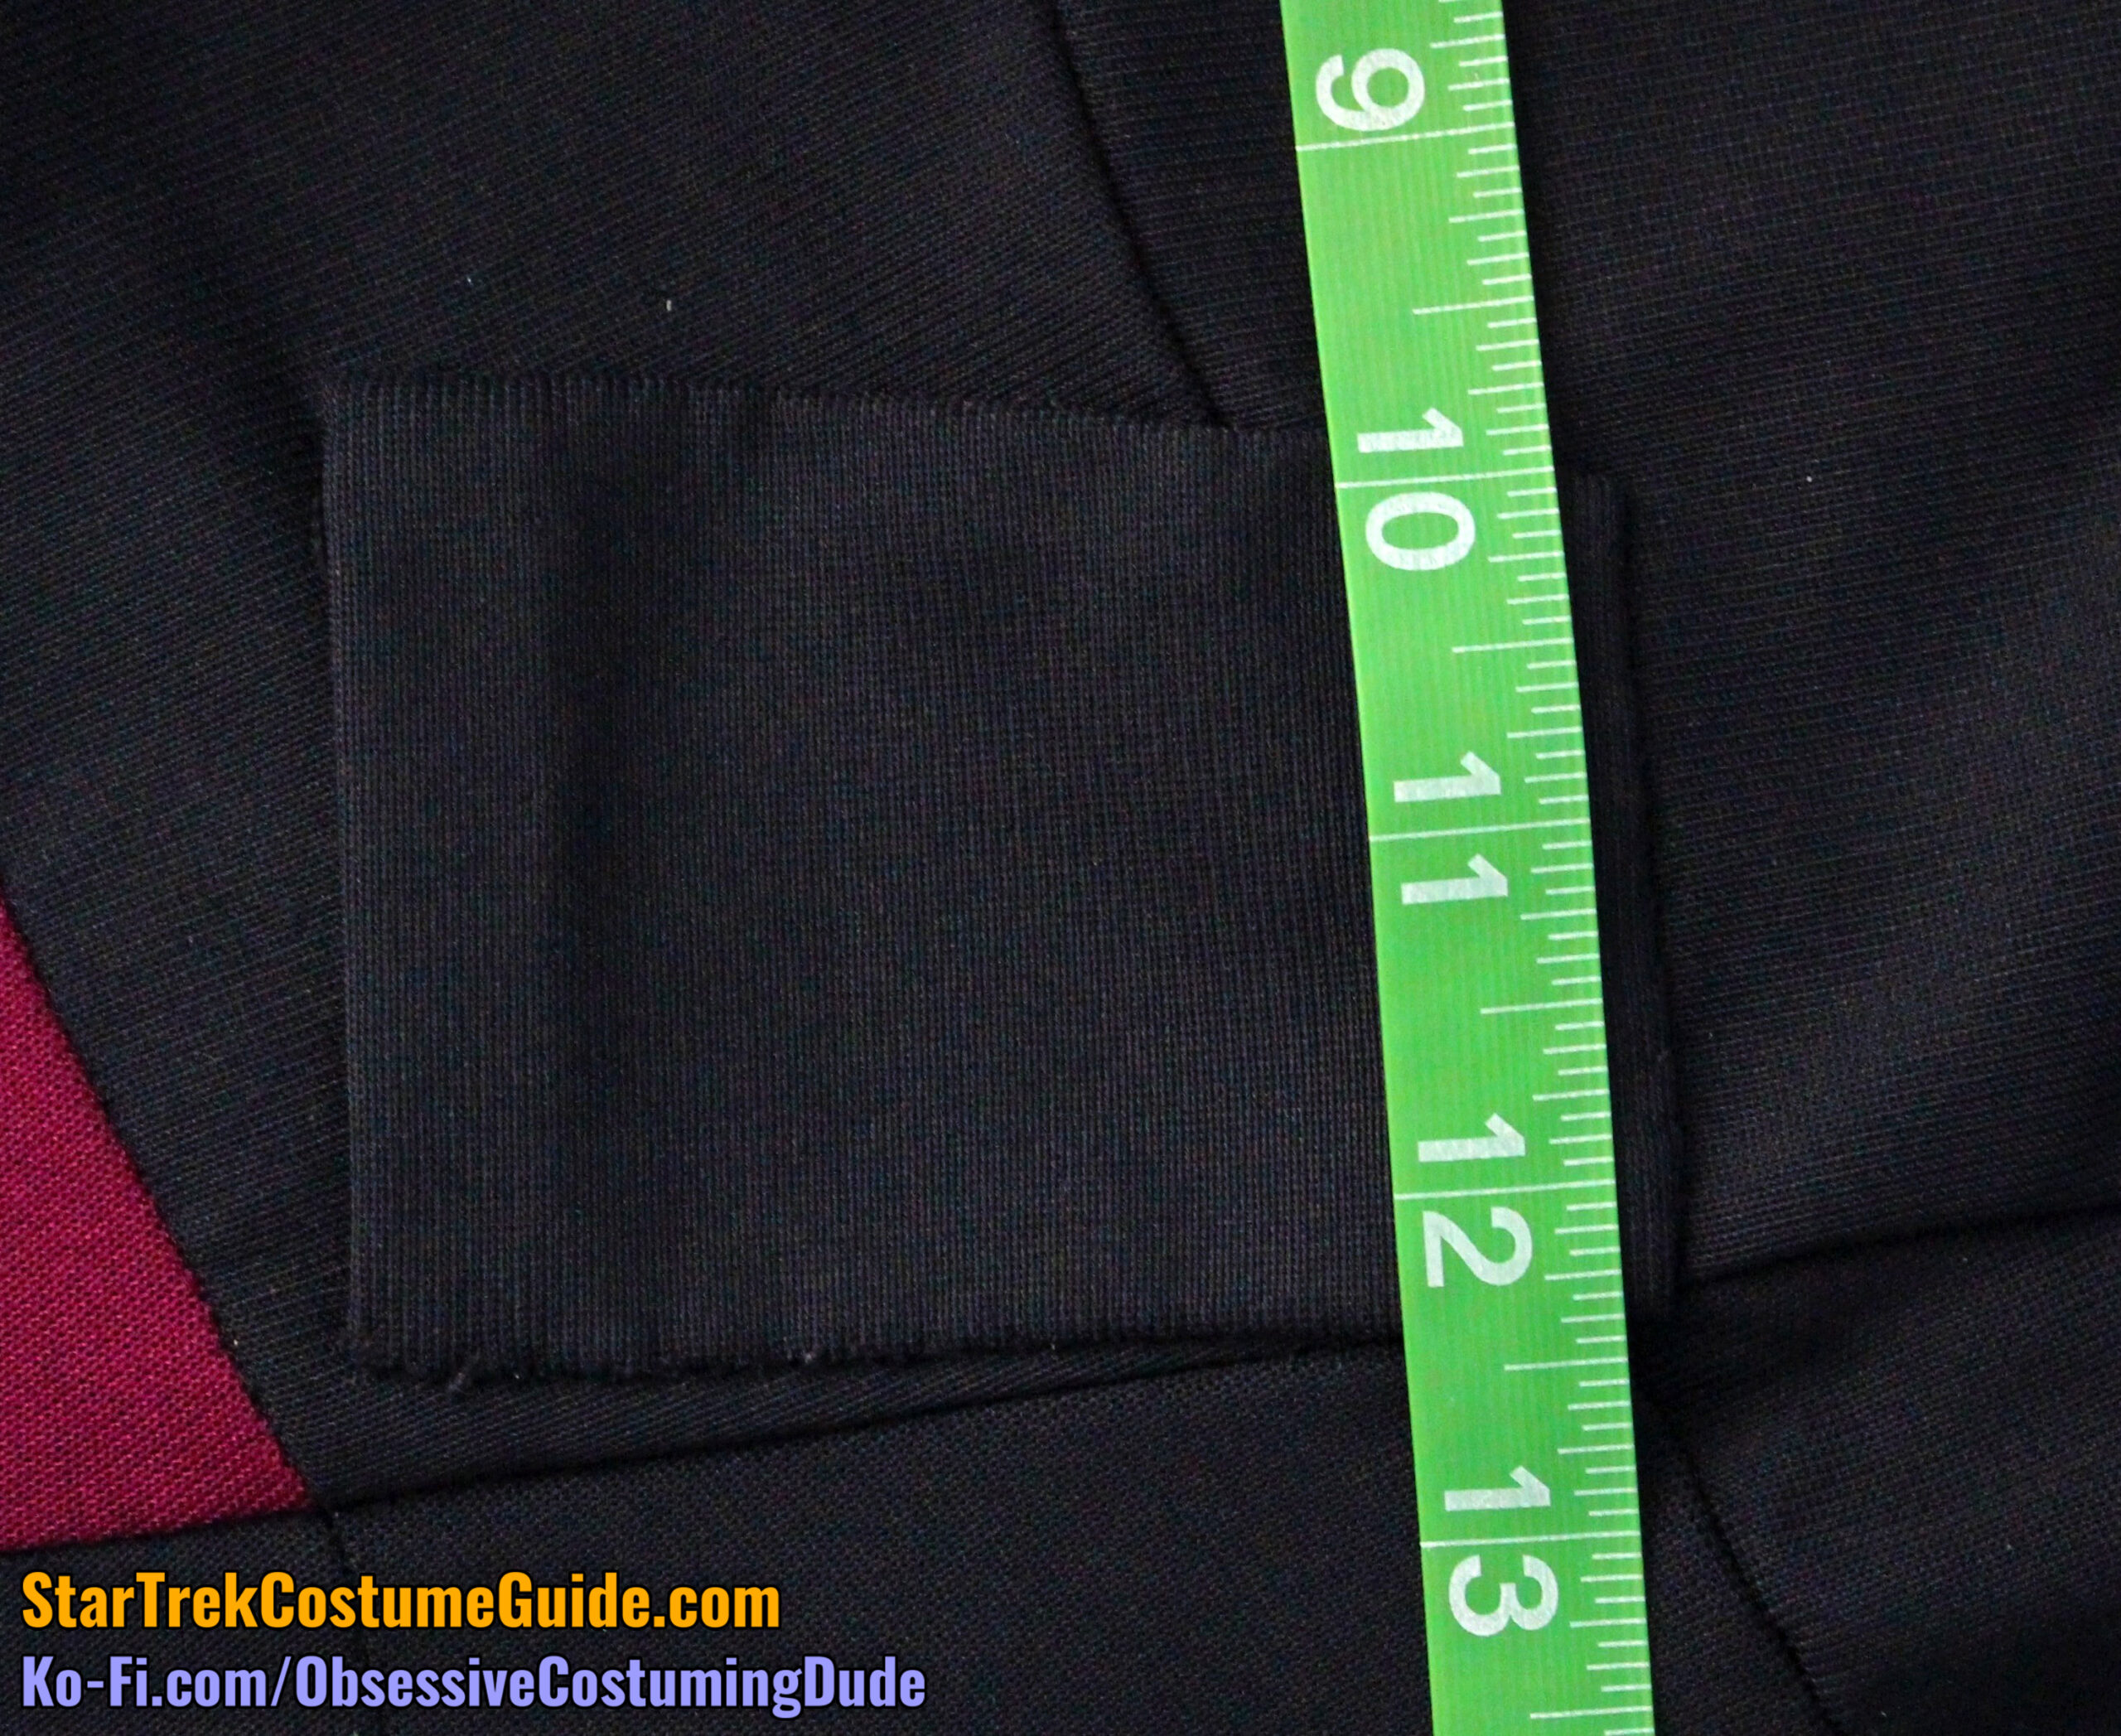
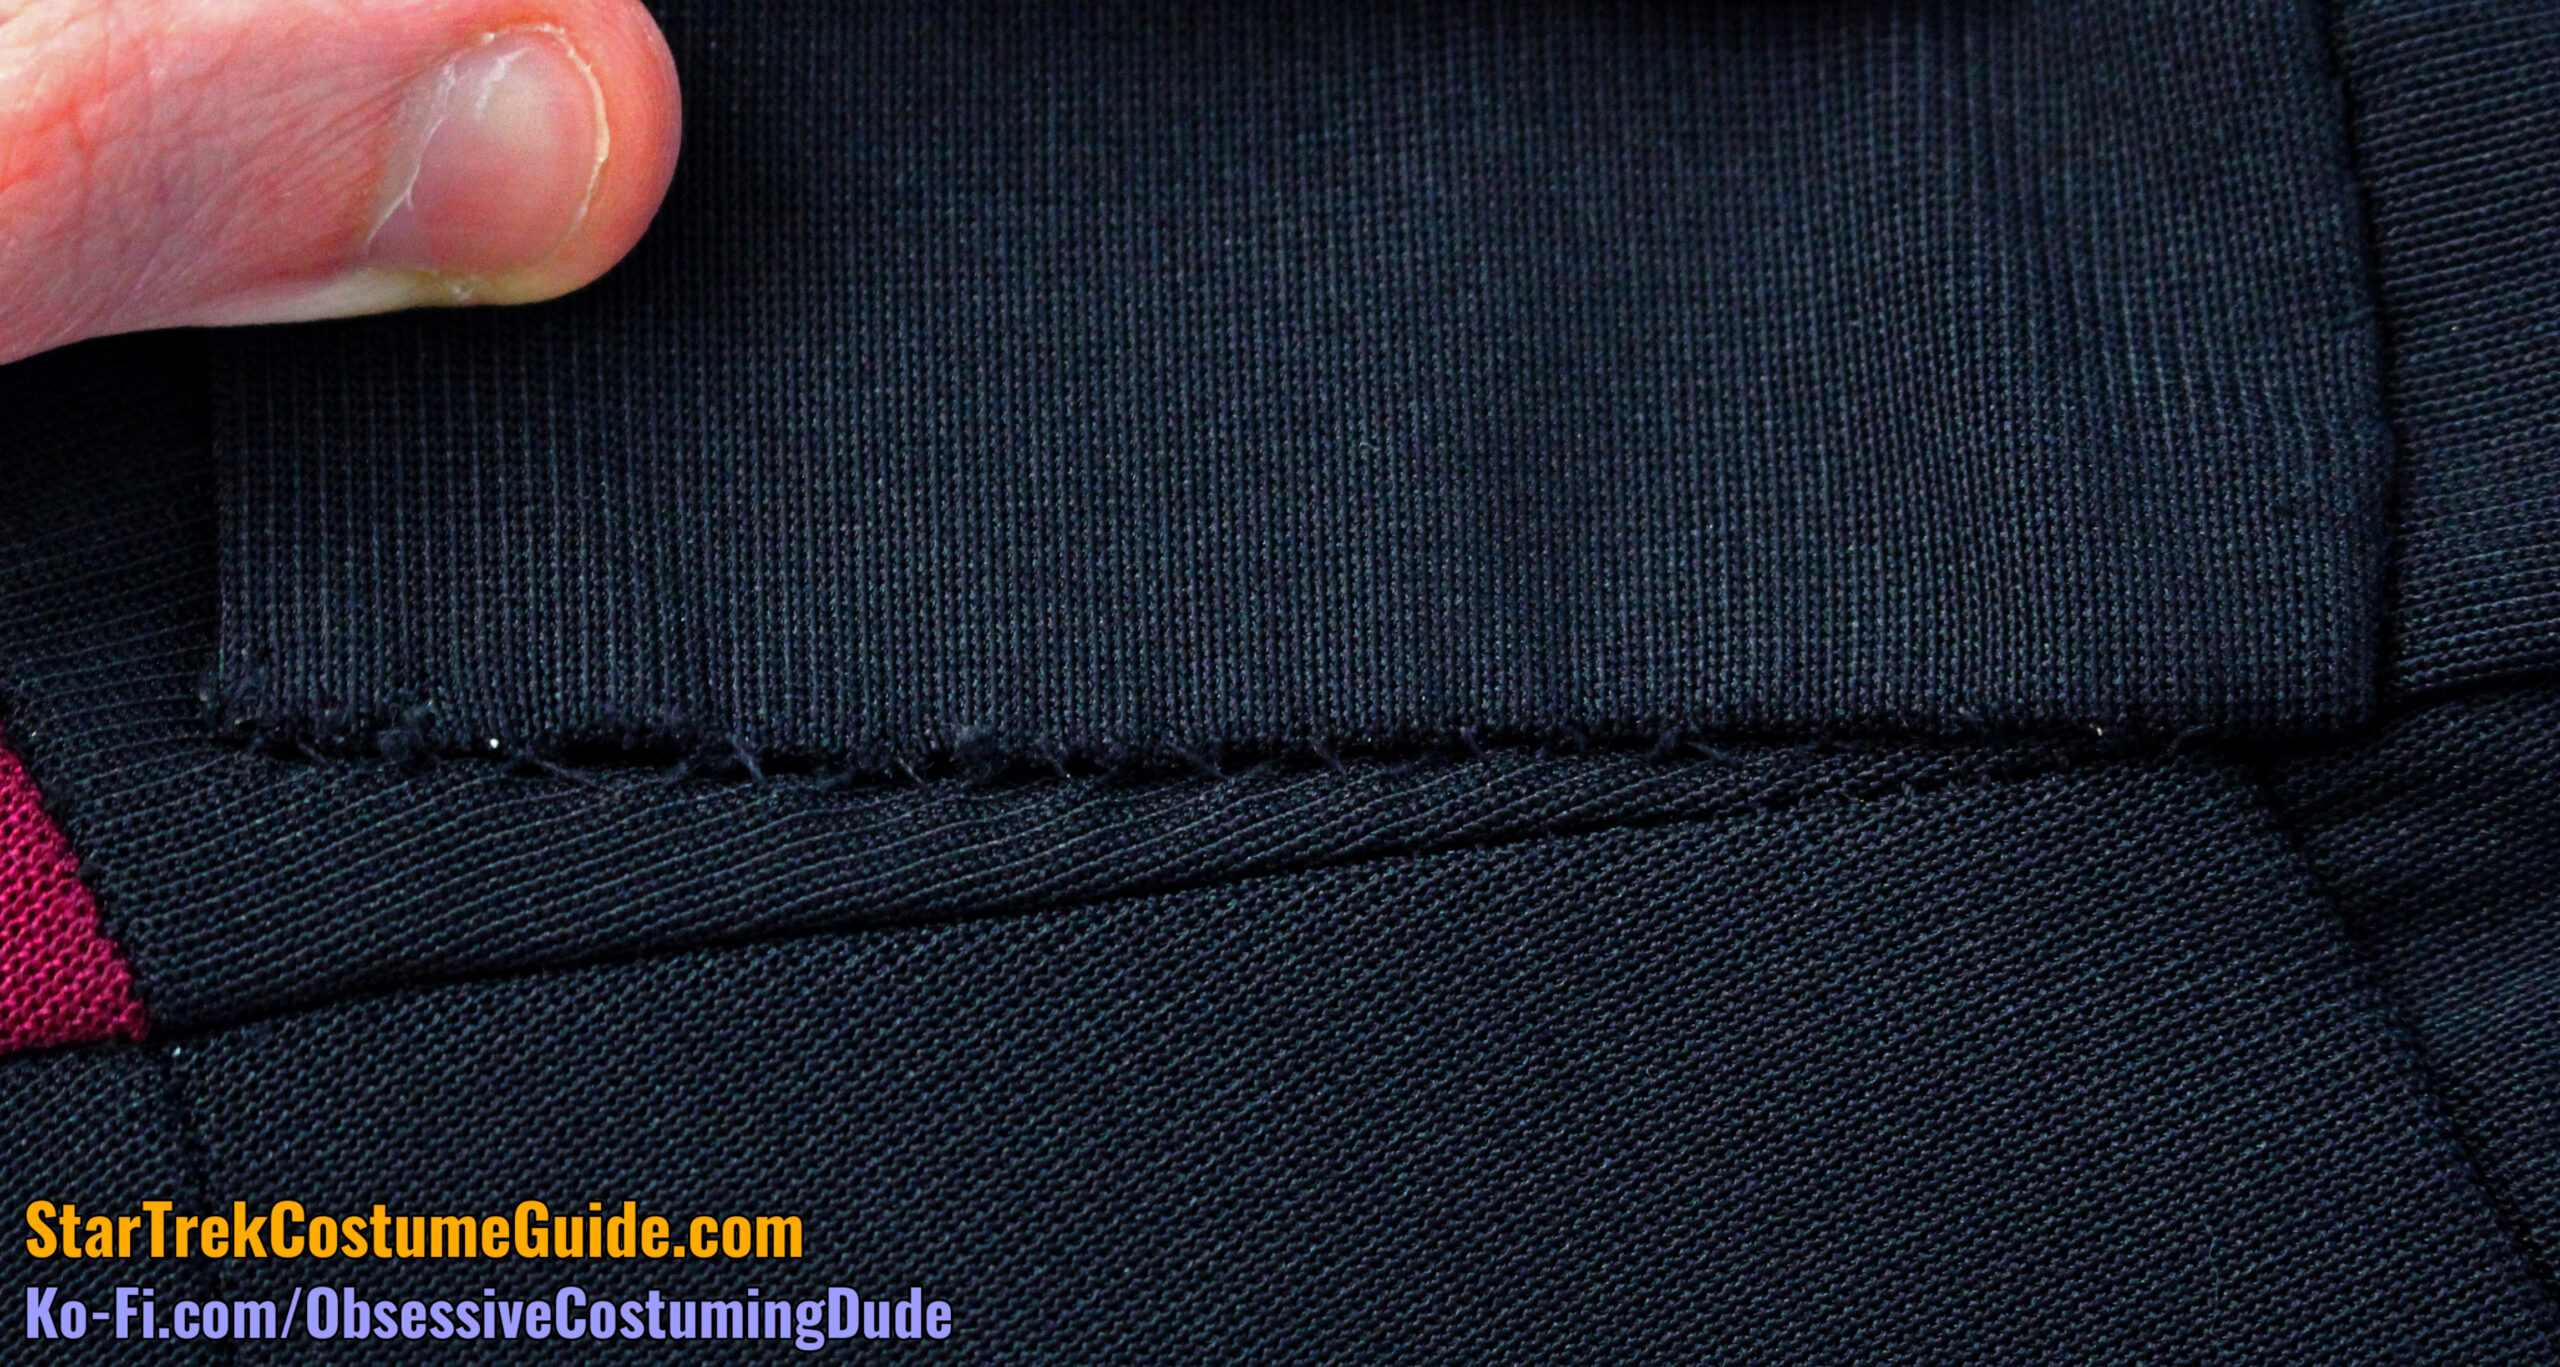
An interesting detail on this particular jumpsuit was a the “cricket” phaser pouch on the left side, which was trapezoidal and made from the same jumbo spandex as the jumpsuit body.
The upper and lower edges of the holster were 3 ¾”.
The front edge of the pouch was 2 ¾”, and the back edge was 2 ¼”.
The pouch had approximately ⅜” allowance along each edge, and it was hand-sewn to the jumpsuit body for a nice, clean look. 🙂
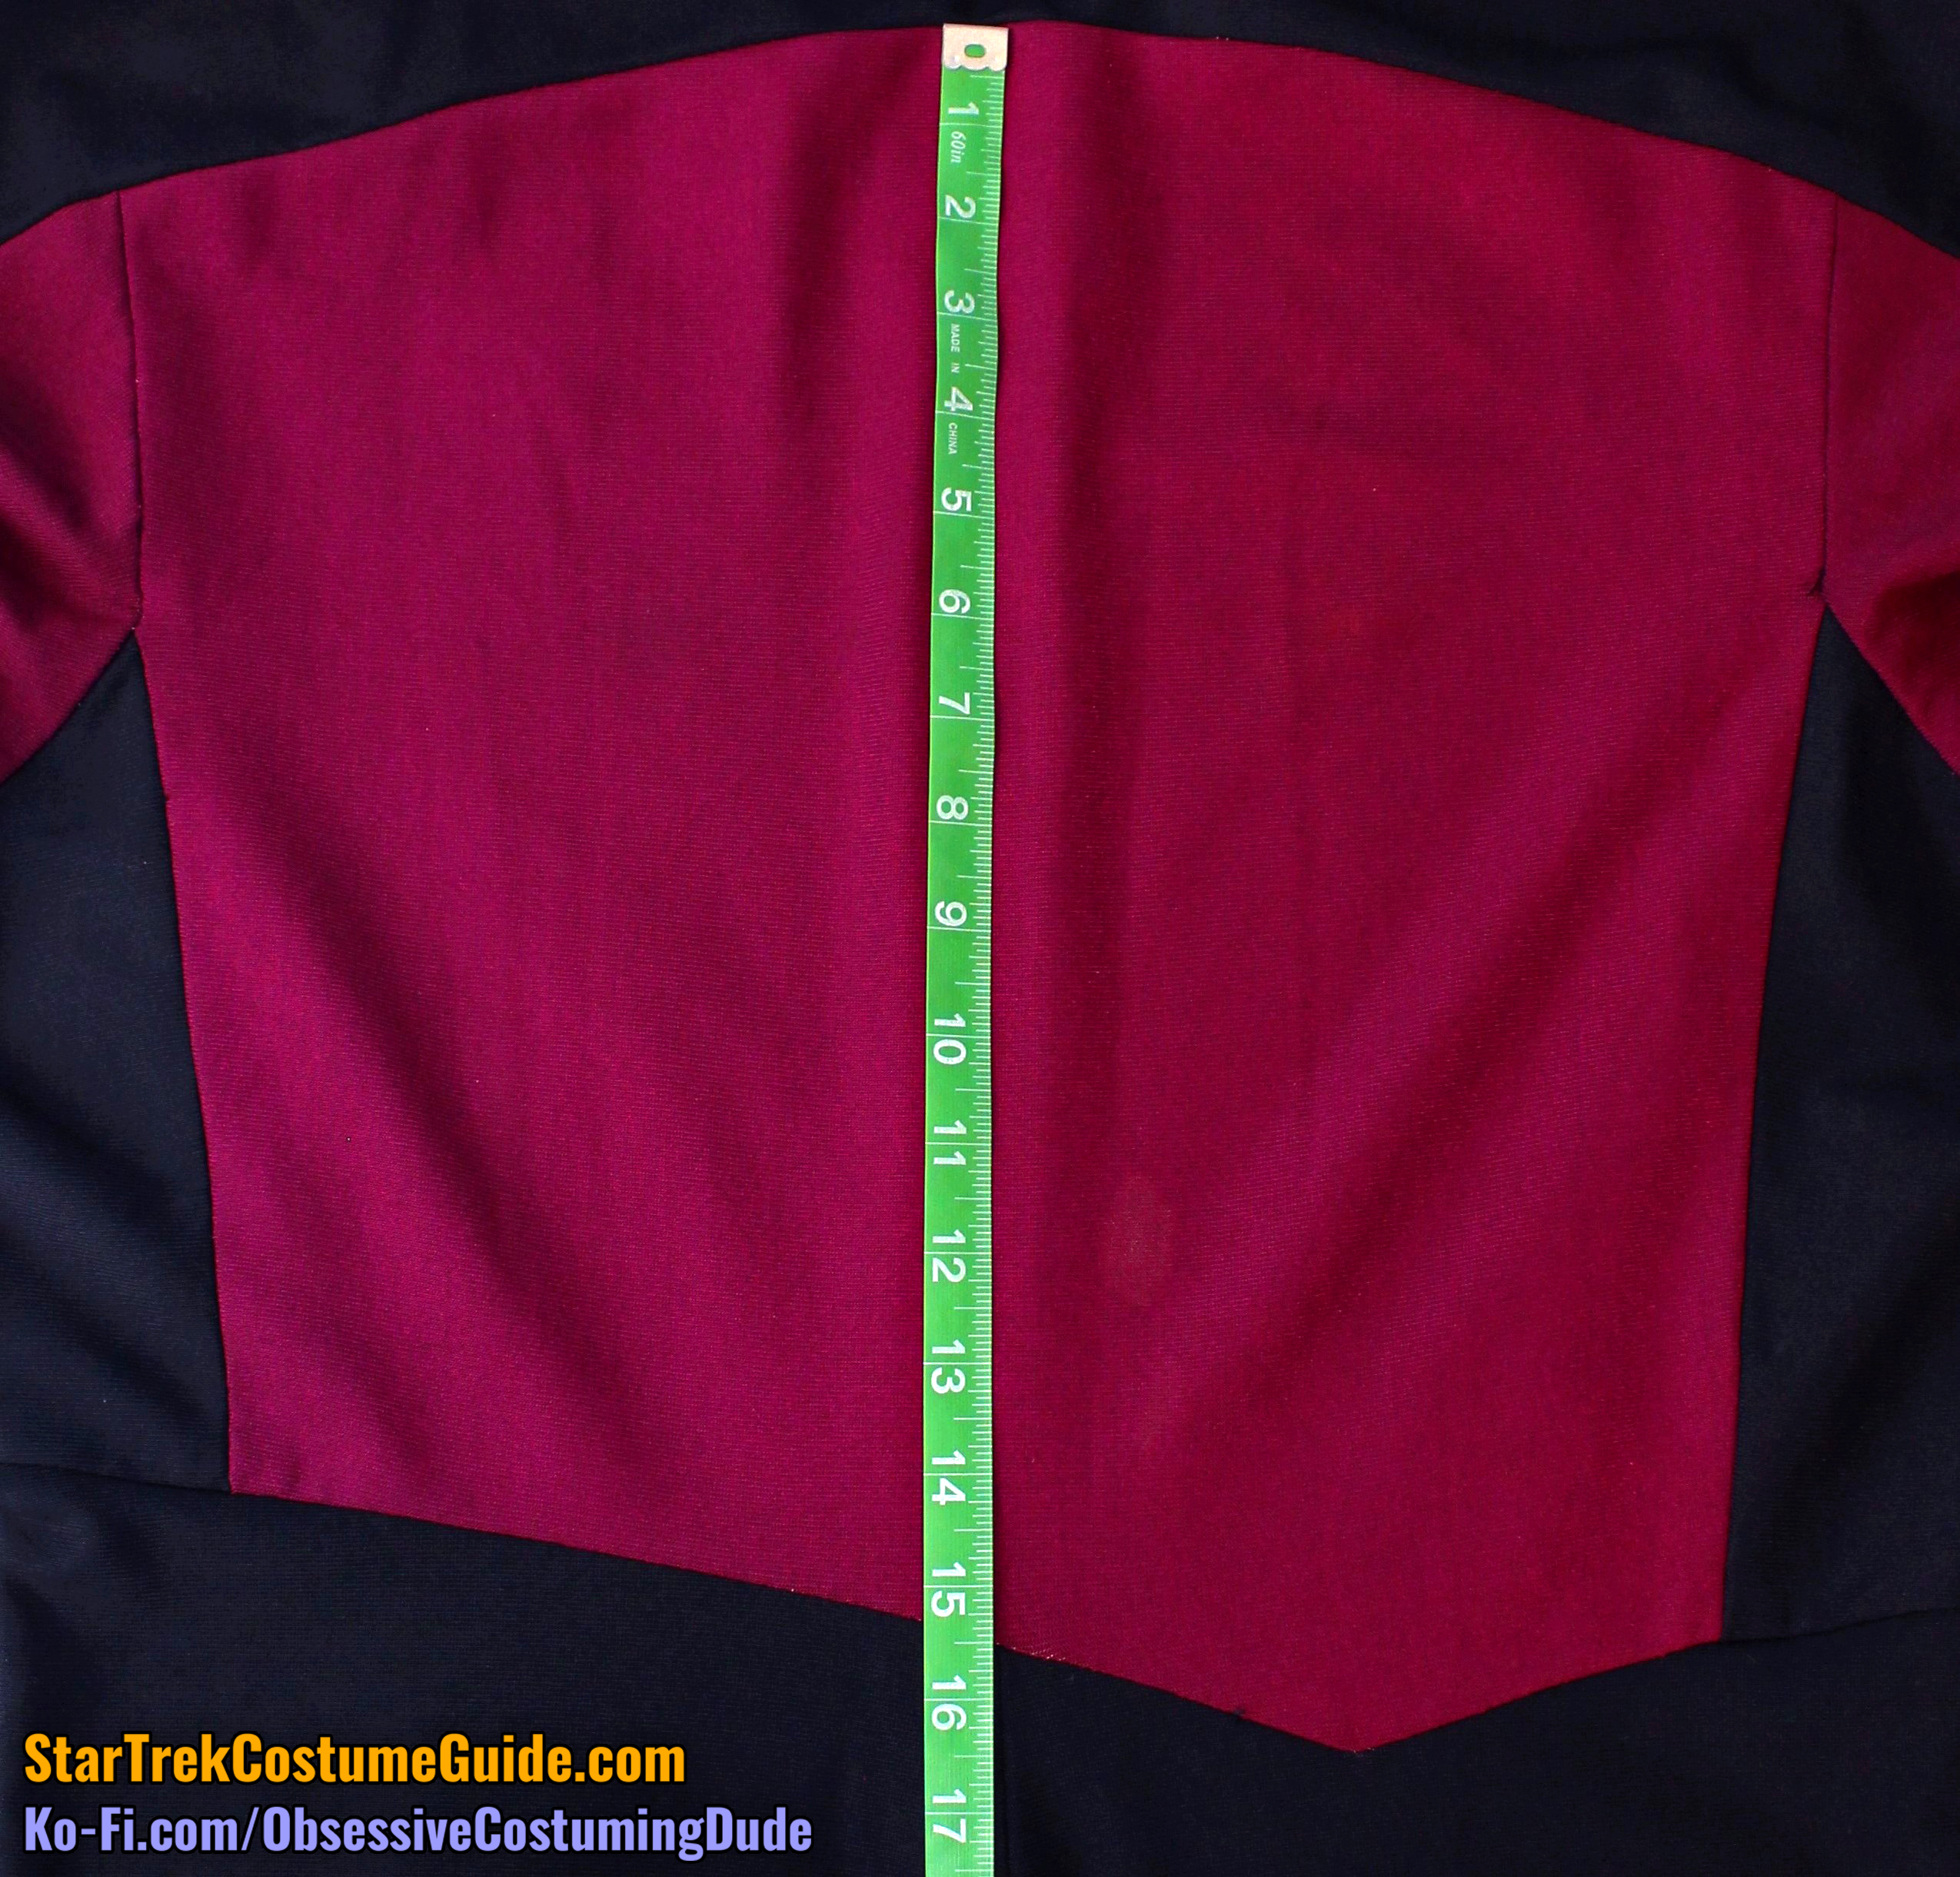
As I mentioned previously, the upper back body seam line was 17 ½”.
This seam line curved downward 1 ¾” from center back to each armscye.
Both side back seam lines were 4 ½” below the yoke at the armscye.
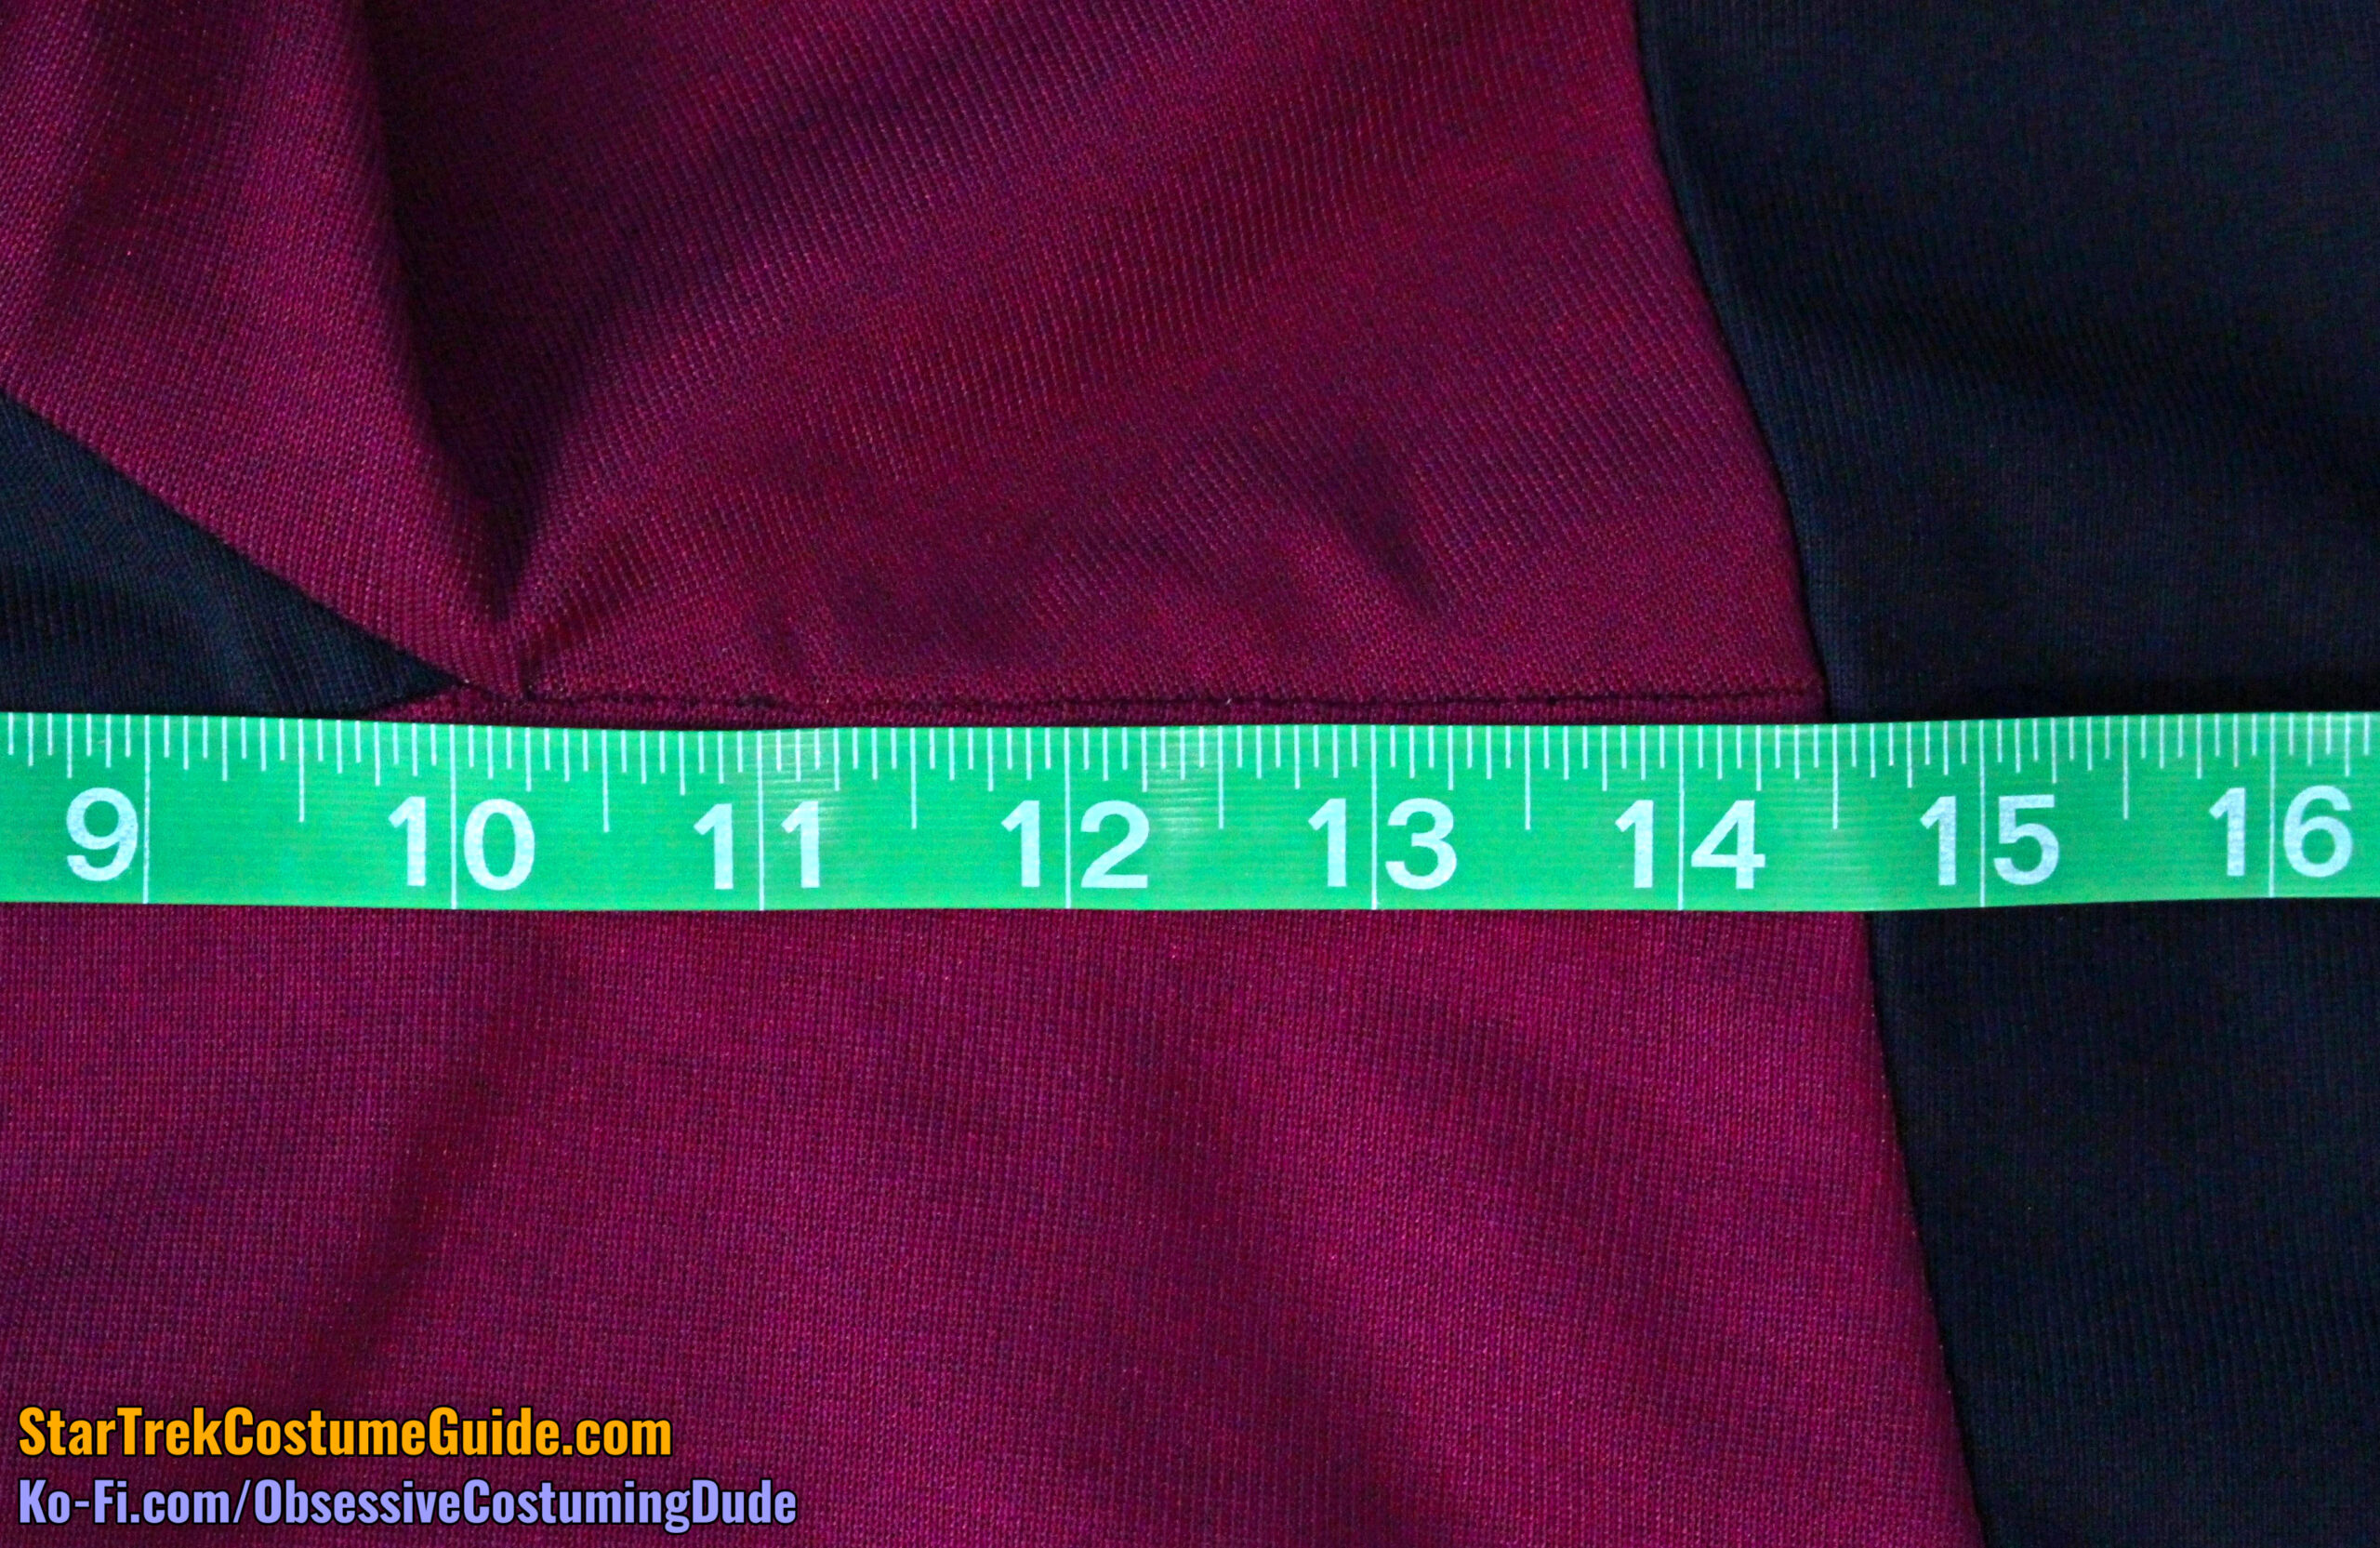
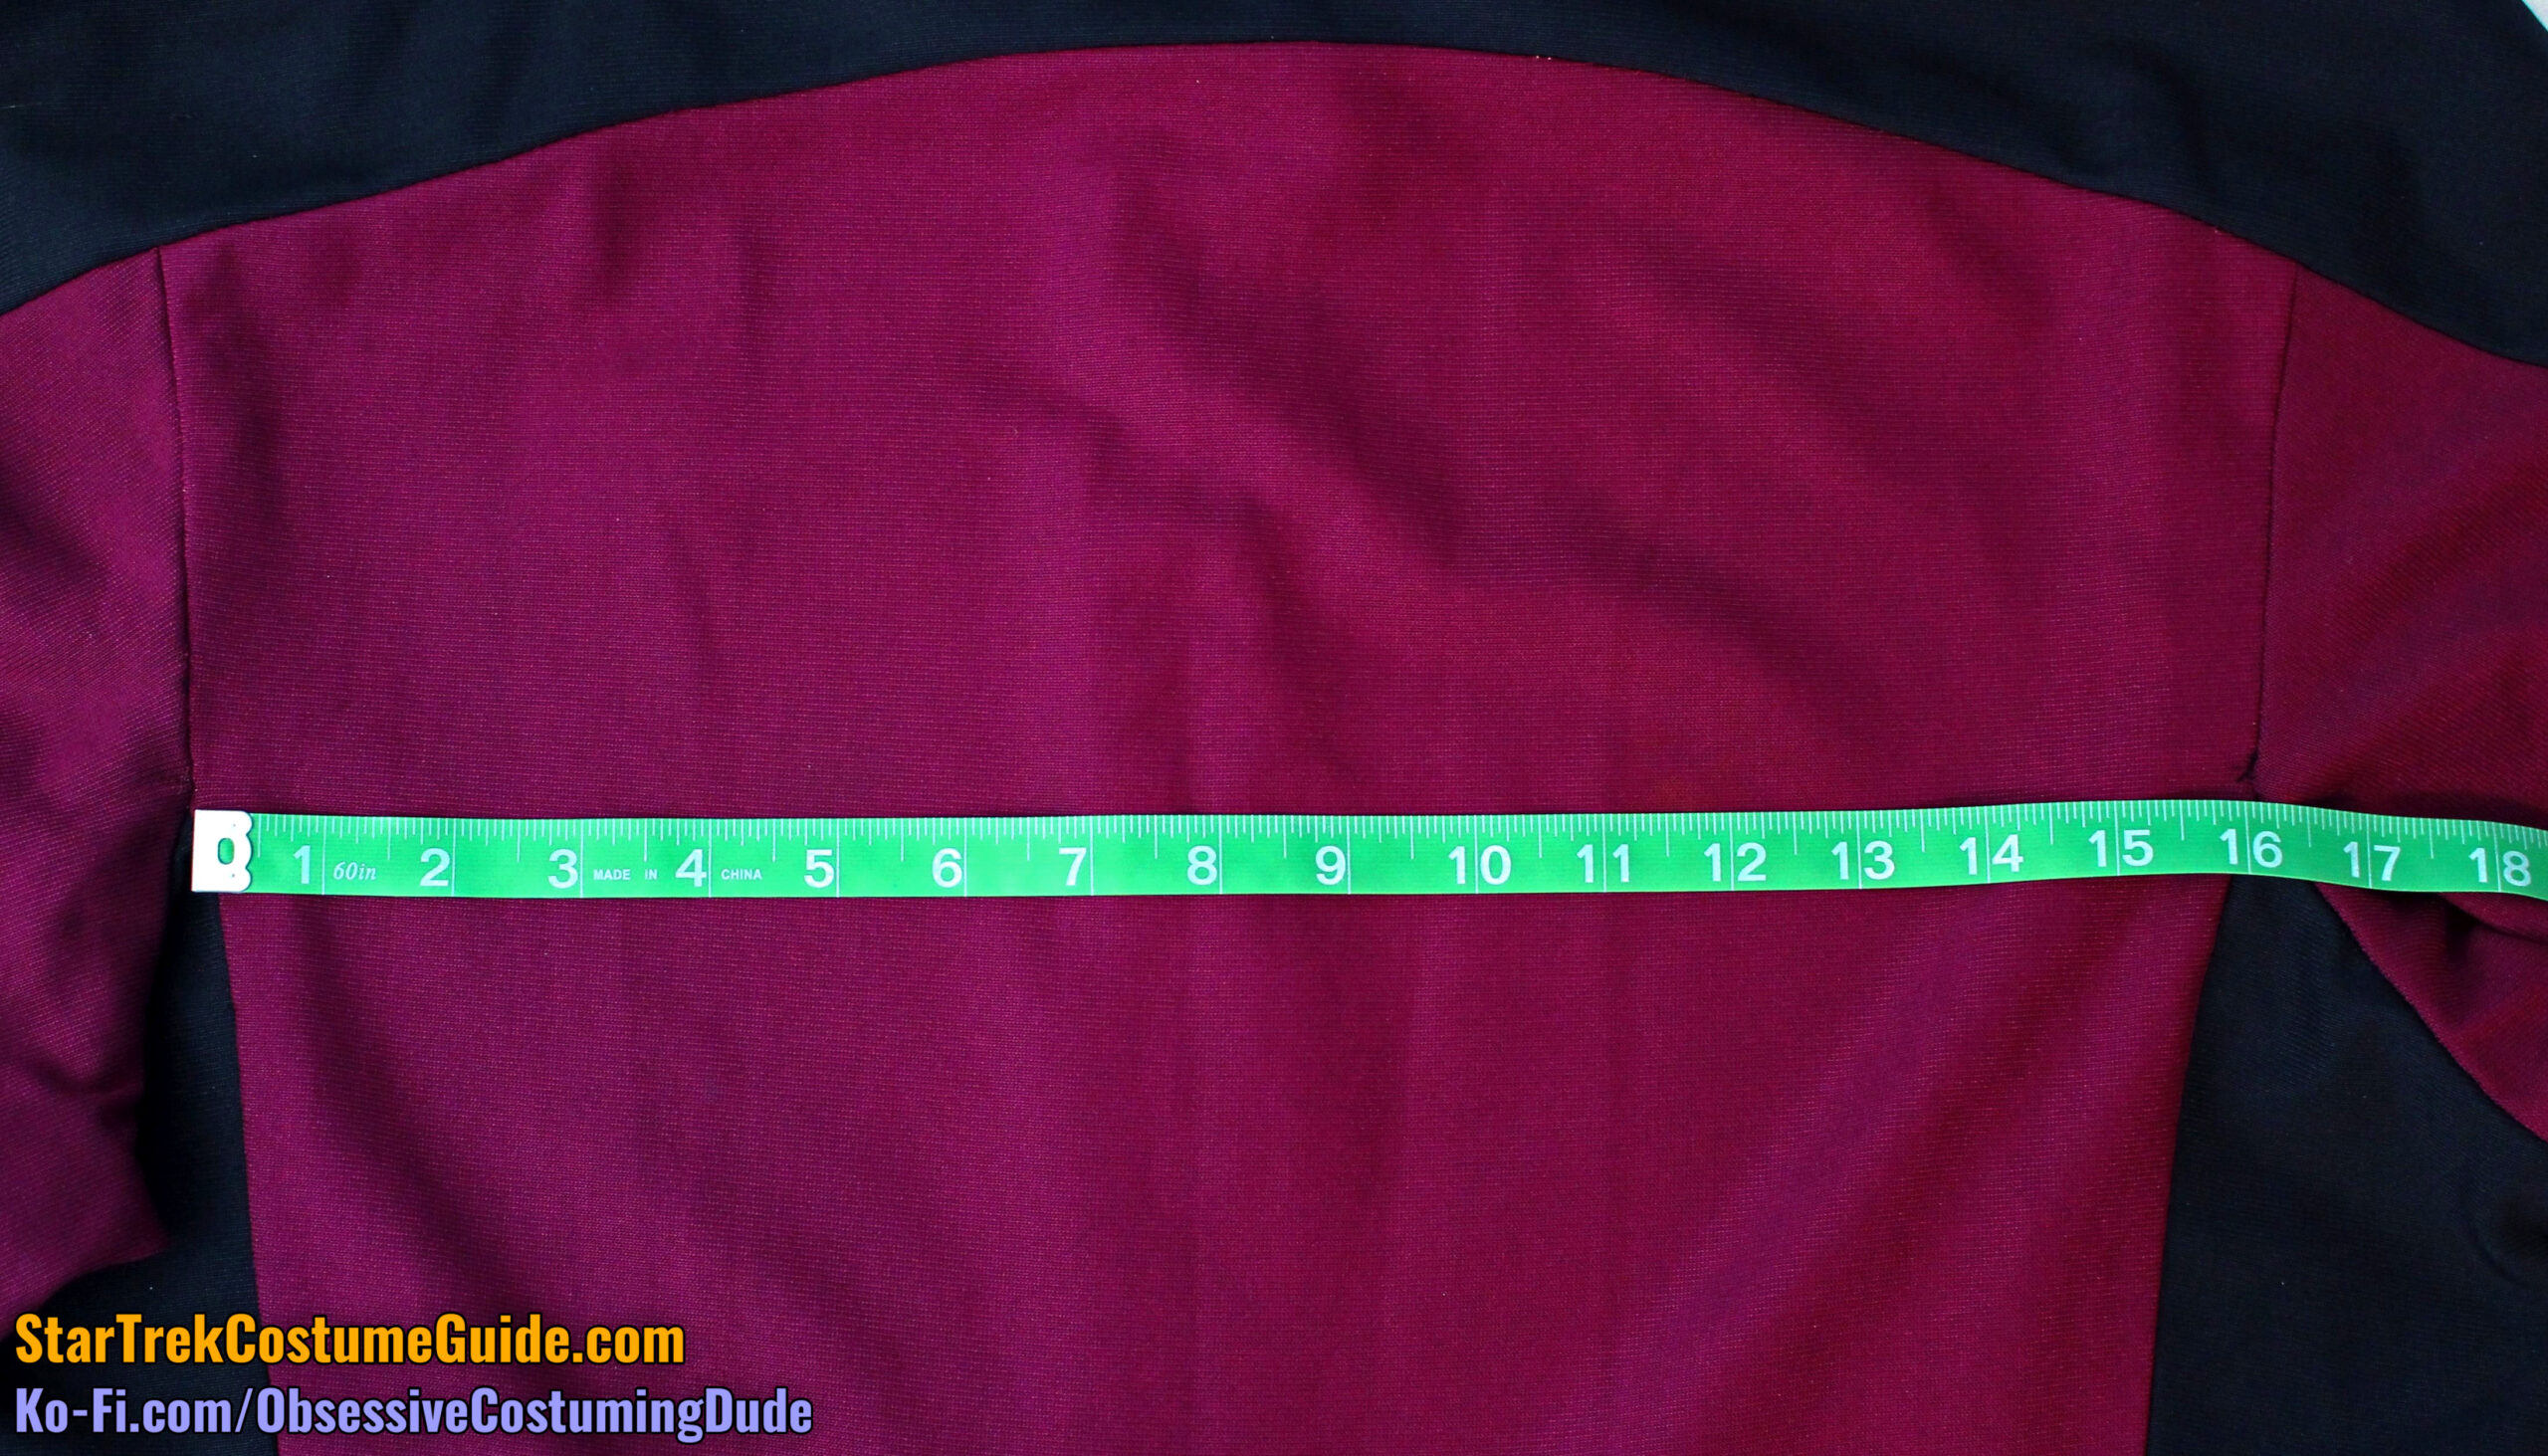
While the upper back was 17” across at the upper armscyes, it was only 16” across at the side back/armscye seams and 13 ¾” across at the lower side back seams … (numerically) revealing the contours/proportions of the upper armscyes and side back seams.

The left side back seam line was 8”, and the right side back seam line was 10”.
The upper back panel was 15 ½” deep at the center back, measured from the yoke seam to the asymmetrical seam at the pant legs.
The lower back seam line was 7” long, from the left side back seam to the center back.
The seam continued 3 ¼” from the center back to the lower corner, then pivoted upward and extended another 3 ½” from the corner to the right side back seam.
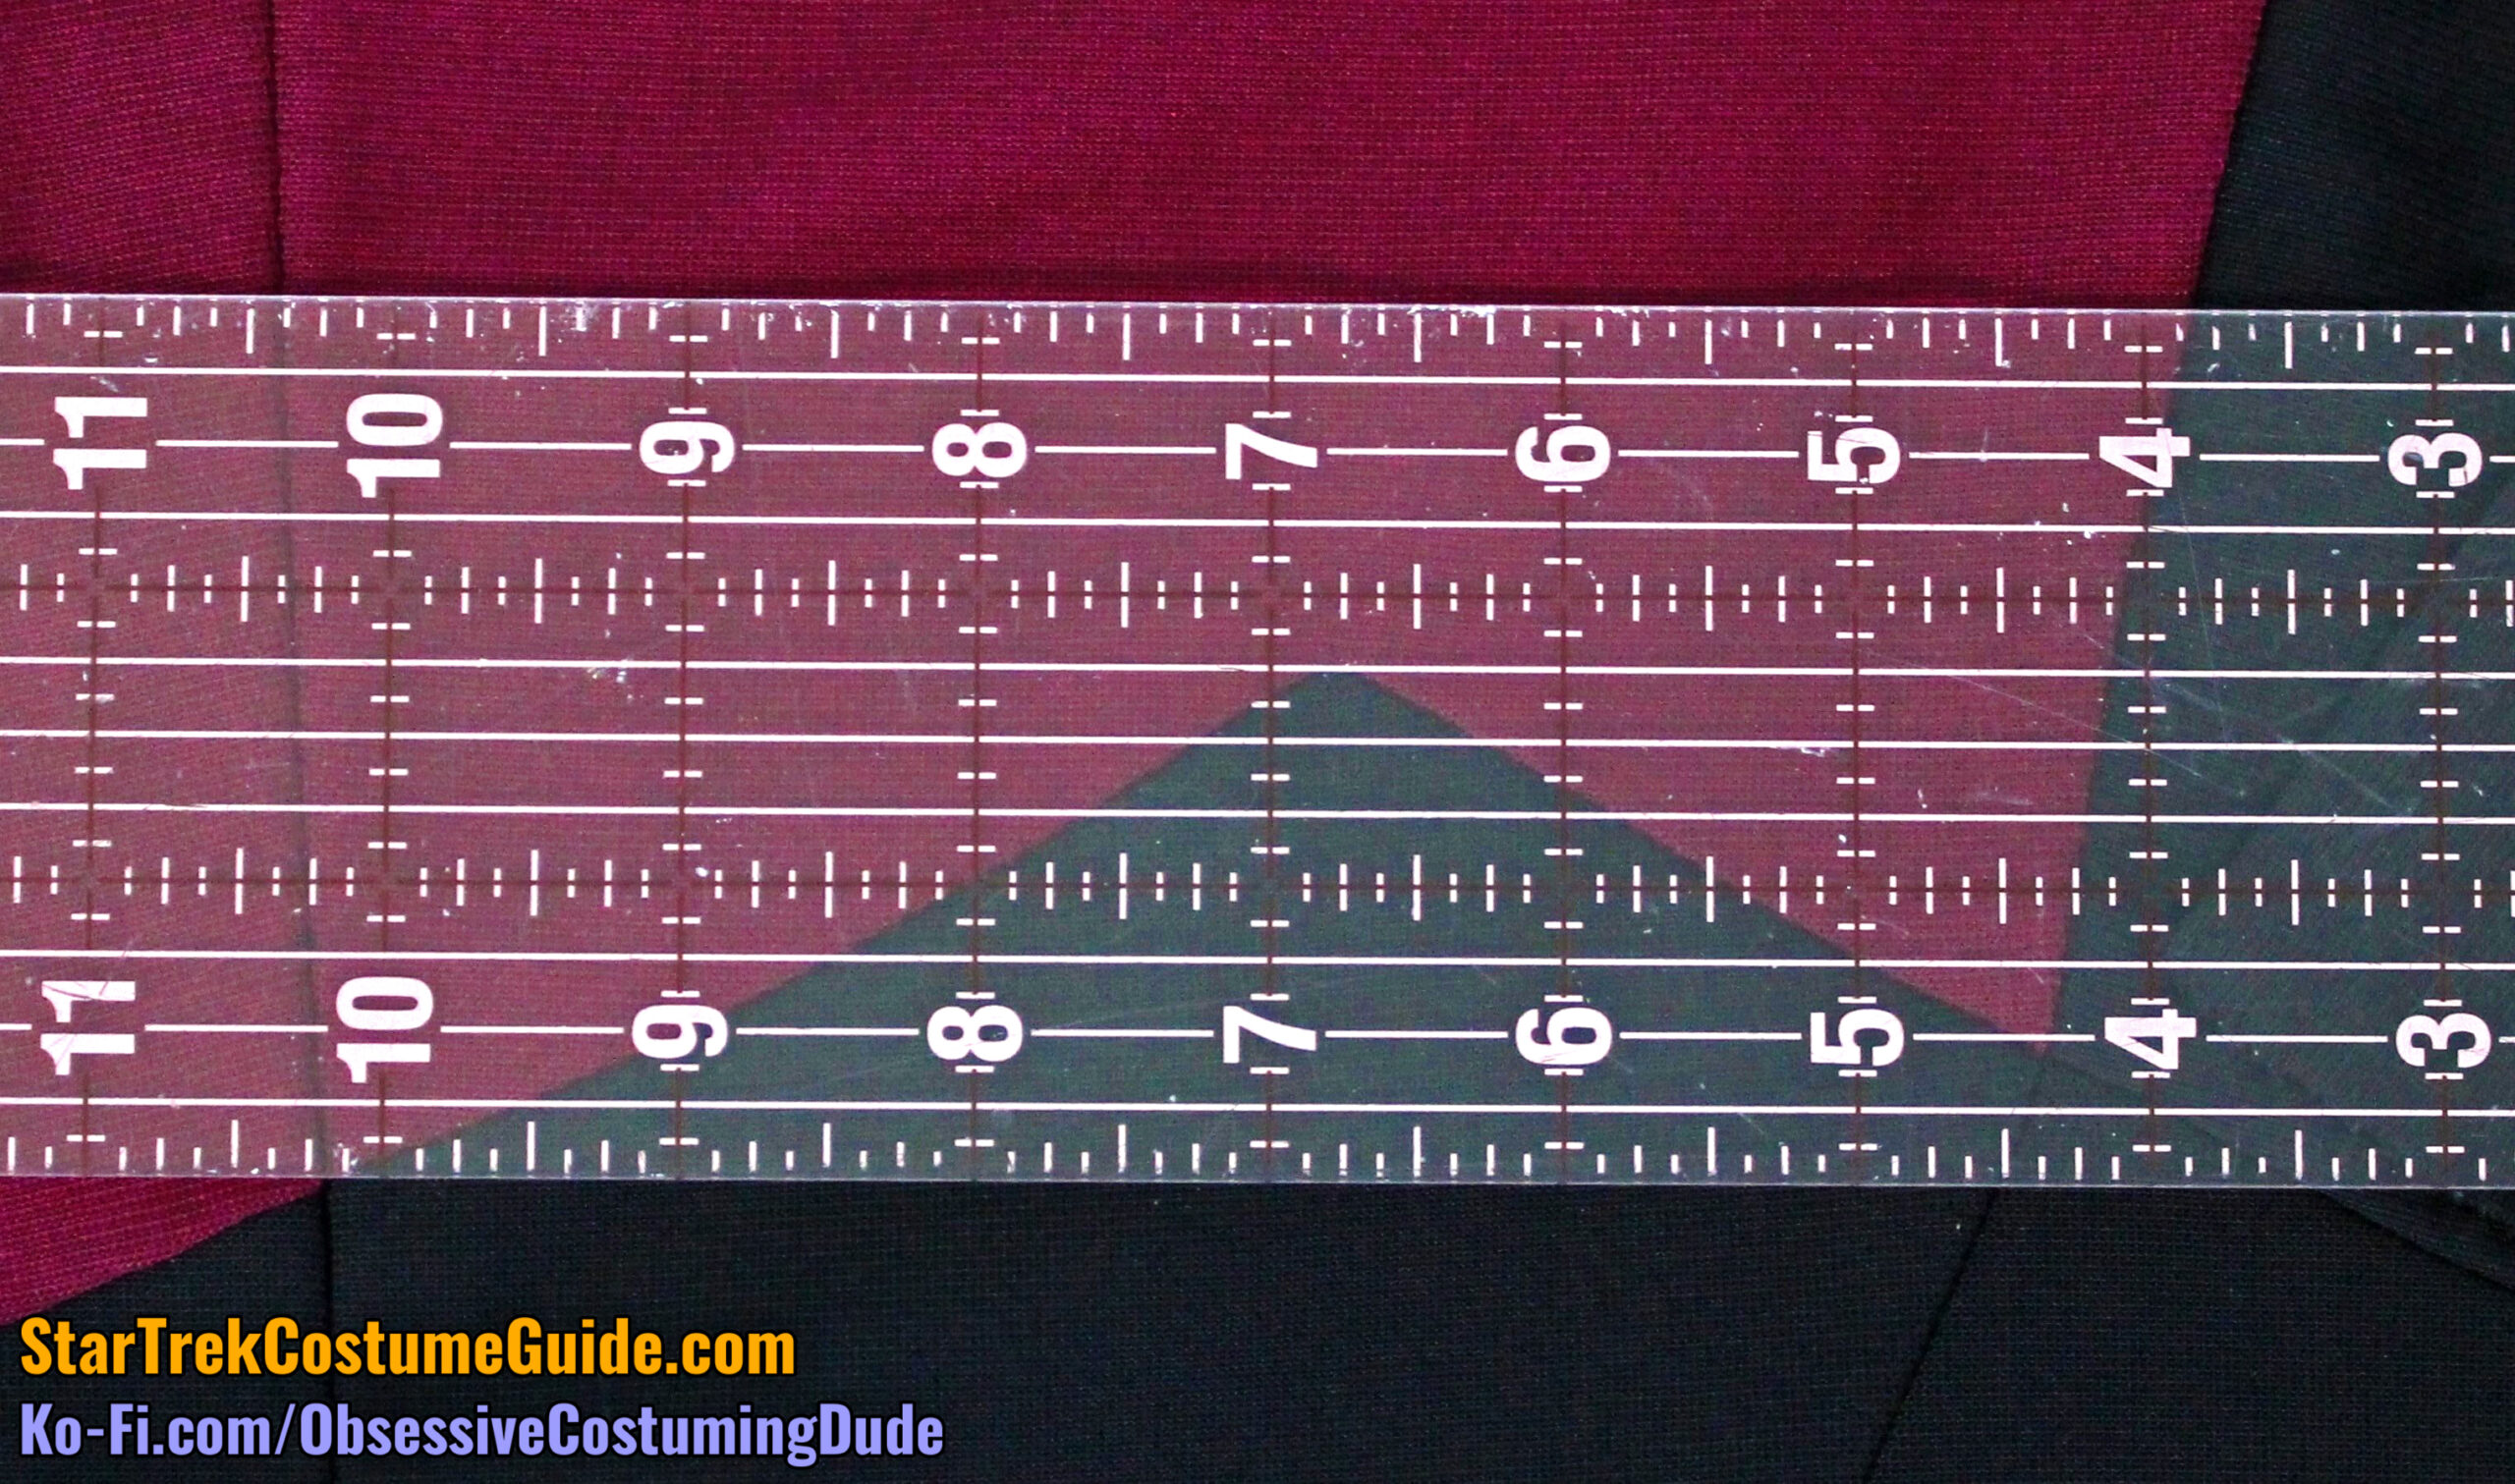
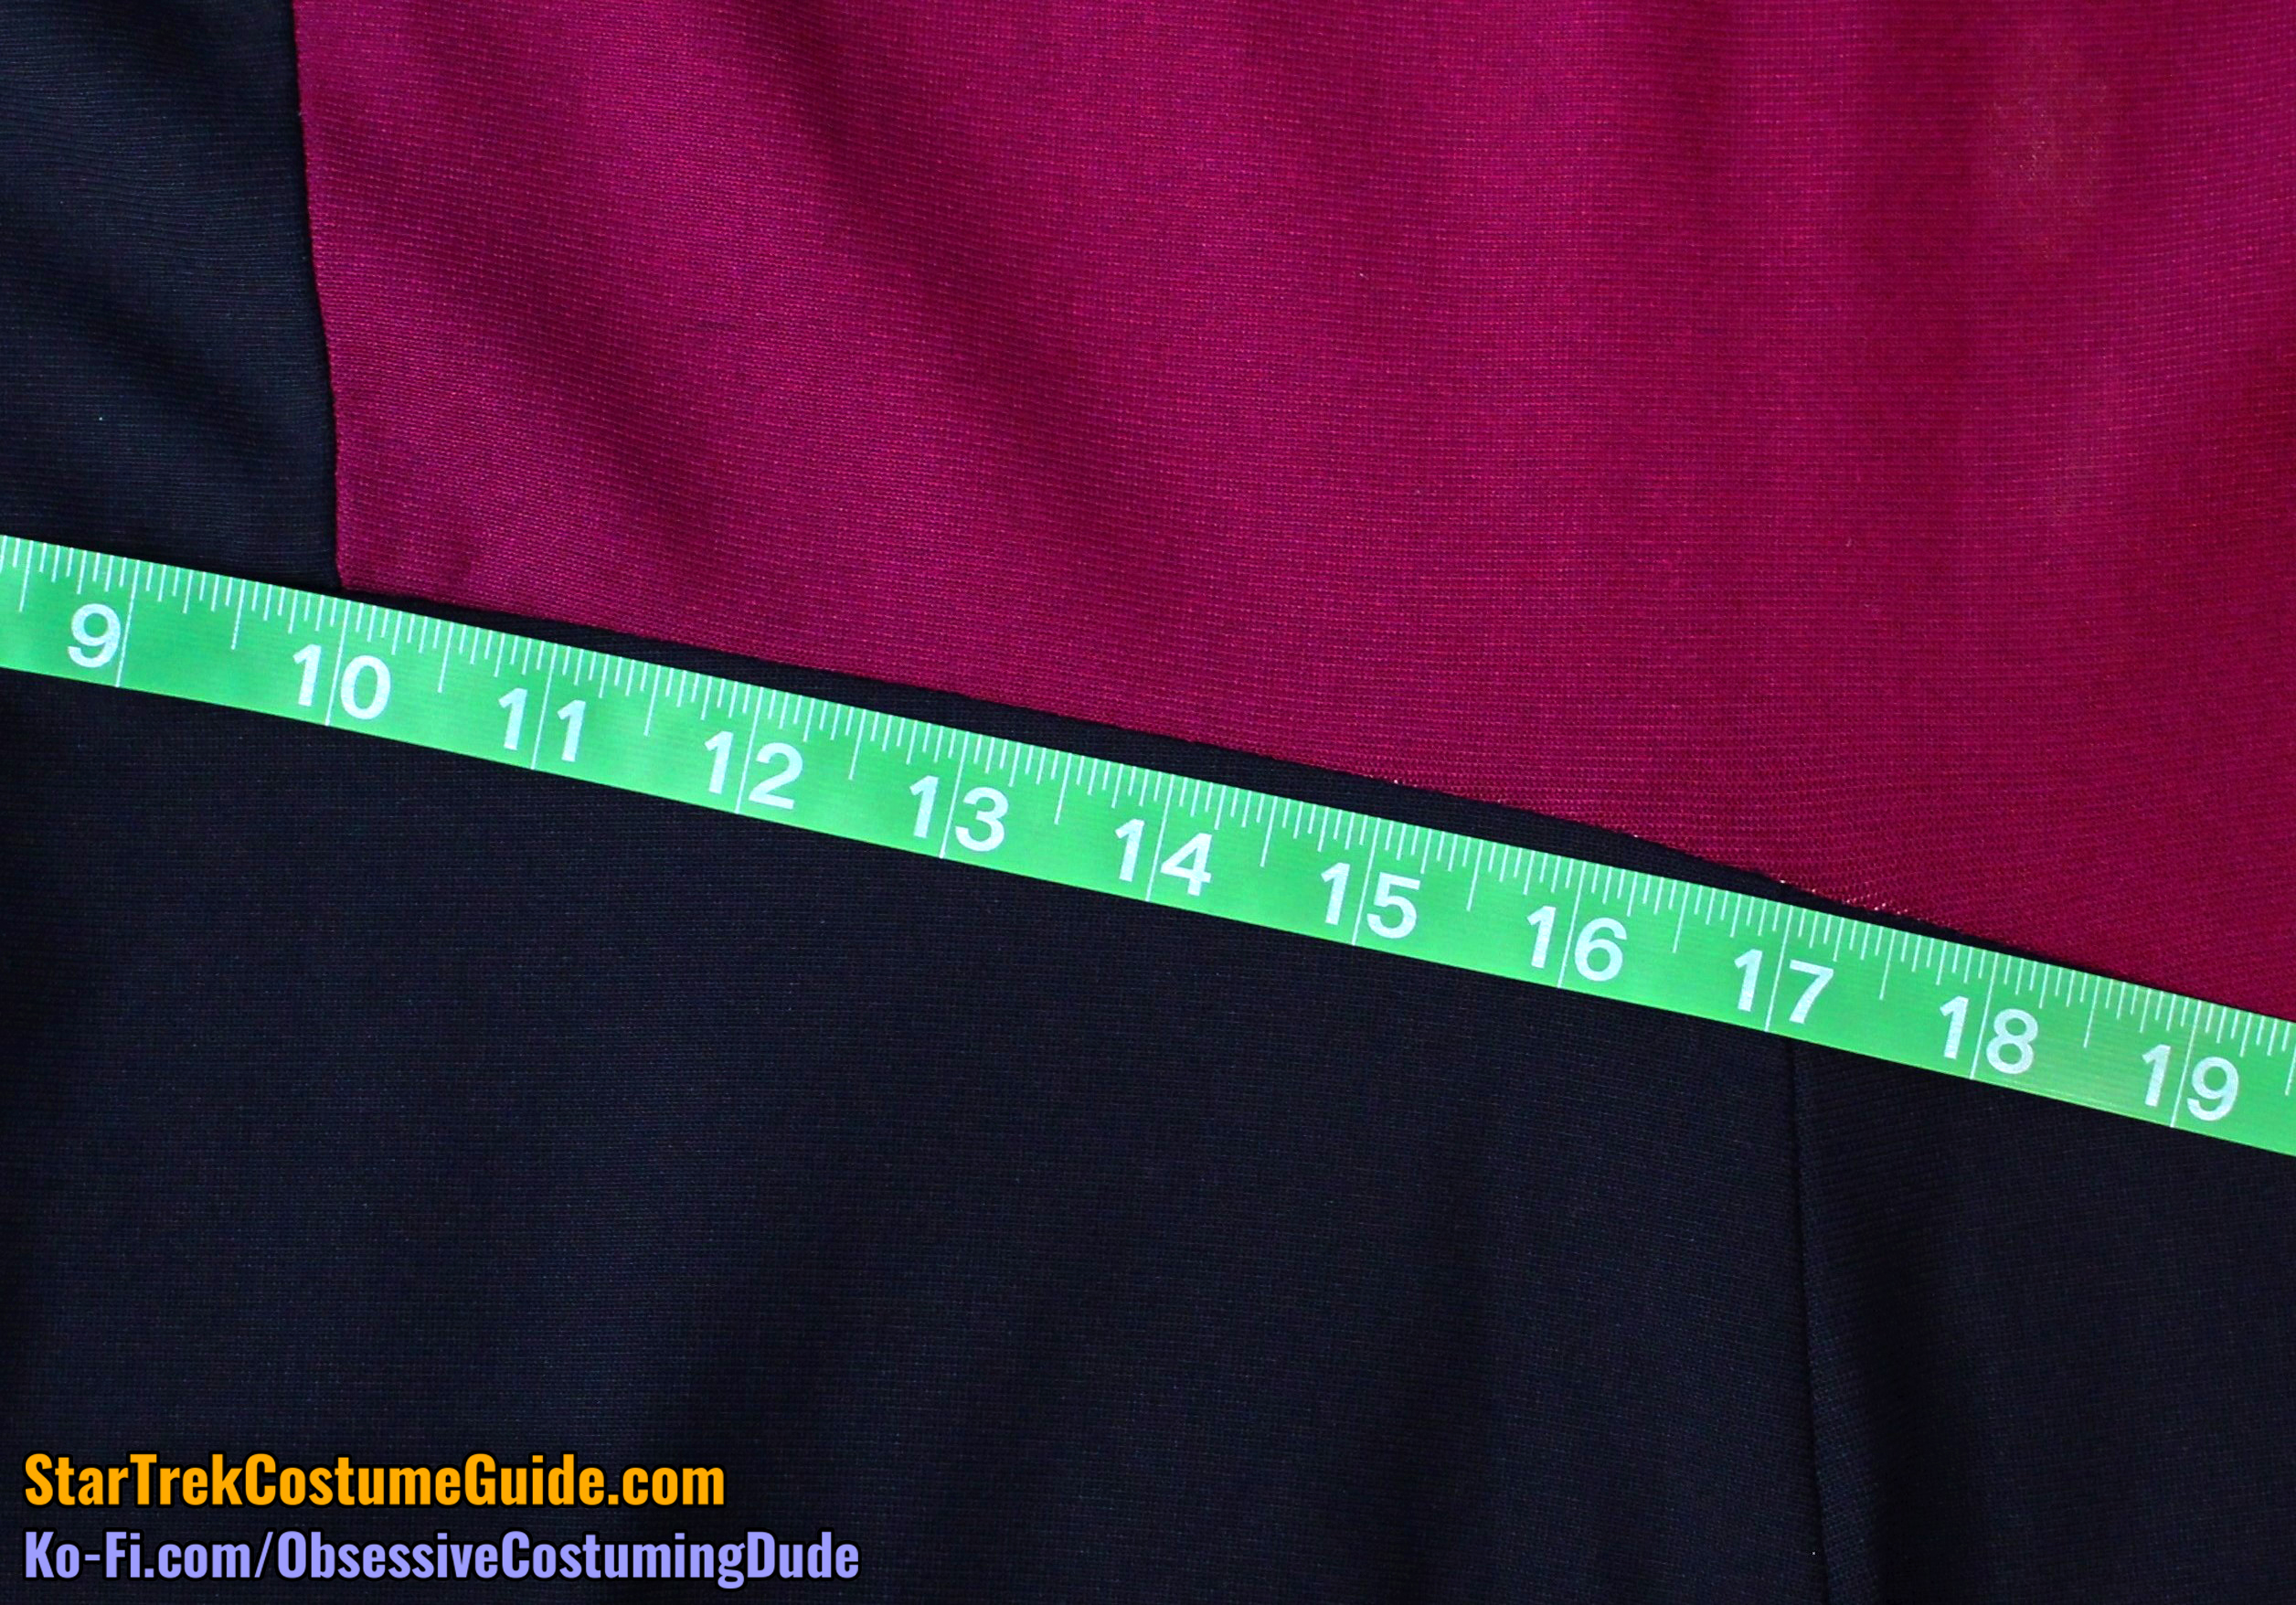
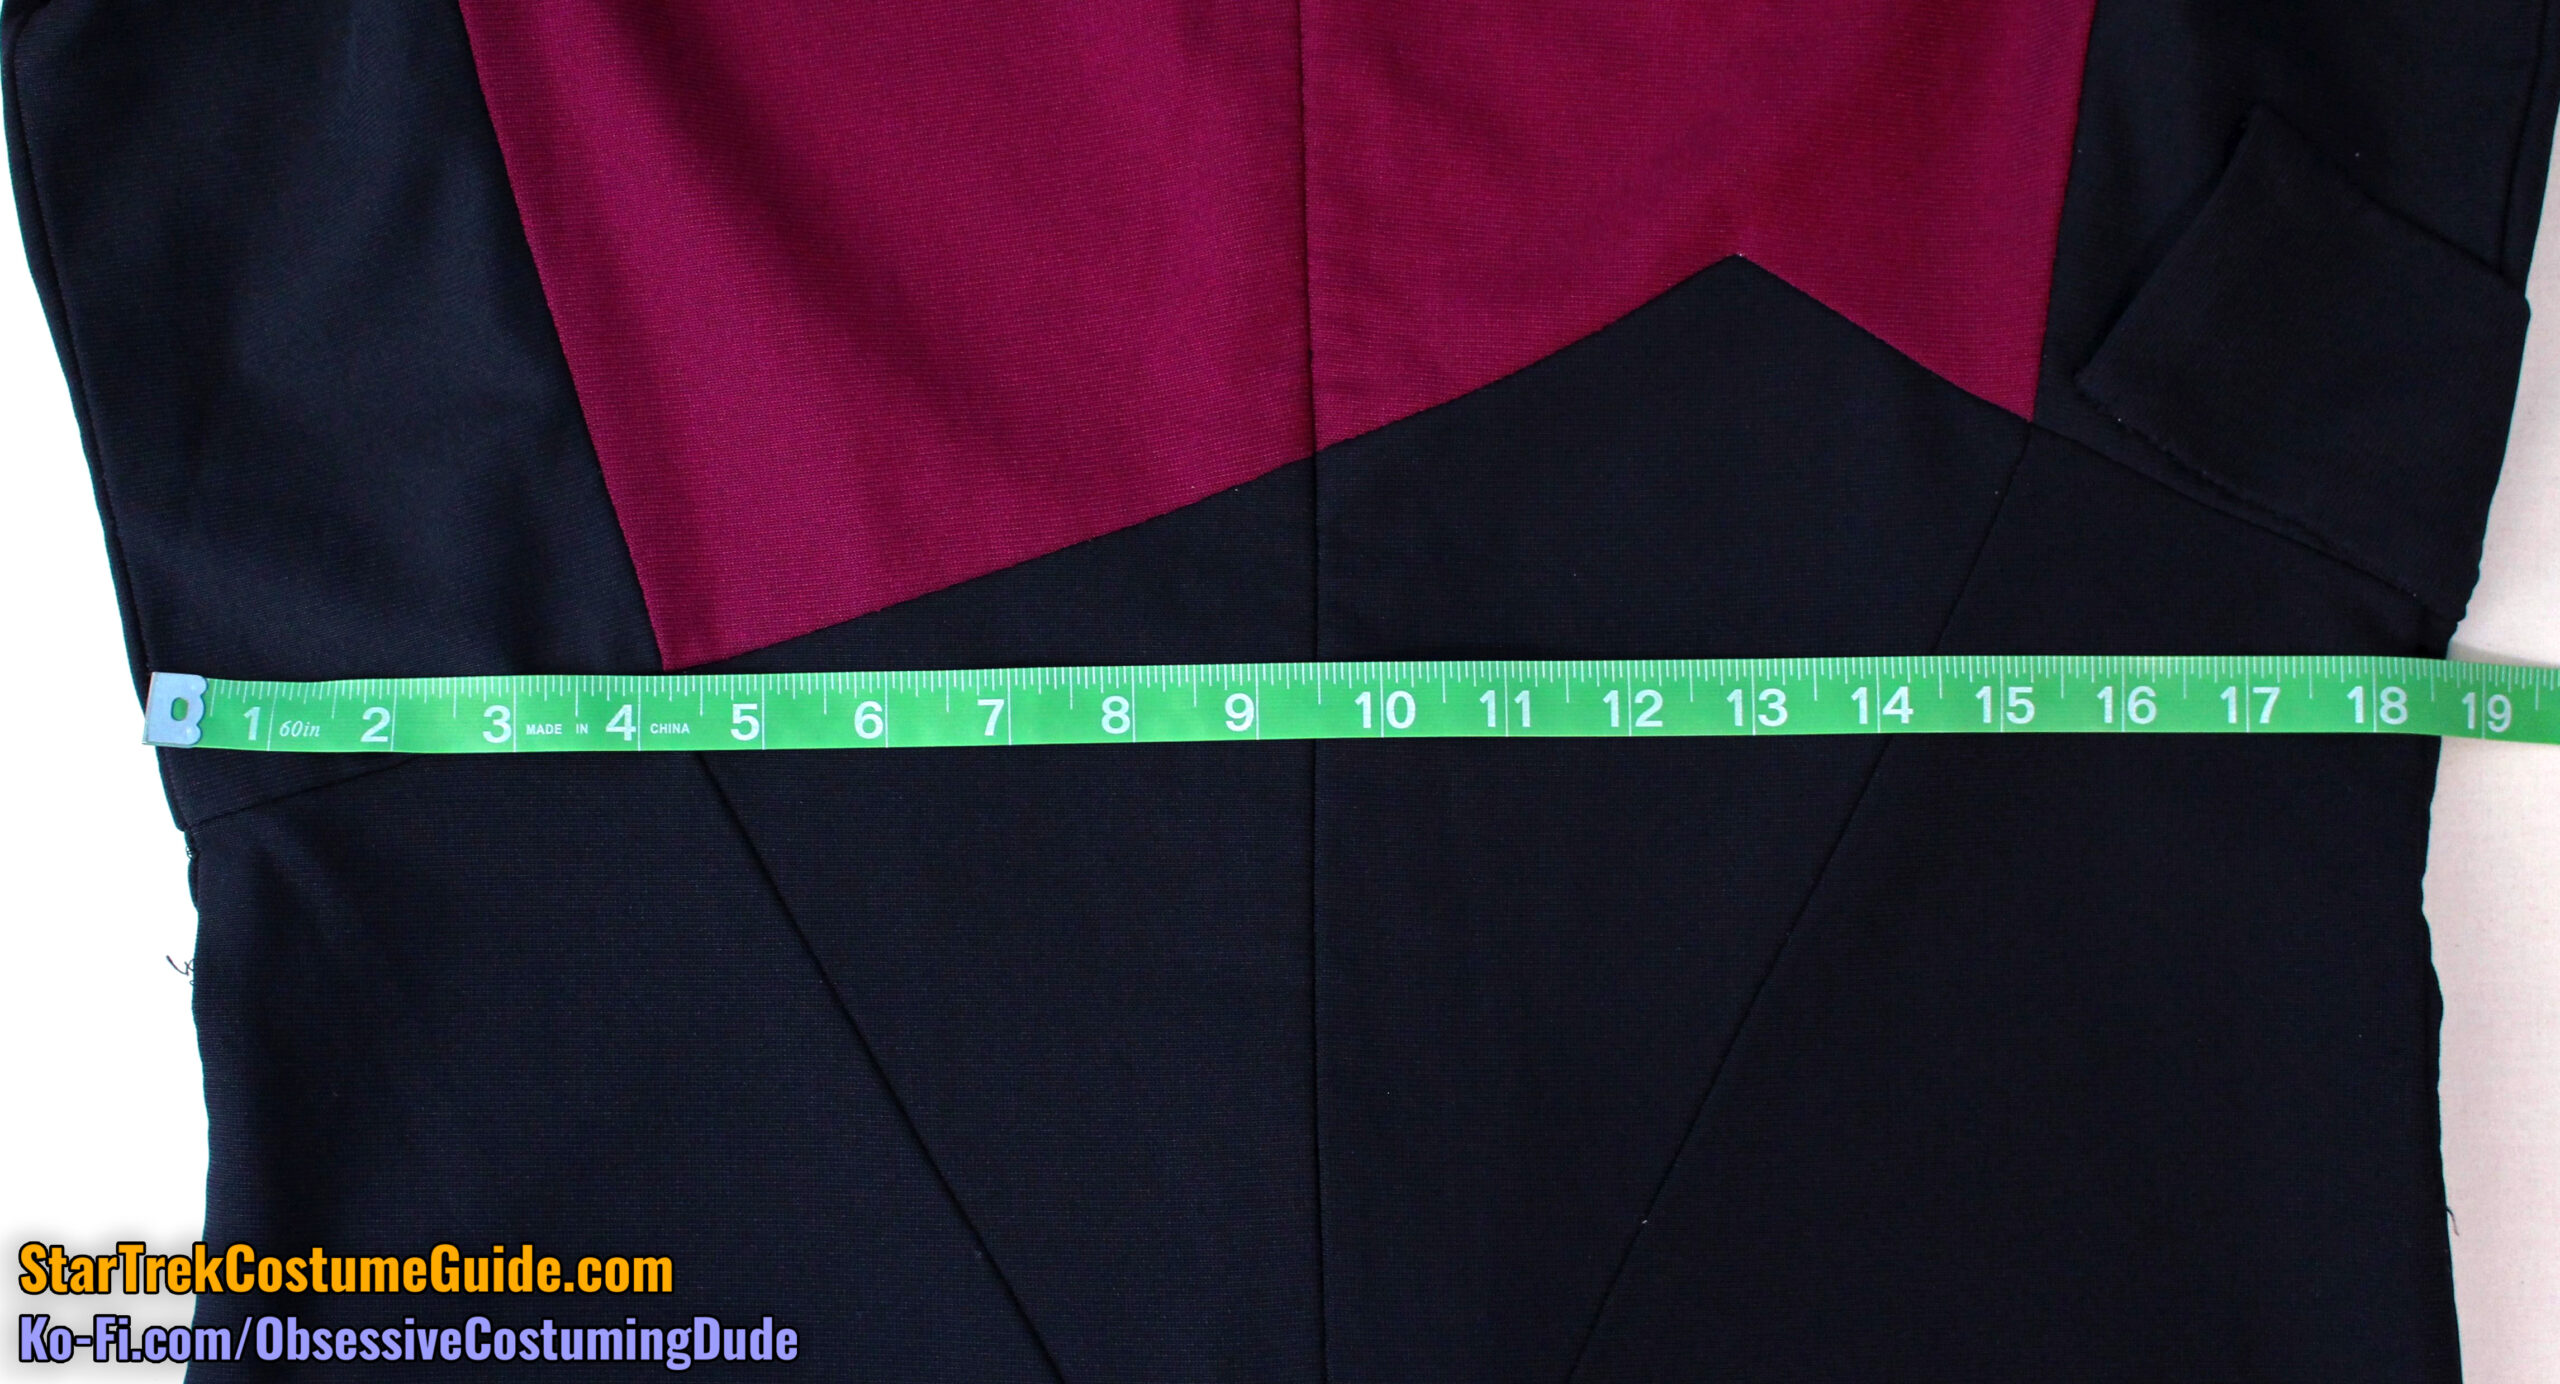
Keeping in mind that the pant legs are tapered and the fitted jumpsuit doesn’t want to lie flat on the table, here’s a look at the overall dimensions/proportions of the asymmetrical back design.
As you can see, it extended downward approximately 2” from the left side back seam to the lower corner, then back up again approximately ¾” from the corner to the right side back seam.
Also note the slight downward curve toward the lower corner – seen on some (but not all) of the TNG jumpsuits.
While it’s obviously analogous to the slight upward curve on the front of the jumpsuit (which I love!), personally I think the downward curve on the back is a little weird.
The right side back lower armscye was 5” (measured from the side back to back seams), but the left side front seam was noticeably longer, measuring 5 ½”.
The right side back lower seam was 3”, with a slant of ½”.
The left side back lower seam was 2 ⅝”, with a slant of ¼”.
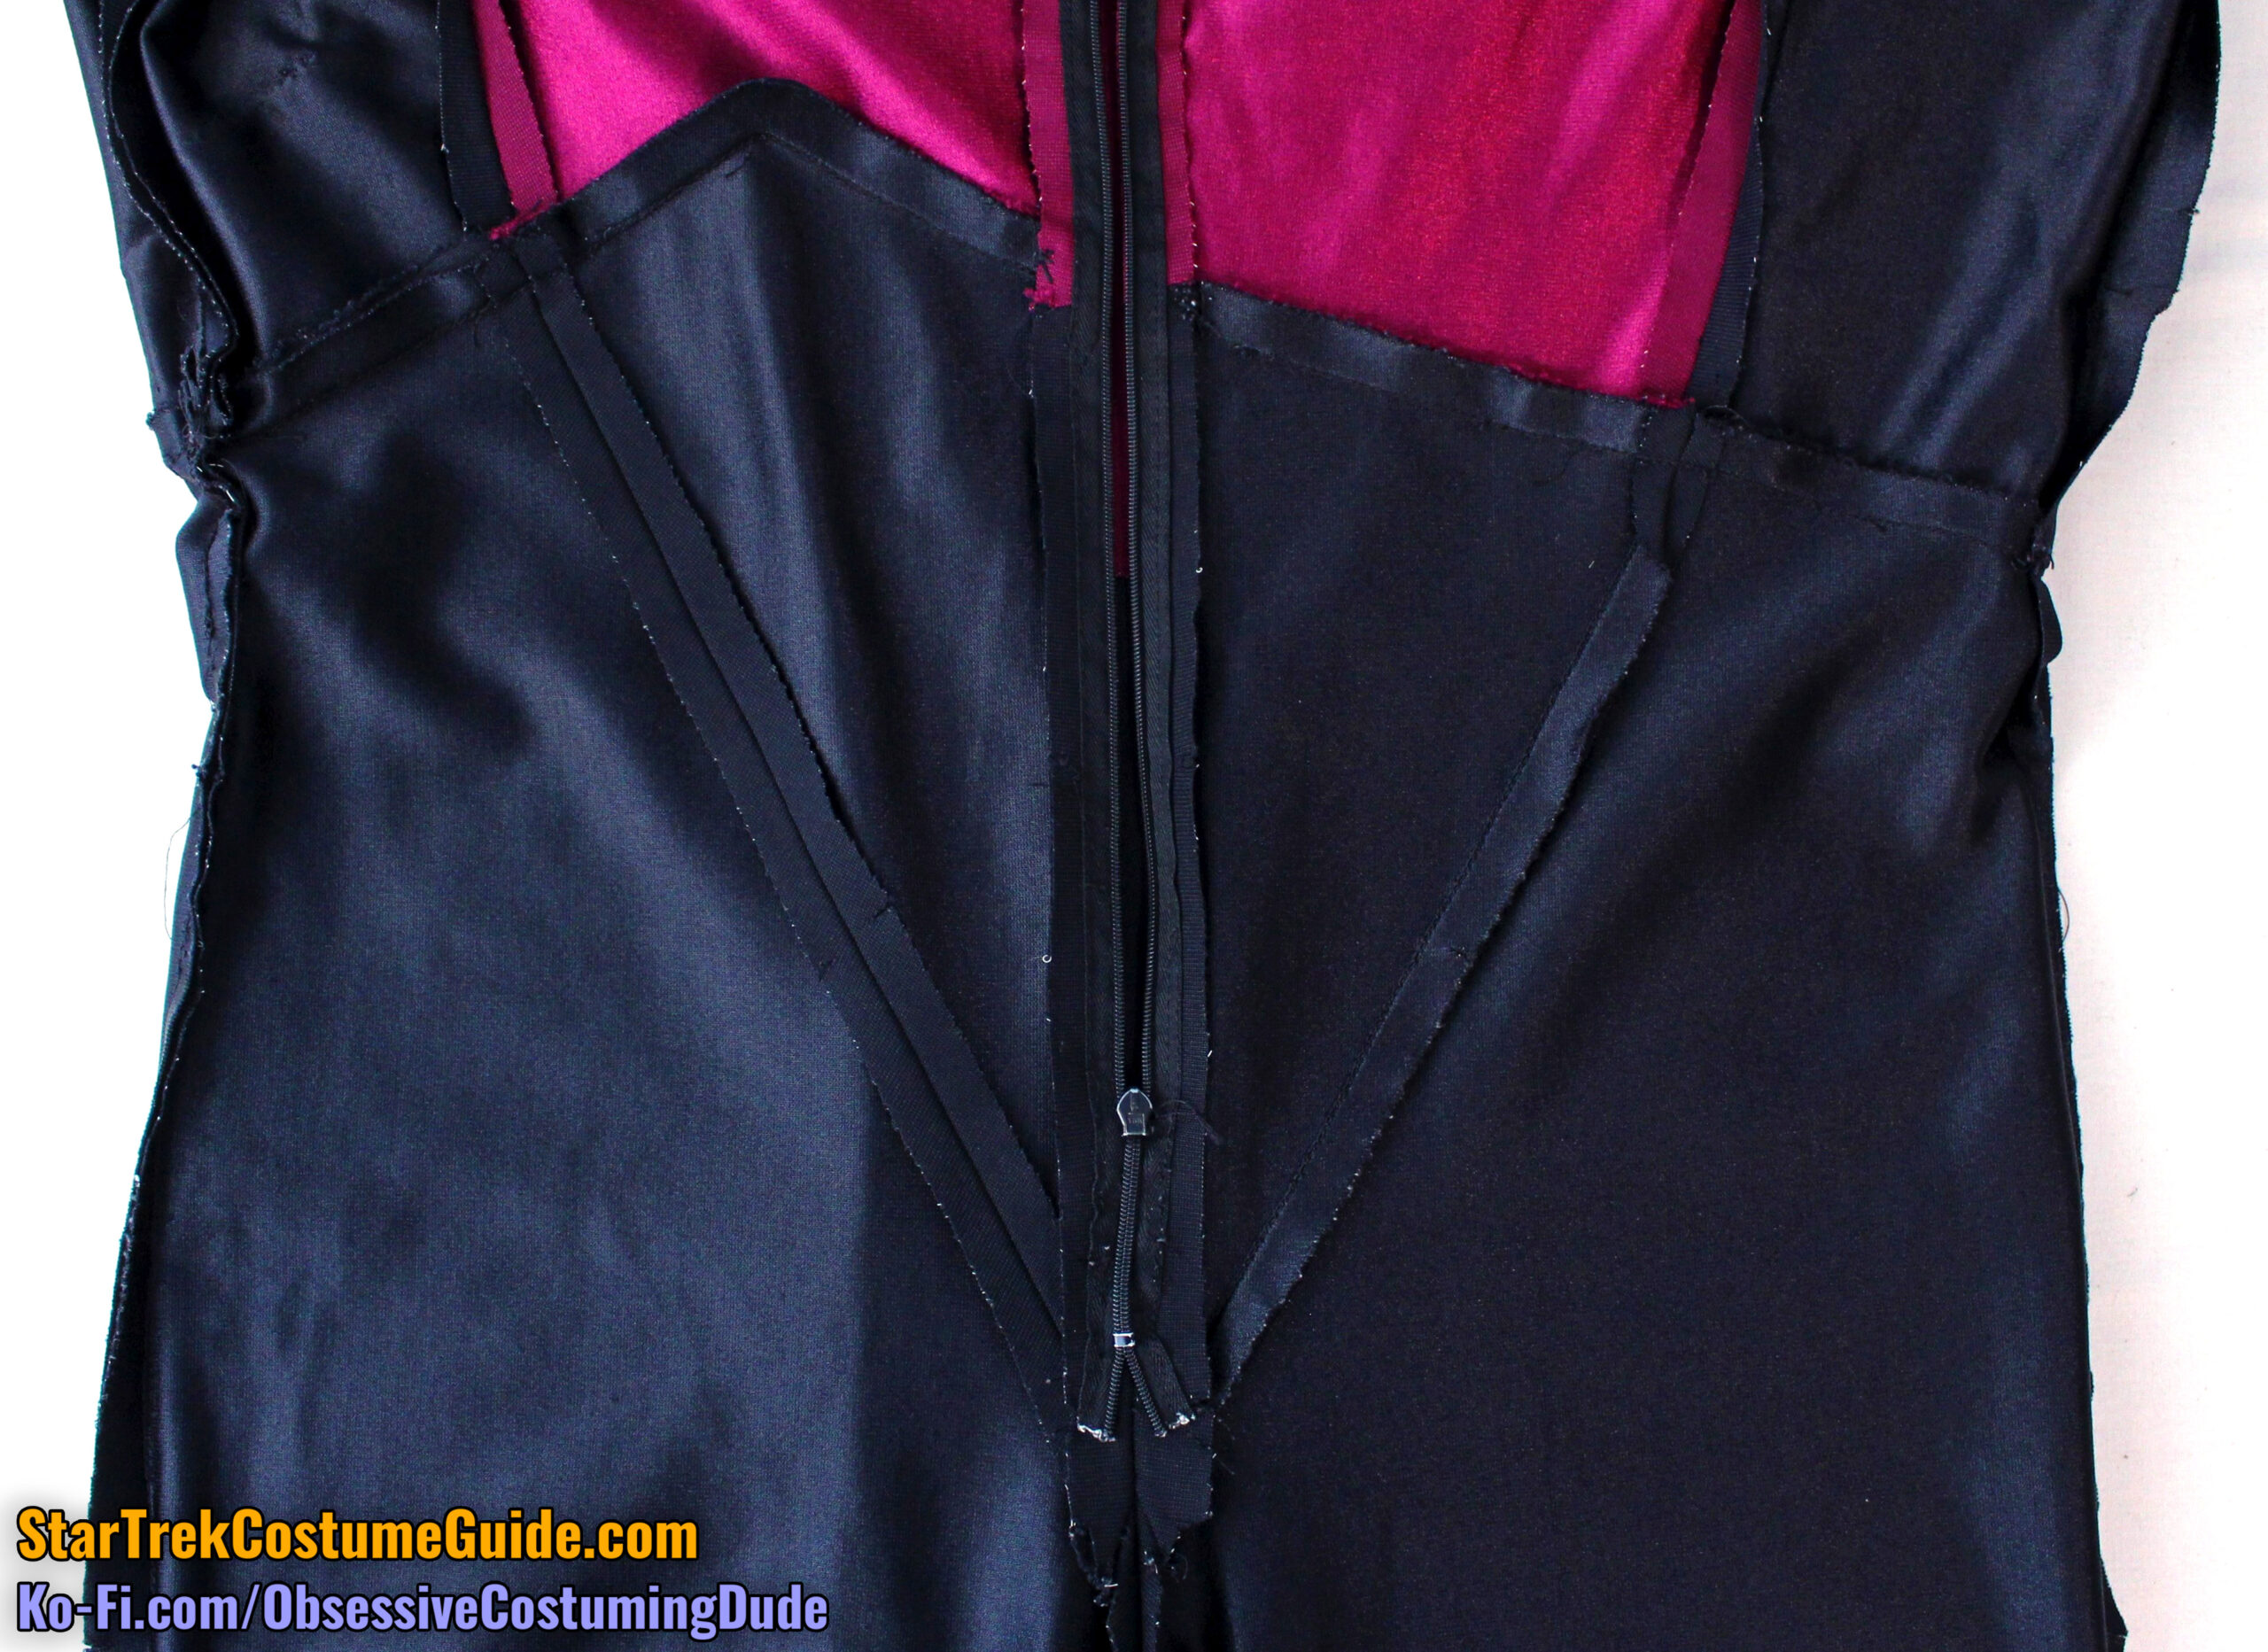
The lower center front seam line was 11 ½”, measured from the asymmetrical front insert to the intersection of lower front panel seams.
The lower right front seam line was 11 ⅛”, and the lower left front seam line was 13”.
Unlike all three of the women’s TNG jumpsuits I examined, the diagonal lower front seams on this Worf jumpsuit were not fitted.
However, the lower front seam was cinched in a bit up toward the waist (½” on each side, or 1” total), essentially performing the function of a fitting dart.
The lower front crotch seam was 5 ¼”, measured from the intersection of lower front panel seams to the inseam.
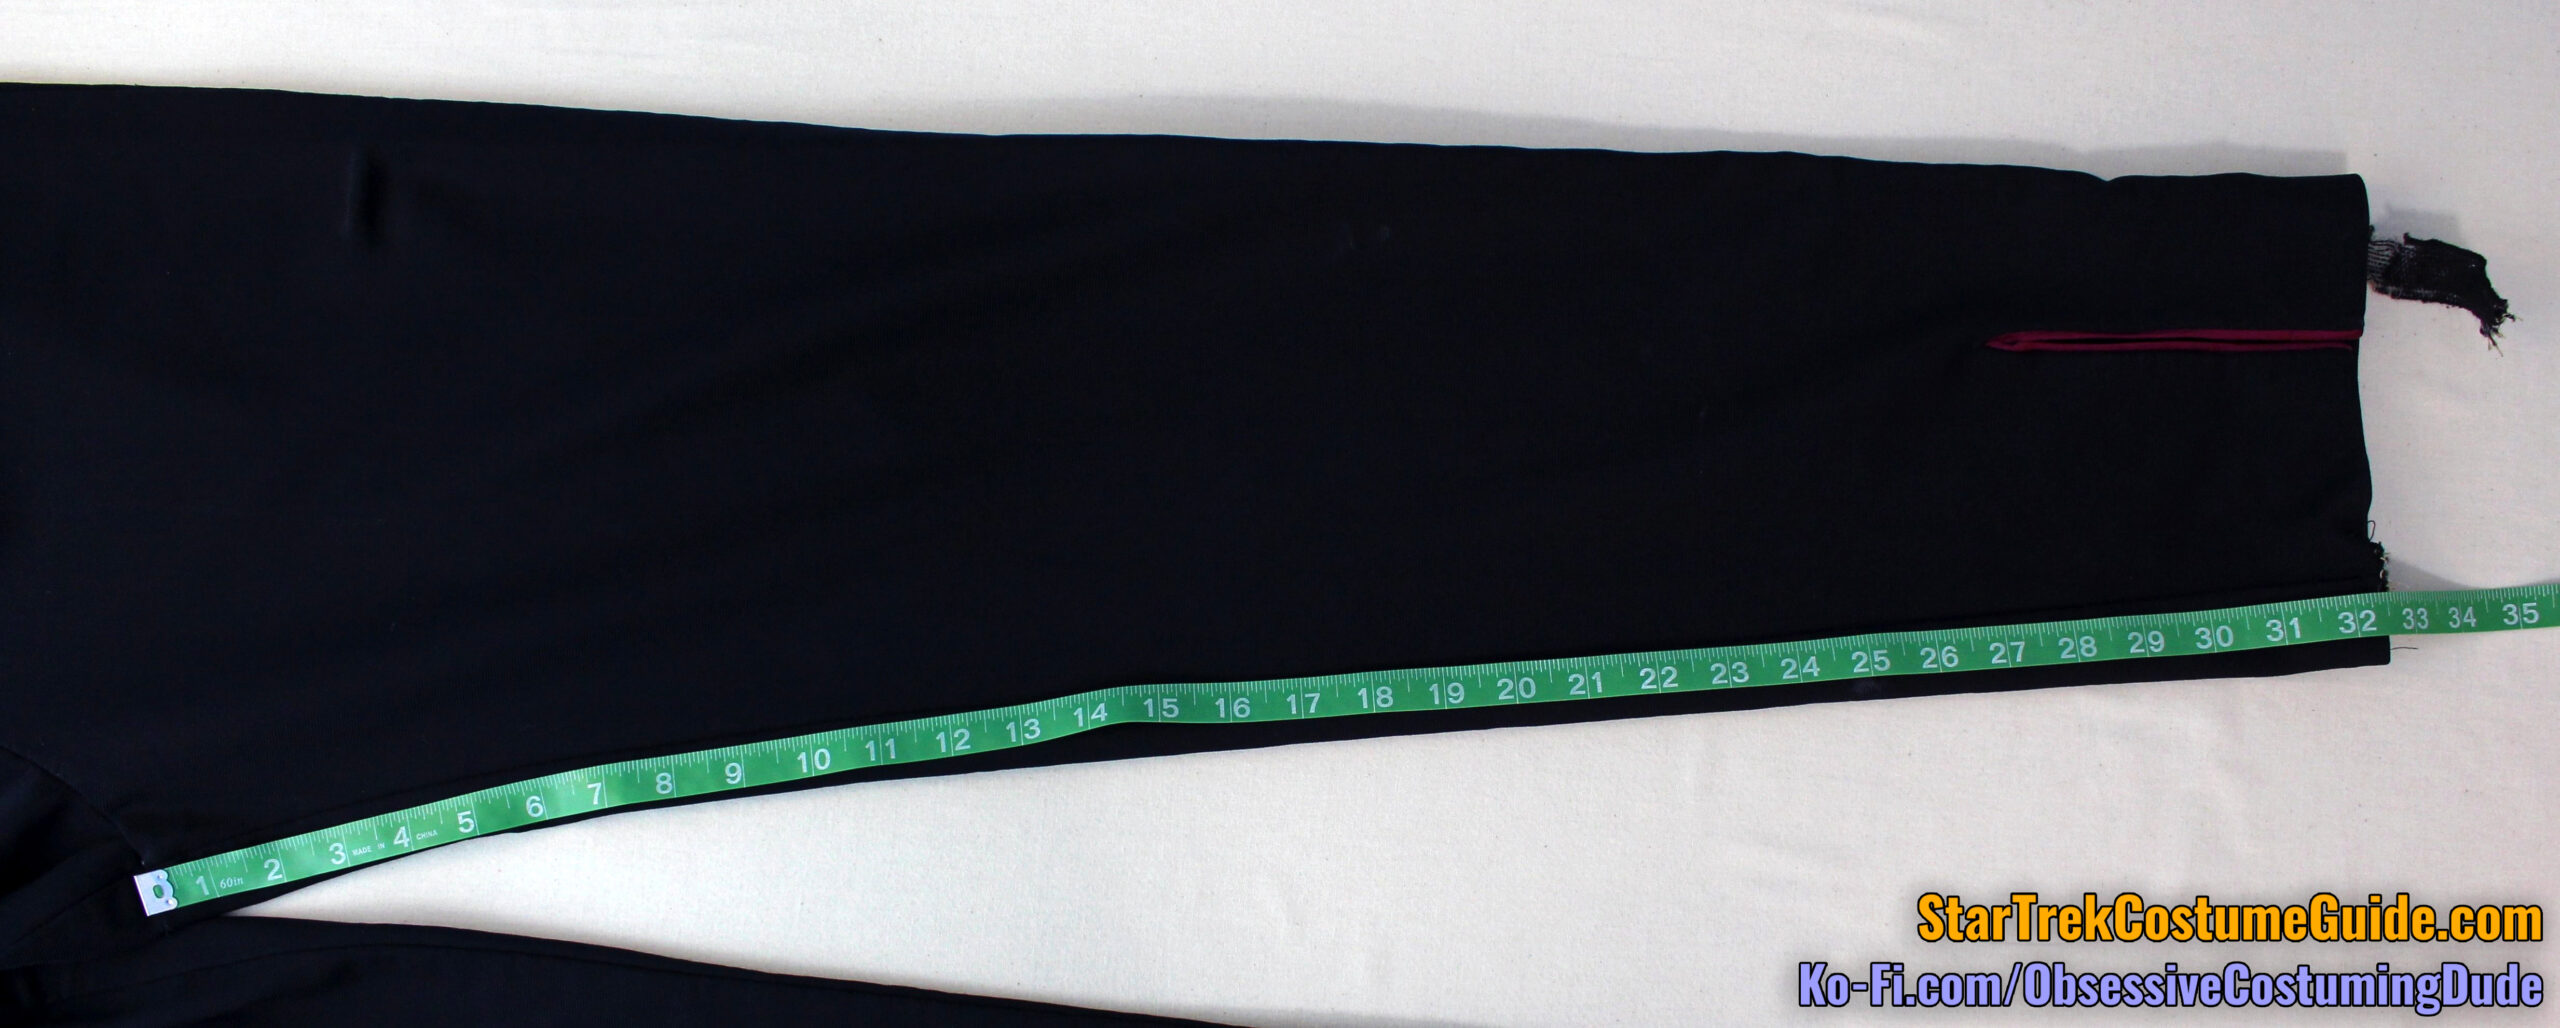
Speaking of which, the inseam on Worf’s jumpsuit was approximately 32 ½”.
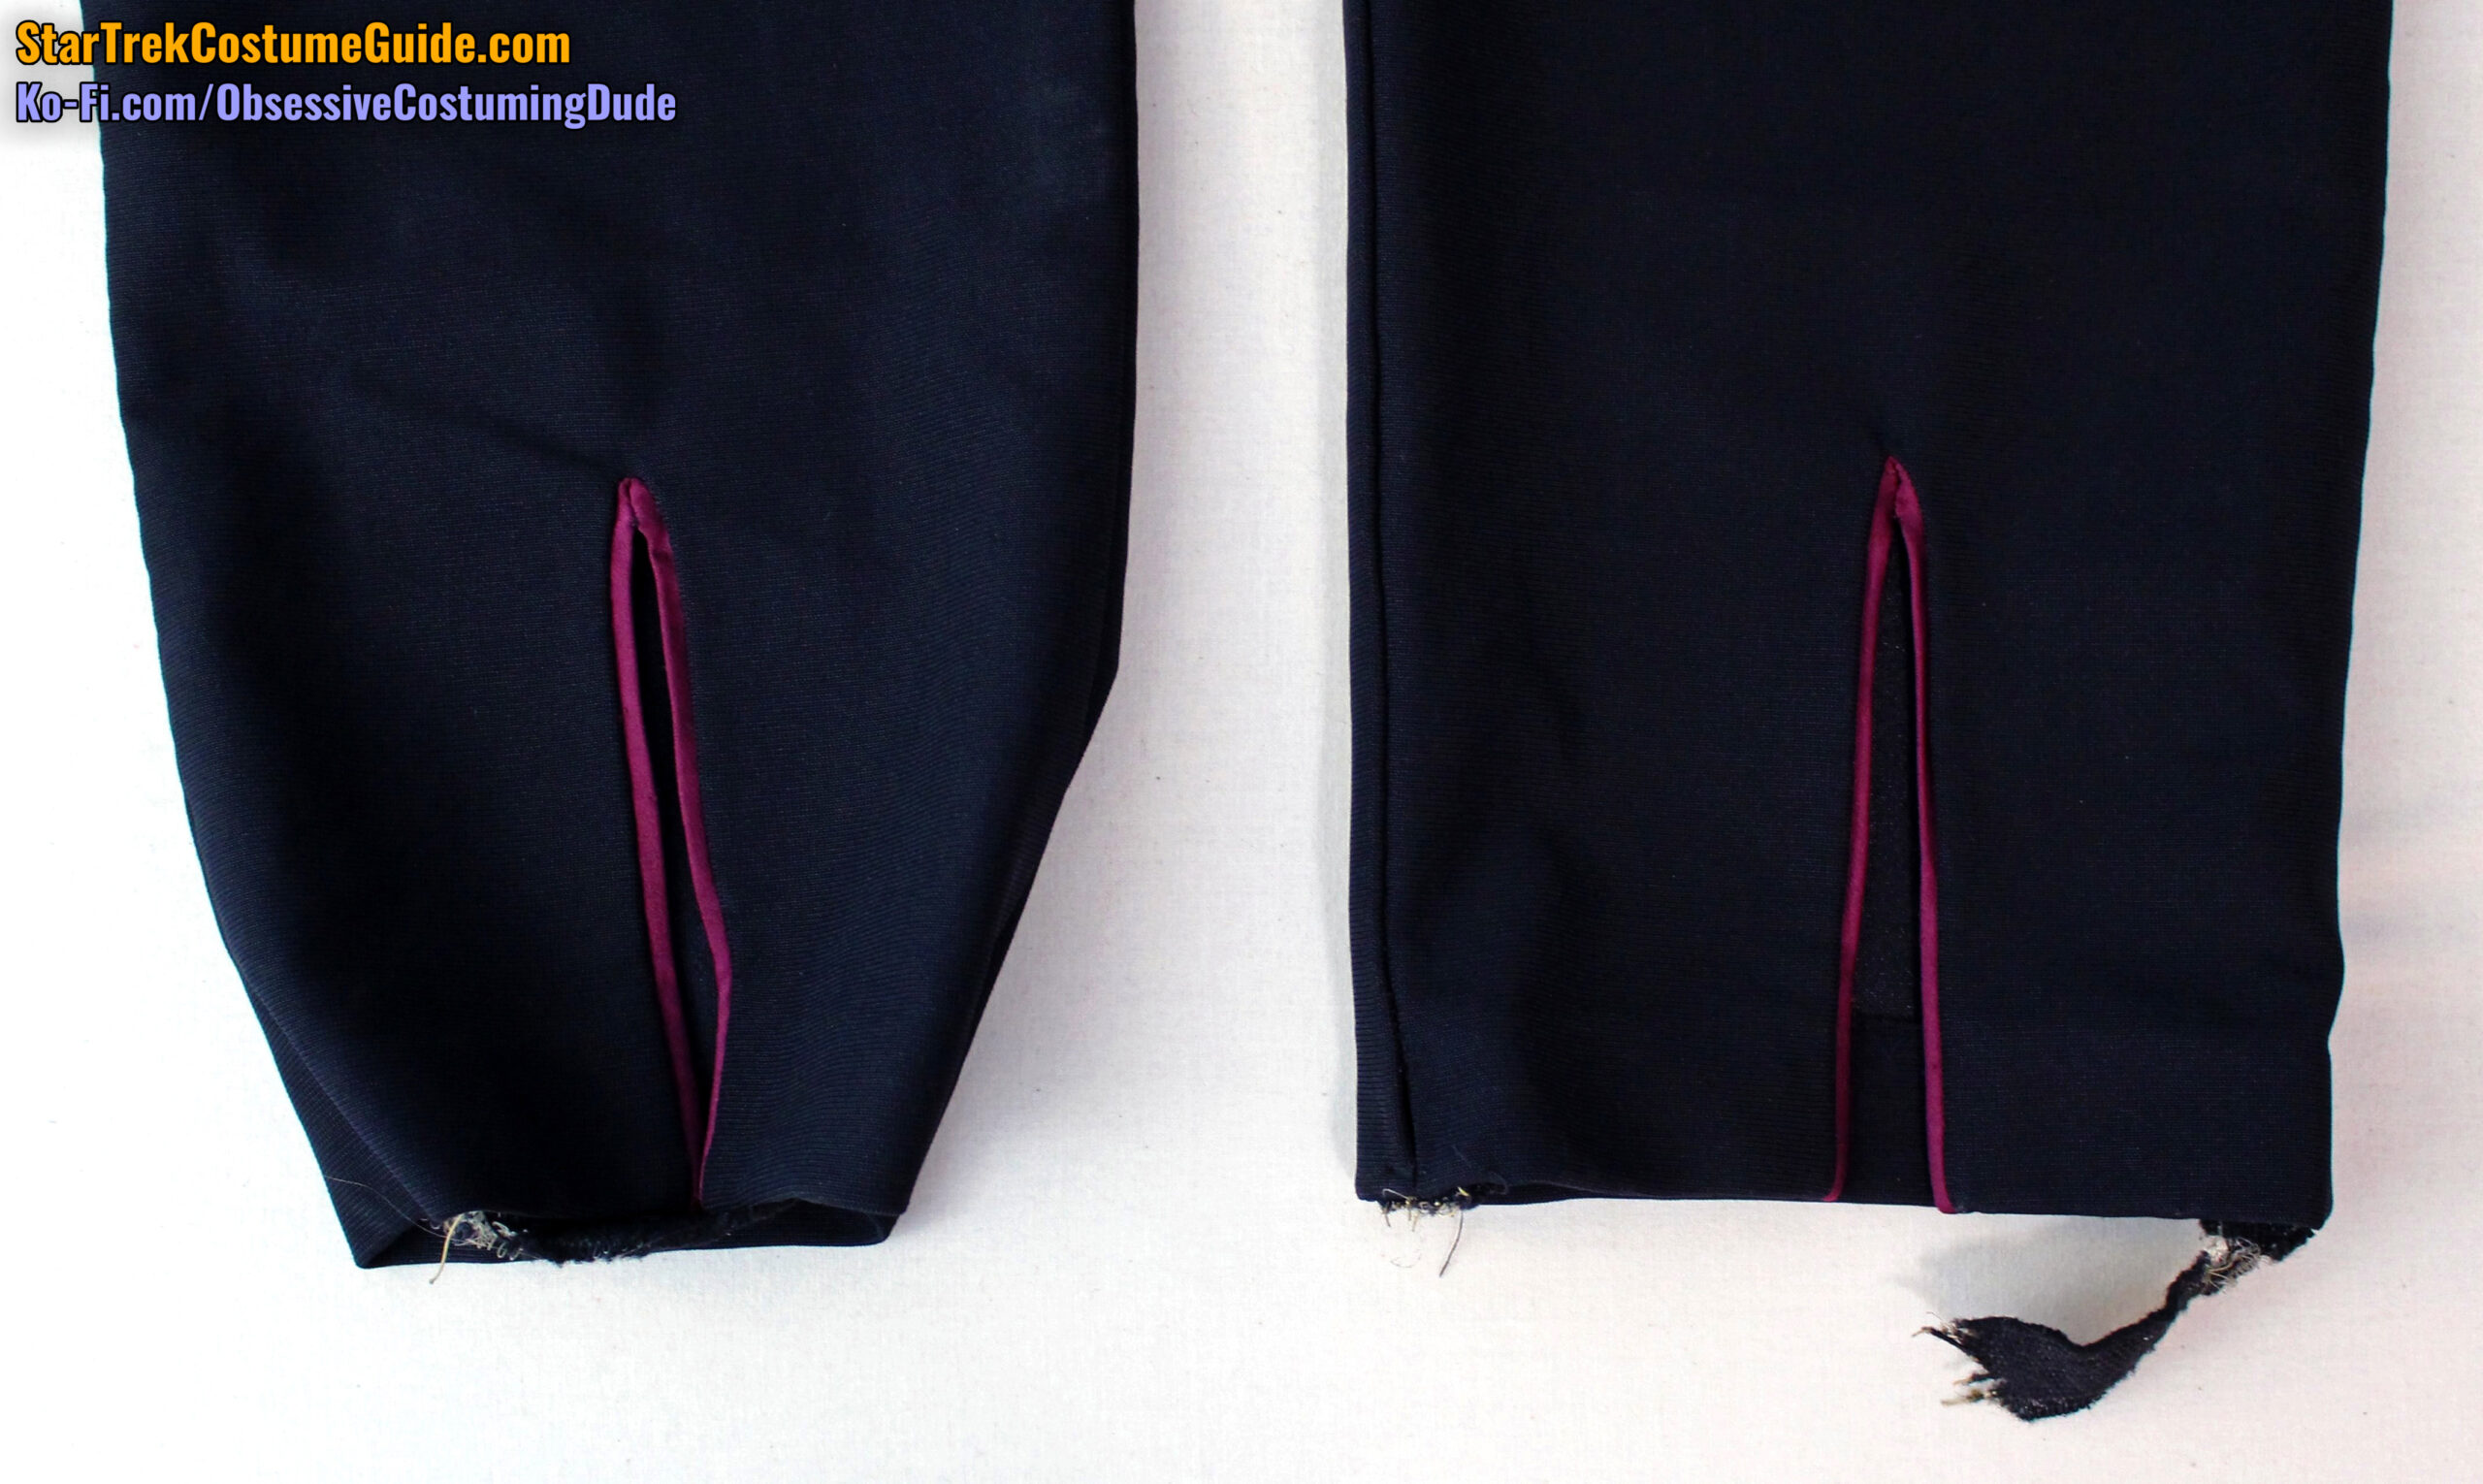
Being an early-style uniform, the slits on the lower front pant legs were accented with division-color trim.
The lower pant leg openings on Worf’s jumpsuit were 5 ½” tall.
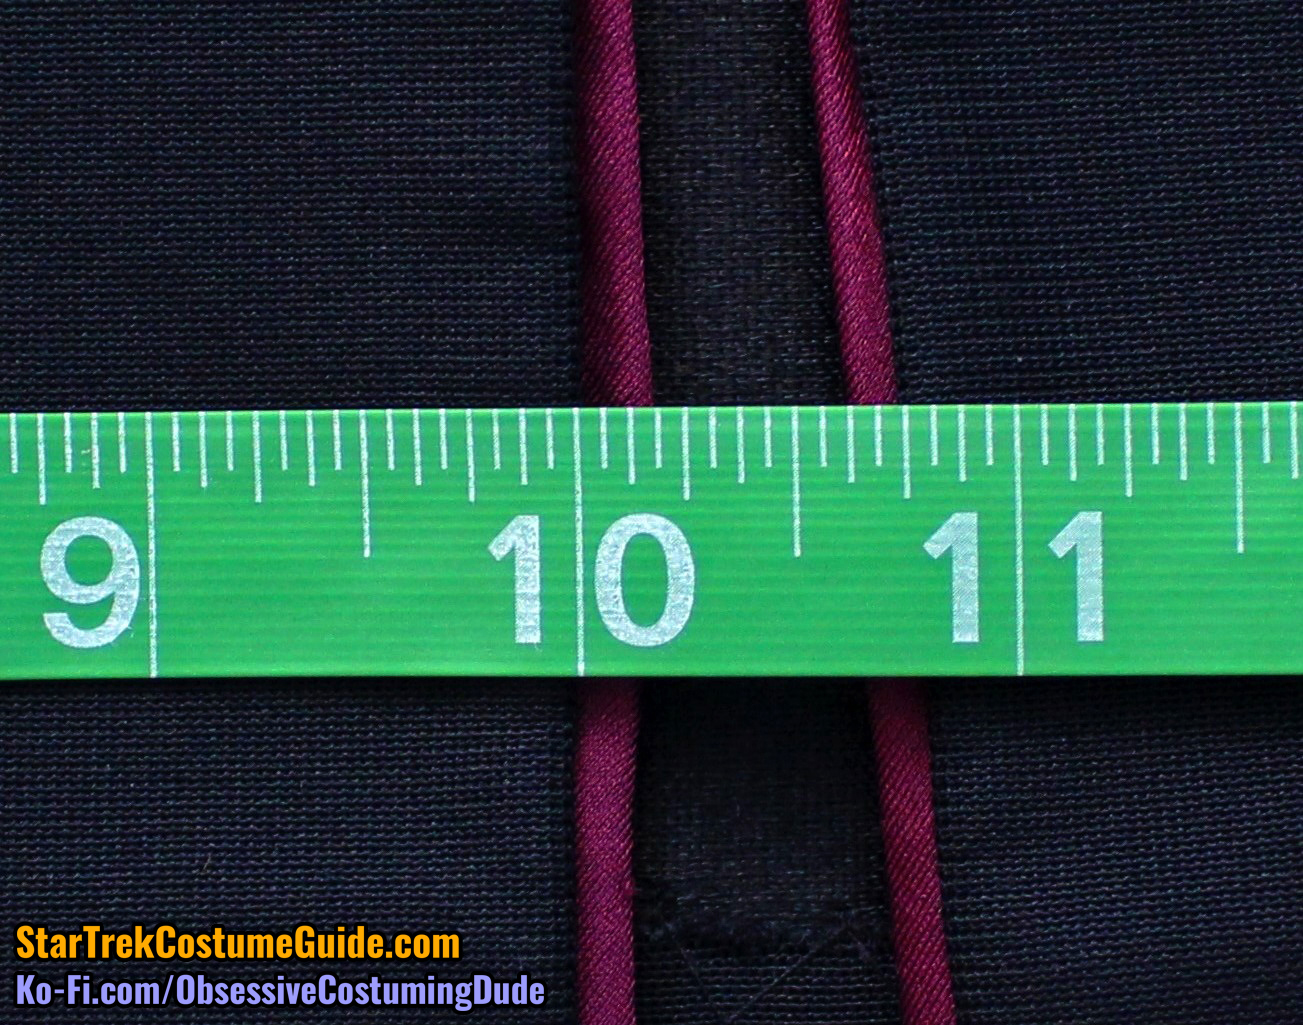
Each side of trim on the lower front pant legs was approximately 3/16” wide.
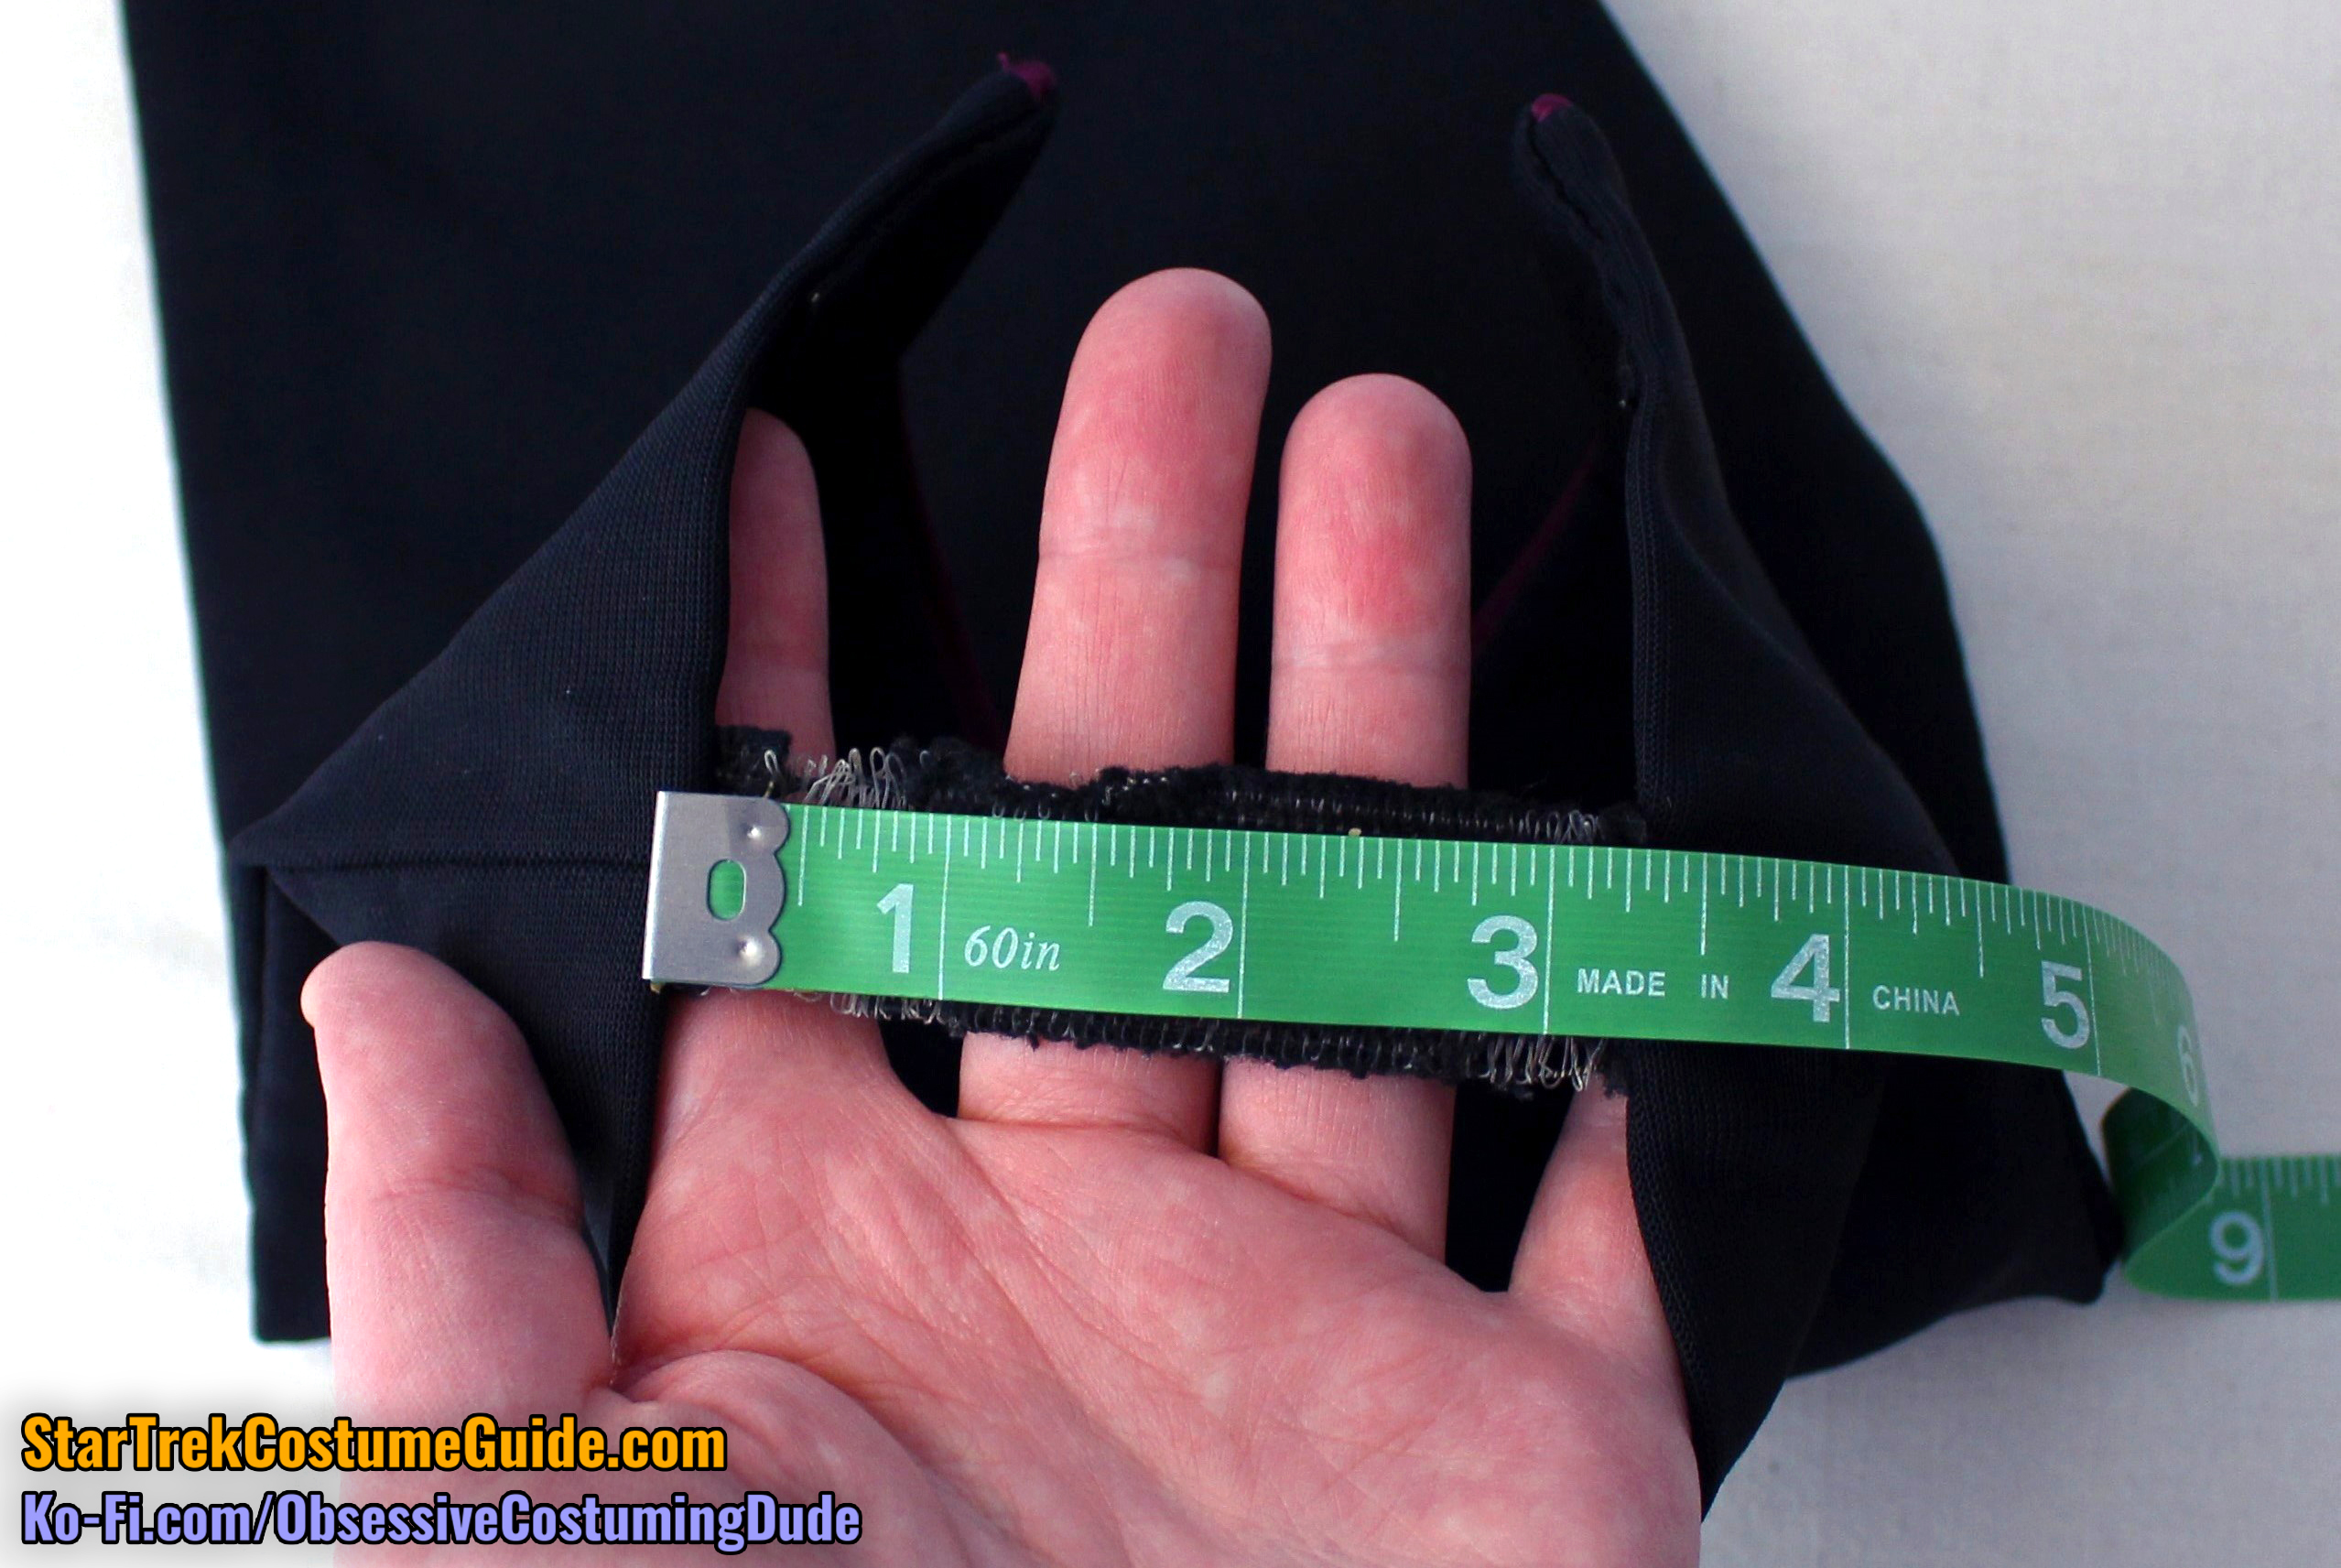
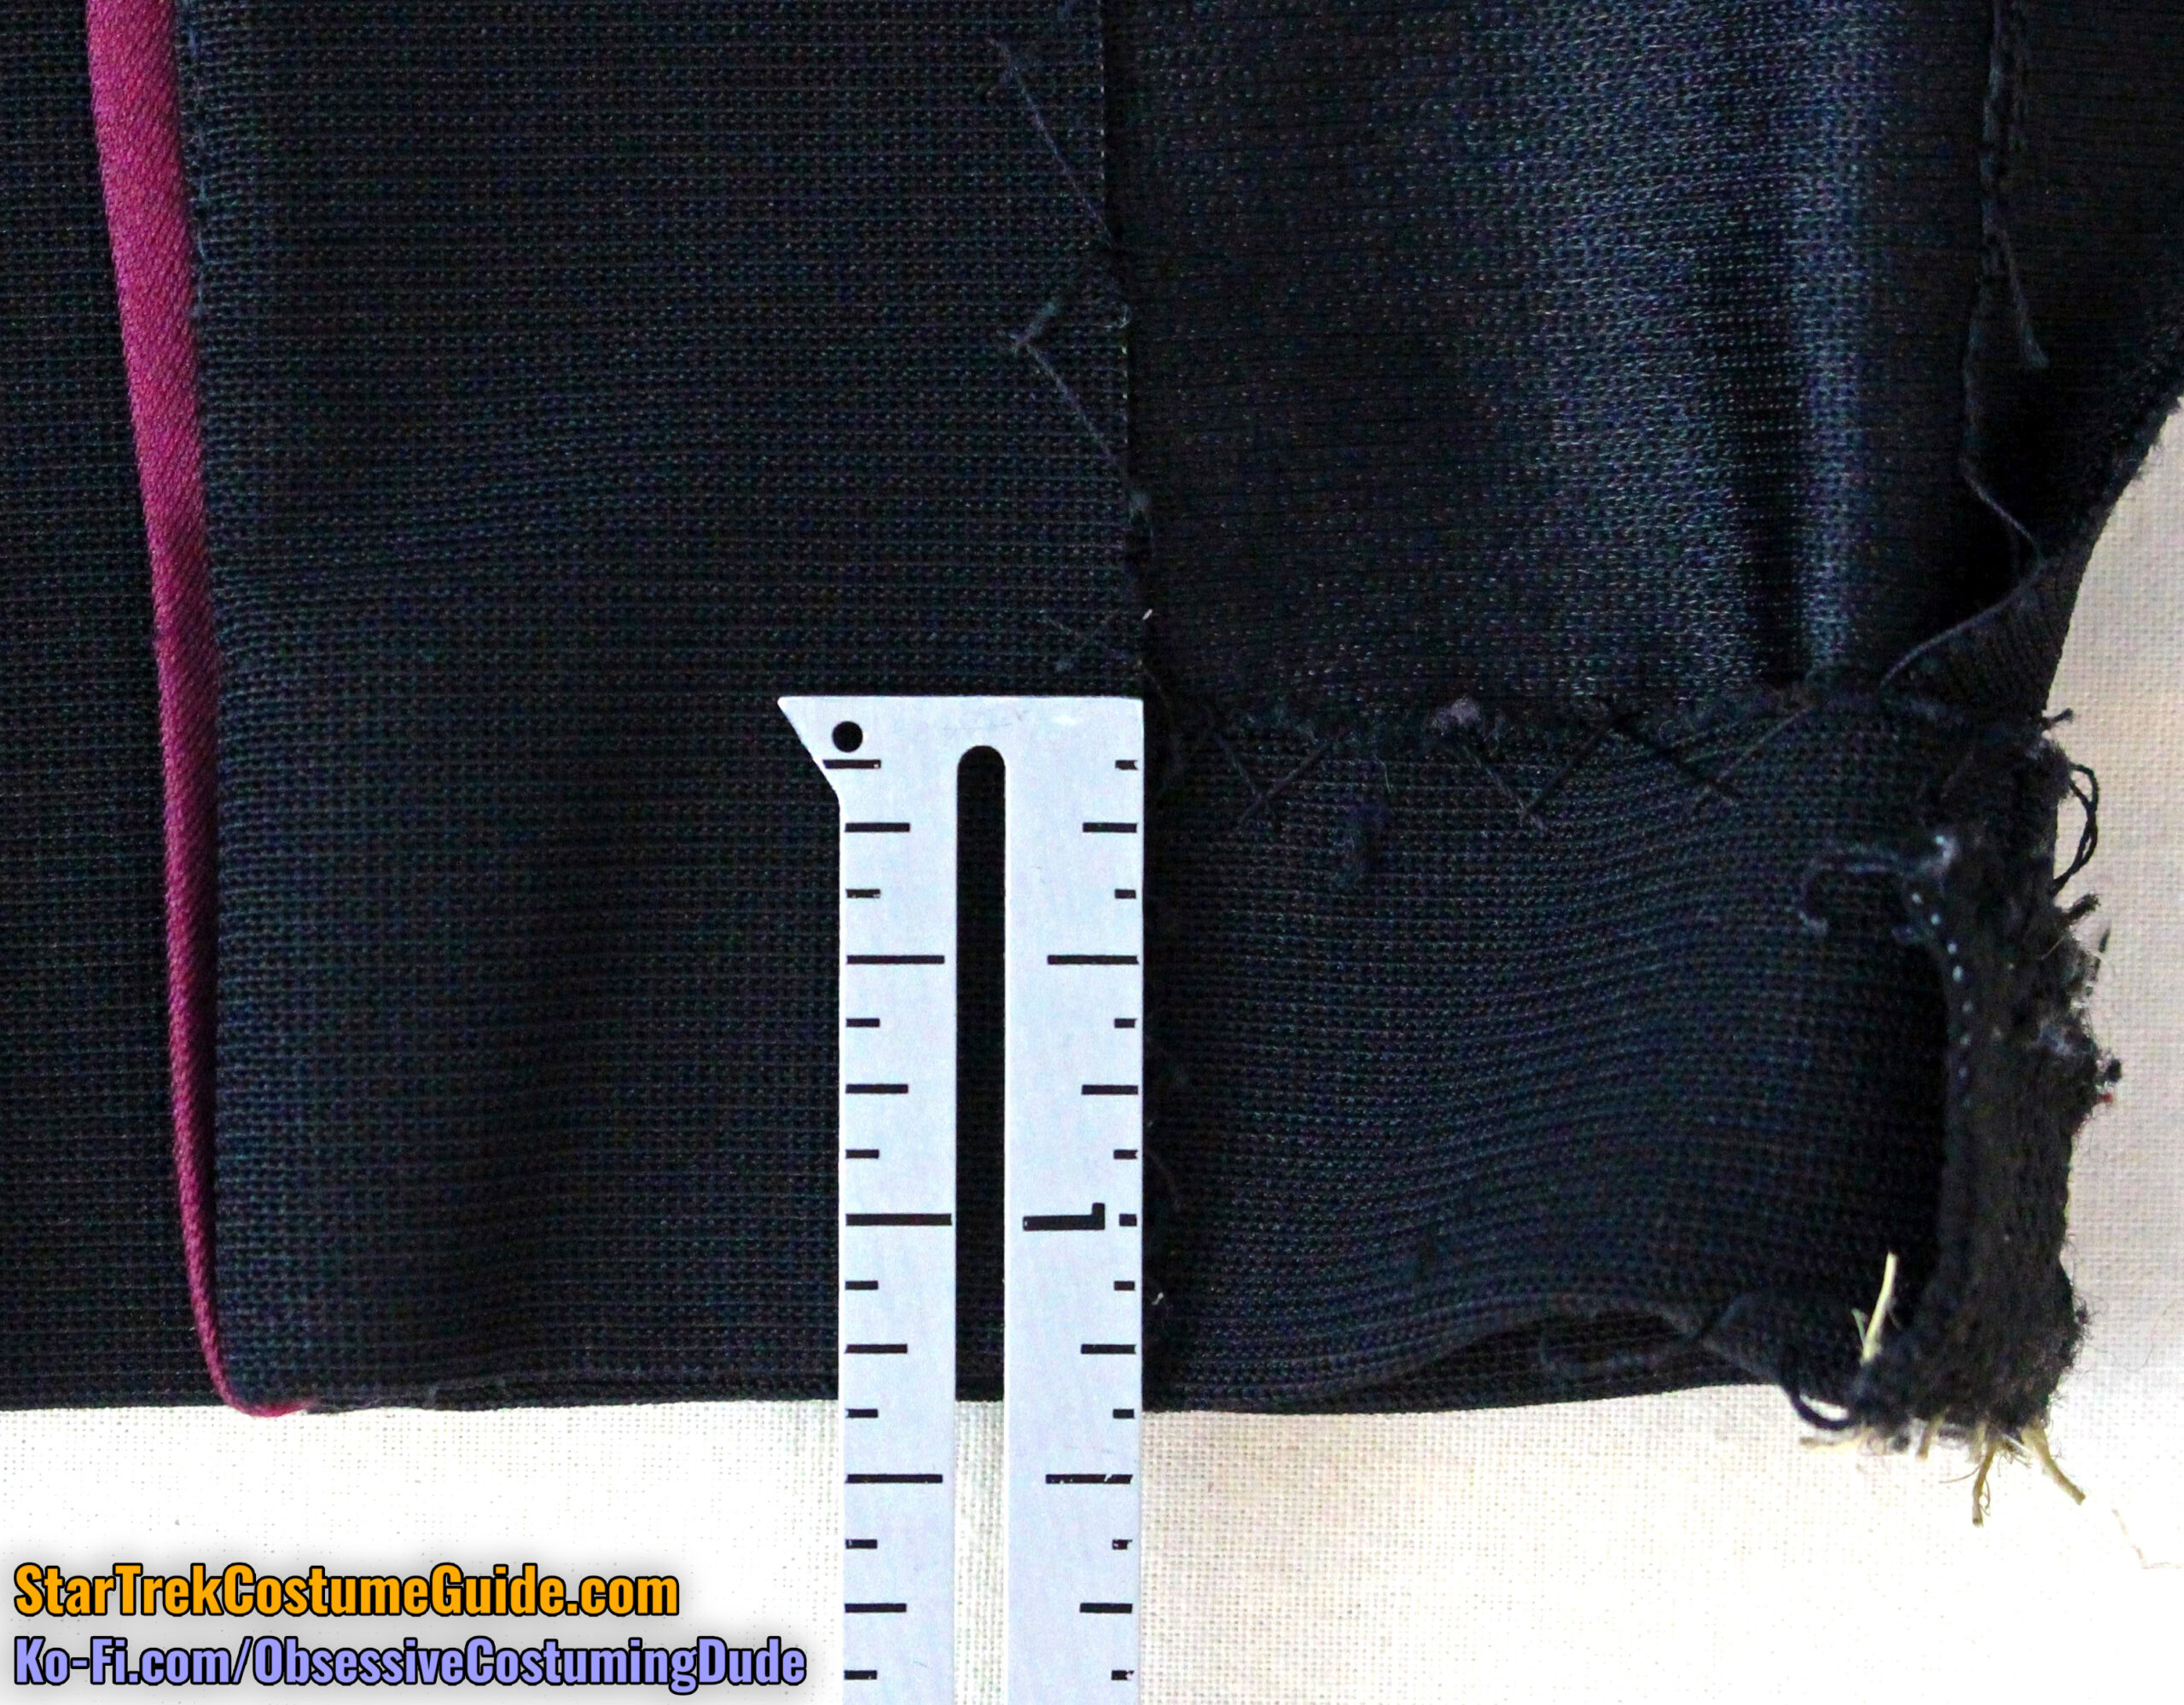
The elastic stirrups were surprisingly short, measuring a mere 3 ¼” plus allowance.
Unlike all three of the TNG jumpsuits we’ve examined previously, the elastic stirrups on Worf’s uniform had no topstitching of any kind.
It was difficult to tell for sure since the stirrups were (literally) threadbare, but the ends of the elastic appear to have been hand-sewn to the hem allowance.
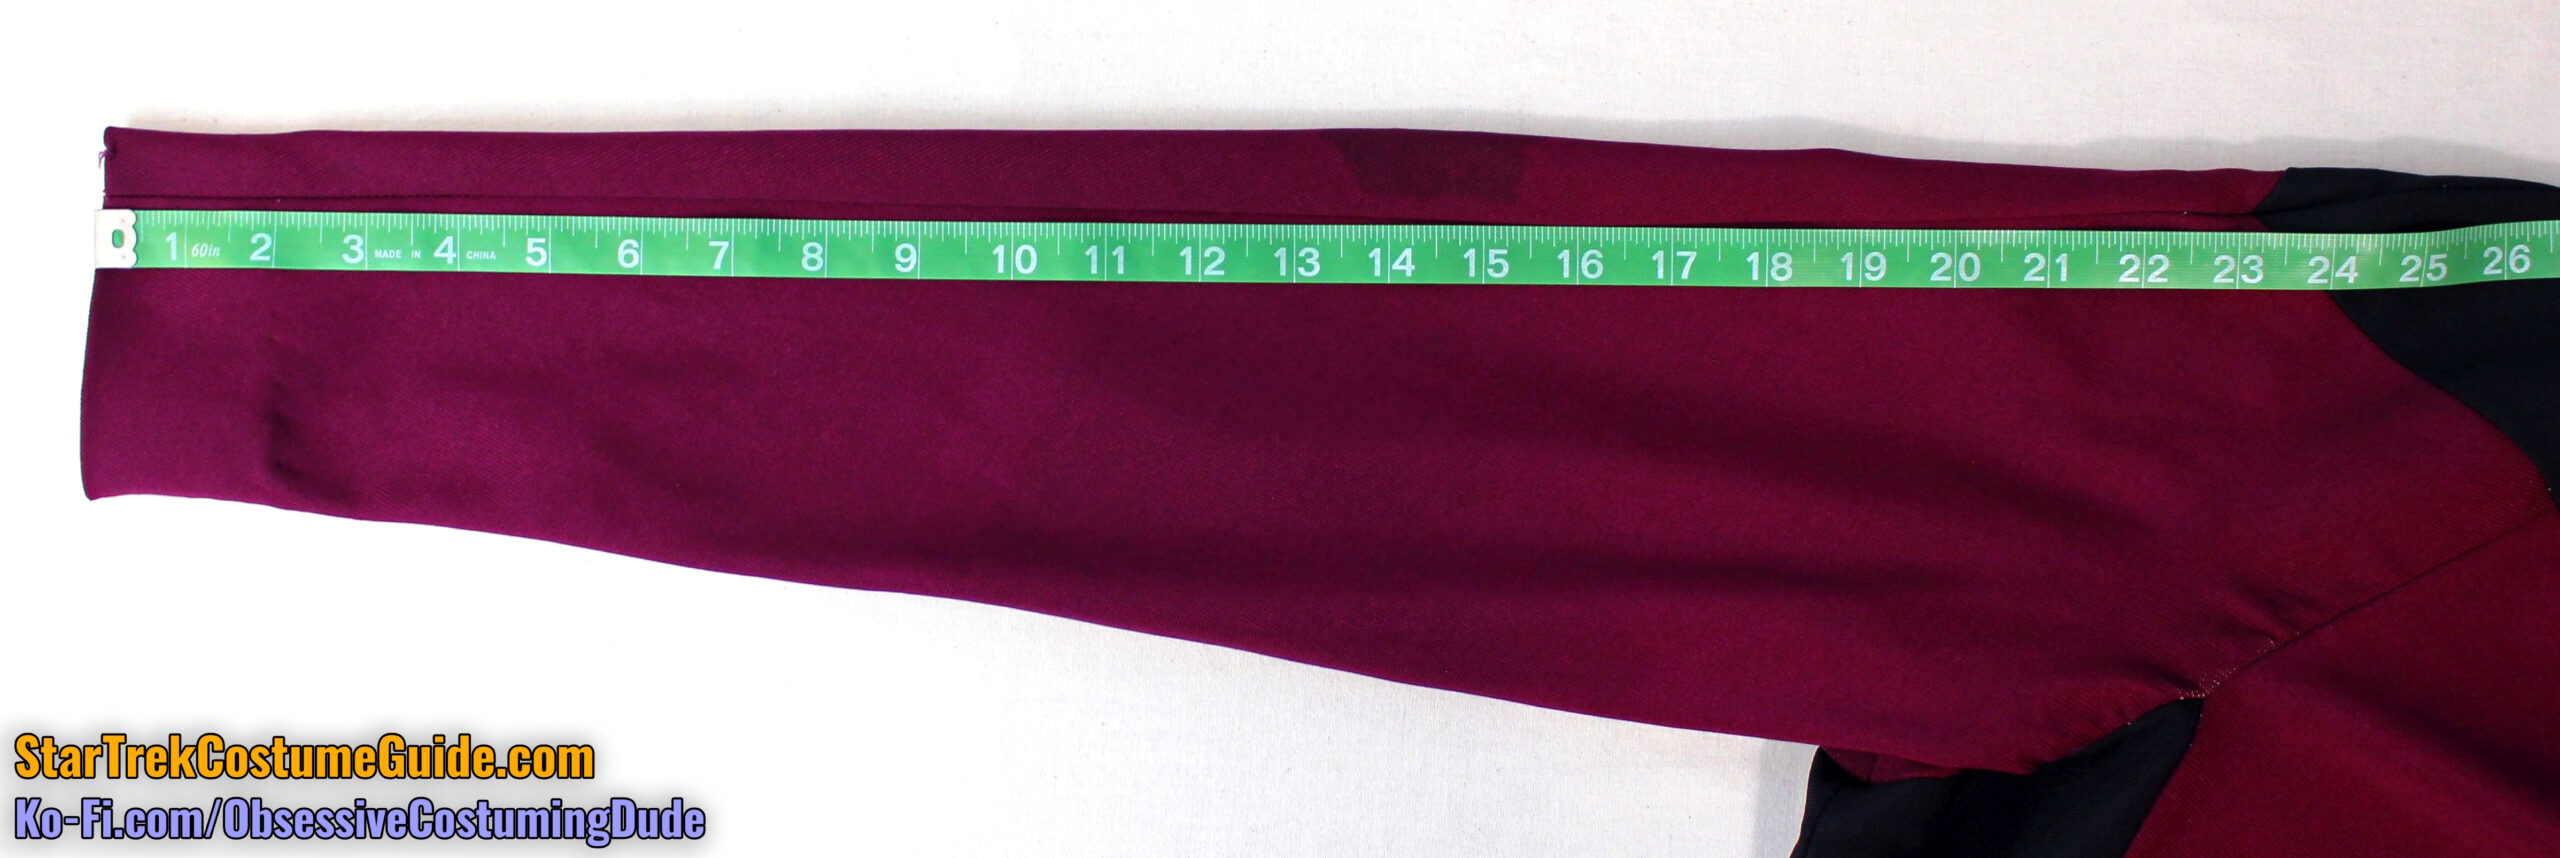
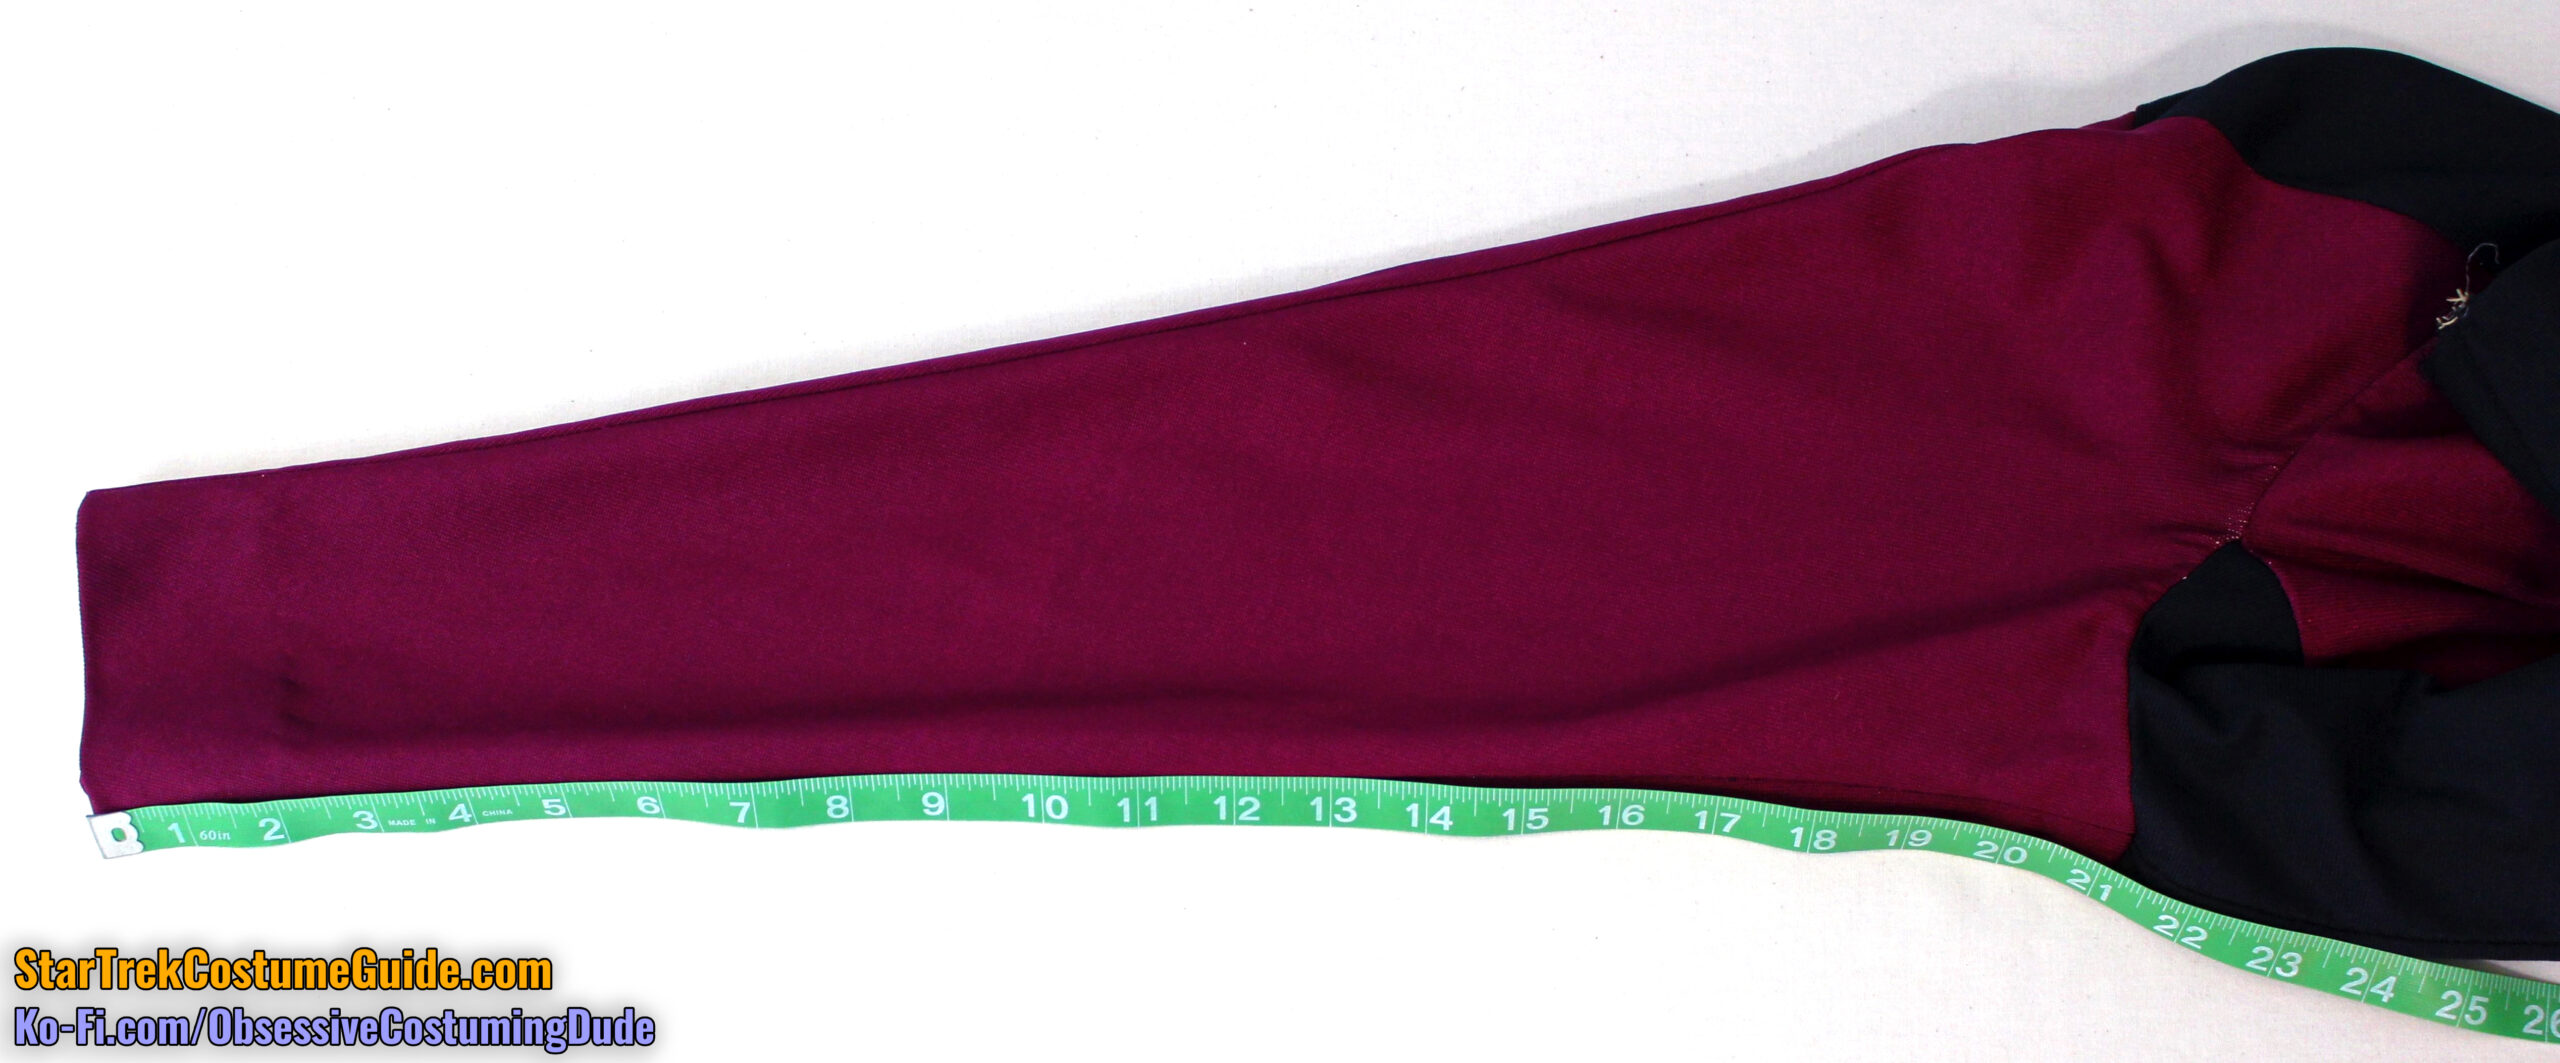
On both sleeves, the outer seam was 23 ¼”, and the inner sleeve seam was 21 ¼”.
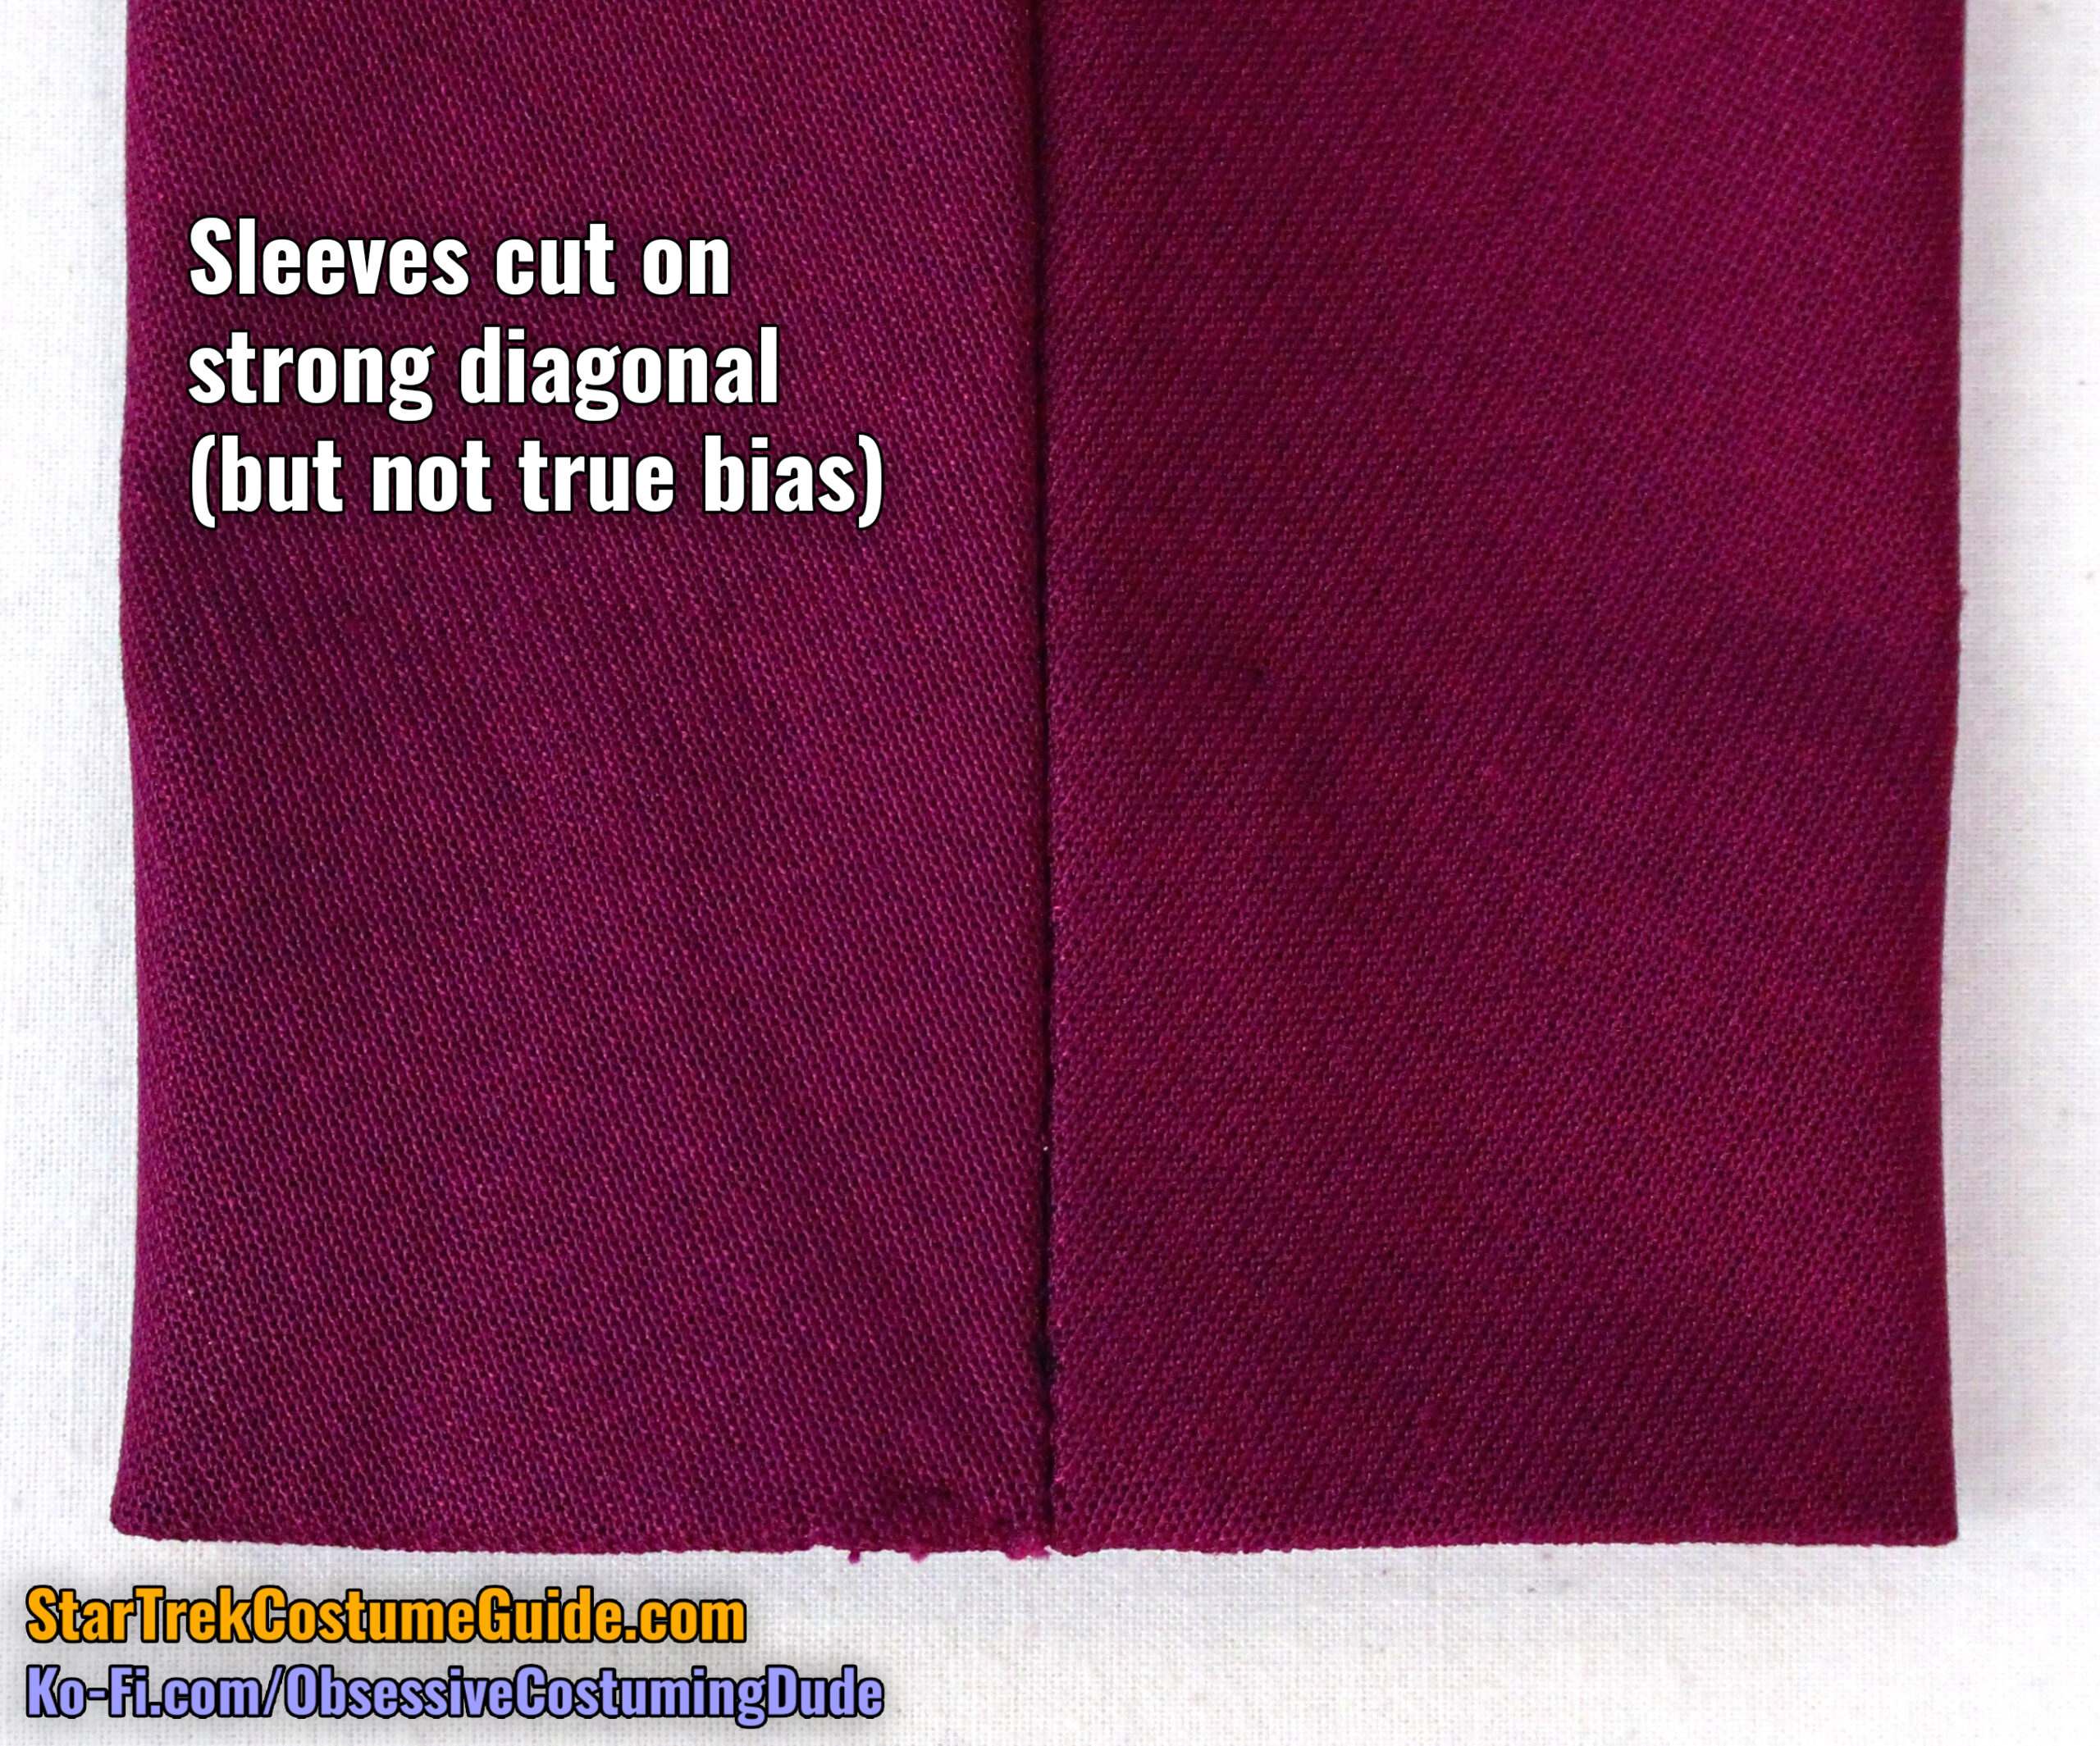
As on the screen-used Beverly Crusher jumpsuit I examined, the sleeves were not cut on the straight grain or the crossgrain; they were cut on a strong diagonal … but not the true bias!
Nor were they cut directly parallel to their respective outer/lower yoke seams.
As you may recall from my TNG jumpsuit analysis, quite a few jumpsuits’ had sleeves cut this way, but I don’t know how common this was.
Unfortunately, this rendered the “weave” of the jumbo spandex useless as a visual reference to determine the angles of the sleeve inserts …
However, using body side seams and the outer corners of the sleeves for reference, one can see that the front sleeve inserts were 3 ¾” tall, and the back sleeve inserts were 3 ½” tall (measured from the aforementioned points, not the fabric weave).
The front chest measured 22 ½” at the underarm, and the back chest measured 23 ½”, for a total chest measurement of approximately 46”.
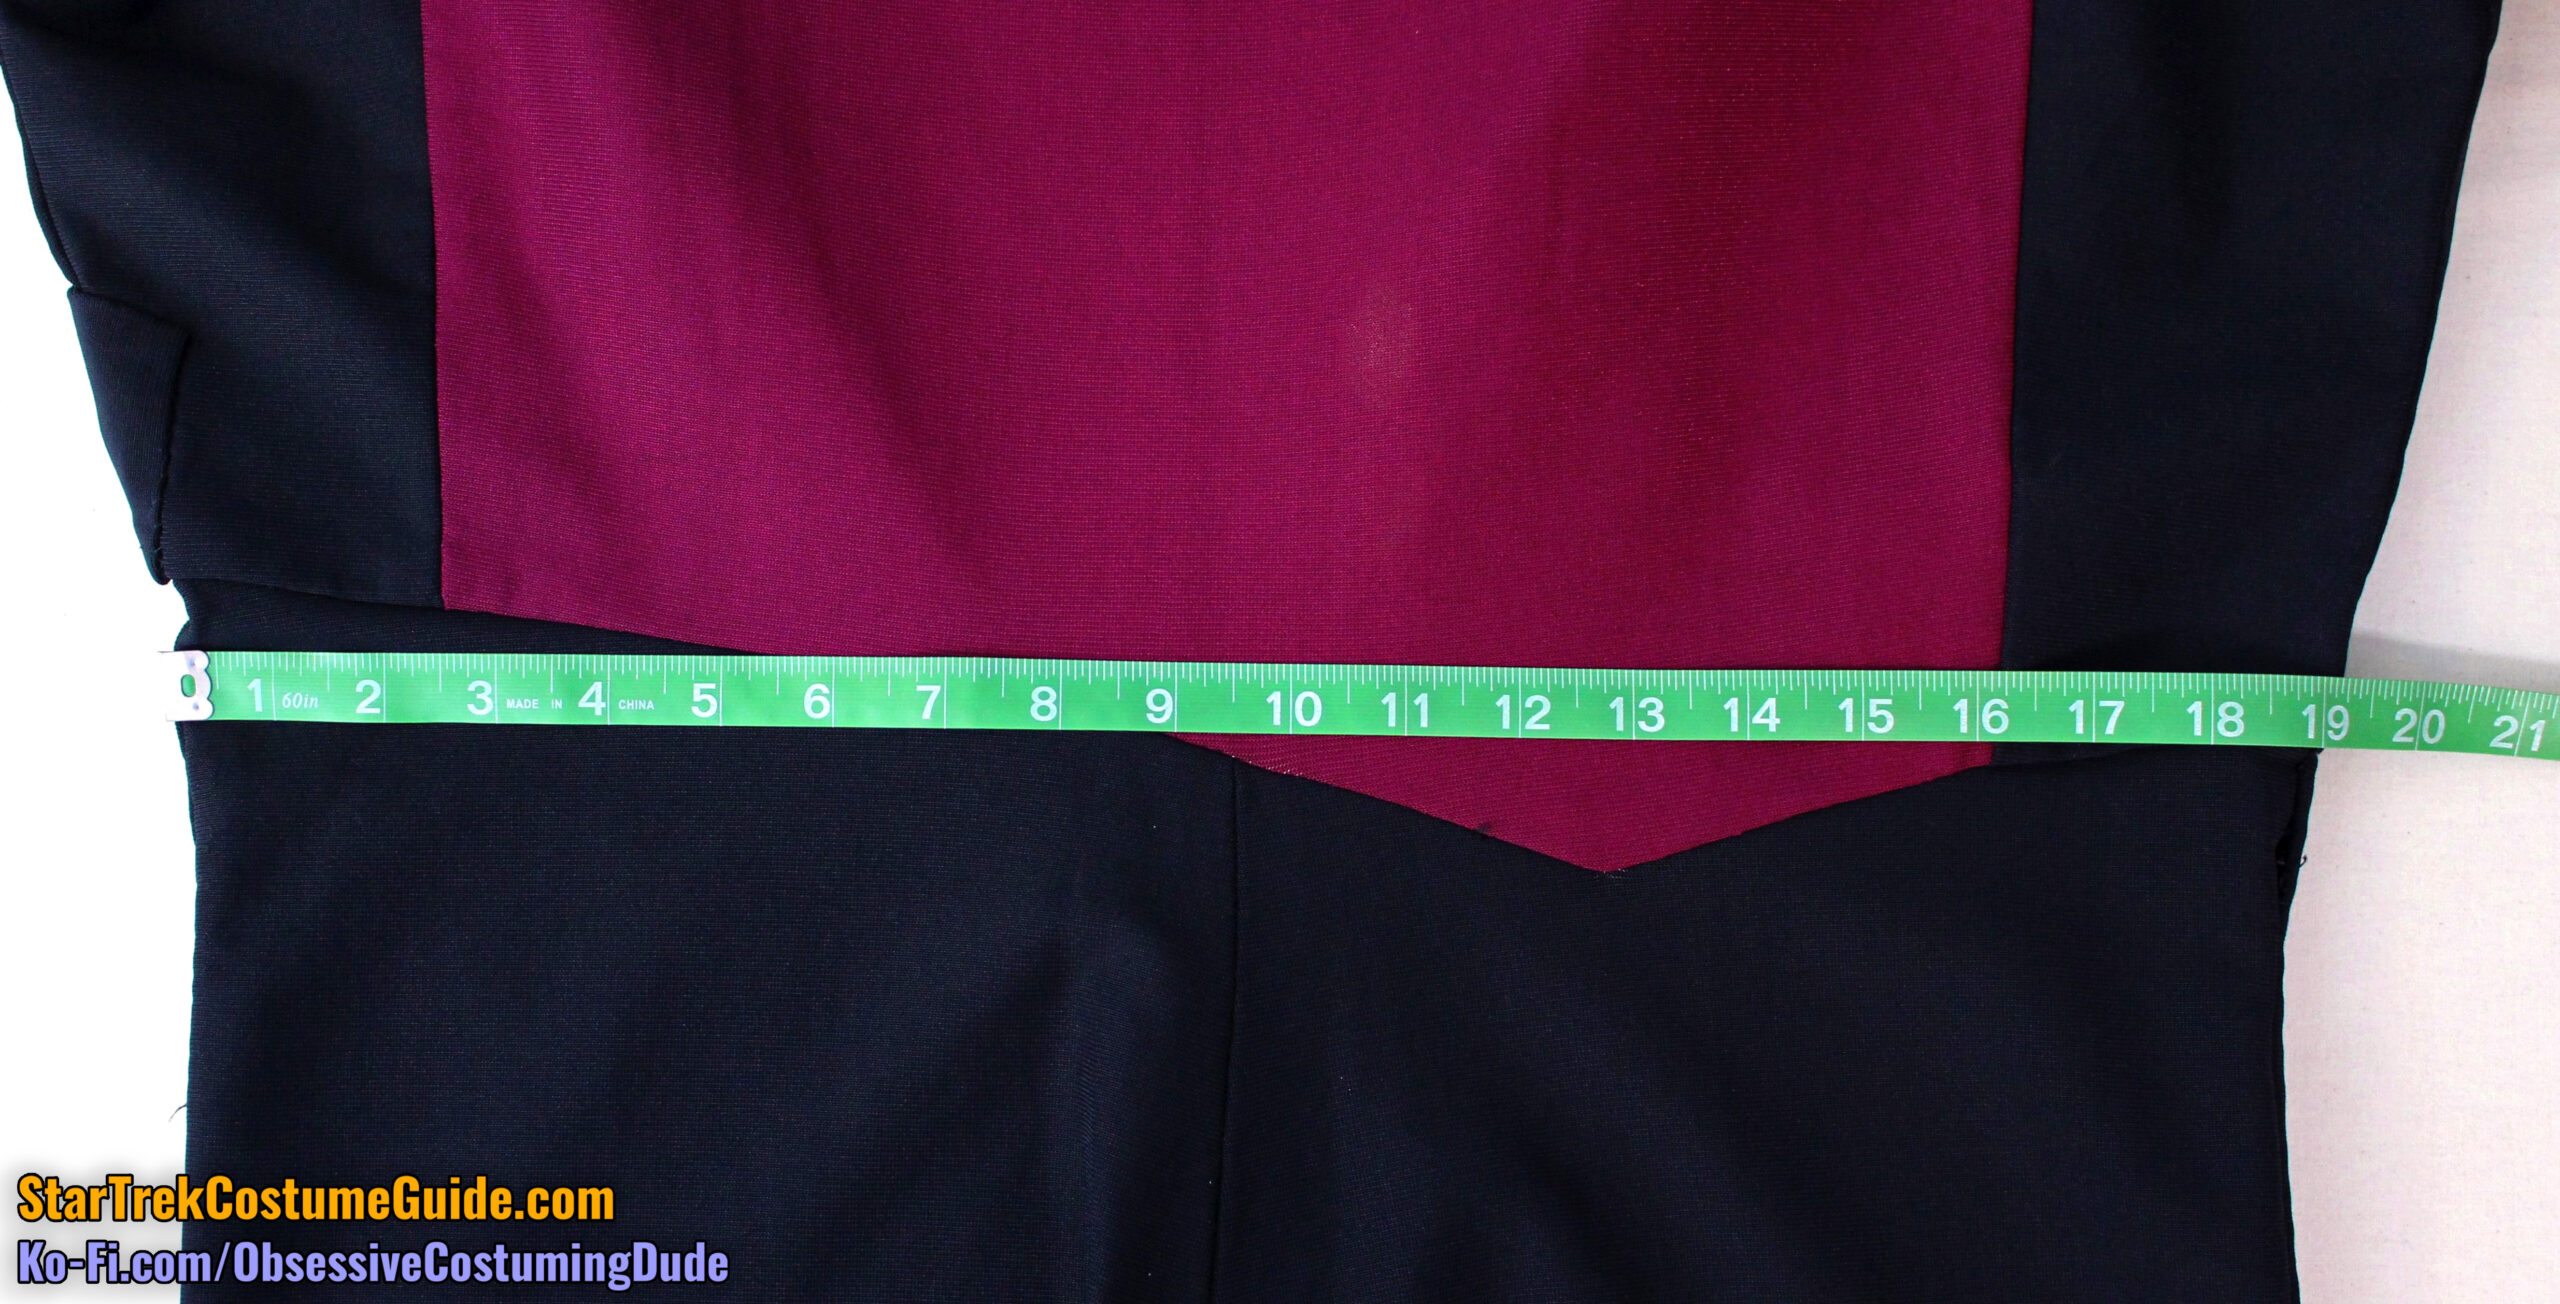
The front waist measured 18 ½” and the back waist measured 19”, for a total waist measurement of approximately 37 ½”.
(Those of you with a sharp eye for numbers may have noticed that strangely, the front jumpsuit dimensions were slightly asymmetrical and “leaned” slightly to the right about ½”.)
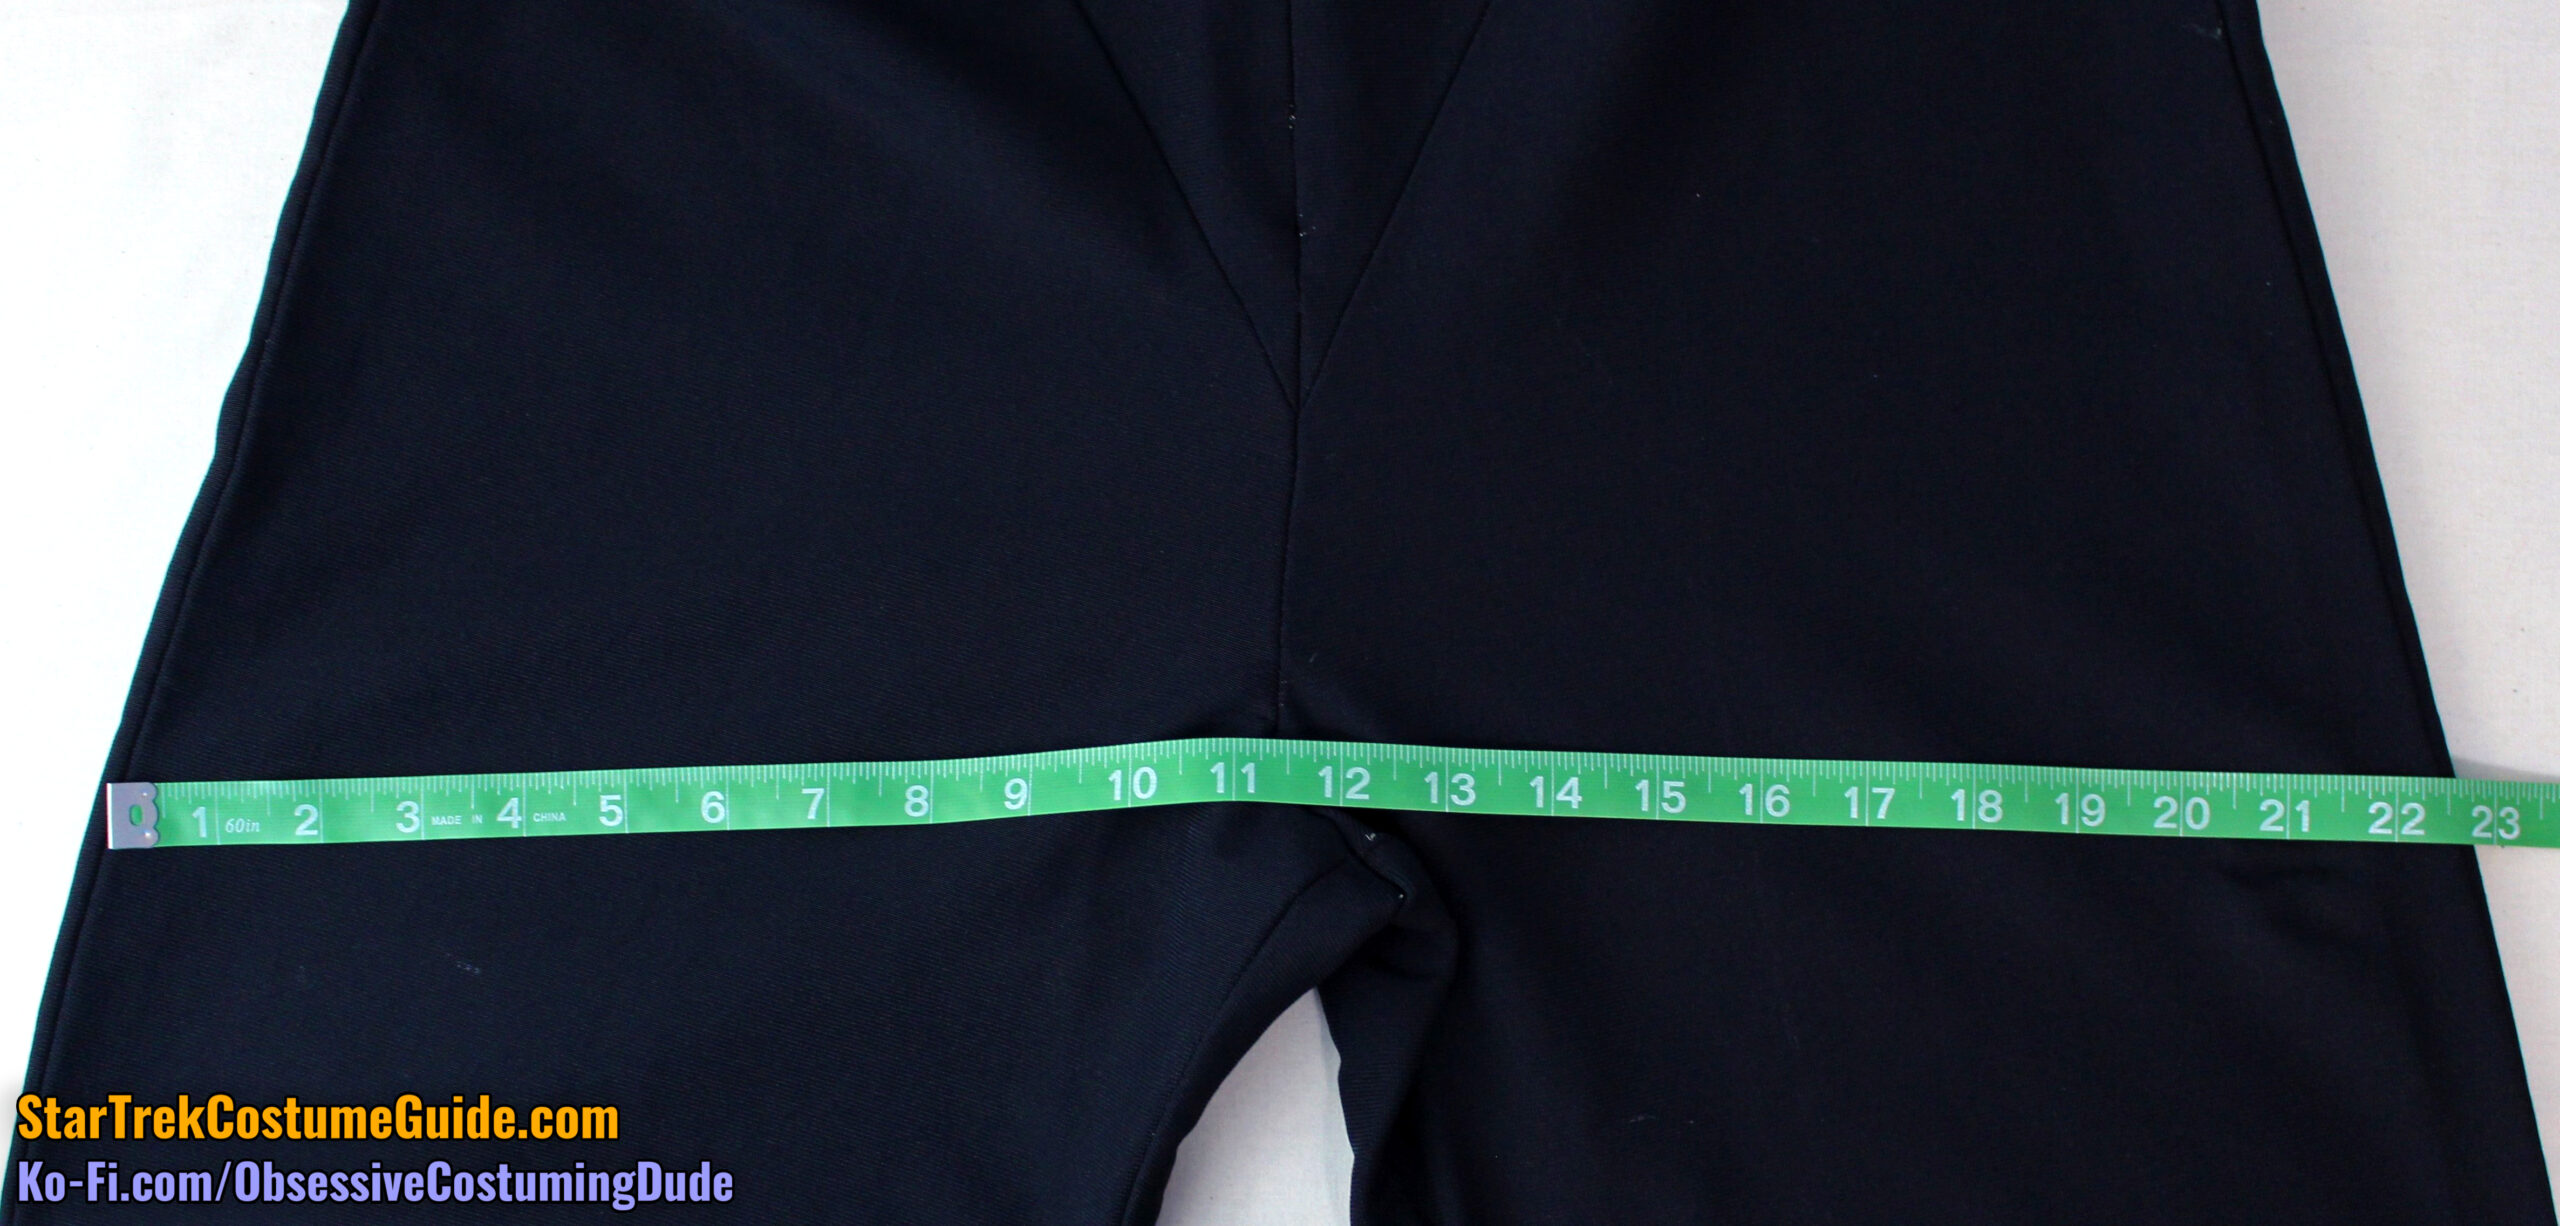
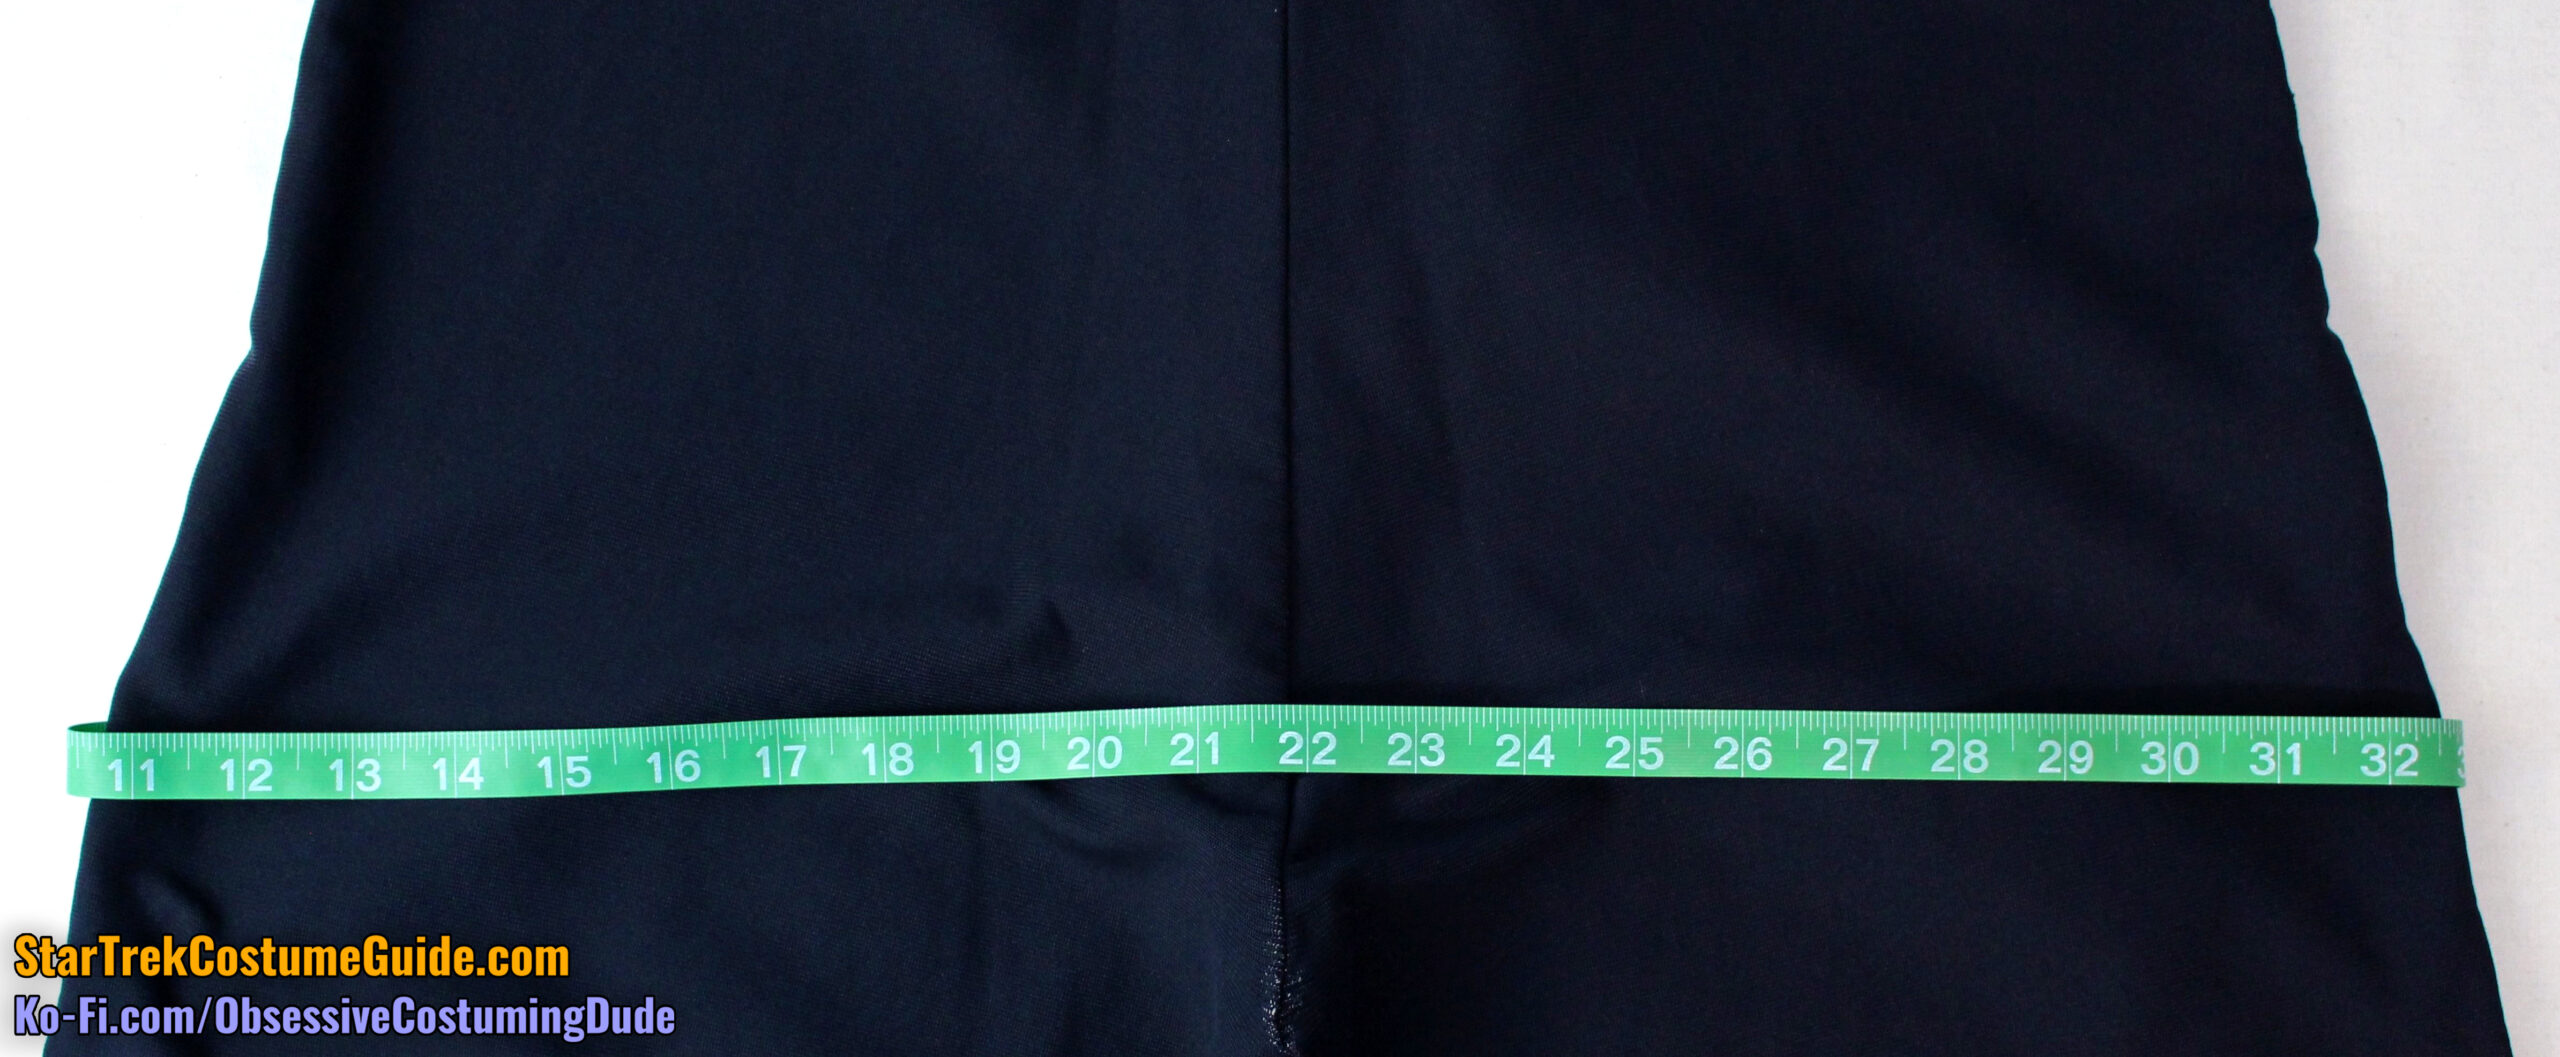
The front hips measured 22 ½” and the back hips measured 23”, for a total hip measurement of 45 ½”.
CLOSURE SYSTEM
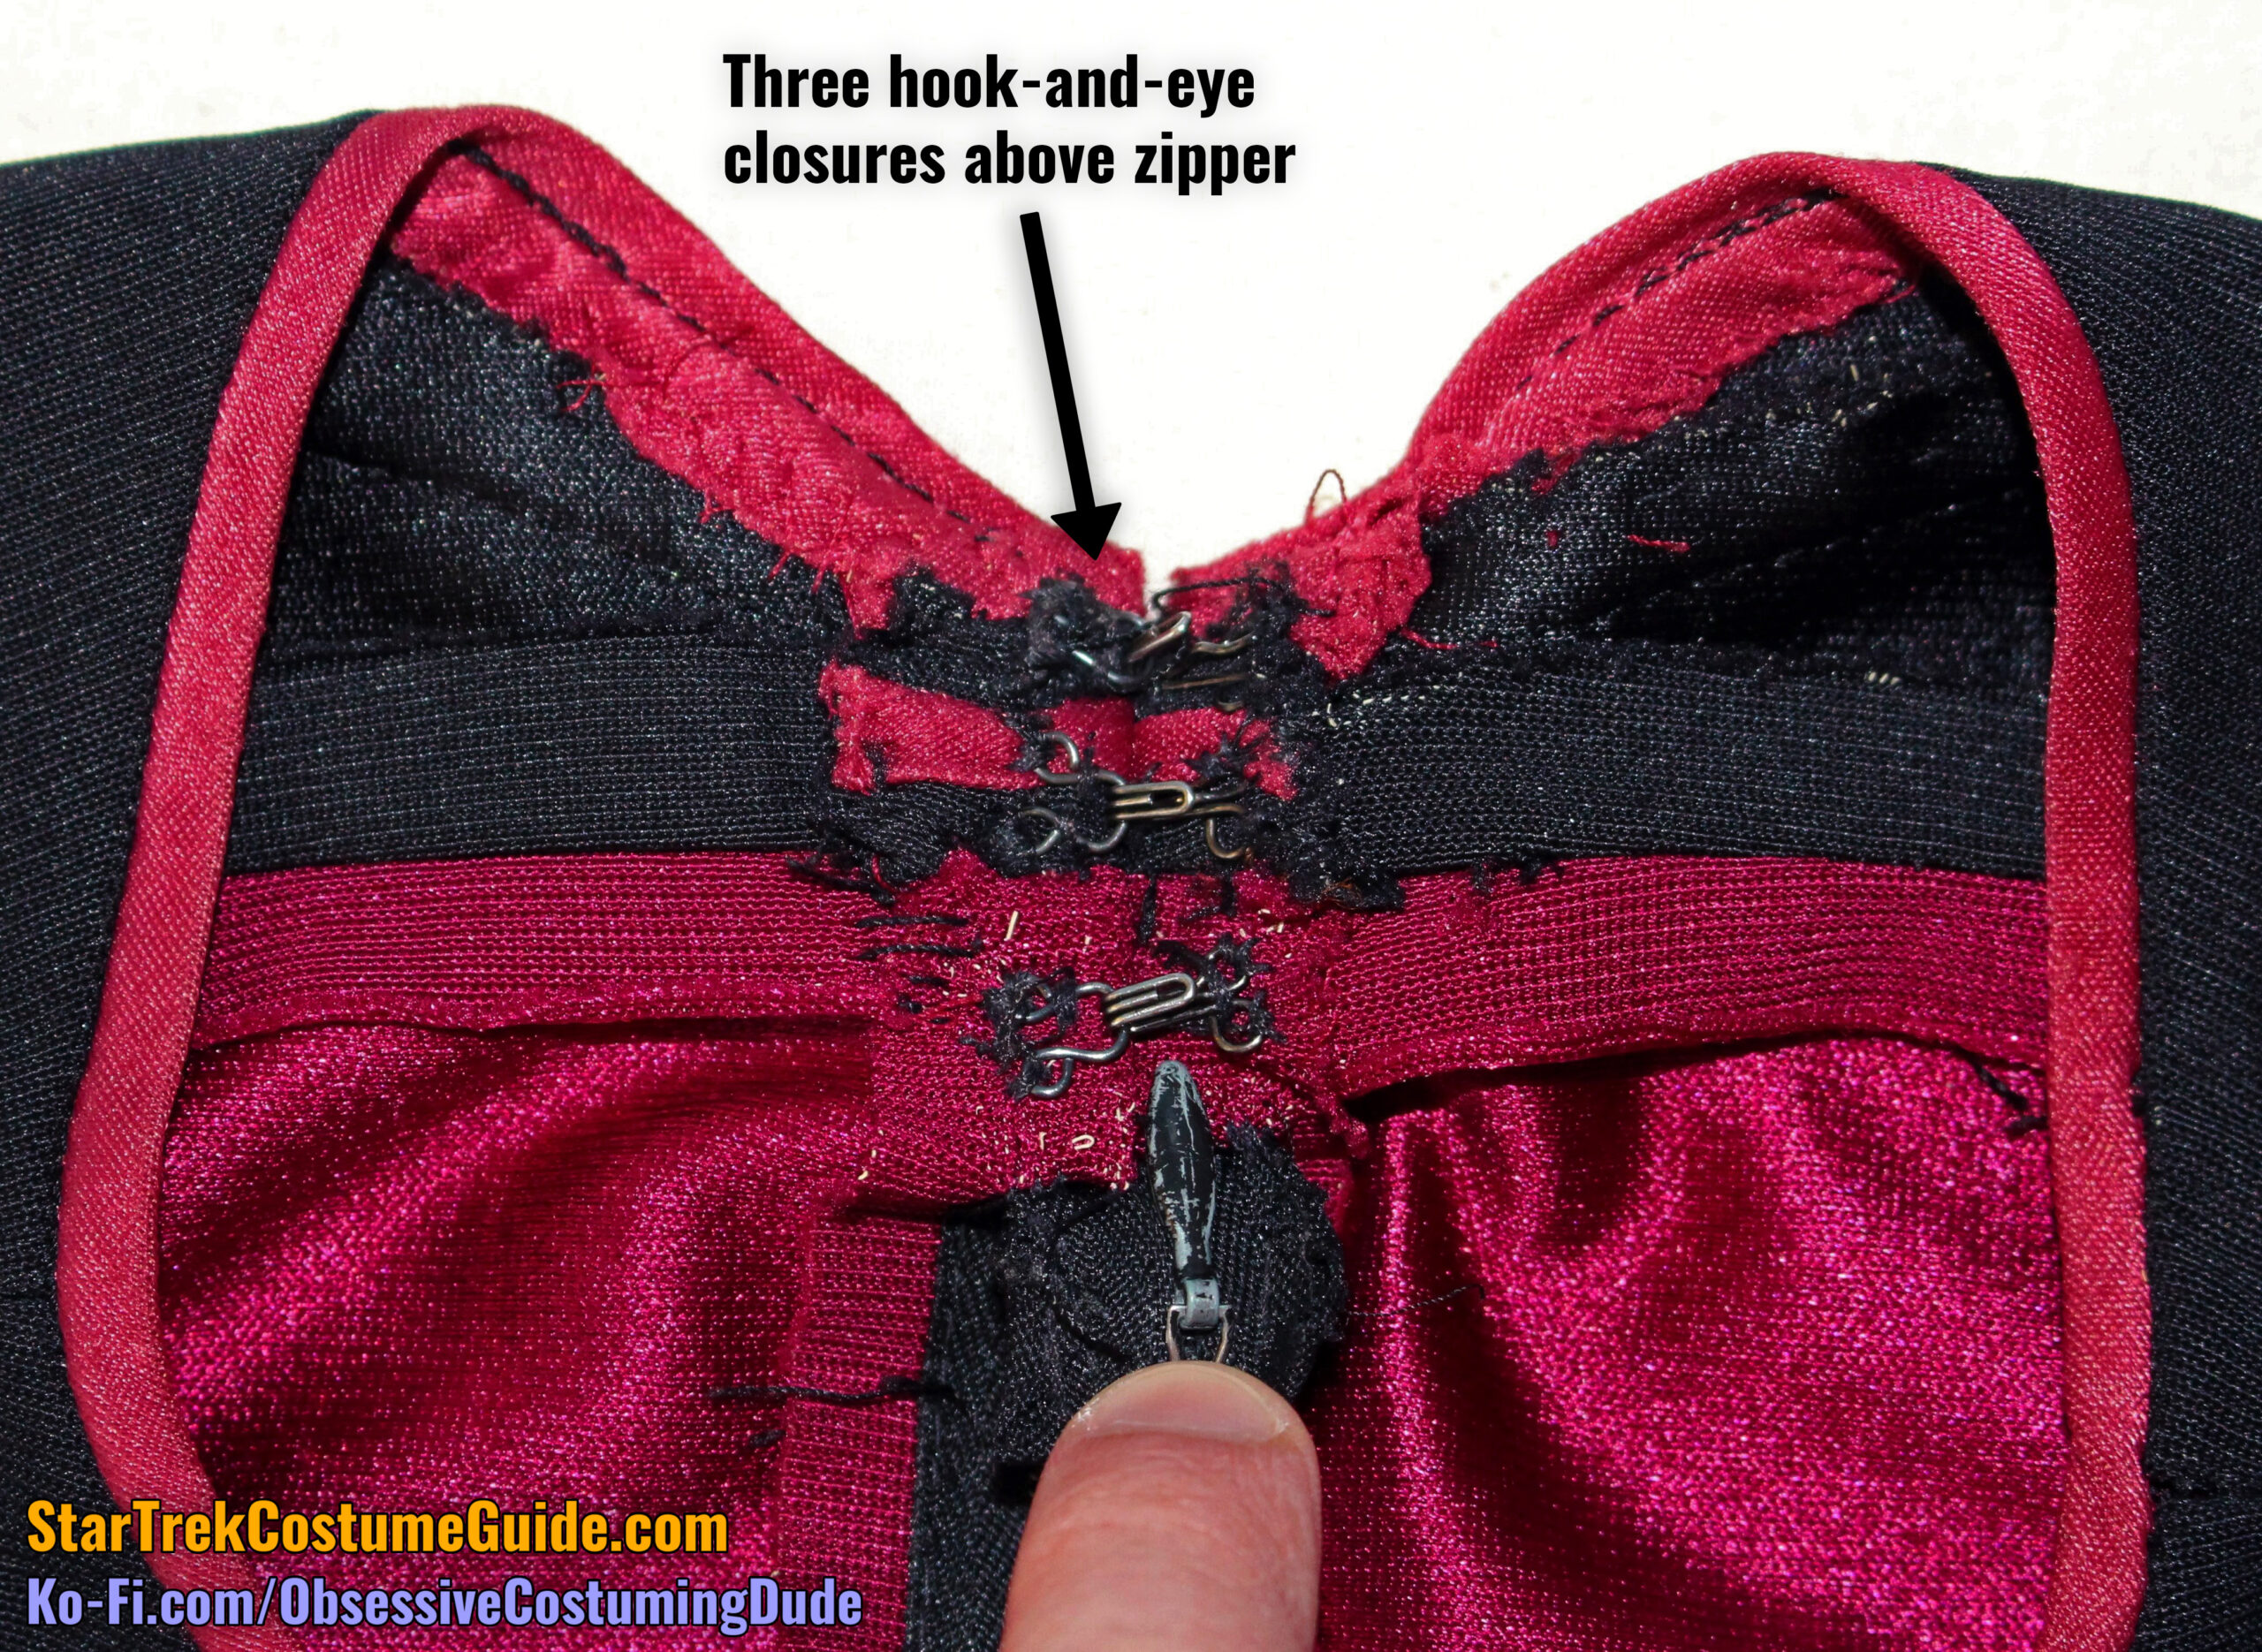
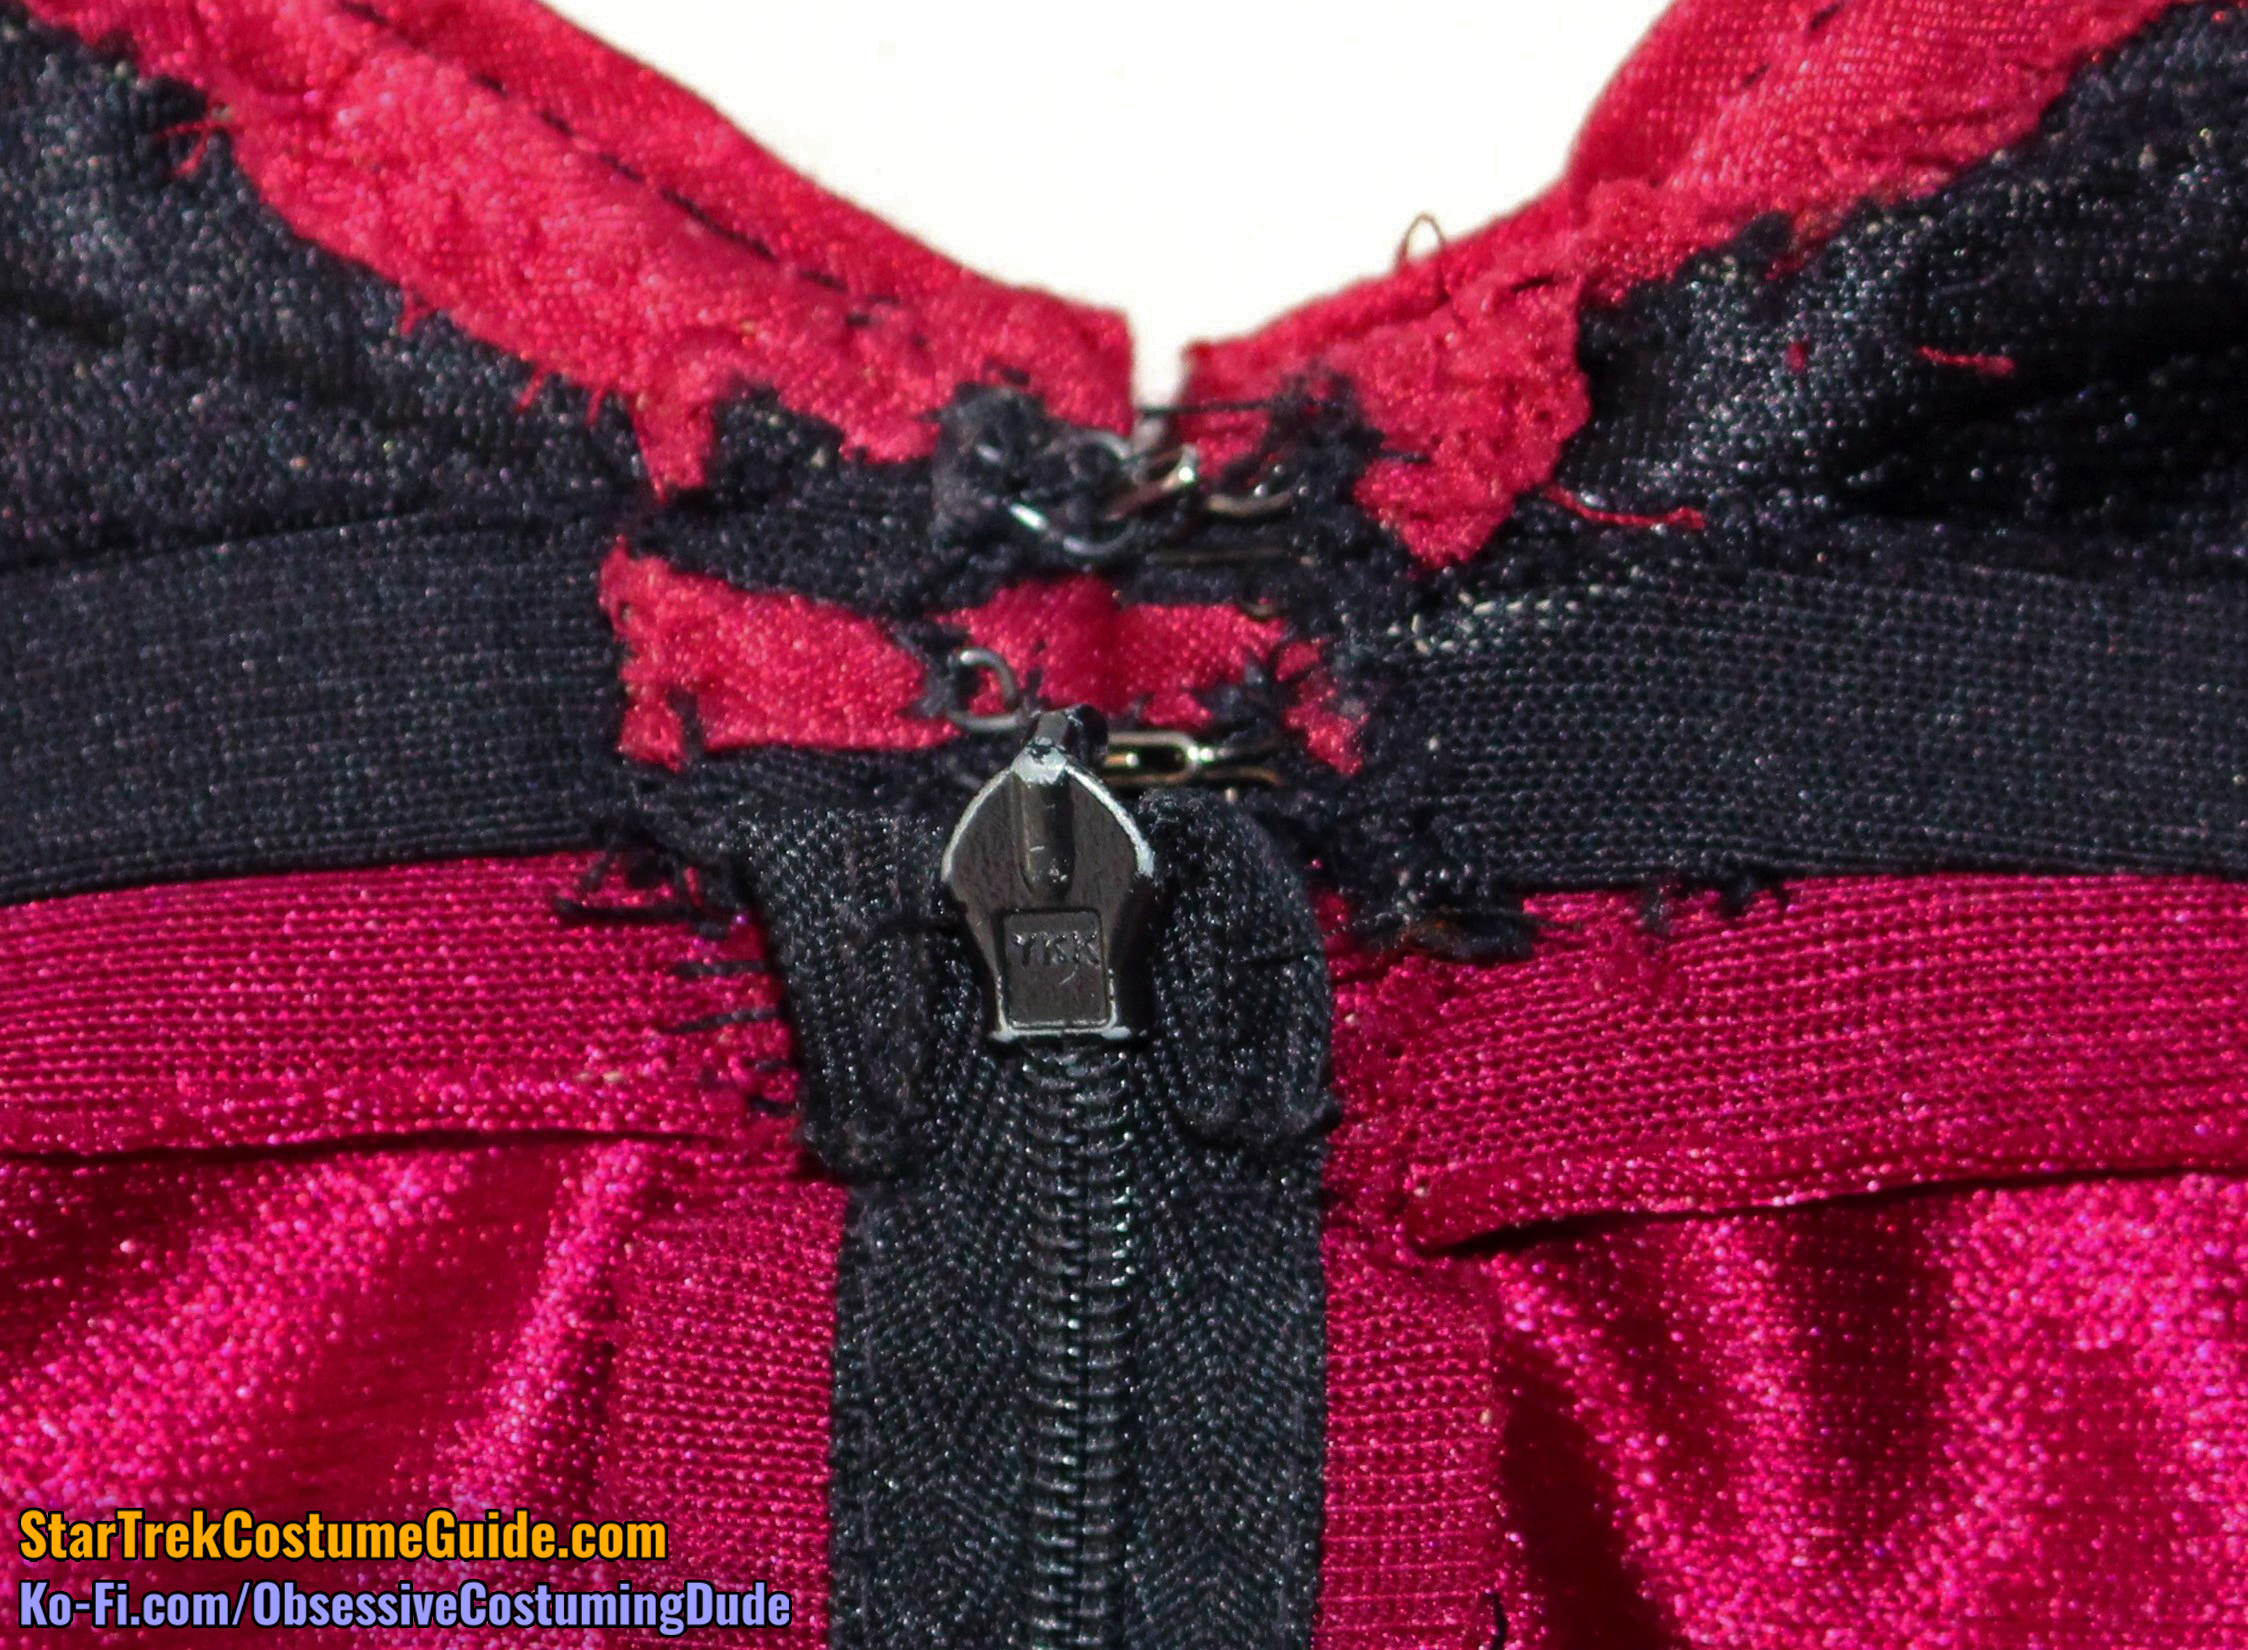
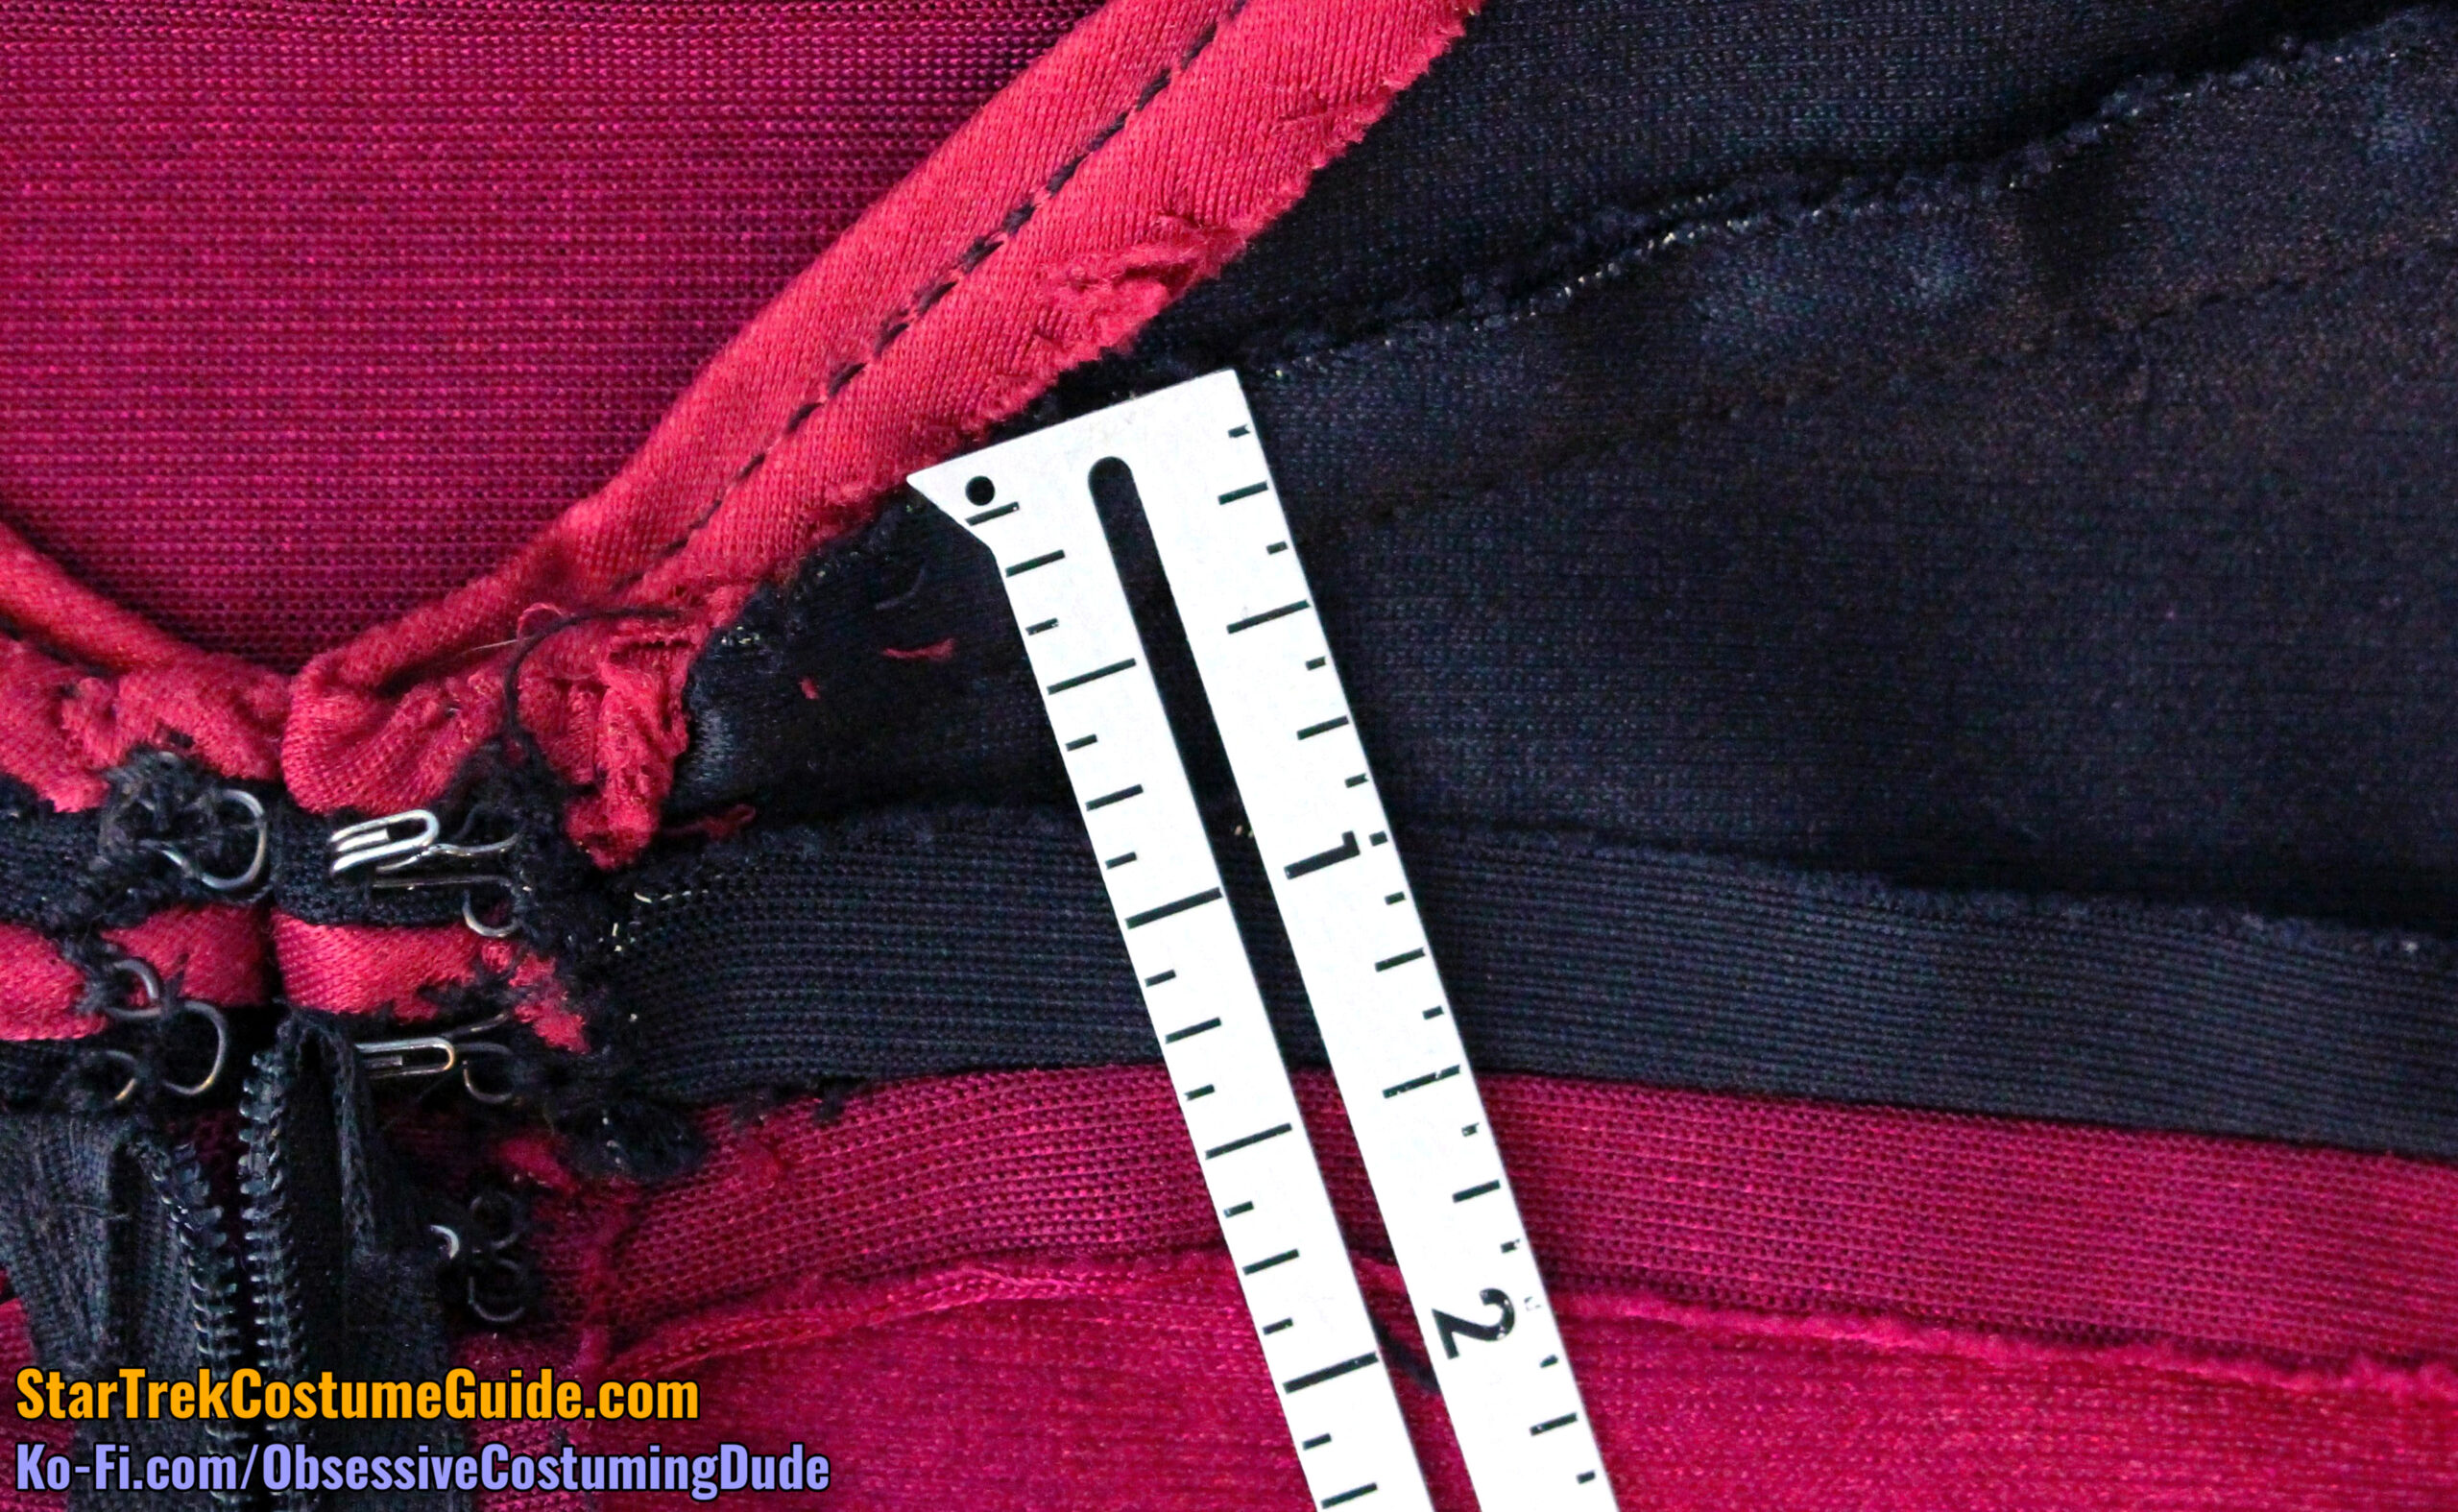
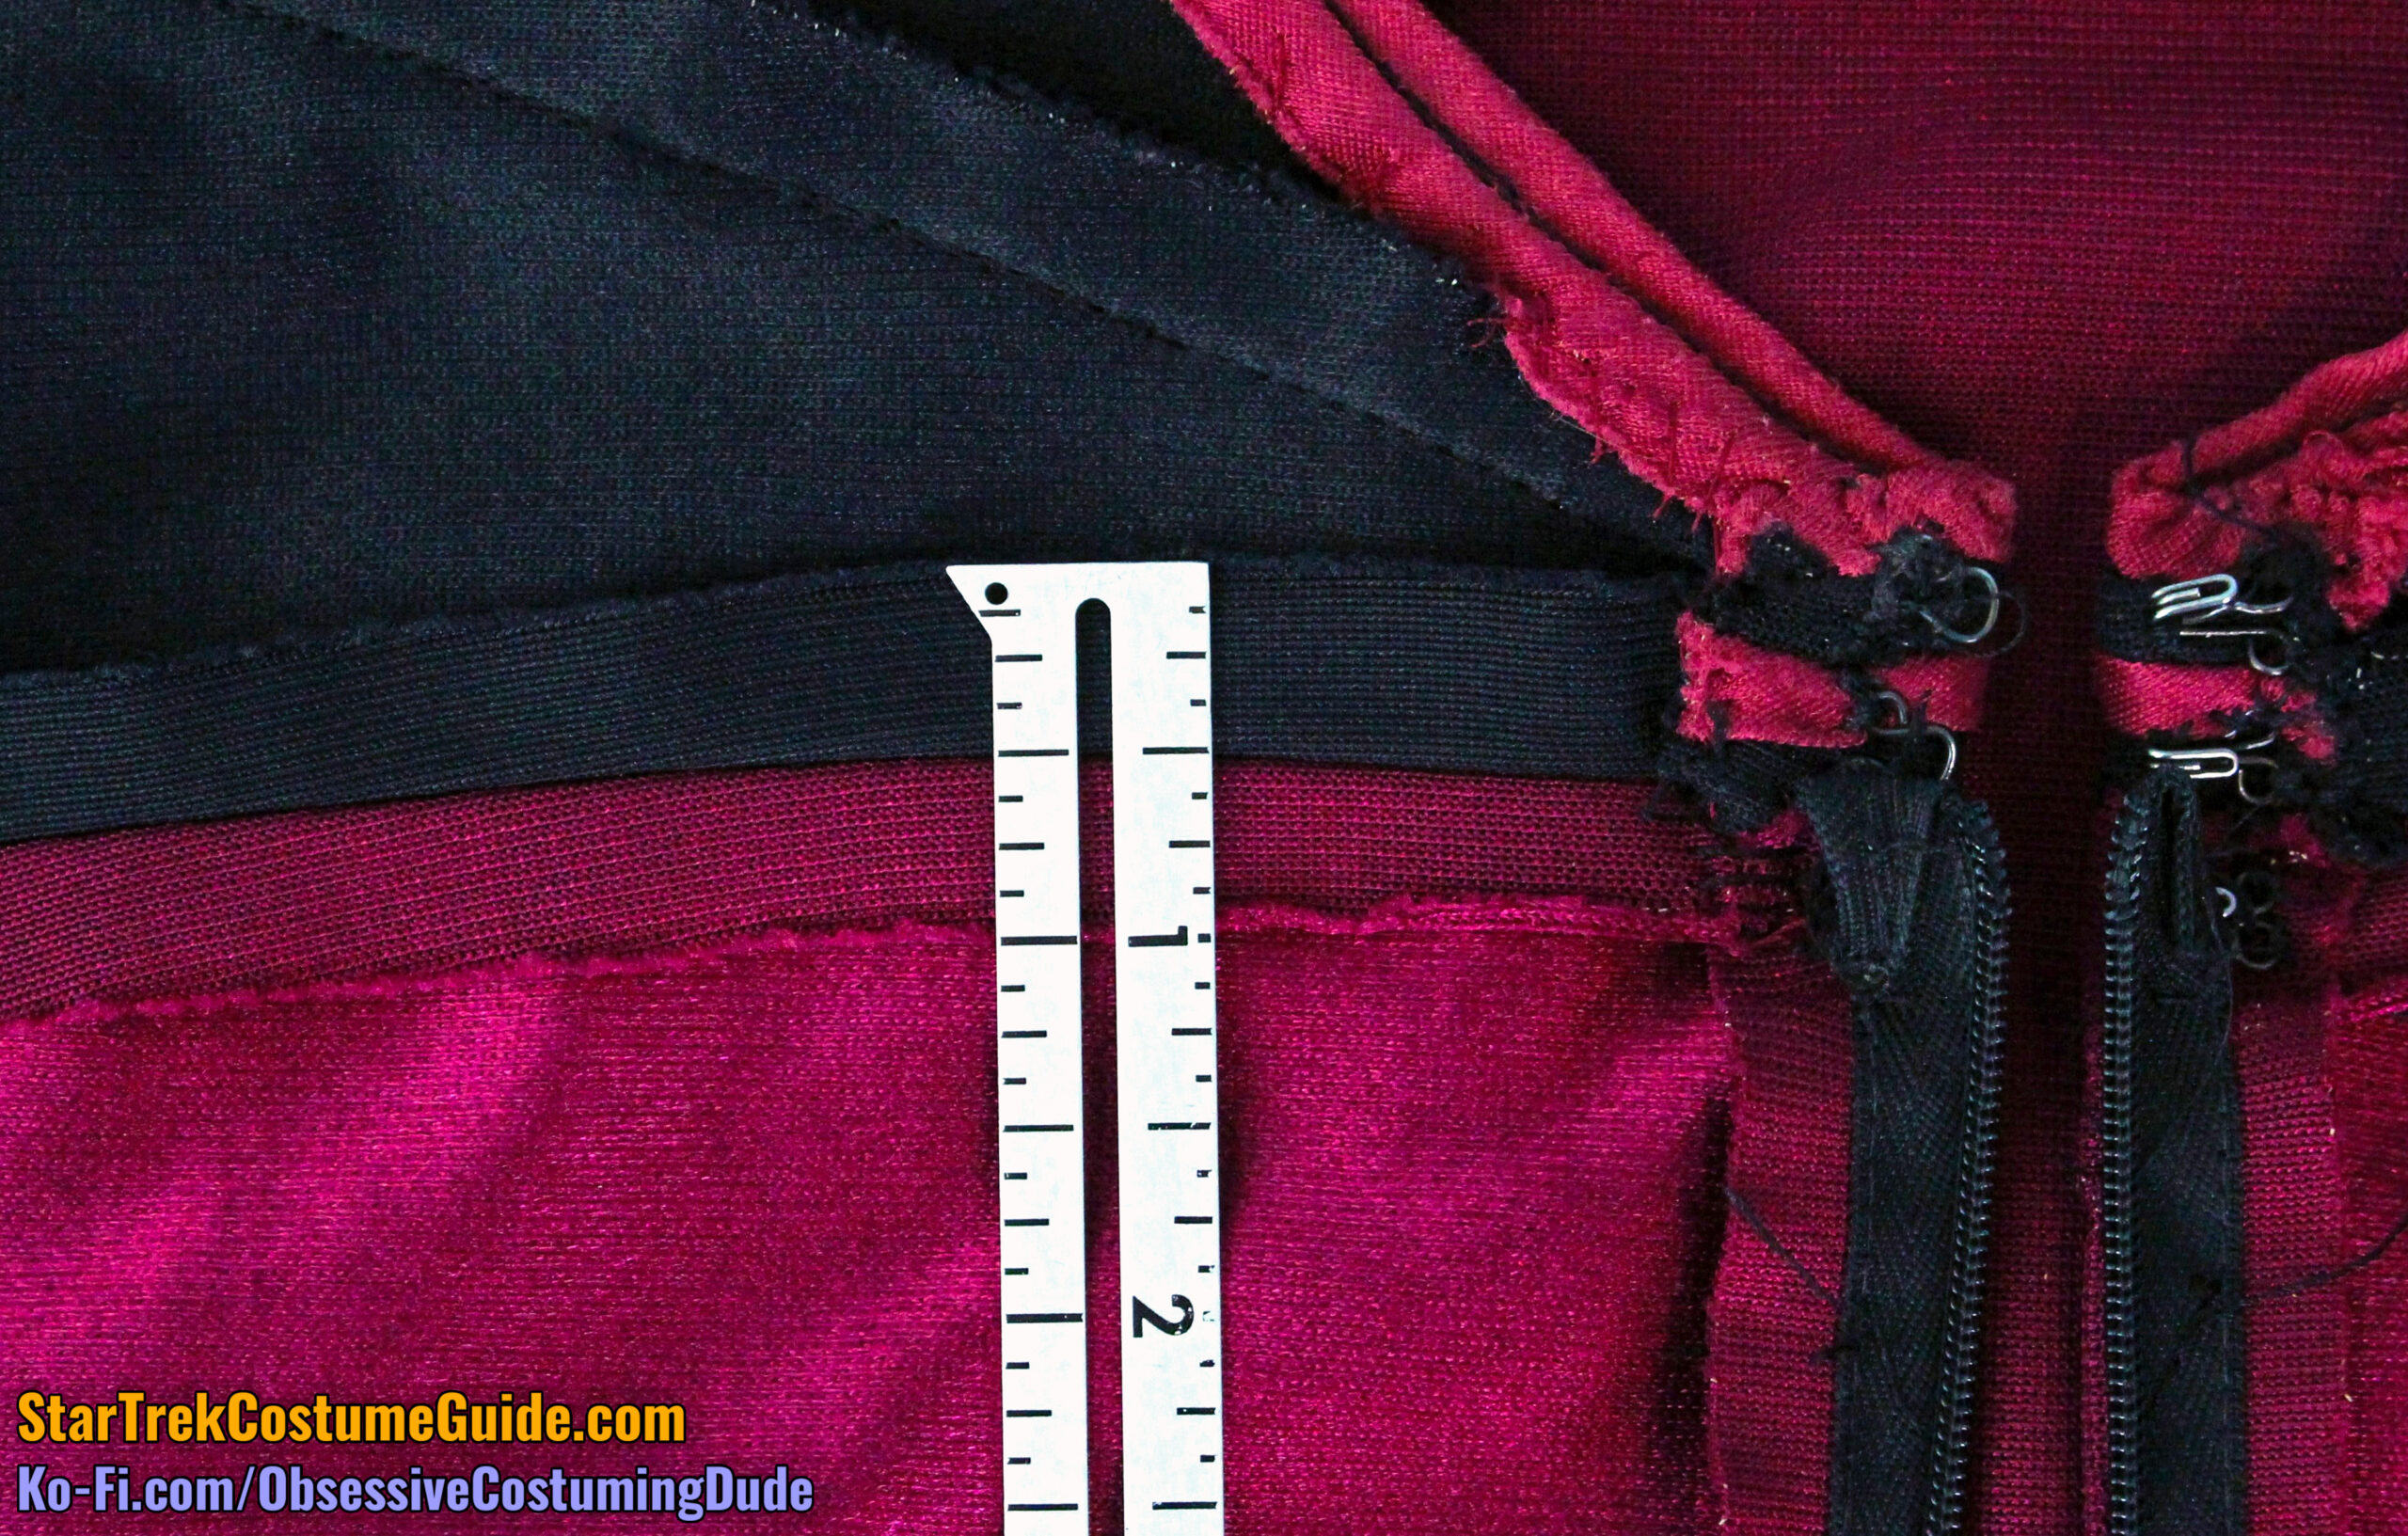
As you’re probably aware, these early-style jumpsuits closed up the front via an invisible zipper, with the top left hanging free and some hook-and-eye closures above to “seal the deal.”
In the case of this Worf jumpsuit, there were actually three hook-and-eye closures above the zipper (whereas the Tasha Yar and Beverly Crusher jumpsuits only had two).
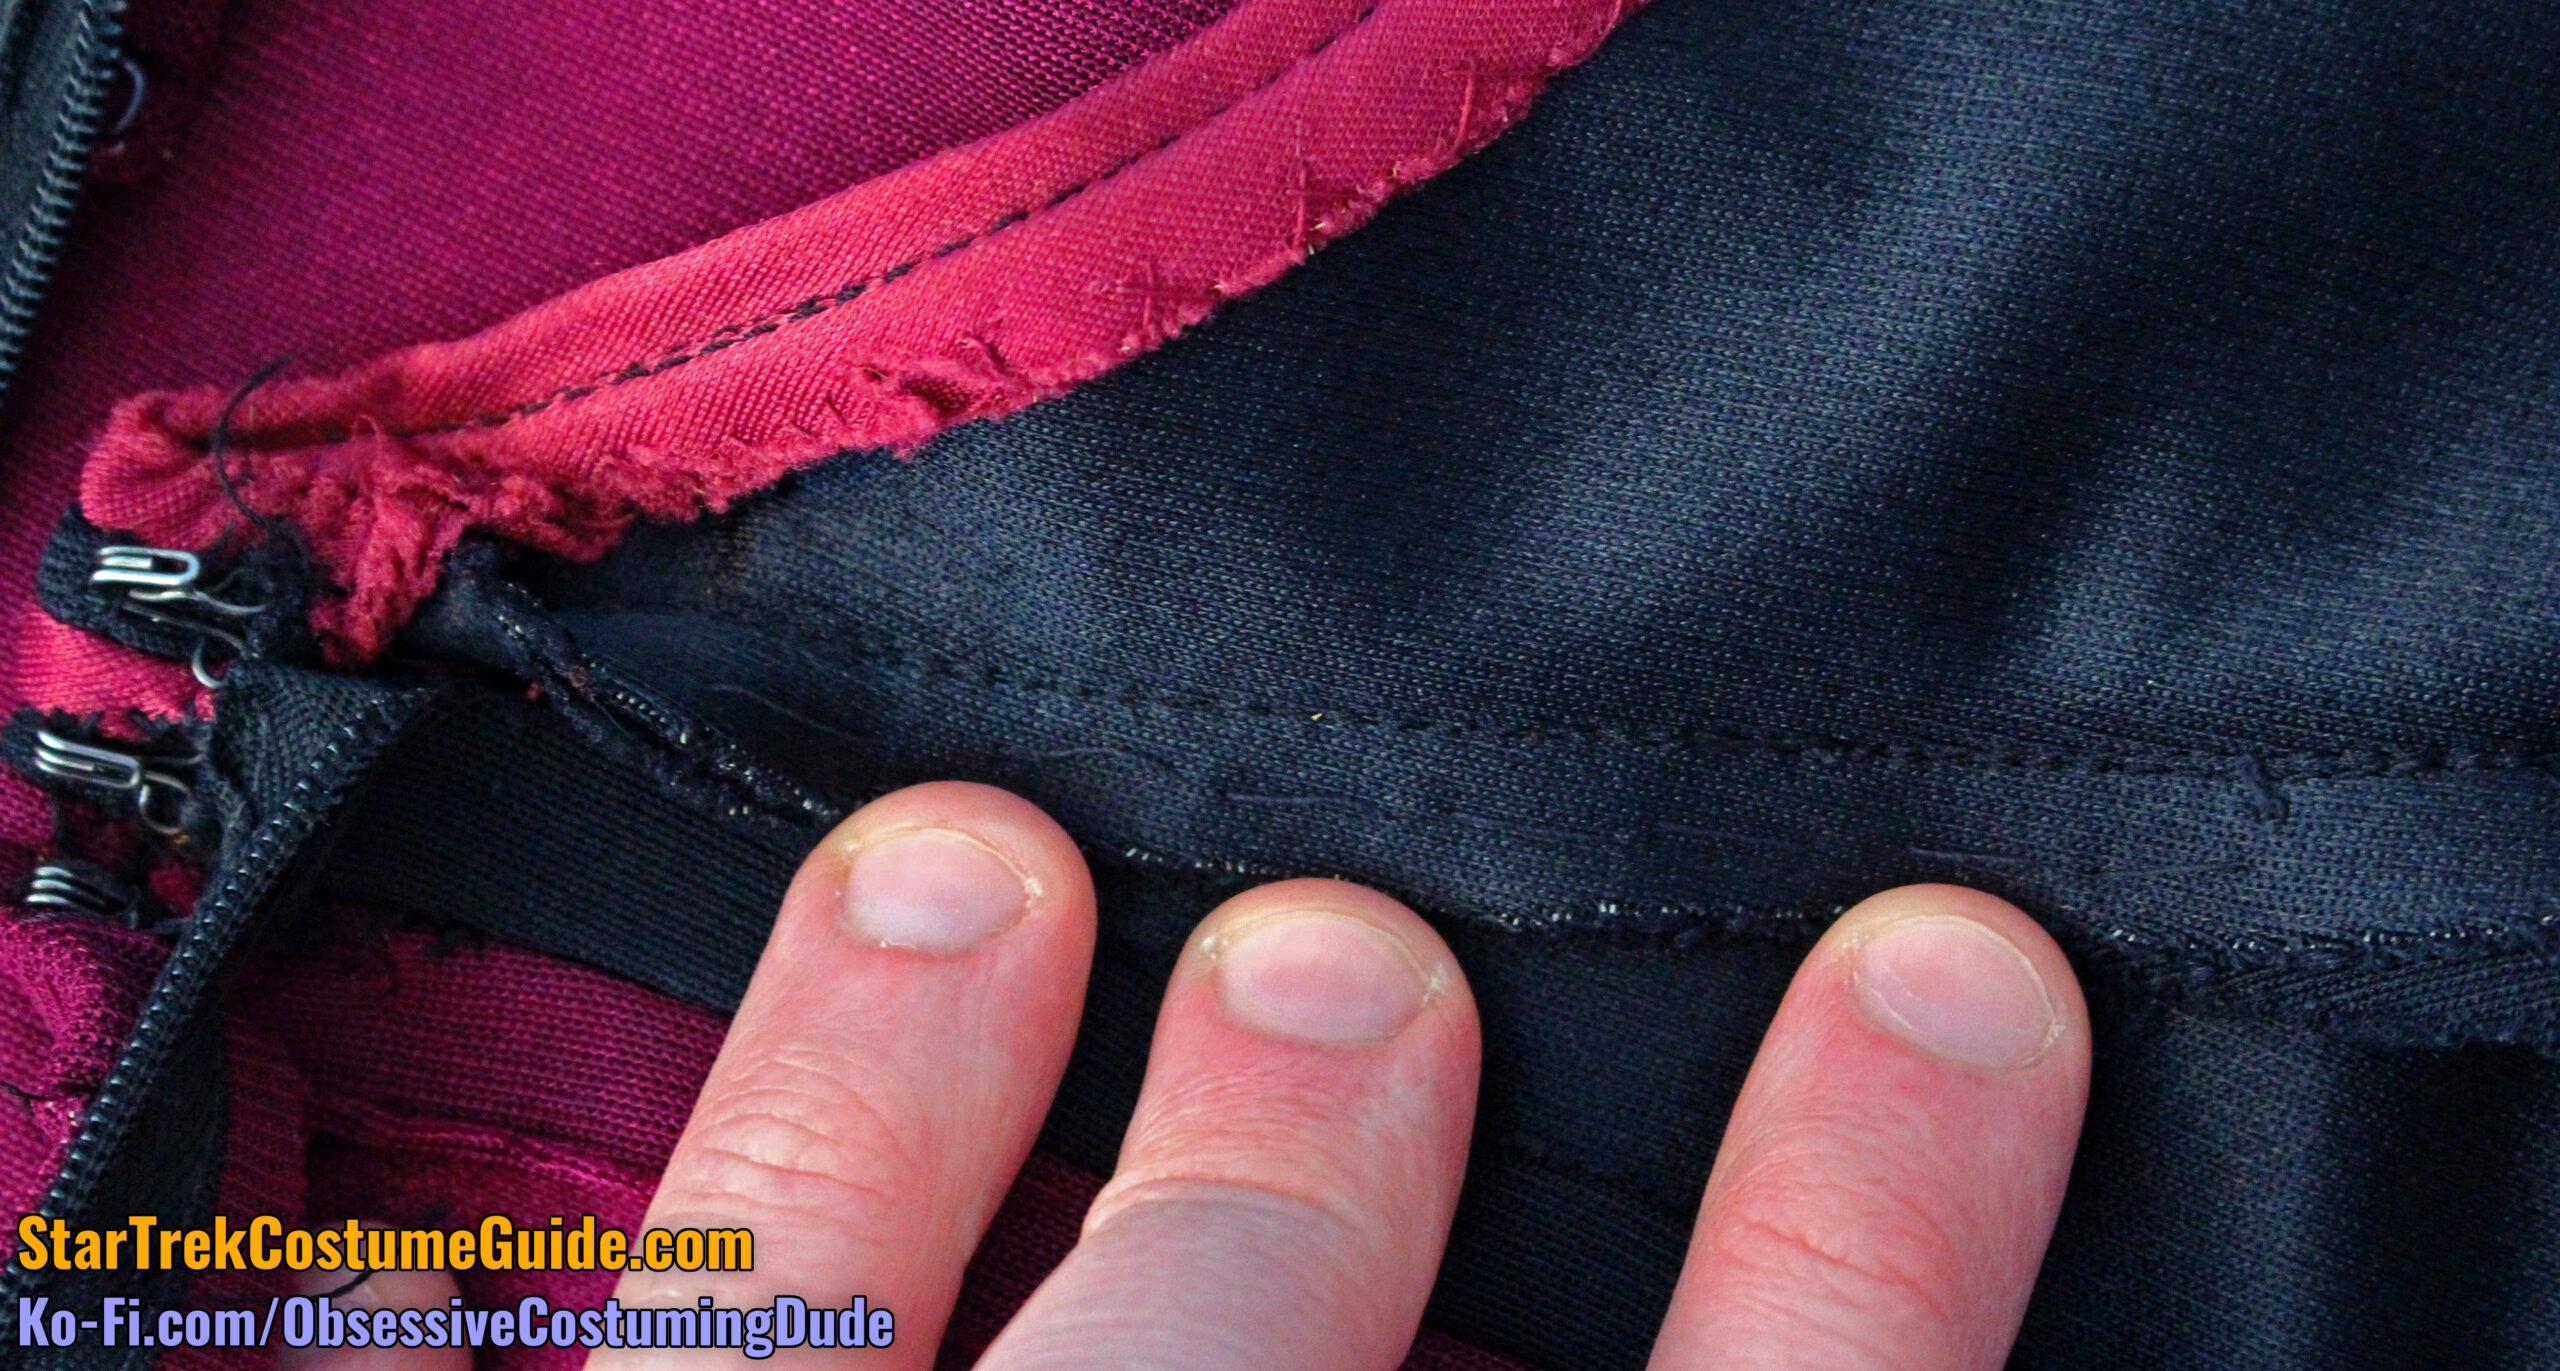
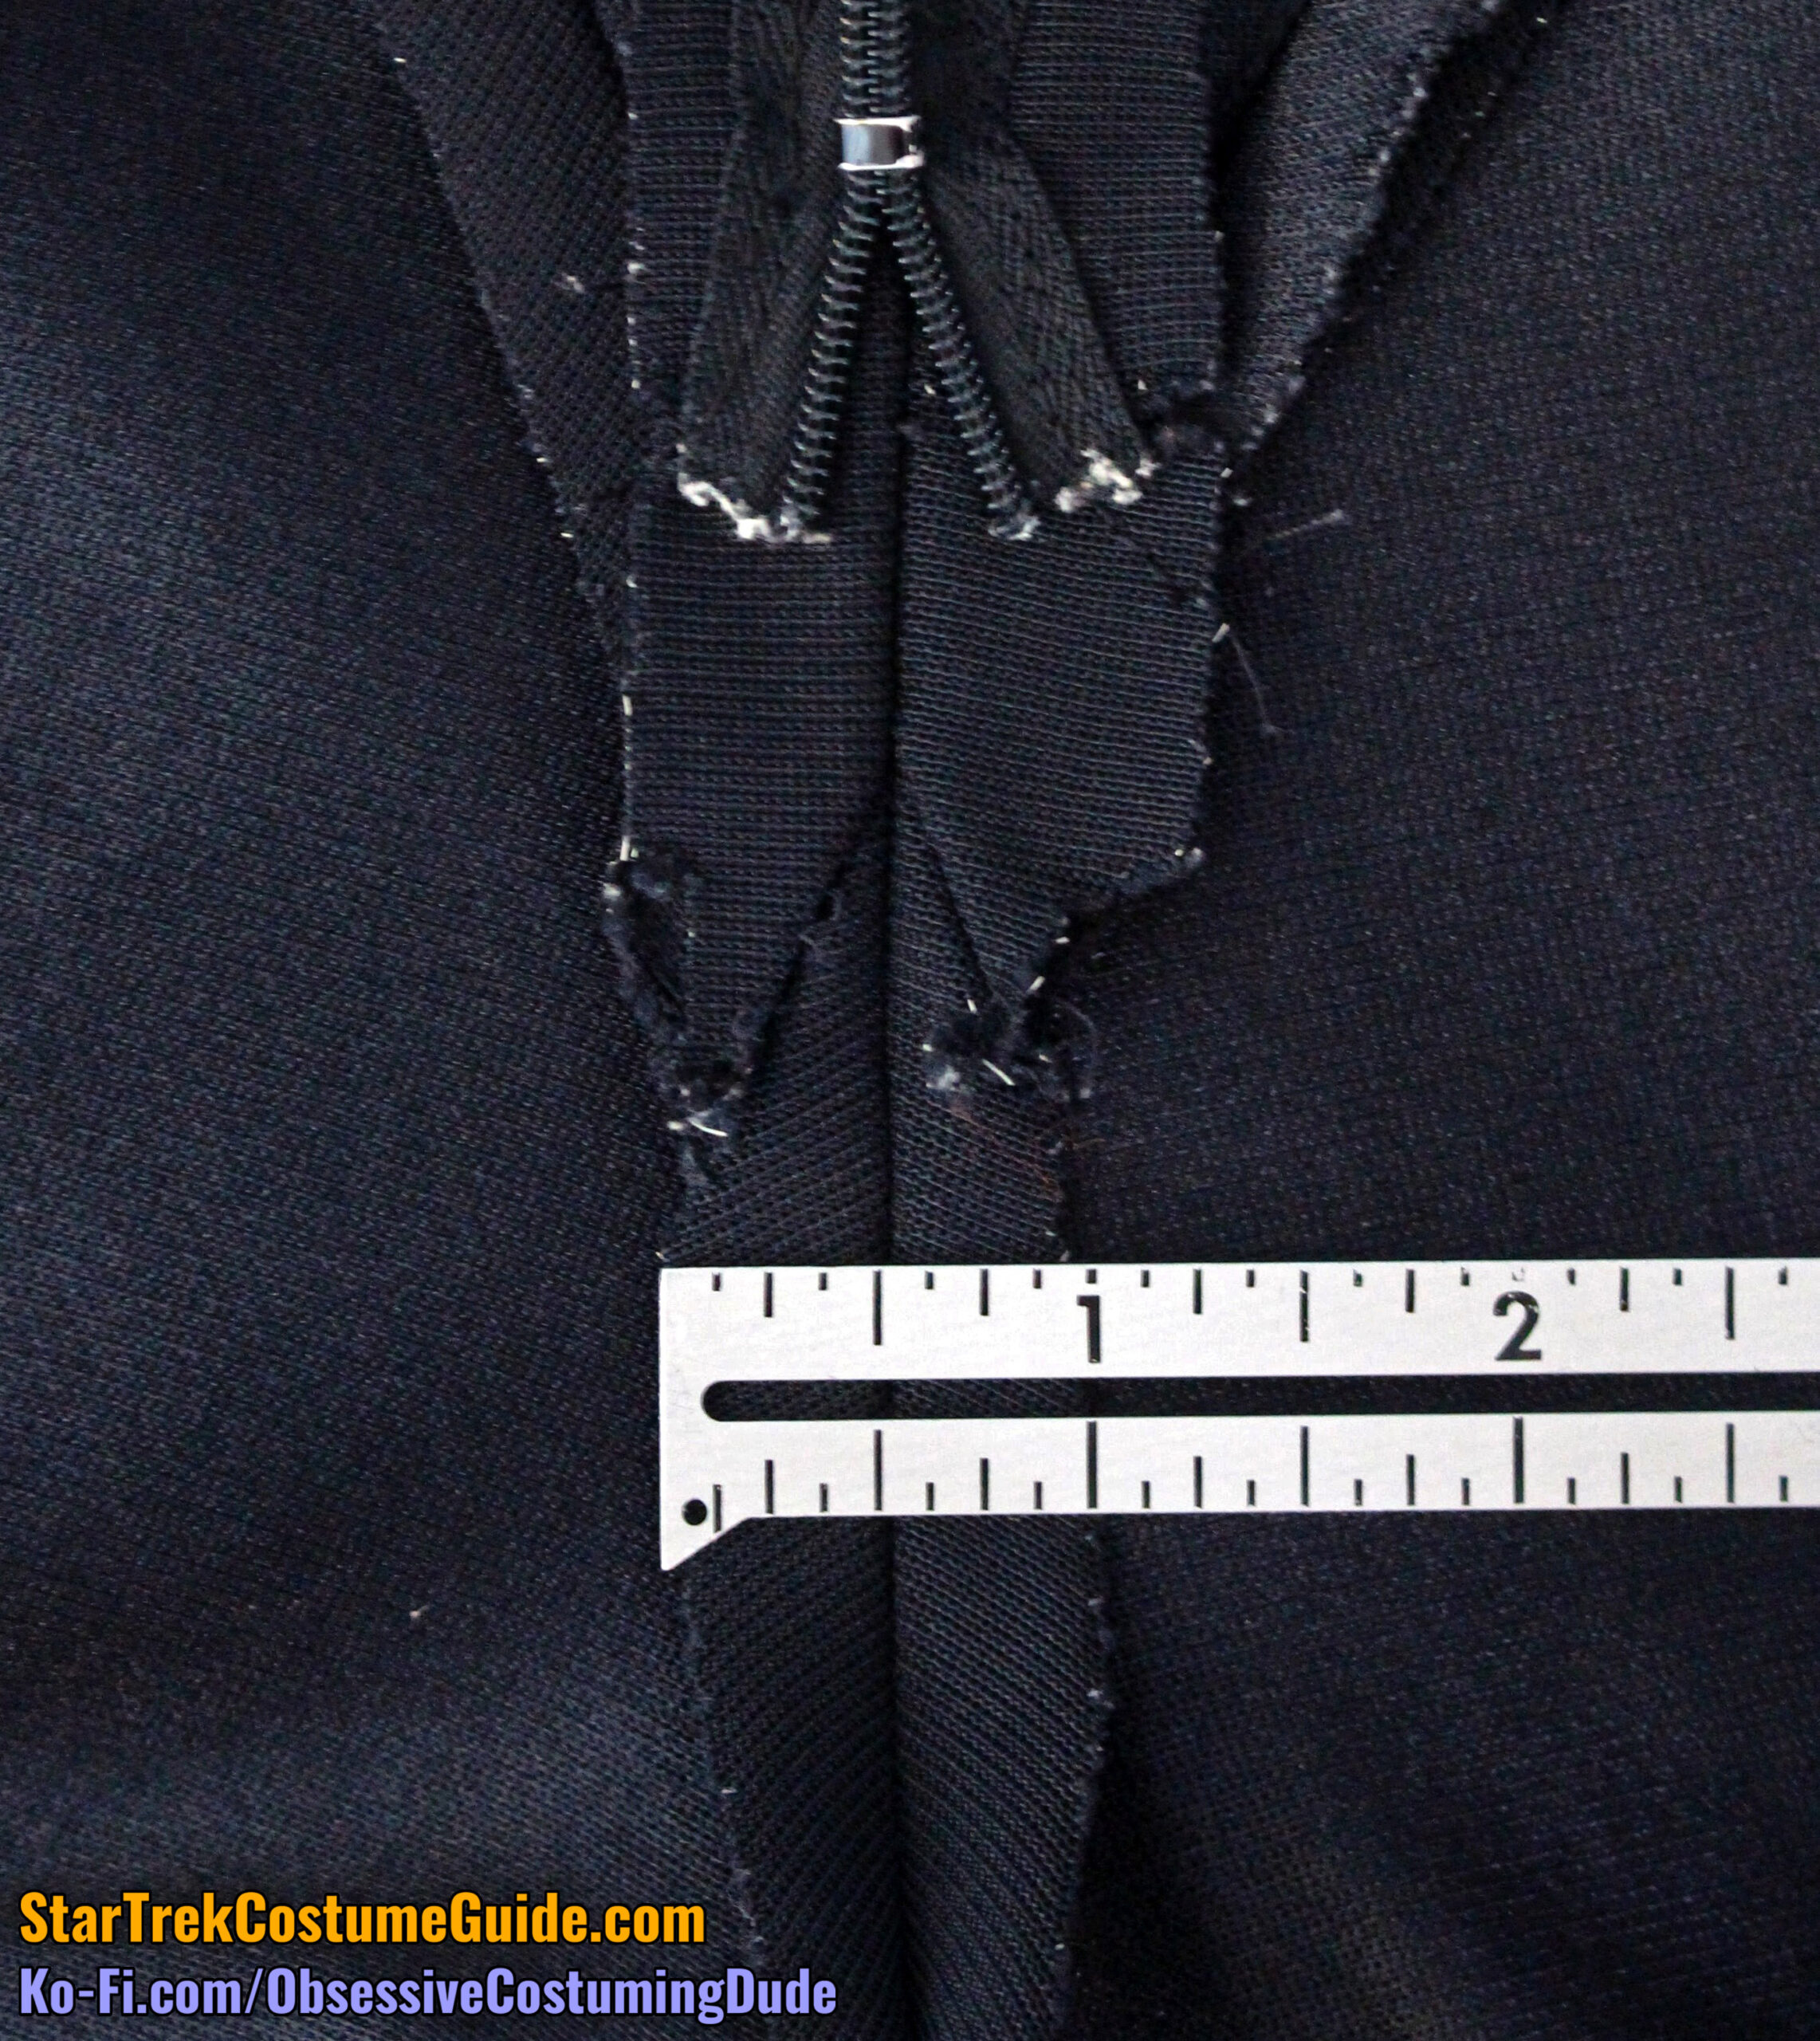
As I’ve mentioned before, the excess zipper tape at the top of the invisible zippers was handled different ways on different uniforms; on this Worf jumpsuit, it was turned under and machine-sewn down.
The invisible zipper was 19 ½” long, plus seam allowance and upper excess – apparently a standard retail invisible zipper.
INTERIOR CONSTRUCTION
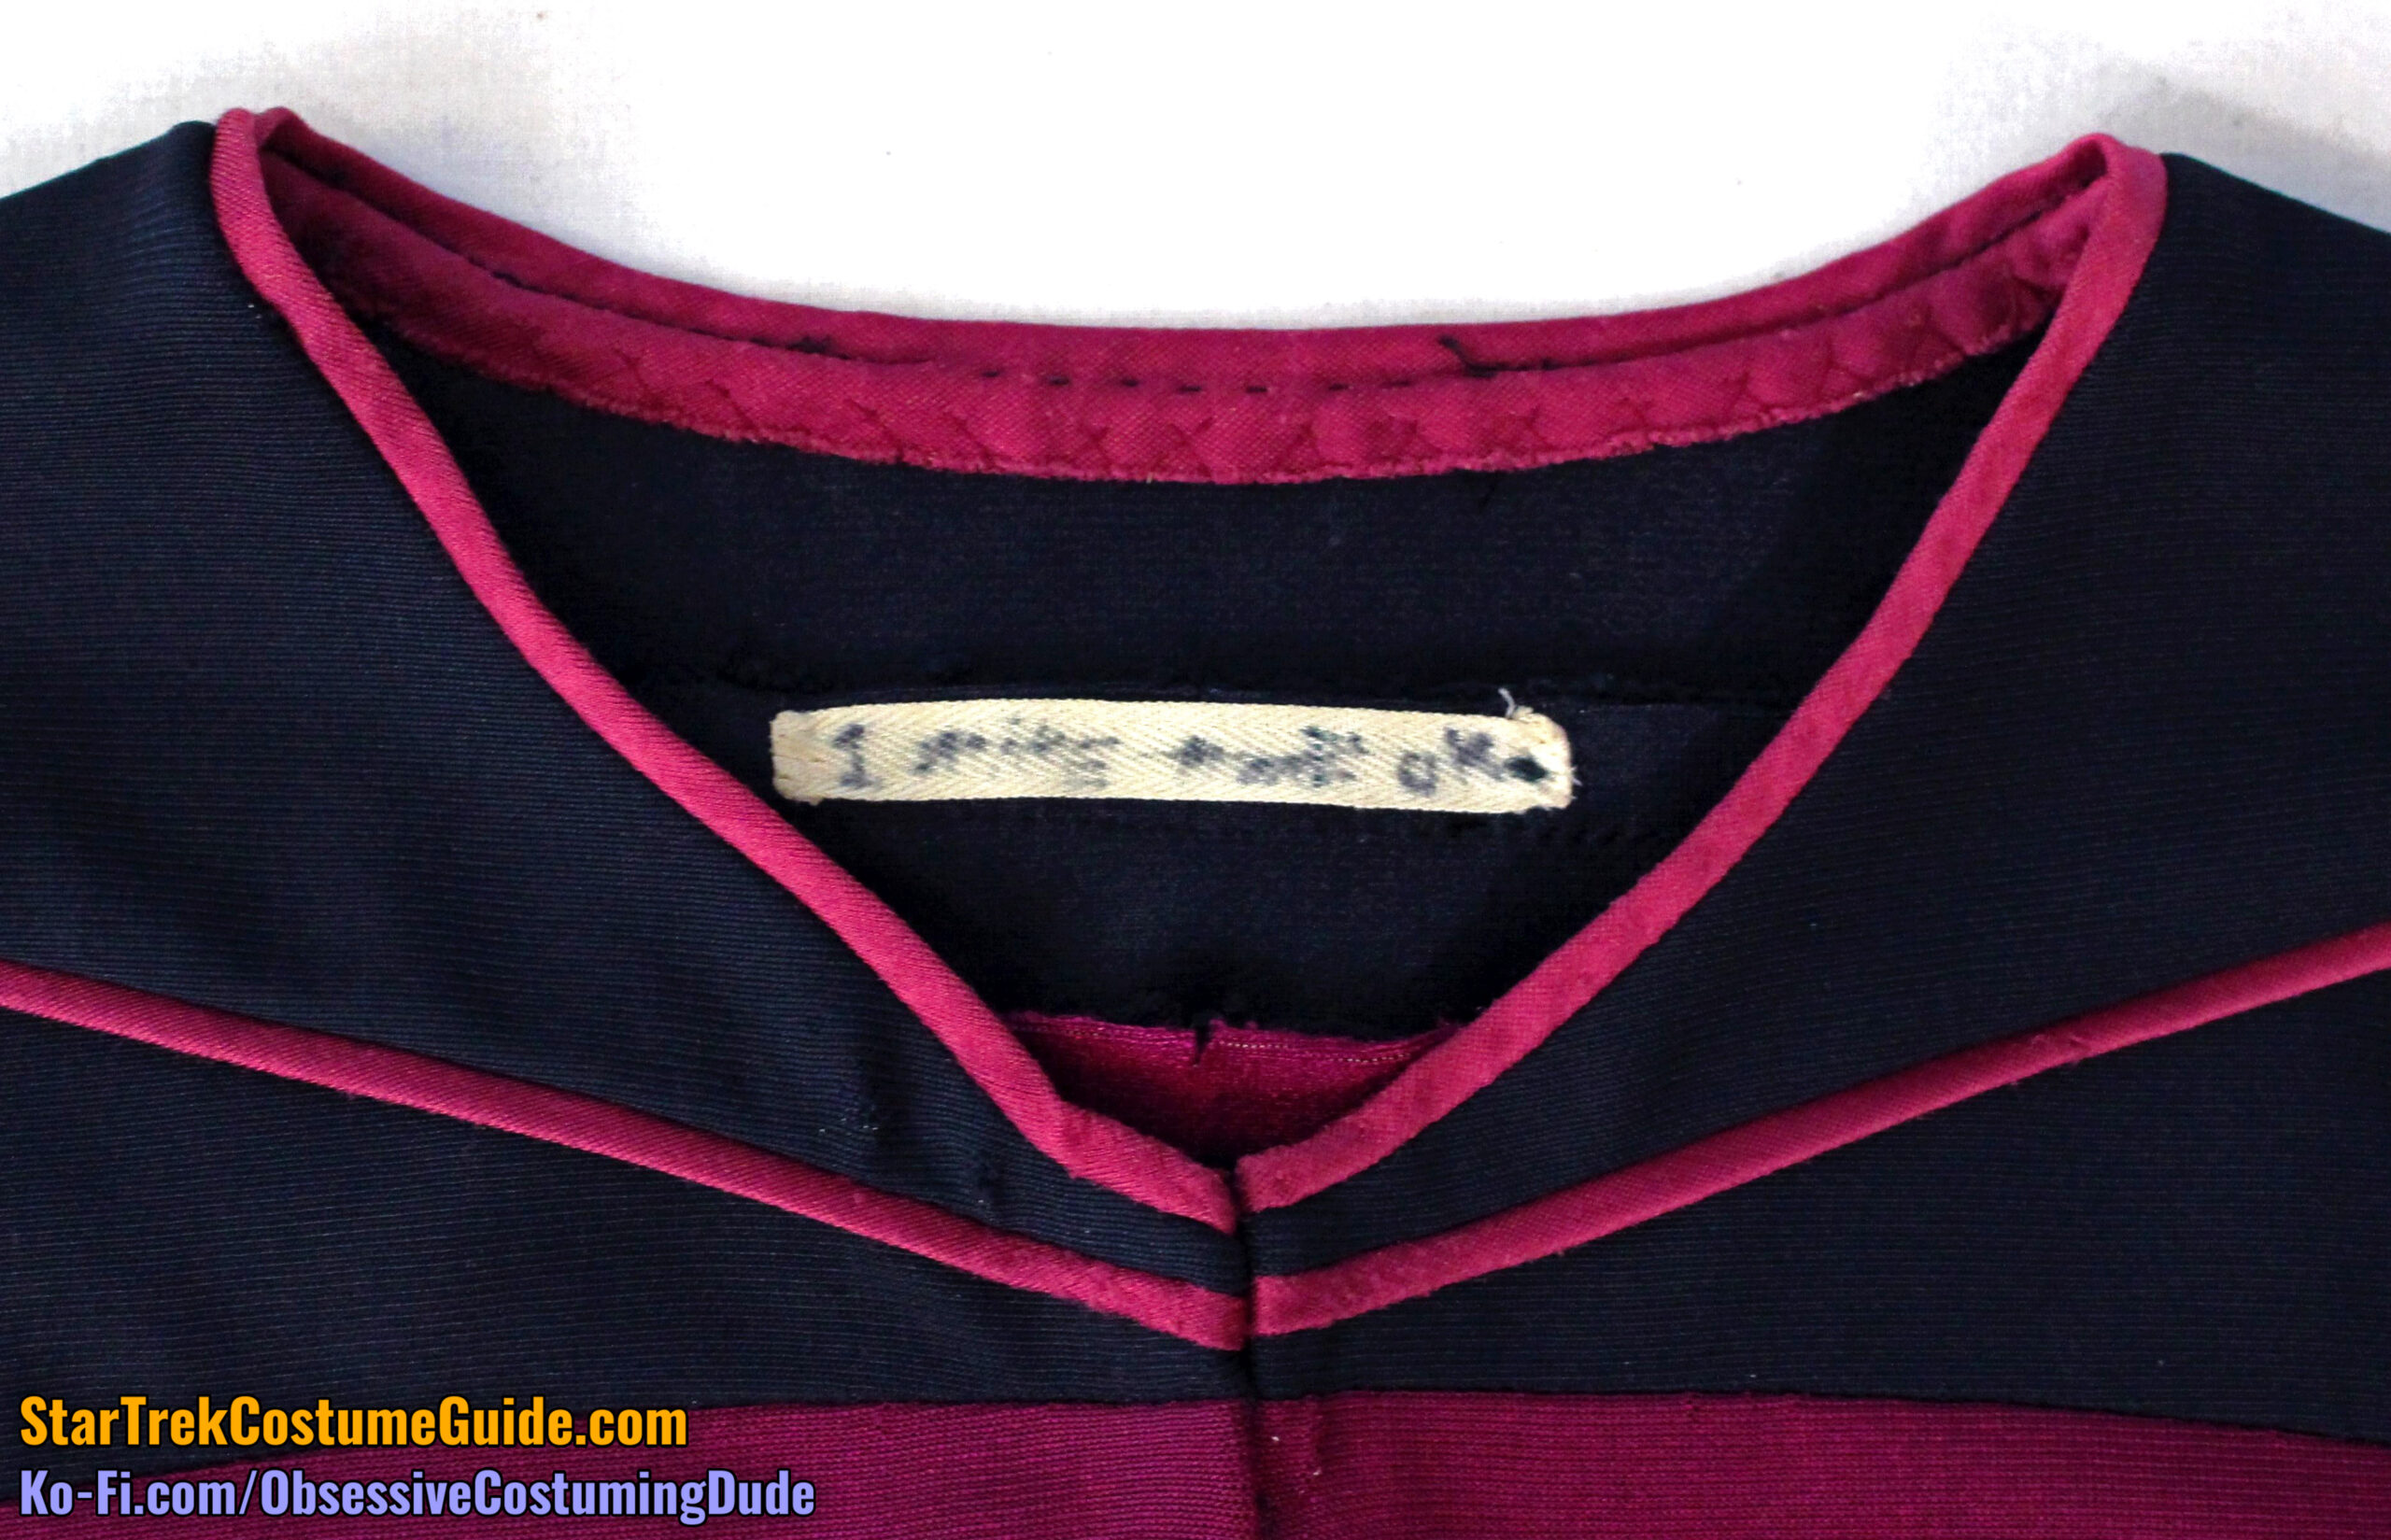
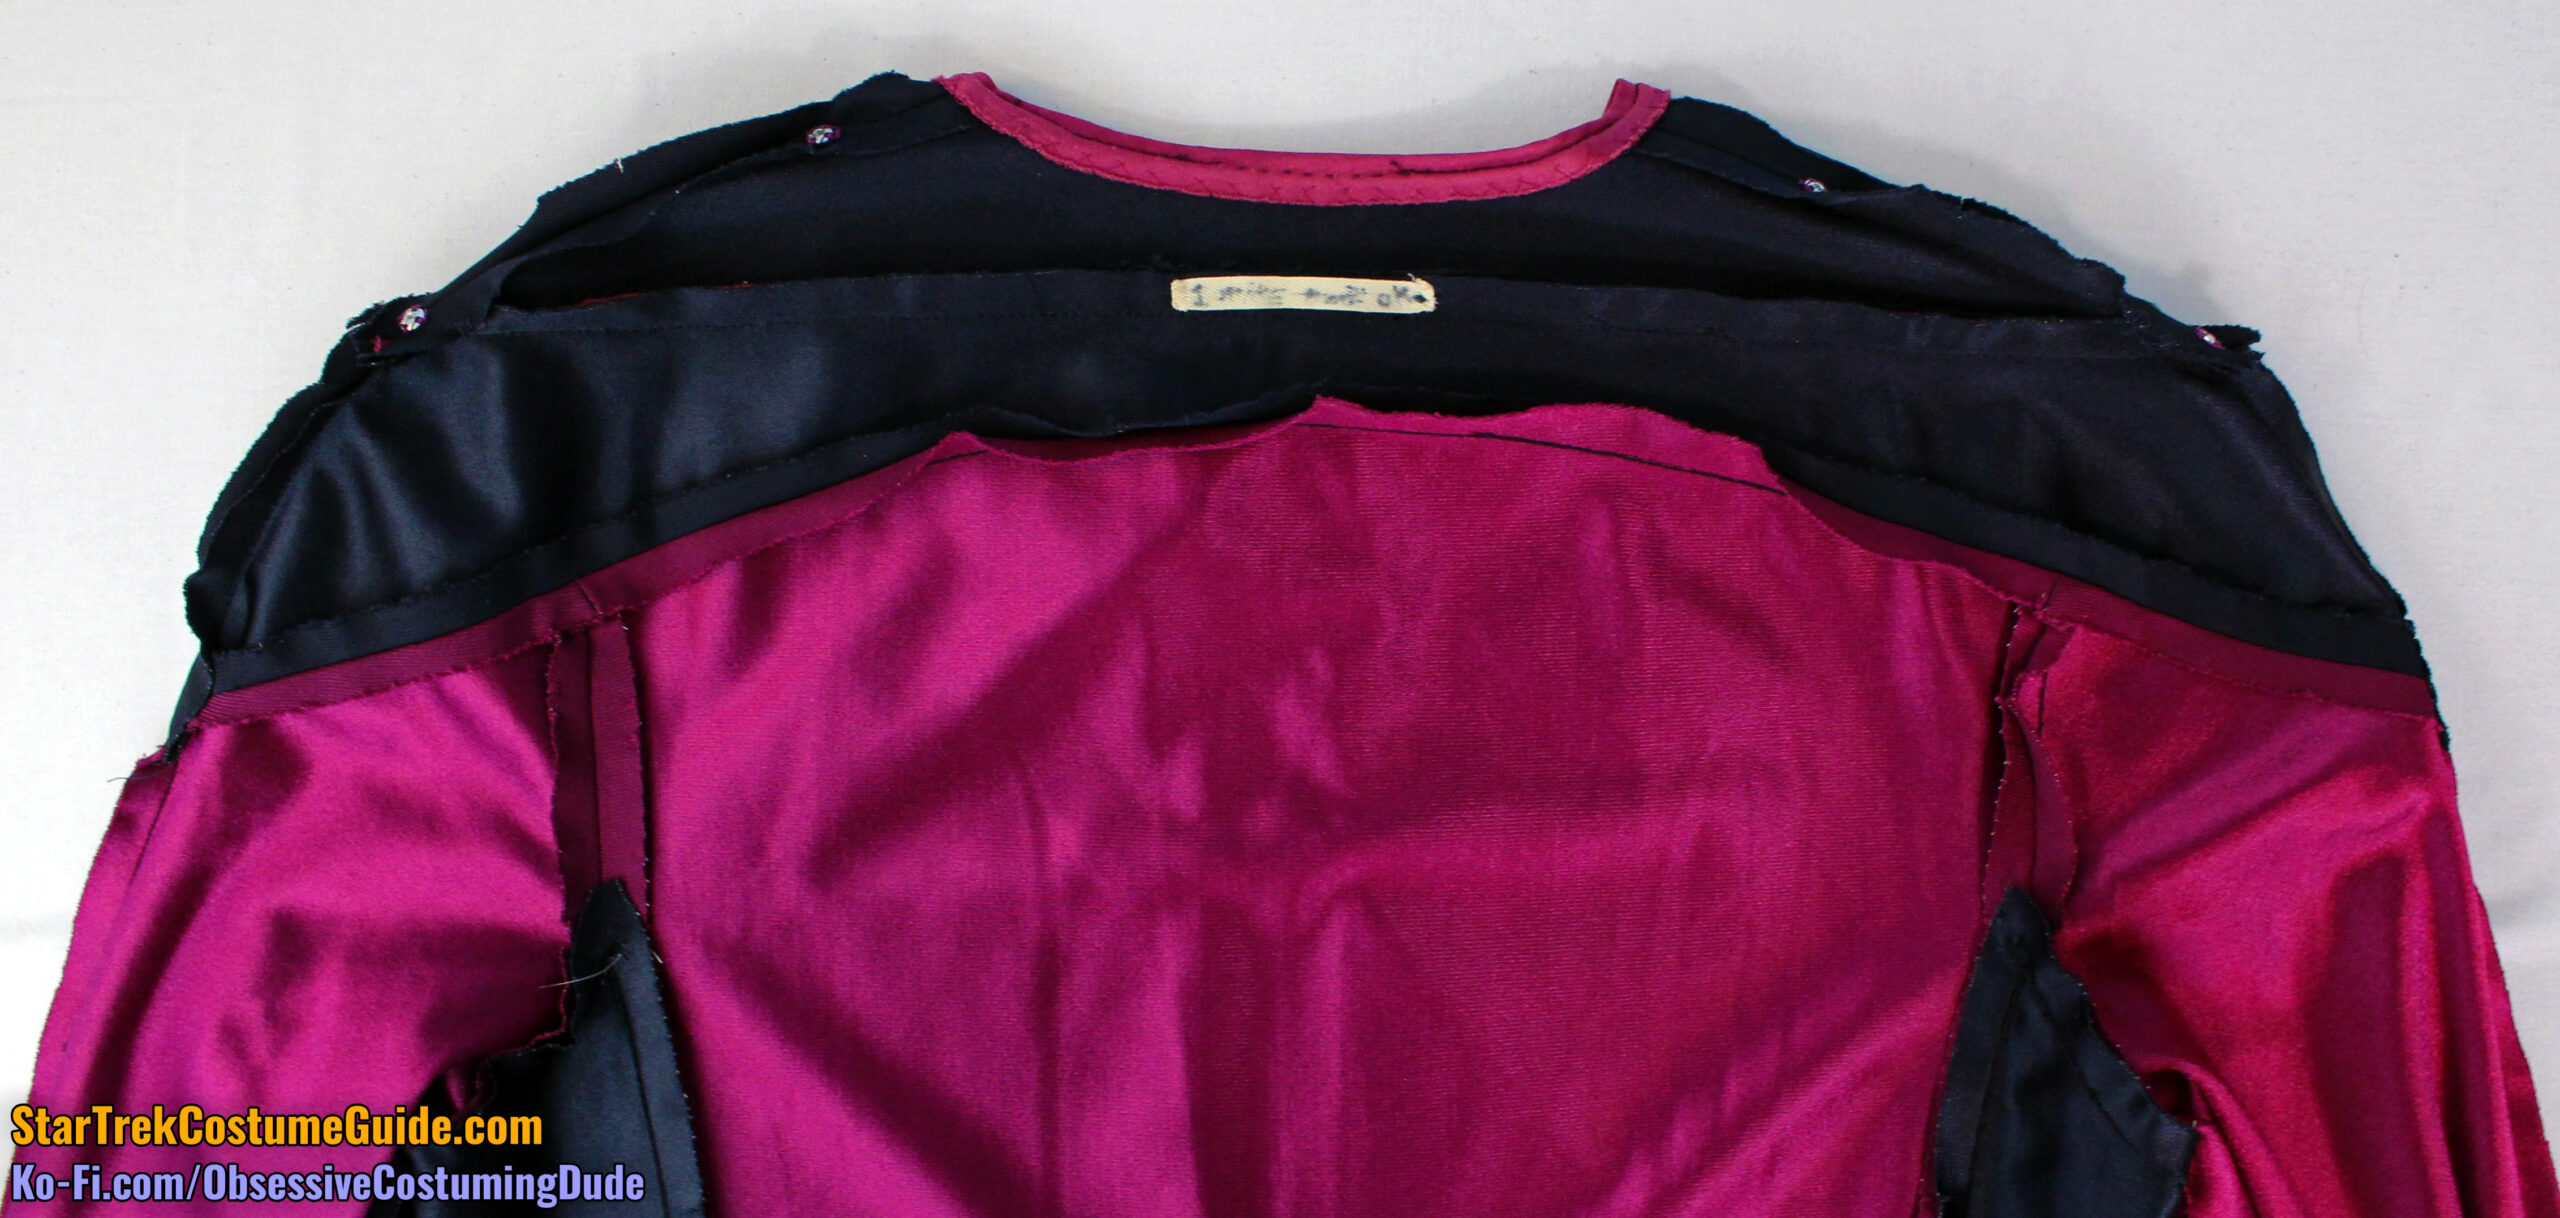
There was only one interior production tag, which was white cotton twill tape hand-sewn to the upper/lower back yoke seam allowances.
Written in marker was “1 Mike [unintelligible] OK.”
The “1” was presumably a production number, and “Mike” was surely referring to Michael Dorn.
I can only assume that the “OK” was indicative of this particular jumpsuit being approved for production use, despite having minor stains (etc.) It looks to have seen some action!
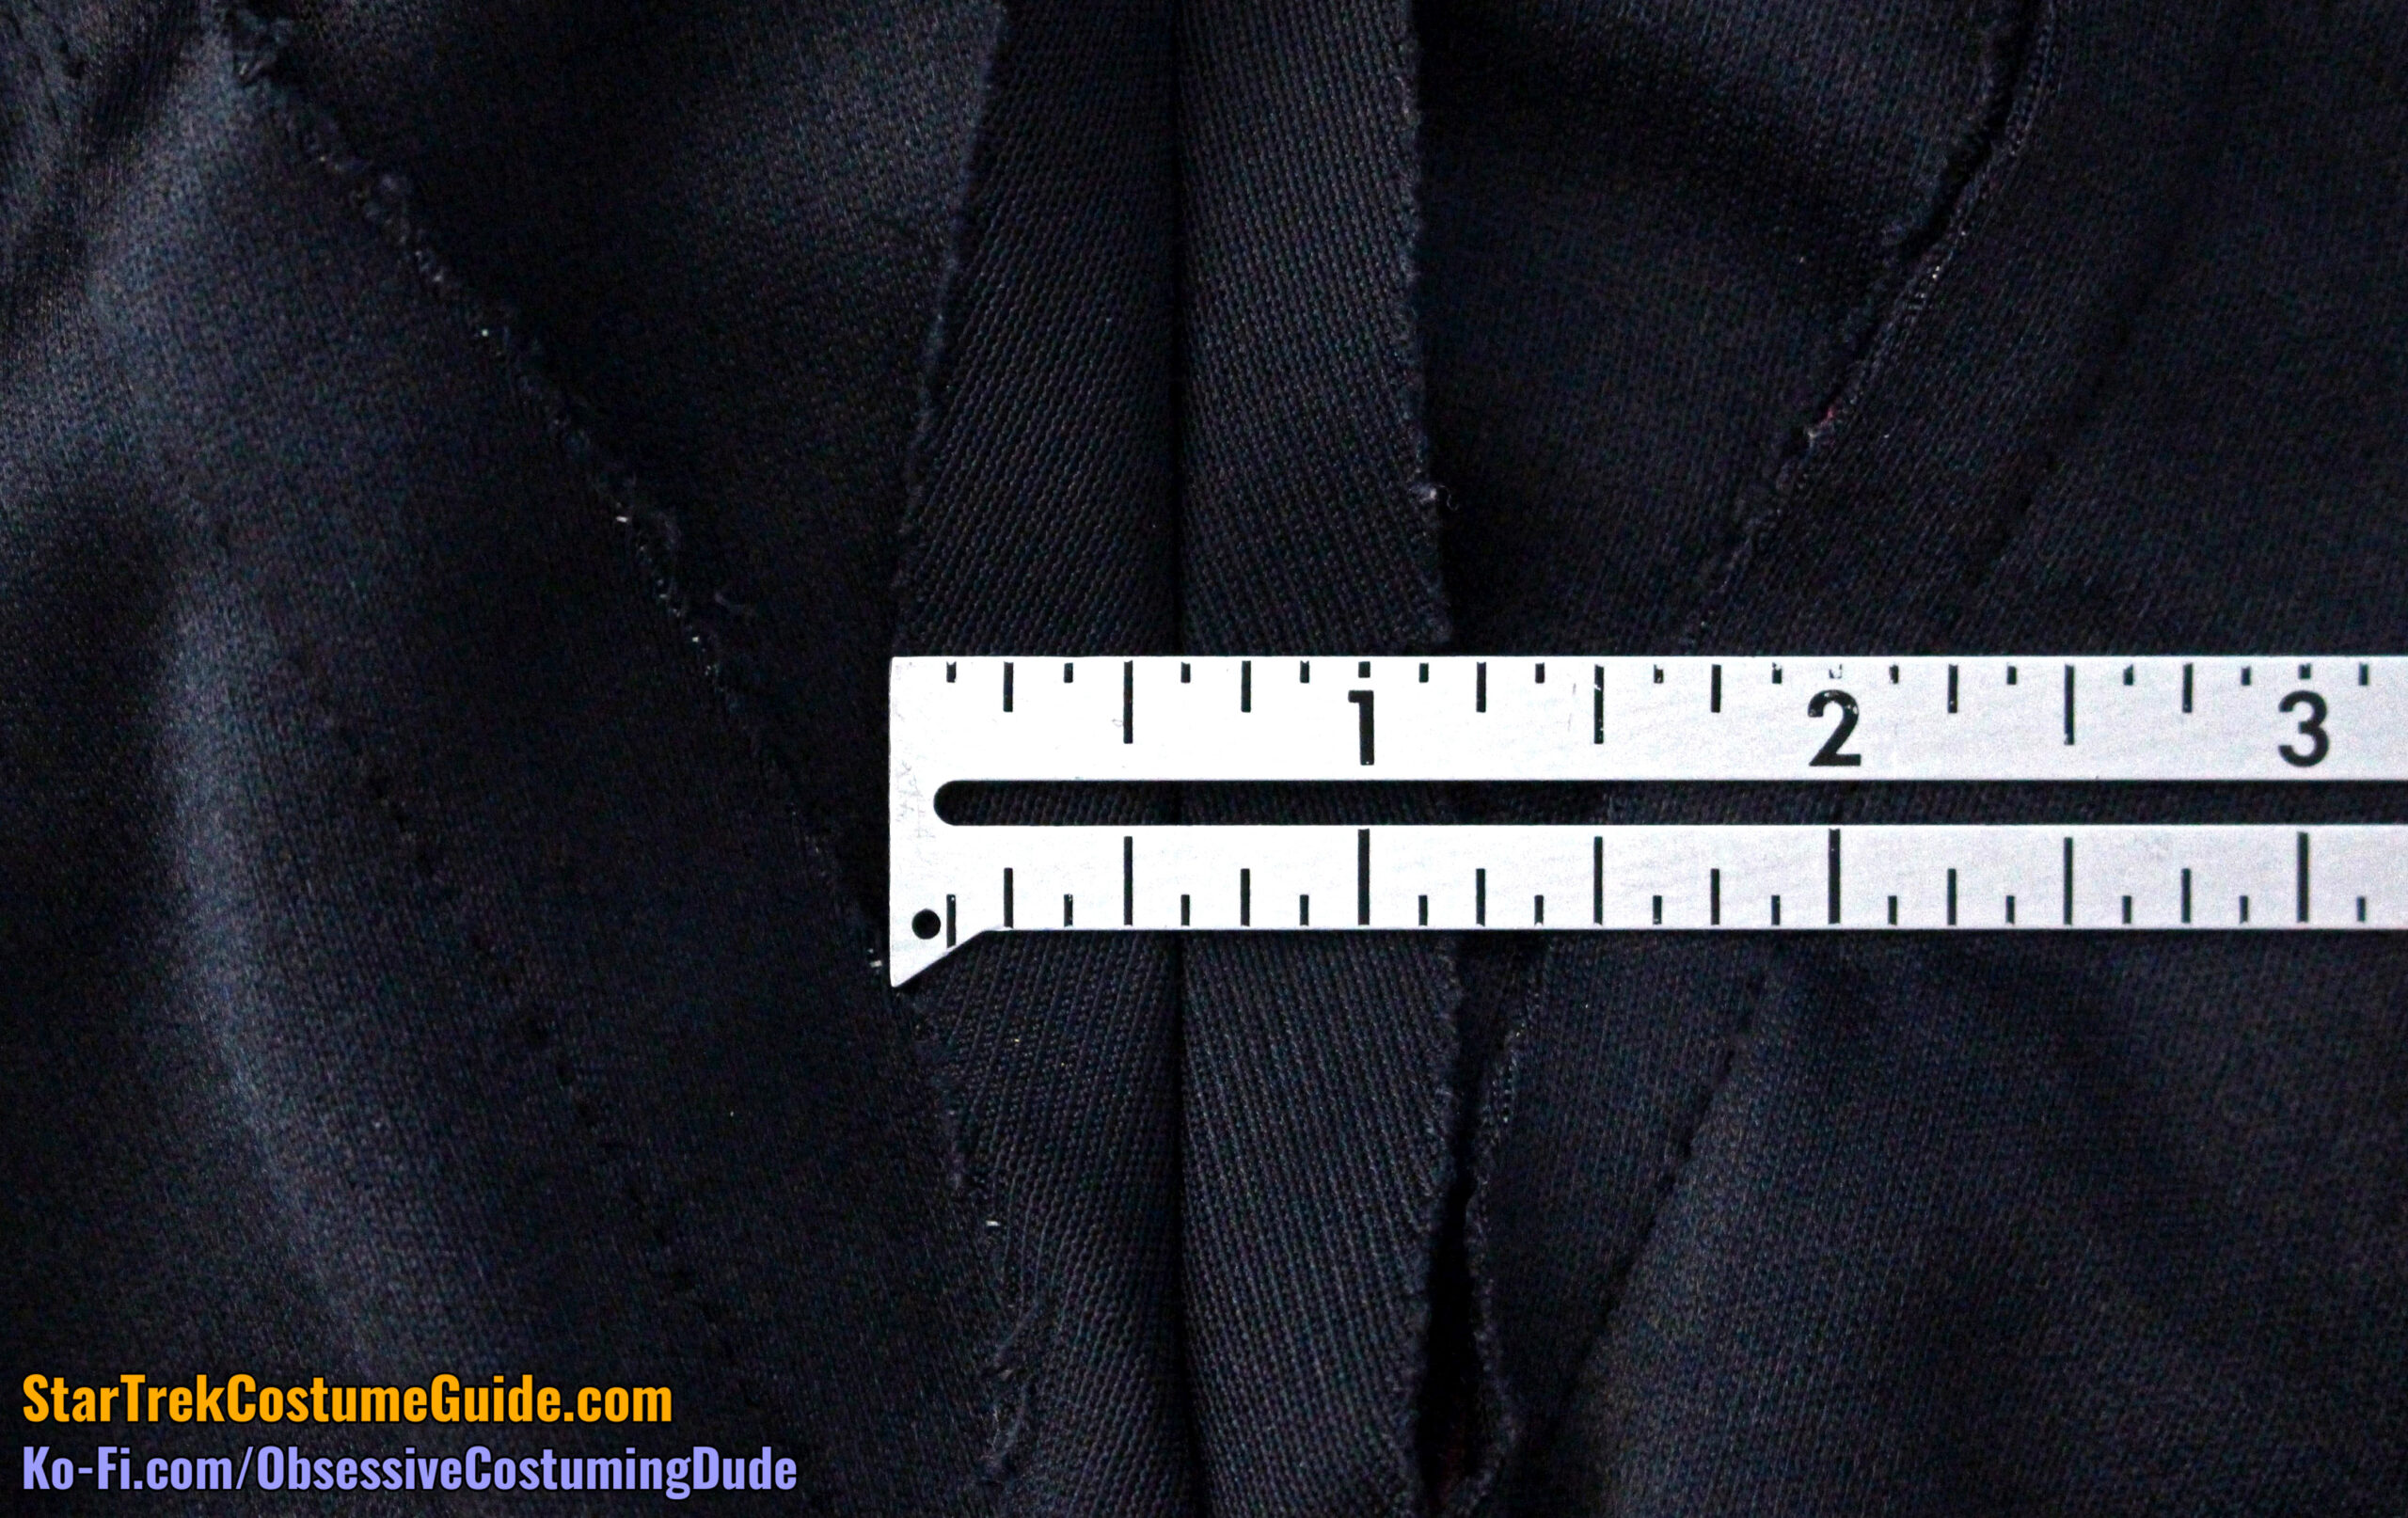
Like so many other William Ware Theiss costume designs, the longer you stare at the interior of a TNG jumpsuit, the weirder it seems to get …
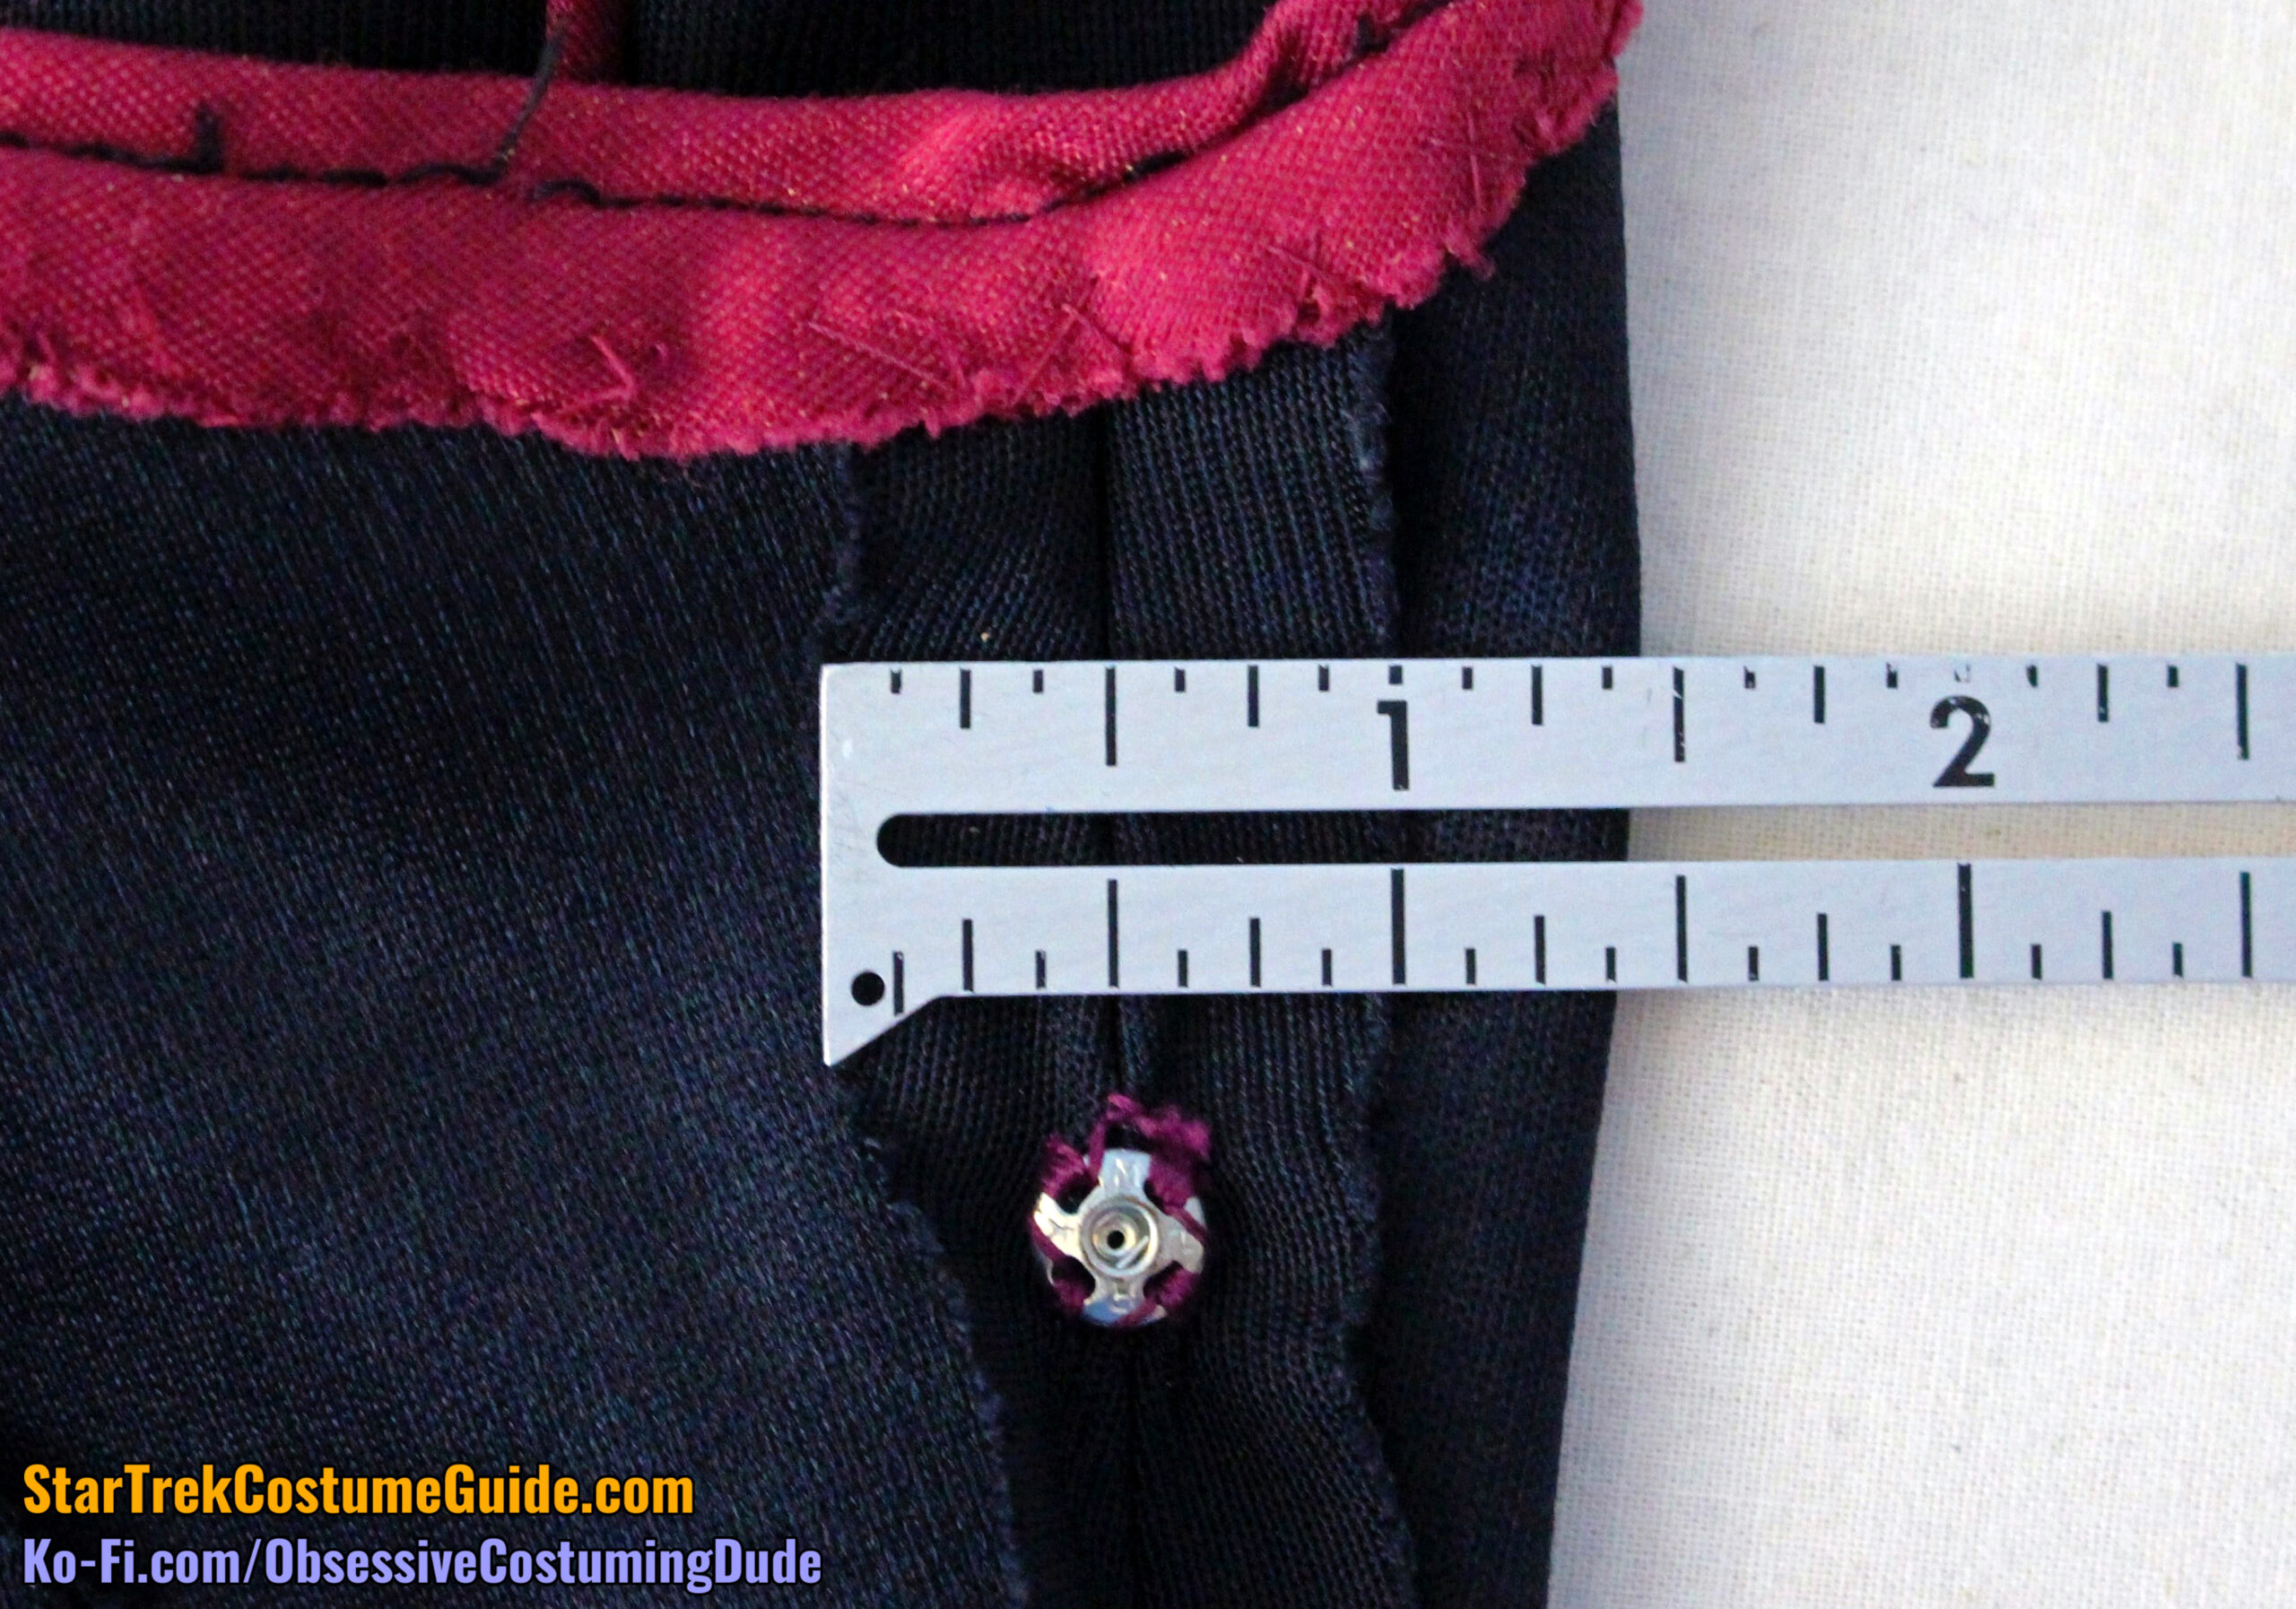
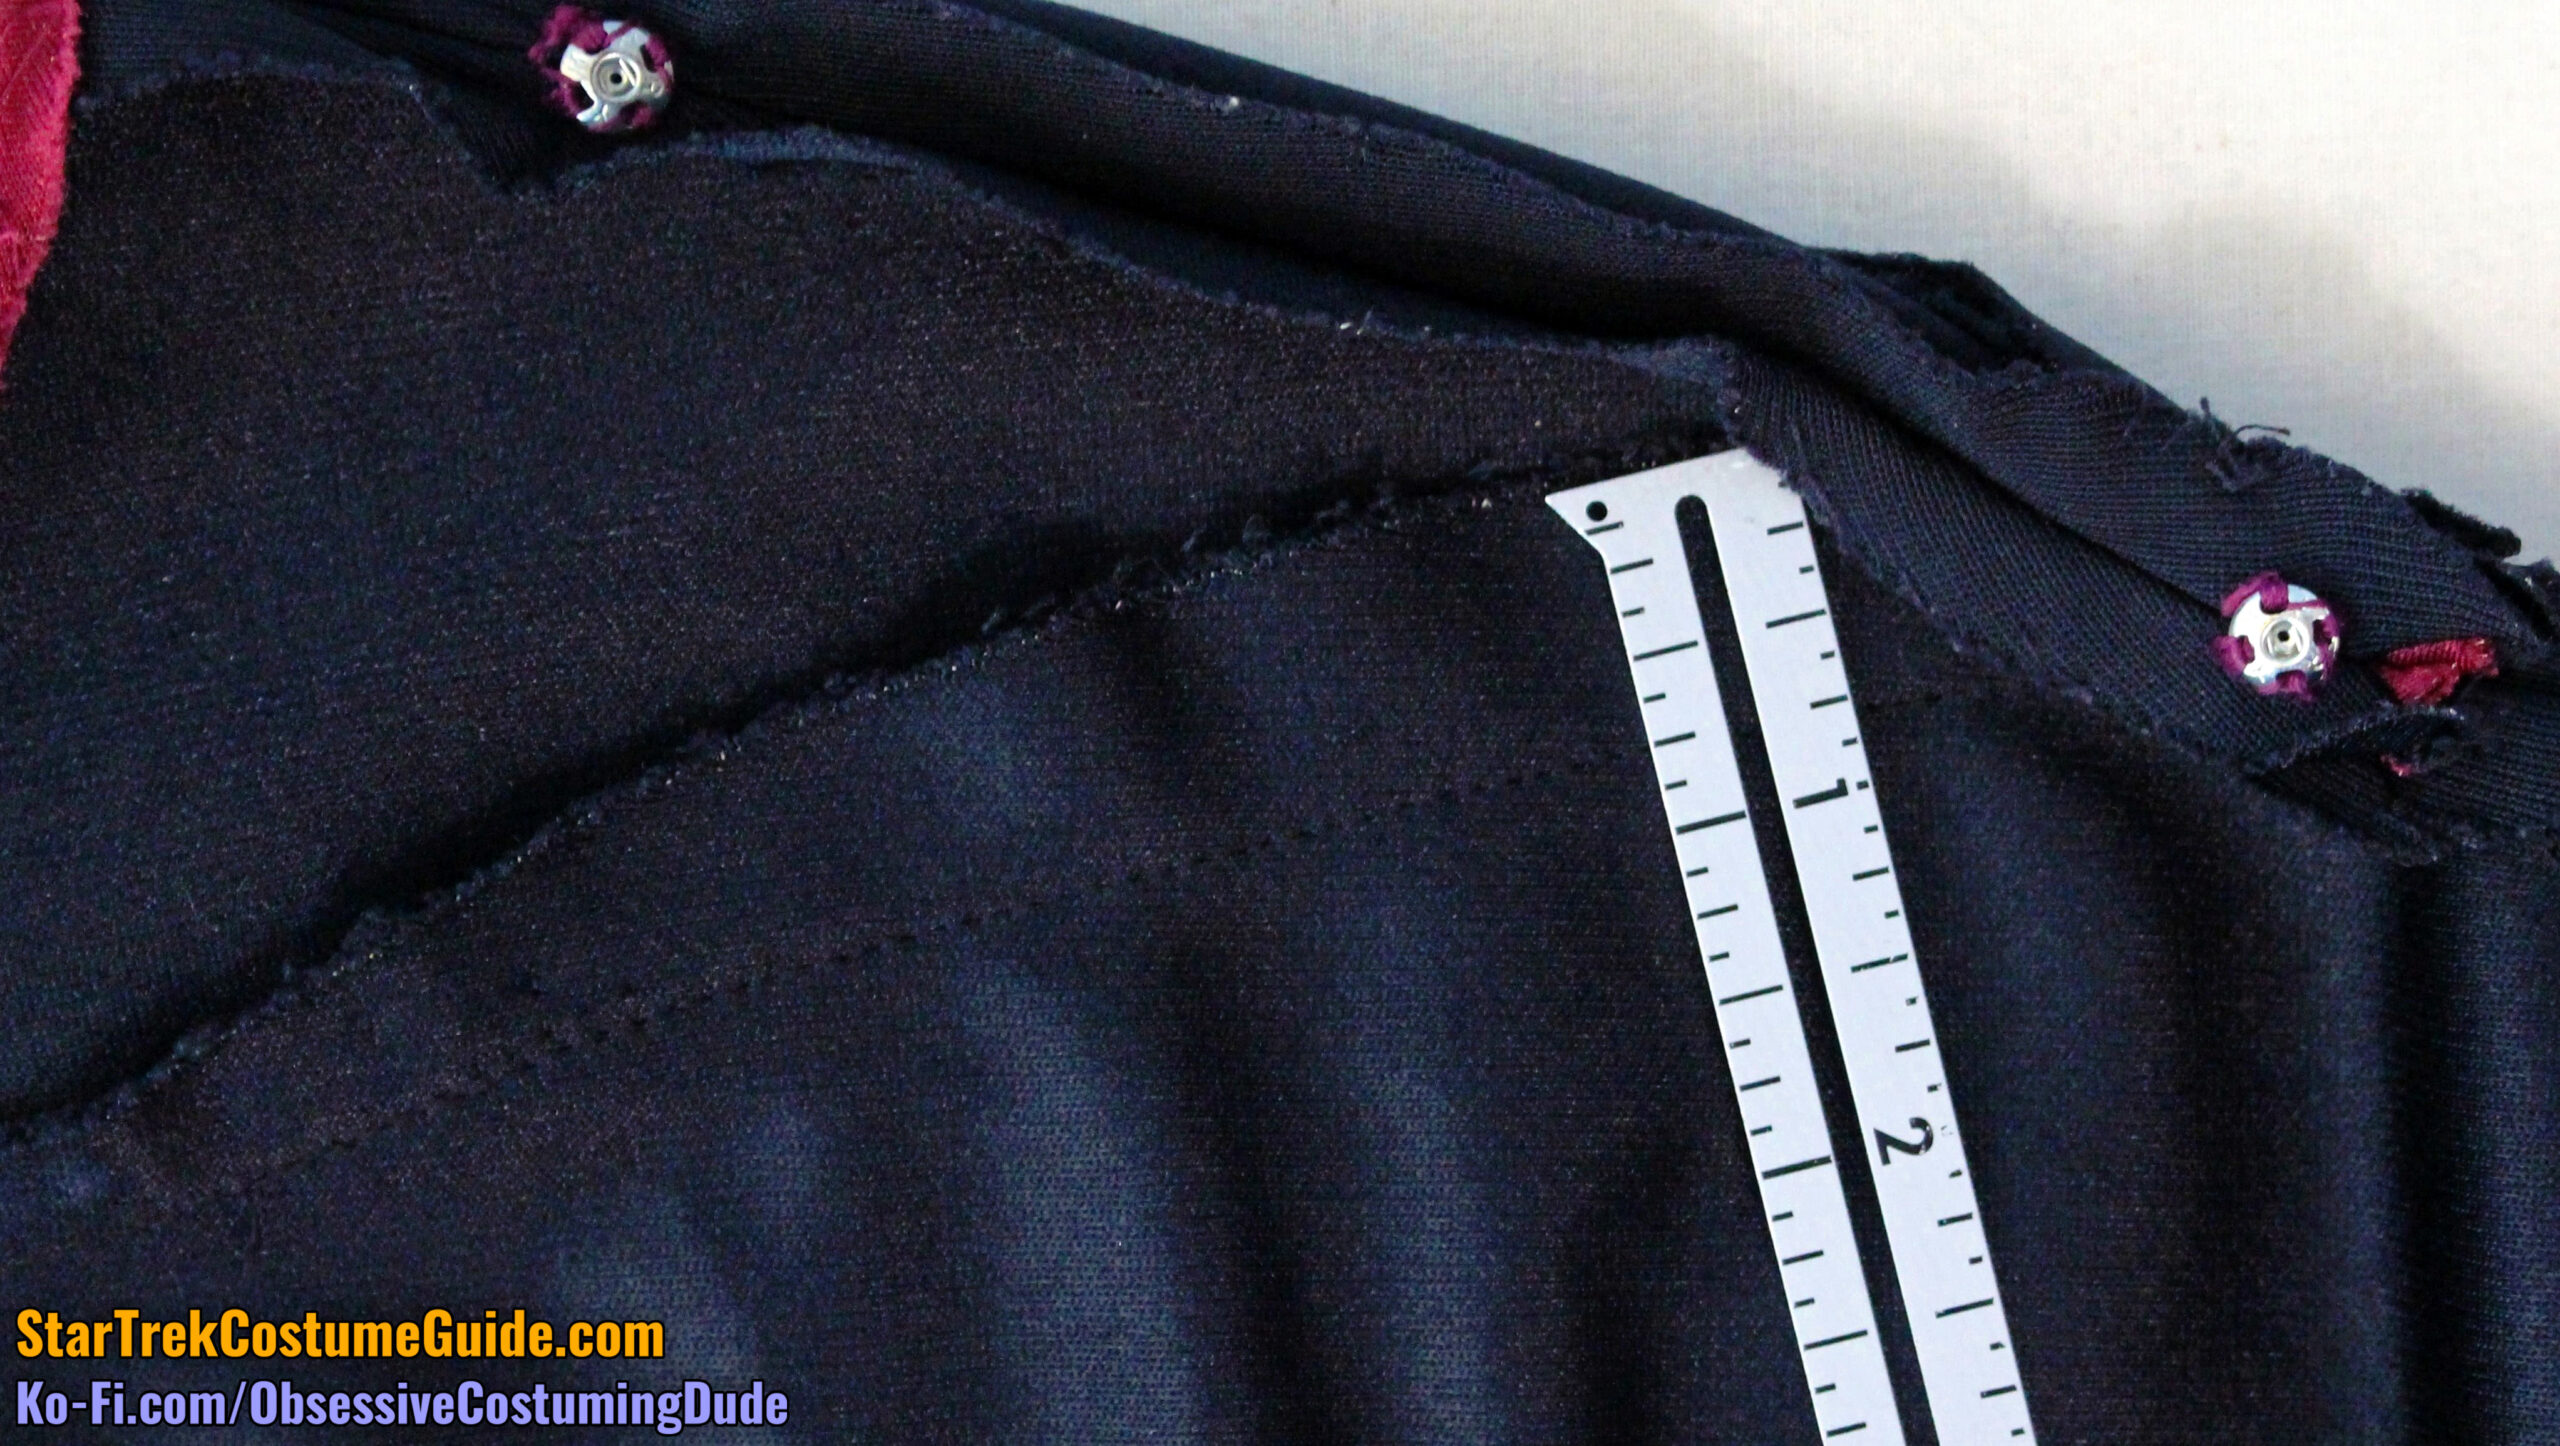
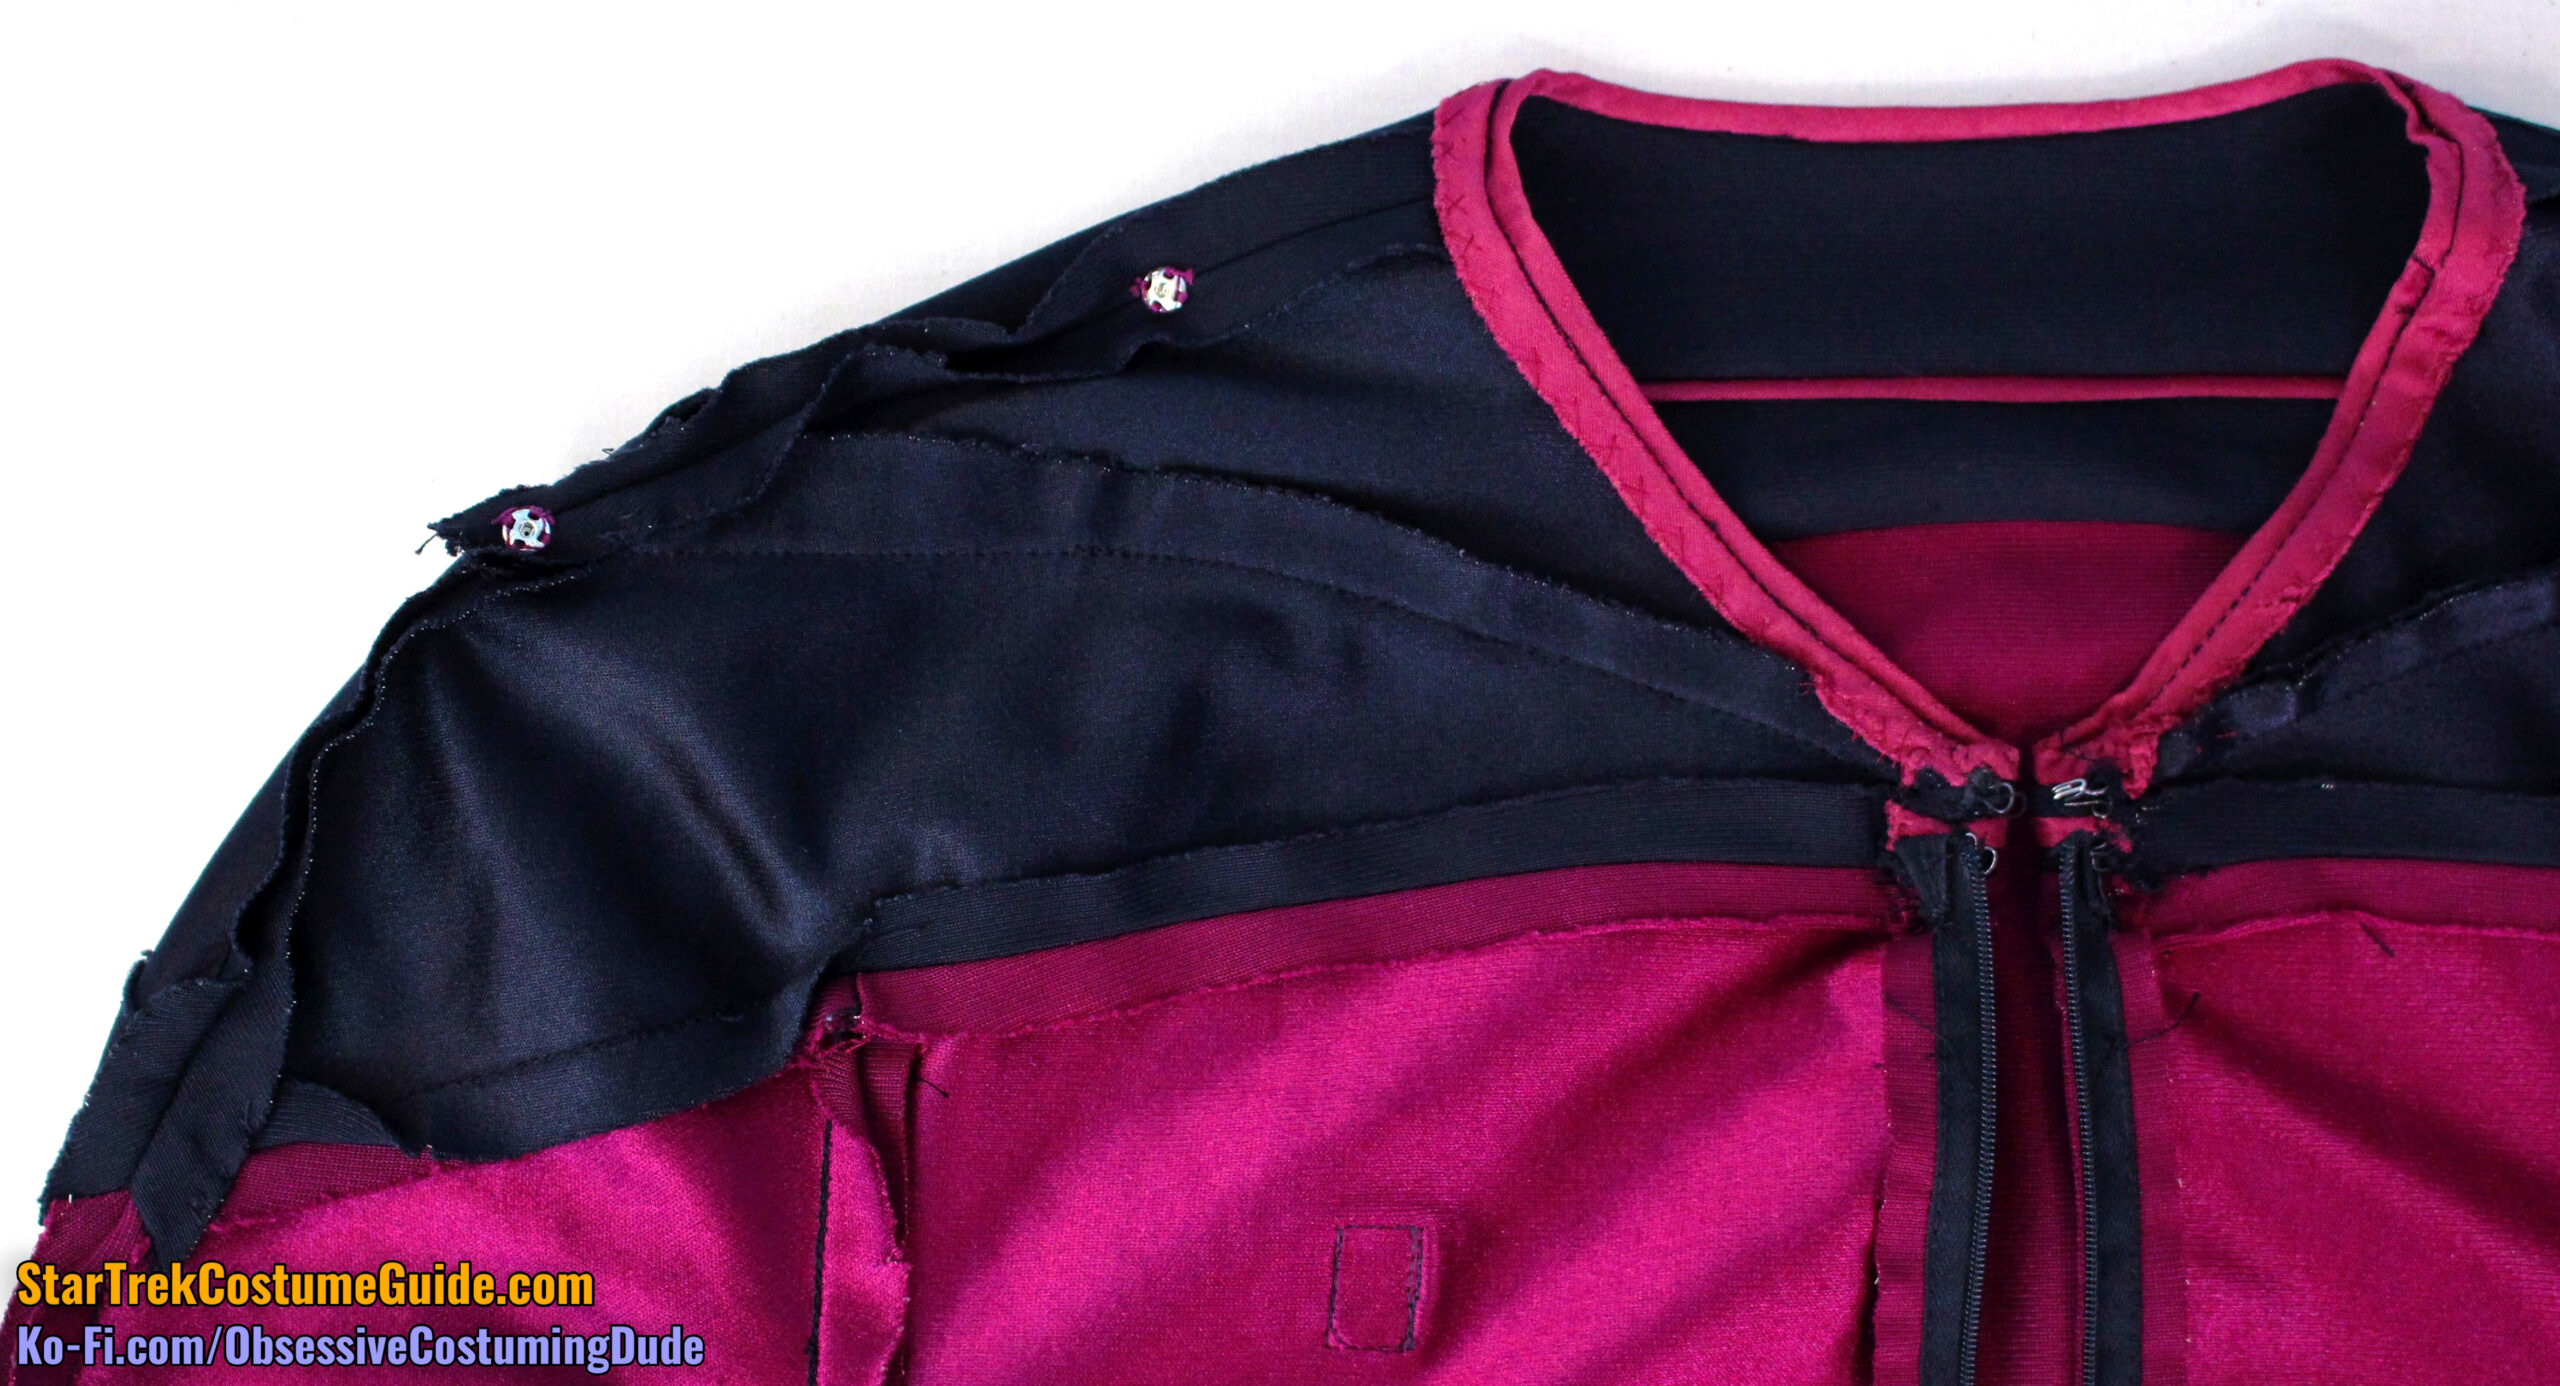
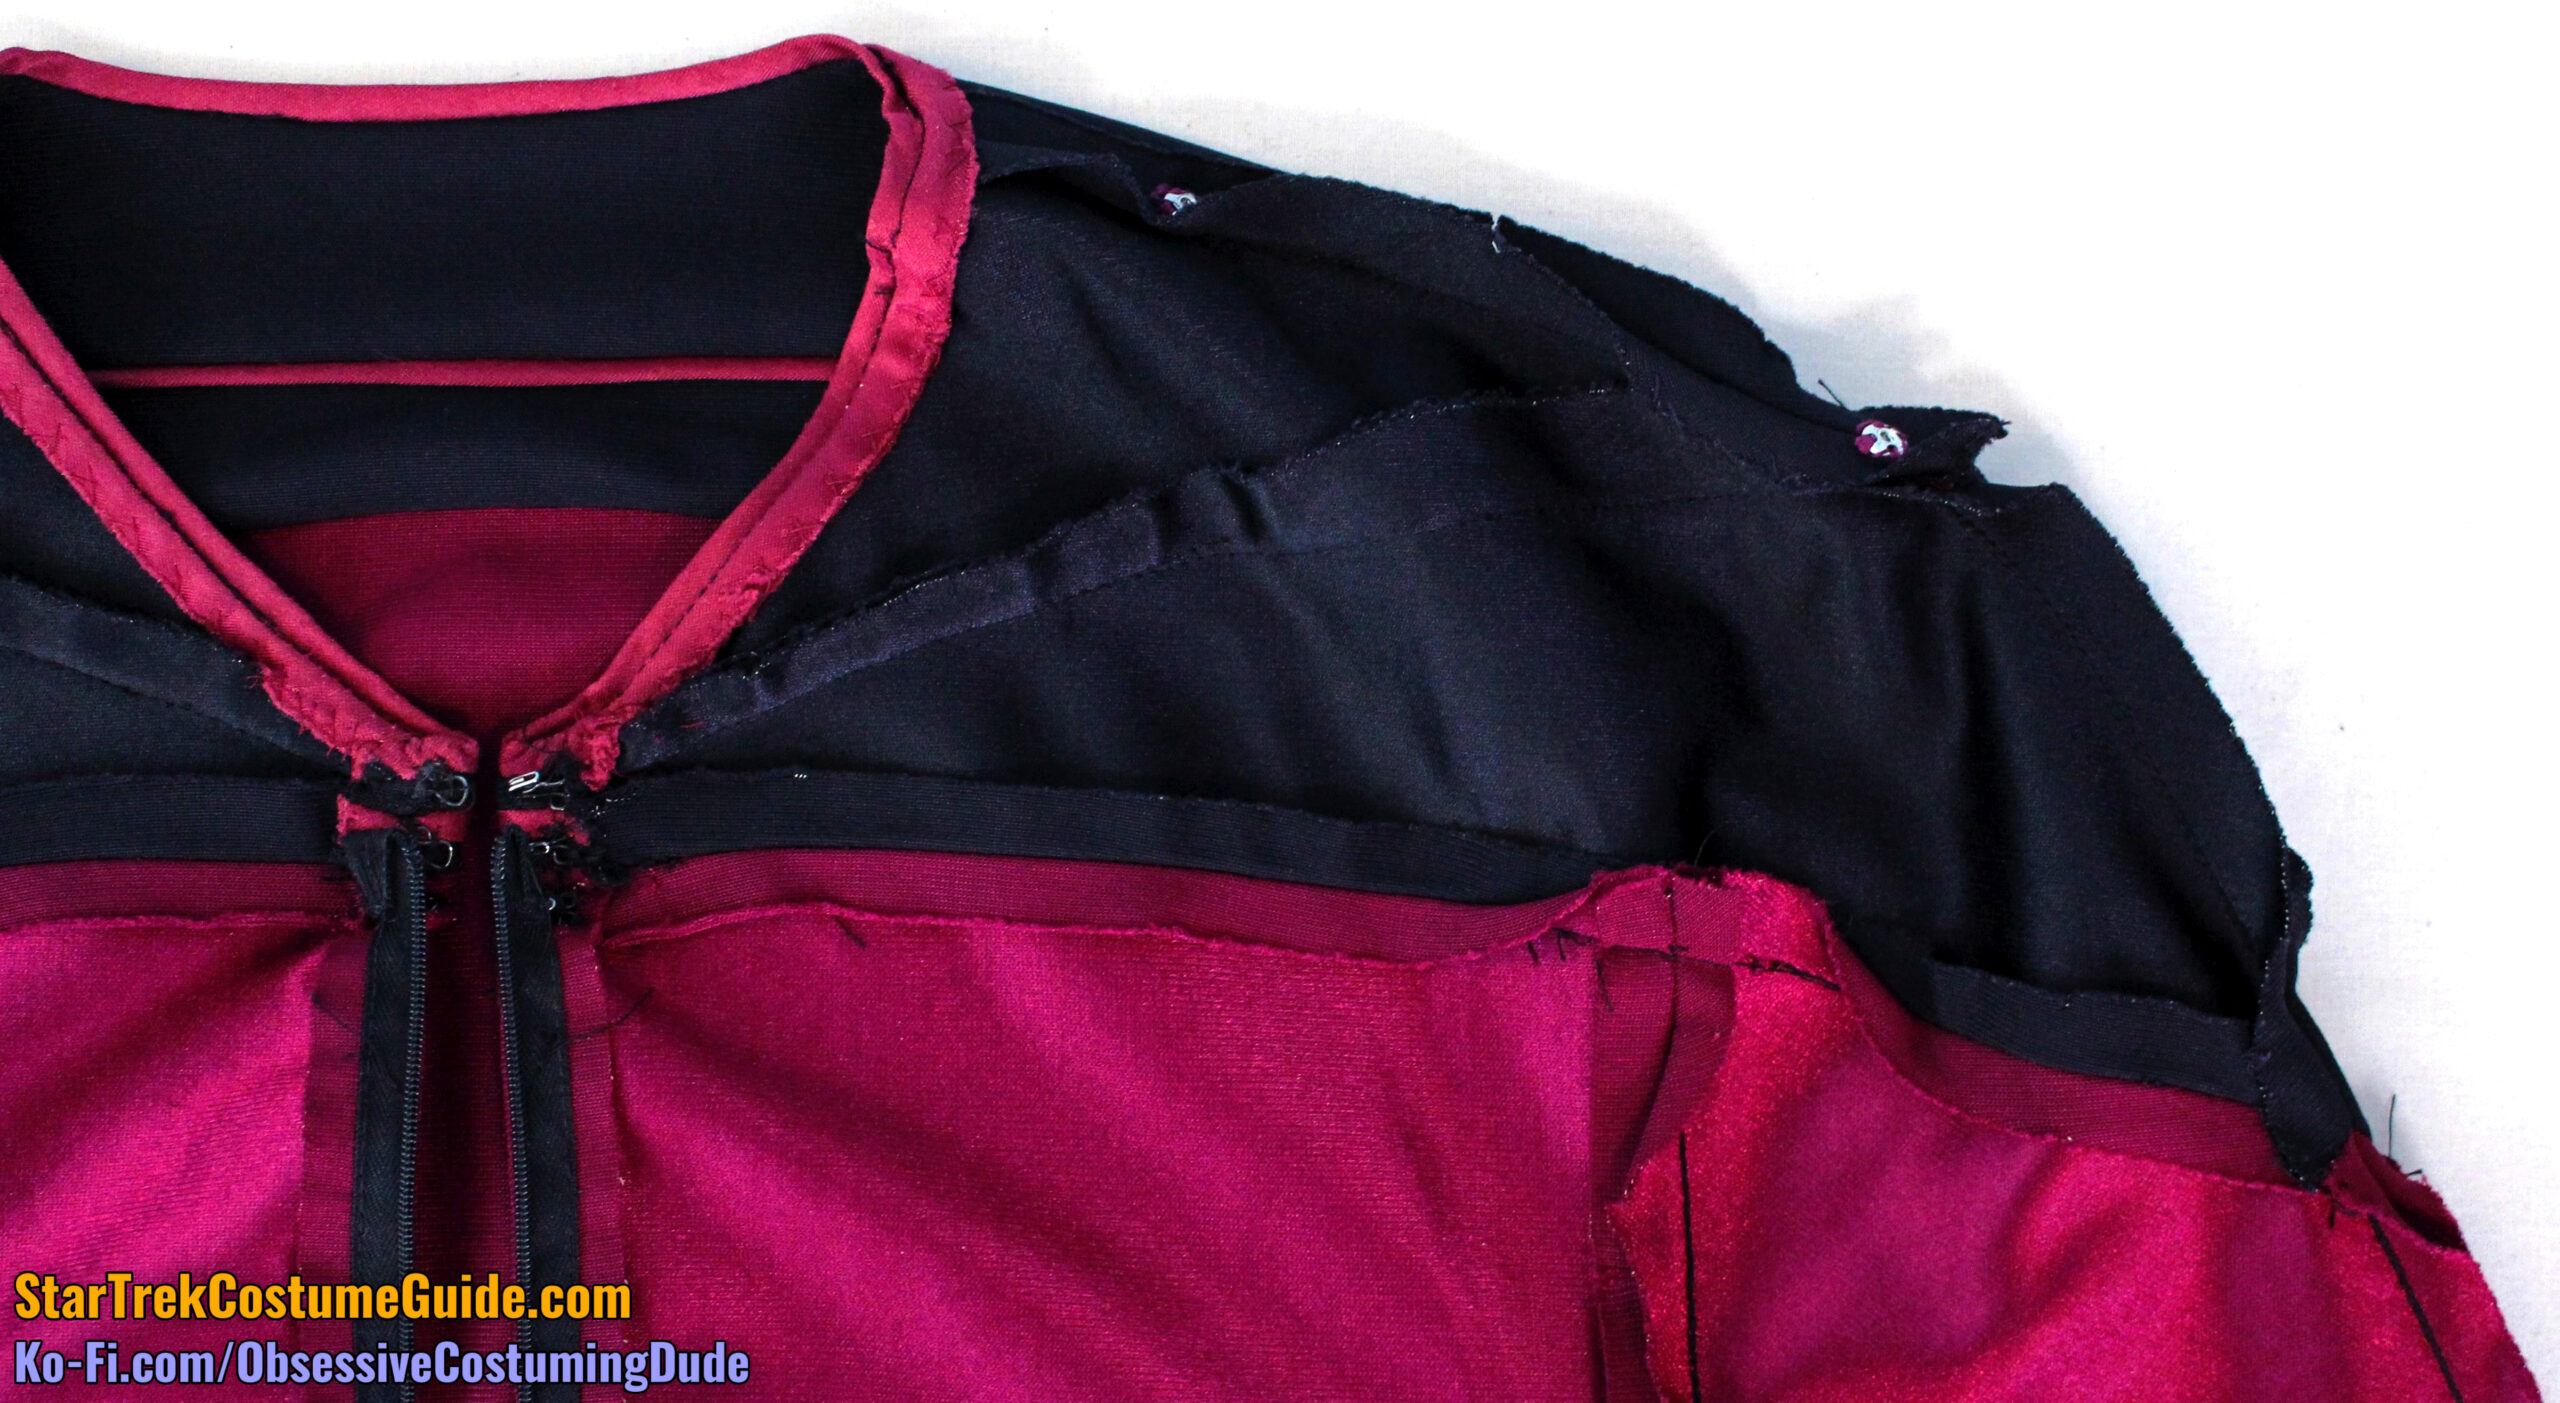
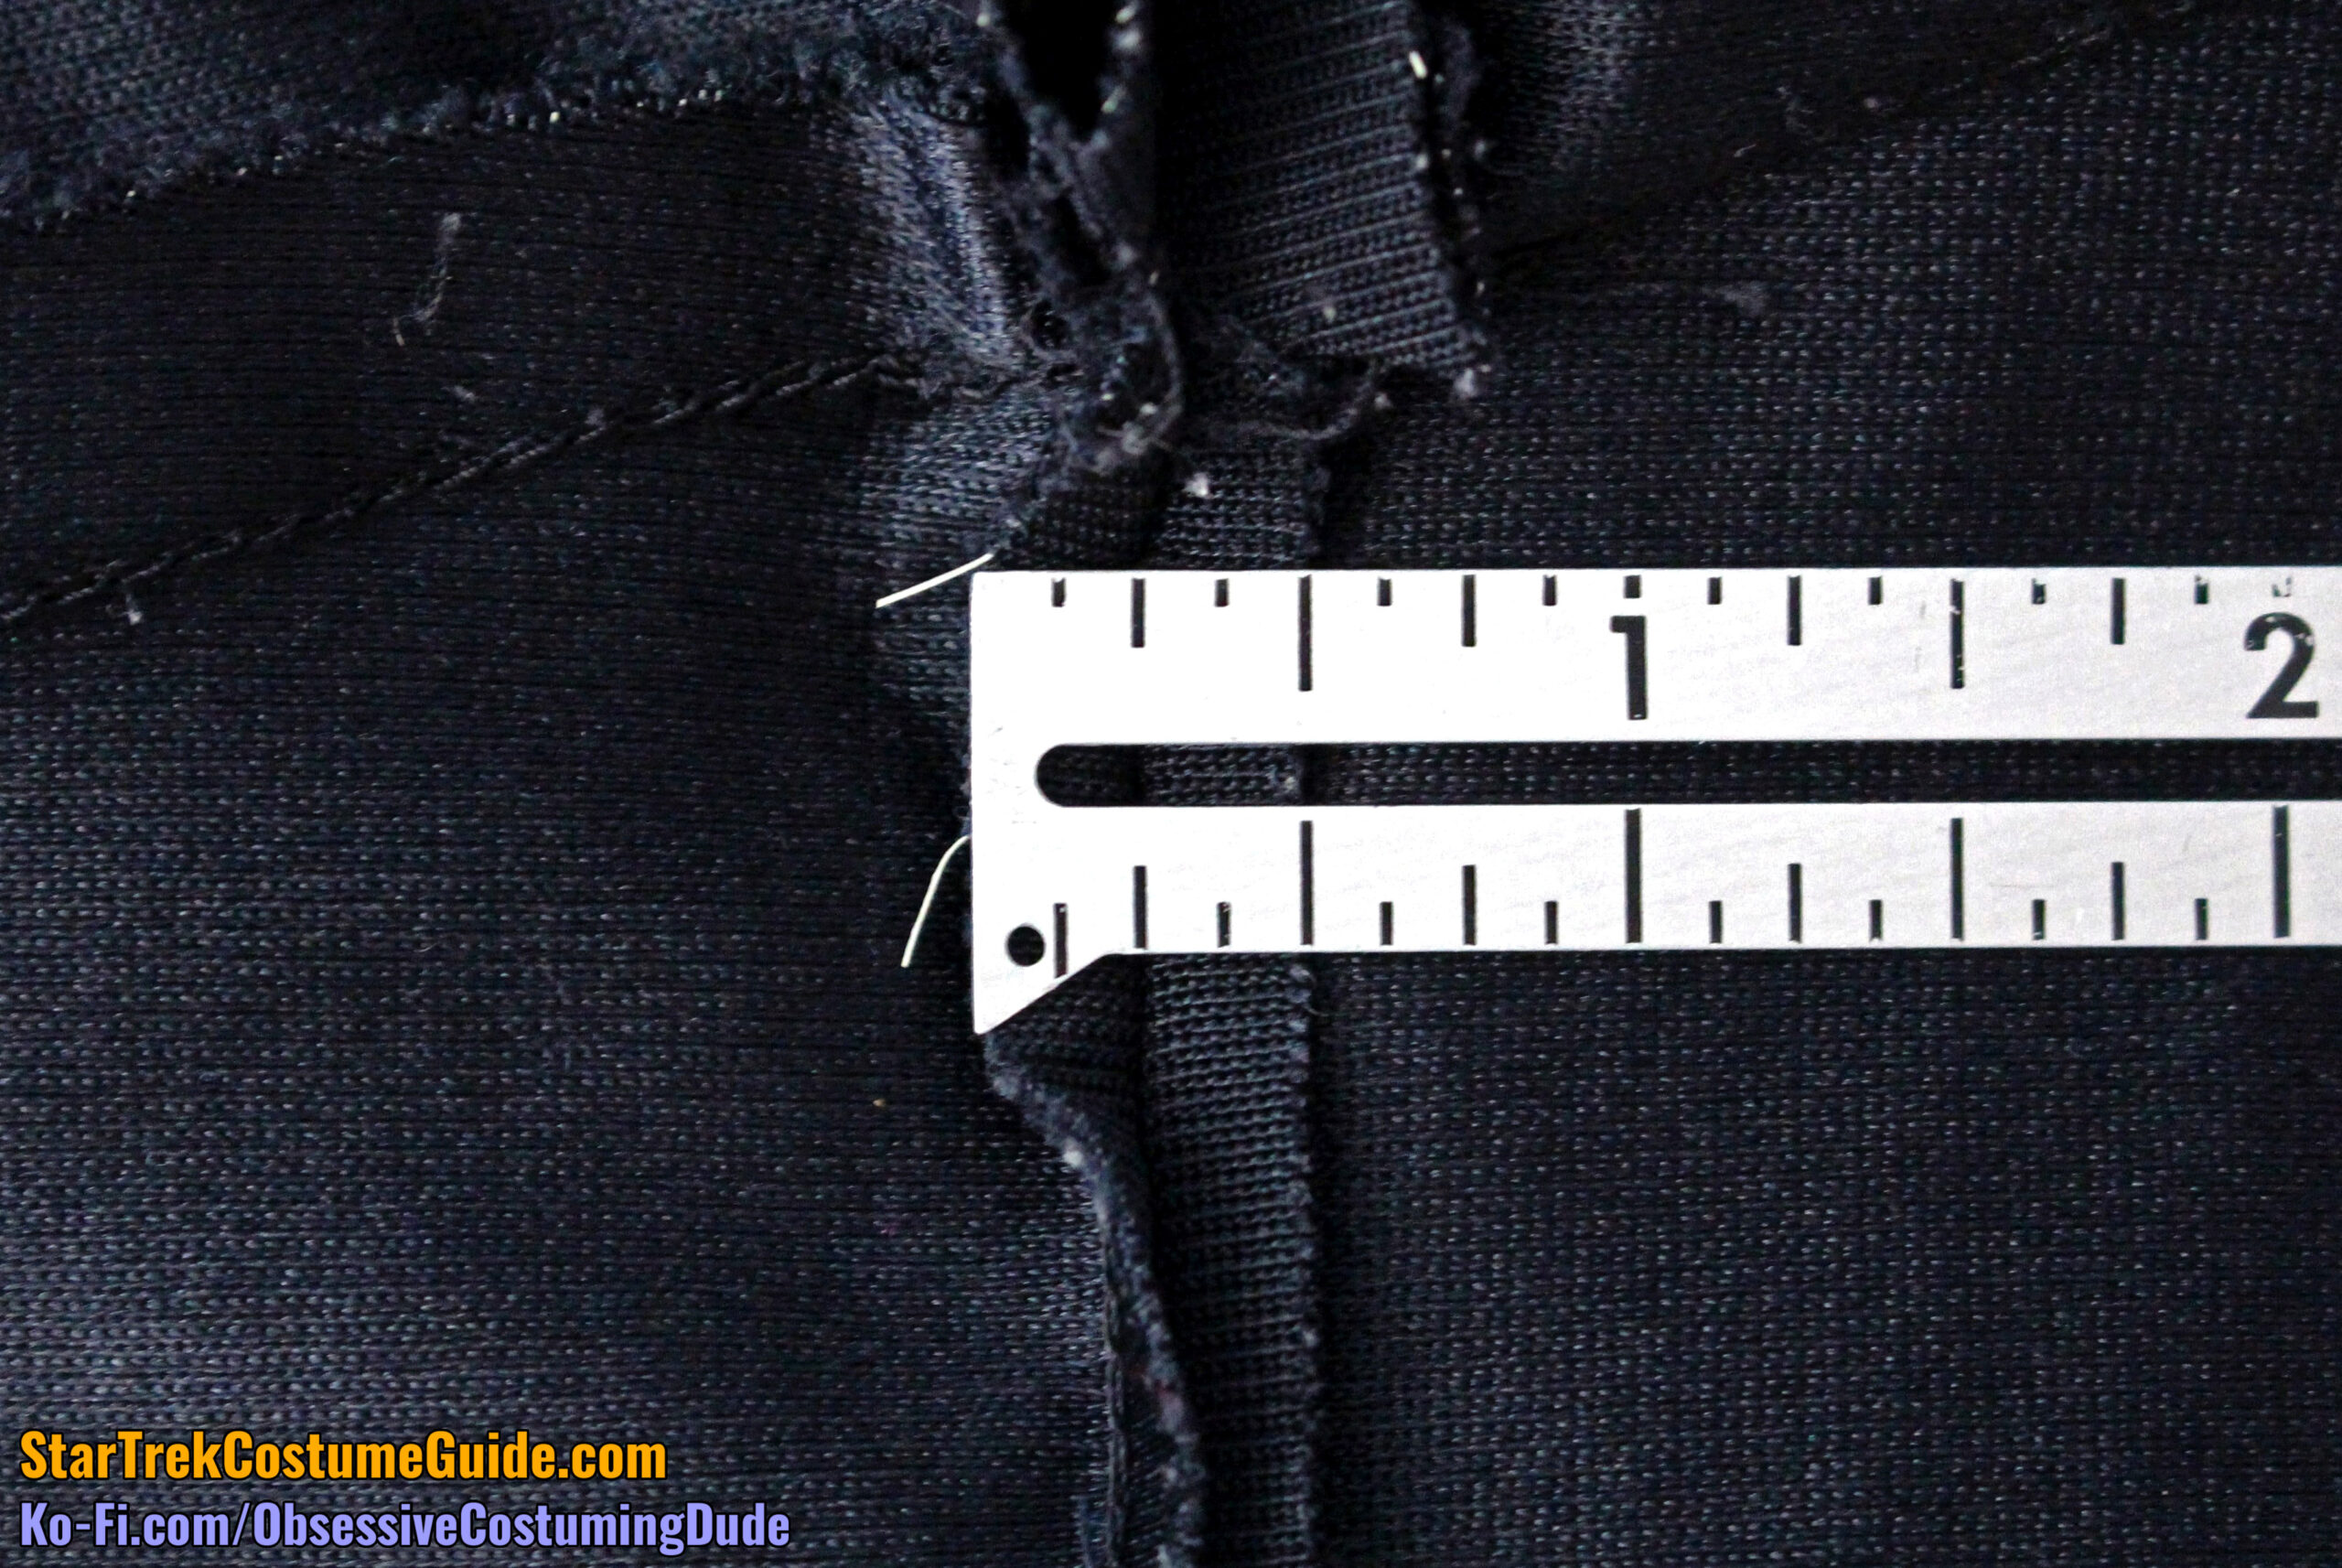
Like the screen-used Tasha Yar jumpsuit and TNG skant I examined, the neckline/trim seam allowance was ⅜” and the outer edges were catch-stitched to the underside of the yoke (albeit again curiously with division-color thread, instead of black).
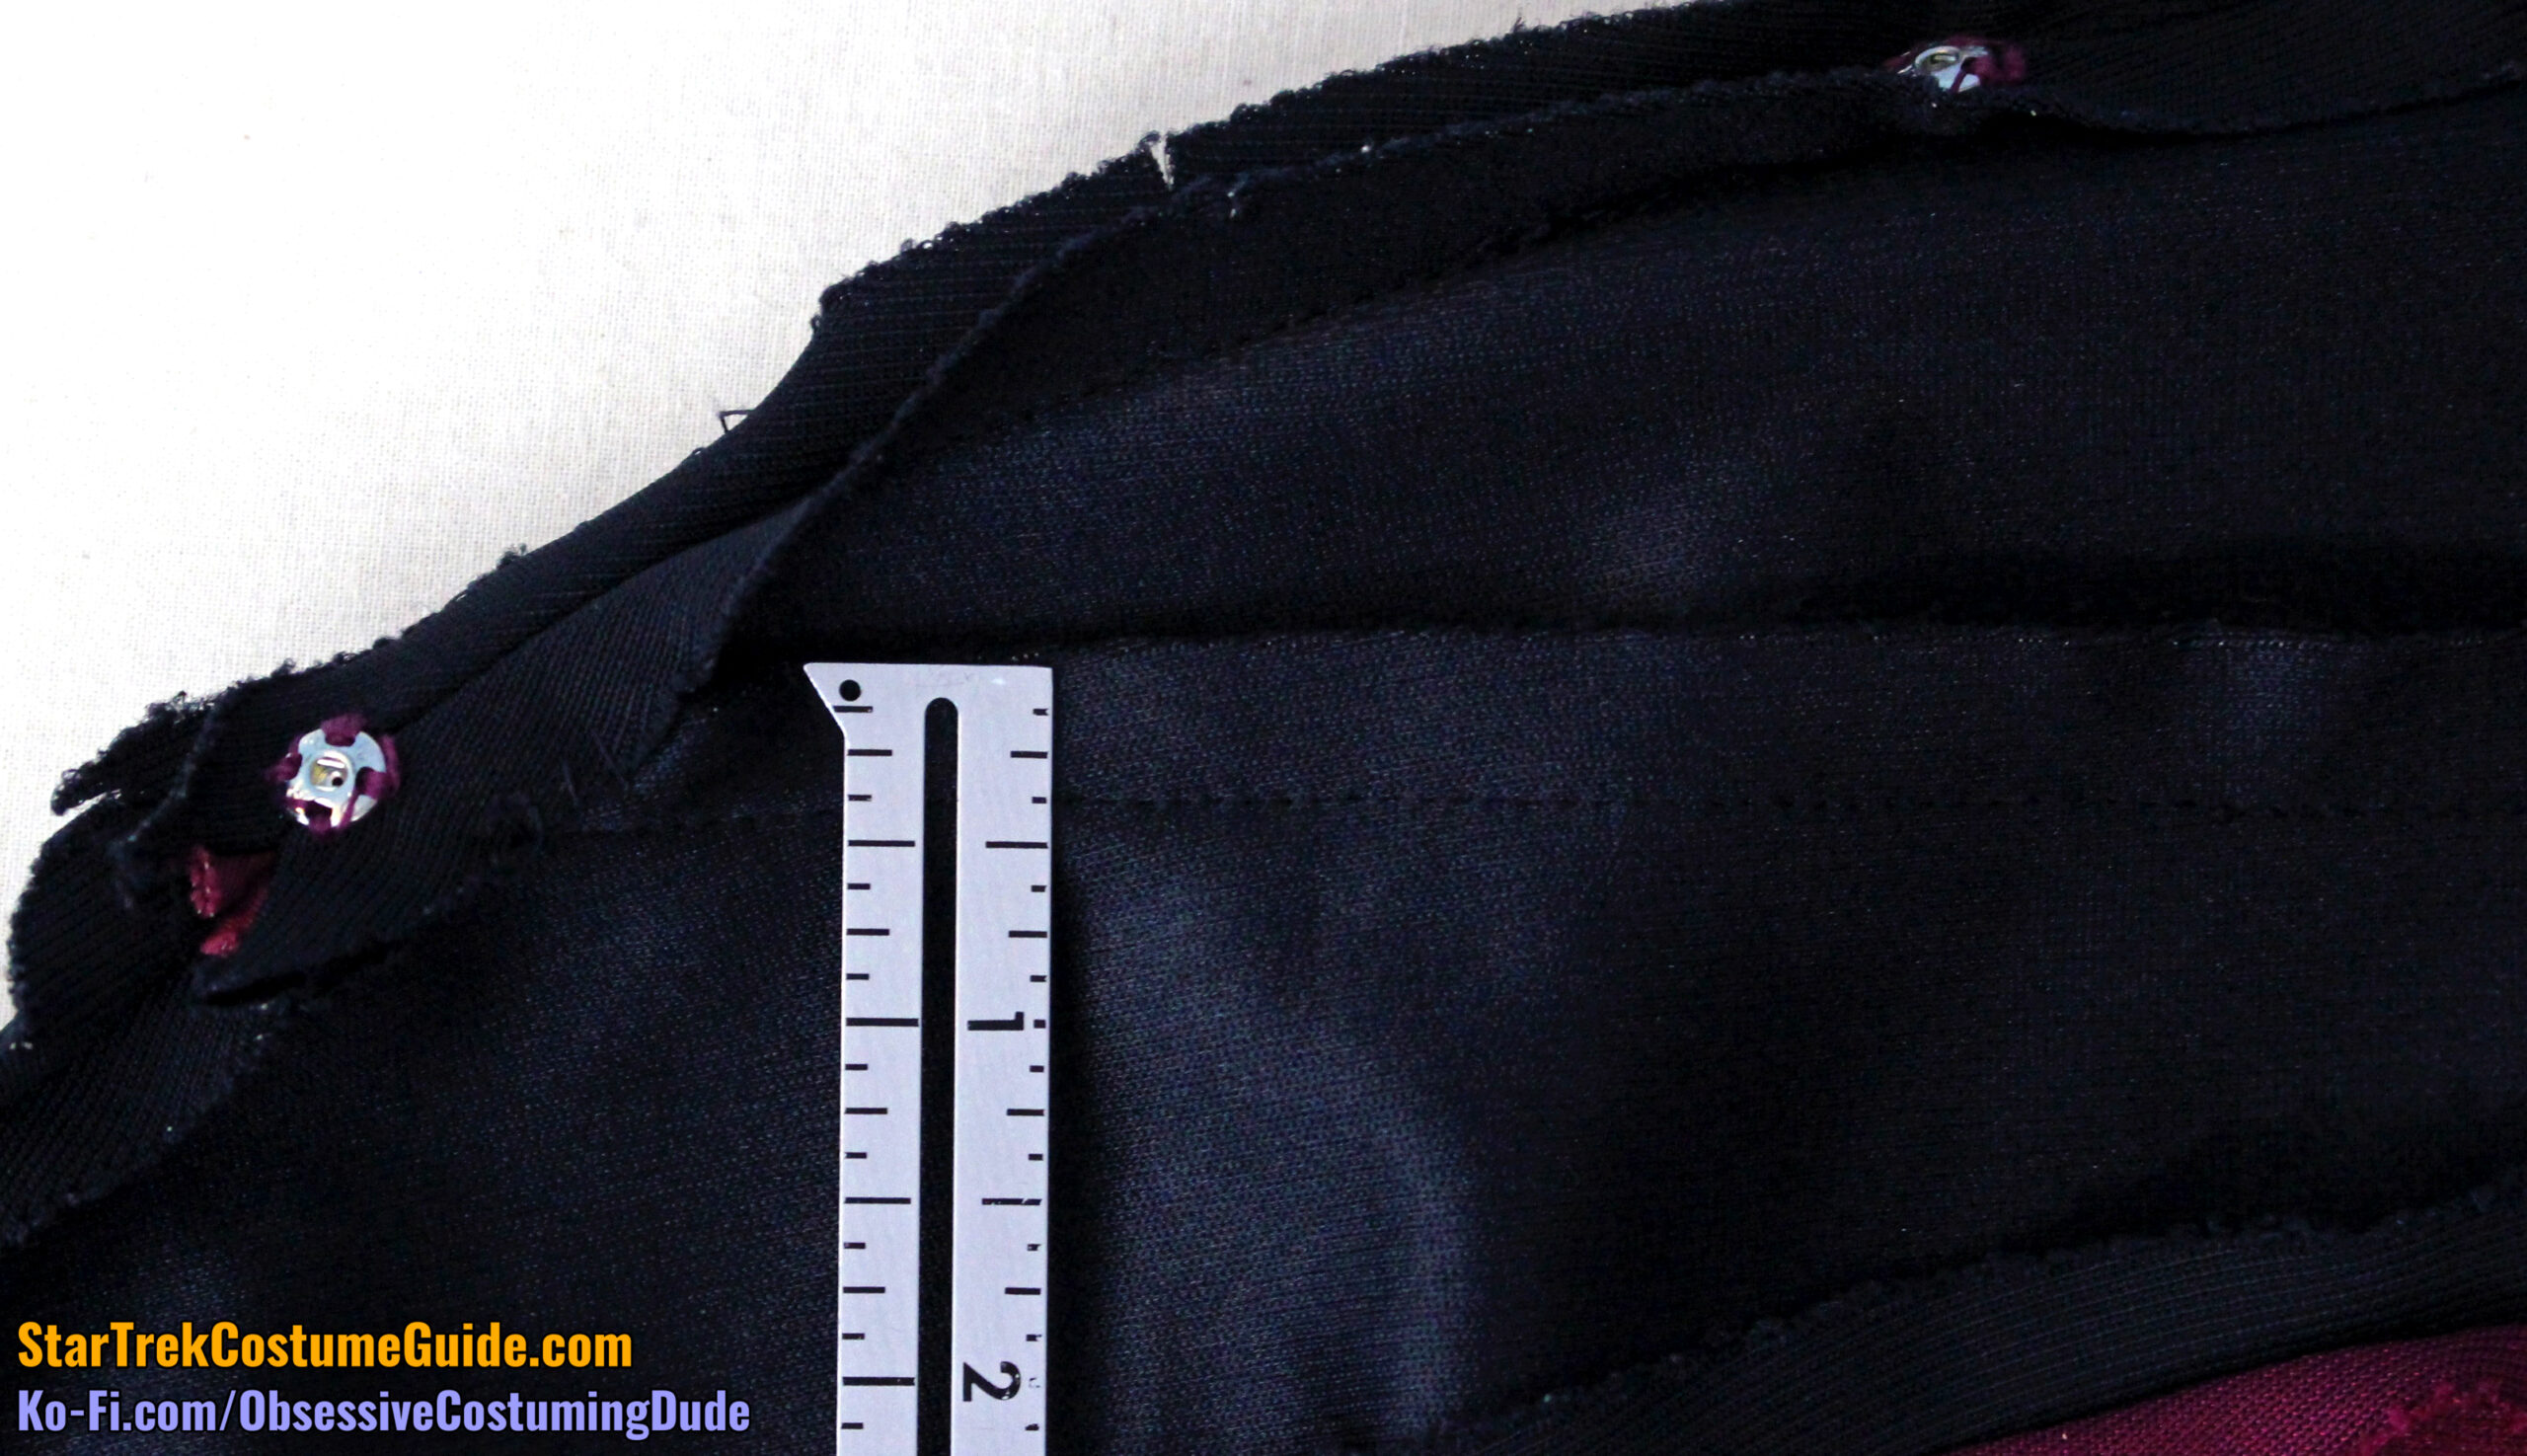
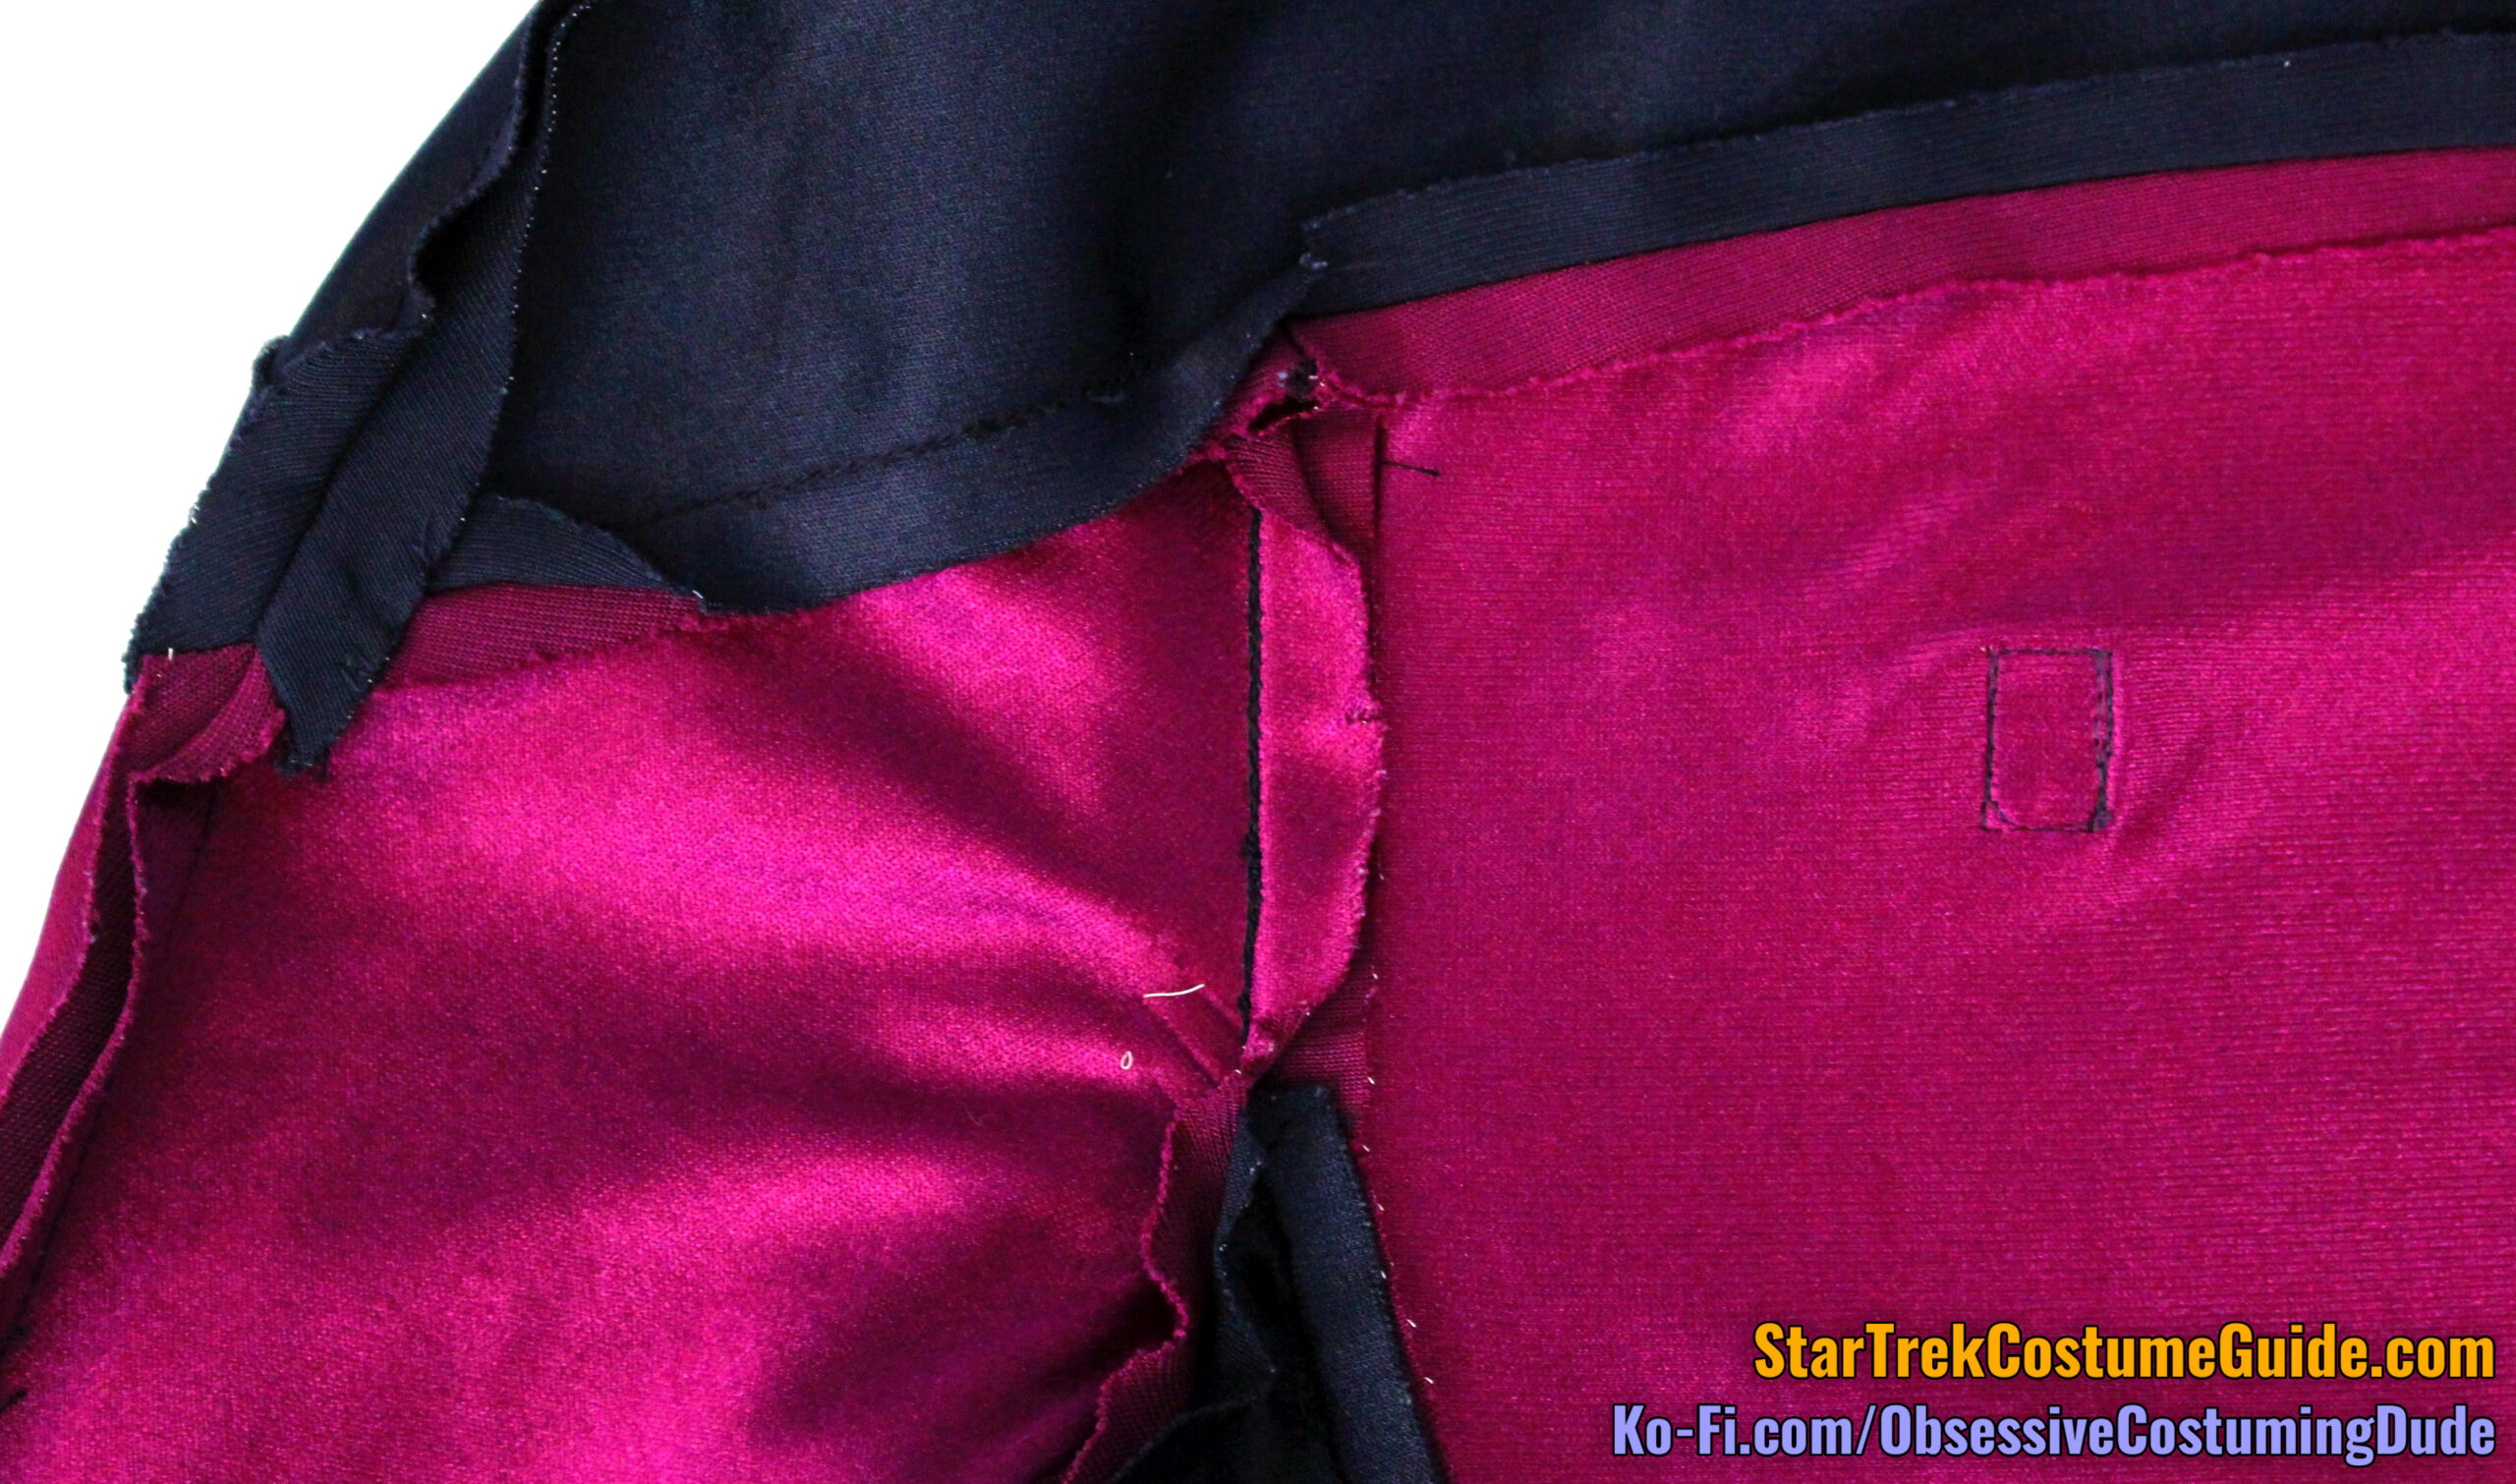
The shoulder seam allowances varied a bit, from ½” up to about ⅝”.
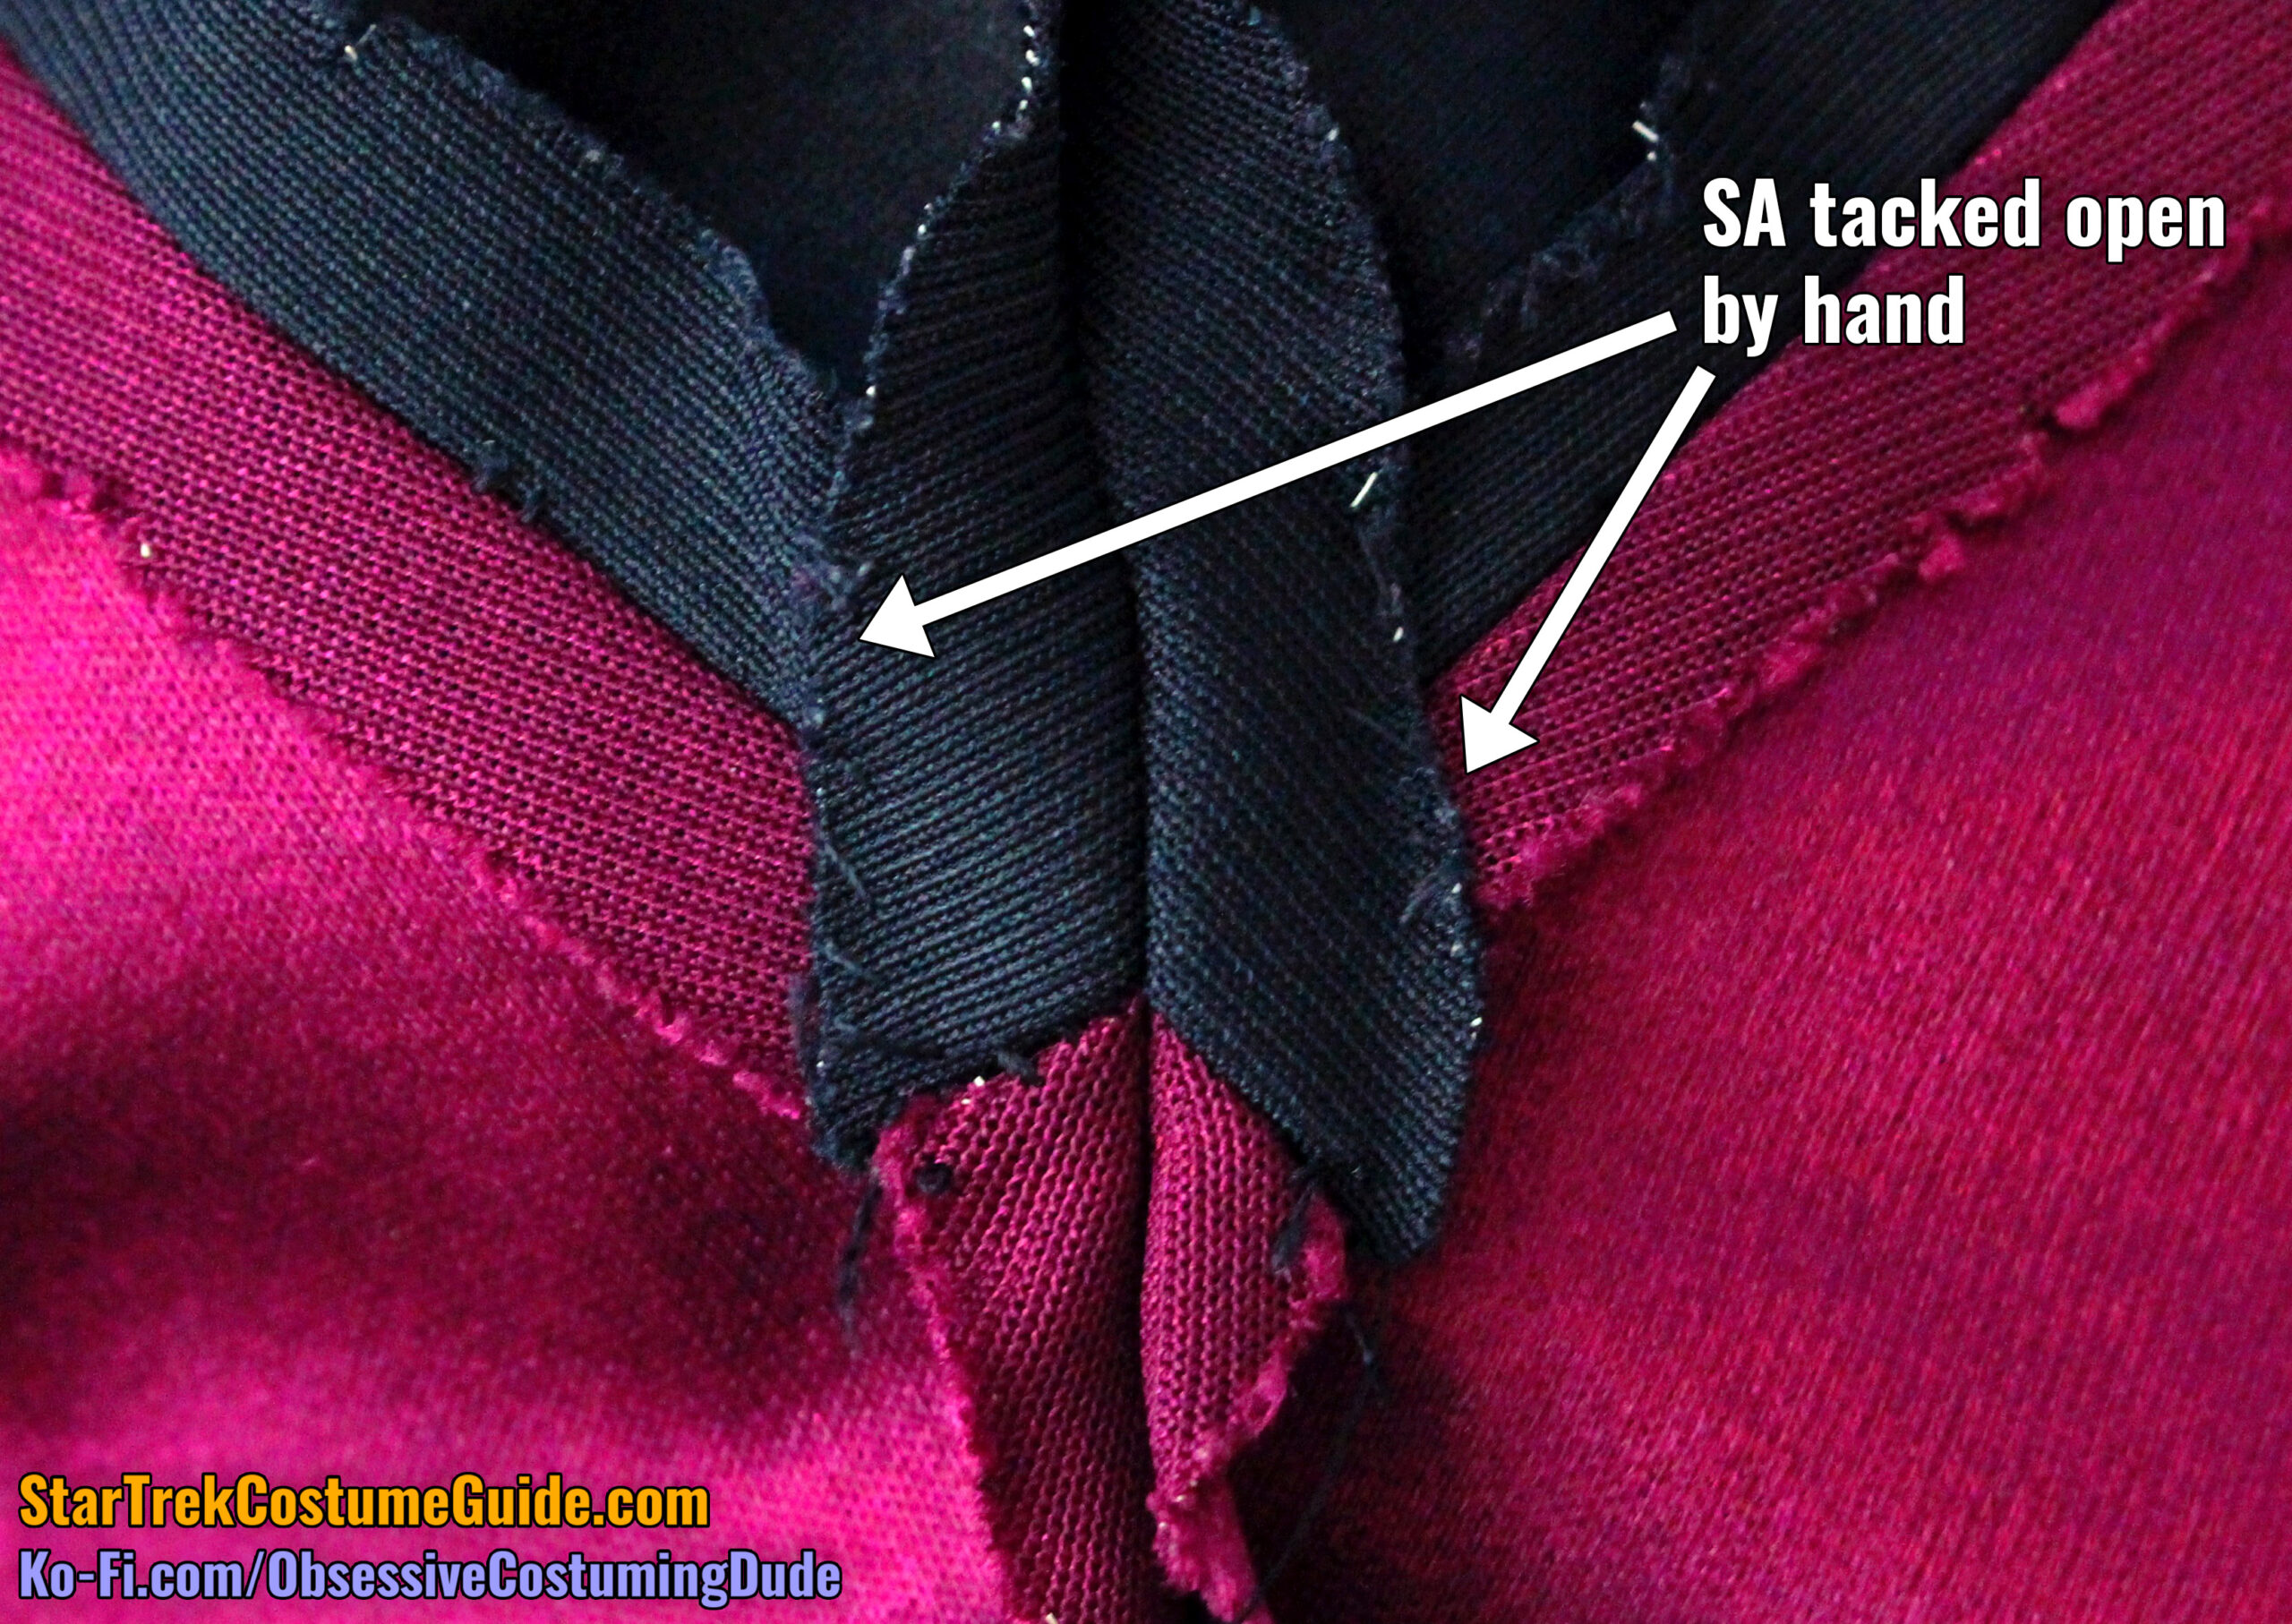
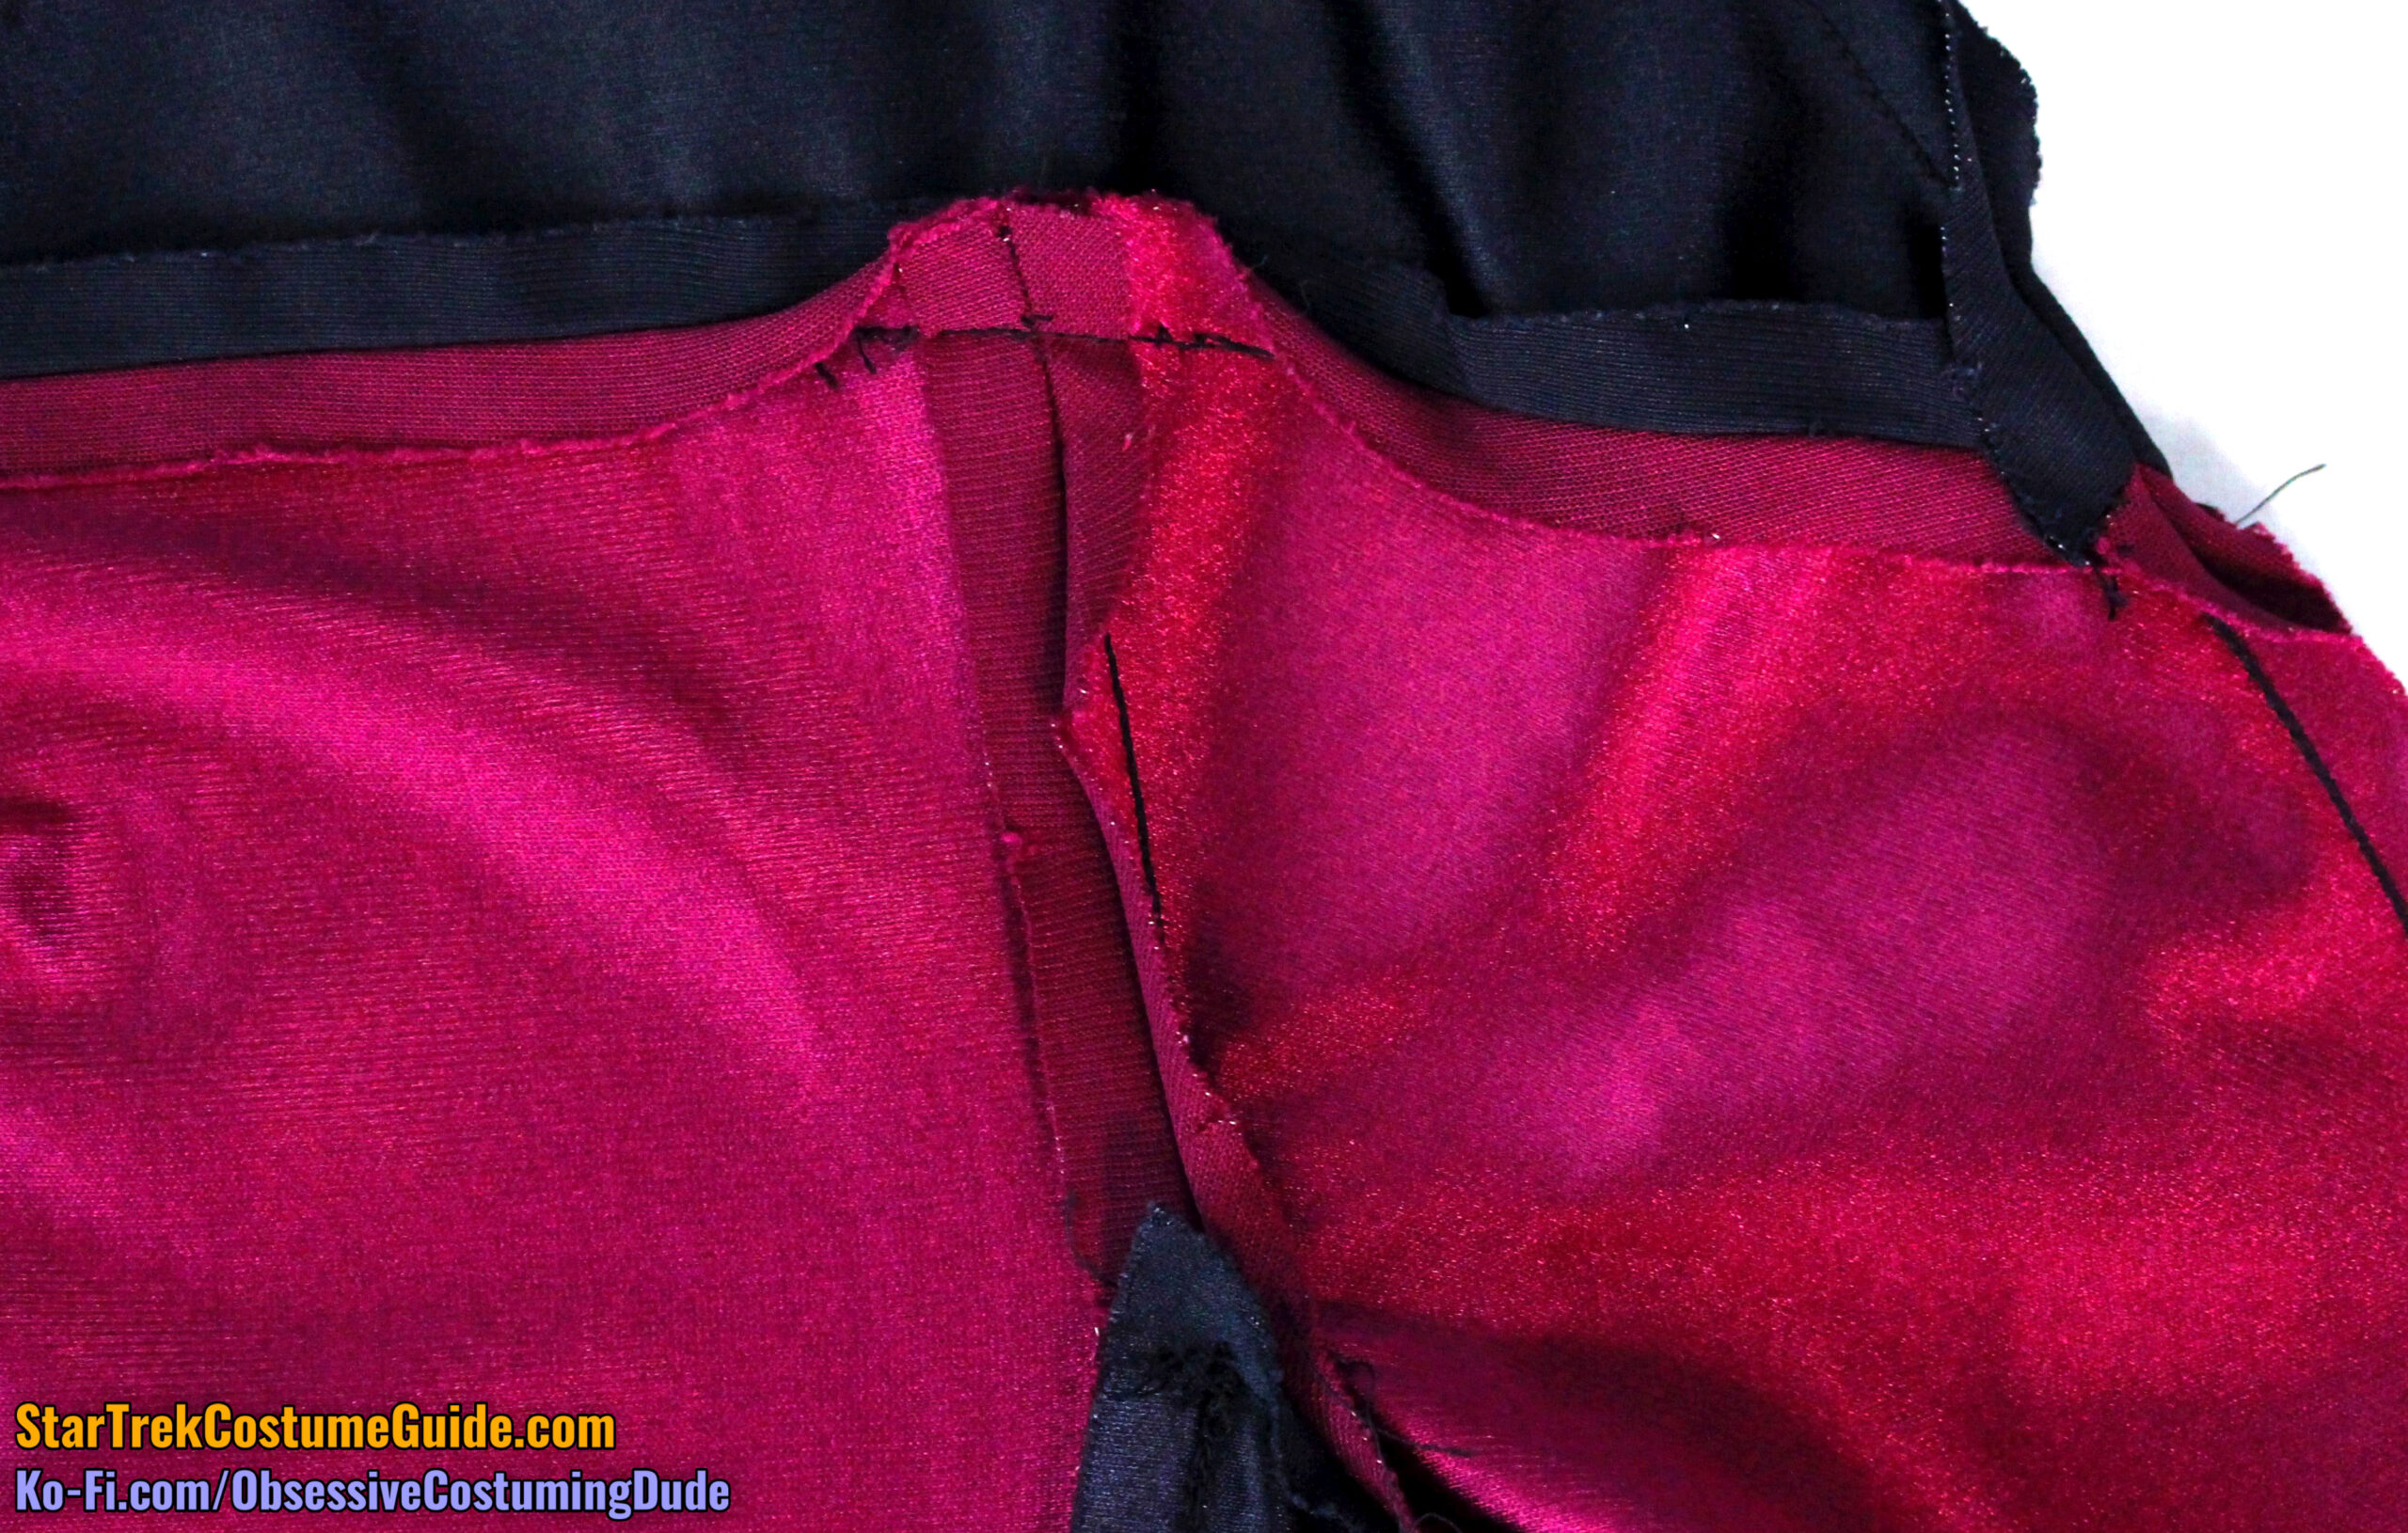
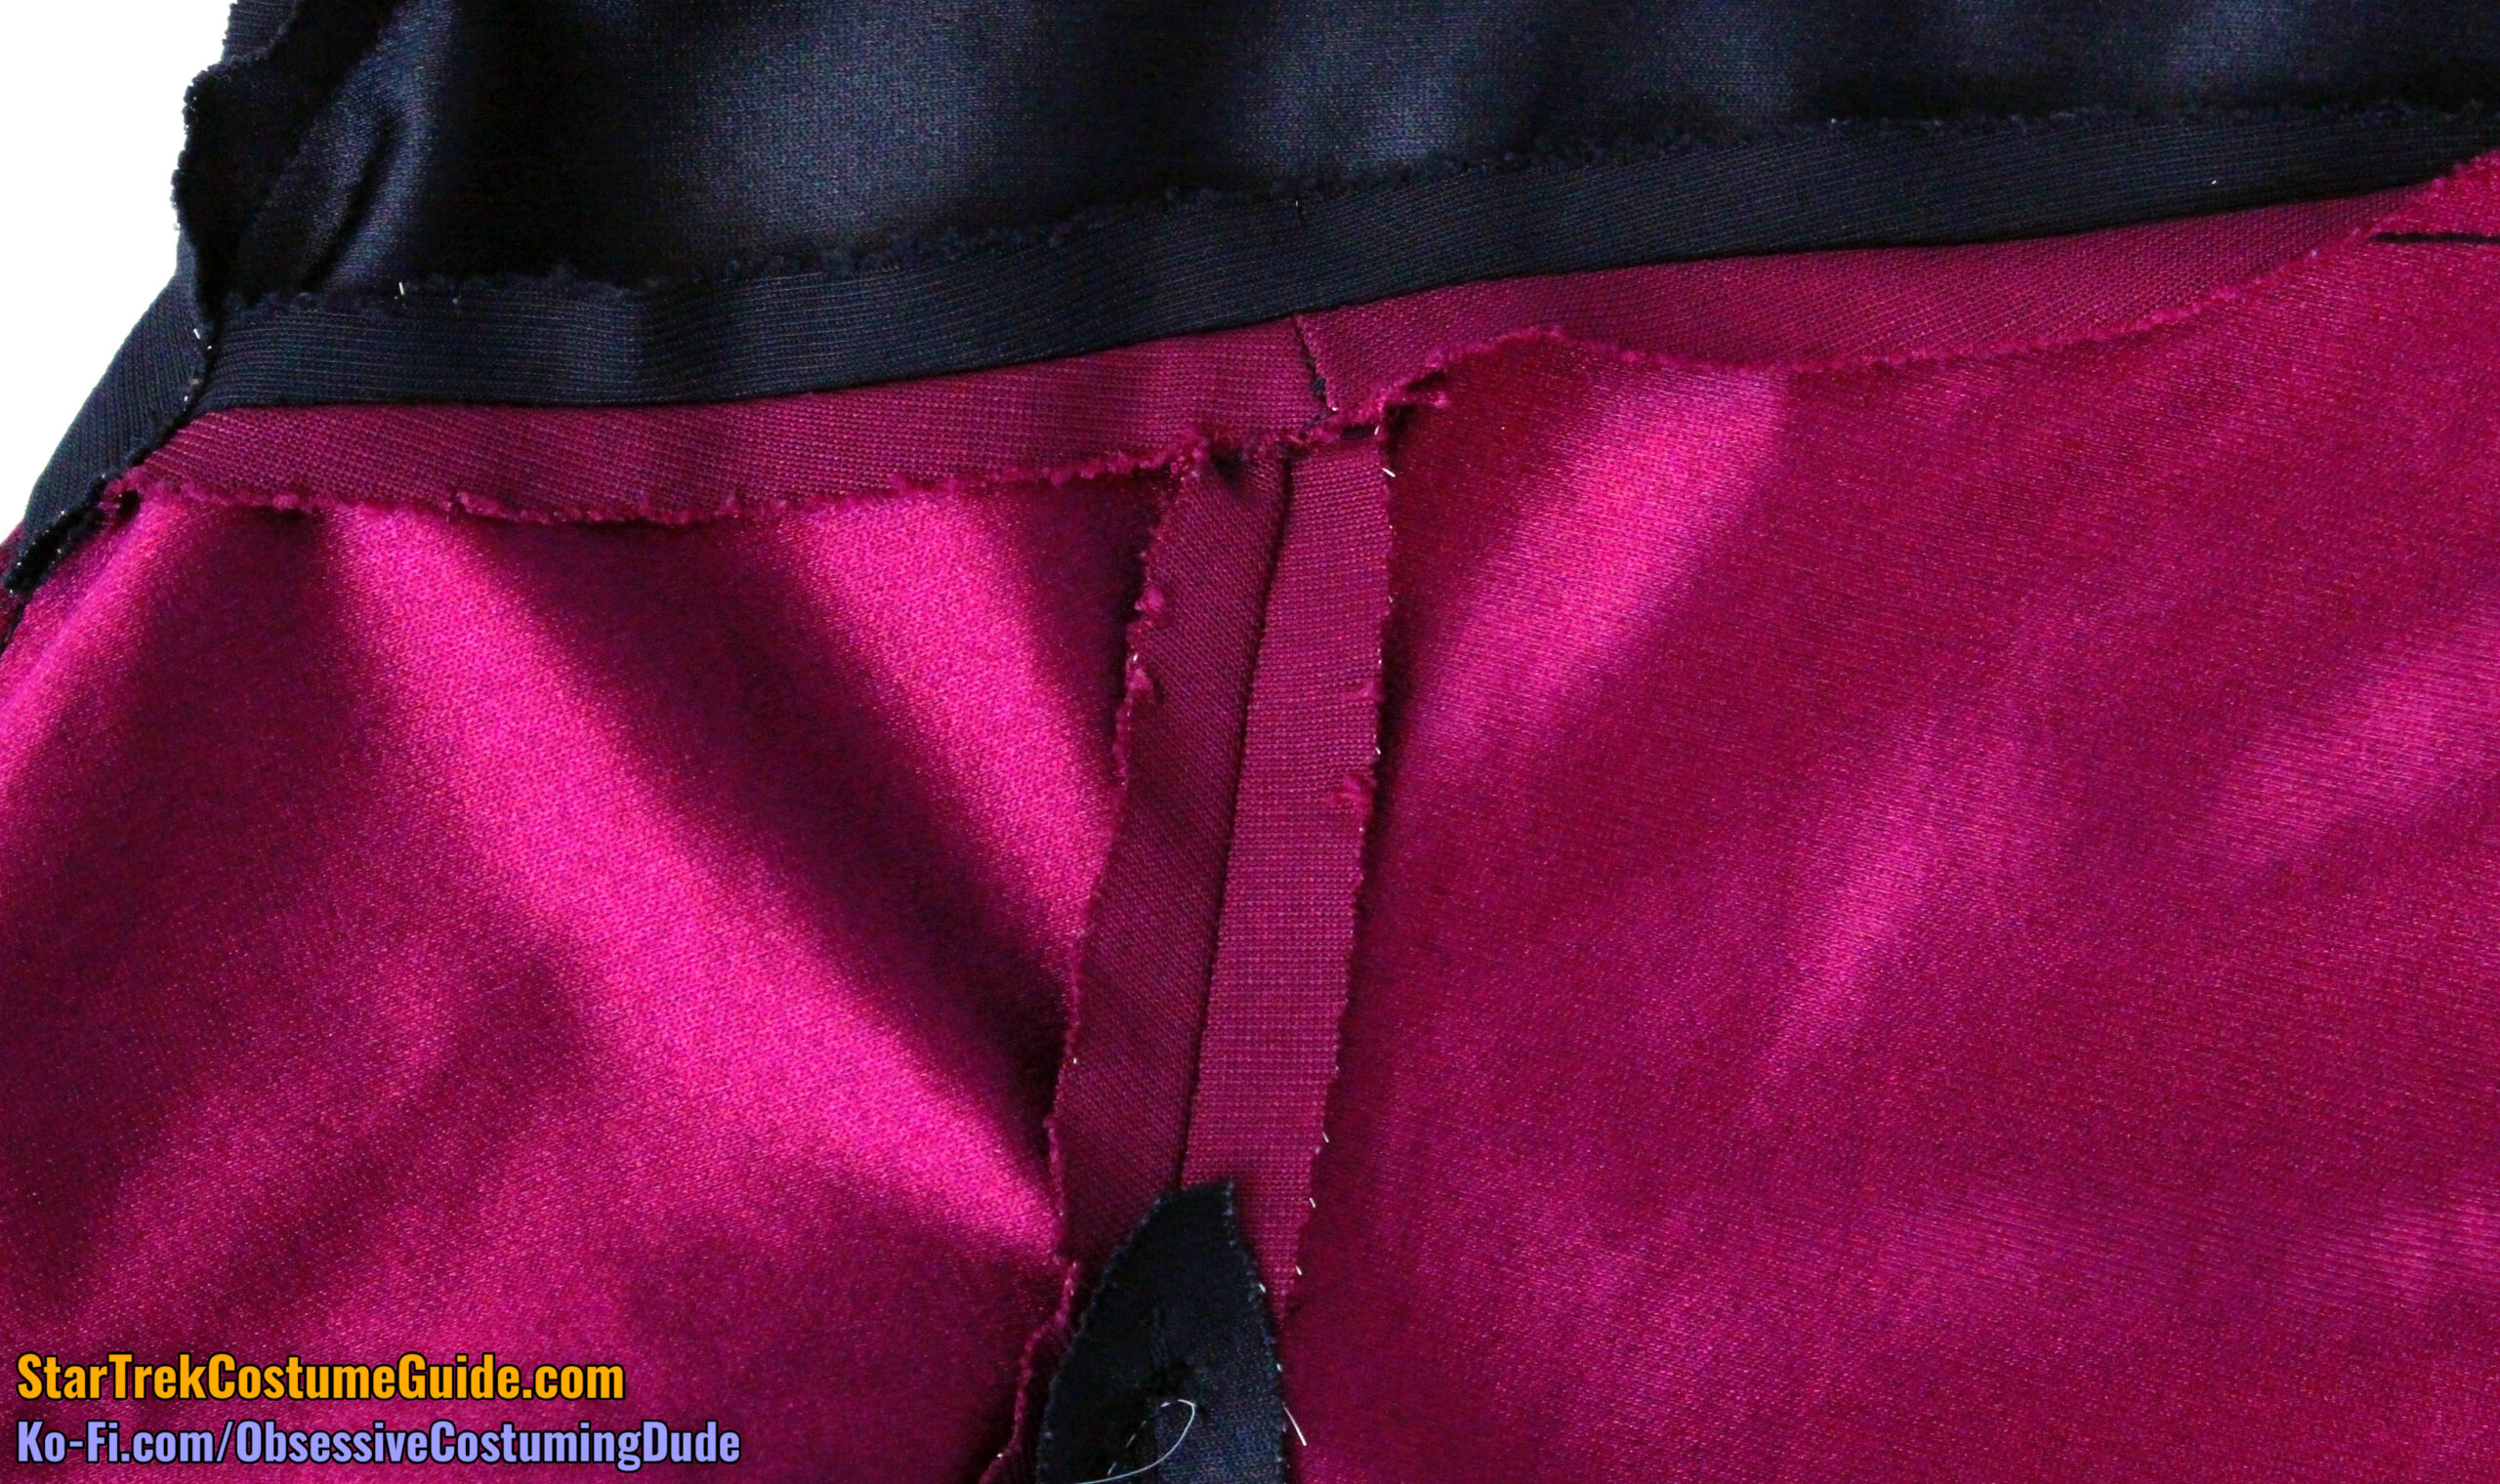
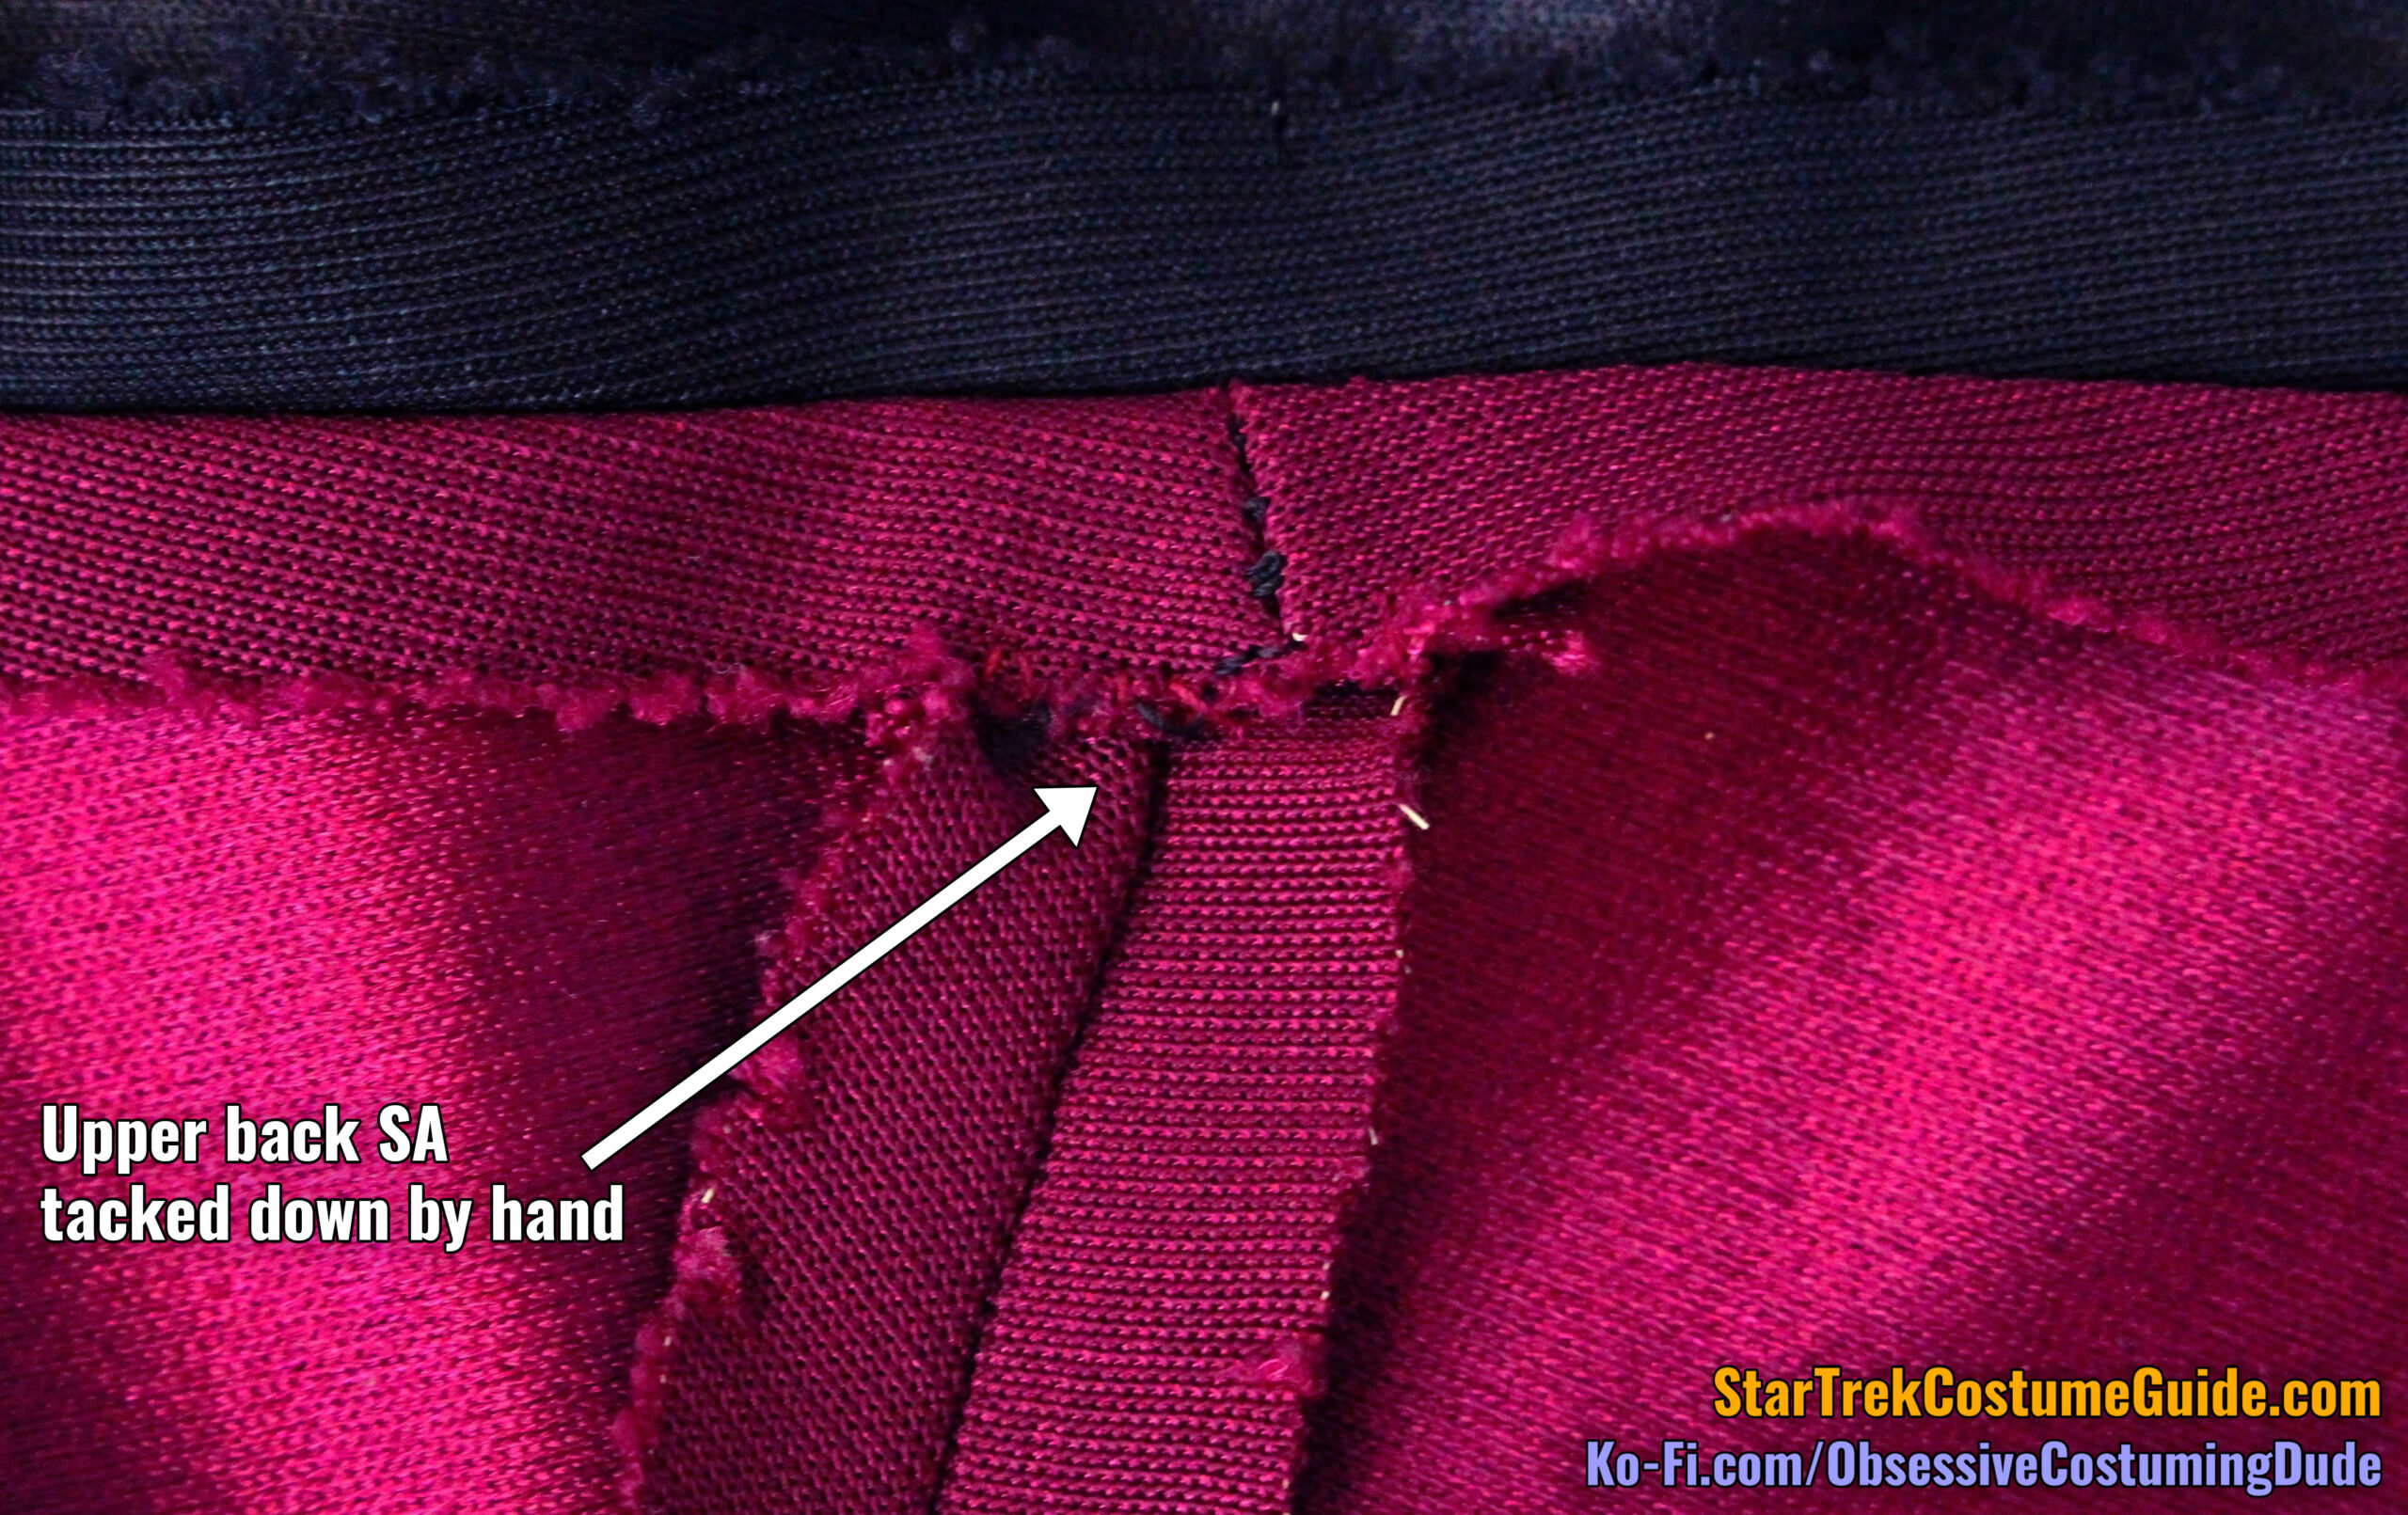
Like on the Dr. Pulaski medical smock I examined, these seam allowances were tacked open by hand where the yokes met the sleeves.
Another trio of curiosities exclusive to this Worf jumpsuit:
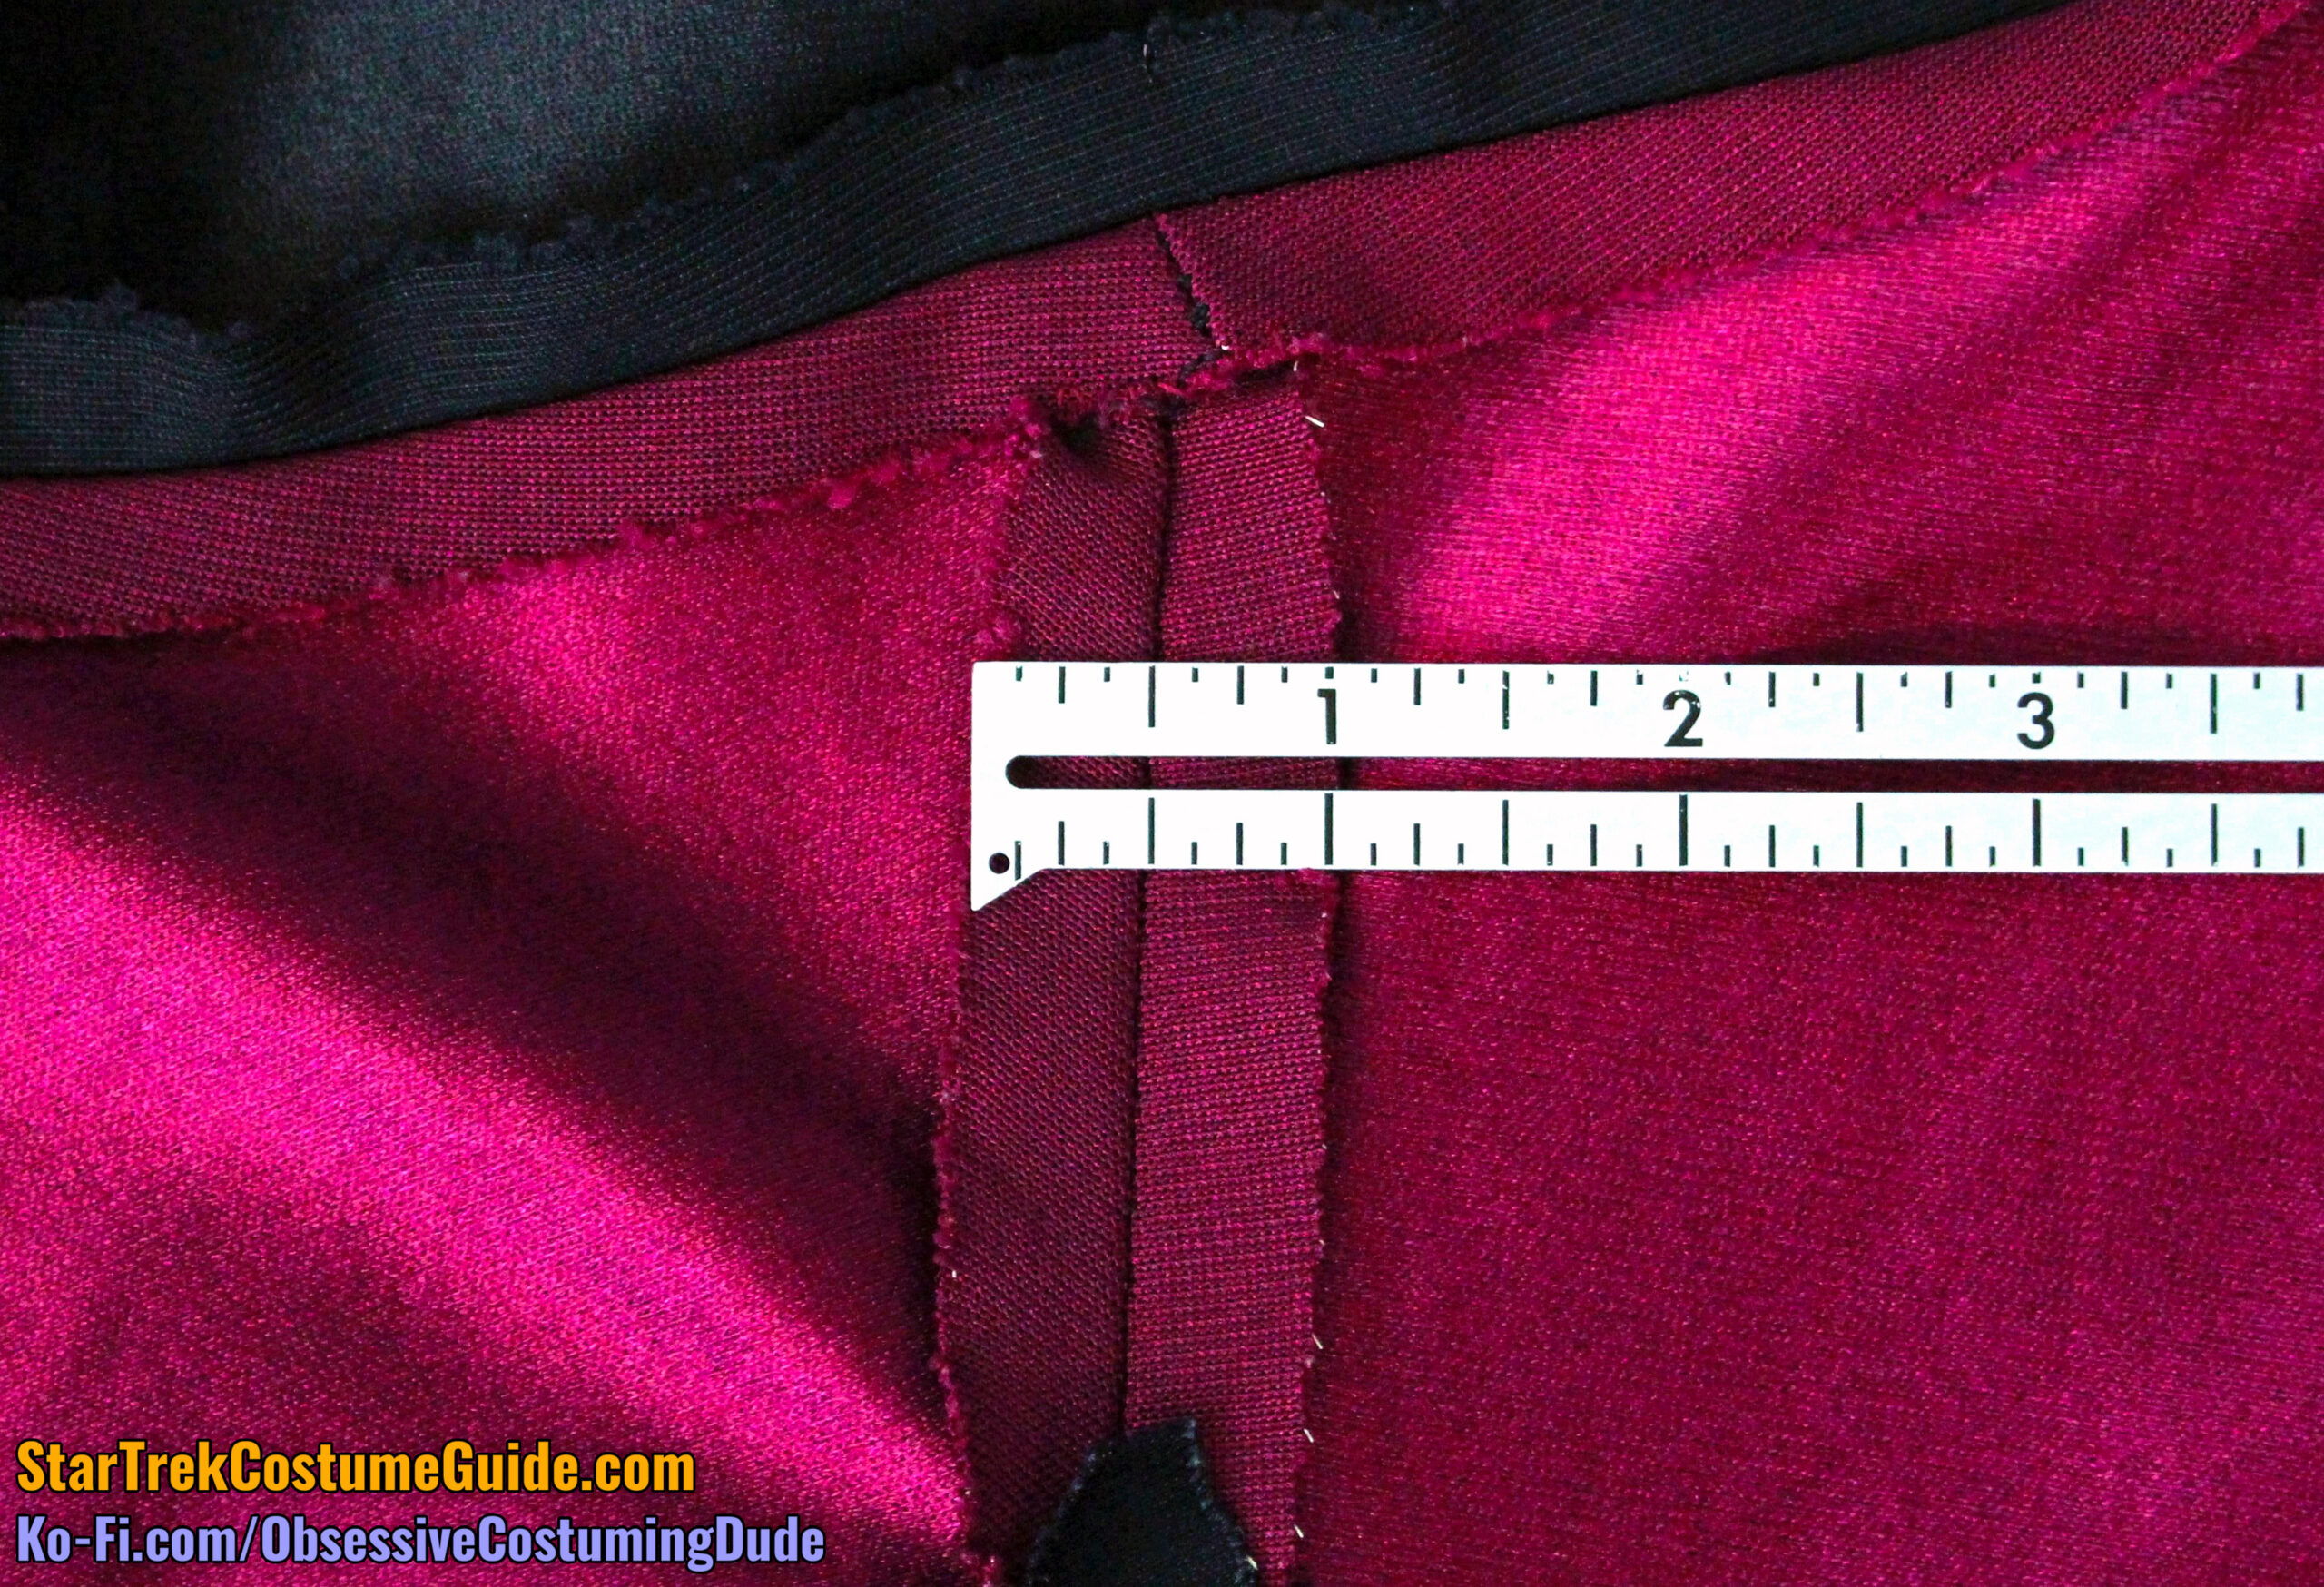
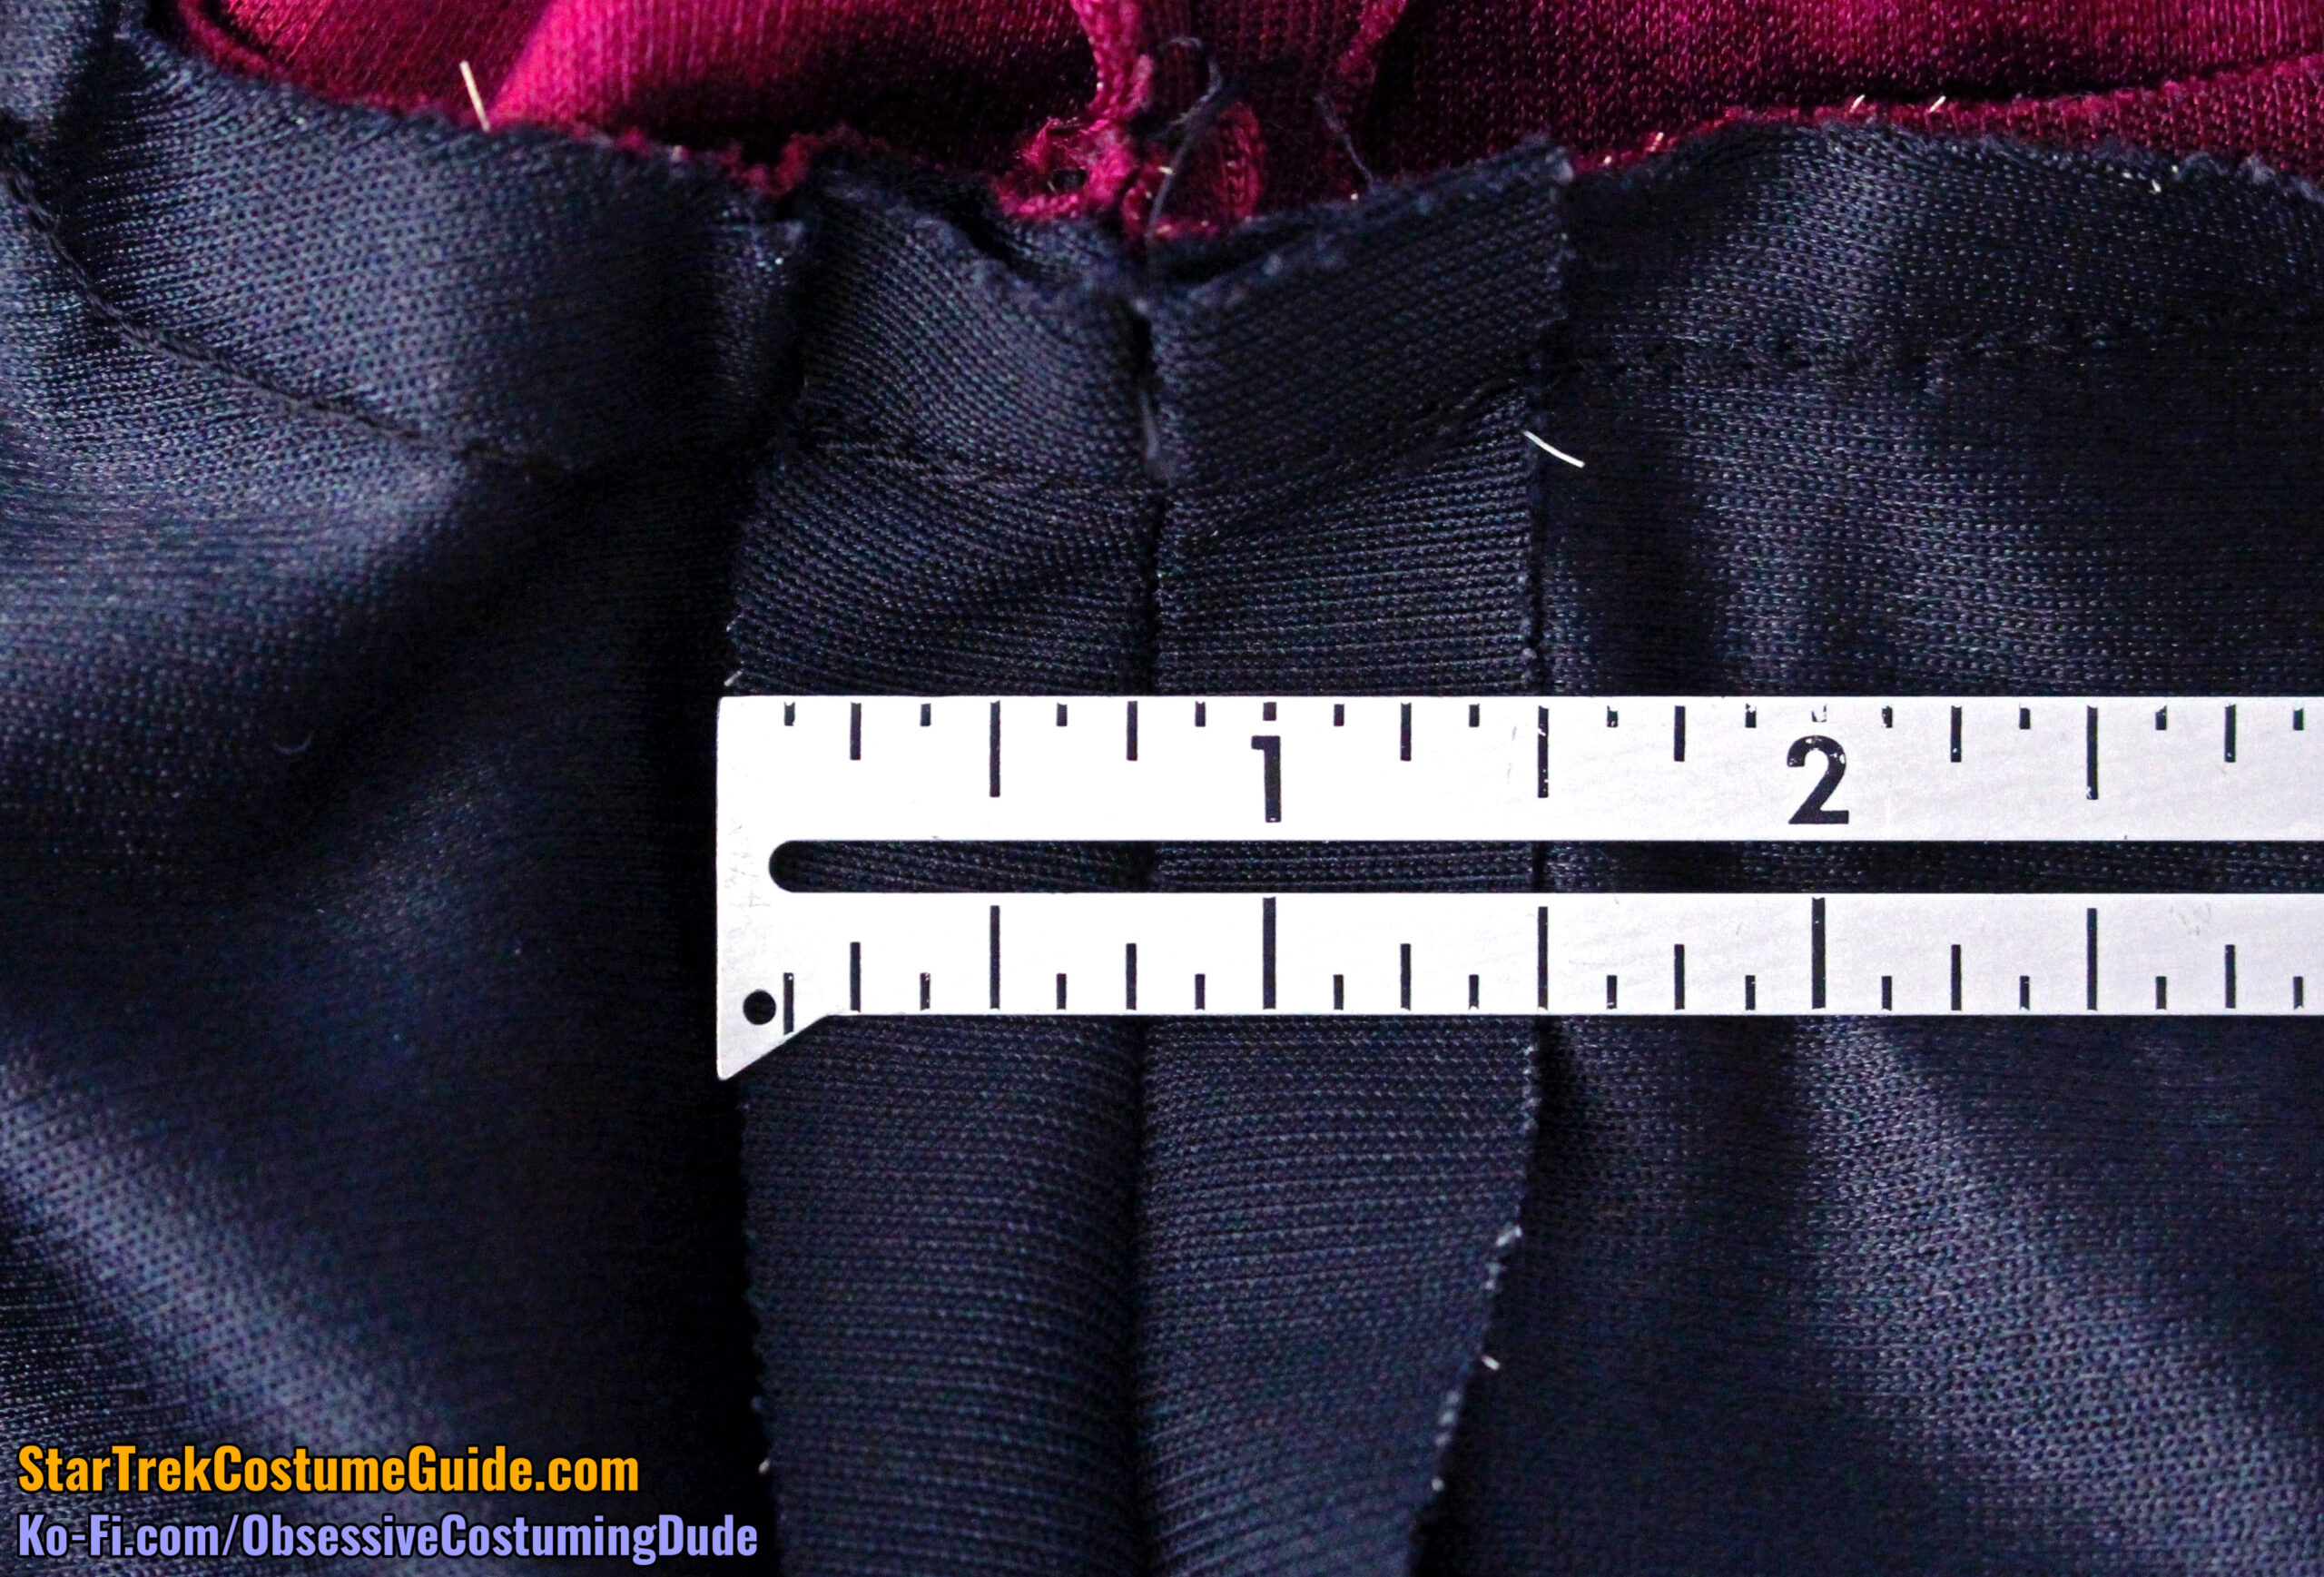
First, the upper/lower yoke seam allowances were noticeably “wonky.”
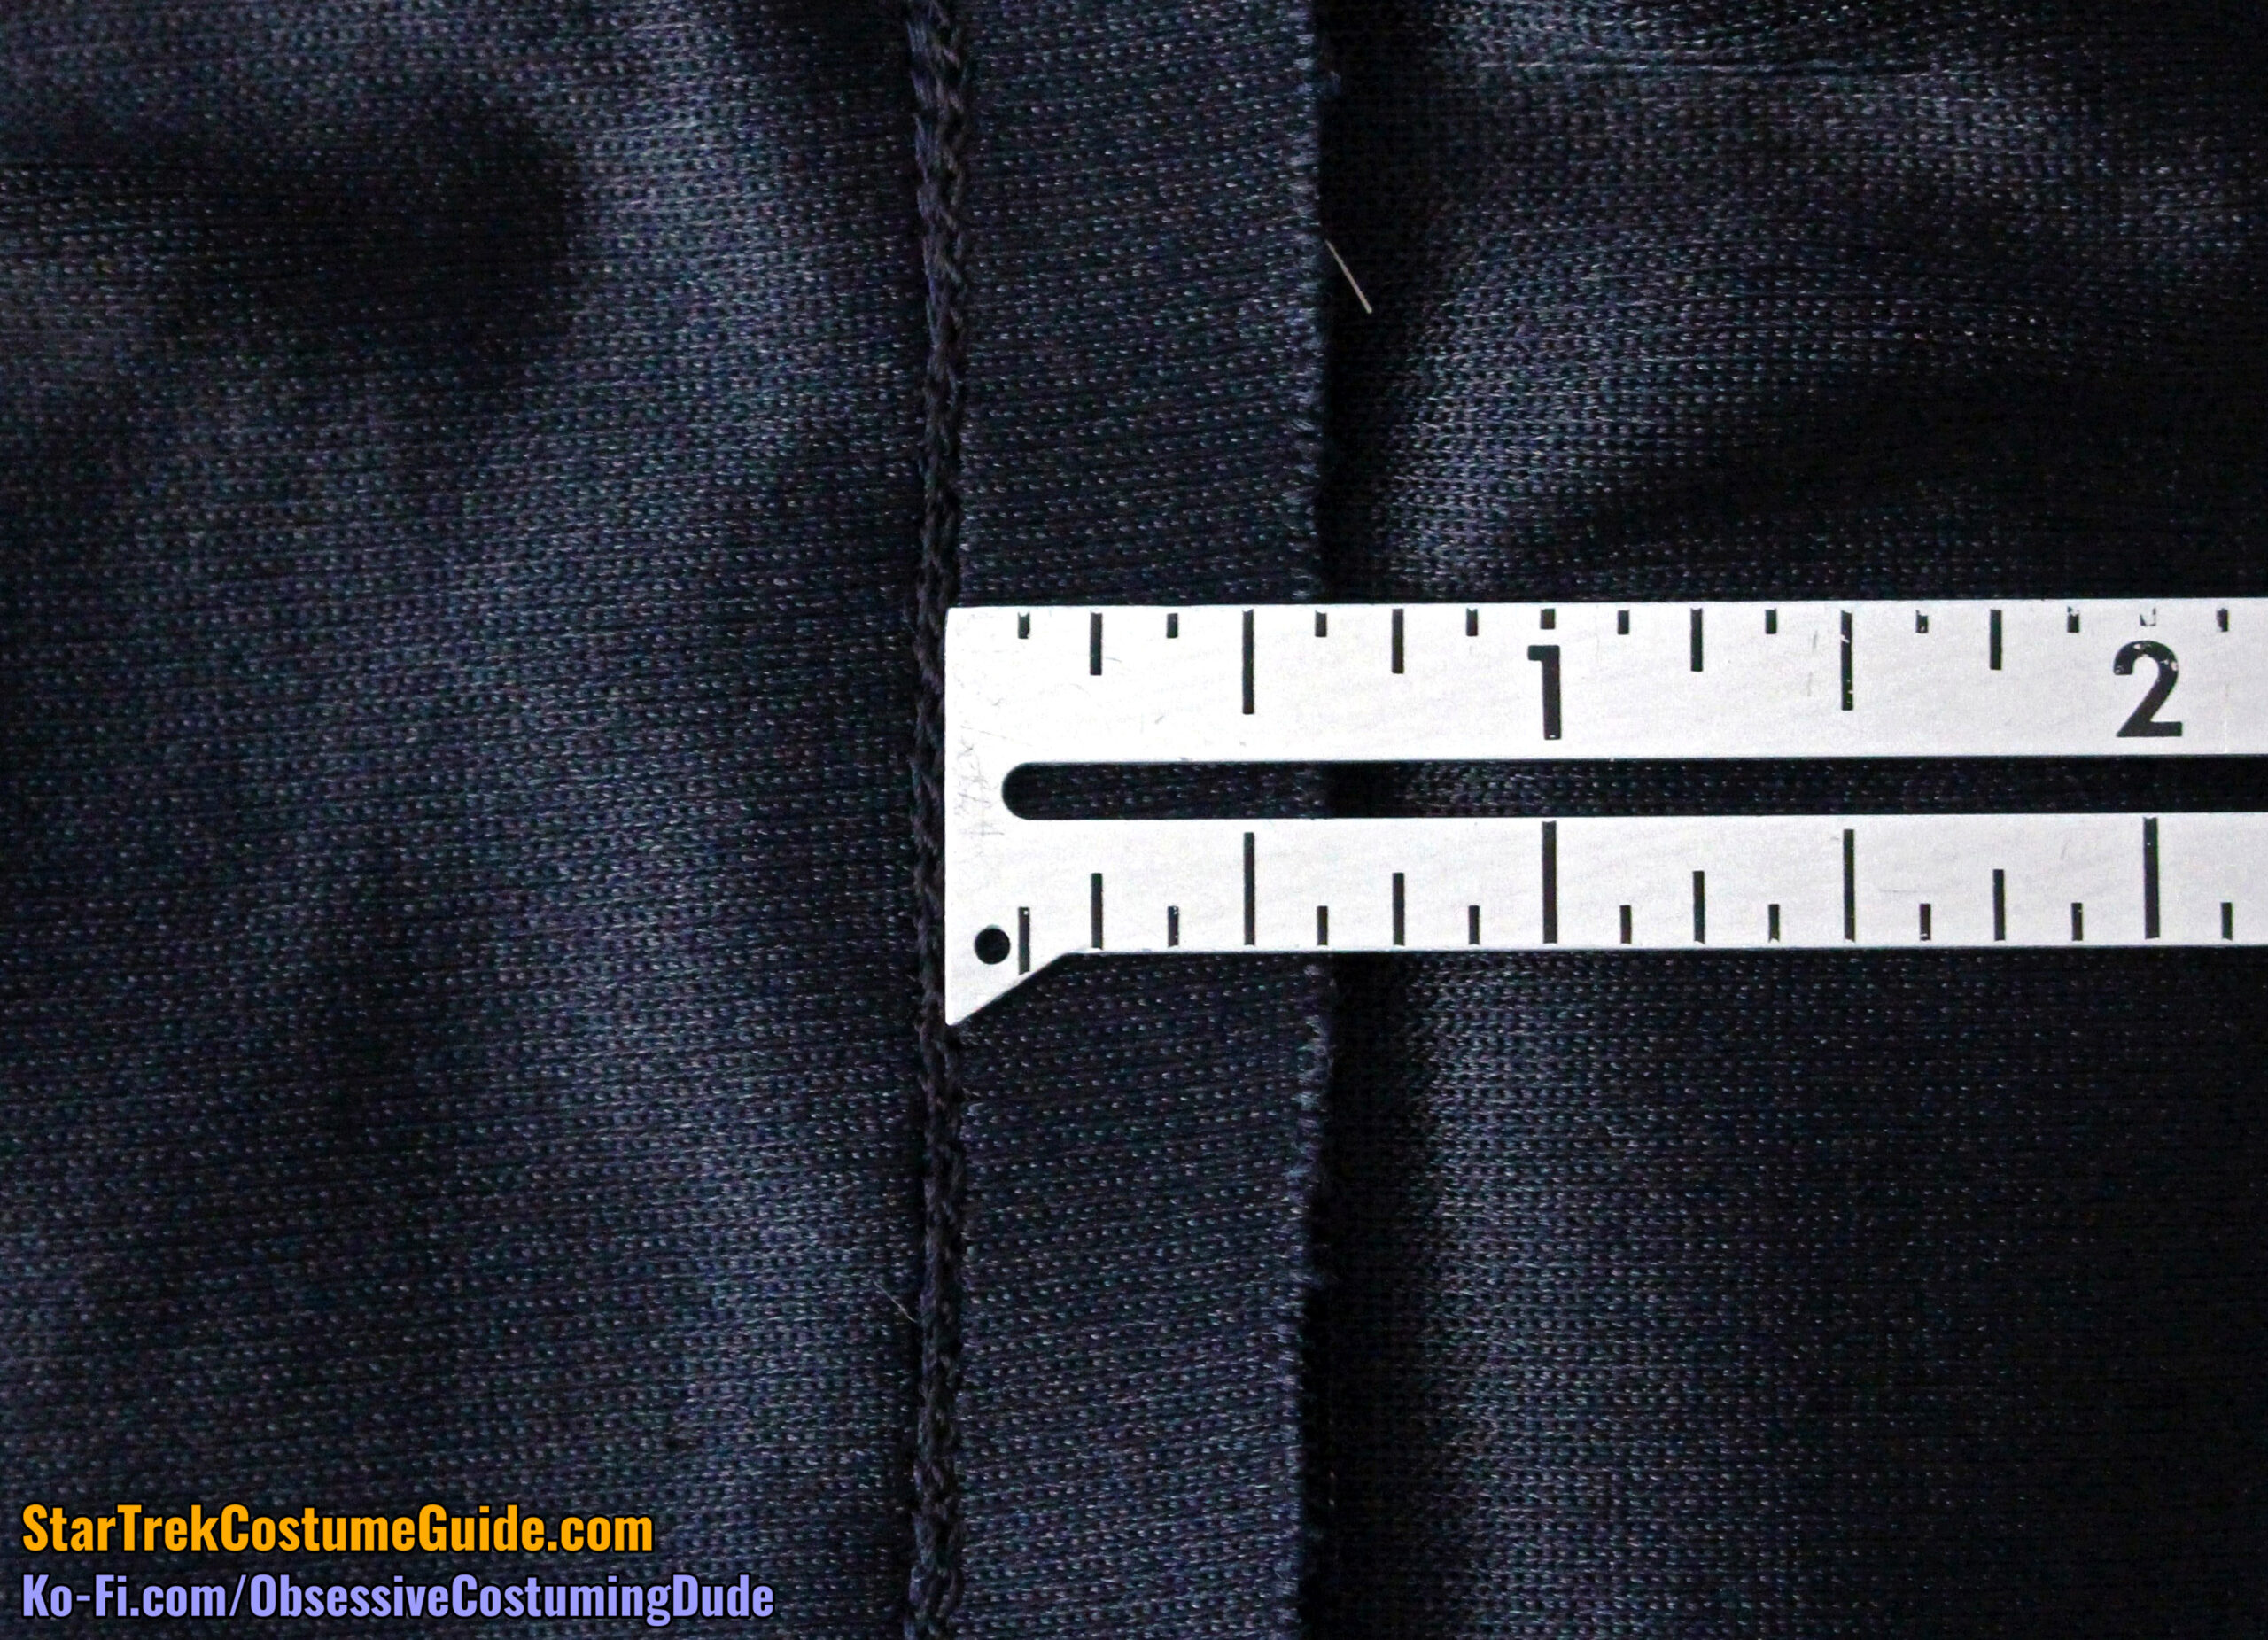
At the center front, both the aforementioned seam allowances were the standard ⅜”.
However, the lower yoke’s seam allowance gradually increased to double that (¾”) toward the shoulder.
The upper front yoke’s allowance consistently remained ⅜”, leading me to believe that the upper/lower front yokes may have been taken in after a test fitting with Michael Dorn.
Second, the frontmost 4 ½” of the aforementioned seam allowances were hand-sewn together … but only on the right side of the jumpsuit!
Perhaps this was an effort to keep the area “clean” and free of potential snags for the rank bars?
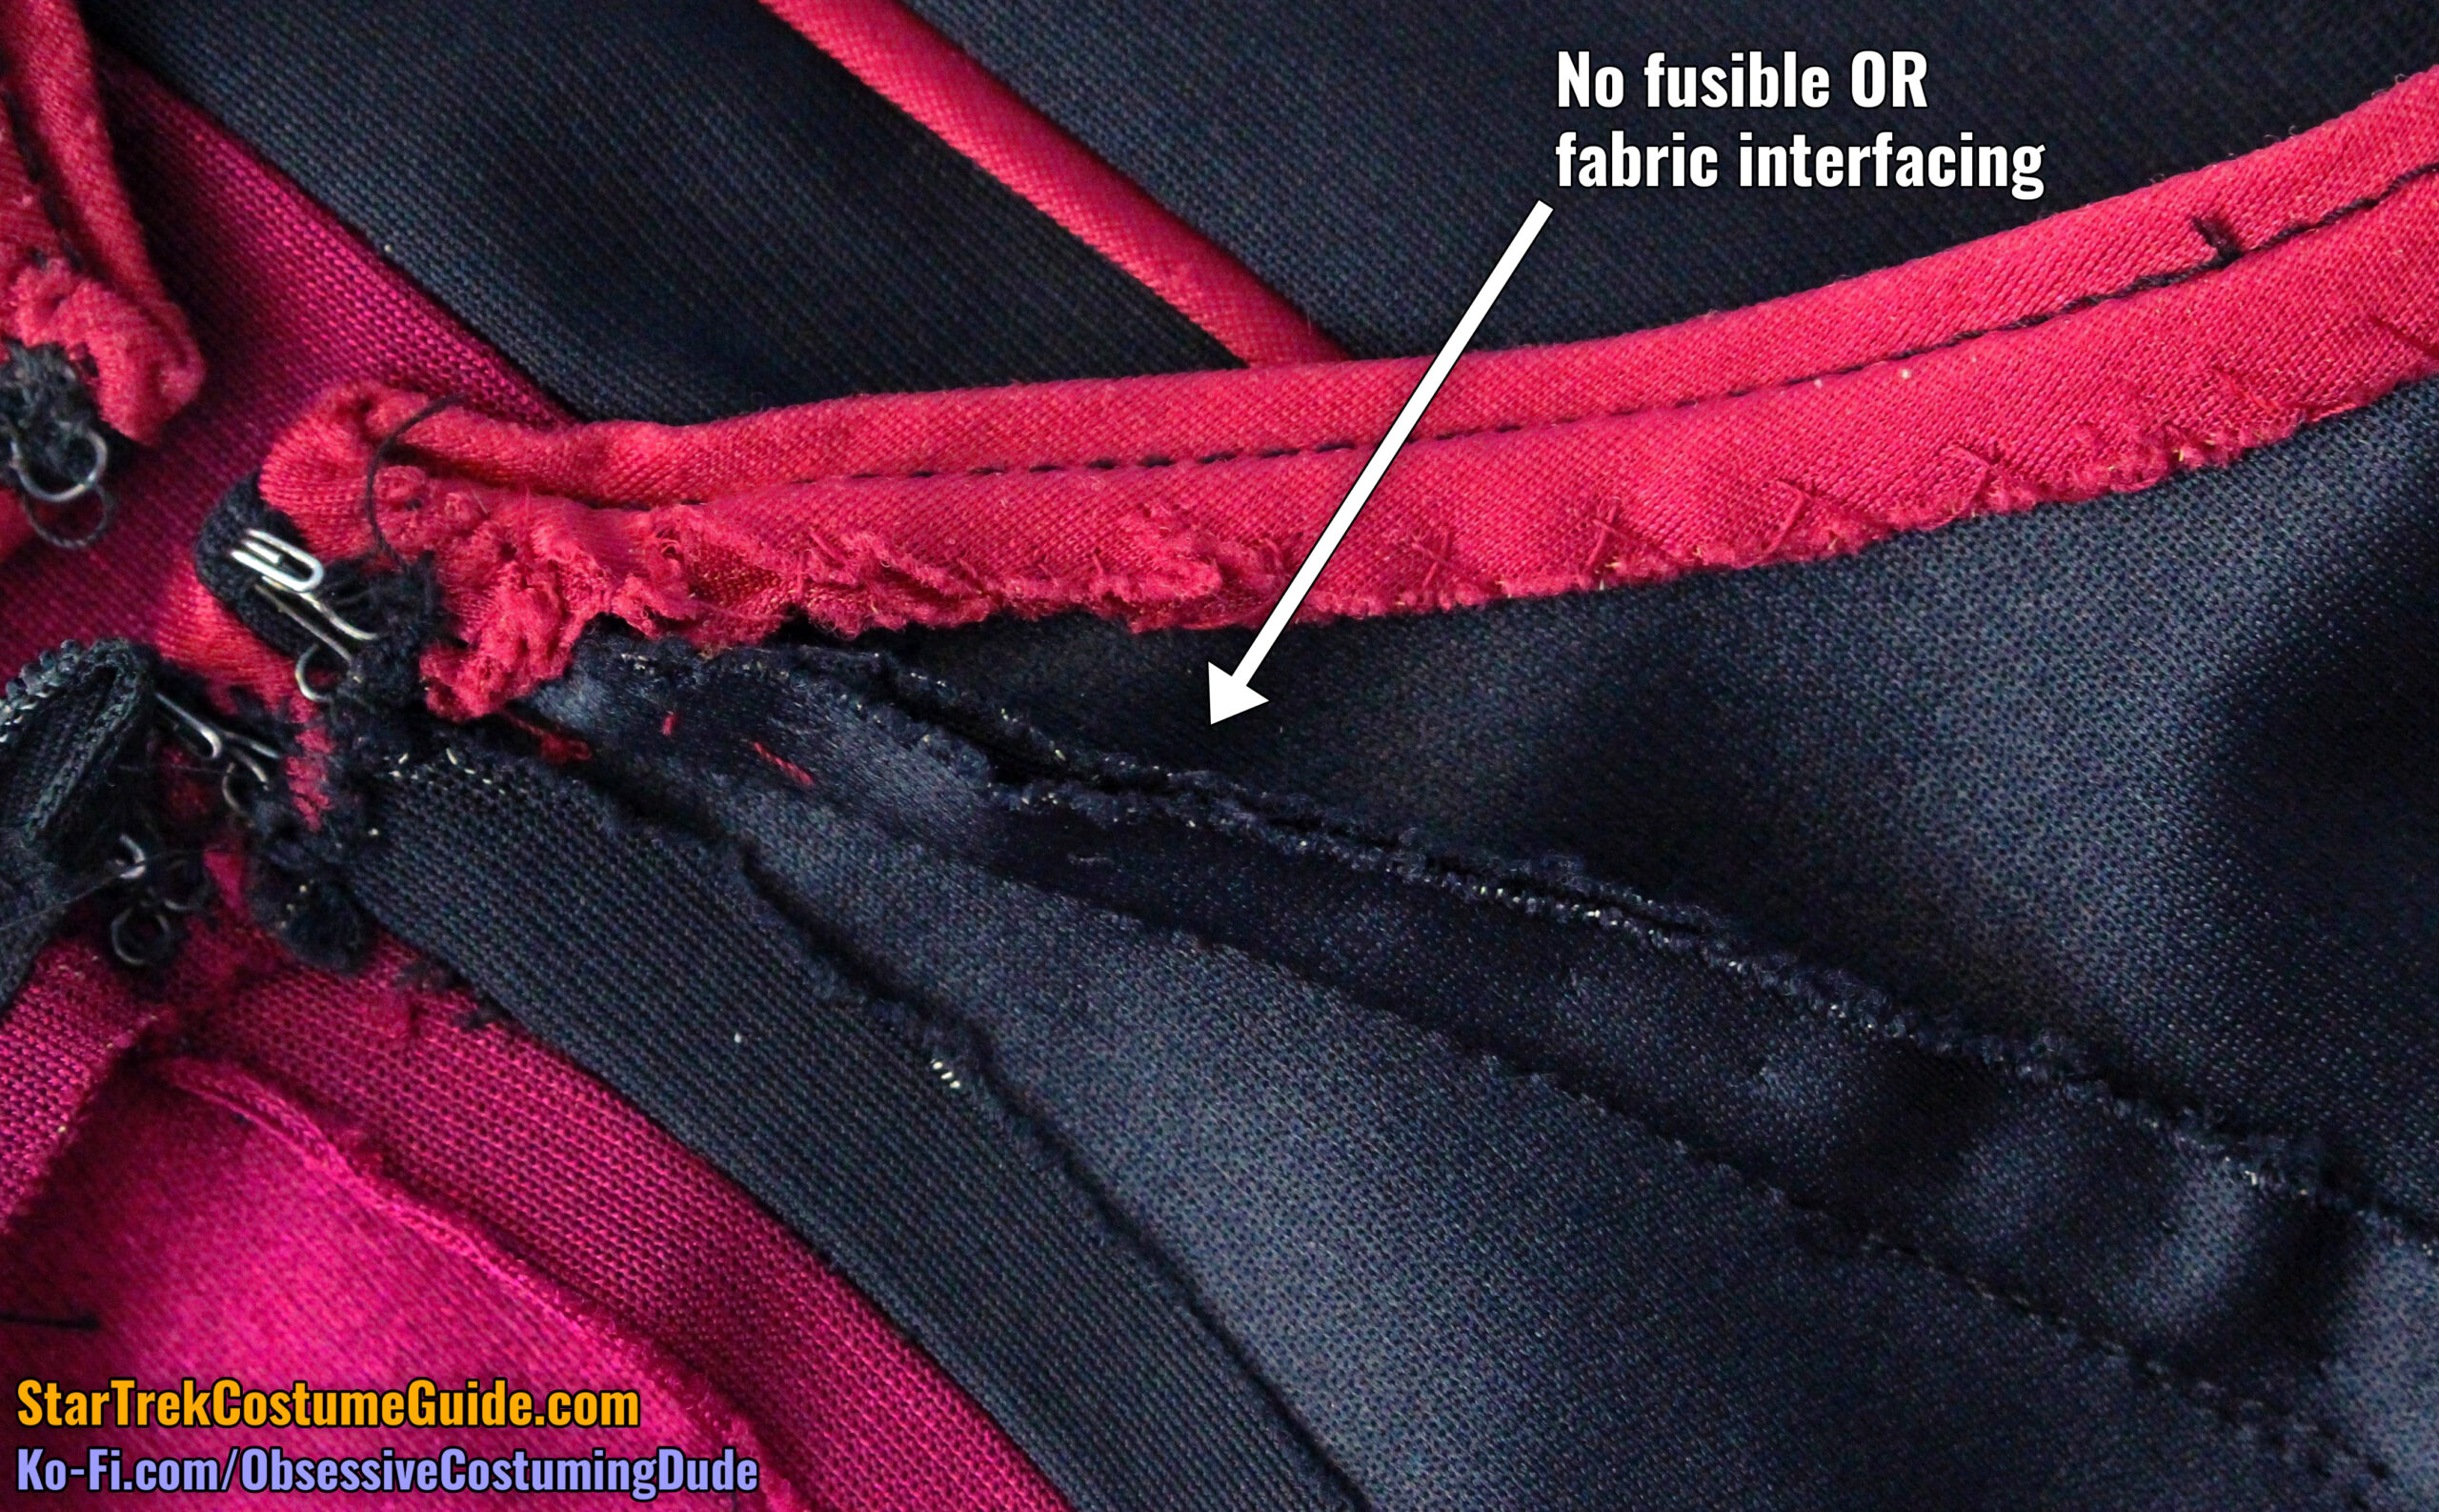
And third, unlike the Tasha Yar and Beverly Crusher jumpsuits I examined, the upper right front yoke area on this Worf jumpsuit was not reinforced at all – either with fusible or fabric interfacing.
Poor Worf just didn’t get the respect he deserved on TNG. 🙁
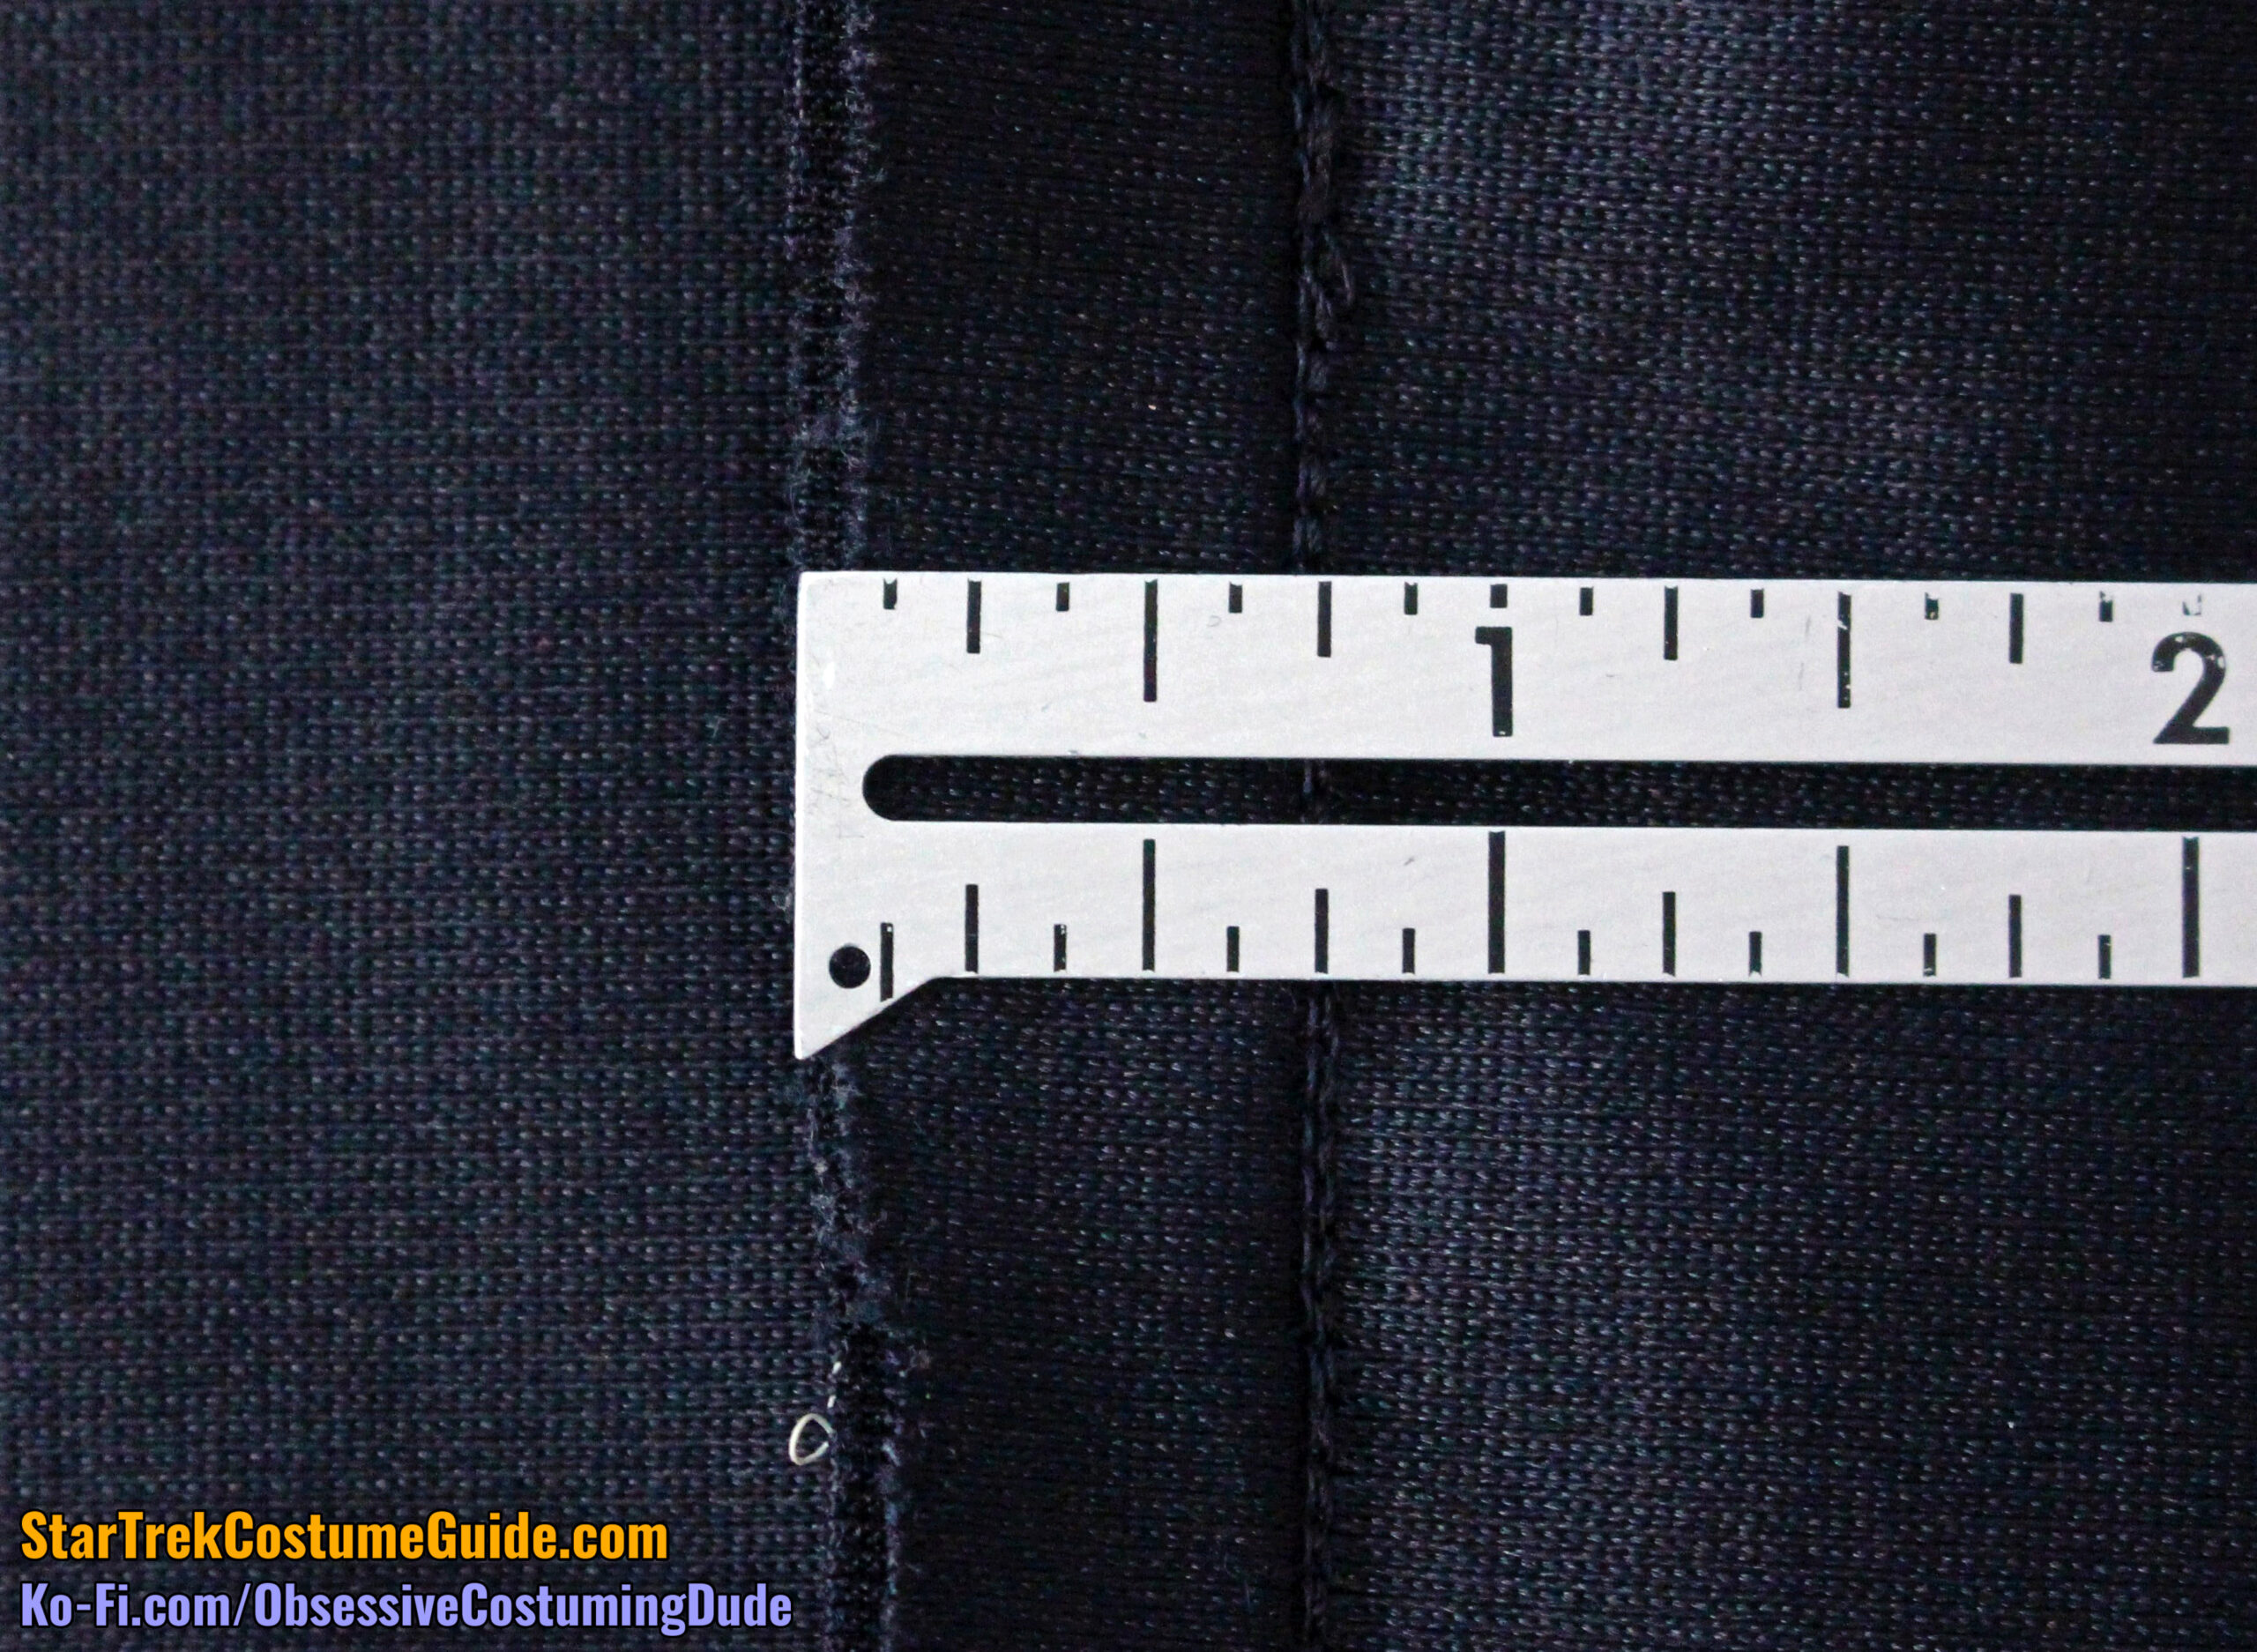
The back upper/lower yoke seam allowance was usually about ½”, although it tapered down to ⅜” toward the shoulders.
Both front yoke/body seam allowances changed directions from the center front to the sleeve seams … although in different manners!
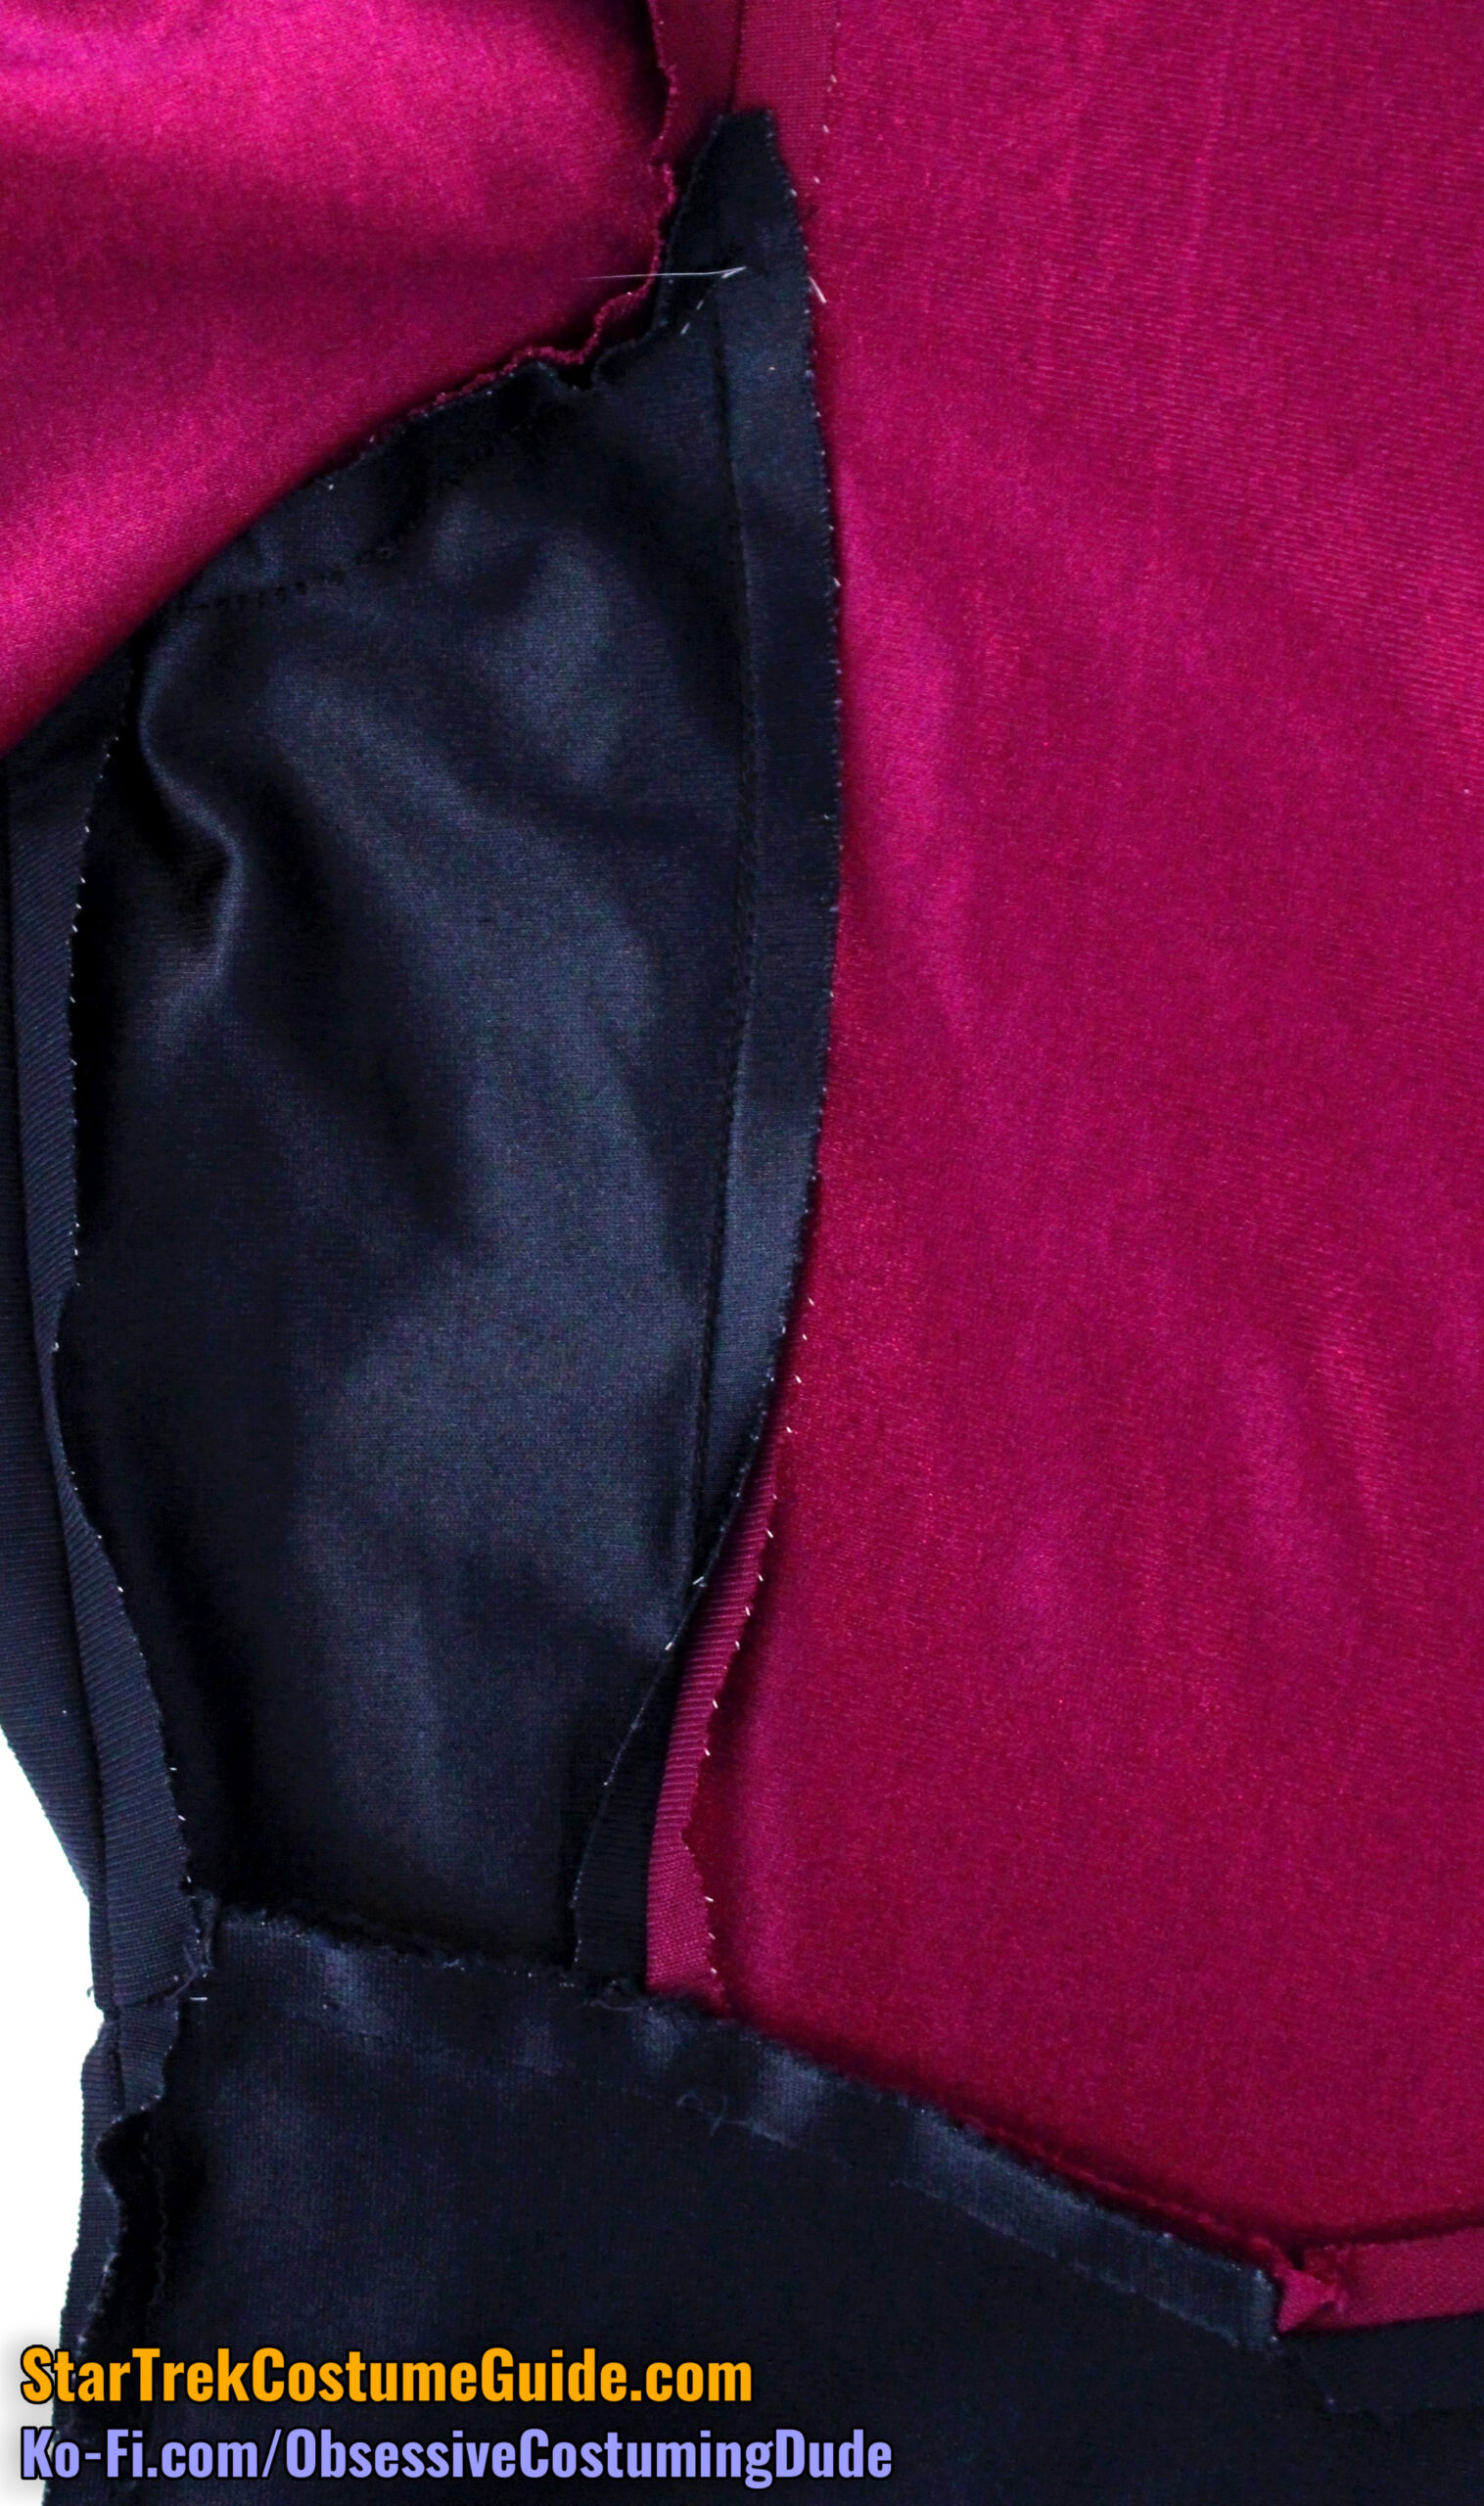
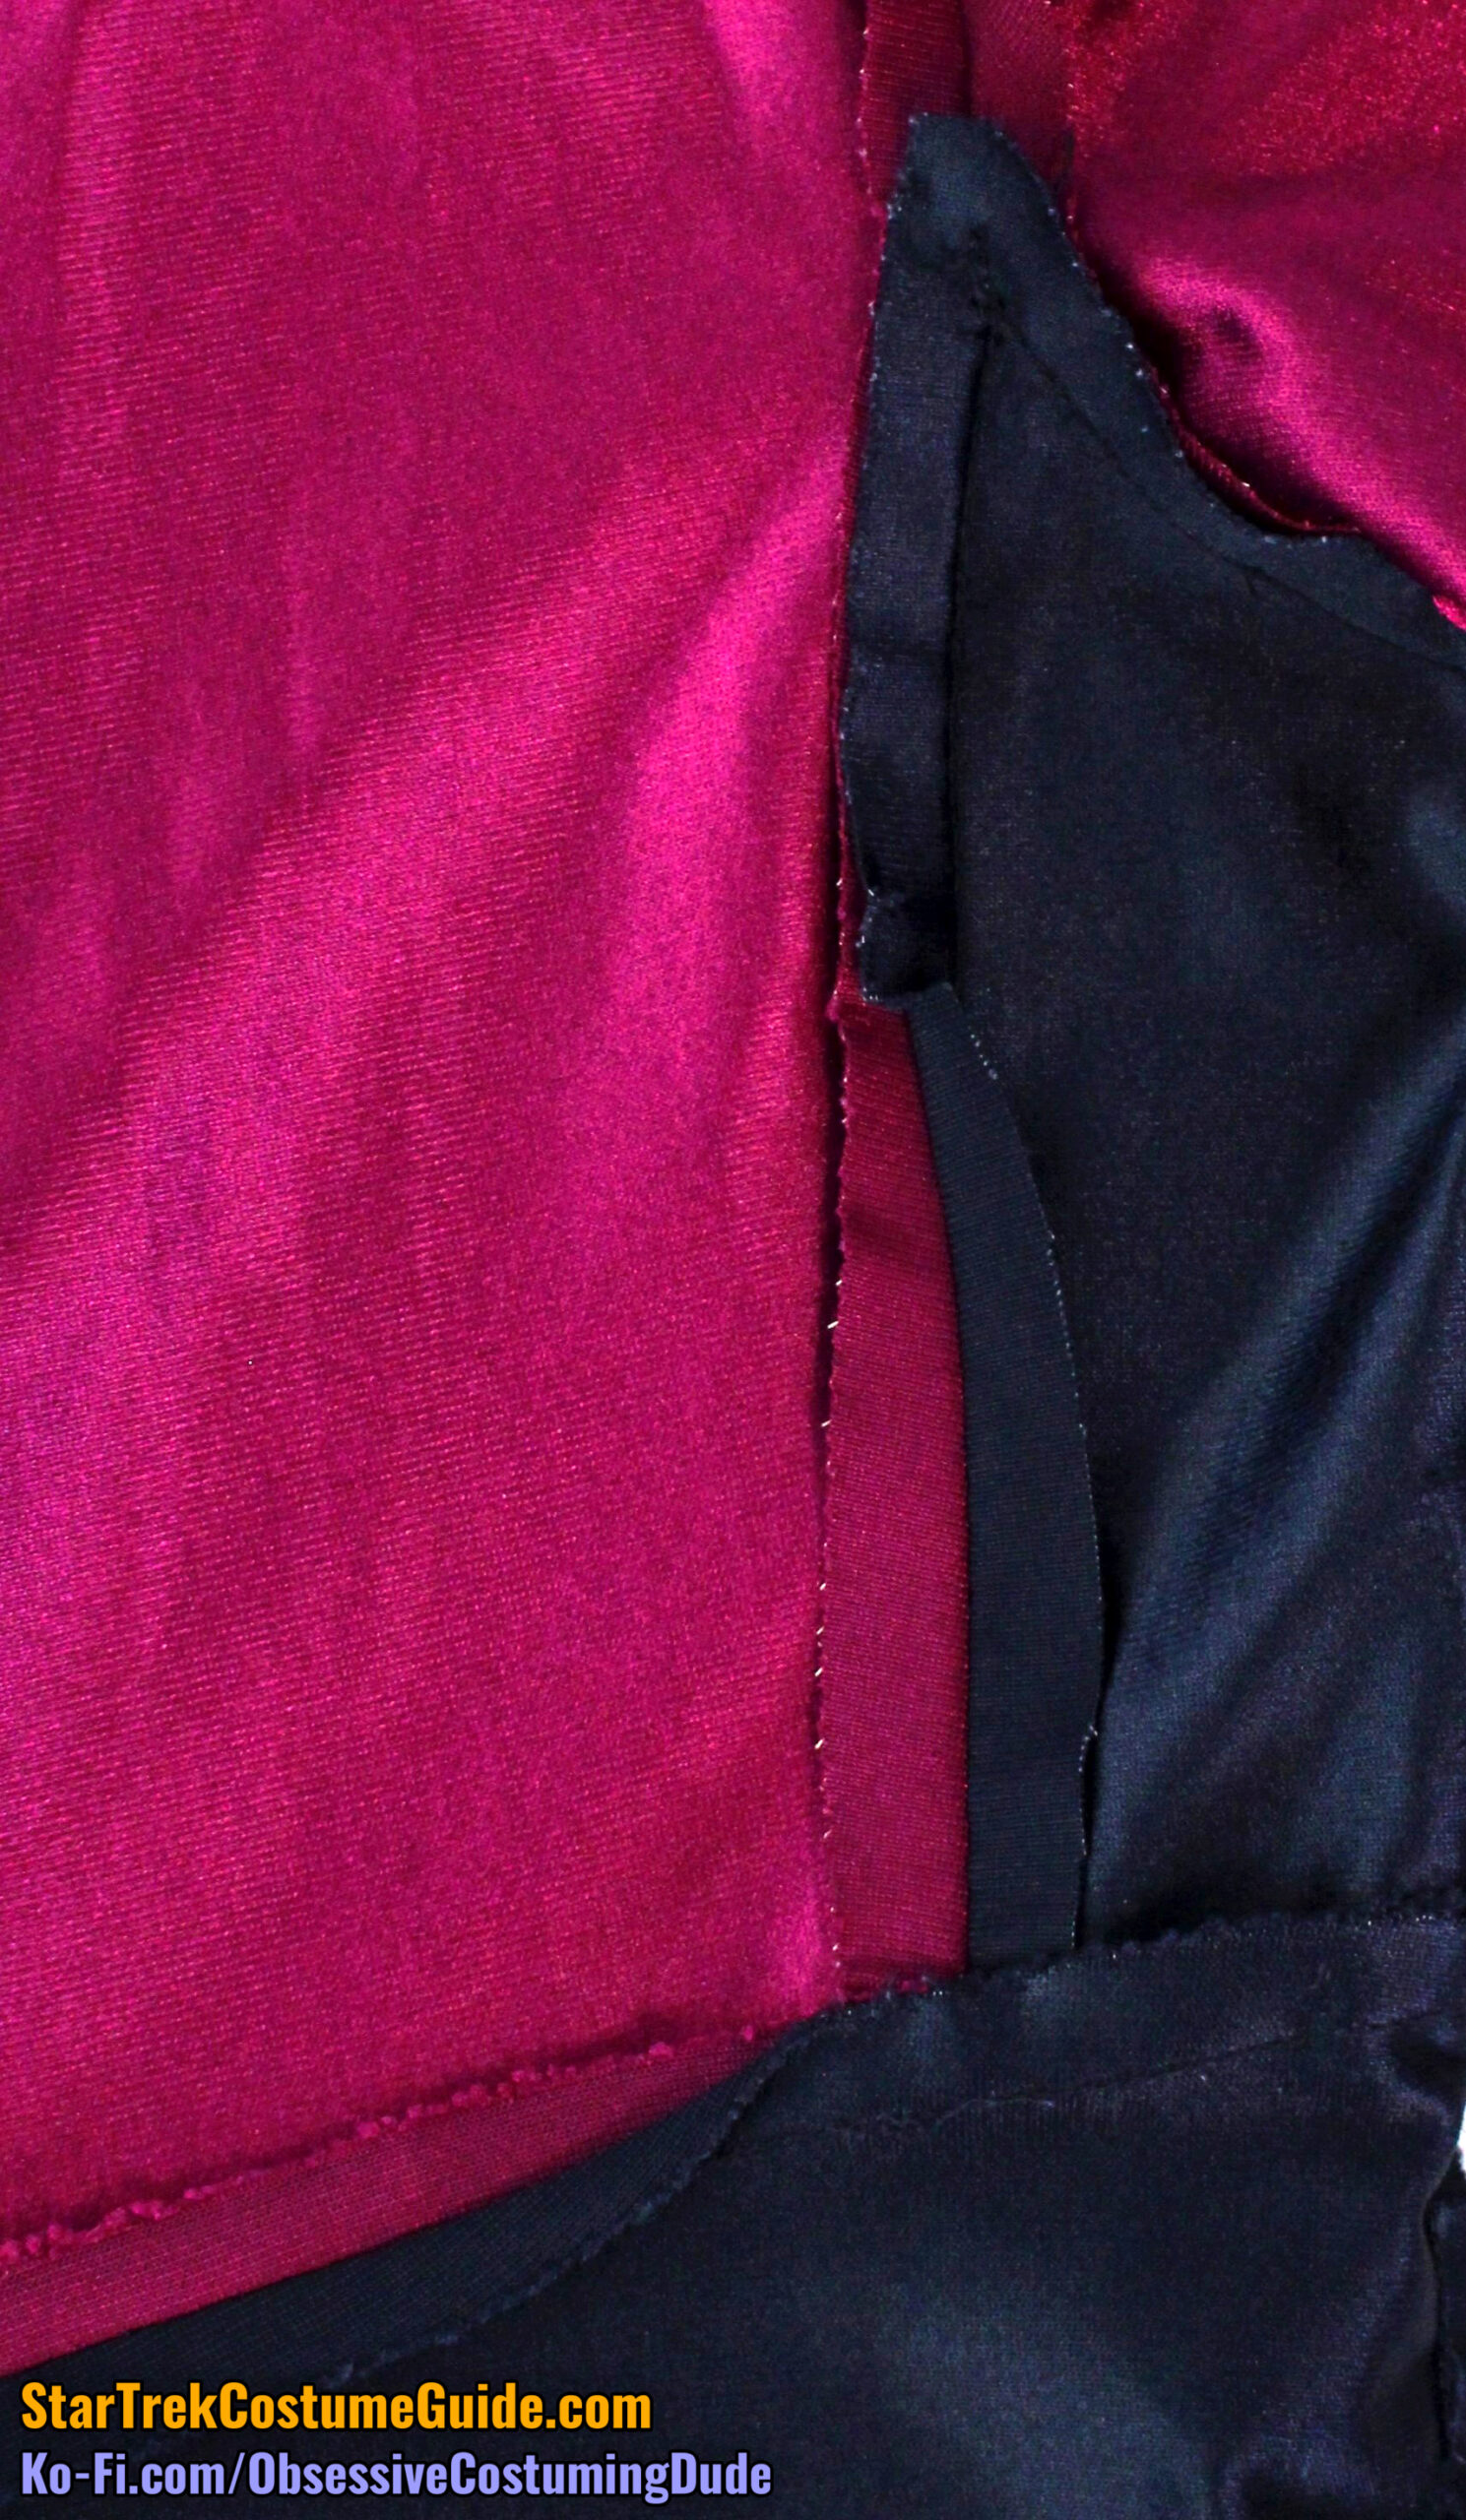
The right front yoke/body seam allowances were mostly pressed open (and sewn open on both ends of the seam), although the upper allowance reversed and appears to have been pressed downward along the sleeve area.
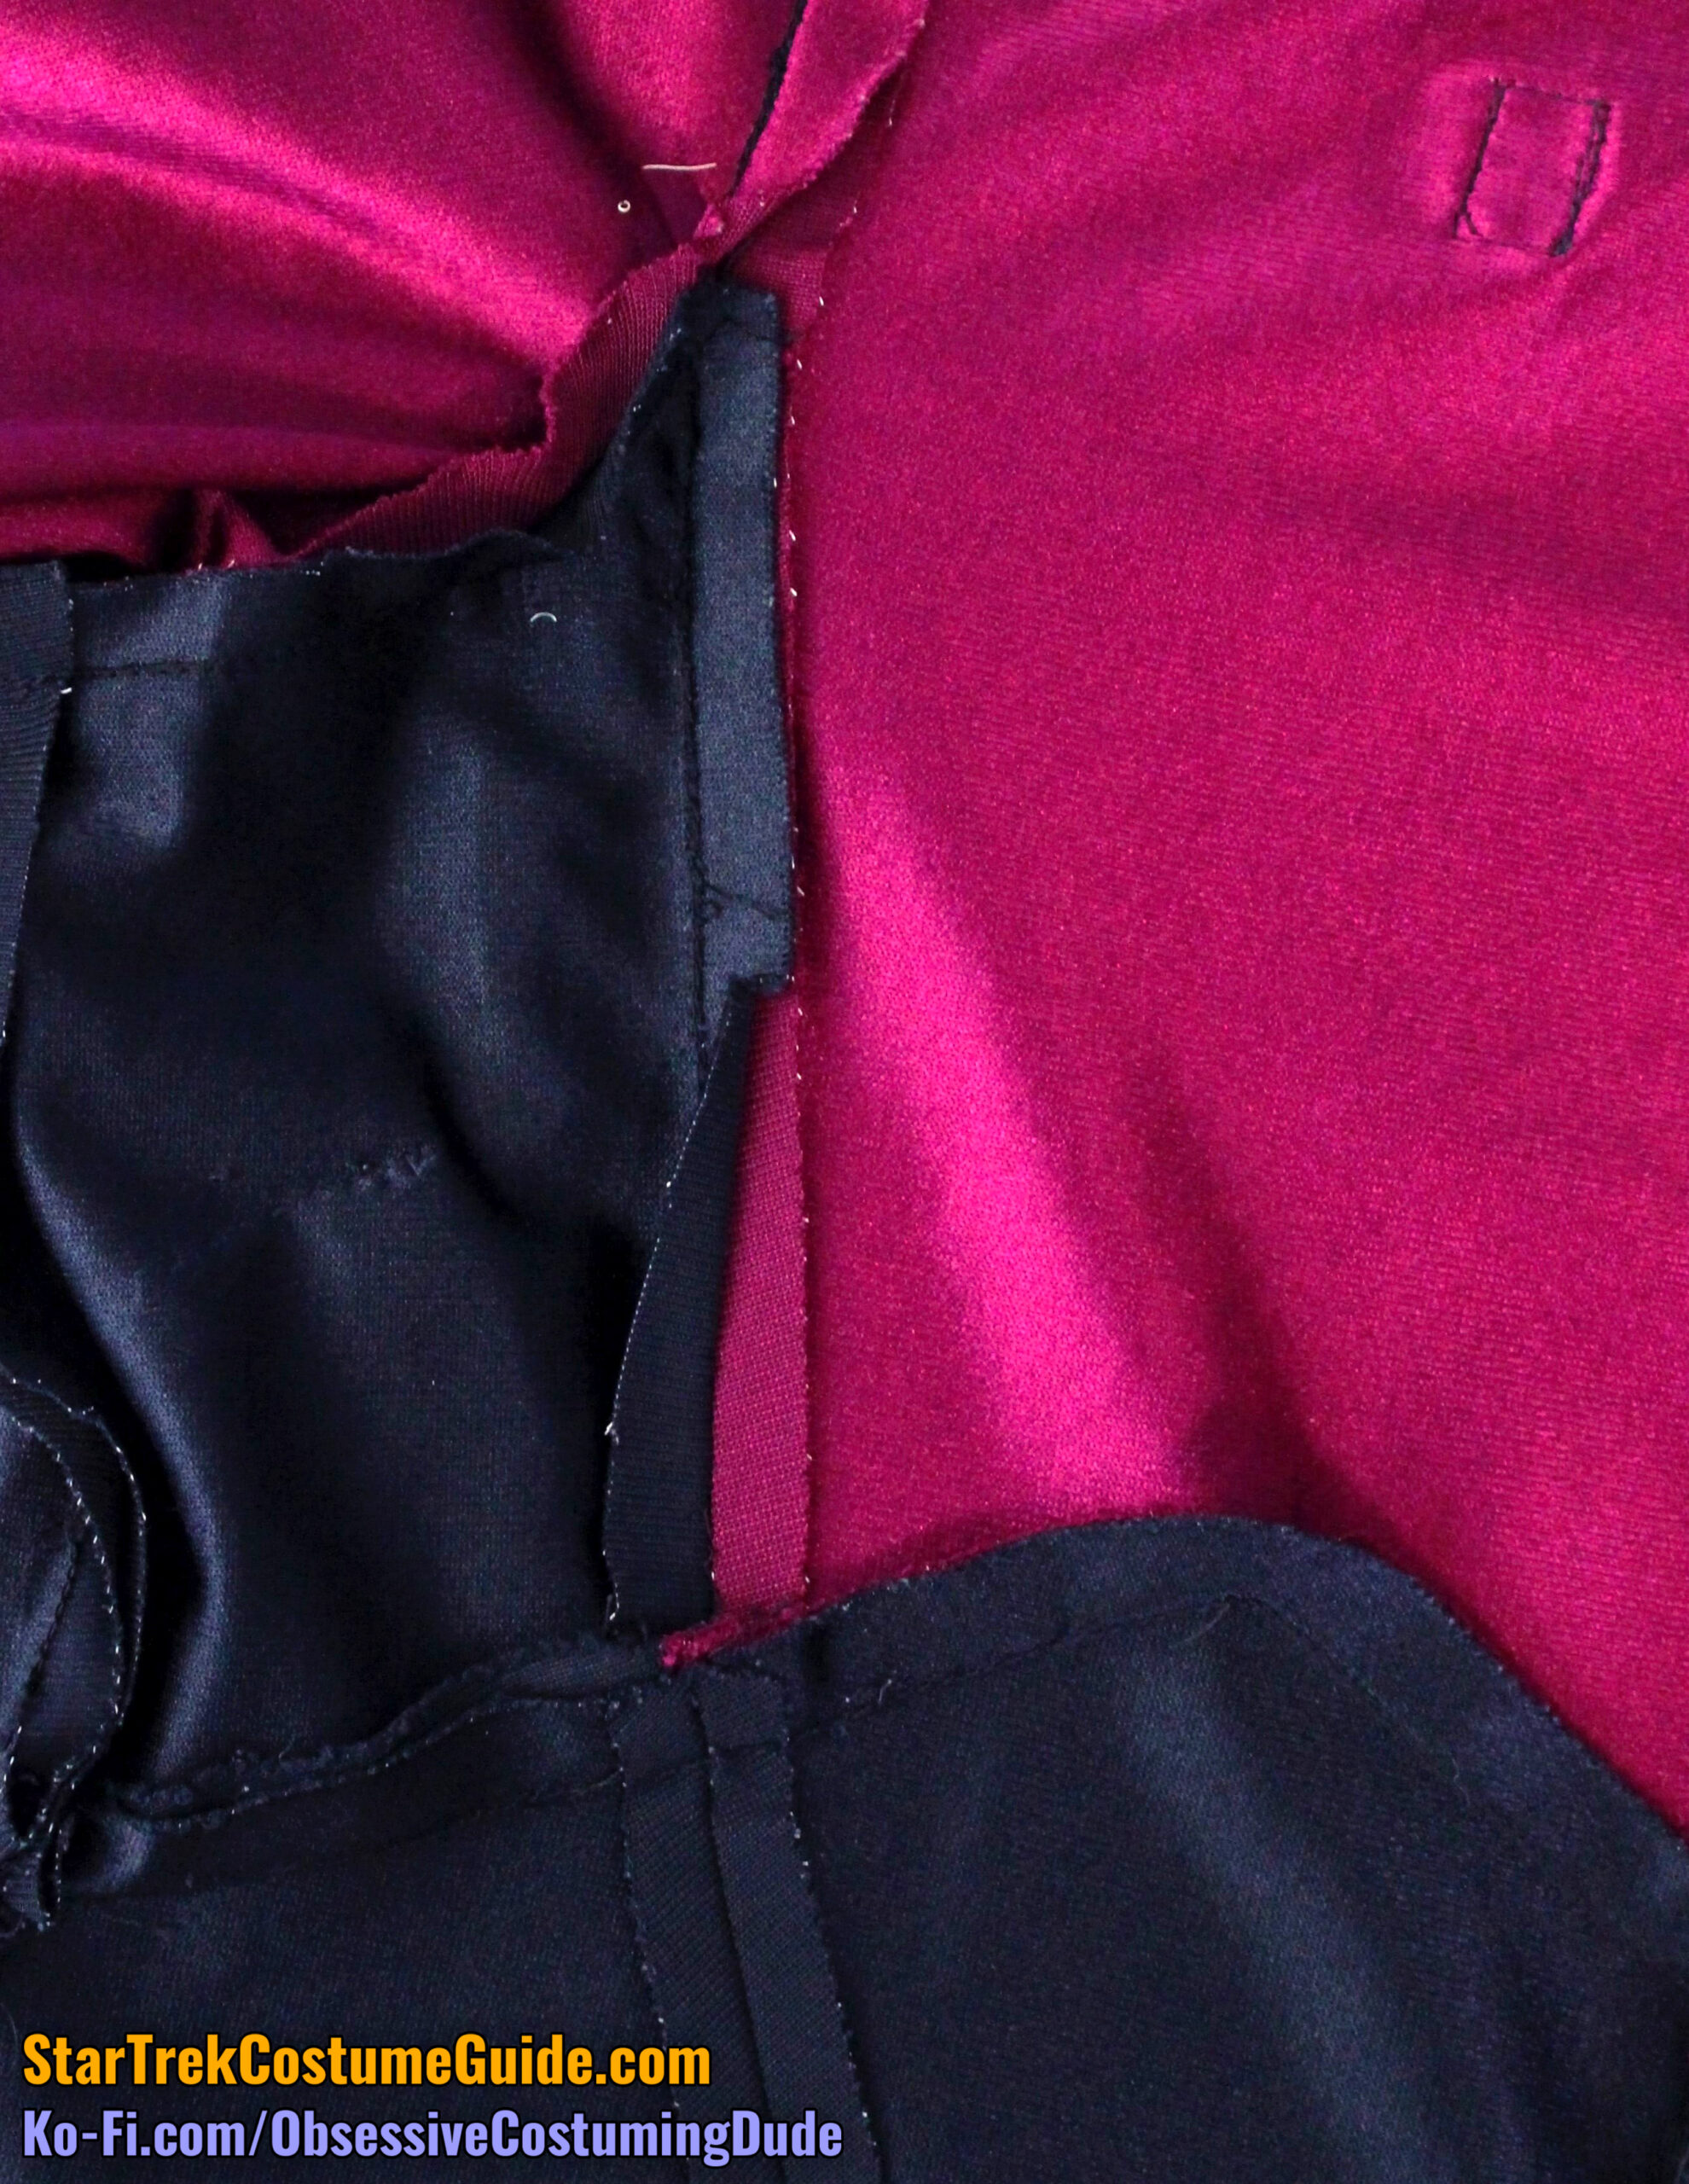
The left front yoke/body seam allowances were likewise mostly pressed open (and sewn open on both ends of the seam), although the lower allowance reversed toward the armscye seam (as they tended to do on these uniforms).
The front yoke/body seam allowances were ½”.
The back yoke/body seam allowances also changed directions, although in this case is may have simply been an issue of not having been properly pressed/ironed in a long time.
Like the front, the back yoke/body allowances were mostly pressed open and sewn open on both ends of the seam.
However, they just kind of limply went whichever direction they felt like toward the middle of the seam. (I believe they were originally intended to be pressed open.)
The armscye seam allowances were ½”.
Both the front and back upper armscye seam allowances were pressed open, although the front armscye allowances didn’t seem inclined to maintain this orientation.
The back armscye allowances, however, were much “better behaved,” and the troublesome seam allowance was actually tacked down by hand over the armcye seam!
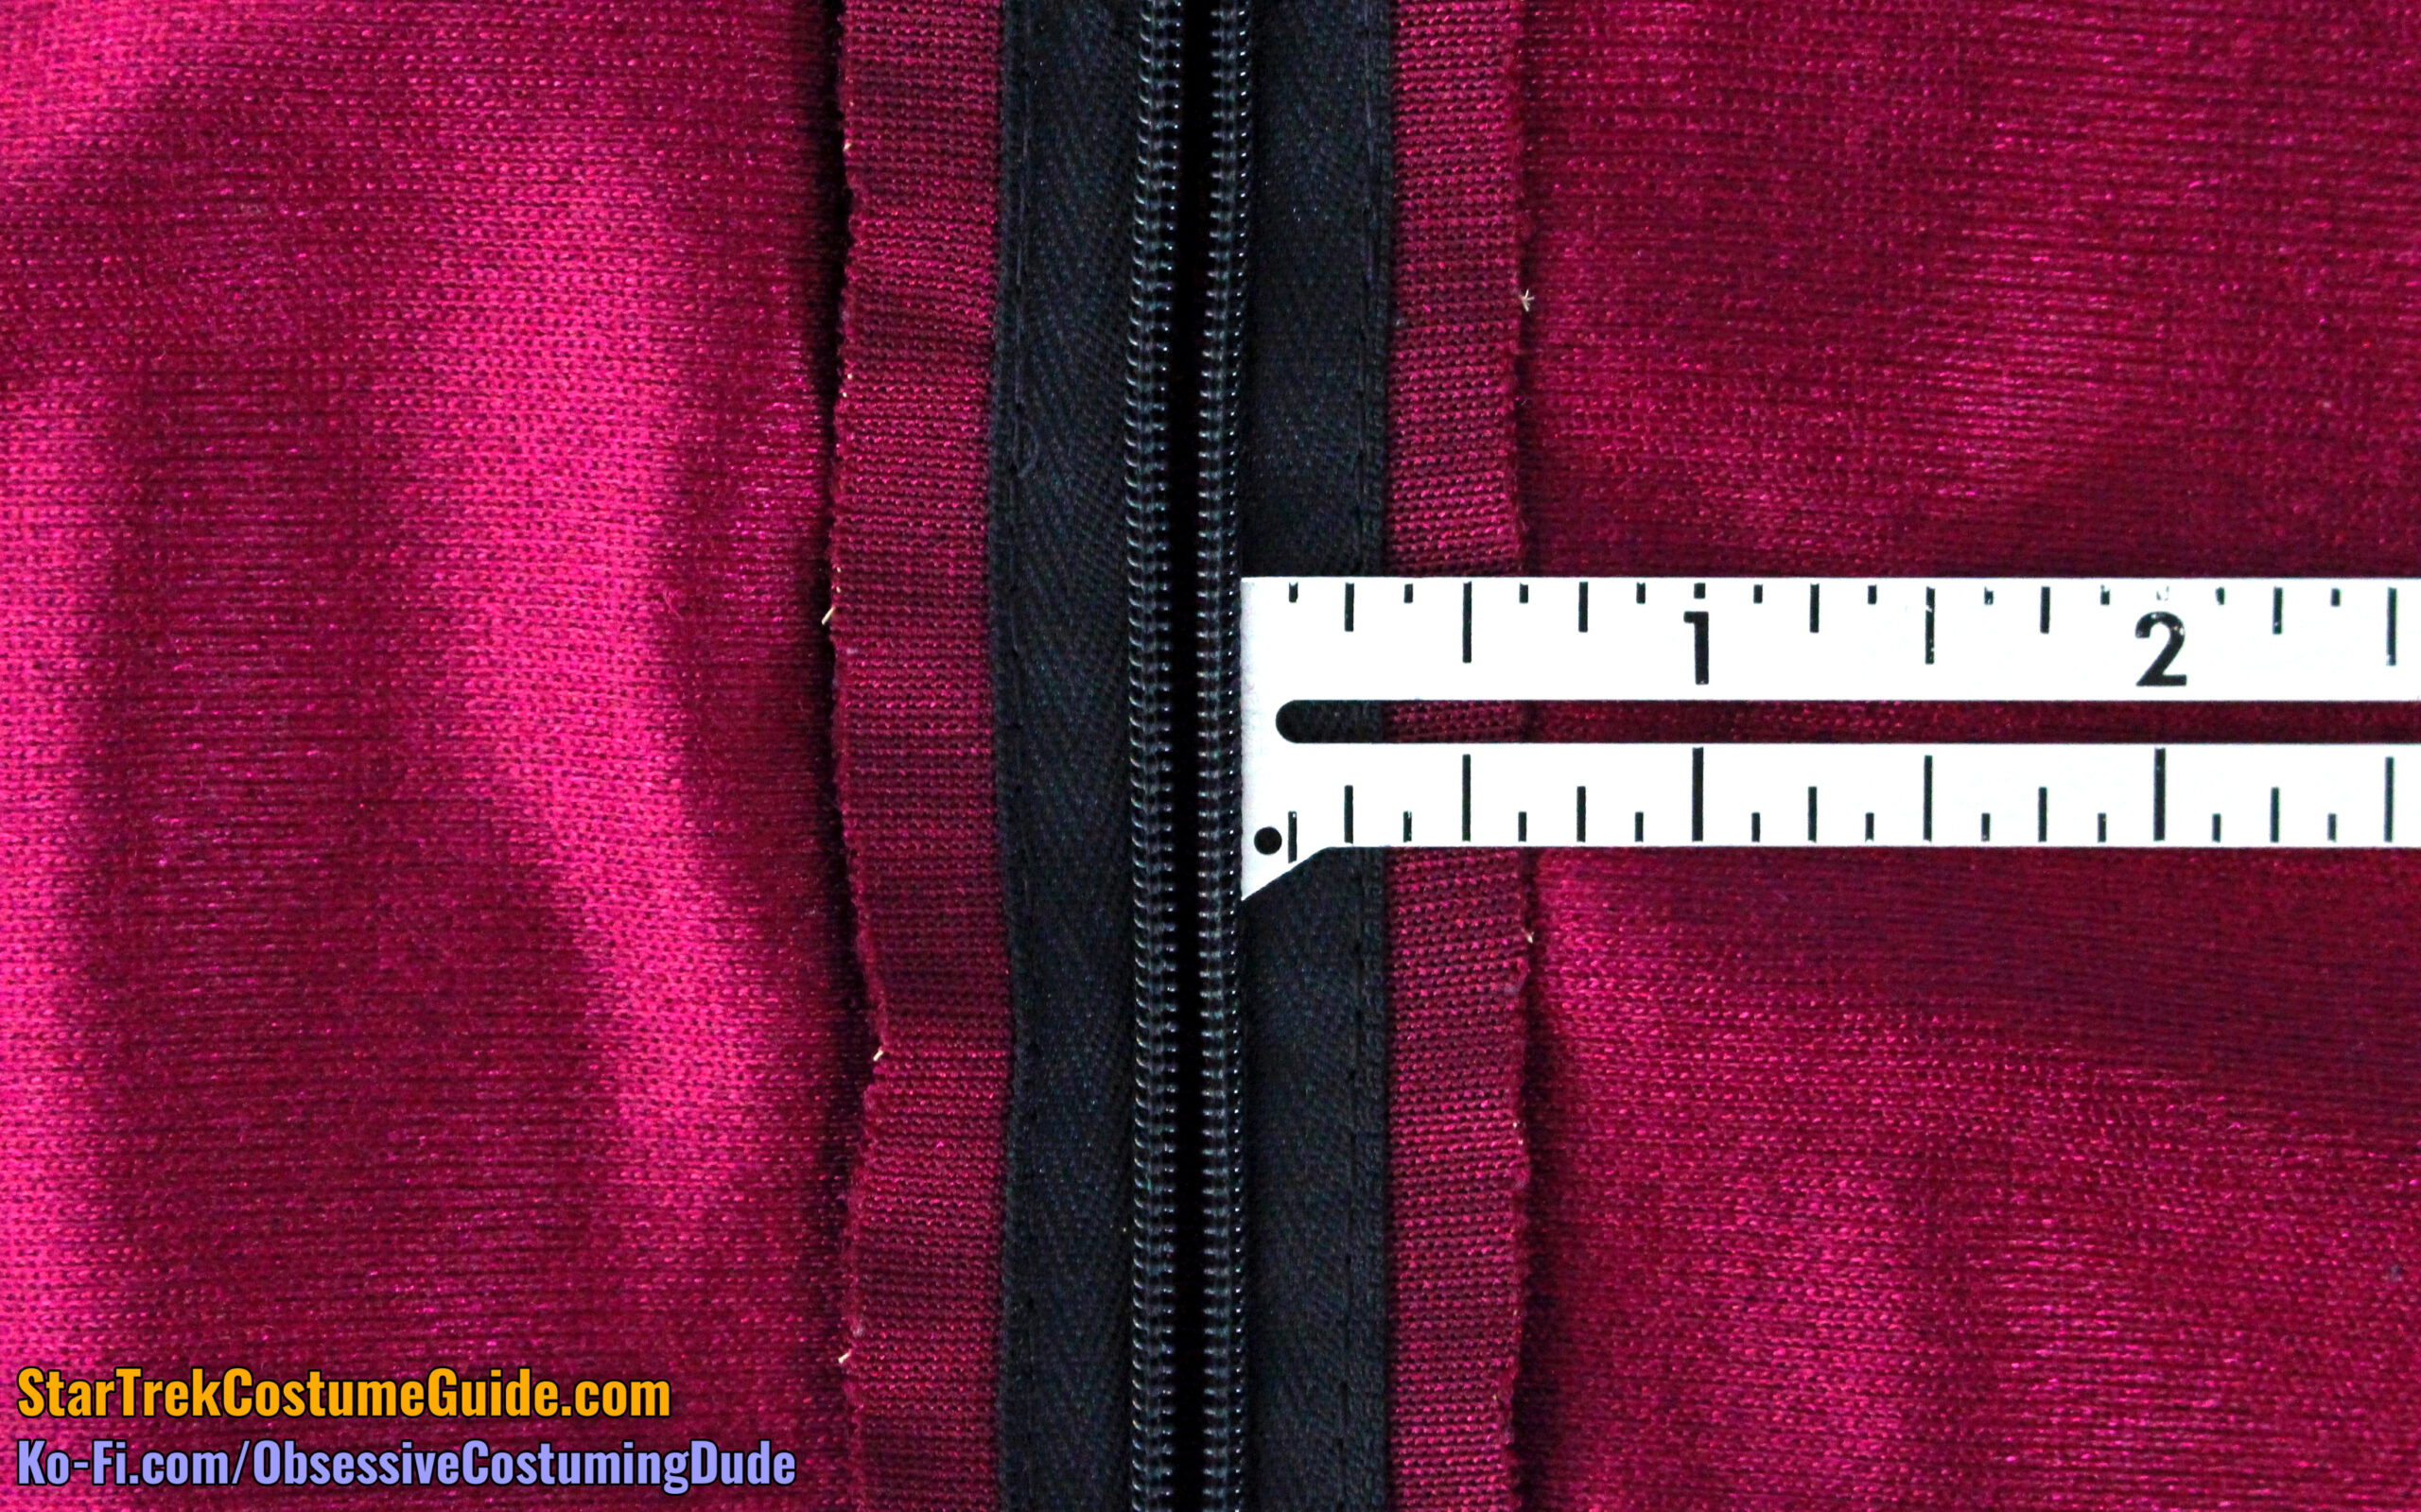
Although the zipper seam allowances seem to have usually been larger on the TNG jumpsuits, on this Worf uniform they were only ⅝”.
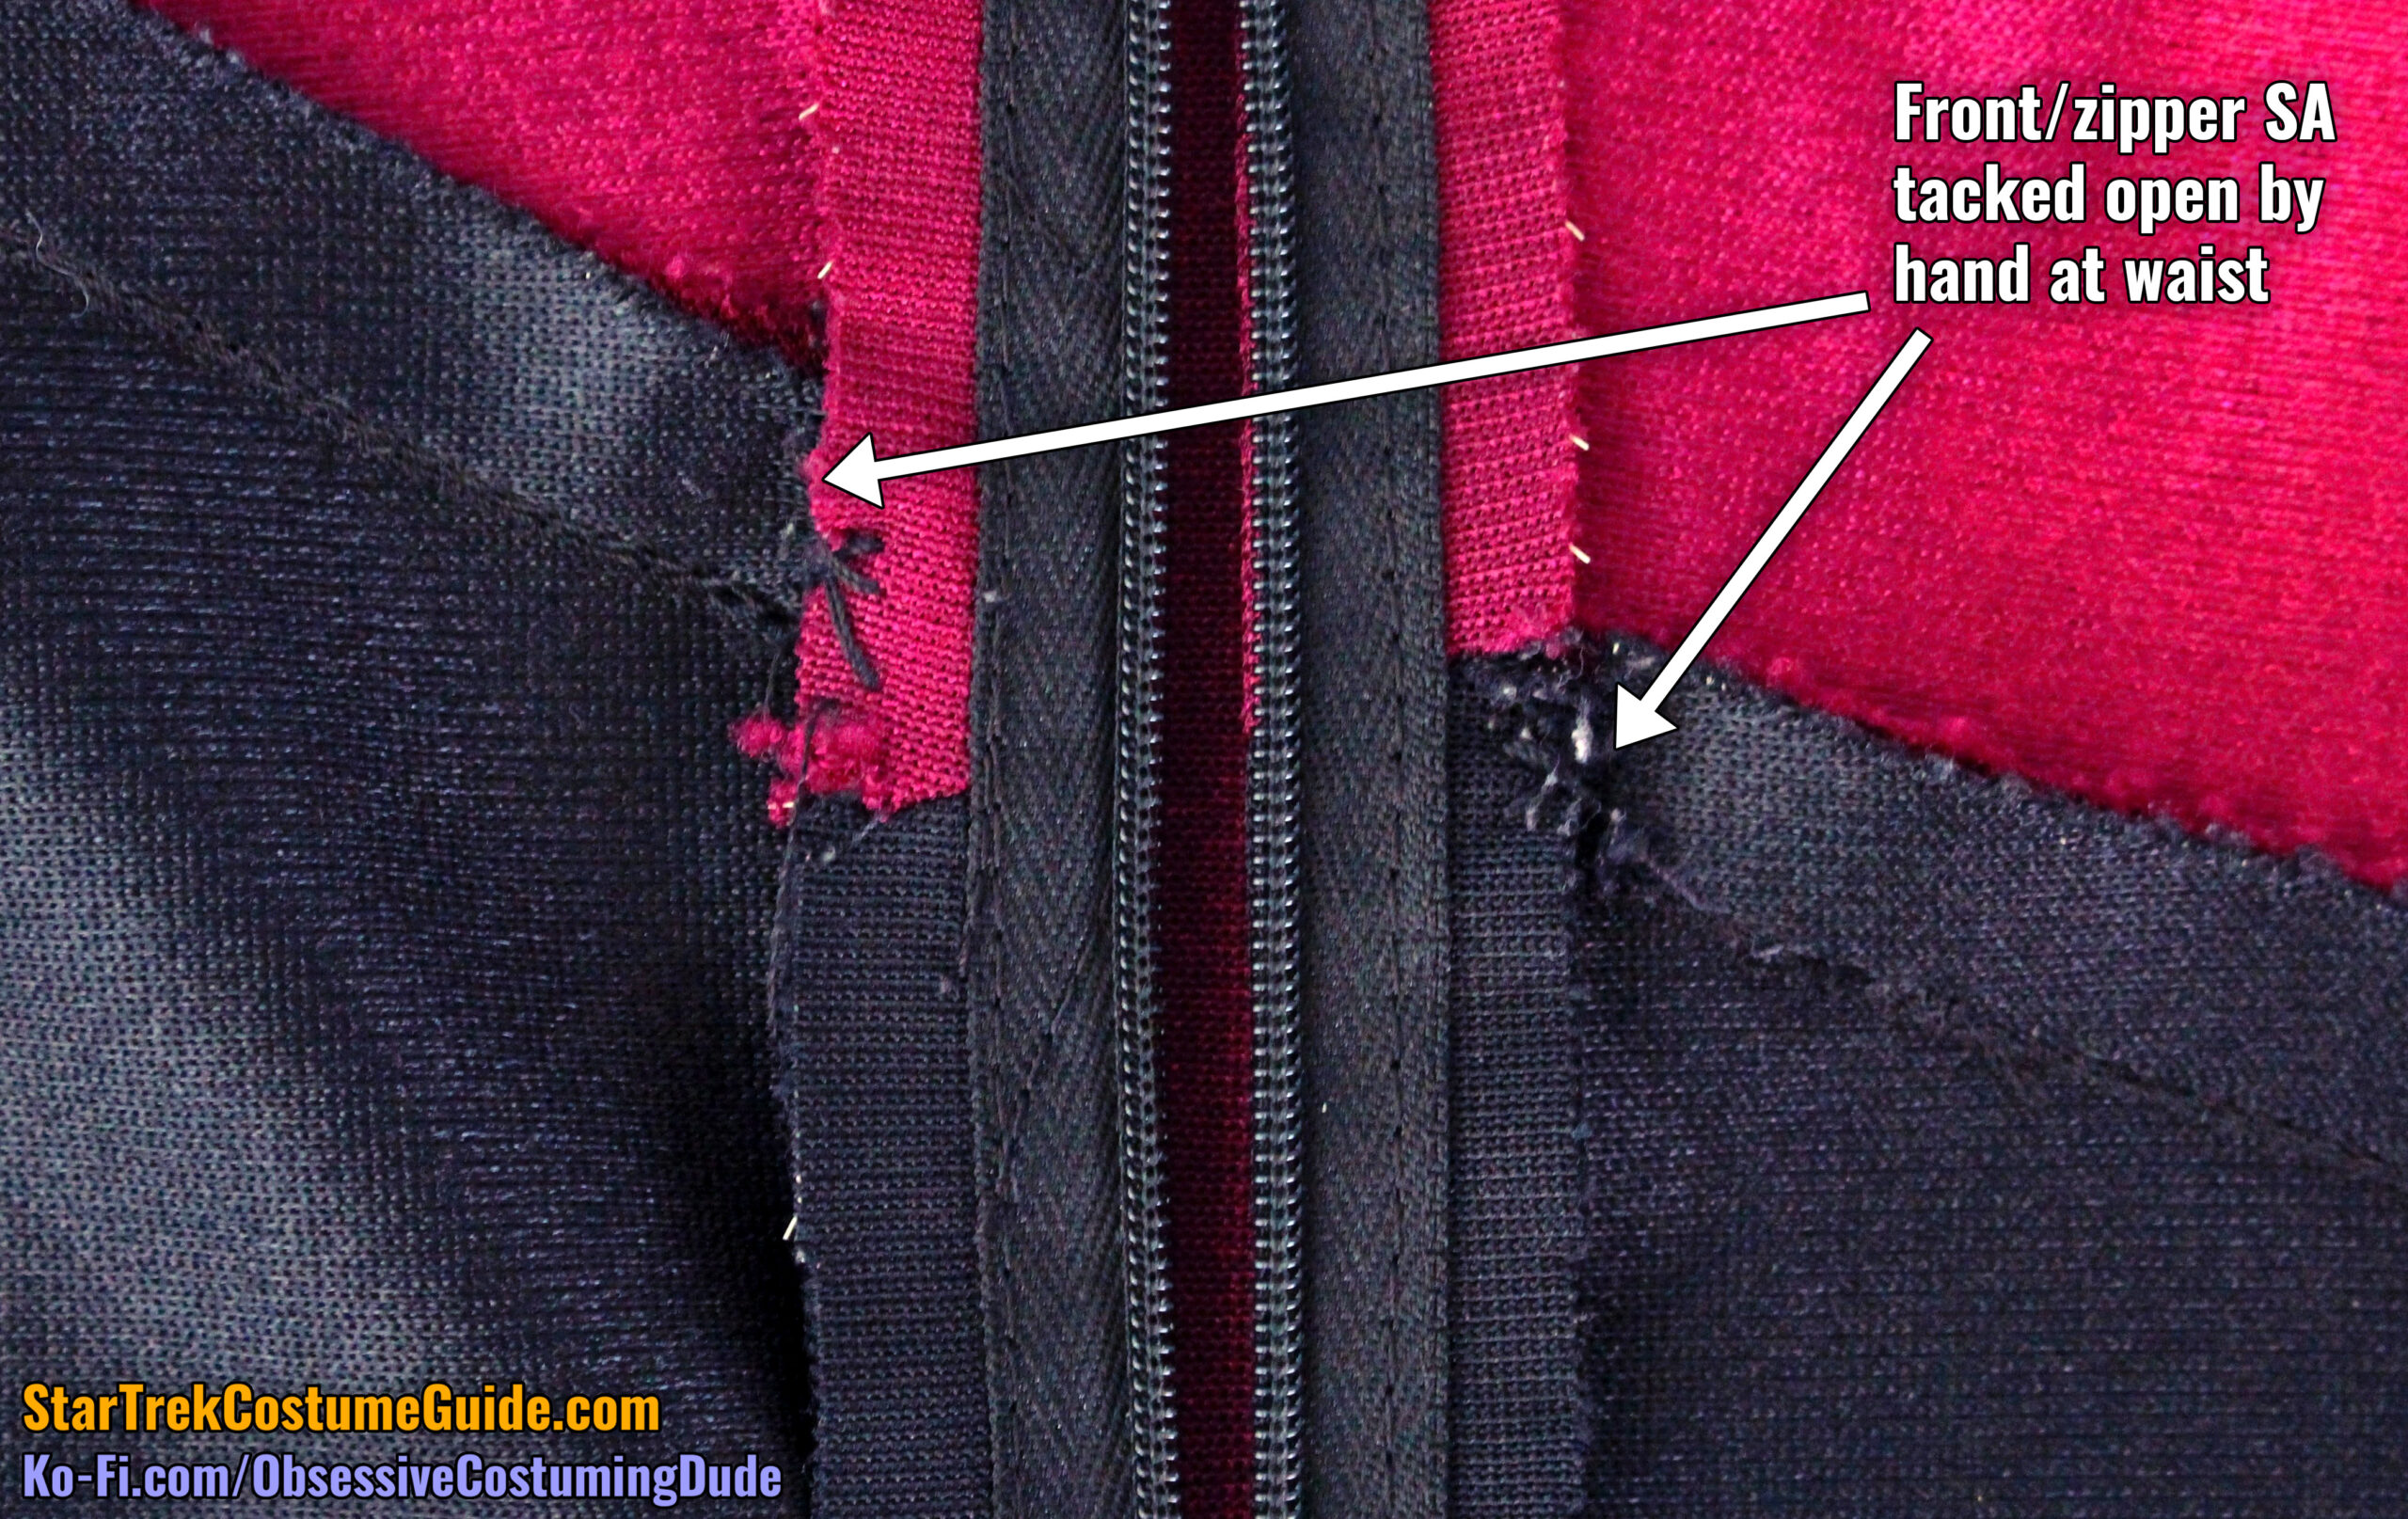
They were also tacked down by hand at the waist.
Beneath the zipper, the crotch seam allowances were ½”.
As usual, the side front seam allowances changed directions; they were mostly pressed toward the front body panels, but toward the bottom they were pressed (and sewn into the waist seam) open.
The side back seam allowances likewise changed directions (again, as usual).
The waist seam allowances on this jumpsuit were again handled differently than on any of the three uniforms we’ve looked at previously.
(As I’ve mentioned previoiusly, they were handled differently on nearly all of the screen-used TNG jumpsuits I examined.)
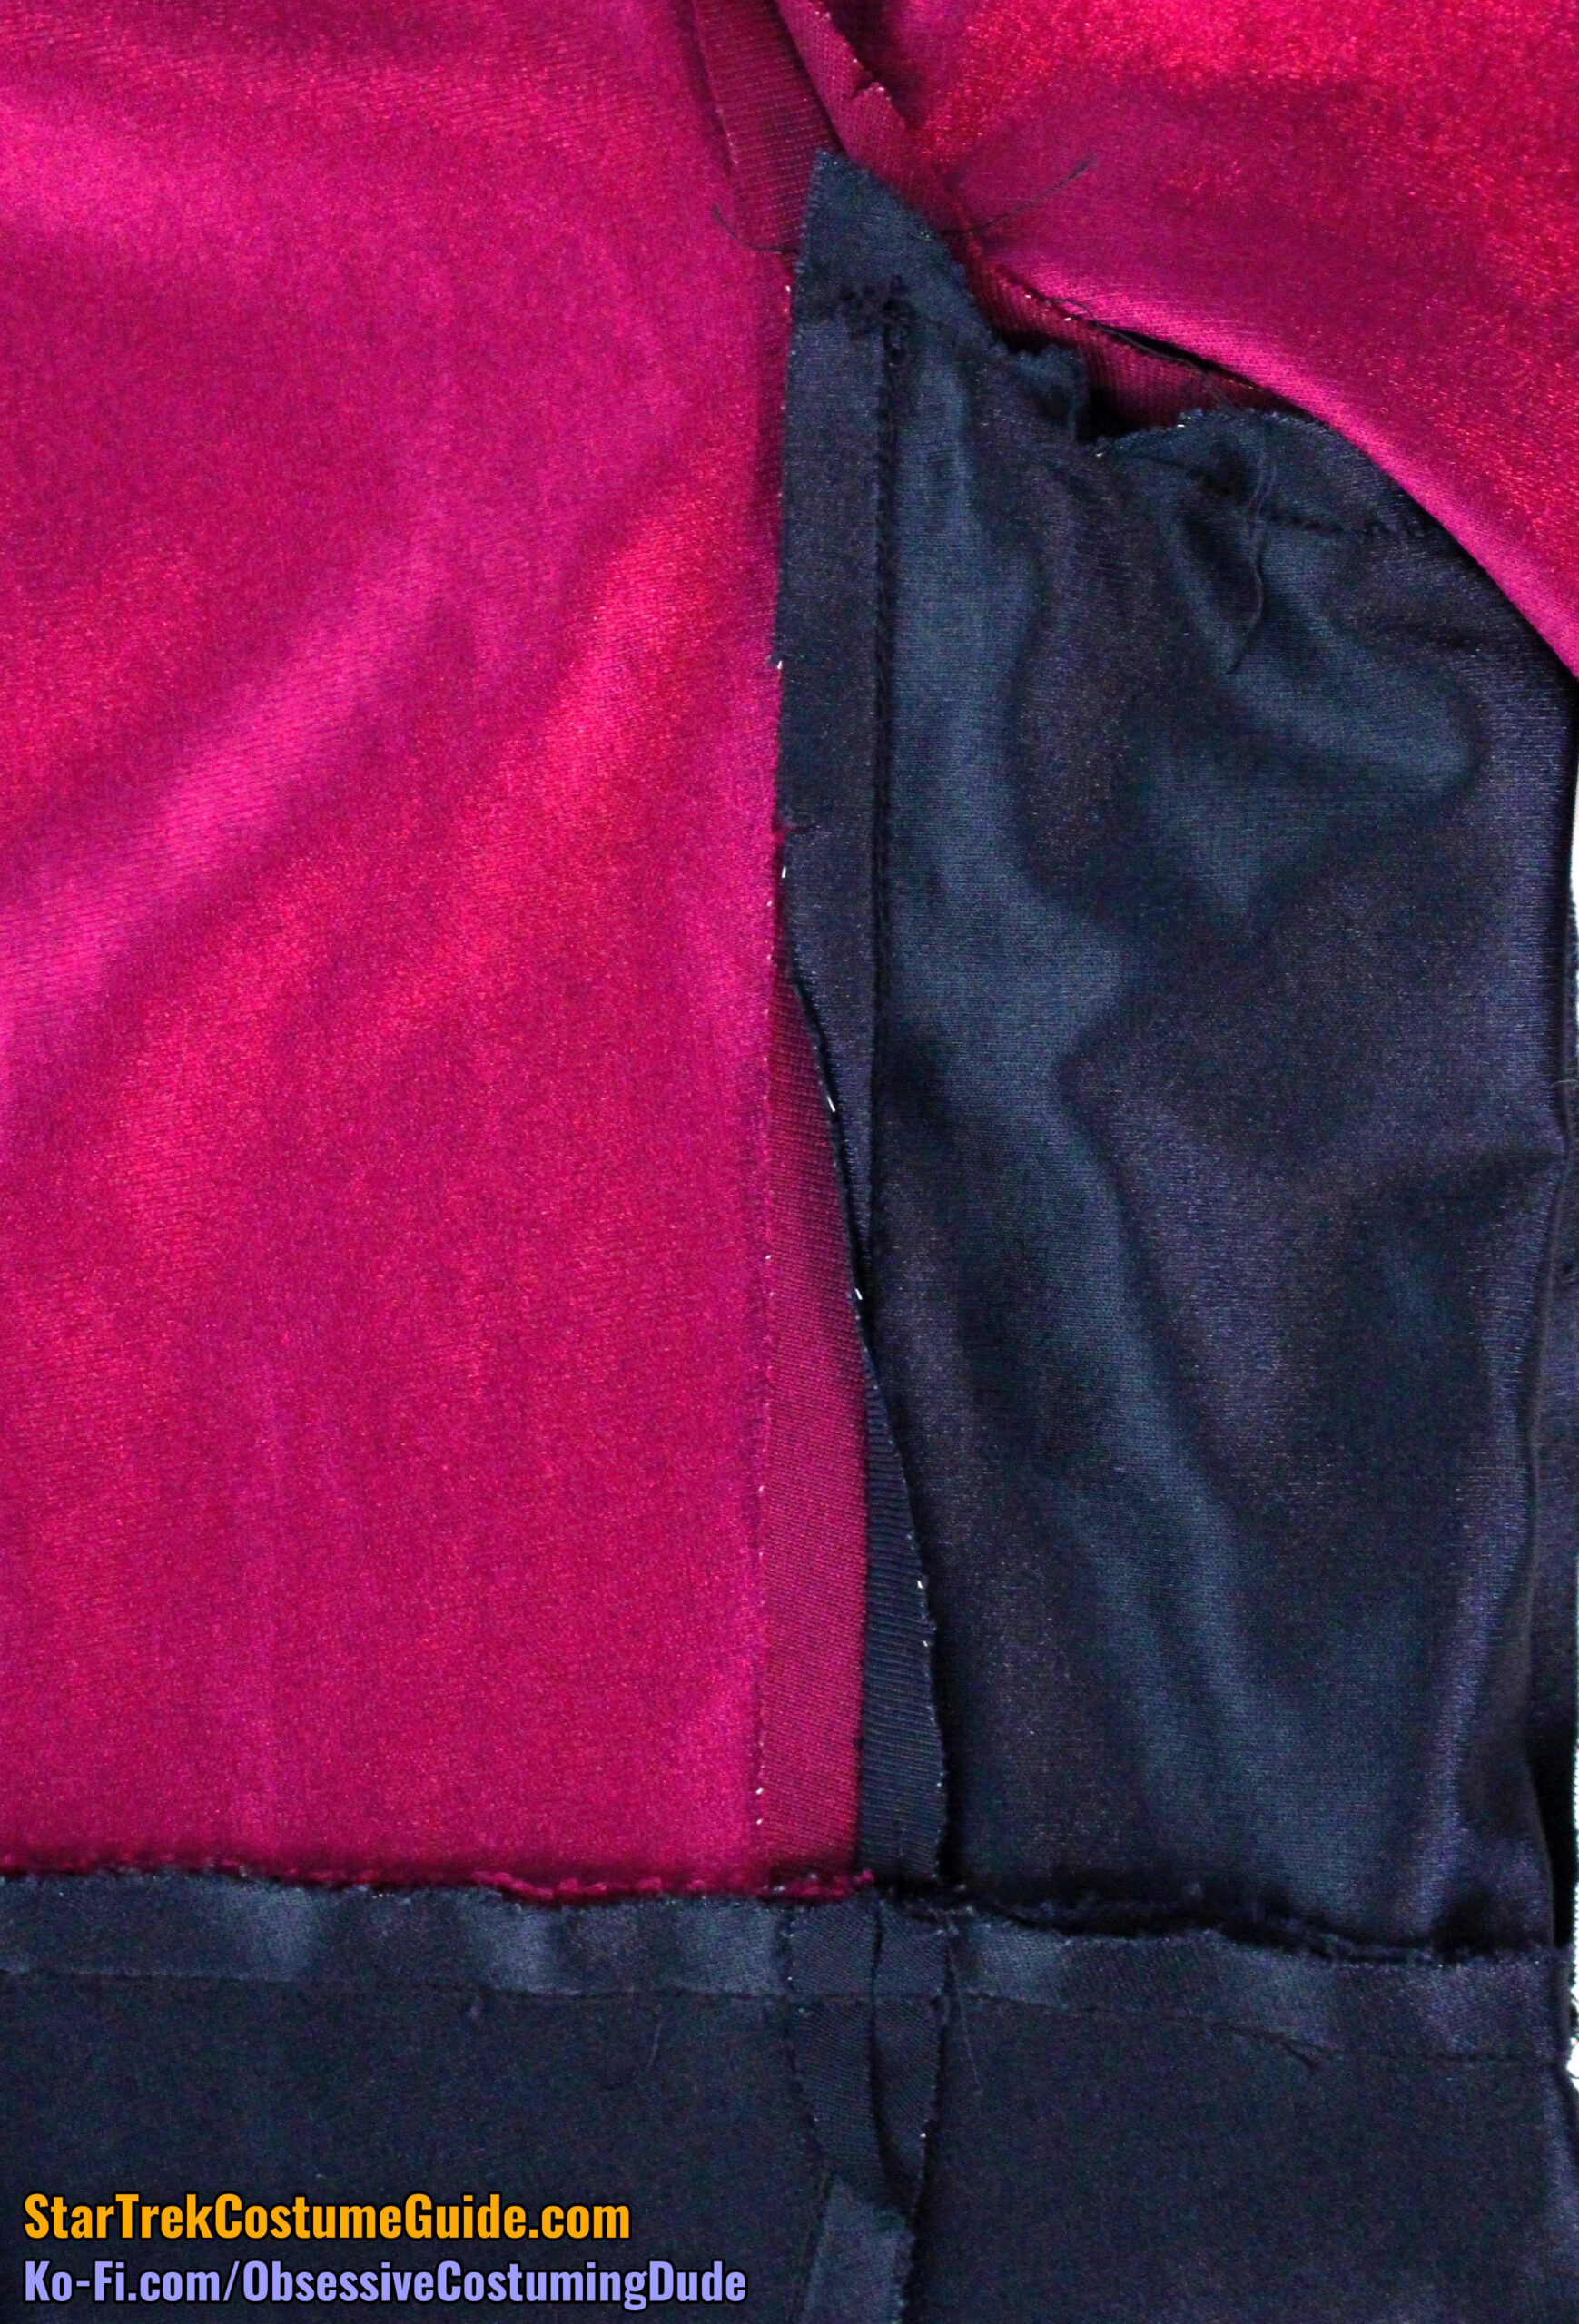
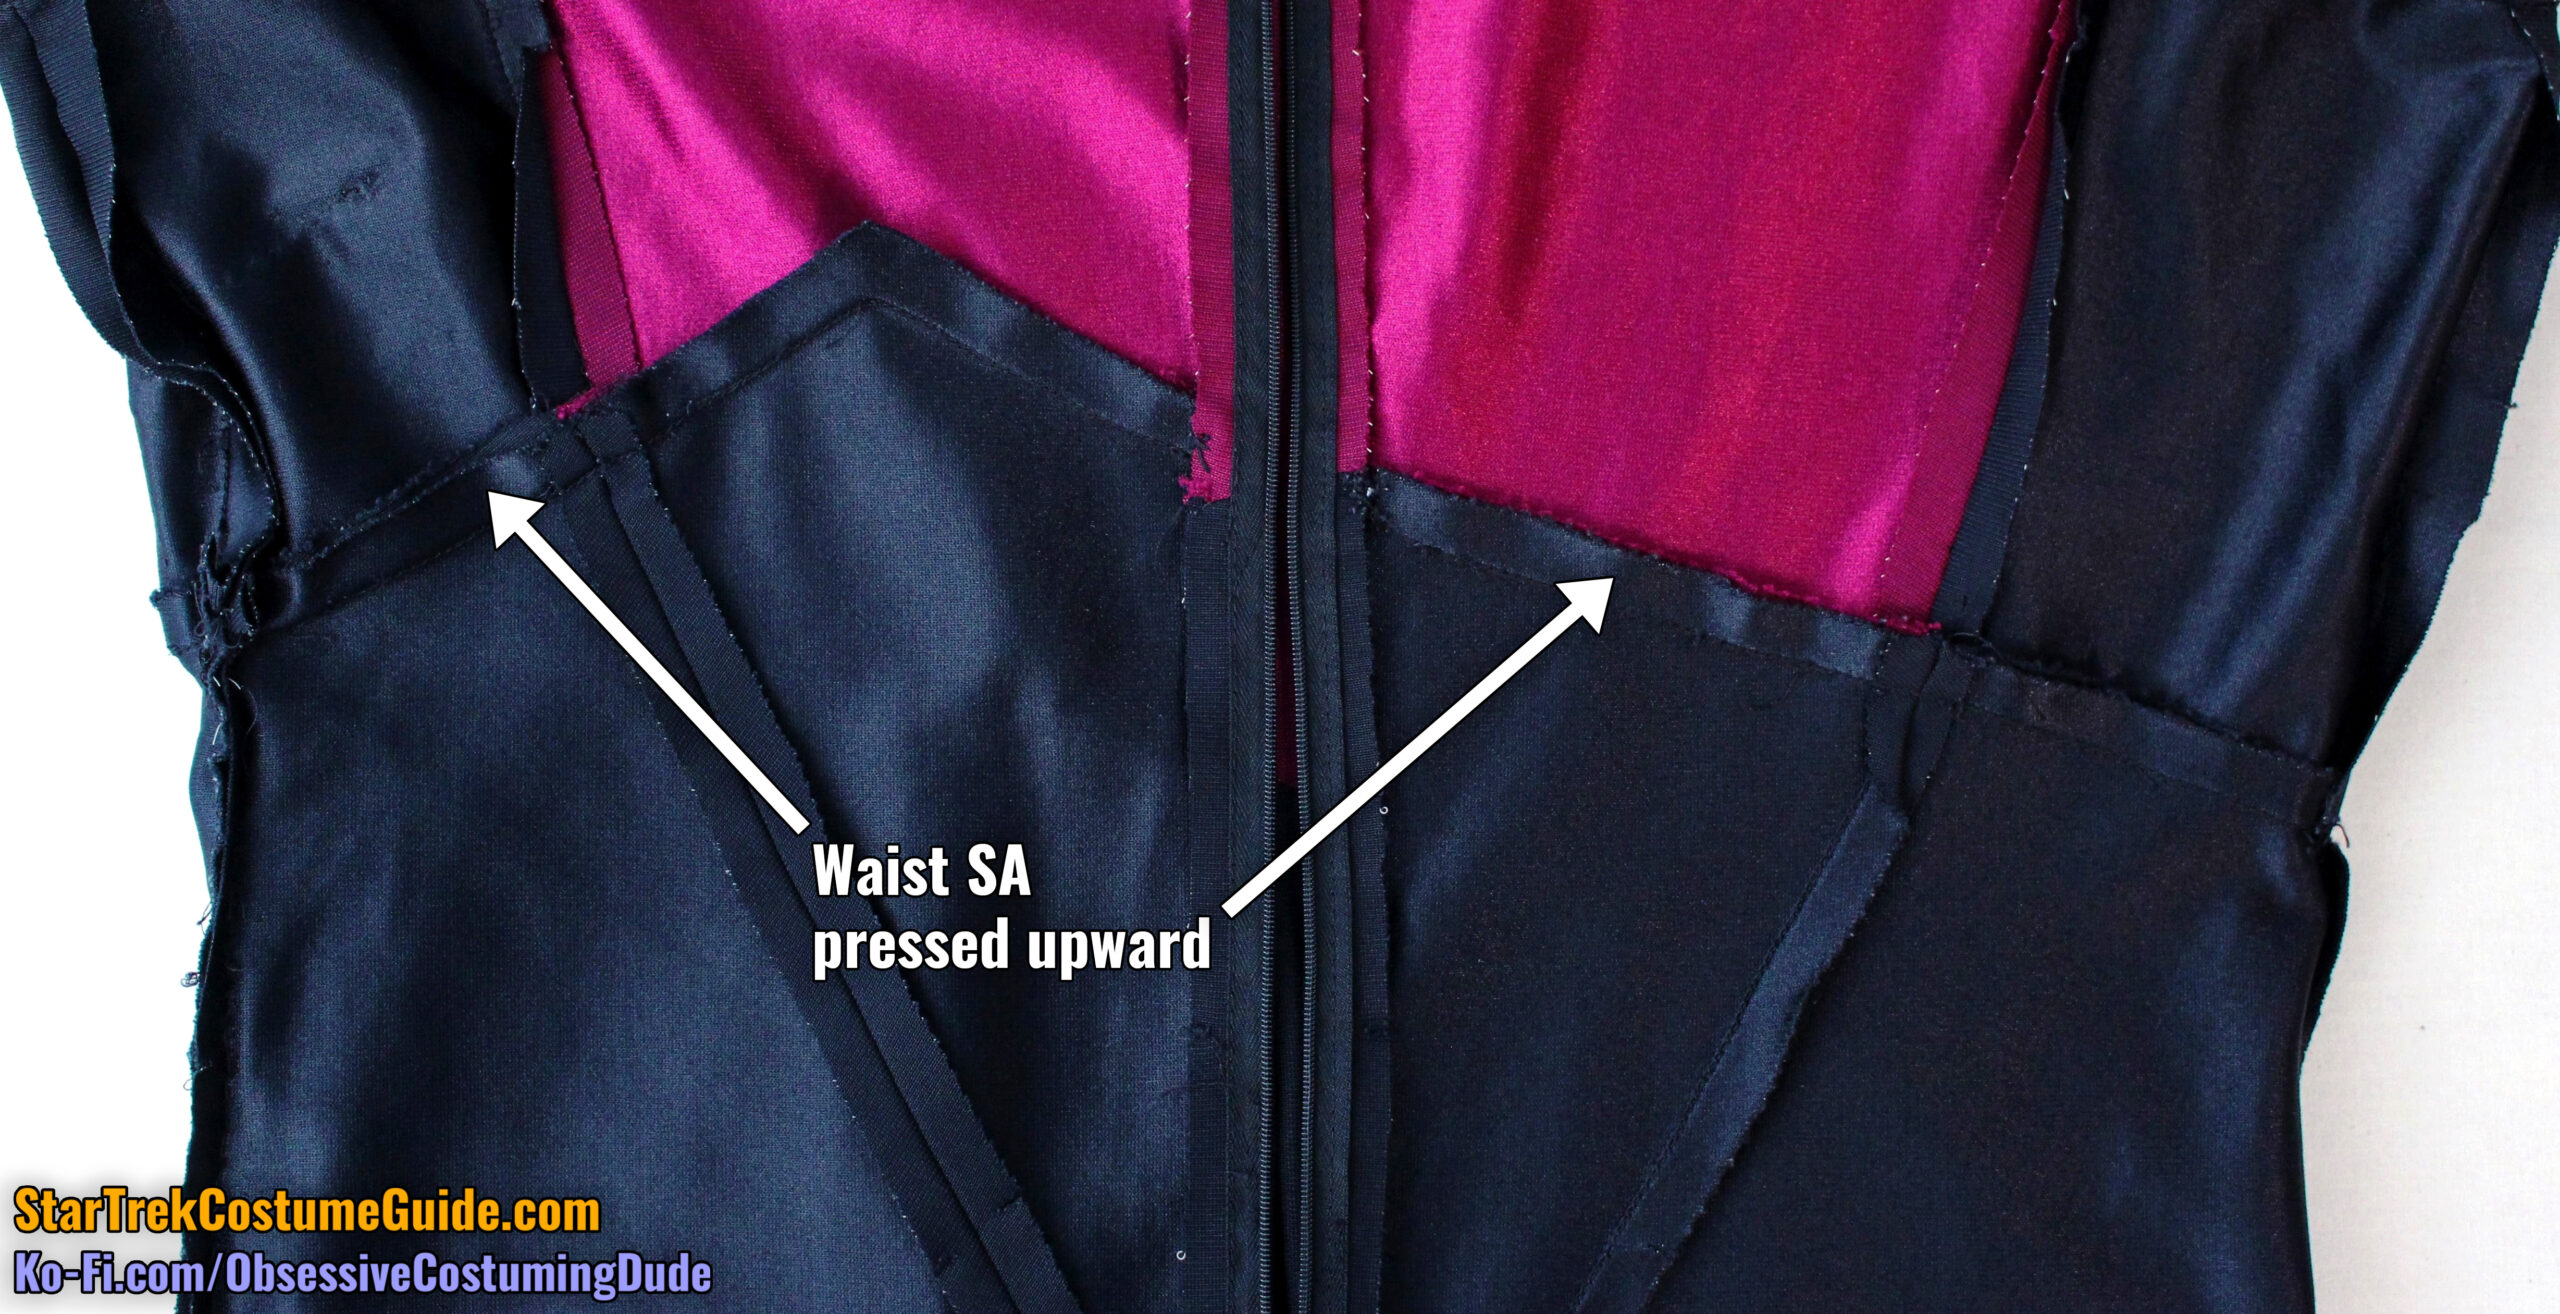
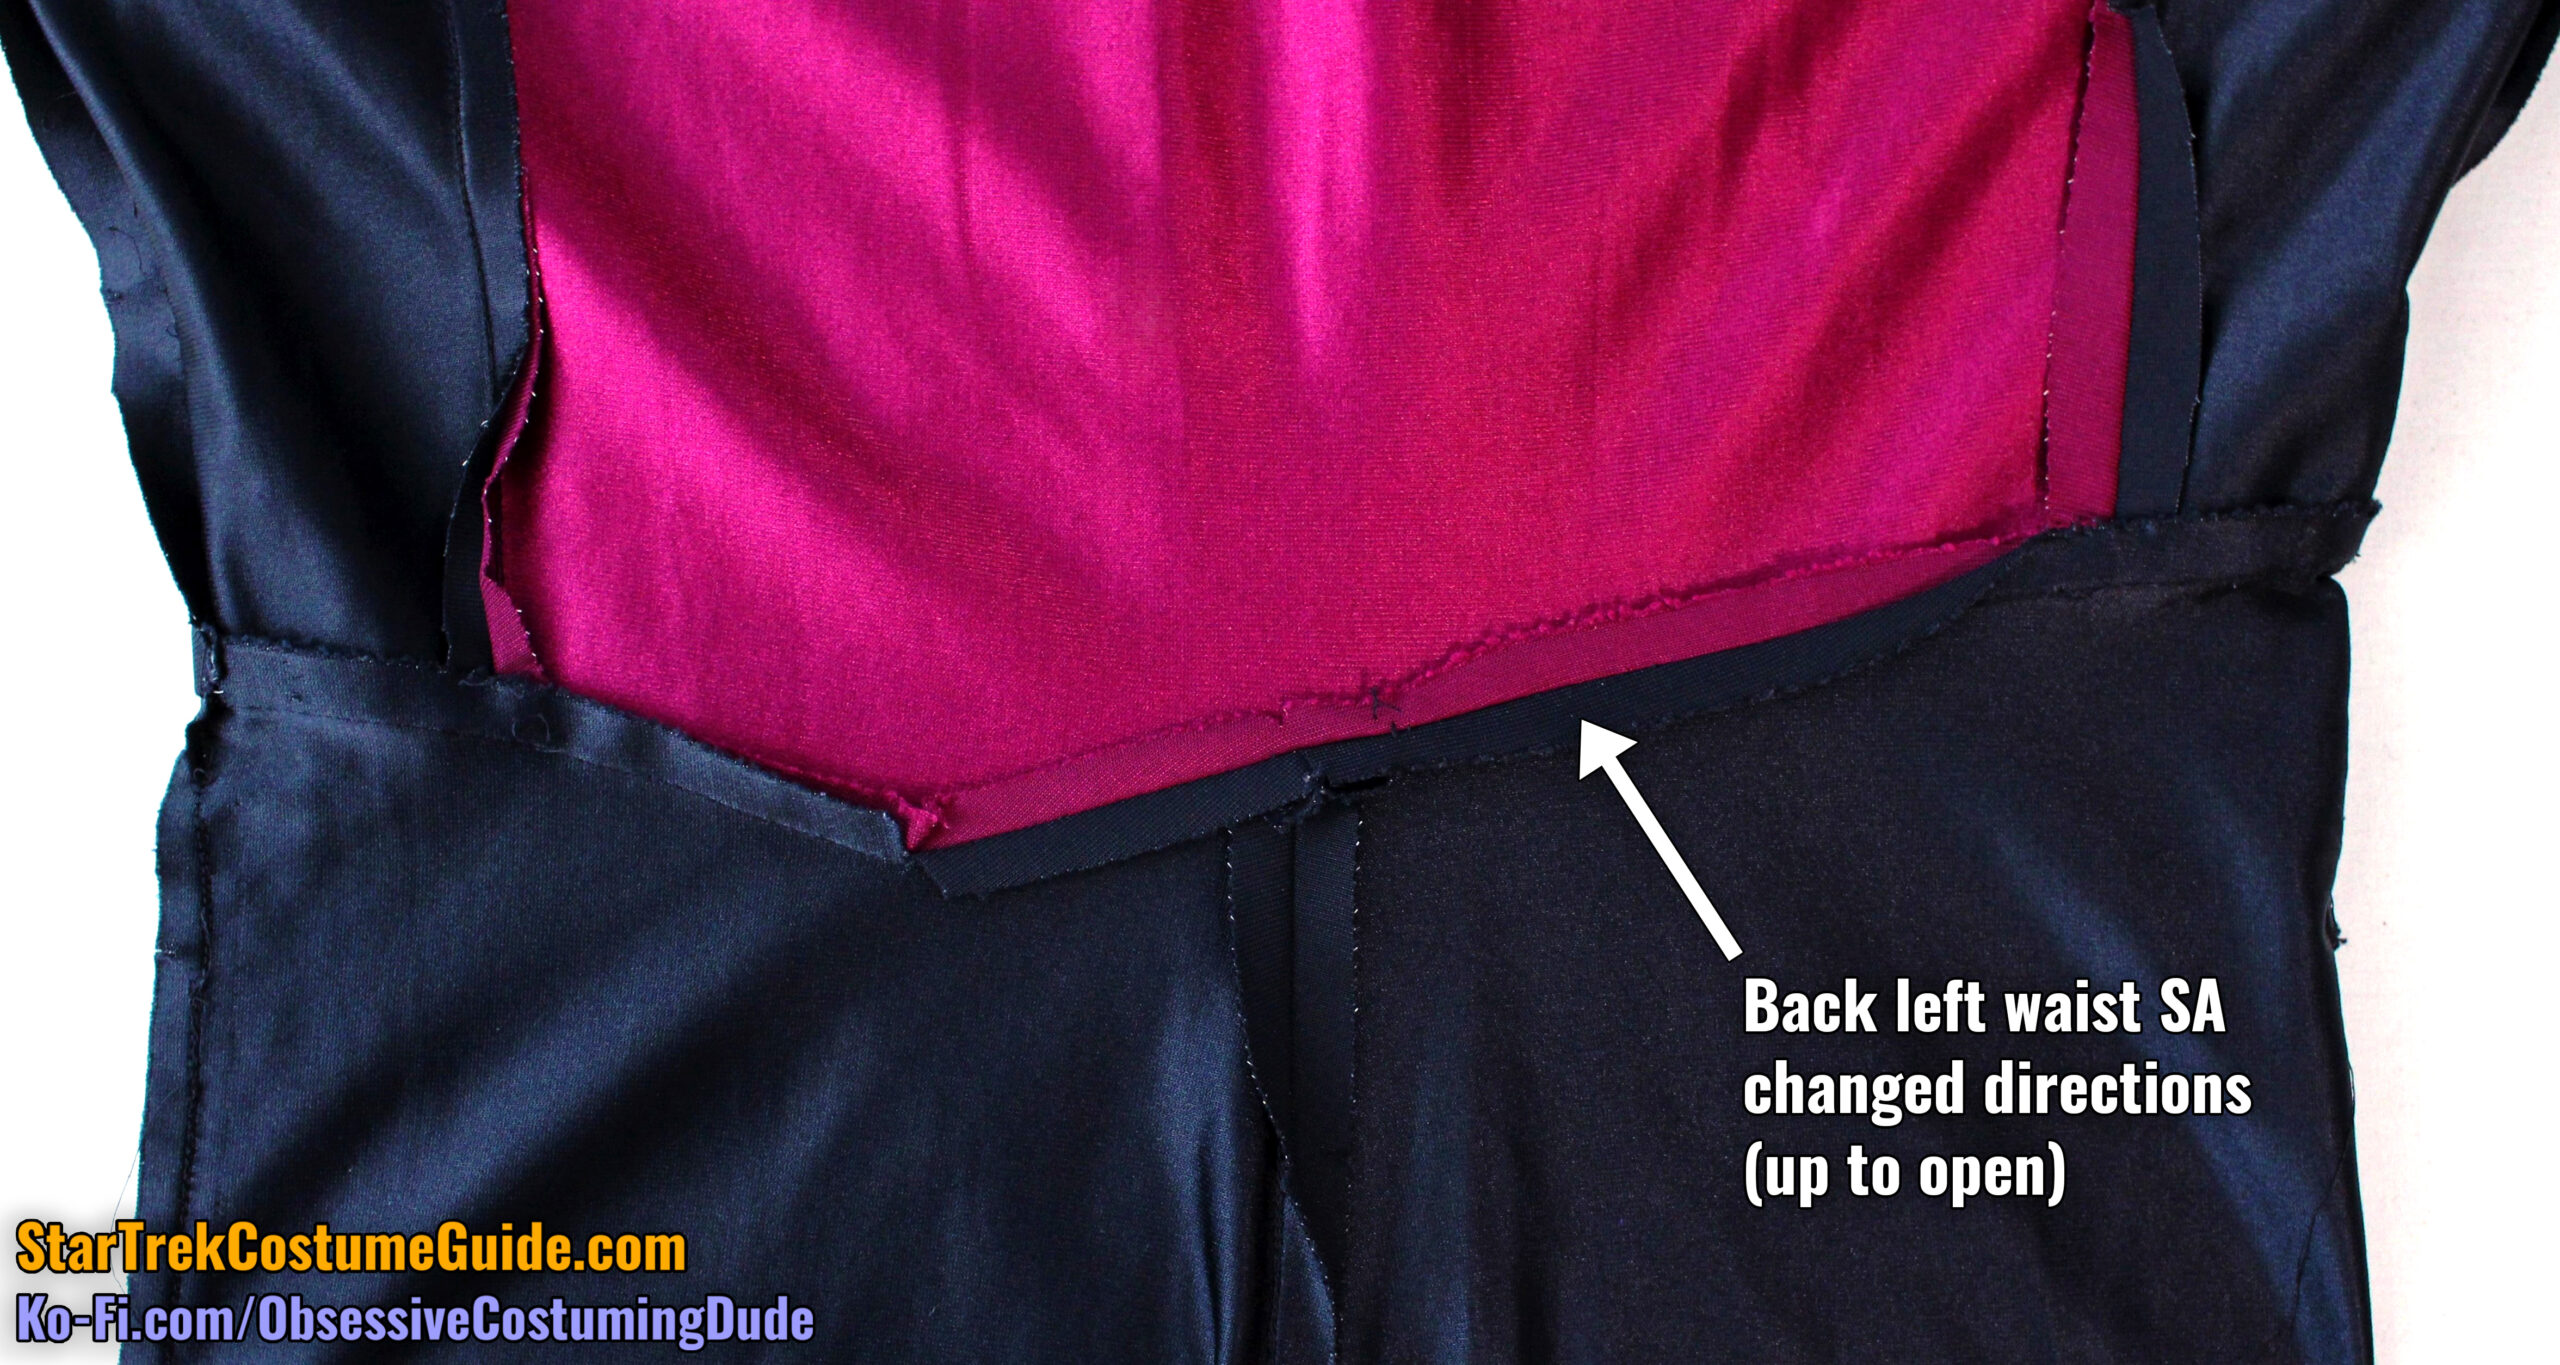
In the case of this Worf jumpsuit, the waist seam allowances were (mostly) just pressed upward all the way around.
He was more of a straightforward, brute-force kind of guy, so this checks out. 🙂
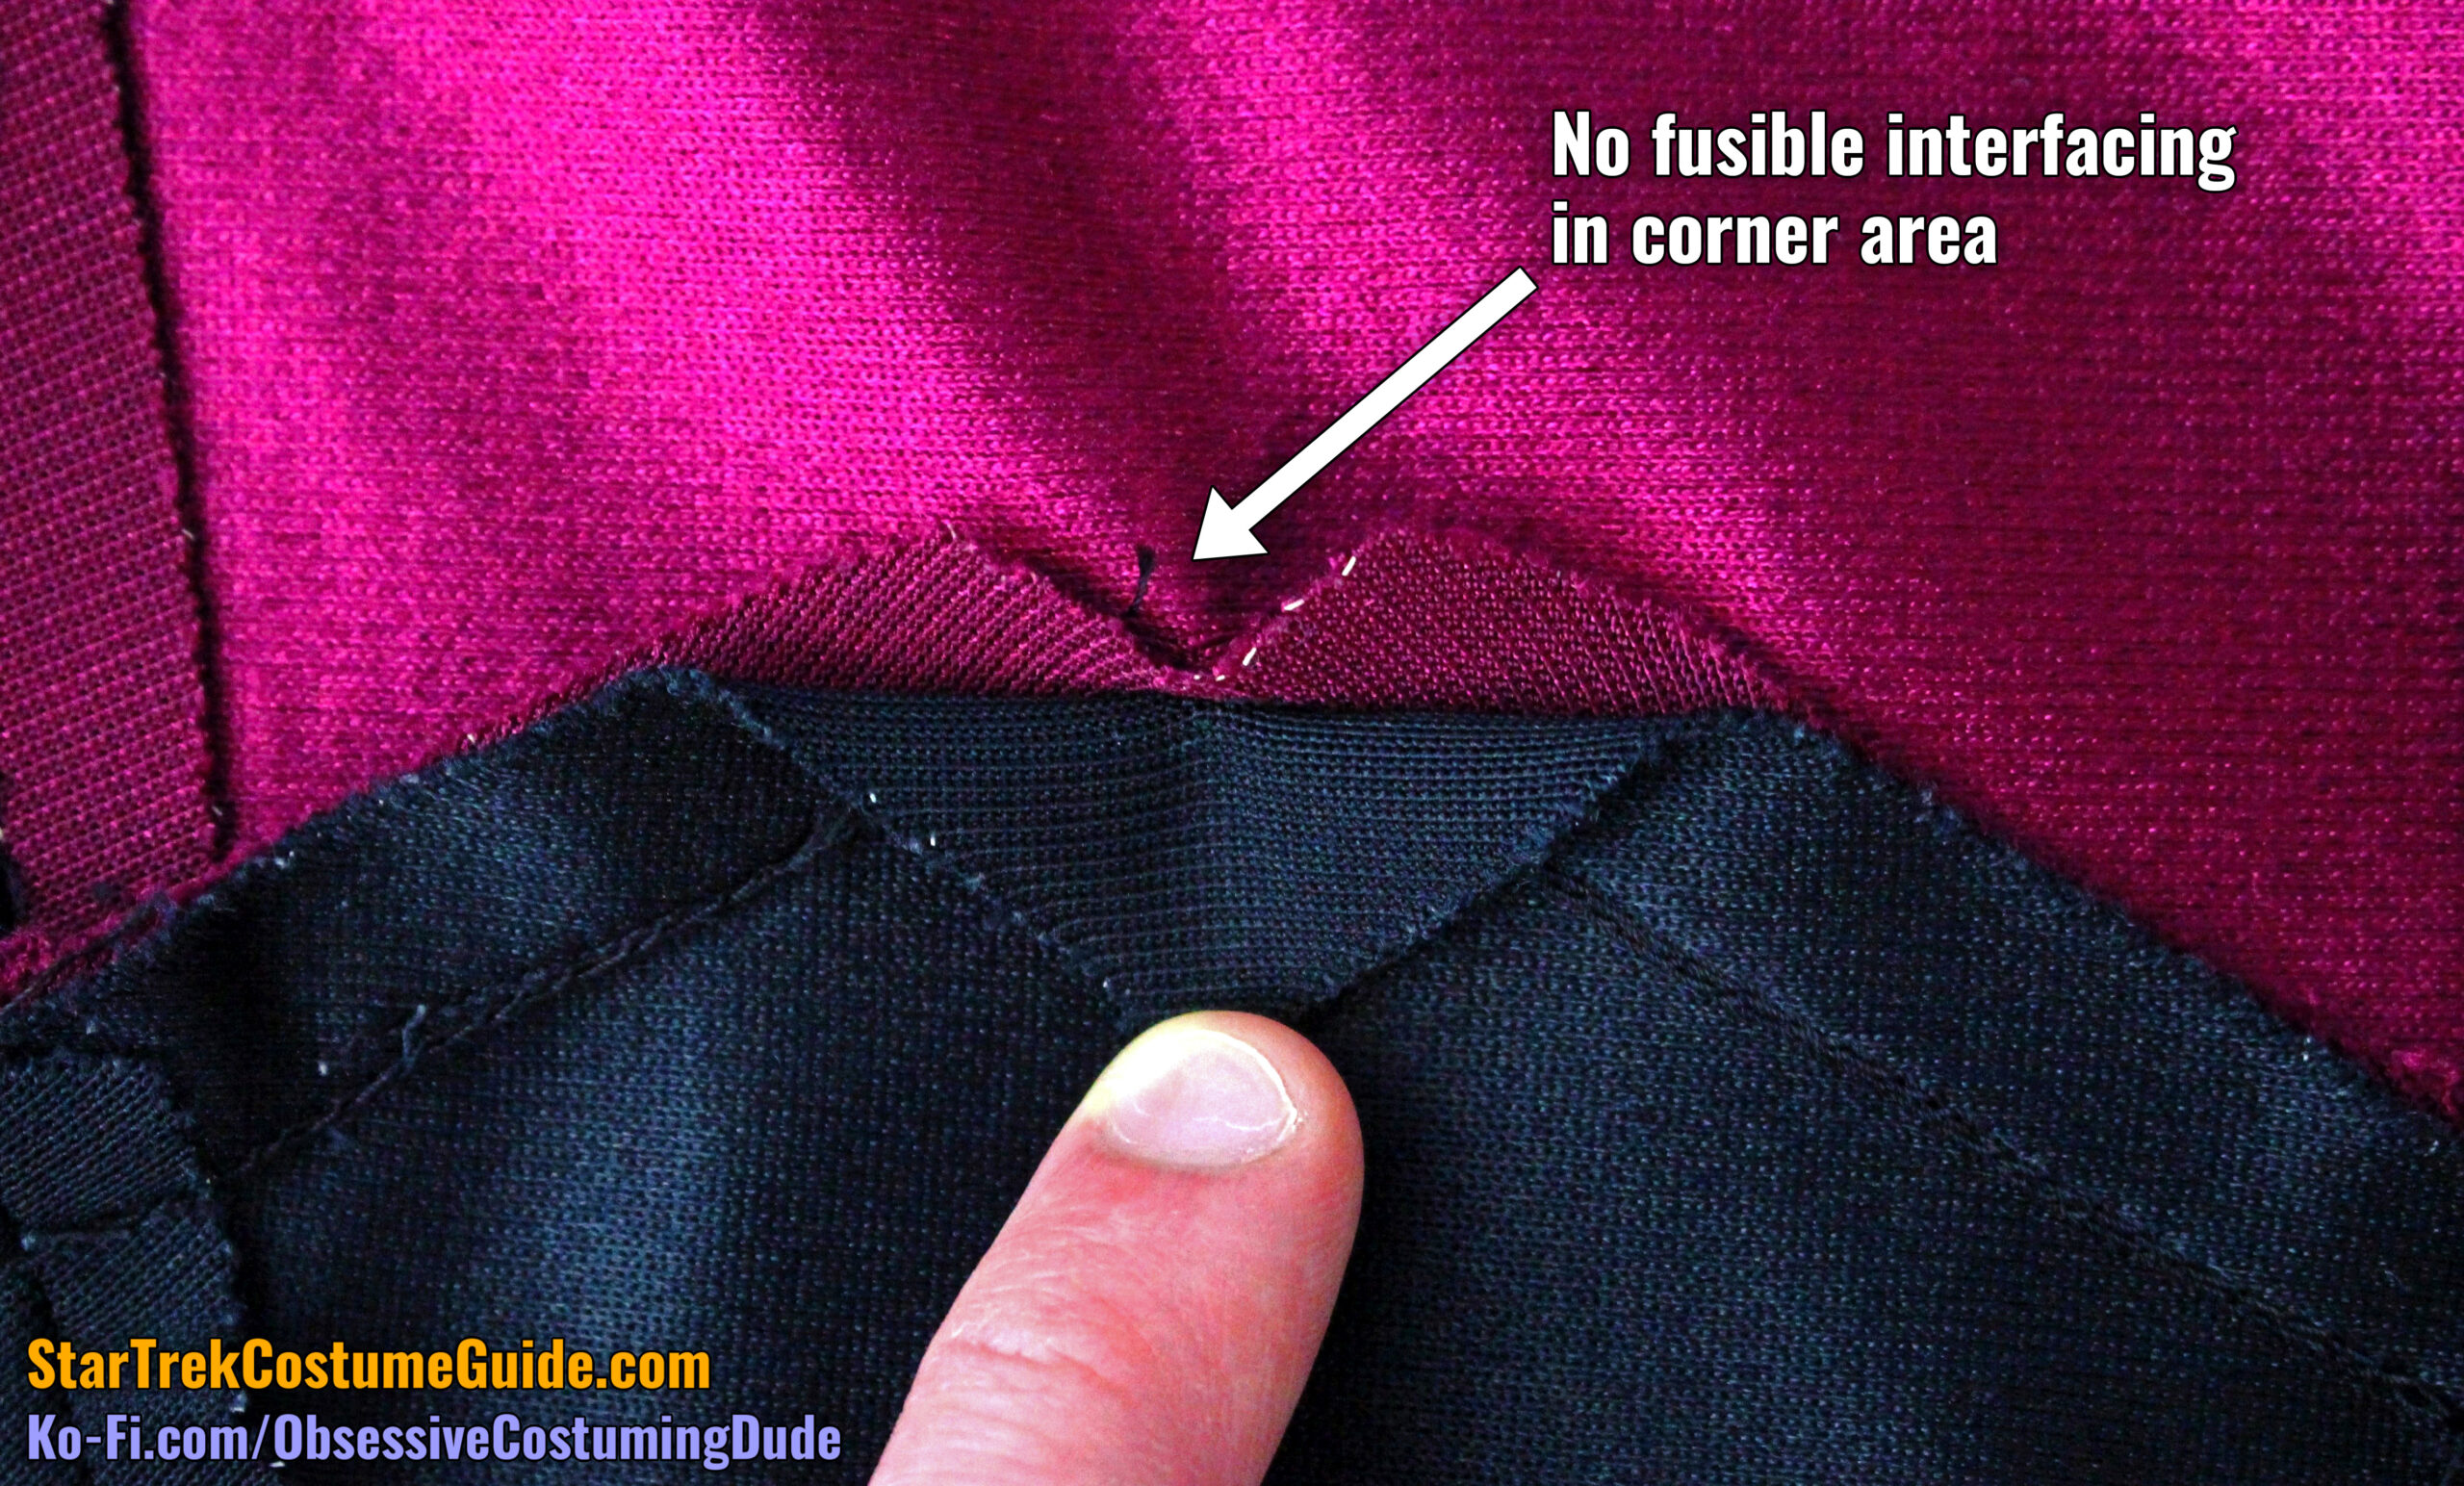
Also, there was no fusible interfacing in the corner area.
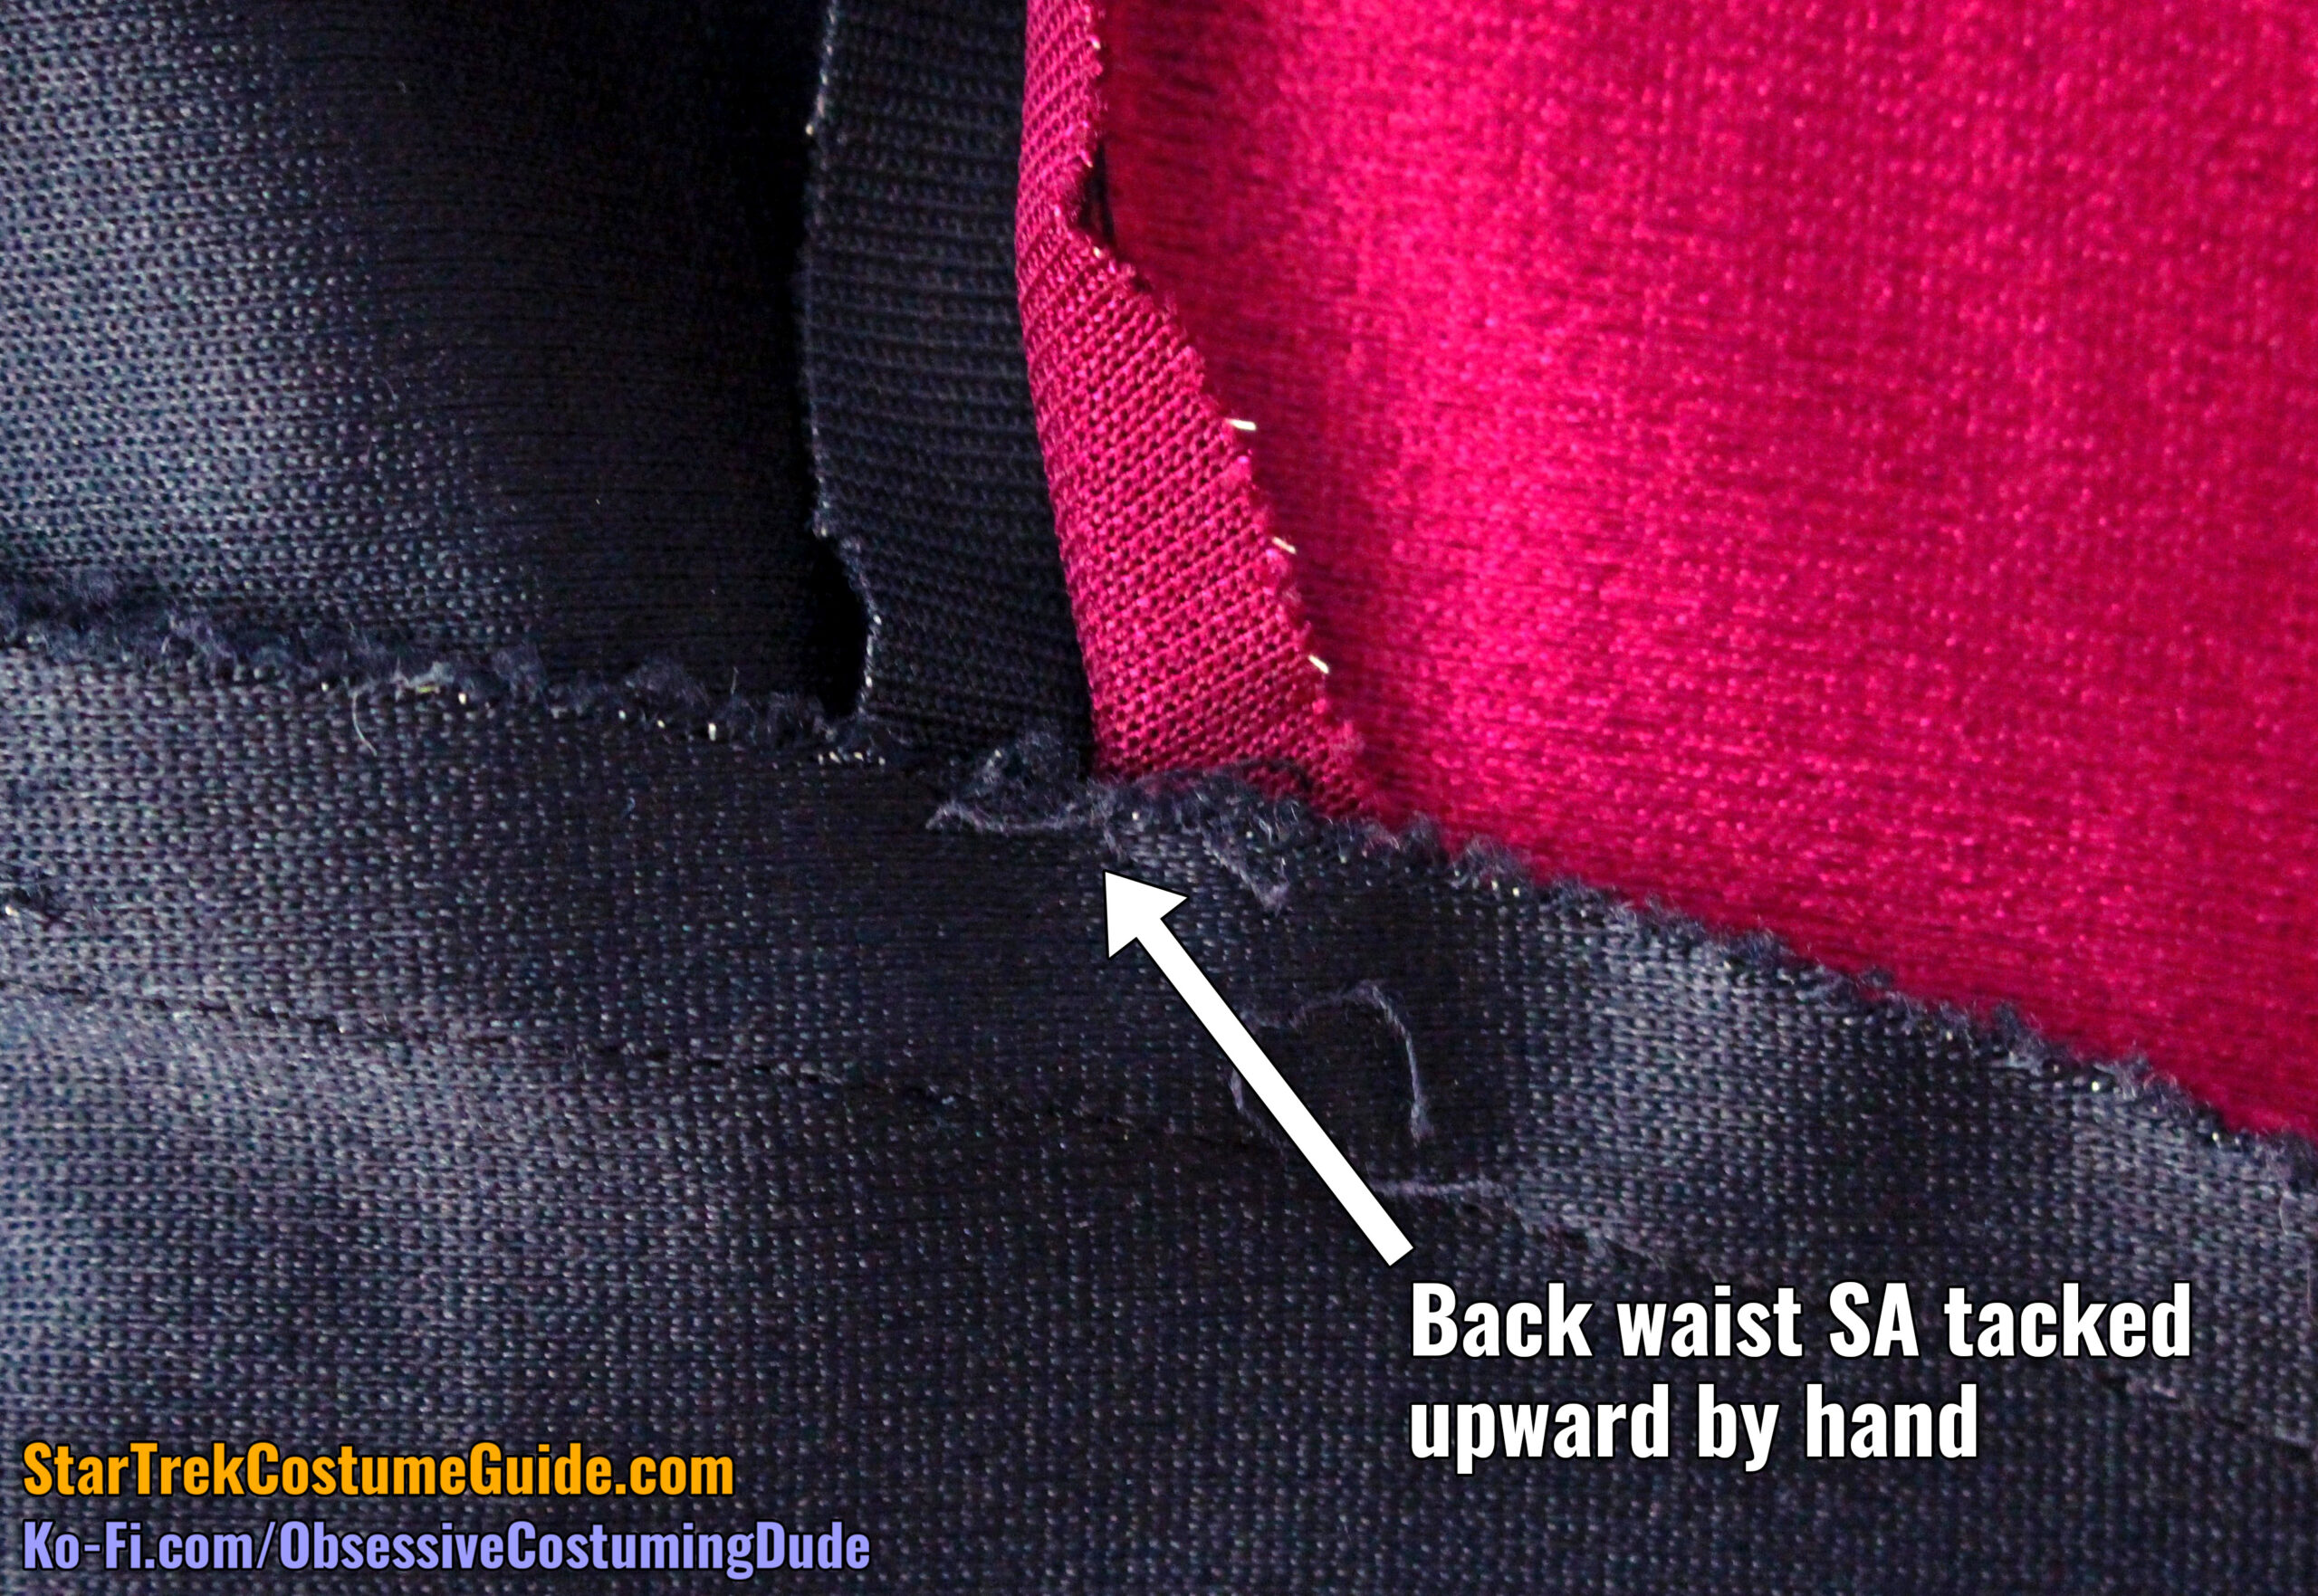
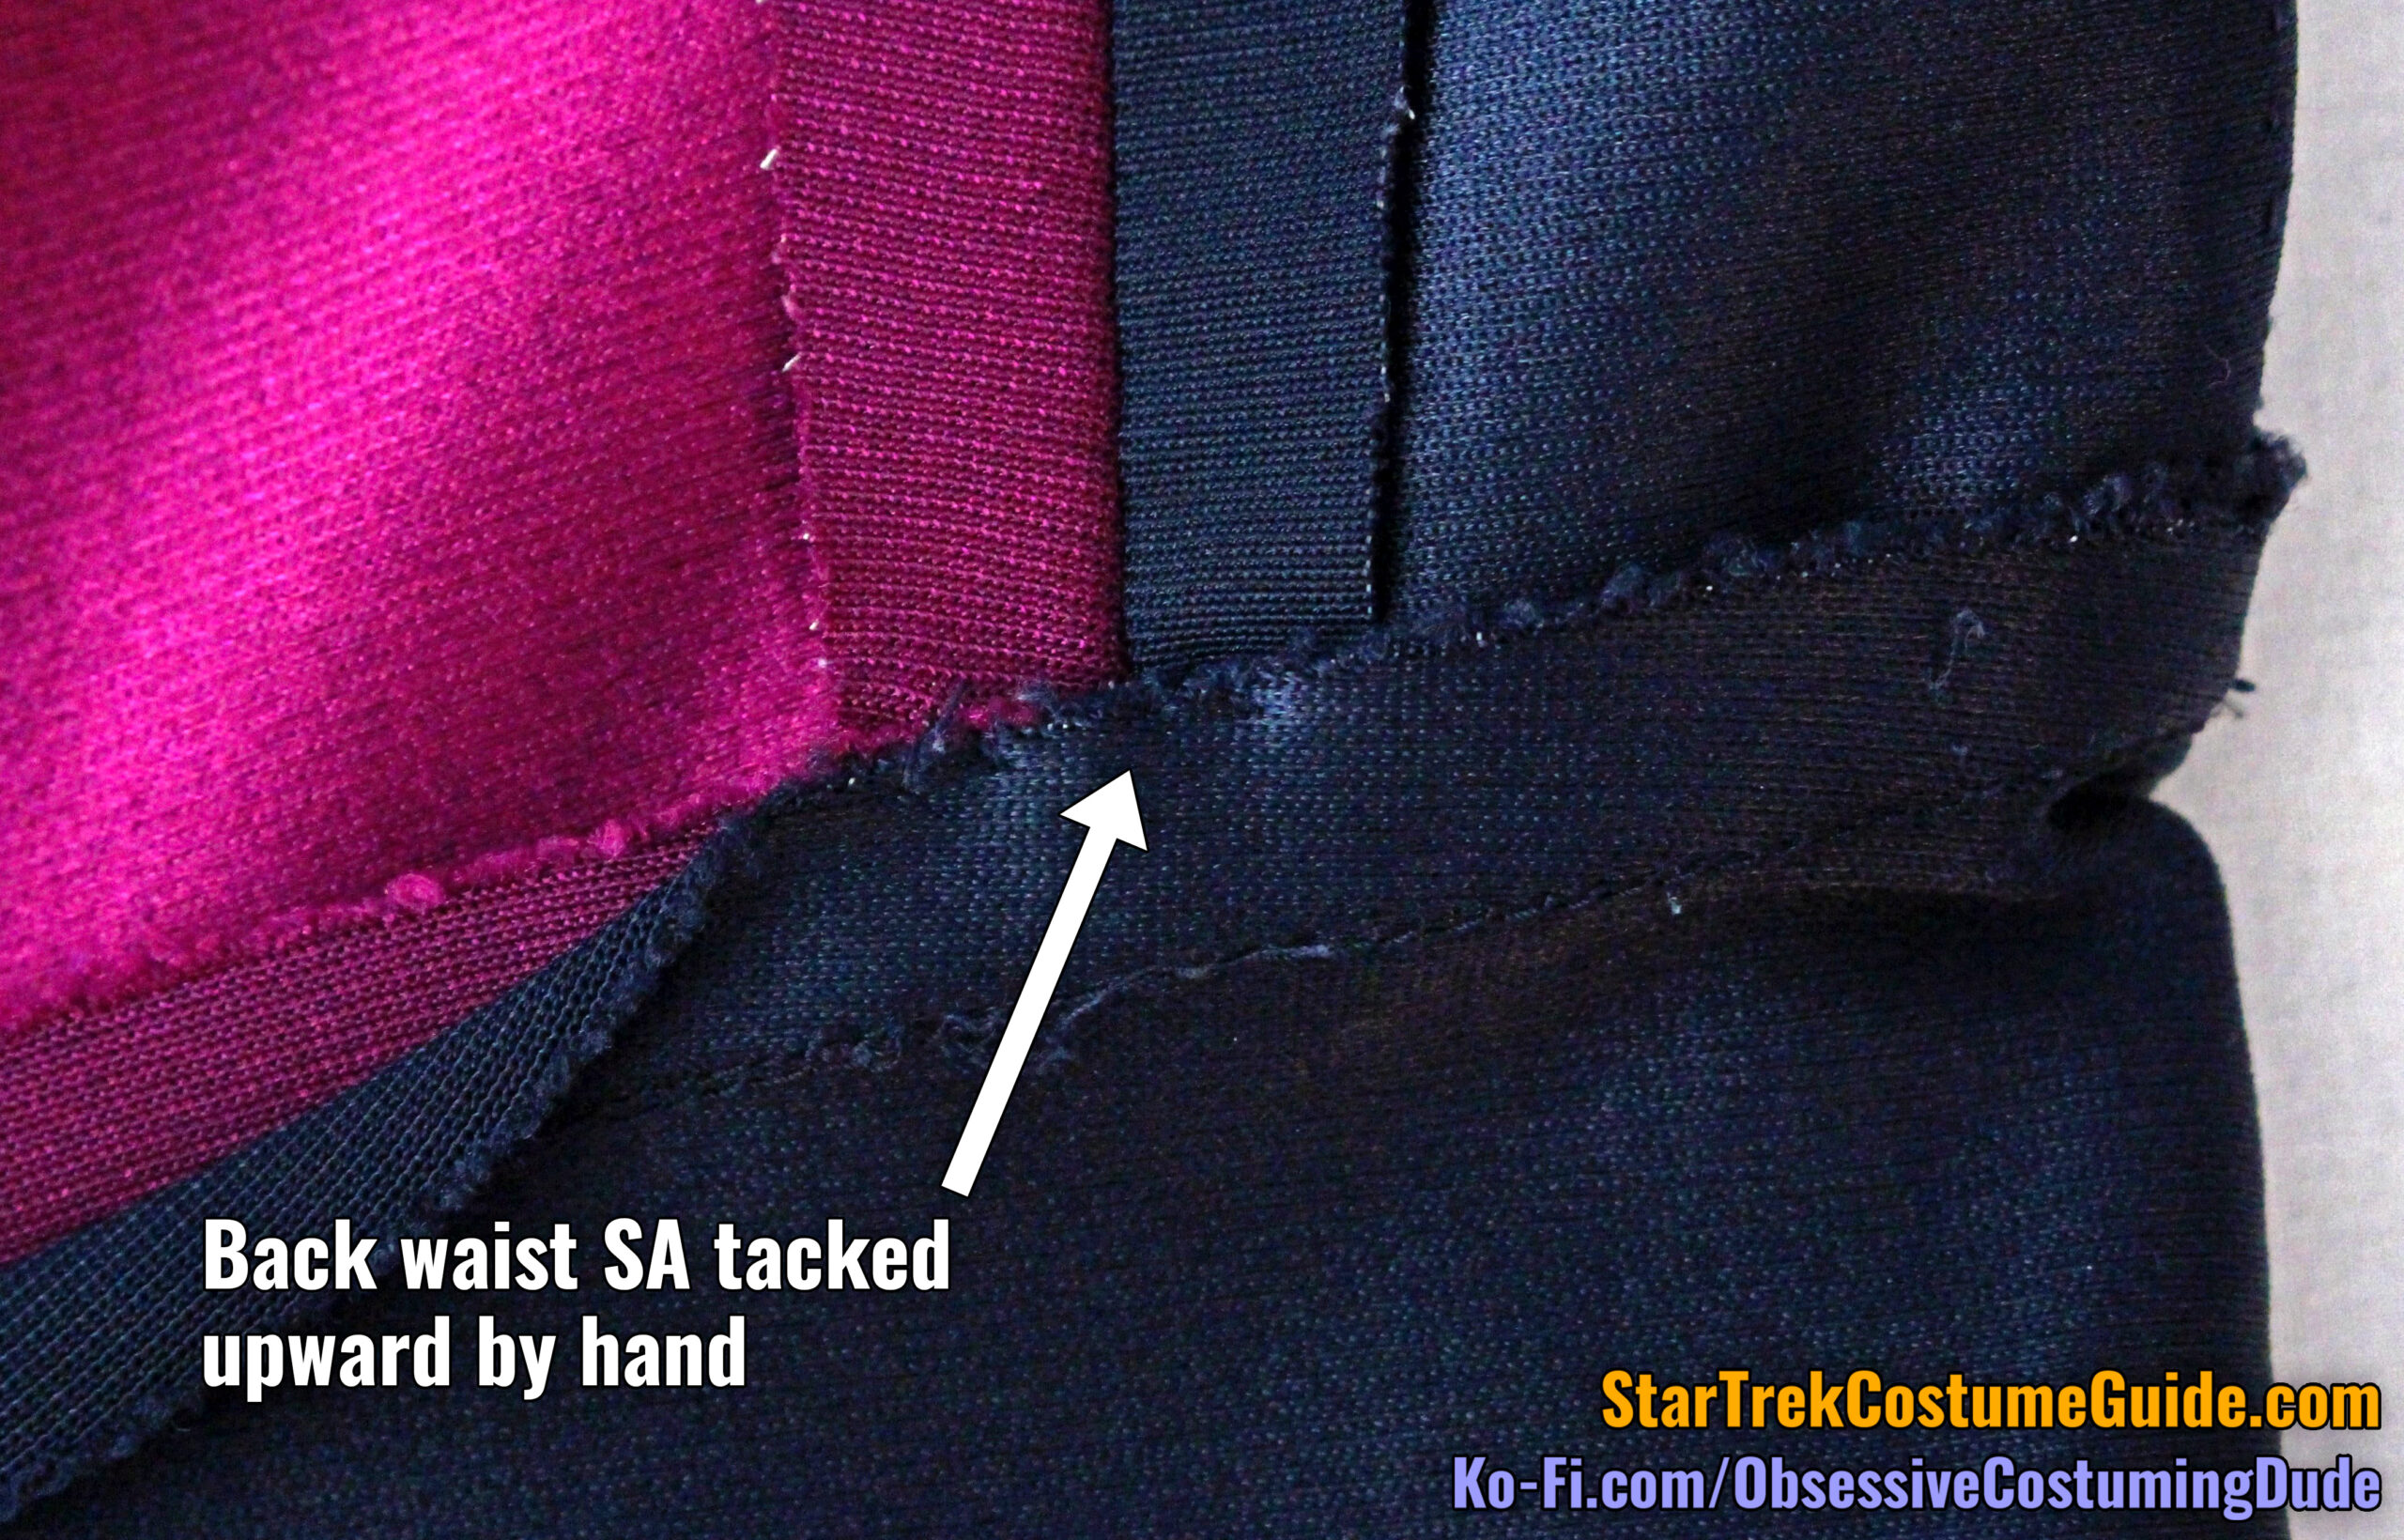
The back waist allowances were mostly pressed upward as well, although toward the middle the lower allowance did reverse so they were pressed open.
There was no fusible interfacing in the back corner area, either.
The back waist seam allowances were tacked upward by hand at the side back seams.
The waist seam allowances were also tacked open by hand at the side seams.
As you may have noticed, there was a lot of internal fastening going on inside this jumpsuit! Whoever made this costume was a sewer after my own heart in that regard. 🙂
Like the front, the lower center back seam allowances were also ½”.
At this point, it should come as no surprise that the diagonal lower front seam allowances also changed directions. (Because of course they did.)
The lower left front allowances were consistently pressed open.
However, the right left front allowances were sewn into the waist seam open, appear to have been pressed outward (toward the side) for most of the seam, and were finally sewn into the lower front seam fully opened again.
(In this regard, it’s basically the exact opposite of the Tasha Yar jumpsuit I examined.)
On both sides of the zipper/front seam, the upper diagonal seam allowance was clipped just past the zipper stitching.
The side seam allowances varied quite a bit from the underarm down the pant leg.
On the right side, the side seam allowances were ¾” at the underarm.
They narrowed to about 5/16” at the waist, then down to a mere ¼” at the hips bore widening to ⅝” down the pant leg.
On the left side of the jumpsuit, the side seam allowances were also ¾” at the underarm, but the remaining proportions (while close) were not the same.
The allowance tapered down to ½” at the waist, narrowed further down to ⅜” at the hips, then widened back out to ¾” along the pant leg.
The inseam allowance was ⅝”.
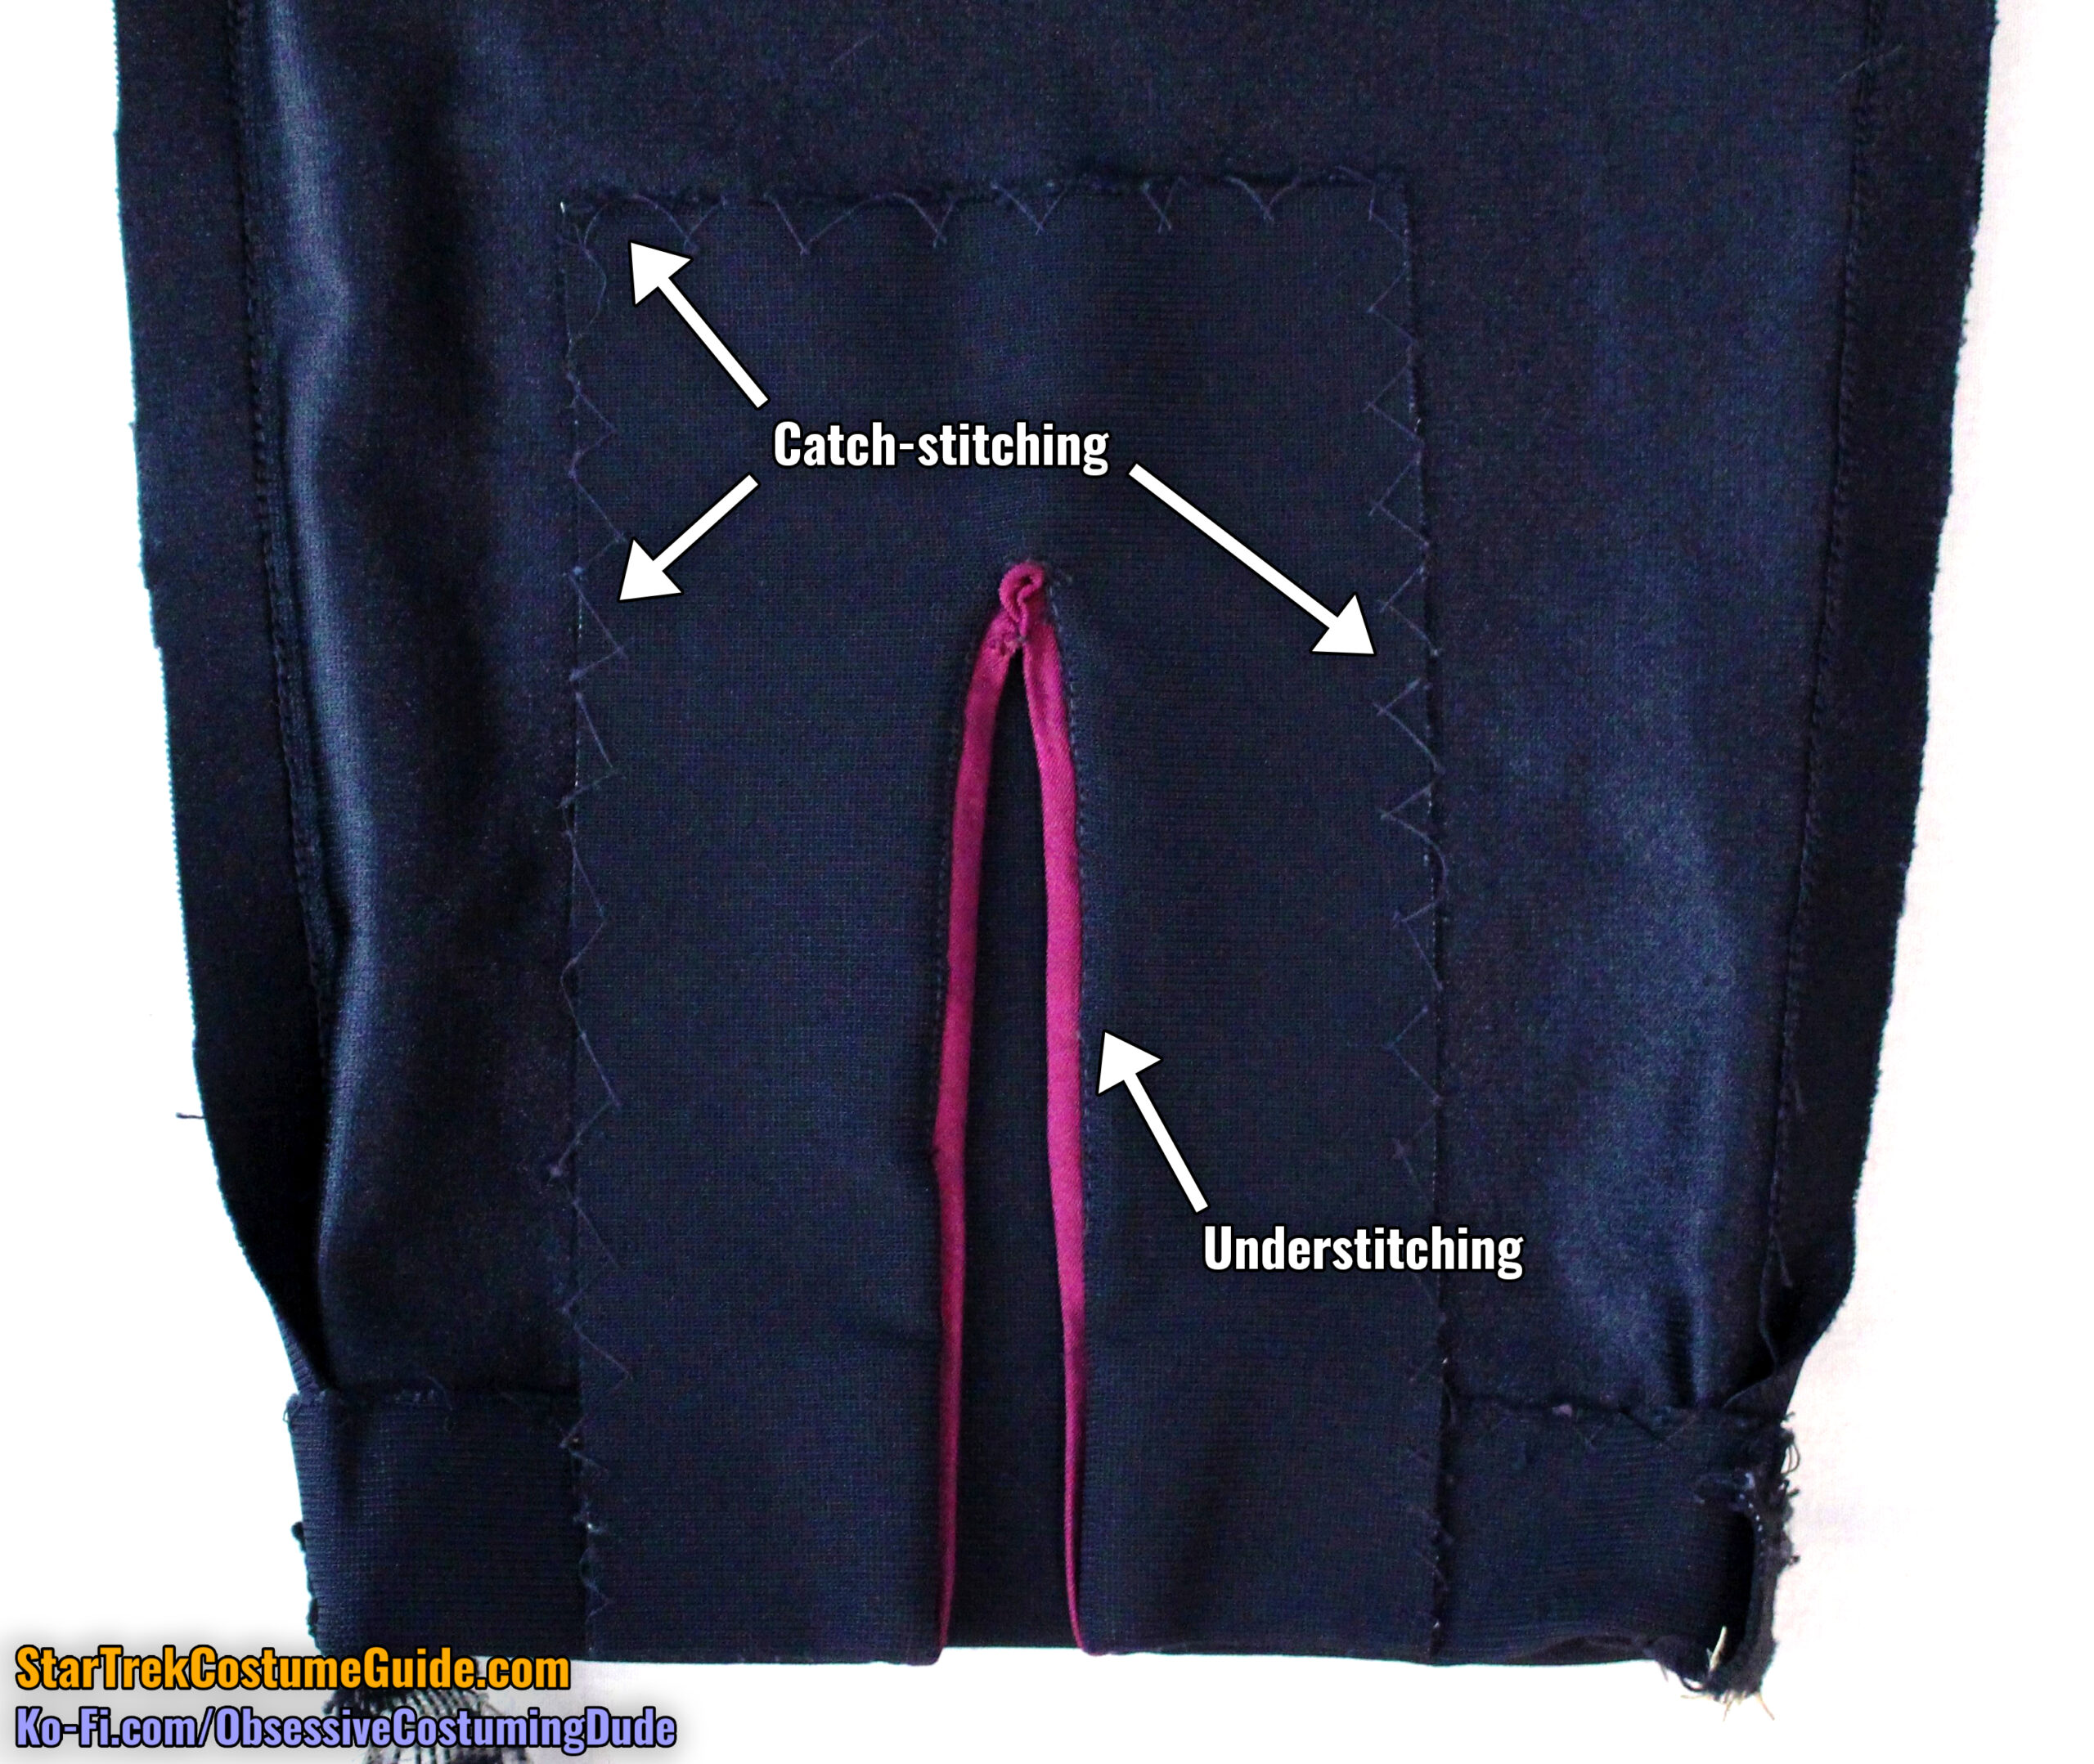
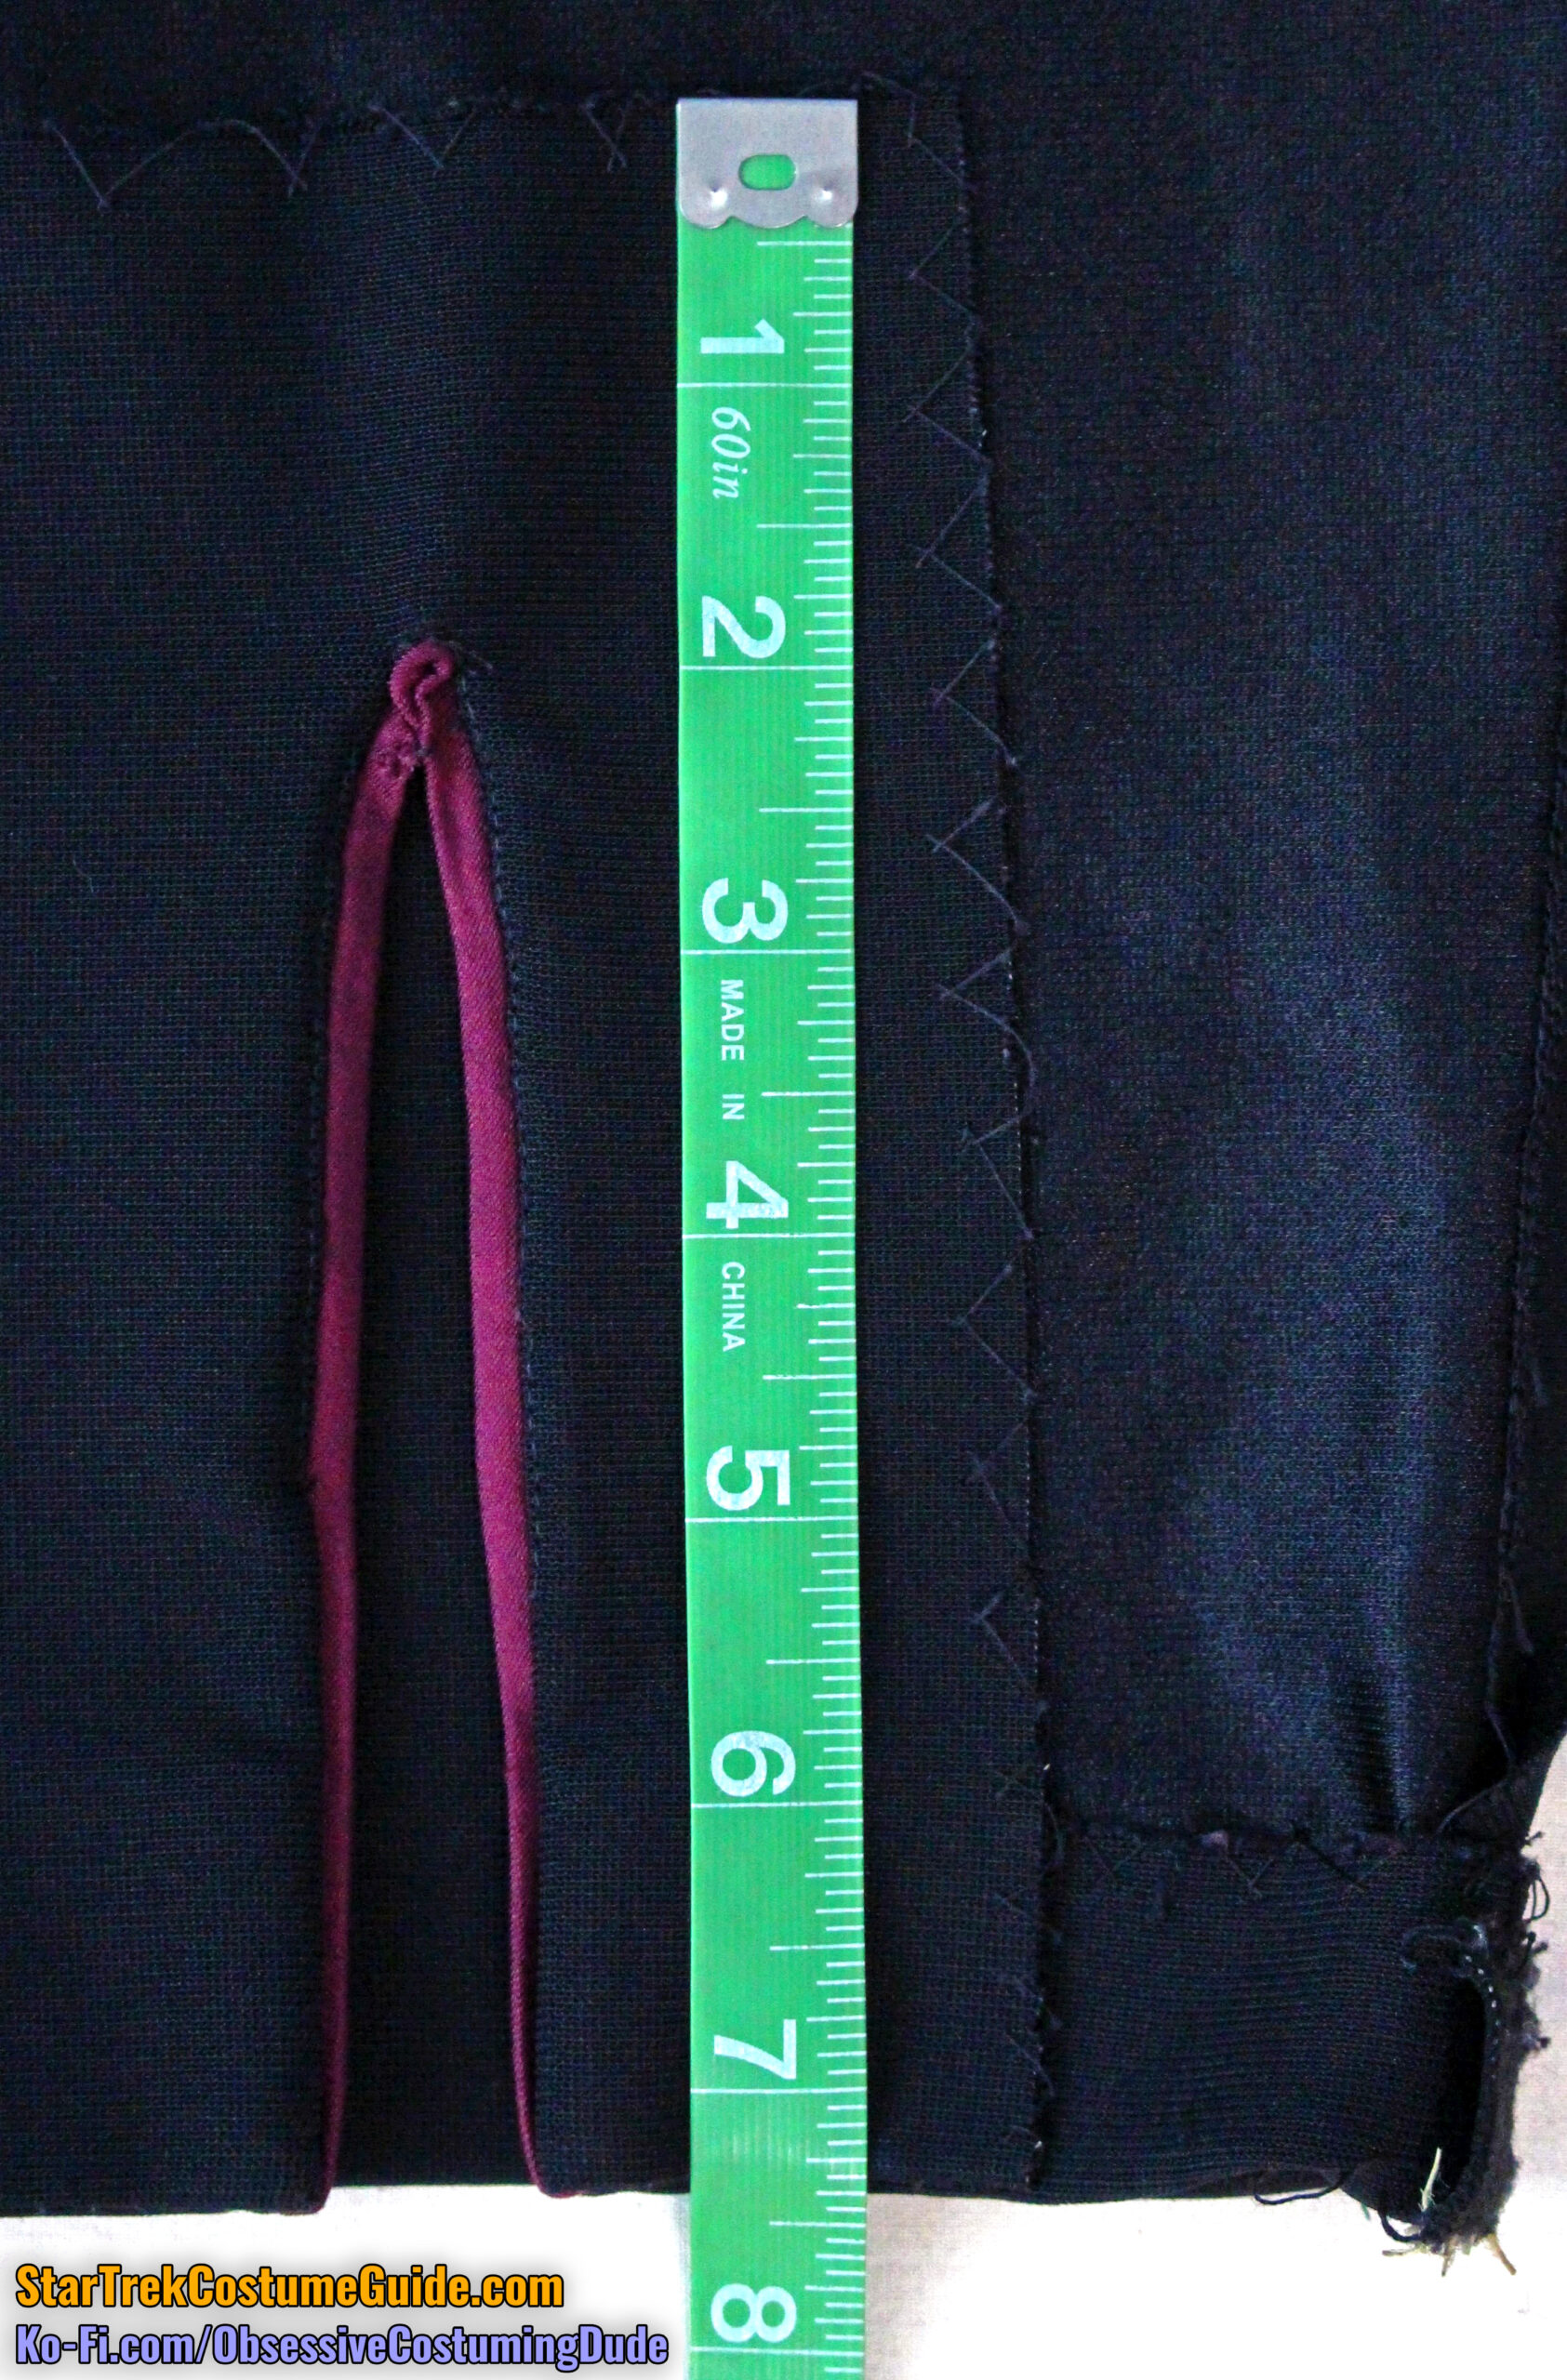
Here’s a look at the interior lower pant leg, the same basic construction as on the Tasha Yar and Beverly Crusher jumpsuits I examined.
Observe the large facing on the underside, which was understitched along the upper half or so of the trim.
The outer edges were secured to the pant leg and hem via catch-stitching.
The lower front facing was about 7 ⅜” tall (plus lower allowance) and 4 ¼” wide.
The hem allowance at the bottom of the pant legs was 1 ⅜”.
And now for the most confusing element of this Worf jumpsuit!
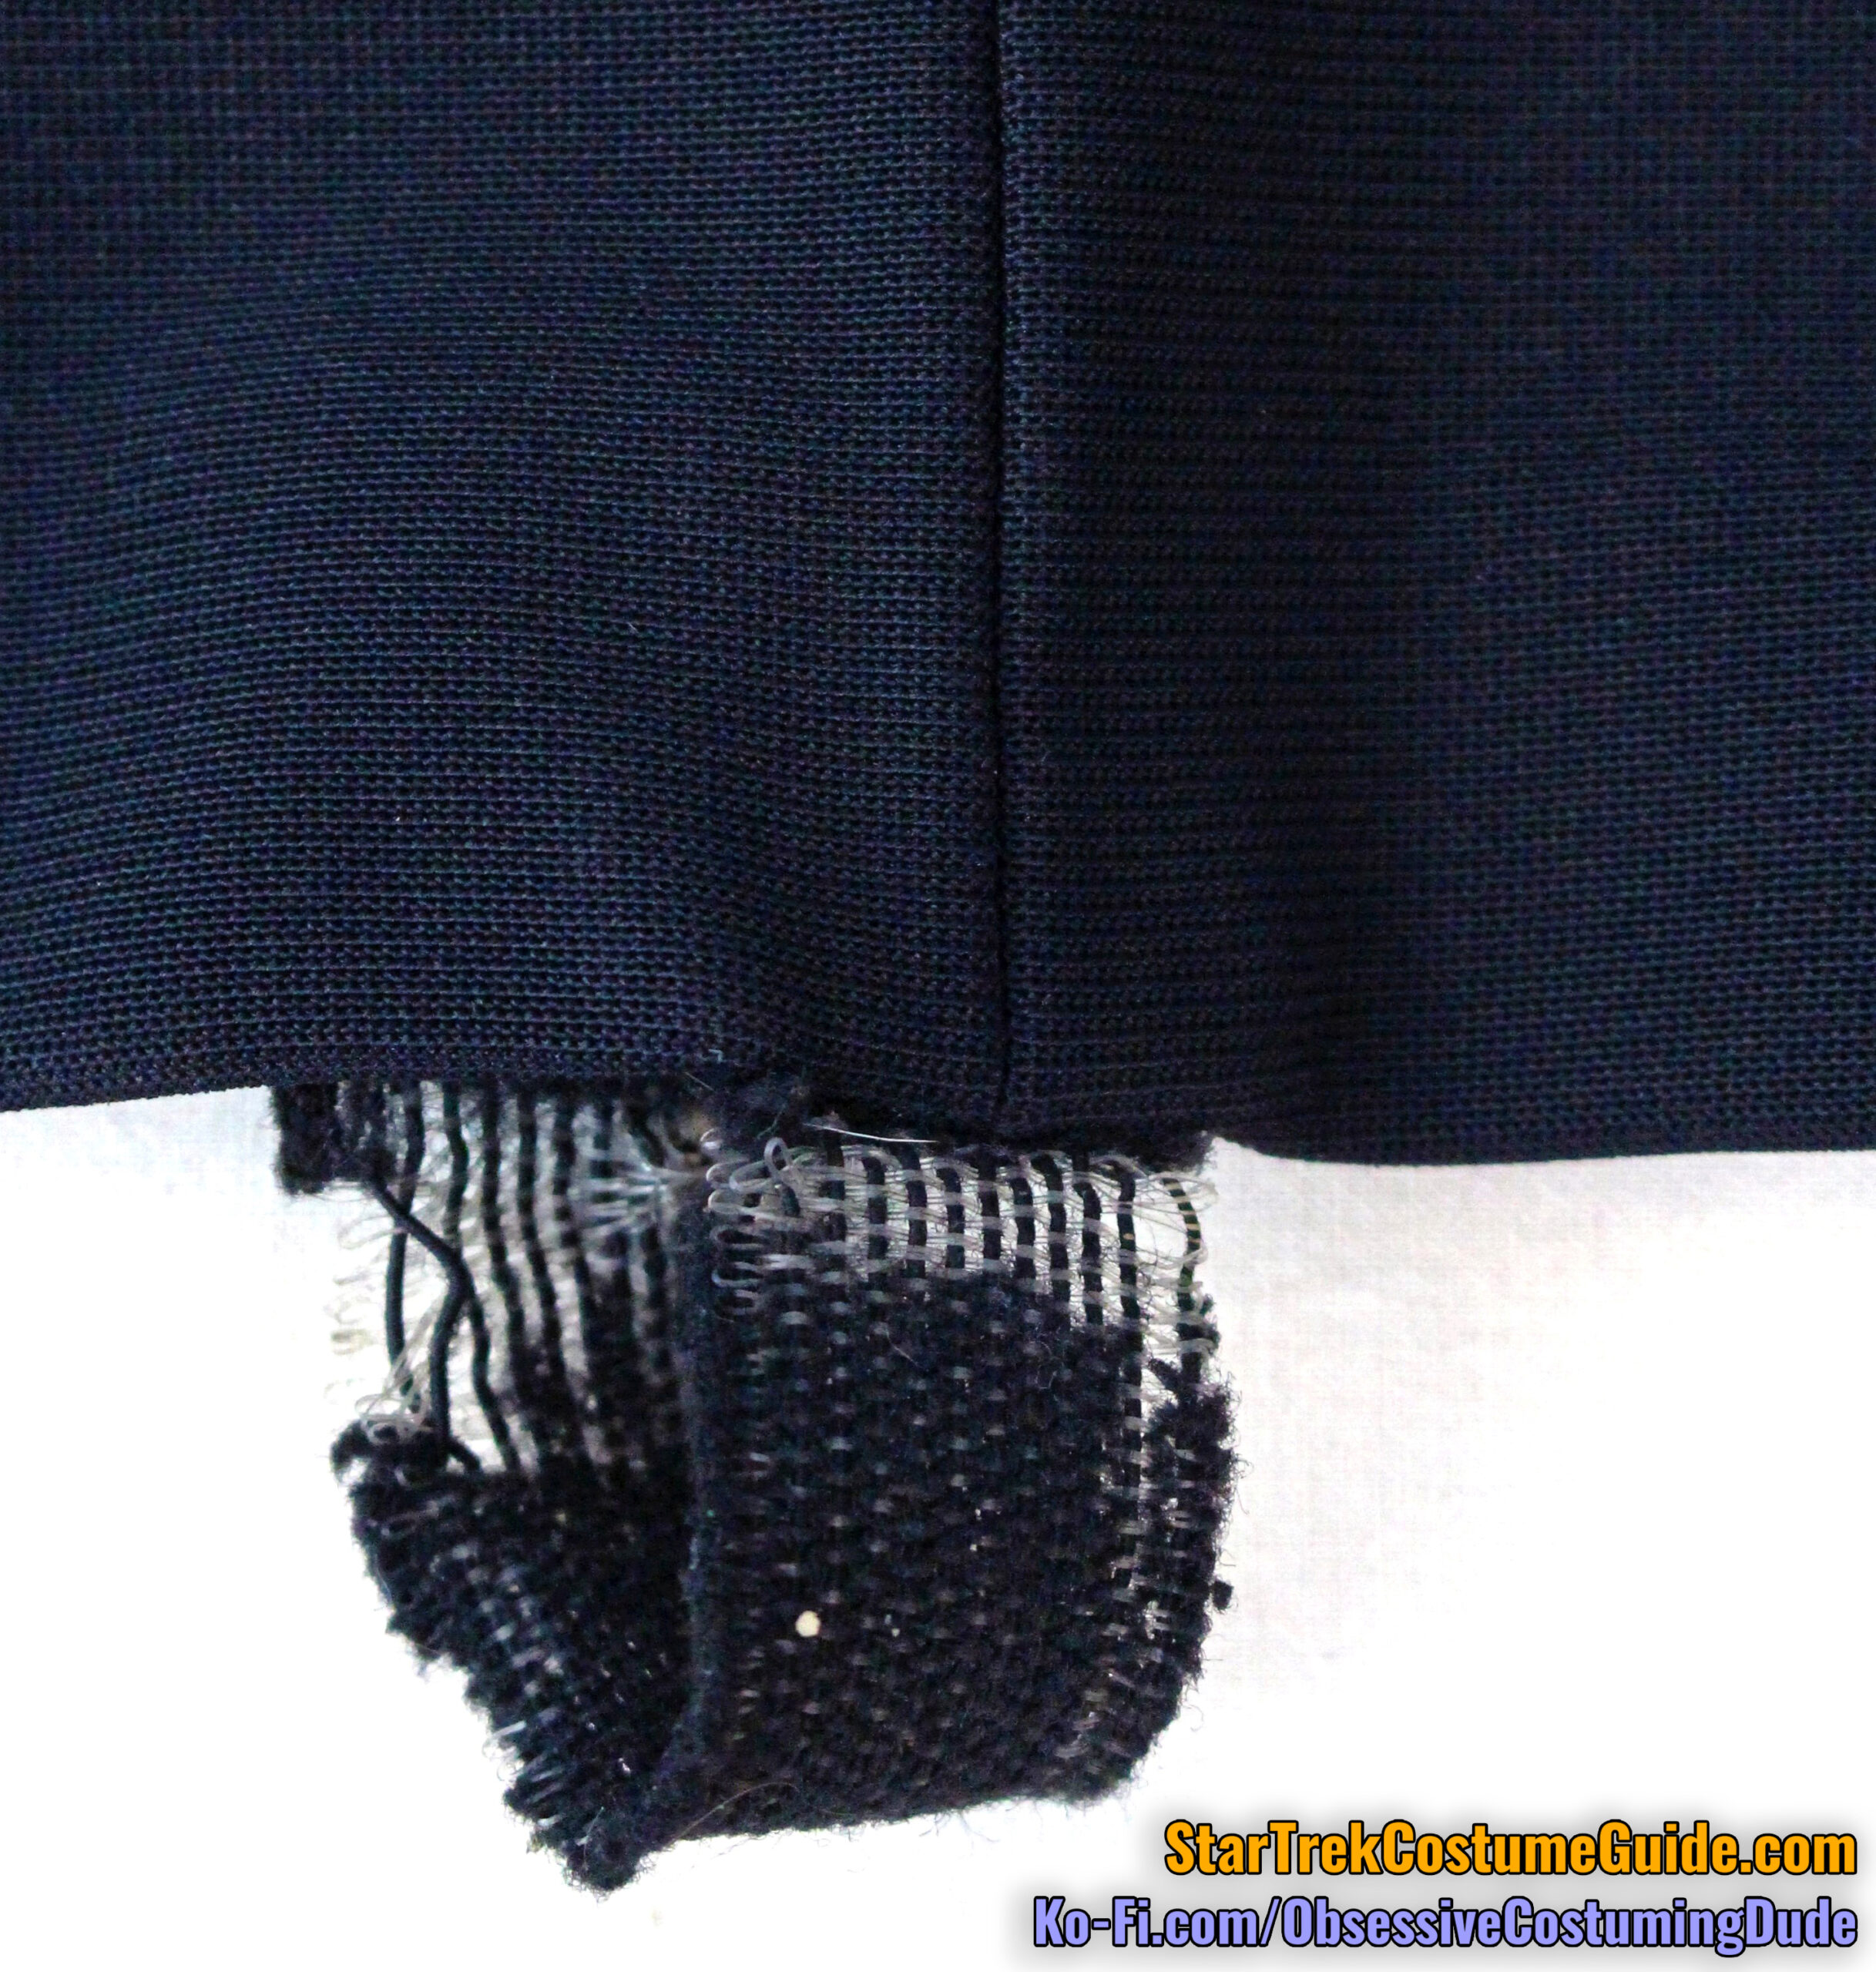
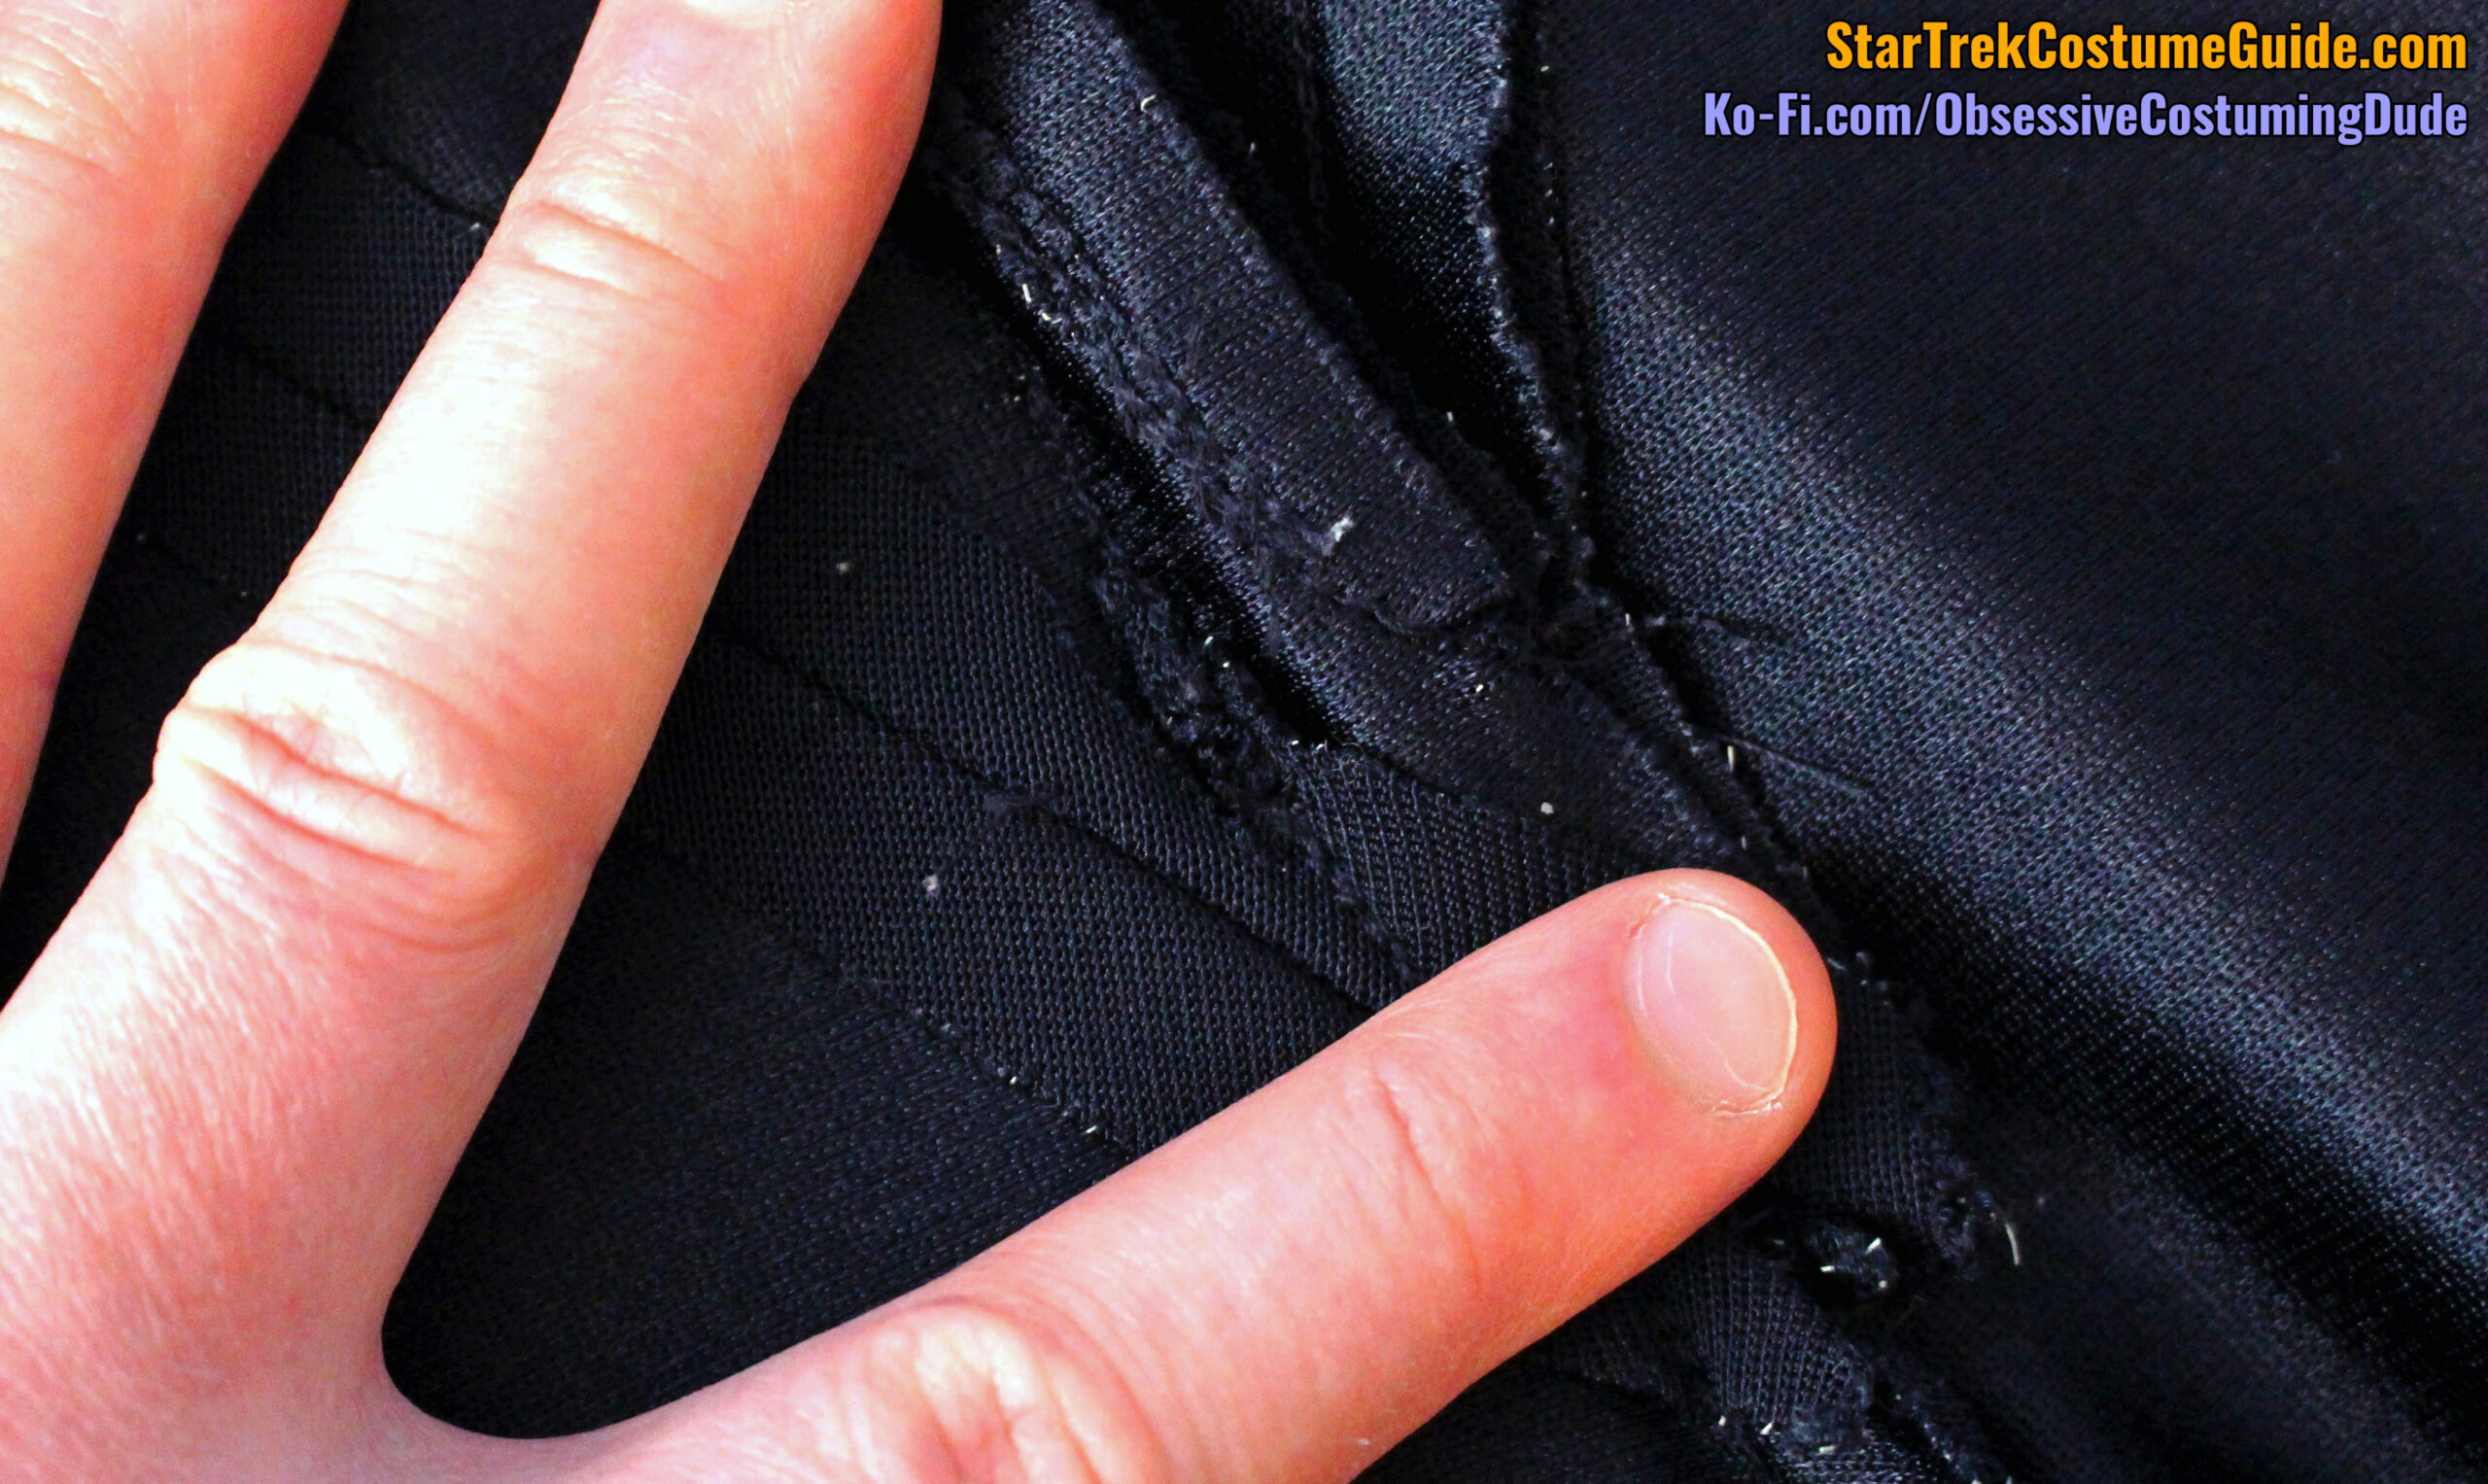
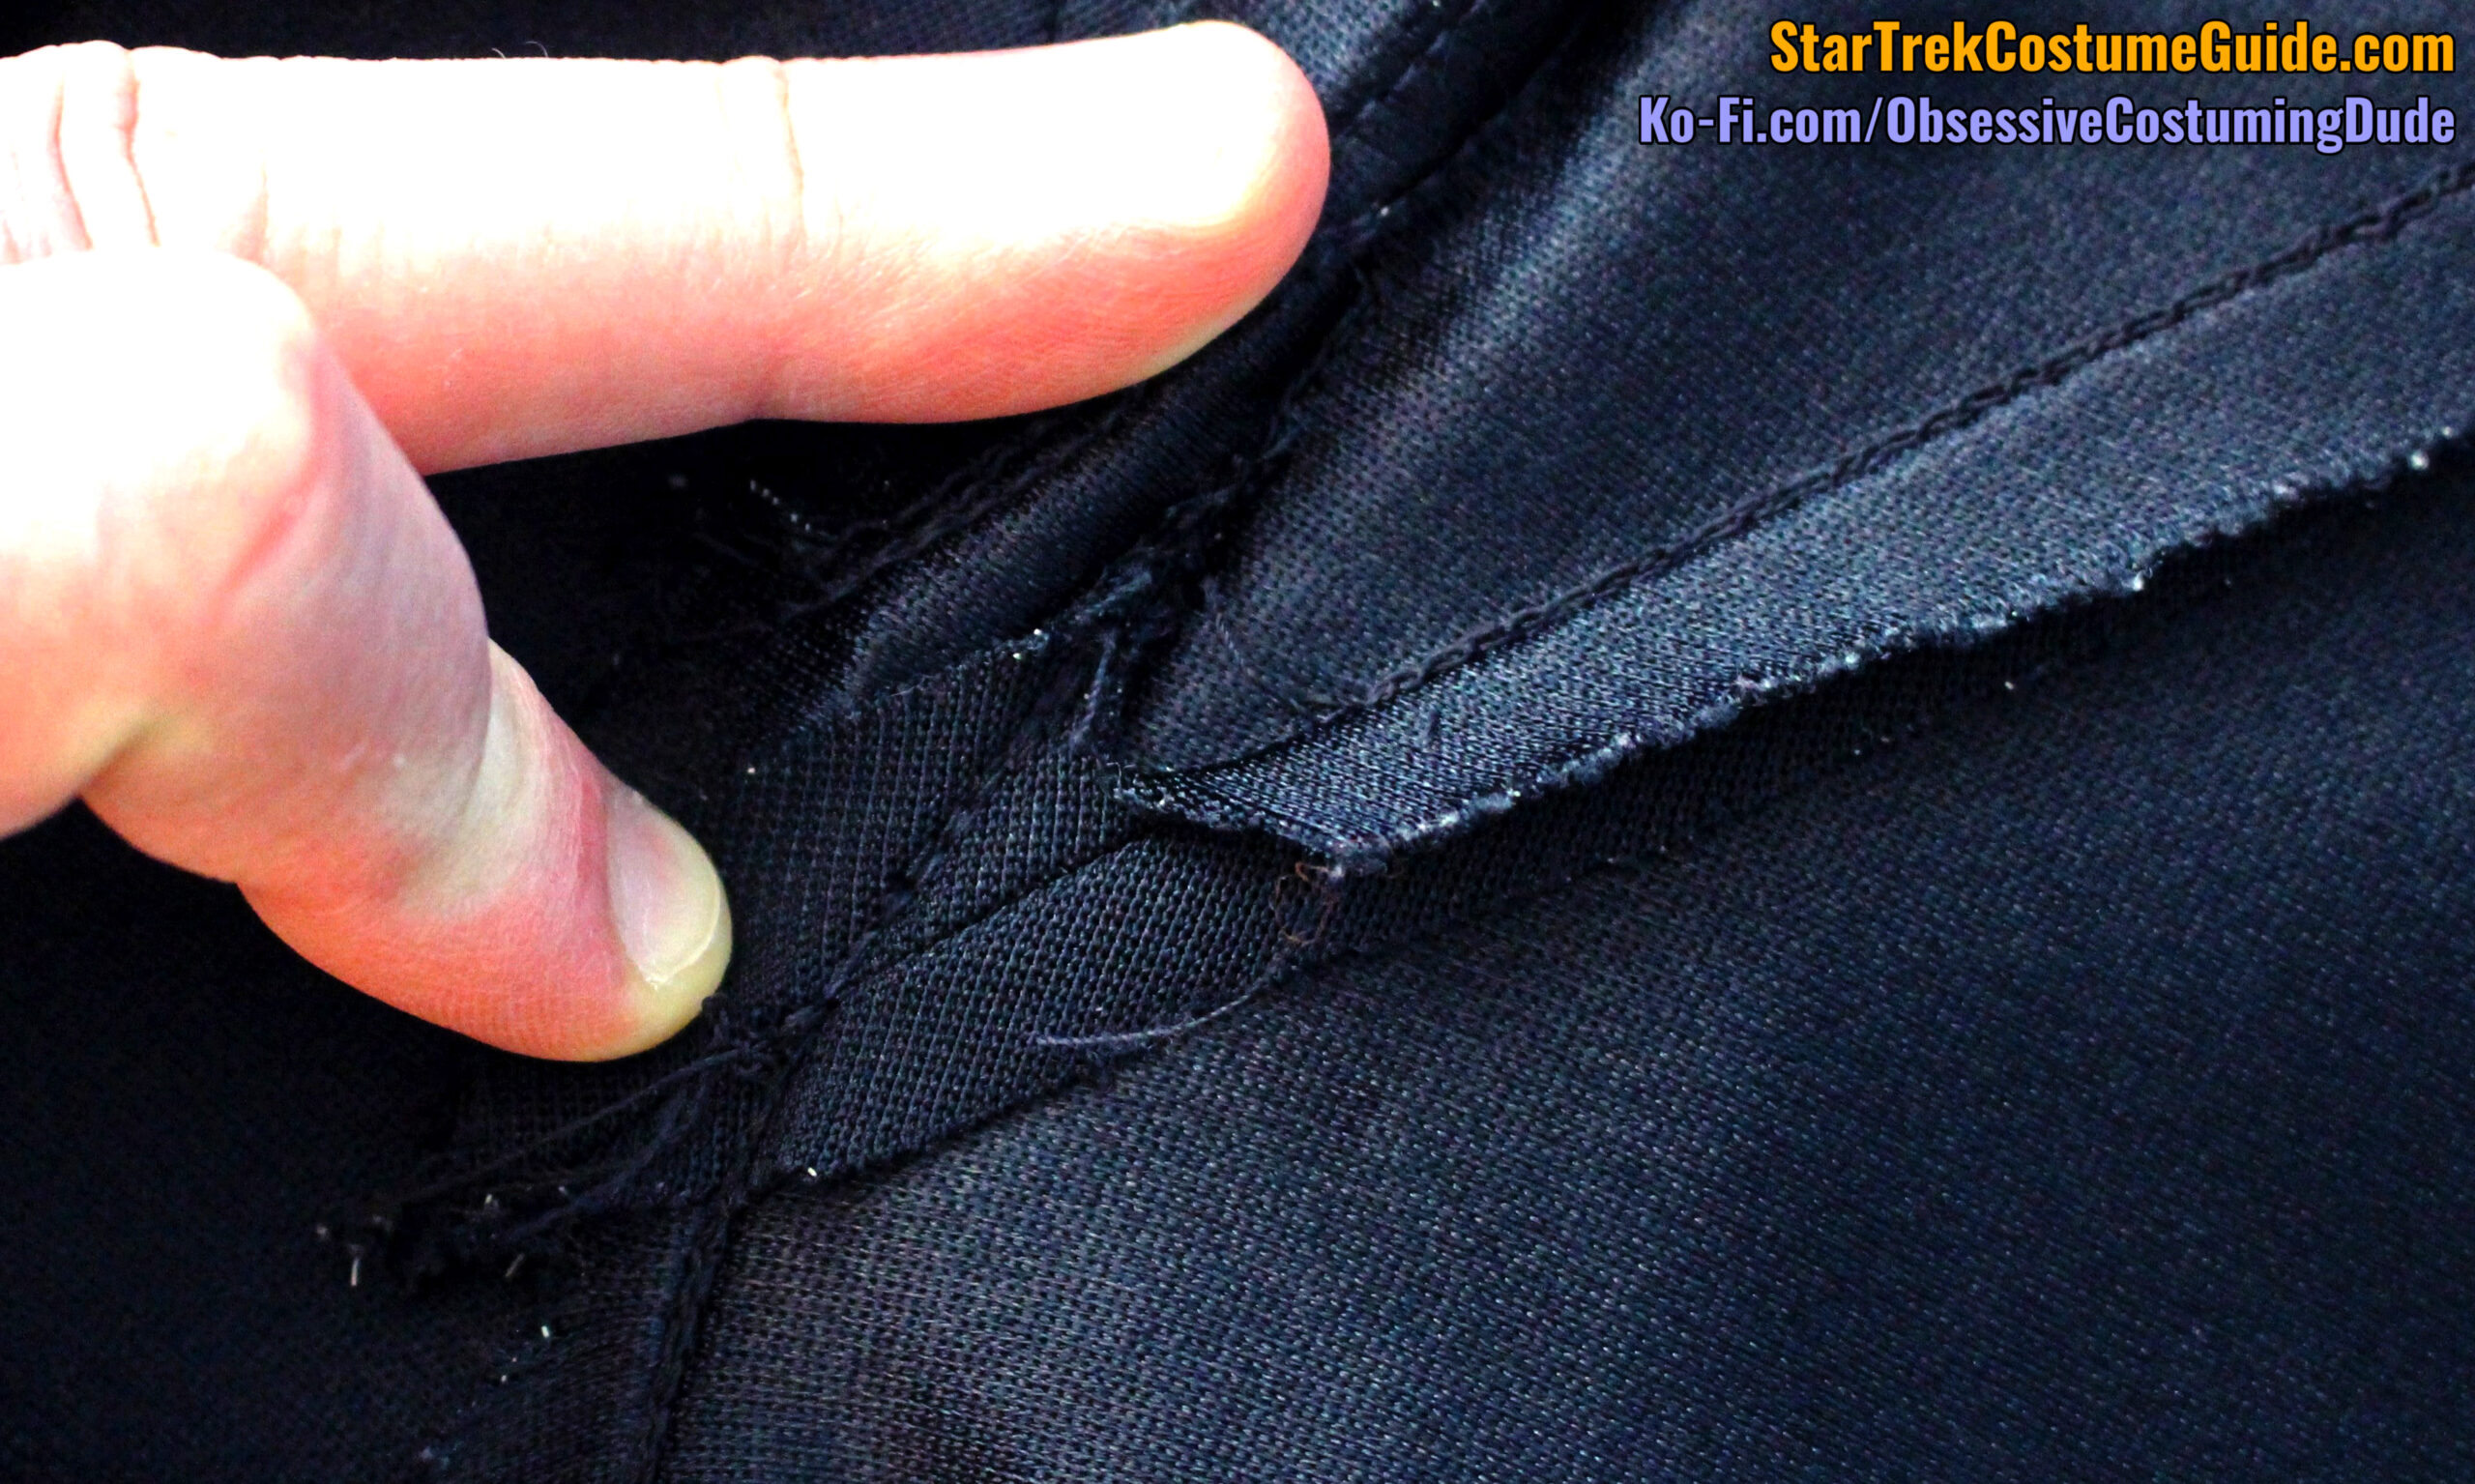
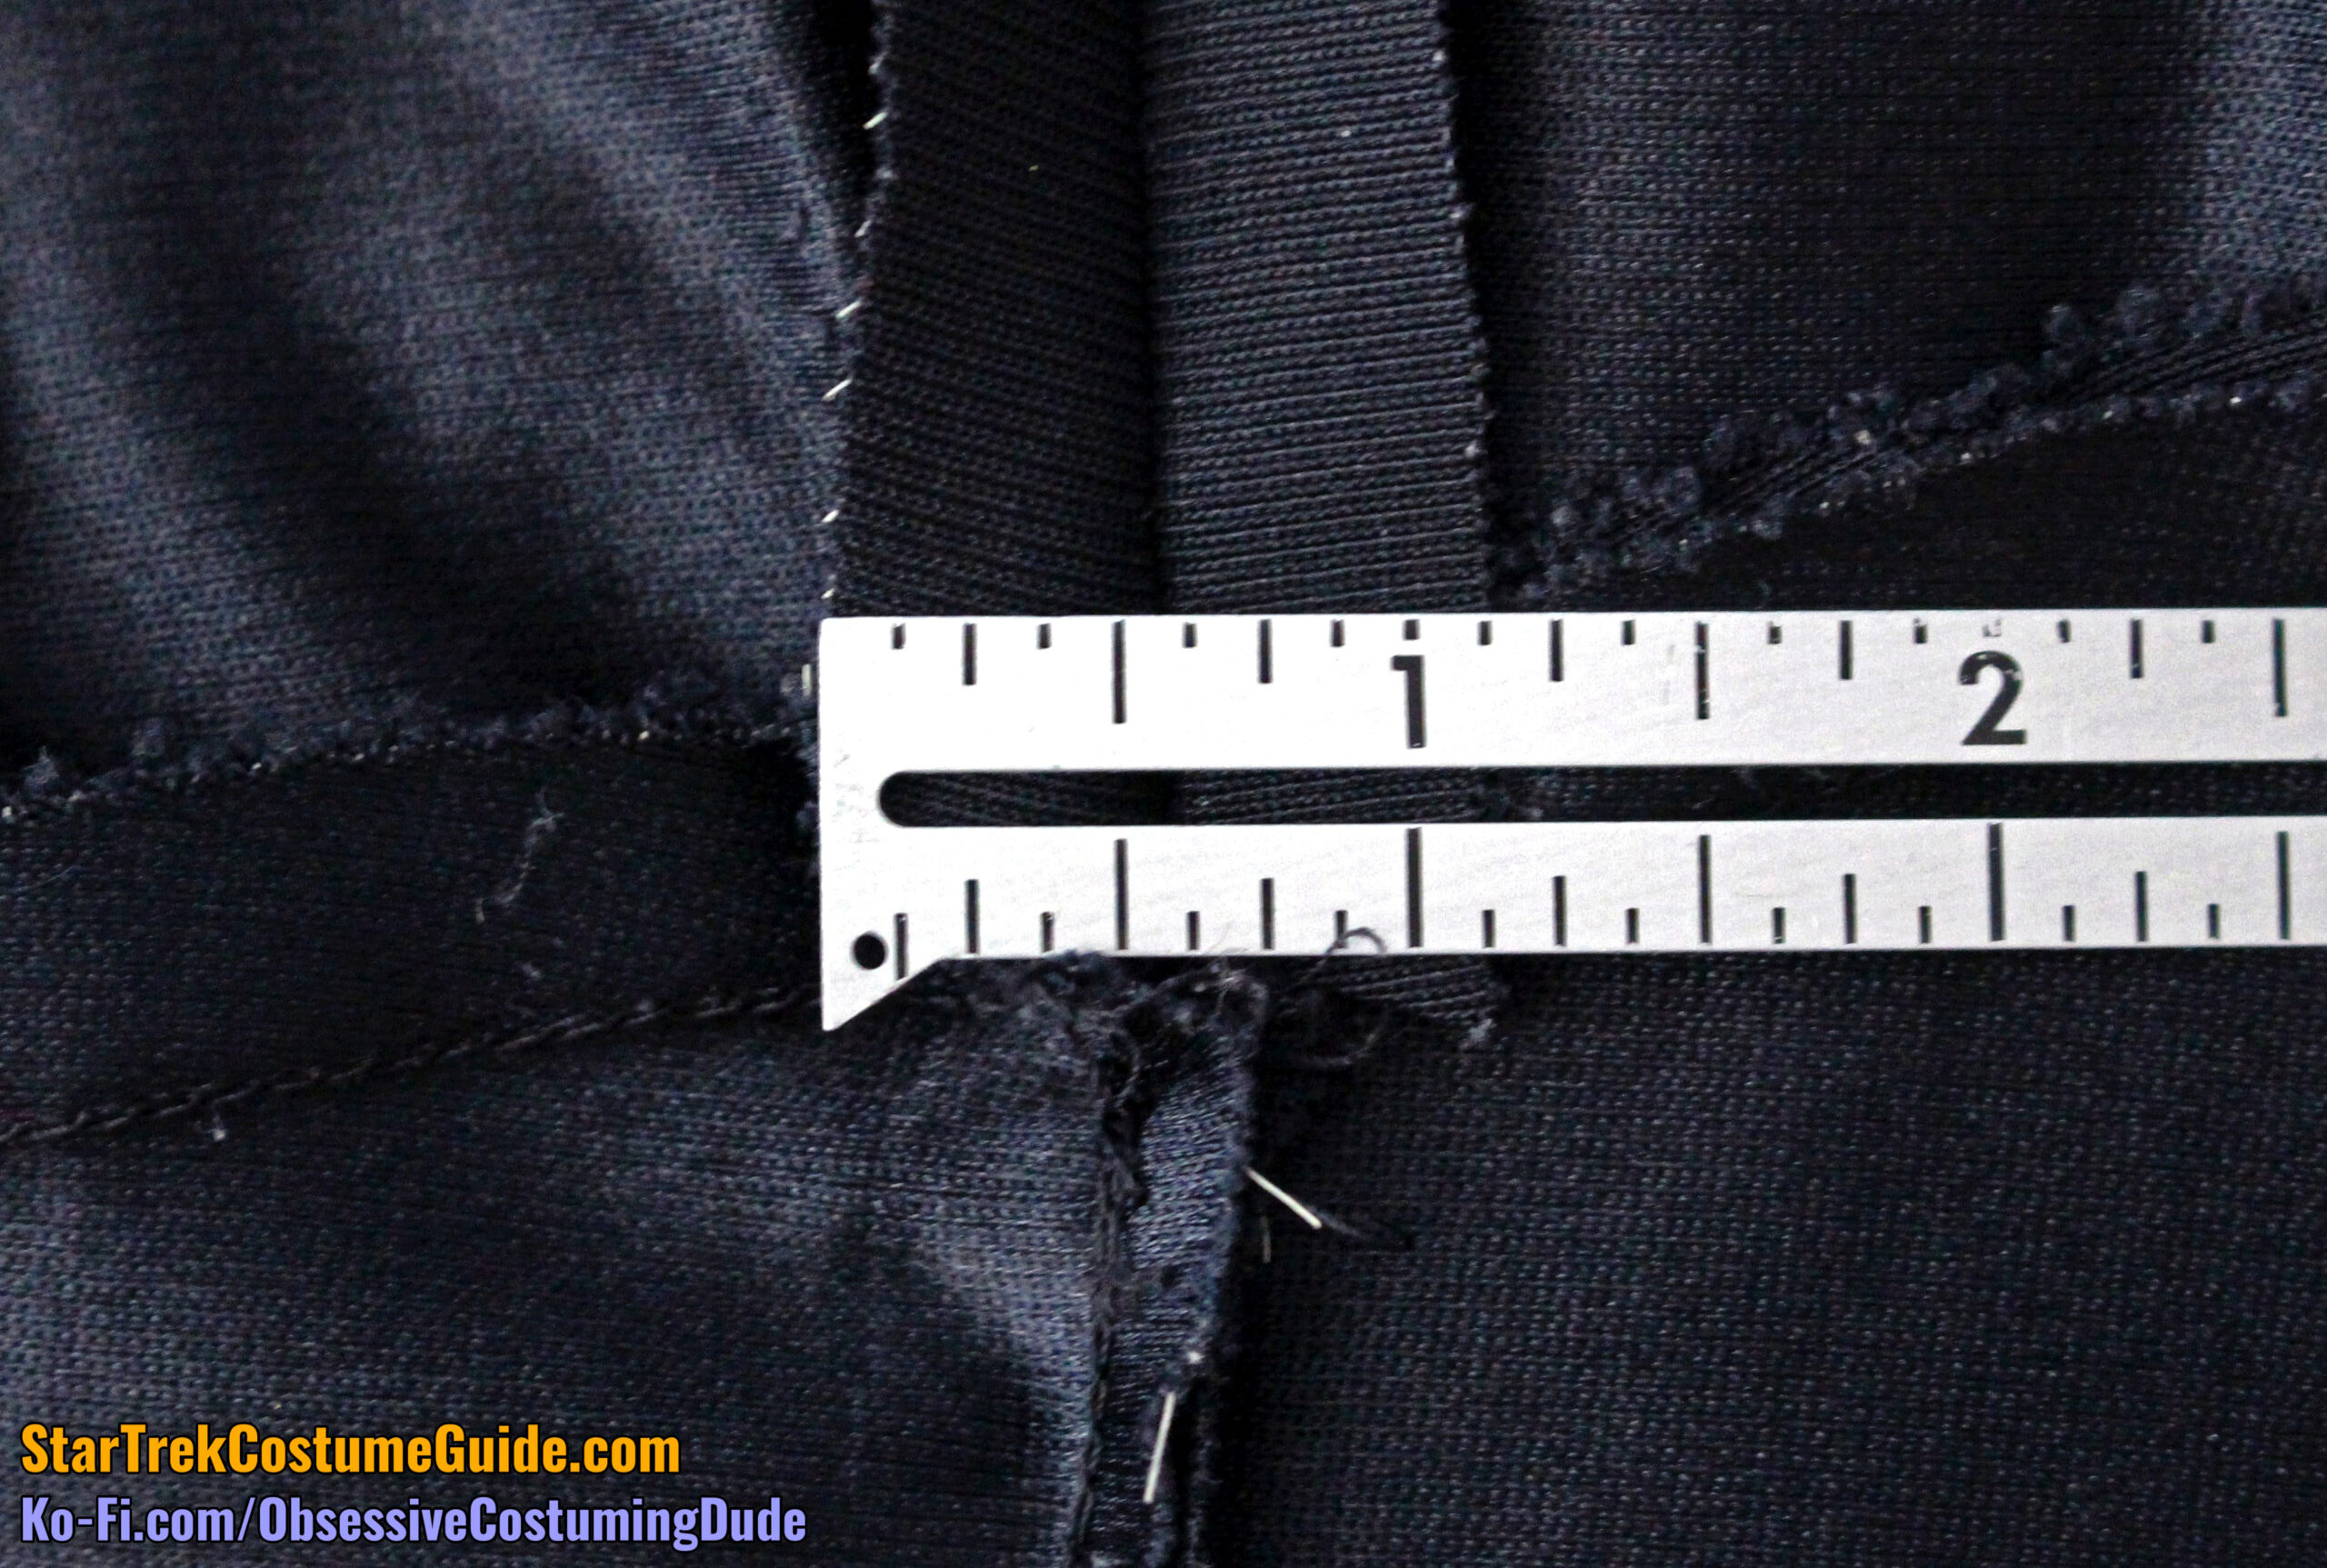
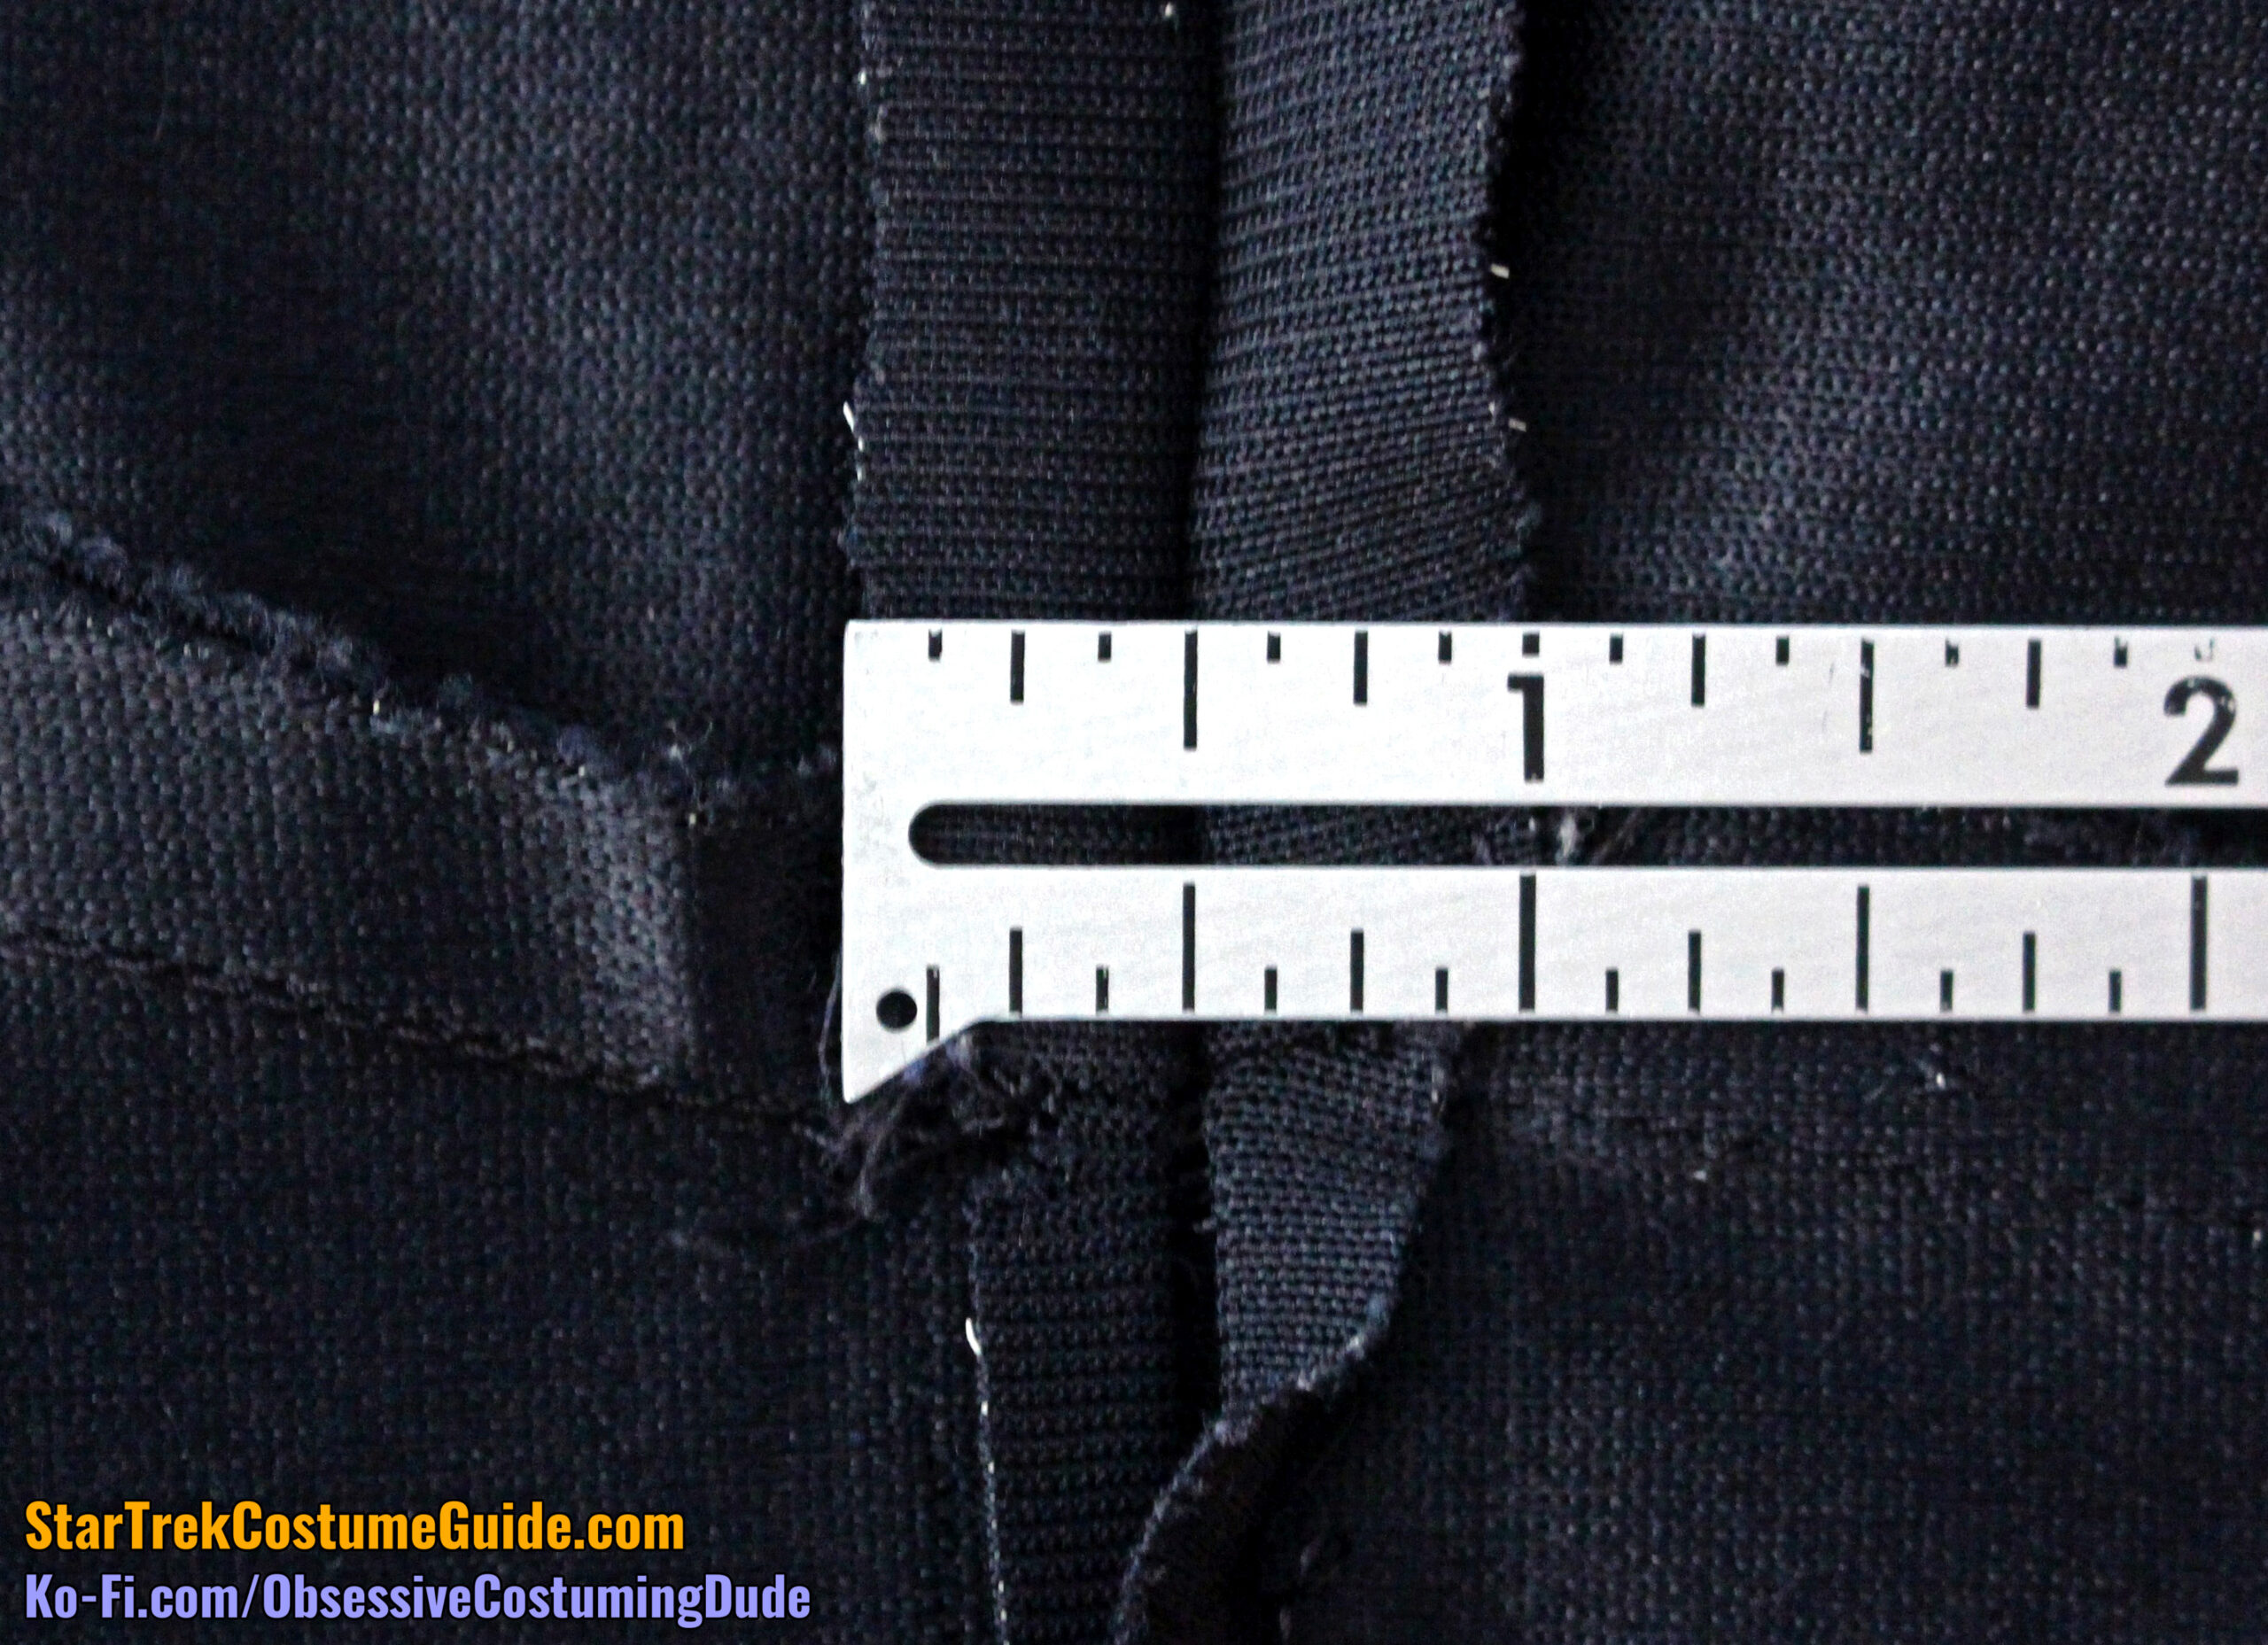
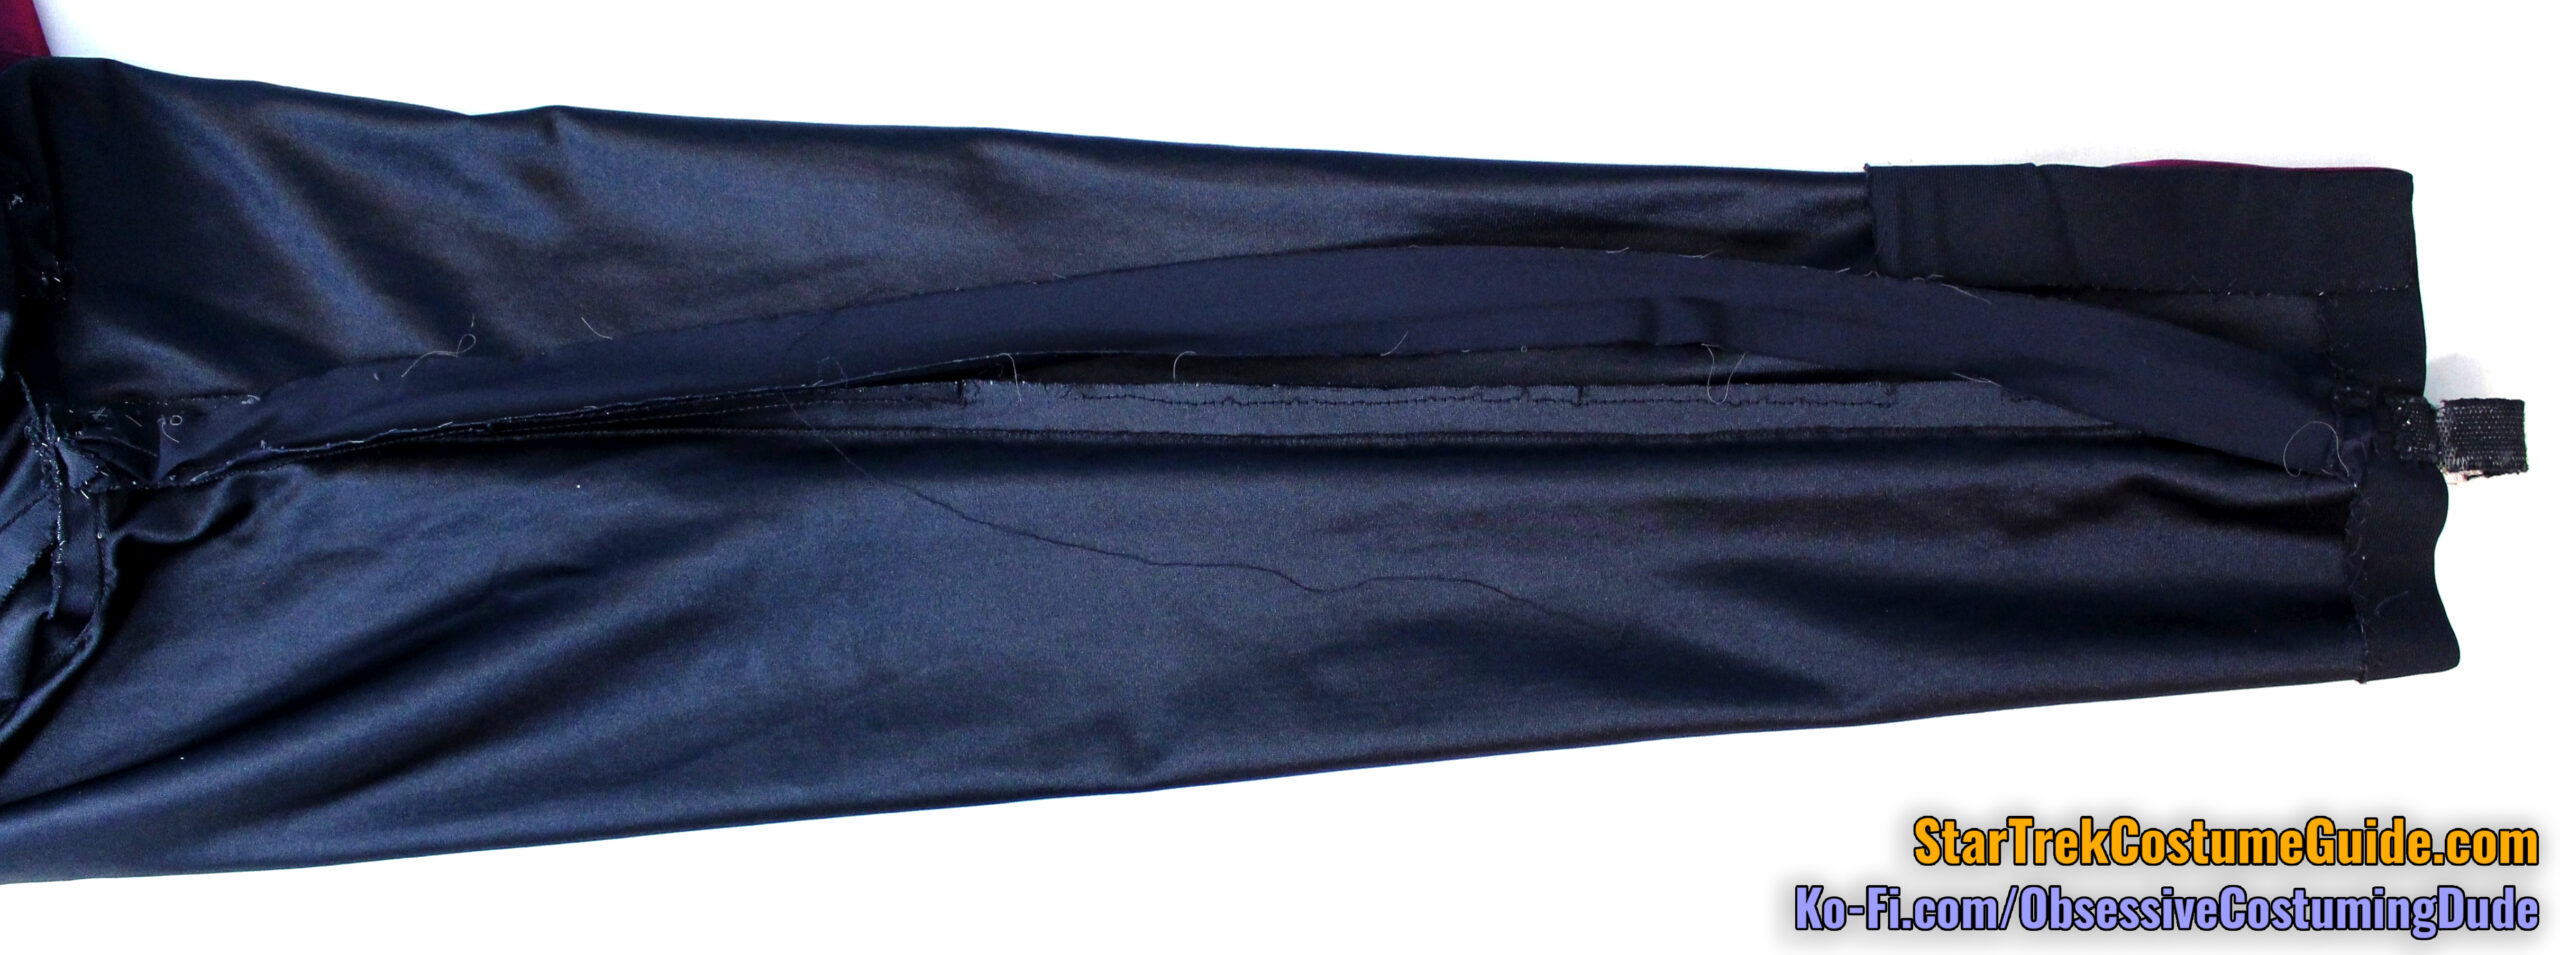
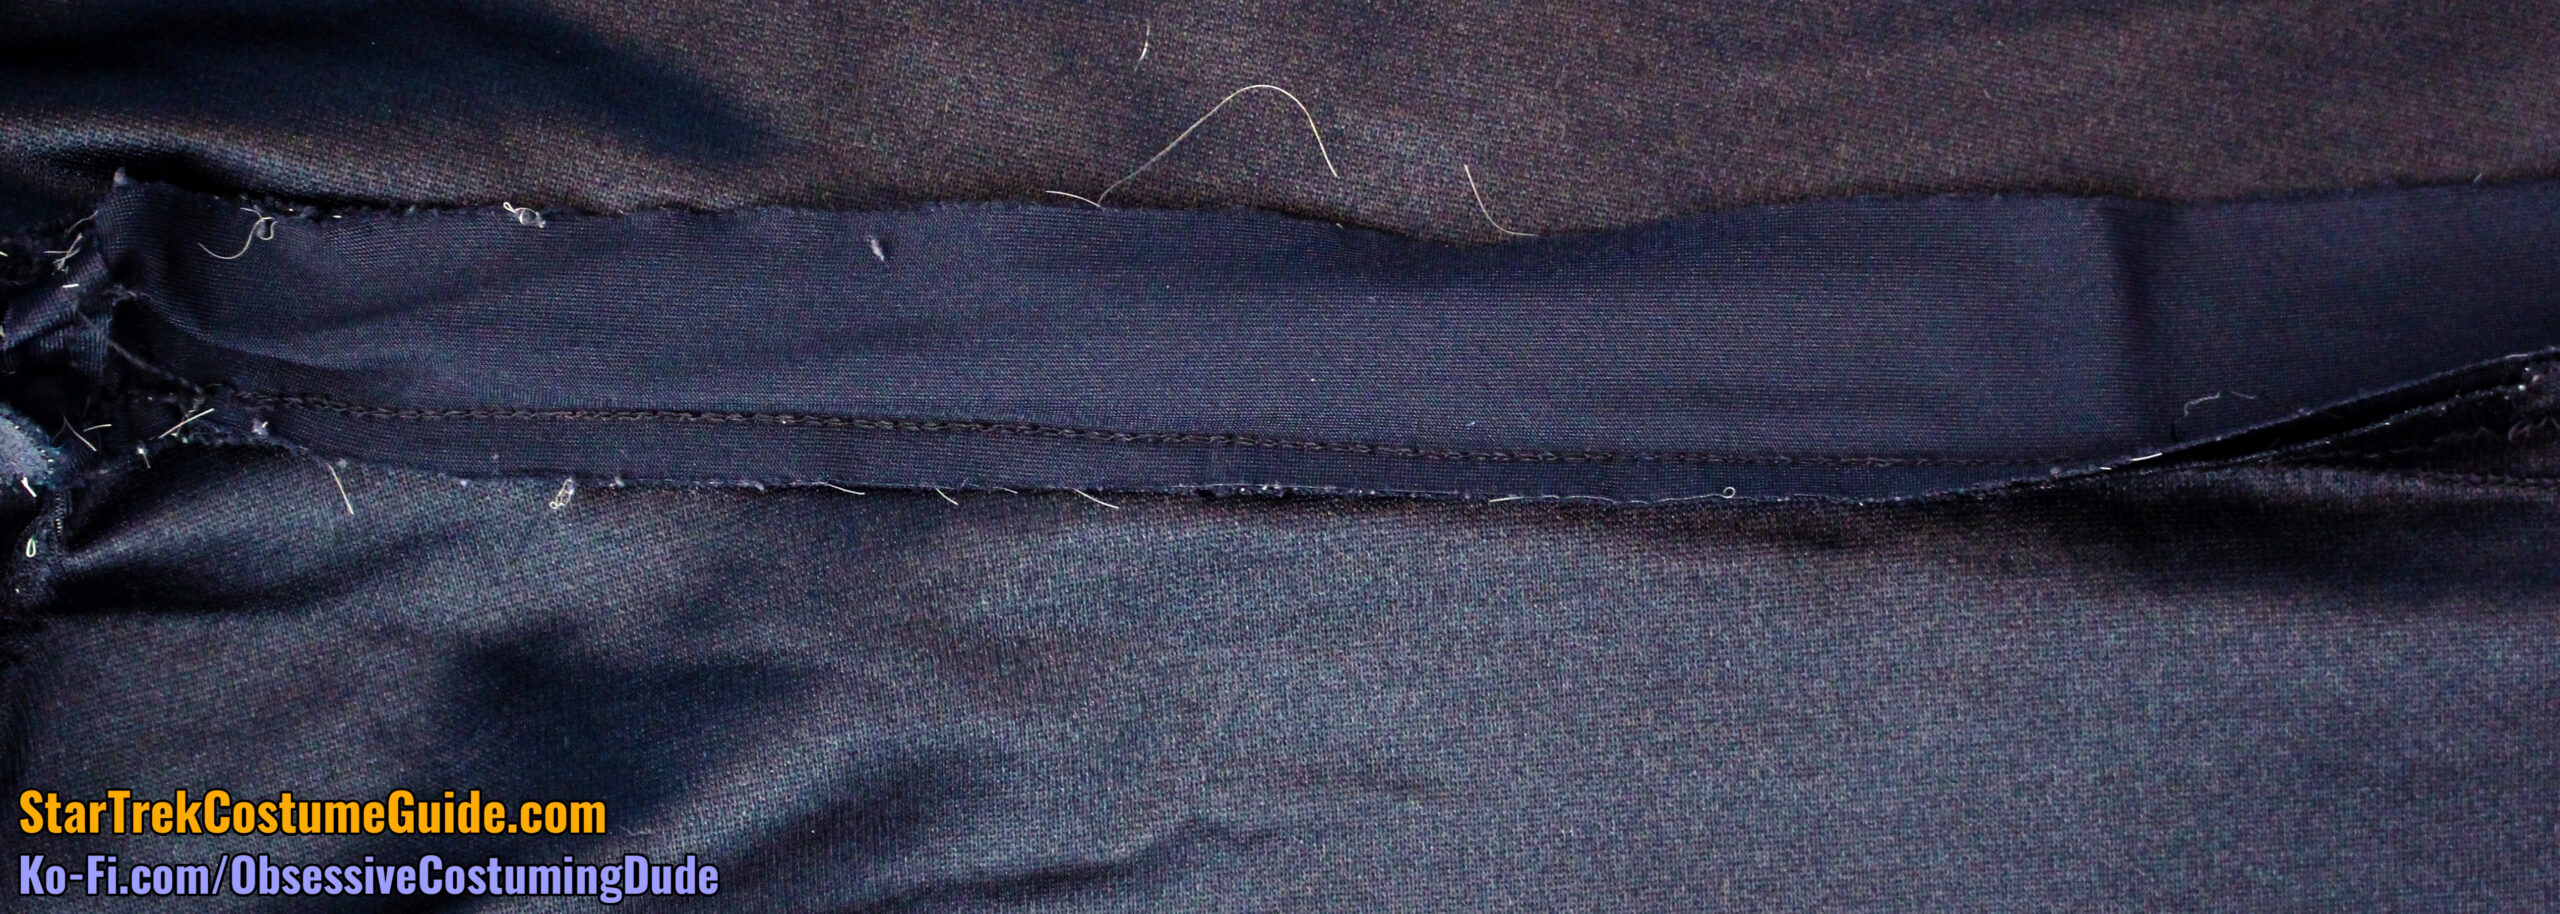
On the right pant leg (and only the right pant leg), there was a strip of lightweight black spandex sewn into the crotch and hem.
The uppermost 11” or so were also sewn to one of the inseam allowances.
Long threads dangling and holes in the strip suggest that it was originally sewn down to the entirety of the aforementioned inseam allowance, but the stitching has since come undone for about two-thirds of the pant leg.
The question is … WTF is this thing?!?

I’ve racked my brain and while I’ve come up with plenty of theories, ultimately none make total sense because every theory is countered by evidence to the contrary.
For example, I’ve seen ripped uniforms that were hastily (and often sloppily) patched up with fabric scraps or similar fabrics underneath (see below), but the pant leg seam is fine and not ripped.
And why just the RIGHT pant leg, and not the left? That implies something specific was happening on one side but not the other …
I wondered if maybe it was to help hold the pant leg up, but the fabric strip is more lightweight, more stretchy, and less stable than the actual jumbo spandex, so it wouldn’t accomplish anything in that regard.
Being literally sewn into the crotch and hem (and presumably all the way down the seam allowance before the stitching came undone), it would seem to serve no purpose at all!
It might have been a kind of “backup” layer in case the pants seam ripped … except for it was only sewn down onto one of the interior seam allowances, not both!
So if the seam ripped open, the strip would just kind of flop around.
It might have been something as simple as wanting a sort of strap or ribbon to be able to reach inside the jumpsuit and pull the pant leg up, or inside the pant leg to pull it back down (although for what reason, I have no idea) … and again, why only one of the pant legs?!?
AND around and around my mind’s gone in circles …
Basically, it seems to serve no structural OR aesthetic purpose, doesn’t function as a “failsafe” interior layer, and isn’t strong enough to support anything of appreciable weight (whatever that might be).

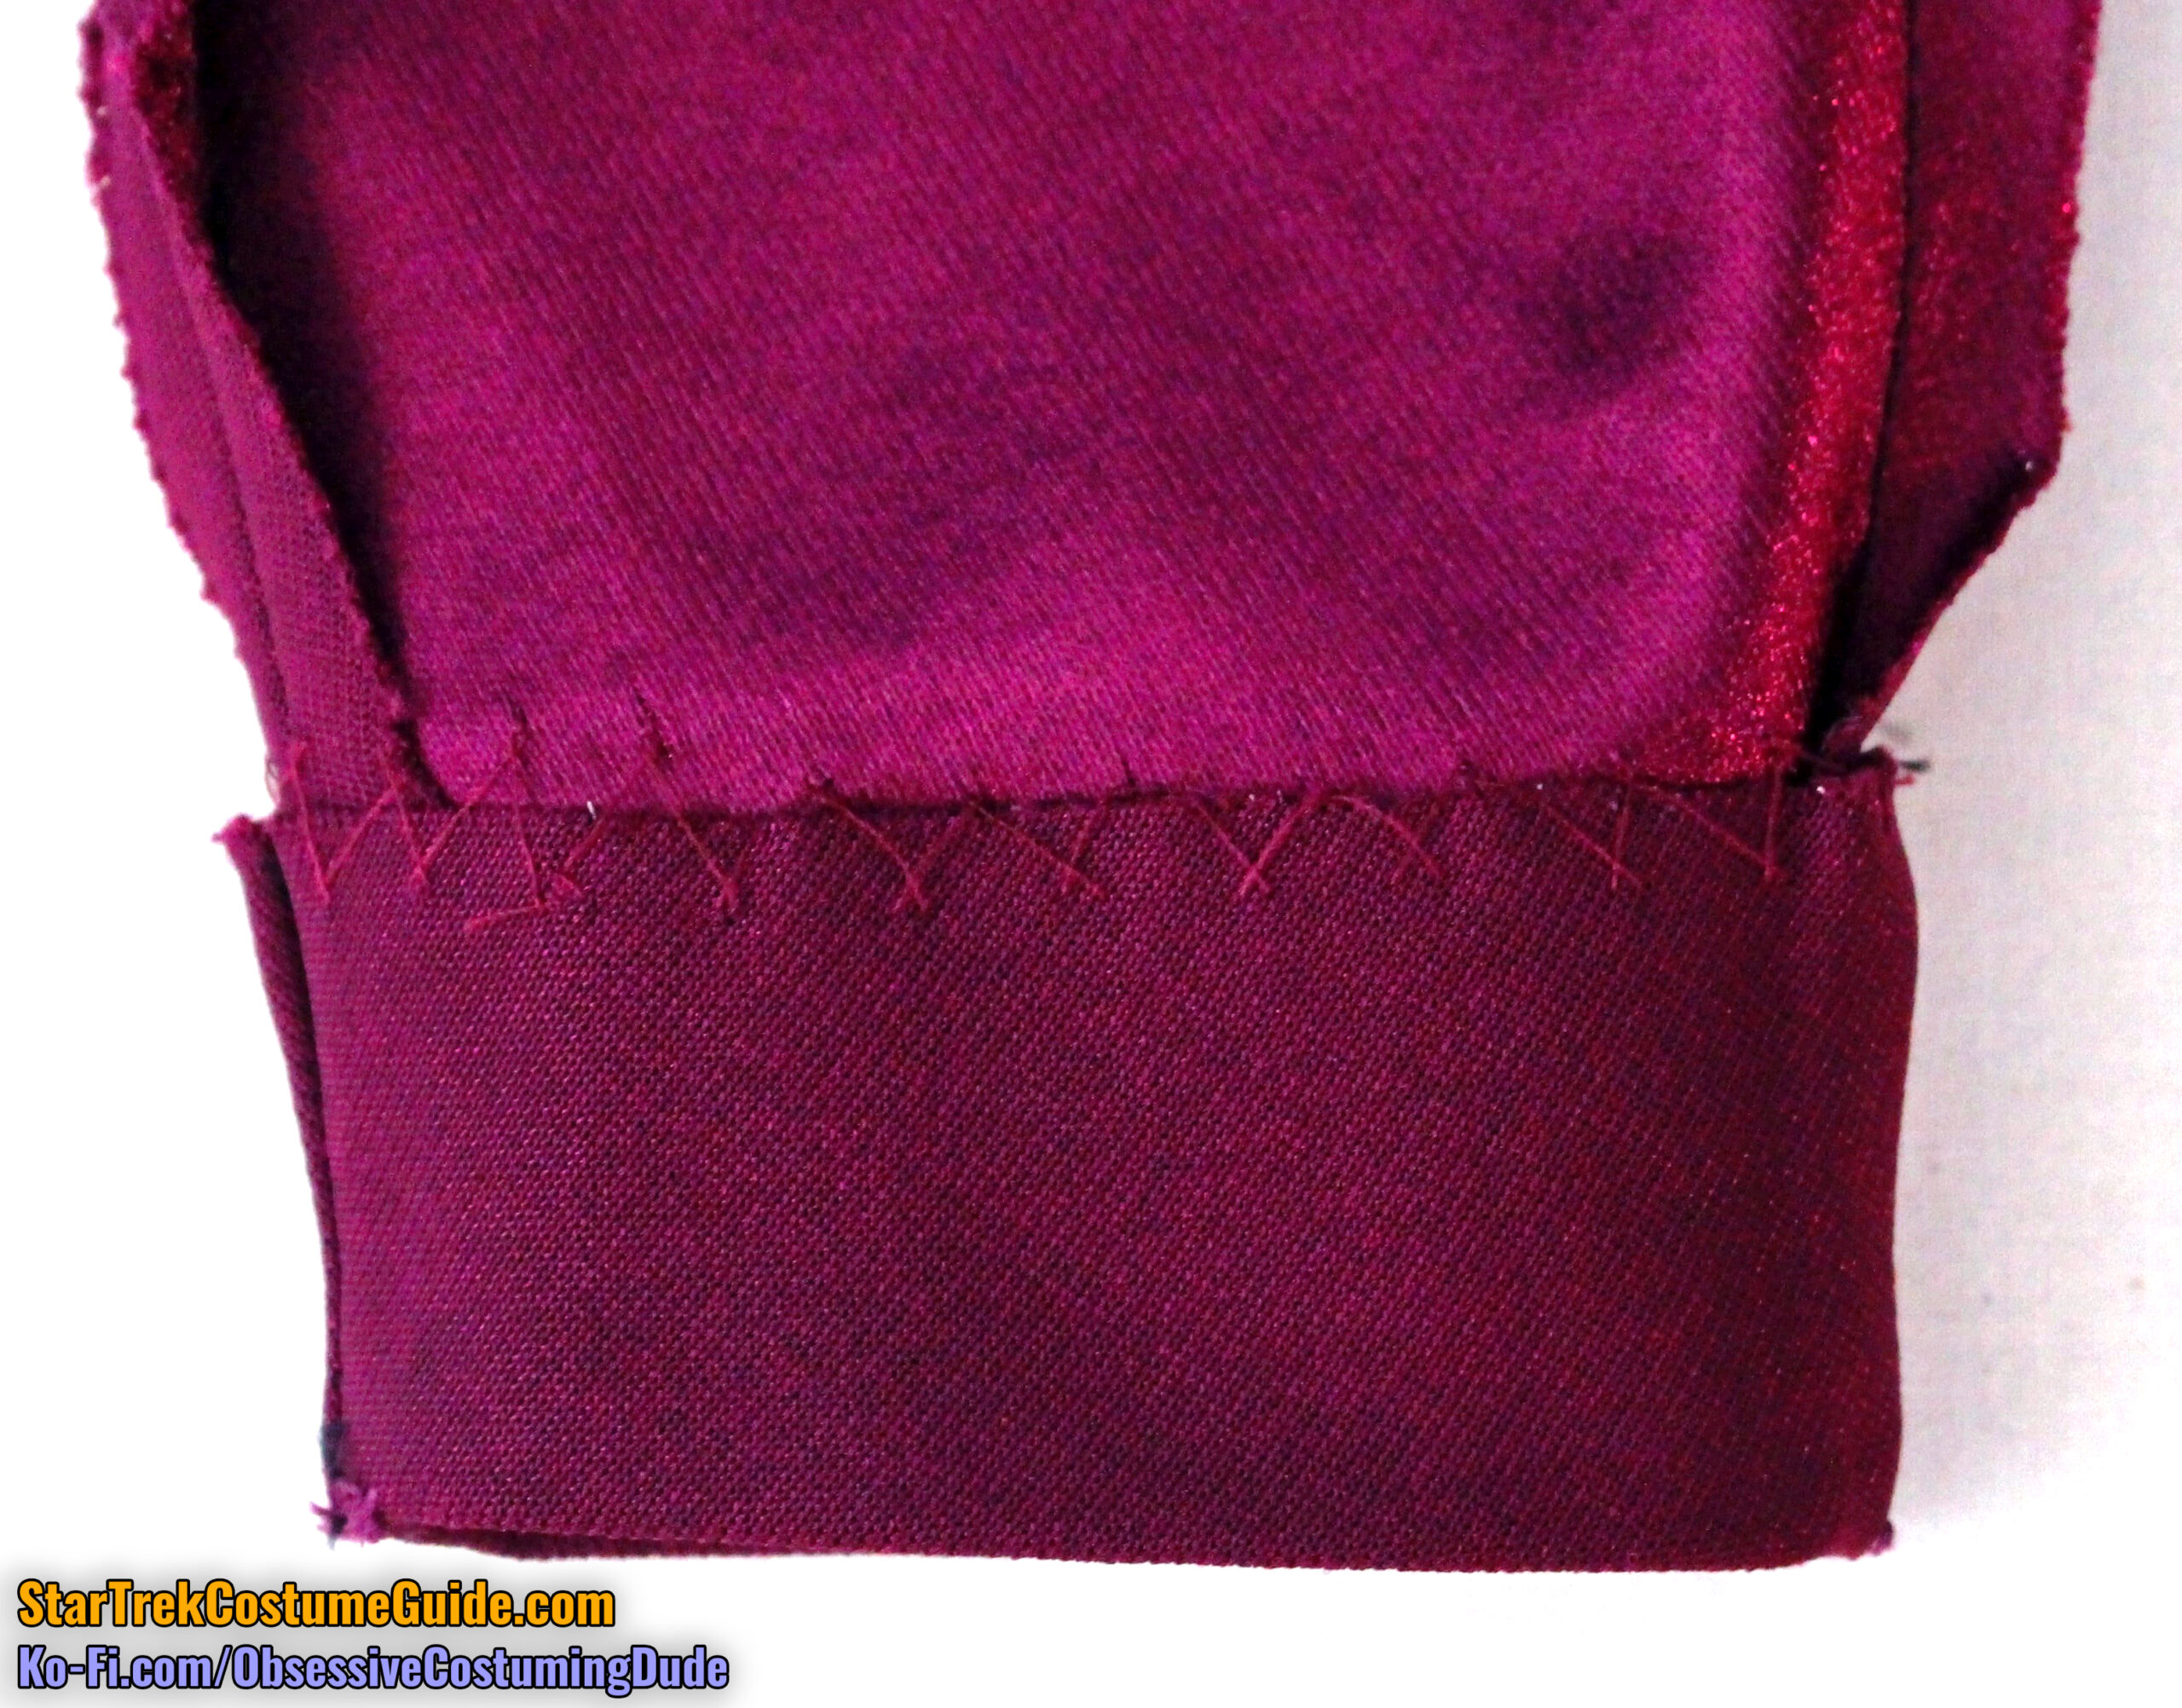
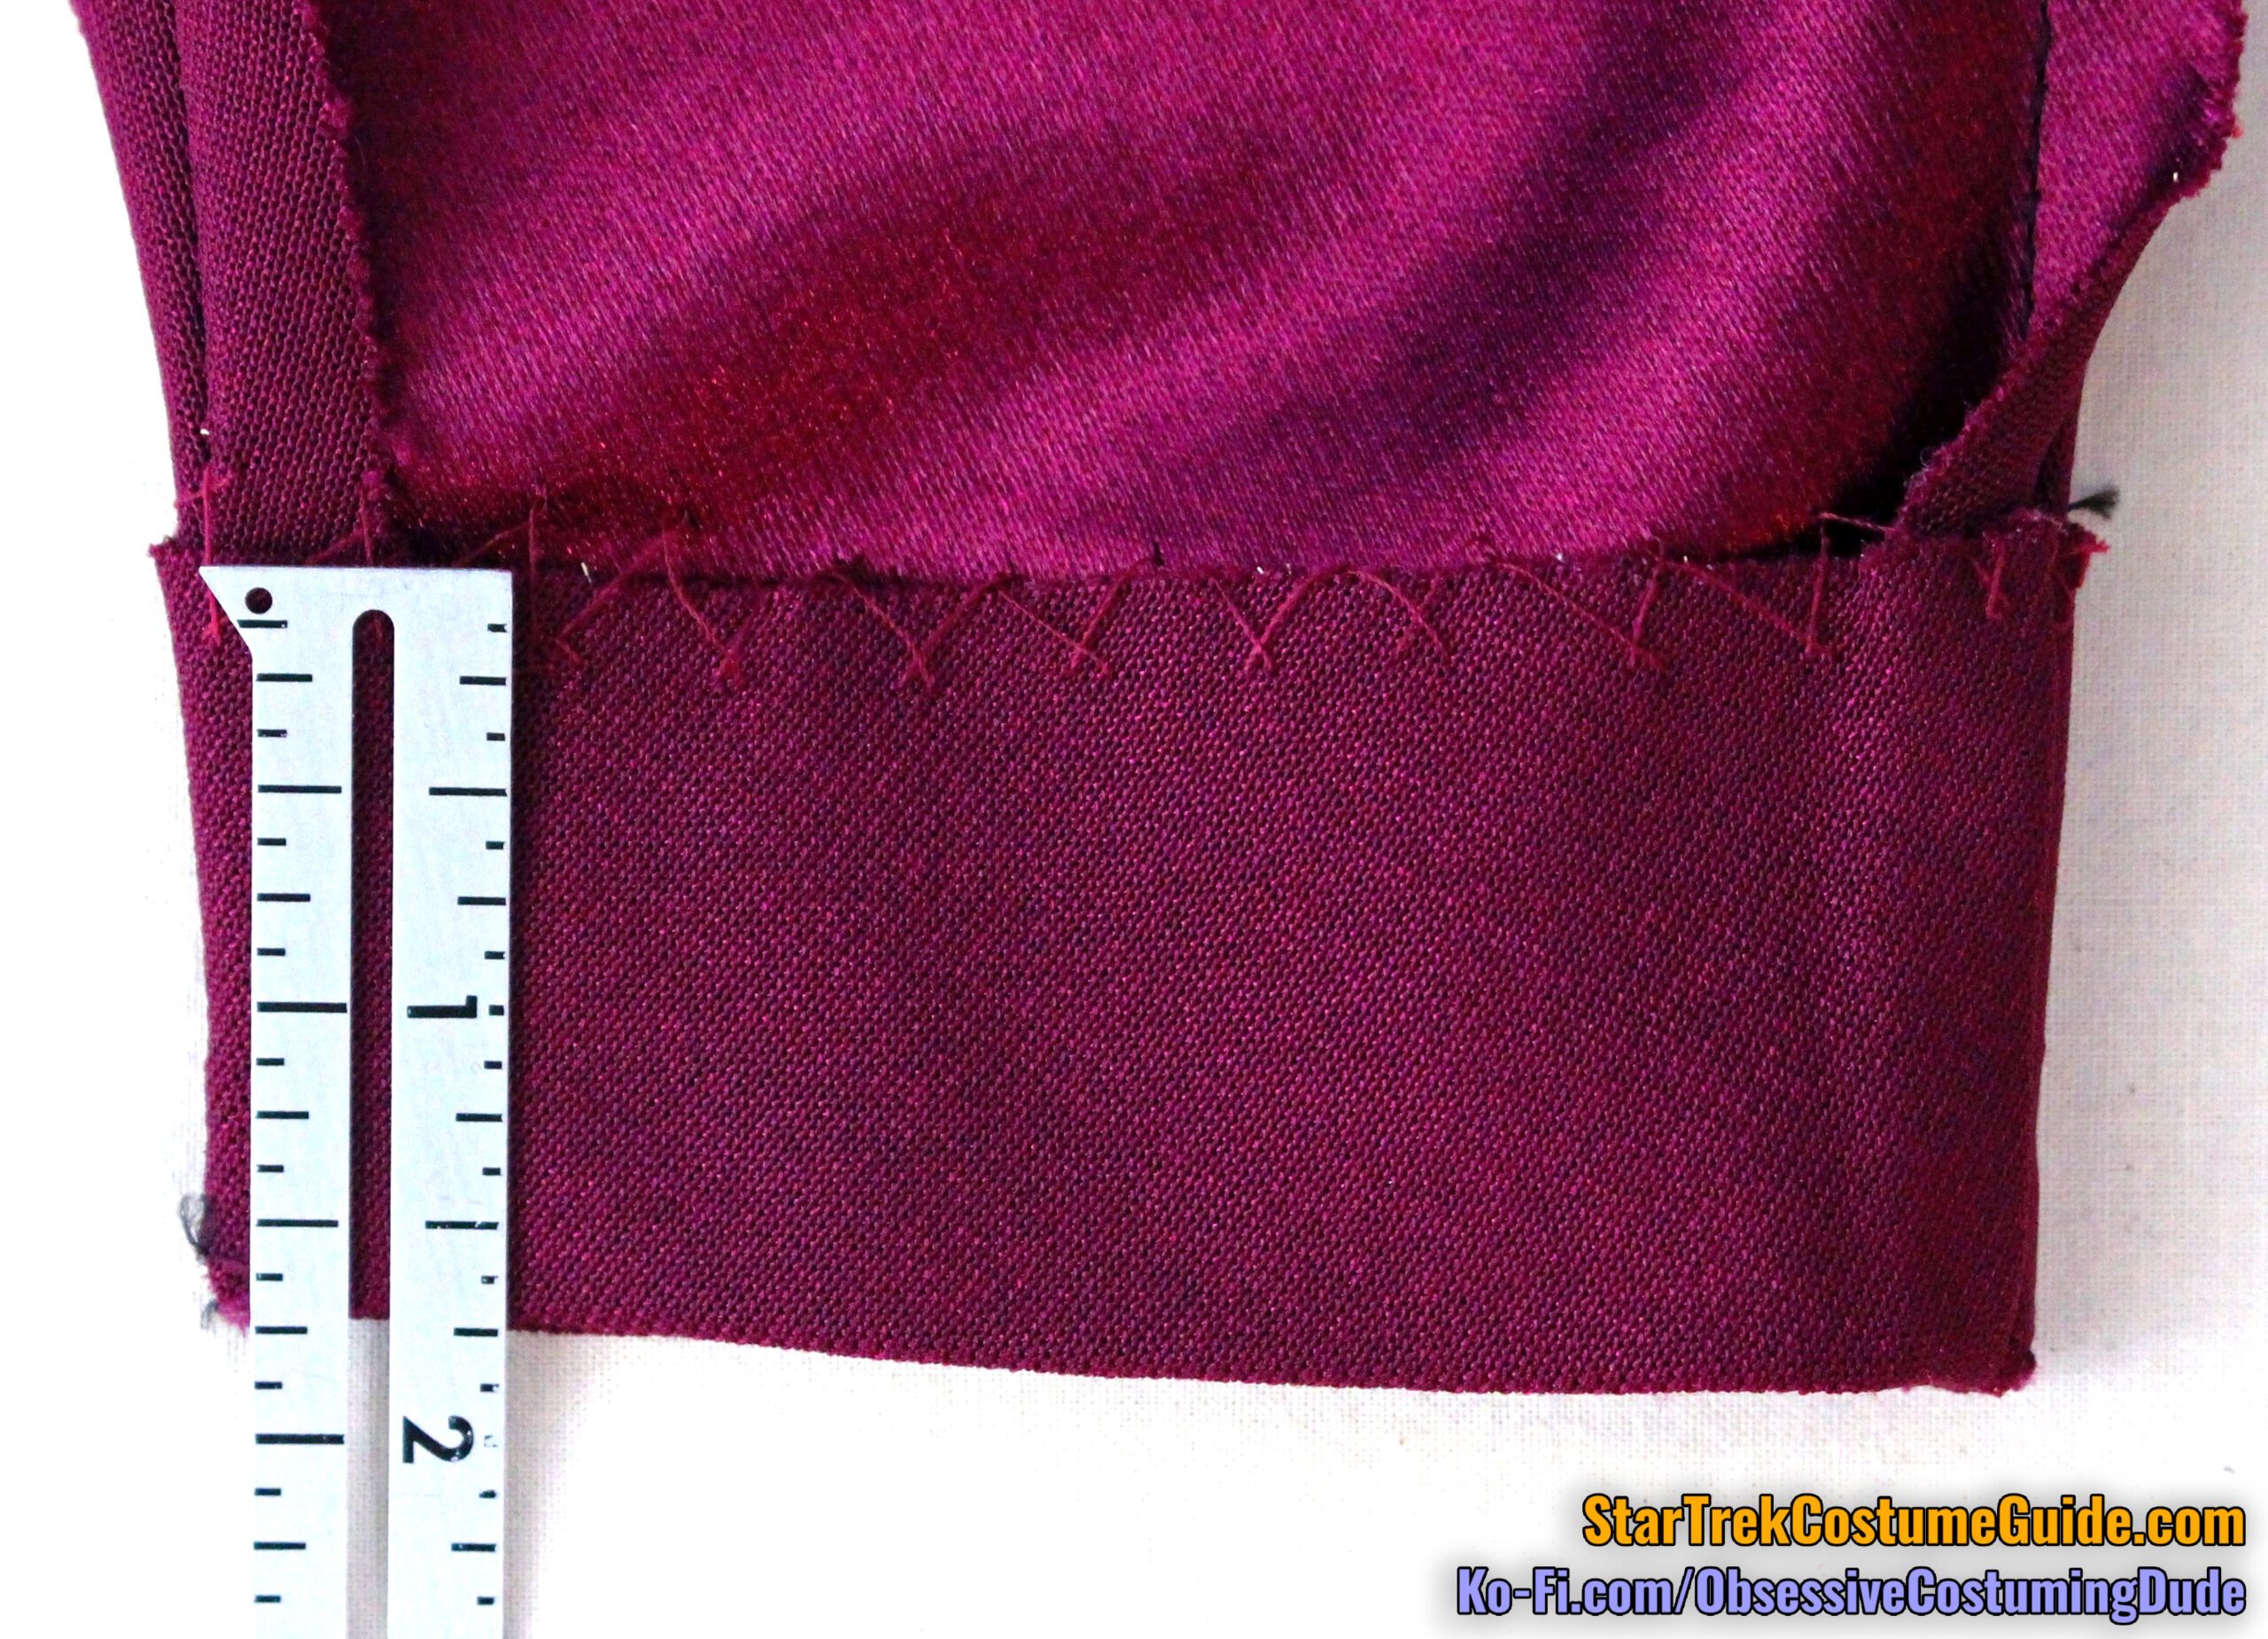
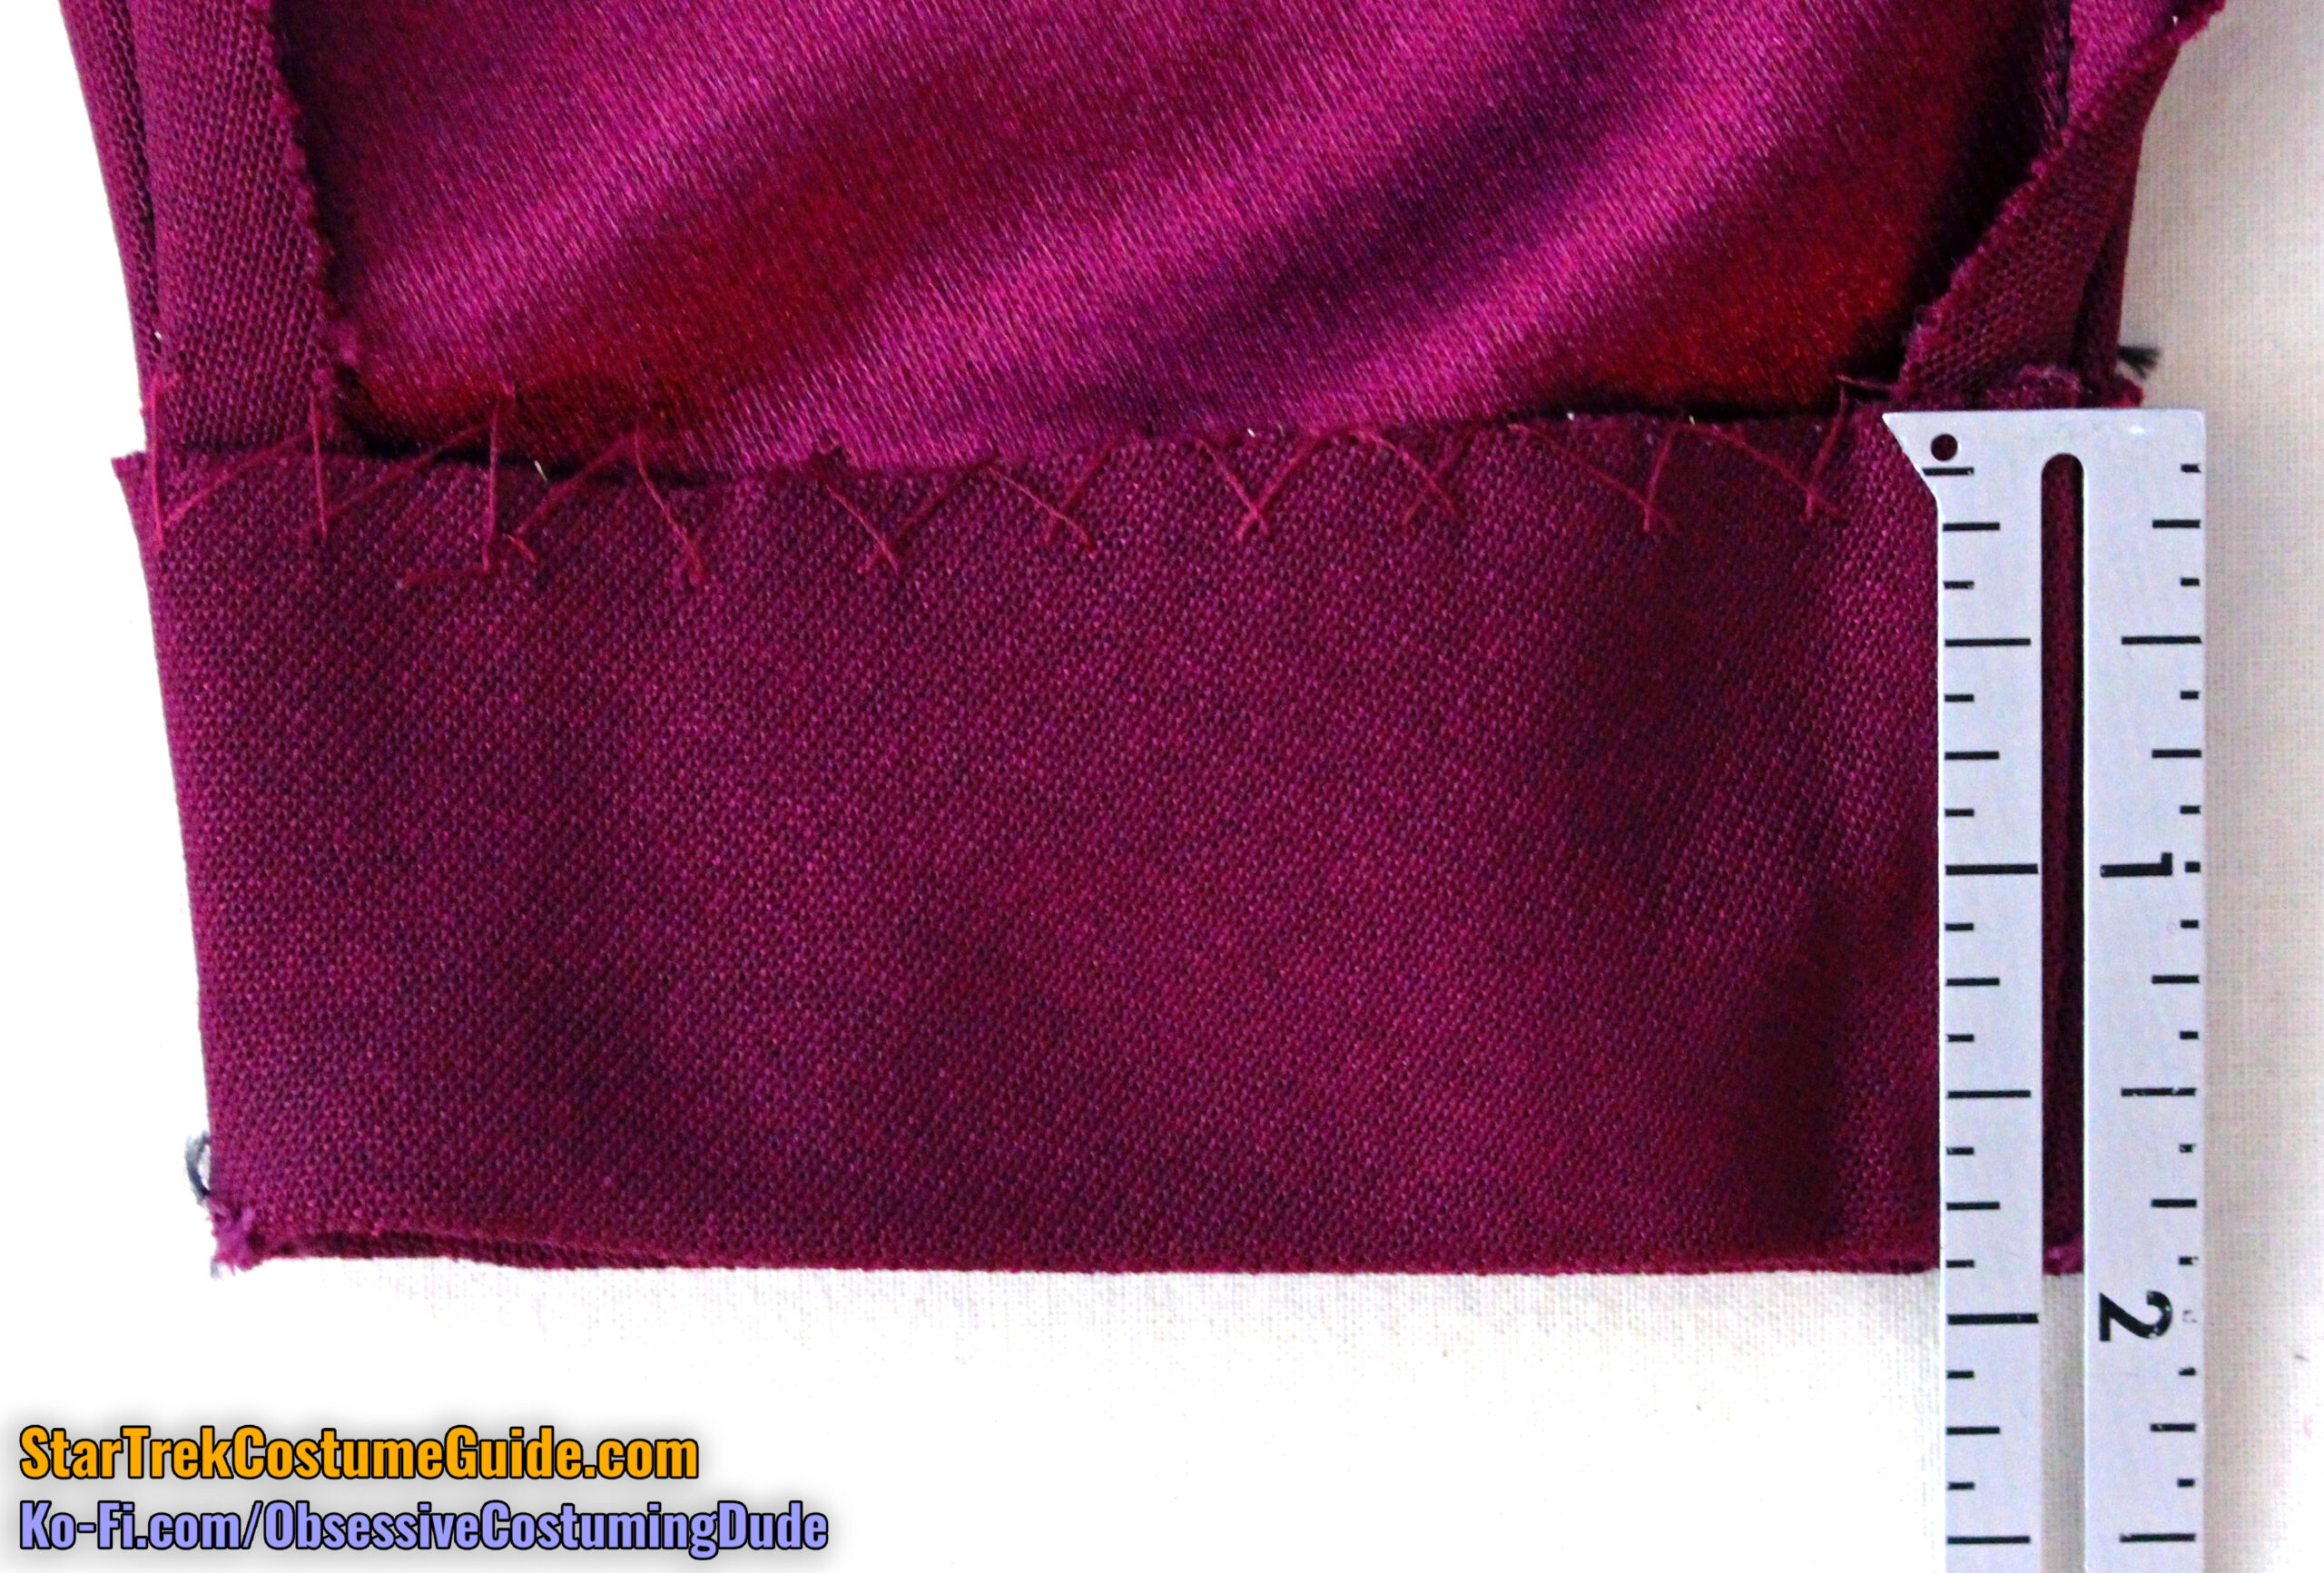
The upper edge of the sleeve hem allowance secured via catch-stitching in division-color thread.
The hem allowance varied a bit, from 1 ¾” to 1 ⅞”.
IN CONCLUSION
I’d like to again thank Angelo Cifaldi for the opportunity to study this screen-used Worf TNG jumpsuit and share my research with you.
I learned a great deal from the experience, and I hope you did as well!

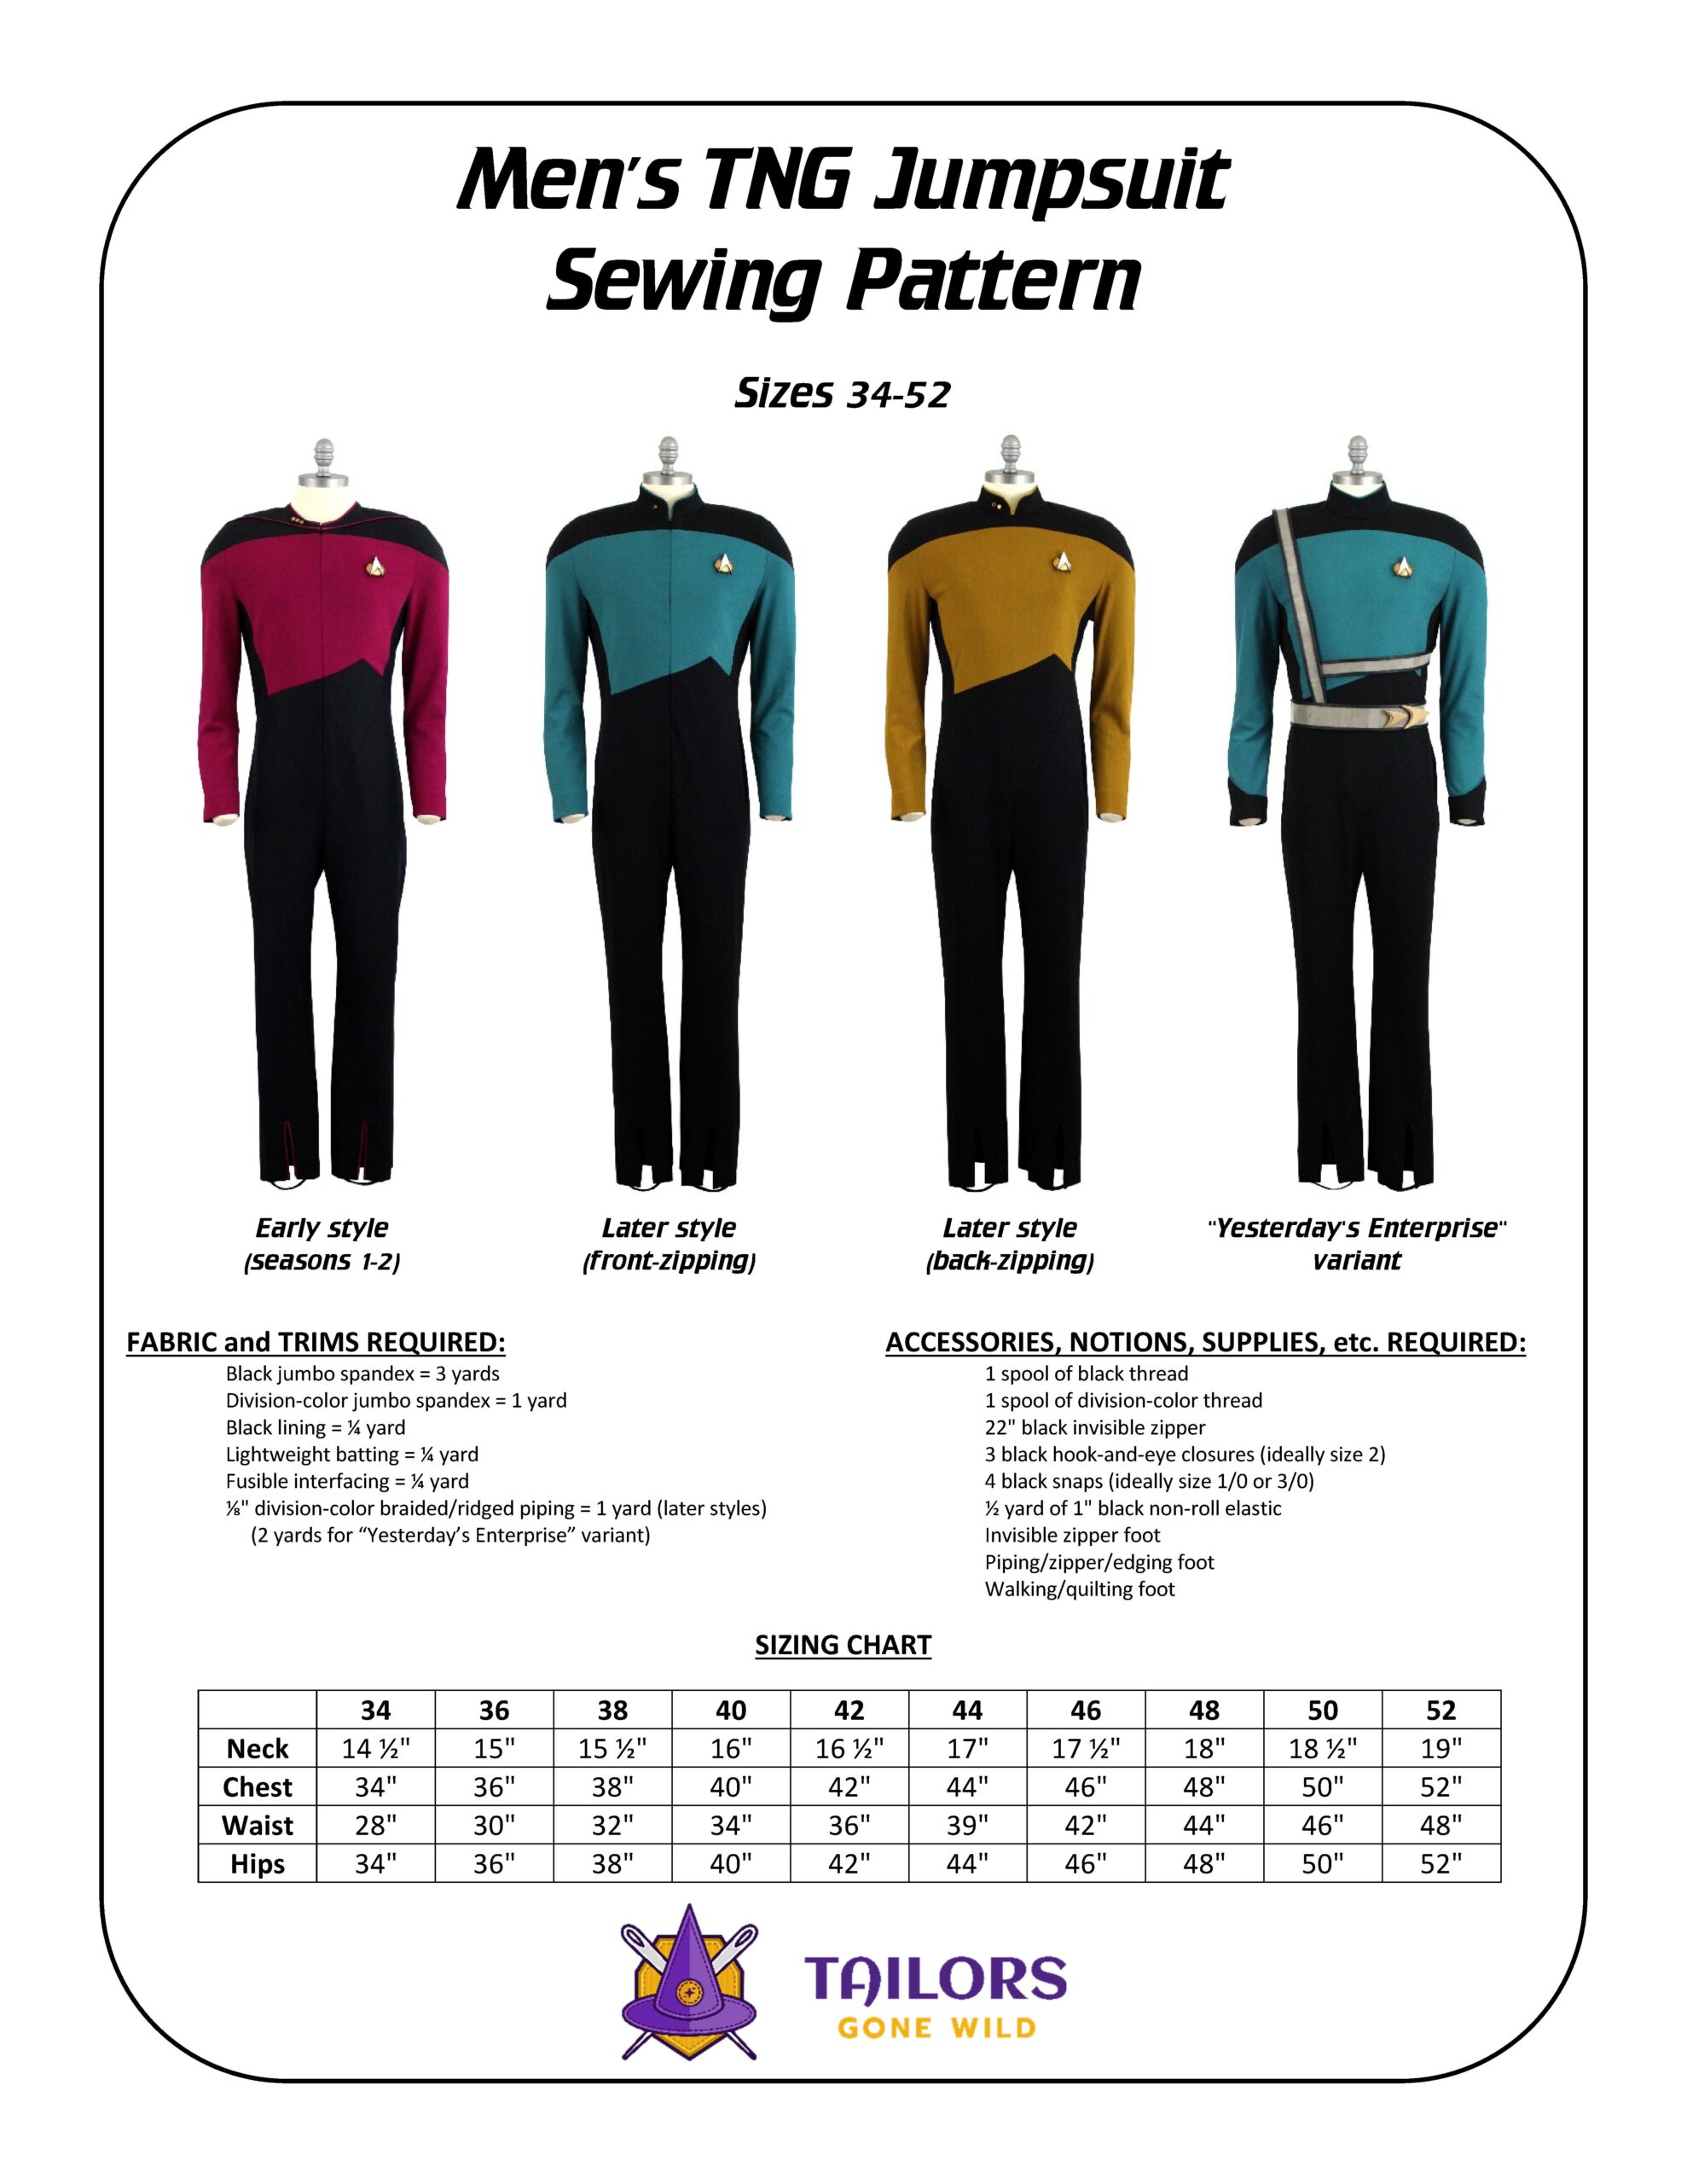
FYI, this Worf uniform was one of the primary bases I used for my Tailors Gone Wild men’s TNG jumpsuit pattern.
If you enjoyed this blog post, please support my costume research on Ko-Fi.
Every bar of gold-pressed latinum goes toward producing more sewing and costuming resources like this, for everyone interested in Star Trek costumes. 🙂

