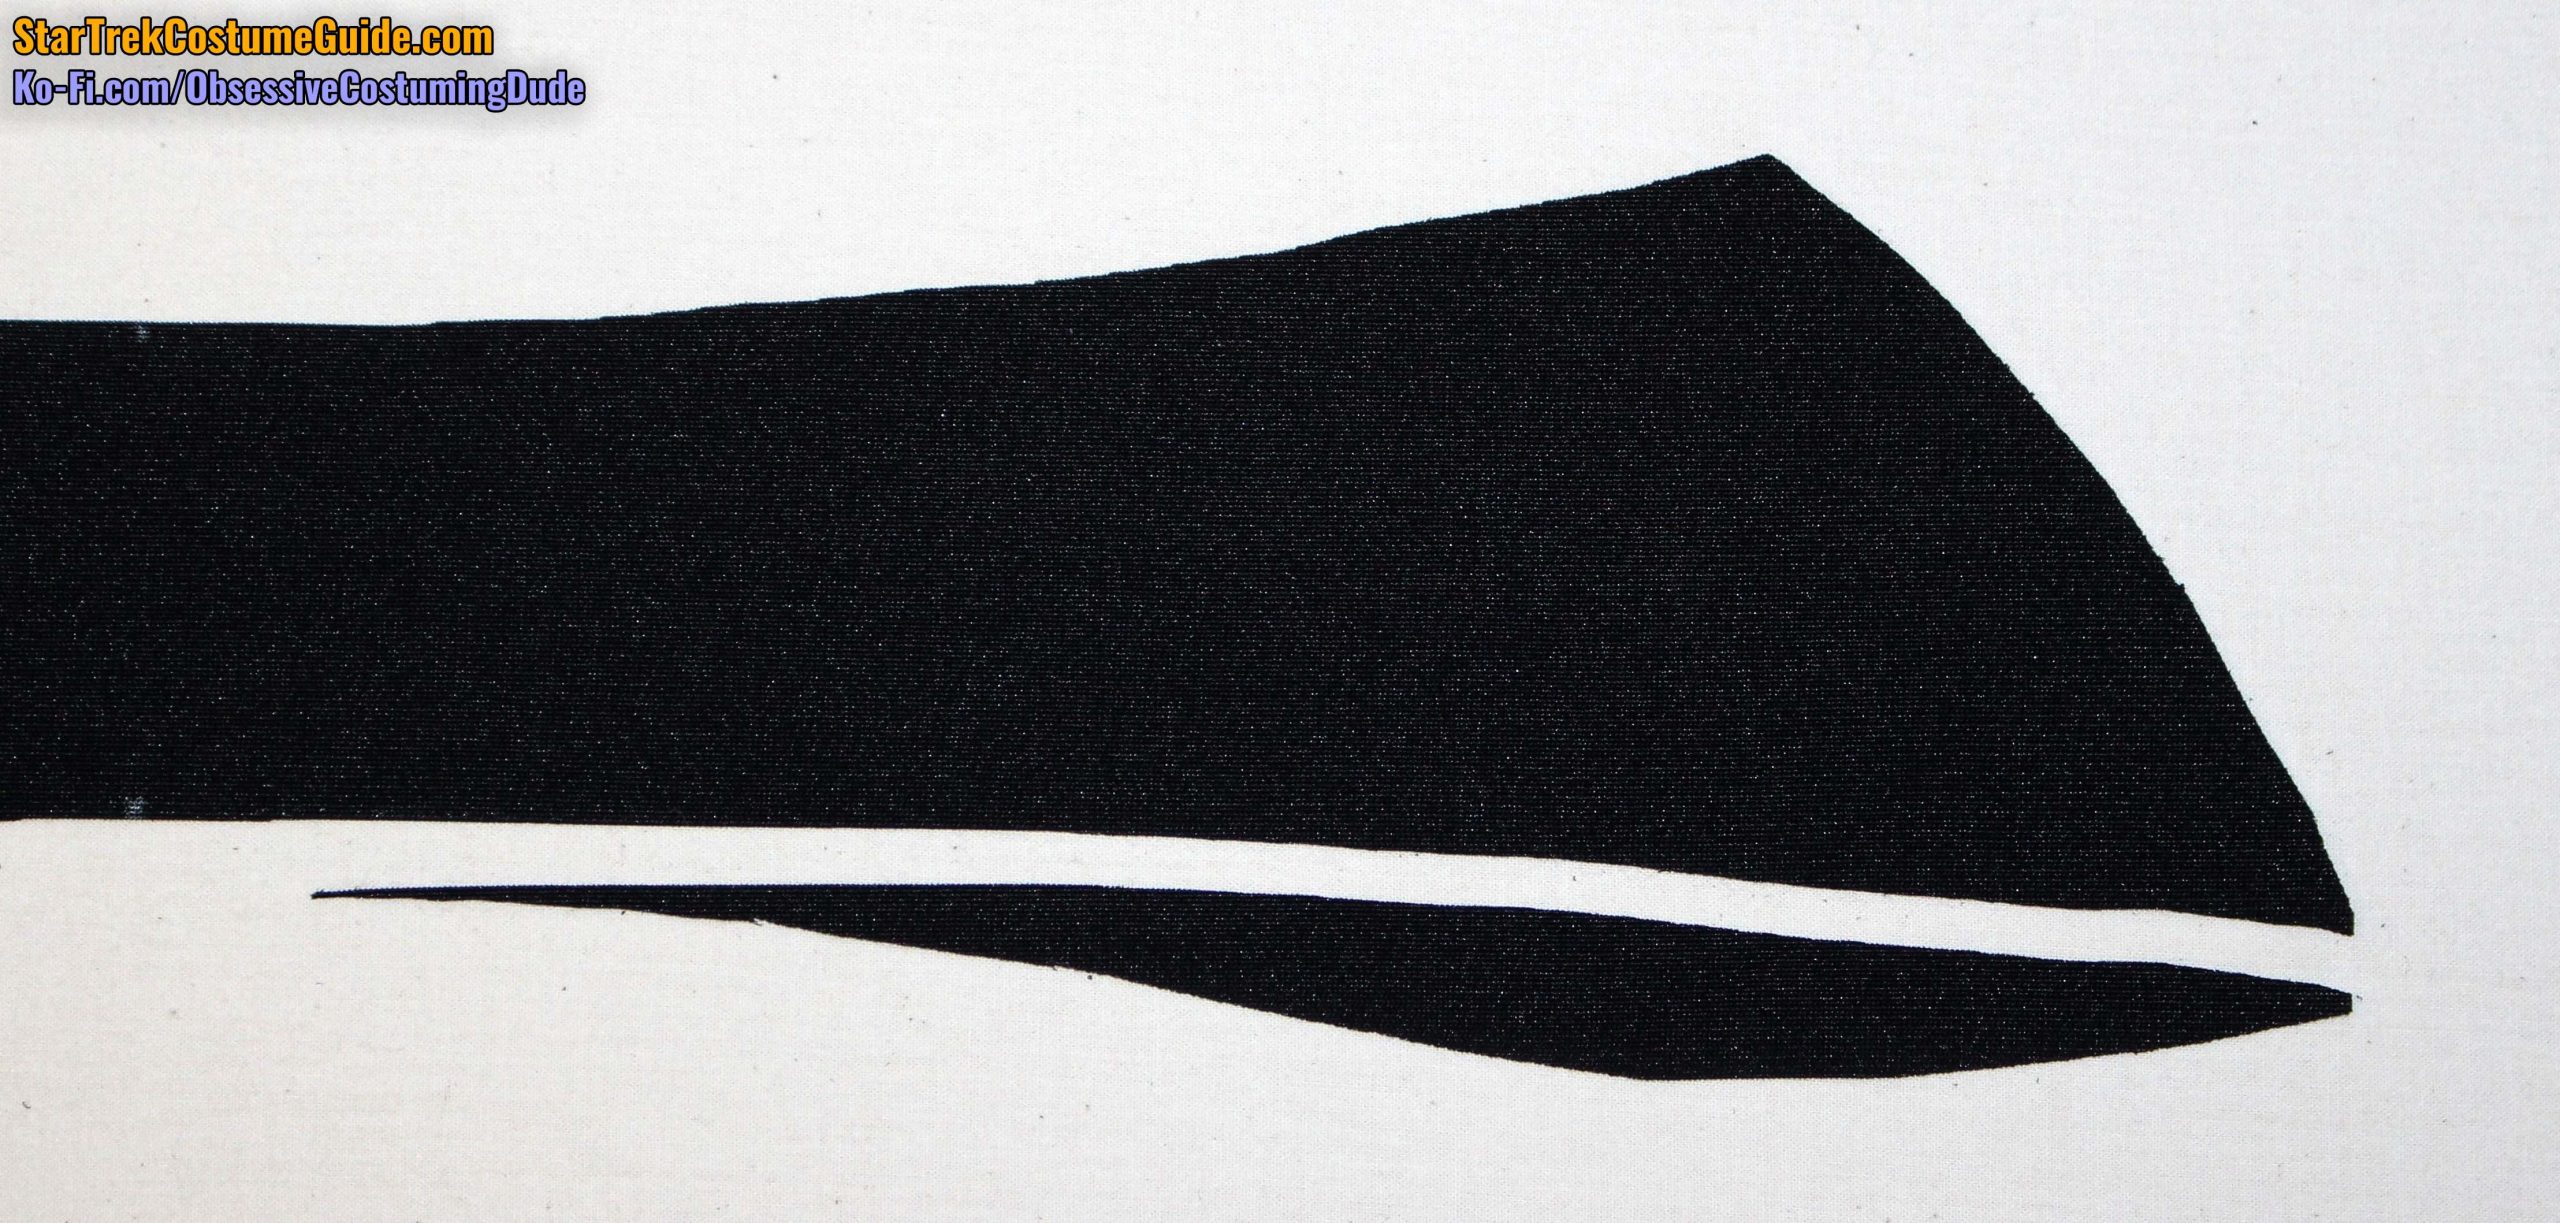
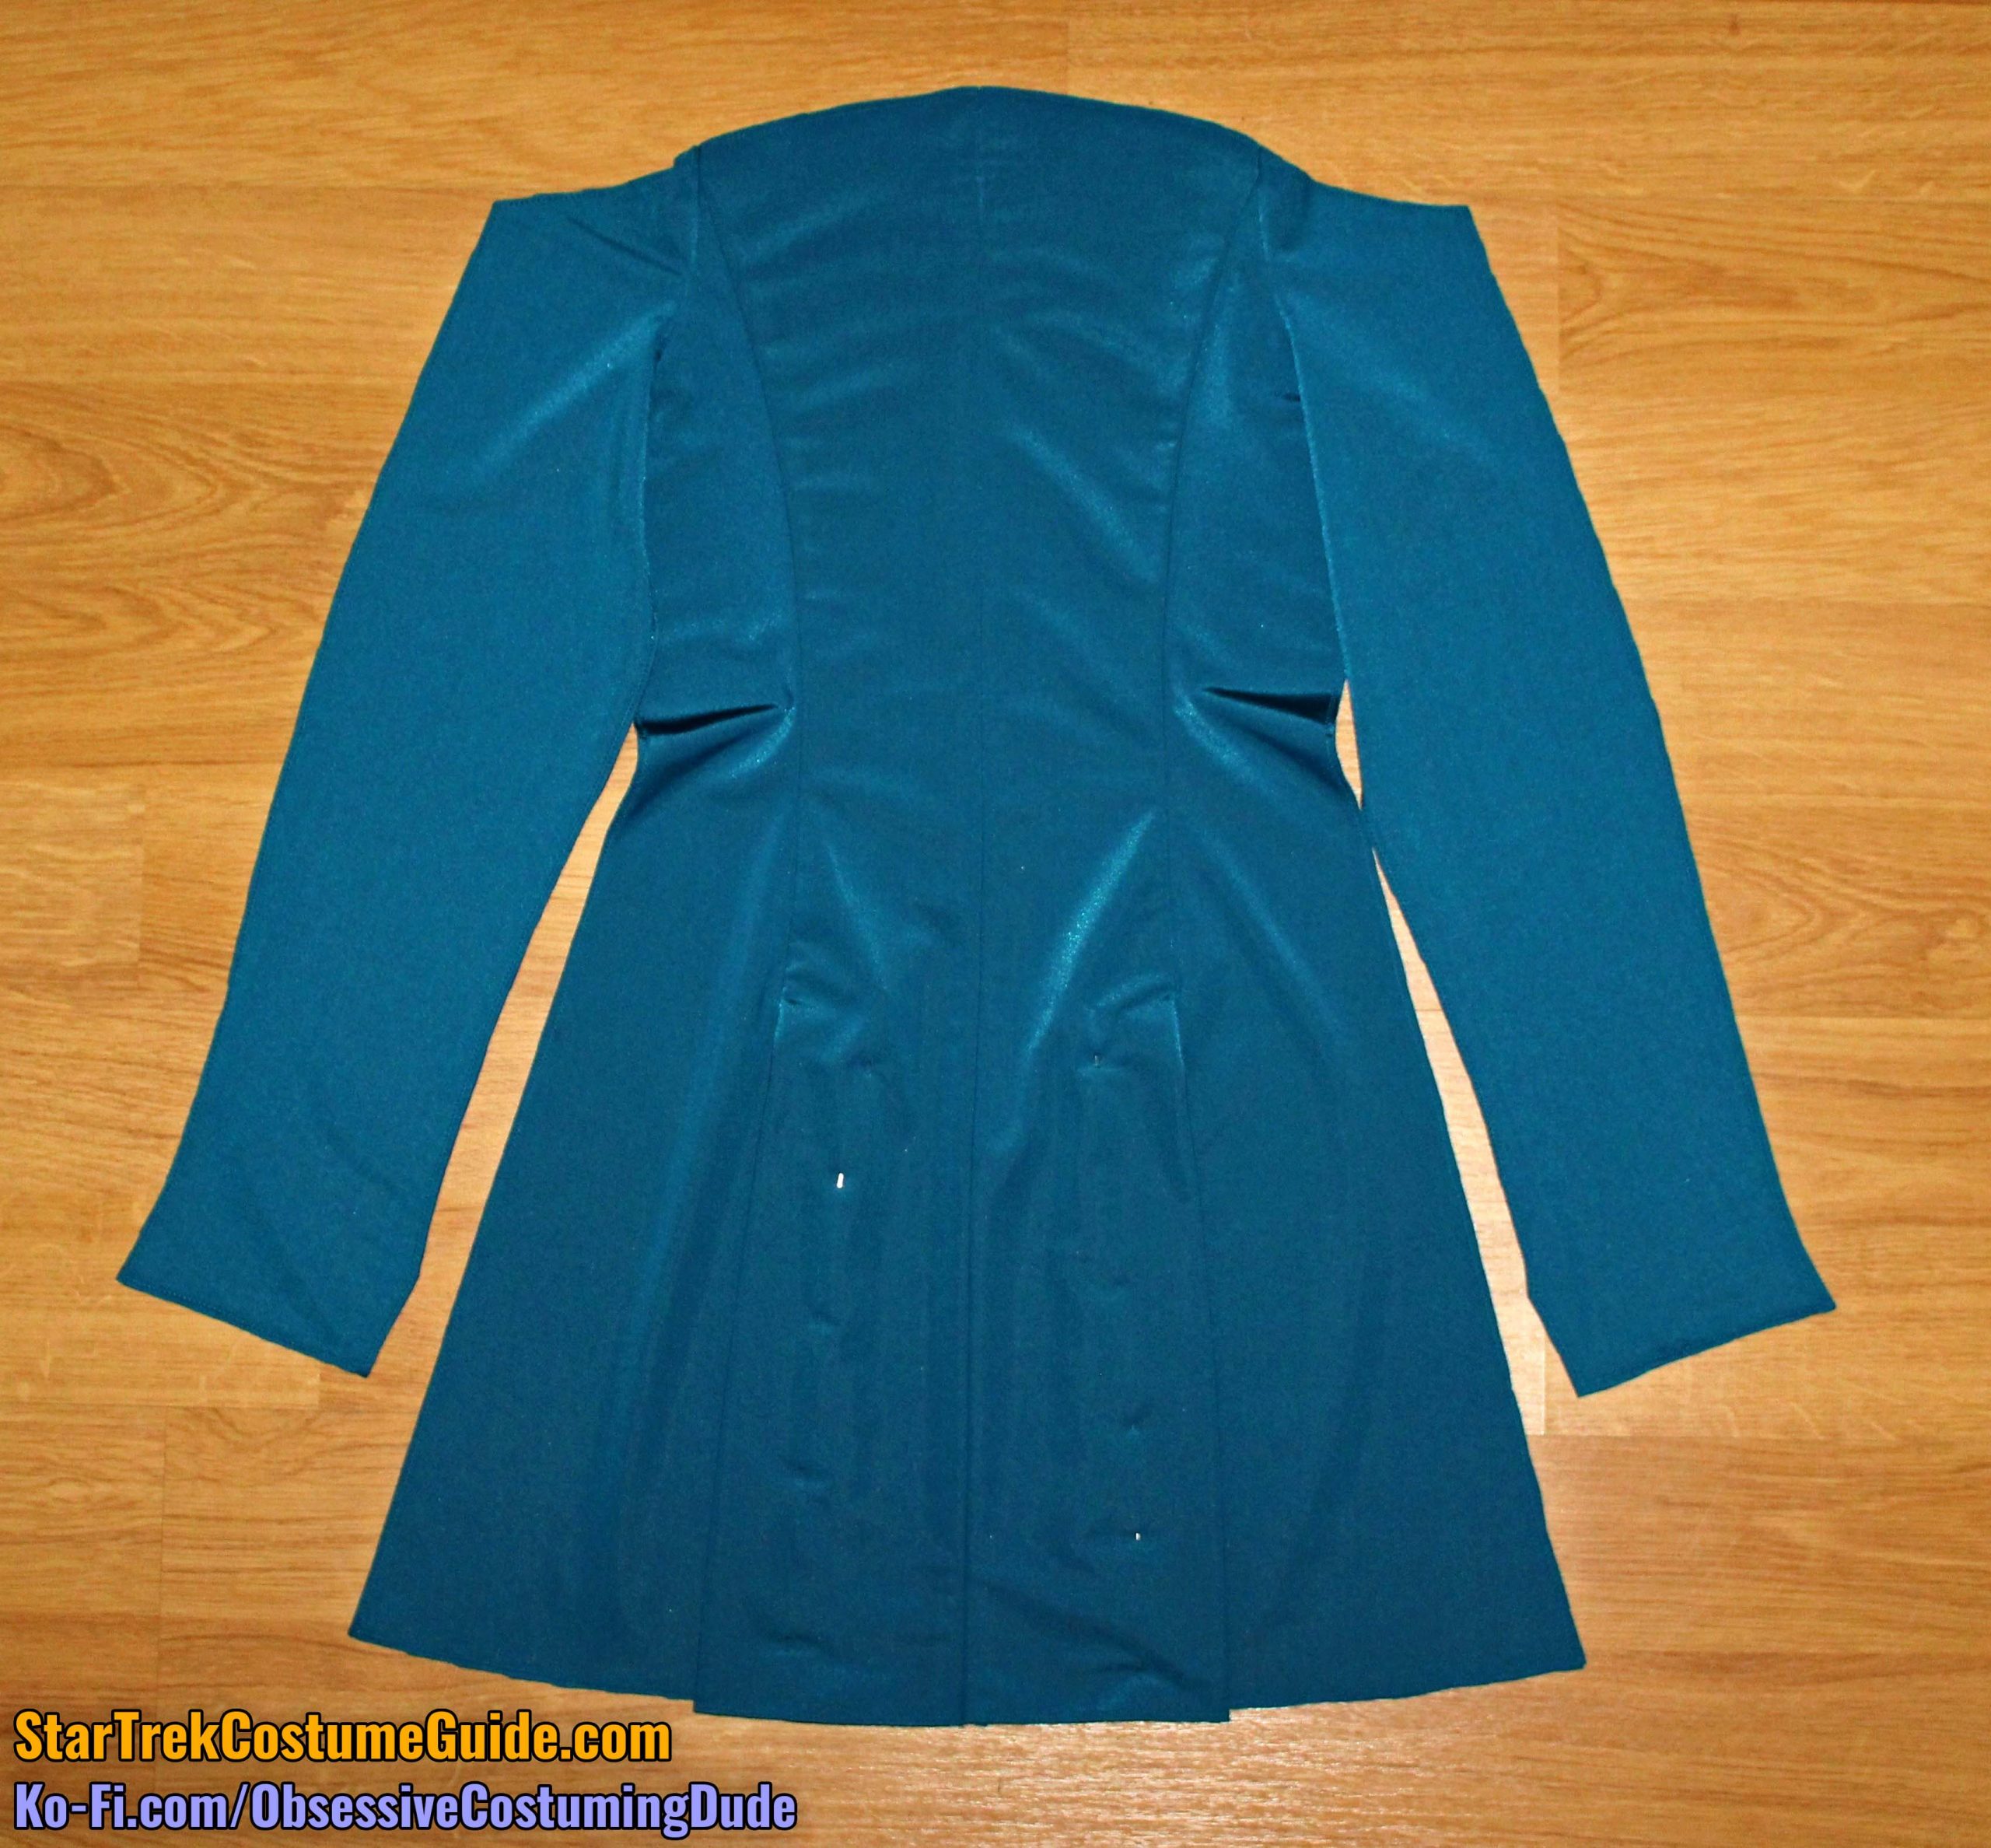
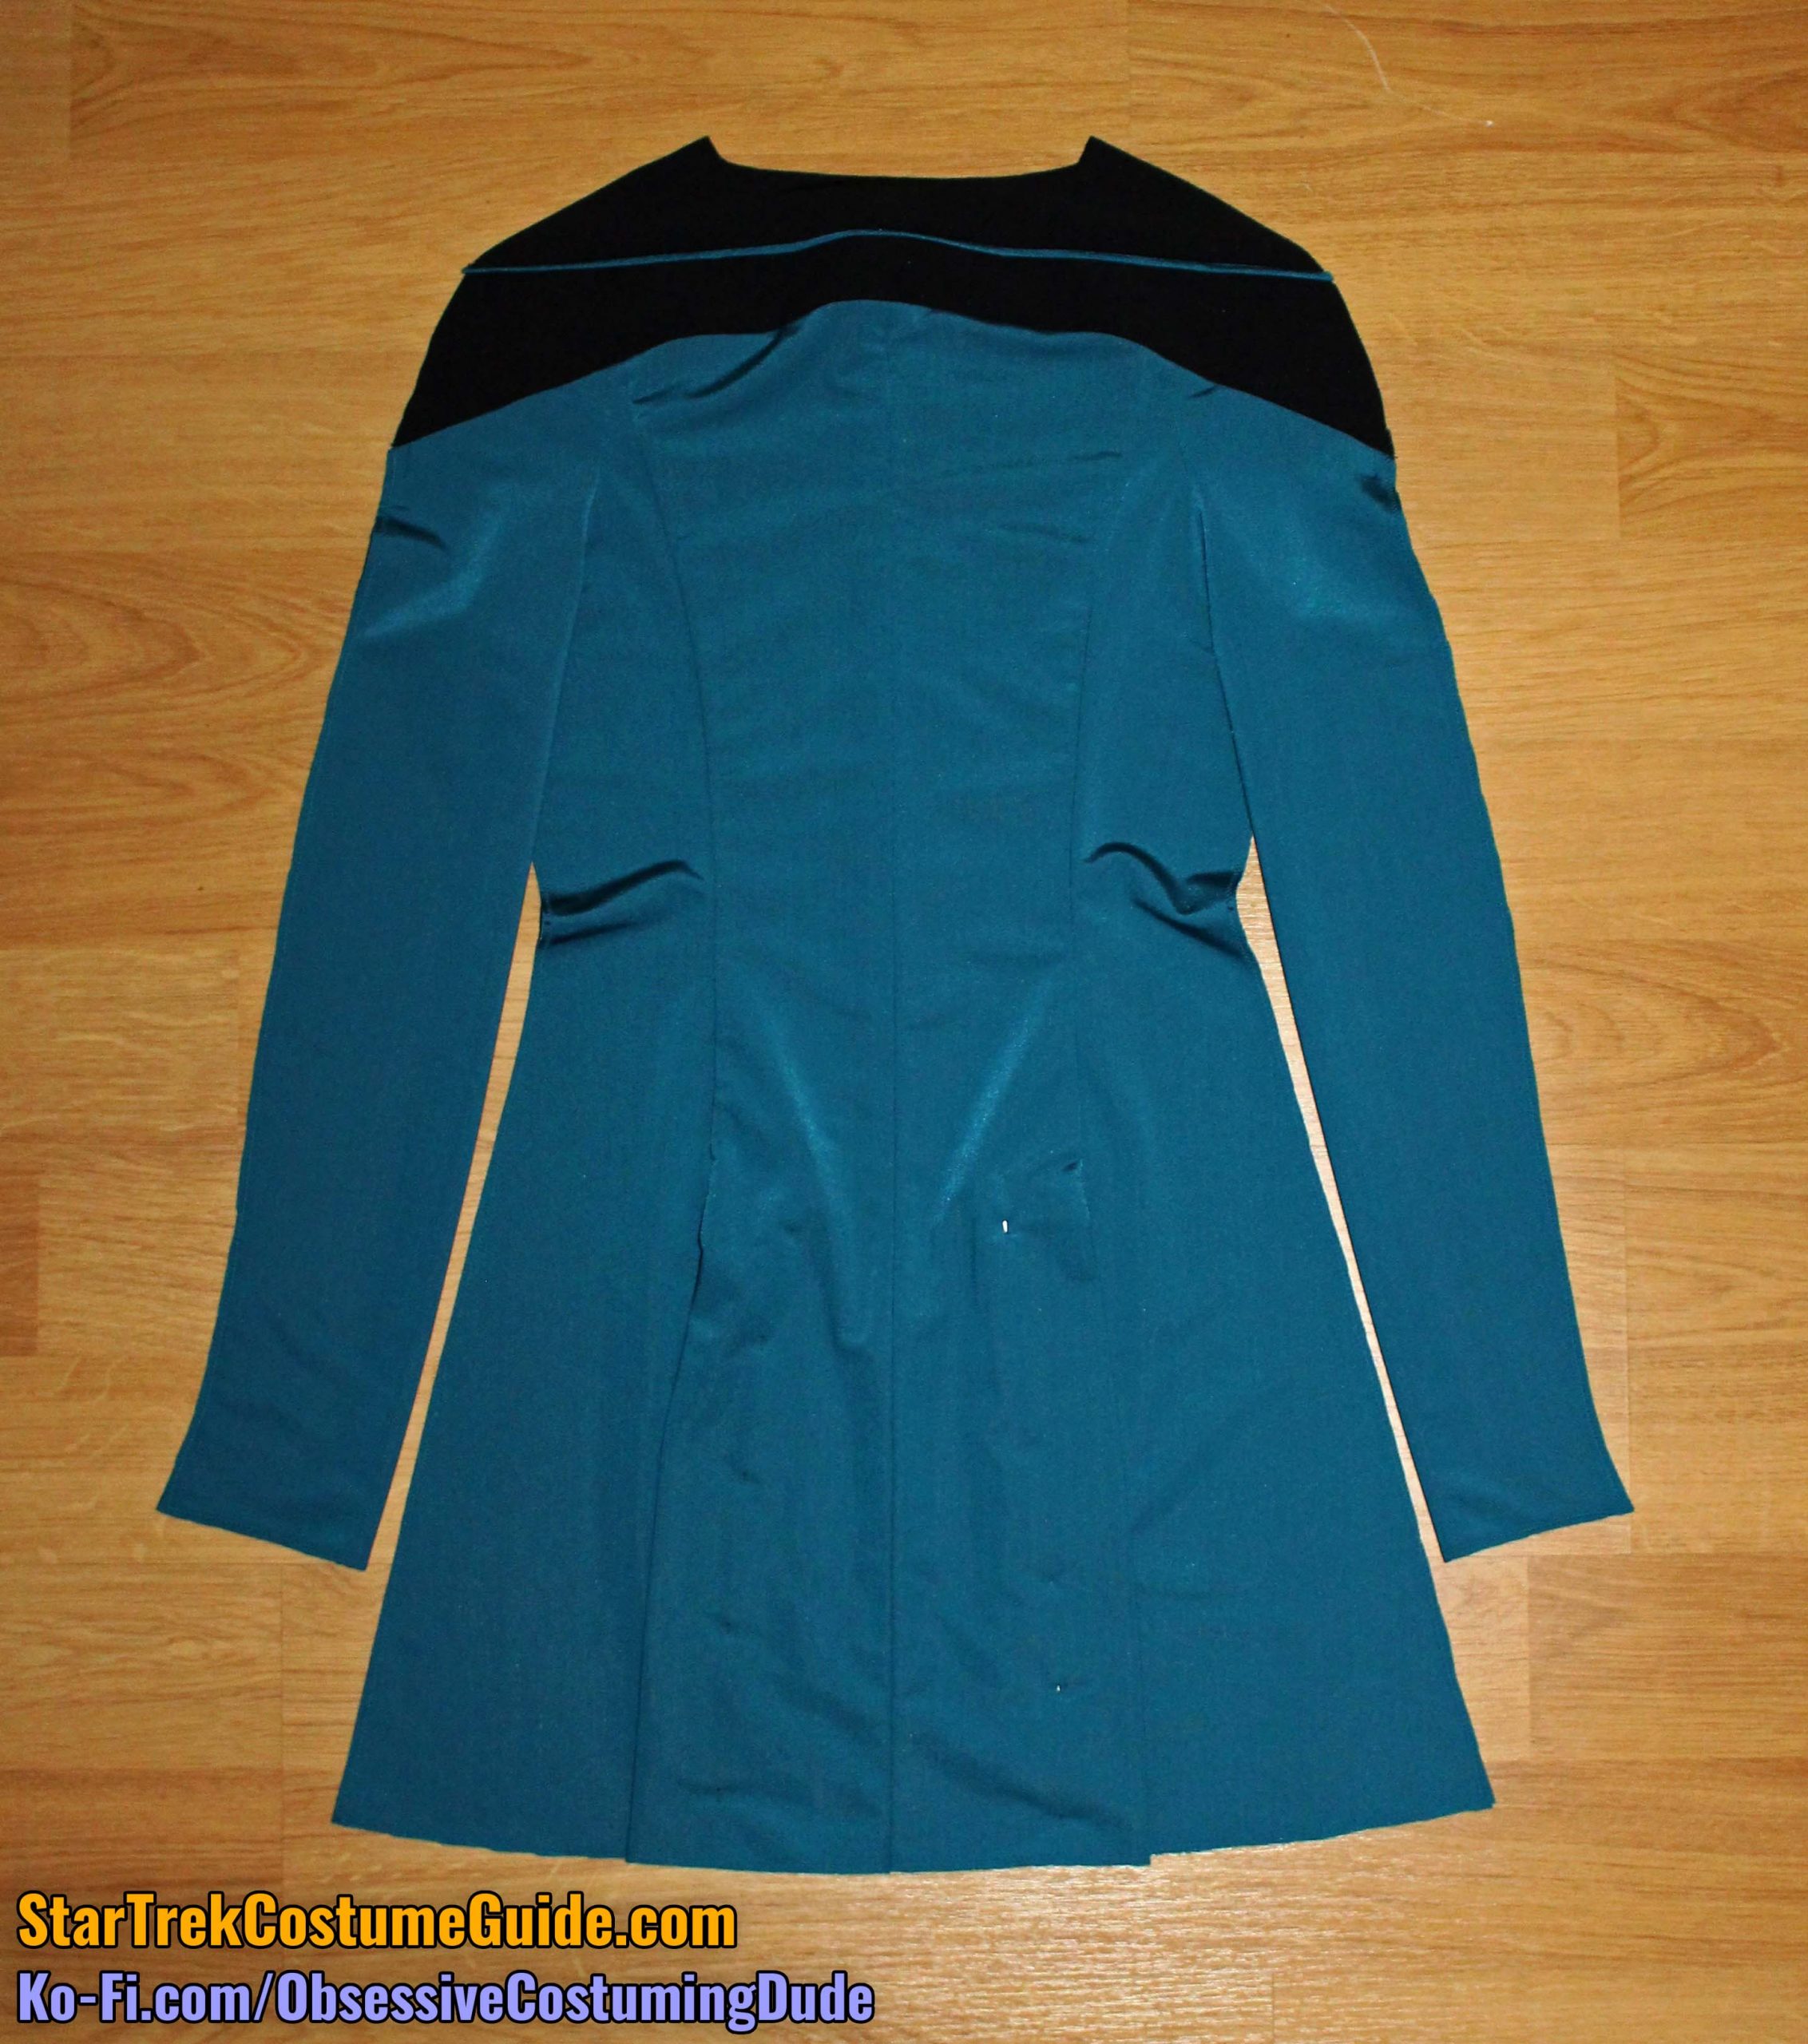
Versions 2, 3, and 4 are probably the easiest of the smock styles to sew, and the differences between them are only minor.
As you may recall from my TNG medical smock costume analysis, the yoke dimensions and proportions varied among the different versions.
However, for the sake of convenience, on my sewing pattern the same yoke pattern pieces are used for every version of the smock – no need to break the nerd meter here!
STEP 1 - Front Assembly
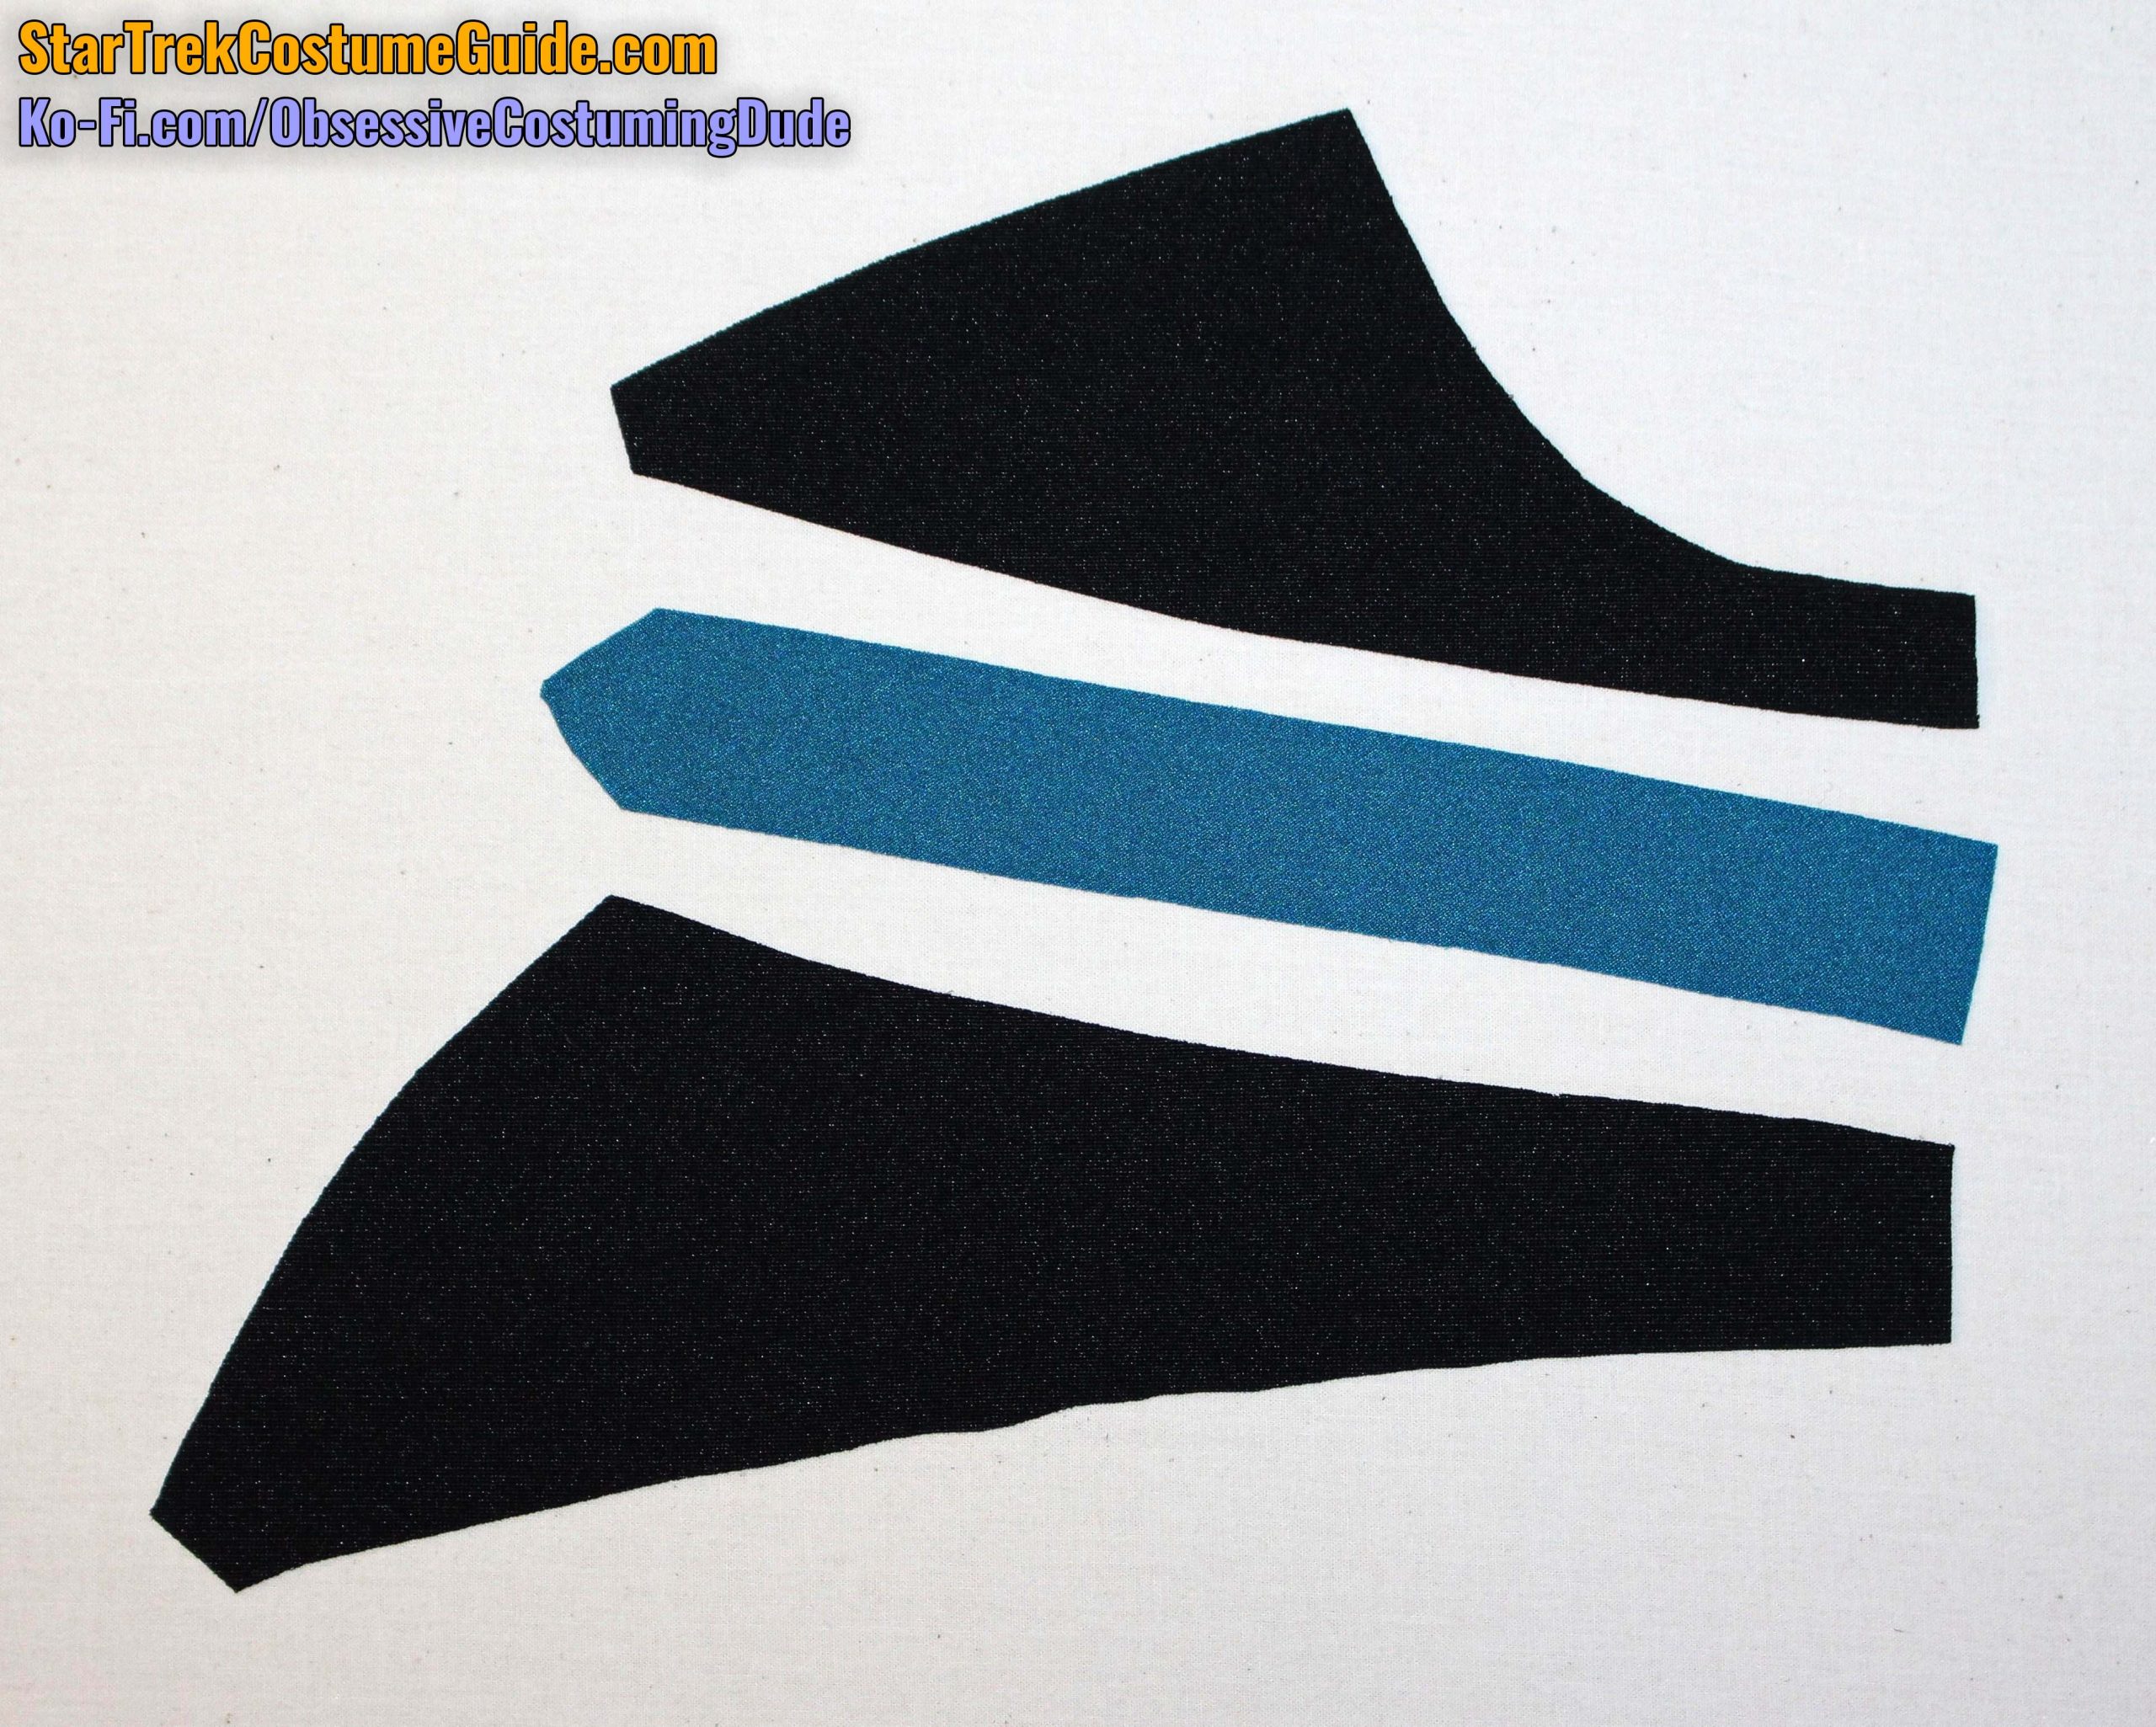
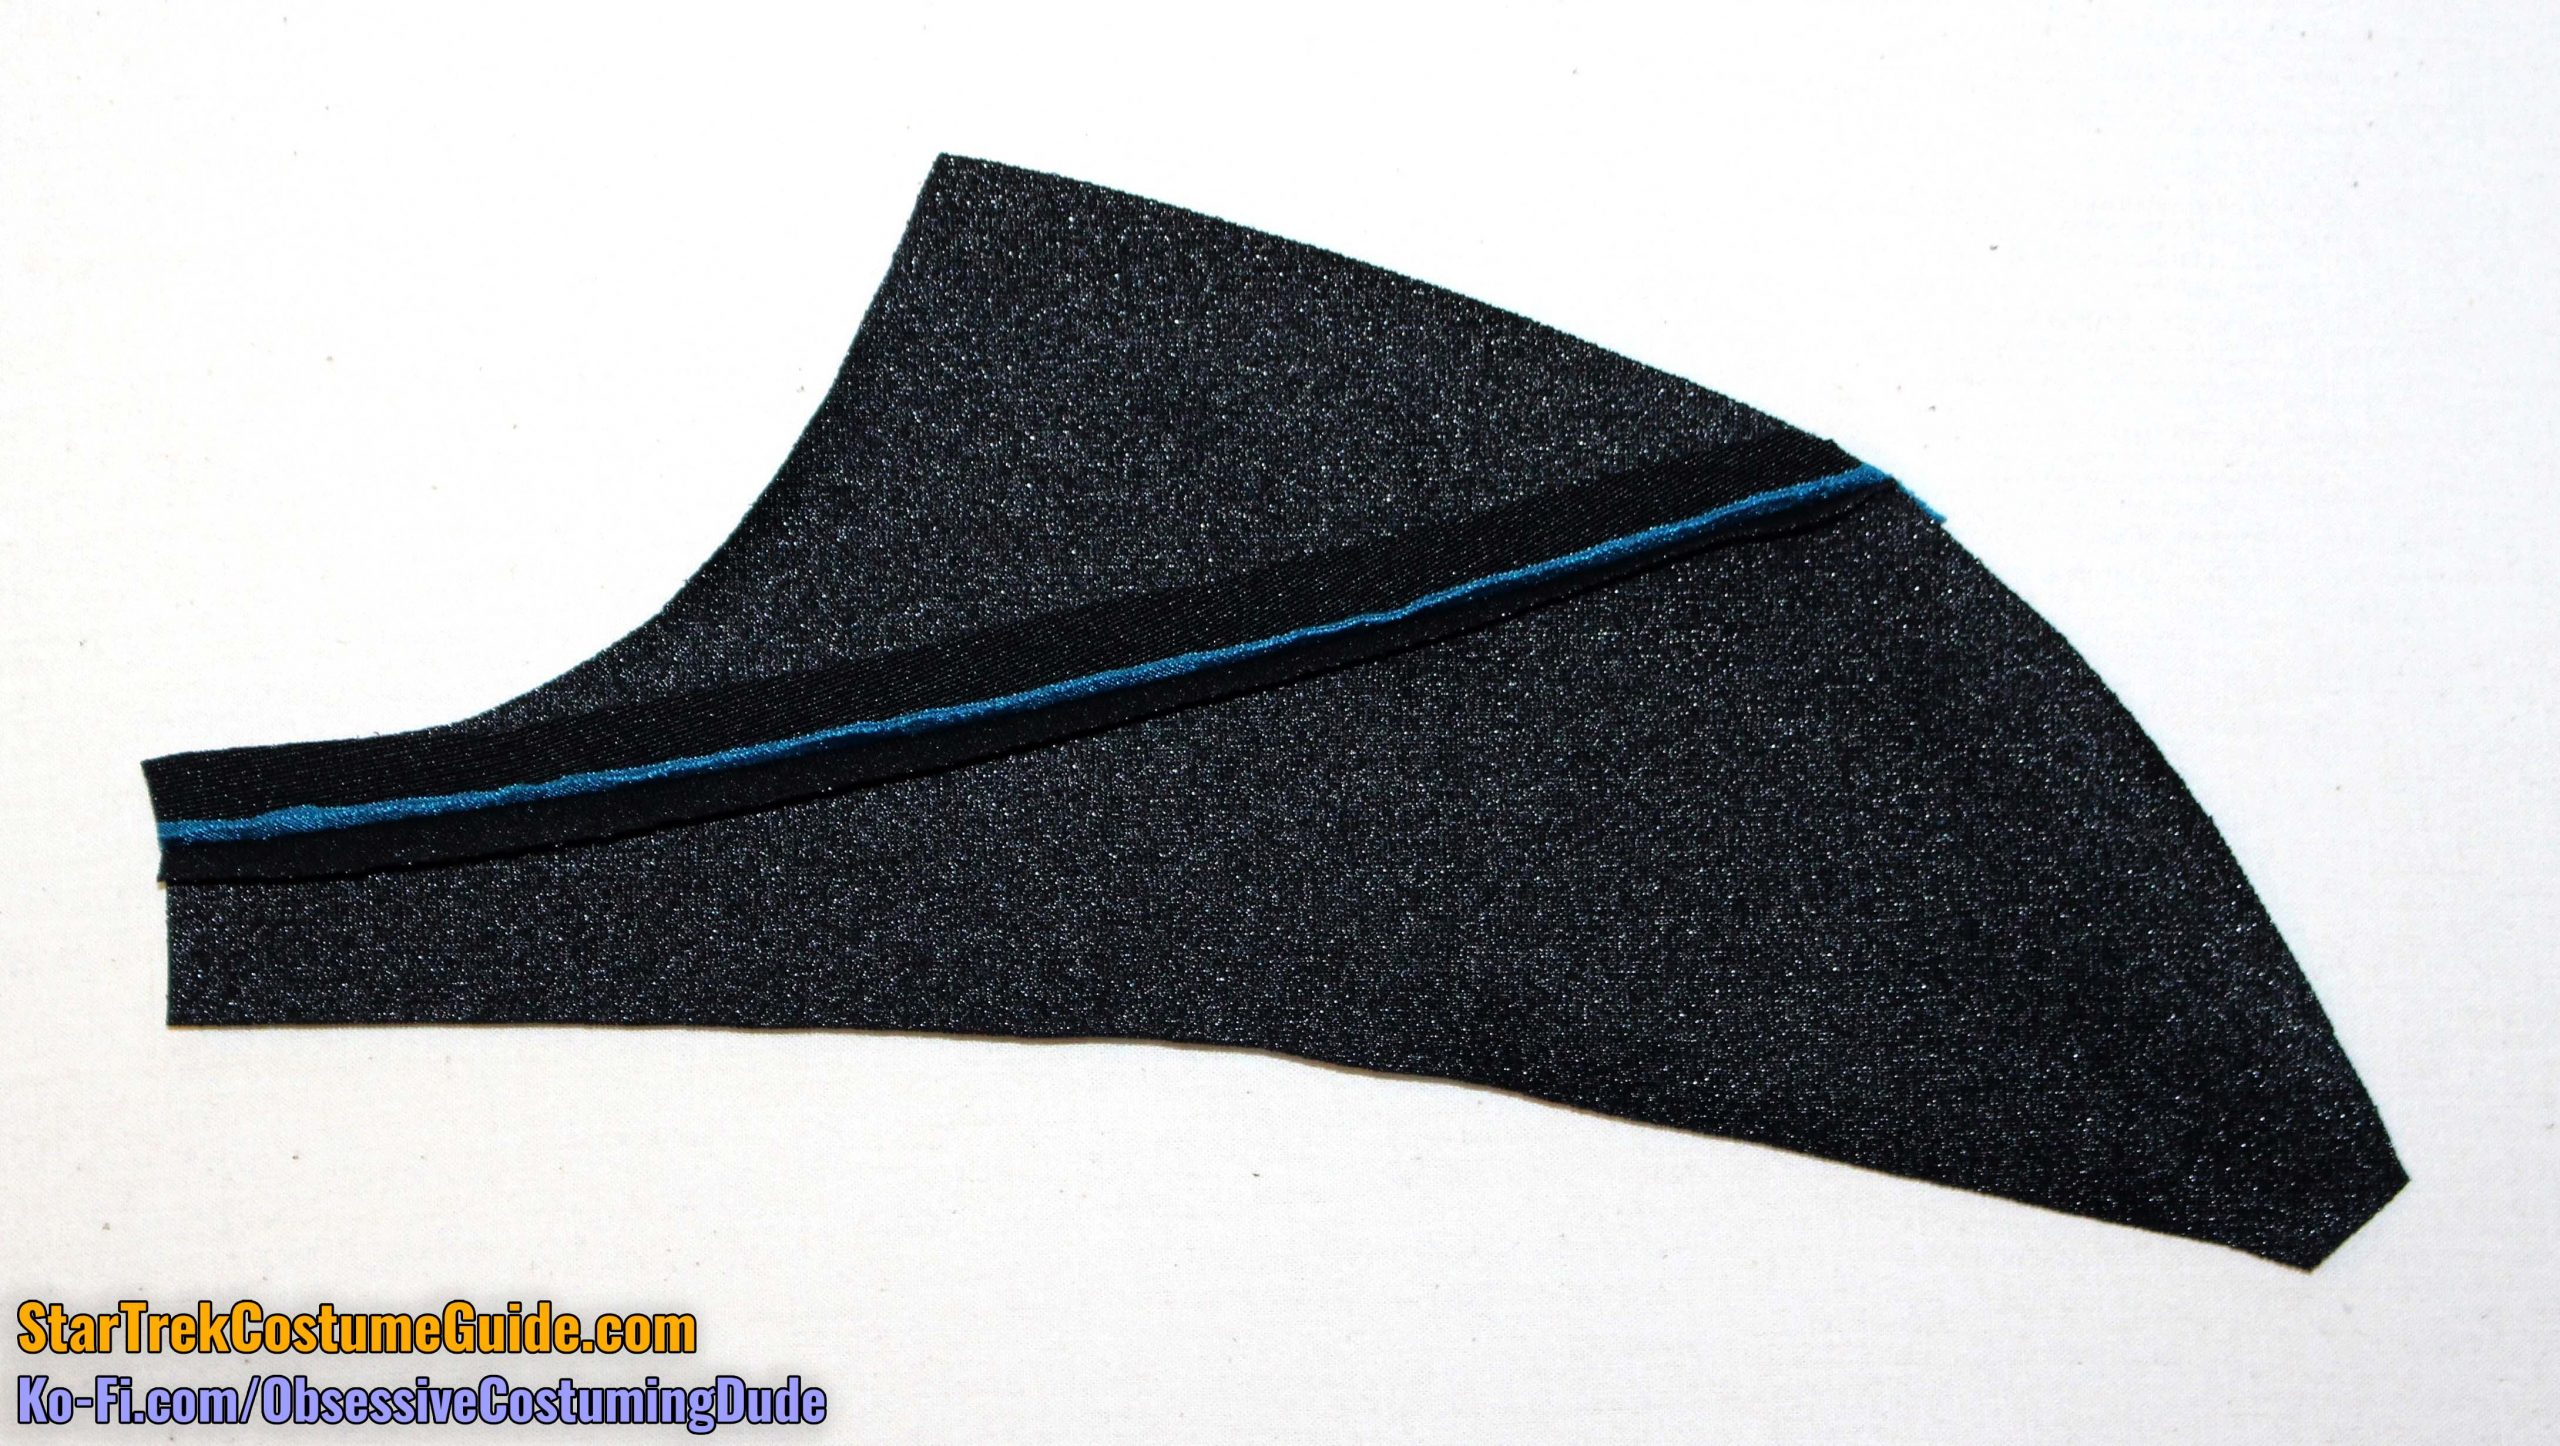
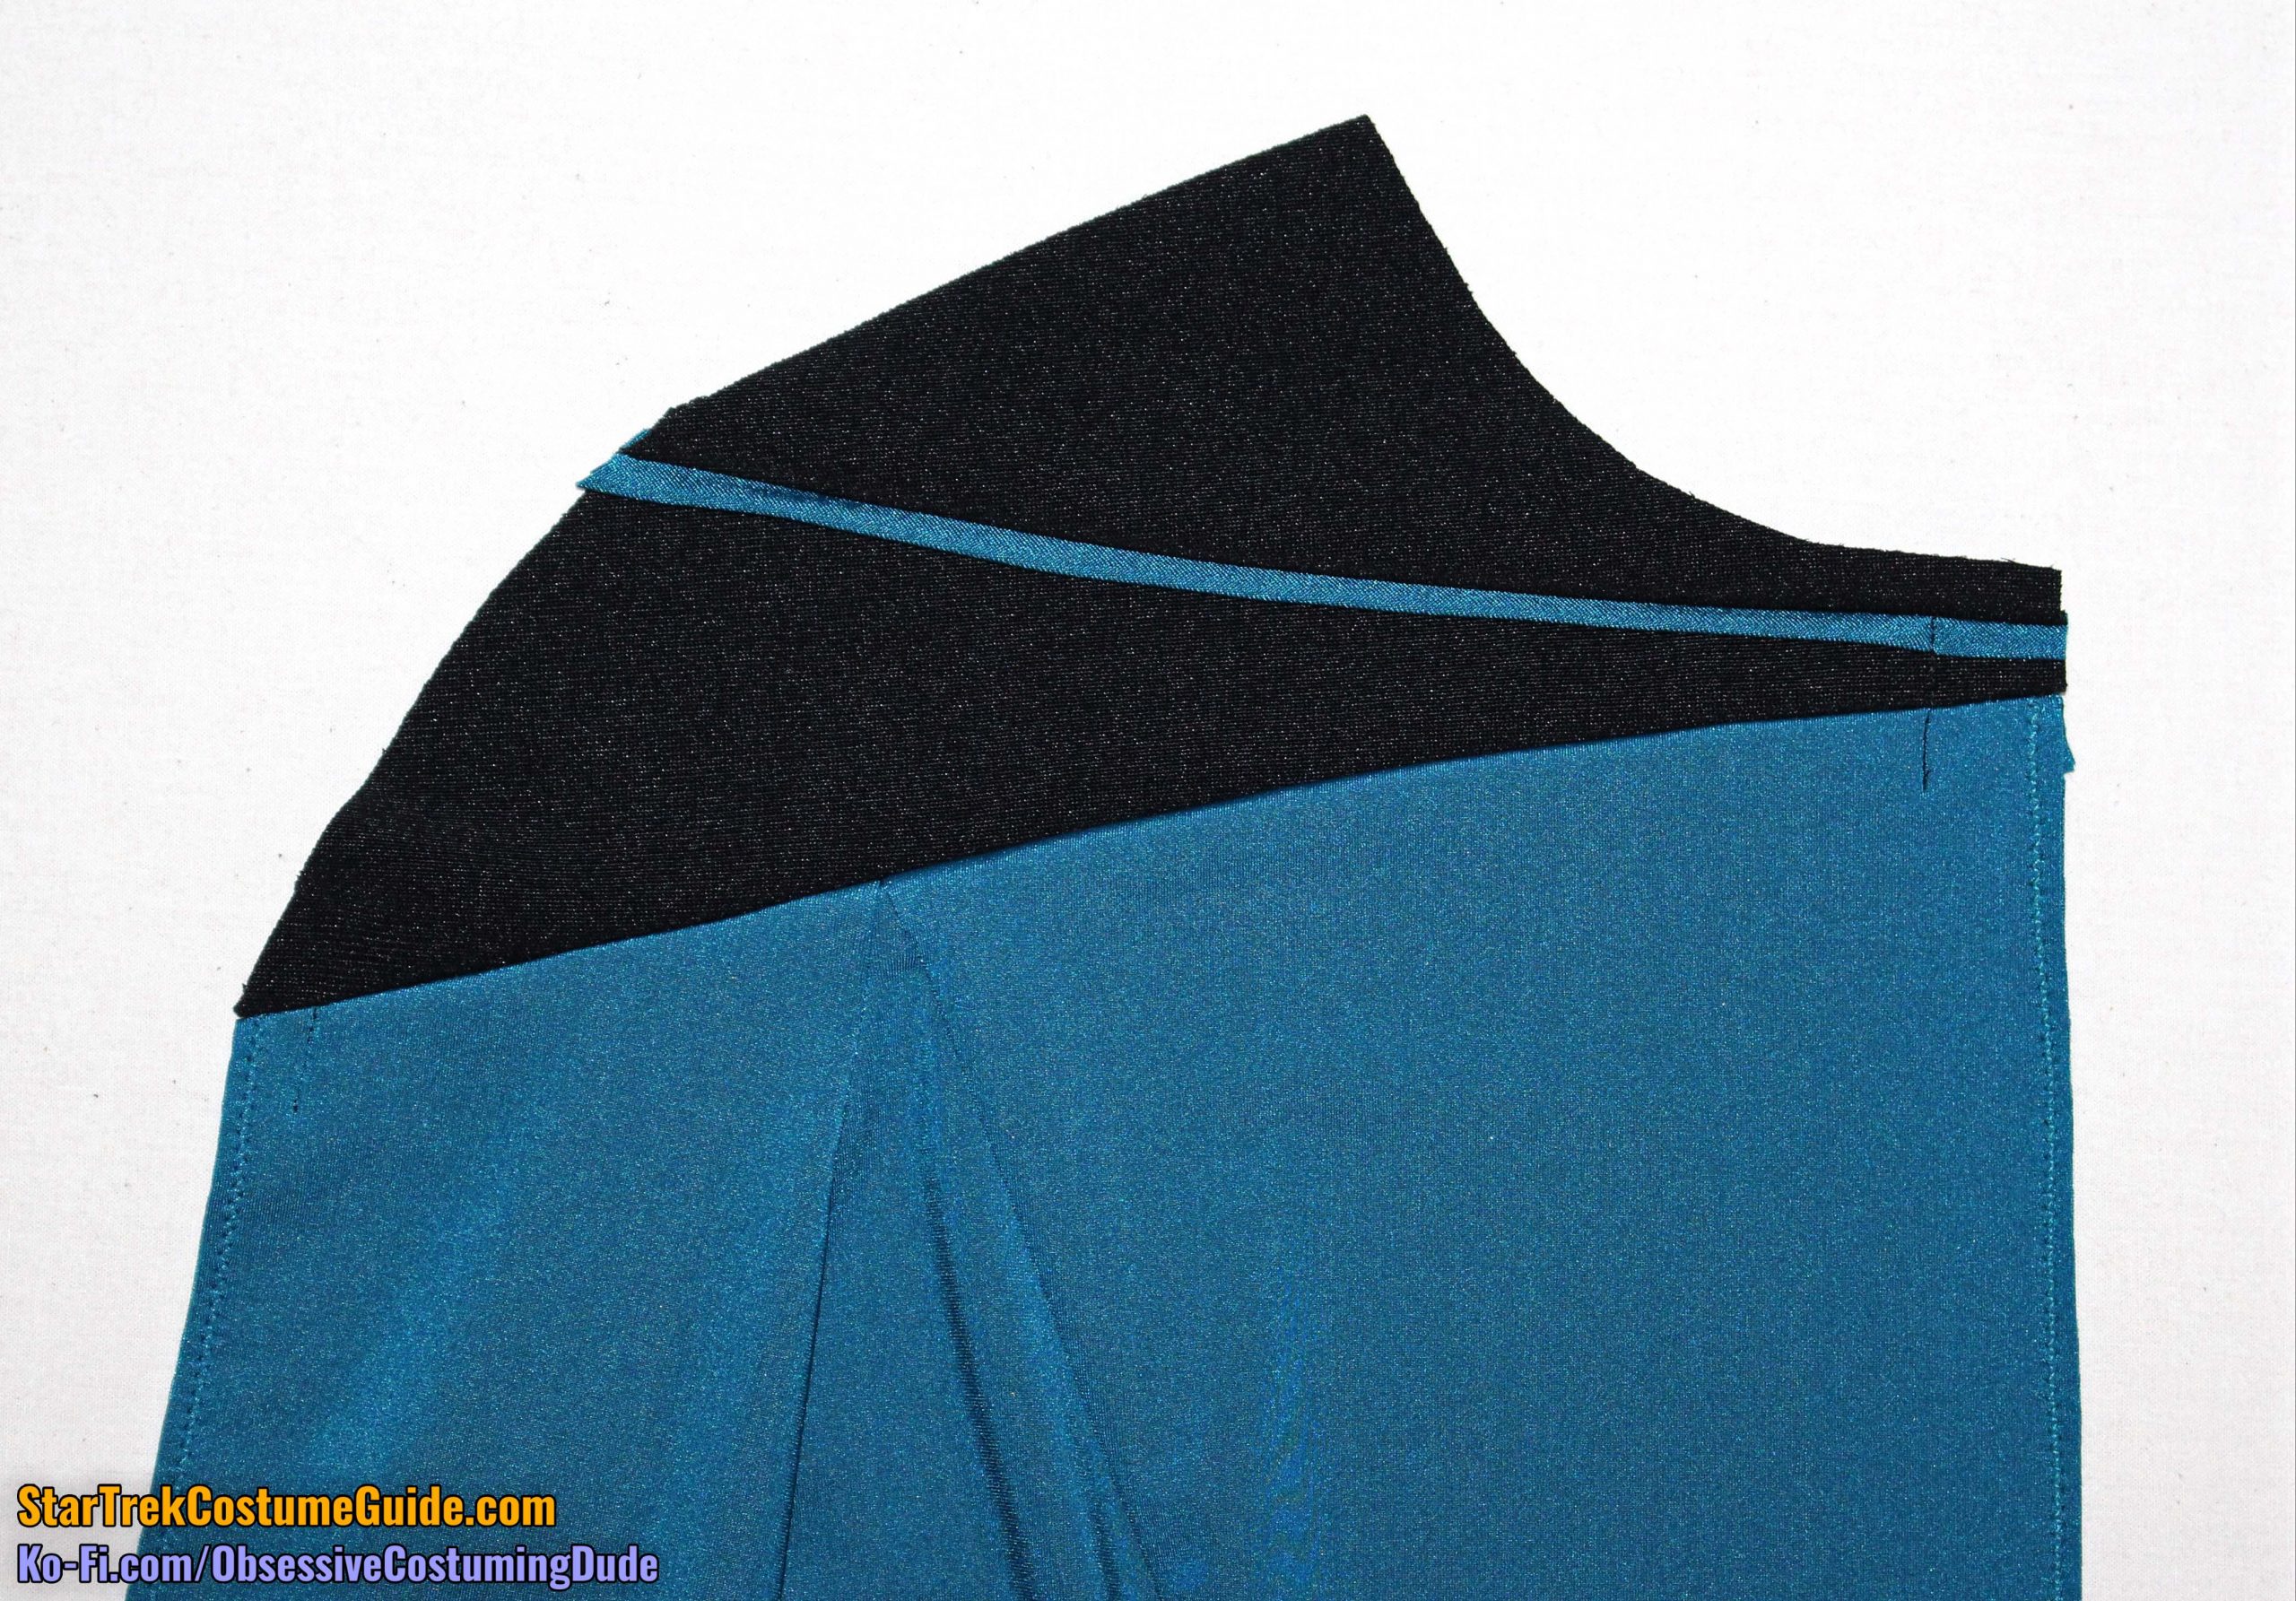
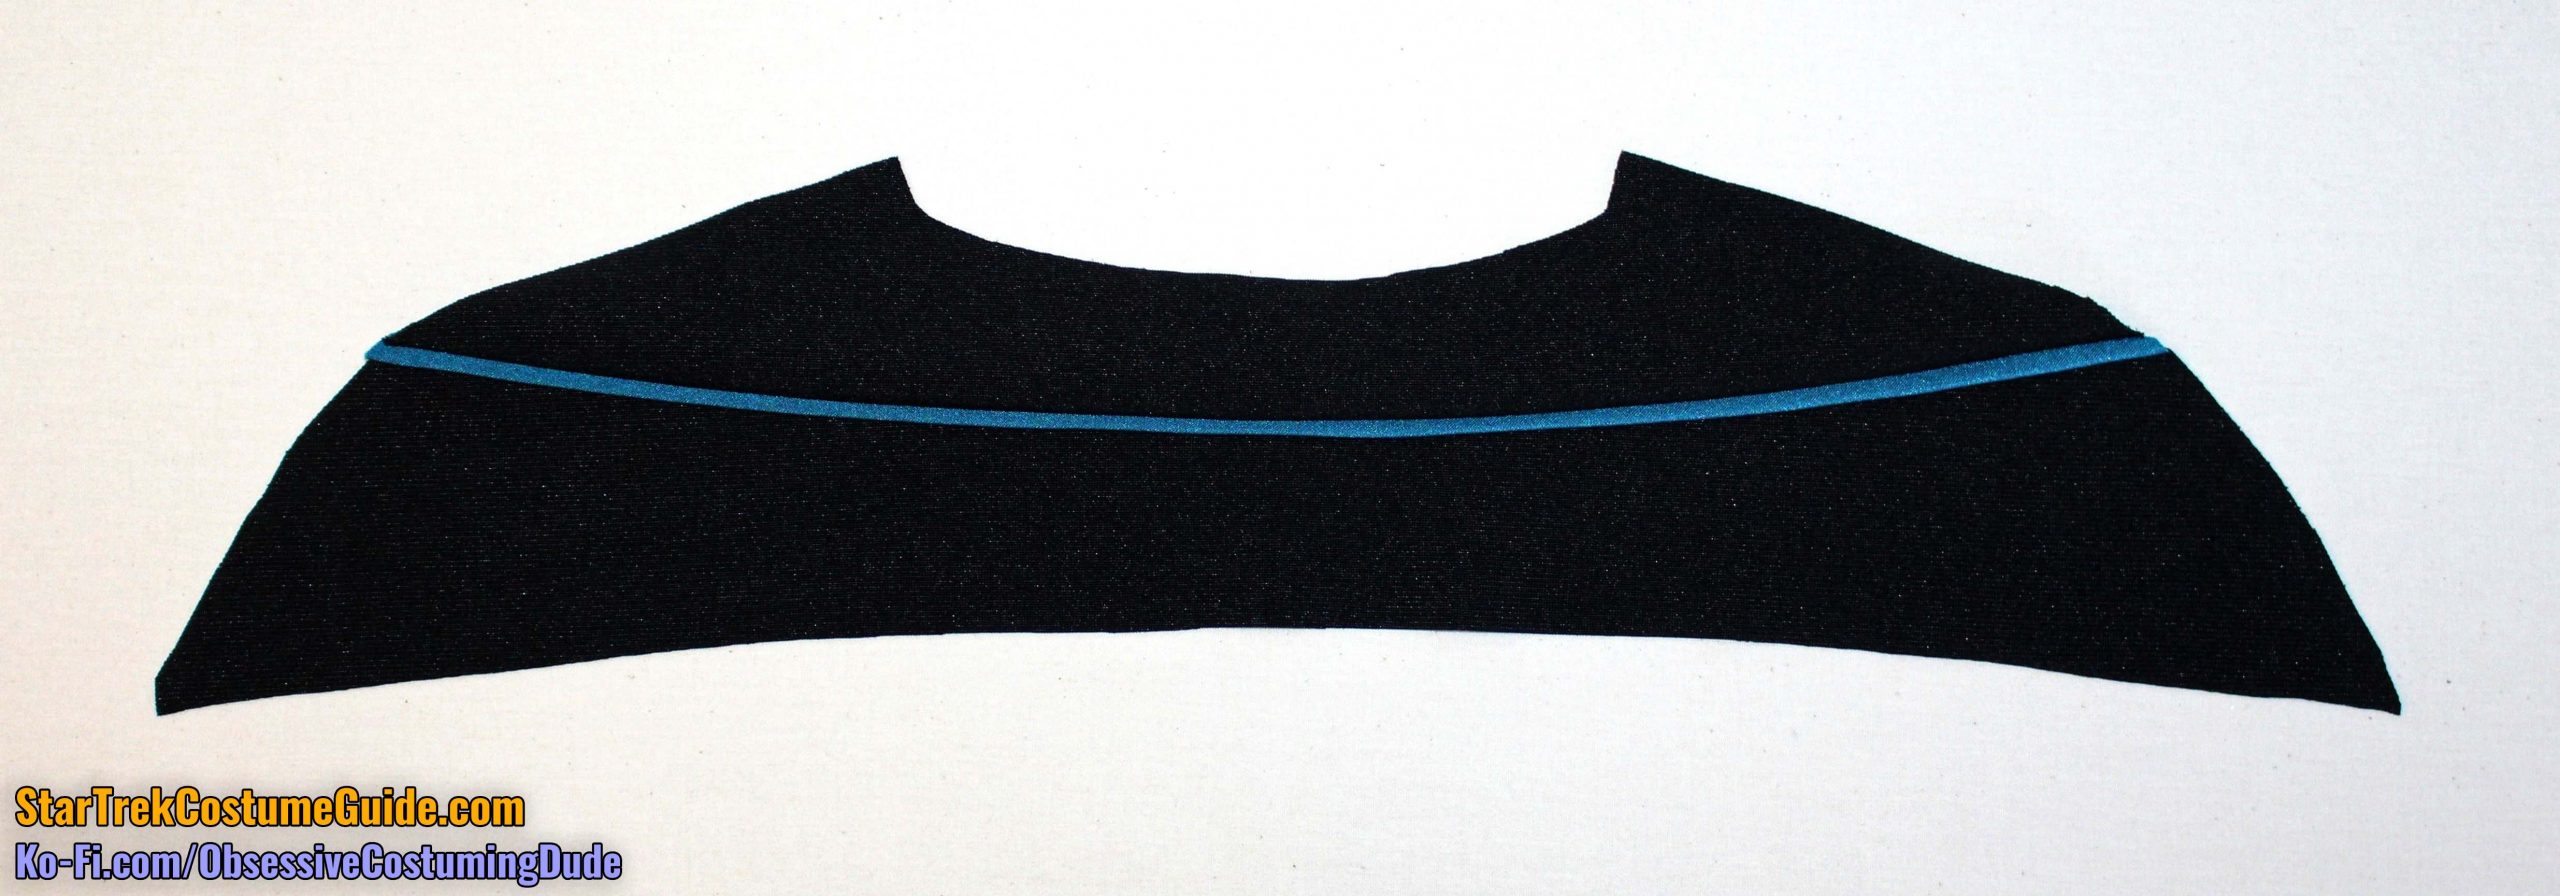
For the front yoke assembly, you’ll need the upper front yoke (piece A), lower front yoke (piece B), and front yoke piping (piece F).
Begin by pressing your front yoke piping in half, lengthwise.
(And if you’re “cheating” and using the same jumbo spandex as the body panels, remember to fold the matte/”dull” sides together so the trim is shiny-sides-out.)
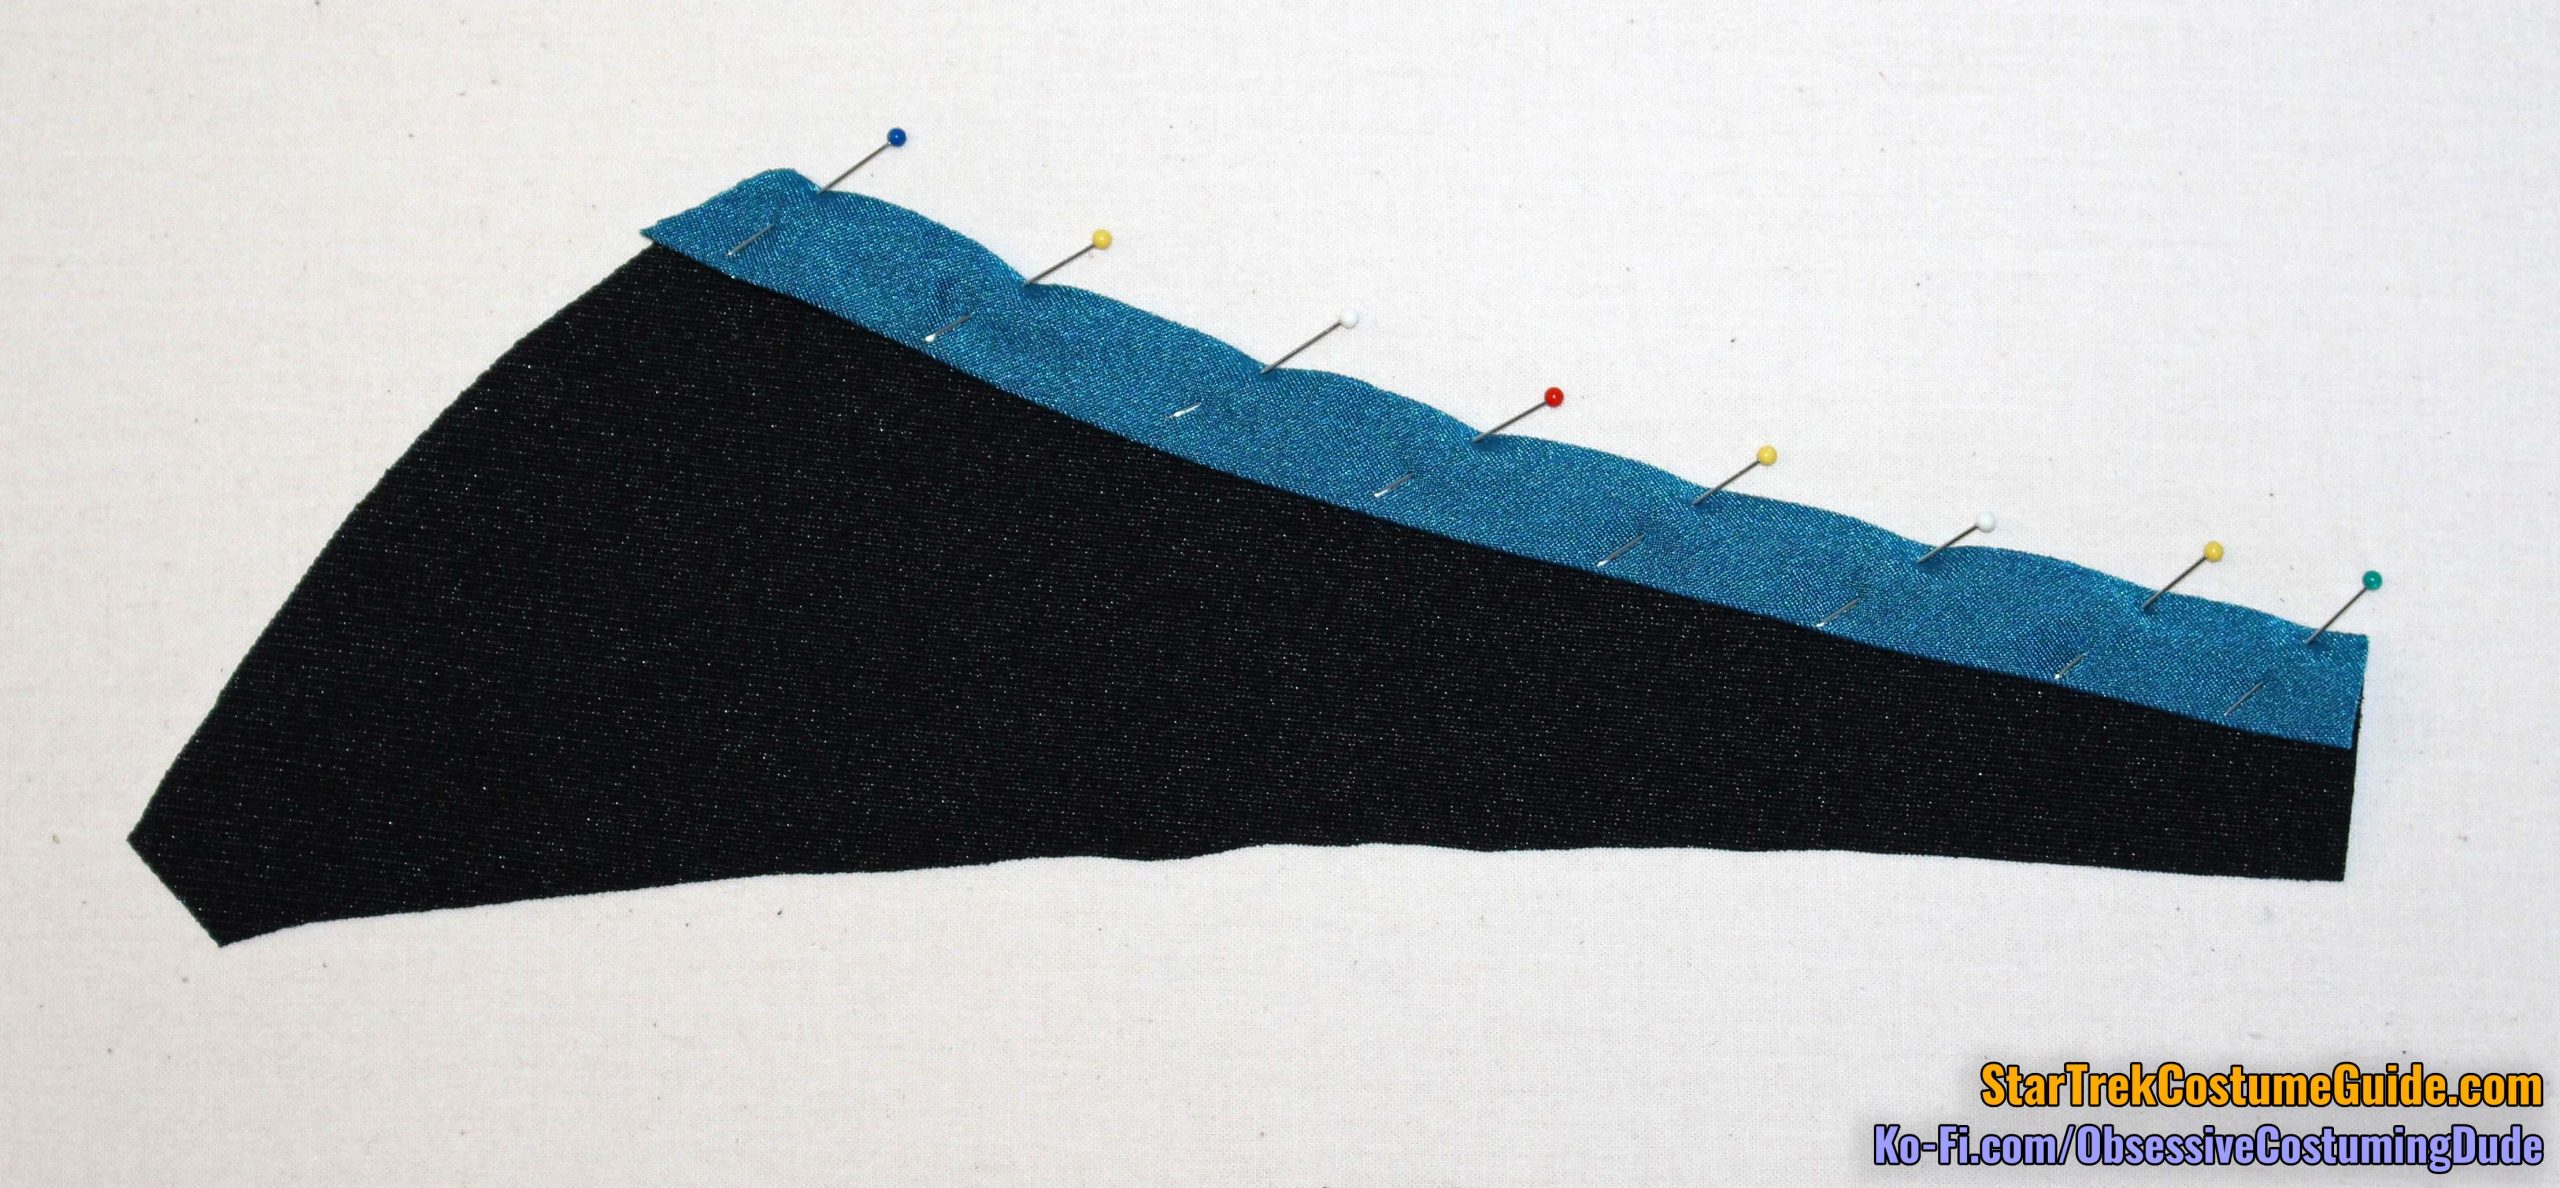
Pin the front yoke piping to the lower front yoke, folded side down, with the upper and centermost edges flush.
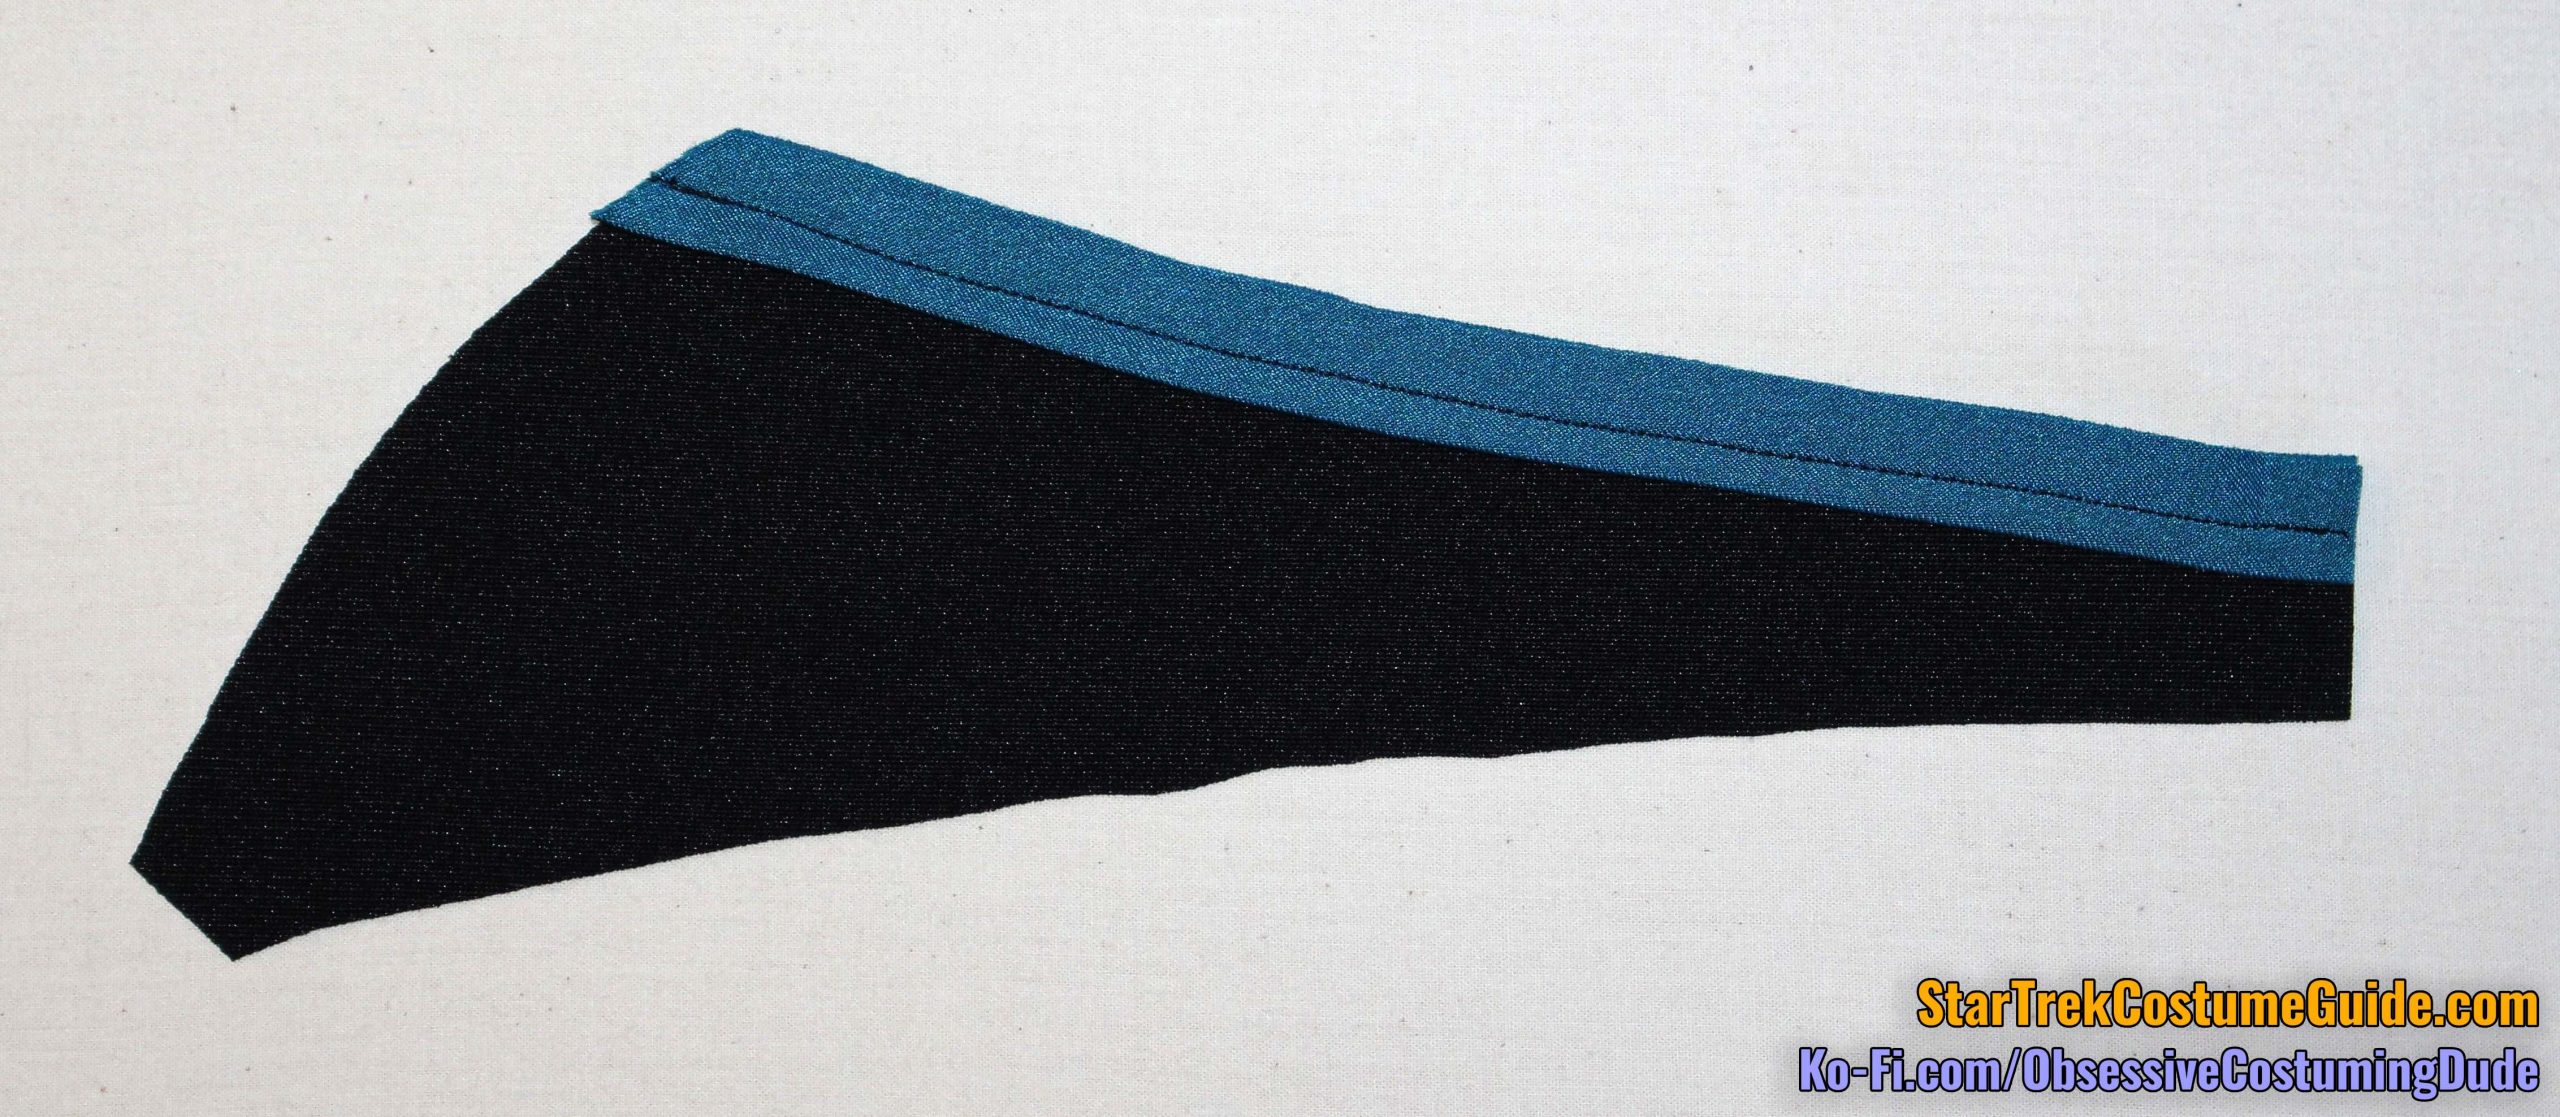
Using black thread, sew the front yoke piping to the lower front yoke ⅜” from the upper edge.
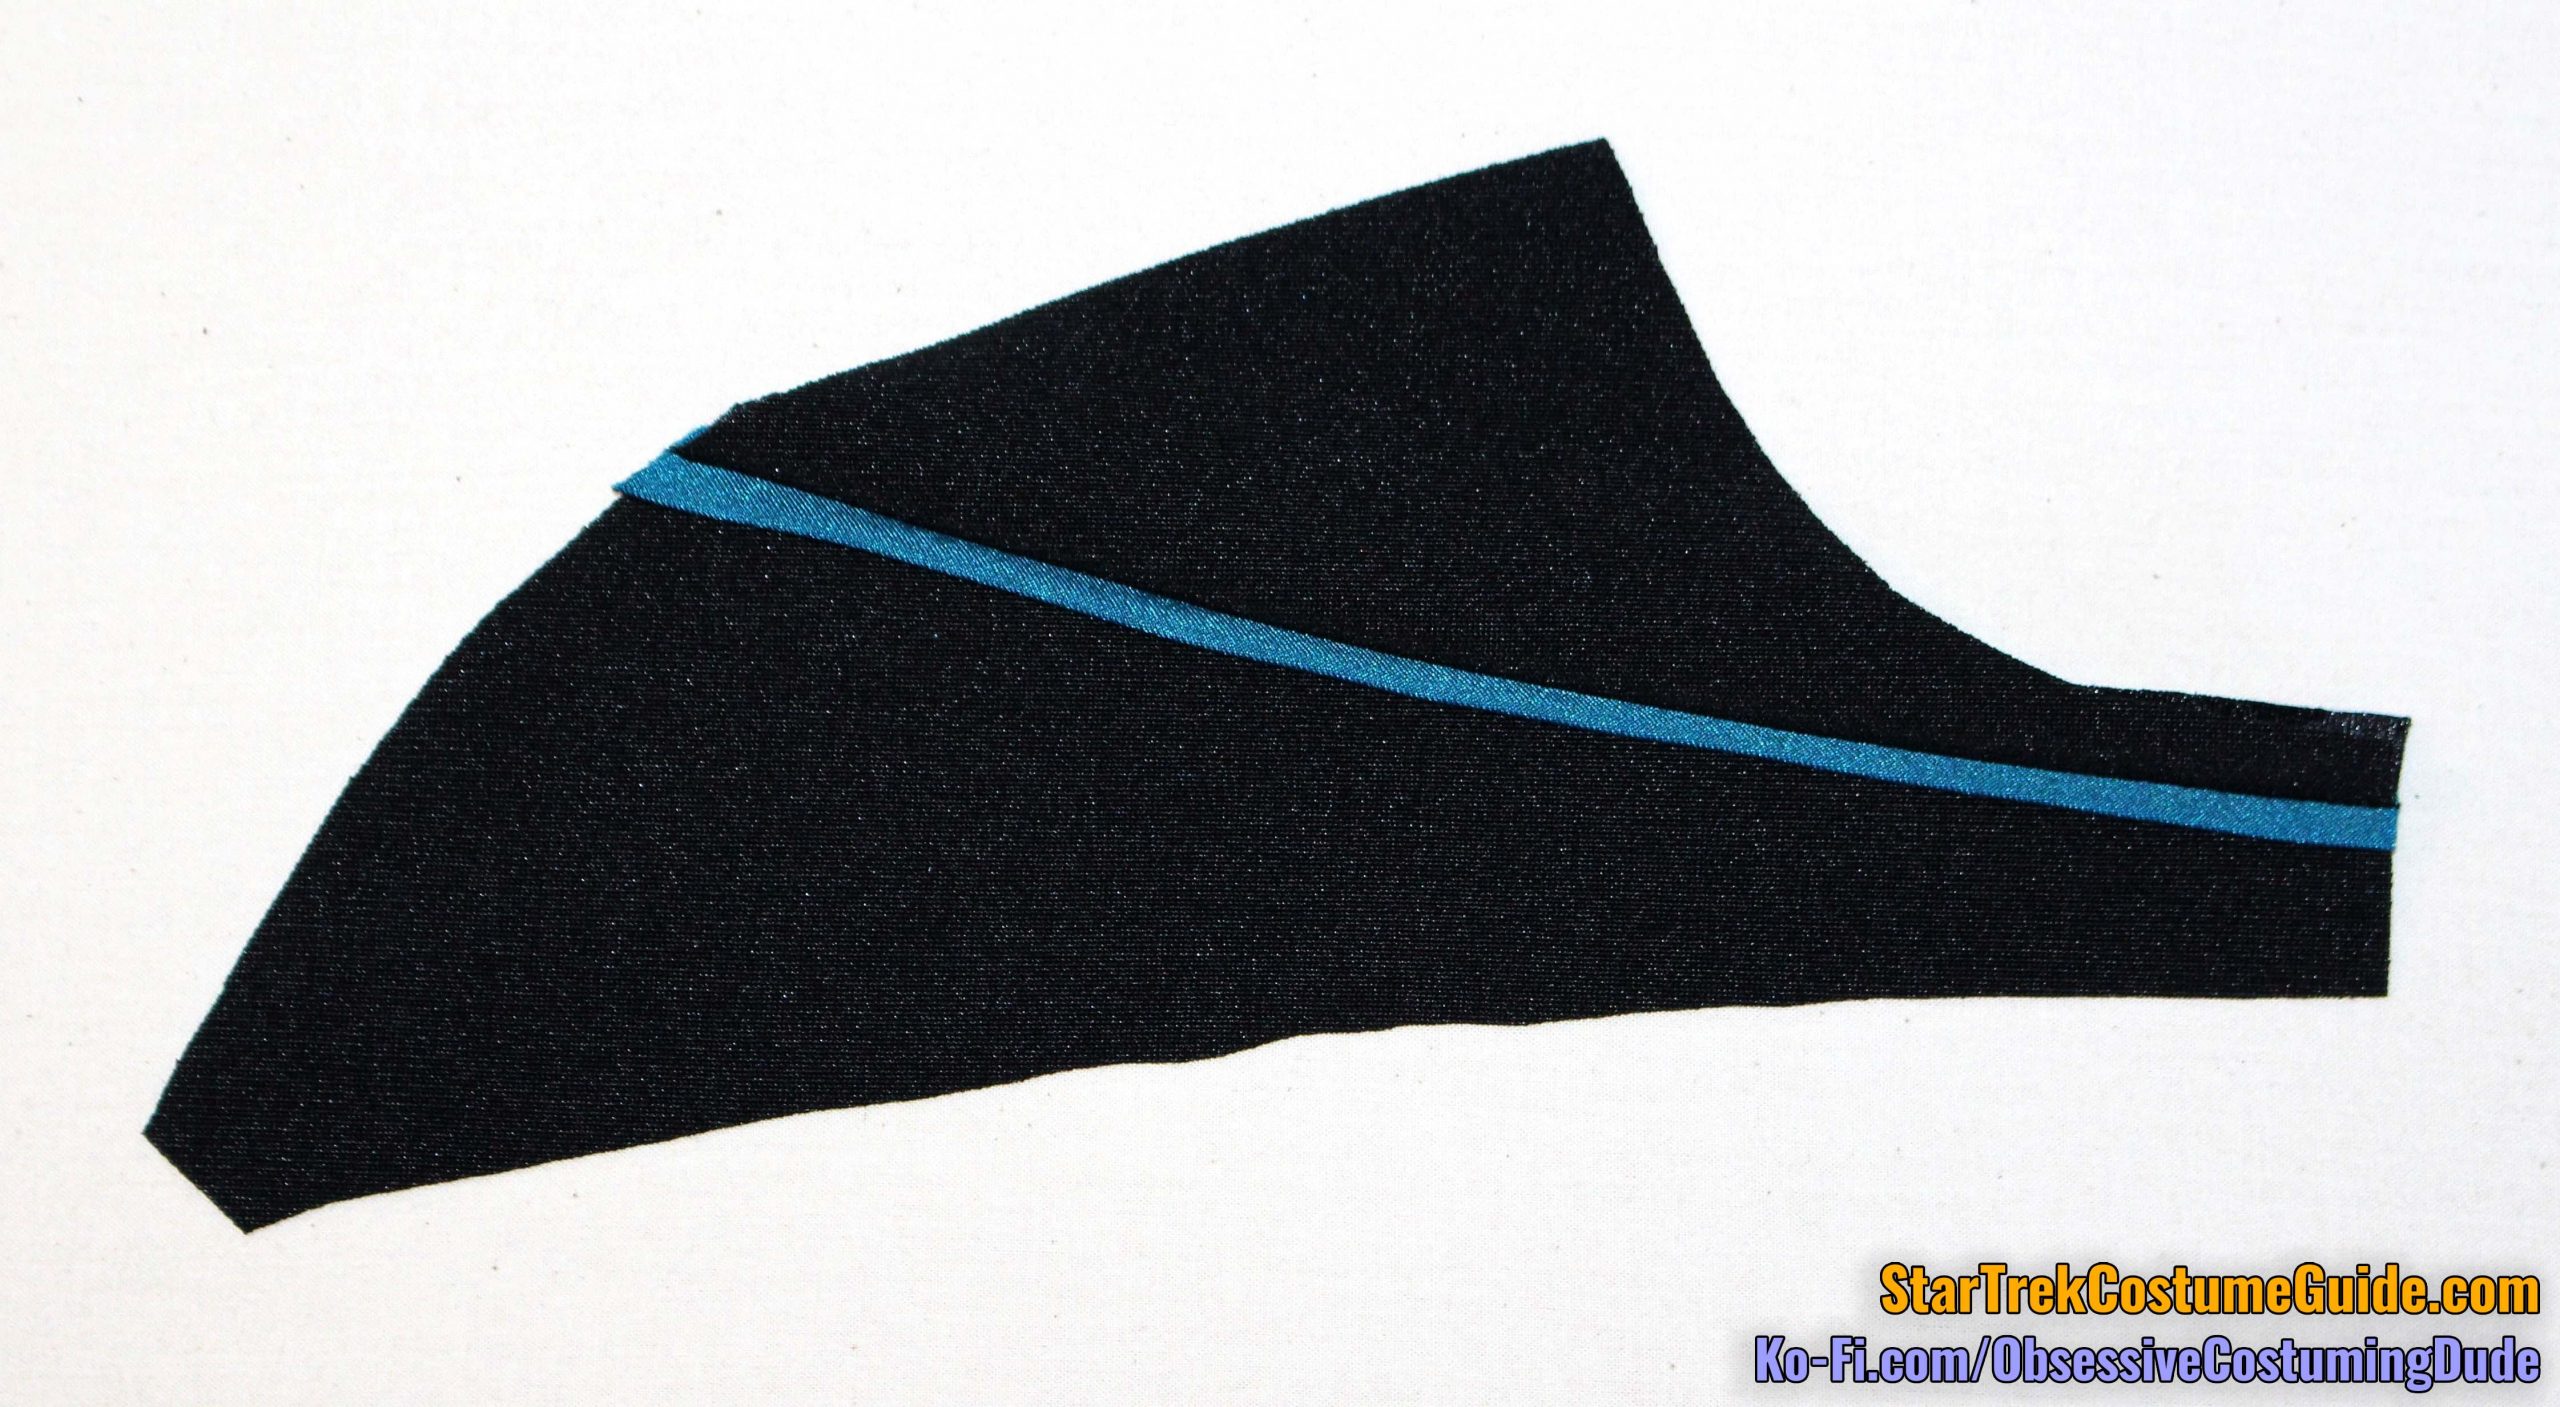
Sew the upper yoke to the lower yoke with ⅜” seam allowance, exactly over the previous stitch line.
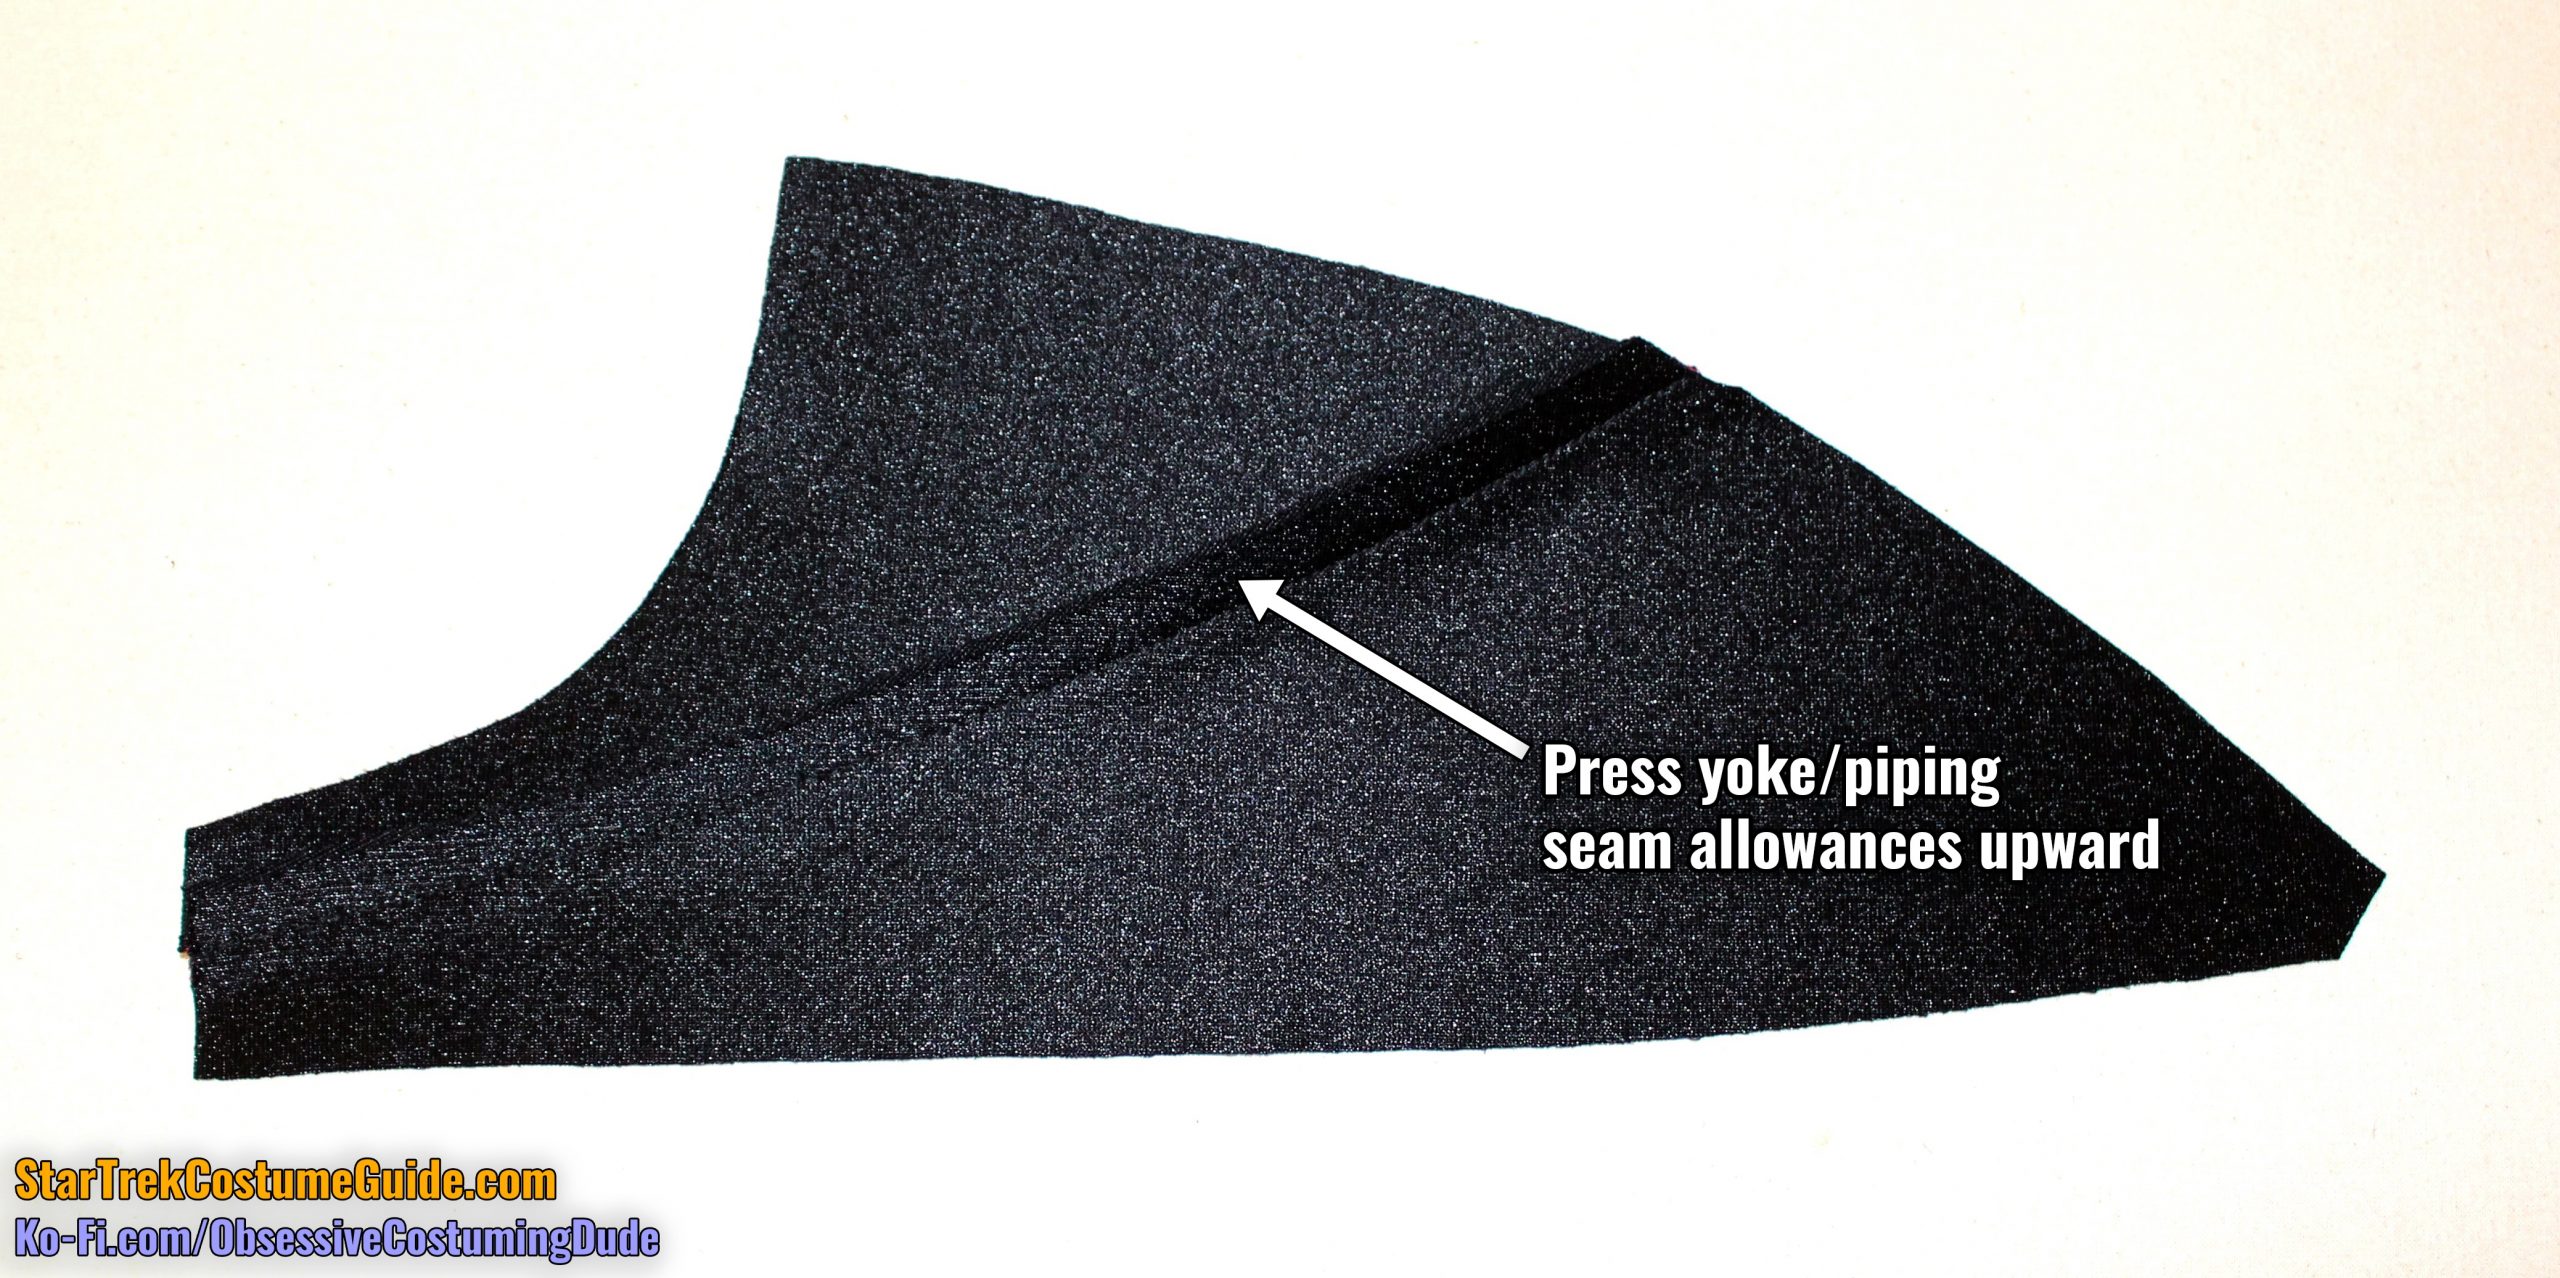
Press the upper yoke and seam allowances upward.
TIP: Use a quilting/walking foot to sew through all those layers, to help prevent undesired stretching and/or sliding.
Pull the yoke seam allowances out of the way, and carefully trim the piping seam allowances down to ⅛”.
Press the seam allowances upward again.
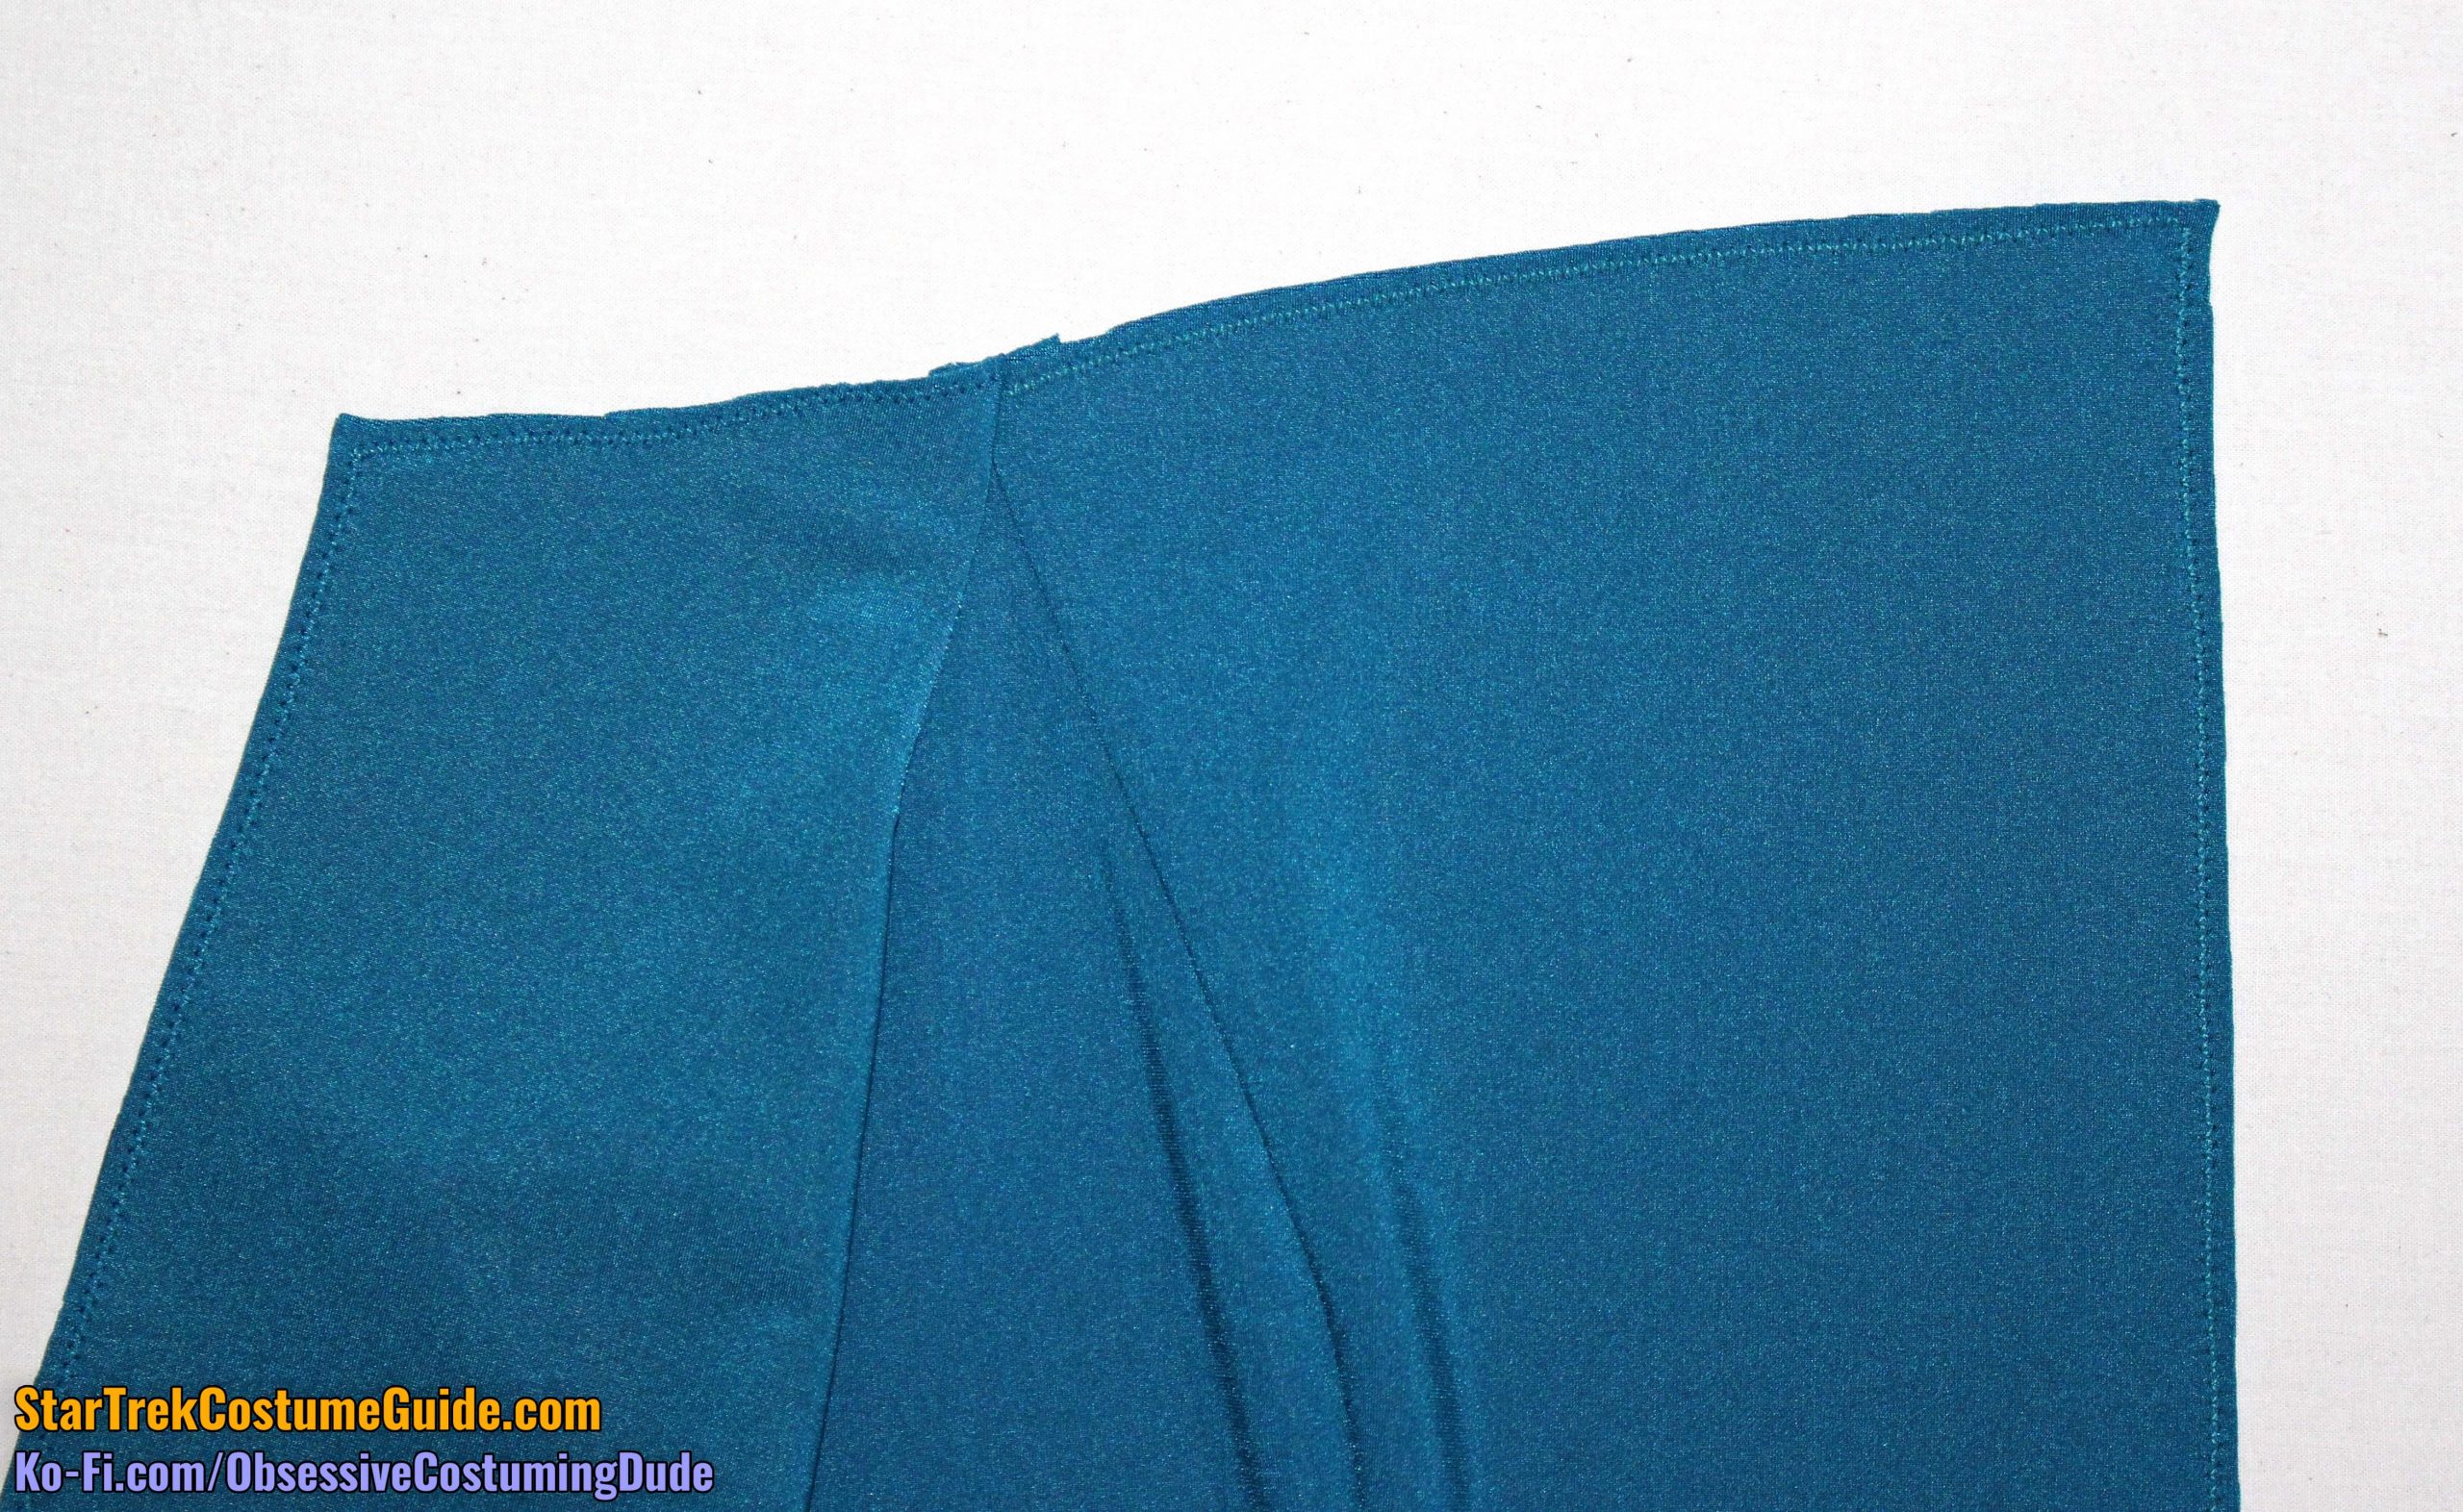
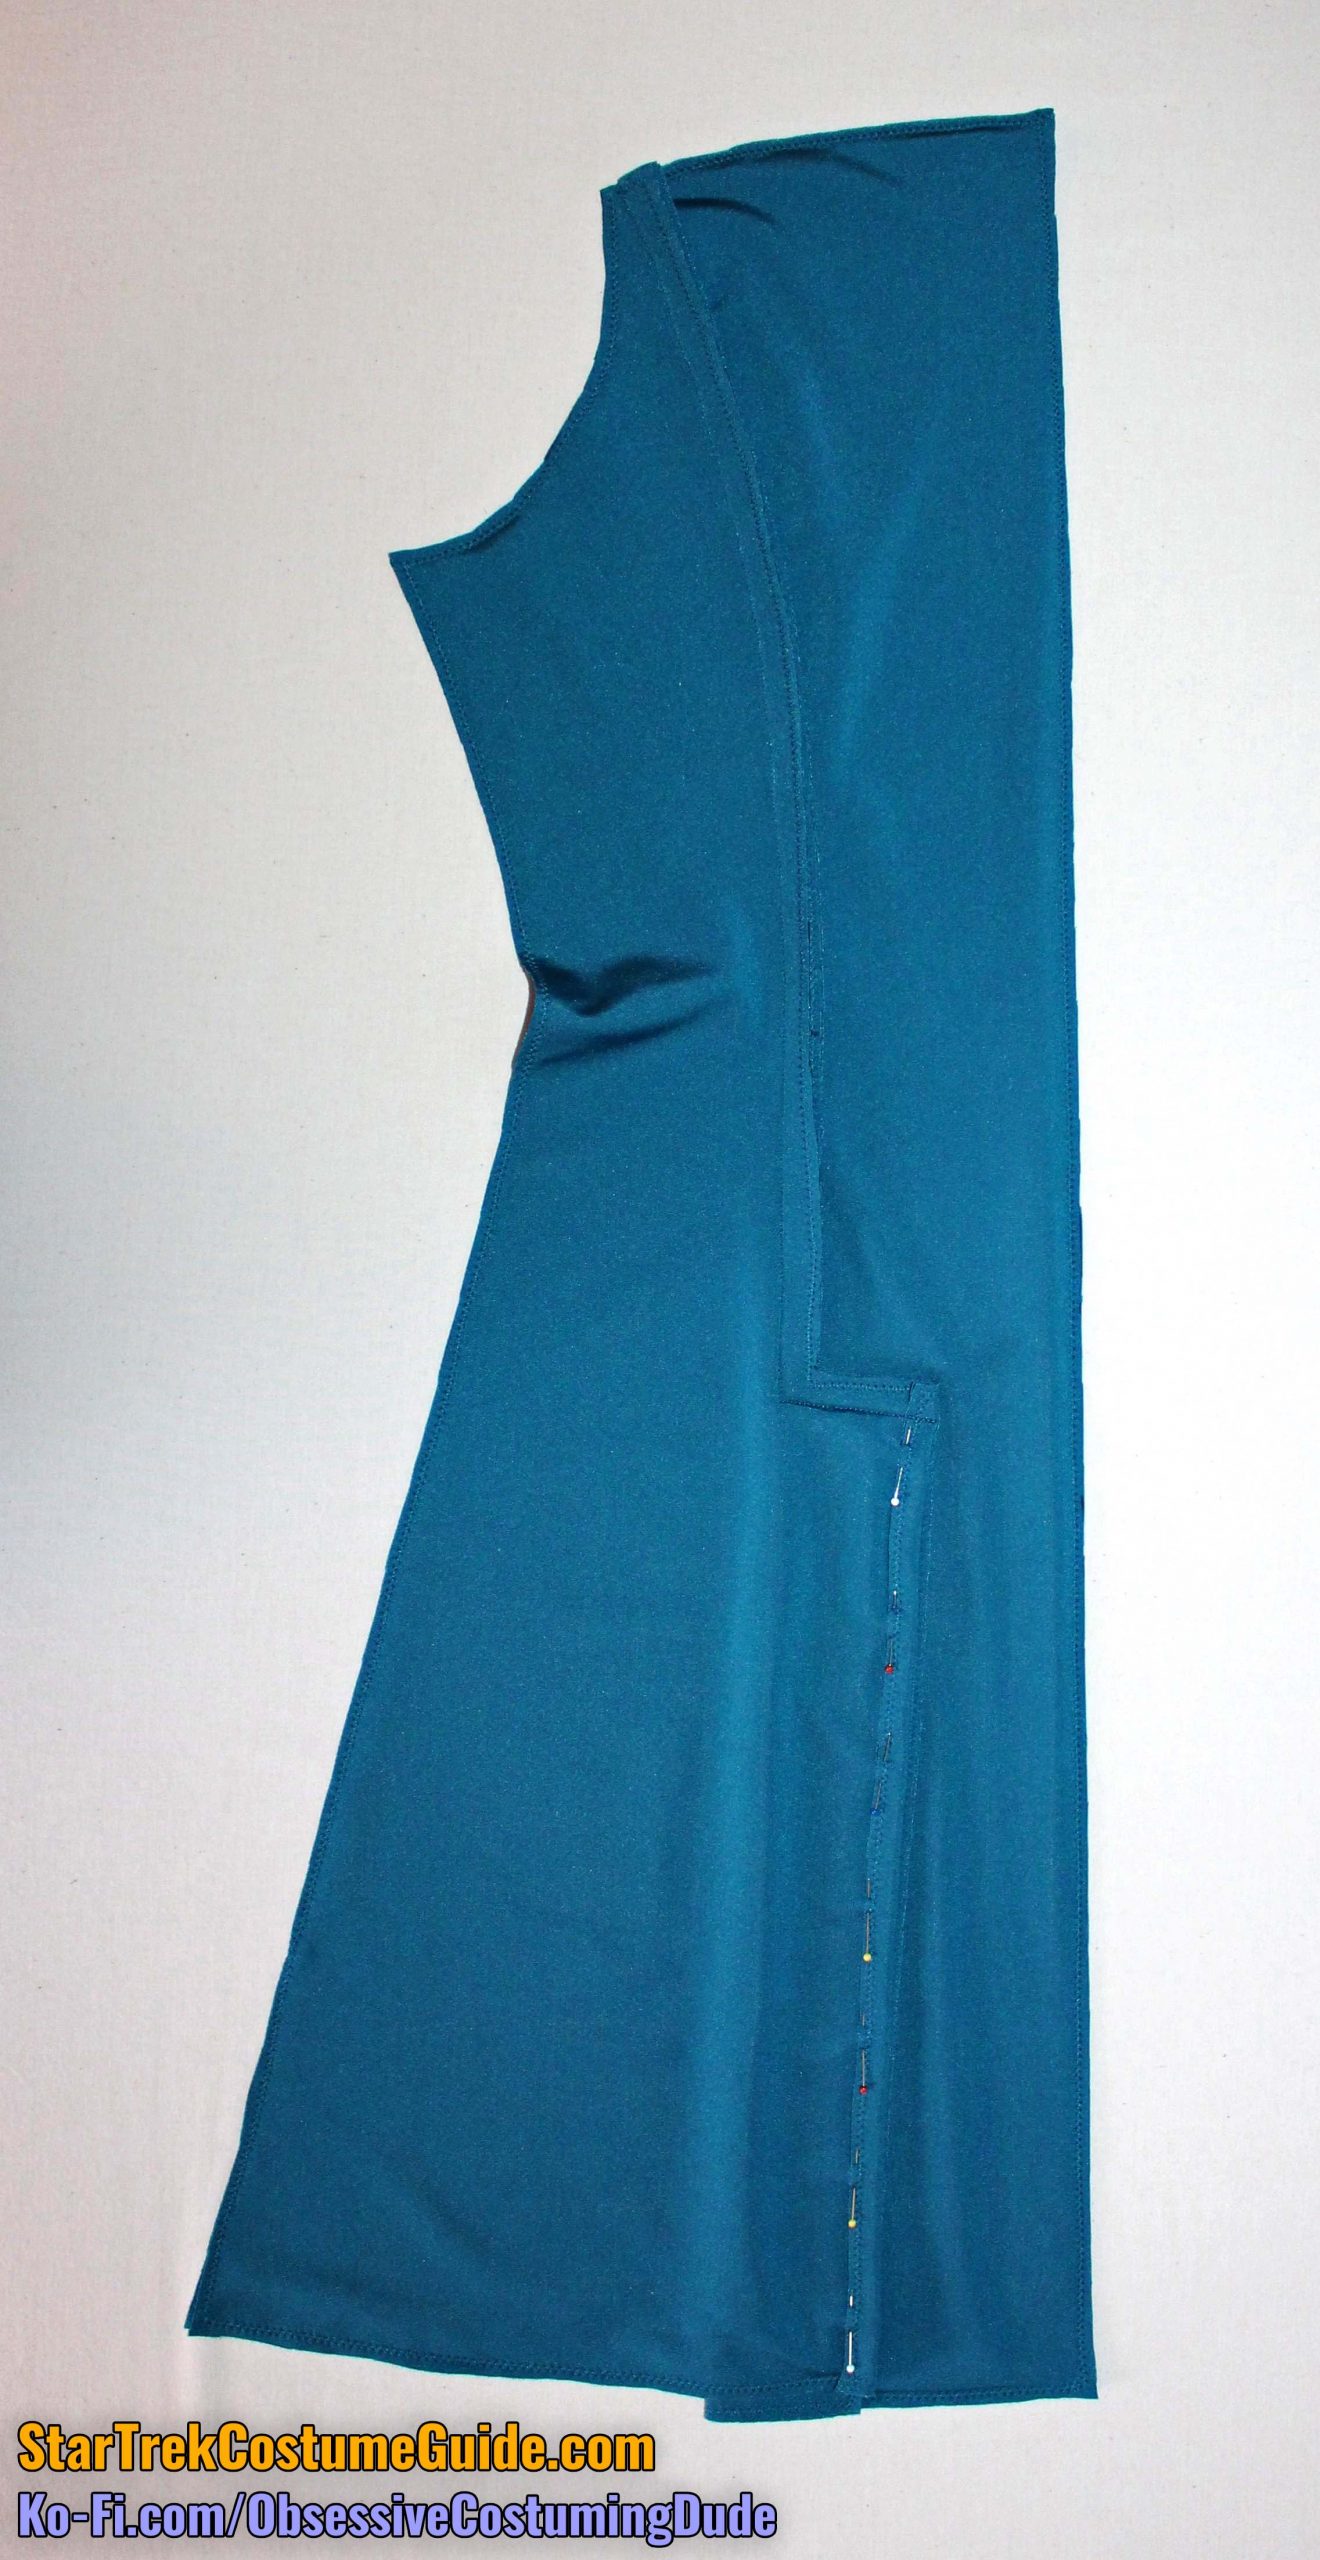
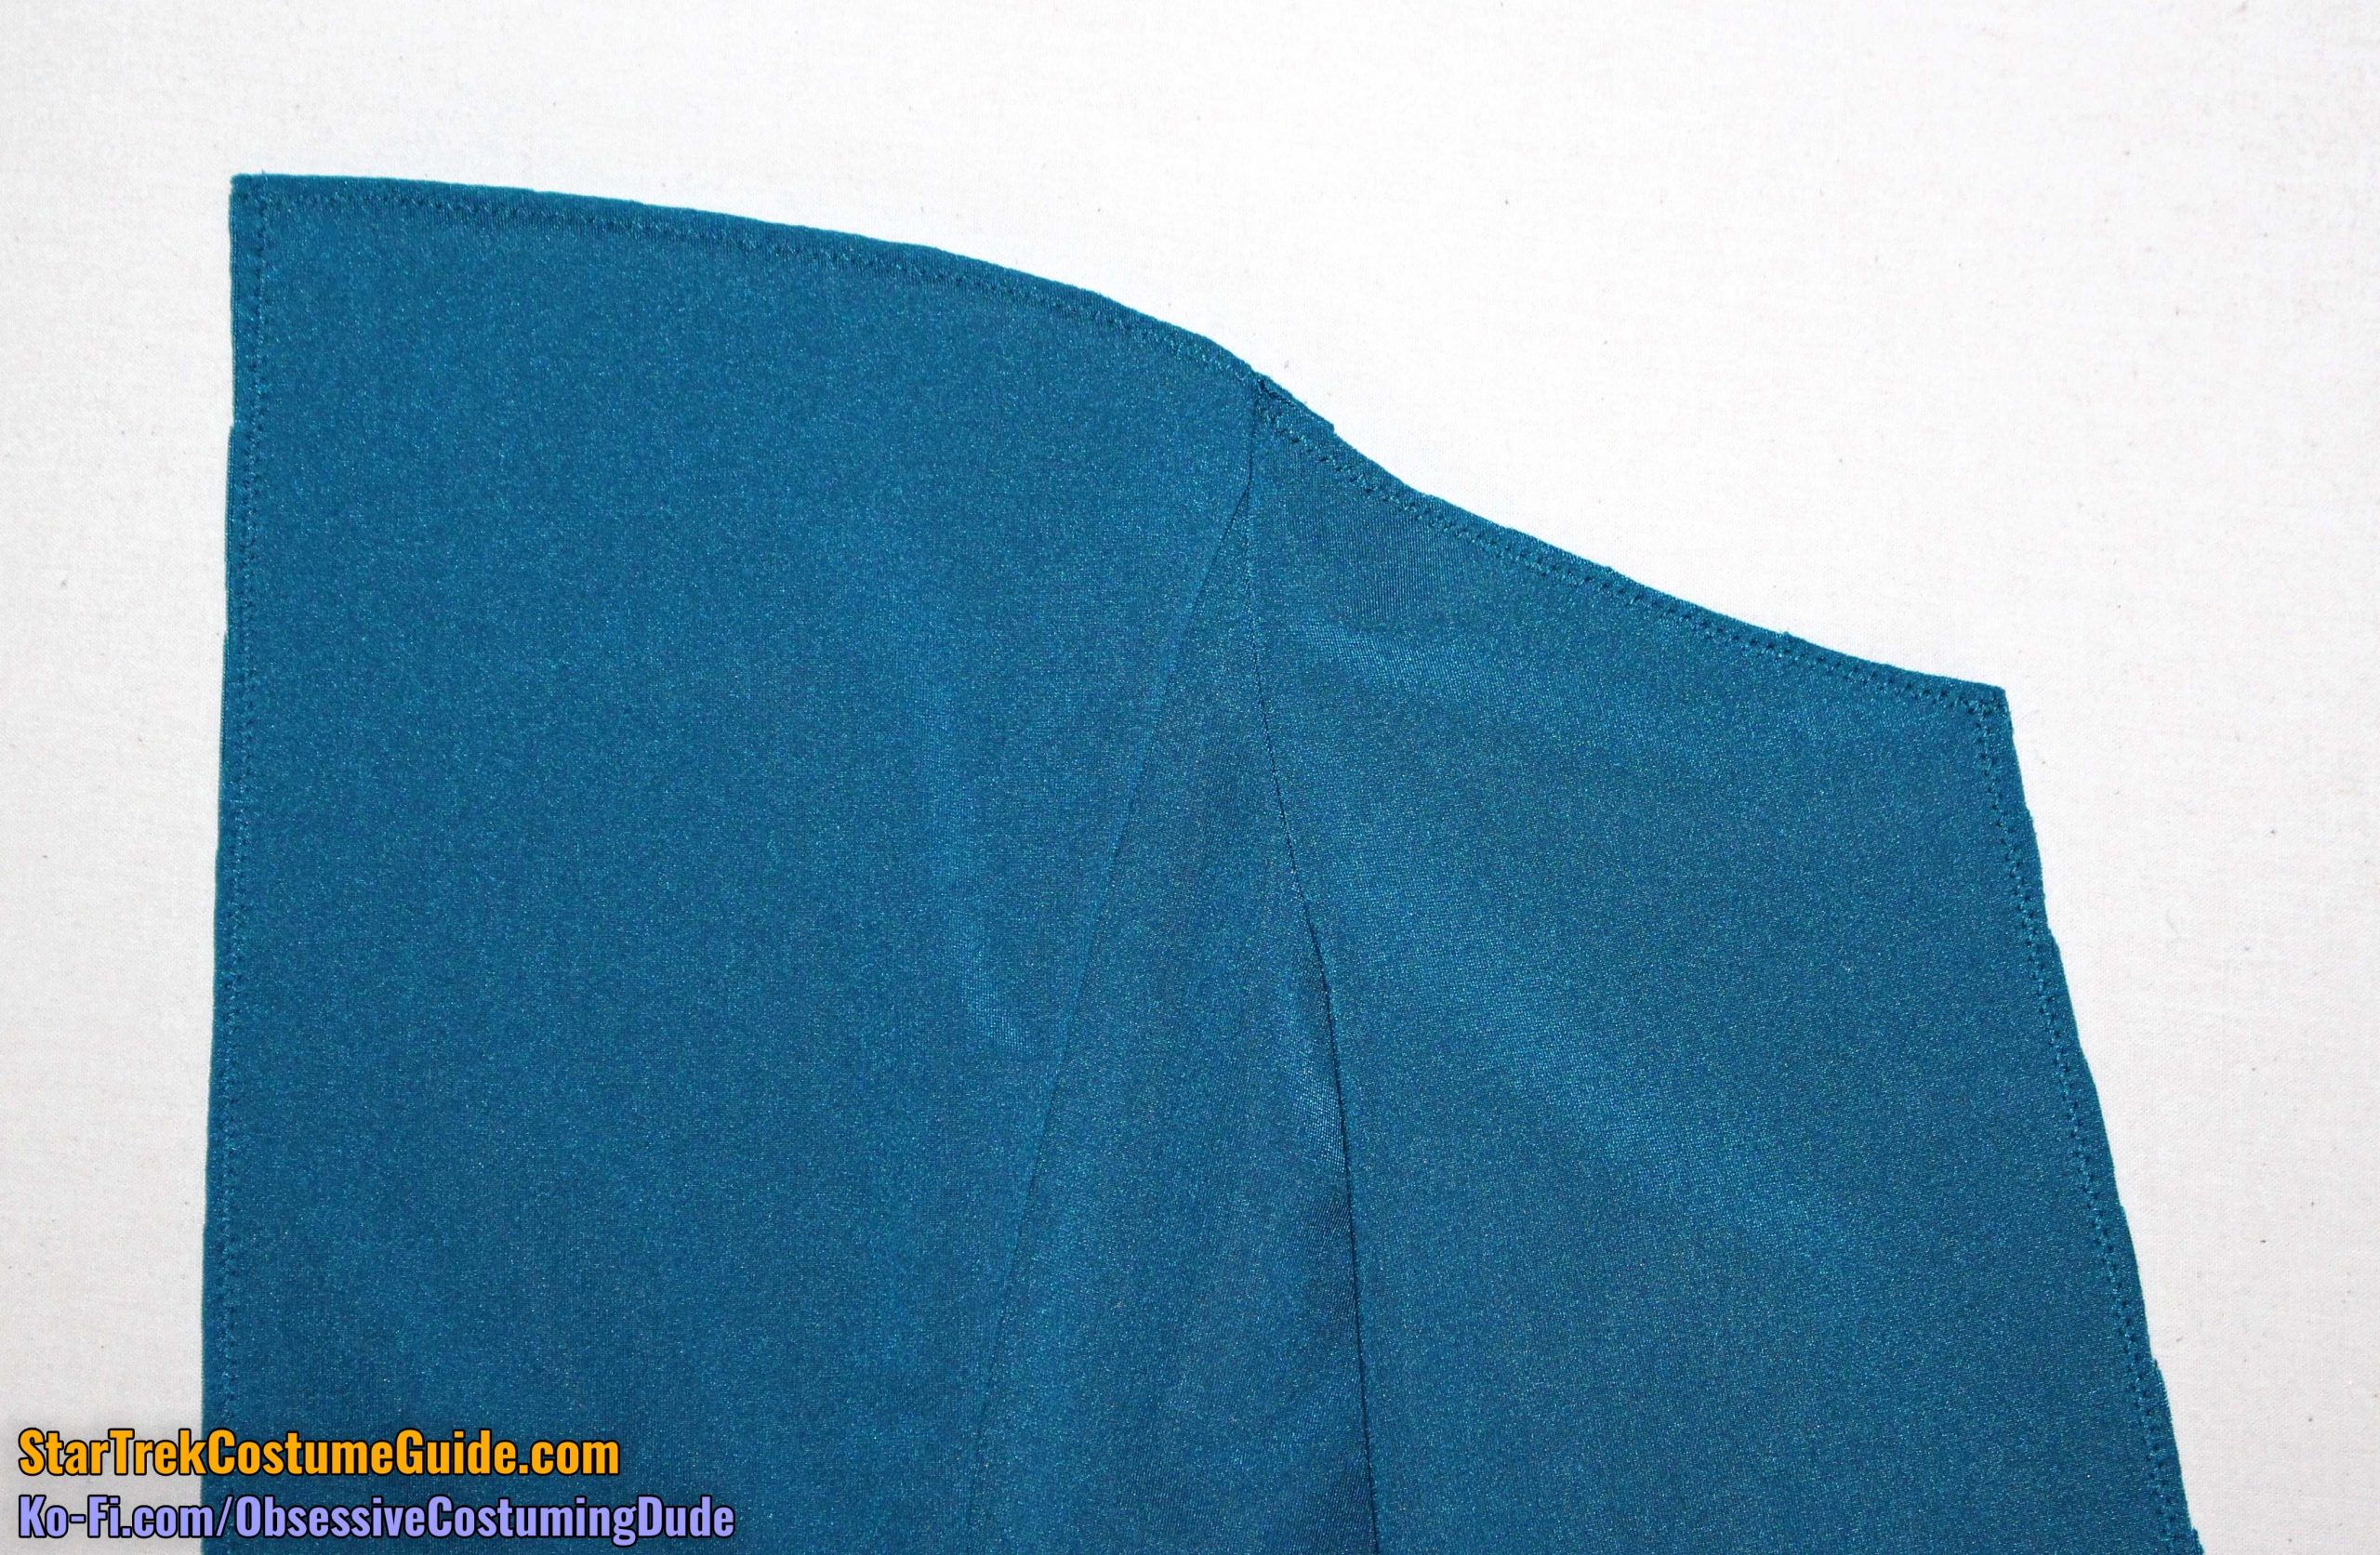
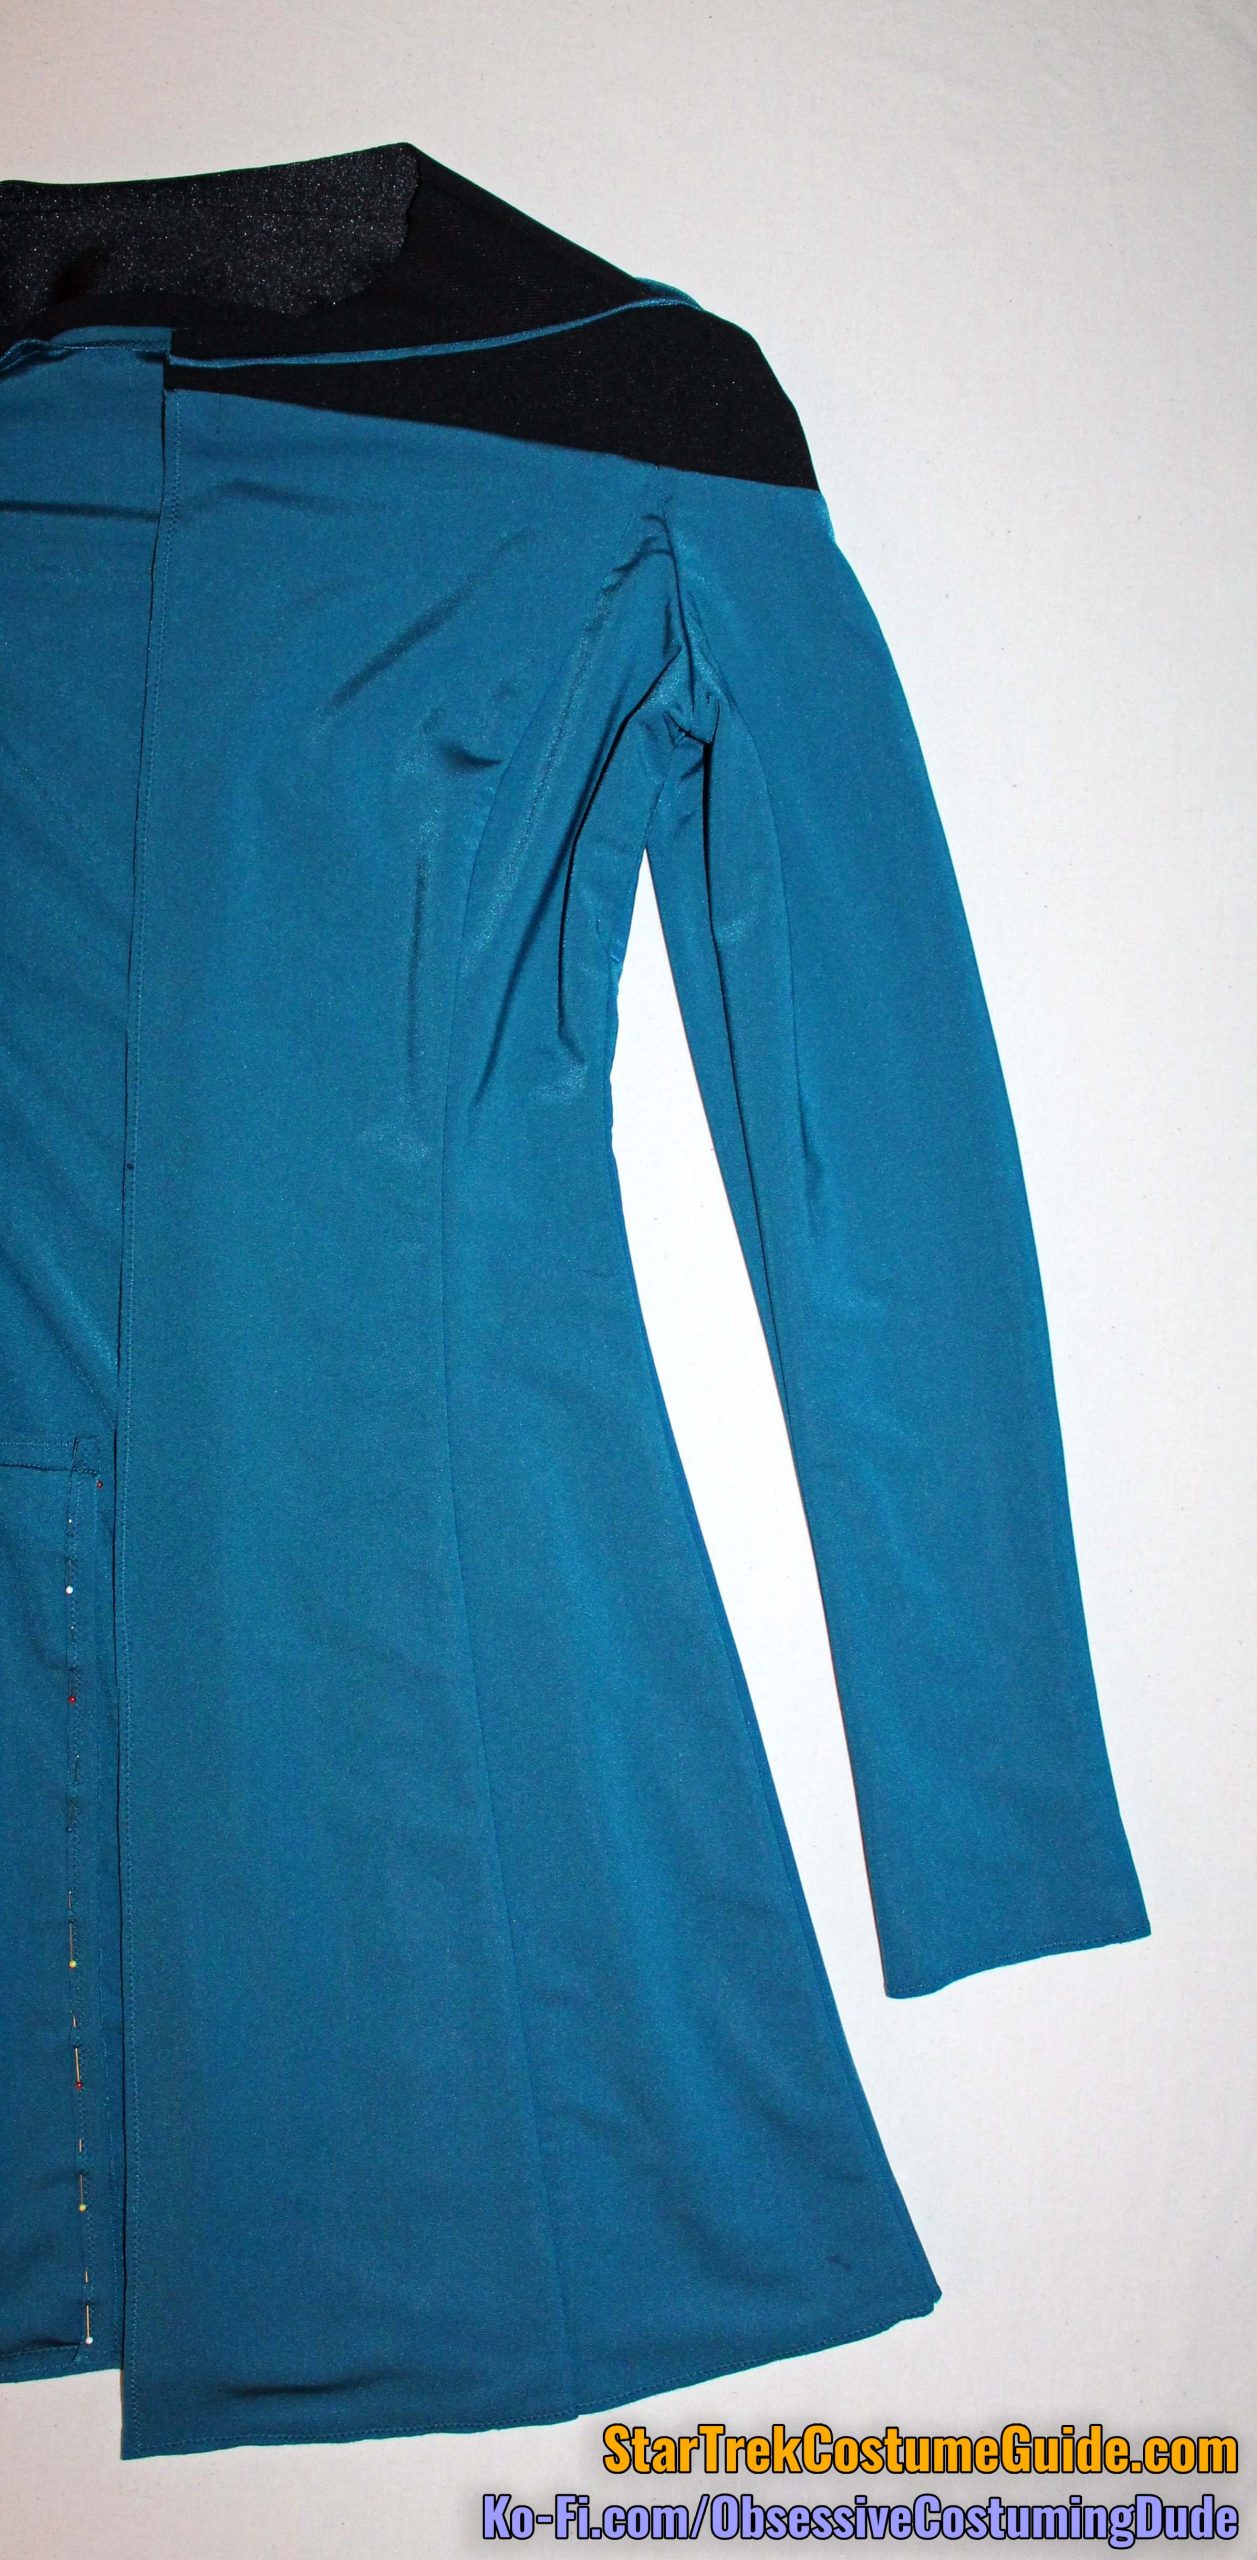
Sew the front sleeve (piece 2E) to the front at the armscye.
Press the sleeve (and seam allowances) away from the front.
Using black thread, sew the front yoke assembly to the upper front body of the smock.
Press the seam allowances open.
Repeat for the other front assembly.
STEP 2 - Back Assembly
NOTE: On the screen-used Dr. Pulaski (v1) smock I examined, there was some extra material in the lower/outer area of the back yoke. I included it in my (Tailors Gone Wild) sewing pattern since it was there on the original, but in my experience it can cause some unwanted bulging in that area on a finished uniform, so I suggest trimming it away for a better fit. Simply make a graceful downward curve from the center back to each lower/outer corner of the lower back yoke (piece D).
Construct the back yoke assembly as described previously for the front yoke.
Sew the back sleeve (piece 2F) to the back.
Press the sleeve (and seam allowances) away from center.
Repeat for the other back assembly.
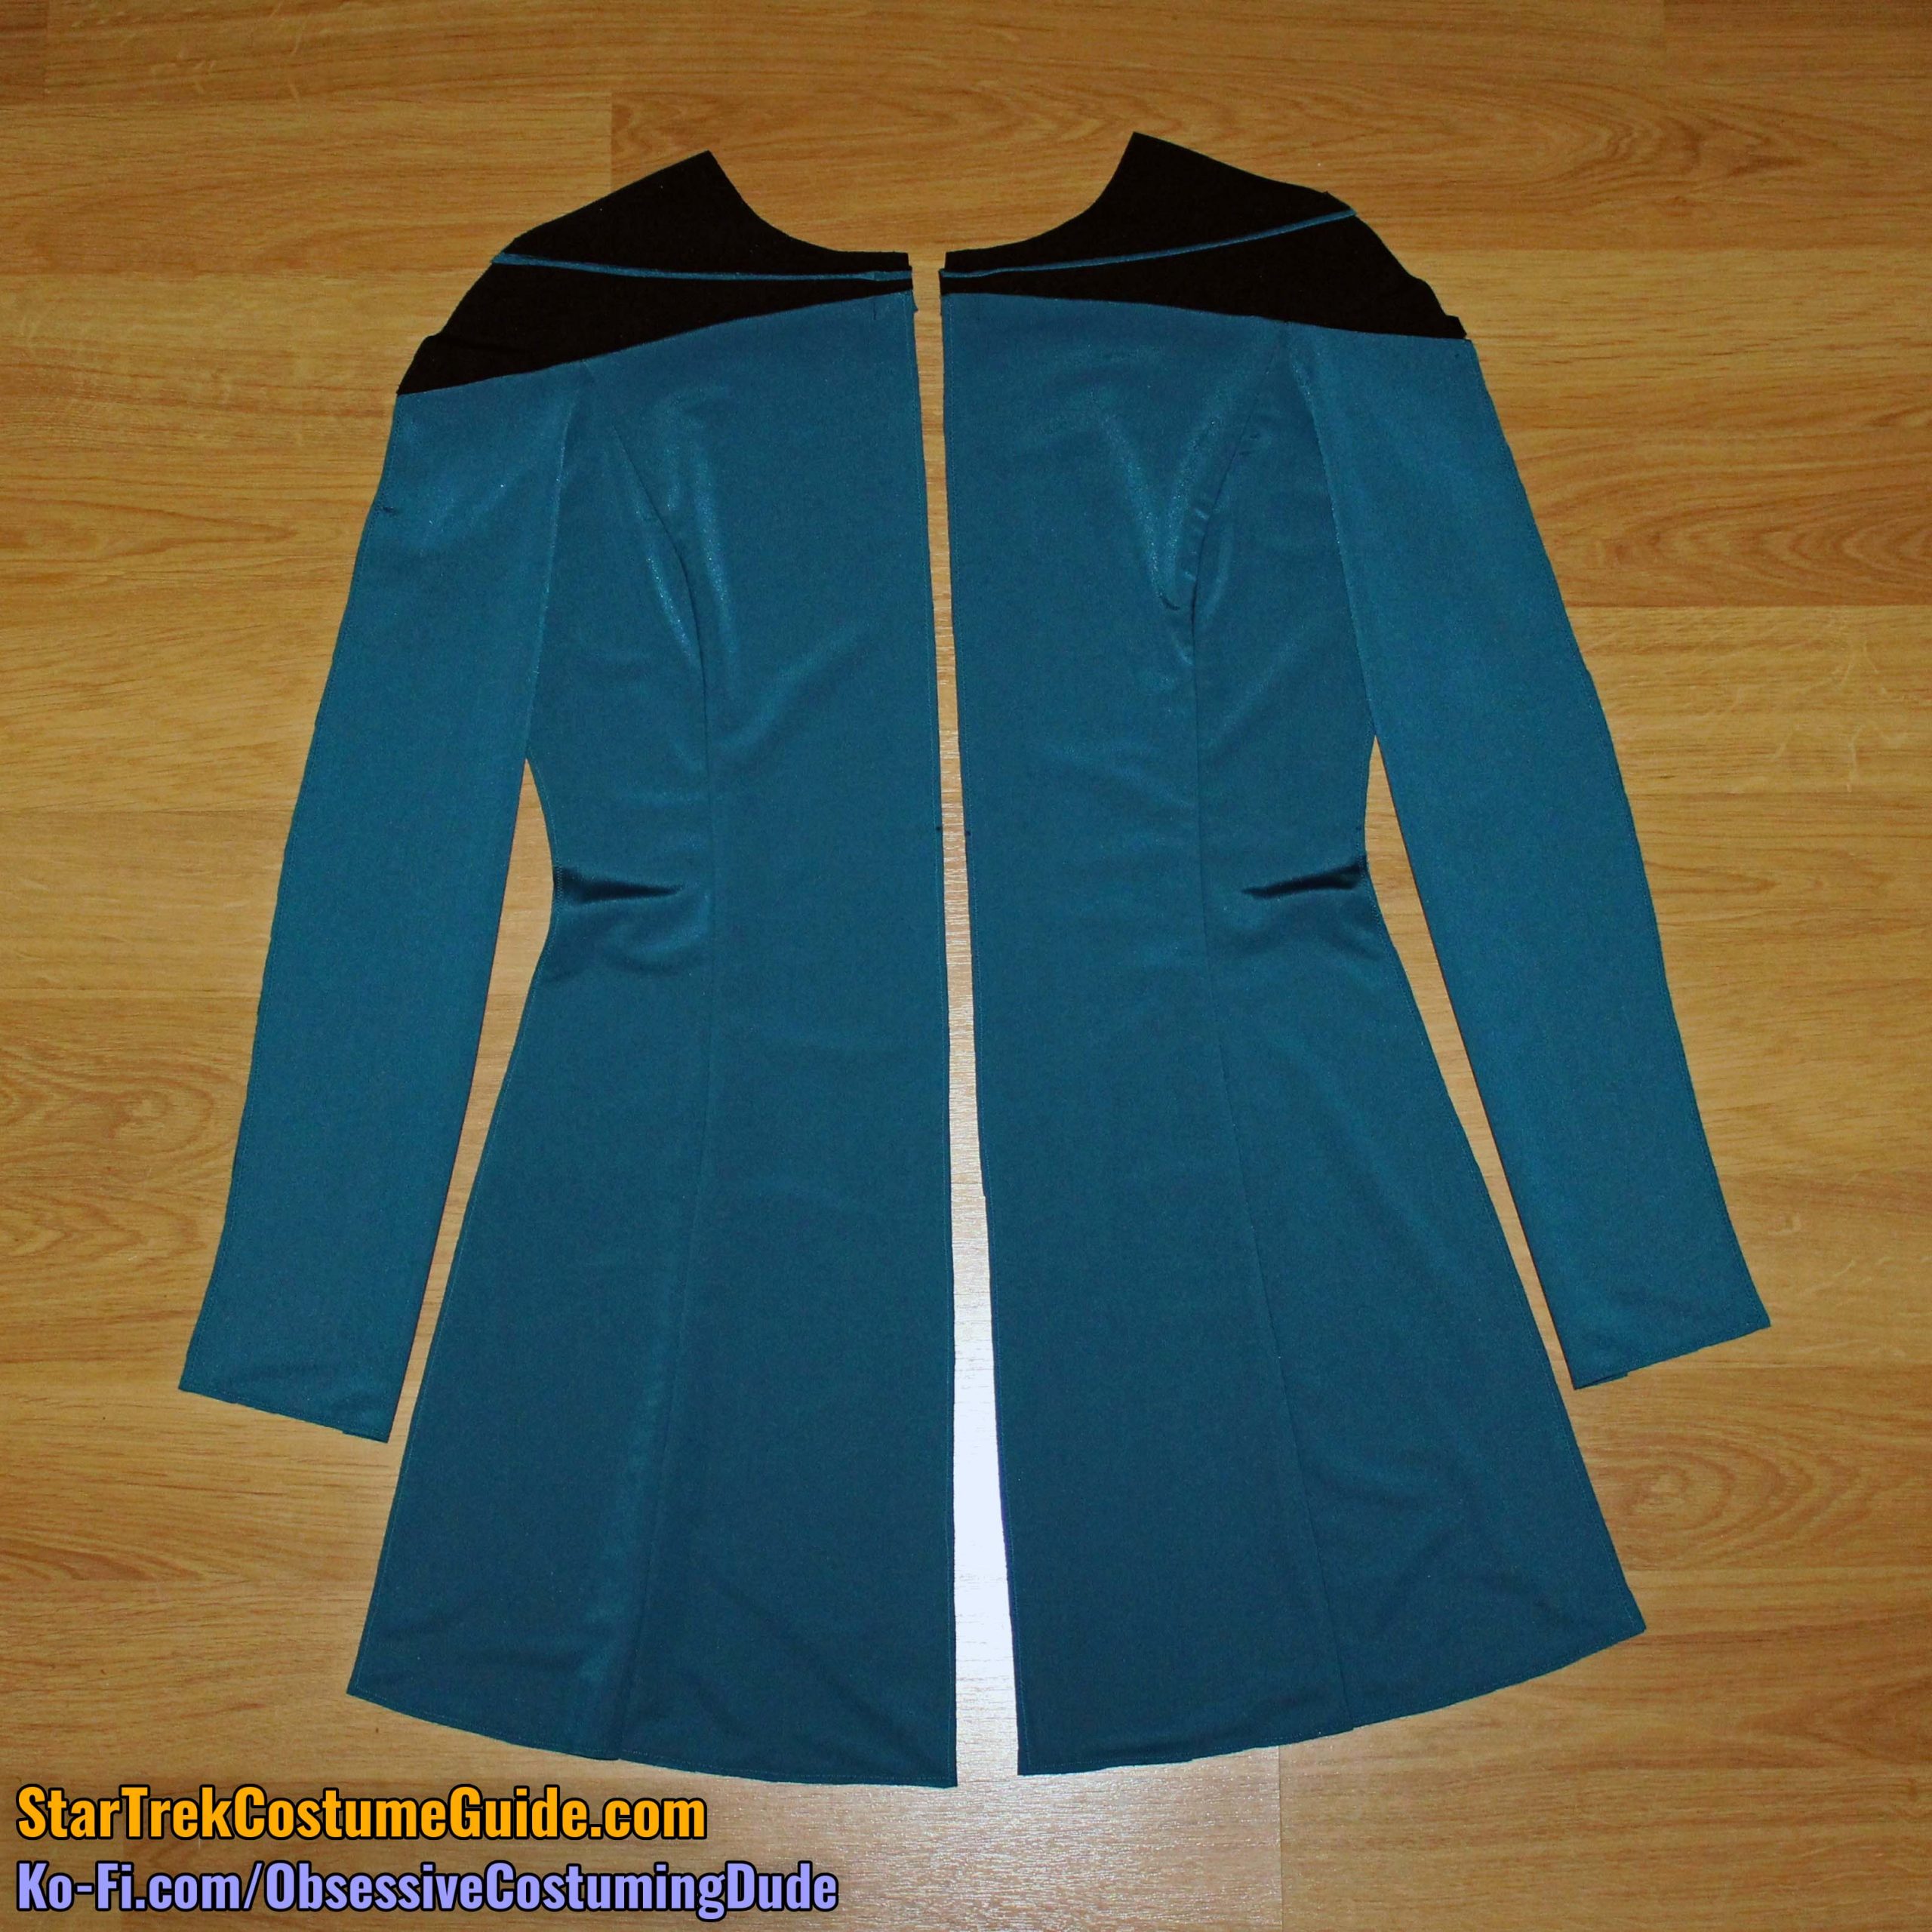
Sew the two back assemblies together along the center back.
Press the seam allowances open.
Using black thread, sew the back yoke to the back assembly.
Press the seam allowances open.
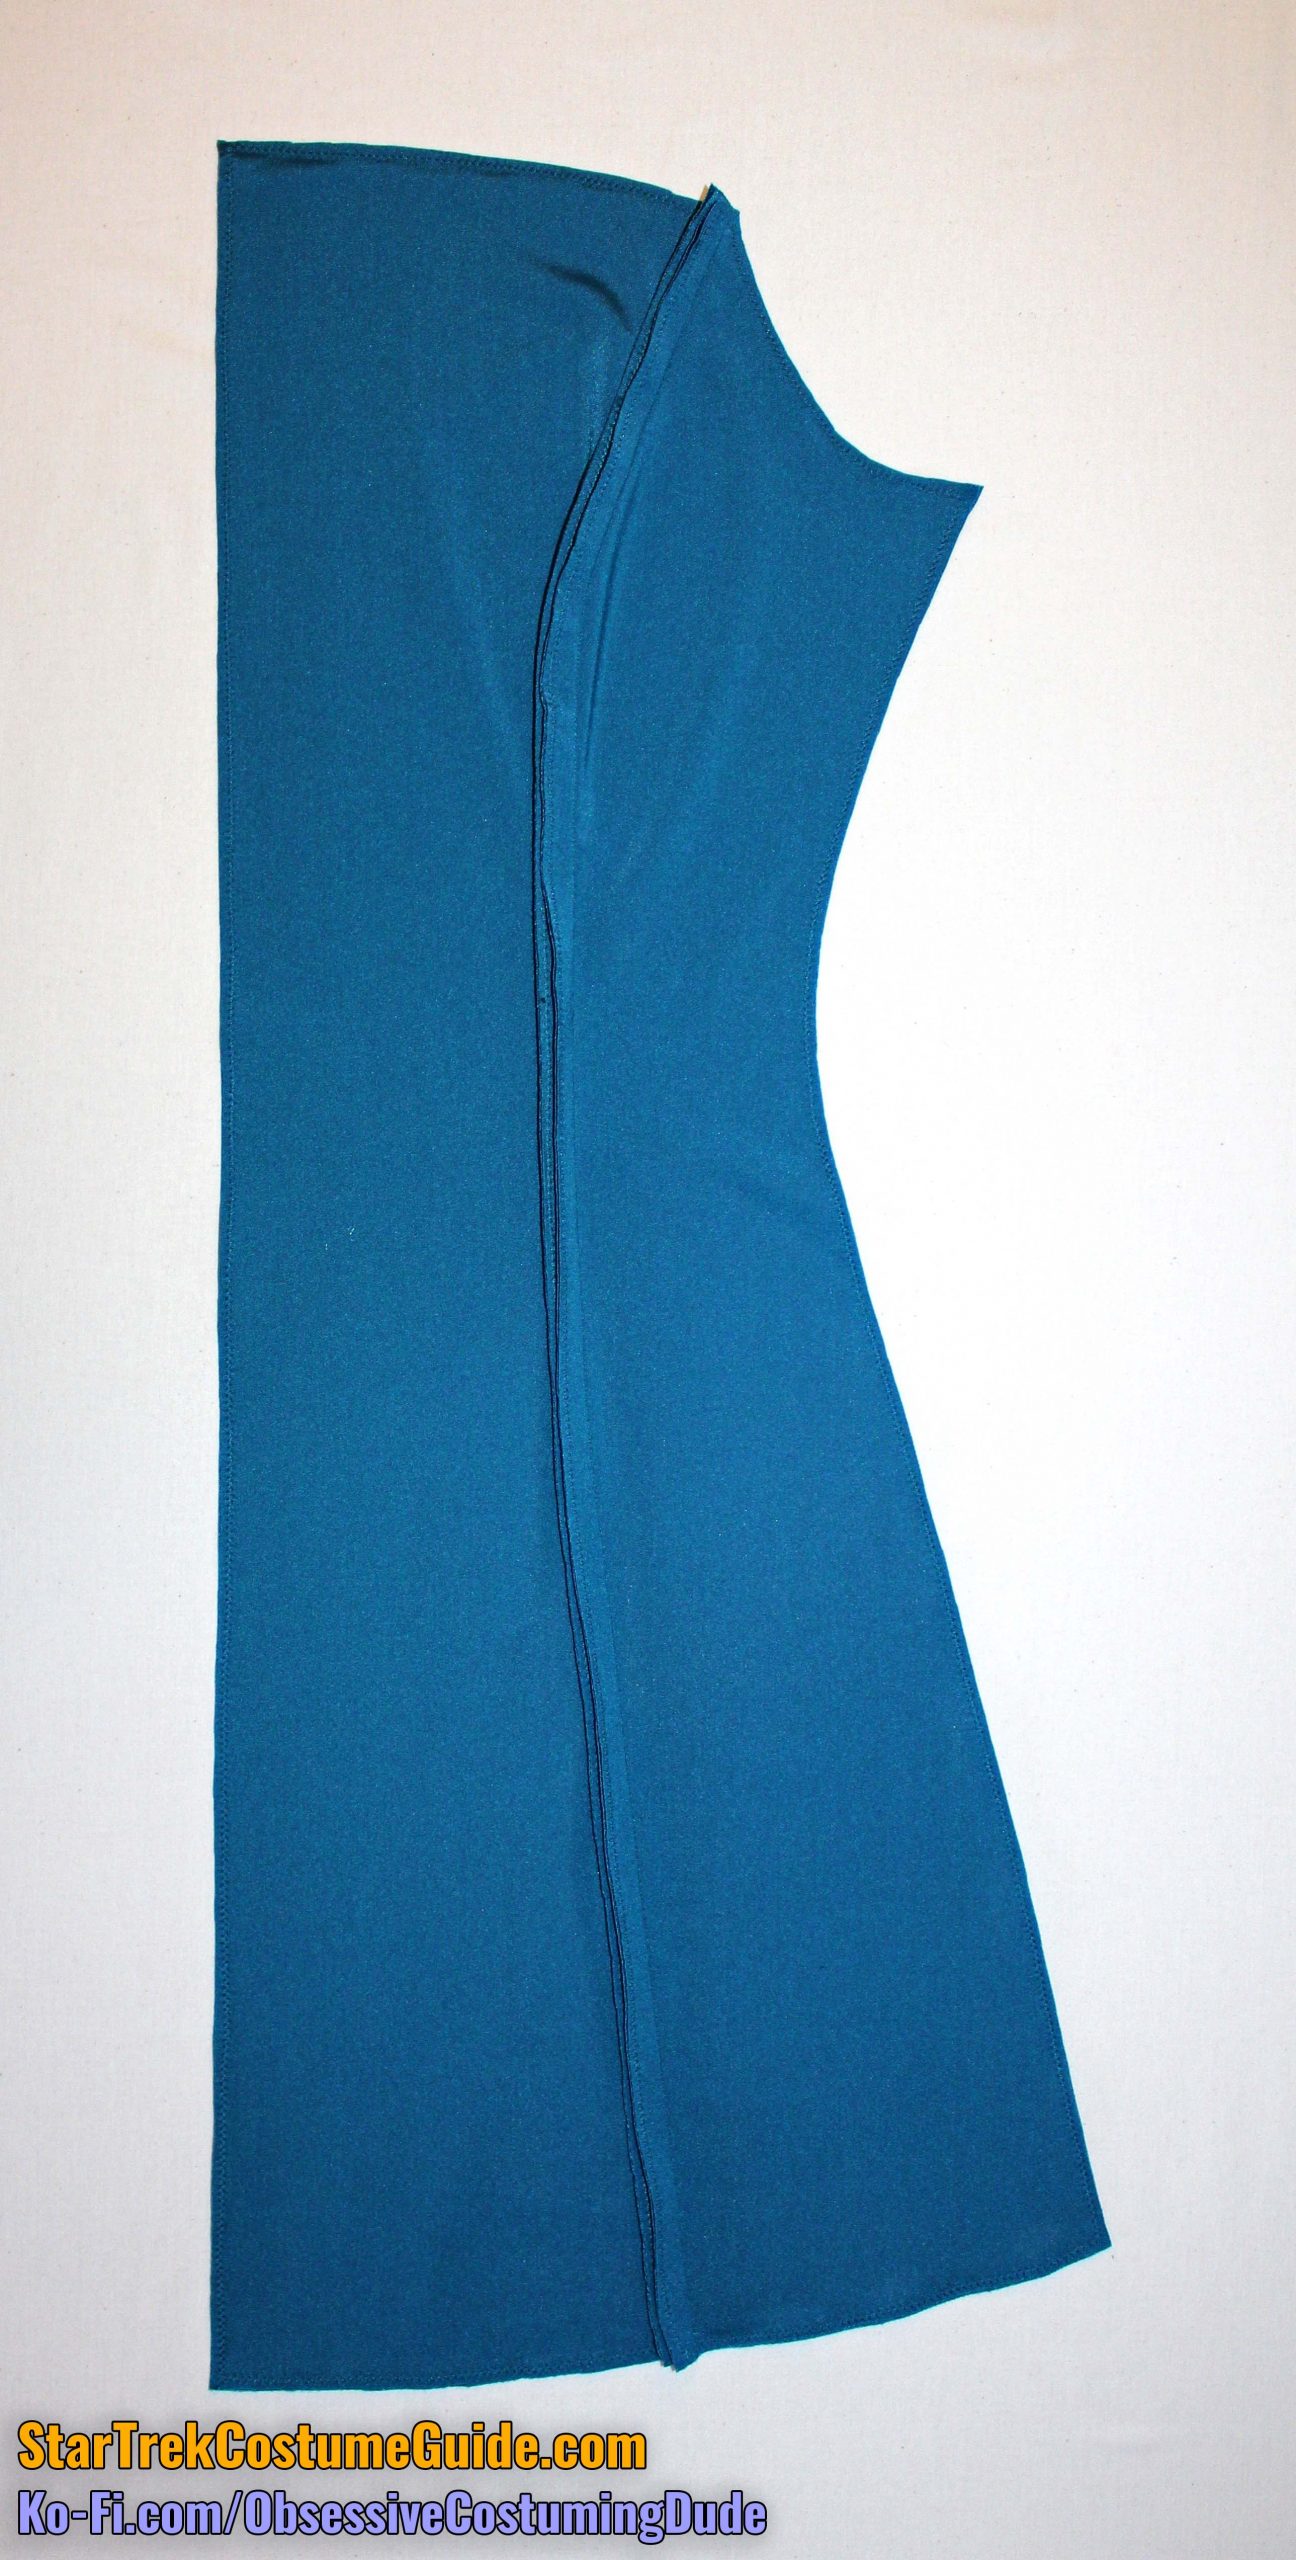
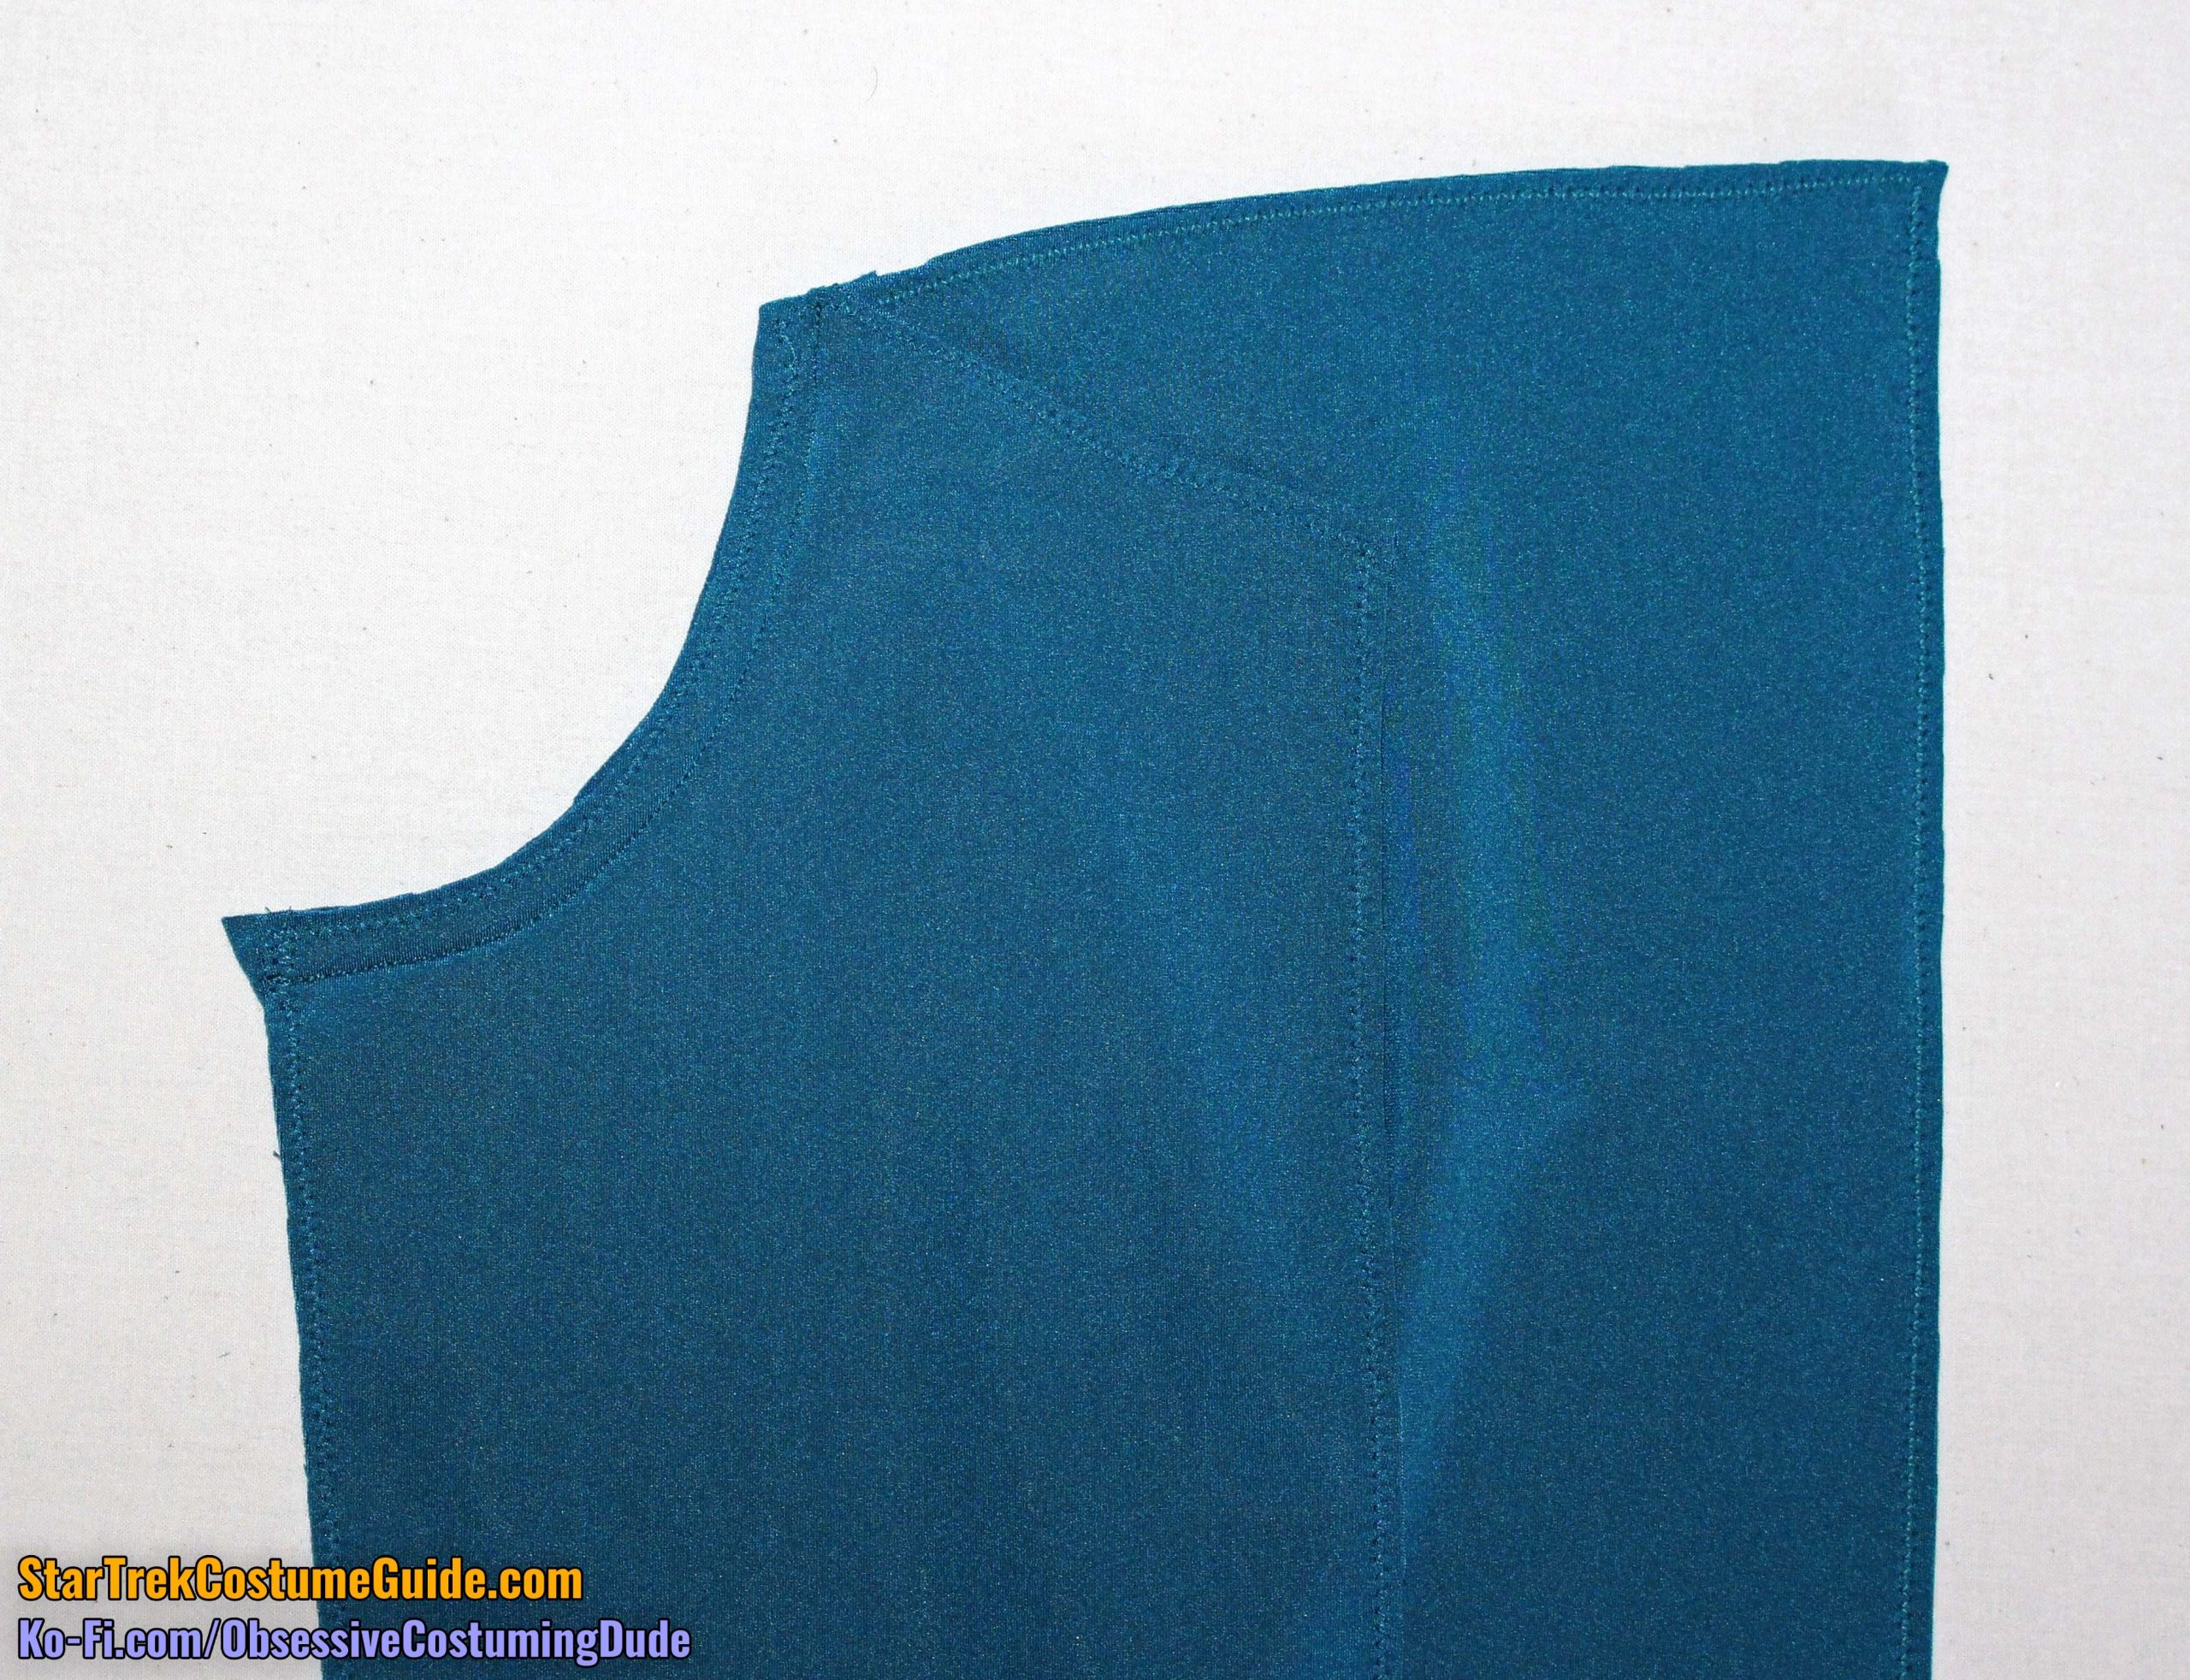
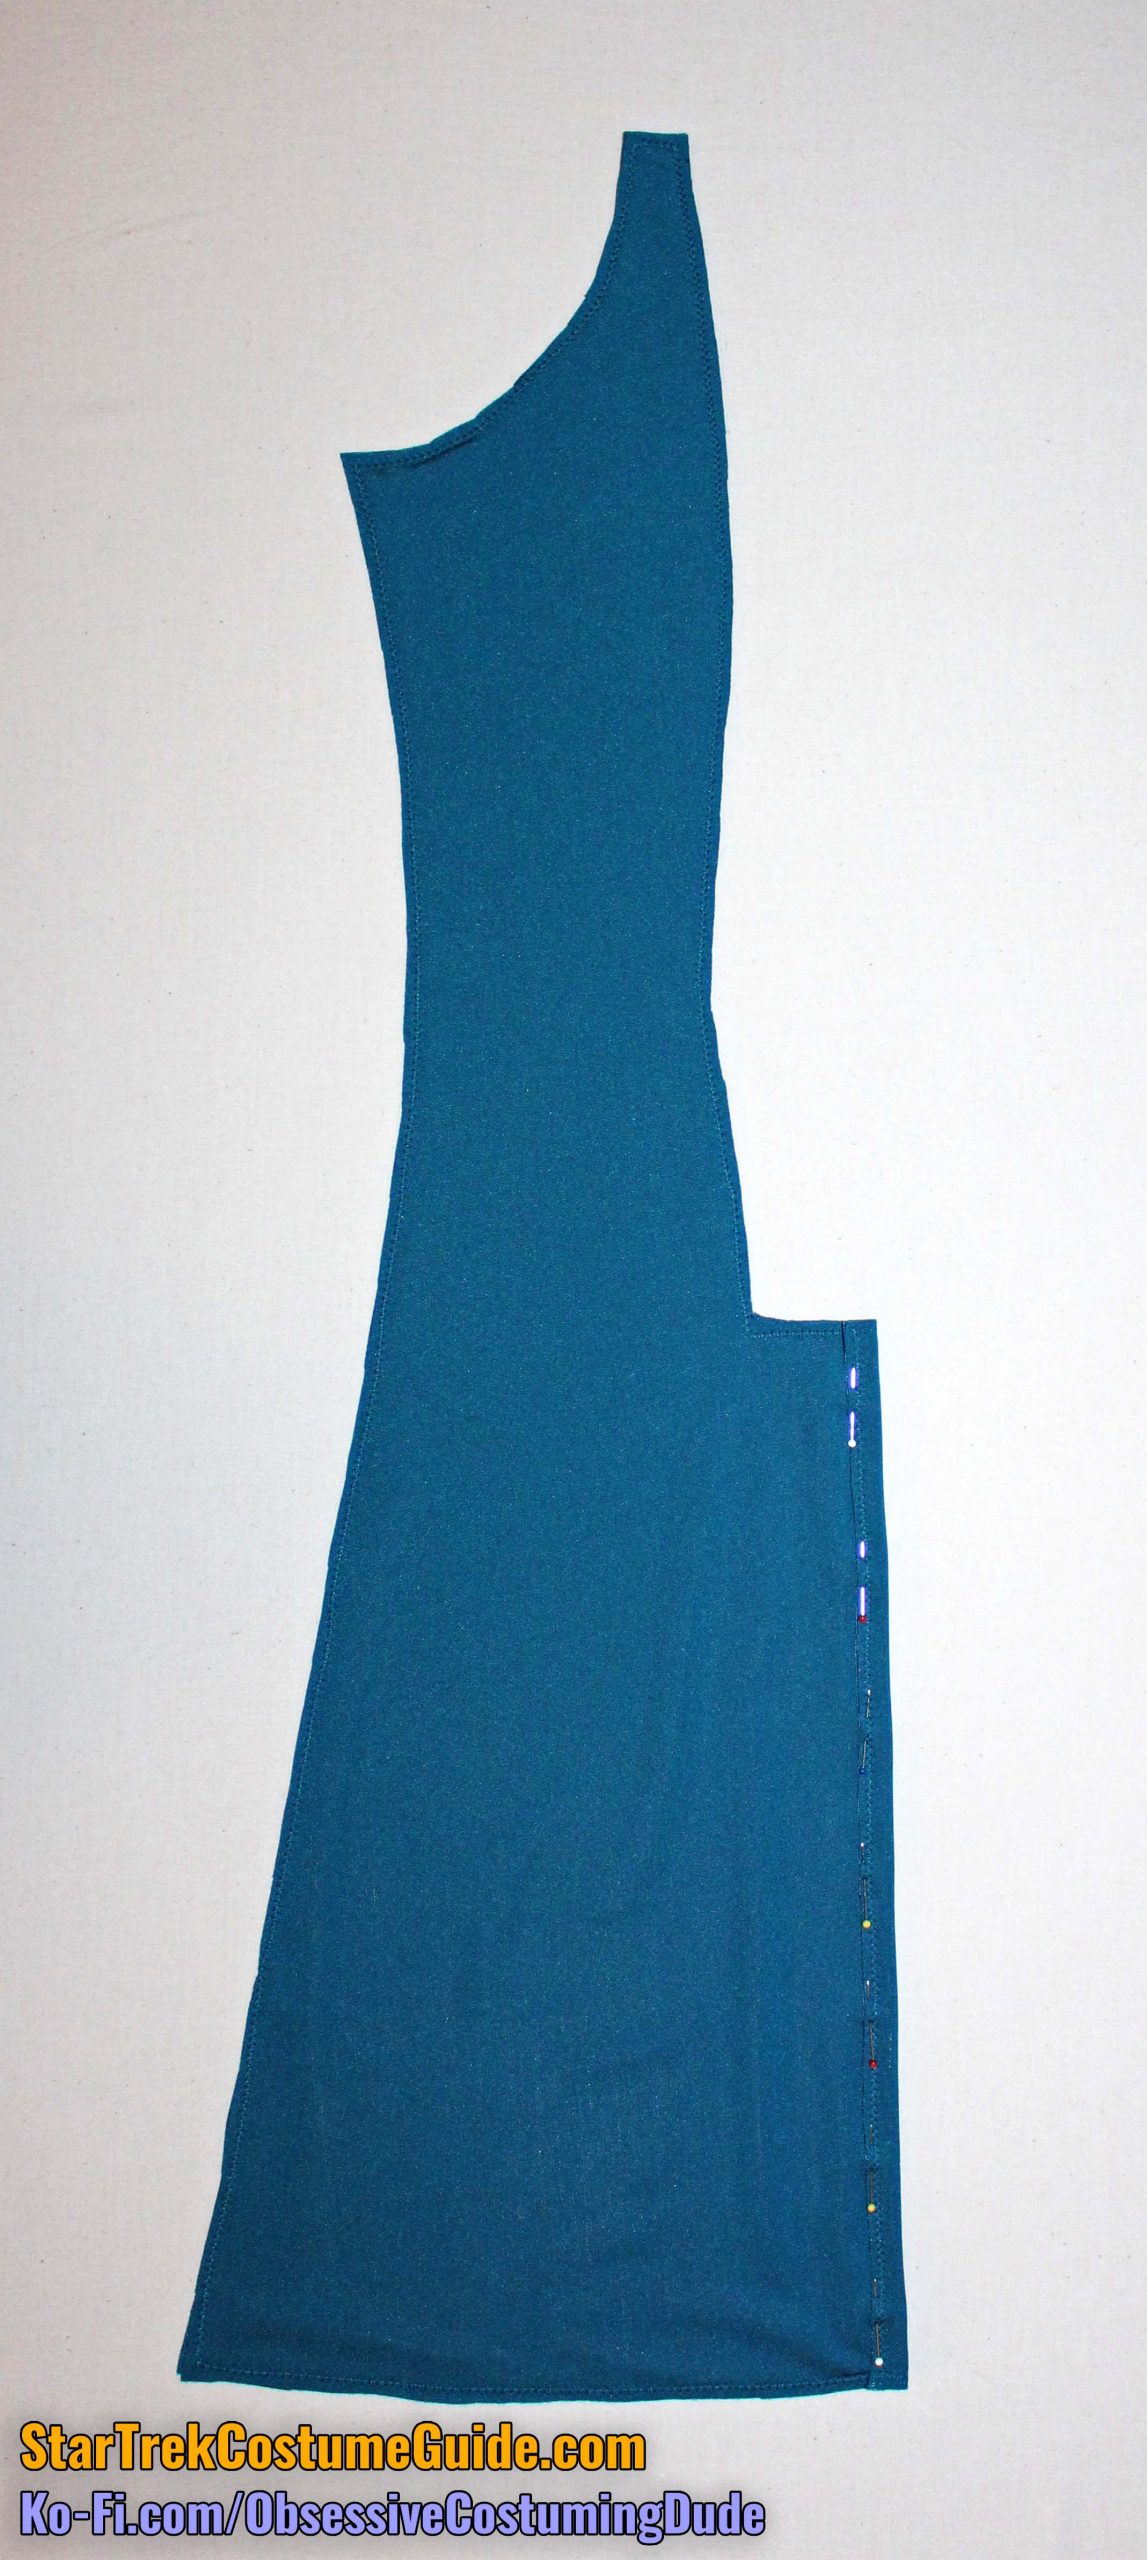
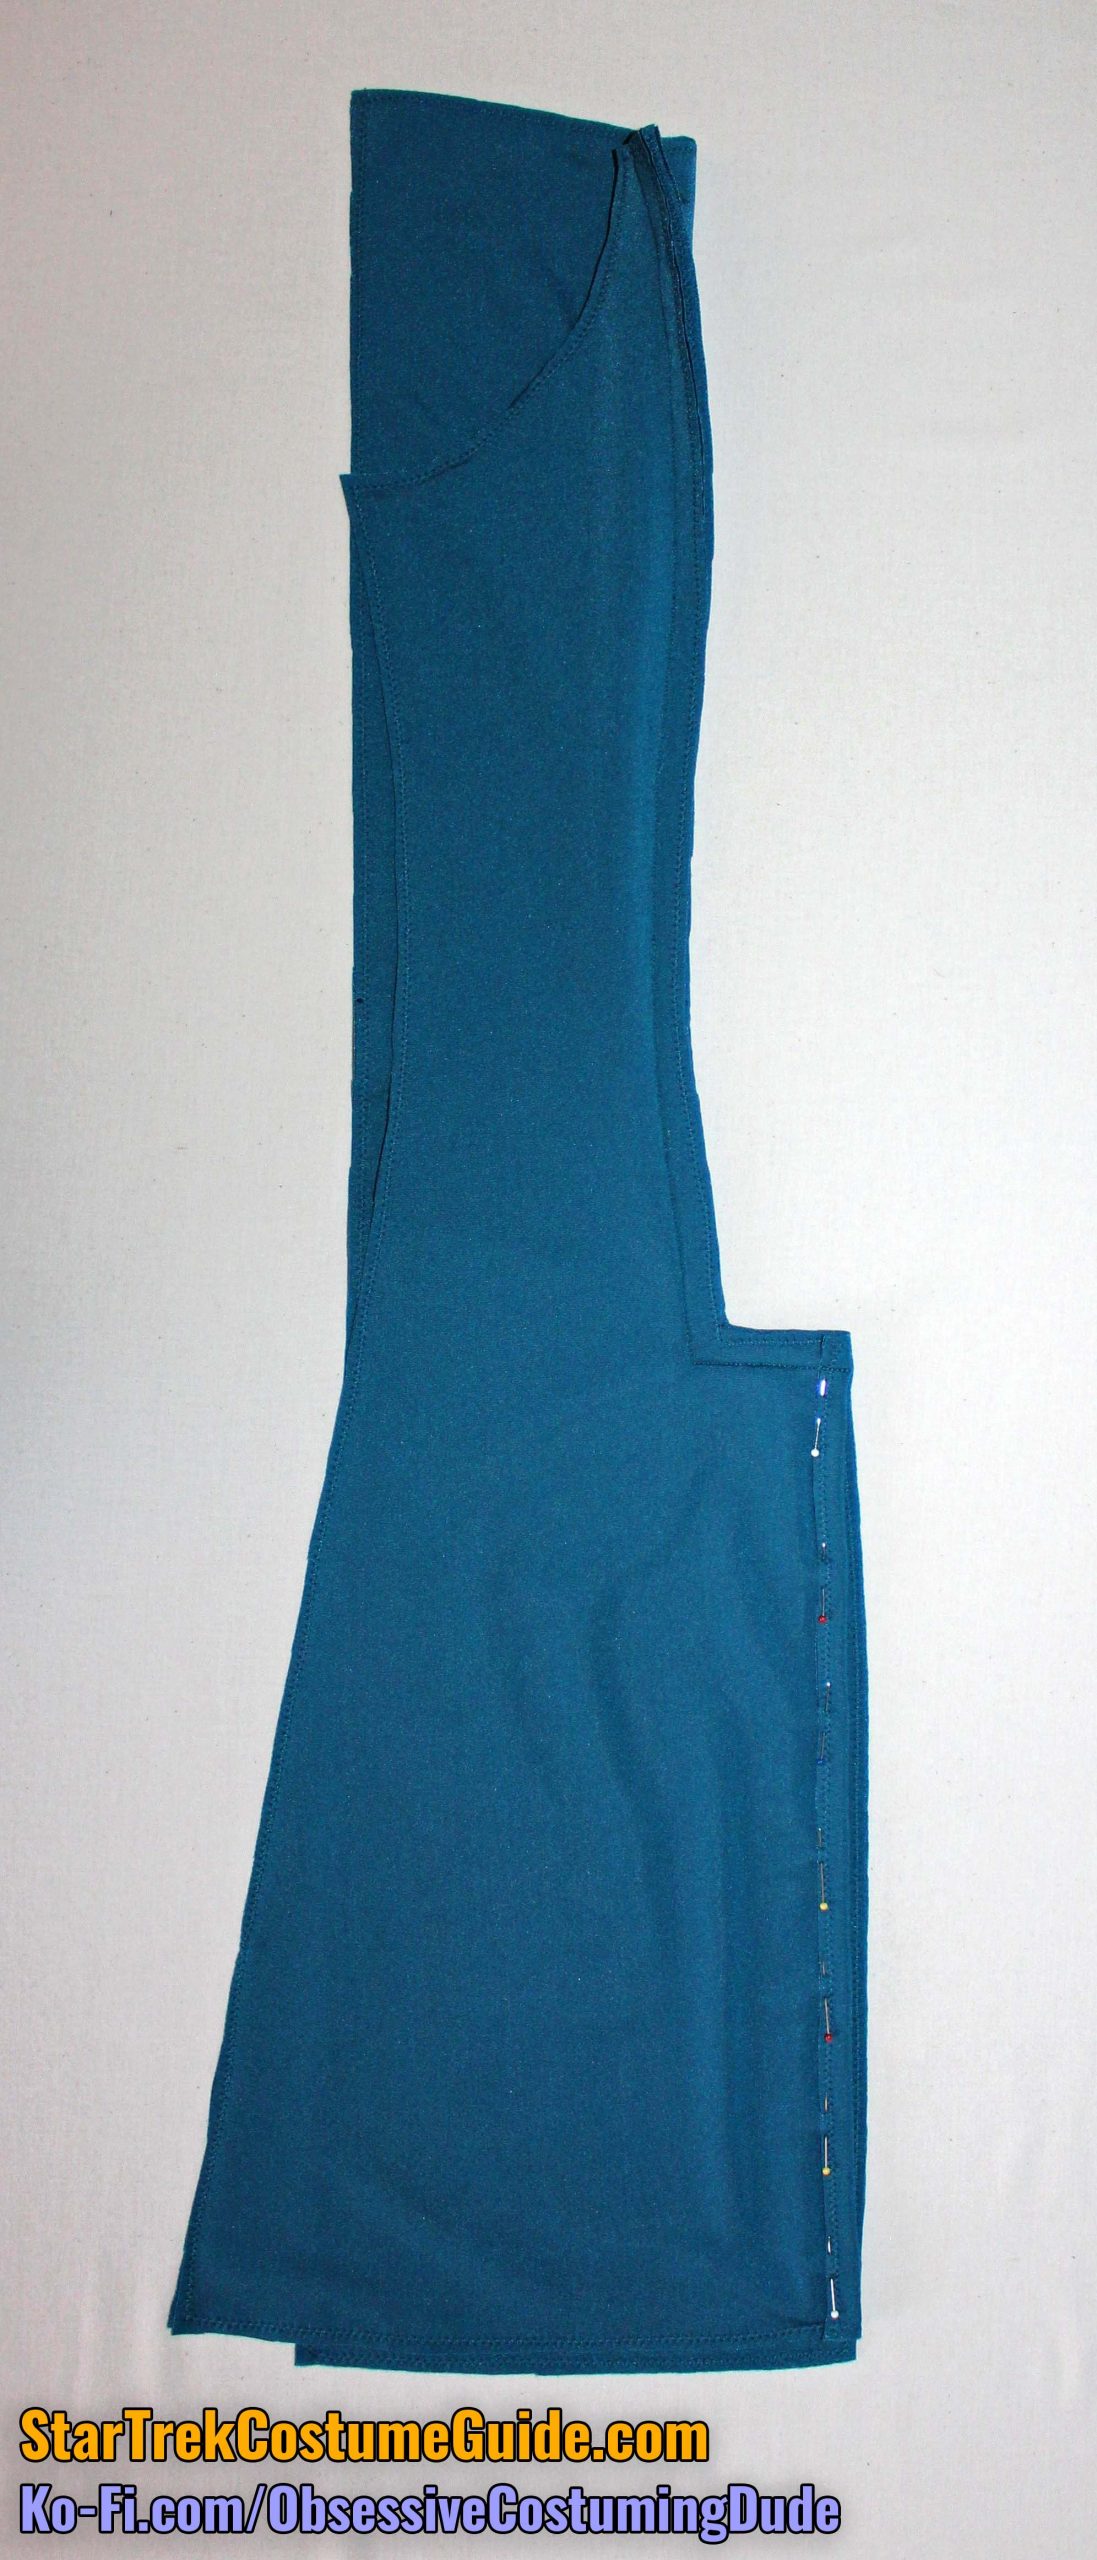
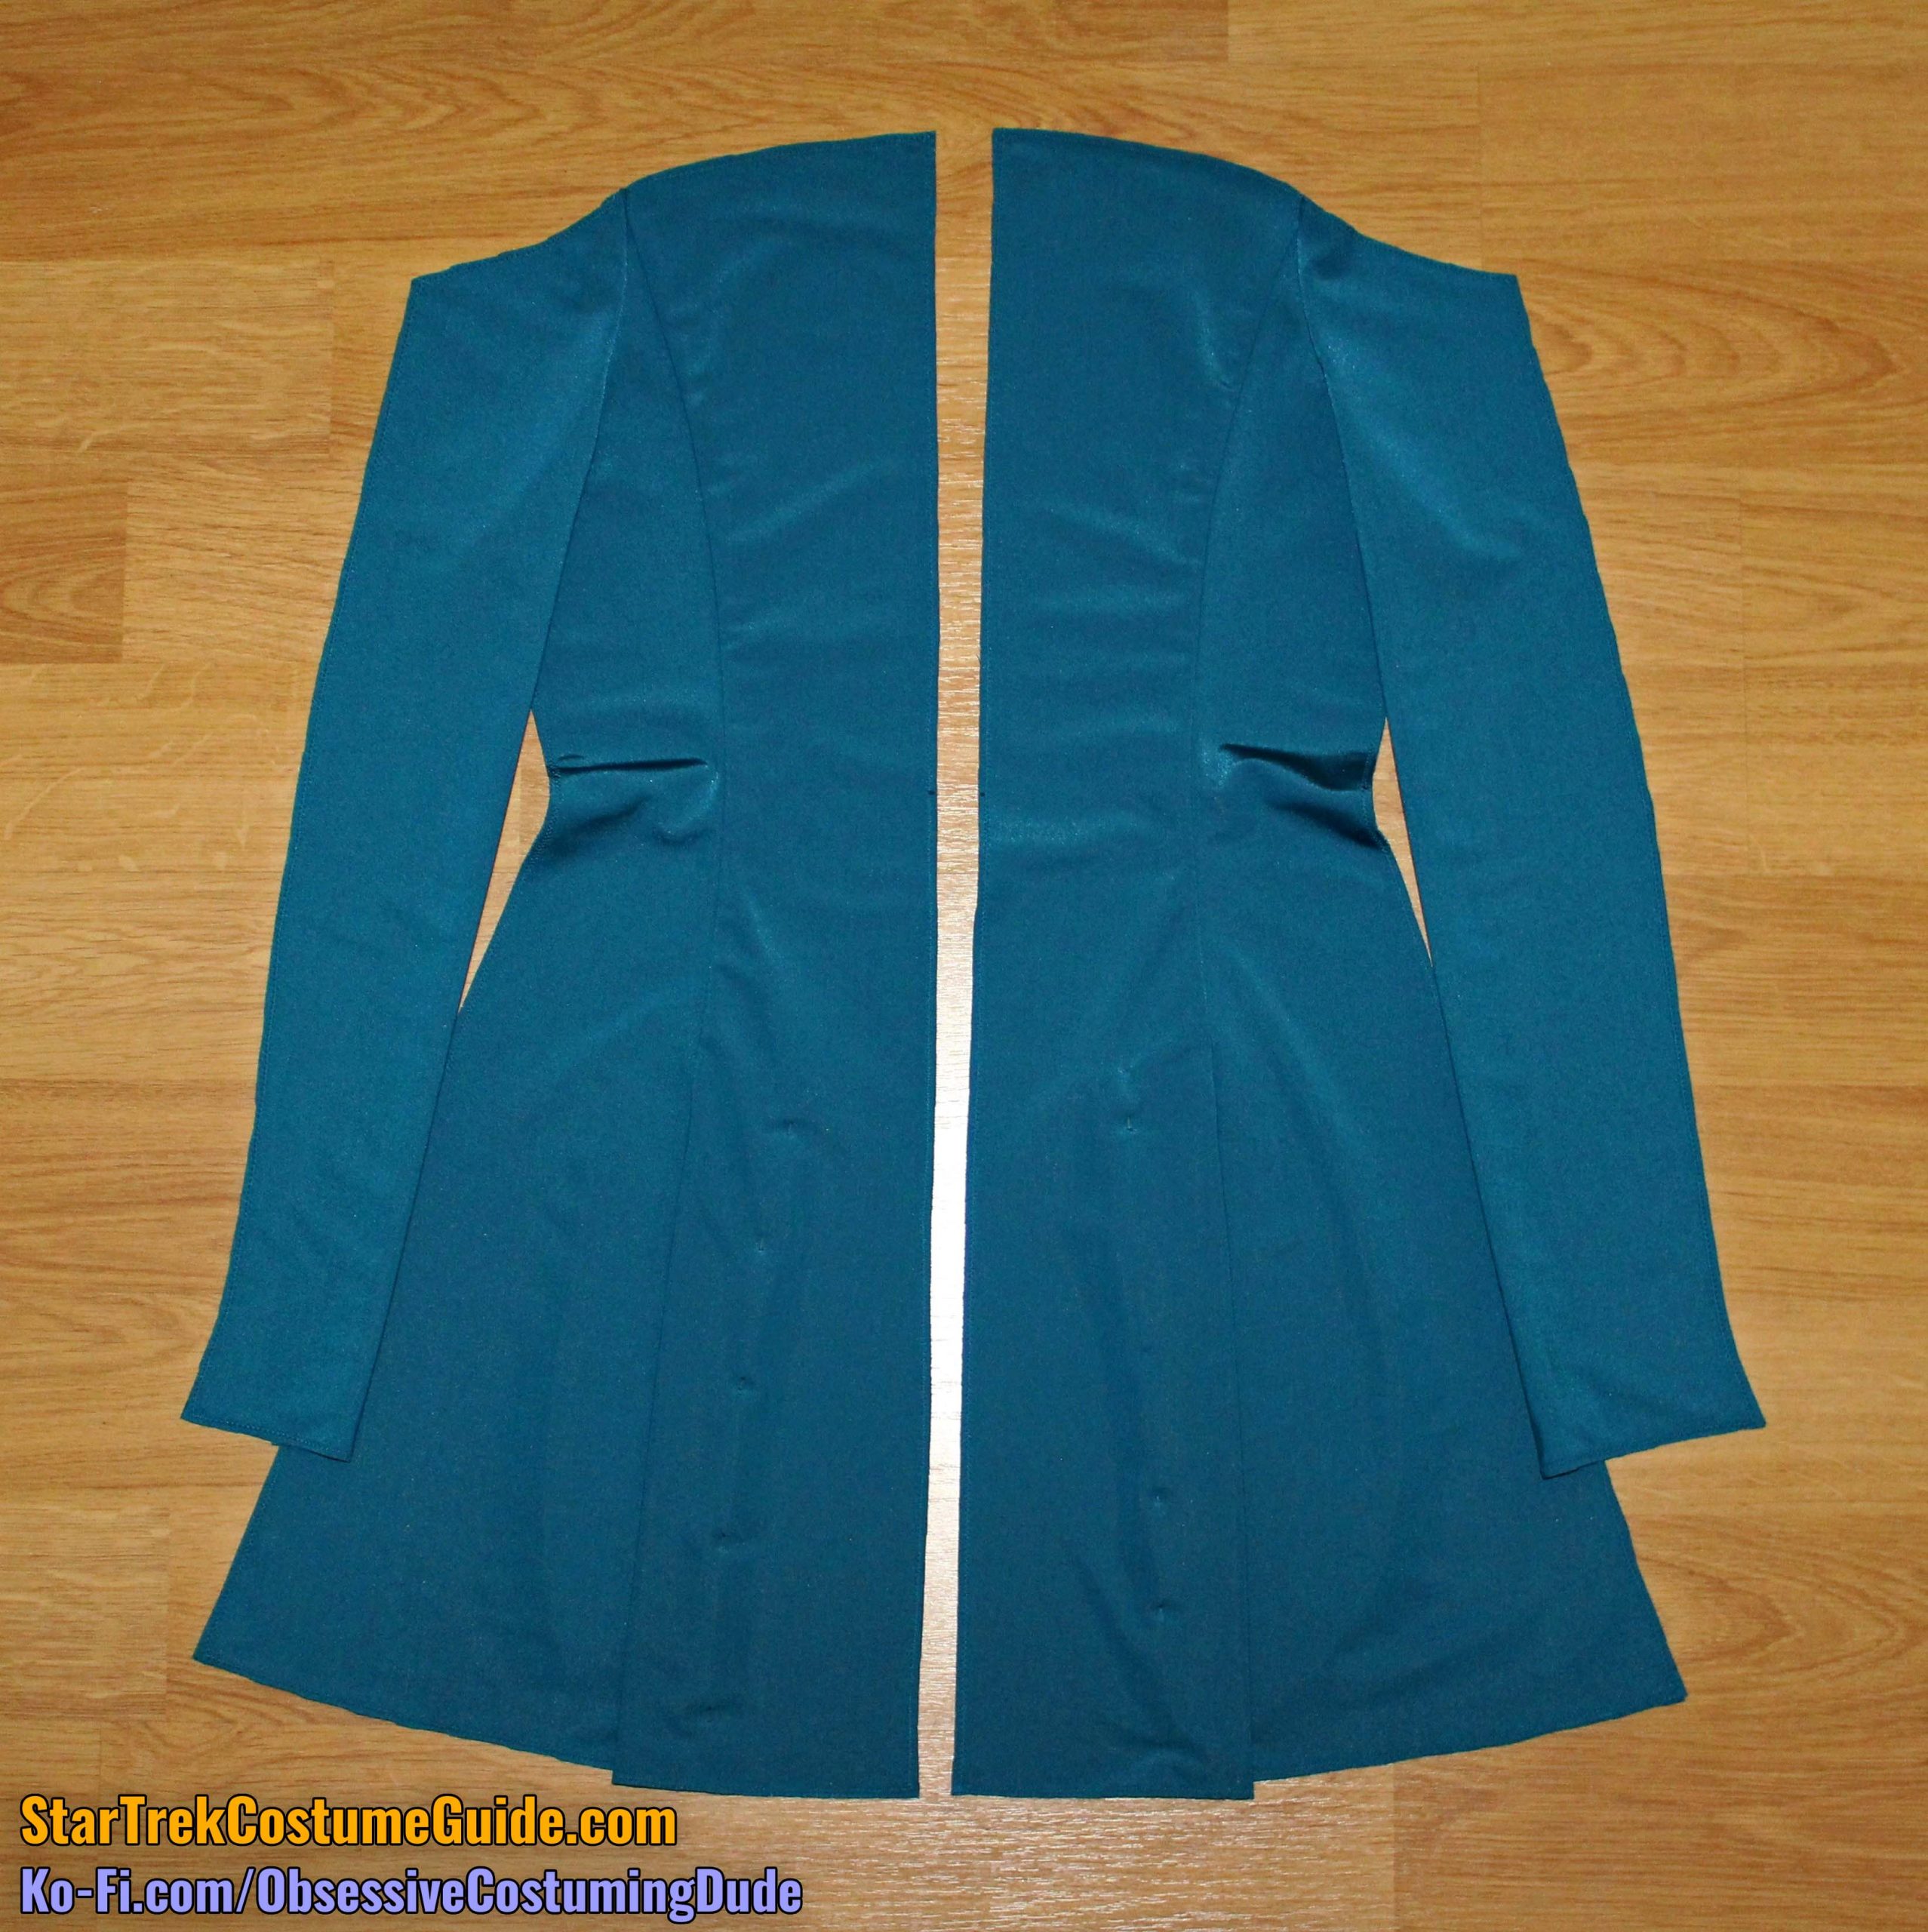
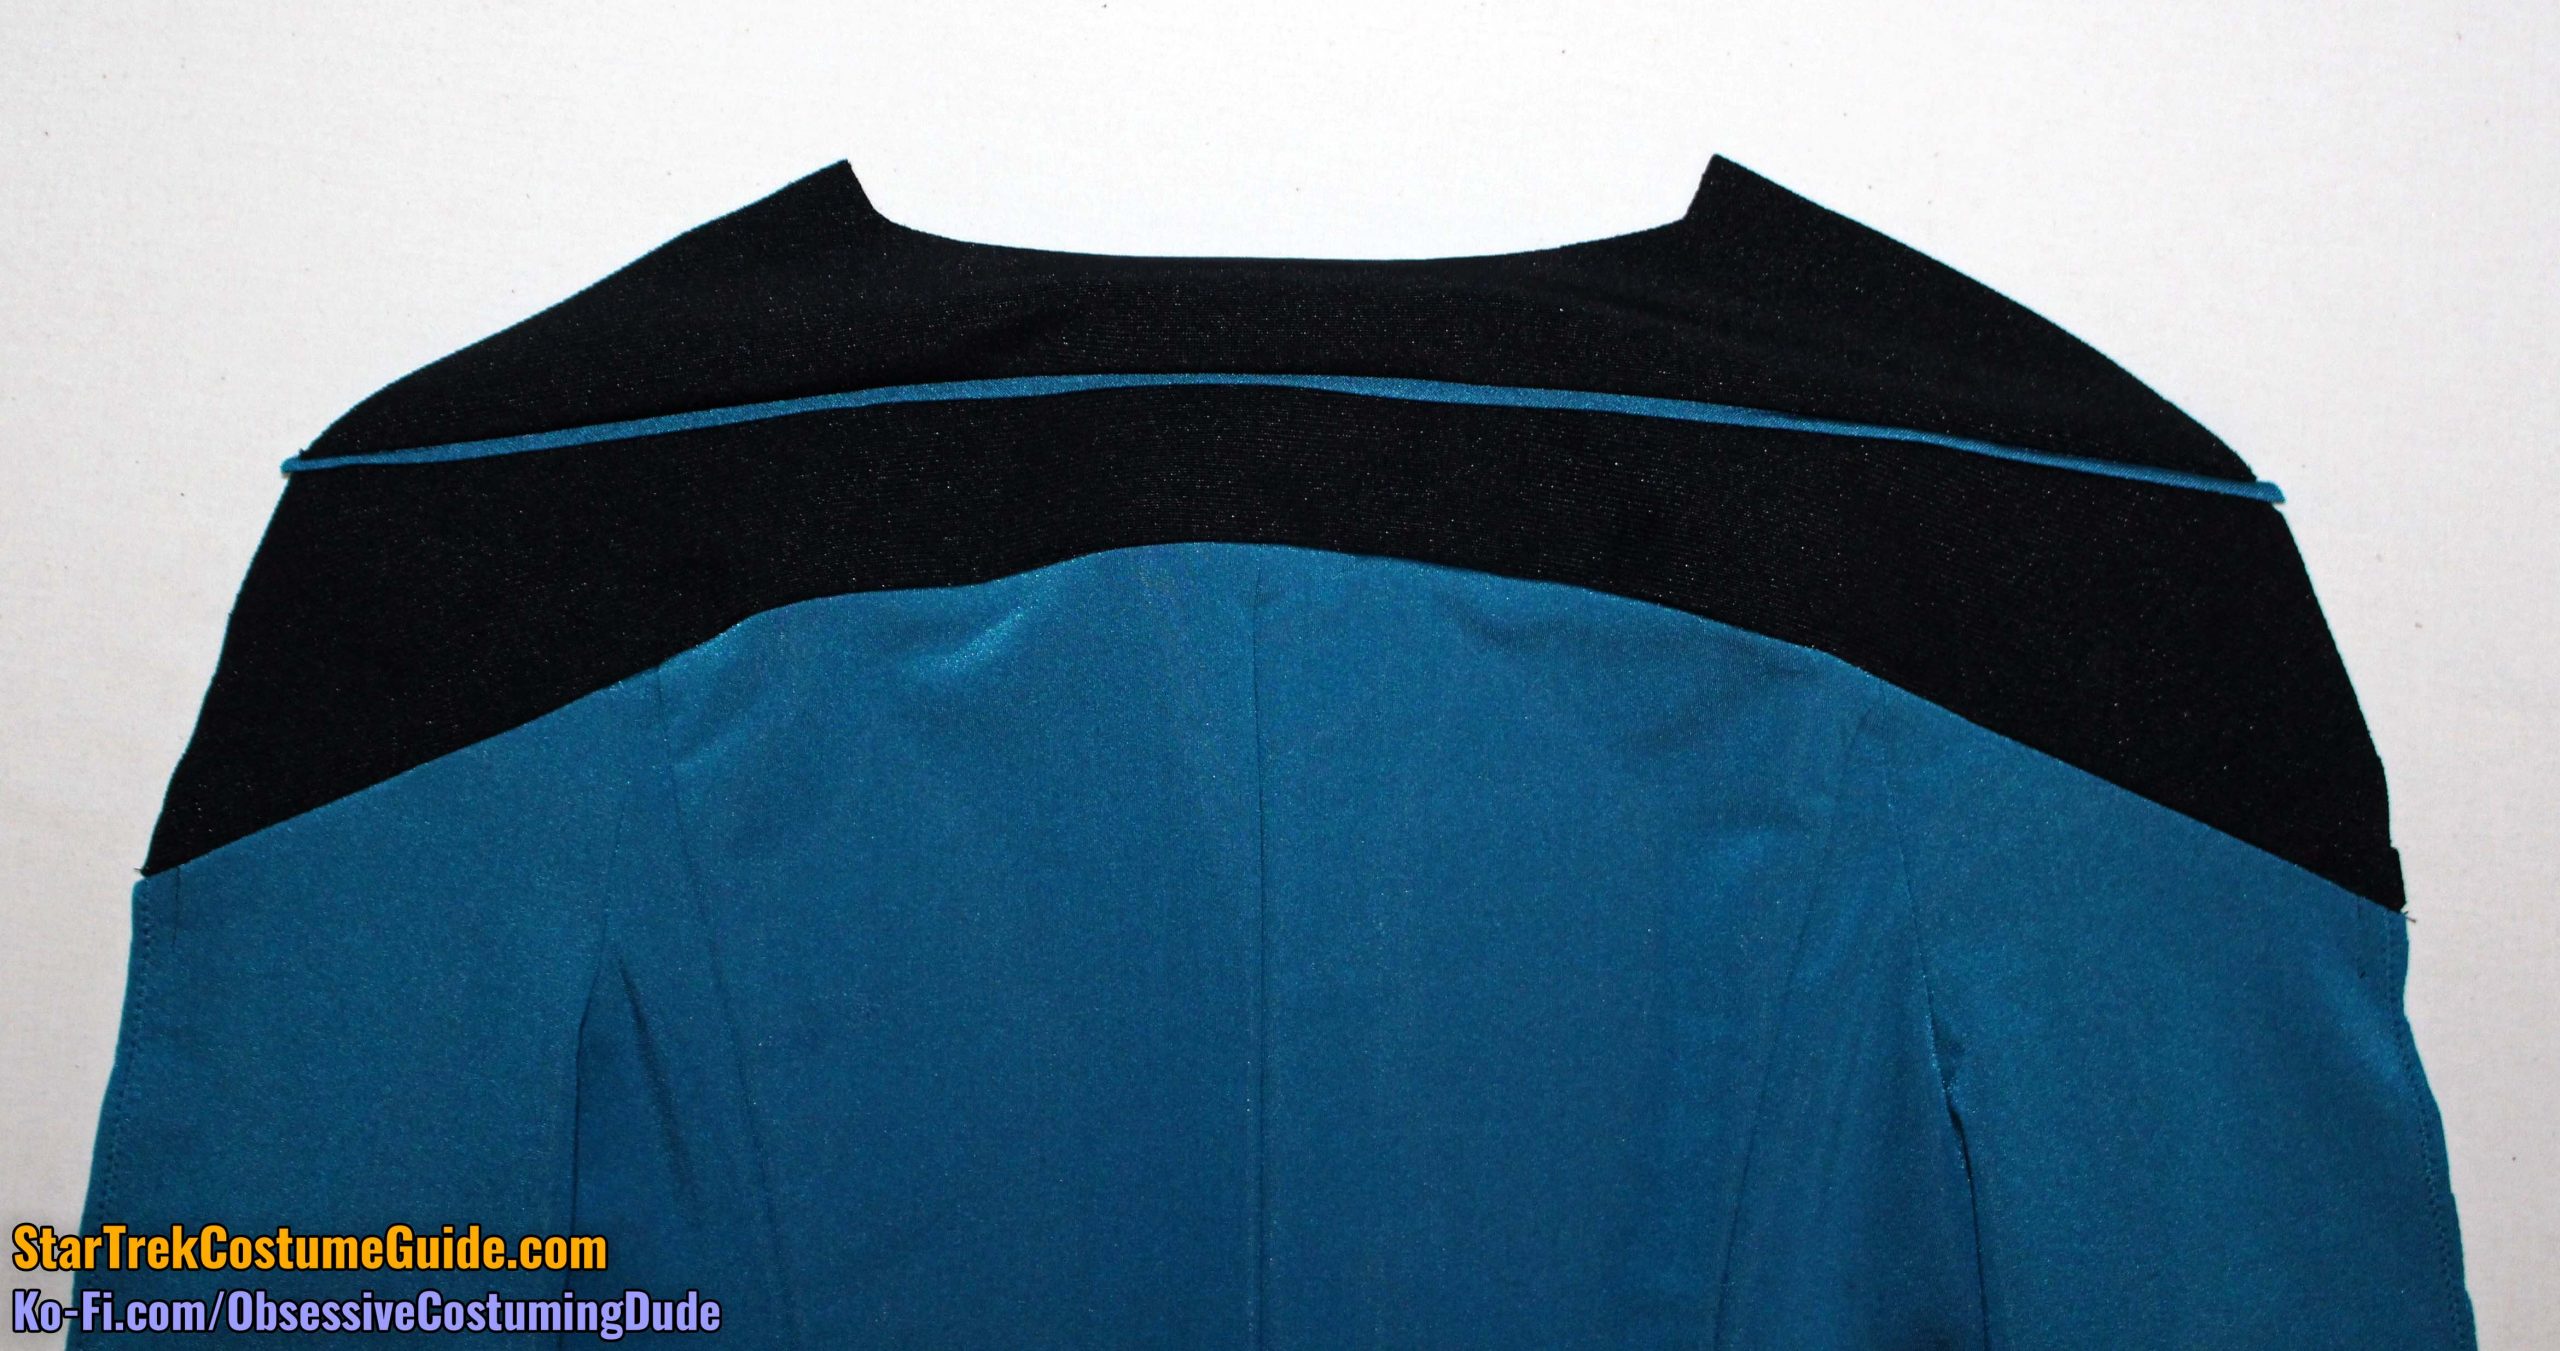
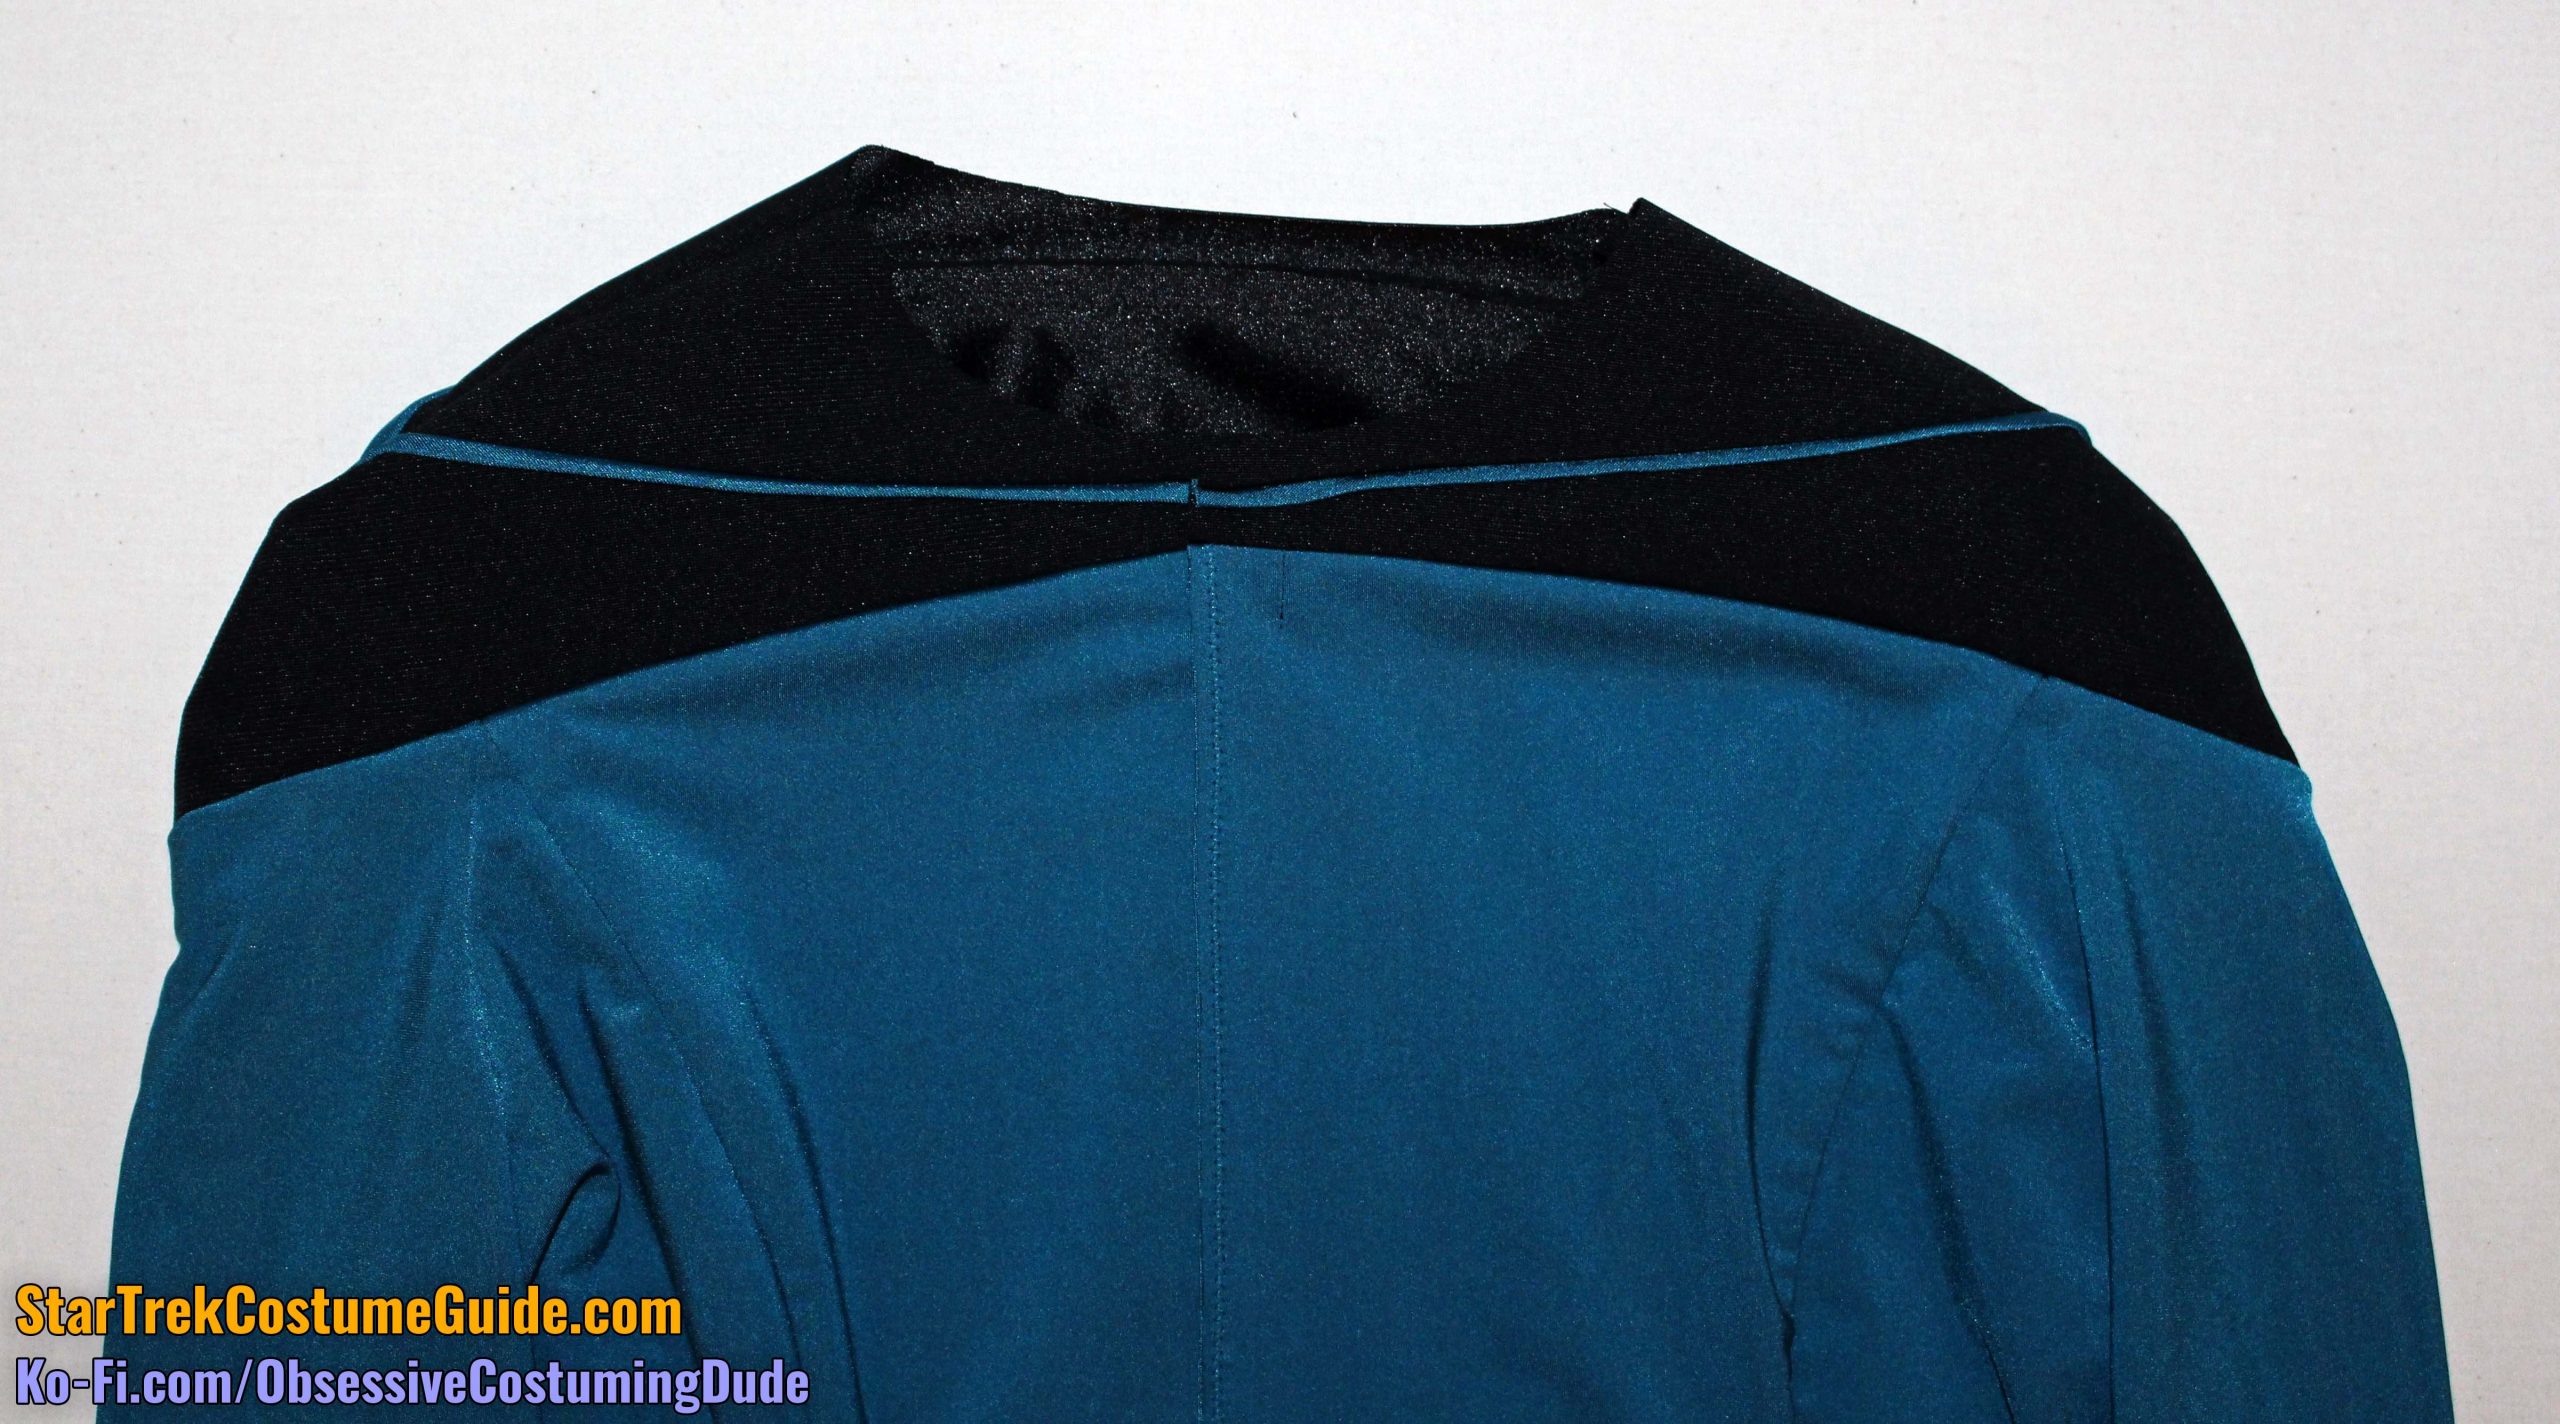
Your back assembly should now look like this:
STEP 3 - Fronts to Back
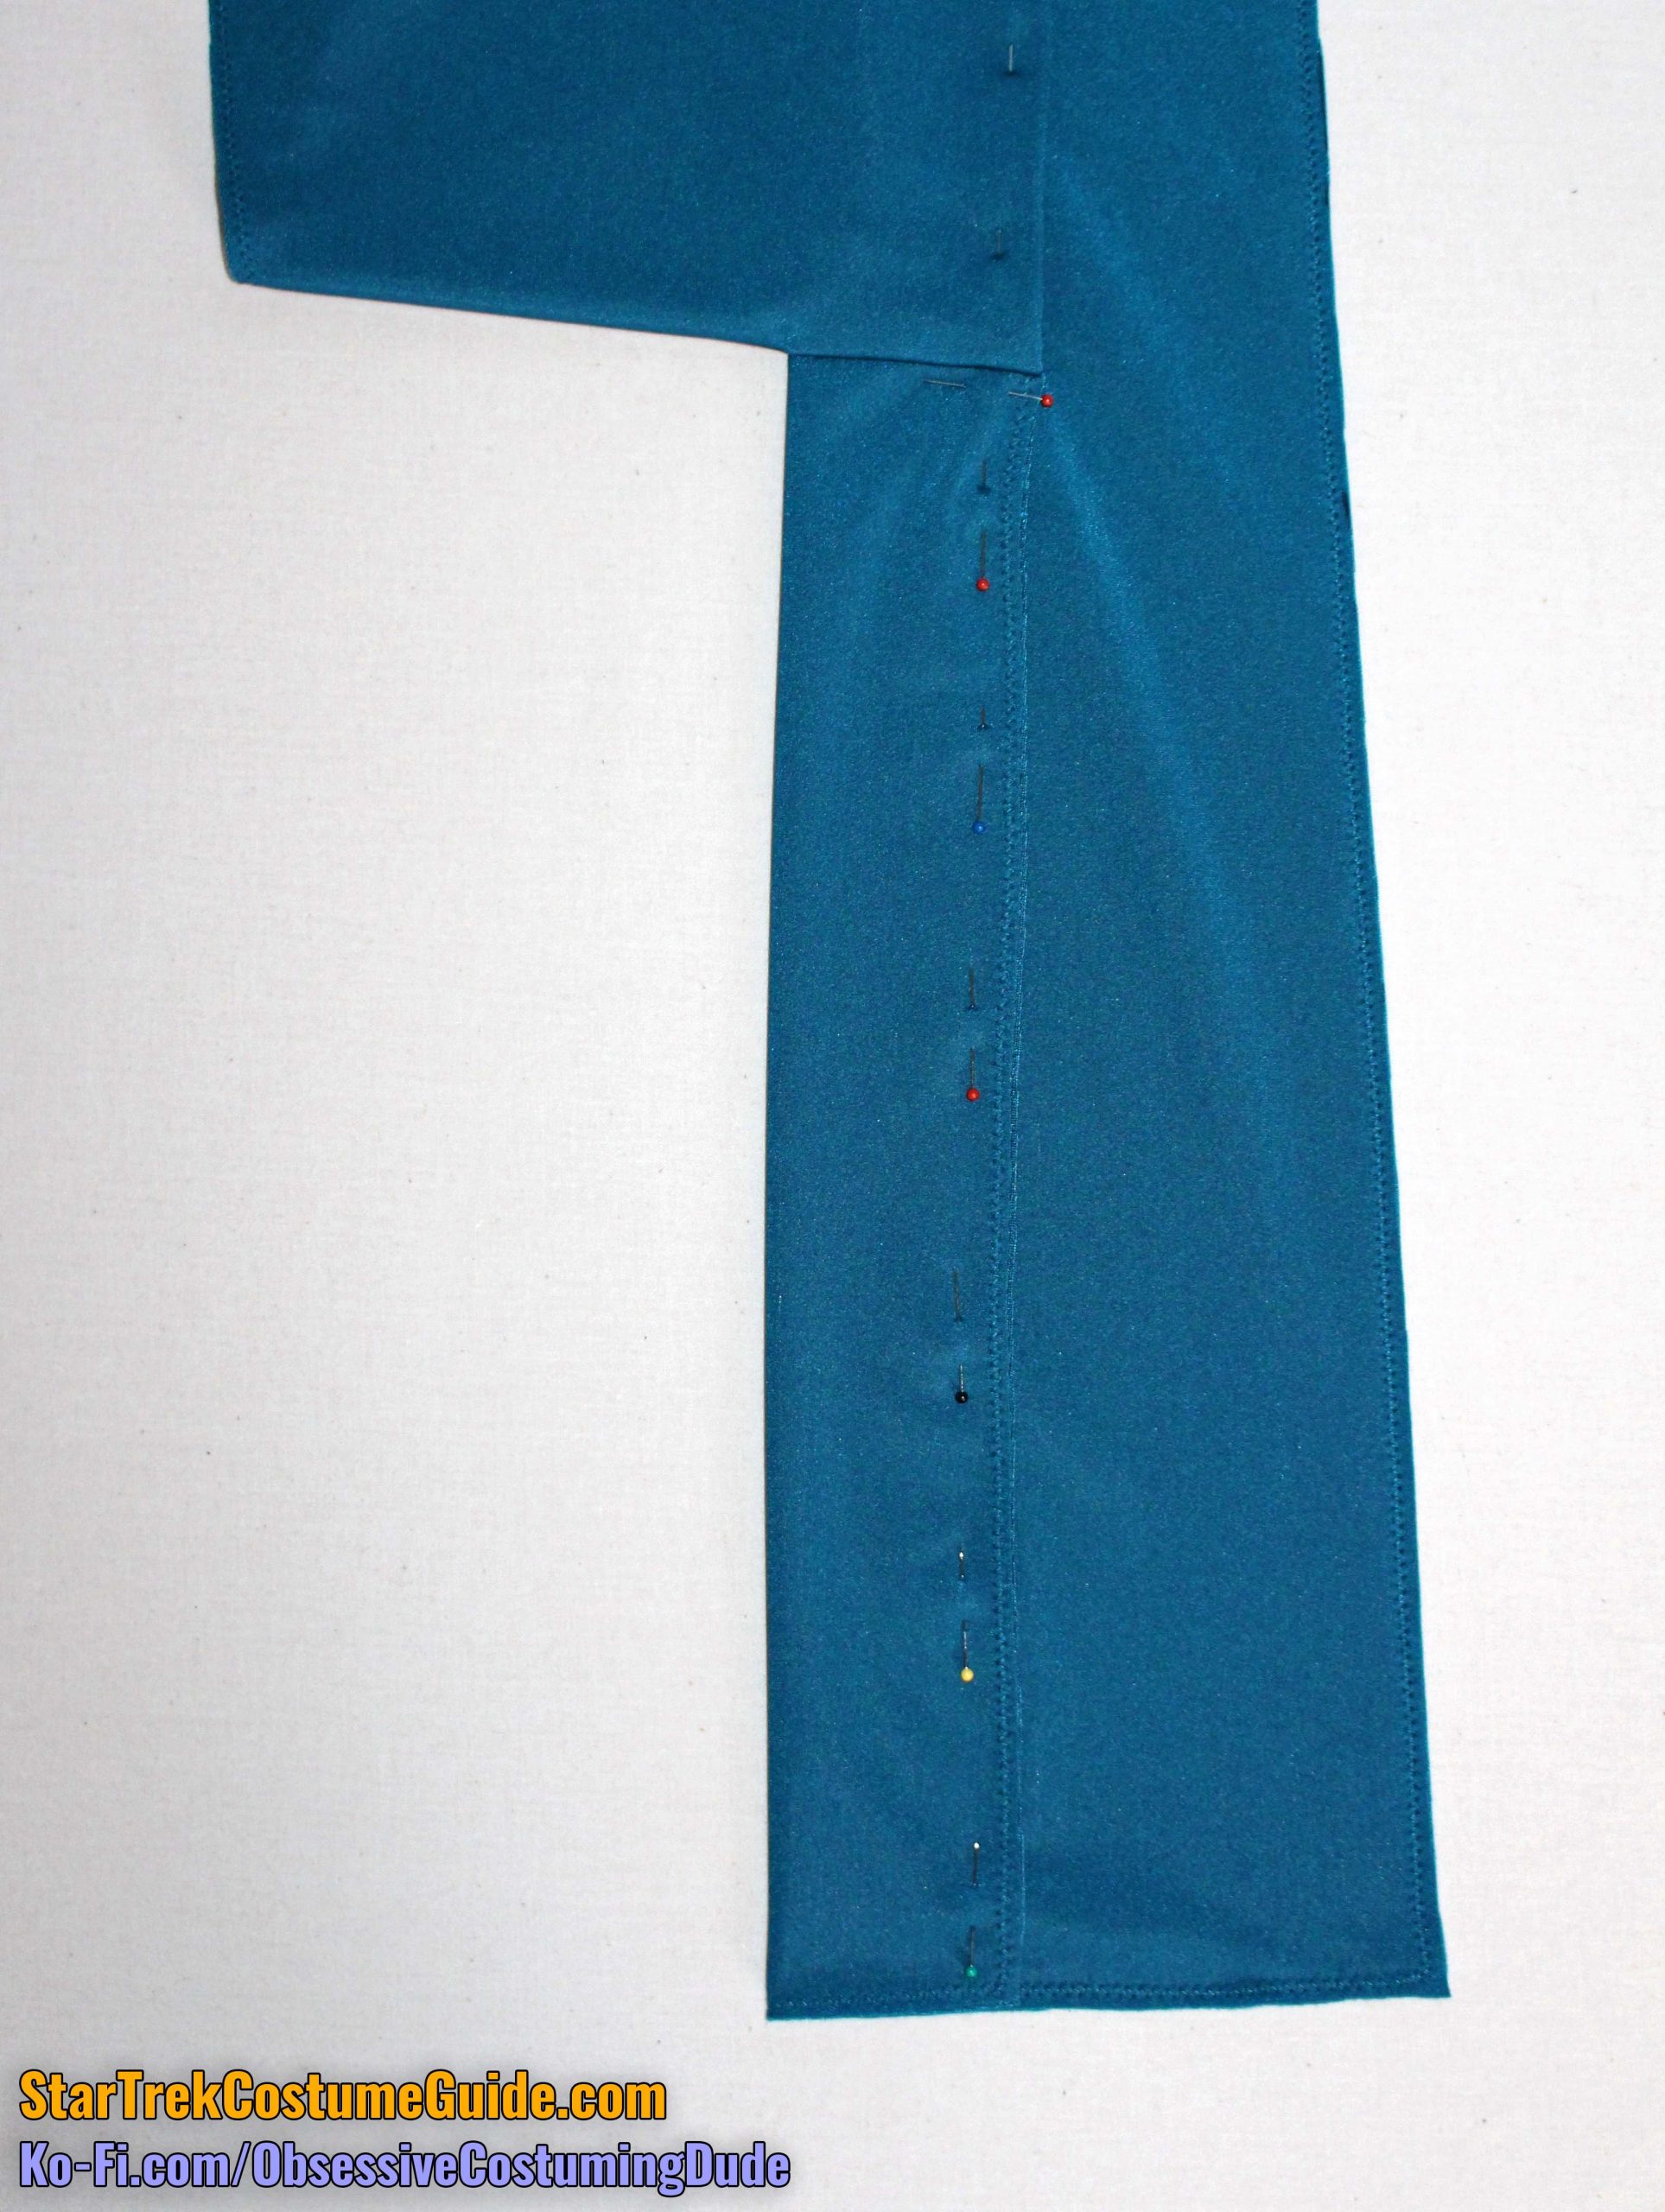
Sew the front and back assemblies together along the yoke/outer sleeve seams, matching yoke piping and seam lines.
TIP: Pin the assemblies together, then baste across the yoke piping and yoke/sleeve seam lines before sewing! Turn the garment right side out, check to make the sure the seams are properly aligned, adjust your basting if necessary, and once satisfied of proper alignment, THEN sew the assemblies together!
TIP: Use a quilting/walking foot to sew across the yoke piping, or even the entire shoulder/outer sleeve seam.
TIP: I like to use black thread for the yoke, and teal thread for the sleeves, simply because I prefer to sew with a matching thread color. If you don’t want to switch for this seam, I suggest using only black.
Press the seam allowances open.
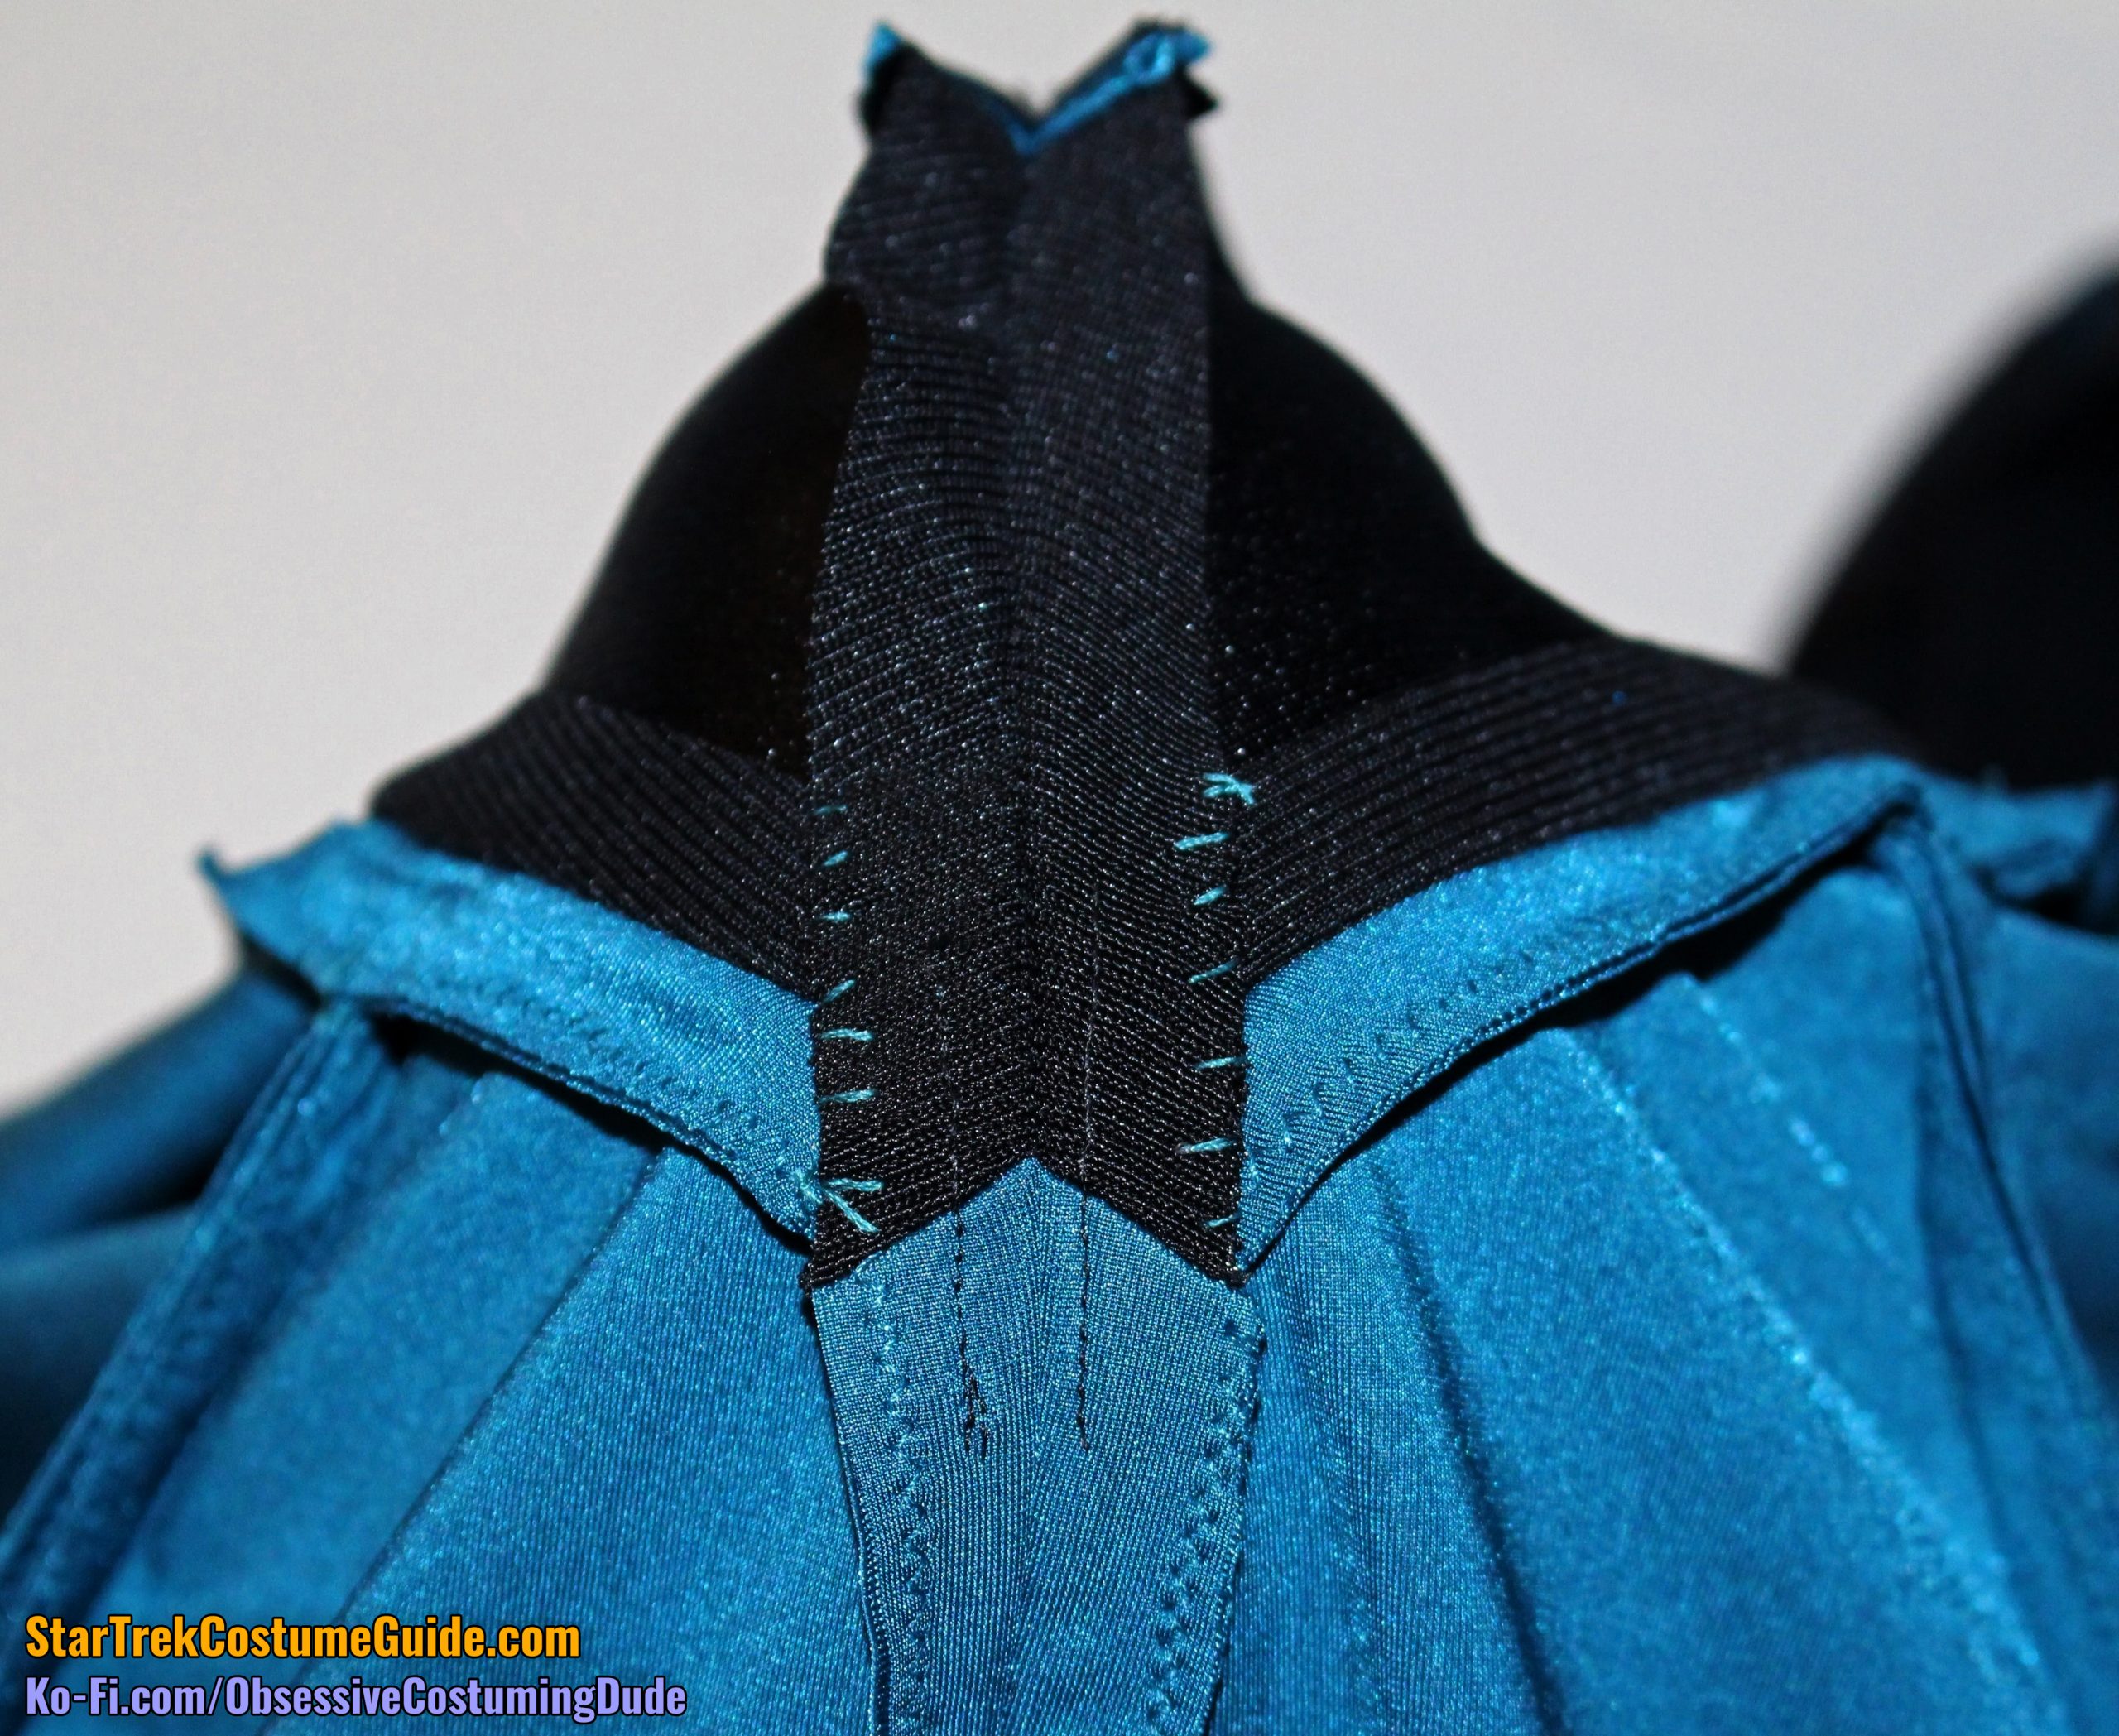
At the lower/outer corners of the yoke, tack the seam allowances open by hand, stitching only through the yoke/body seam allowances (and not onto the outside of the garment).
Using black thread, stay-stitch the neckline ¼” from the edge.
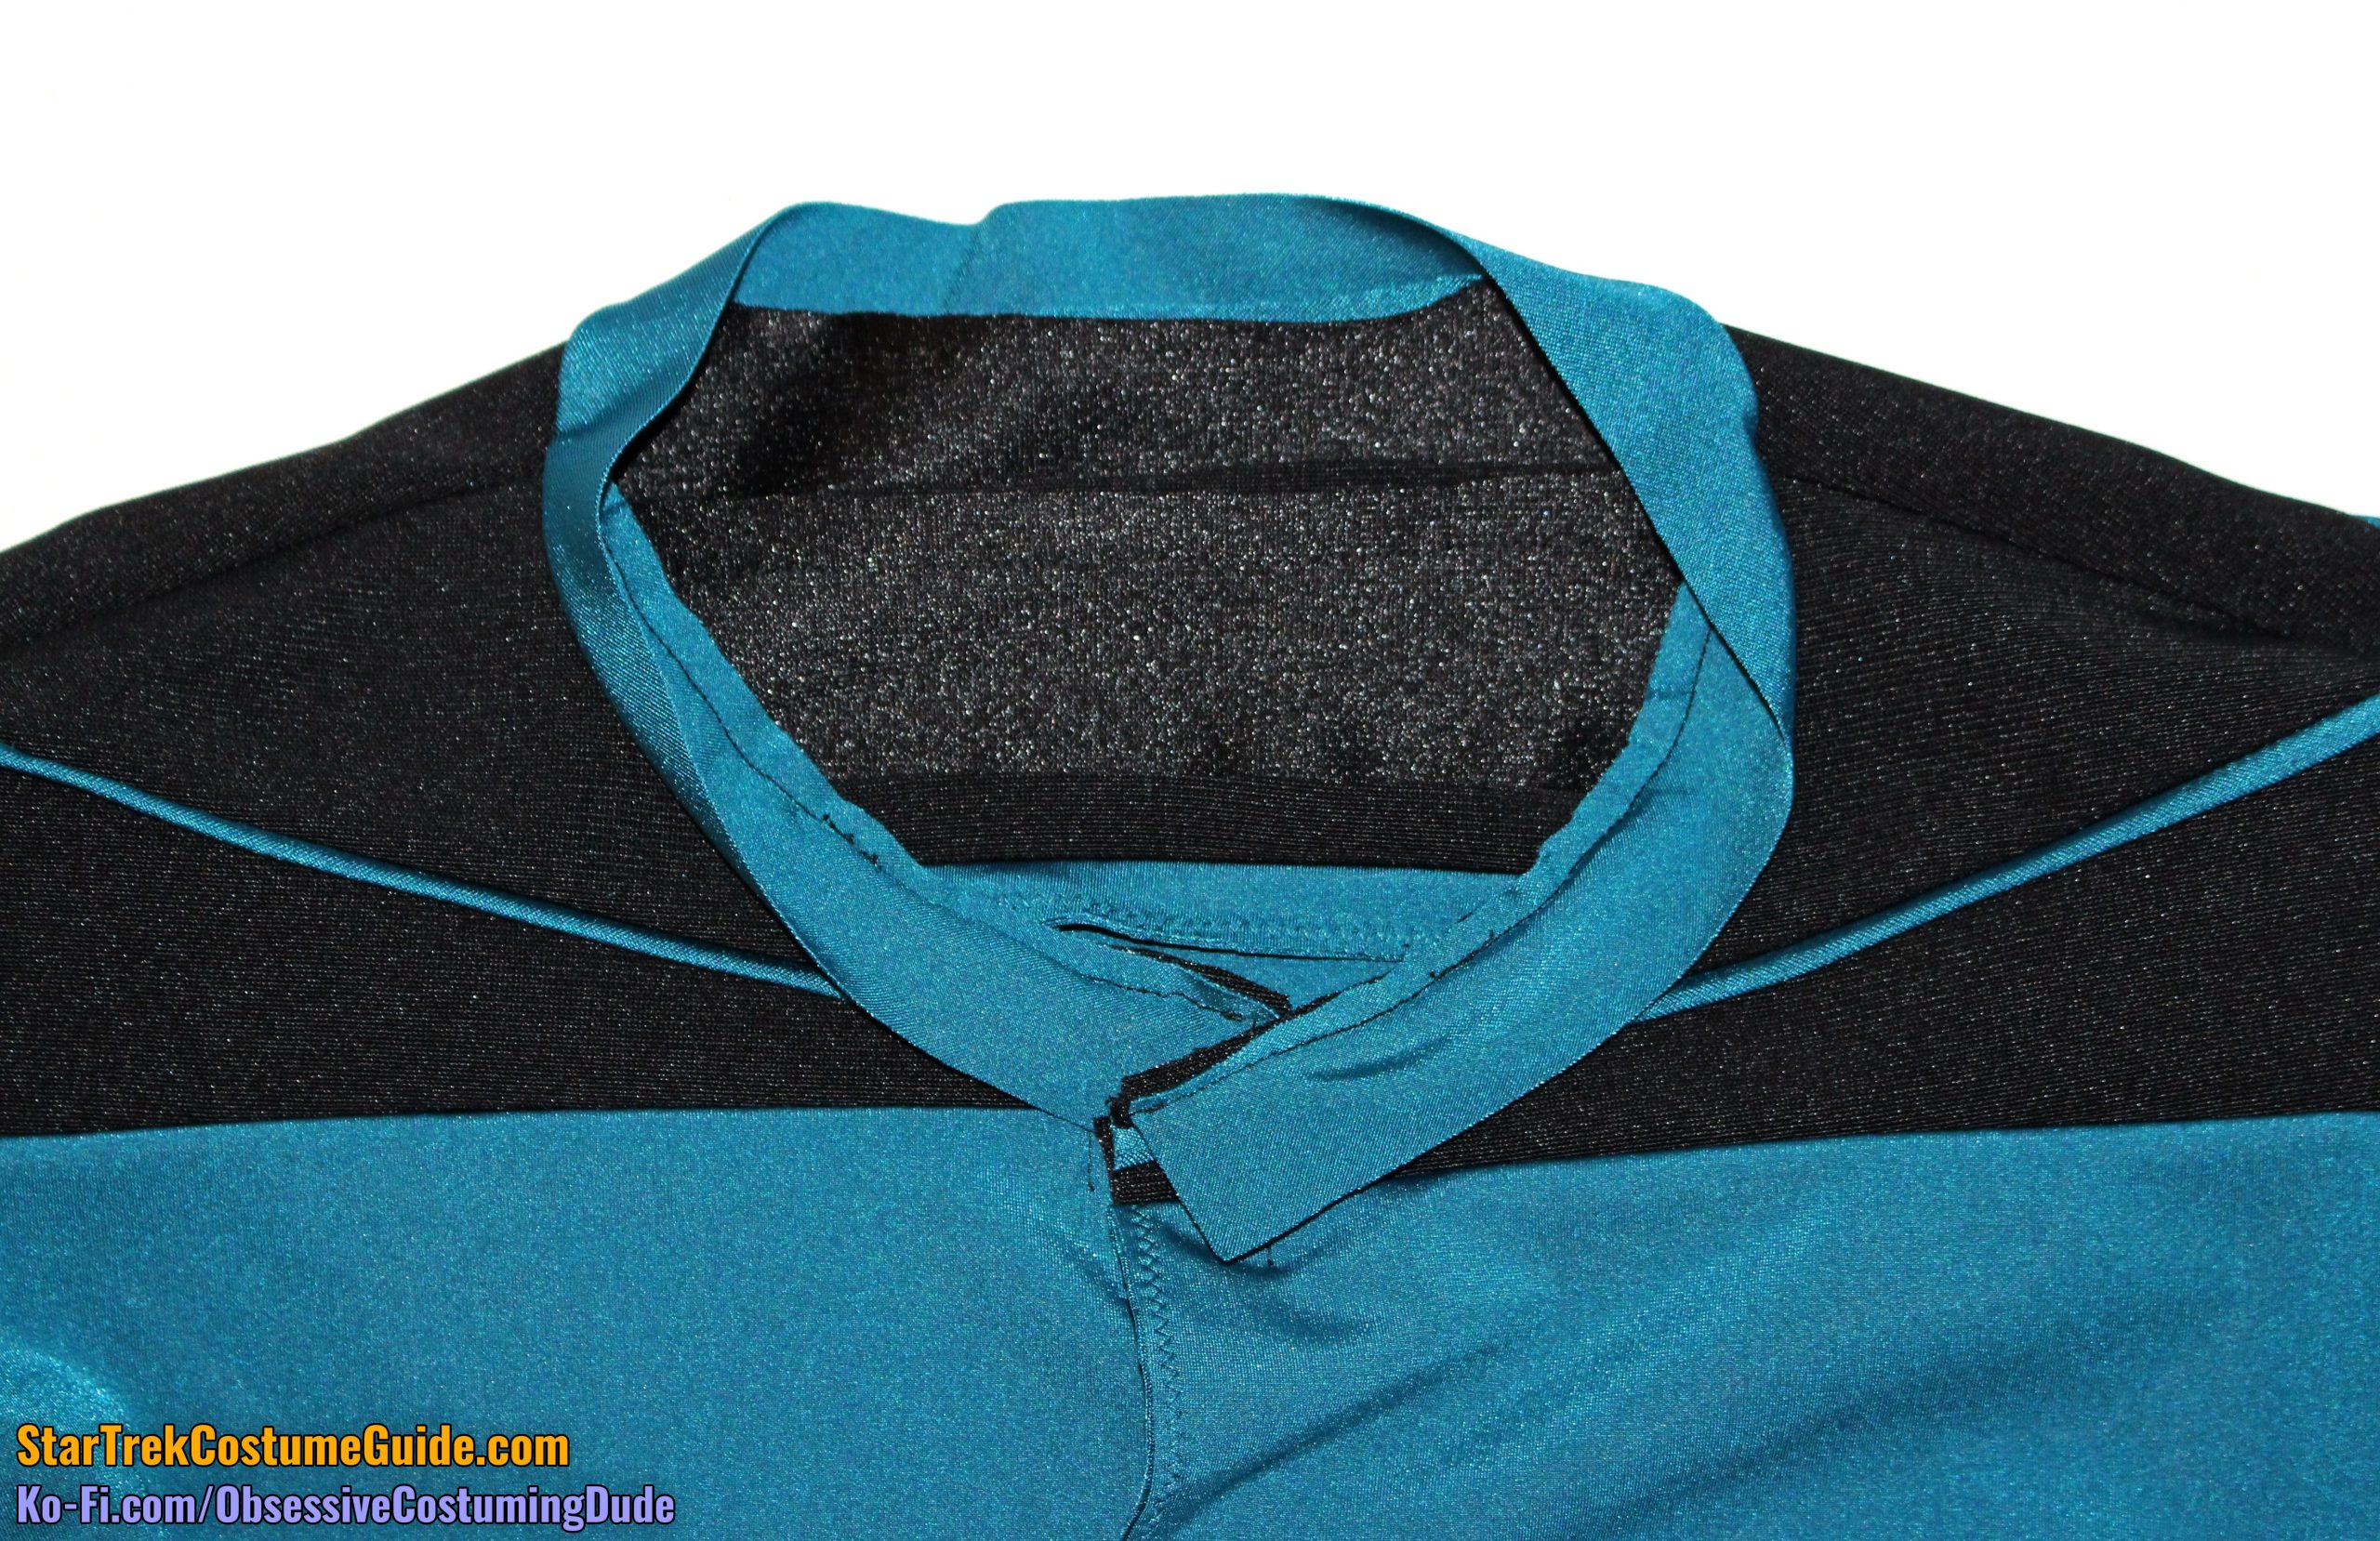
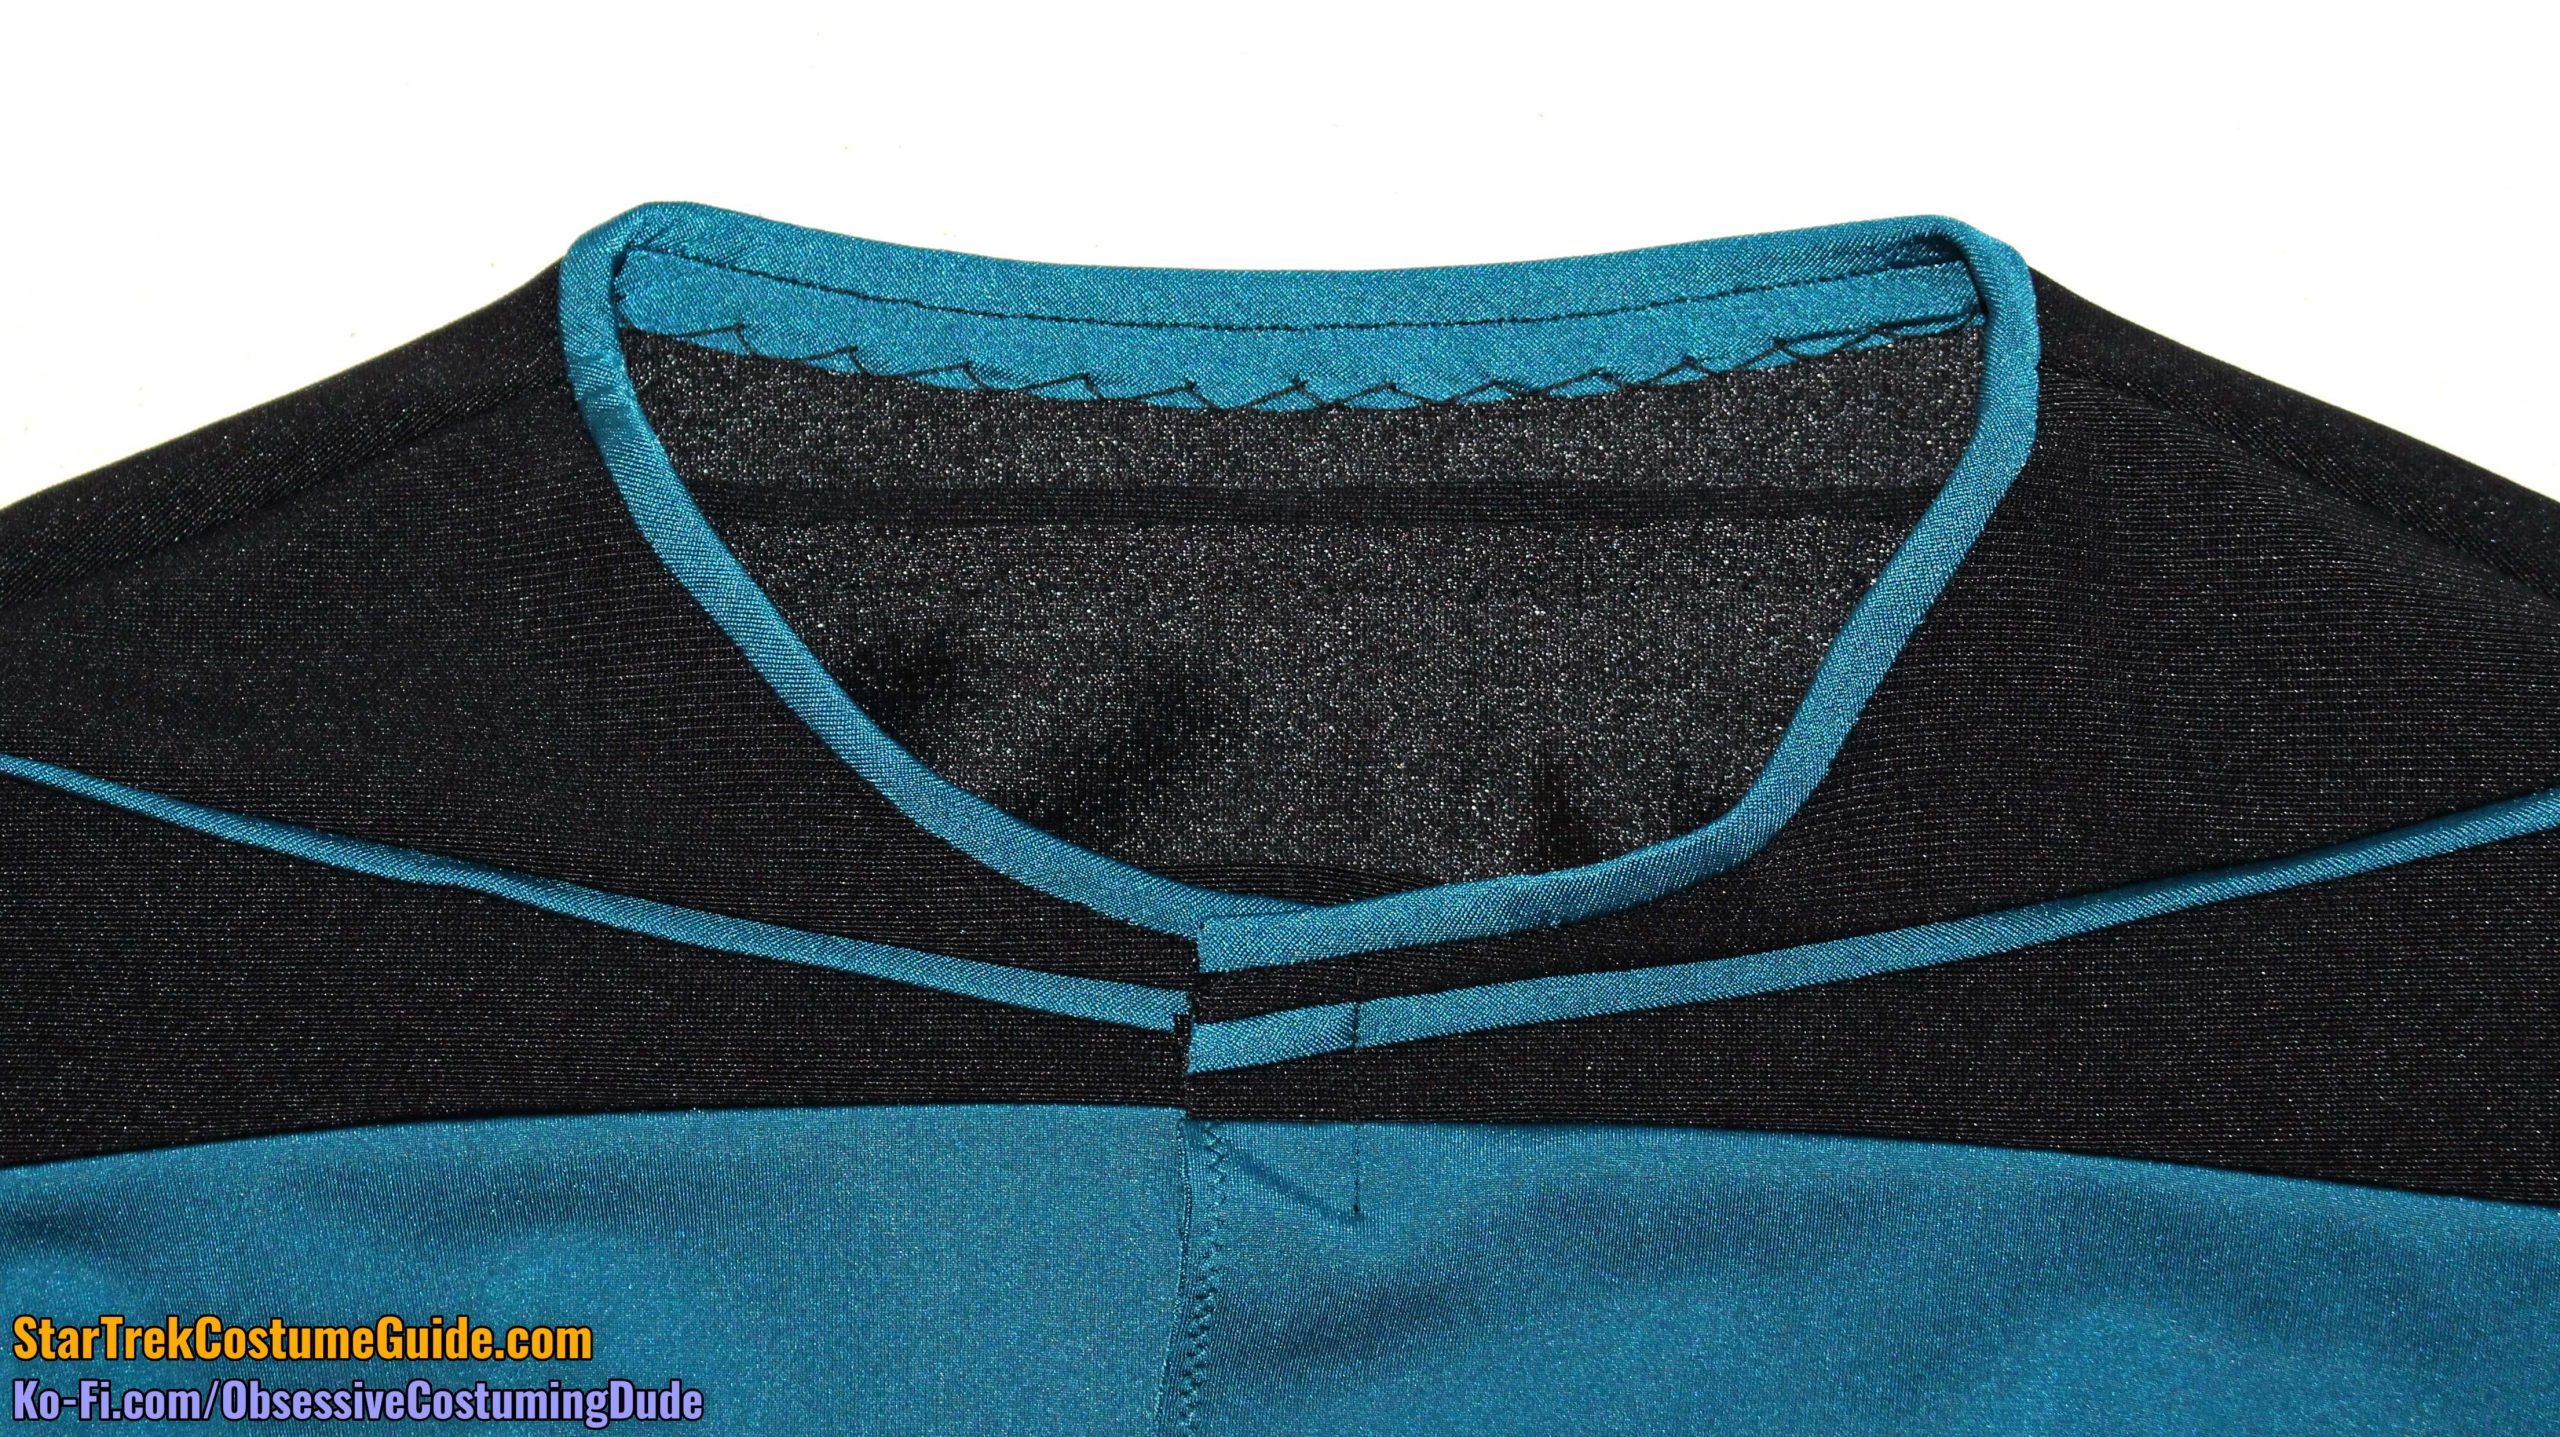
As you may recall, the unlike the neckline trim on other TNG-era uniforms, the neckline trim on the screen-used Dr. Pulaski (v1) smock I examined was attached as a binding along the edge (as opposed to a trim that extended from underneath).
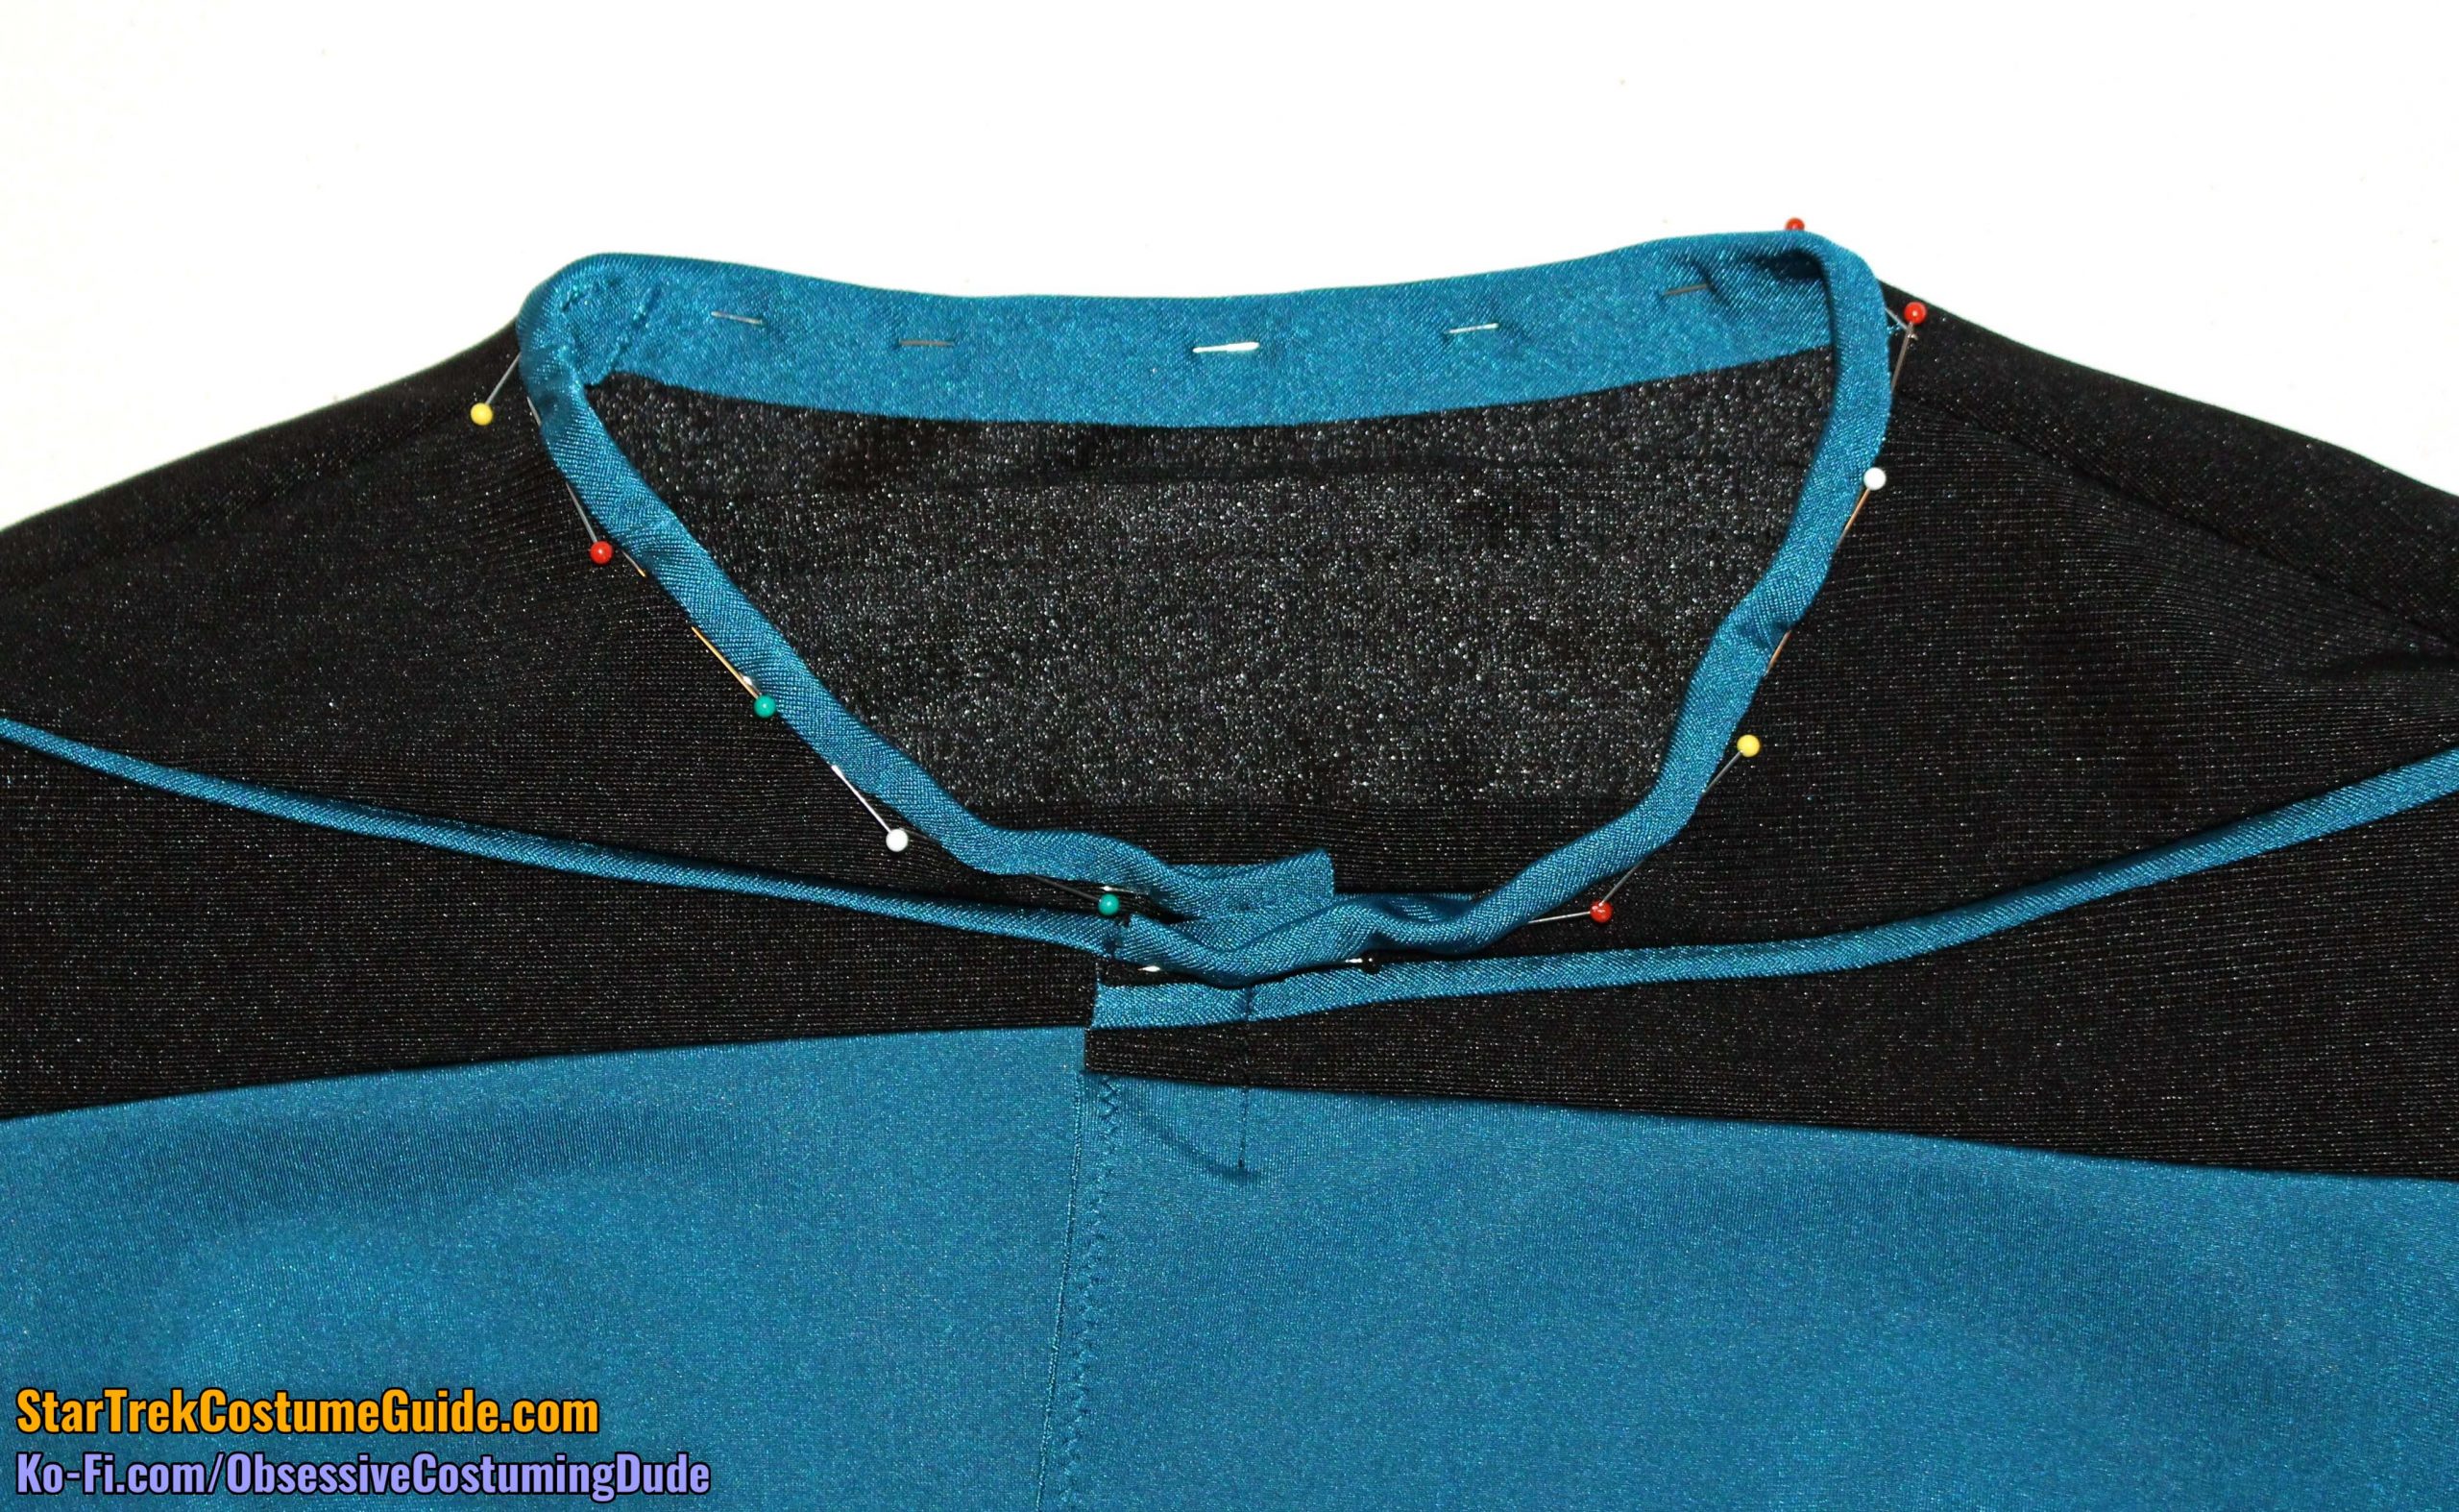
Pin your neckline trim (piece E) to the yoke along the neckline, edges flush.
Sew your neckline trim to the yoke approximately 3/16” from the edge.
Wrap the neckline trim snugly around the edge and pin the underside of the trim into place.
(I suggest trimming away as much of the upper yoke/lower yoke/piping seam allowance as possible at the center front to reduce bulk and help the underside of the trim sit flatter.)
Again using black thread, “stitch-in-the-ditch” along the lower edge of the neckline trim.
Catch-stitch the seam allowances to the underside of the yoke, catching only a thread of the garment fabric so your stitches won’t show on the right side.
STEP 4 - Zipper
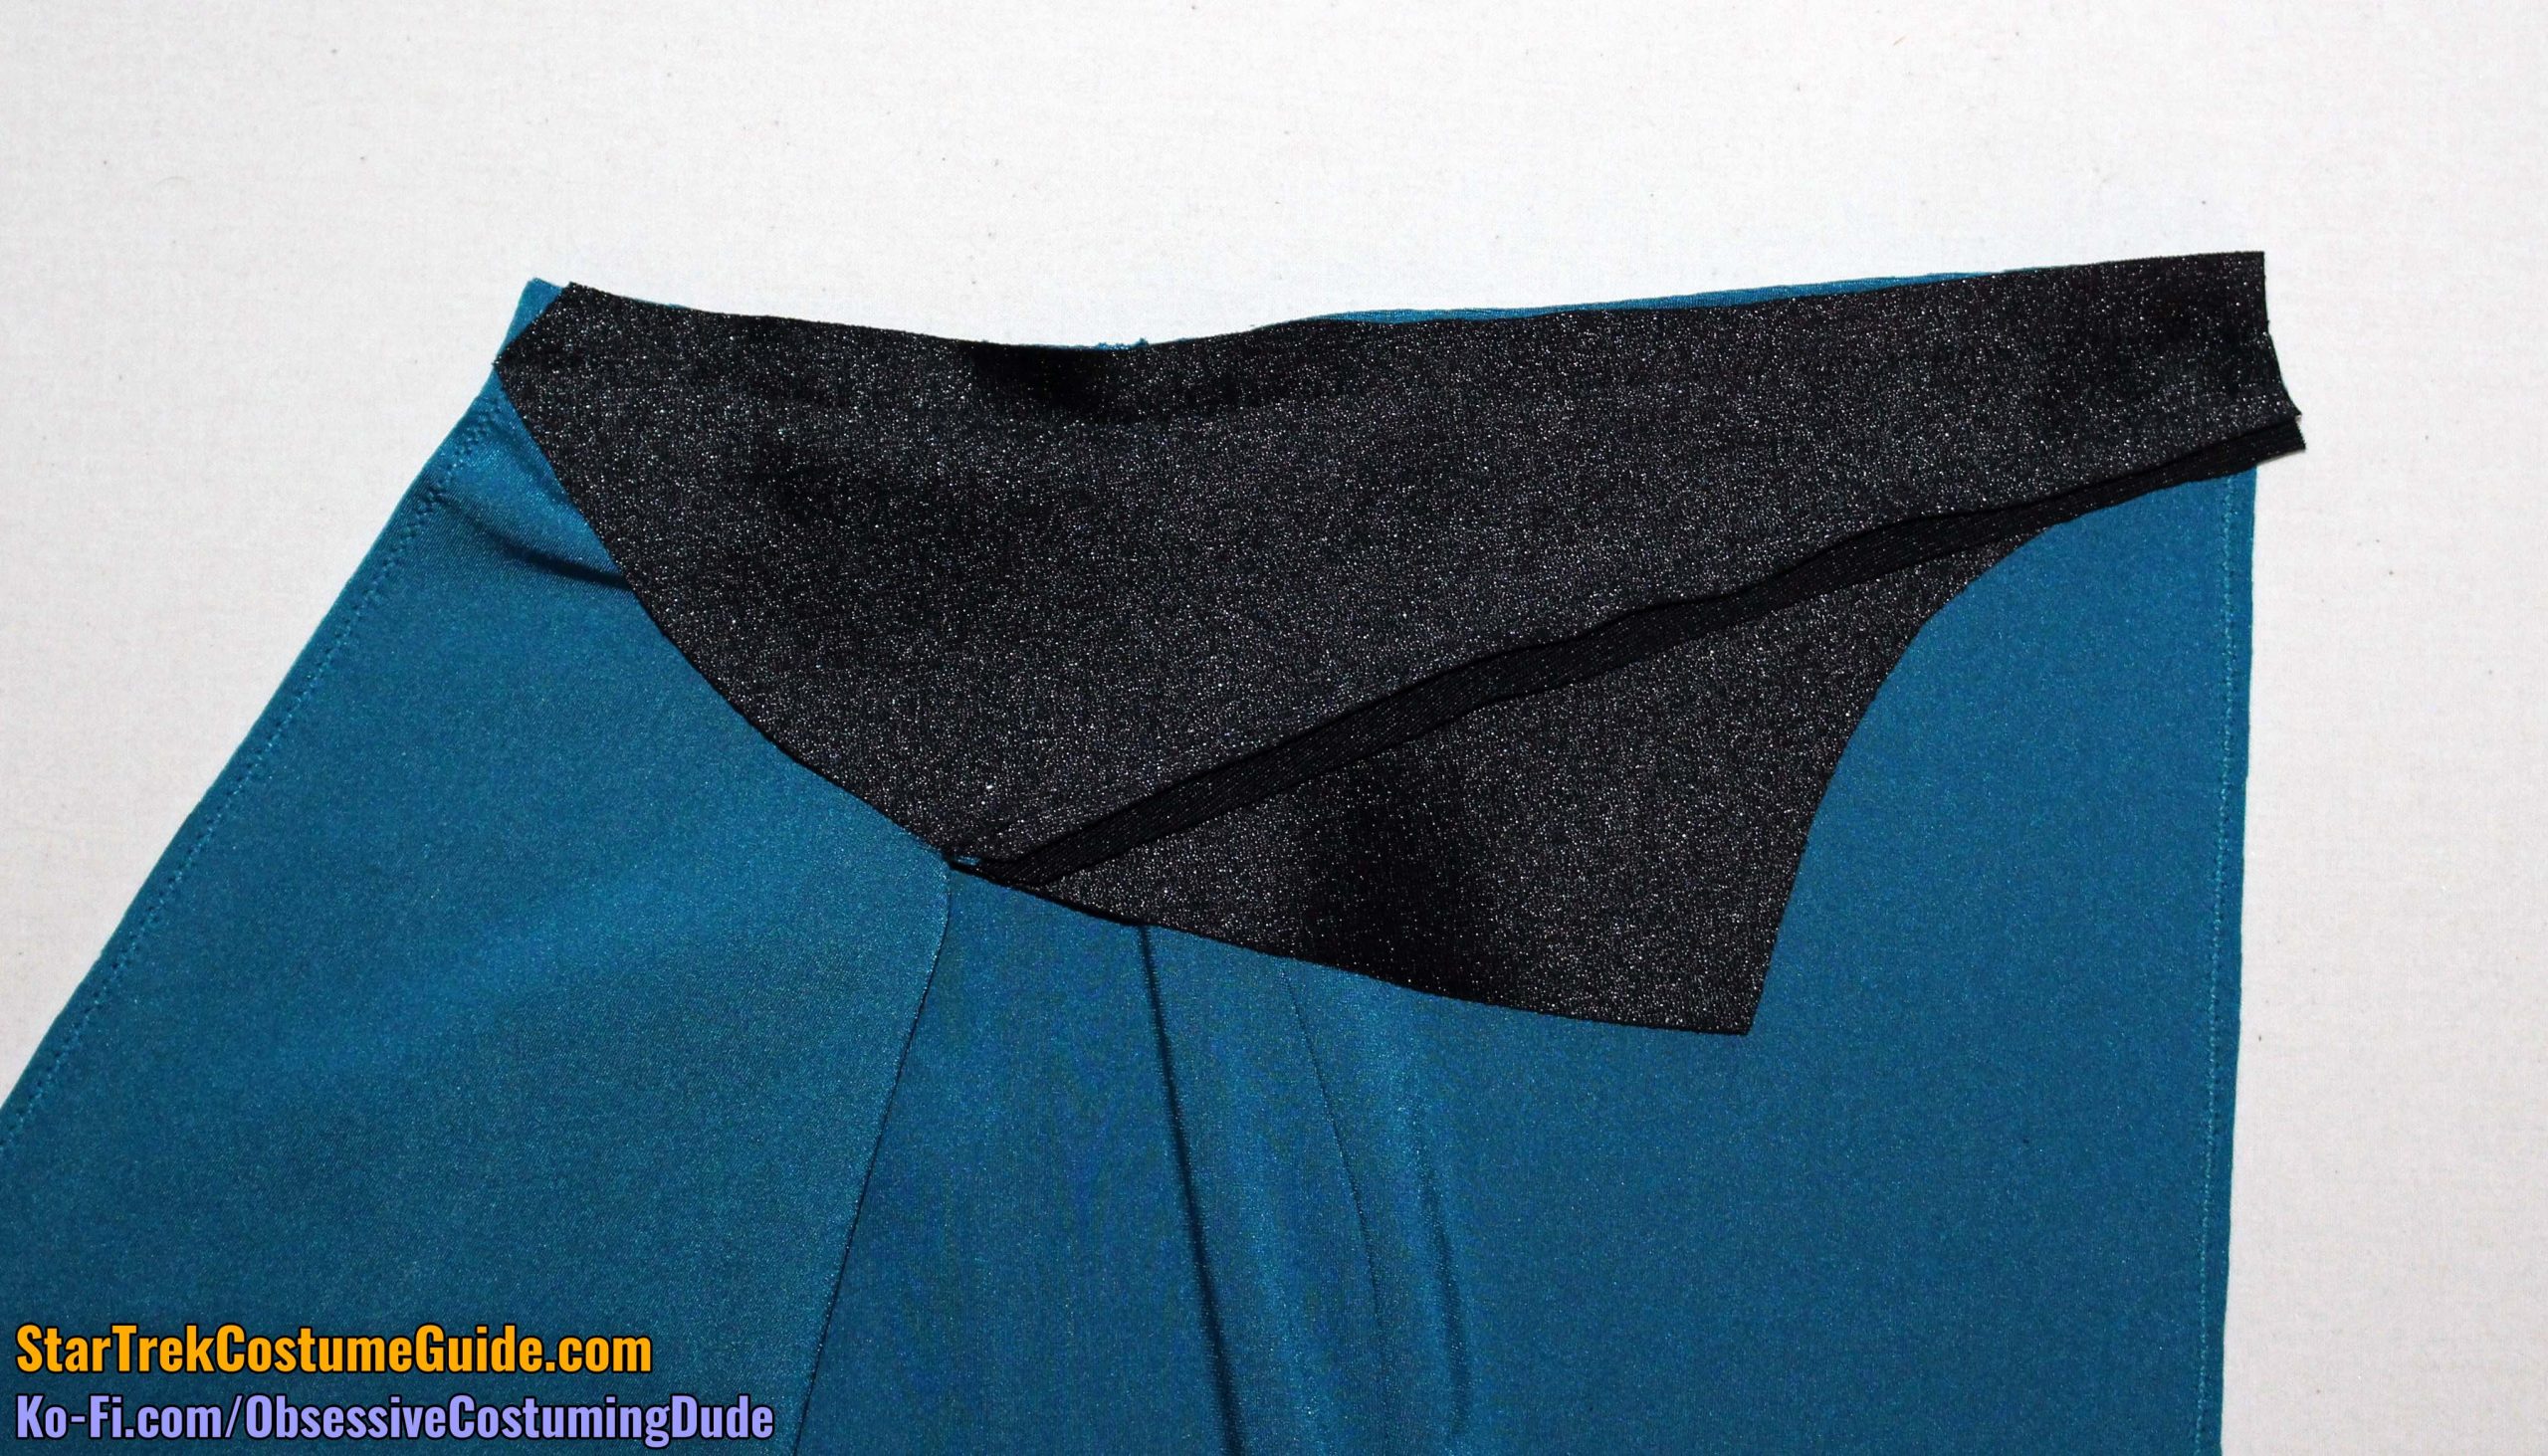
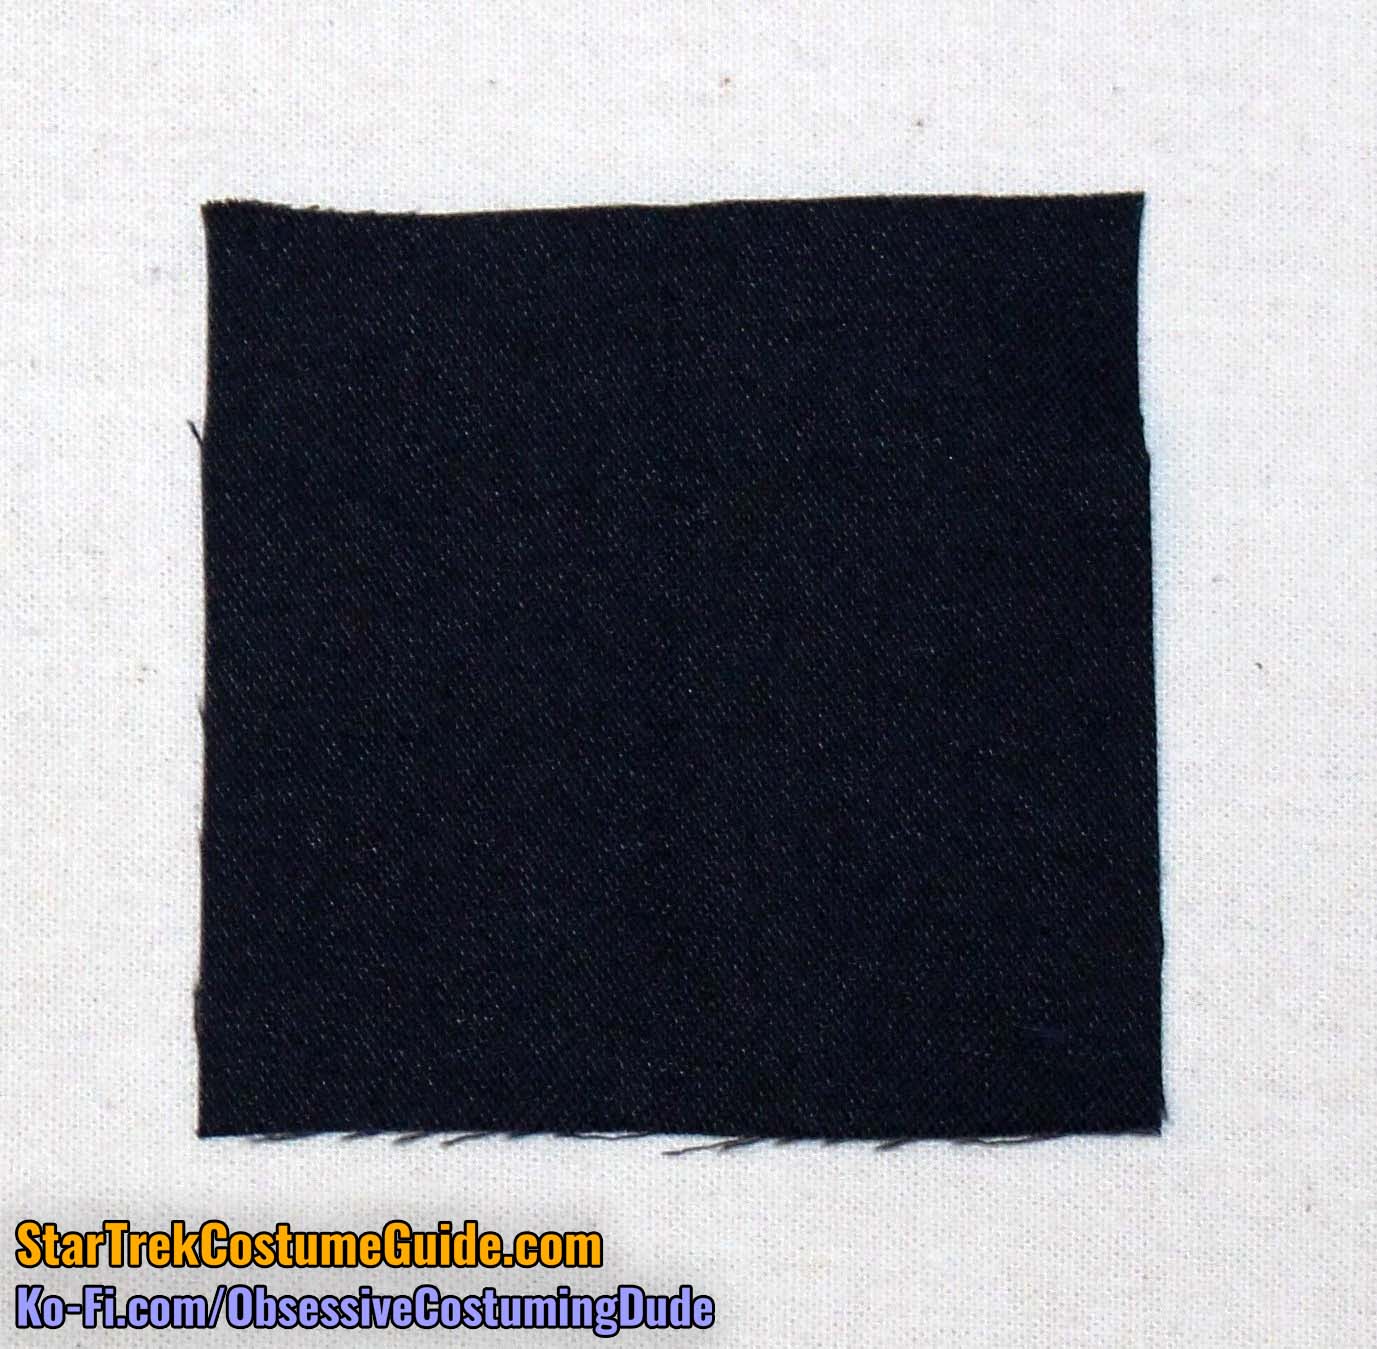
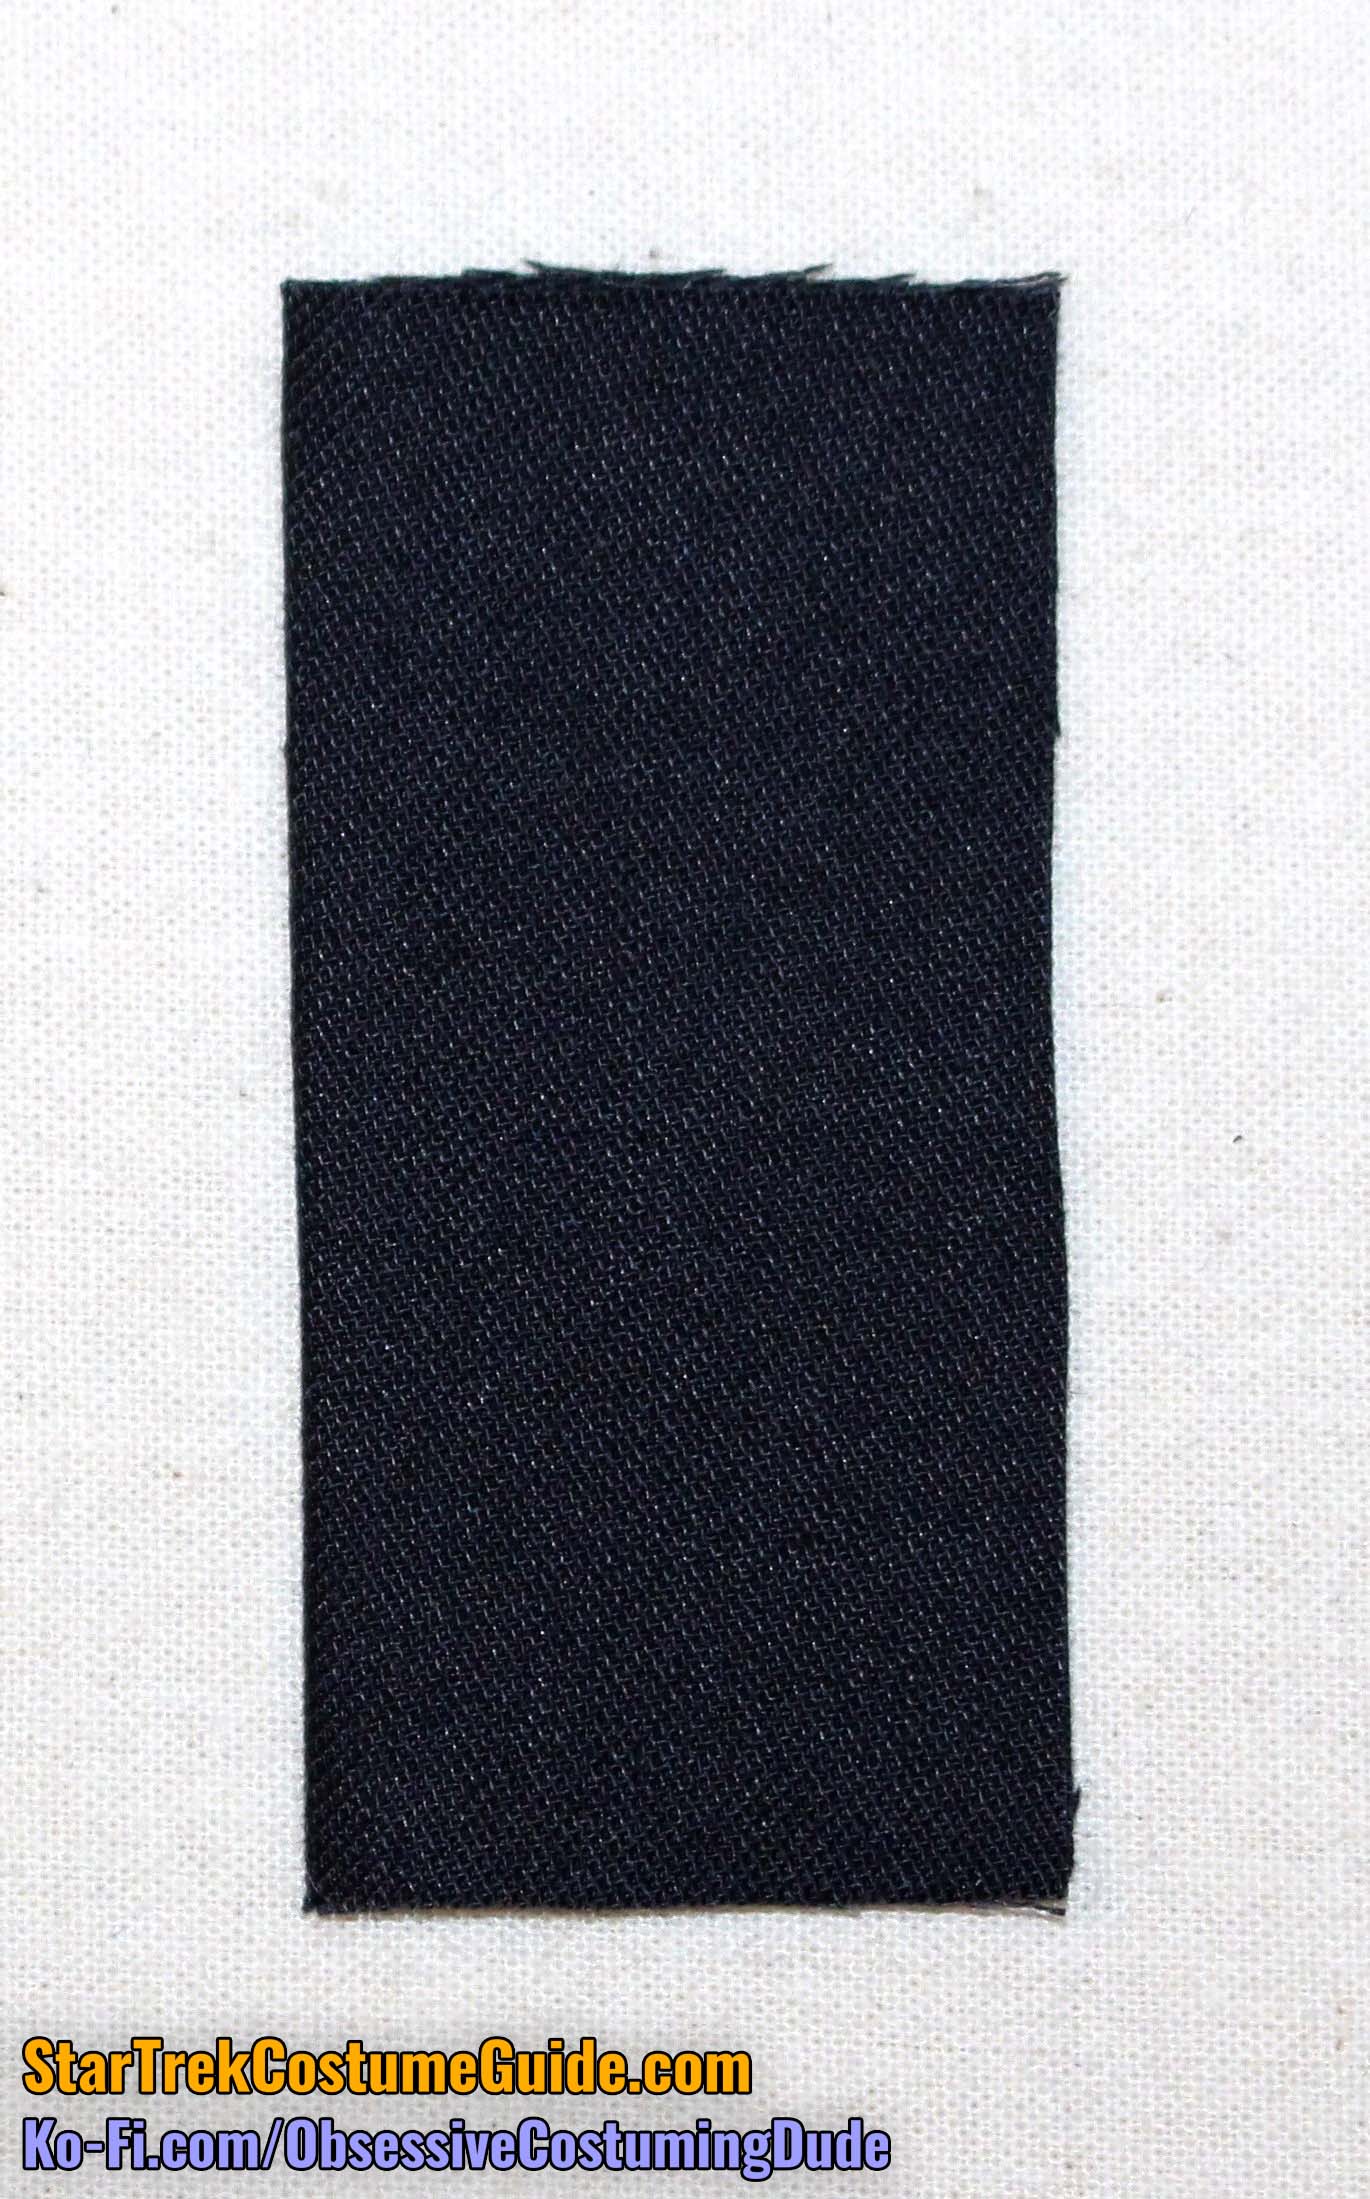
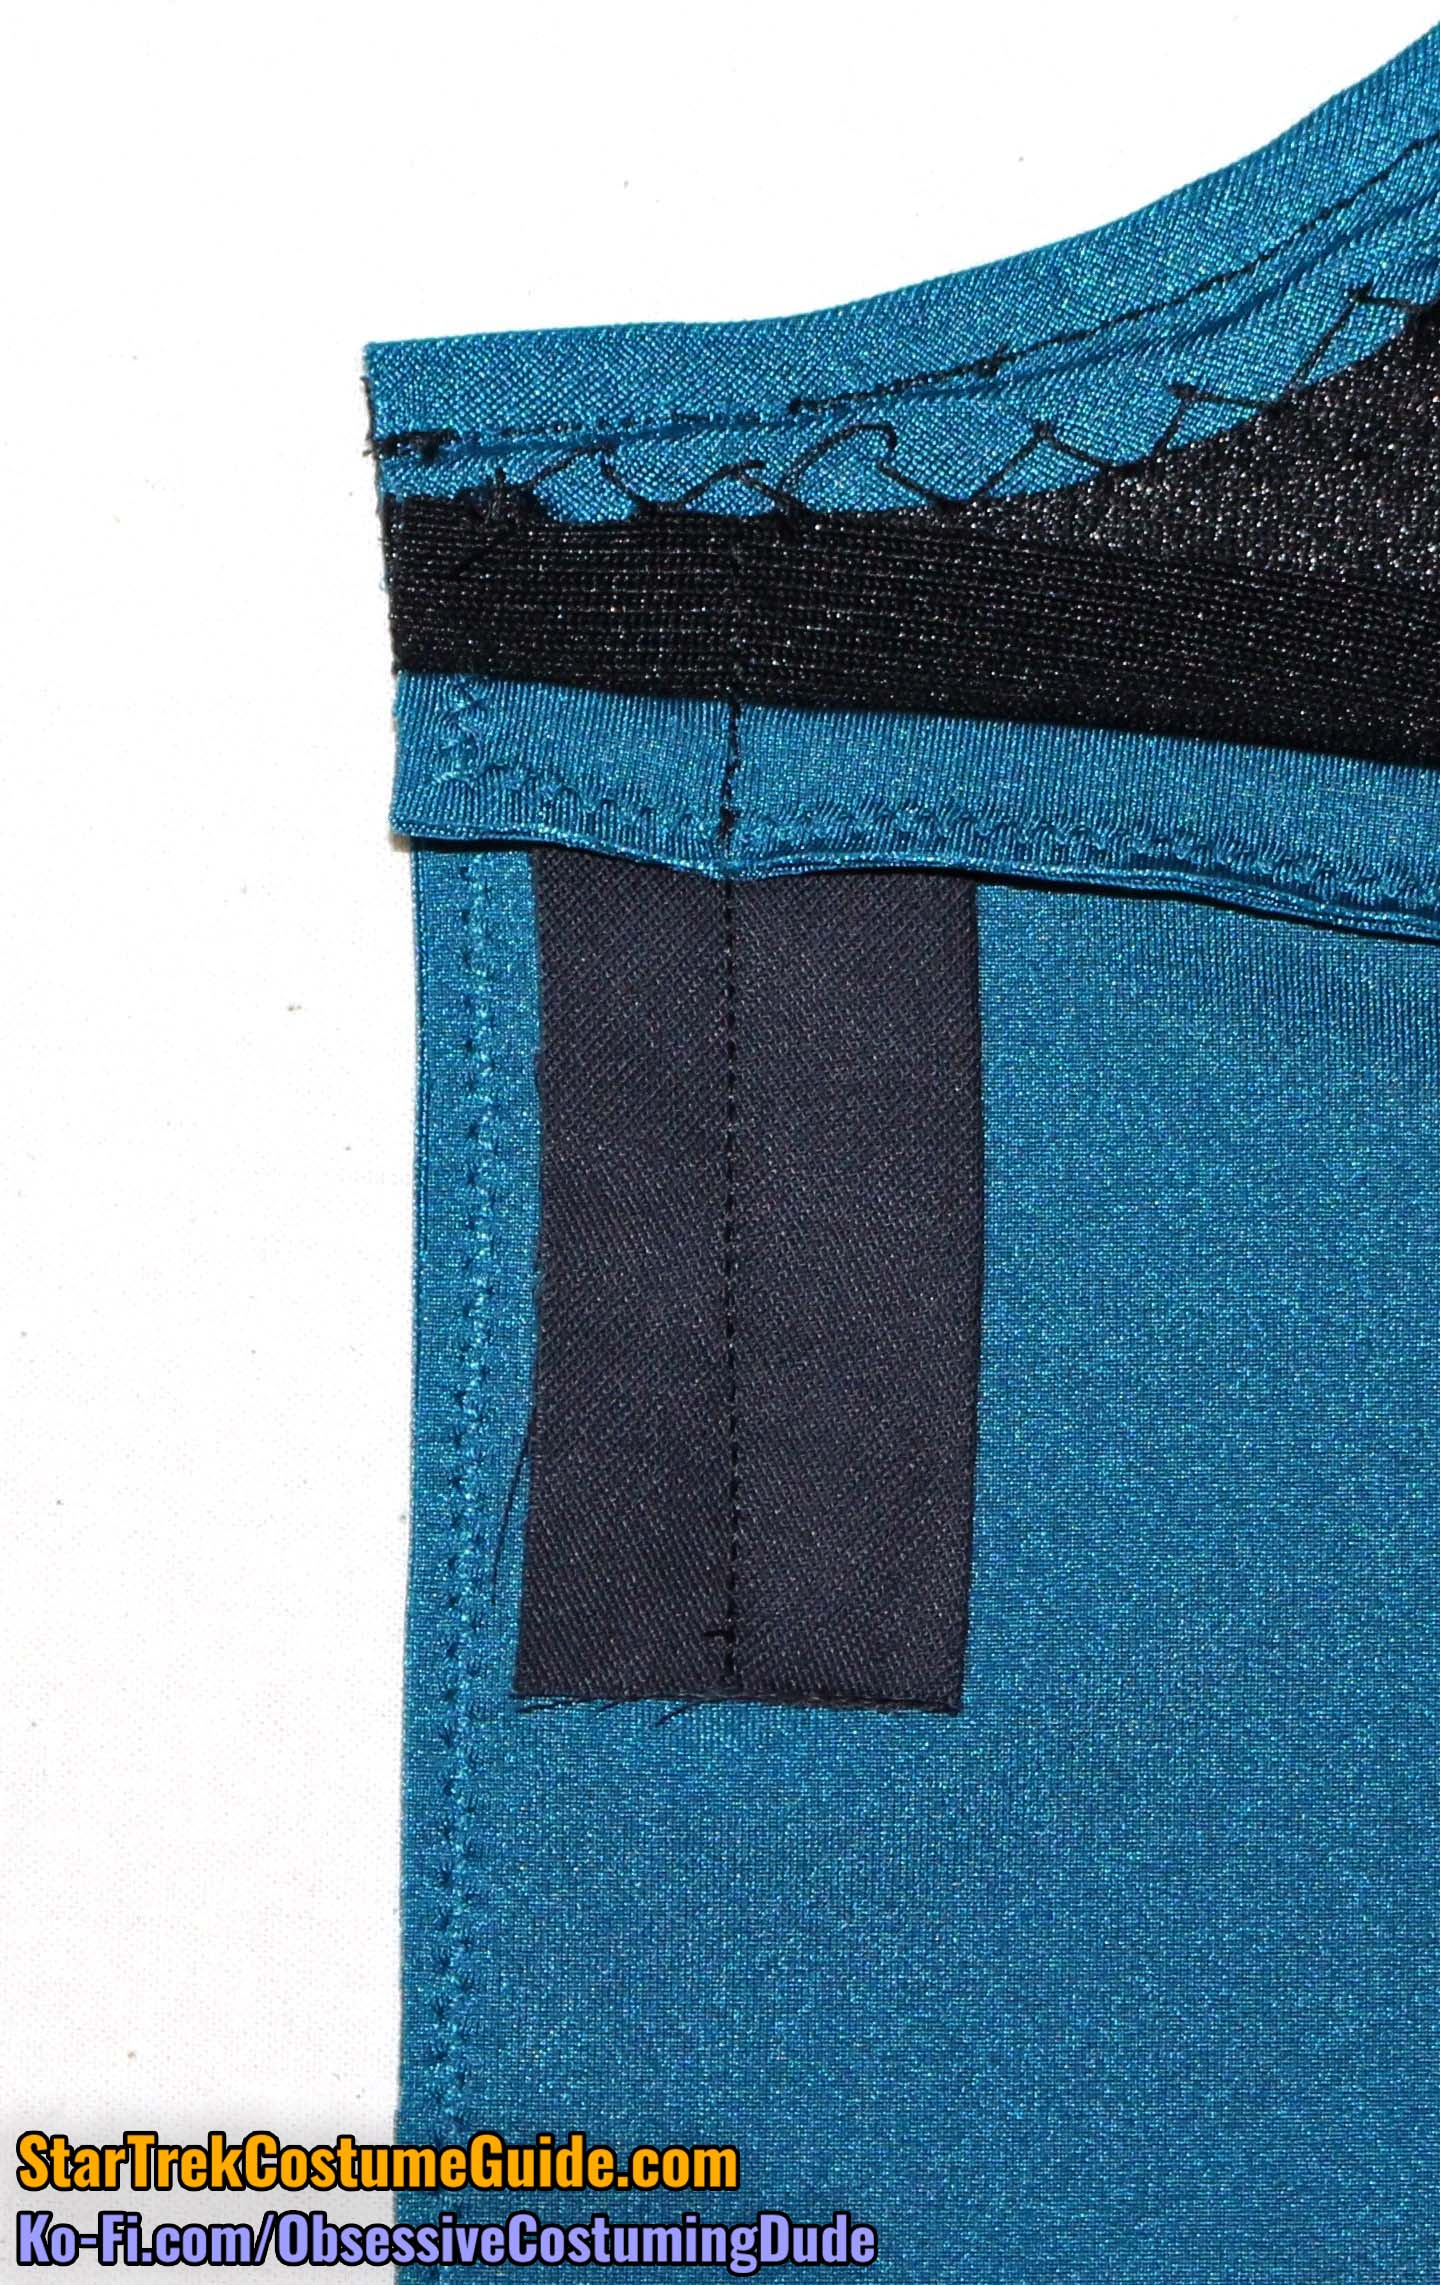
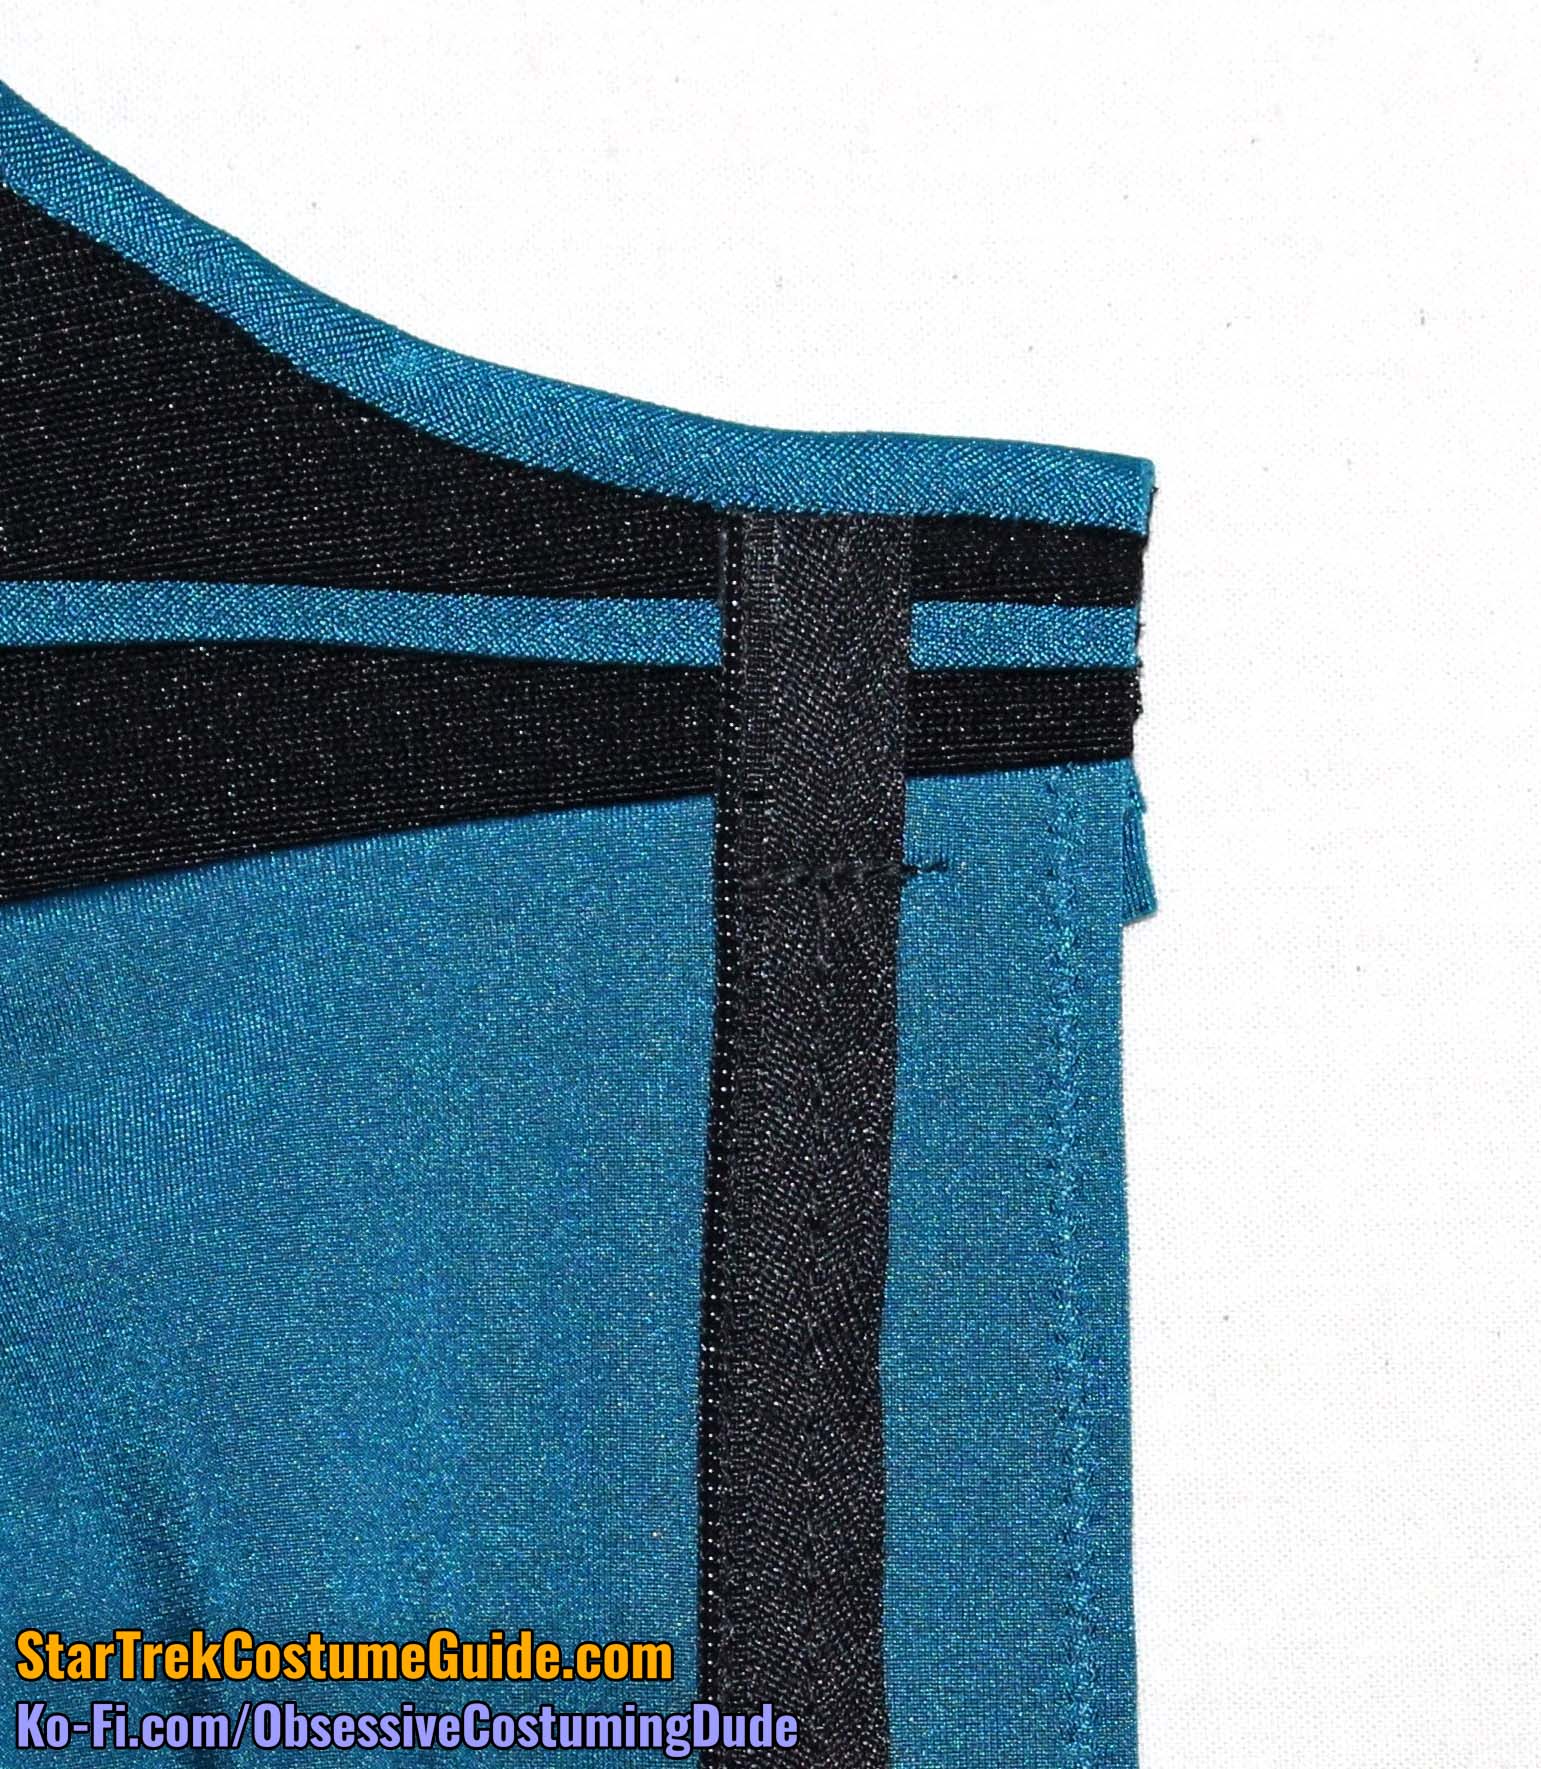
The screen-used Dr. Pulaski (v1) smock I examined had a small piece of black, lightweight woven fabric sewn onto each underside of the upper center fronts, presumably to stabilize the area for the zipper installation.
Should you wish to incorporate this into your replica, cut two small squares of black, lightweight woven fabric, approximately 2” x 2”.
Position the black fabric rectangle underneath the upper front, with the raw edges toward the center edge and the folded edge outward. The precise horizontal positioning doesn’t really matter, as long as it’s over the front seam line.
Sew the rectangle to the upper front just inside of the seam line – approximately ¾” or ⅞” from the front edge.
Repeat for the other side.
On the screen-used Dr. Pulaski (v1) smock I examined, the excess zipper tape at the top of the zipper was simply turned under and stitched down.
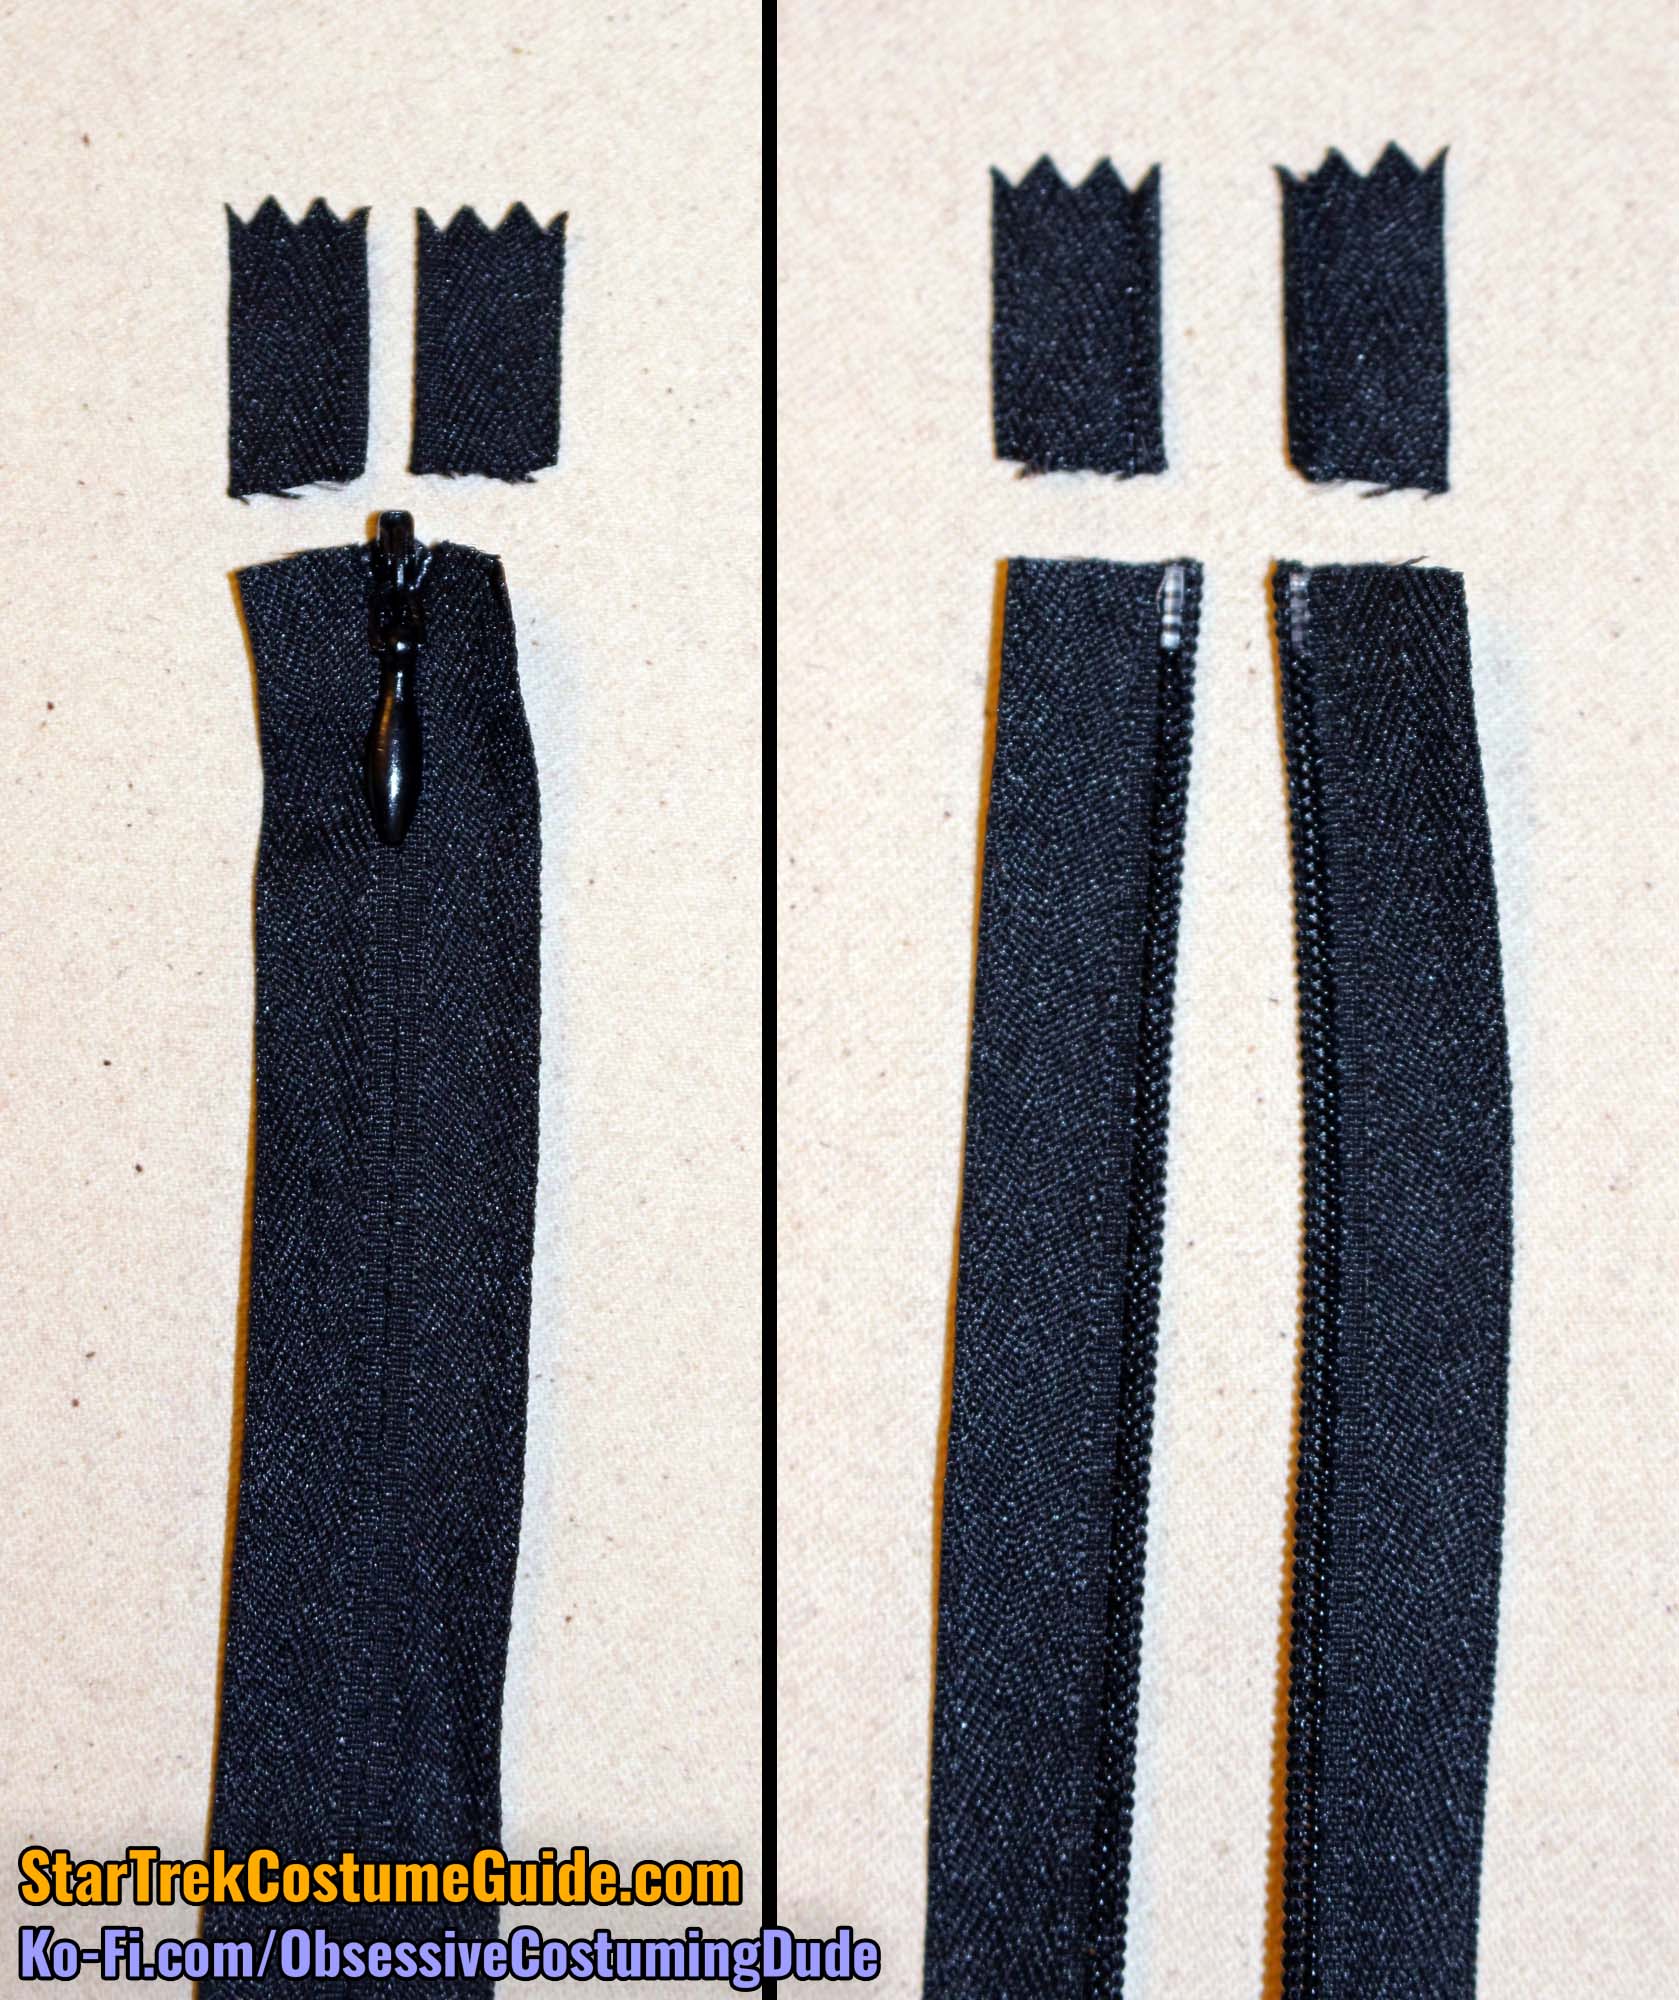
You’re obviously free to do that if you’d like, but I prefer to cut off the excess zipper tape directly above the zipper stop and apply some liquid fray preventer to the new upper edges.
Position your zipper on the front of the smock so it extends upward approximately ¾” above the yoke/body seam line. (The top of the zipper should be flush with the bottom of the neckline trim.)
Using your invisible zipper foot, baste the zipper to the smock with 1” seam allowance, leaving the uppermost 1” of the zipper left hanging free.
Close the zipper to make sure everything is properly aligned. (Keep a sharp eye on the waistband!)
If necessary, remove the basting stitching and adjust as-needed.
Once satisfied of the zipper’s positioning and waistband alignment across the center, sew the zipper to the smock, again leaving the uppermost 1” of the zipper left hanging free.
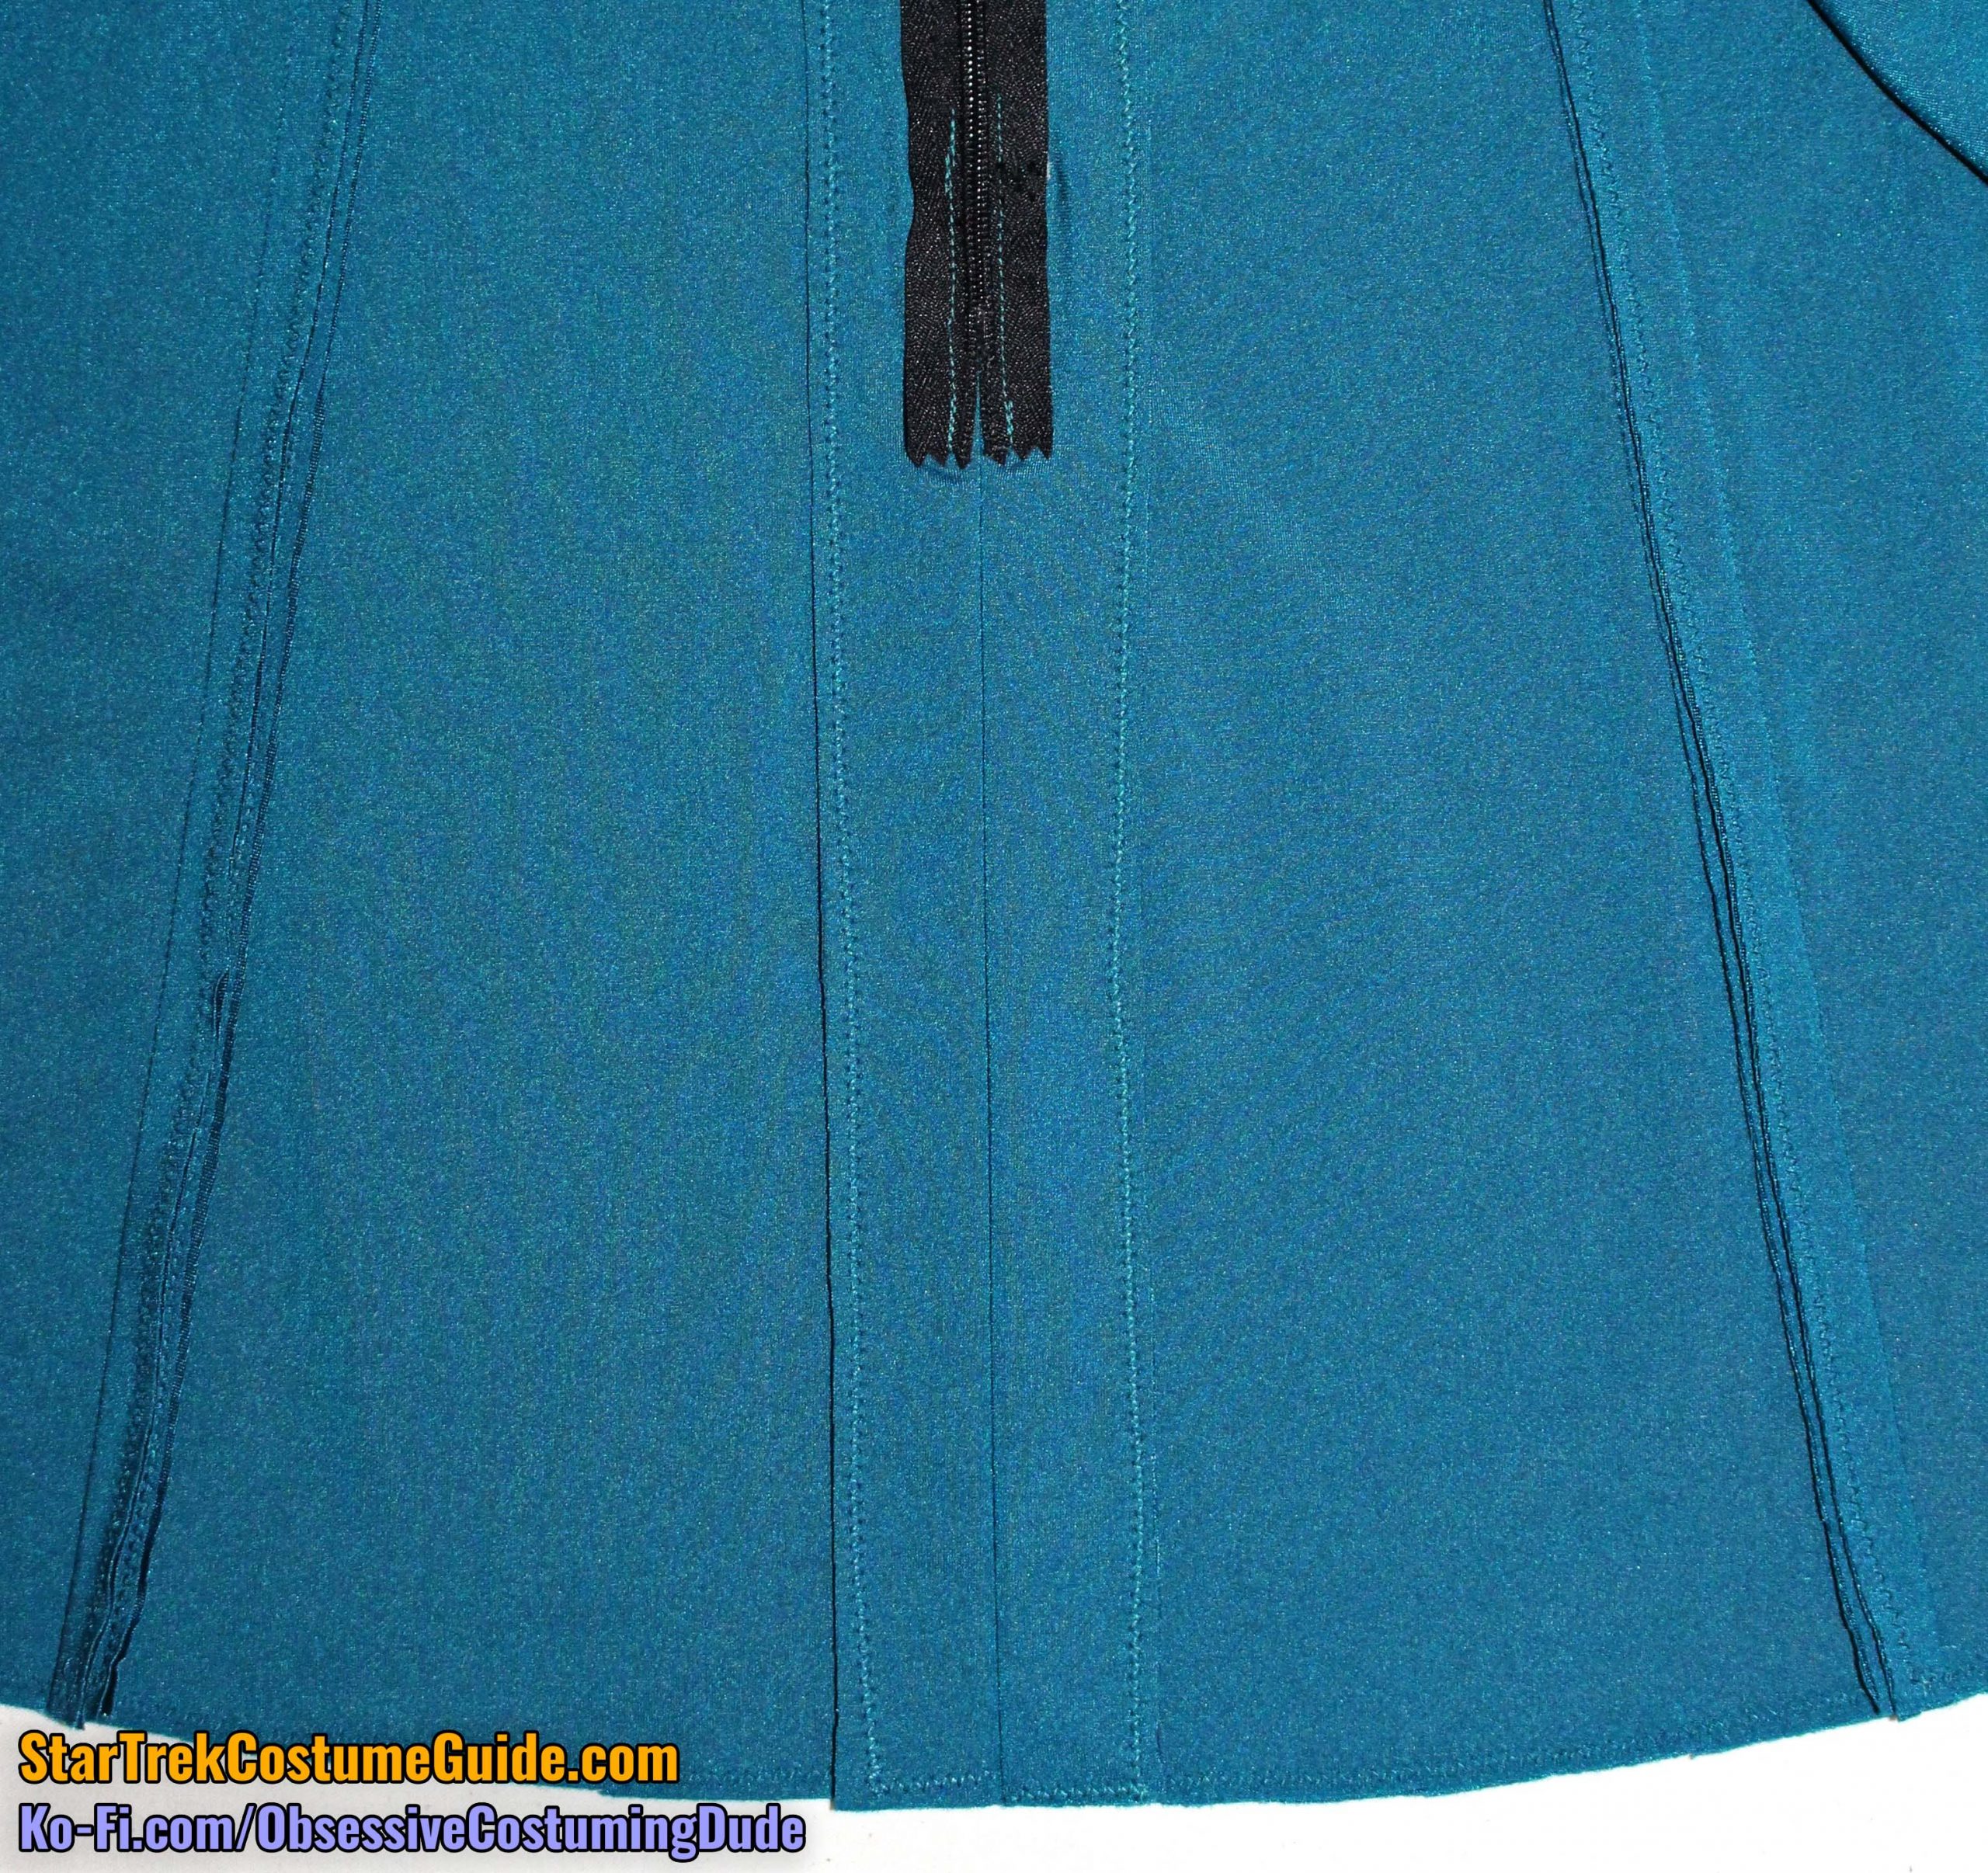
Then horizontally stitch across the zipper tape several times 1” from the top of the zipper (¼” from the bottom of the yoke) to reinforce it where it was left hanging free.
Stitch the zipper tape to the seam allowance again, approximately ¼” away from the zipper teeth.
For version 2, using teal thread, sew the lower center front closed beneath the zipper (again, with 1” seam allowance).
Press the seam allowances open.
For versions 3 and 4, leave the bottommost 5” or so open.
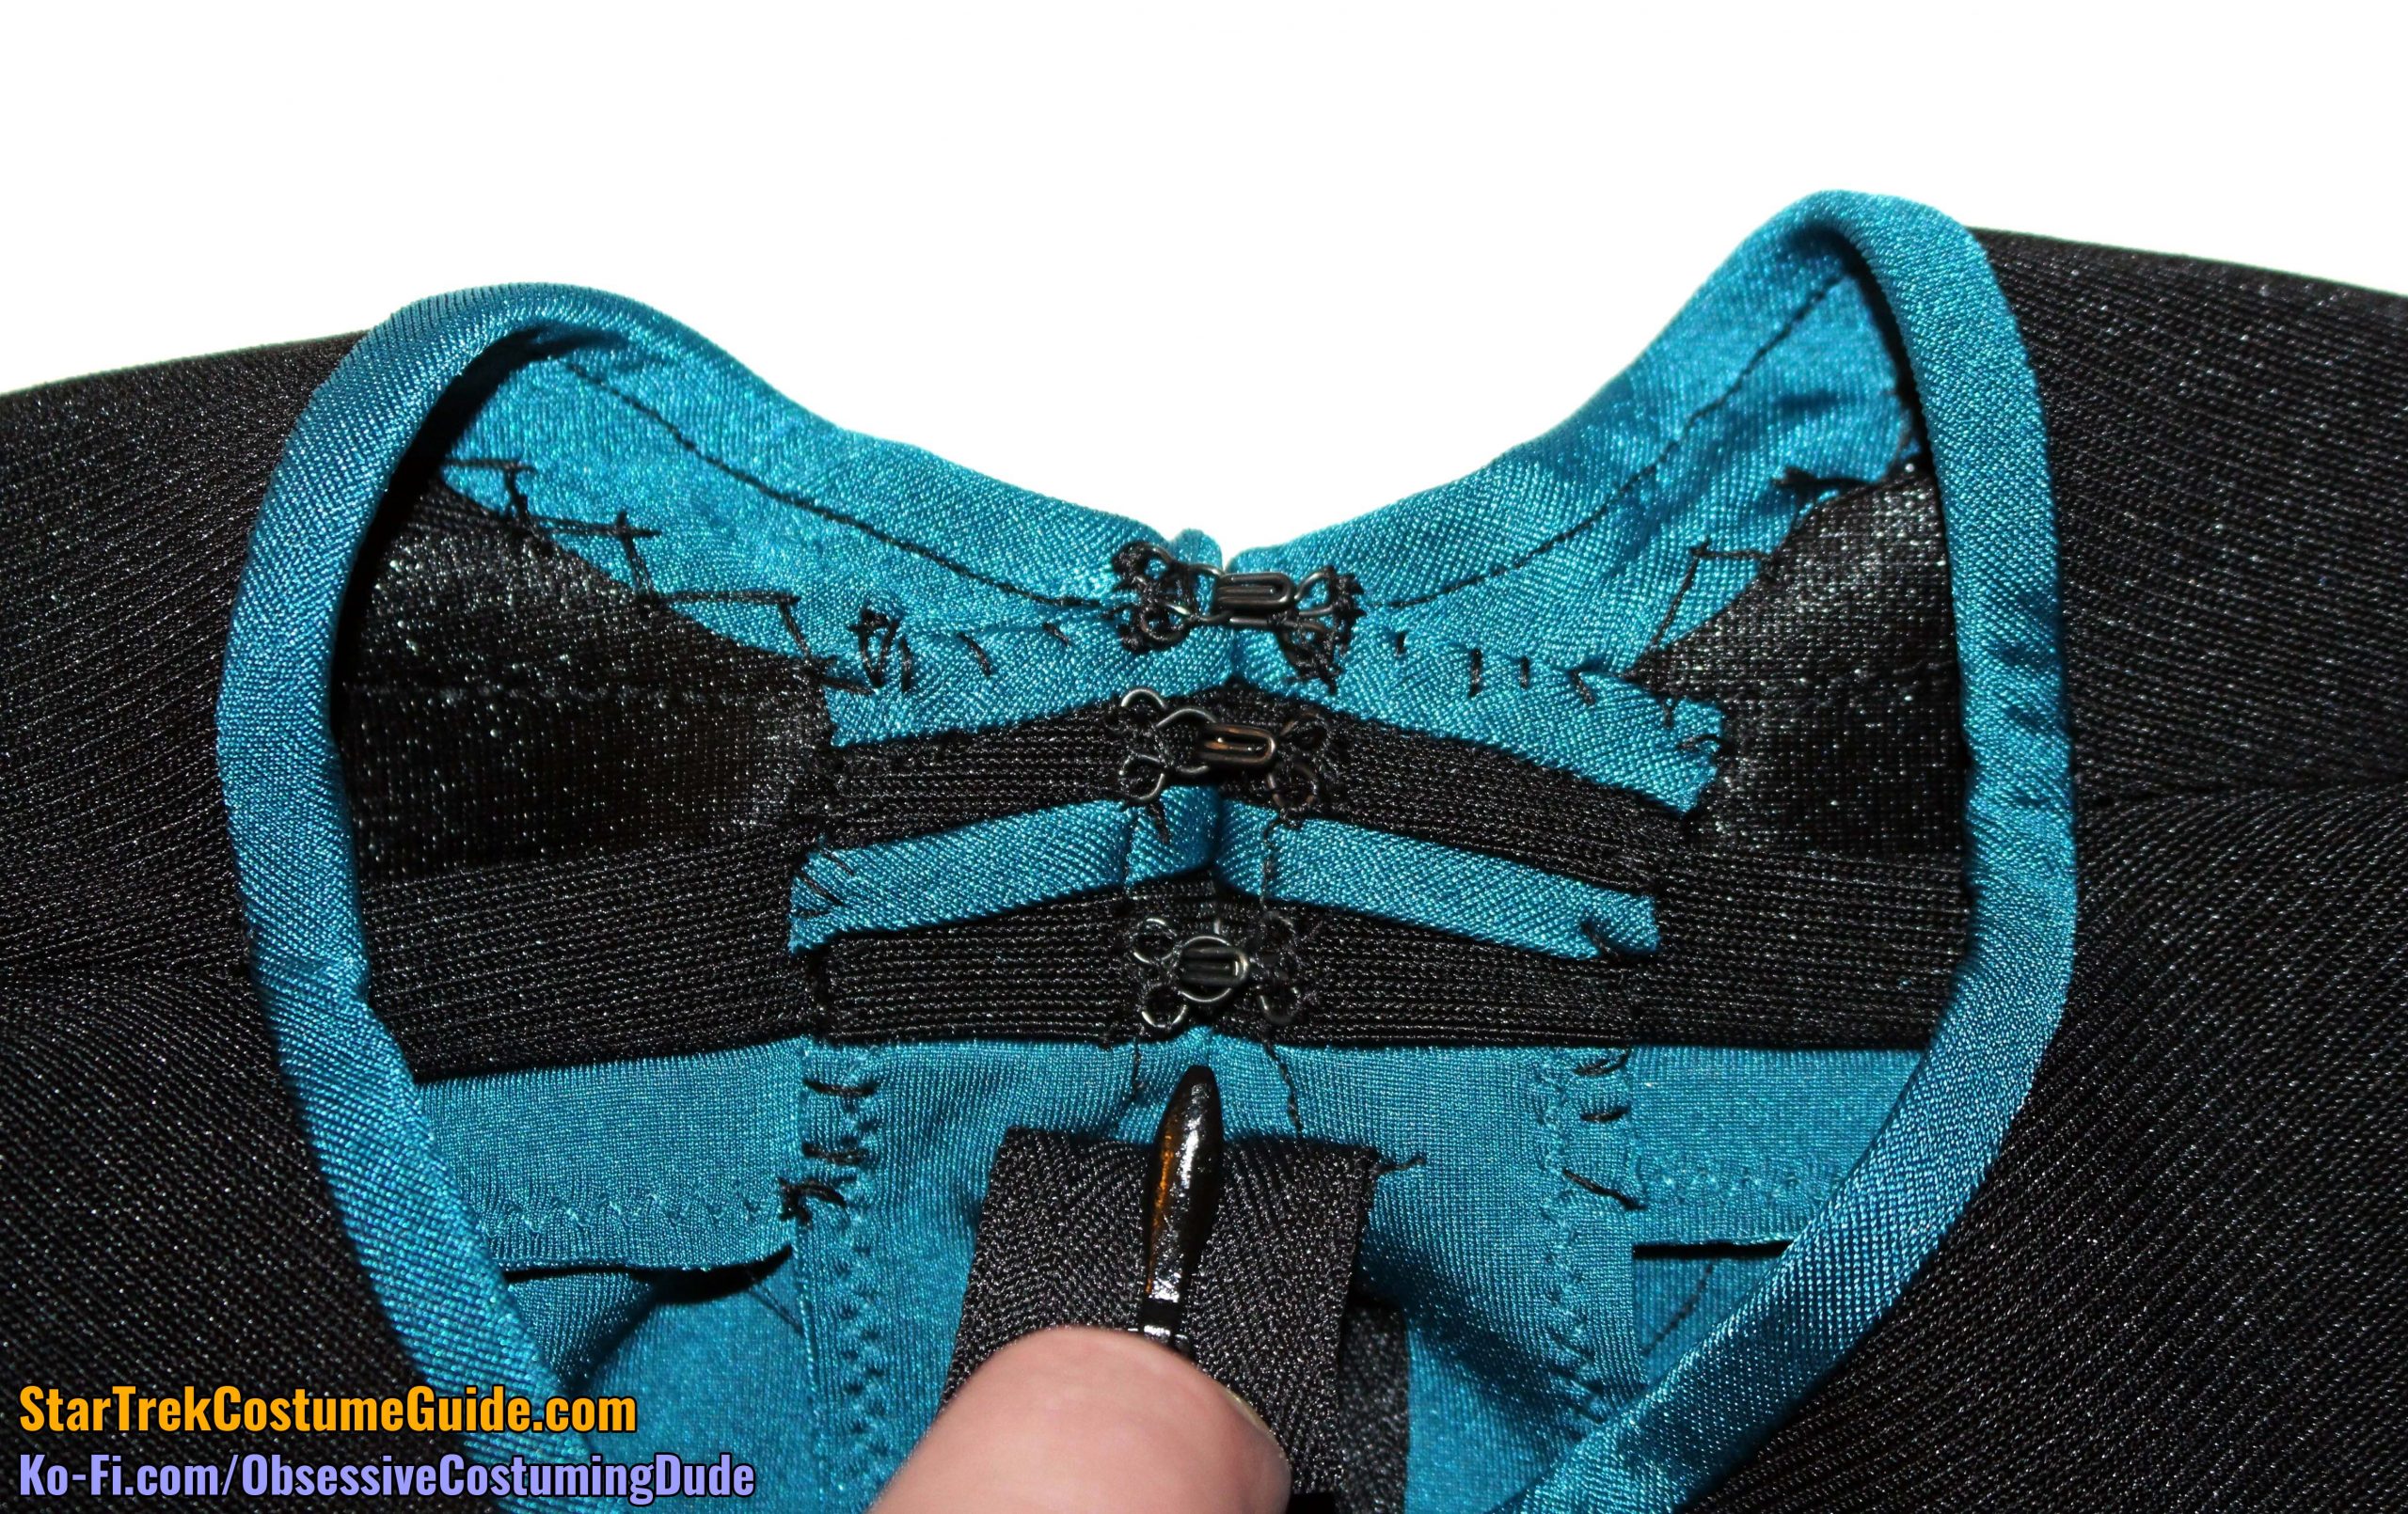
Turn the upper front seam allowances under and tack them into place by hand, taking care that your stitches don’t show through on the right side of the garment.
Hand-sew three hook-and-eye closures to the seam allowances, again making sure your stitches don’t show on the right side.
STEP 5 - Finishing
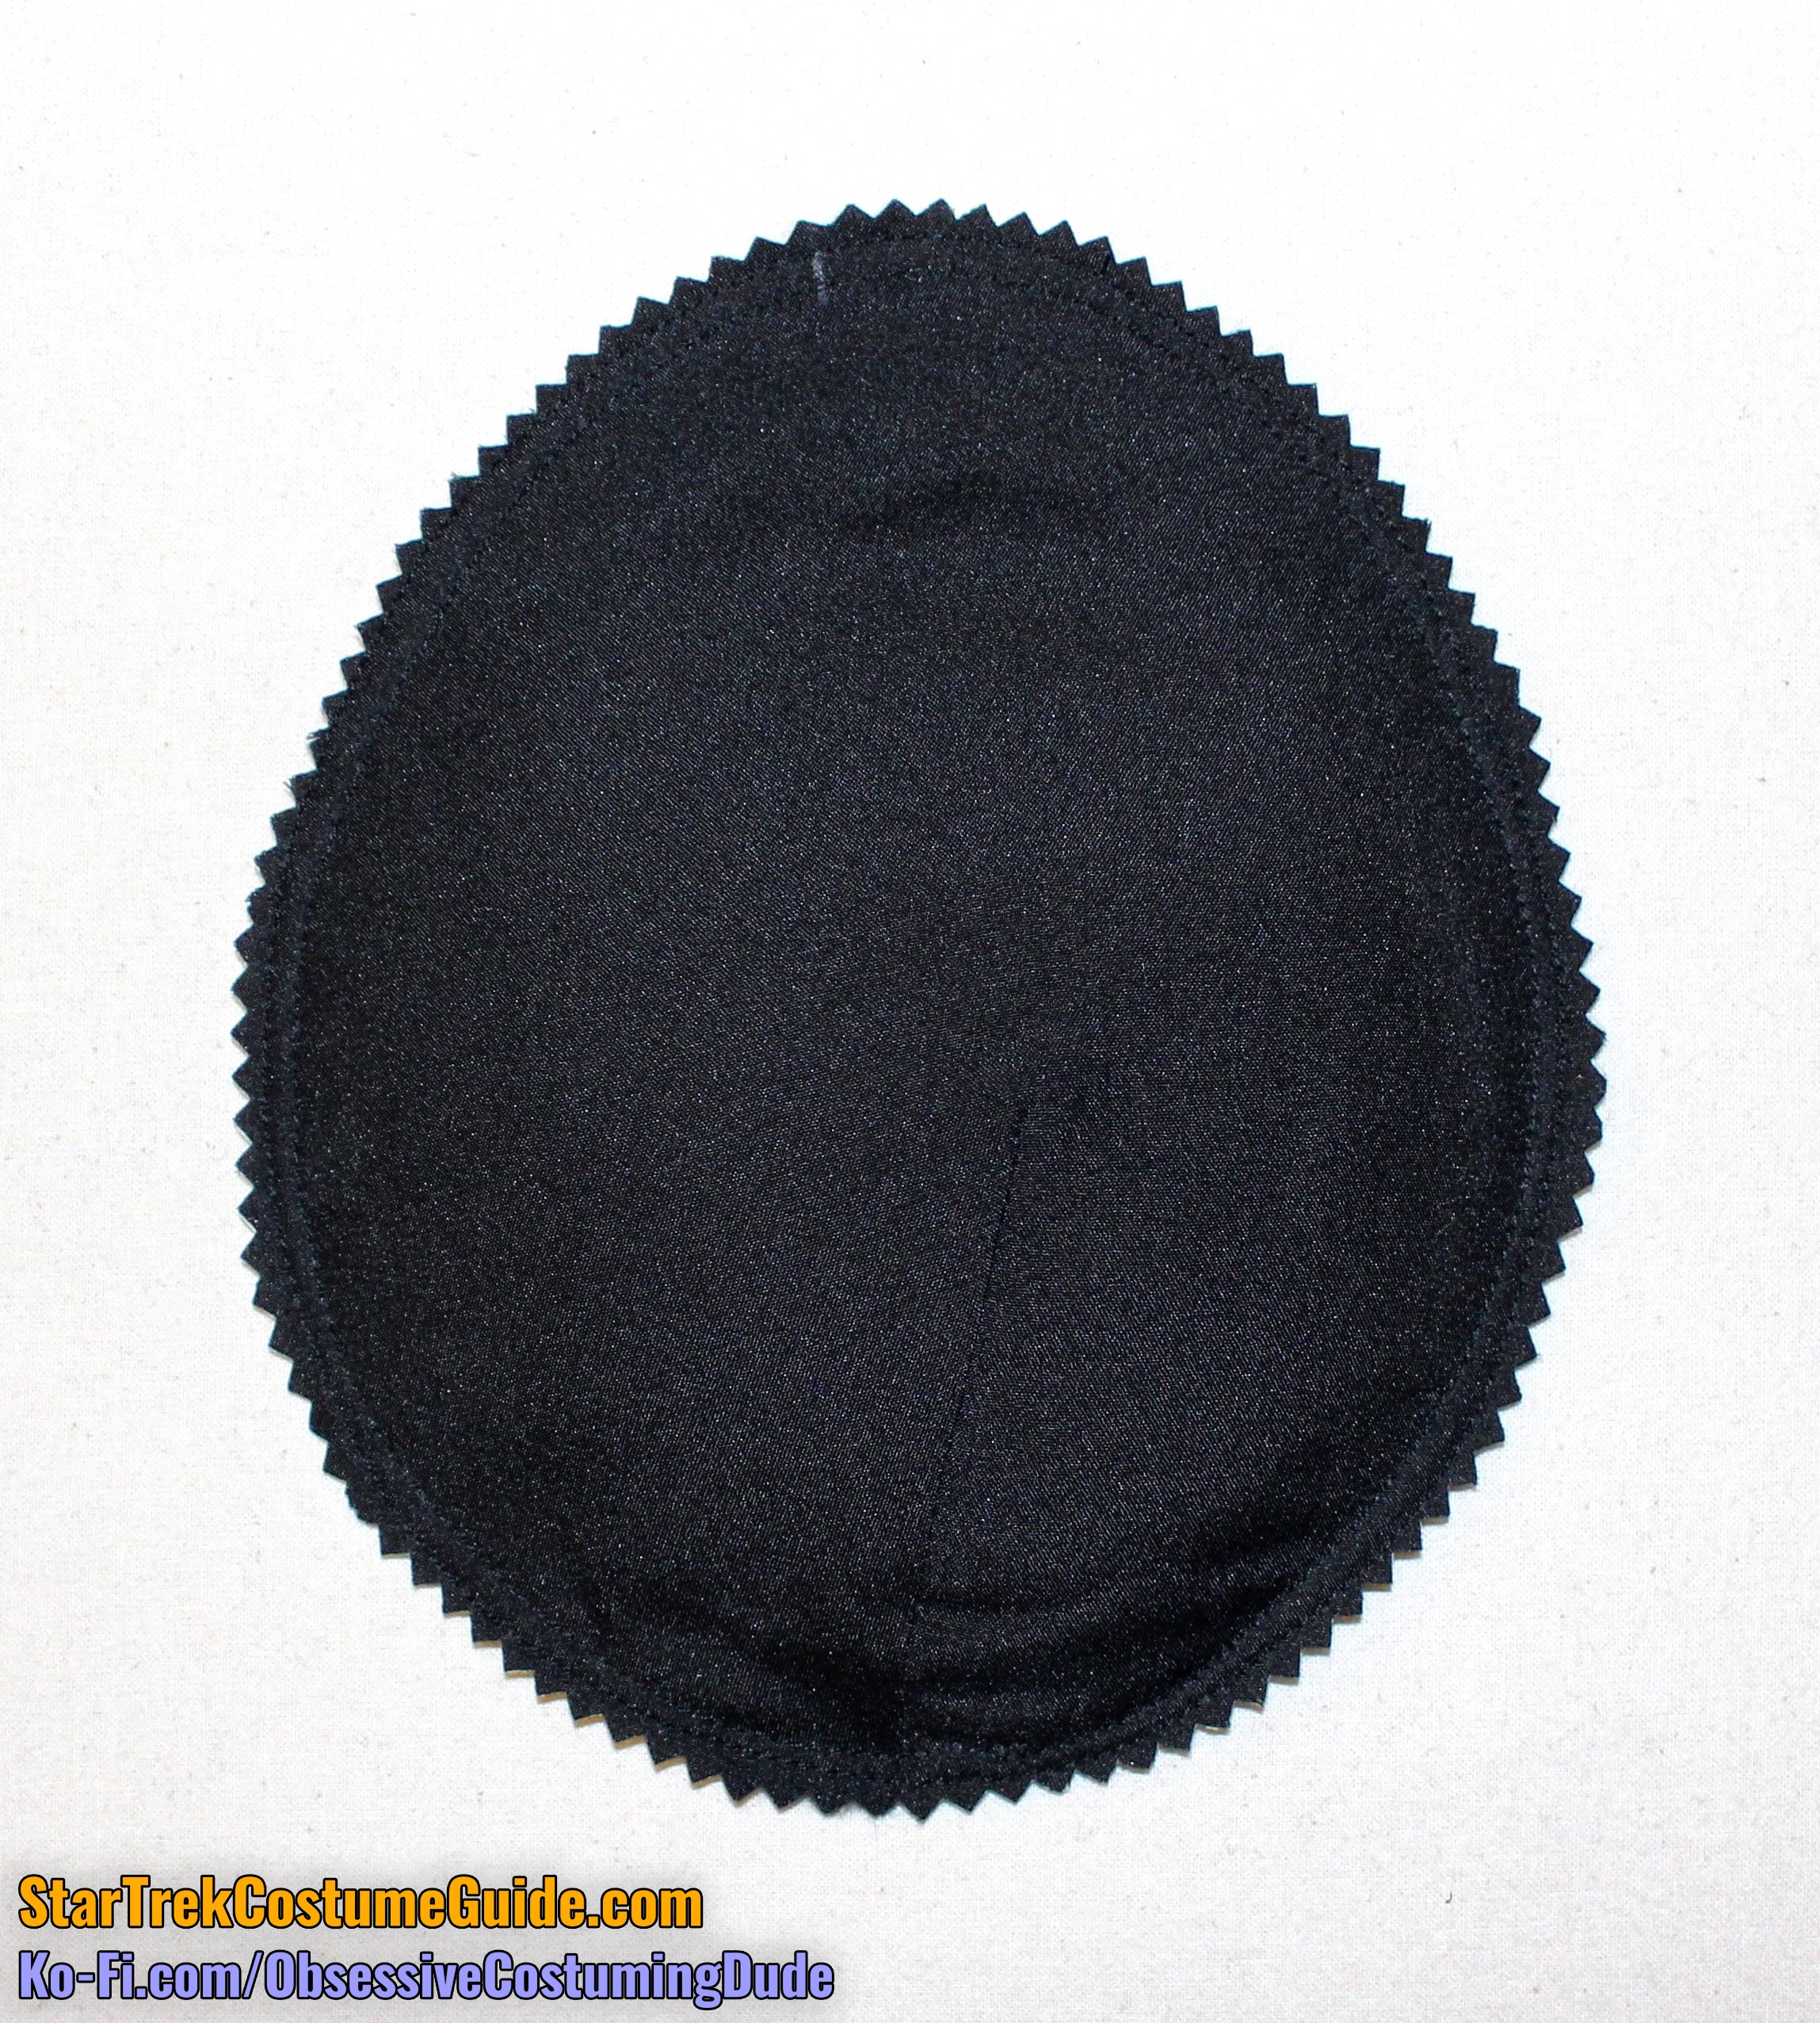
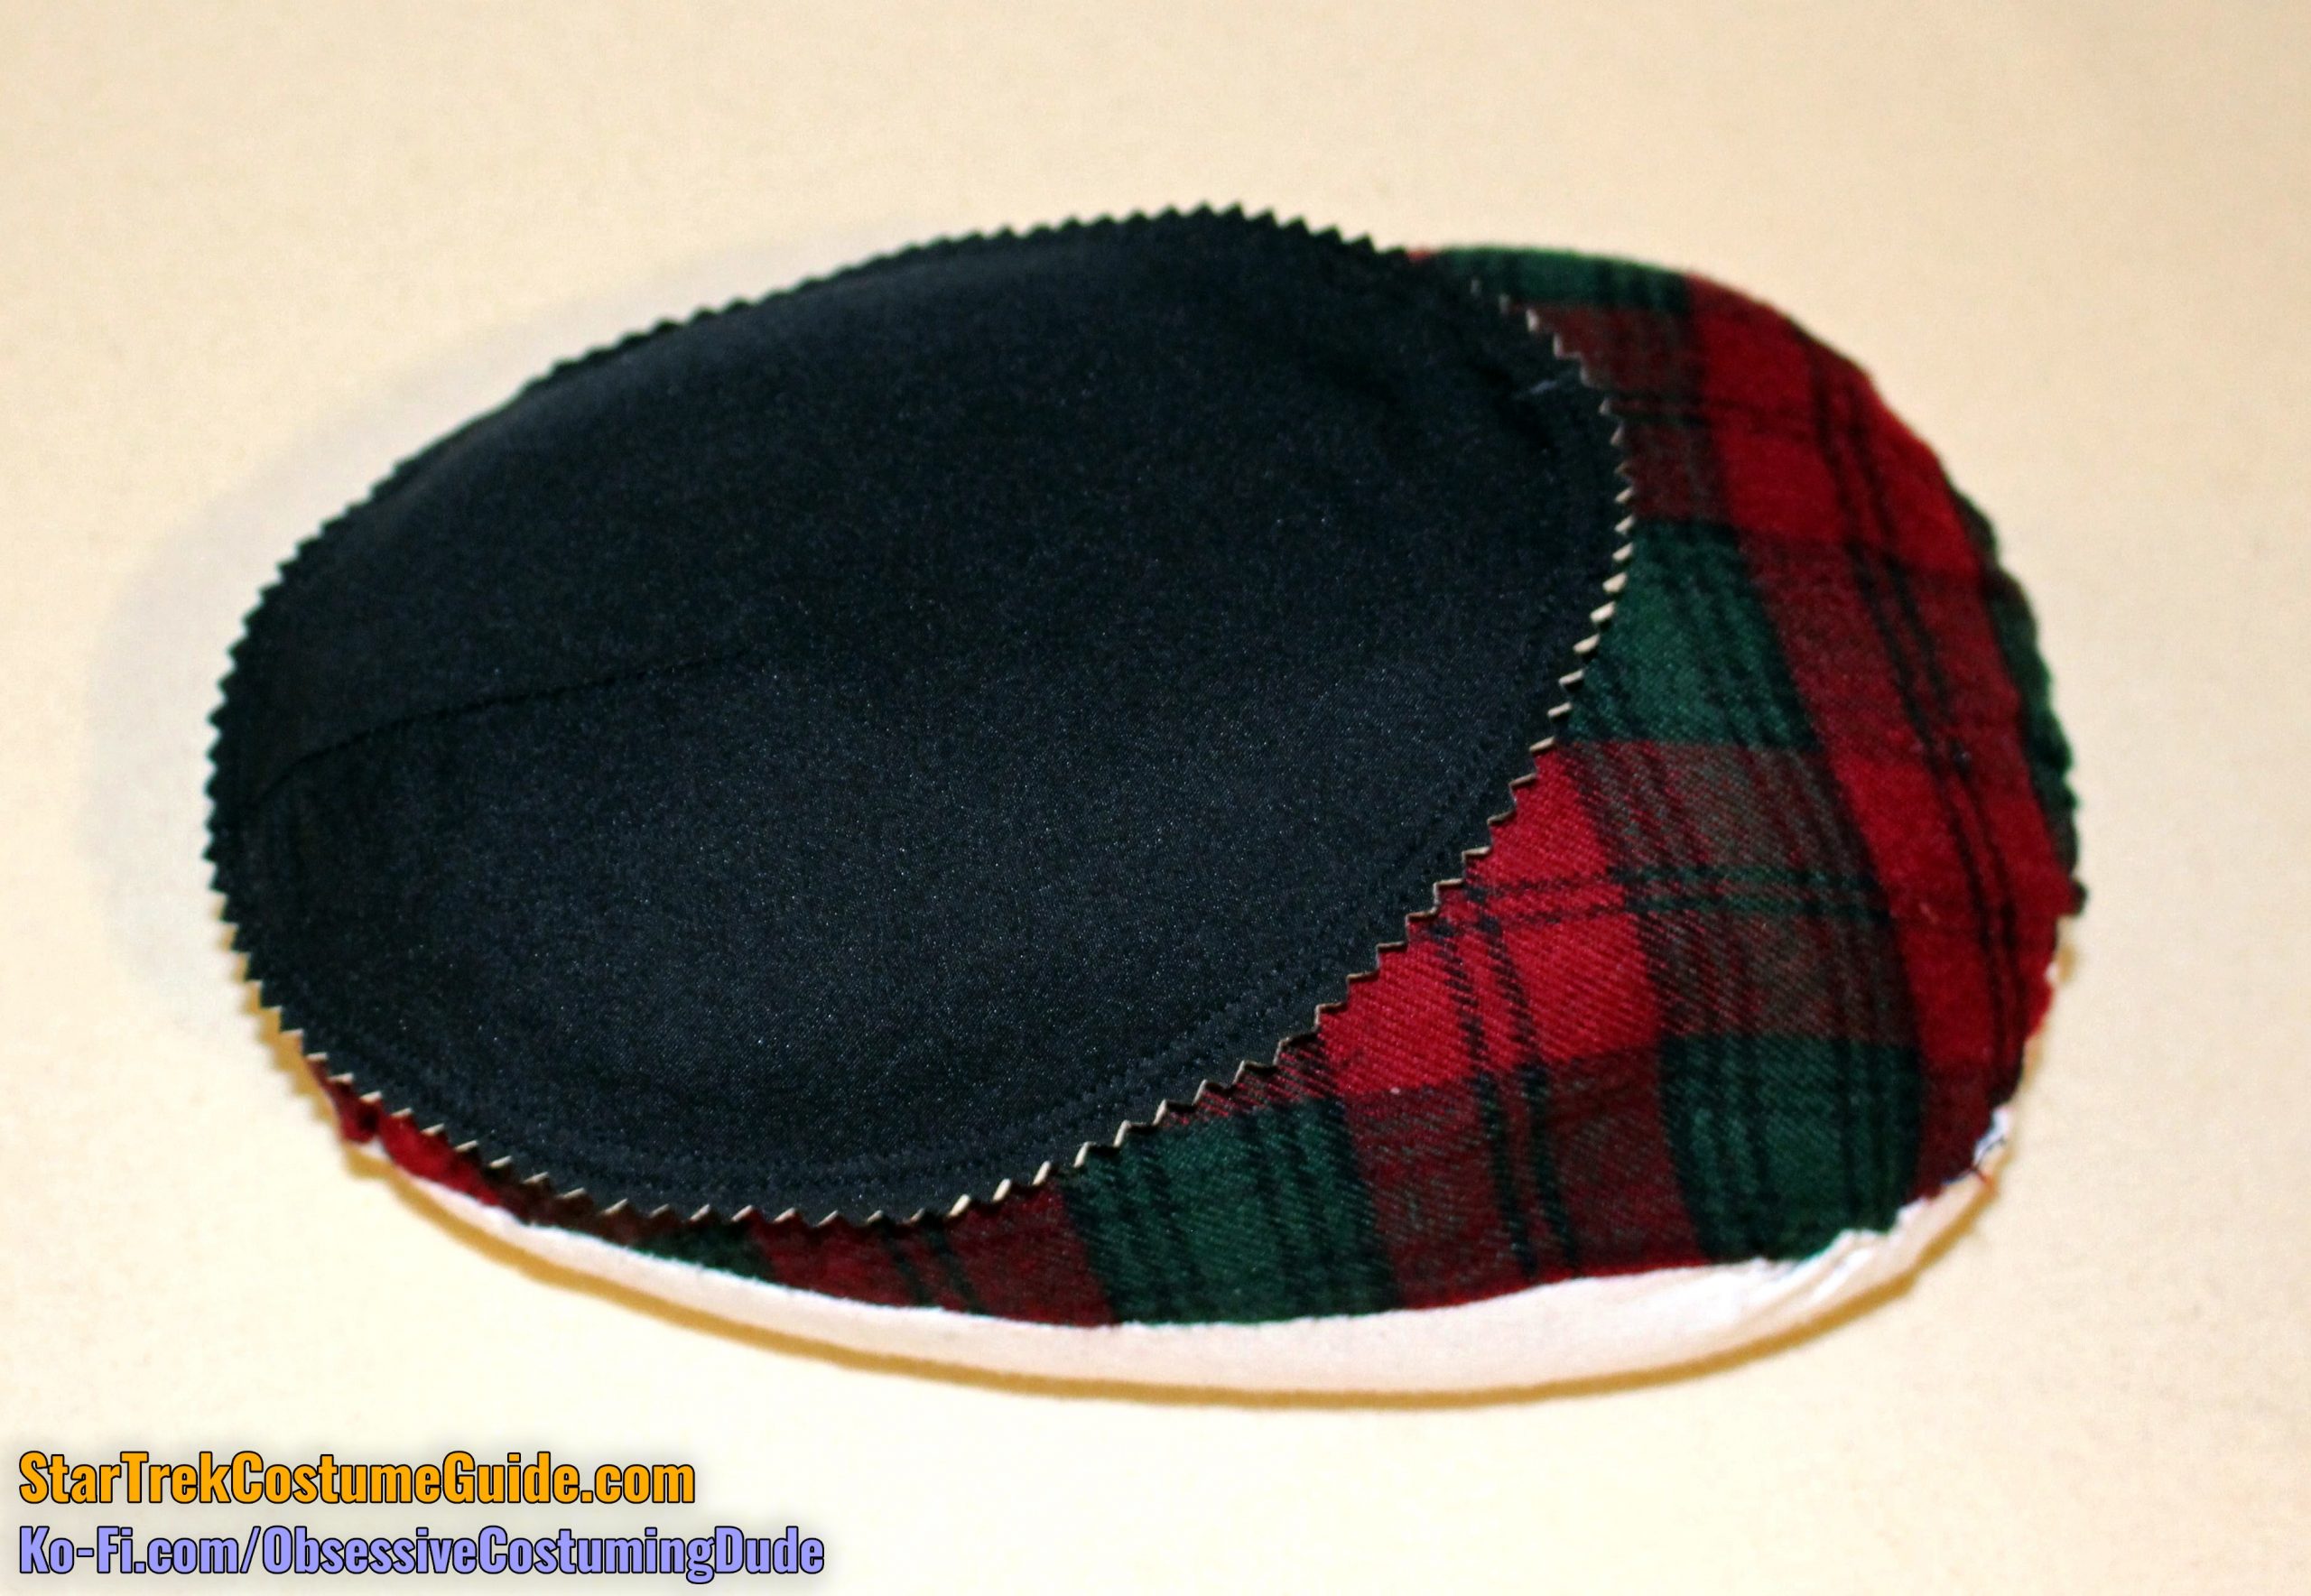
Although (as of the writing of this tutorial) I cannot conclusively say for sure, I believe the original TNG medical smocks were typically worn with the same style of custom-made shoulder pads as those on the screen-used TNG skant I examined (and other TNG-era uniforms).
You can use regular, store-bought raglan shoulder pads if you want, but I’m not aware of any as large as the originals and I don’t think the end result looks as good.
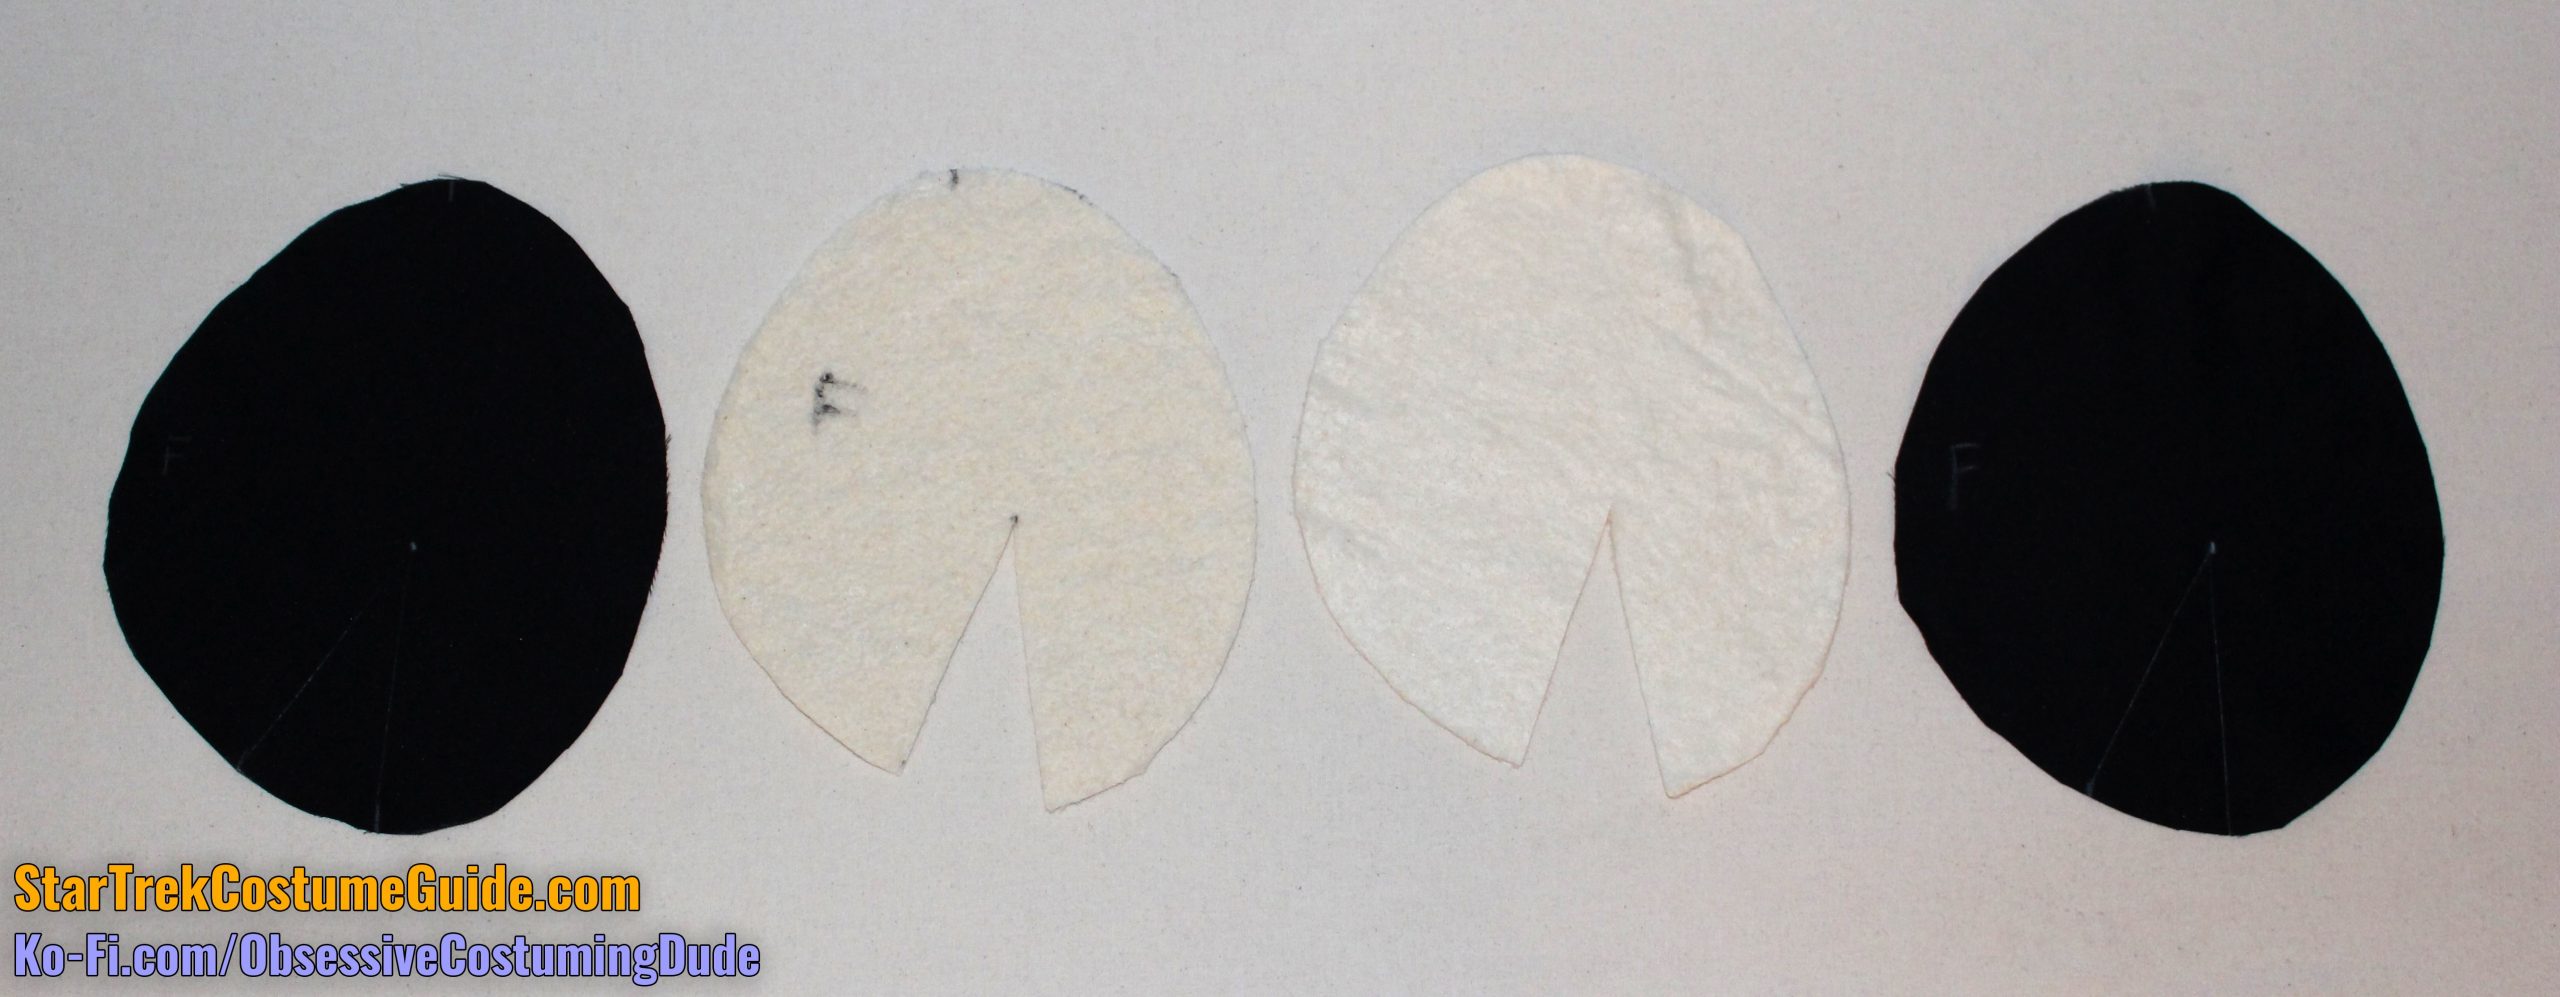
Should you wish to make a pair of replica shoulder pads (more akin to those on the screen-used TNG skants and TNG jumpsuits), here’s how. 🙂
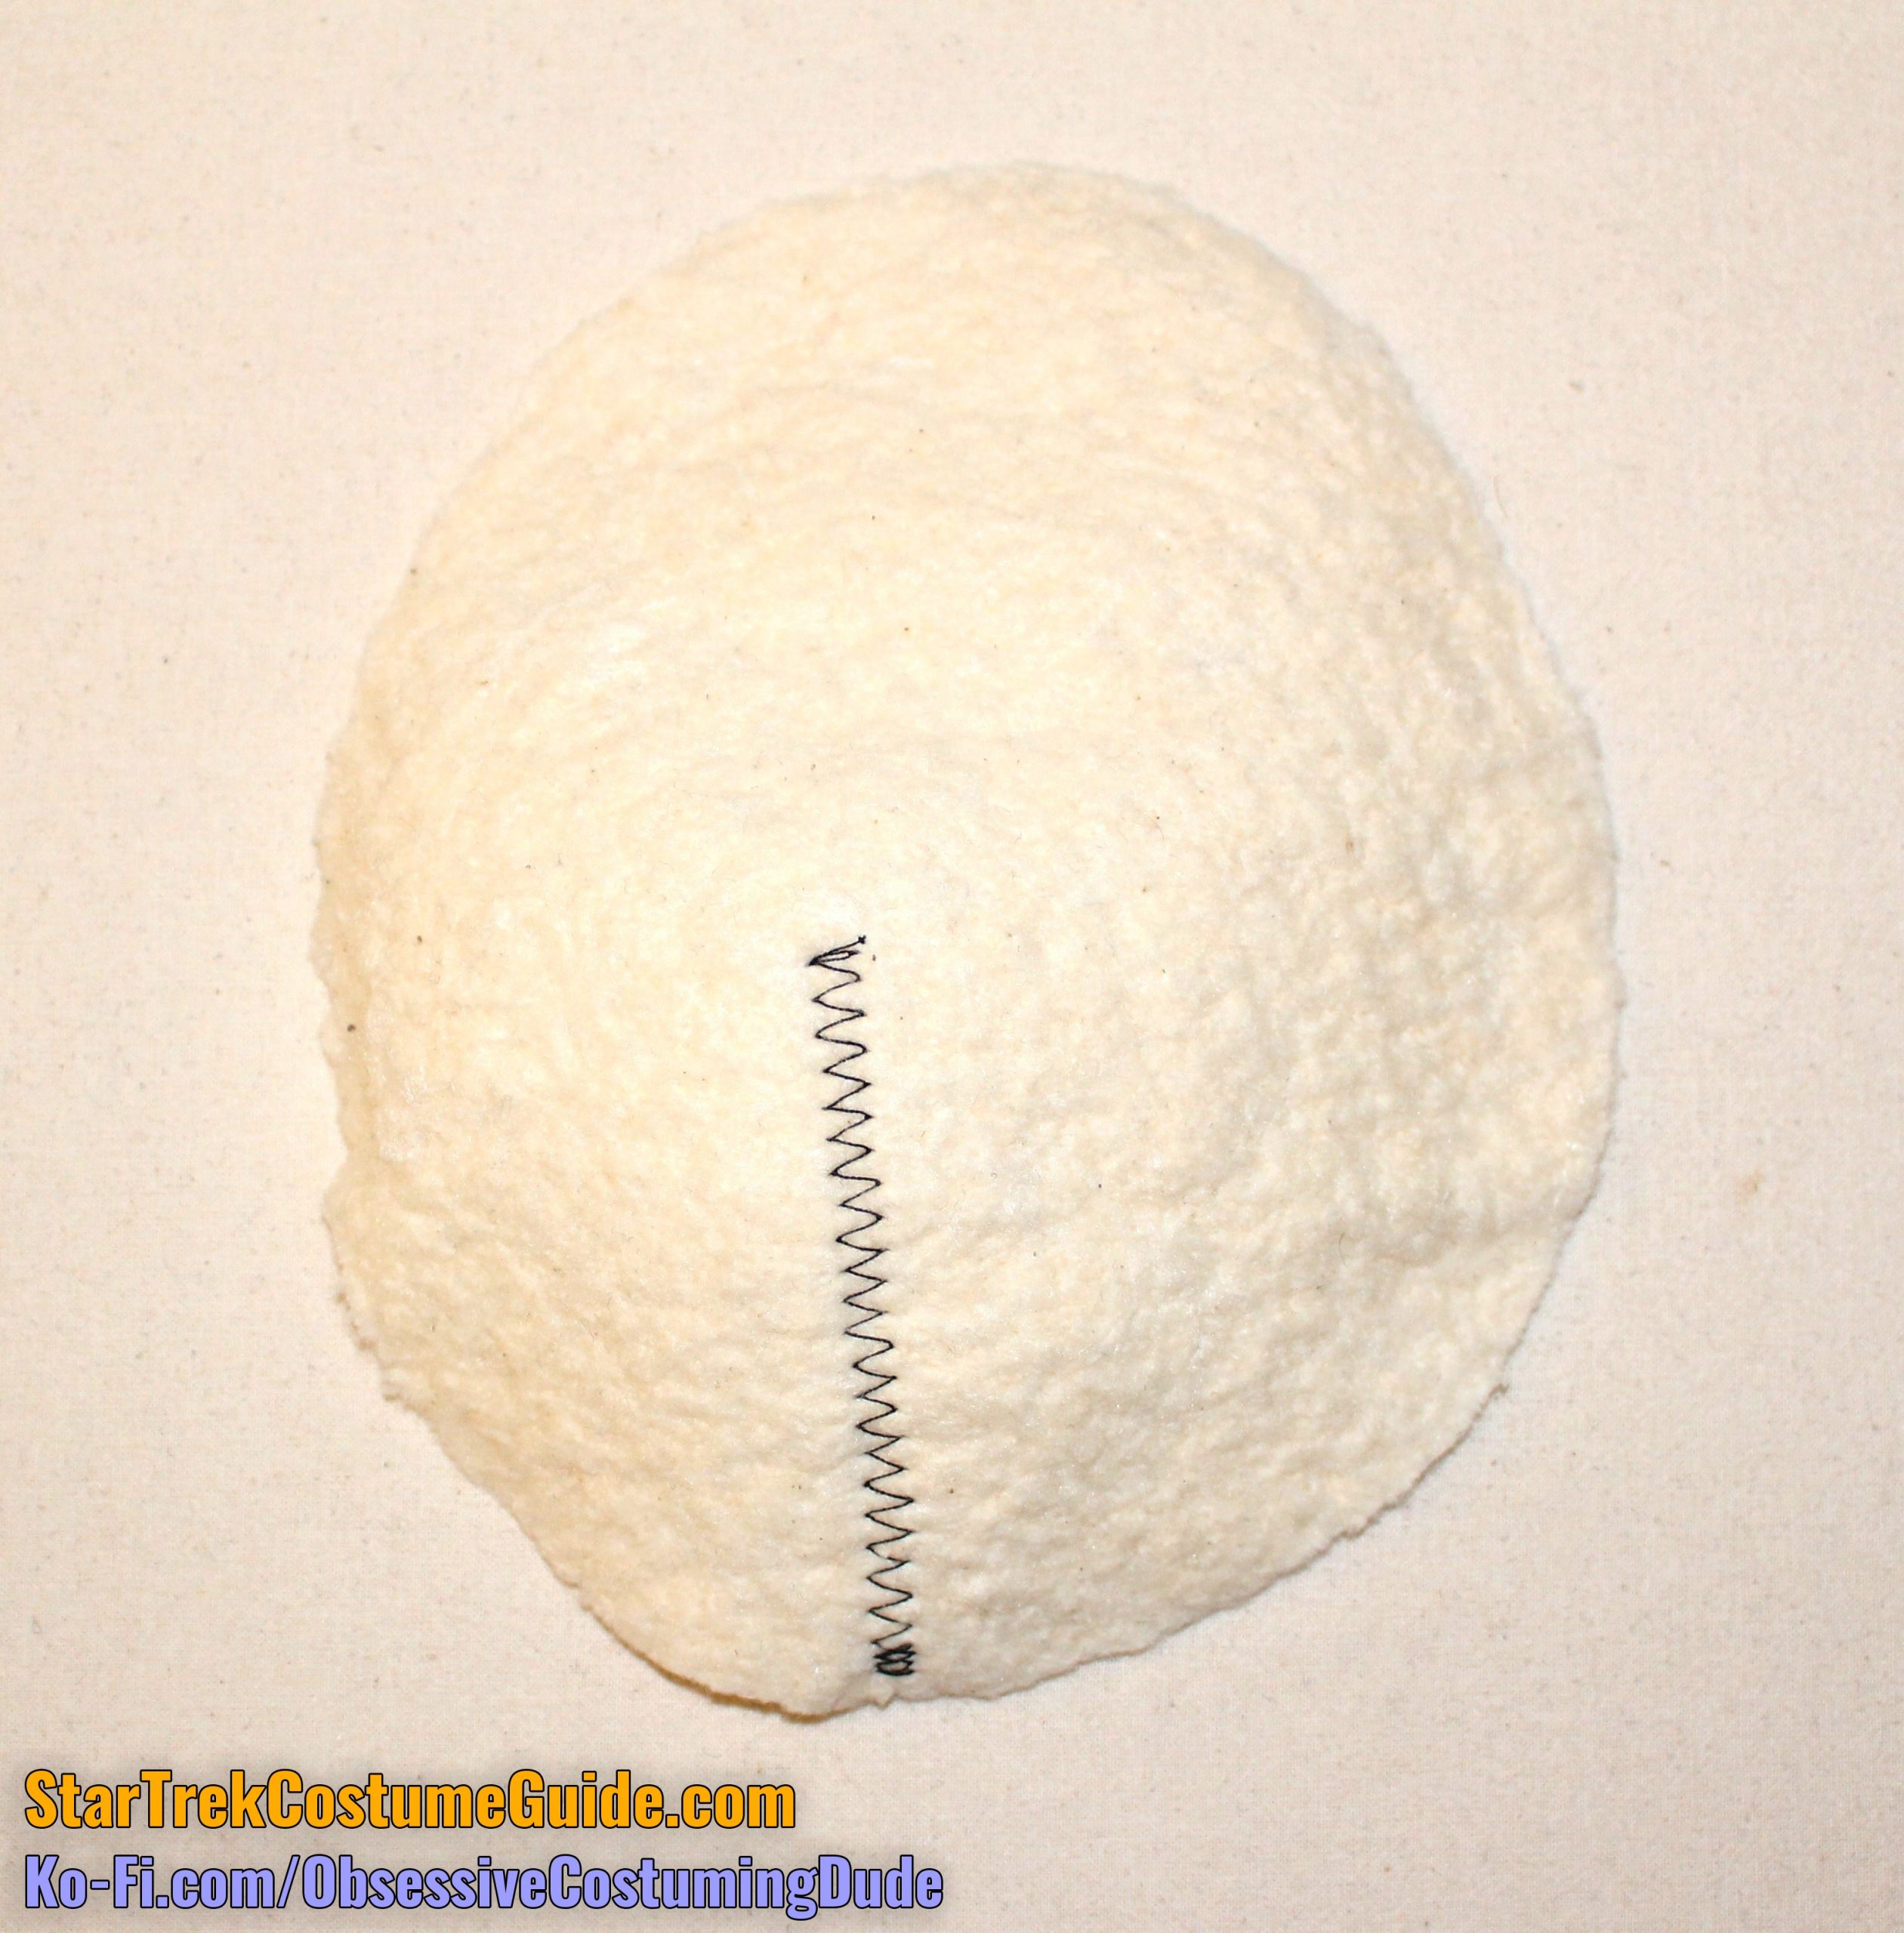
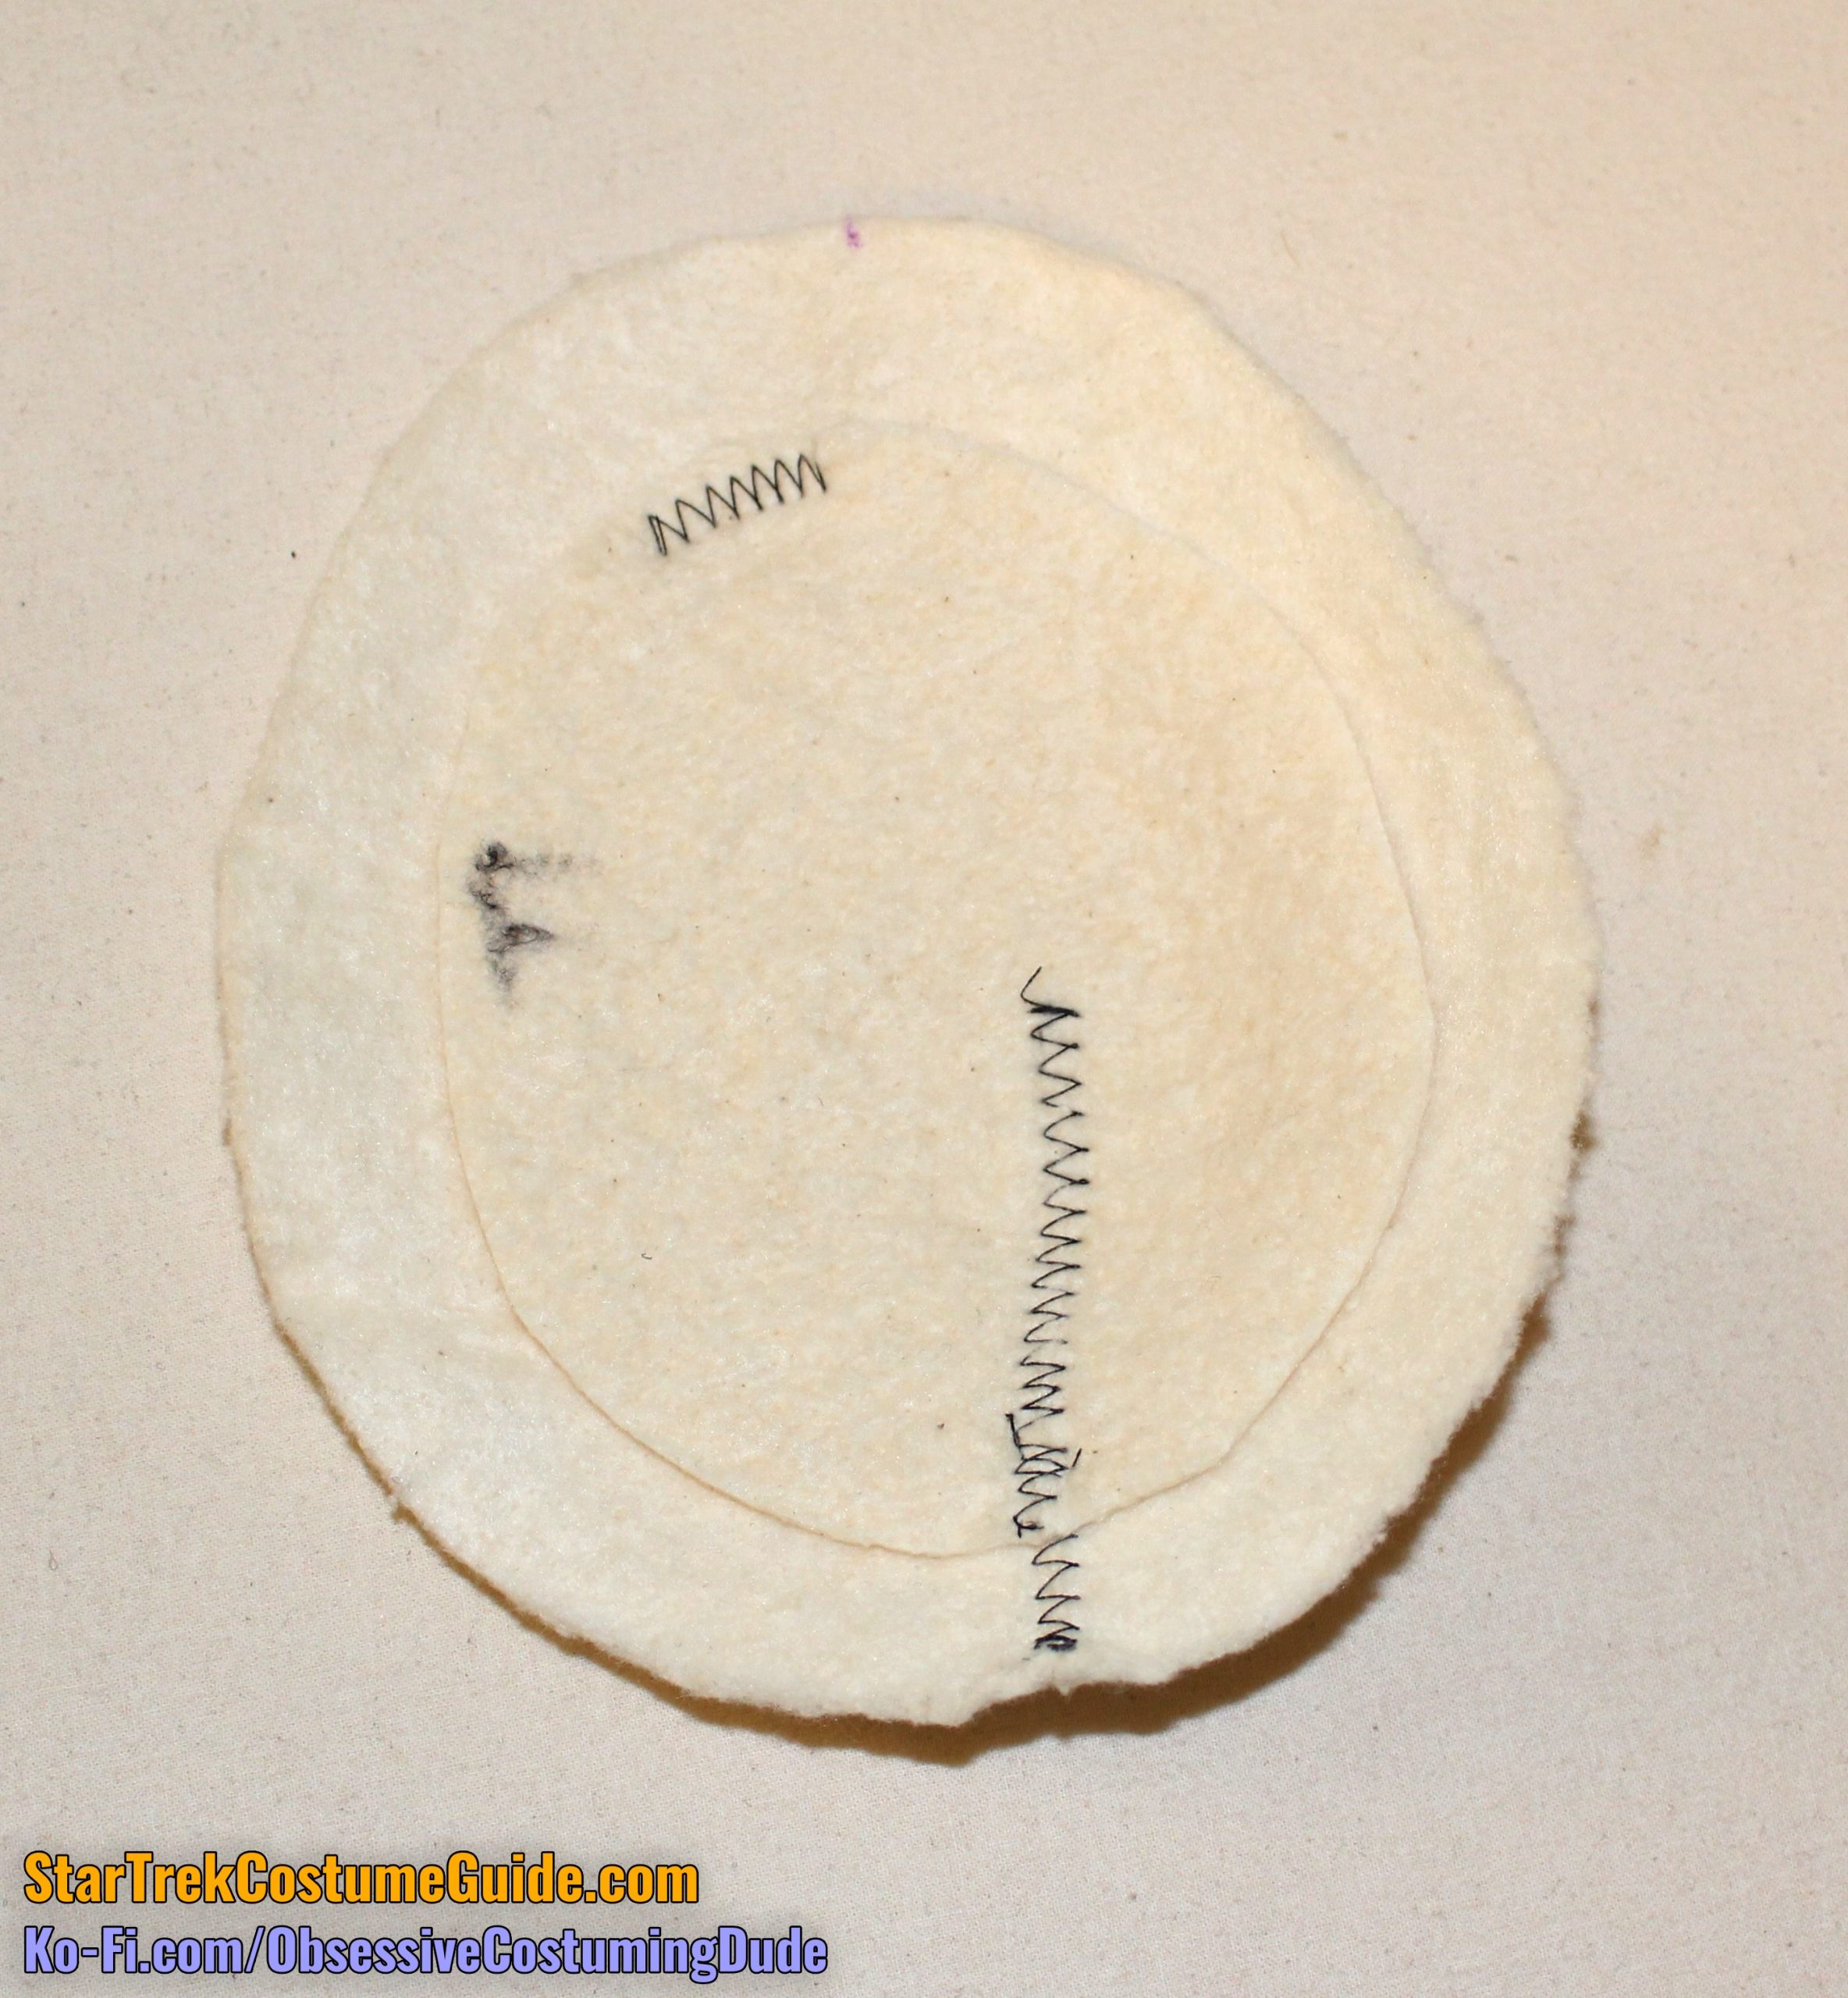
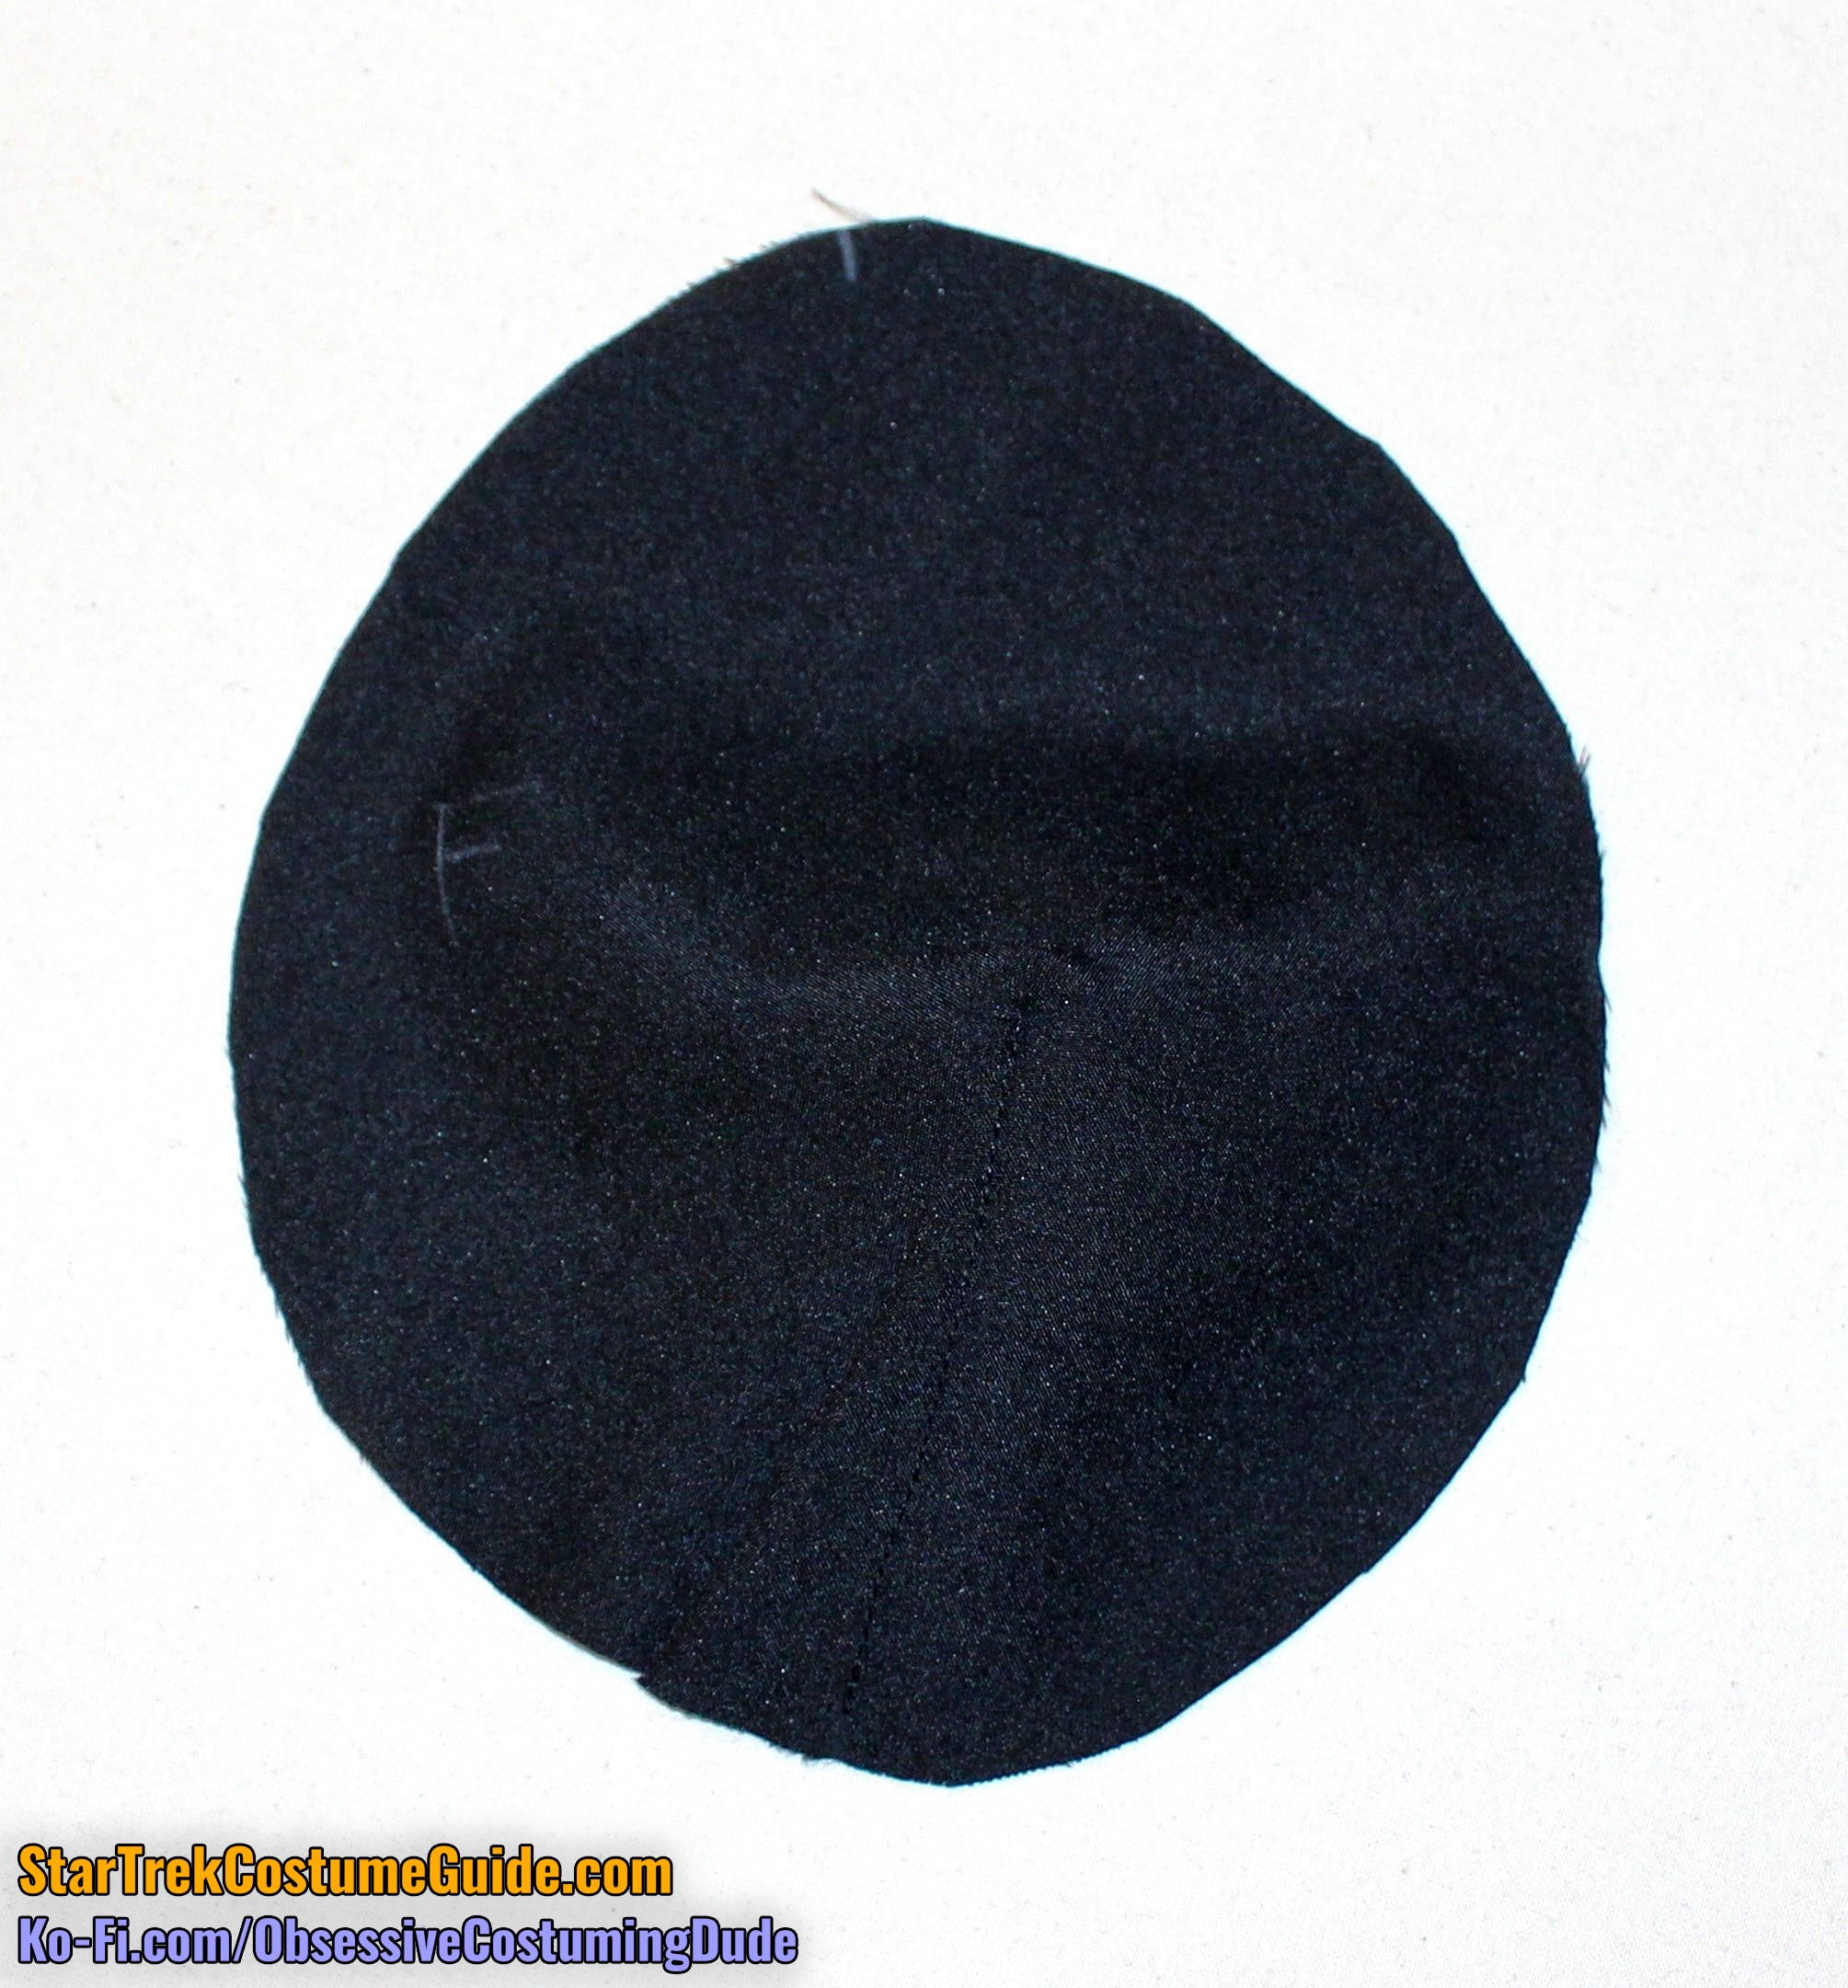
First, cut two pieces of lining and however much padding you want, using the shoulder pad pattern (piece N).
(I like to use lightweight cotton batting for the padding.)
For “normal” shoulder slopes, a mere two layers of padding both looks good and is fairly analogous to the loft of the original pads.
Press the pad into its gently-rounded shape over a tailor’s ham.
Repeat for the other pad.
Hand-sew the shoulder pads to the shoulder seam allowances, leaving the outermost 3” to 3 ½” free.
(Alternatively, attach a pair of snaps to each pad and the corresponding seam allowances, if you want your pads to be removable.)
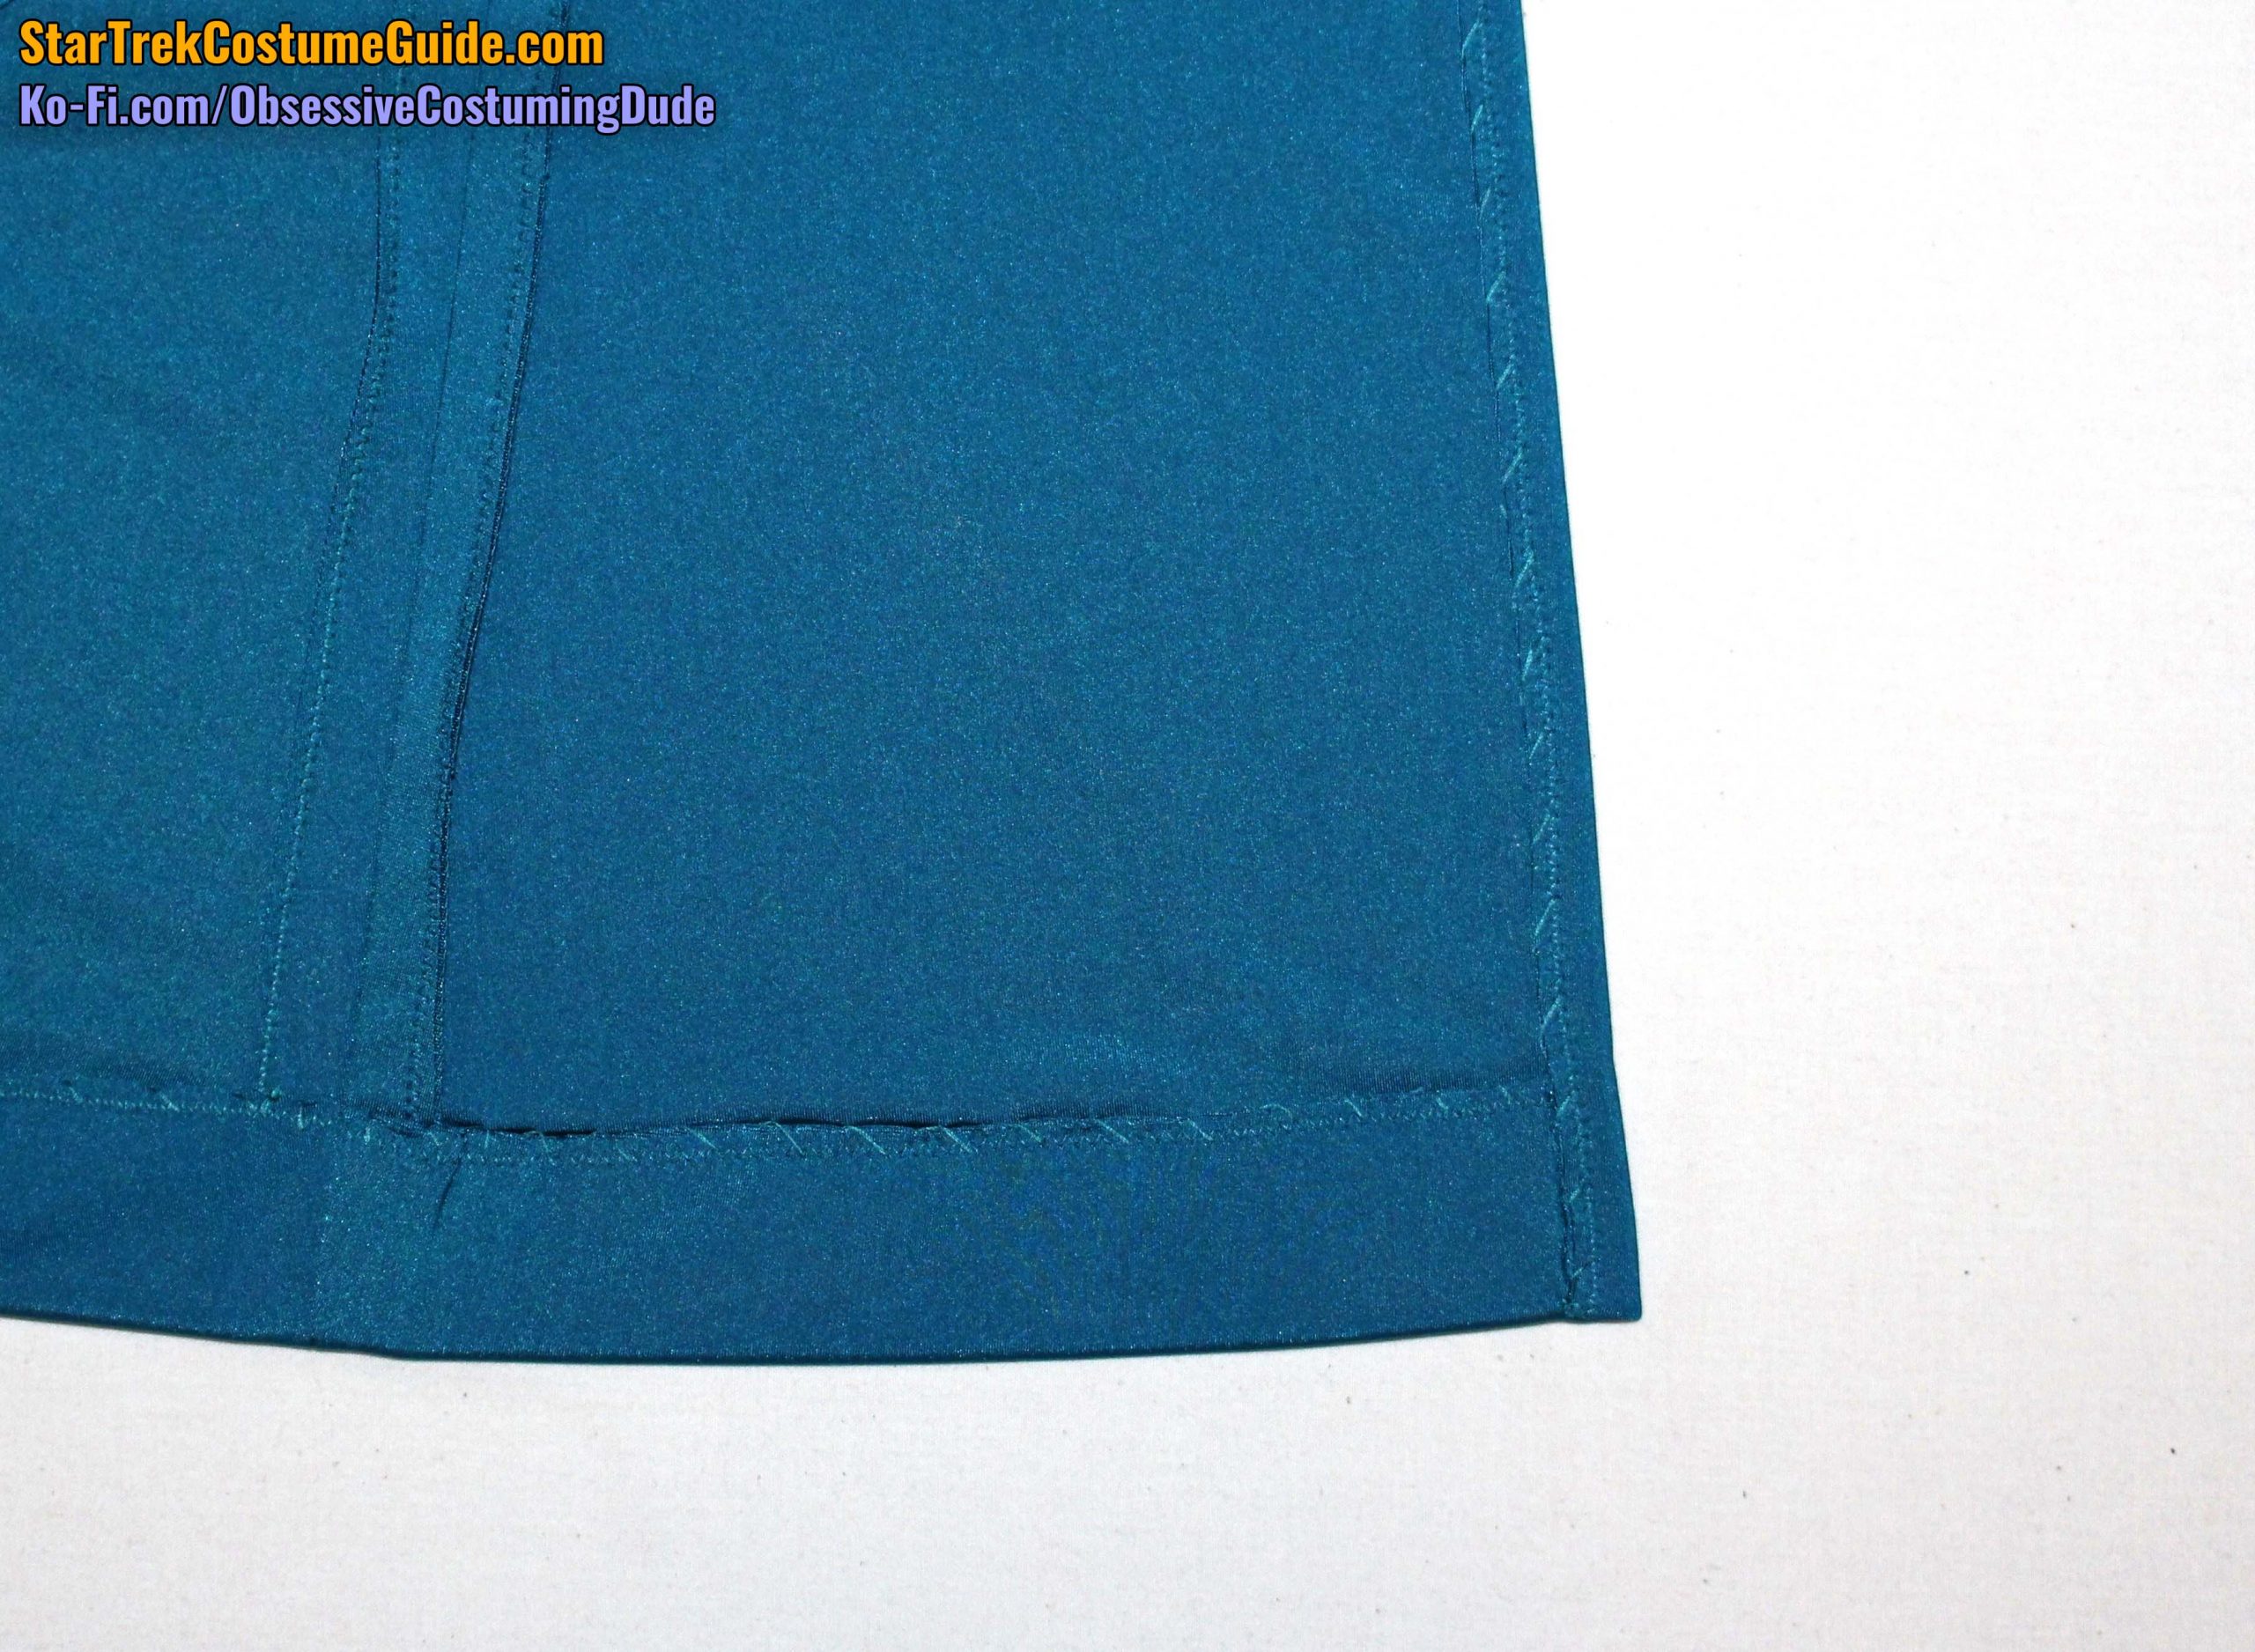
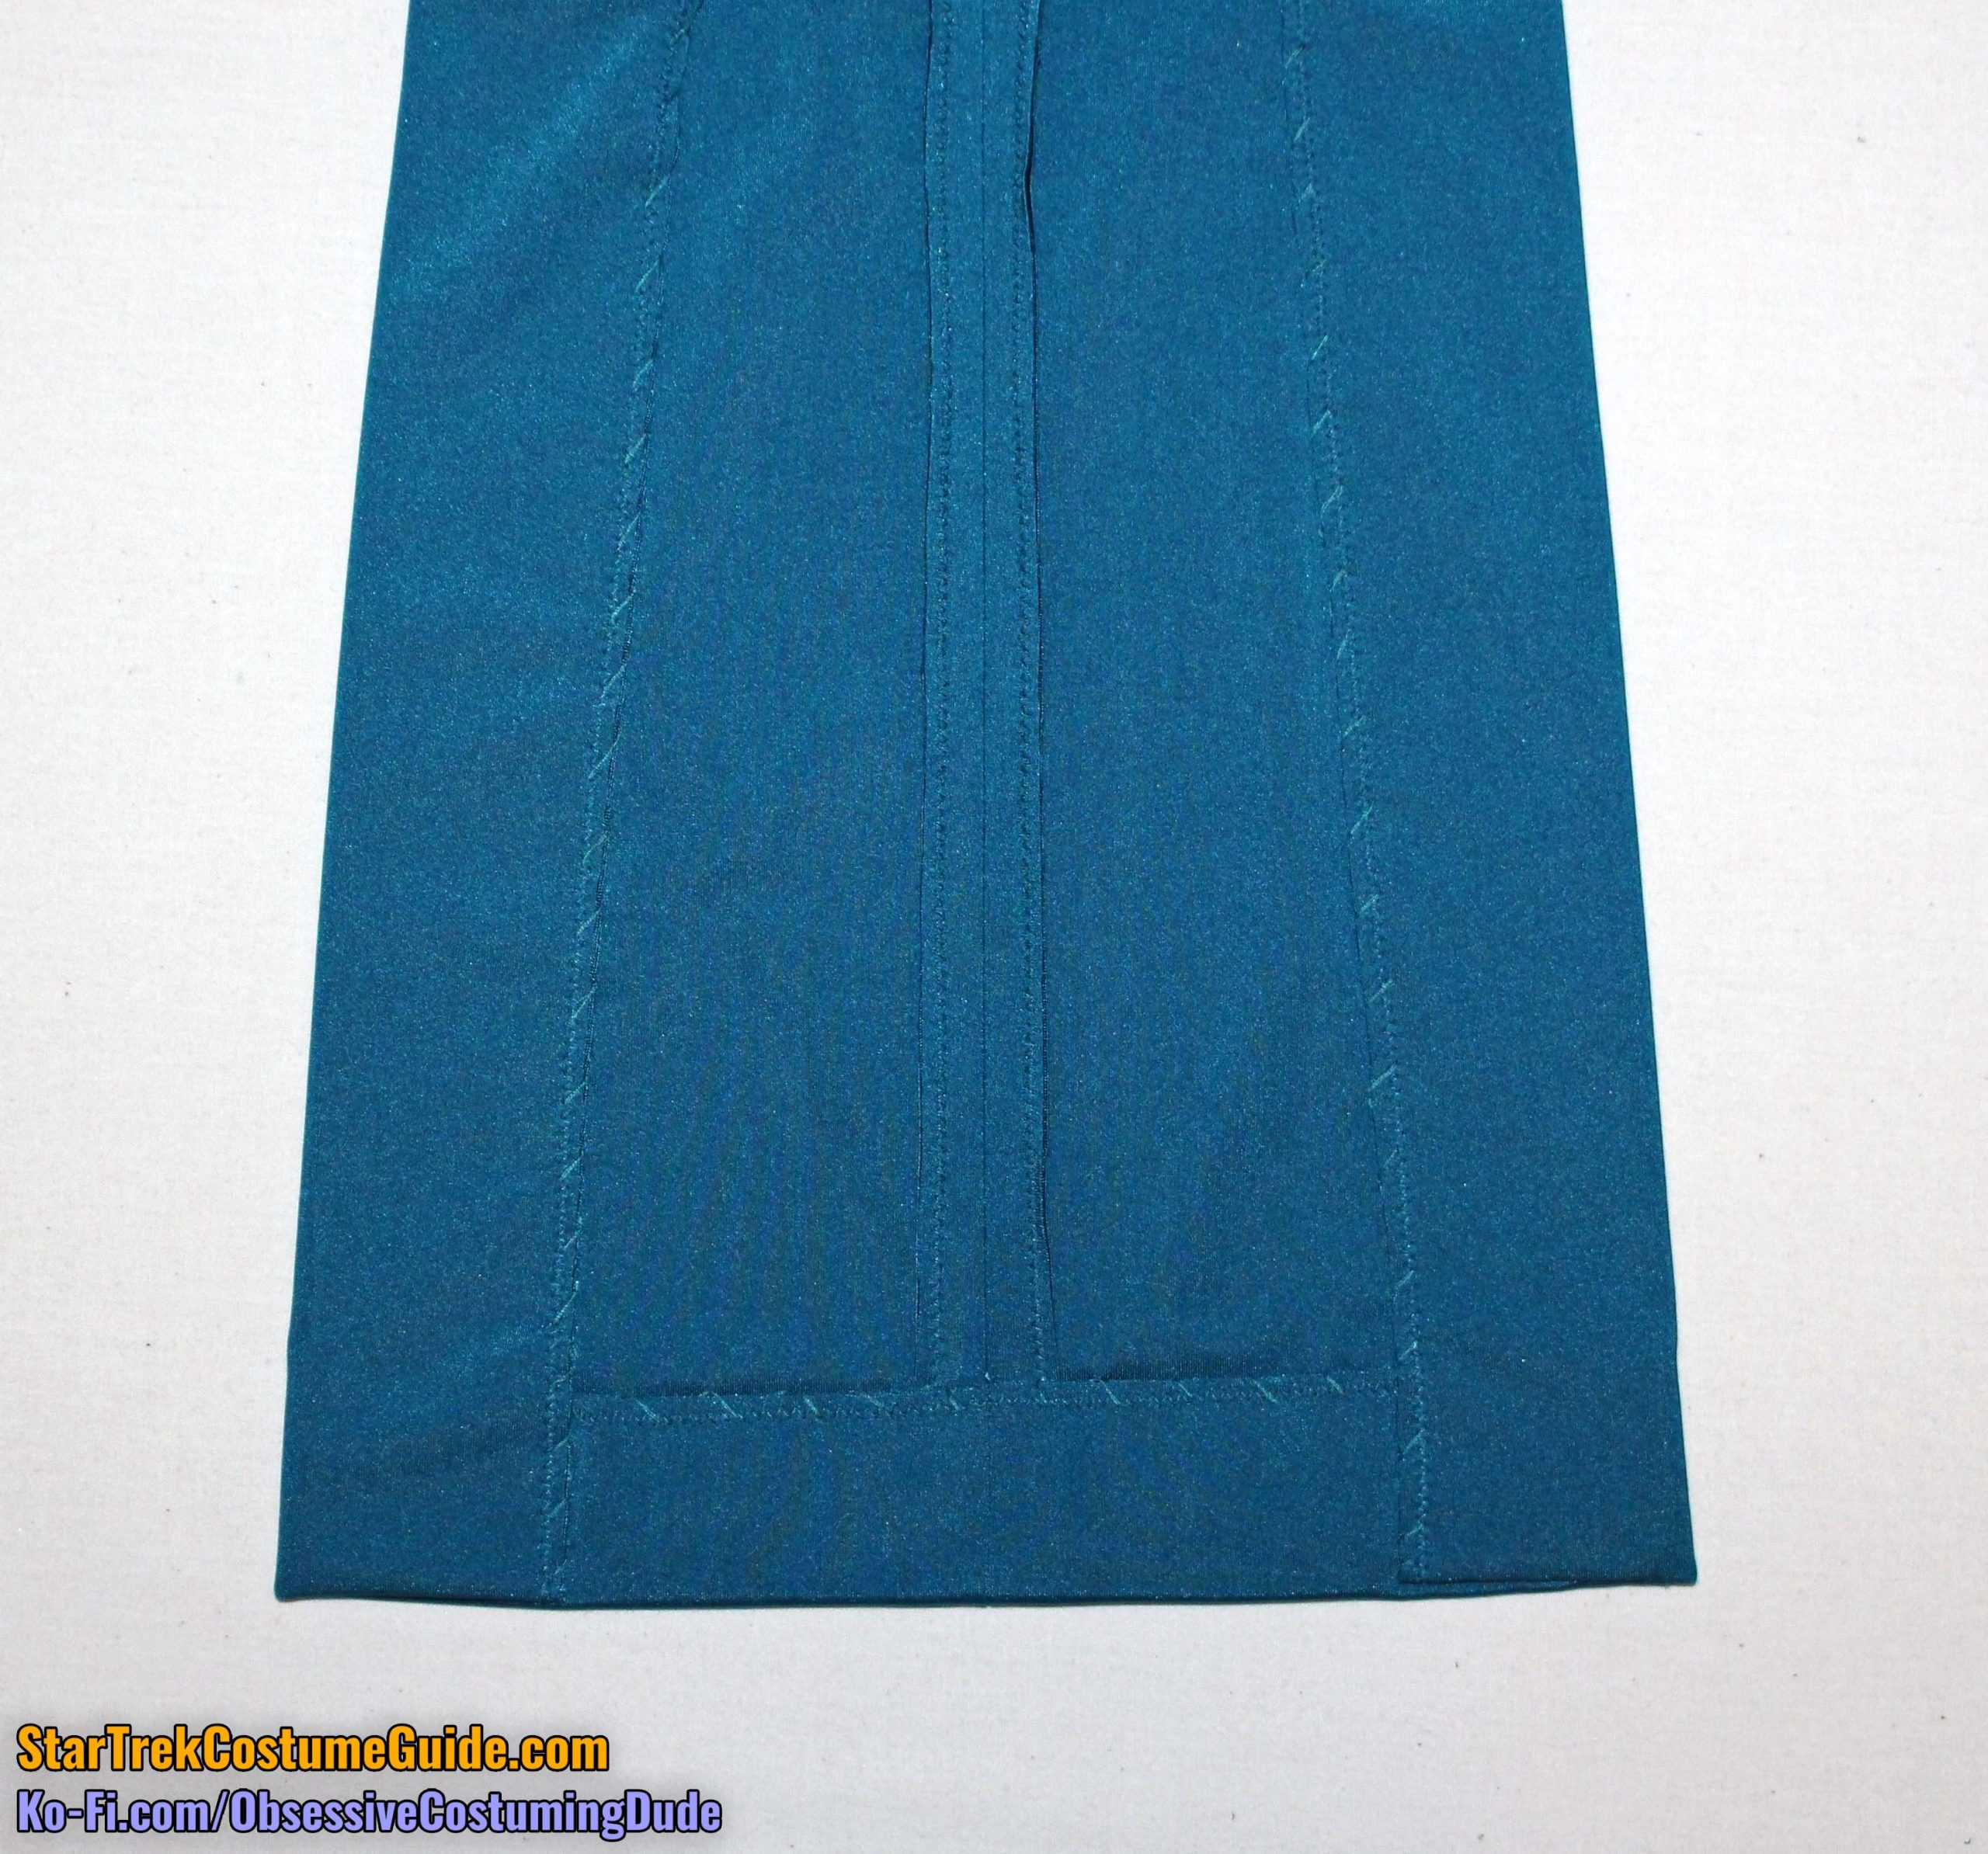
Unfold the back vent and press the lower hem allowance upward.
Hand-sew the lower hem allowances into place, catching only a thread of the fabric’s underside so your hem stitching doesn’t show through to the right side of the garment.
Fold the back vent allowances back under and hand-sew them into place as well.
Repeat for the center back, and slip-stitch the bottom of the vent to the hem allowance.
And finally, press the sleeve hem allowance upward and hand-sew the hem allowances into place.
OPTIONAL: I don’t know whether or not versions 2-5 of the smock had a mesh “panty attachment” anchored to the interior like version 1 did, but feel free to incorporate it into these later versions if you fancy it. 🙂

