TNG Jumpsuit Analysis – Season 1 – Division Colors
As I mentioned in my “TNG-era Uniform Paradigm” post, William Ware Theiss disregarded Robert Fletcher’s expanded range of movie-era division colors, and instead returned to the three division colors he’d used in The Original Series – albeit with the “gold” and “red” colors switched.
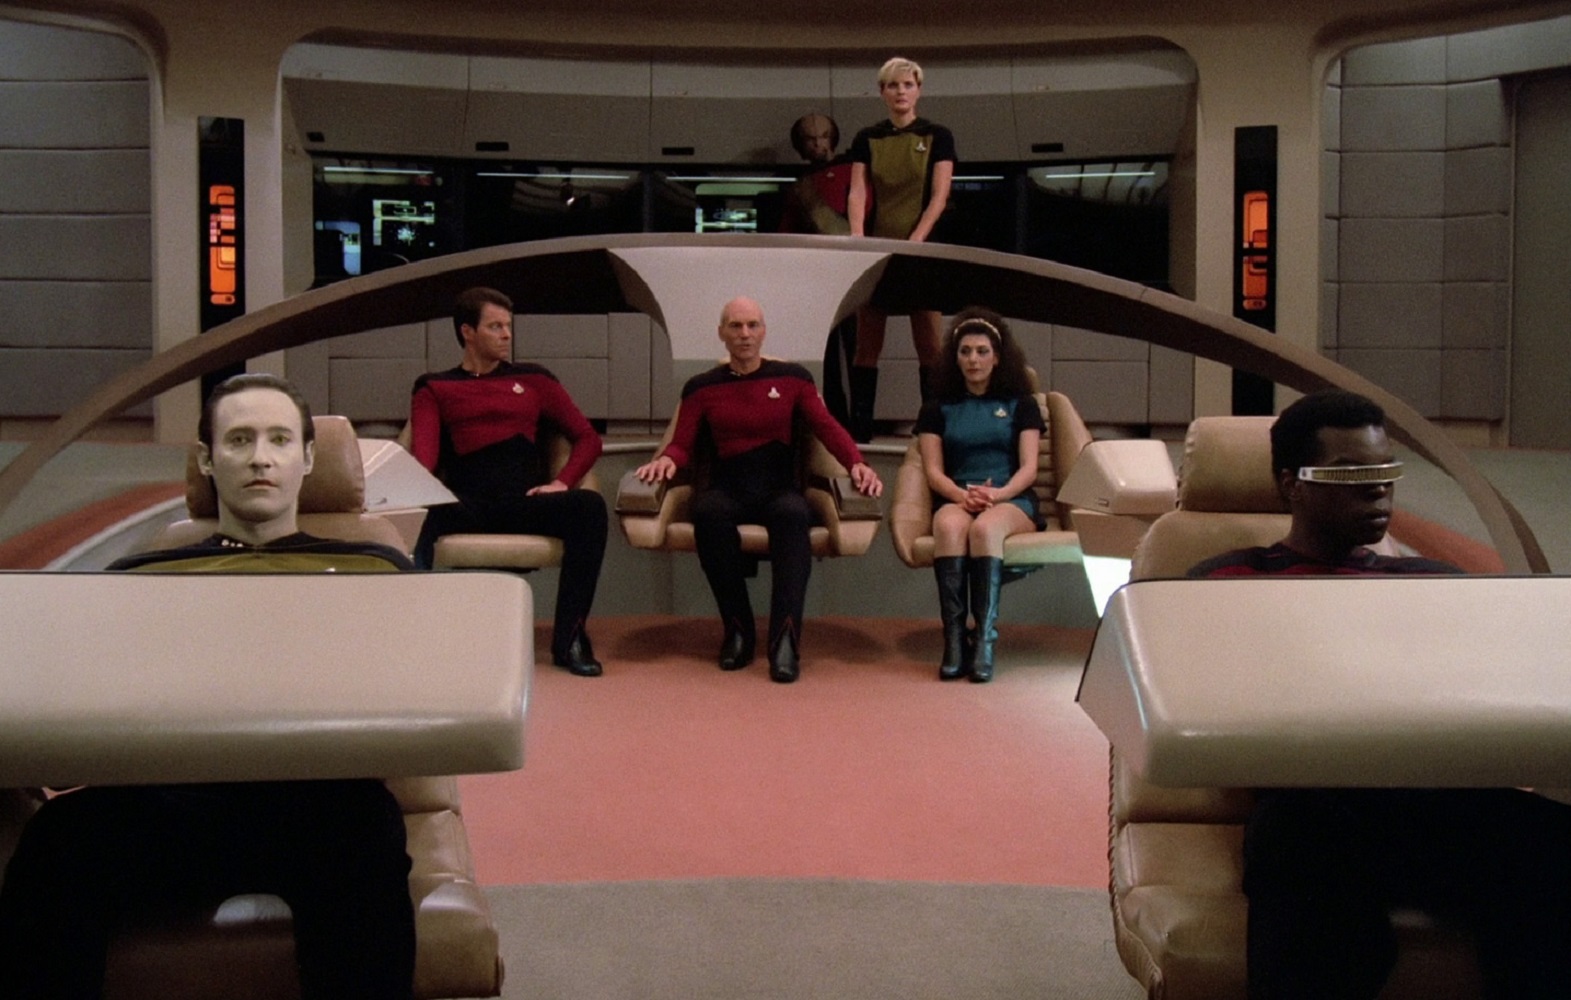
TNG, 1x15 “11001001”
For simplicity, I will be referring to these colors as “red,” “gold,” and “teal,” even though these labels aren’t accurate descriptions of the actual fabric colors used.
“Berry,” “wine,” “dark cherry,” “burnt orange,” “brownish mustard,” “dark bluish teal” are all more appropriate descriptions of the fabrics in-person, but I find them unwieldy terms for repeated use in an analysis like this.
Also, the actual fabric colors are noticeably – even shockingly – different in-person than how they usually appeared in the shows and movies.
Having closely studied (and color-matched) numerous screen-used uniforms and swatches of screen-used uniform fabric from over the entire series, I can unequivocally say that the colors varied radically and evolved considerably over the years.
To avoid redundancy, I will be discussing the evolution of the screen-used TNG-era fabric colors (with side-by-side comparisons) in a future blog post.
I suggest subscribing to my “Costume Guide” e-mail newsletter and following me on social media (if you haven’t already) for updates on this, and other new costuming resources.
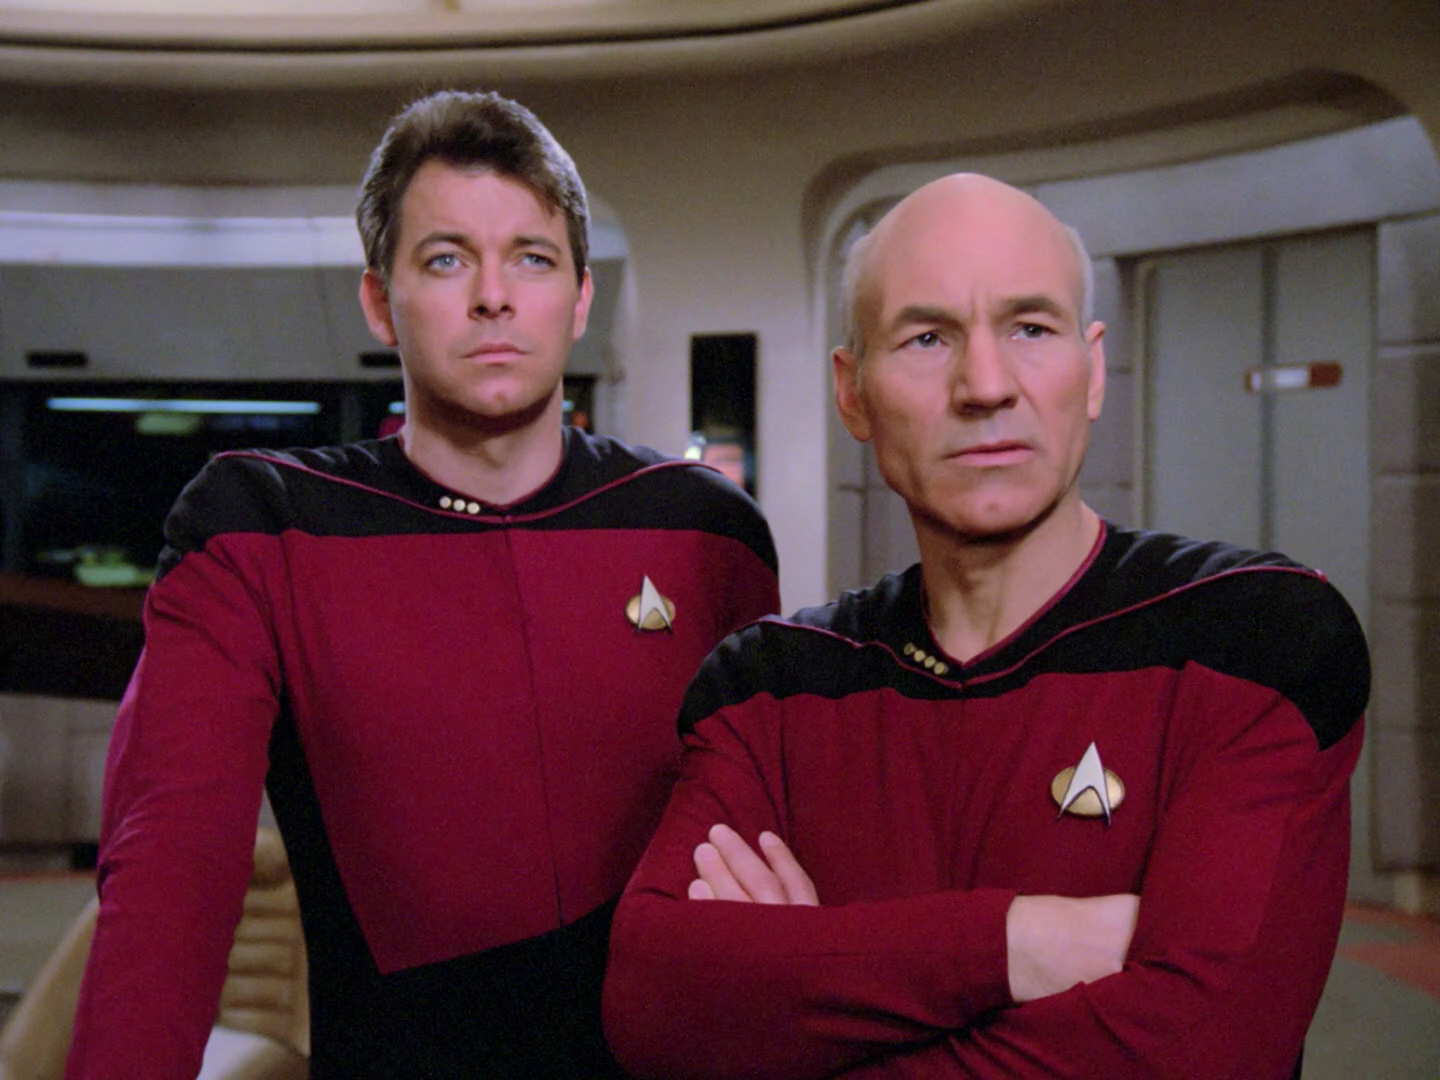
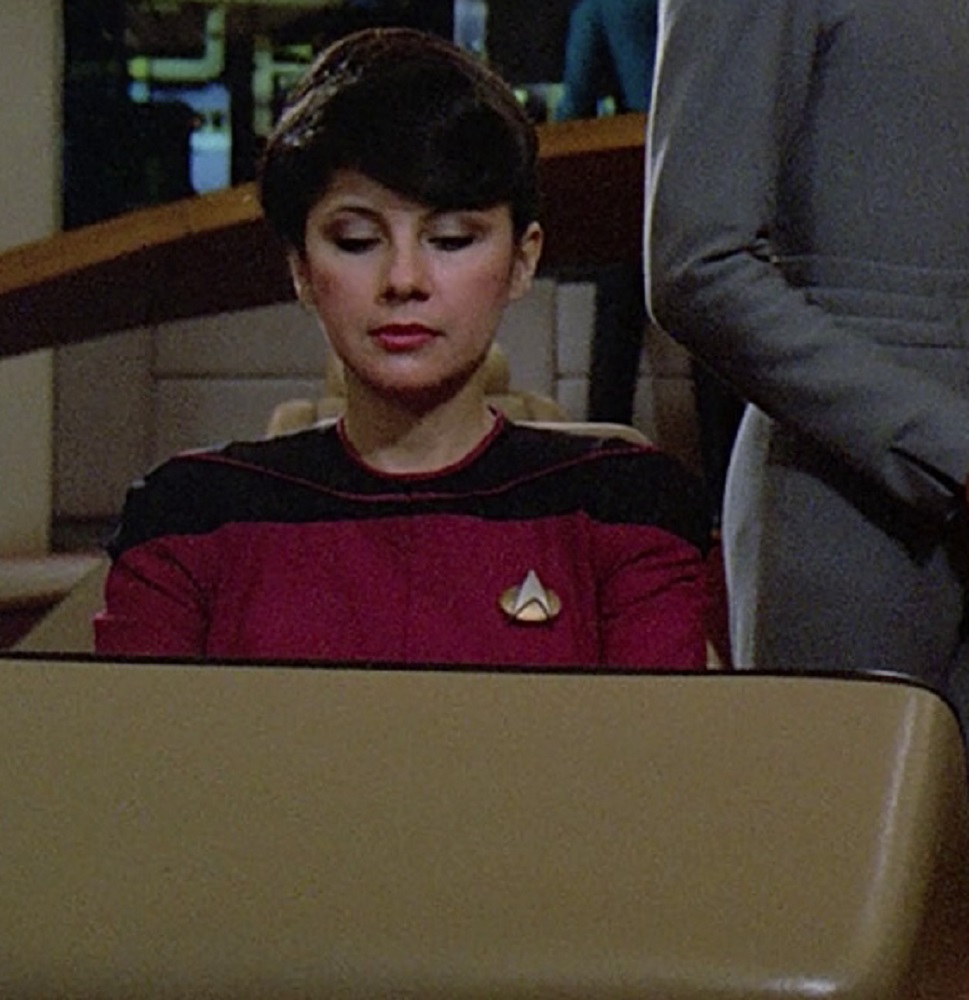
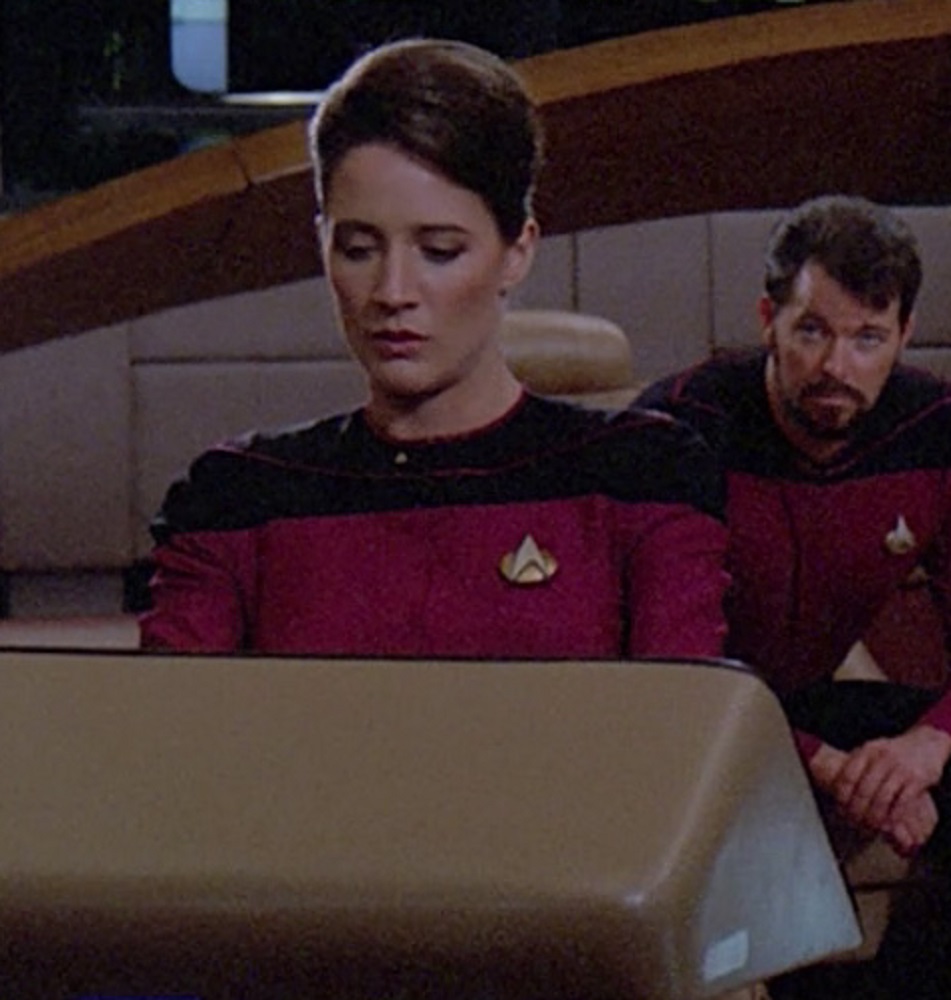
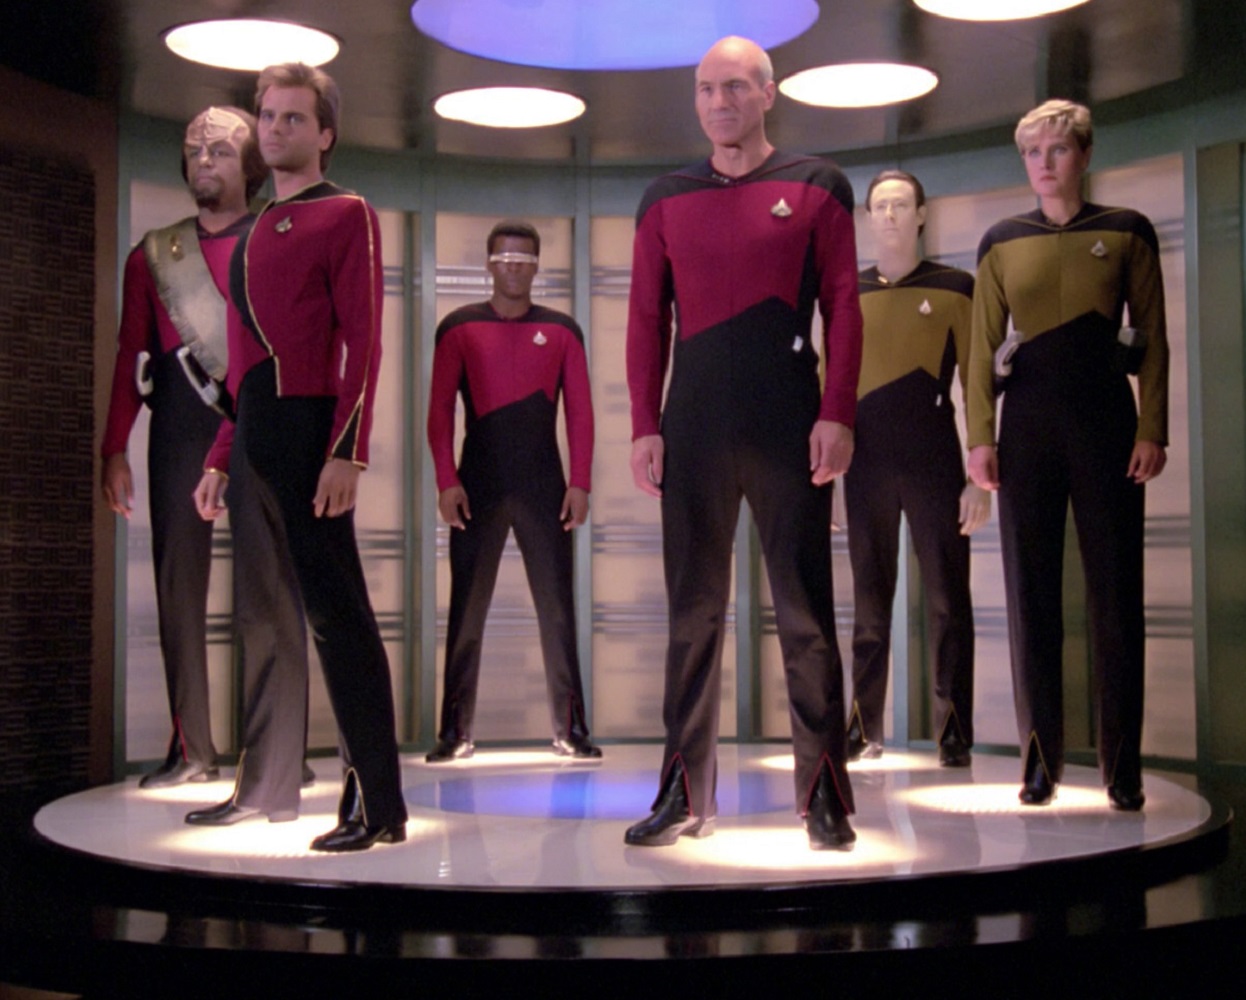
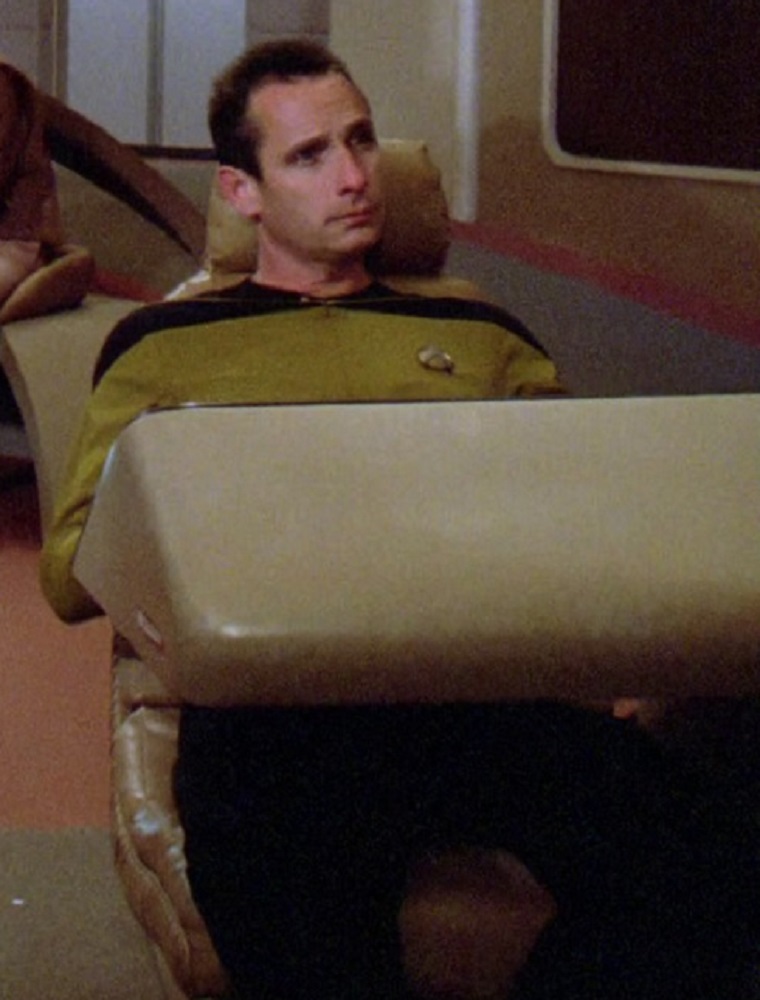
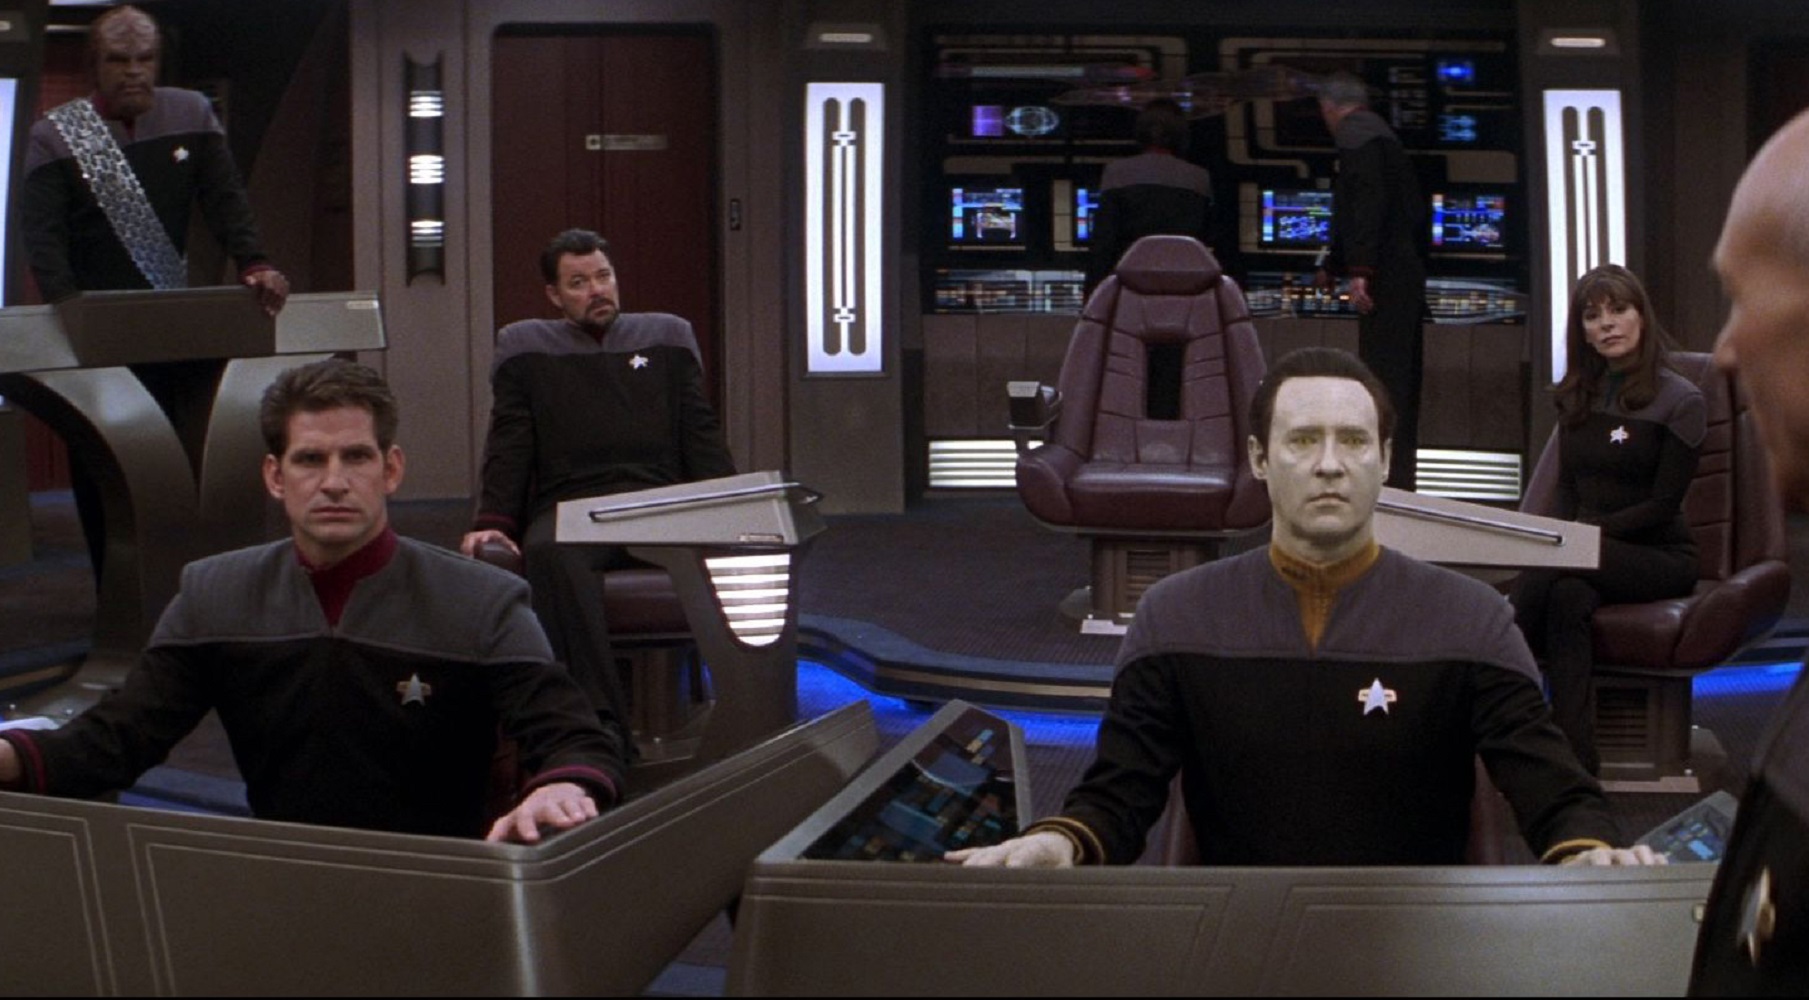
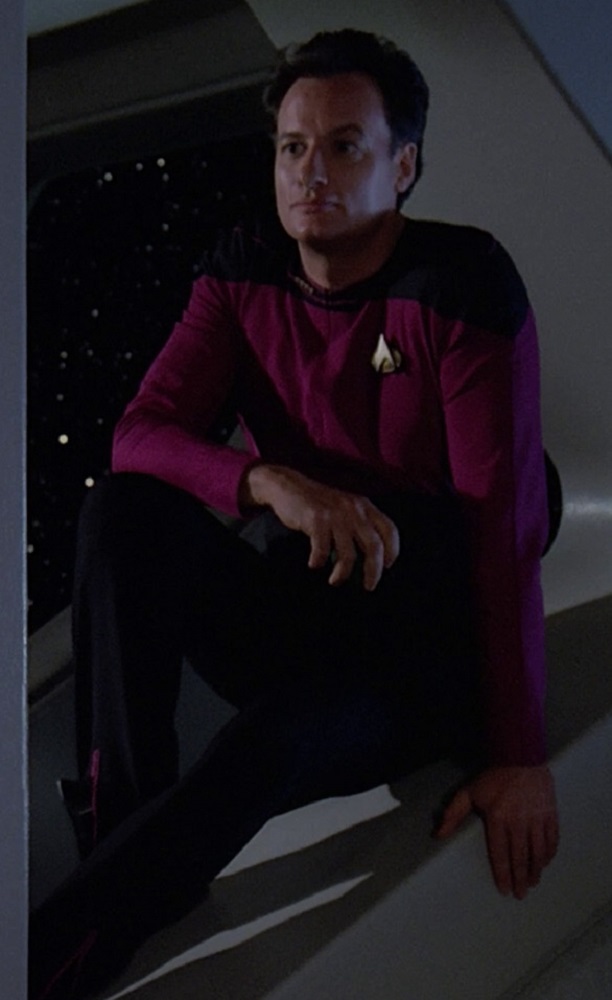
Red – Command
“Red” primarily indicated the command division.
TNG, 1x20 “Heart of Glory”
That included command of a starbases, not just starships.
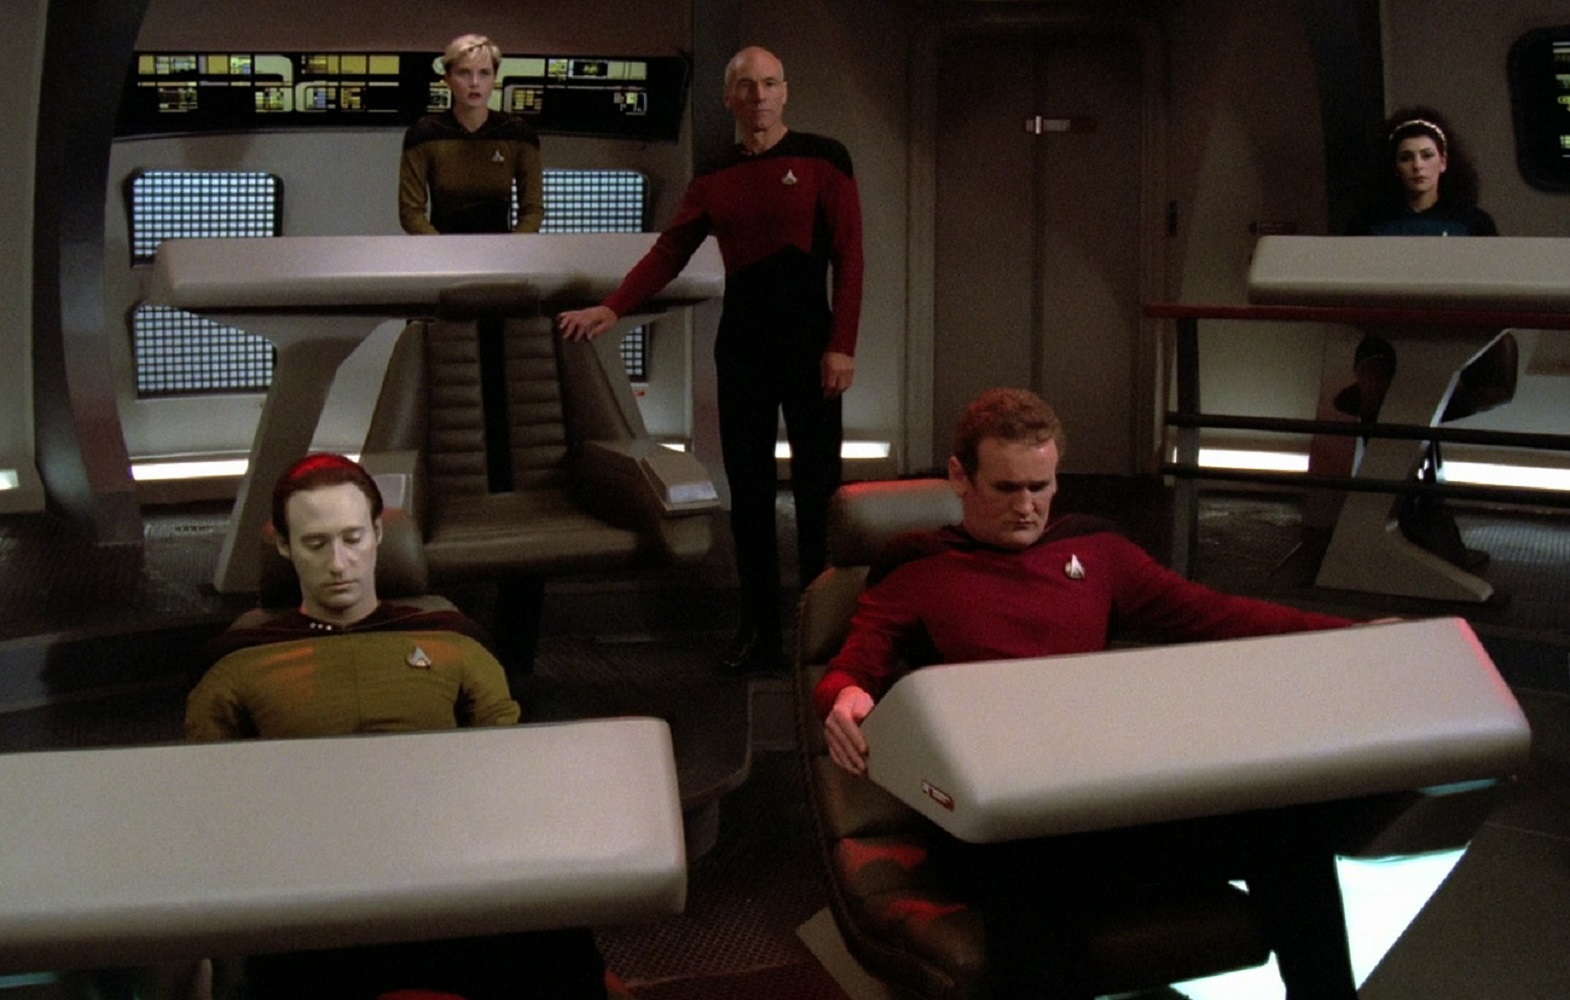
TNG, 1x15 “11001001”
TNG, 2x9 “The Measure of a Man”
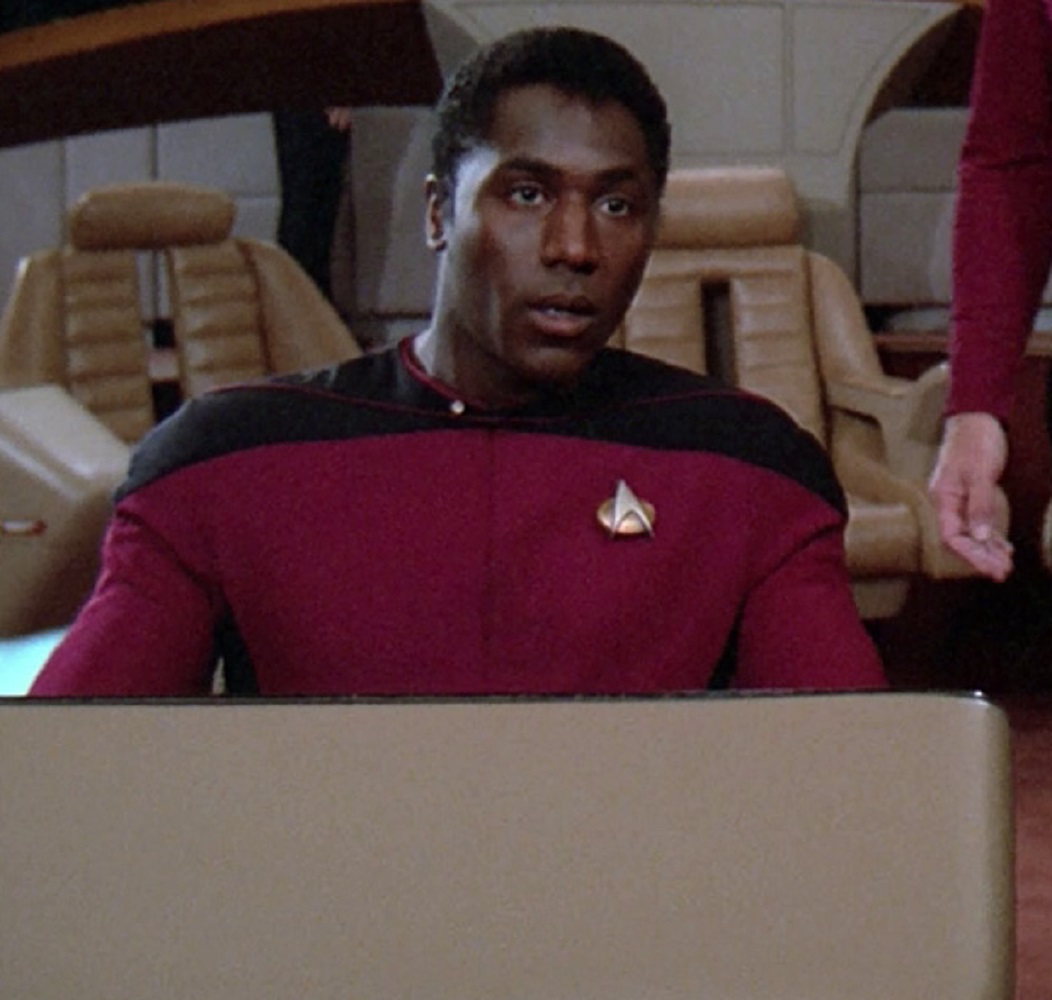
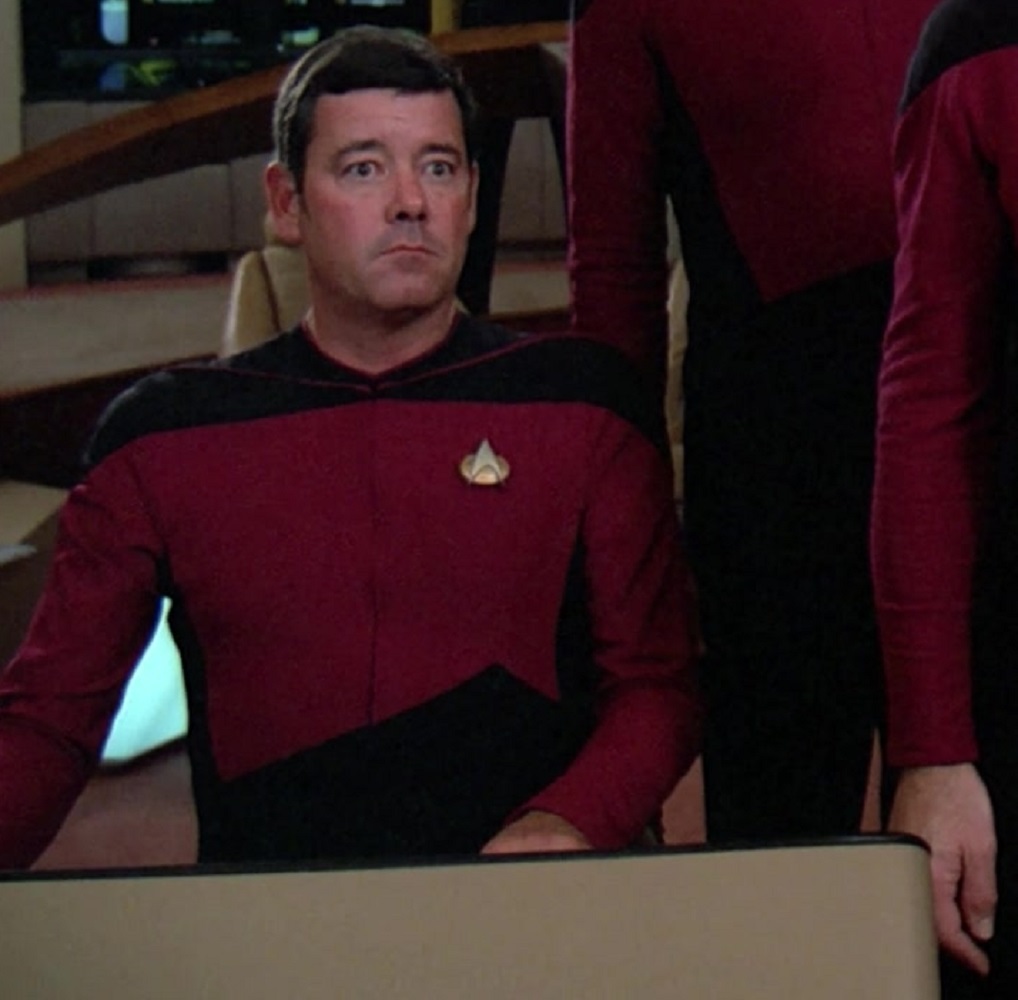
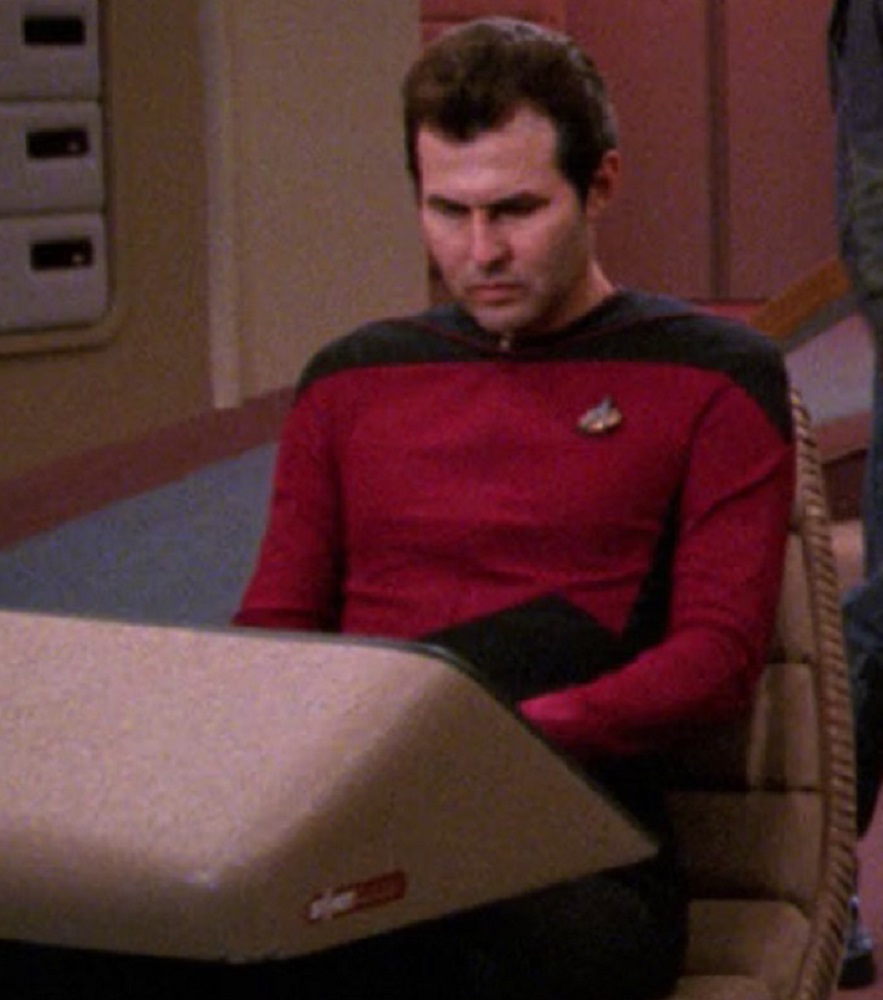
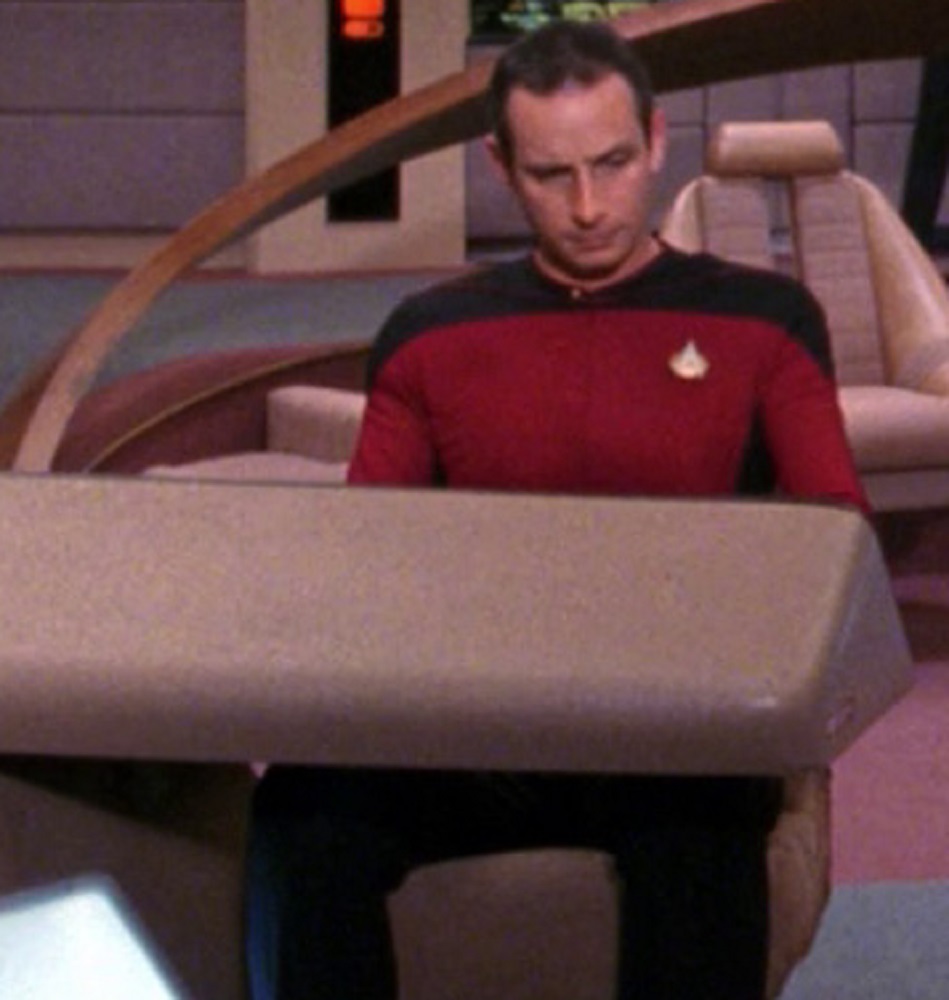
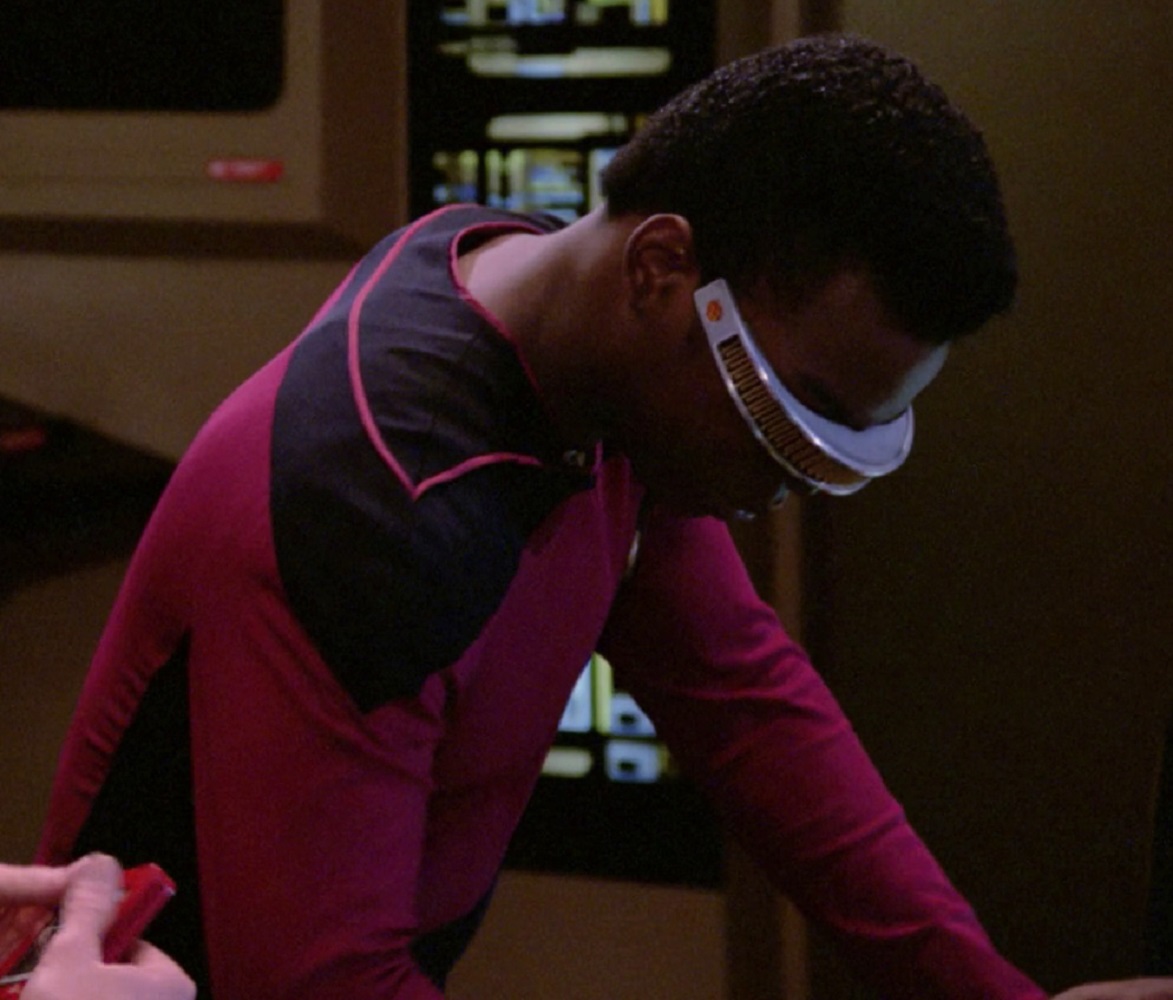
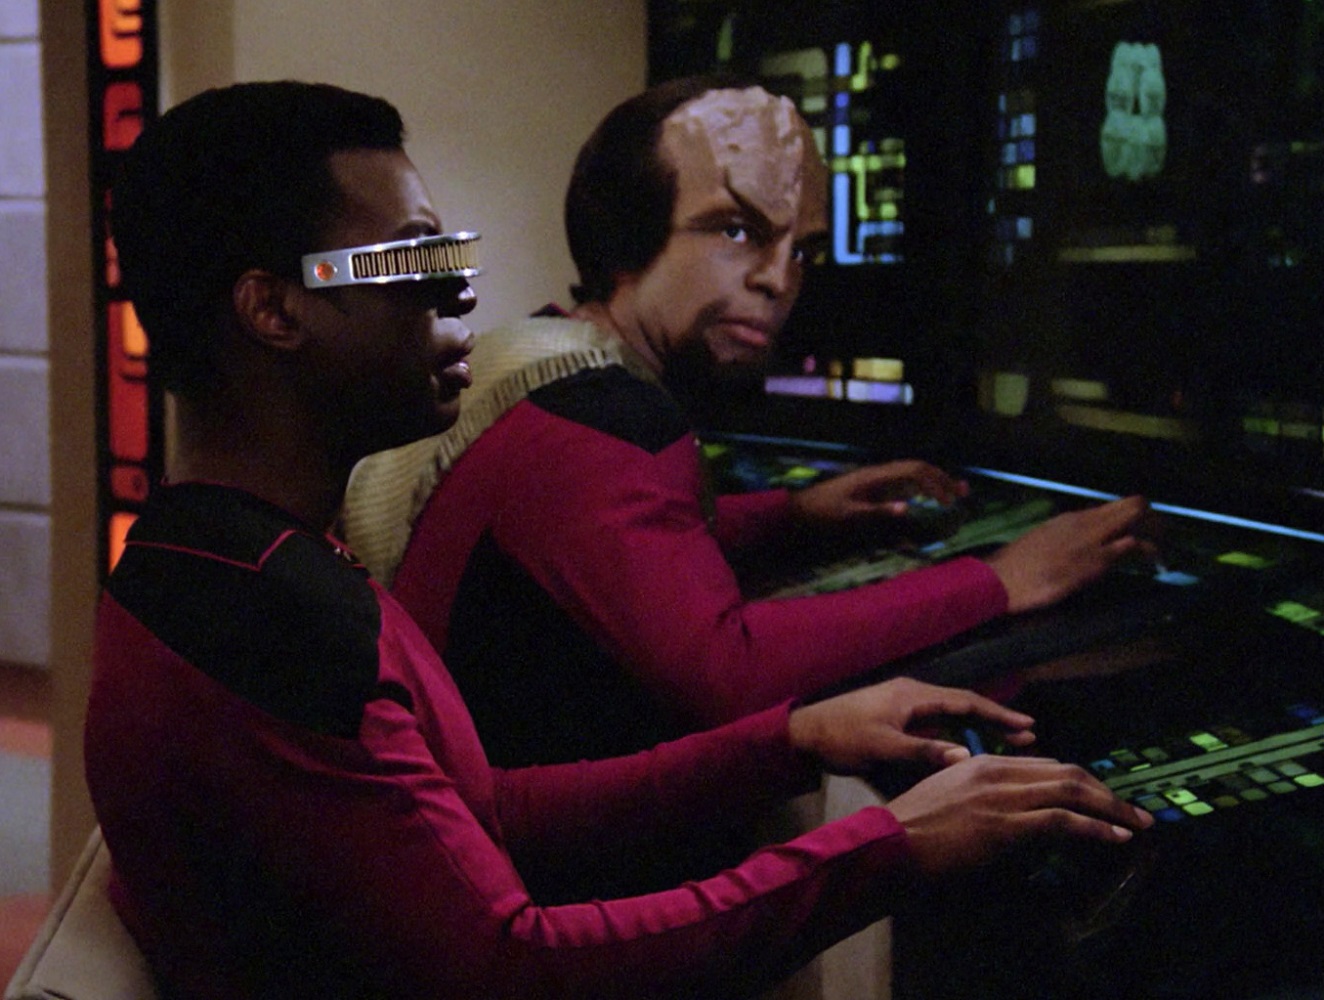
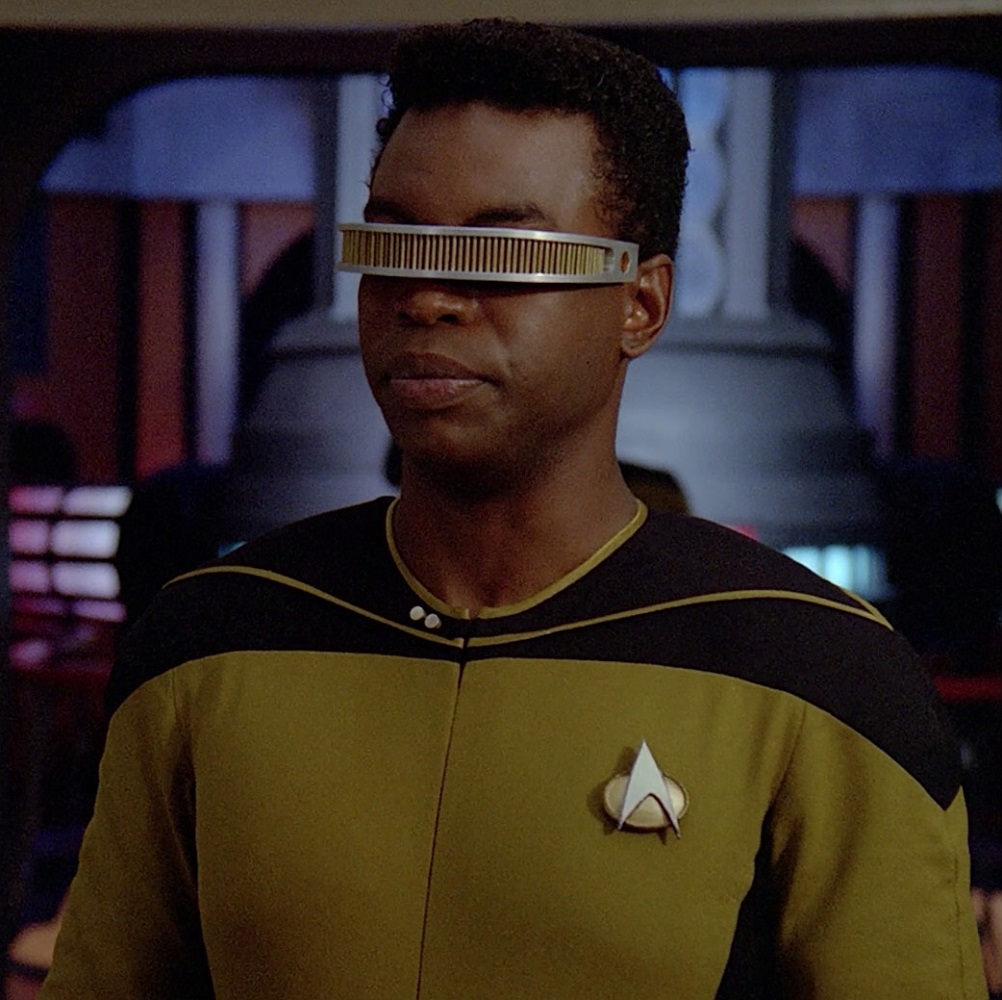
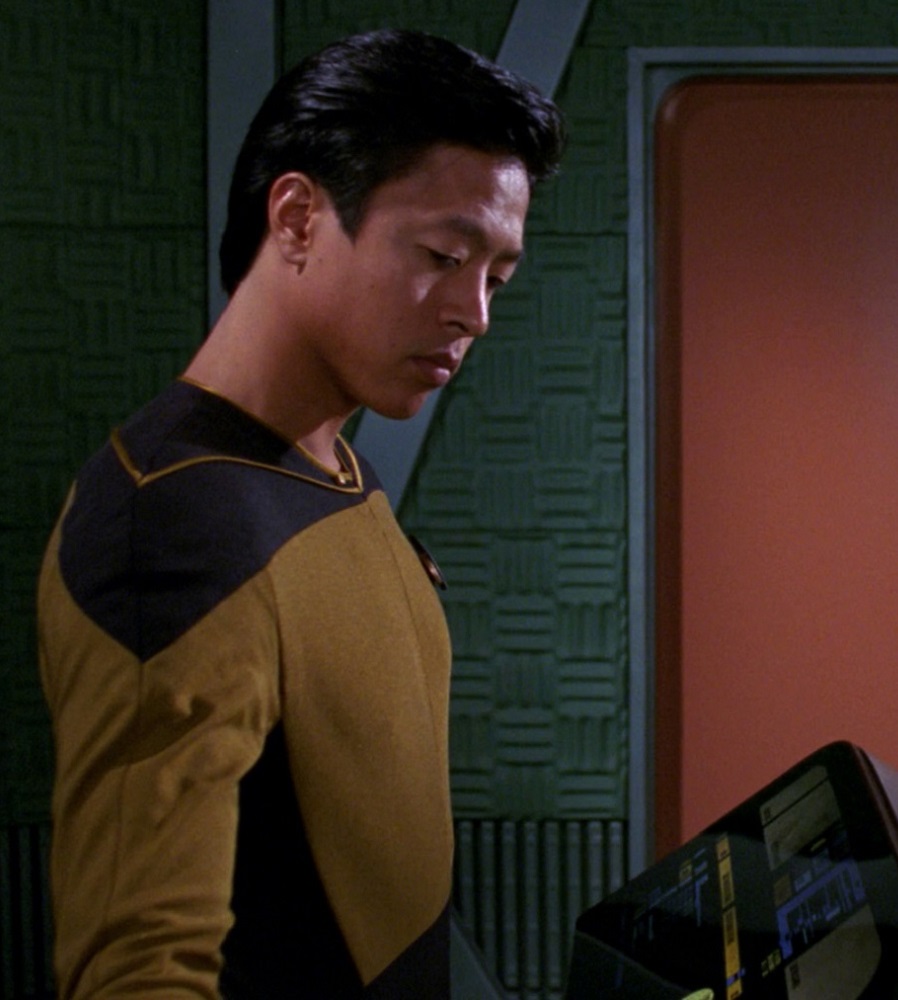
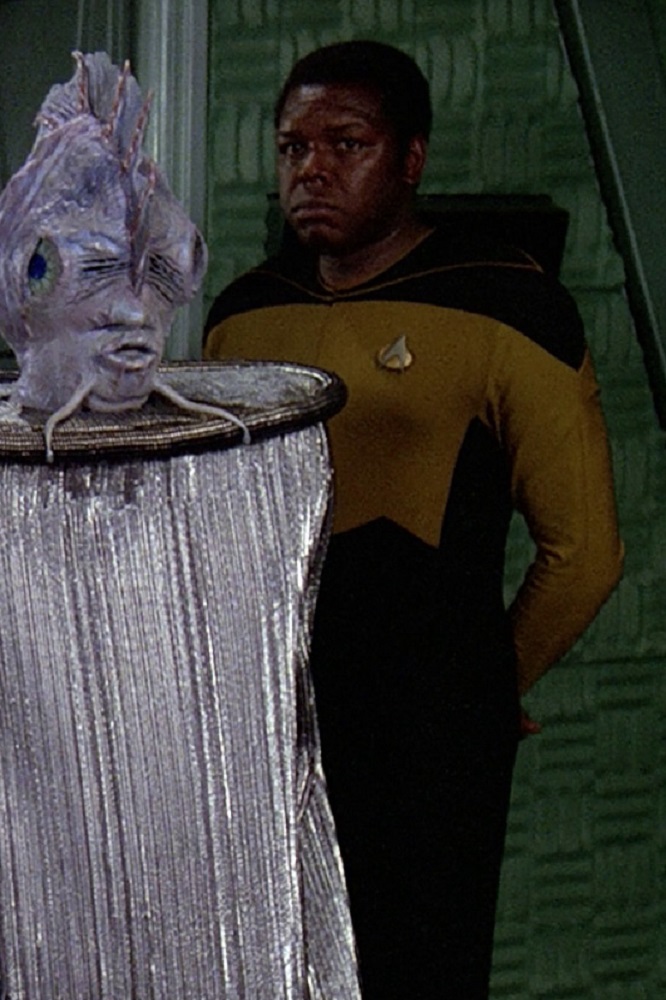
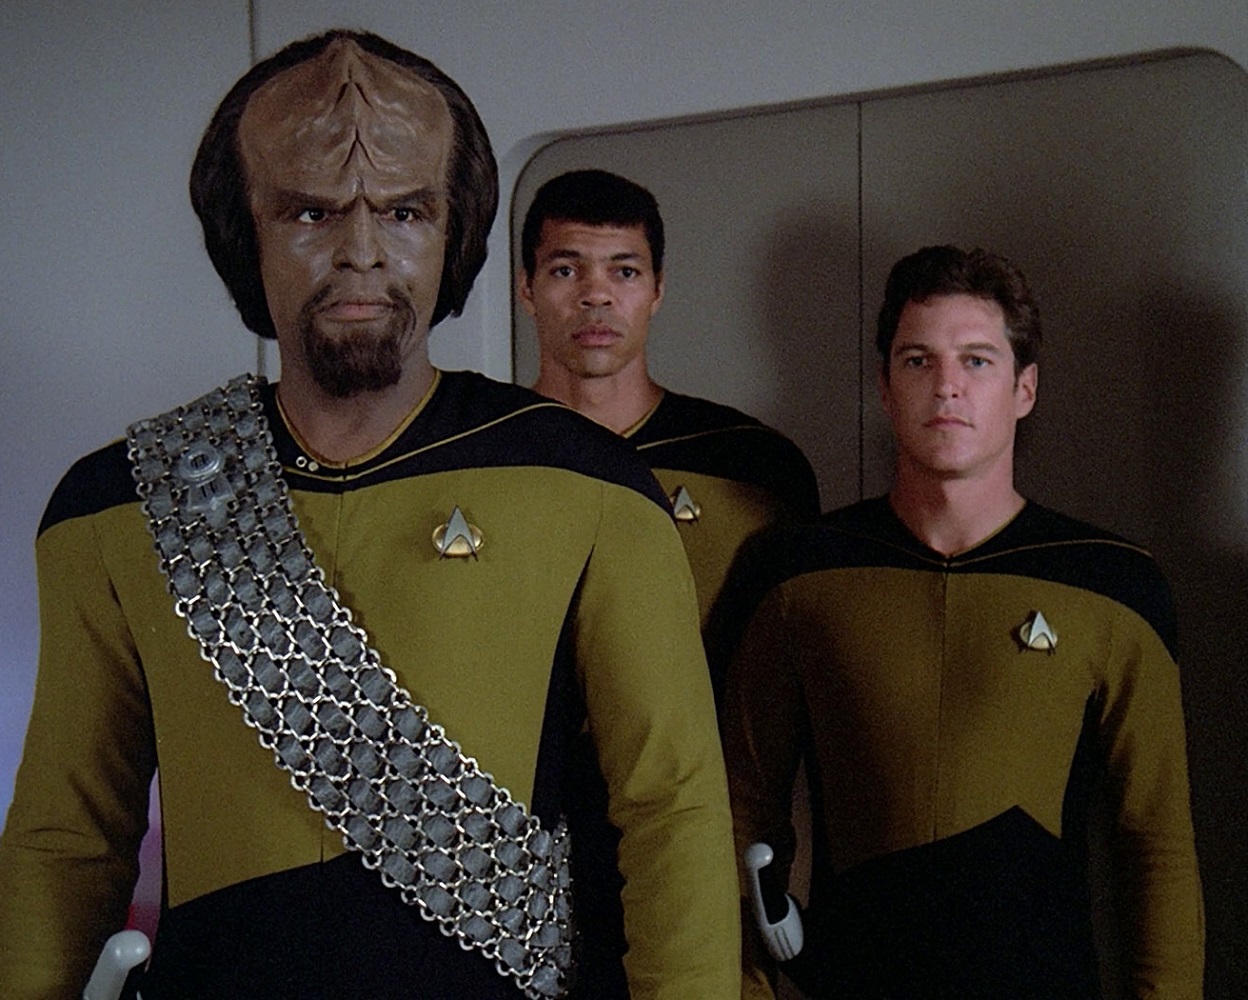
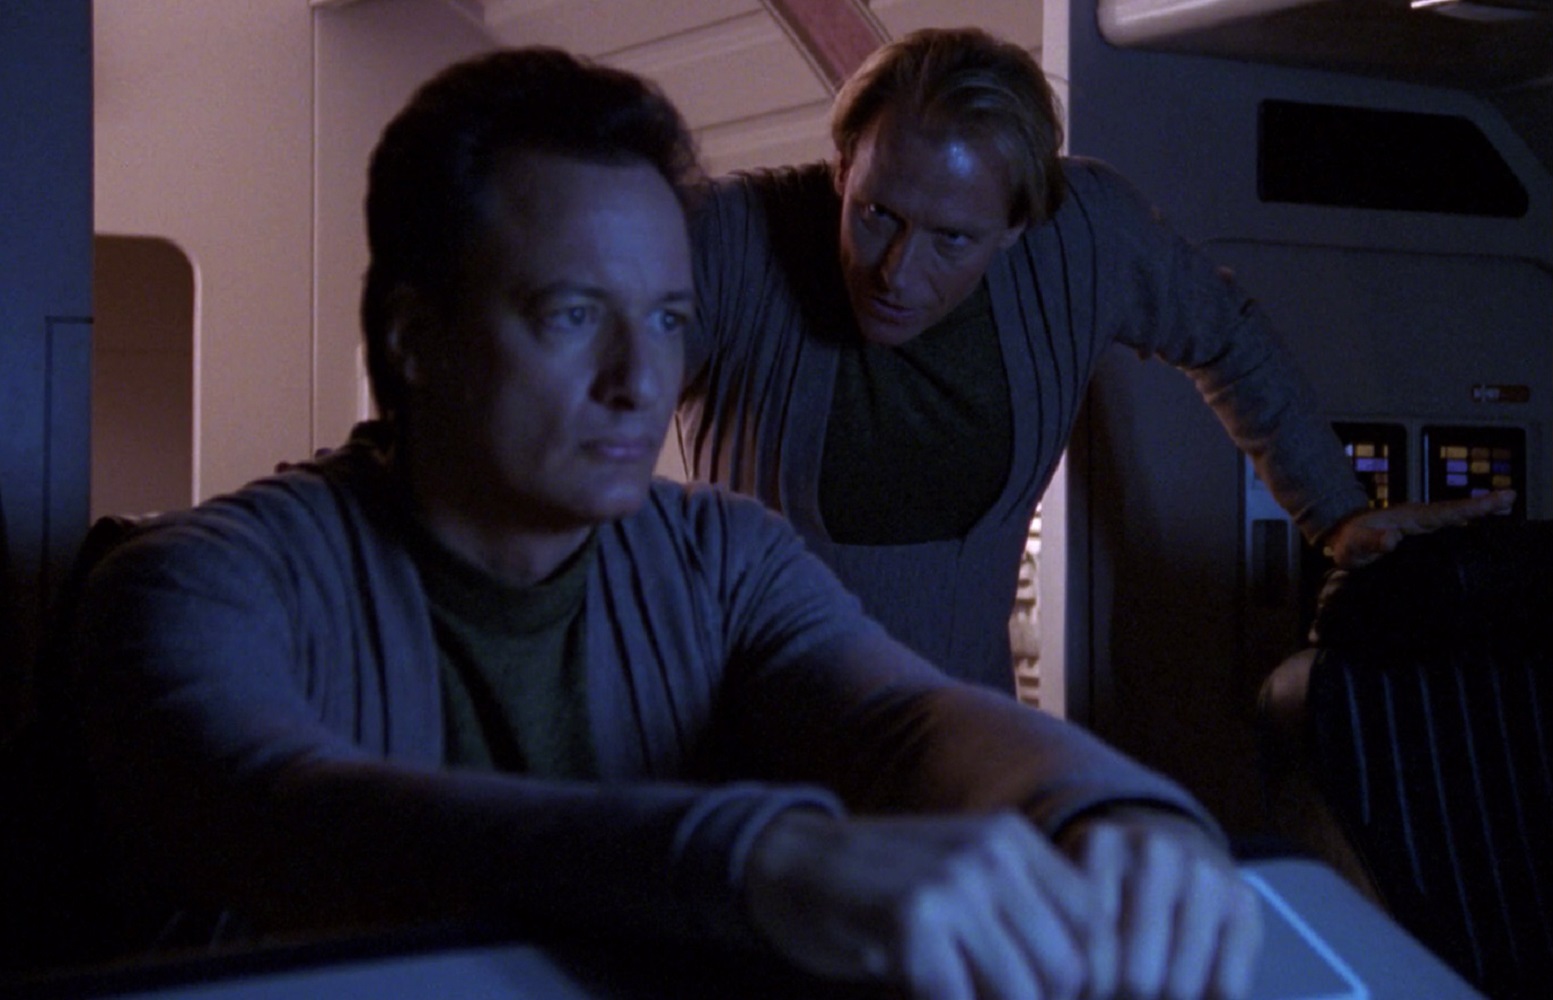
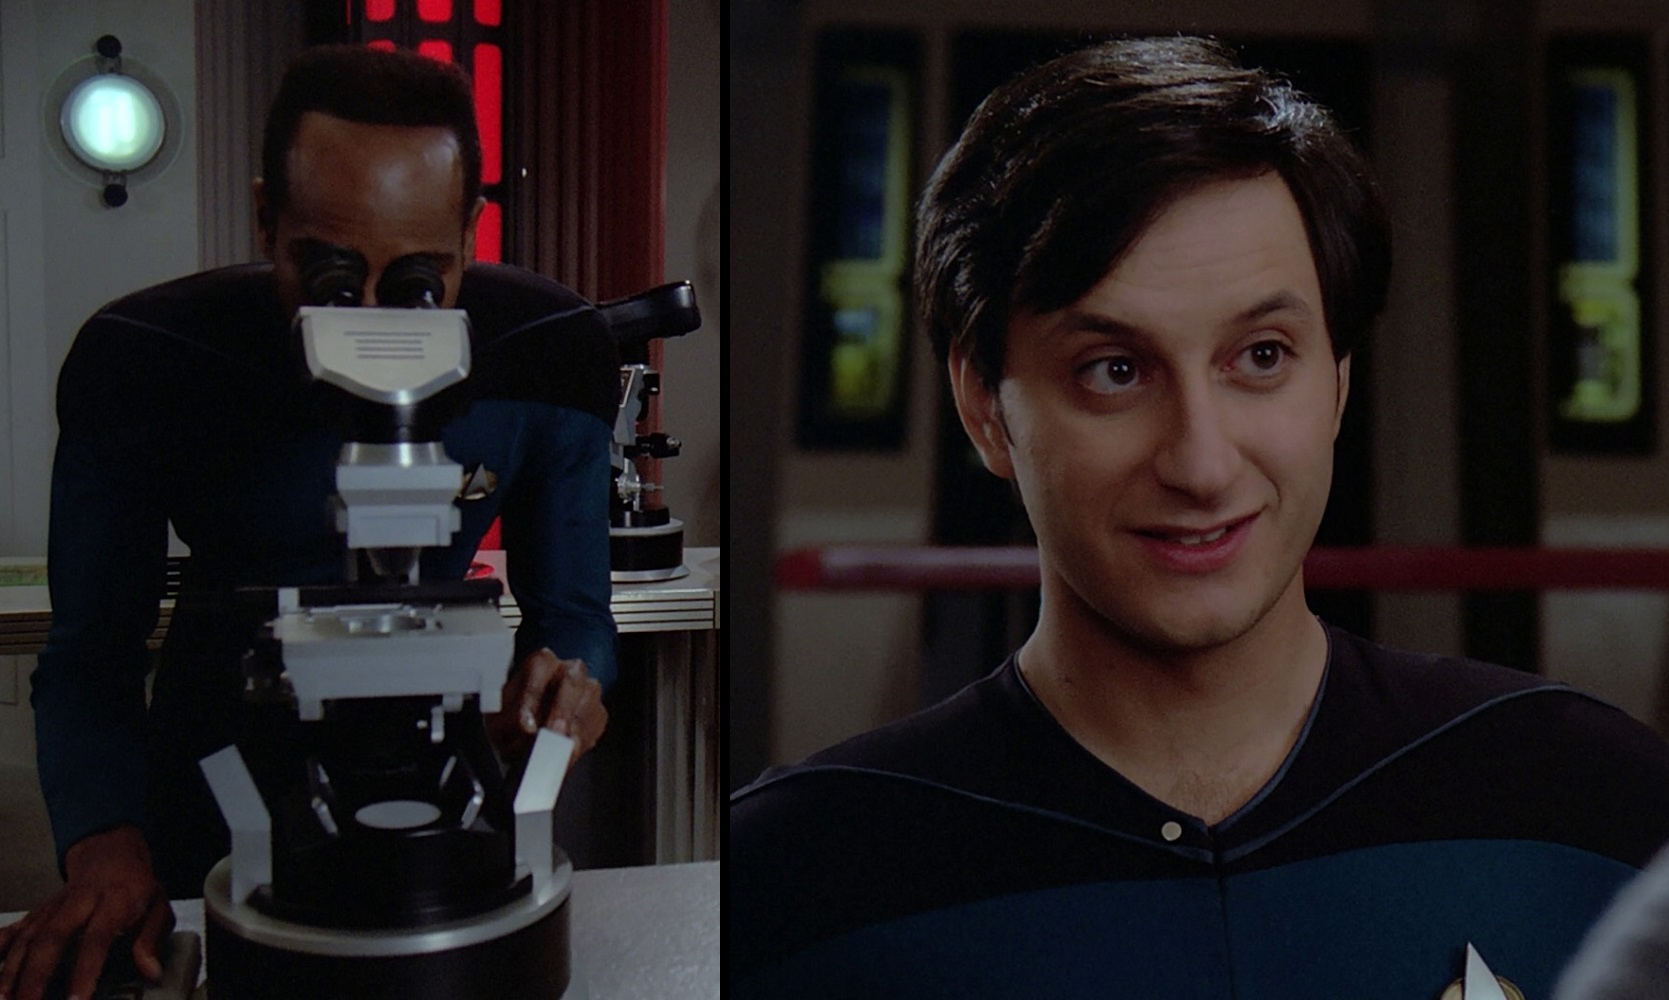
This also included “TAC officers” (such as Lieutenant Chang, below left) and those who worked at the Inspector General’s office (such as Lieutenant Commander Remmick, below right), although it’s not clear whether these positions were exclusive to someone wearing “red.”
TNG, 1x19 “Coming of Age”
TNG, 1x19 “Coming of Age”
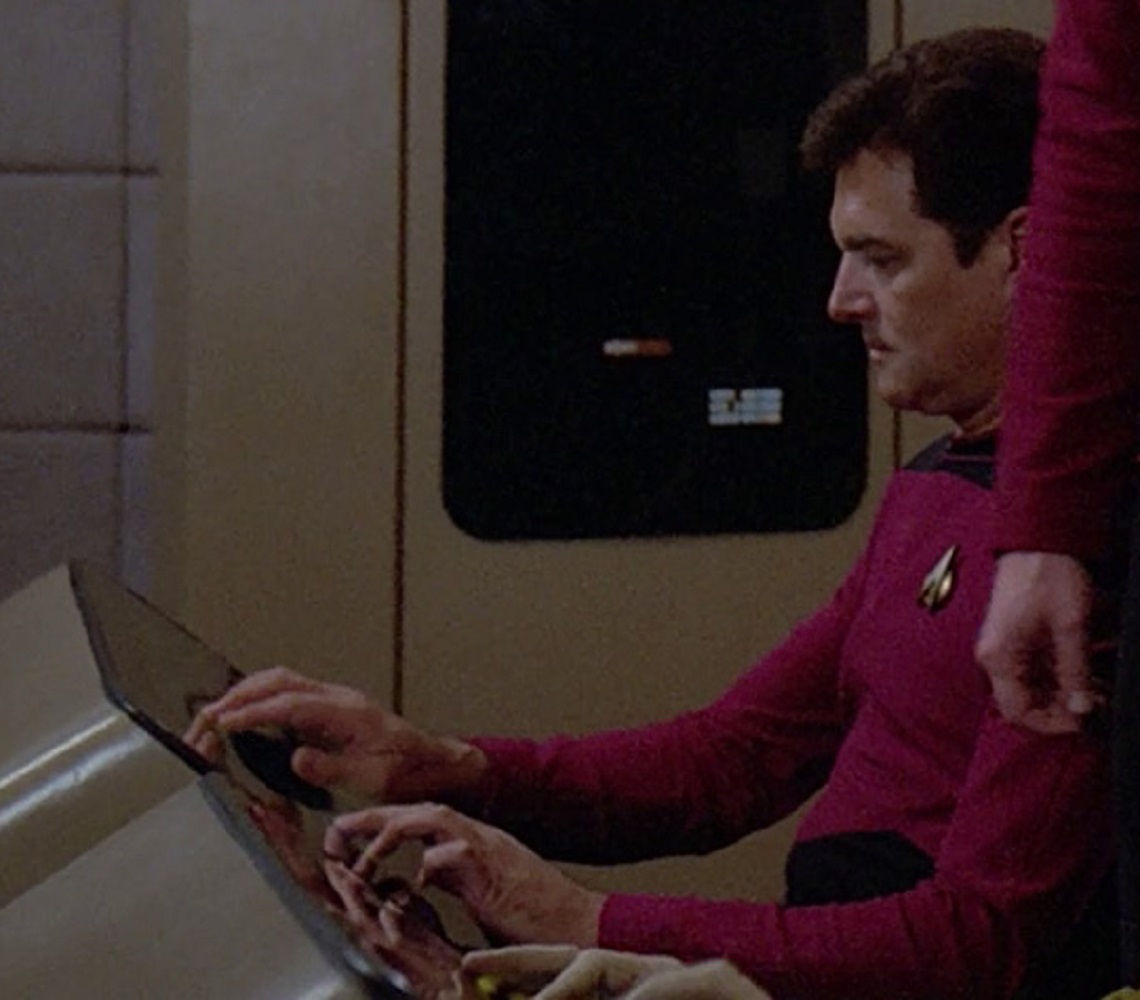
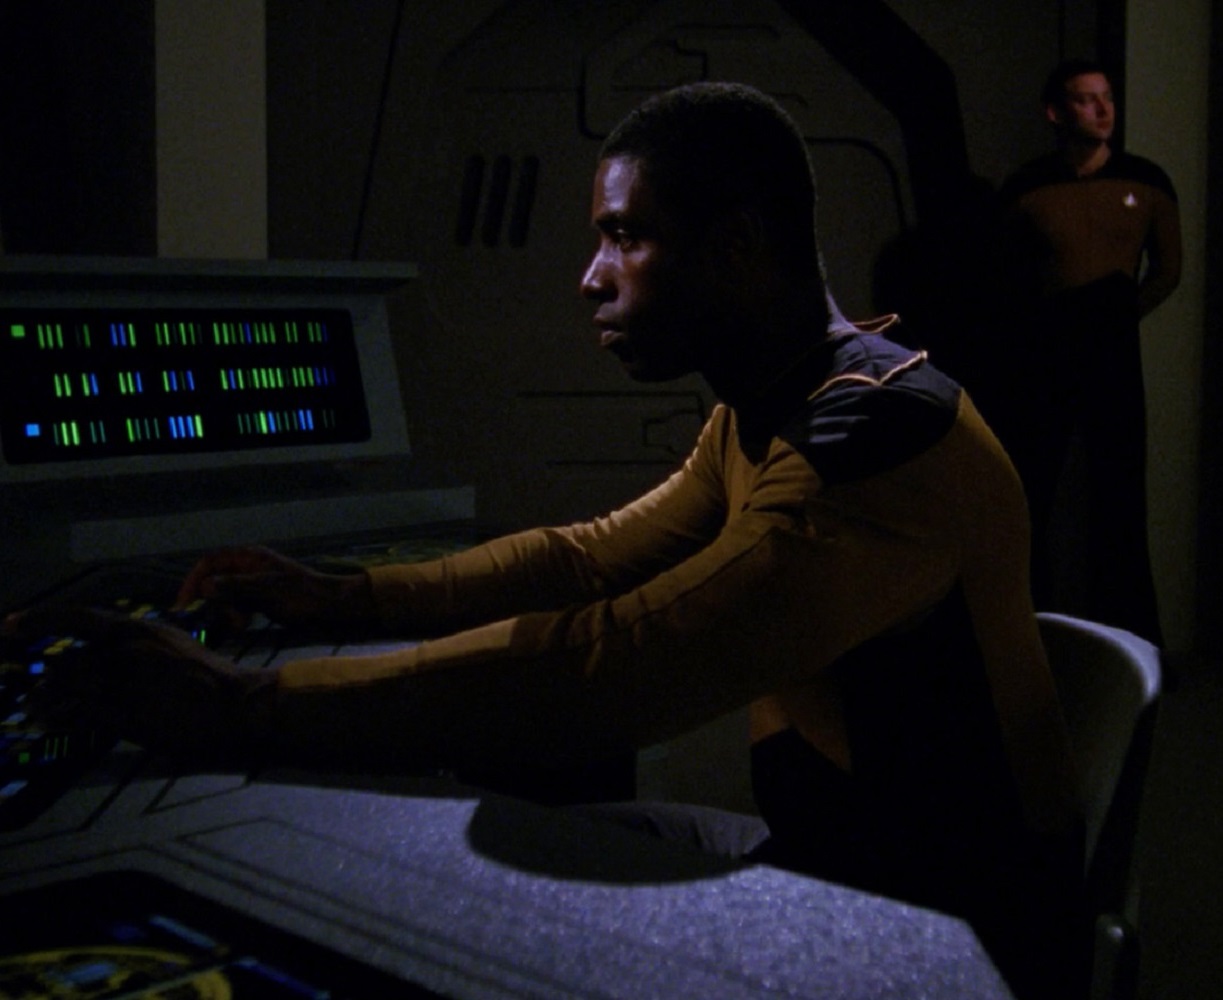
Red – Pilots
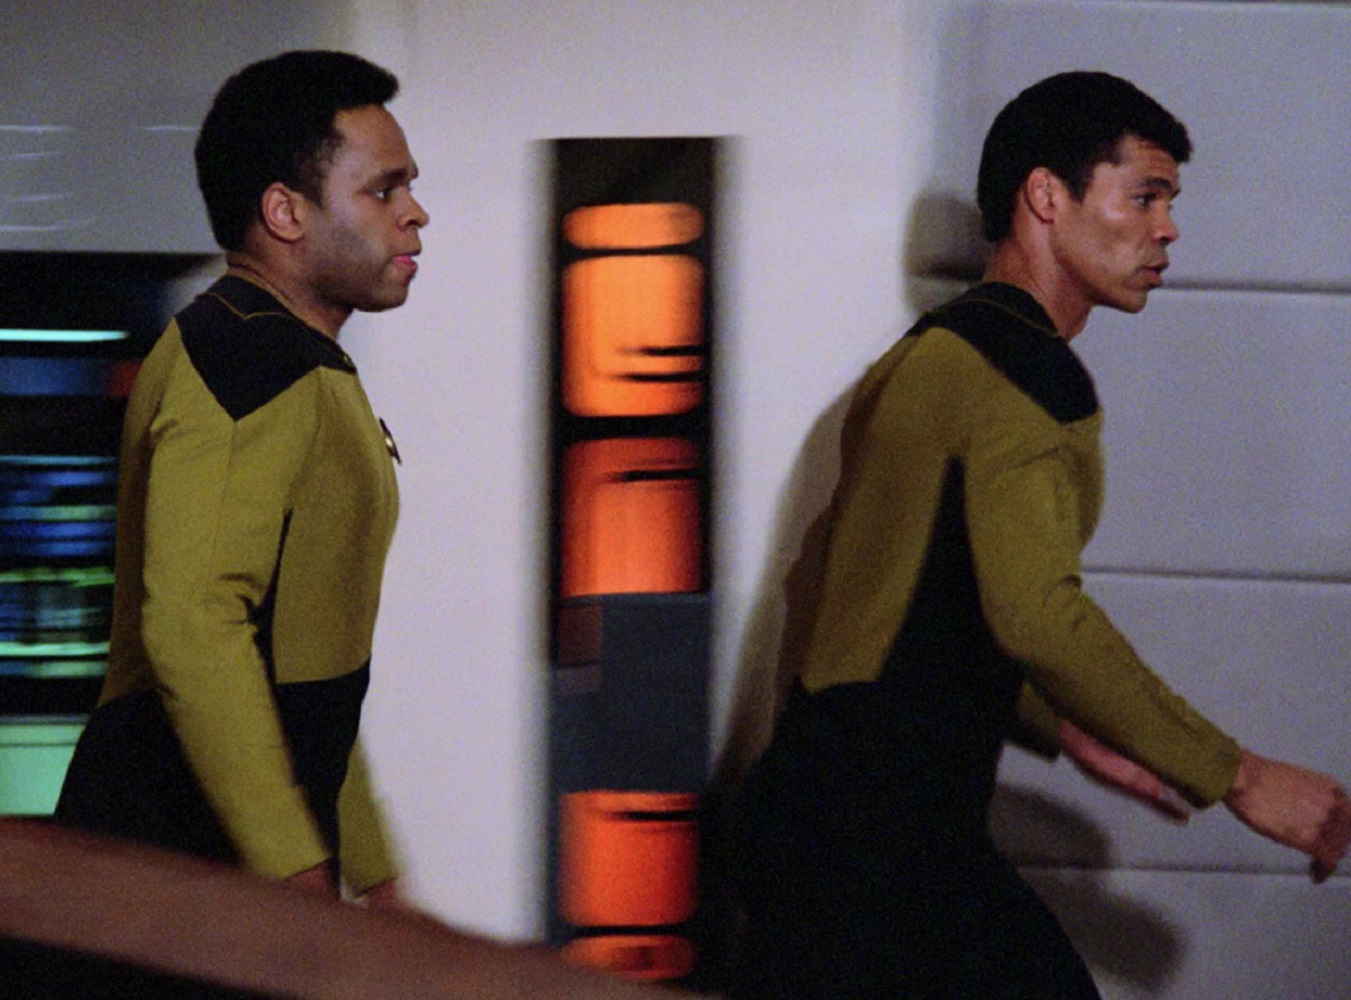
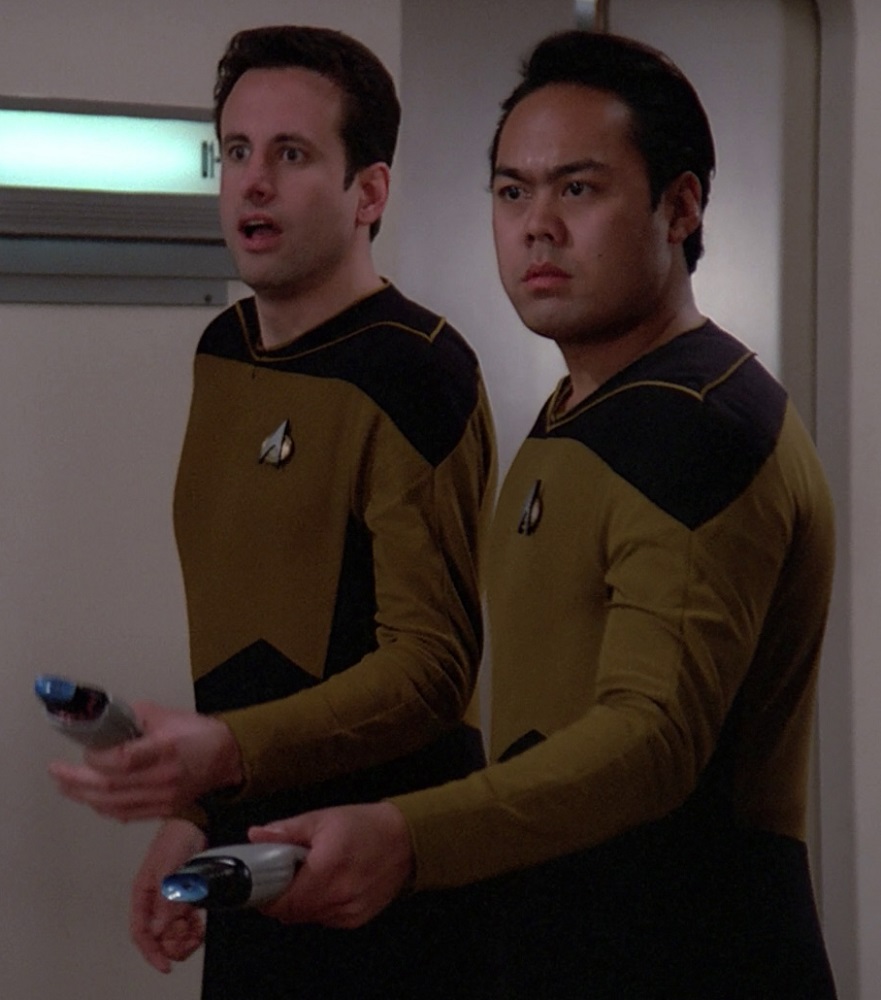
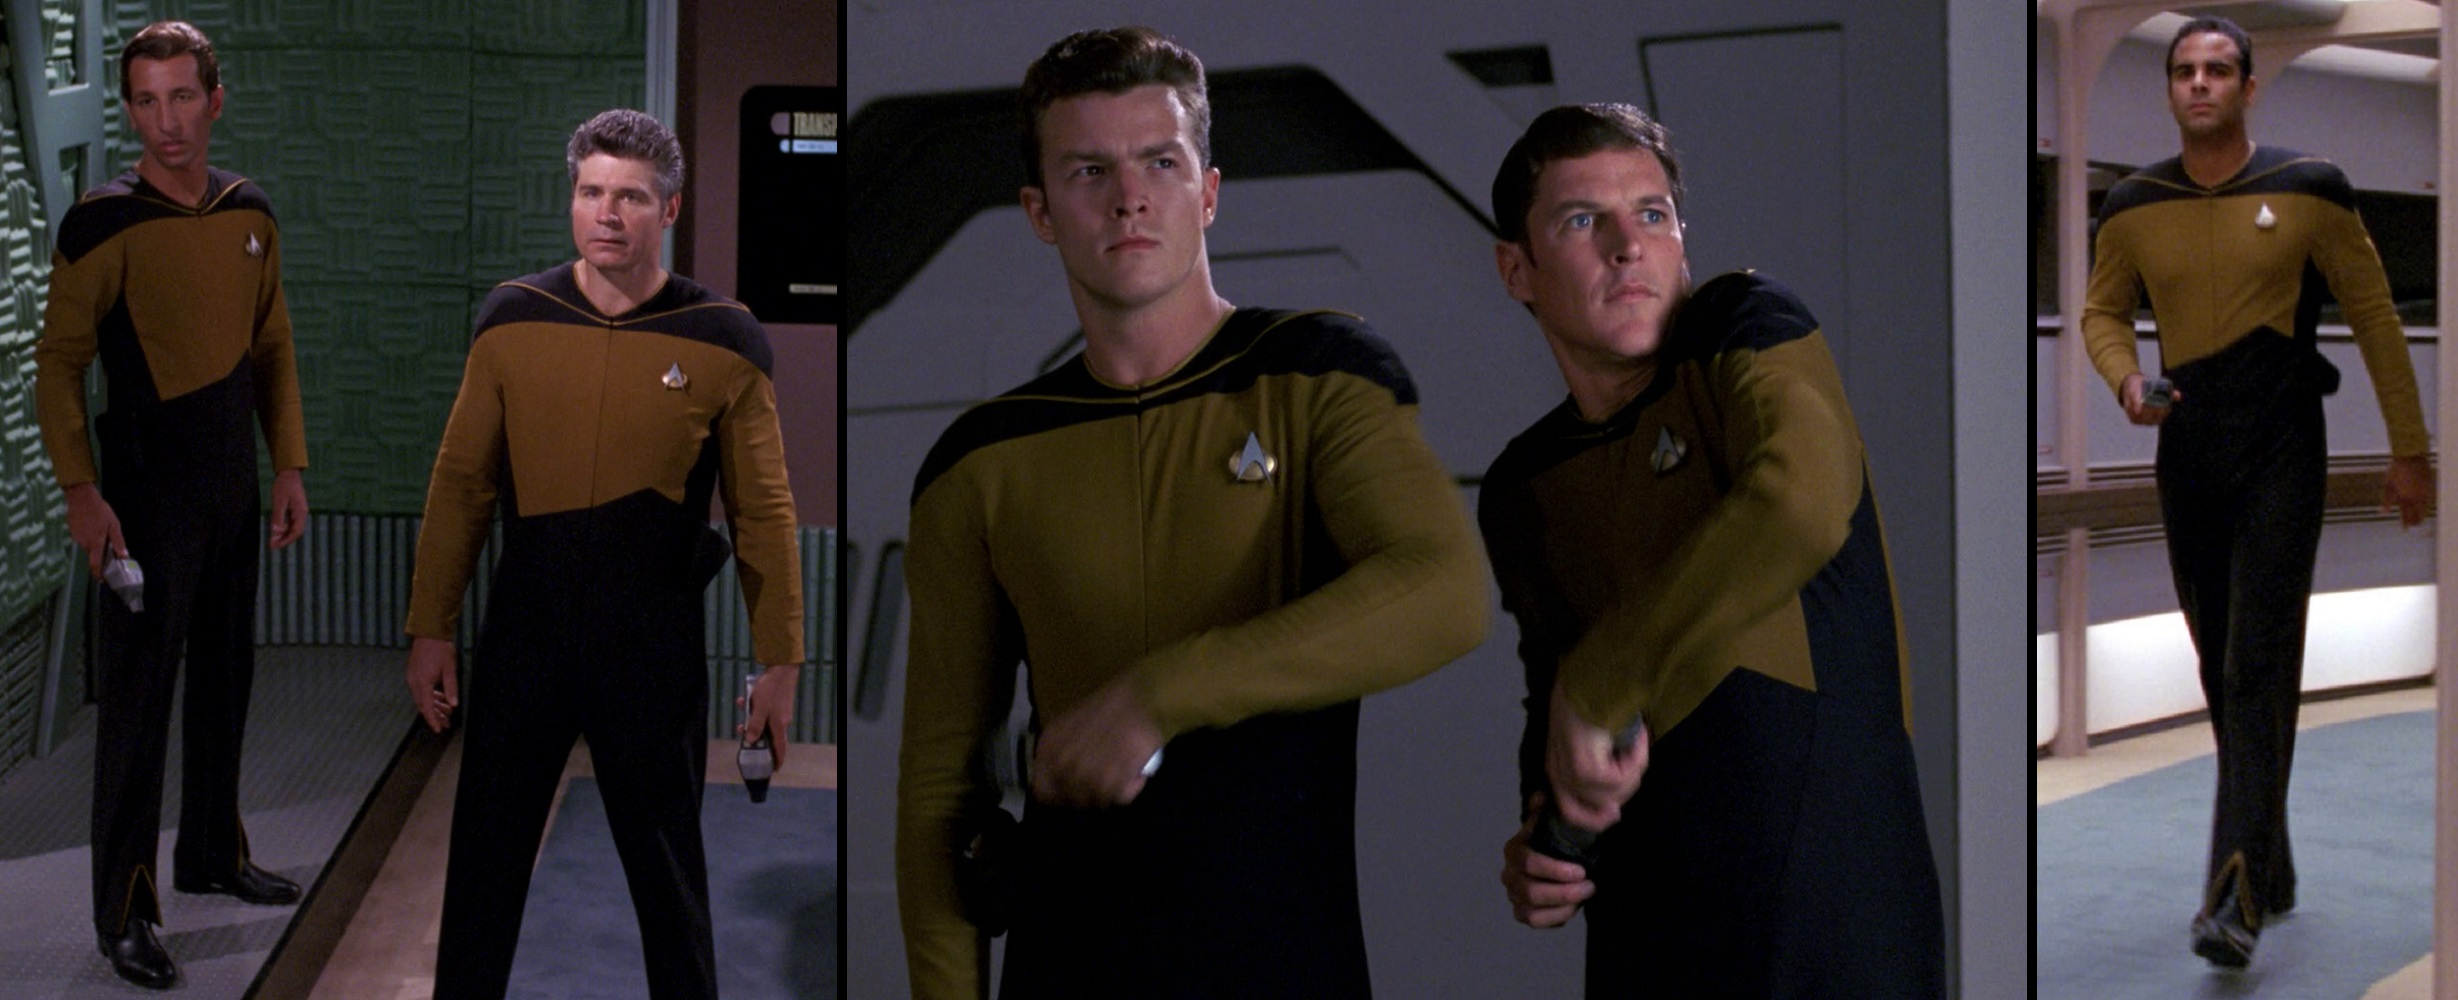
The majority of crew members we saw wearing “red” were assigned to the helm as pilots/navigators – a post apparently occupied by many different individuals until Wesley was given the keys (damn it).
TNG, 1x13 "Datalore"
TNG, 1x20 "Heart of Glory"
TNG, 1x21 "The Arsenal of Freedom"
TNG, 2x2 "Where Silence Has Lease"
TNG, 2x4 "The Outrageous Okuna"
TNG, 2x5 "Loud as a Whisper"
TNG, 2x7 "Unnatural Selection"
TNG, 2x10 "The Dauphin"
TNG, 2x13 "Time Squared"
TNG, 2x16 "Q Who"
TNG, 2x17 "Samaritan Snare"
TNG, 2x18 "Up the Long Ladder"
TNG, 2x20 "The Emissary"
TNG, 2x21 "Peak Performance"
TNG, 3x4 "Who Watches the Watchers?"
TNG, 3x5 "The Bonding"
TNG, 3x10 "The Defector"
TNG, 3x12 "The High Ground"
TNG, 3x13 "Deja Q"
TNG, 3x19 "Captain's Holiday"
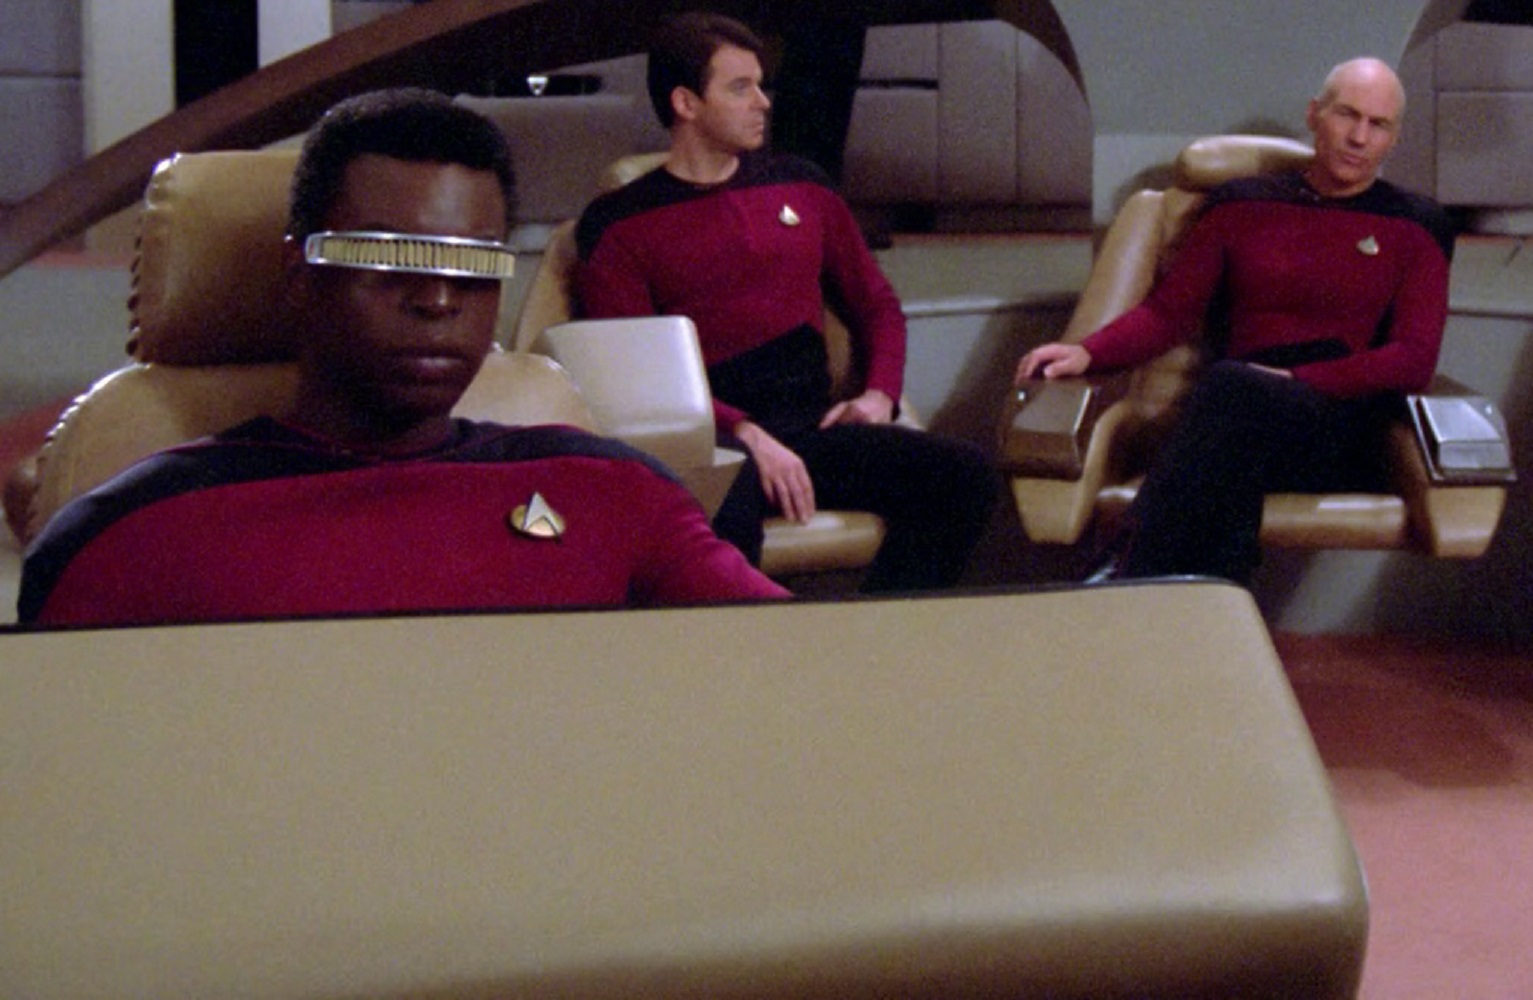
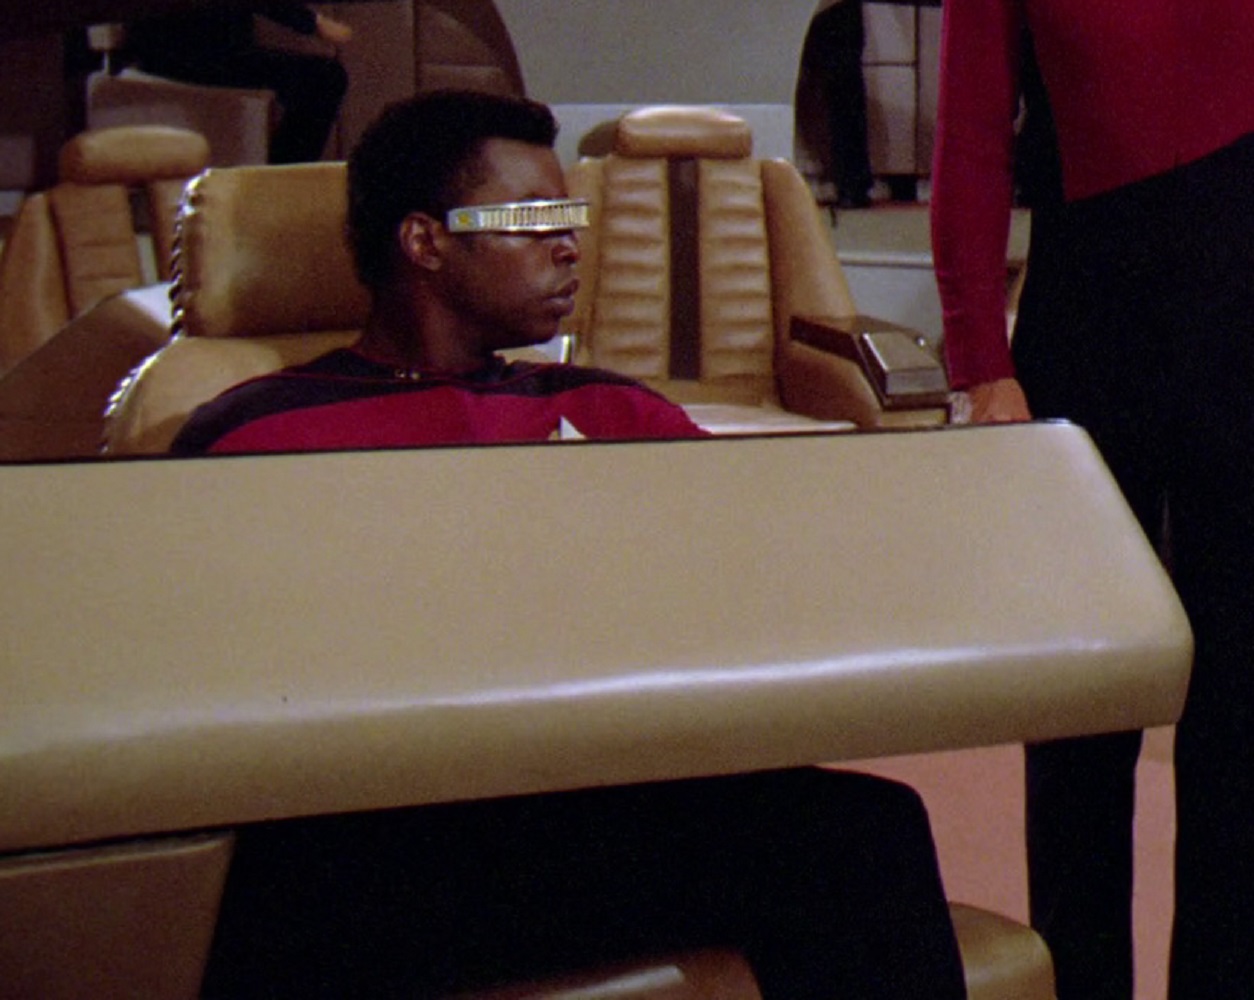
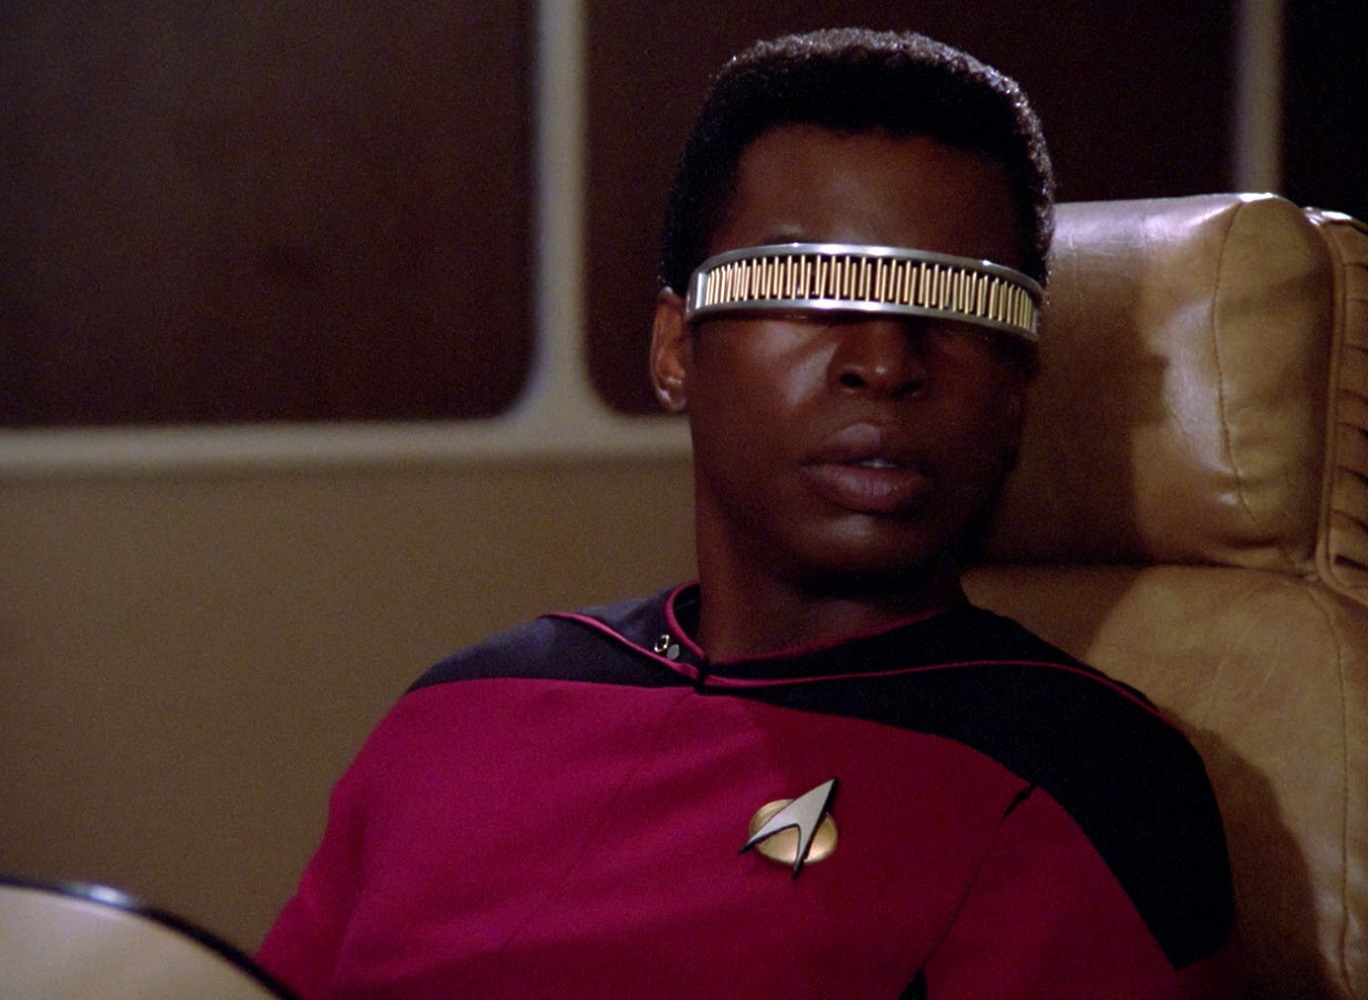
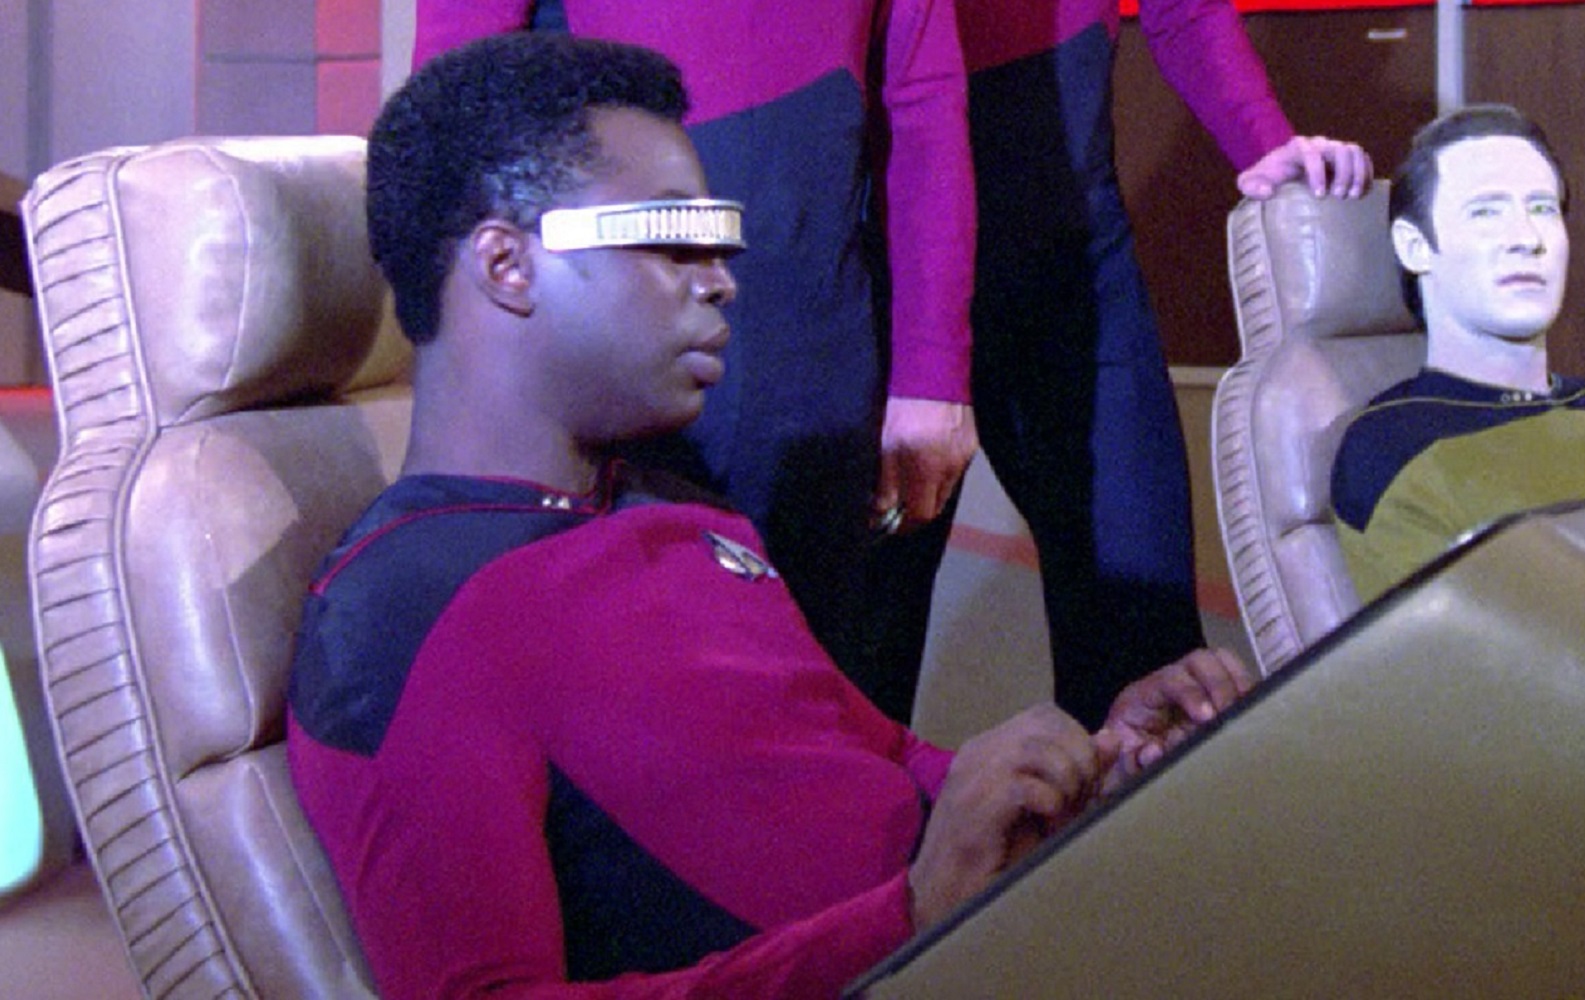
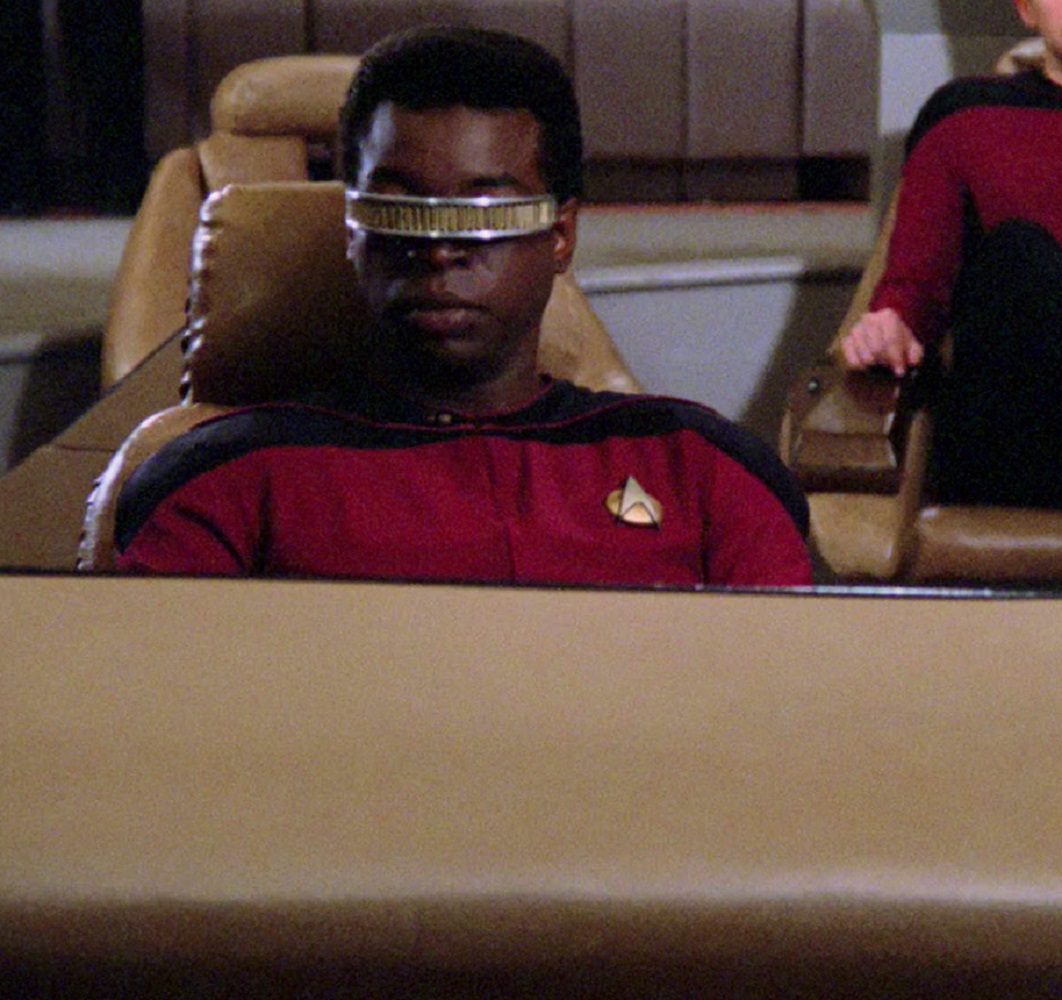
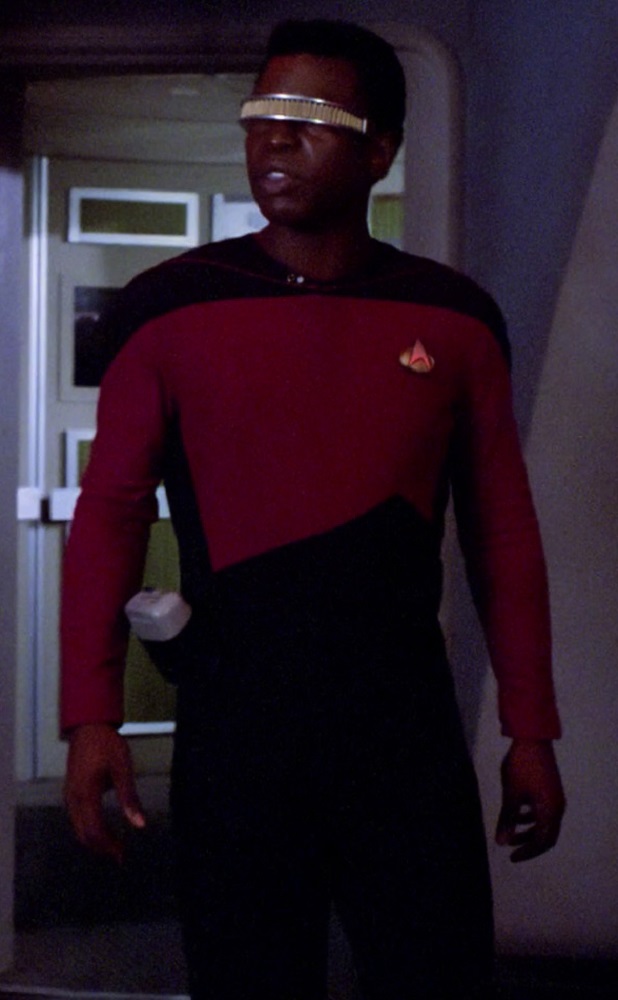
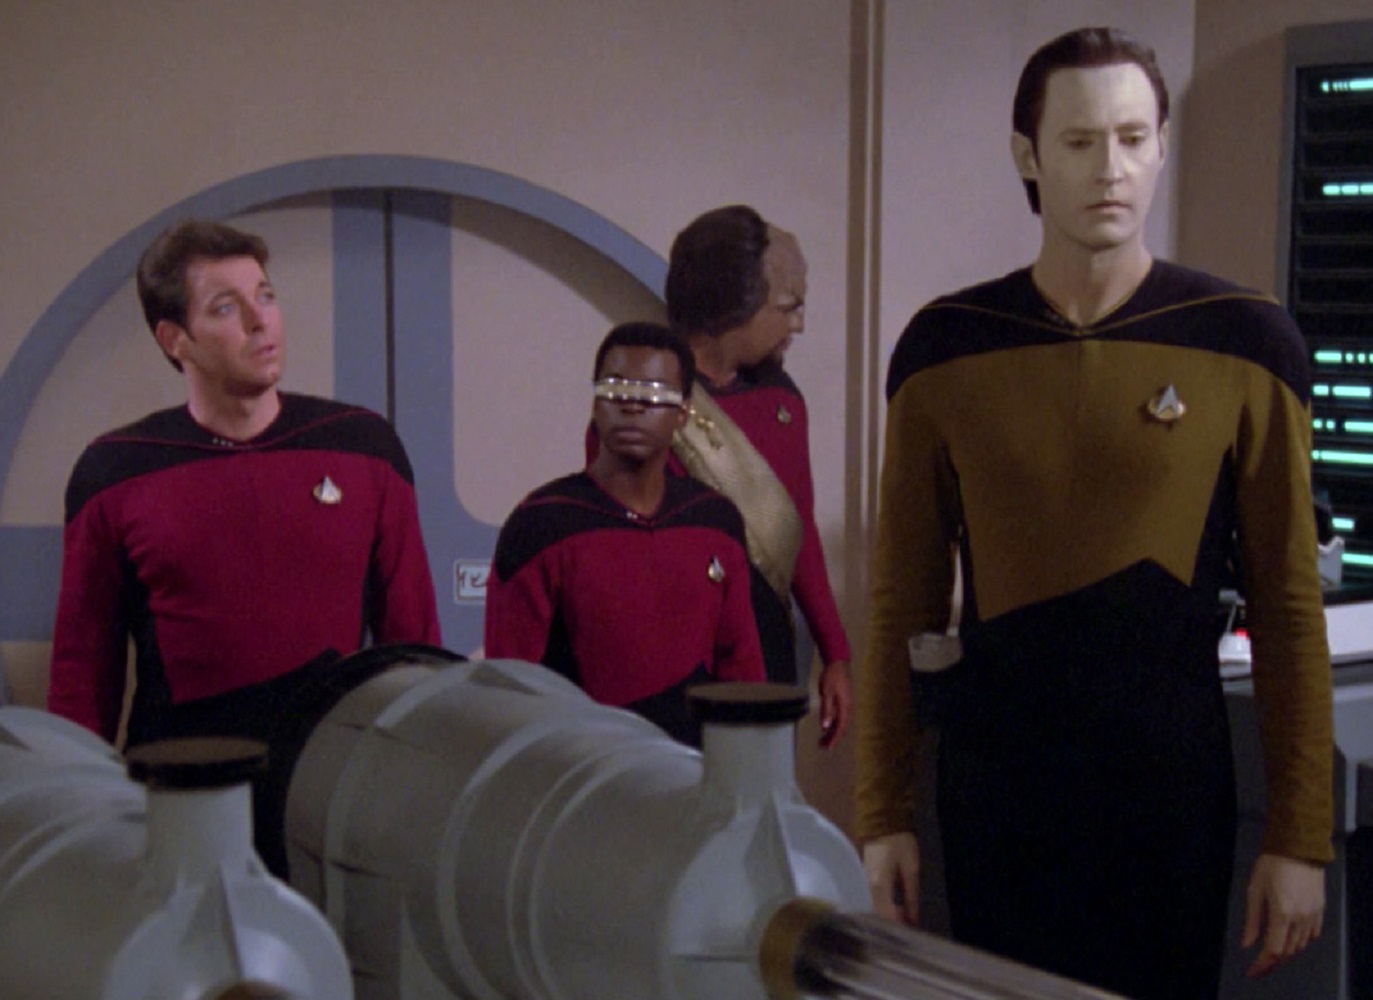
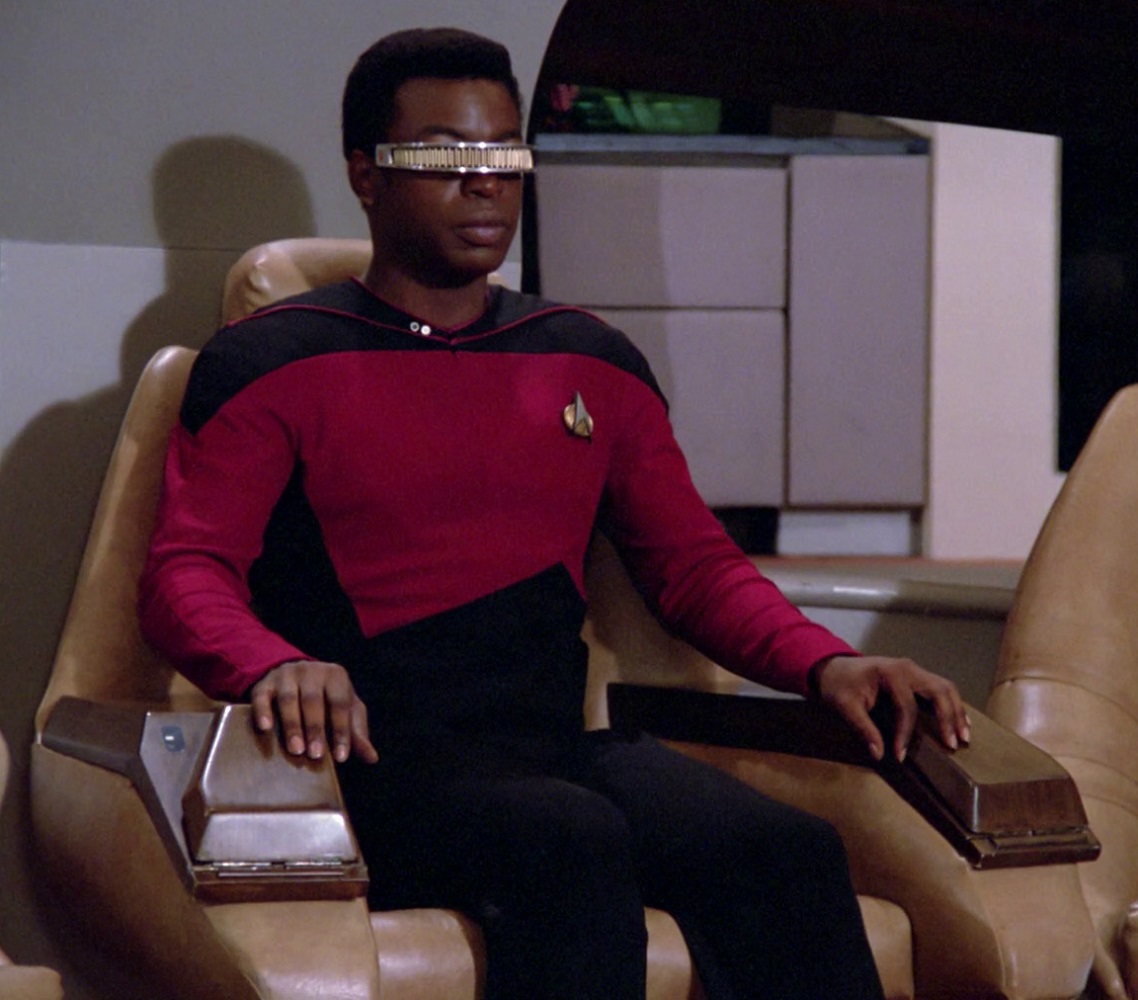
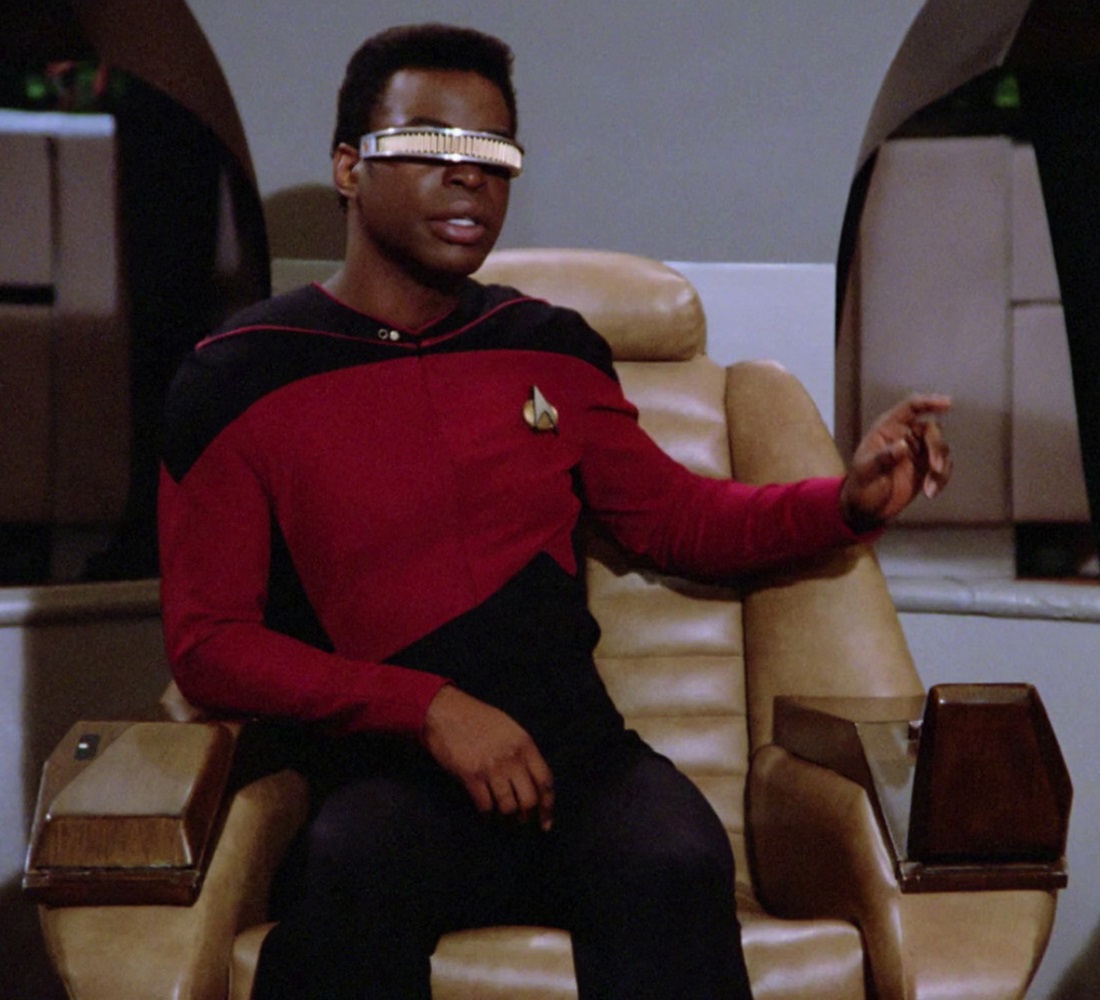
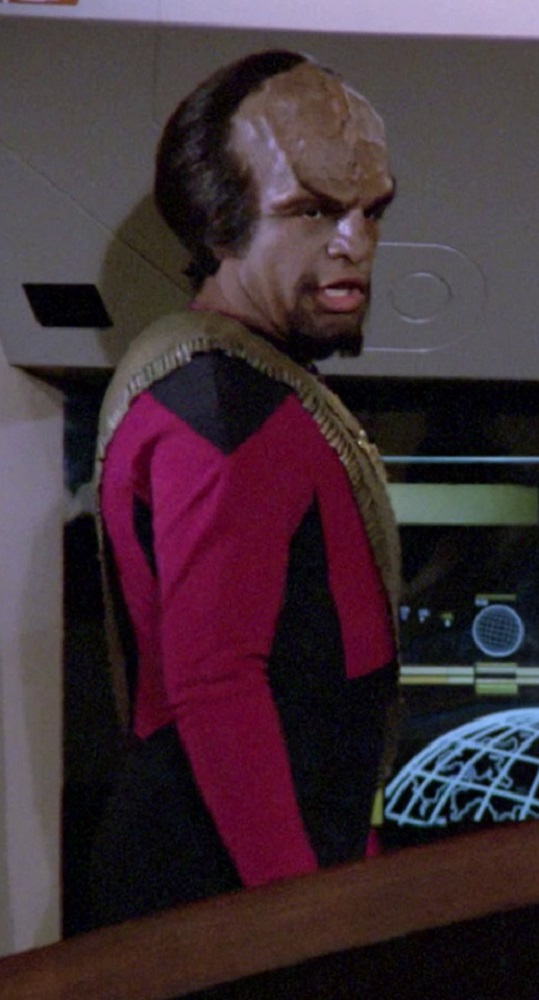
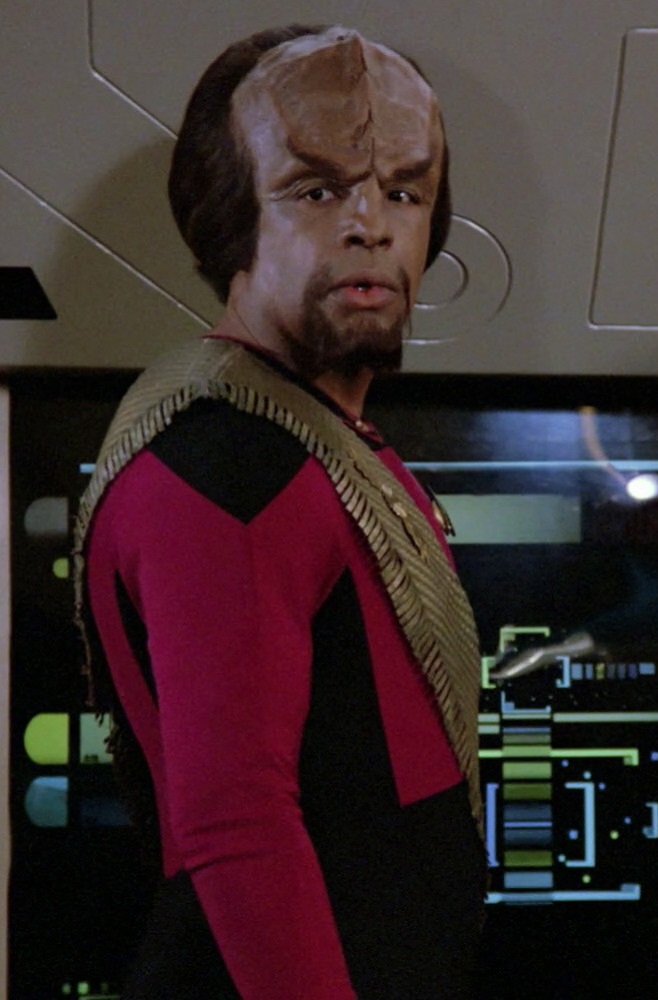
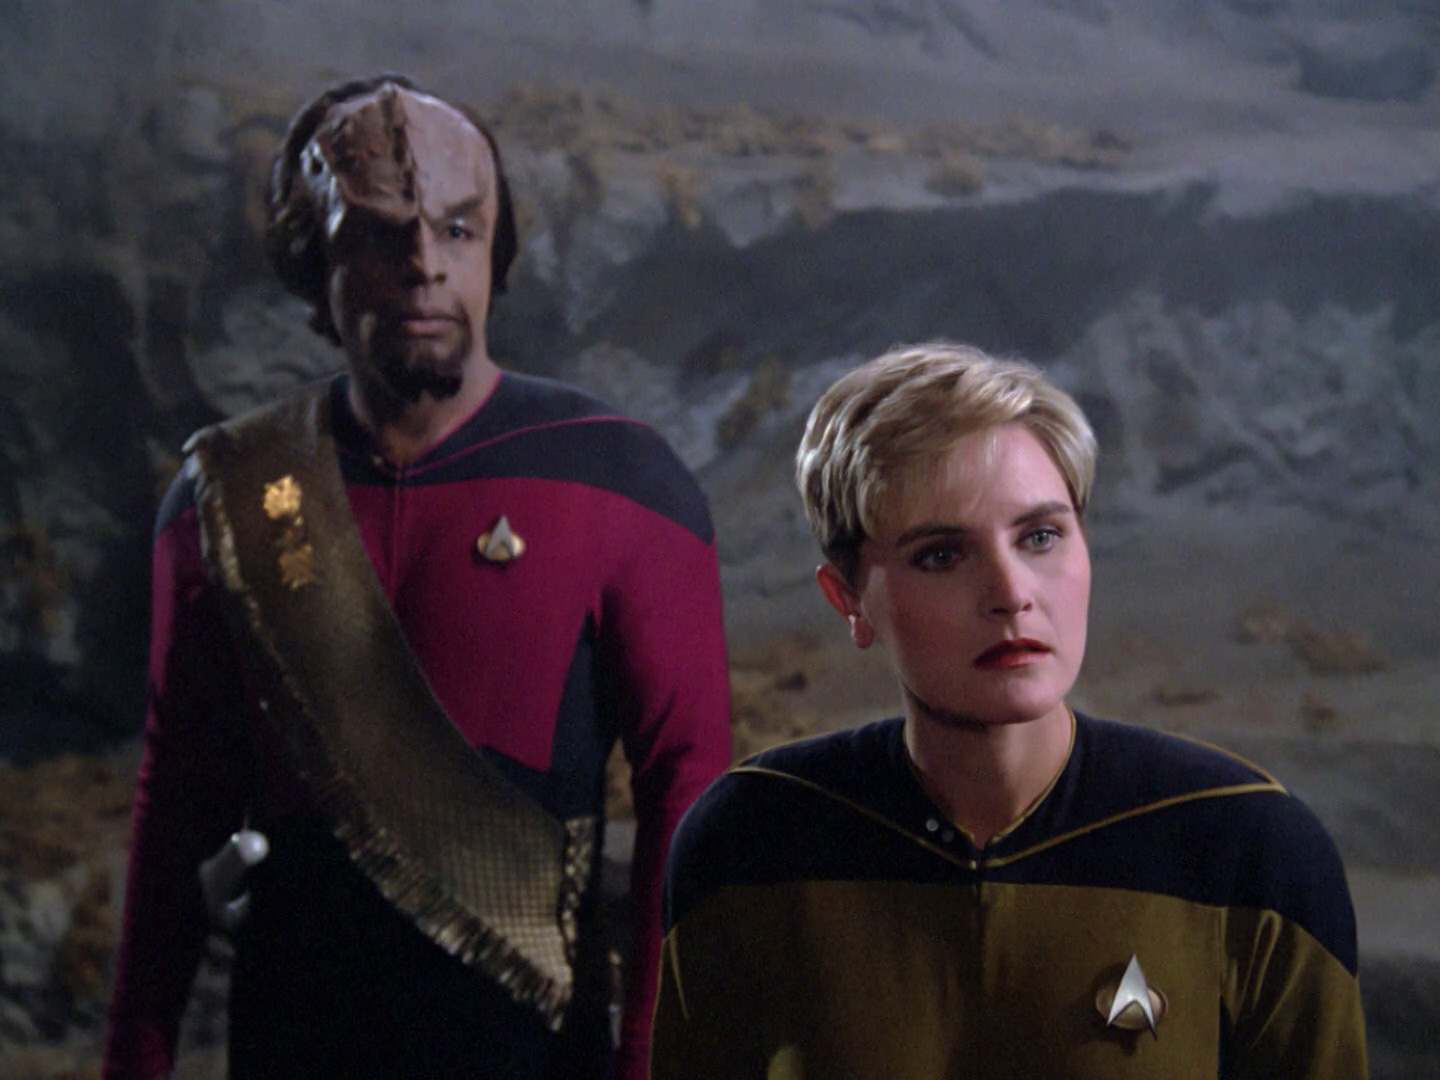
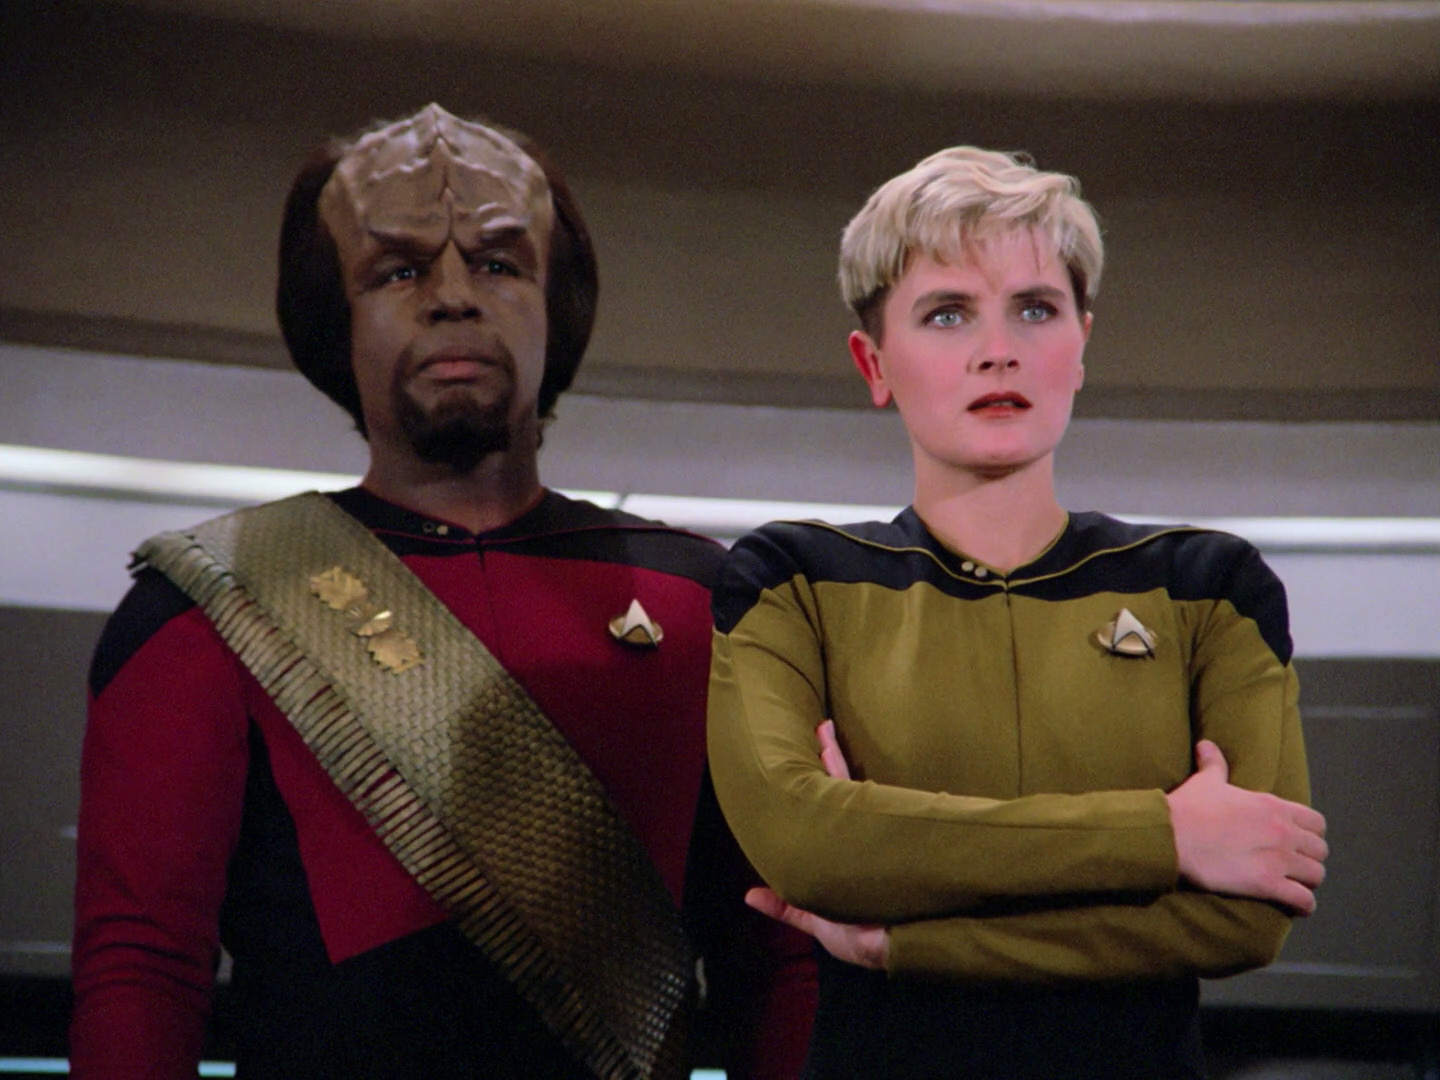
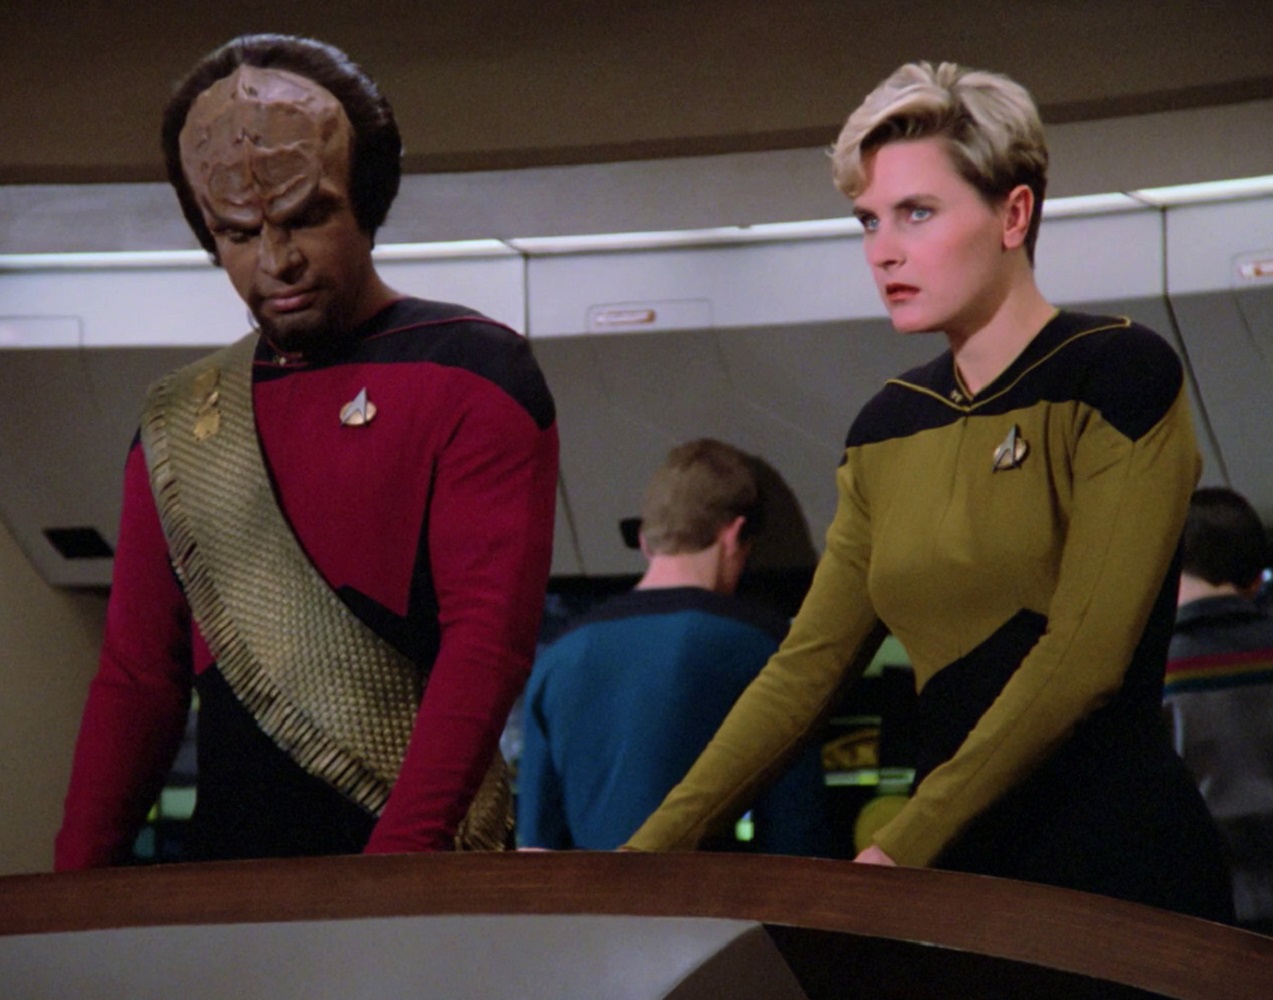
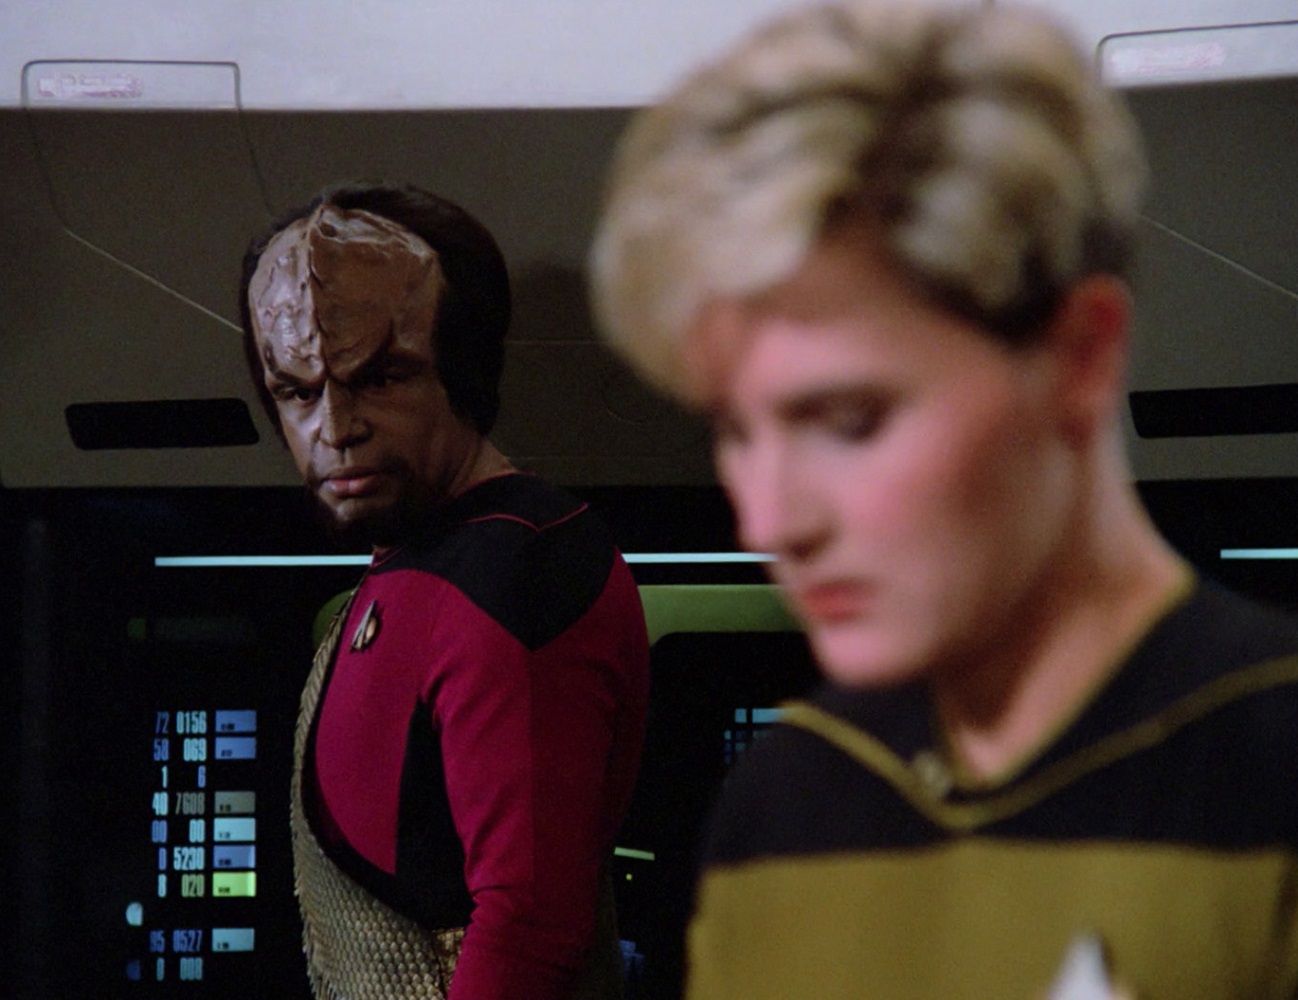
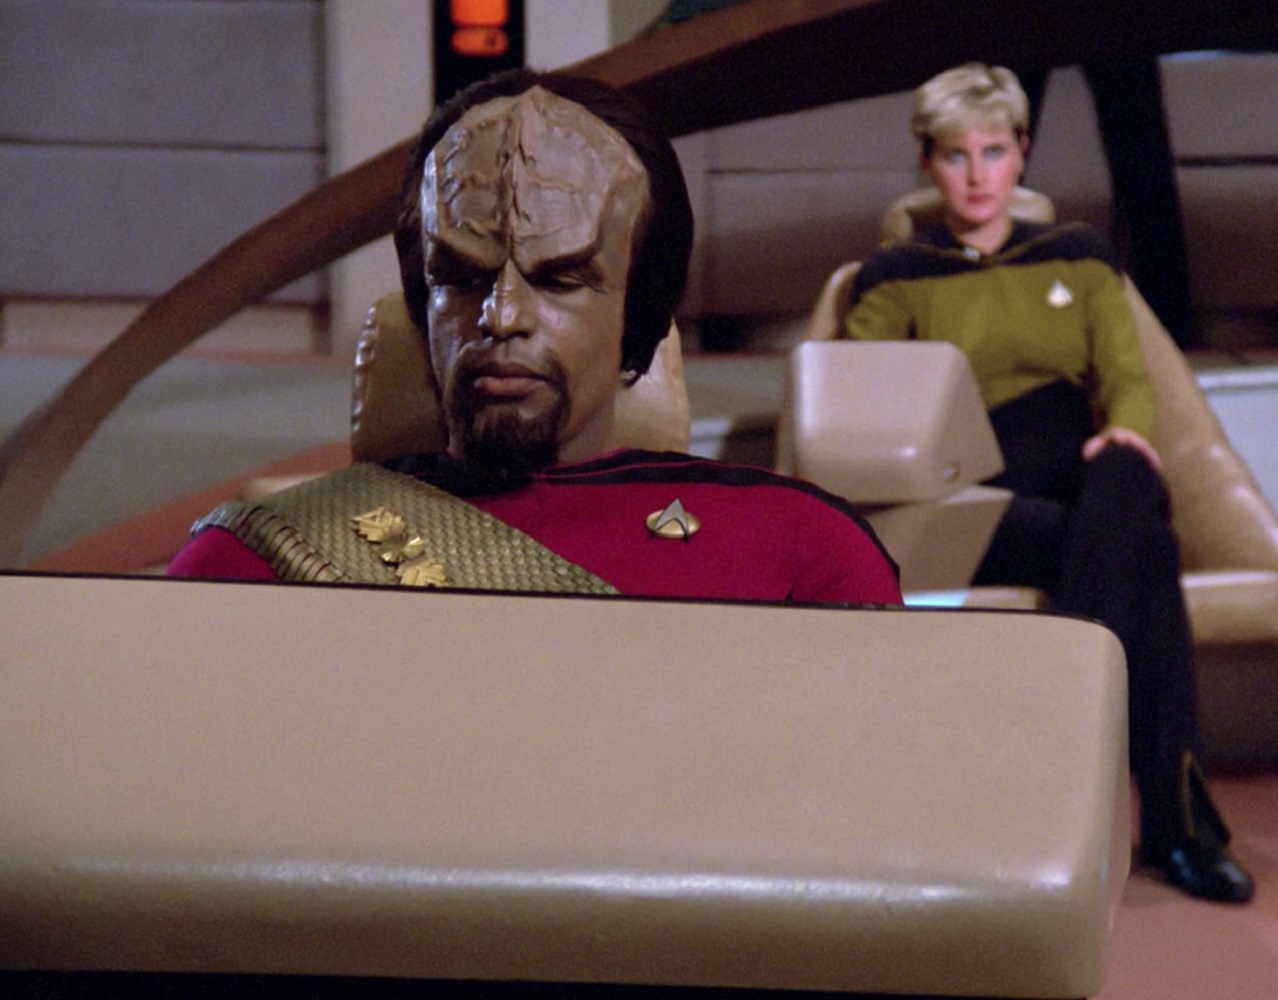
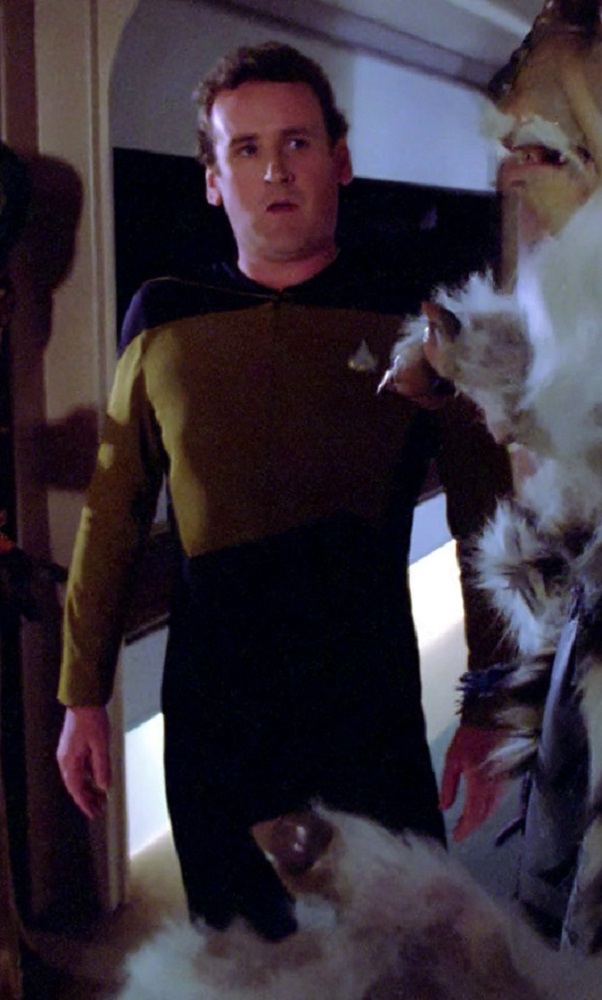
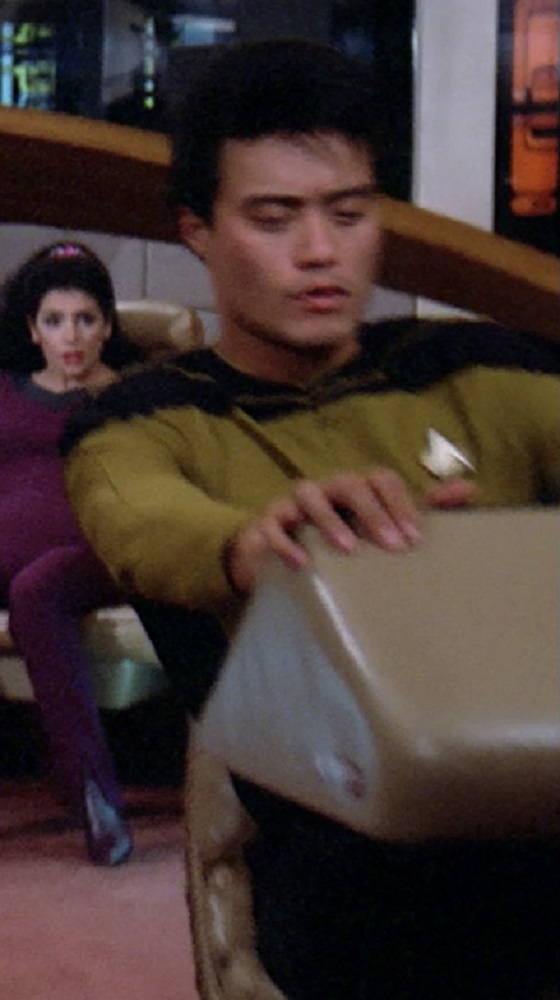
Red – Geordi and Worf
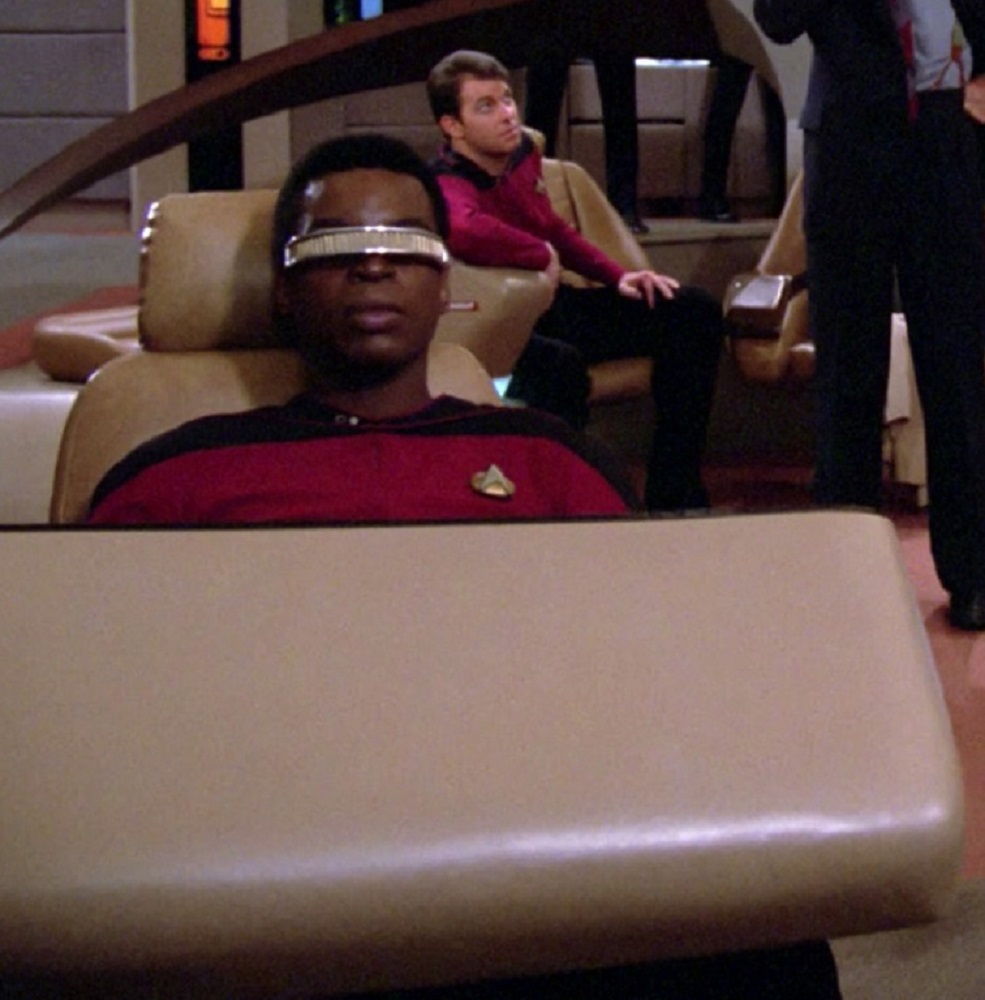
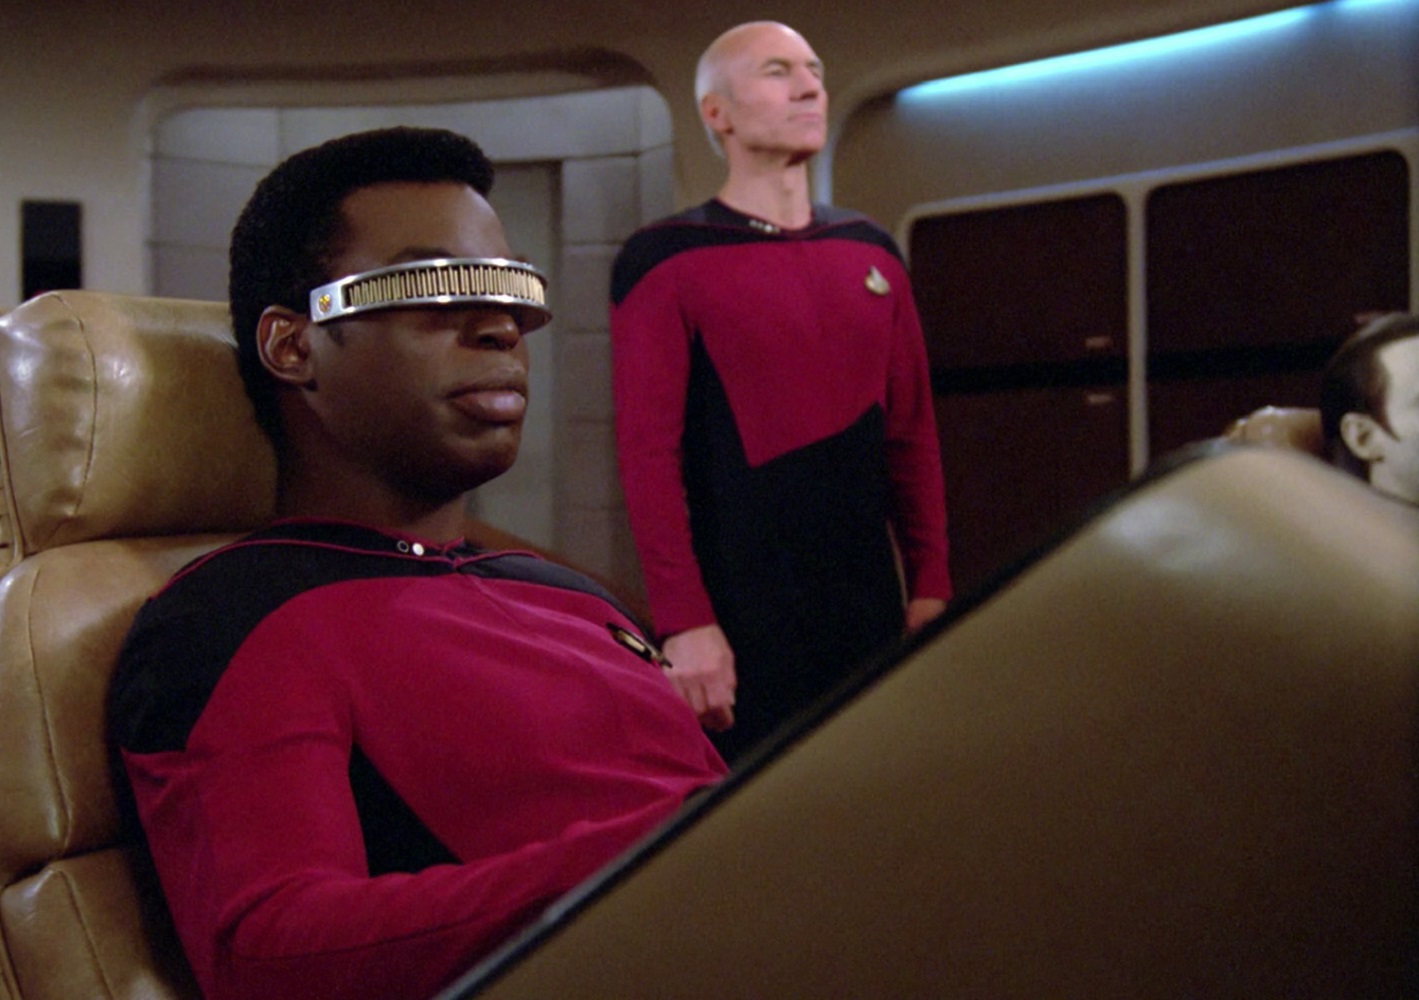
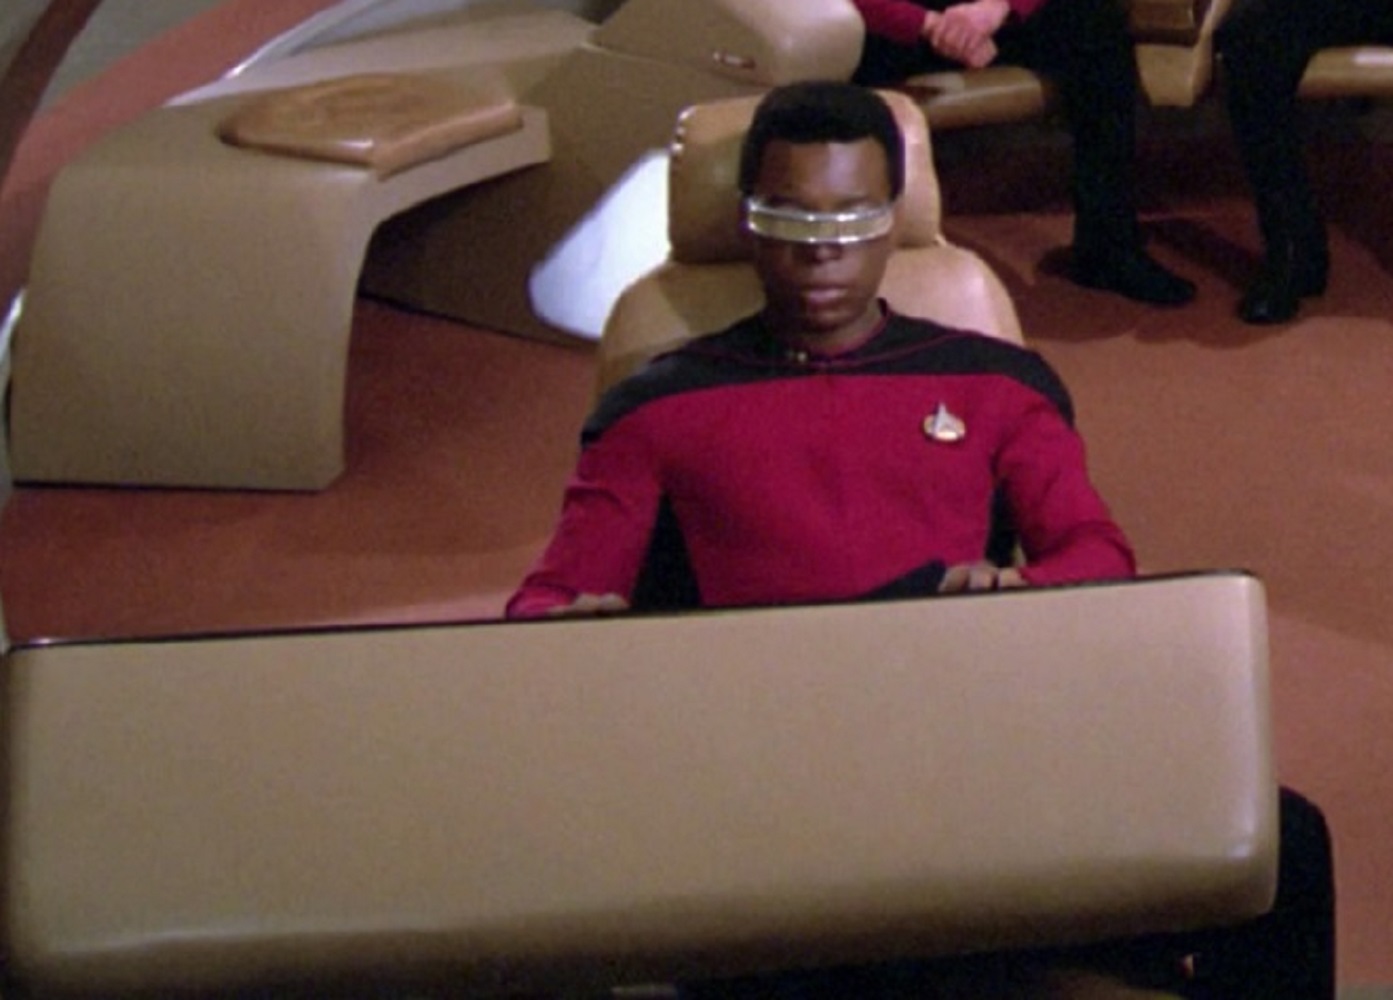
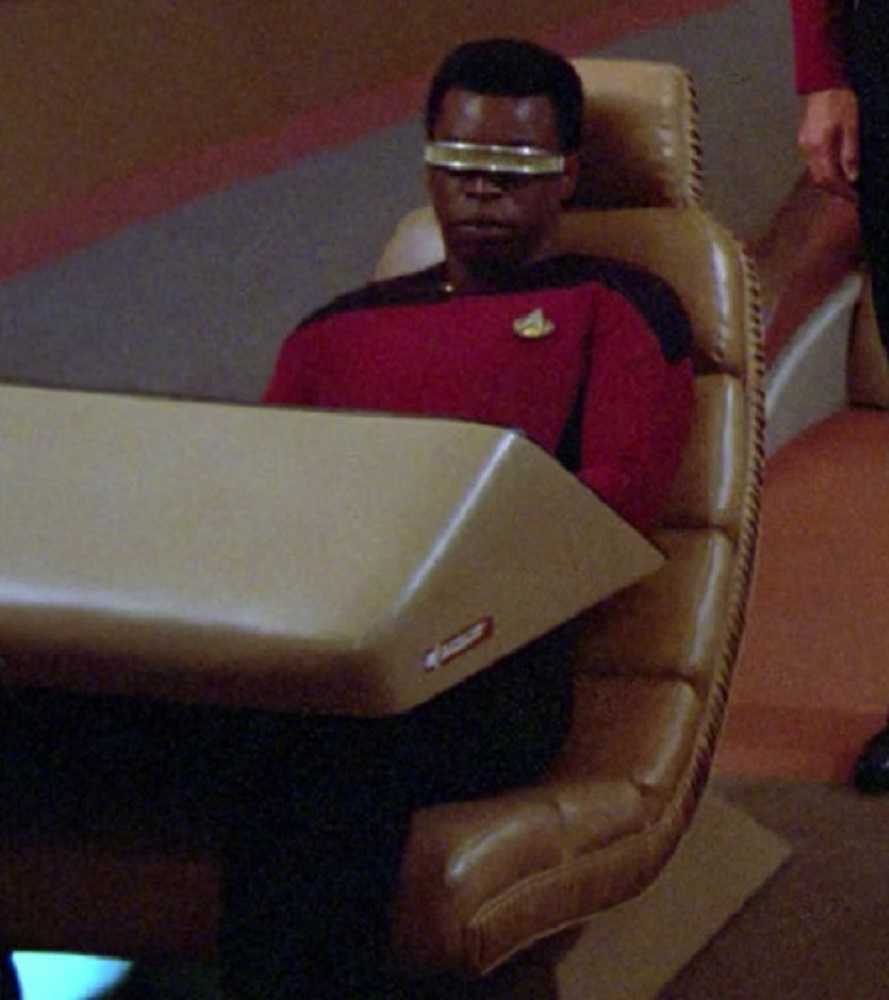
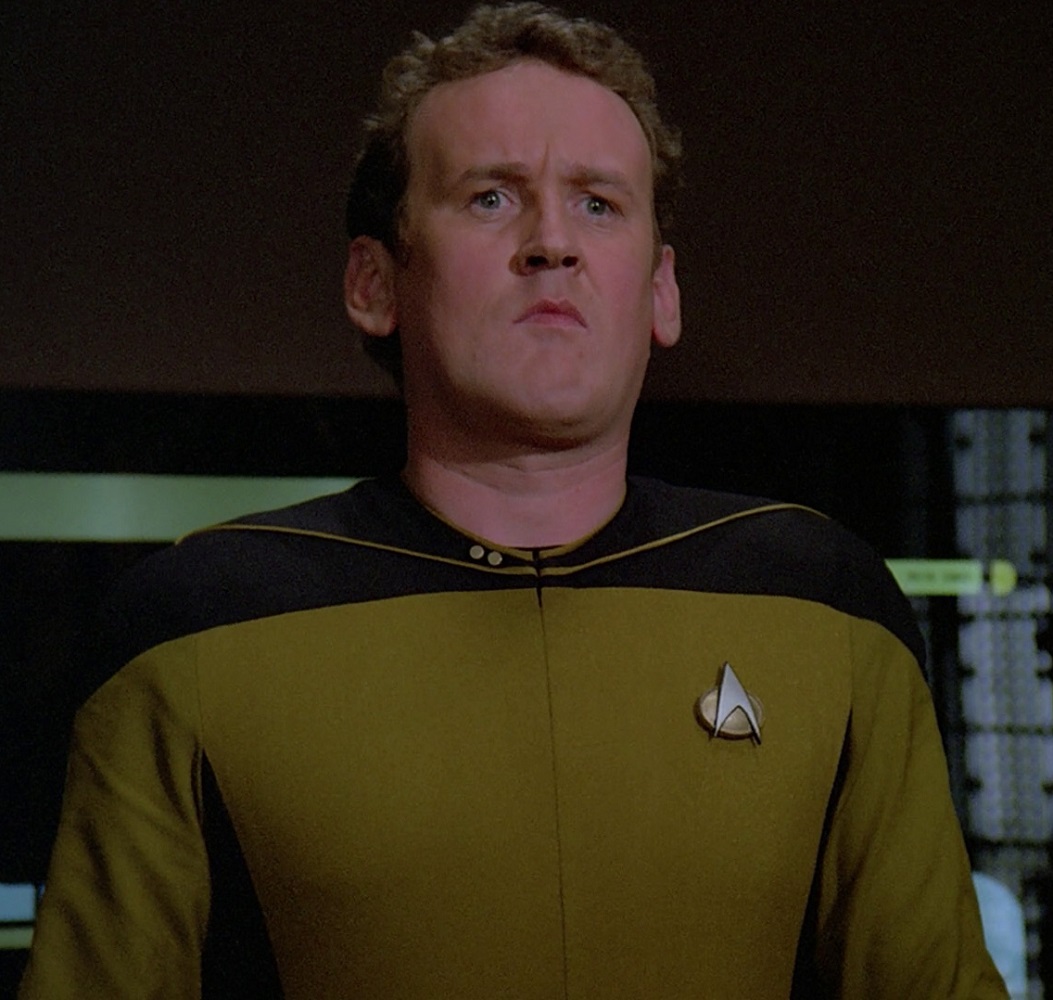
Curiously, Geordi and Worf both wore red during The Next Generation’s first season, but to be honest, I couldn’t for the life of me tell you what either of their actual jobs were at that point.
They were both junior officers, but they didn’t seem to have any particular post, specific job title, etc.; maybe it was a sort of Starfleet internship, where you get to try a bit of everything before deciding what you want to do?
TNG, 1x1 “Encounter at Farpoint”
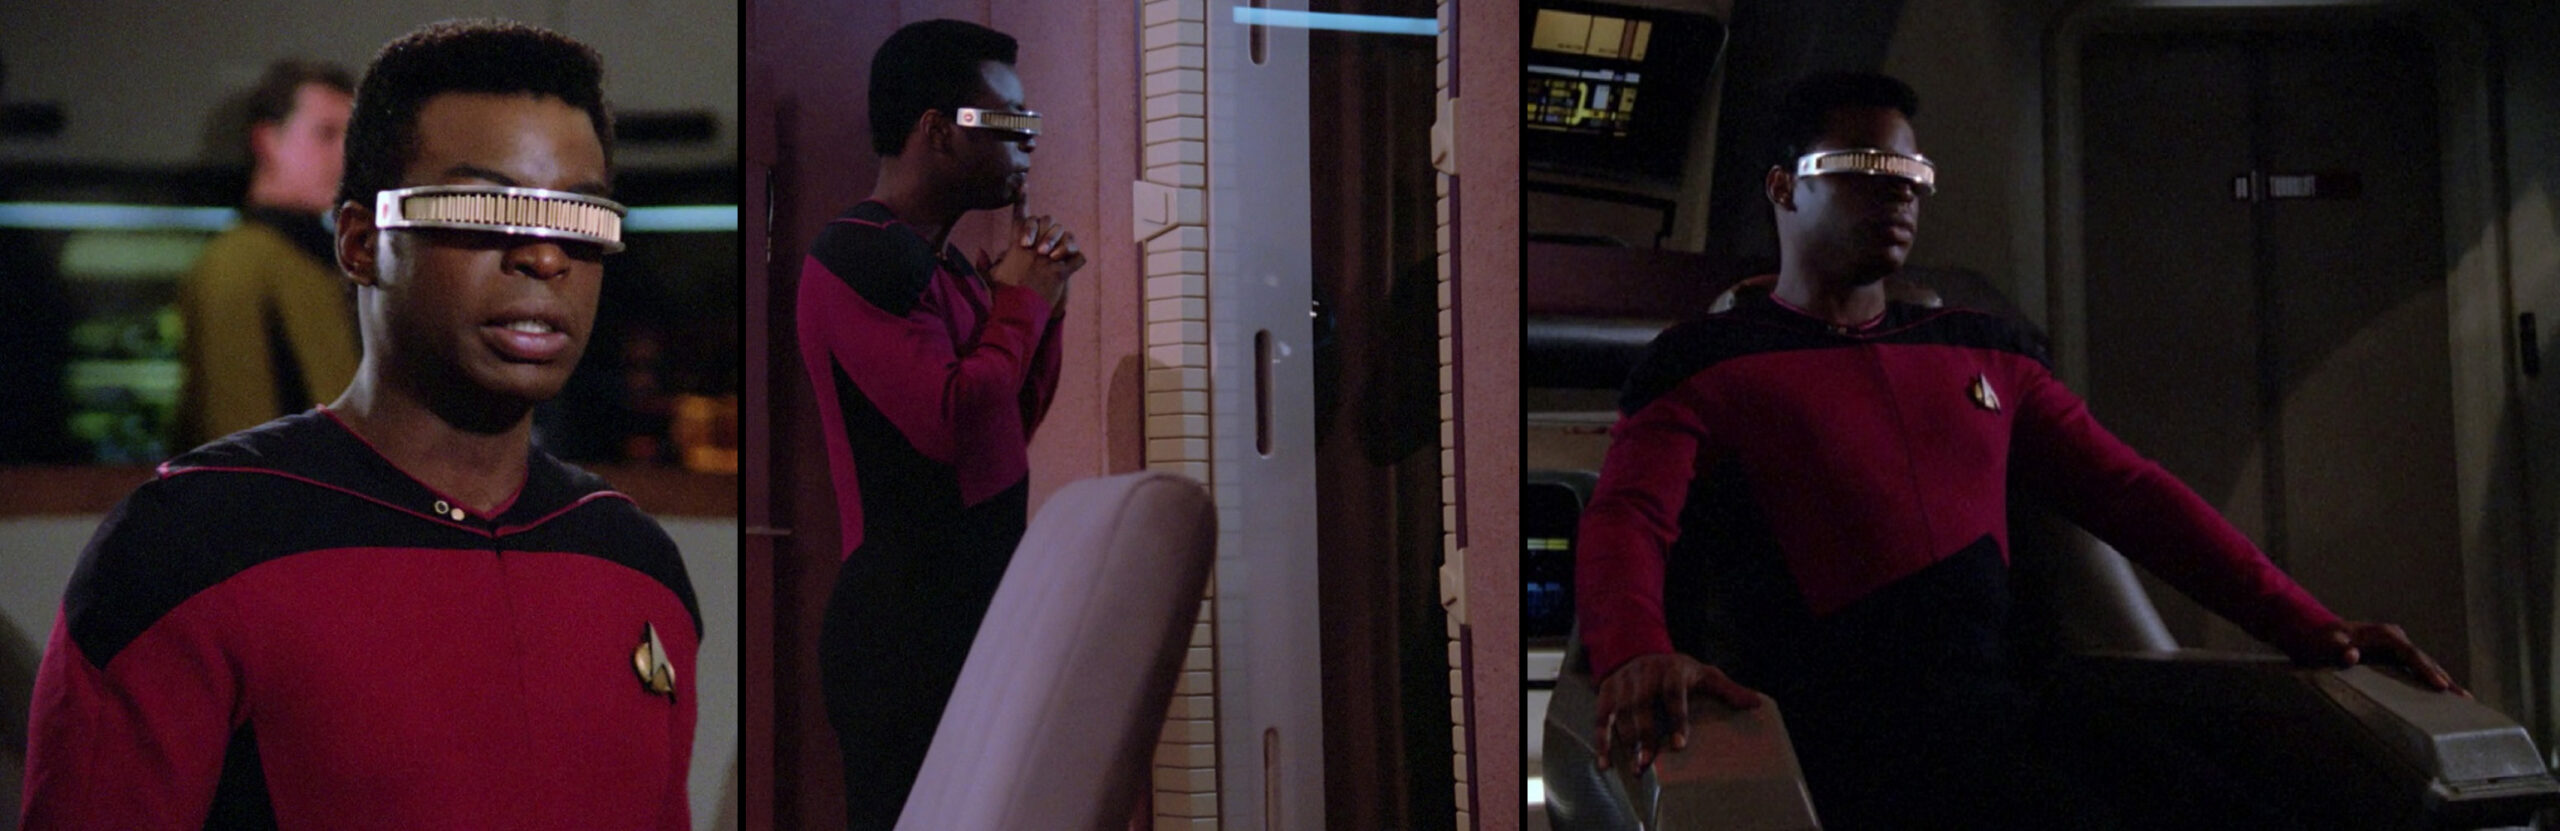
Geordi seems to have spent most of his time flying the ship, doing so at some point in nearly every episode that first season:
TNG, 1x5 "The Last Outpost"
TNG, 1x6 "Where No One Has Gone Before"
TNG, 1x7 "Lonely Among Us"
TNG, 1x8 "Justice"
TNG, 1x9 "The Battle"
TNG, 1x10 "Hide and Q"
TNG, 1x11 "Haven"
TNG, 1x12 "The Big Goodbye"
TNG, 1x13 "Datalore"
TNG, 1x14 "Angel One"
TNG, 1x15 "11001001"
TNG, 1x16 "Too Short a Season"
TNG, 1x17 "When the Bough Breaks"
TNG, 1x18 "Home Soil"
TNG, 1x19 "Coming of Age"
TNG, 1x20 "Heart of Glory"
TNG, 1x21 "The Arsenal of Freedom"
TNG, 1x22 "Symbiosis"
TNG, 1x23 "Skin of Evil"
TNG, 1x24 "We'll Always Have Paris"
TNG, 1x25 "Conspiracy"
TNG, 1x26 "The Neutral Zone"
He was regularly assigned to away teams (or “landing parties,” as they were often called in season one):
TNG, 1x3 "The Naked Now"
TNG, 1x5 "The Last Outpost"
TNG, 1x9 "The Battle"
TNG, 1x13 "Datalore"
TNG, 1x16 "Too Short a Season"
TNG, 1x20 "Heart of Glory"
TNG, 1x23 "Skin of Evil"
On a couple occasions he actually took command of the ship.
TNG, 1x14 "Angel One"
TNG, 1x21 "The Arsenal of Freedom"
The second time, he led the Enterprise B-team in a crisis, helped himself to the captain’s ready room, separated the ship, and saved the day!
TNG, 1x21 “The Arsenal of Freedom"
Unsurprisingly in retrospect, he also worked in engineering sometimes, too.
TNG, 1x5 "The Last Outpost"
TNG, 1x19 "Coming of Age"
Considering how versatile a young officer he apparently was, it’s no wonder he landed a job on Starfleet’s newly-christened flagship, then went from junior lieutenant to lieutenant commander and chief engineer his first two years there!
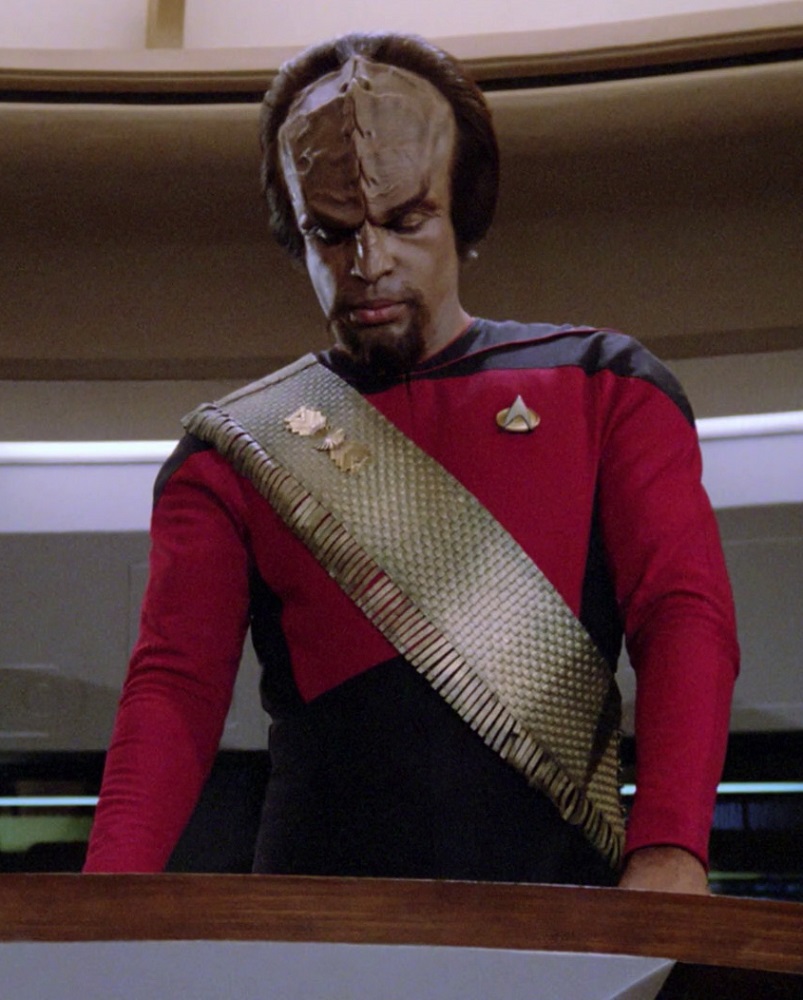
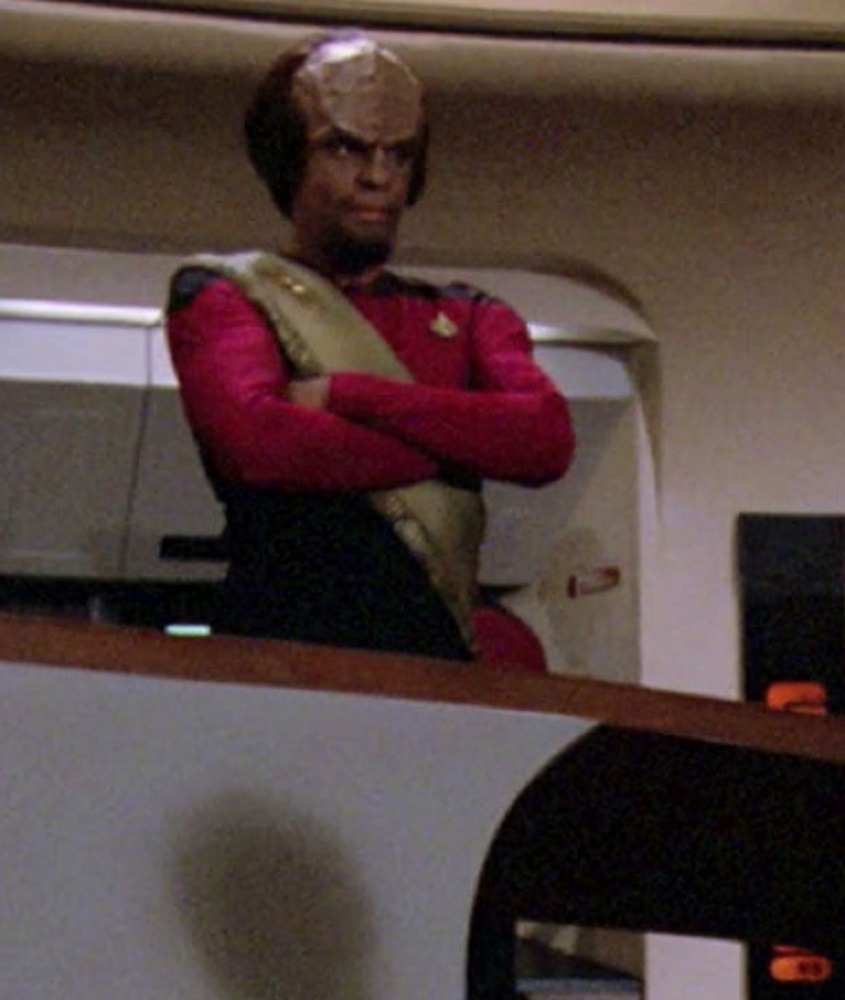
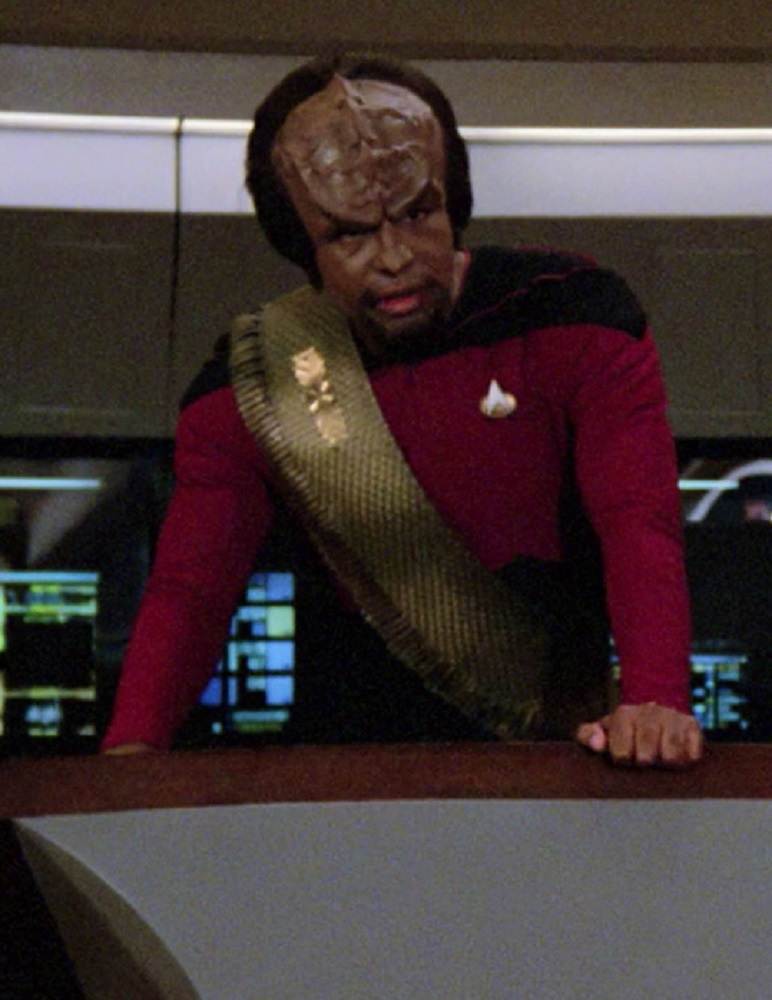
Worf’s position aboard the Enterprise was even more ambiguous during the first season.
Whereas Geordi usually flew the ship, Worf mostly just hung out at the back of the bridge. Perhaps we can assume he had an actual assigned station back there, at least sometimes?
TNG, 1x1 "Encounter at Farpoint"
TNG, 1x5 "The Last Outpost"
TNG, 1x6 "Where No One Has Gone Before"
TNG, 1x7 "Lonely Among Us"
TNG, 1x8 "Justice"
TNG, 1x10 "Hide and Q"
TNG, 1x16 "Too Short a Season"
TNG, 1x17 "When the Bough Breaks"
TNG, 1x18 "Home Soil"
TNG, 1x20 "Heart of Glory"
He seemed to have a part-time job as Tasha Yar’s sidekick.
TNG, 1x3 "The Naked Now"
TNG, 1x5 "The Last Outpost"
TNG, 1x8 "Justice"
TNG, 1x10 "Hide and Q"
TNG, 1x13 "Datalore"
TNG, 1x18 "Home Soil"
TNG, 1x21 "The Arsenal of Freedom"
TNG, 1x22 "Symbiosis"
TNG, 1x23 "Skin of Evil"
The writers/producers remembered this for the final episode, too.
TNG, 7x25 “All Good Things …”
… Like Geordi, sometimes Worf flew the ship …
TNG, 1x1 “Encounter at Farpoint”
TNG, 1x5 “The Last Outpost”
TNG, 1x7 “Lonely Among Us”
TNG, 1x12 "The Big Goodbye"
… and sometimes he filled in at the ops station.
TNG, 1x1 "Encounter at Farpoint"
TNG, 1x3 "The Naked Now"
(I’m sure none of this had anything to do with Michael Dorn being a last-minute addition to the cast …)
He also went on away teams (“landing parties”).
TNG, 1x5 “The Last Outpost”
TNG, 1x8 "Justice"
TNG, 1x9 "The Battle"
TNG, 1x13 "Datalore"
TNG, 1x16 "Too Short a Season"
TNG, 1x26 "The Neutral Zone"
Sometimes he and Geordi both hung out on the back of the bridge together.
TNG, 1x18 "Home Soil"
They were apparently also responsible for performing sensor maintenance in this little room.
TNG, 1x7 “Lonely Among Us”
I guess they just pitched in wherever the senior officers and/or the writers felt they were needed at the time.
As with Geordi and engineering, unsurprising in retrospect was that Worf occasionally filled in at security/tactical, even before Tasha’s untimely death.
TNG, 1x21 "The Arsenal of Freedom"
TNG, 1x22 "Symbiosis"
And of course, he officially replaced her there afterward.
TNG, 1x24 "We'll Always Have Paris"
TNG, 1x26 "The Neutral Zone"
Redshirts!
Of course, if you’ve watched The Original Series, you’re probably familiar with “the curse of the redshirt.”
Although the red and gold division colors were swapped from TOS to TNG, the lingering effects of the aforementioned curse still loomed over the “redshirts” of the new era …
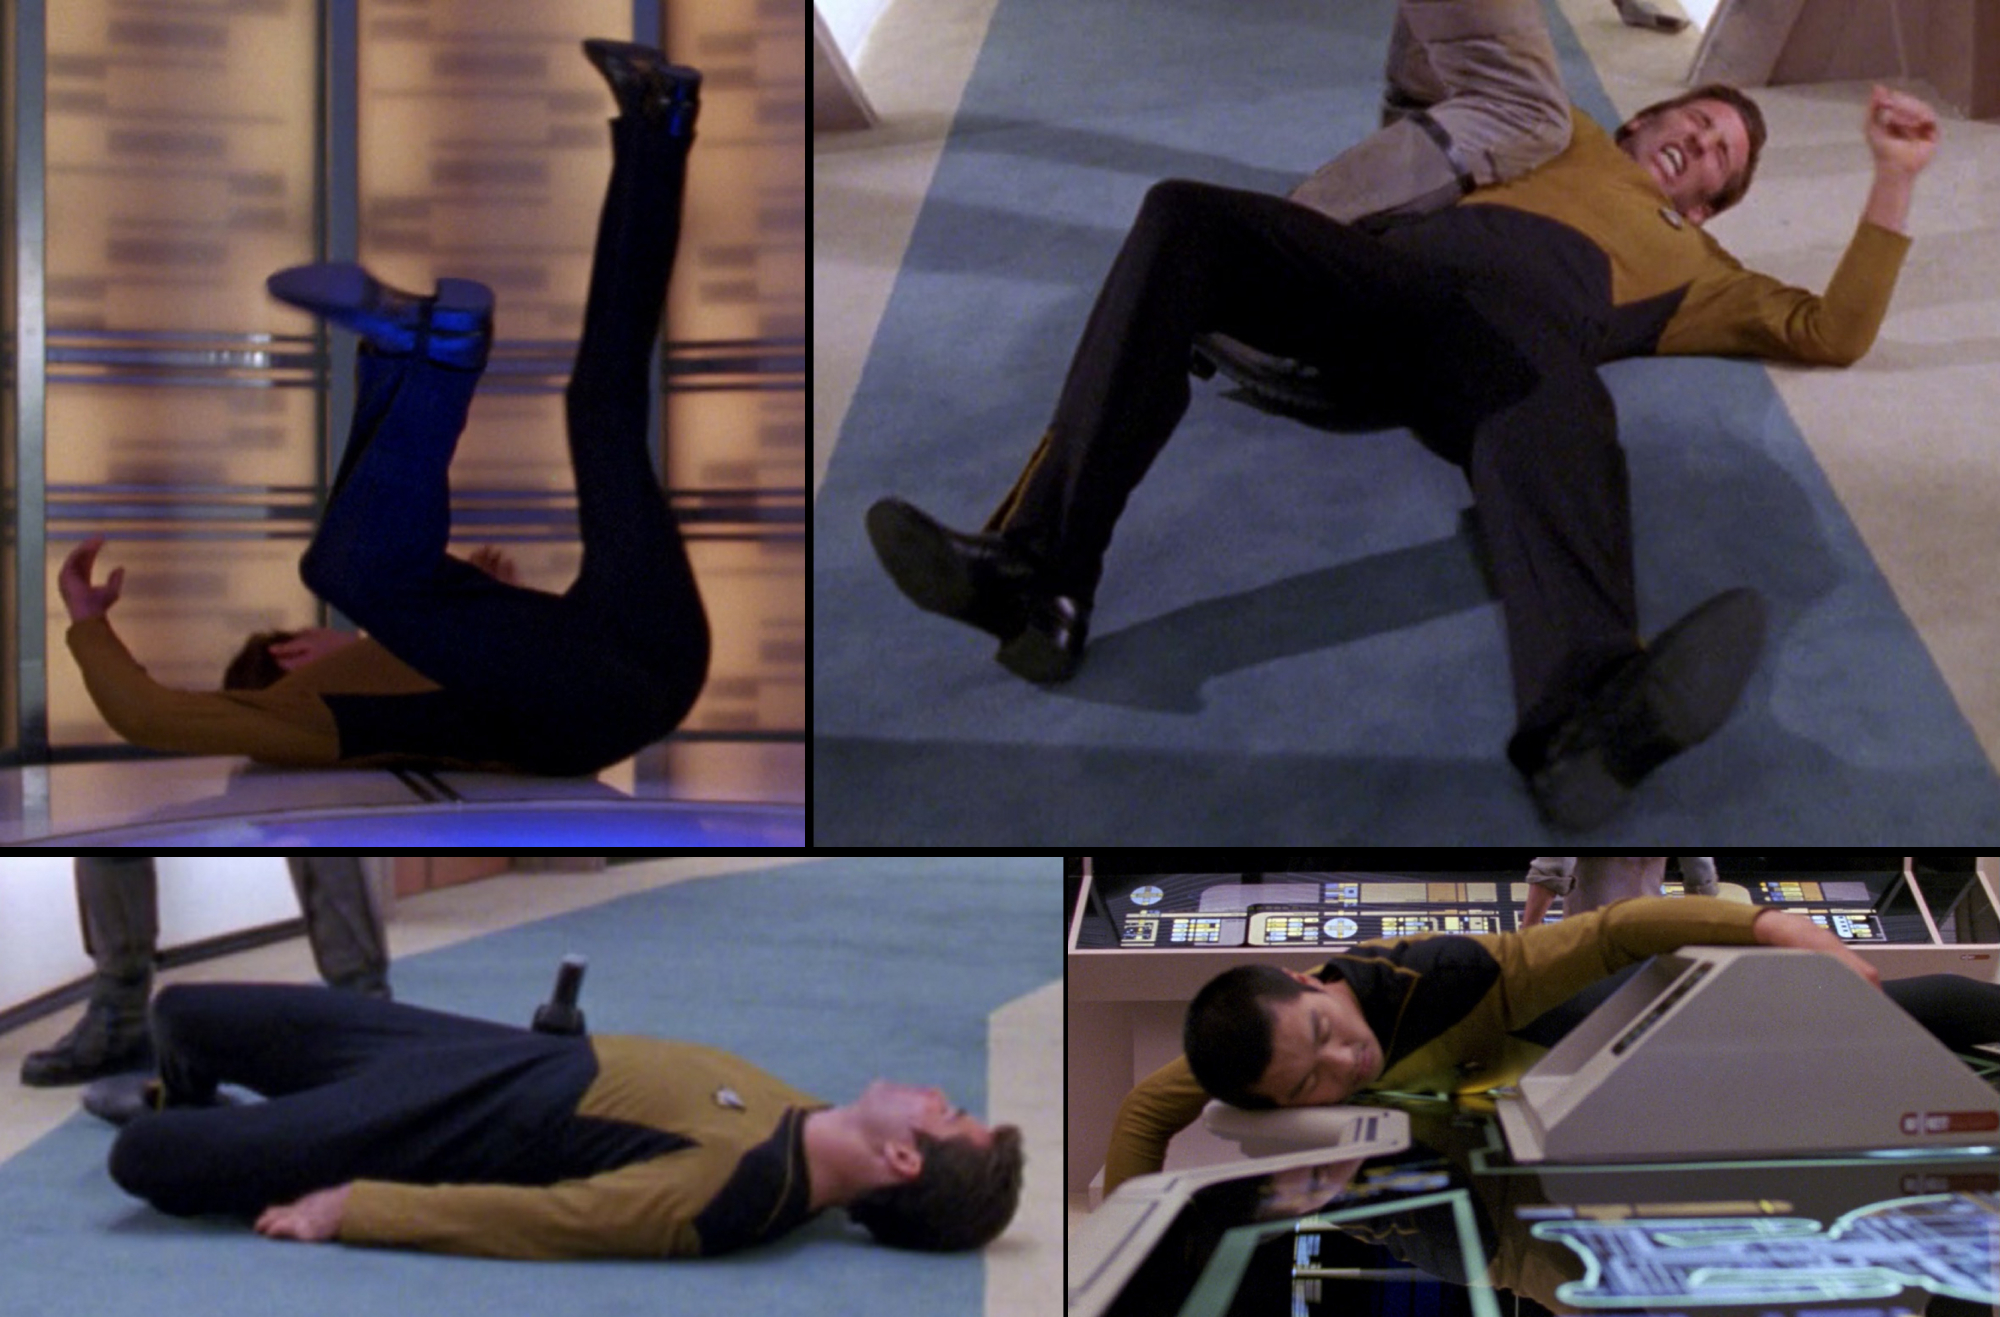
Main character “redshirts” seldom died (at least, not permanently – this is science fiction, after all); the worst a show lead might have to deal with was a debilitating headache.
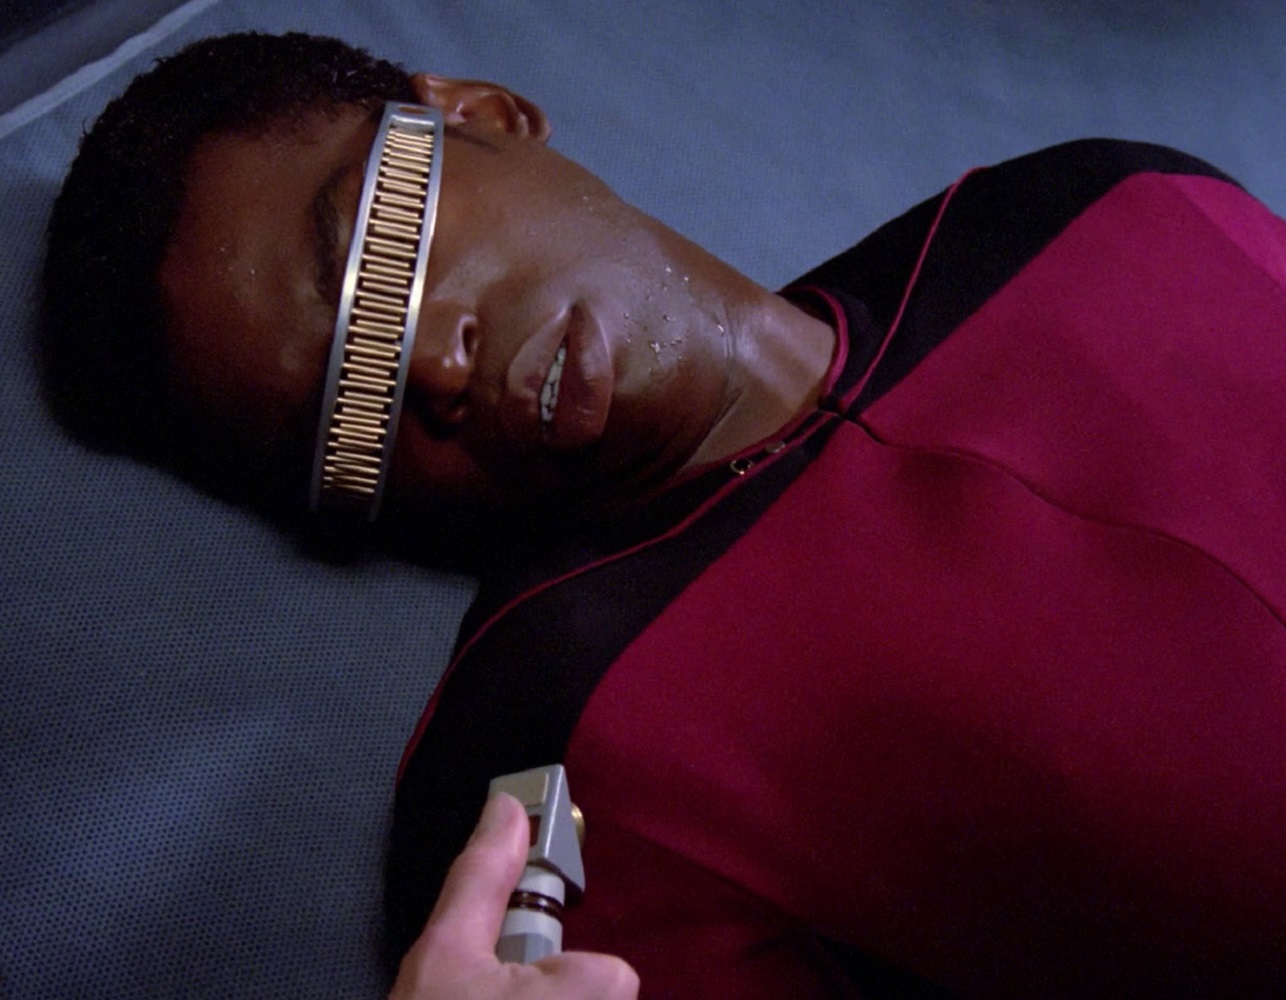
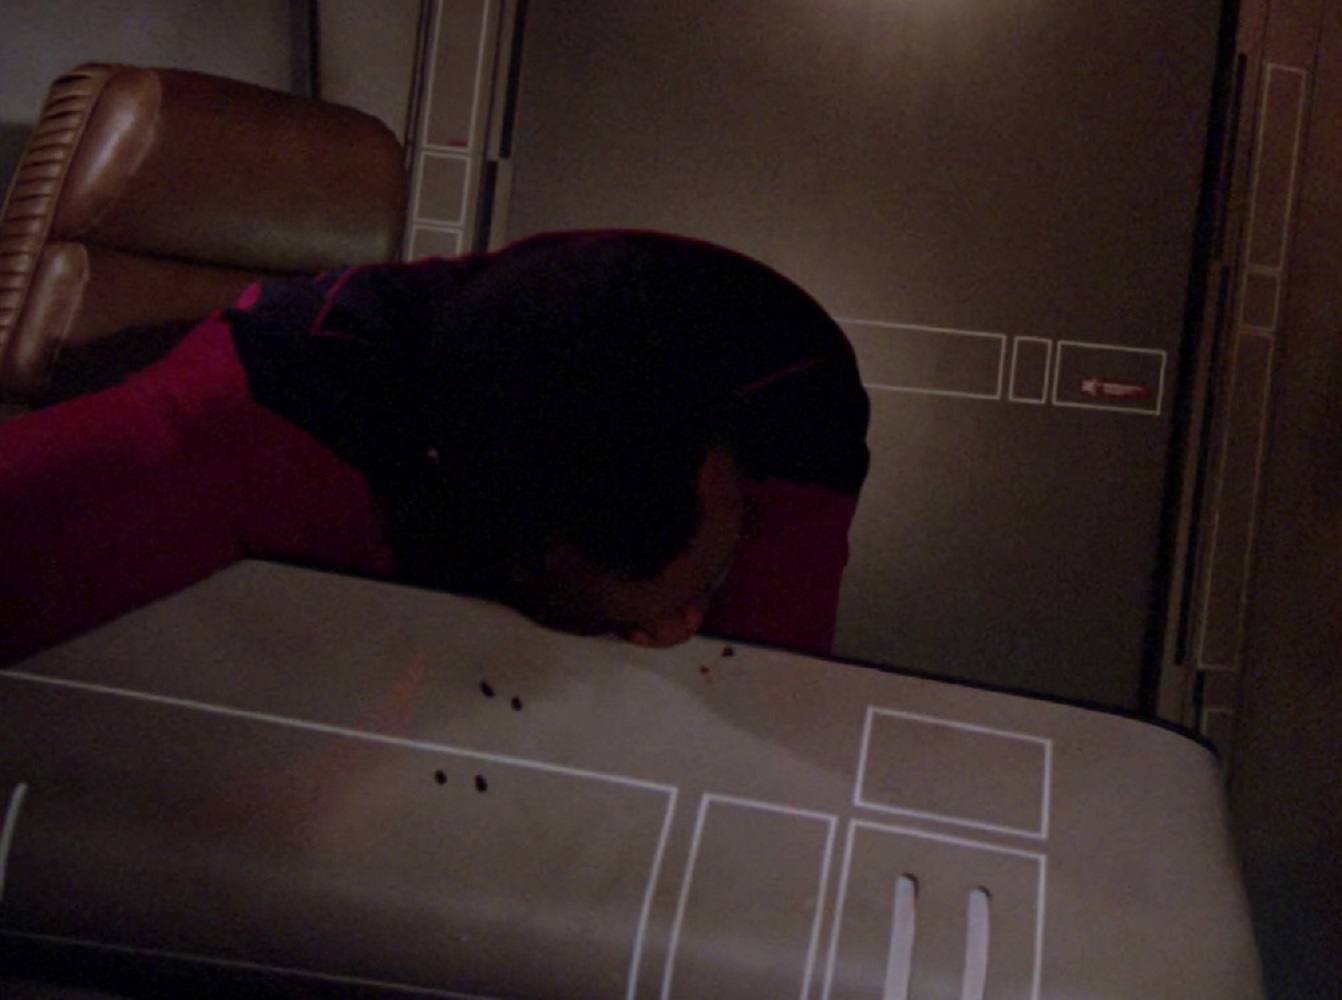
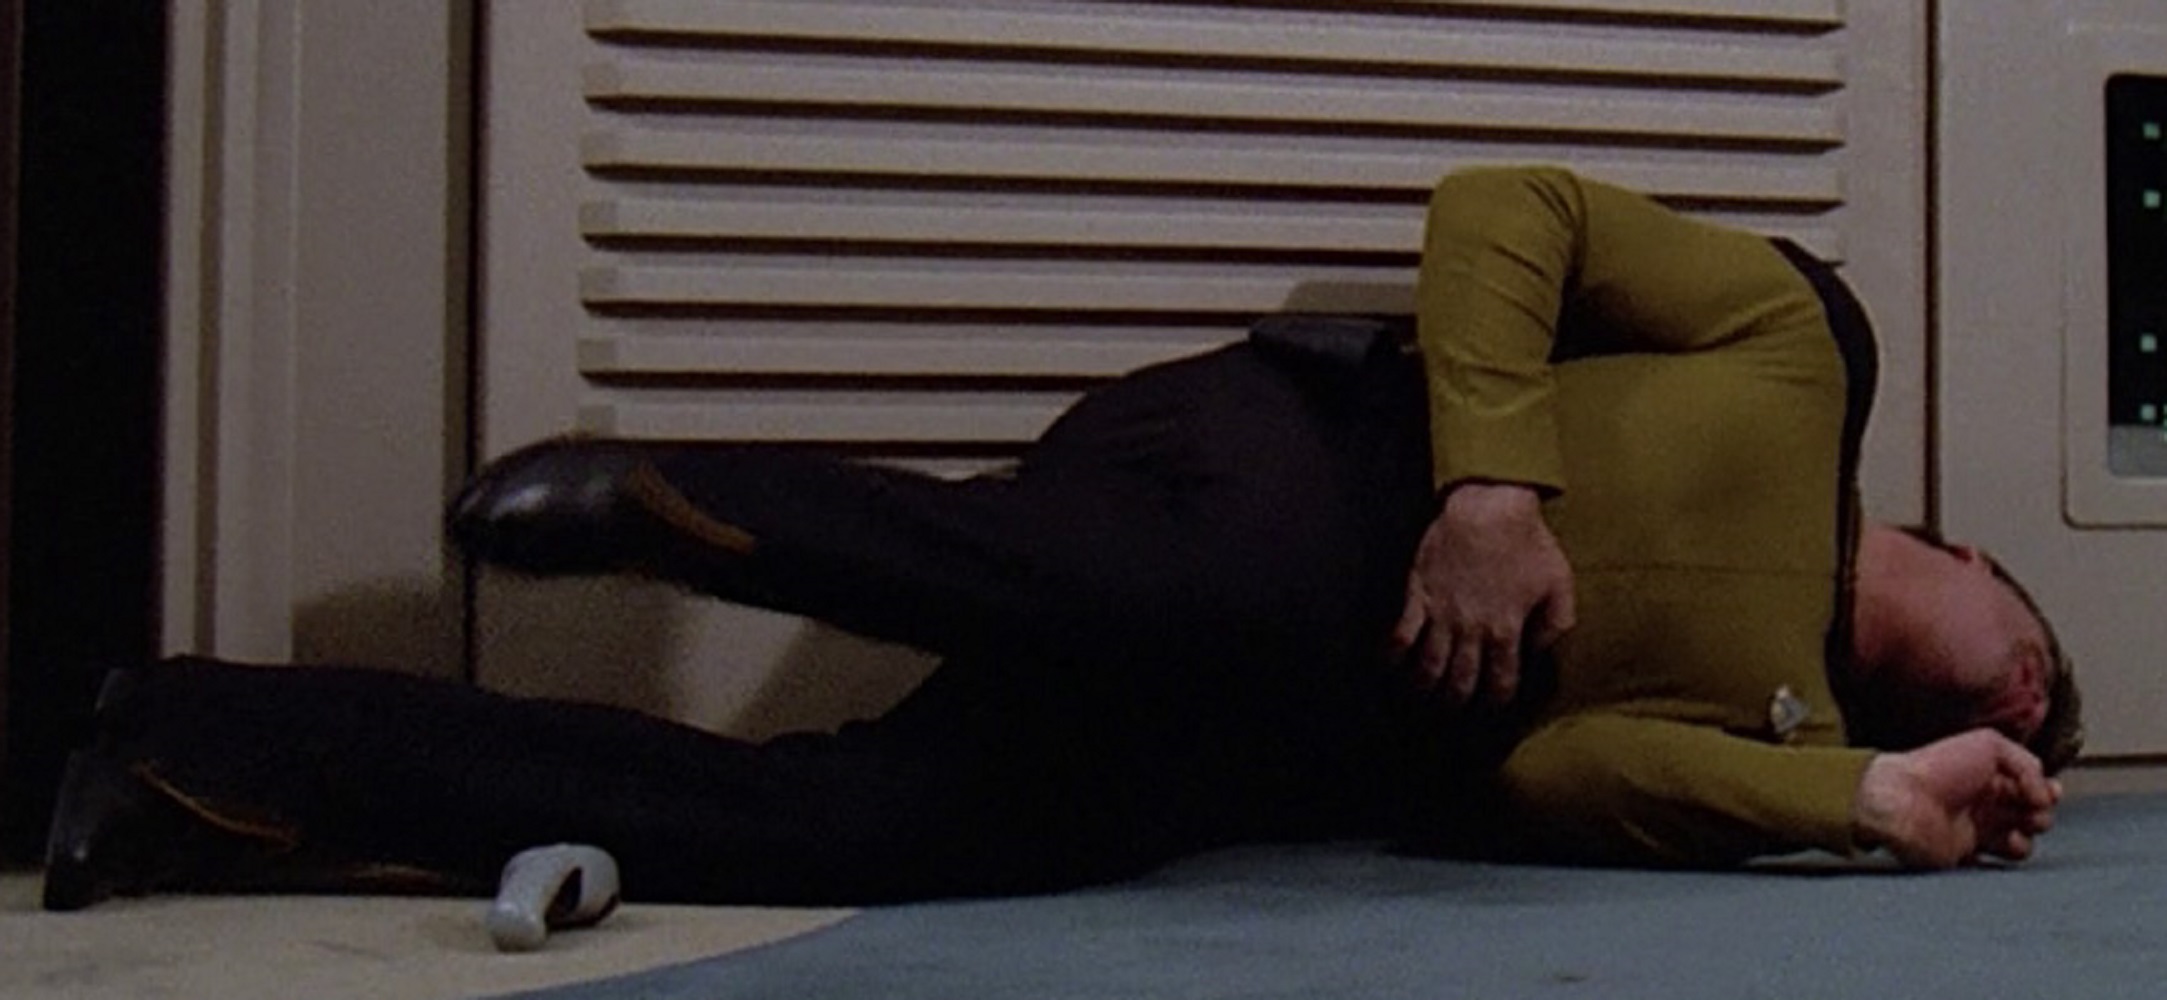
TNG, 1x9 “The Battle”
They might also get smacked in the face with an errant snowball, or a hot drink spilled on them – but nothing earth-shattering.
TNG, 1x14 "Angel One"
TNG, 2x16 "Q Who"
Worst-case-scenario was basically having to kill your own clone to escape a time loop, but otherwise surviving unscathed.
TNG, 2x13 “Time Squared”
That fourth rank pip must’ve provided considerable protection; the other main characters’ lives were fraught with far more distressing crises and near-death experiences.
They usually managed to walk away with a few scrapes and bruises, but it was seldom a minor ordeal.
TNG, 2x8 “A Matter of Honor”
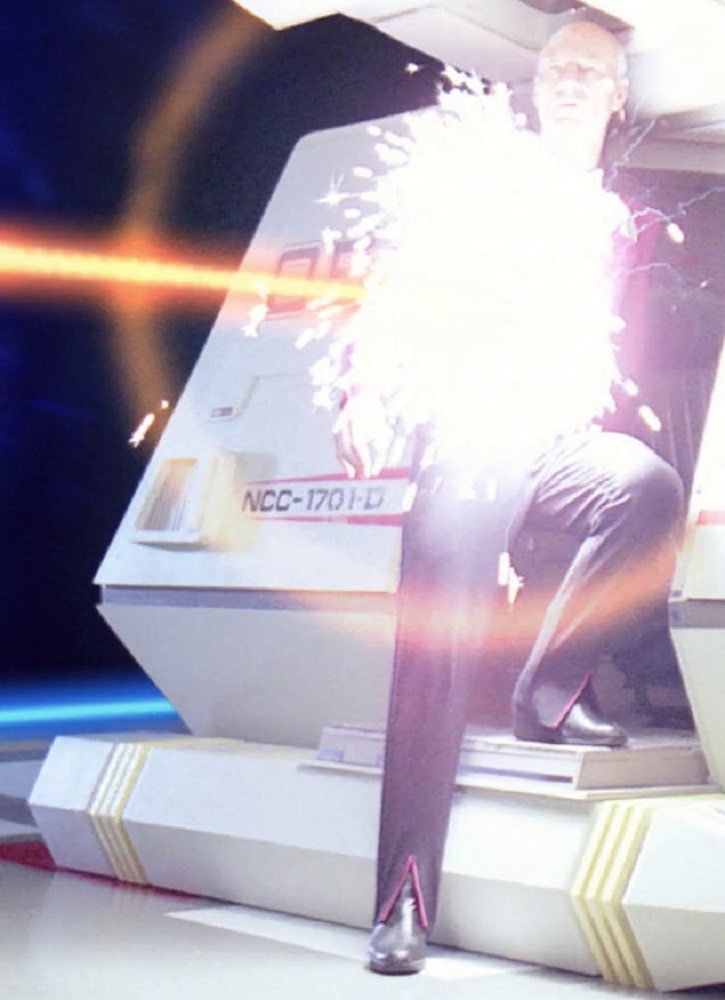
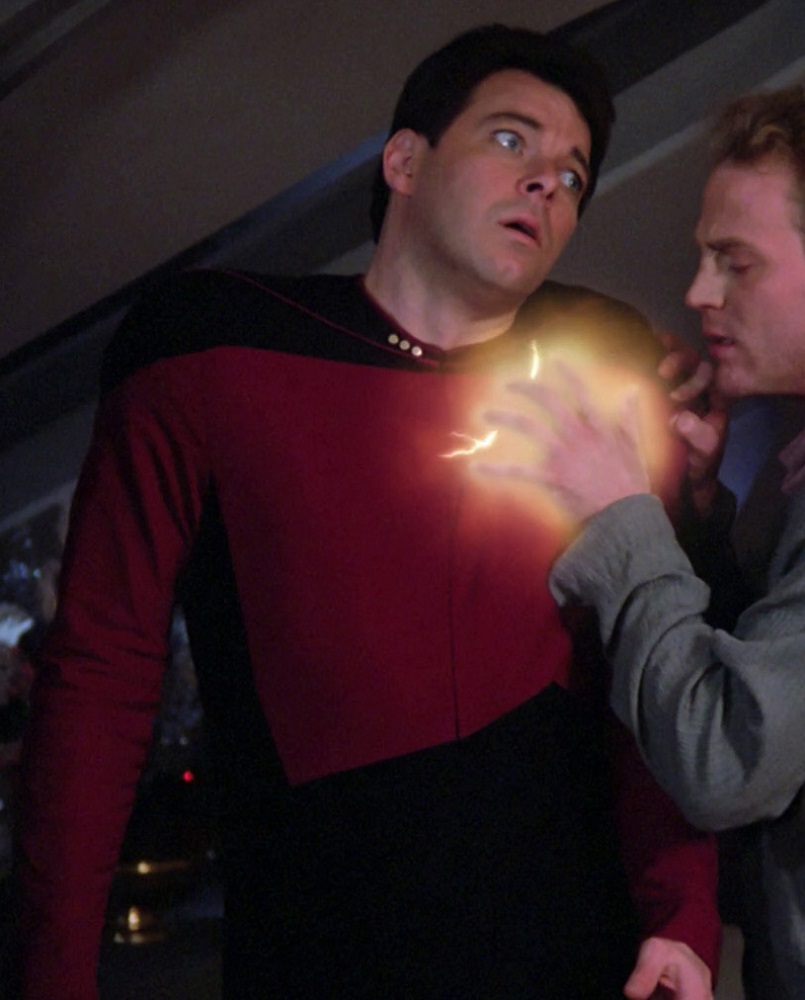
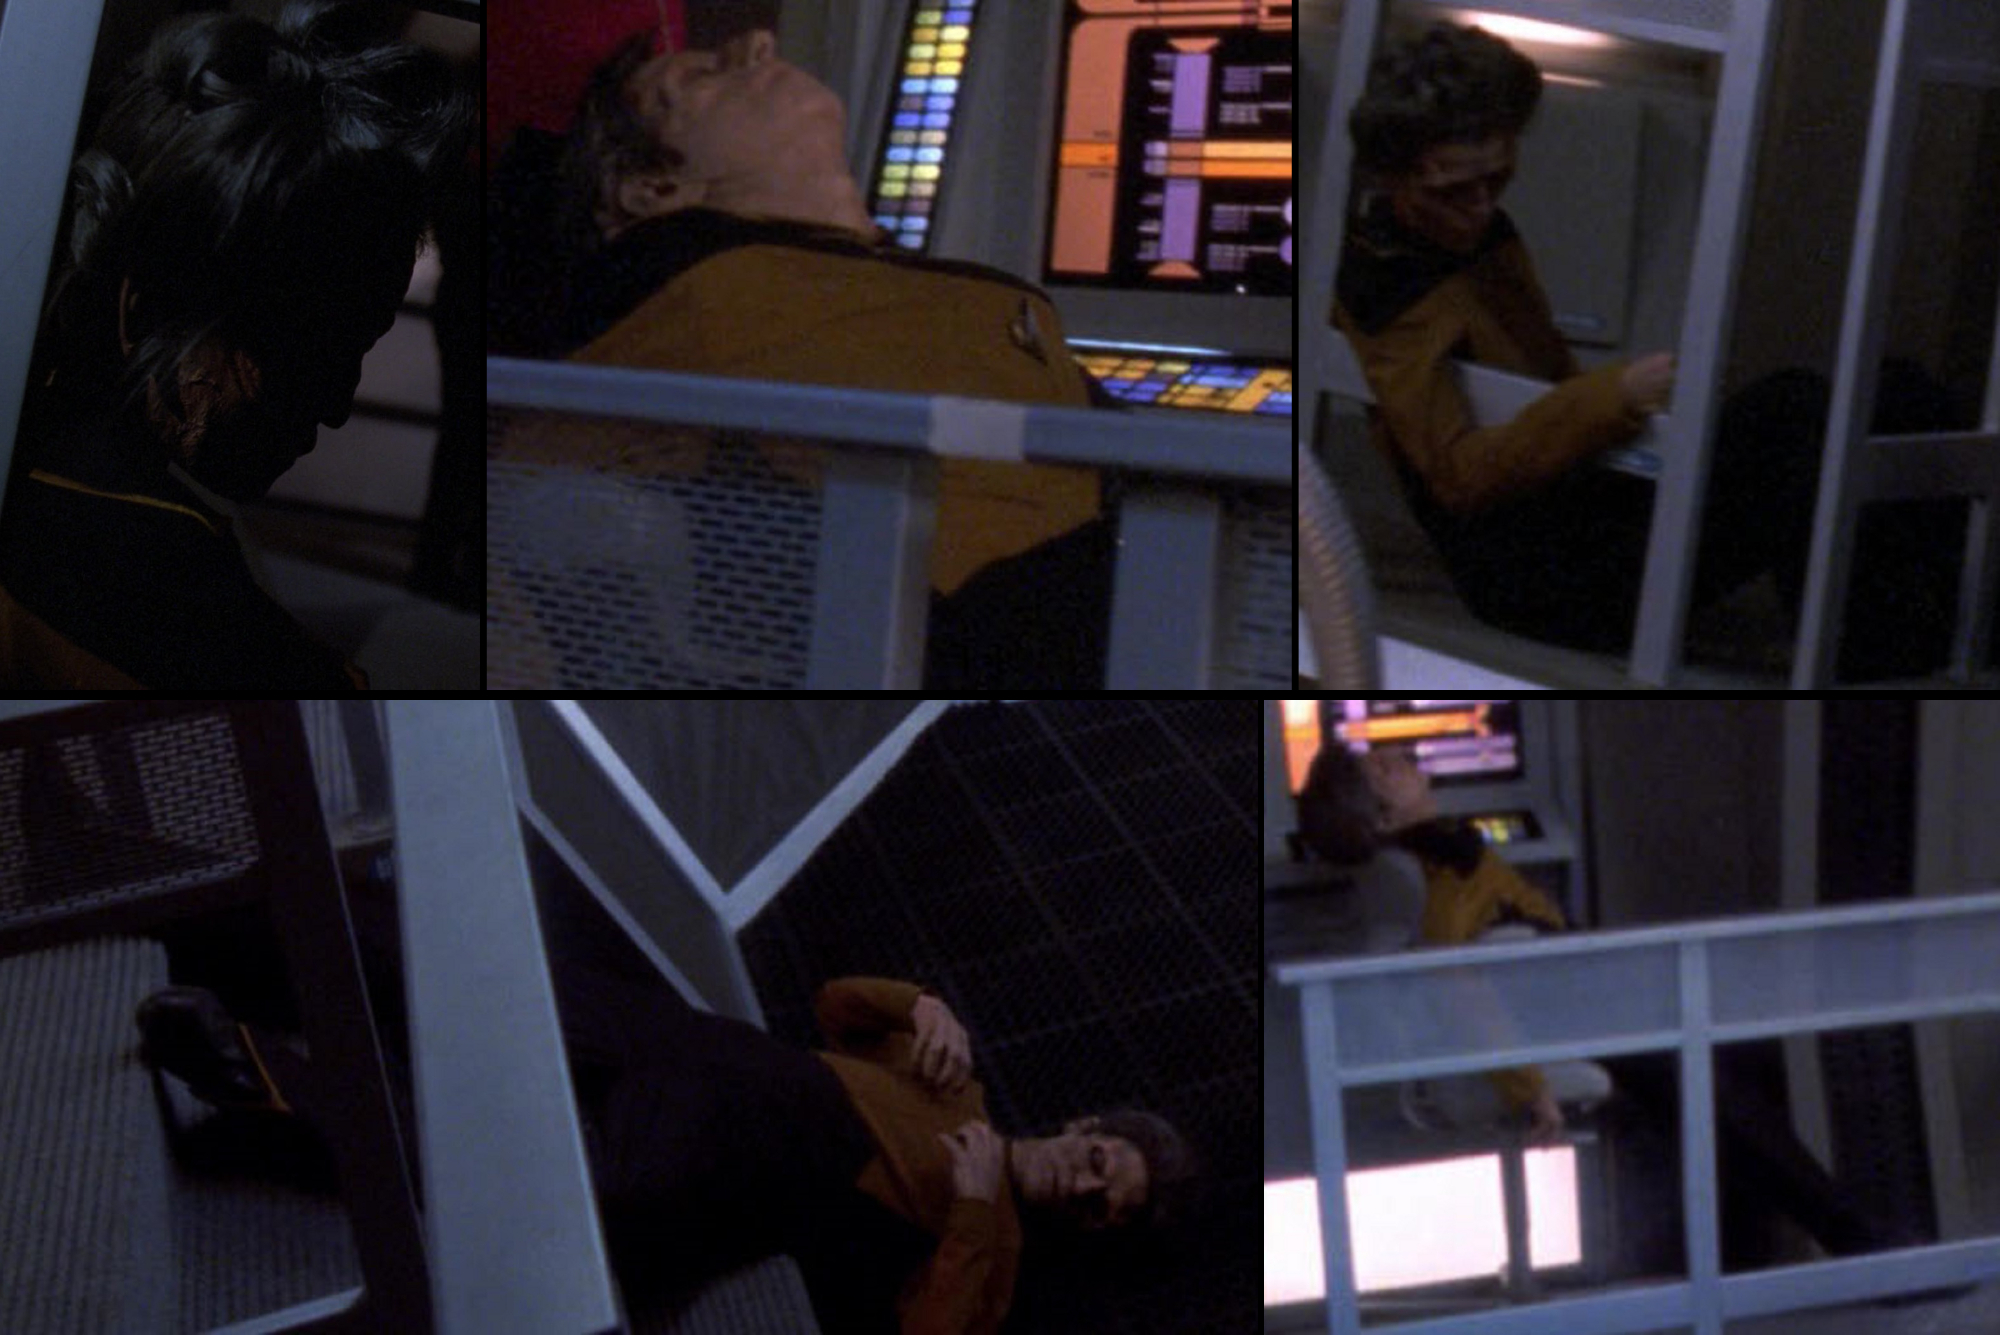
Even protected by three pips, Commander Riker was attacked, cocooned, held hostage, consumed by Armus, assaulted by a Starfleet imposter, and forced to relieve traumatic memories as his only chance at survival!
TNG, 1x7 "Lonely Among Us"
TNG, 1x21 "The Arsenal of Freedom"
TNG, 1x22 "Symbiosis"
TNG, 1x23 "Skin of Evil"
TNG, 1x25 "Conspiracy"
TNG, 2x22 "Shades of Gray"
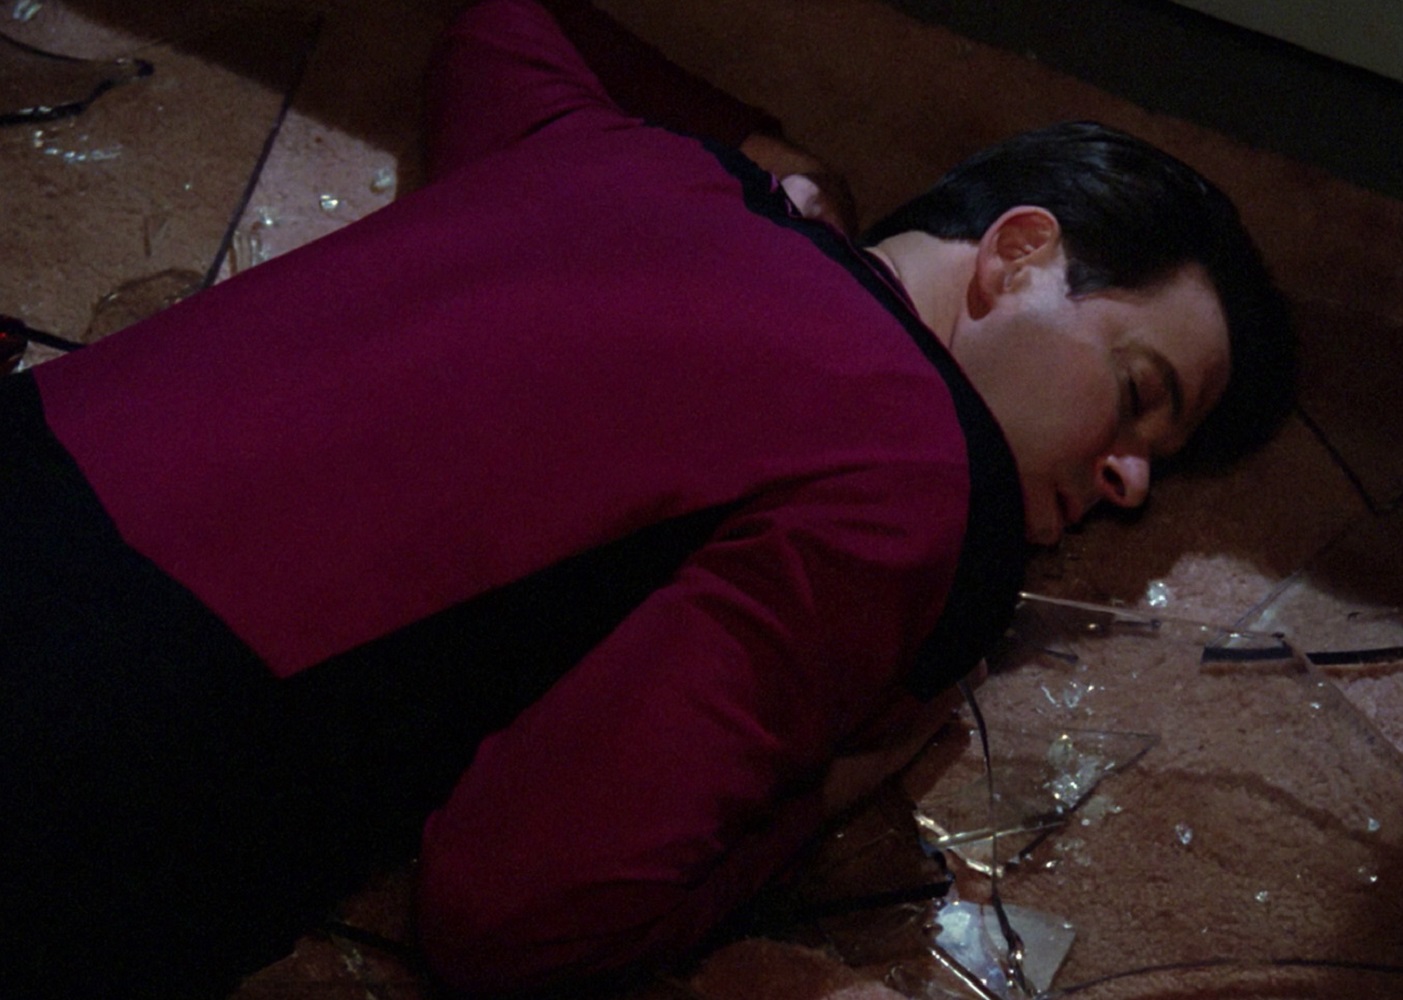
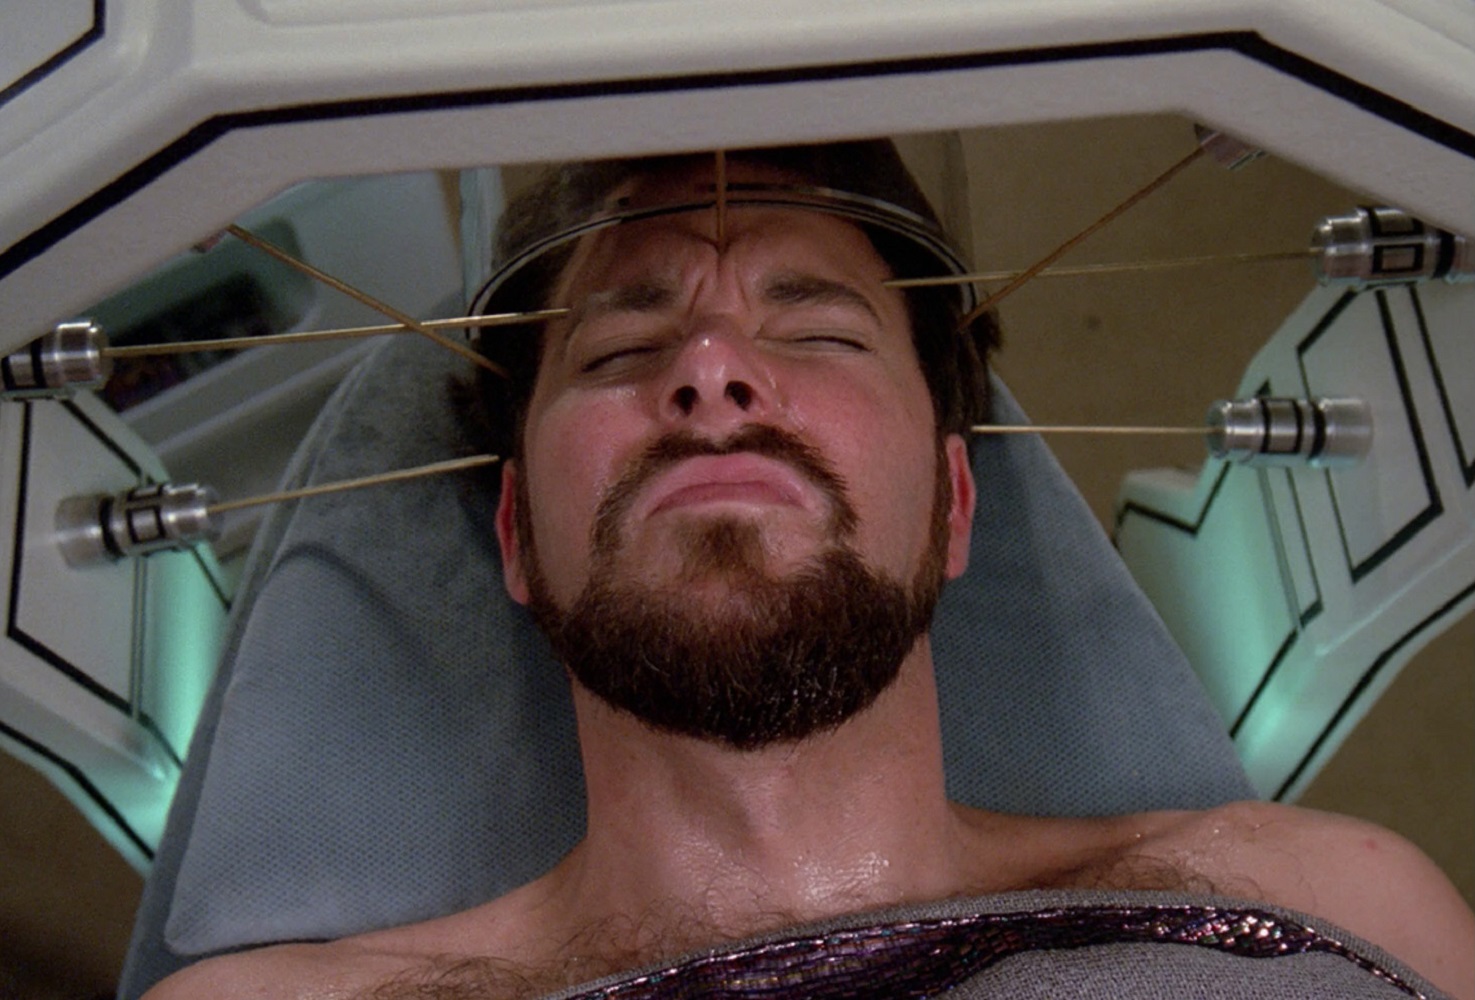
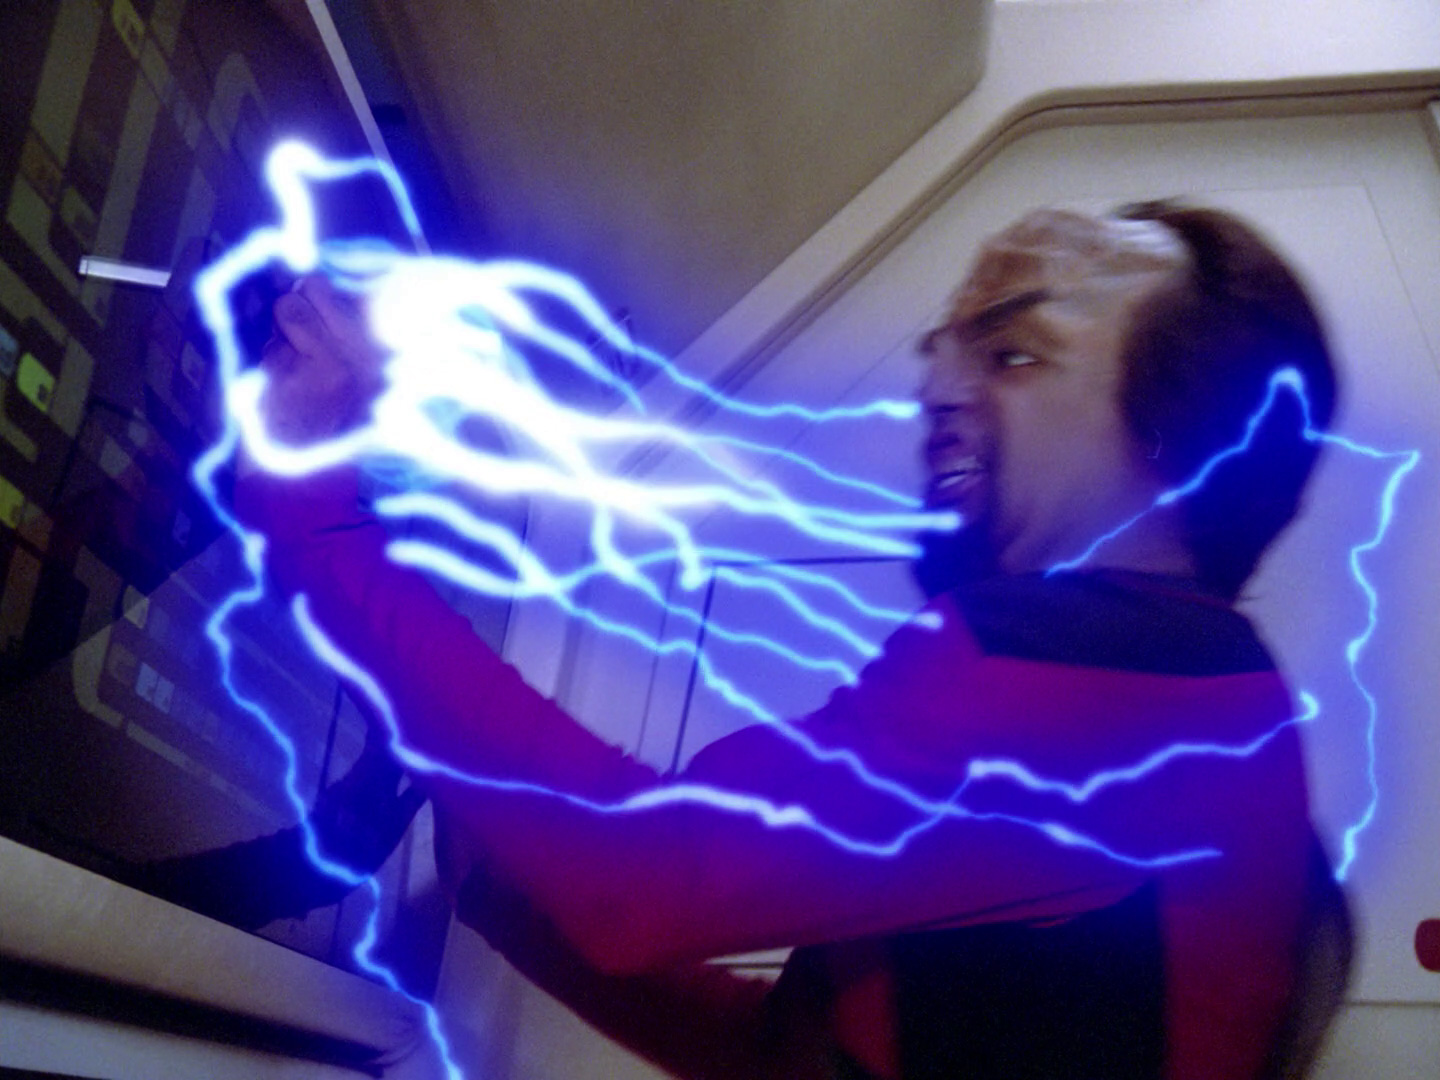
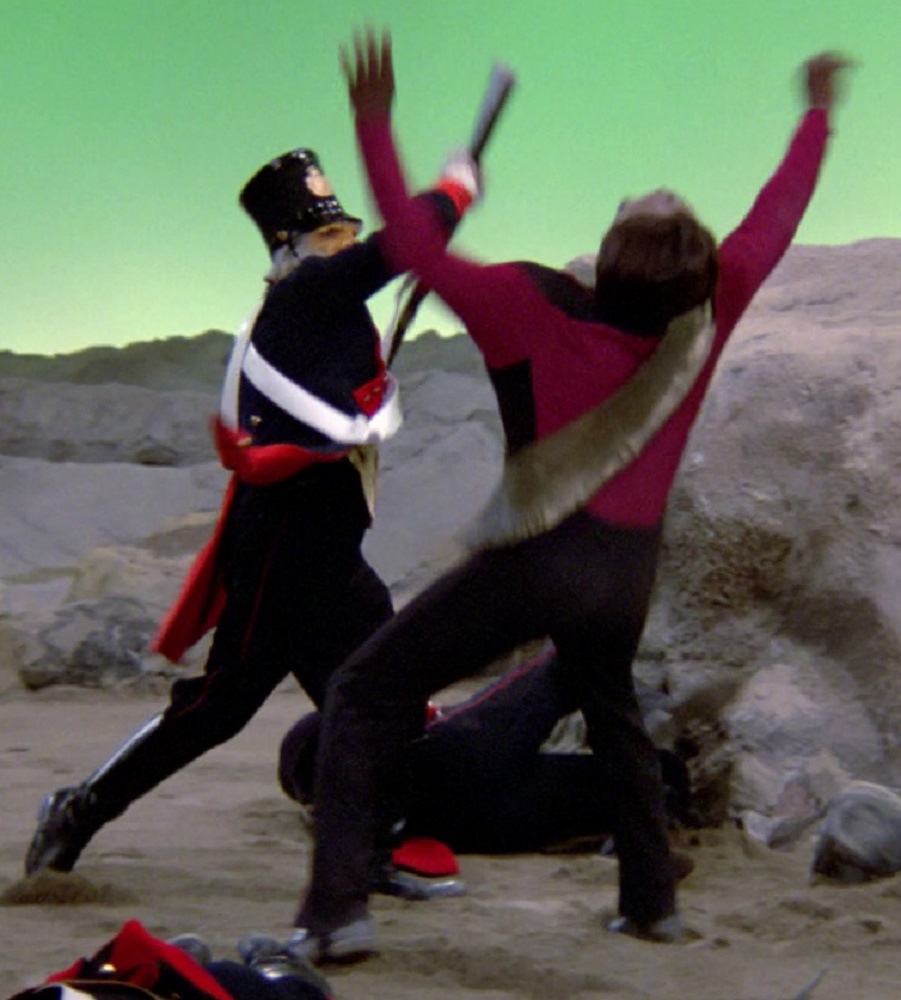
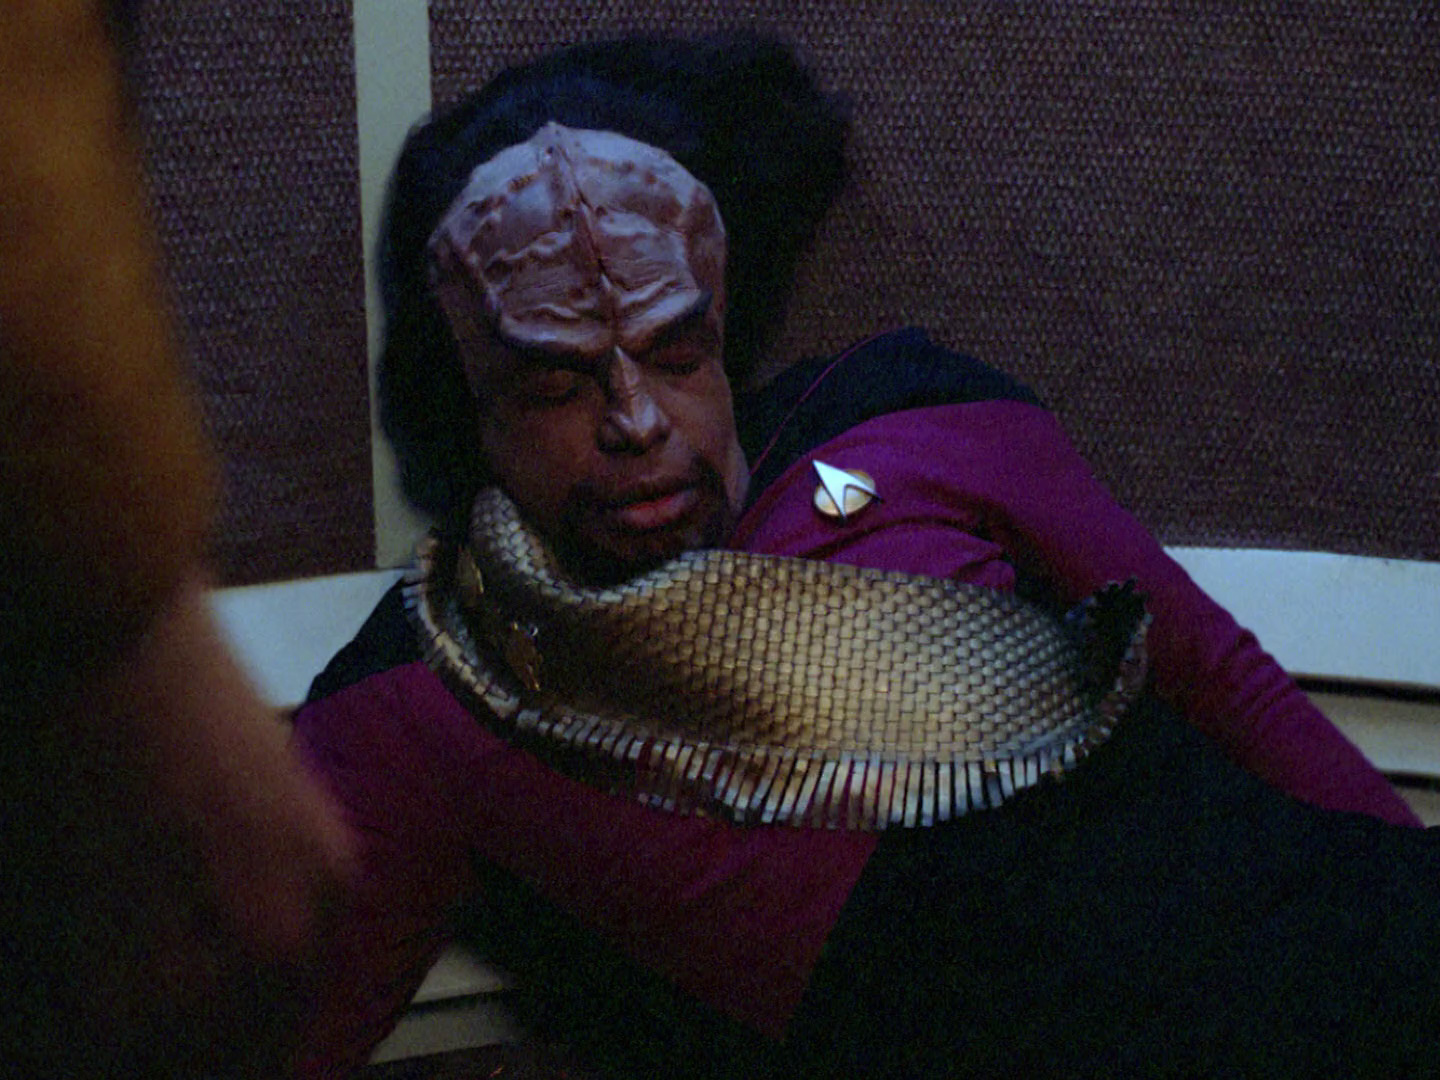
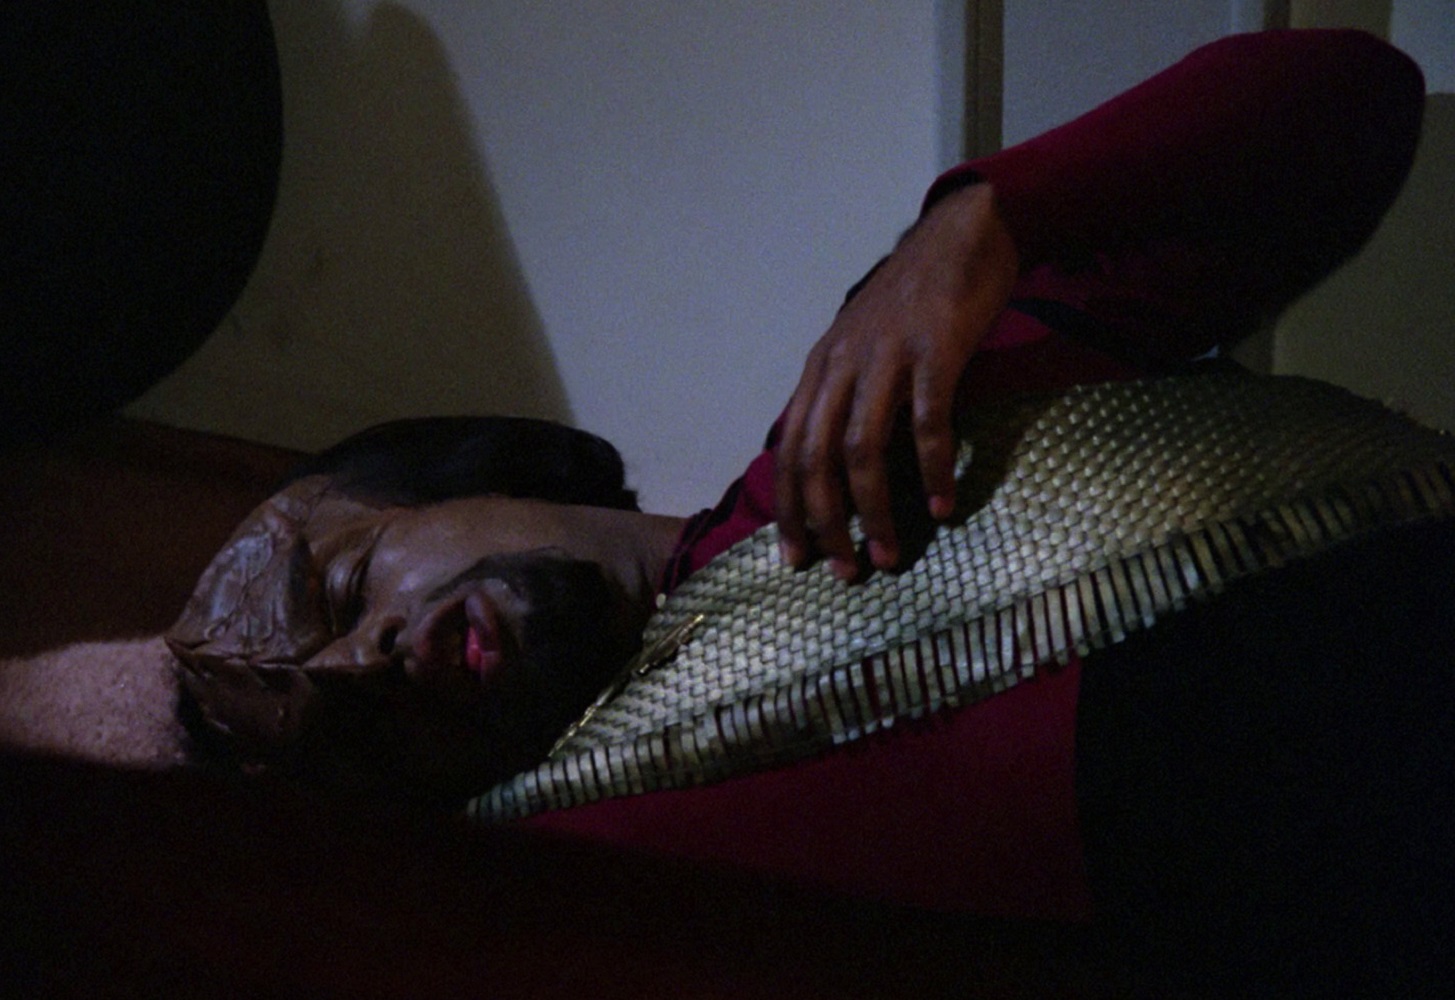
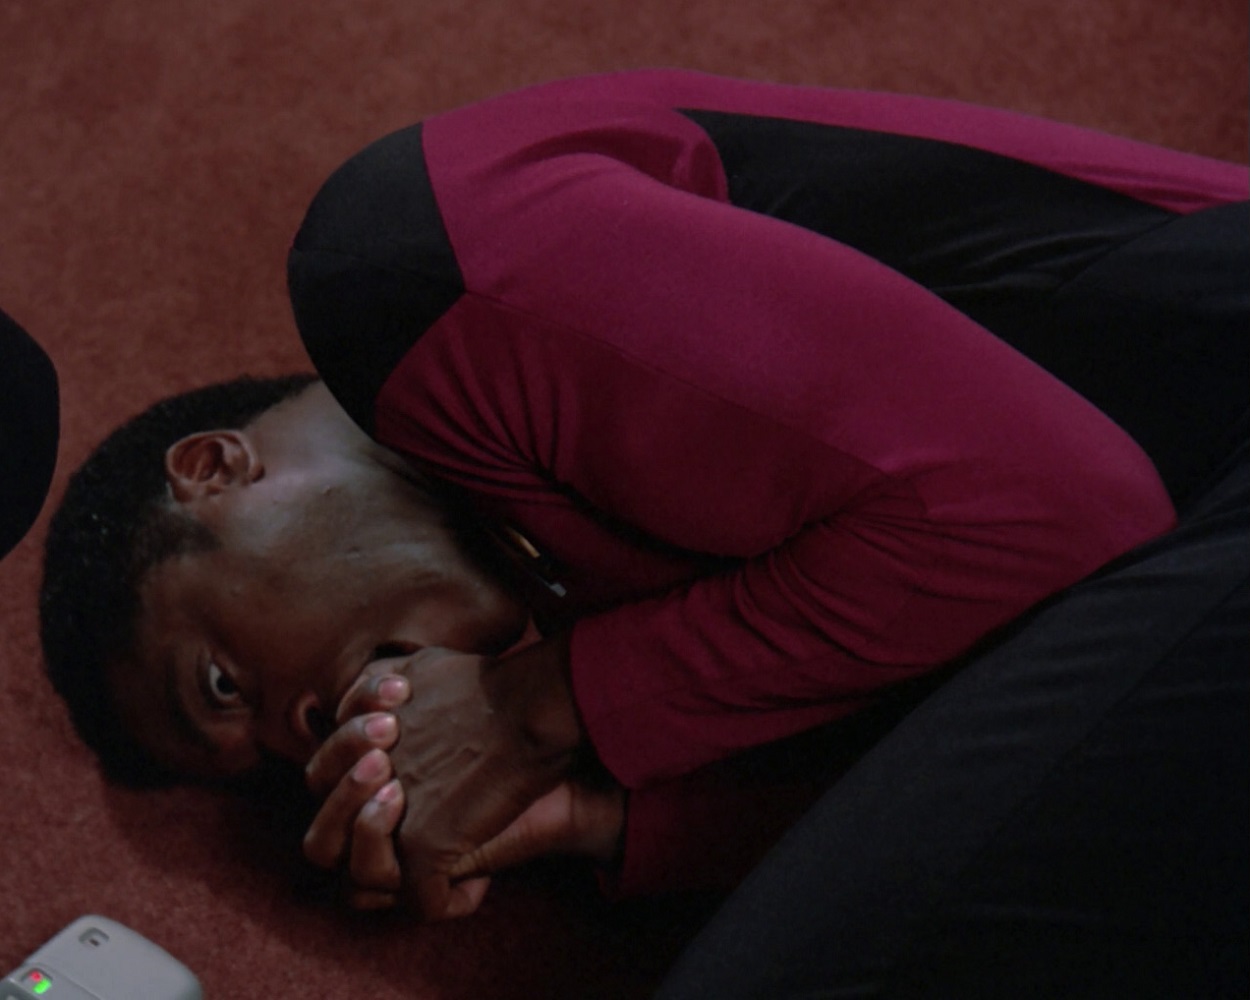
Lieutenant (junior-grade) Worf had a rough first season as a “redshirt” too getting zapped, assaulted both by Lore and a Starfleet imposter so badly he was literally knocked unconscious, and even dying once but brought back by the power of the Q.
TNG, 1x7 "Lonely Among Us"
TNG, 1x10 "Hide and Q"
TNG, 1x13 "Datalore"
TNG, 1x25 "Conspiracy"
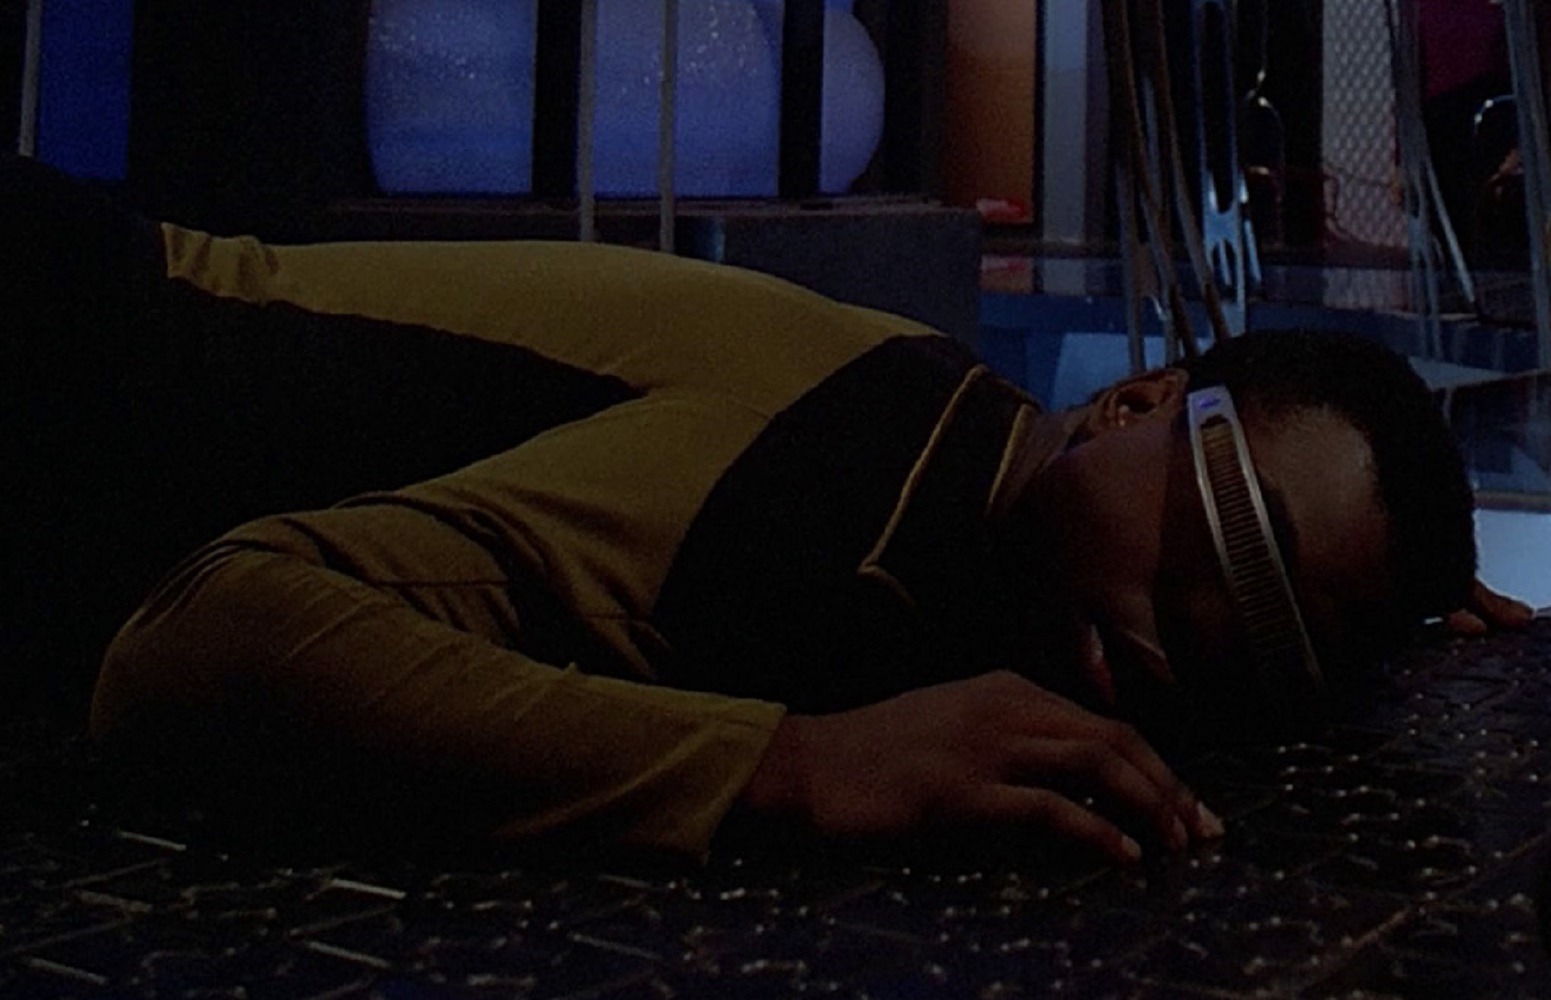
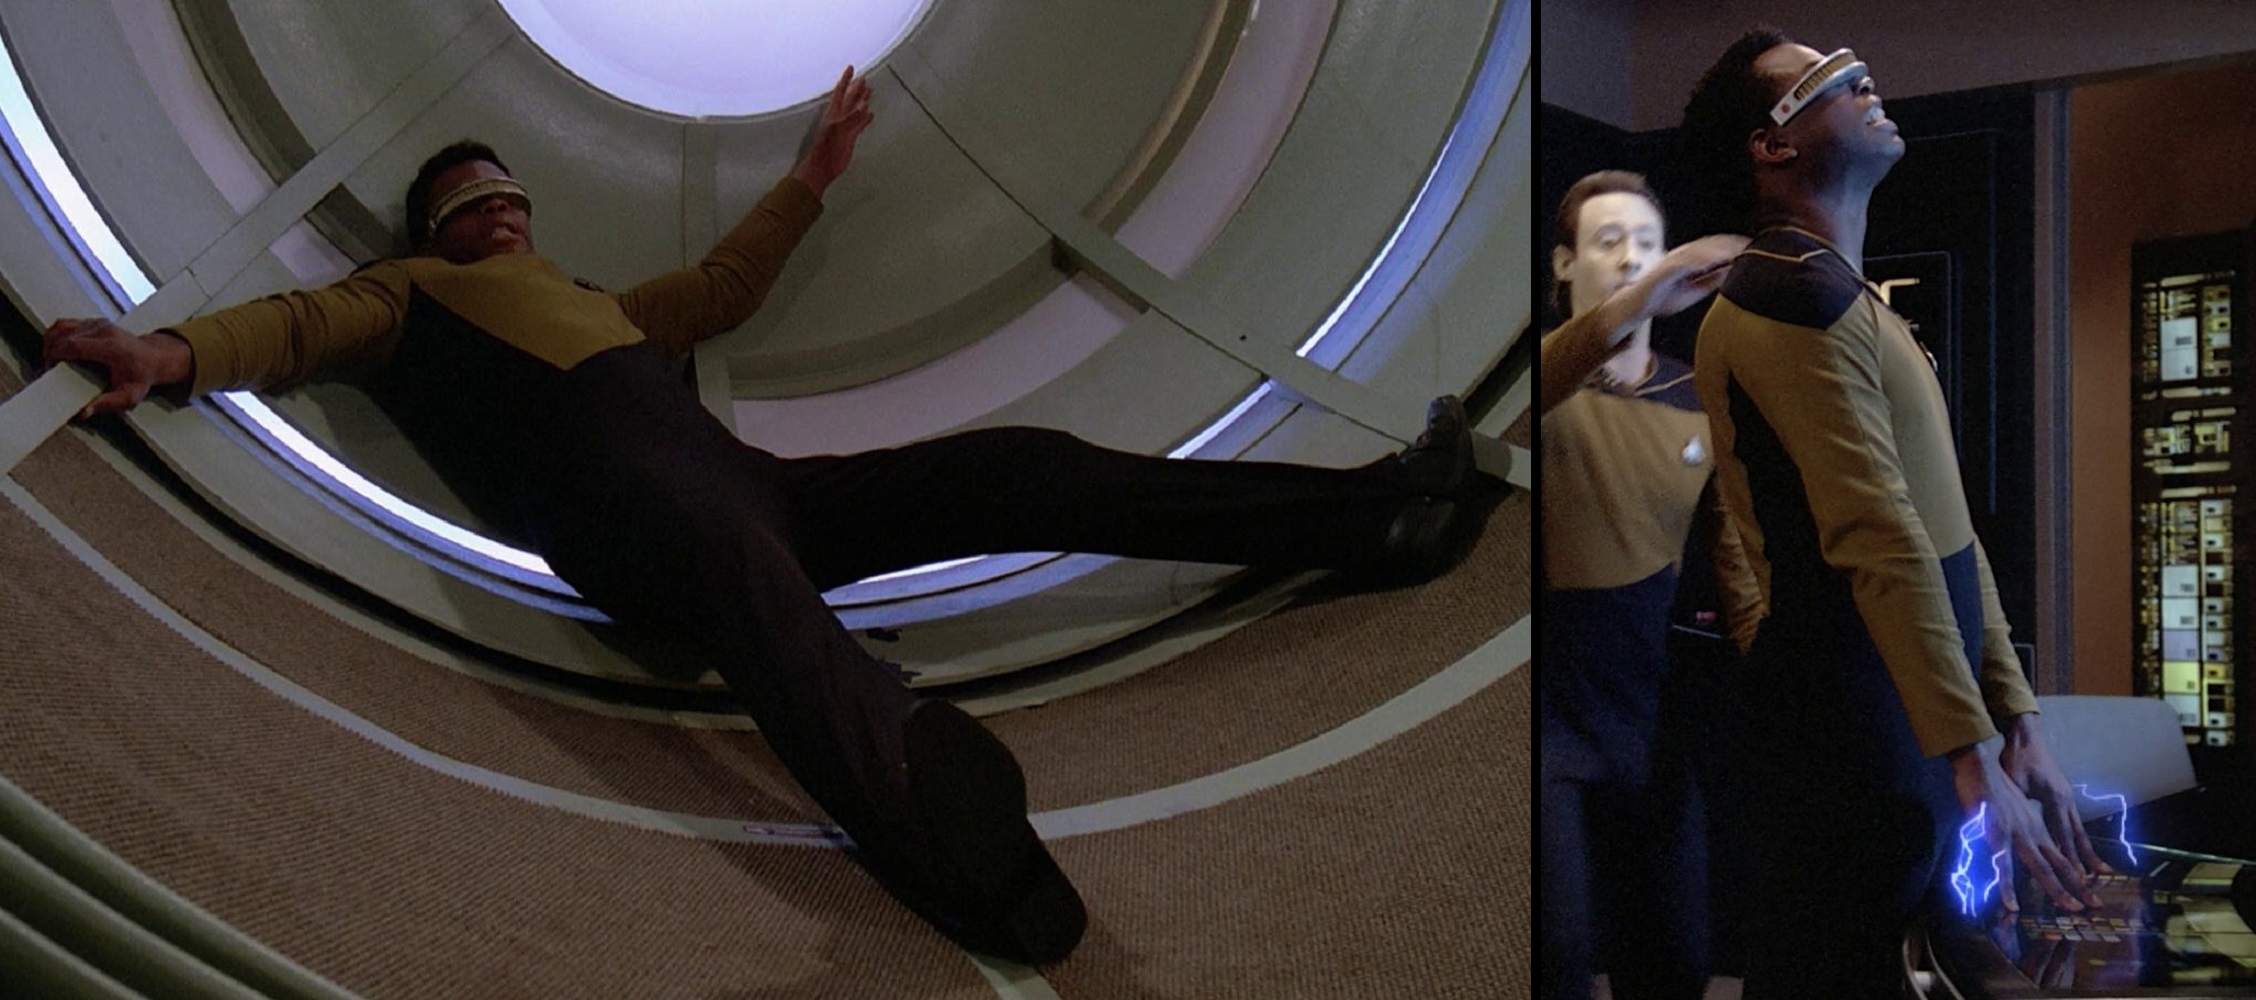
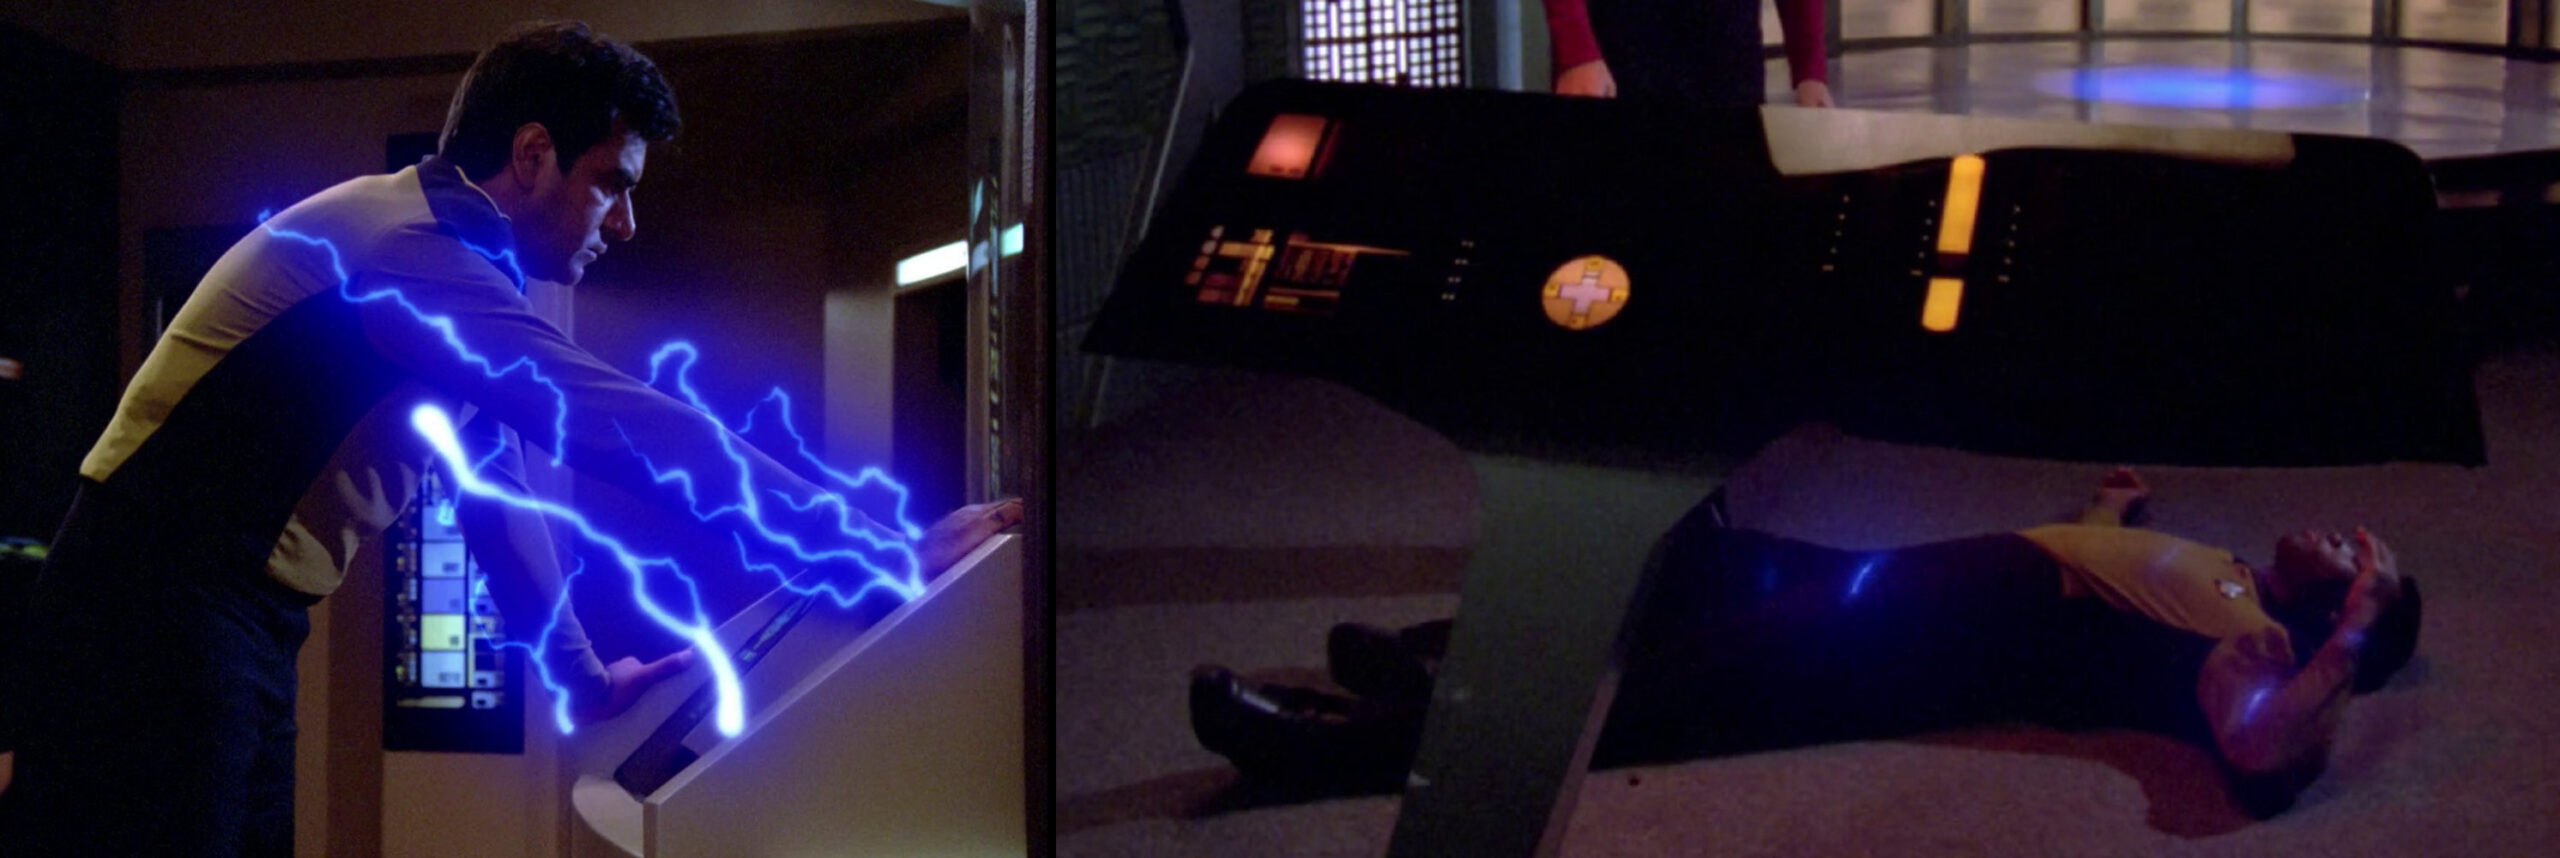
Geordi’s first season as a “redshirt” wasn’t as rough, but he still was the first to catch the Virus of Humiliation™, beamed down to an alien planet upside-down and subsequently shot, and also violently assaulted by Not Admiral Quinn.
TNG, 1x3 "The Naked Now"
TNG, 1x5 "The Last Outpost"
TNG, 1x25 "Conspiracy"
If being a “redshirt” was this hazardous to main characters, then obviously supporting characters and extras never really stood a much of chance.
Early in the pilot, Q showed up and immediately froze the first lowest-ranking “redshirt” he saw.
TNG, 1x1 “Encounter at Farpoint”
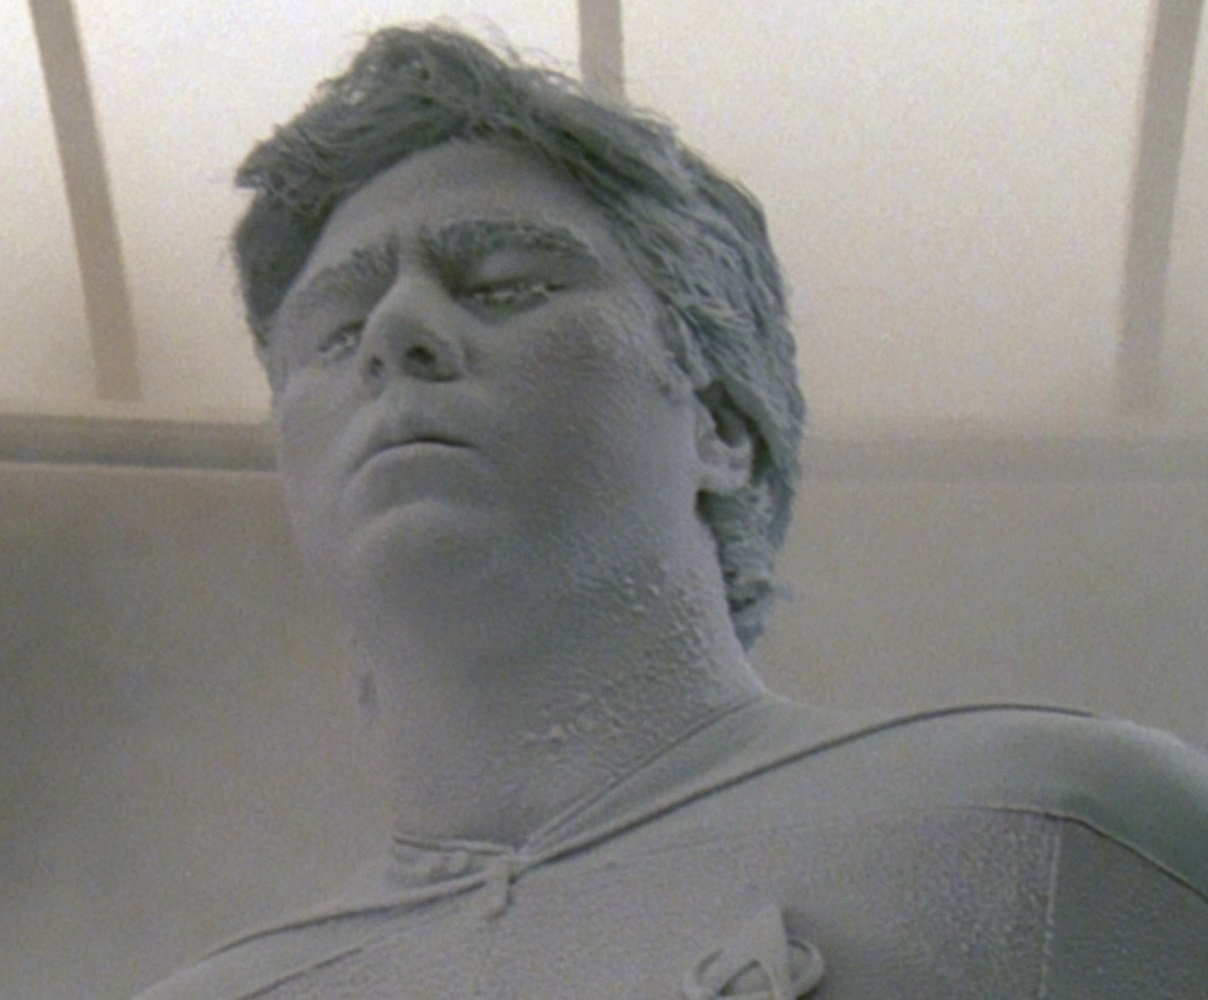
This pilot was banged up pretty badly when the shuttle crashed, even though Counselor Troi was relatively unharmed.
TNG, 1x23 “Skin of Evil”
Naturally, the Mother Alien Parasite™ chose a “redshirt” as its host to breed dozens of other parasites … only for them all to collectively die horribly.
TNG, 1x25 "Conspiracy"
And it should come as no surprise that Nagillum chose a nameless “redshirt” as the first test subject to study death (while Wesley had presumably taken a bathroom break).
TNG, 2x2 “Where Silence Has Lease”
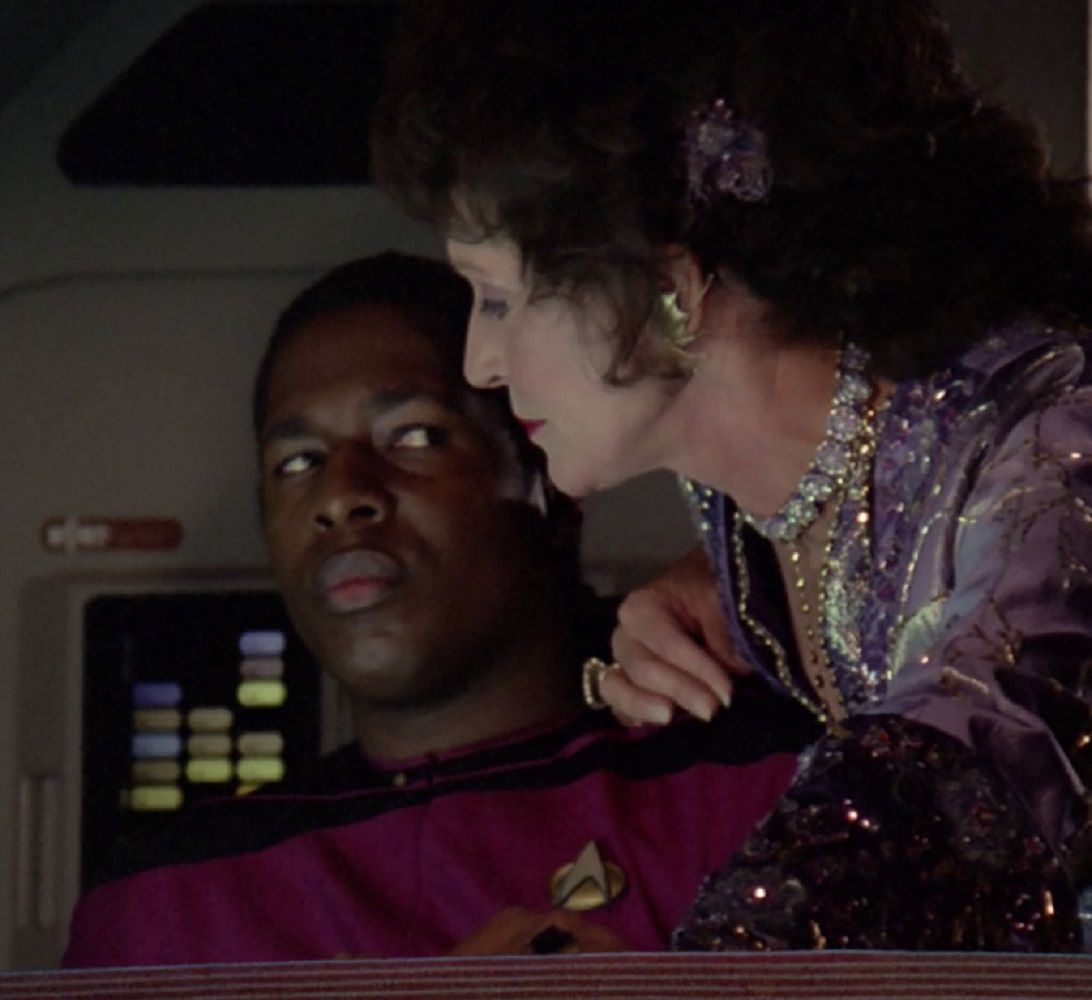
Not to mention it was a “redshirt” who was forced to endure a particularly cruel torment: an entire shuttle flight with Lwaxana Troi. (May God have mercy on his soul.)
TNG, 2x19 “Manhunt”
Unfortunately for the rest of Starfleet, the four rank pips only provided effective protection in combination with “Main Character Powers”; nearly every other Starfleet captain we saw in the series either died horribly, or was missing in action and presumed dead.
TNG, 1x21 "The Arsenal of Freedom"
TNG, 1x25 “Conspiracy”
TNG, 2x7 “Unnatural Selection”
NG, 2x11 “Contagion”
Captain Tryla Scott’s fate remains unknown; all we know for sure is that she was infested with a malicious alien parasite that had seized control of her body, and Commander Riker shot her at close range on a high setting …
TNG, 1x25 "Conspiracy"
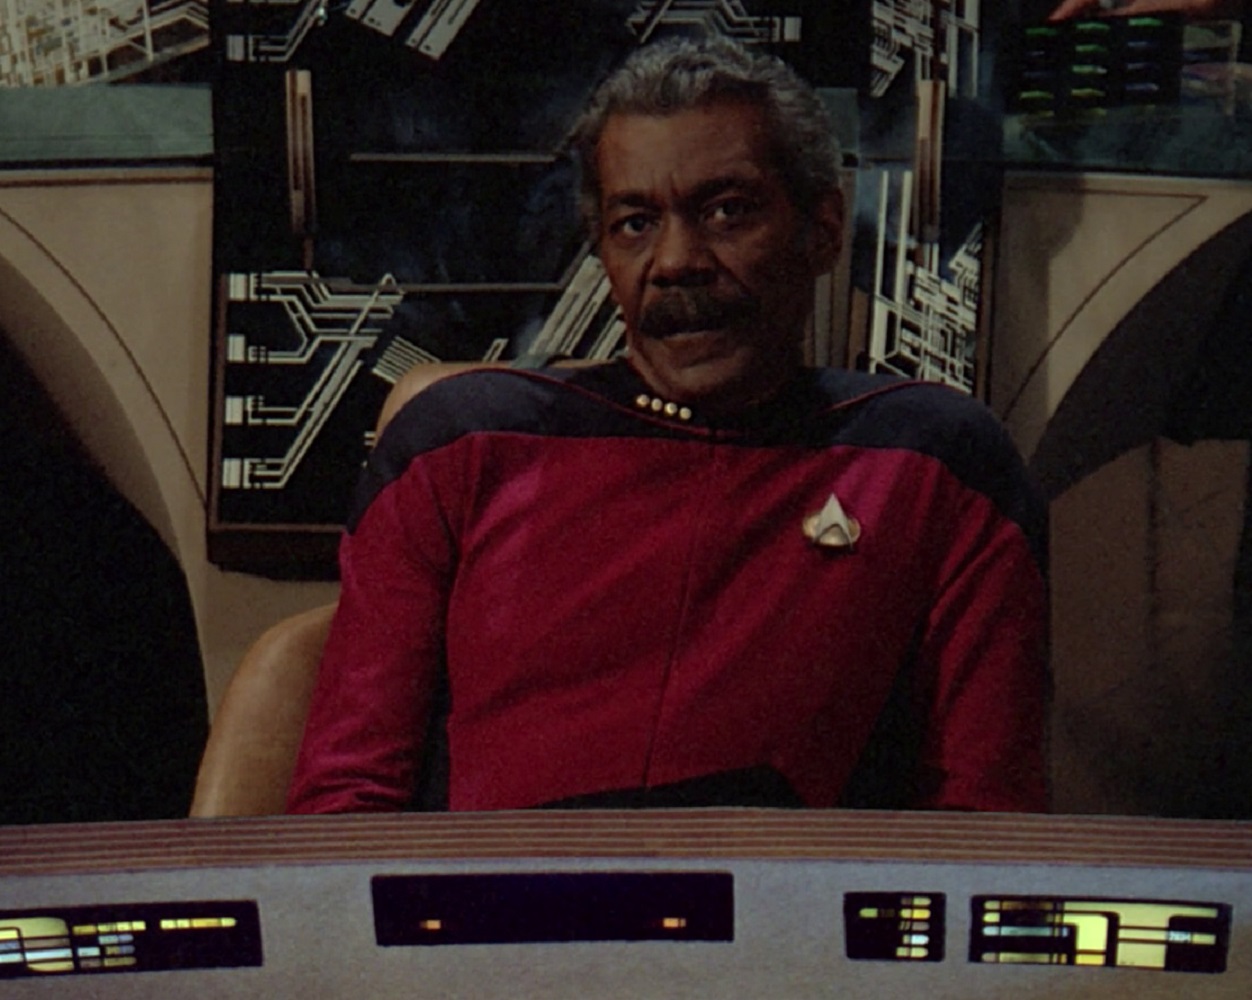
To the best of our knowledge, there were only two Starfleet captains who donned the red TNG jumpsuits and didn’t die horribly!
TNG, 1x25 “Conspiracy”
TNG, 2x9 “The Measure of a Man”
(See part 3 of this costume analysis for even more examples from the later seasons.)
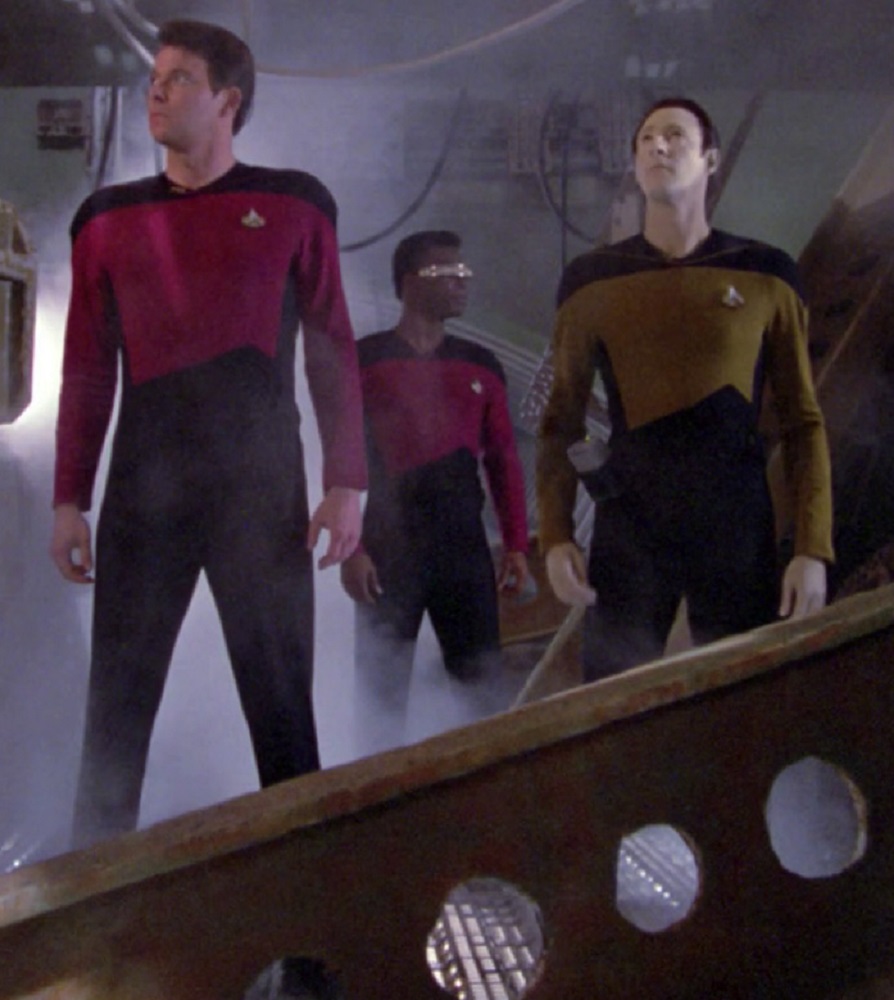
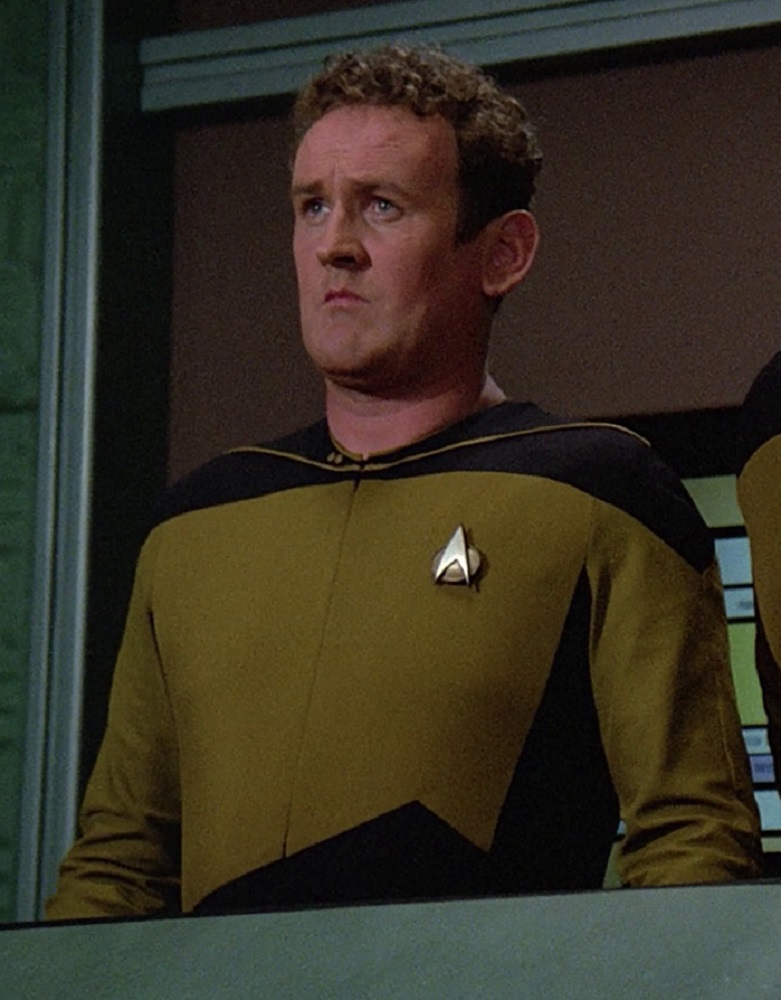
Geordi, Worf, and O’Brien all knew what was up, so they switched from red uniforms to gold ones as fast as they could – and who could blame them?!?
(Being a nameless extra in the pilot, O’Brien naturally beat them to it; he’d probably heard about the other nameless “redshirt” getting frozen by Q and high-tailed it into a new career – one that might lead to a role as a recurring, or even a main character.)
TNG, 1x1 "Encounter at Farpoint"
TNG, 1x7 "Lonely Among Us"
TNG, 1x21 “The Arsenal of Freedom”
TNG, 2x1 “The Child”
TNG, 1x26 “The Neutral Zone”
TNG, 2x18 “Up the Long Ladder”
It may have seemed like a good idea at the time, but little did they know …
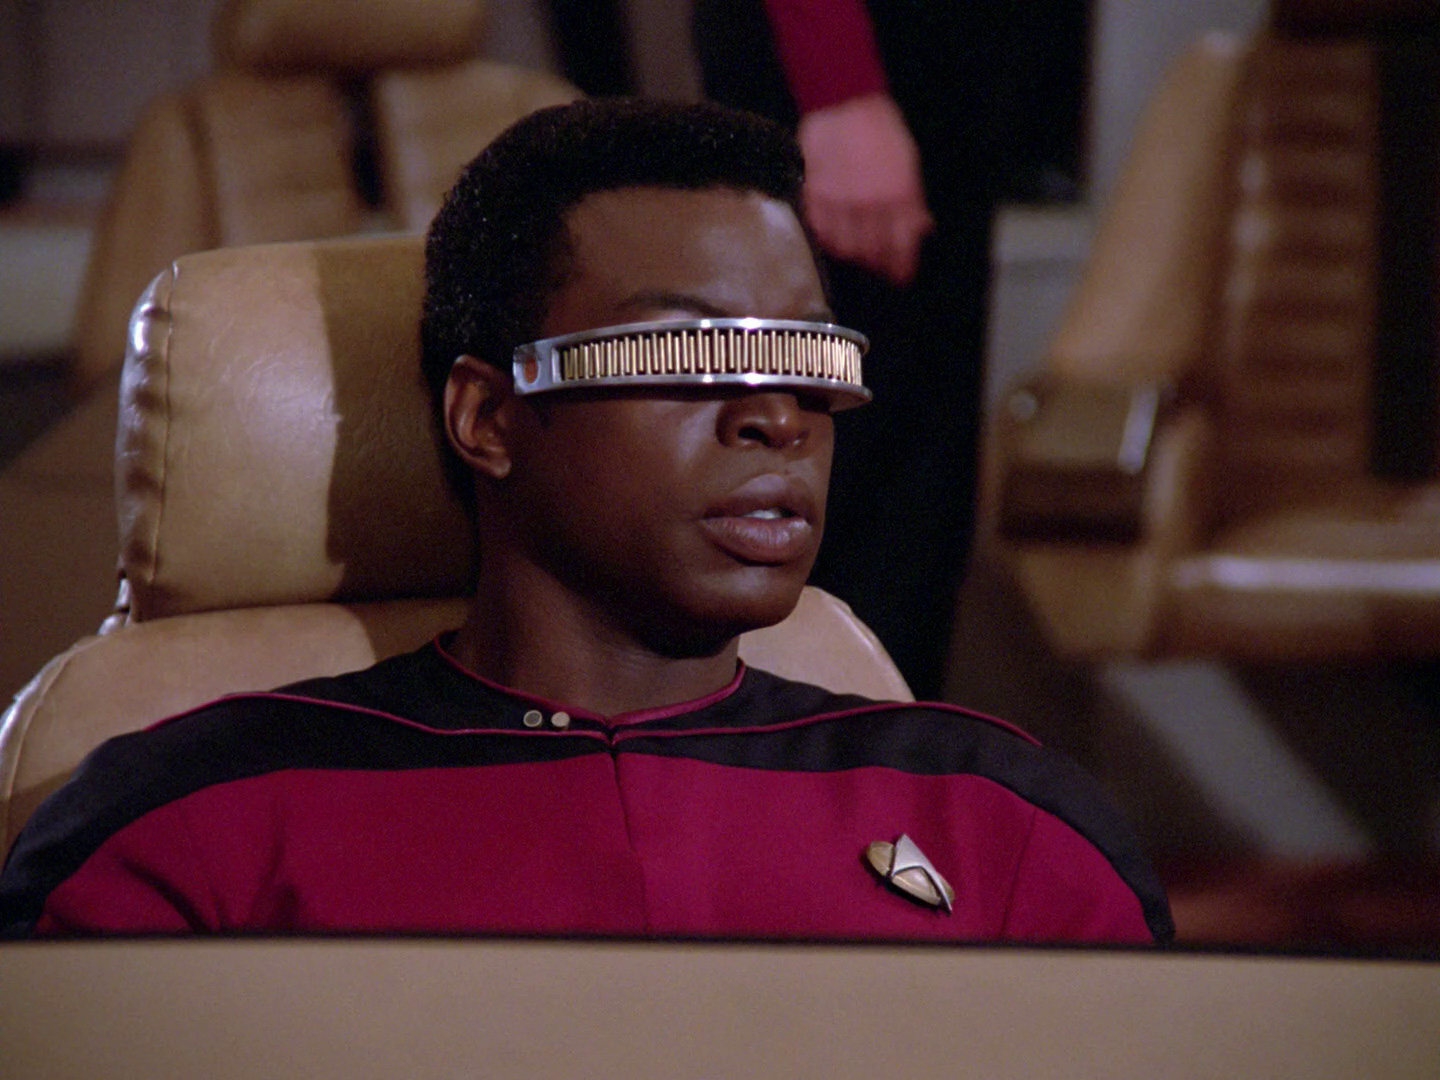
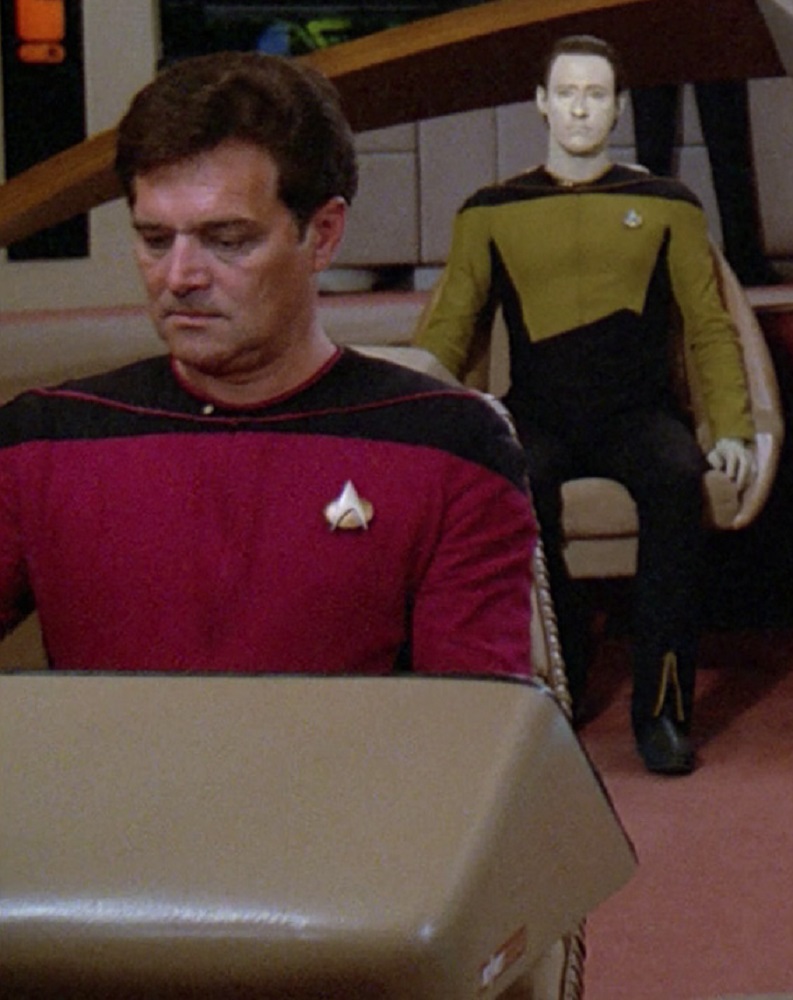
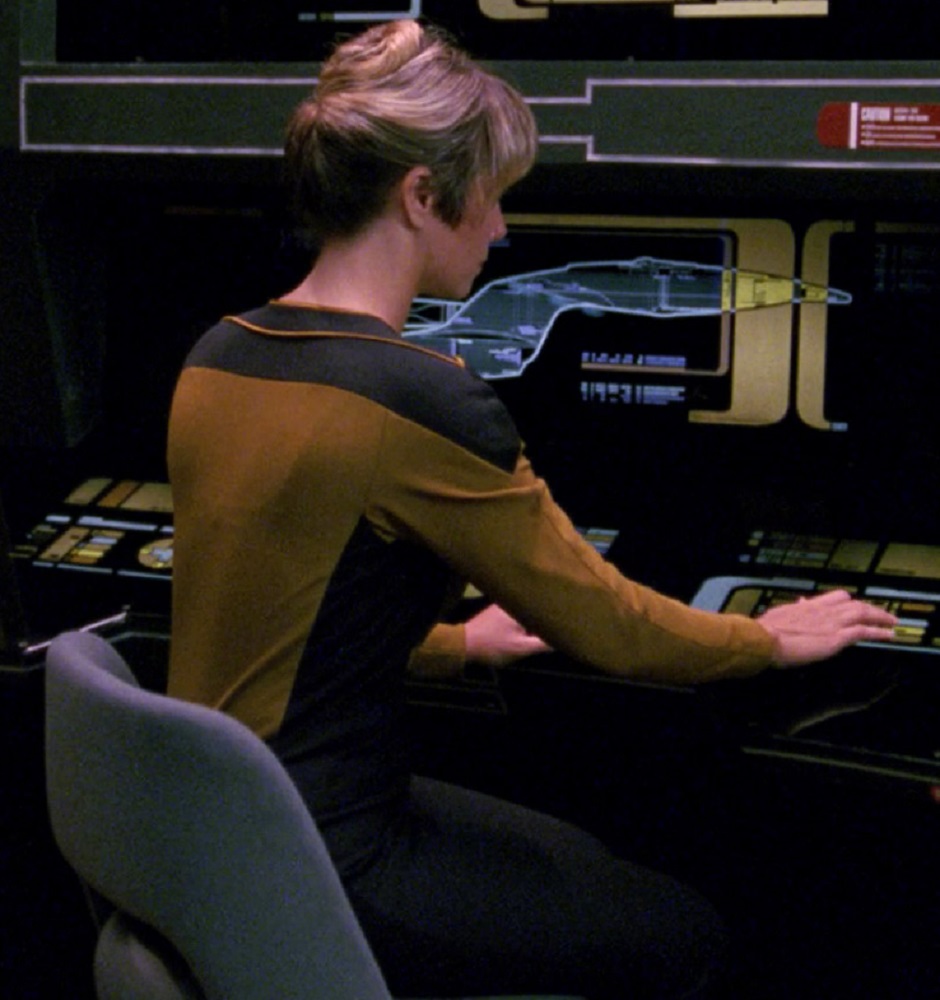
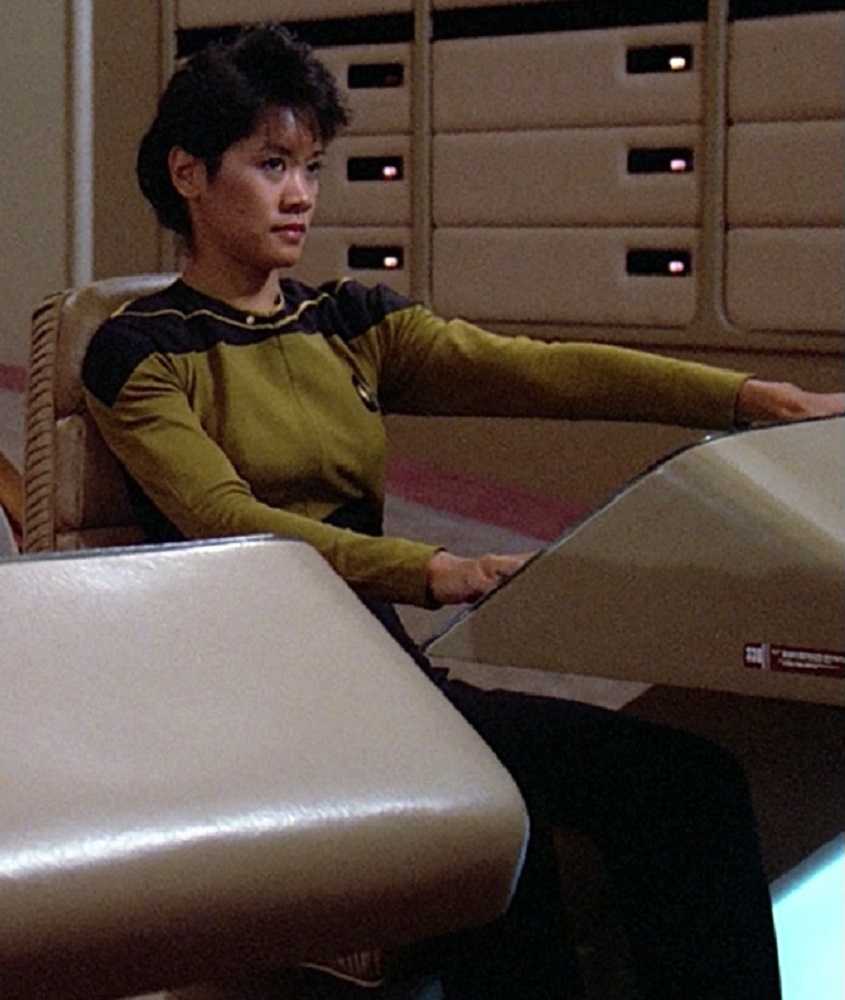
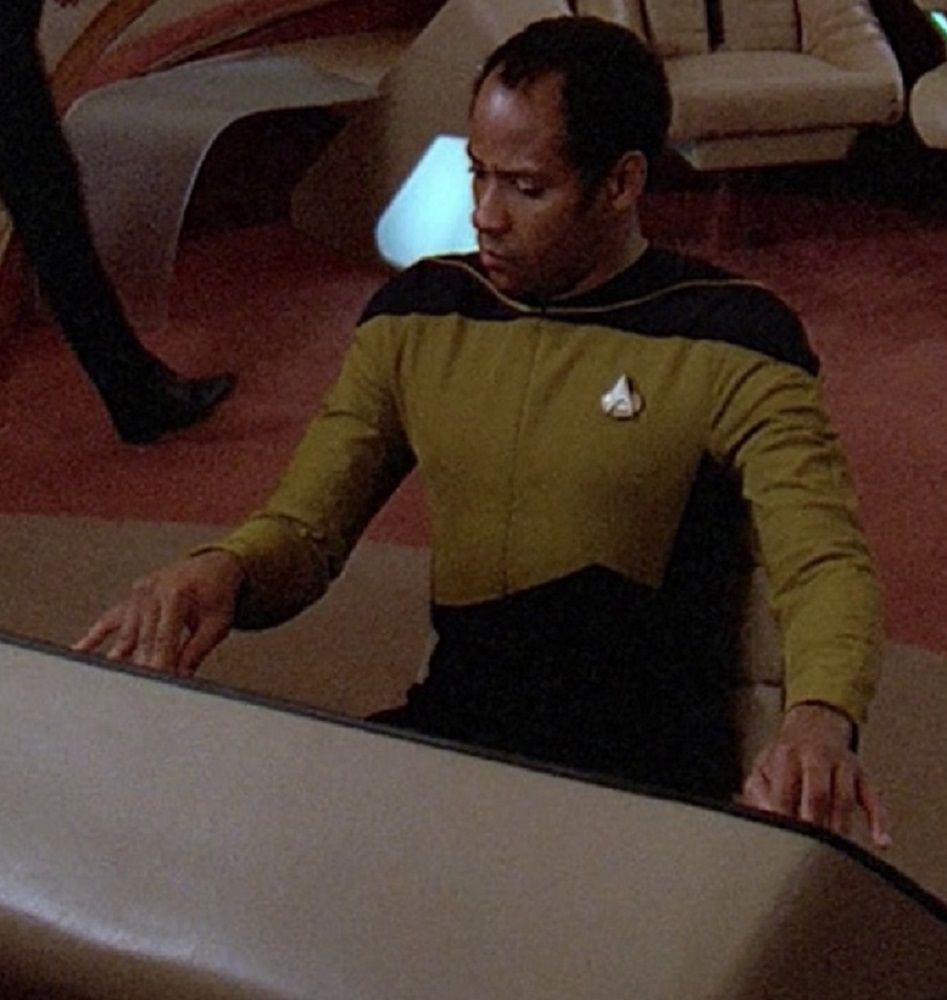
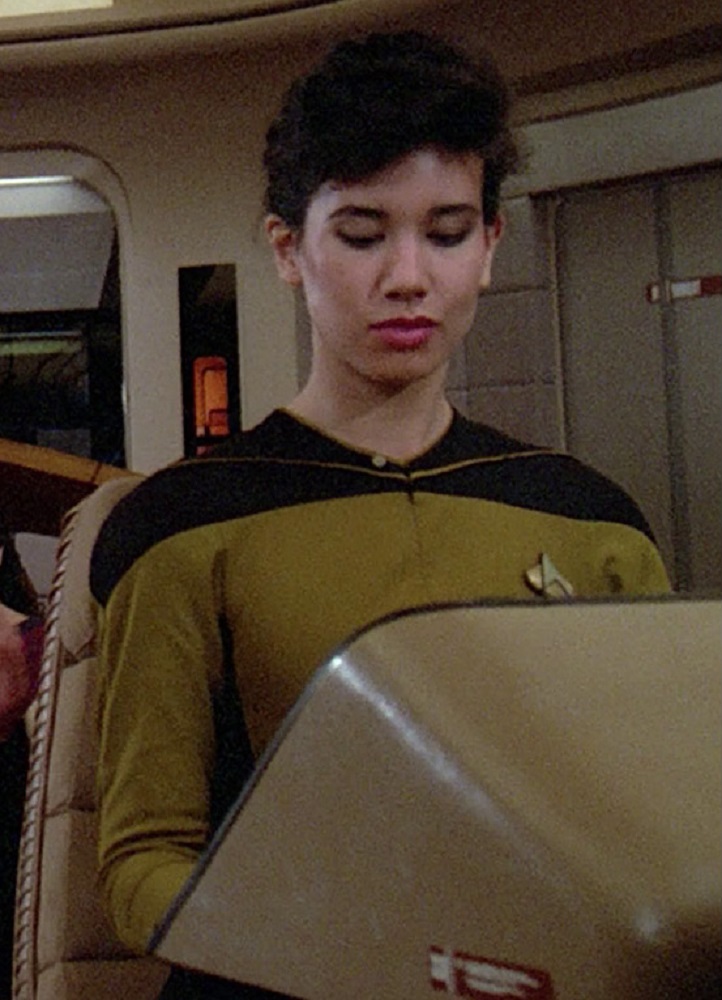
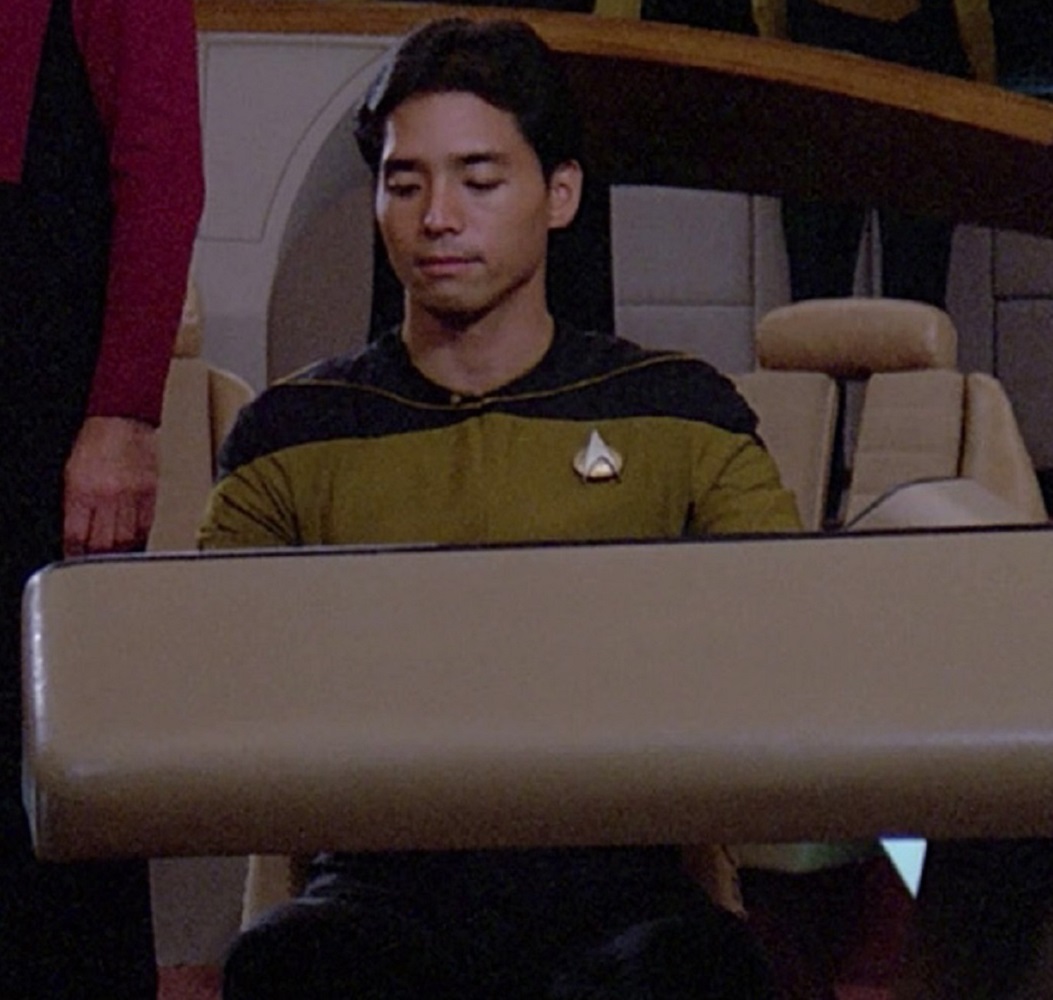
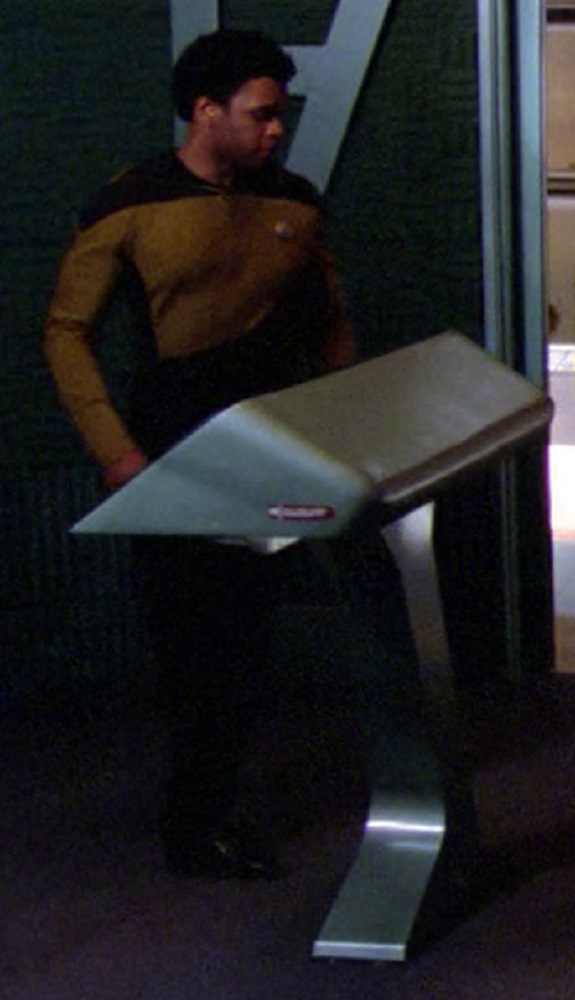
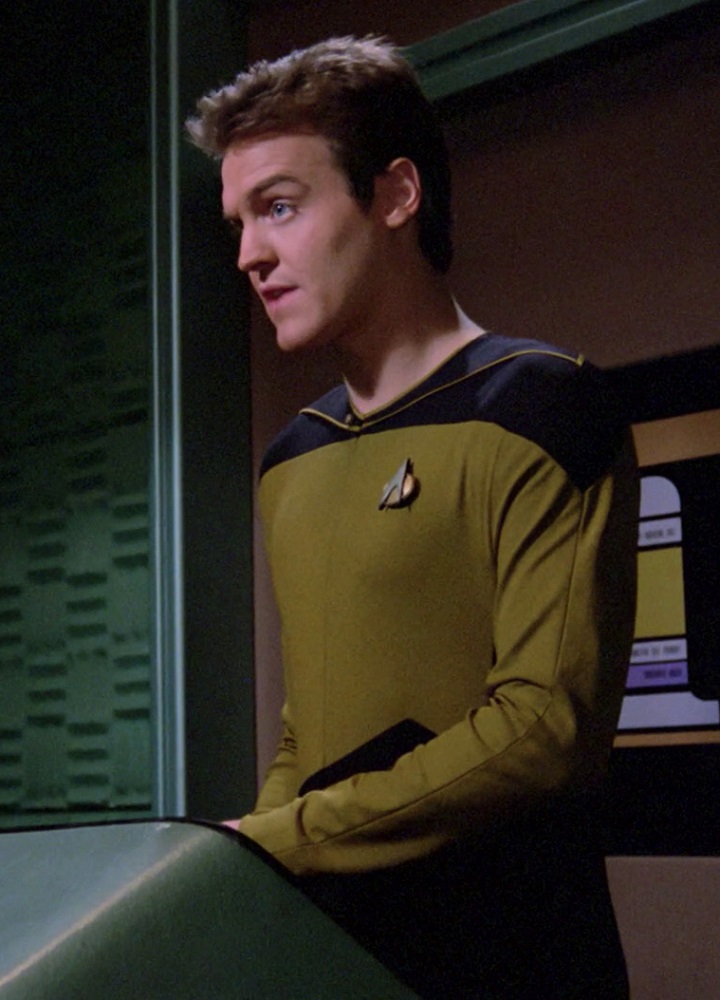
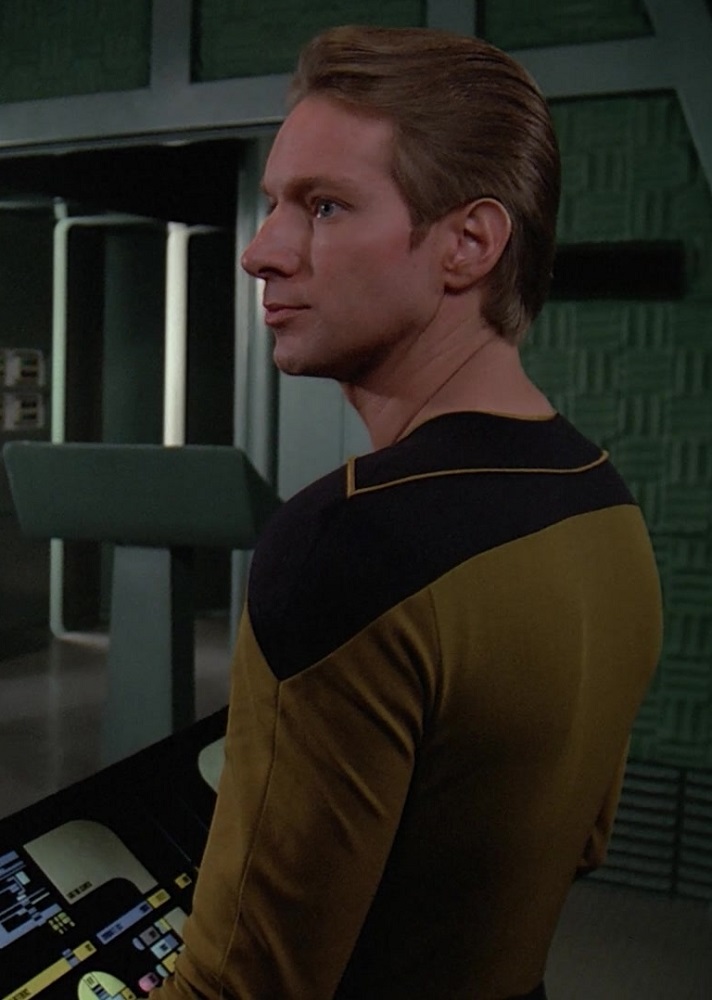
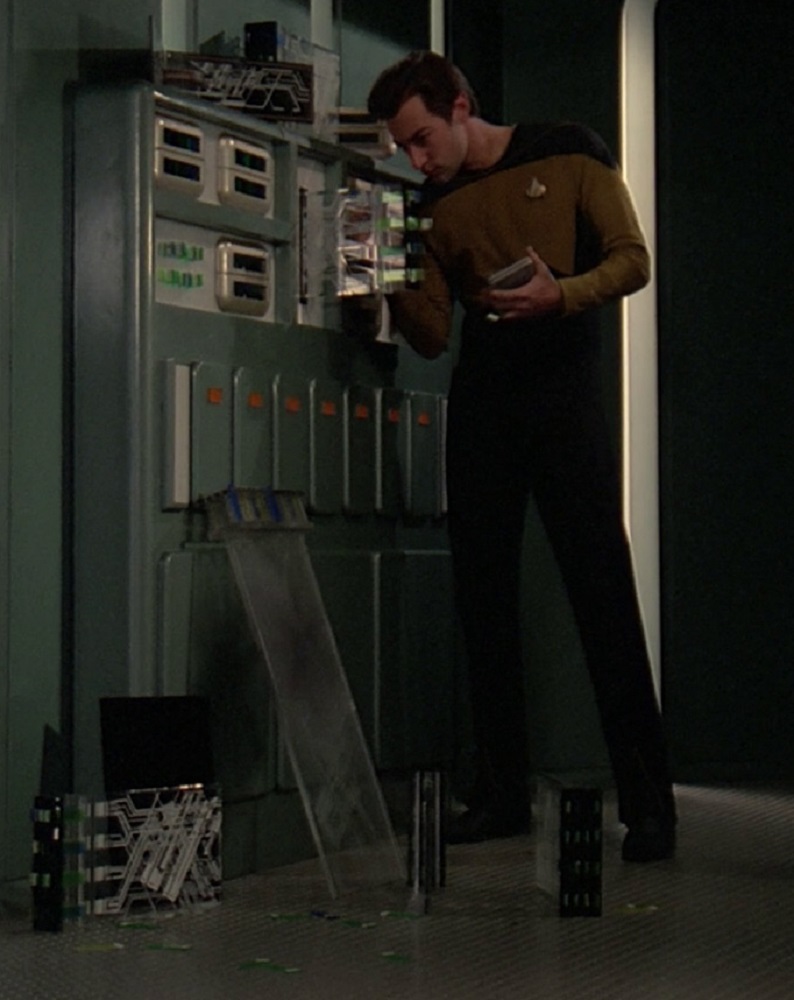
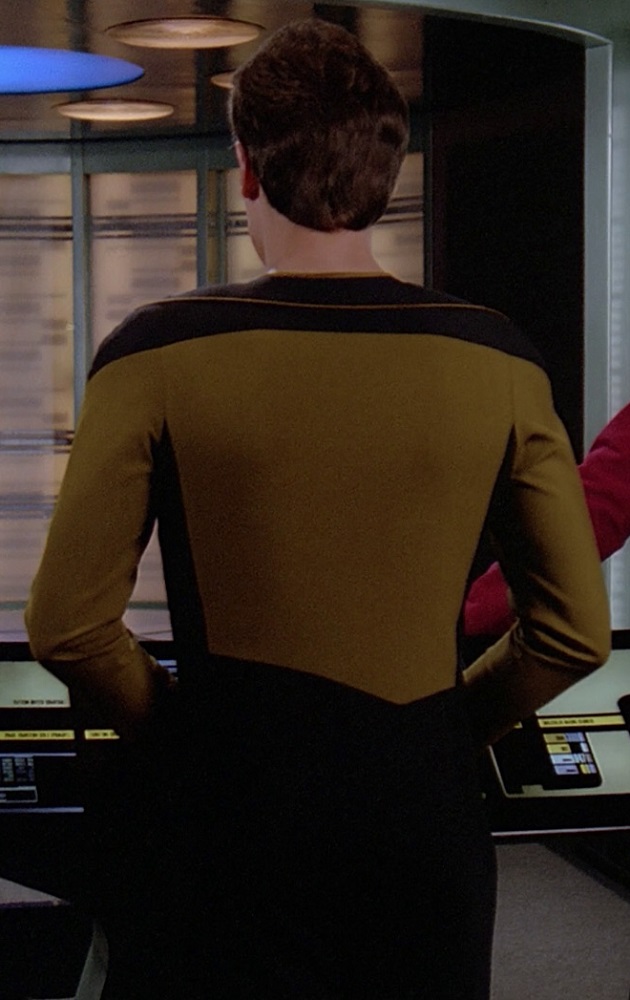
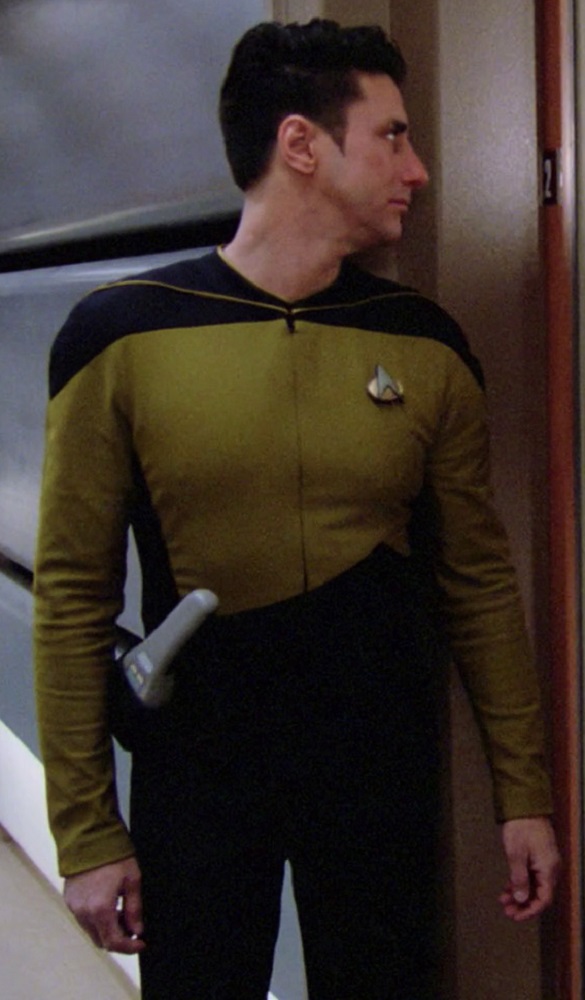
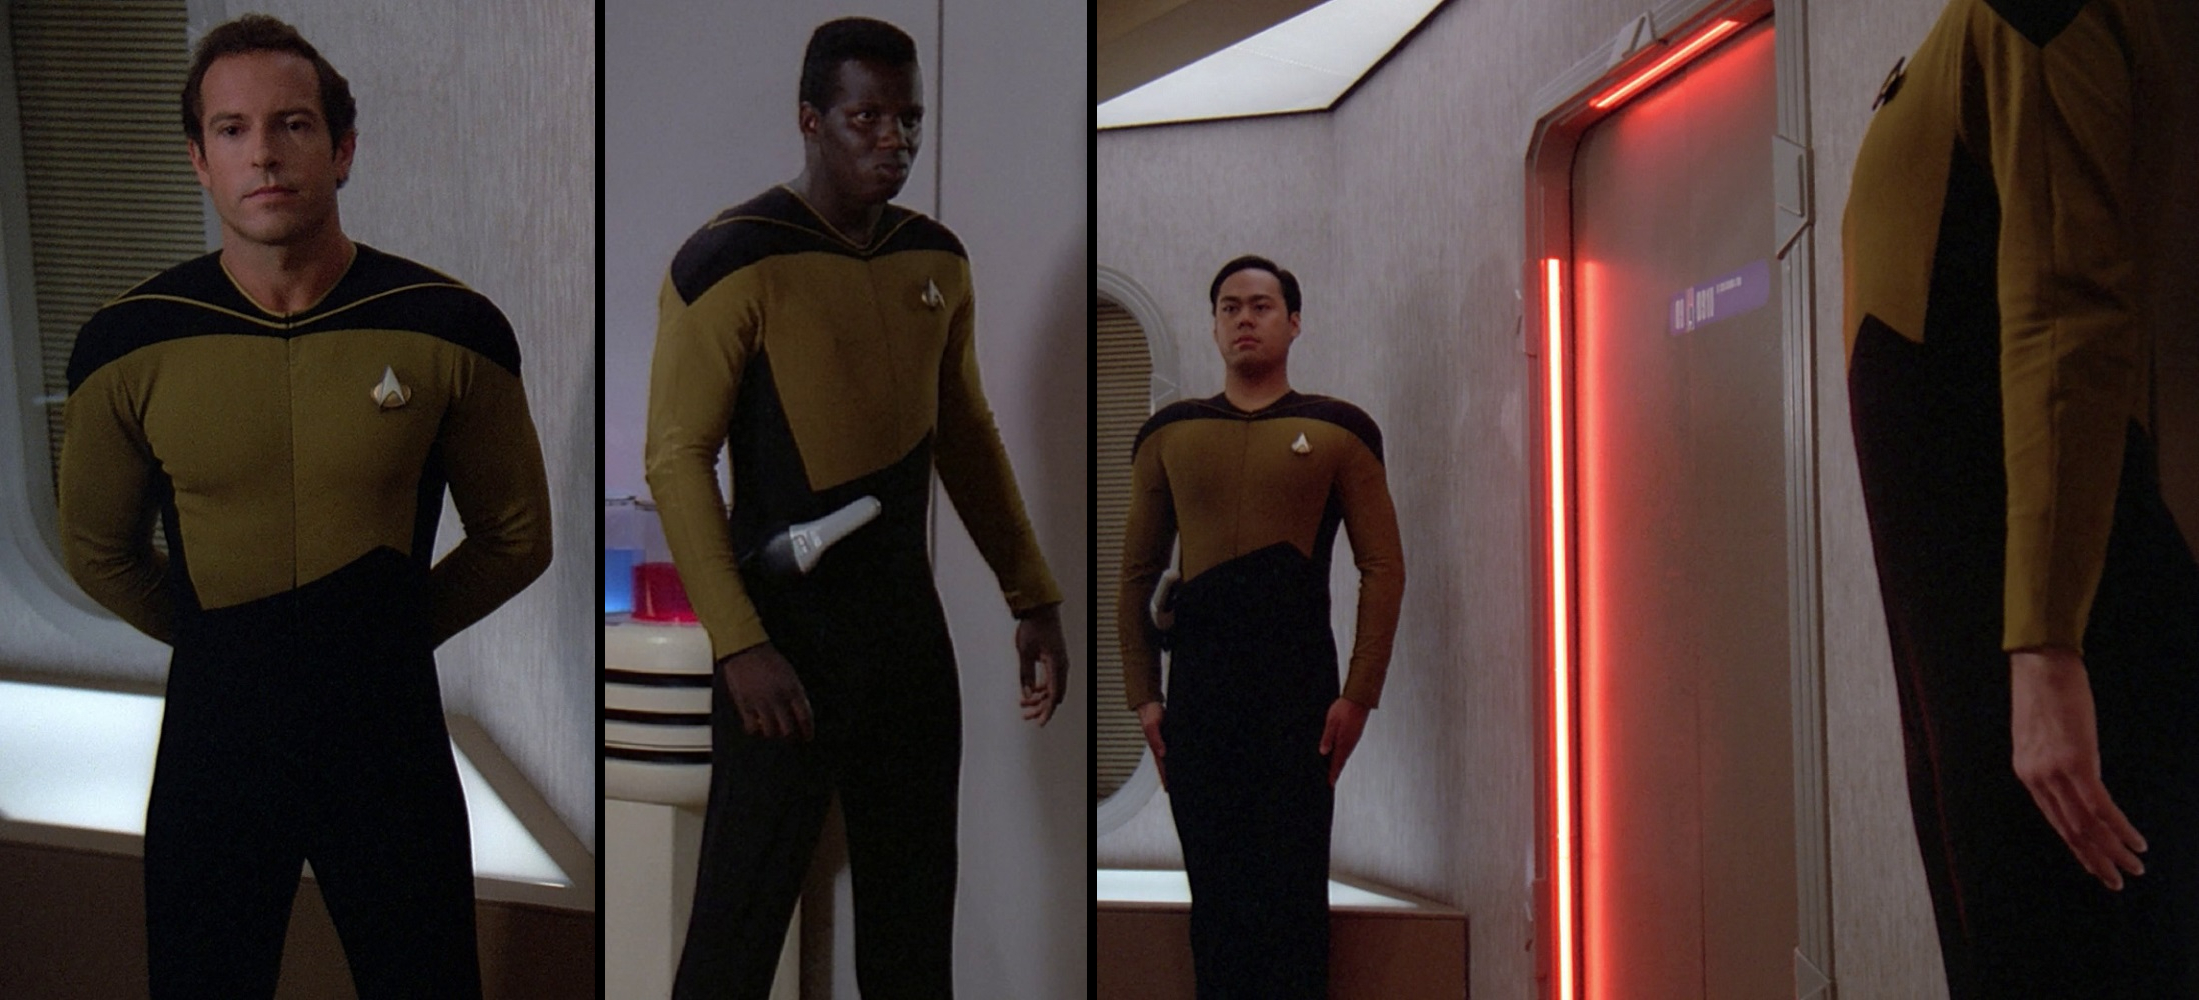
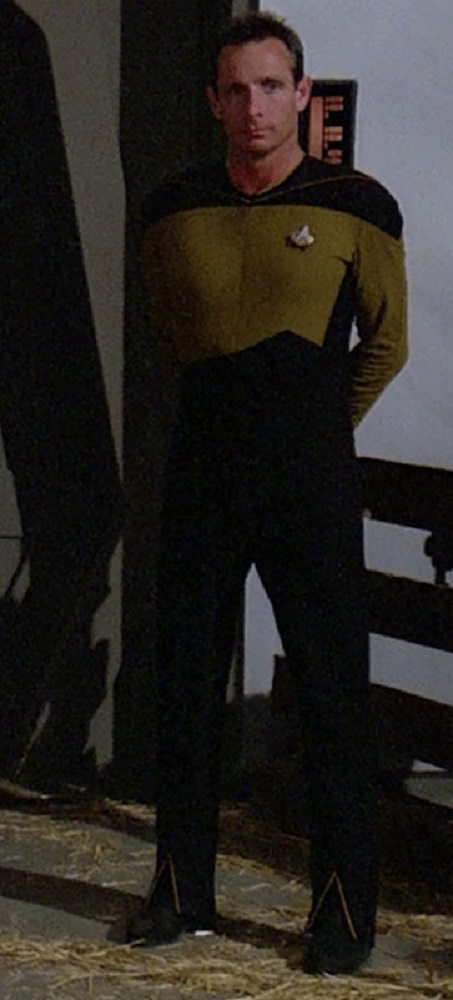
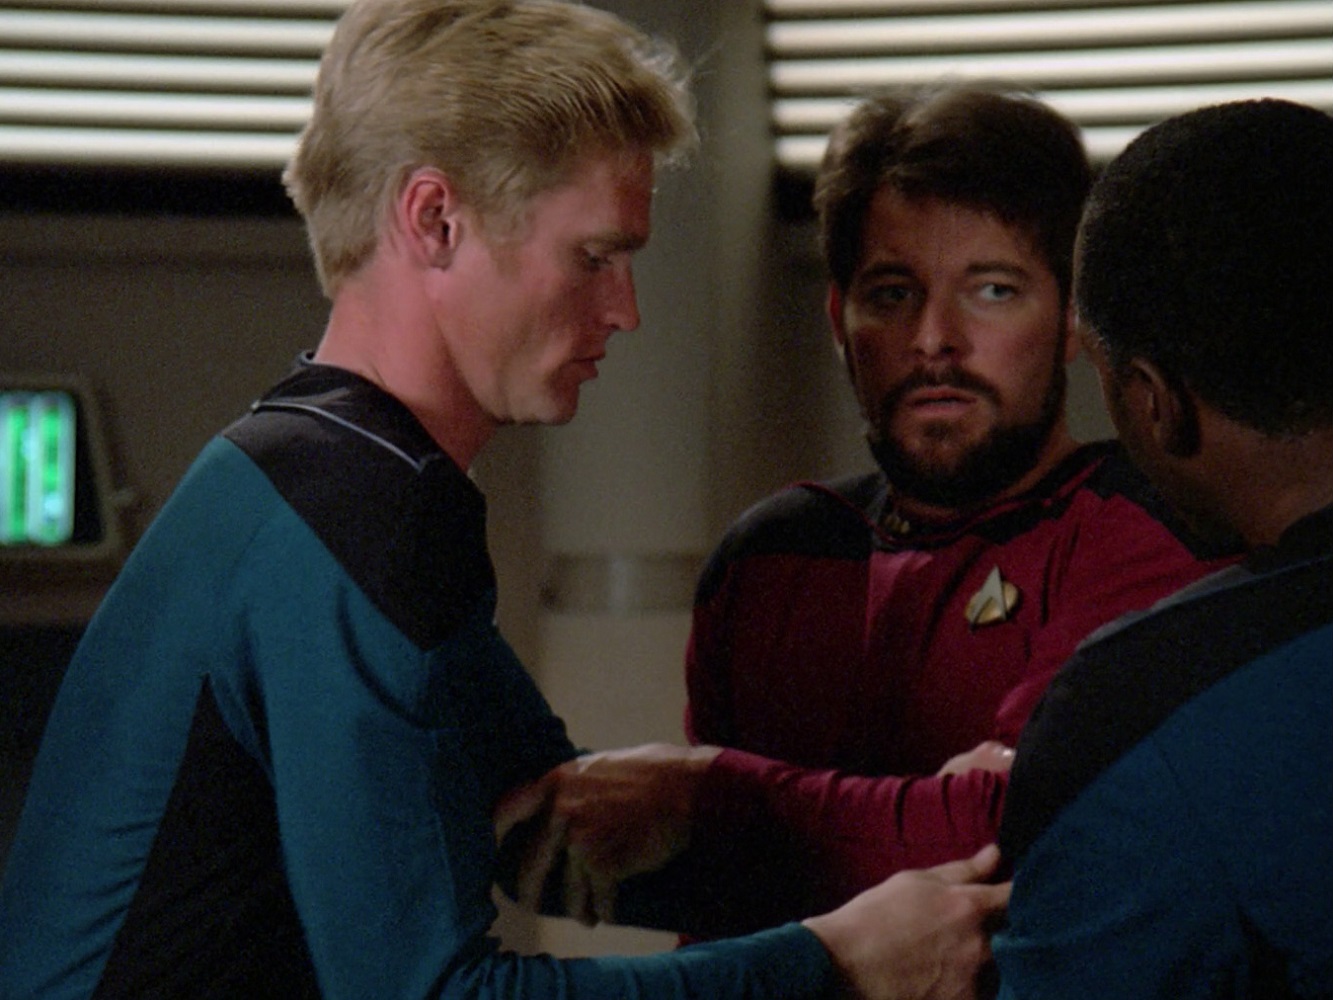
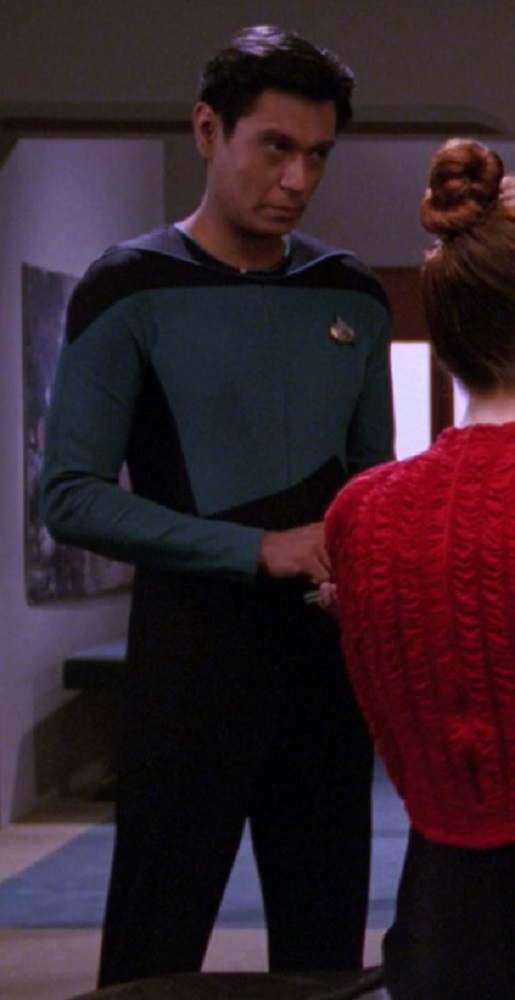
Gold – Engineering
Even though whatever power(s) govern the universe had cursed the “redshirts” to the best of their ability, Starfleet’s tailors seem to have wizened up to the situation and tried to throw the universe a curveball by swapping the red and gold division colors from The Original Series.
Most obviously, in the TNG-era, “gold” represented engineering.
This primarily included the multiple chief engineers the Enterprise D went through over its first season, before Geordi La Forge was promoted to the position in season two.
TNG, 1x3 “The Naked Now”
TNG, 1x6 “Where No One Has Gone Before”
TNG, 1x7 “Lonely Among Us”
TNG, 1x21 “The Arsenal of Freedom”
TNG, 1x23 “Skin of Evil”
TNG, 2x16 “Q Who”
This also included two notable guest characters: Kosinski and Sonya Gomez.
TNG, 1x6 “Where No One Has Gone Before”
TNG, 2x16 “Q Who”
TNG, 2x17 “Samaritan Snare”
Naturally, other supporting characters and extras were primarily seen in engineering.
TNG, 1x18 “Home Soil”
TNG, 2x3 “Elementary, Dear Data”
TNG, 3x24 “Ménage à Troi”
Gold – Operations
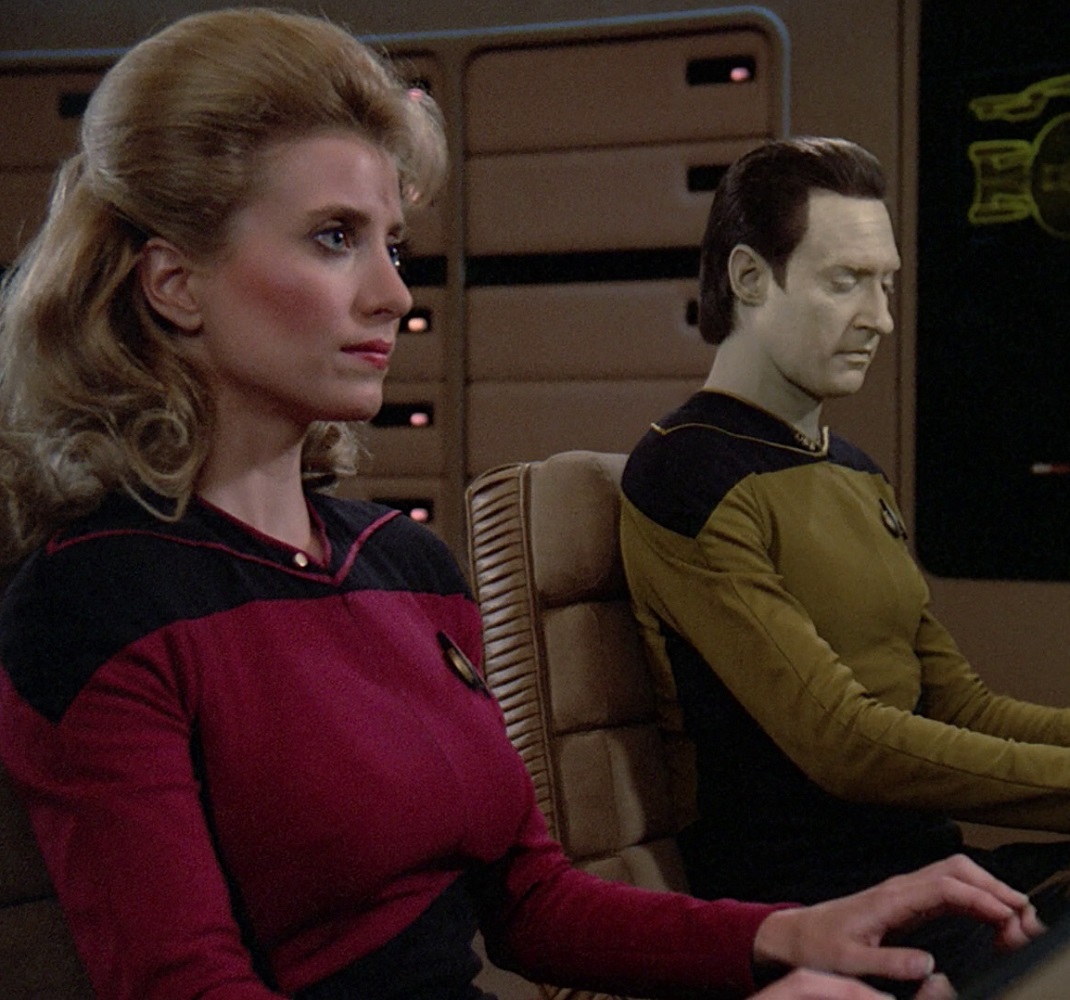
“Gold” also indicated operations (“ops”), where Data usually worked.
TNG, 1x3 “The Naked Now”
Like Geordi and the helm, the ops station was handled by an assortment of other individuals whenever Data was elsewhere.
TNG, 1x8 "Justice"
TNG, 1x20 "Heart of Glory"
TNG, 1x21 "The Arsenal of Freedom"
TNG, 2x1 "The Child"
TNG, 2x3 "Elementary, Dear Data"
TNG, 2x6 "The Schizoid Man"
TNG, 2x7 "Unnatural Selection"
TNG, 2x8 "A Matter of Honor"
TNG, 2x11 "Contagion"
TNG, 2x12 "The Royale"
TNG, 2x13 "Time Squared"
TNG, 2x15 "Pen Pals"
TNG, 2x20 "The Emissary"
TNG, 2x21 "Peak Performance"
TNG, 3x8 "The Price"
TNG, 3x9 "The Vengeance Factor"
TNG, 3x13 "Deja Q"
TNG, 3x14 "A Matter of Perspective"
TNG, 3x20 "Tin Man"
TNG, 3x22 "The Most Toys"
TNG, 3x23 "Sarek"
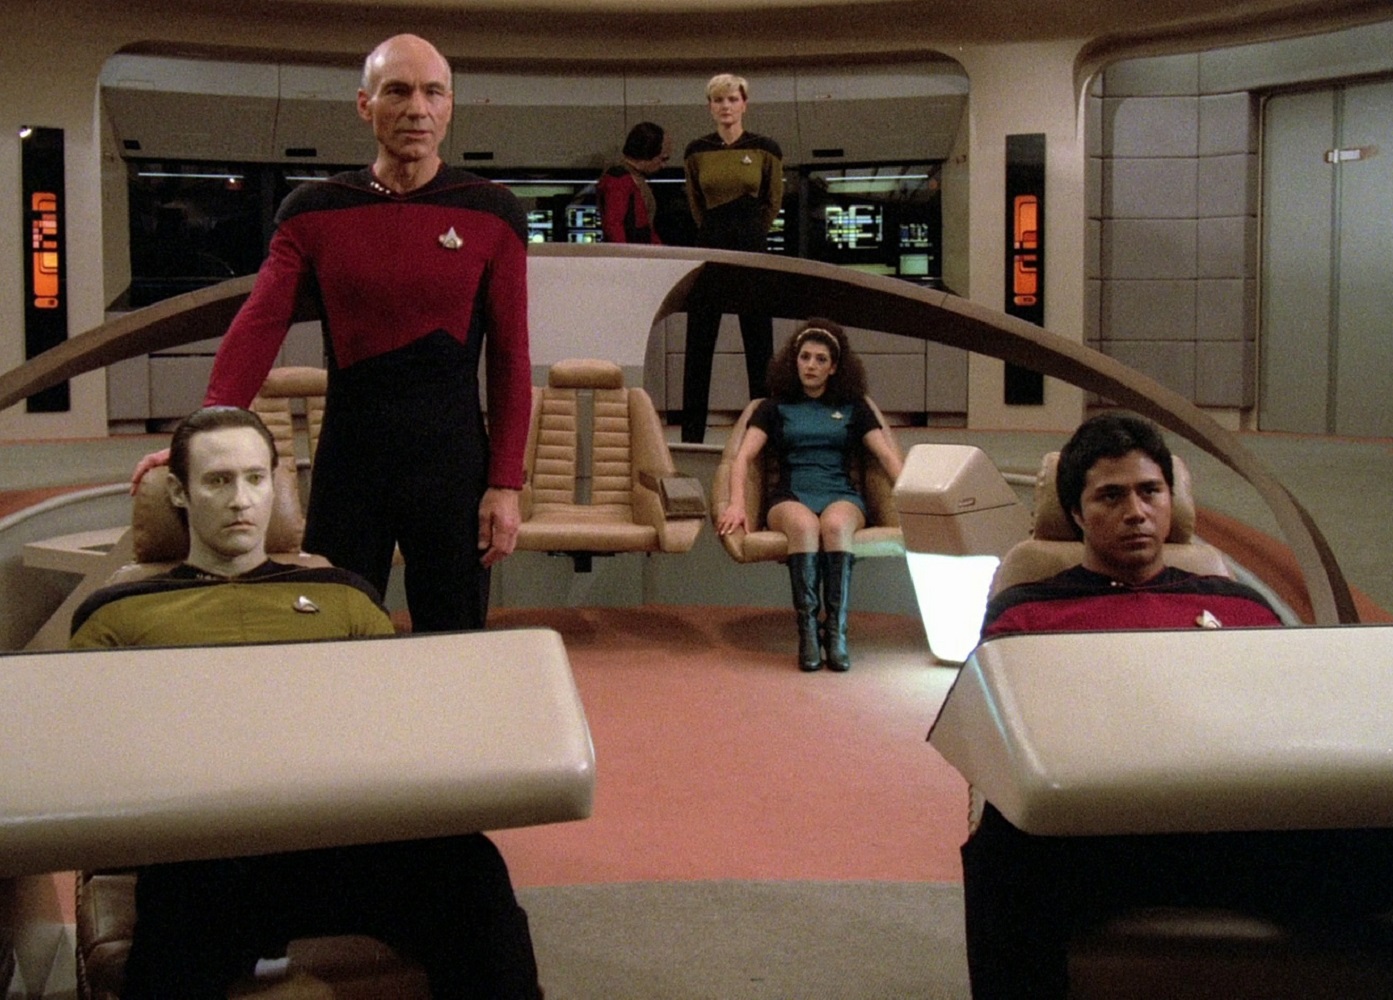
Bridge Stations Reversed
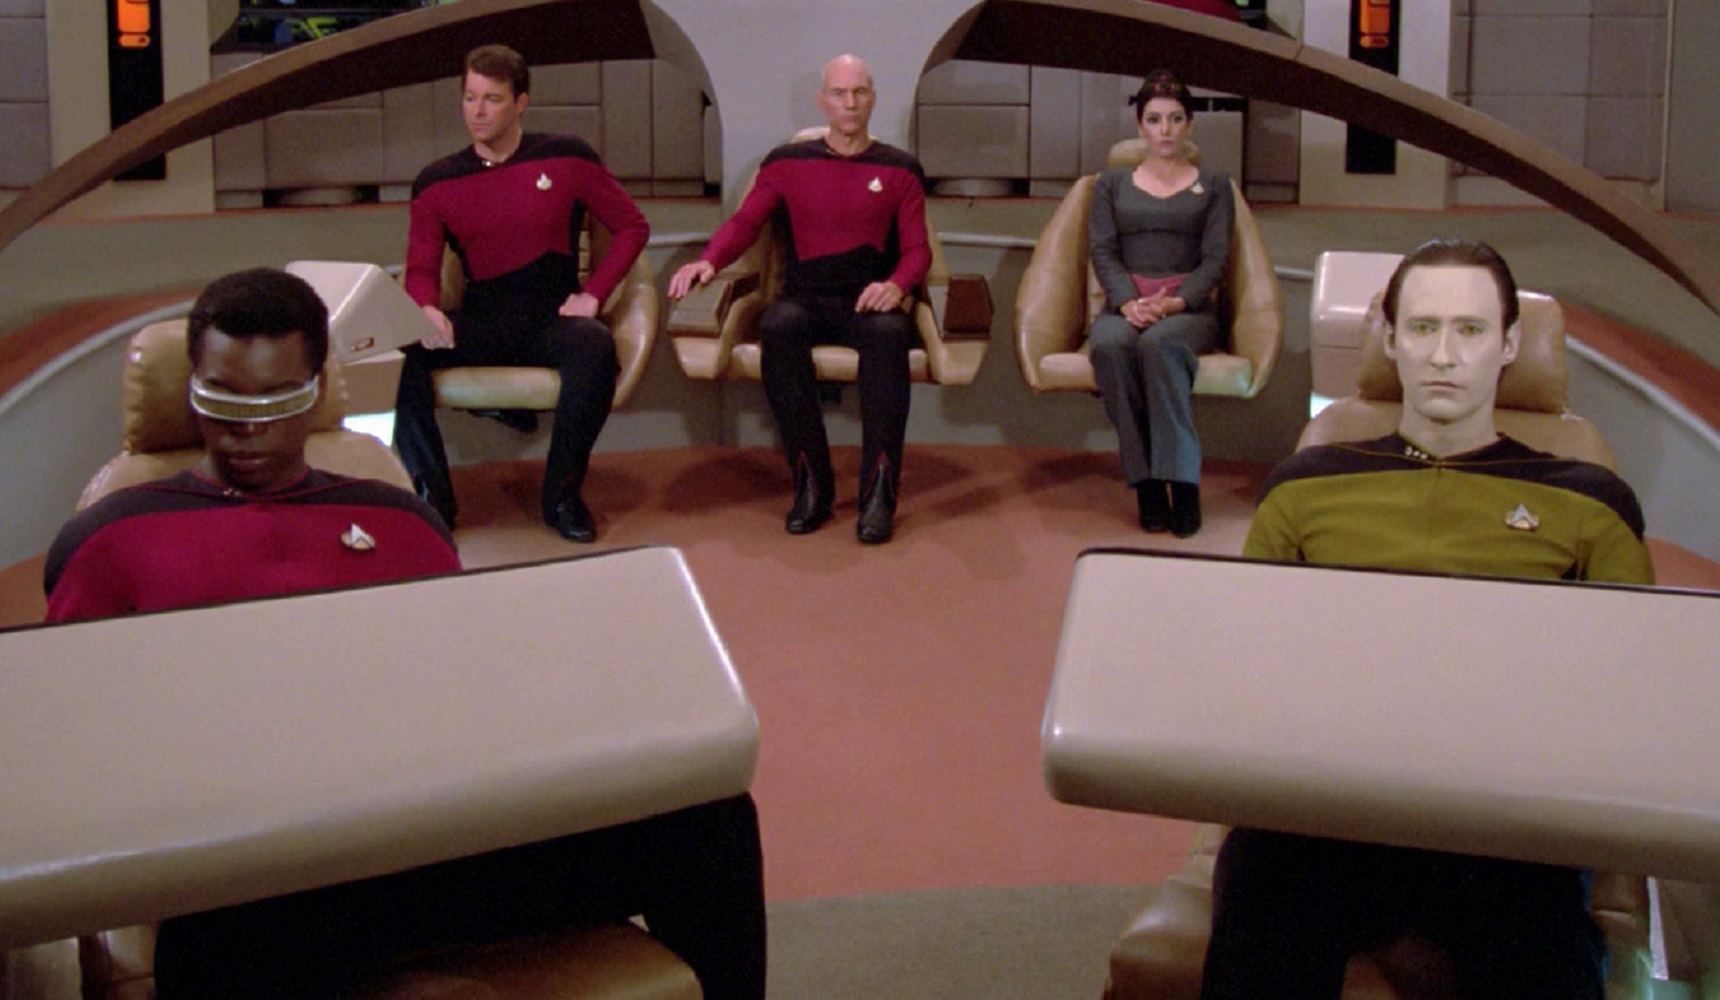
Curiously, in the pilot episode, the helm and ops stations appear to have been reversed, as evidenced by a “goldshirt” on the right (camera left) and a “redshirt” on the left (camera right):
TNG, 1x1 “Encounter at Farpoint”
This was the case on the battle bridge as well.
TNG, 1x1 “Encounter at Farpoint”
In the next episode we got our first glimpse at what would become the standard bridge configuration for the remainder of the TNG-era:
TNG, 1x3 “The Naked Now”
But the characters also bounced around over the episode, so who knows?
TNG, 1x3 “The Naked Now”
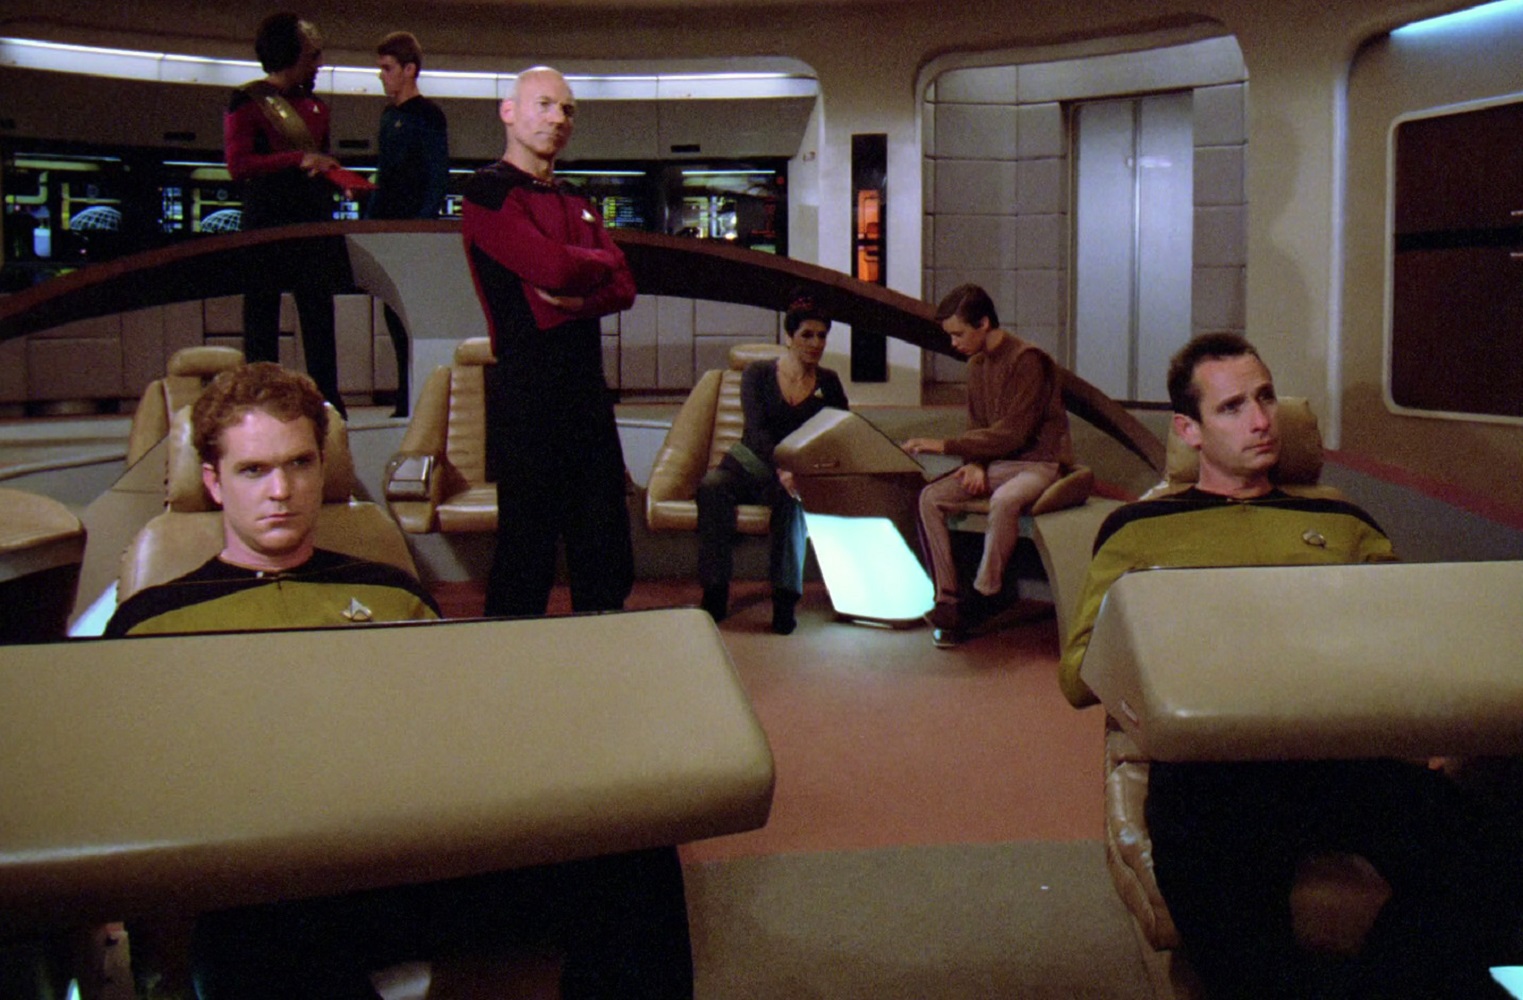
After the first couple episodes, everyone generally settled into what we now recognize as the standardized bridge stations; the helm and ops stations were usually manned by Geordi and Data, respectively.
TNG, 1x4 “Code of Honor”
The original (reverse) station configuration was recalled in the series finale.
TNG, 7x25 “All Good Things …”
There were exceptions, of course:
TNG, 1x8 “Justice”
TNG, 1x12 “The Big Goodbye”
My personal “headcanon” is that since the Galaxy-class ships were new, they were still experimenting with the bridge layout, particularly in regard to crew preferences and how they could operate most efficiently.
(This also explains the bridge’s design changes in season two.)
As for the crew members playing “musical chairs” with the duty stations, my interpretation is that Starfleet officers – especially those on the Federation flagship – all have at least basic training in several departments and can competently operate multiple stations.
And as Worf once noted, “[Captain Picard] wants his junior officers to learn, learn, learn.” I can see Captain Picard (and Commander Riker, for that matter) scheduling crew members to at least semi-regularly work duty shifts outside their primary departments – both for better preparedness, and to produce more well-rounded crew members.
I’d also like to think that junior officers were given the opportunity to work on a variety of assignments and duty stations around the ship before committing to a longer-term career path …
… but I digress!
For whatever it’s worth, the helm/ops situation as generally worked out in The Next Generation’s first season appears to have become standard practice for starships around that time, and would remain so on most ships we saw all the way through Nemesis.
DS9, 2x9 “Second Sight”
Star Trek: Nemesis
(That is, until starships like the Defiant and Voyager came along; the two mirrored bridge stations were replaced by a single larger helm for the pilot, and ops was moved to another area of the bridge.)
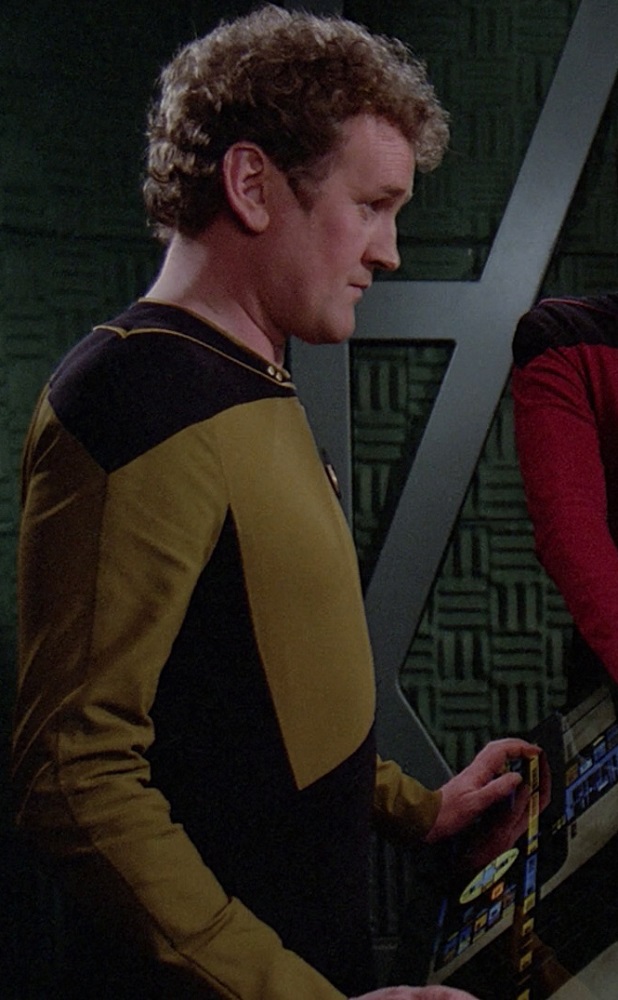
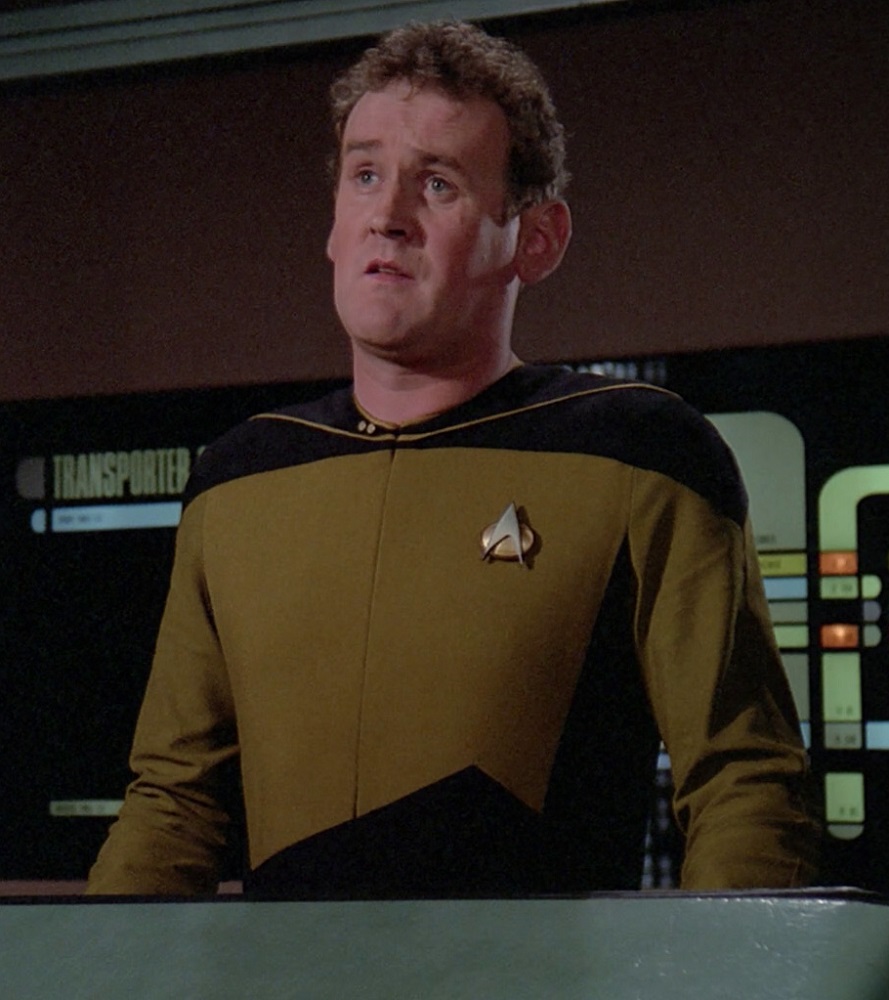
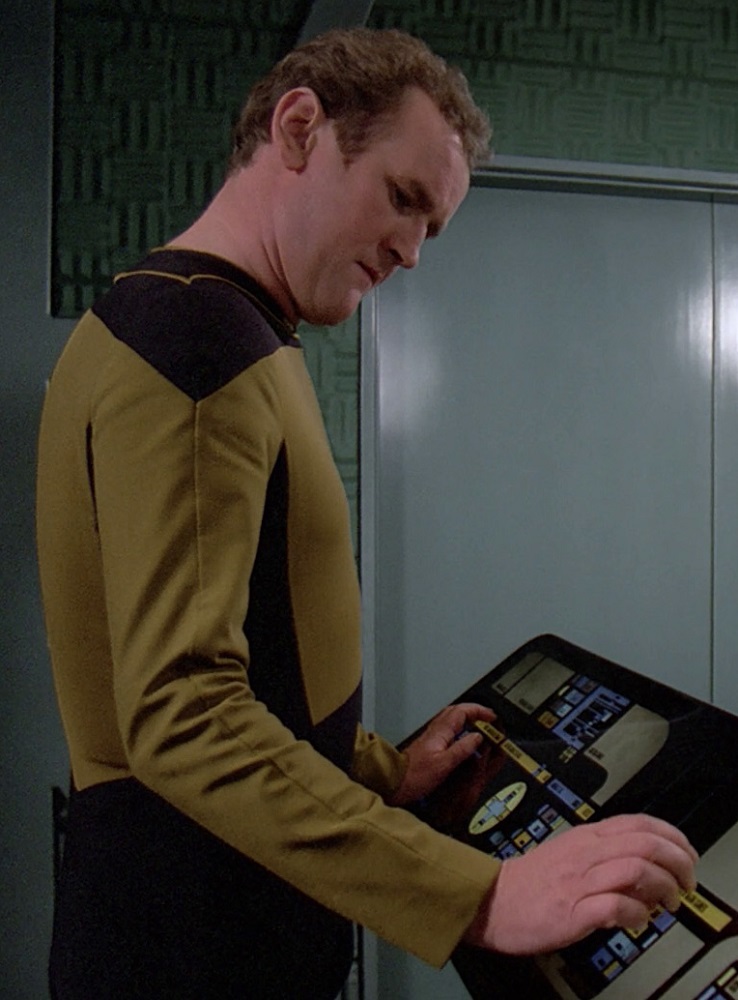
Gold – Transporters
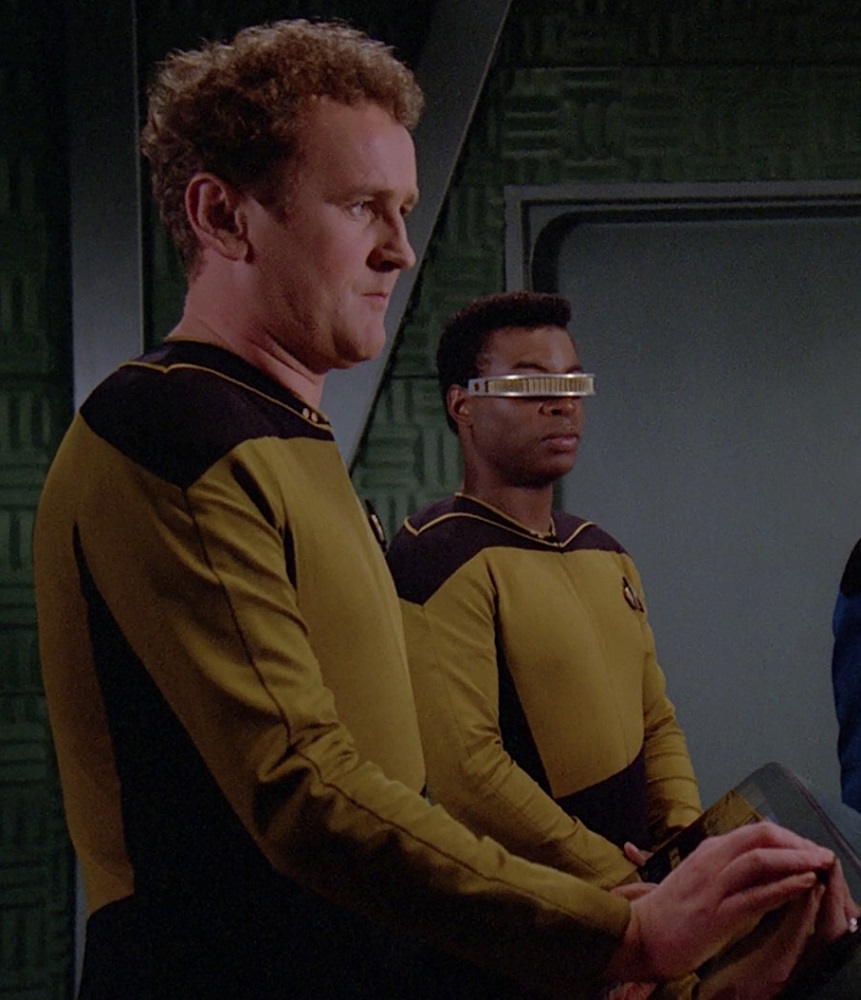
“Gold” was also for transporter operators, of whom there were many:
TNG, 1x5 "The Last Outpost"
TNG, 1x7 "Lonely Among Us"
TNG, 1x11 "Haven"
TNG, 1x16 "Too Short a Season"
TNG, 1x24 "We'll Always Have Paris"
TNG, 2x4 "The Outrageous Okuna"
TNG, 2x7 "Unnatural Selection"
TNG, 2x11 "Contagion"
TNG, 2x14 "The Icarus Factor"
TNG, 3x4 "Who Watches the Watchers?"
TNG, 3x10 "The Defector"
TNG, 3x17 "Sins of the Father"
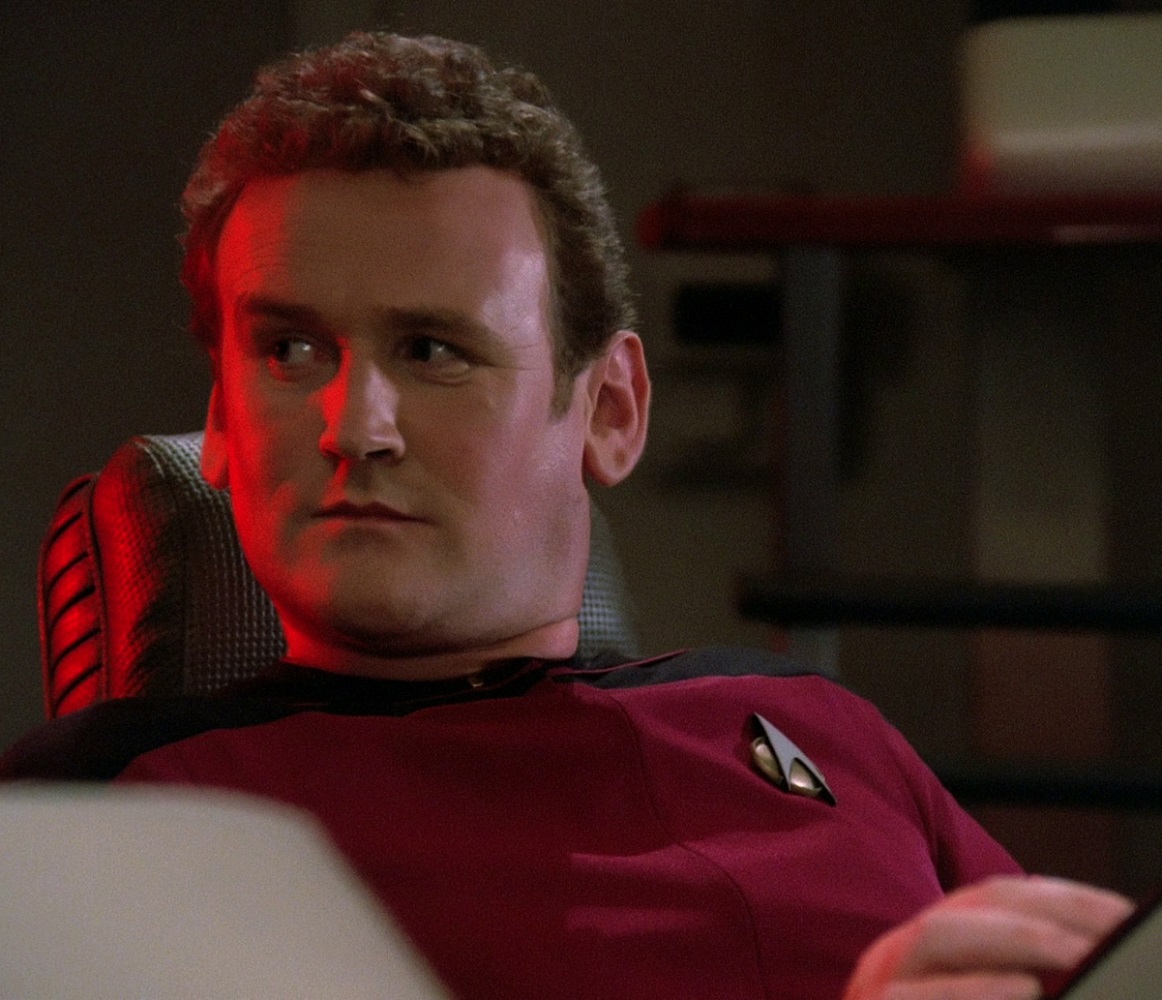
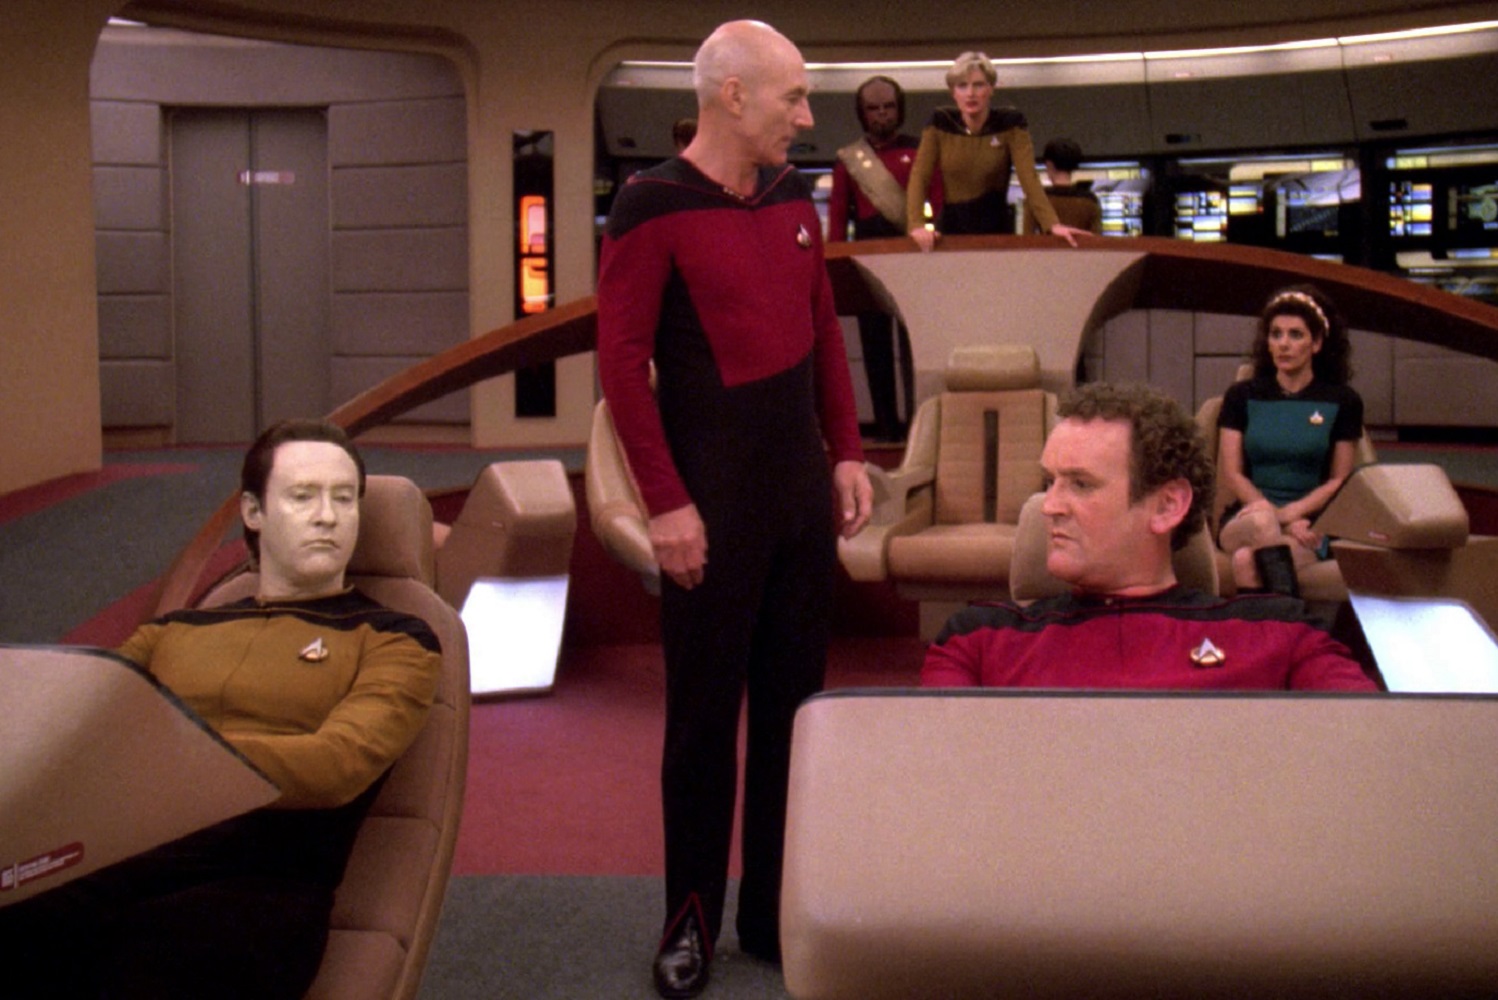
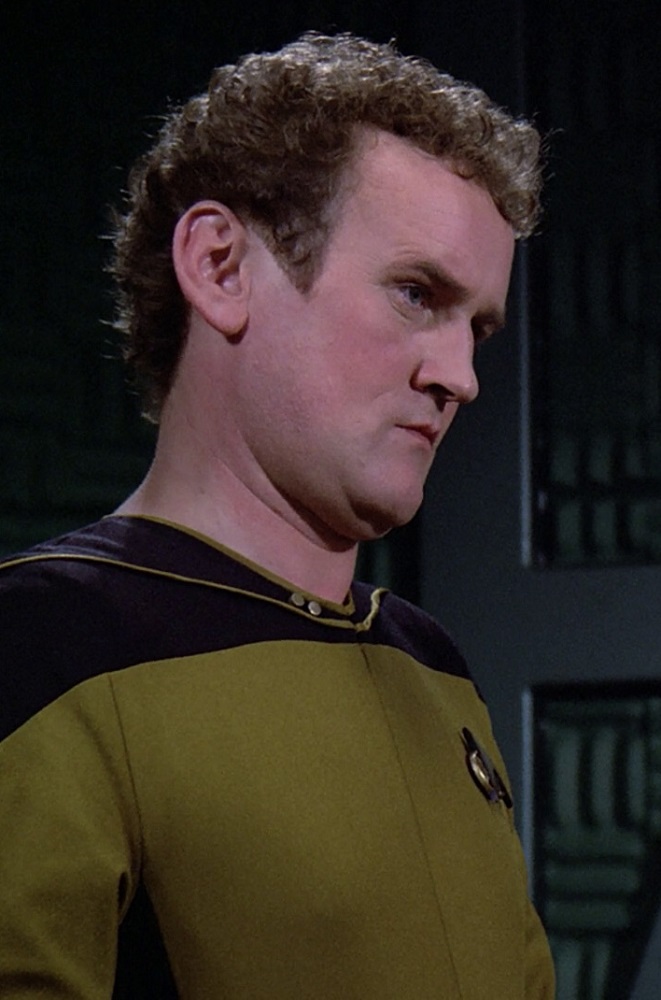
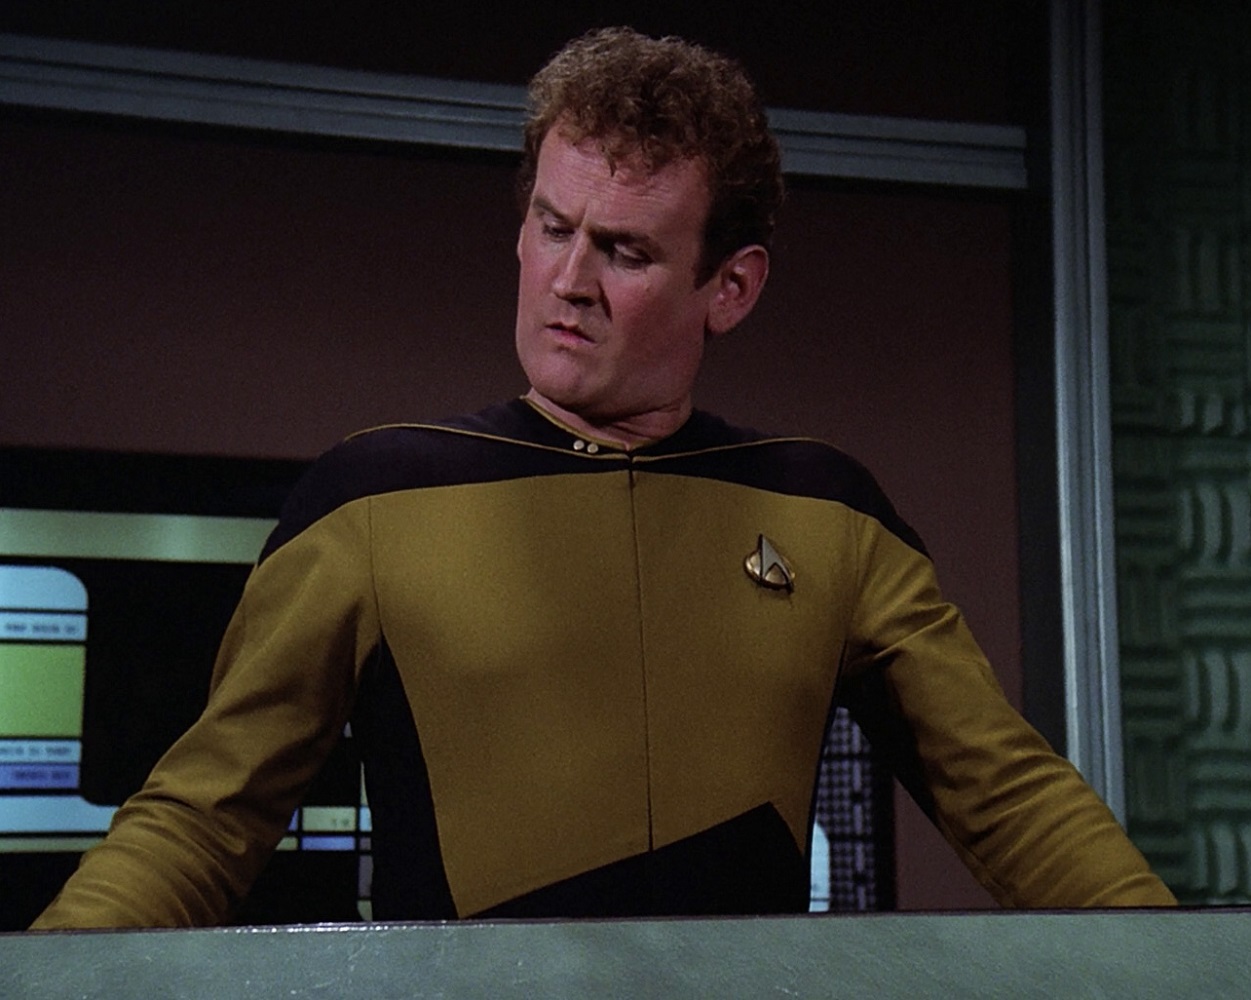
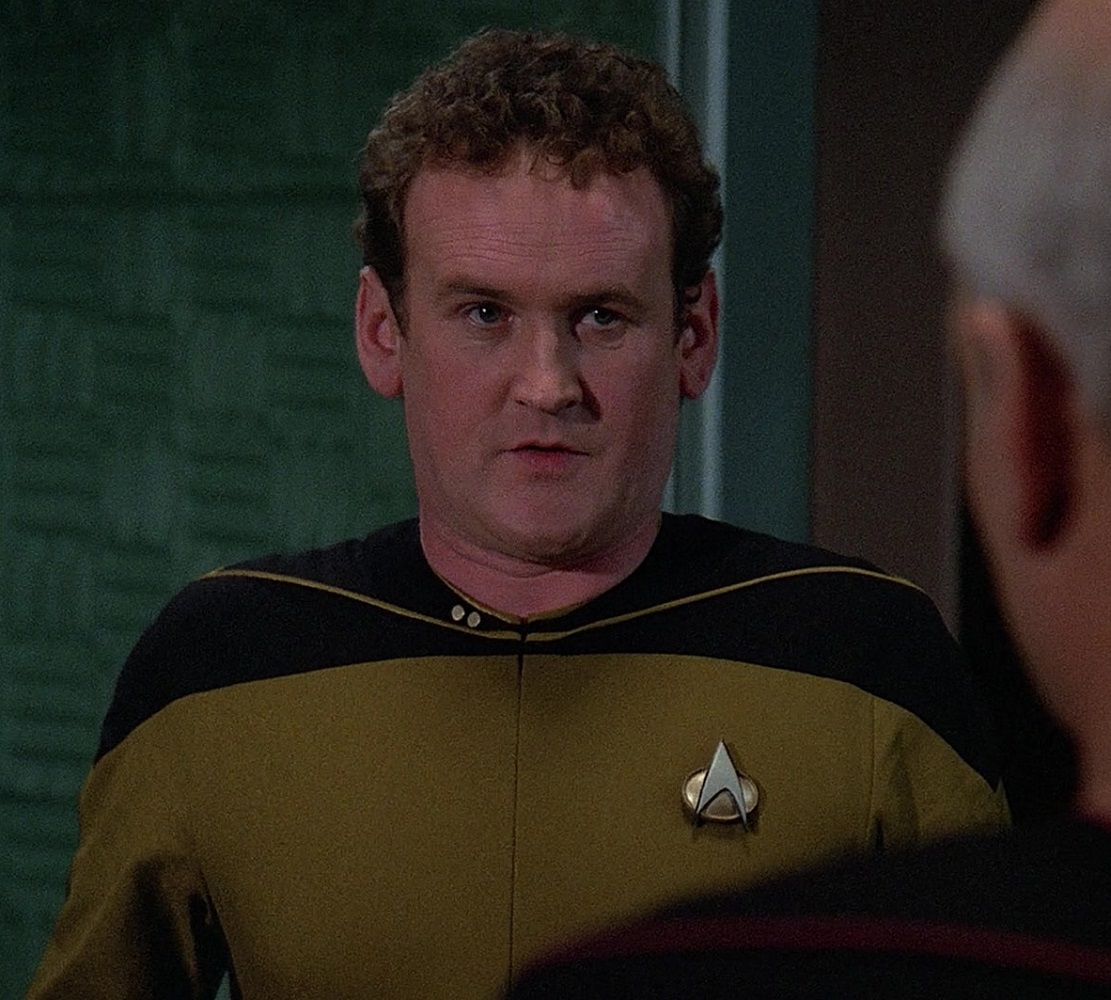
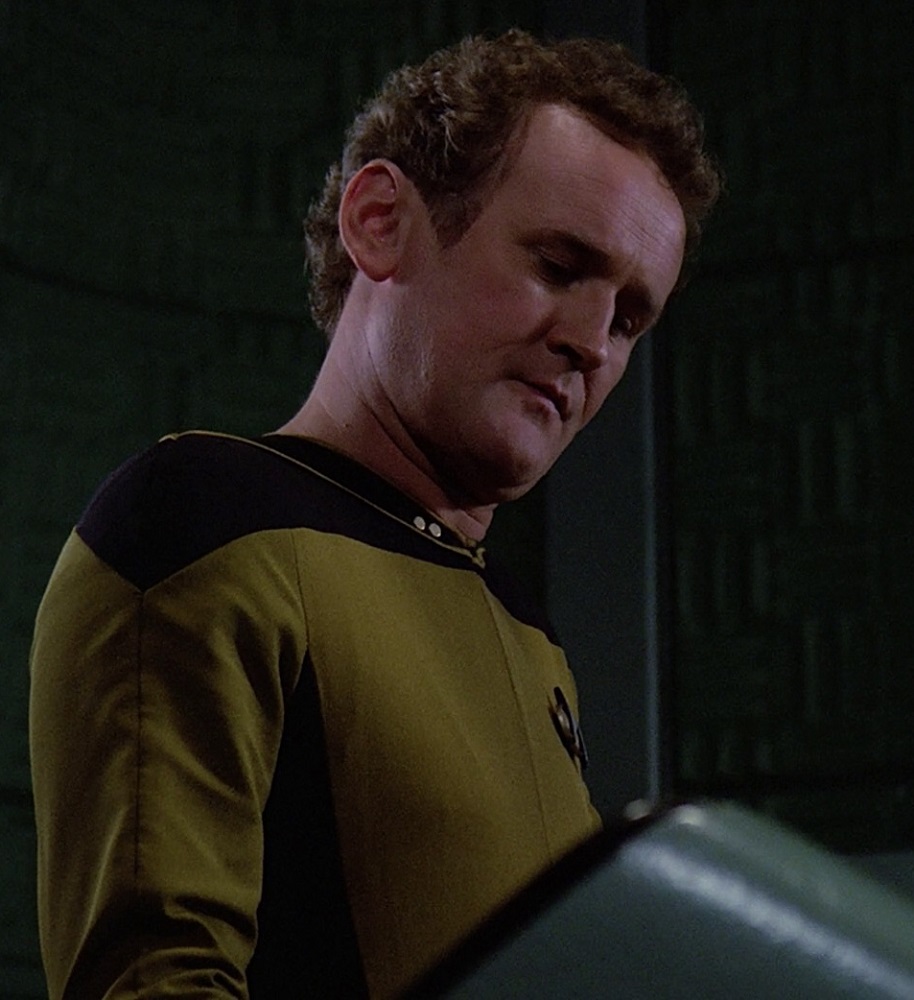
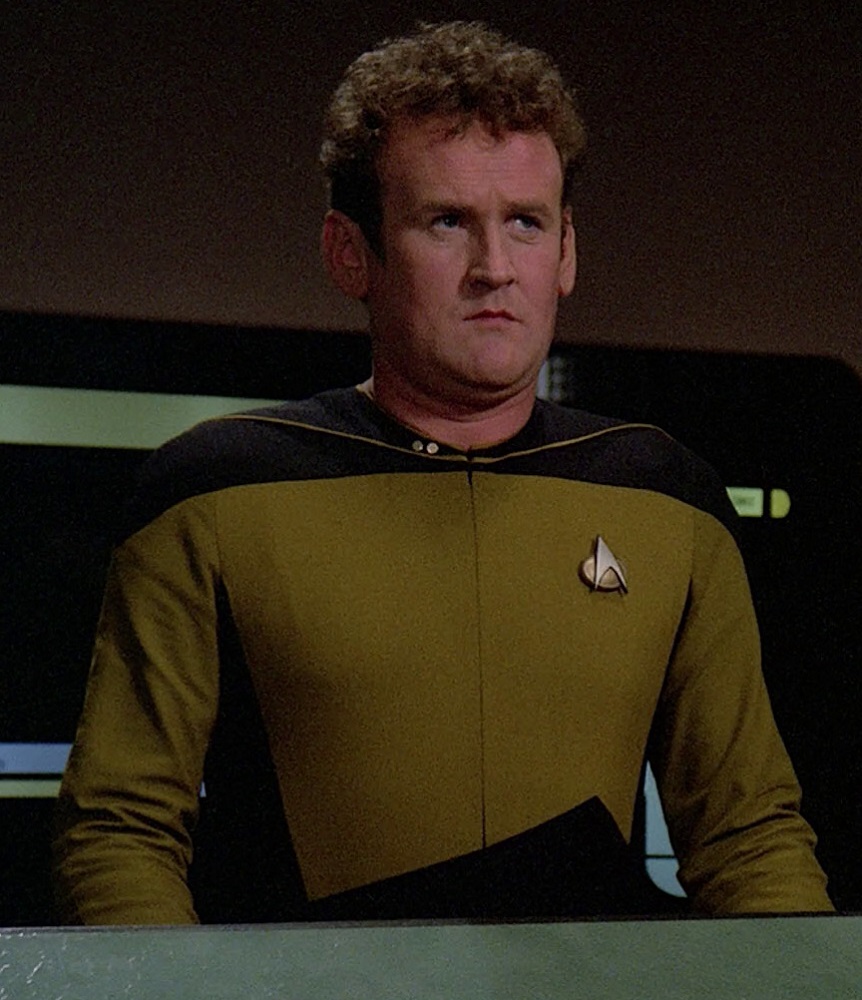
Of course the most notable of these was Chief O’Brien, who became a recurring character in season two.
TNG, 2x1 "The Child"
TNG, 2x2 "Where Silence Has Lease"
TNG, 2x7 "Unnatural Selection"
TNG, 2x8 "A Matter of Honor"
TNG, 2x10 "The Dauphin"
TNG, 2x11 "Contagion"
TNG, 2x12 "The Royale"
TNG, 2x15 "Pen Pals"
TNG, 2x16 "Q Who"
TNG, 2x18 "Up the Long Ladder"
TNG, 2x19 "Manhunt"
TNG, 2x20 "The Emissary"
TNG, 2x22 "Shades of Gray"
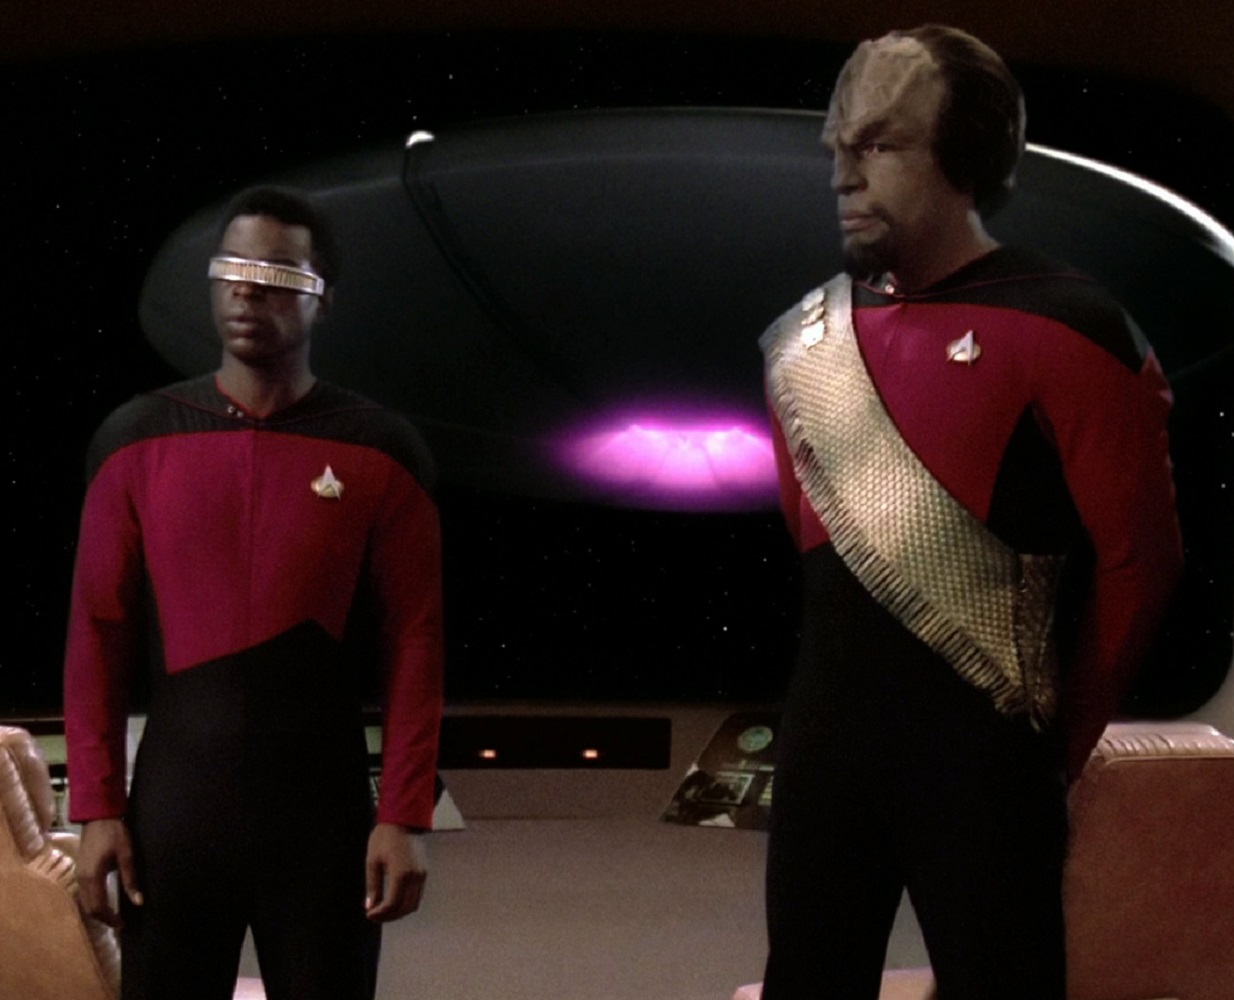
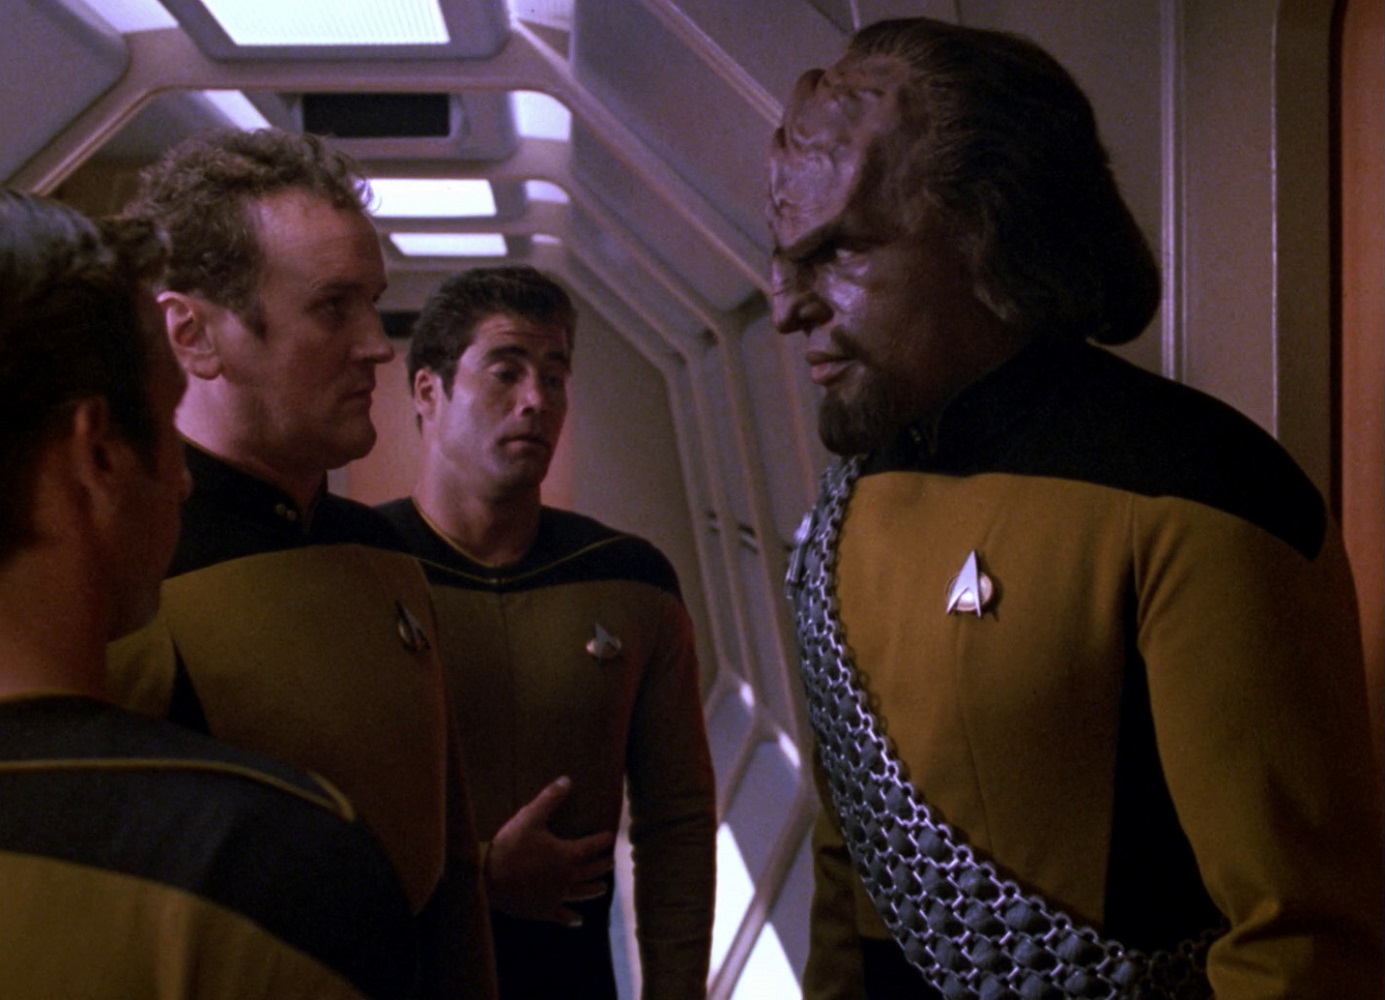
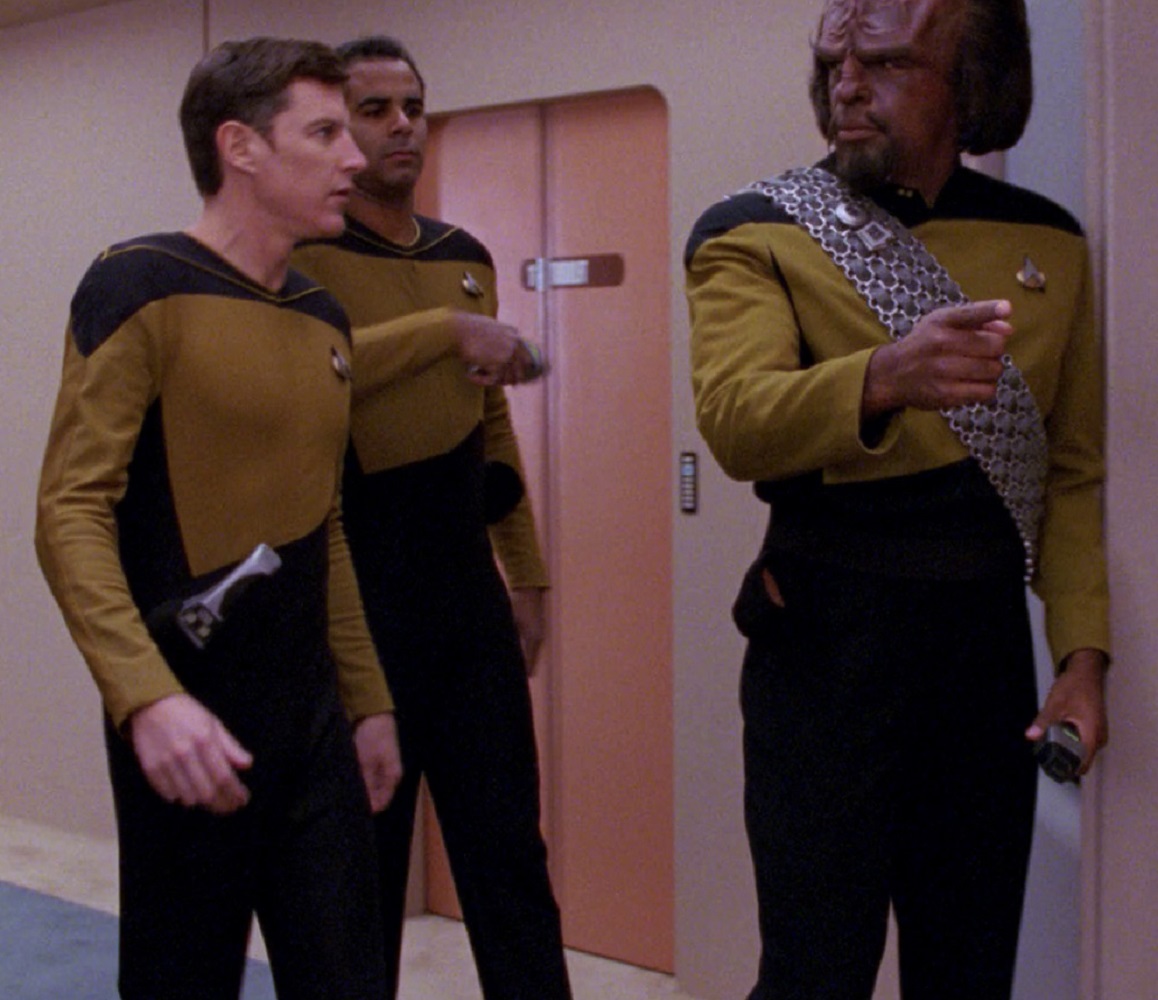
Gold – Tactical and Security
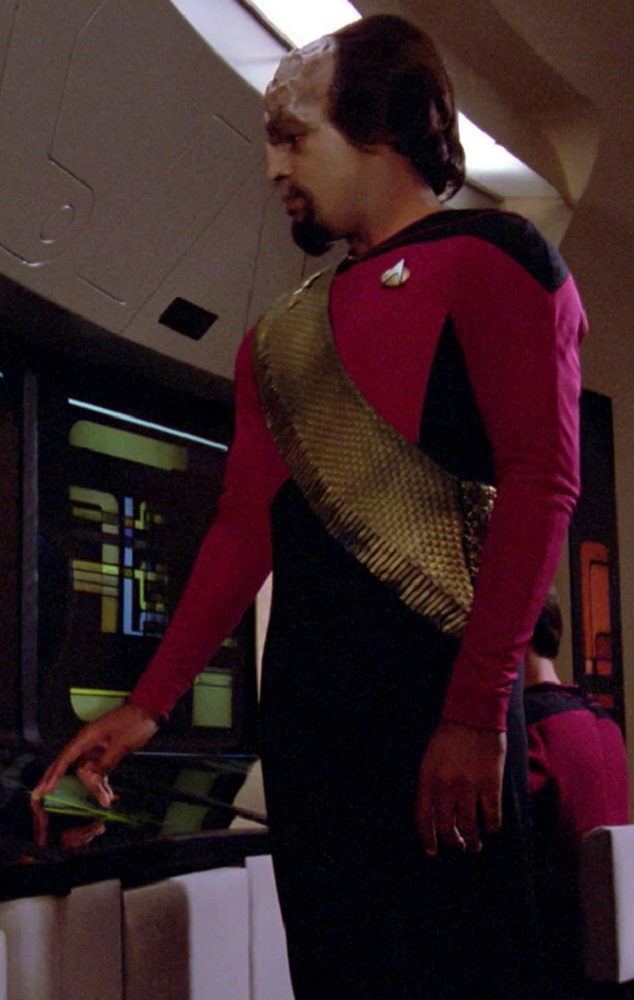
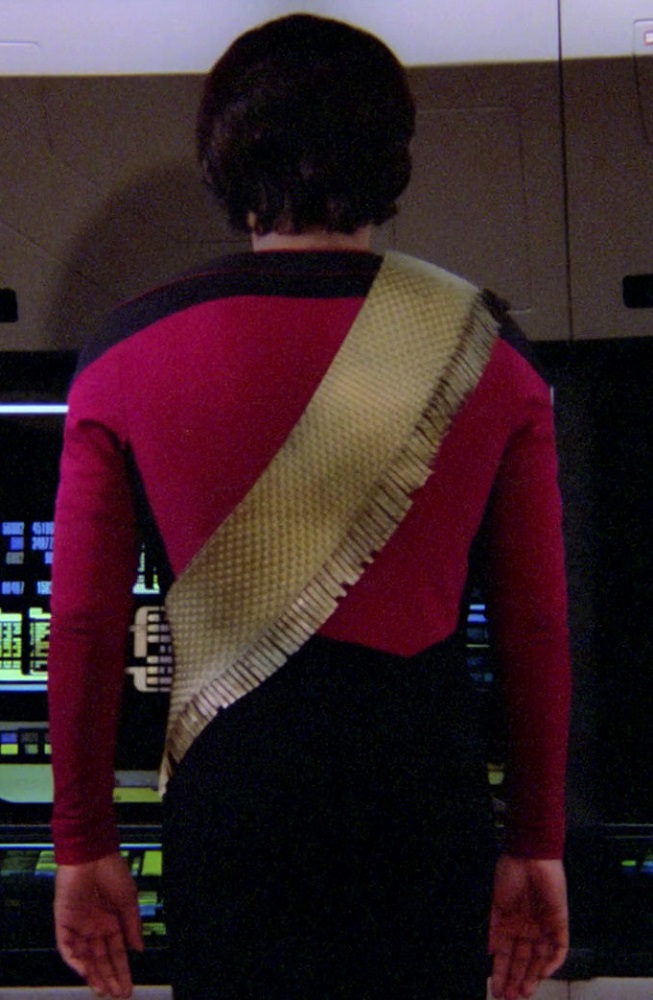
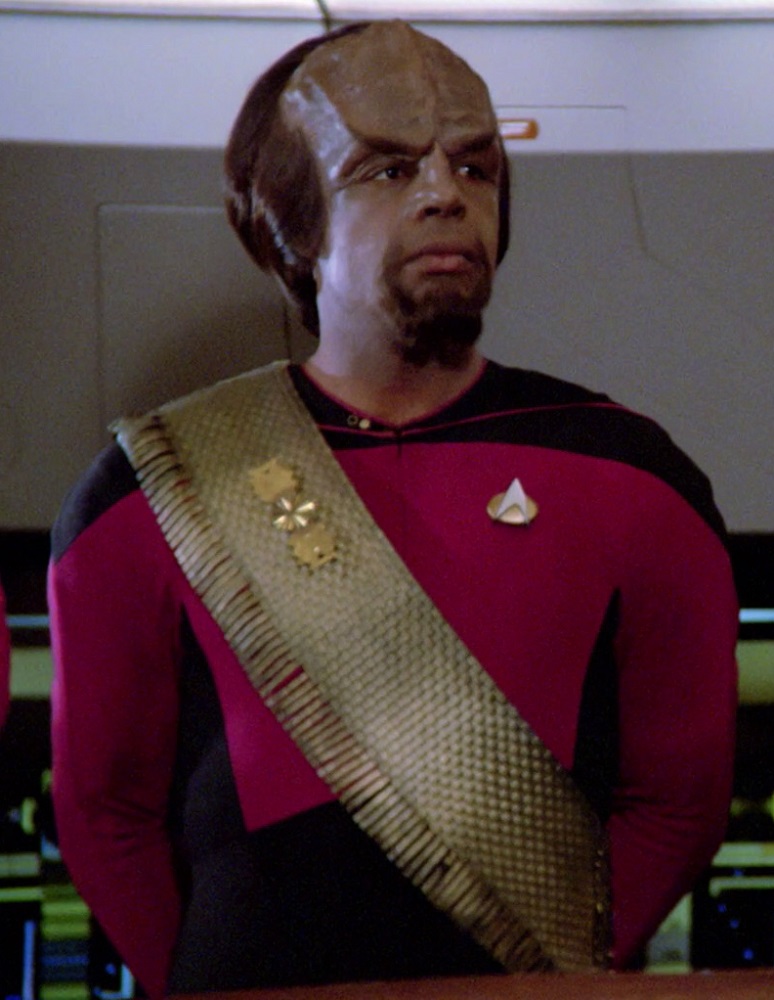
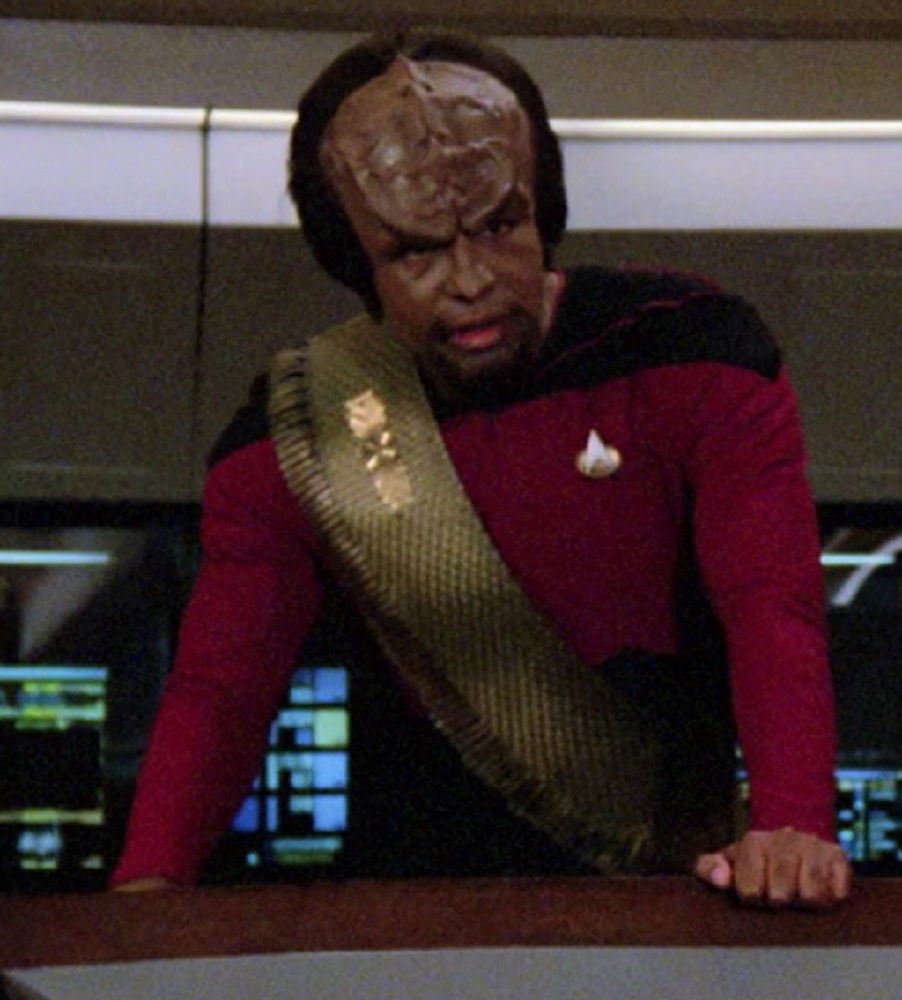
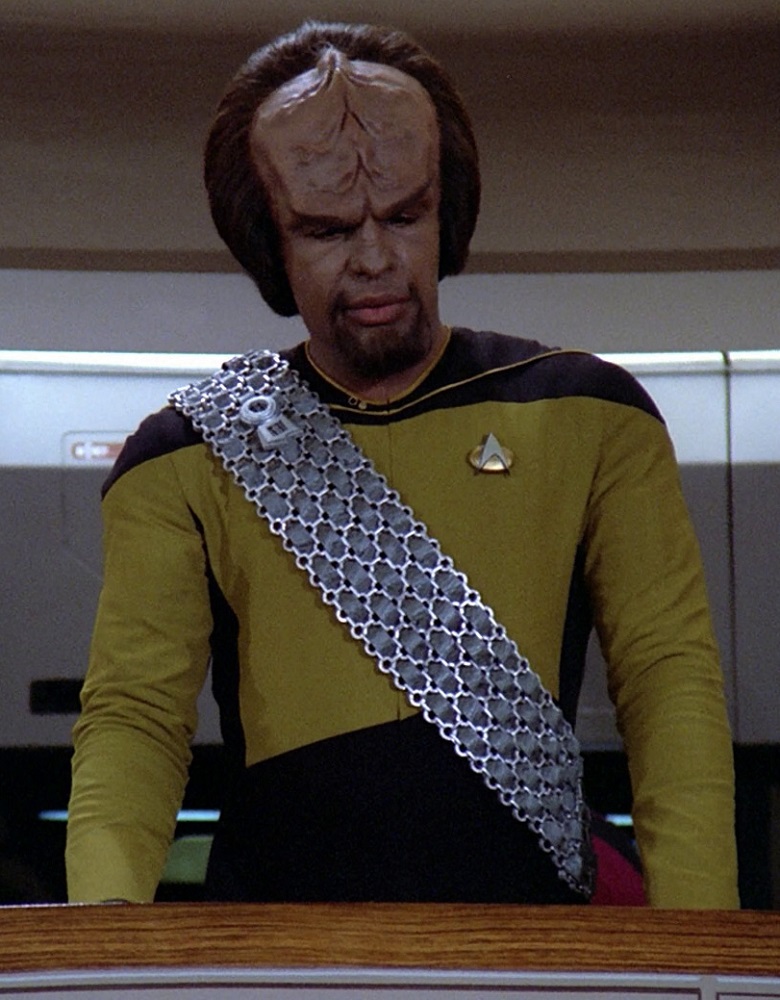
Of course, the quintessential “goldshirts” were the tactical/security personnel – mostly notably Tasha Yar and Worf.
TNG, 1x3 "The Naked Now"
TNG, 2x4 "The Outrageous Okuna"
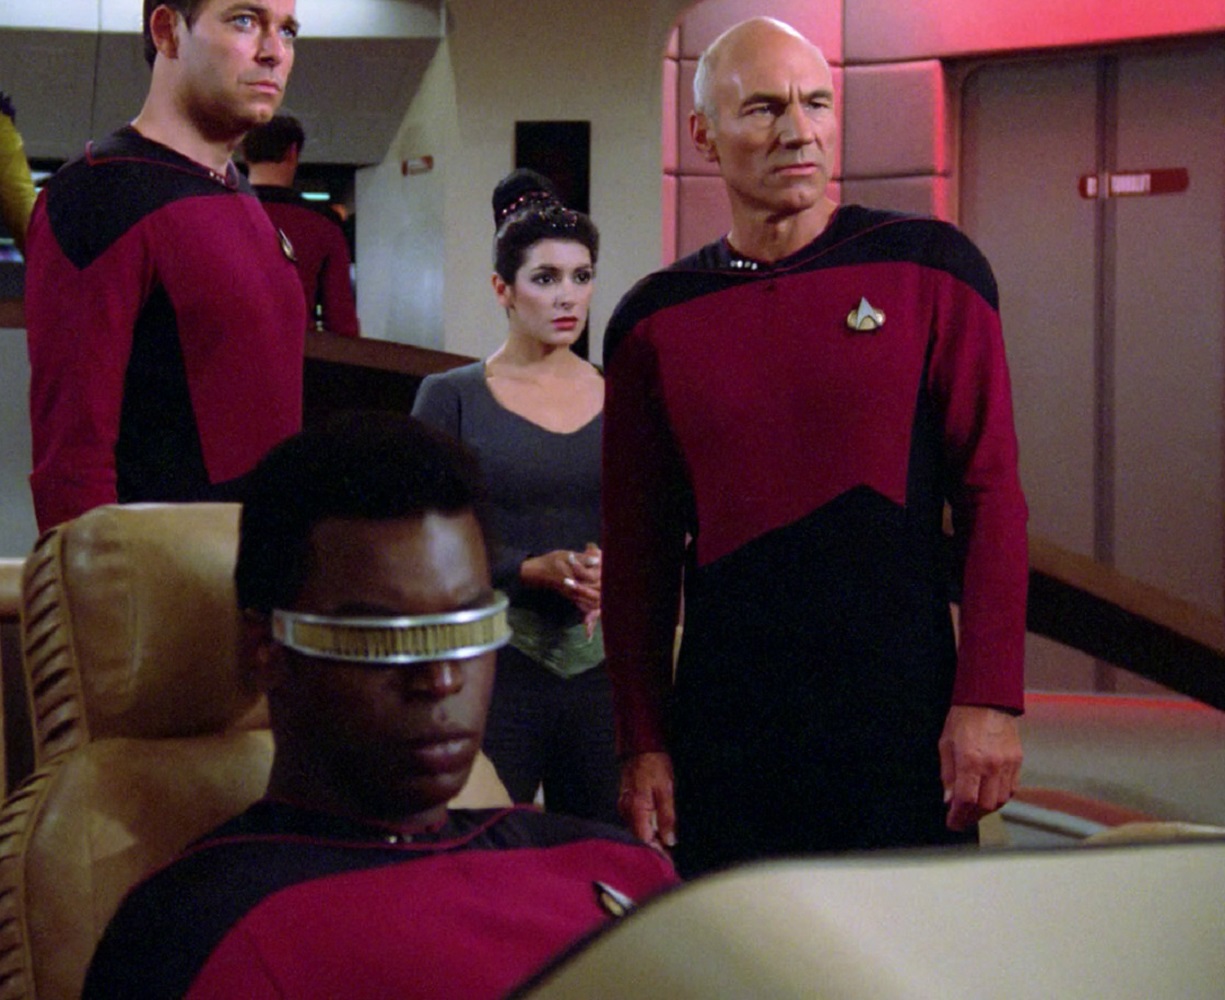
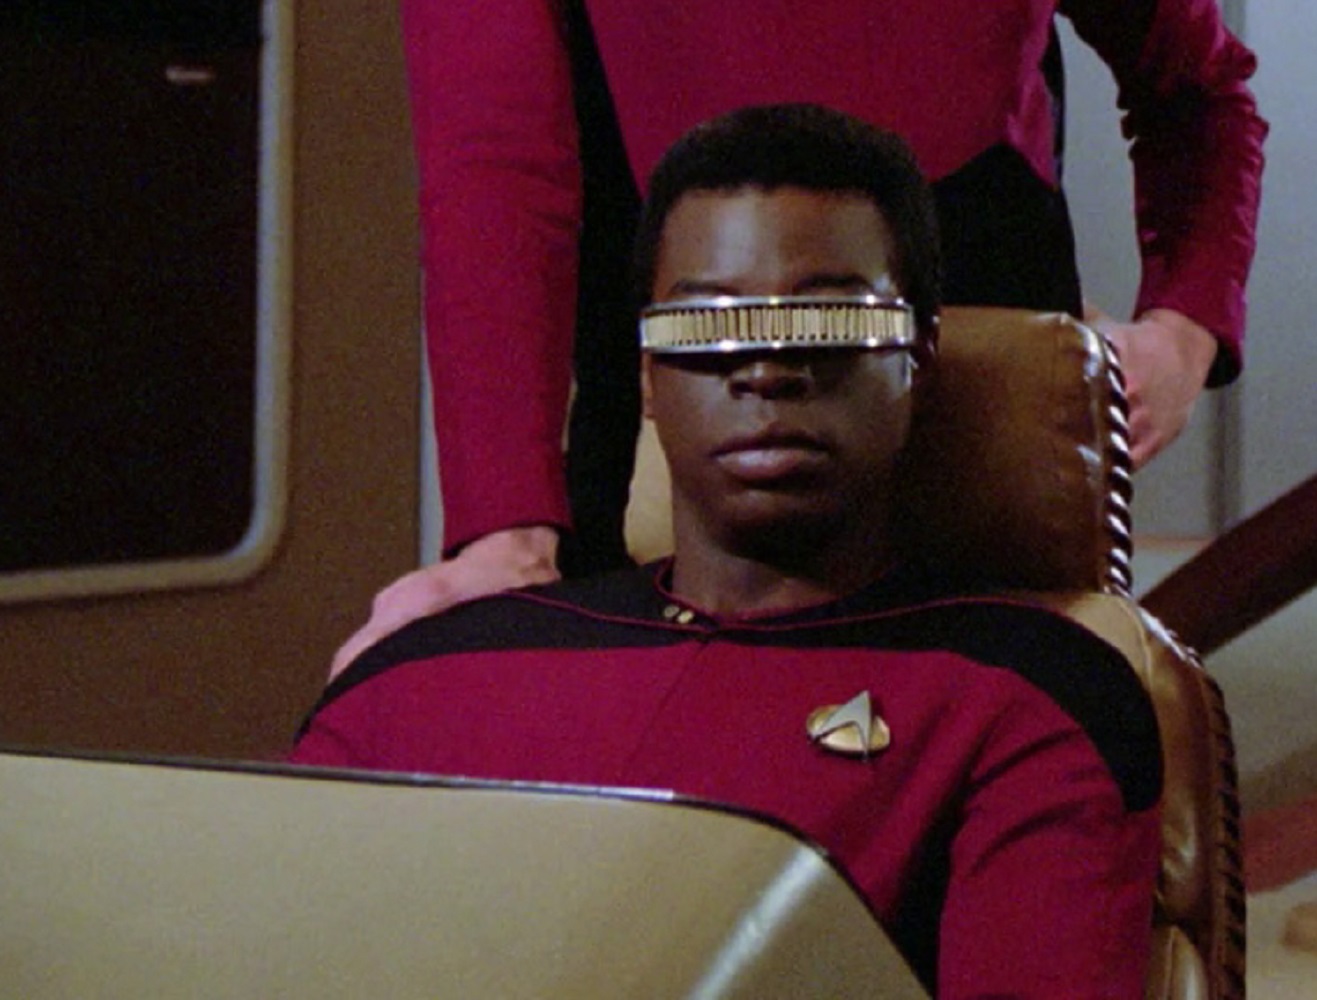
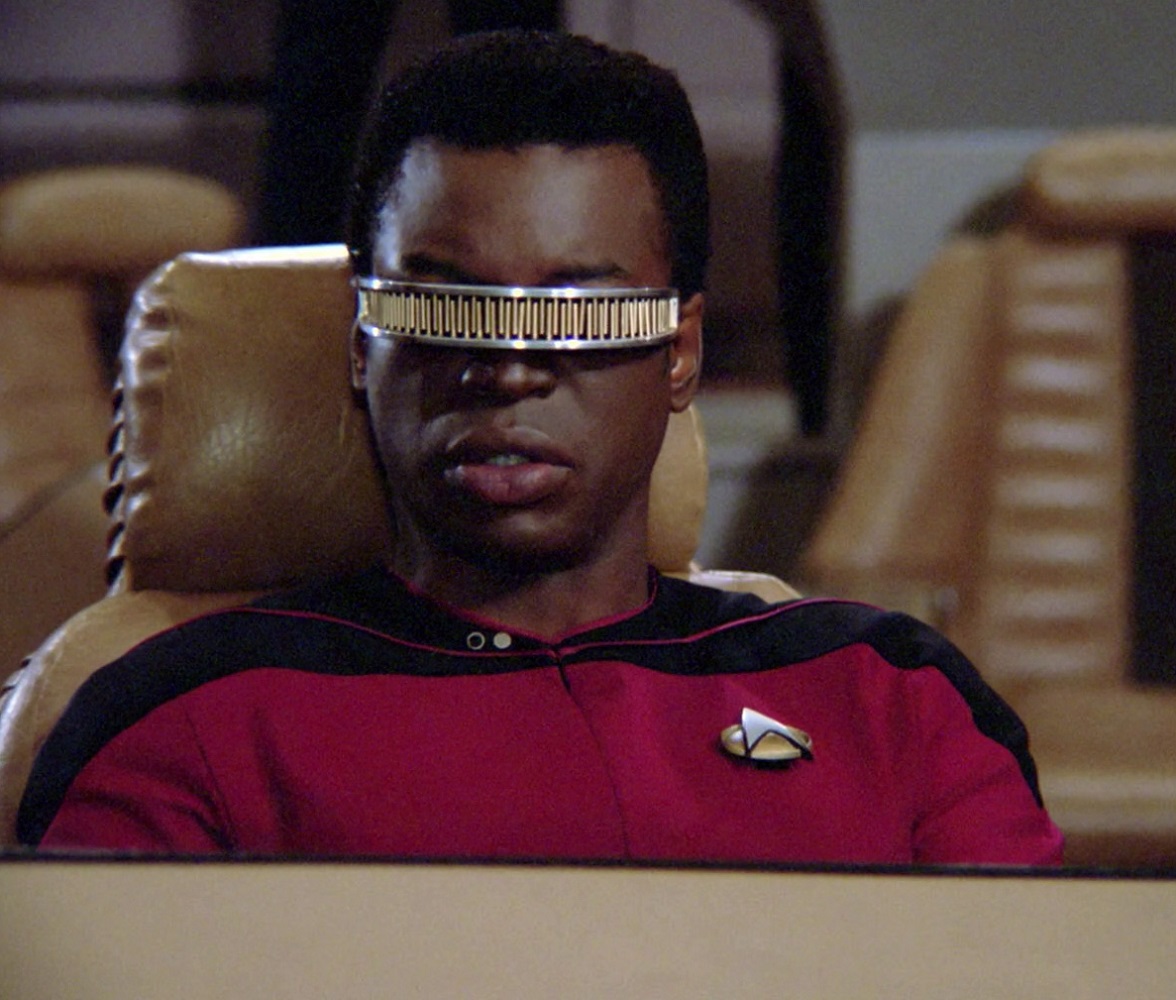
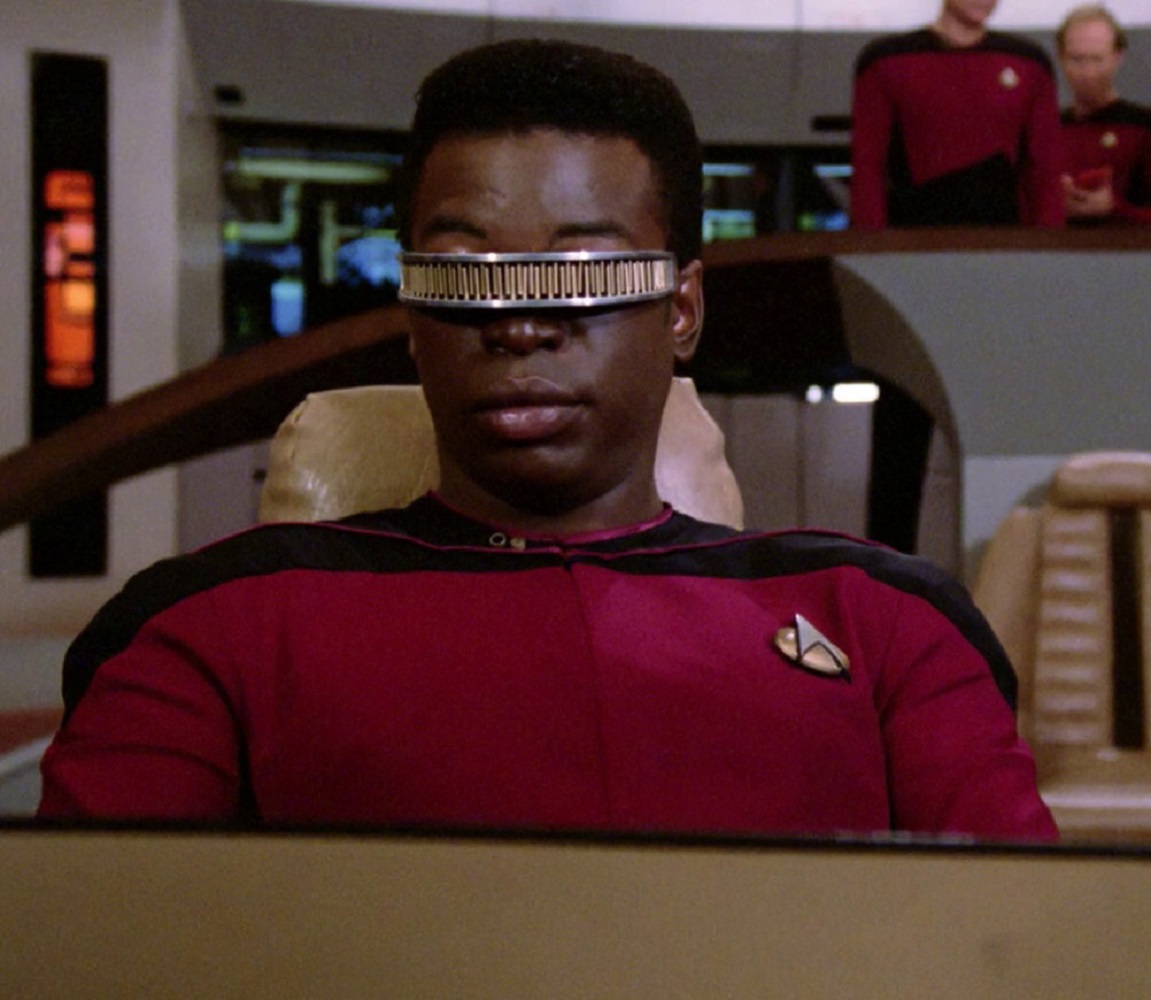
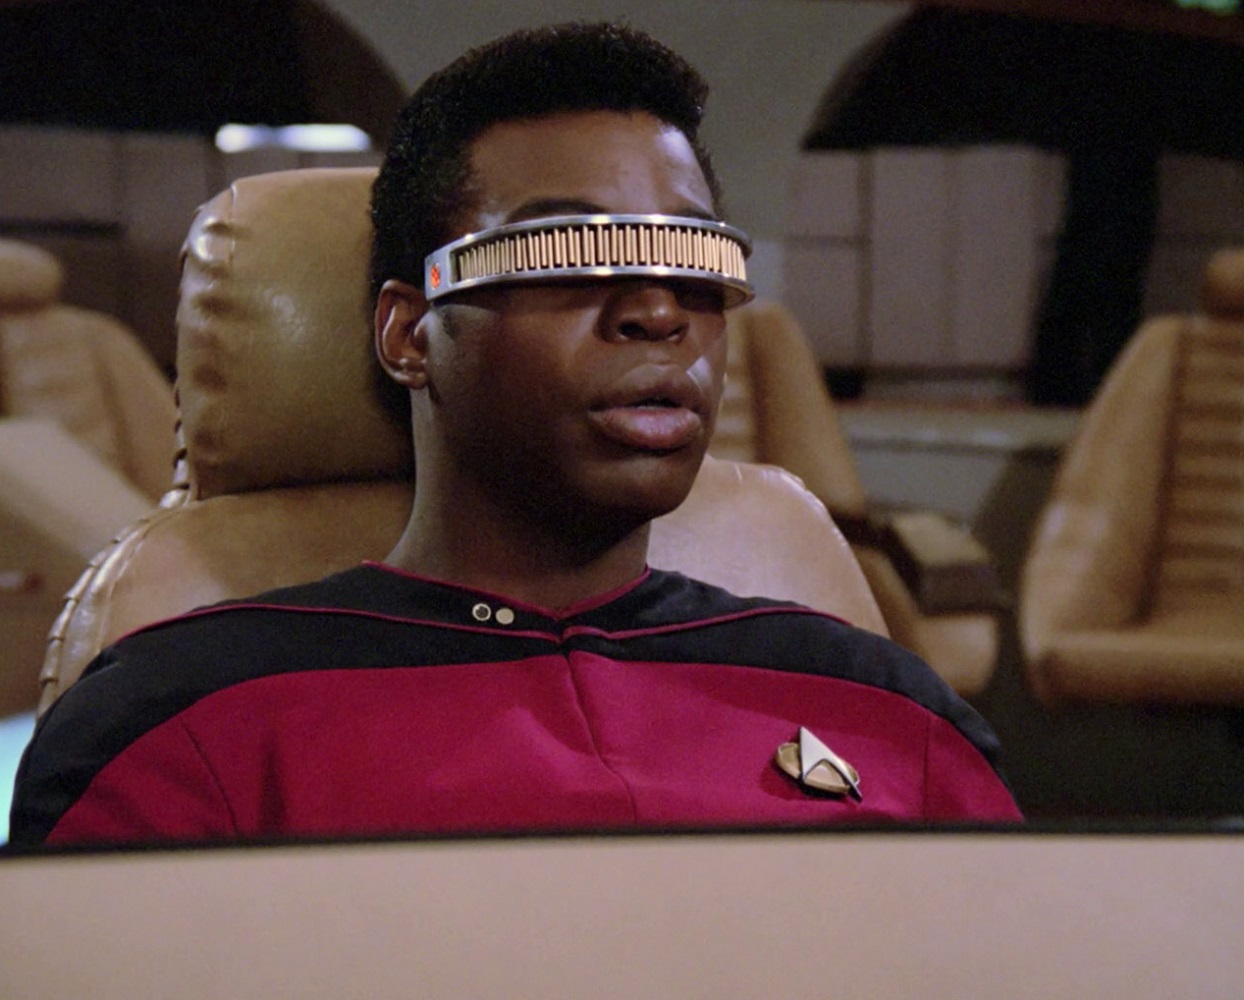
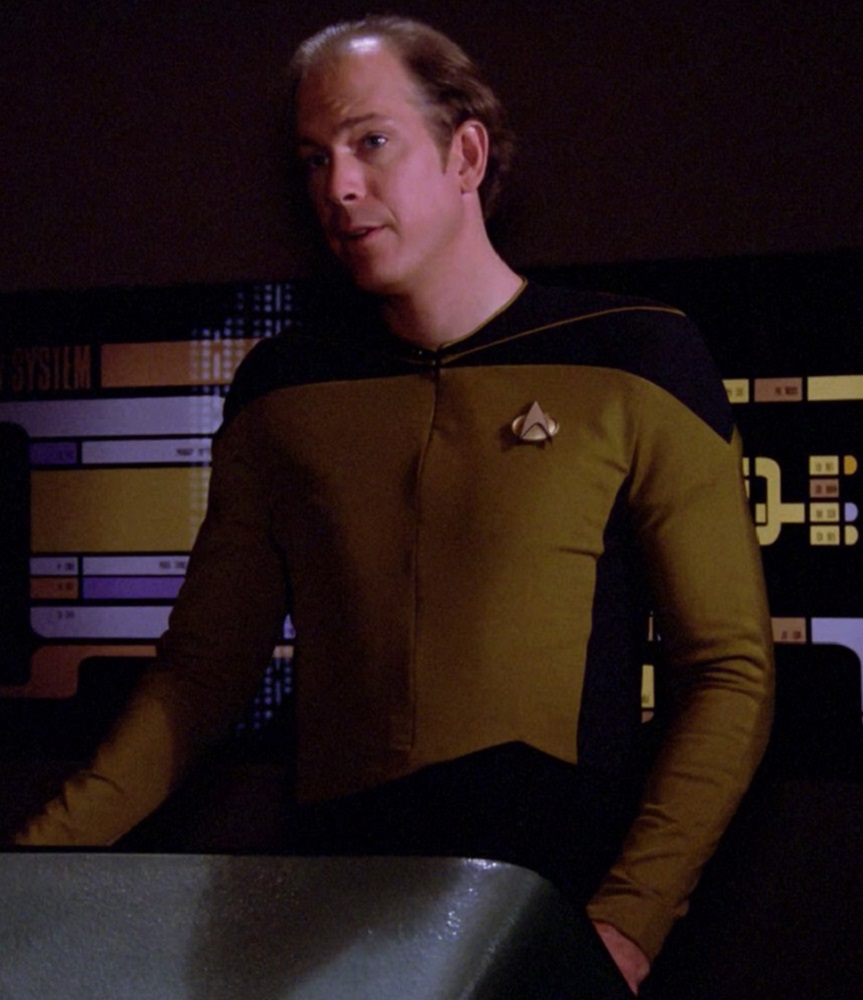
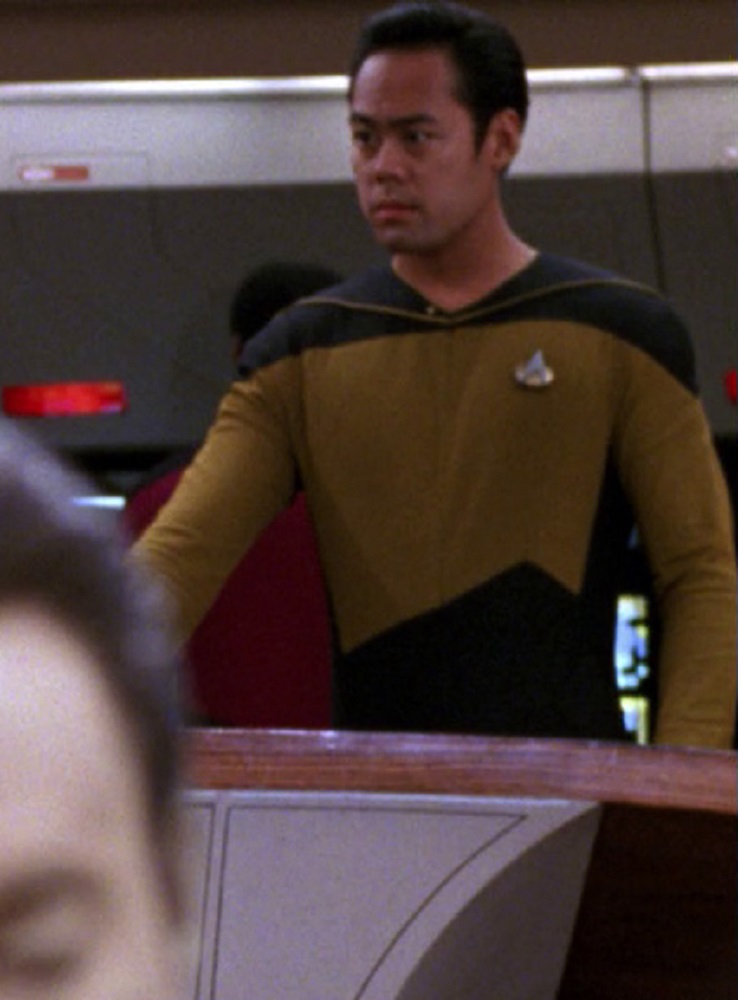
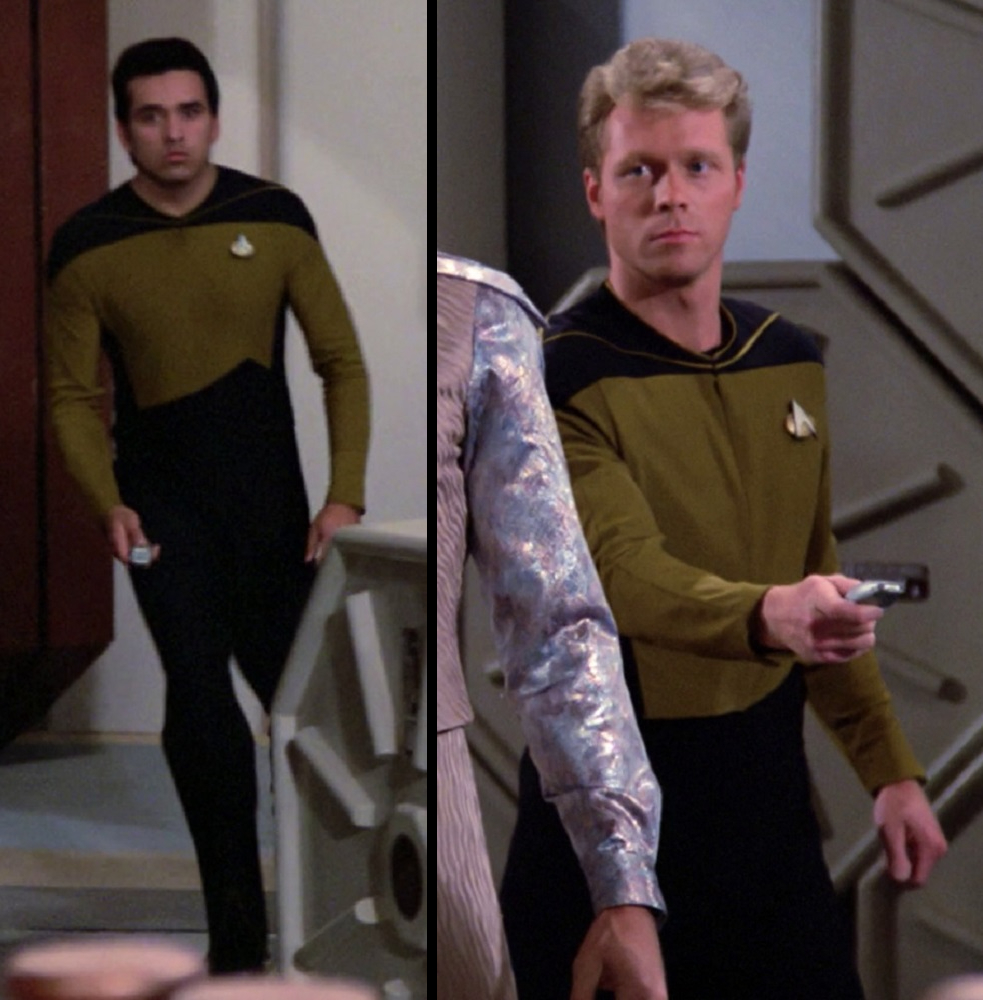
In the absence of Tasha and Worf, the tactical station was usually operated by this fellow, who made multiple appearances throughout the first couple seasons.
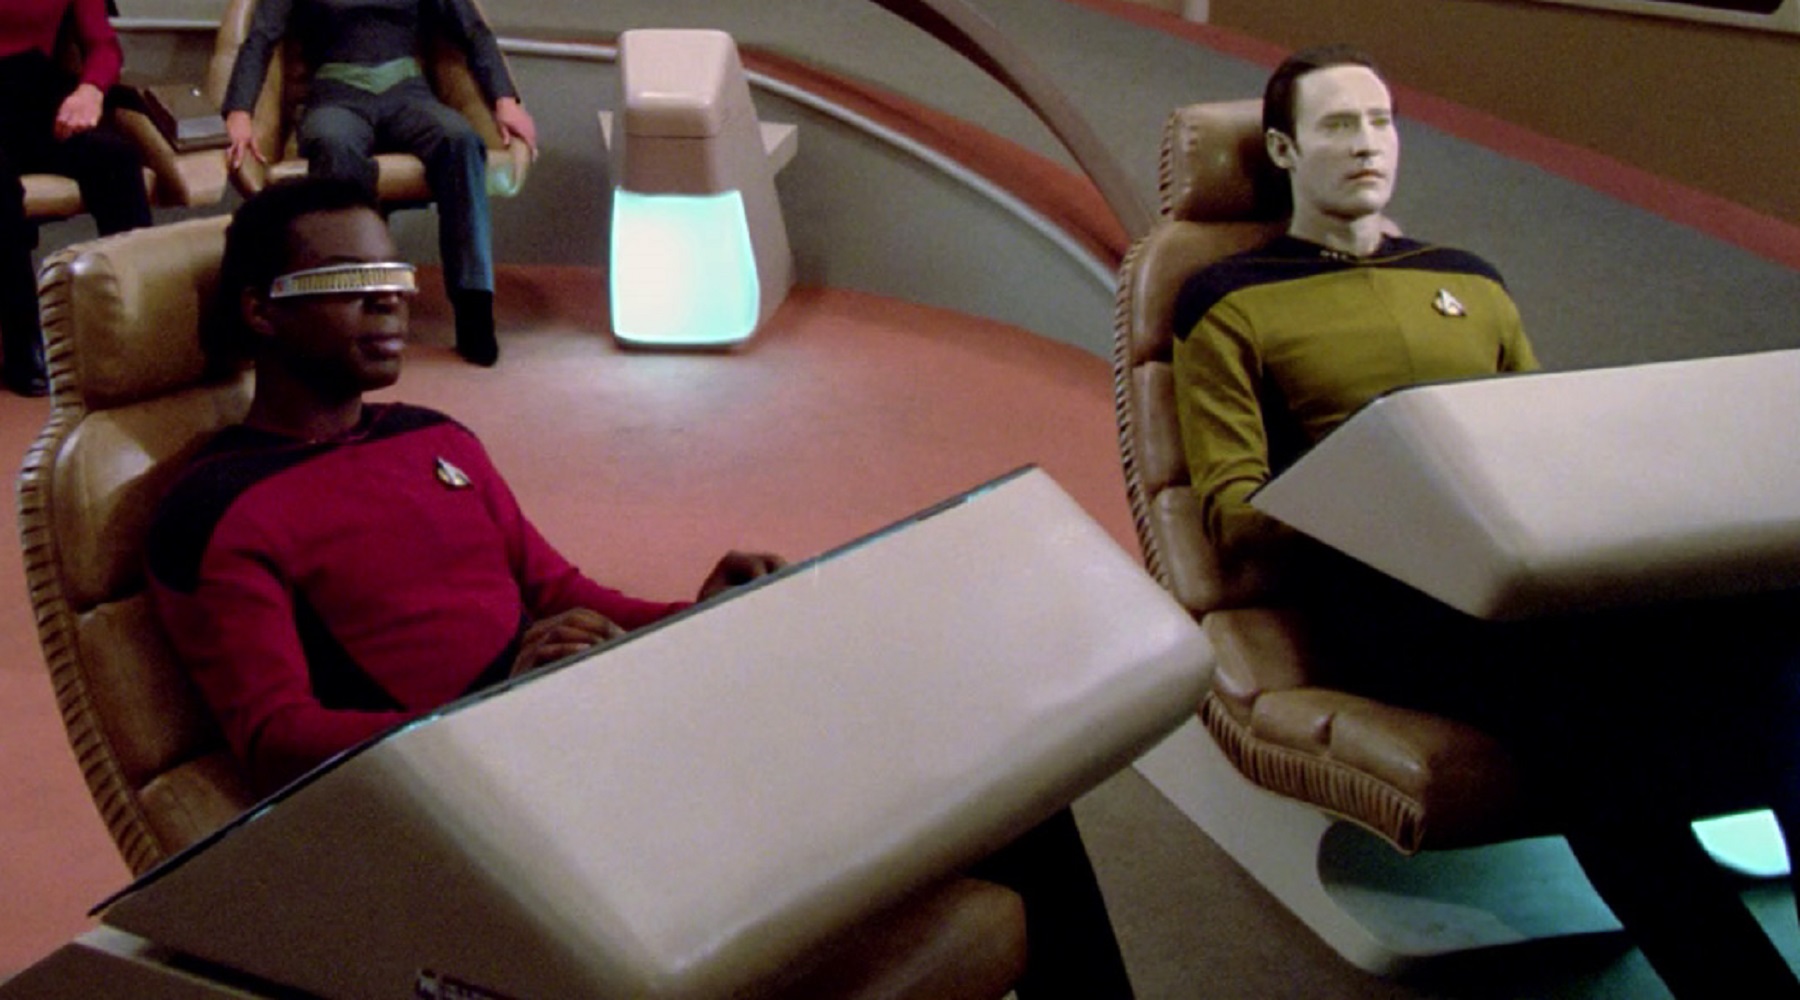
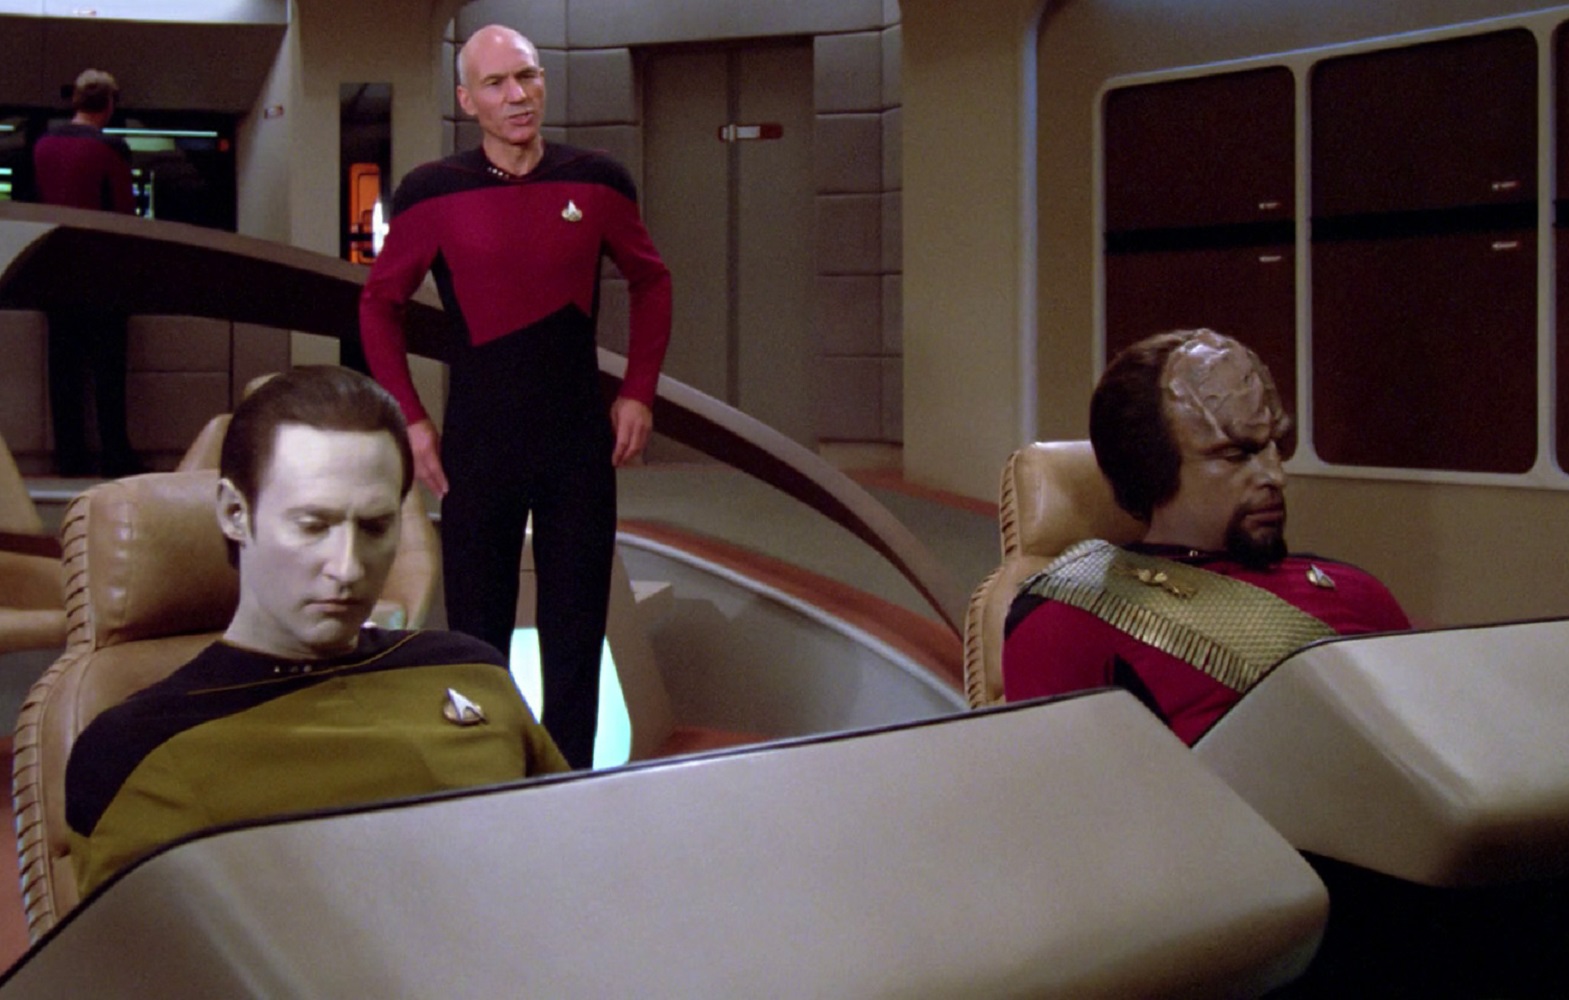
TNG, 1x13 “Datalore”
Several other crew members were seen at the station, though.
TNG, 1x1 "Encounter at Farpoint"
TNG, 1x8 "Justice"
TNG, 2x11 "Contagion"
TNG, 2x20 "The Emissary"
TNG, 2x21 "Peak Performance"
TNG, 3x5 "The Bonding"
TNG, 3x10 "The Defector"
Security officers were tasked with keeping watch of the ship’s brig (and those being held there).
TNG, 3x13 “Deja Q”
TNG, 3x13 “Deja Q”
TNG, 3x22 “The Most Toys”
It was their responsibility to stand guard as Starfleet’s token effort to secure areas, prisoners, etc. – for all the good it ever did.
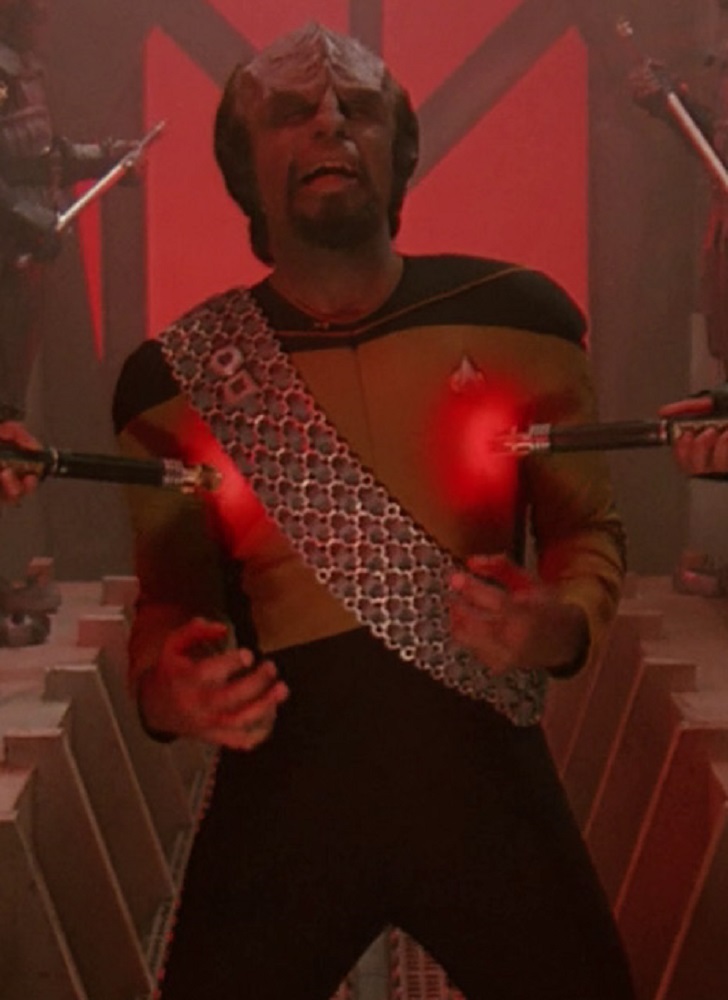
TNG, 1x20 "Heart of Glory"
TNG, 2x10 "The Dauphin"
TNG, 2x18 "Up the Long Ladder"
TNG, 2x19 "Manhunt"
TNG, 3x7 "The Enemy"
TNG, 3x10 "The Defector"
It was also their responsibility to charge into any hostile, dangerous situations that might arise.
TNG, 1x1 “Encounter at Farpoint”
TNG, 1x22 “Symbiosis”
TNG, 1x26 “The Neutral Zone”
TNG, 2x10 “The Dauphin”
TNG, 3x11 “The Hunted”
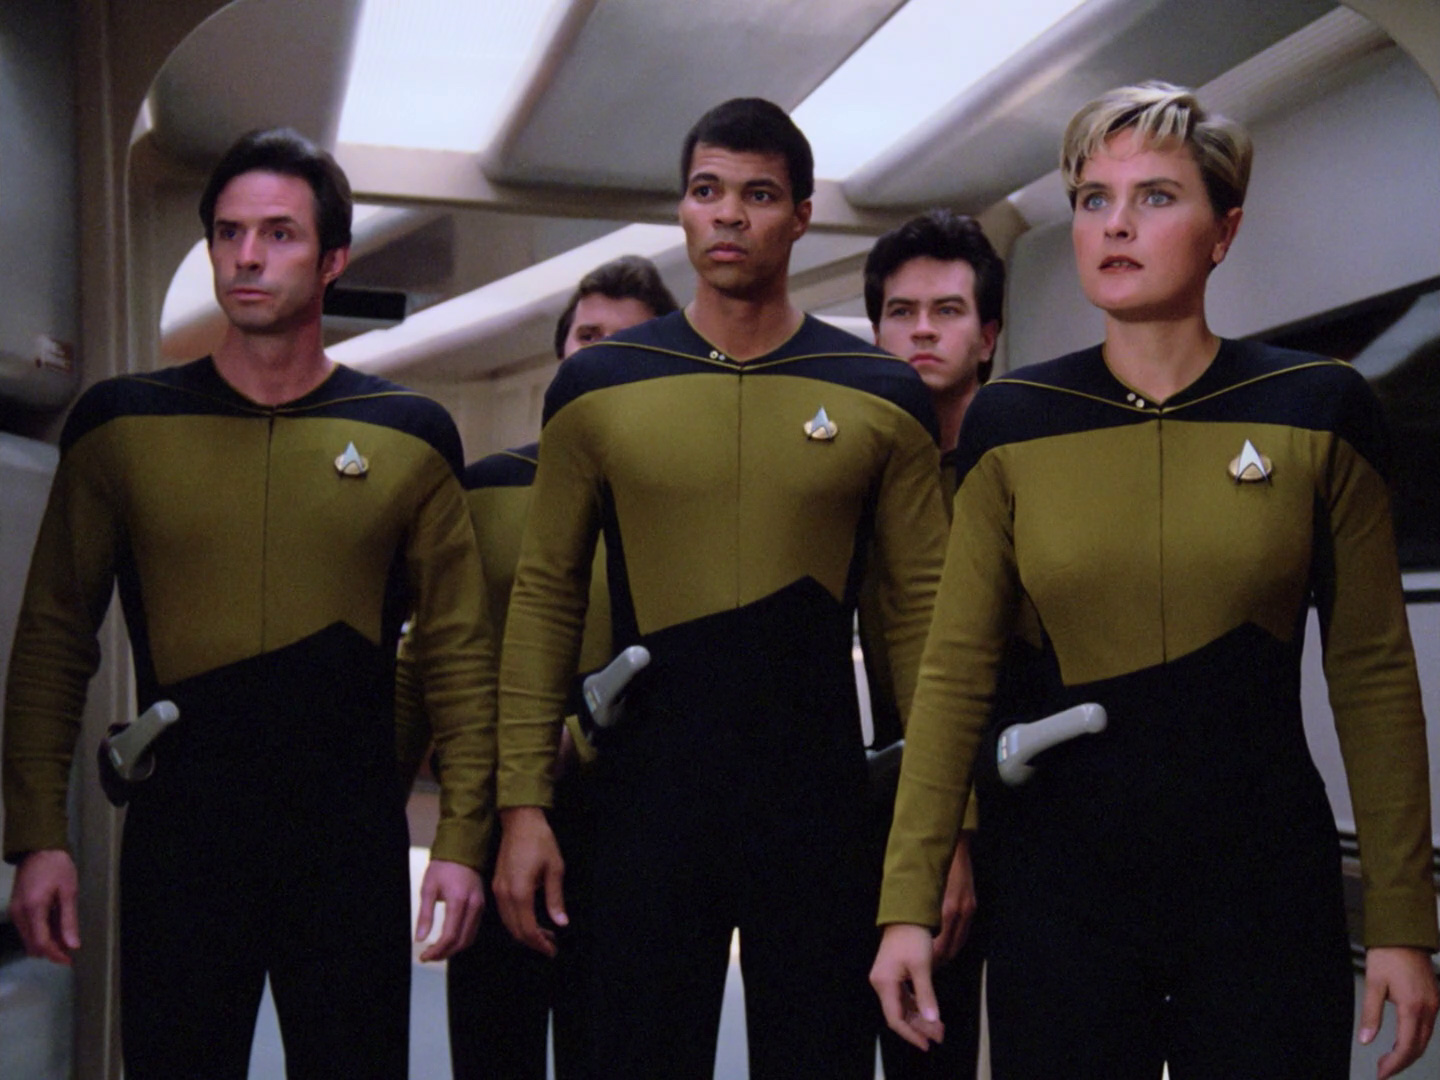
In particularly serious situations, both Tasha and Worf were usually flanked by a possy of “goldshirts.”
TNG, 1x20 “Heart of Glory”
TNG, 2x1 “The Child”
TNG, 3x5 “The Bonding”
TNG, 3x11 “The Hunted”
Goldshirts!
By extension, the “goldshirt” claim to fame was to be cannon fodder; with TNG, gold was the new red!
Main characters would probably manage to survive, but their lives would be fraught with dangerous and painful encounters.
TNG, 1x1 “Encounter at Farpoint”
TNG, 1x7 “Lonely Among Us”
TNG, 1x8 “Justice”
TNG, 2x11 “Contagion”
TNG, 2x13 “Time Squared”
TNG, 2x14 “The Icarus Factor”
For example, consider poor Geordi, as a “redshirt” he’d made it through the first season relatively unscathed and none the worse for wear, but once he switched to a “goldshirt” his life immediately took a rough turn.
He was assaulted by a powerful android, held hostage who repeatedly shot him at point blank range, and even his own ship tried to kill him!
TNG, 2x6 “The Schizoid Man”
TNG, 2x17 “Samaritan Snare”
TNG, 2x11 “Contagion”
Of course, Main Character Status didn’t always protect “goldshirts” from biting the dust.
TNG, 1x23 “Skin of Evil”
Nameless “goldshirts” were like lightning rods to enemy fire, exploding consoles, and physical harm in general.
TNG, 1x7 “Lonely Among Us”
TNG, 1x20 “Heart of Glory”
TNG, 1x25 "Conspiracy"
TNG, 2x16 "Q Who"
TNG, 3x11 “The Hunted”
TNG, 3x12 “The High Ground”
When the Pegasus was found, the ship was littered with “goldshirts” …
TNG, 7x12 “The Pegasus”
Basically, if you were a “goldshirt” and the worst thing you experienced was spilling a hot drink on yourself and your captain, it was a good day.
TNG, 2x16 “Q Who”
Lore may have been brilliant and ruthless, but he did make one critical mistake: he made himself a “goldshirt,” and look what happened to him …
TNG, 1x13 “Datalore”
Even though “the curse of the redshirt” was mostly deflected toward the “goldshirts” of the TNG-era, the reality was that both division colors were hazardous.
It’s like some fundamental wiring of the universe was crisscrossed with the color swap, and the universe sometimes couldn’t quite decide who to kill off to prove the situation was serious punish.
For example, one time armed terrorists beamed onto the Enterprise, intending to destroy it with all hands aboard.
Geordi managed to prevent the explosion in time (because he’s awesome), but the first and only two people to be shot in the attack were a “redshirt” and “goldshirt,” respectively.
TNG, 3x12 “The High Ground”
Passing the baton, Star Trek style!
As a final example of the power of this curse, consider the case of Q:
A seemingly omnipotent superbeing intentionally donned both the “redshirt” and the “goldshirt” – an act which, knowing Q, may have sprung from boredom so he wanted to tempt Fate a little.
TNG, 1x1 “Encounter at Farpoint”
TNG, 1x10 “Hide and Q”
The next time we saw Q he was the cosmic equivalent of homeless, having been expelled from the Q Continuum, now alone and directionless in the universe – or so he claimed.
Undaunted, Q donned the “redshirt” again, but this was apparently just too much for the universe to let pass.
TNG, 2x16 “Q Who”
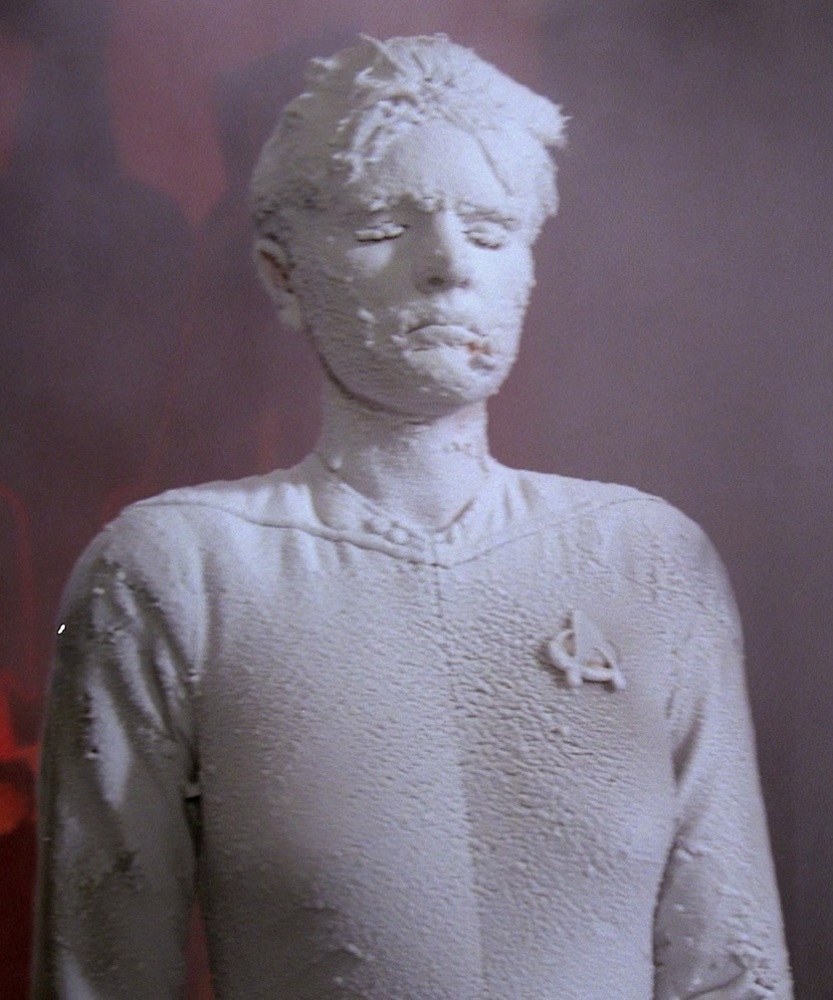
The next time we saw Q he had been stripped of all his powers and was condemned to a mortal, human existence.
He was forced to seek refuge from those who resented him – appearing vulnerable, humiliated, without even the luxury of clothing to cover his now-mortal form.
He was almost immediately thrown in the brig, where he experienced the terror of “losing consciousness” (falling asleep) for the first time, then later experienced hunger and back pain.
Seeking any form of consolation, Q visited Ten Forward to binge on some comfort food, where he was savagely stabbed in the hand by one of the gentlest, most patient beings in the universe.
Before he’d even shaken it off the first attempt was made on his life, which left an old adversary standing over him gloating about “how the mighty have fallen.”
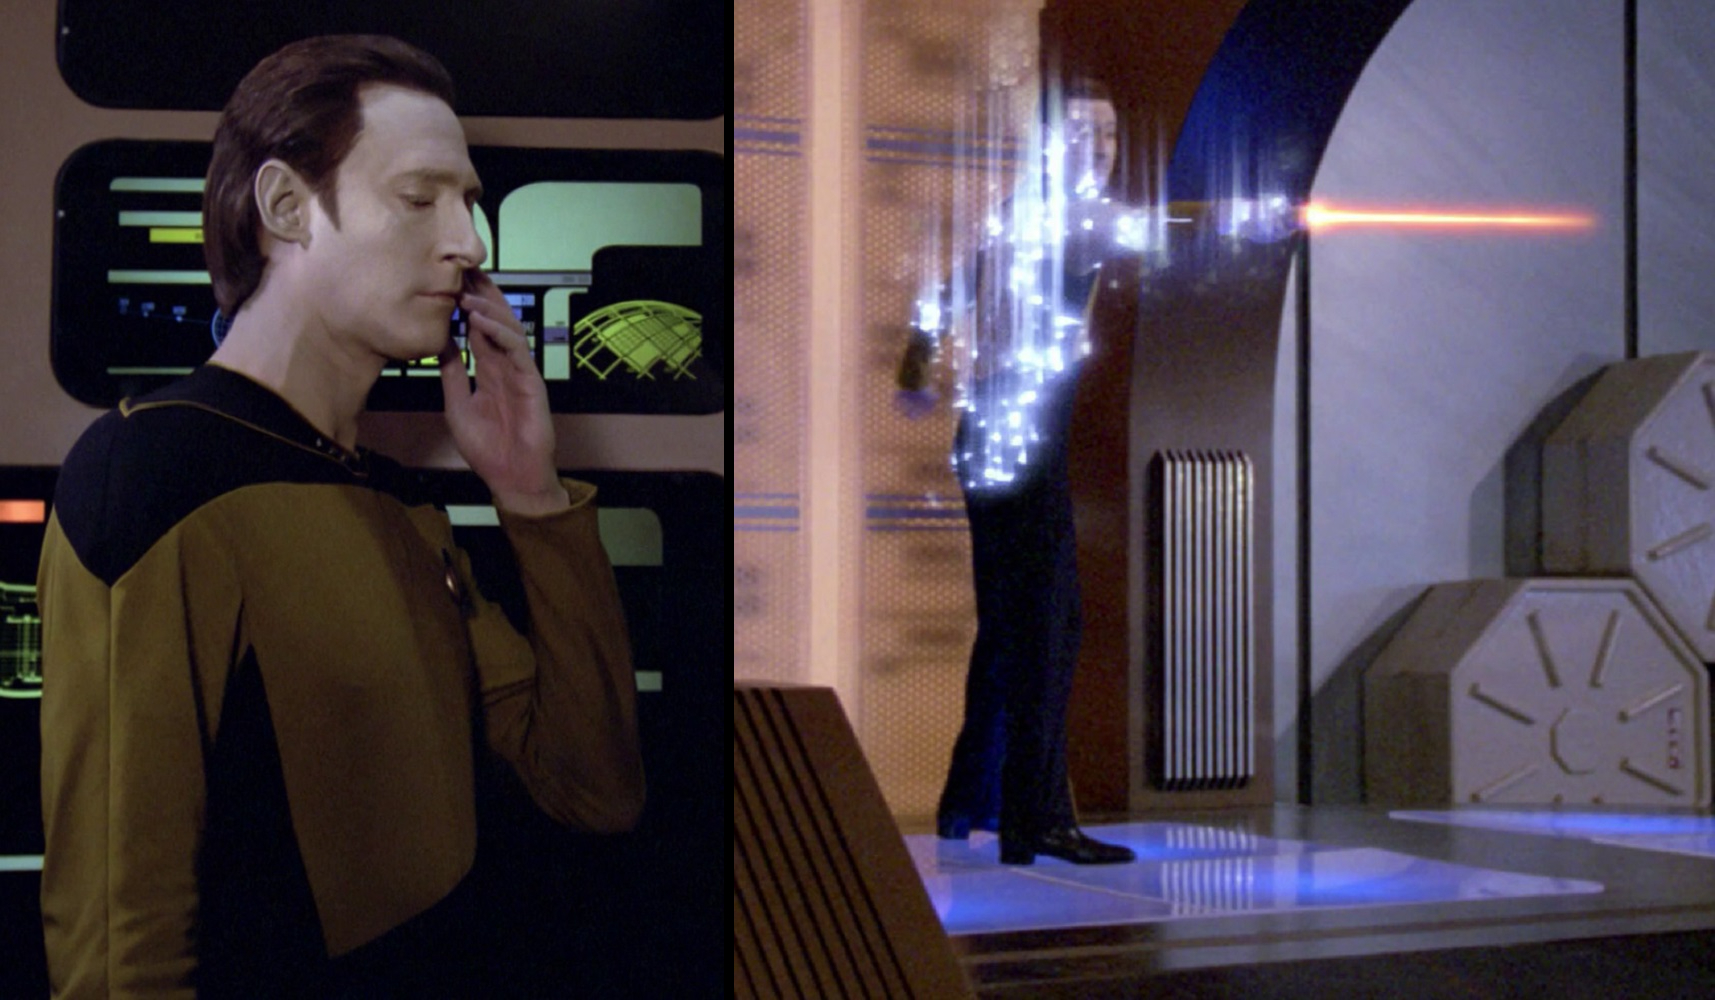
TNG, 3x13 "Deja Q"
After having barely survived another assault, a depressed Q admitted to Captain Picard that he was ashamed of who he was.
Having hit rock bottom and in a fit of despair, he ultimately attempted to commit suicide as a means to end his misery.
TNG, 3x13 "Deja Q"
If left to his own devices, even Q – an omnipotent superbeing – may have been defeated by the combined might of the old “redshirt” and new “goldshirt” curses …
But another member of the Q Continuum stepped in at the last second, saved him, and restored his powers.
Q had meddled with powers perhaps even beyond his own, but he’d nevertheless prevailed – if only just.
After that experience he continued to wear the “red shirt” for nearly all of his subsequent appearances – maybe as his own way of thumbing his nose at the universe, or perhaps as a badge of honor? Or maybe he was just playing it safe by avoiding the “gold shirt.”
Regardless, I think an omnipotent superbeing having barely survived the consequences of wearing the “redshirt” and “goldshirt” attests to the power of the corresponding curse.
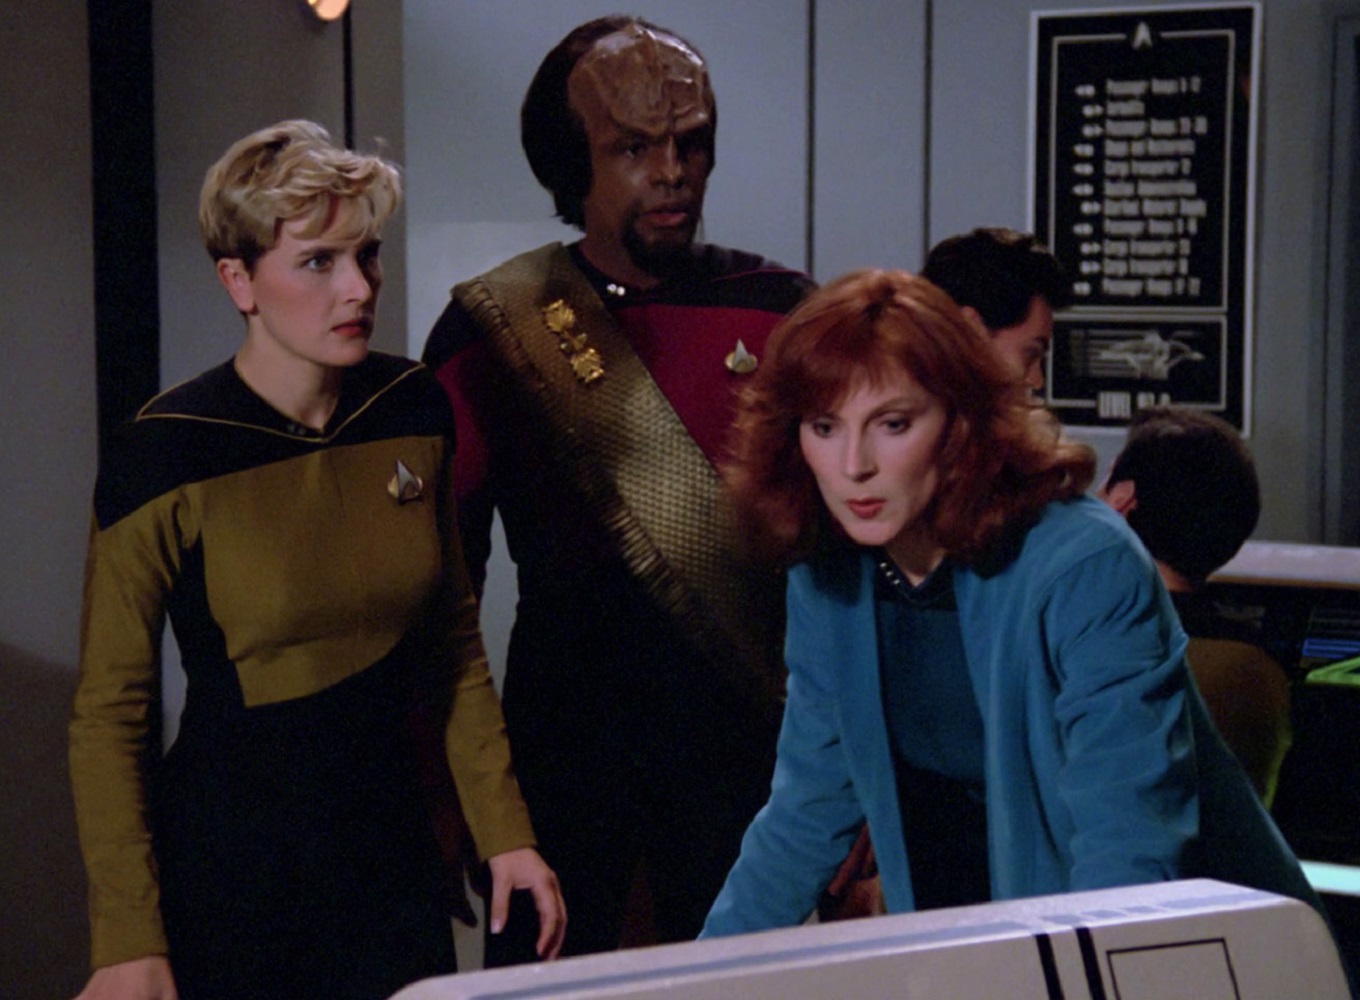
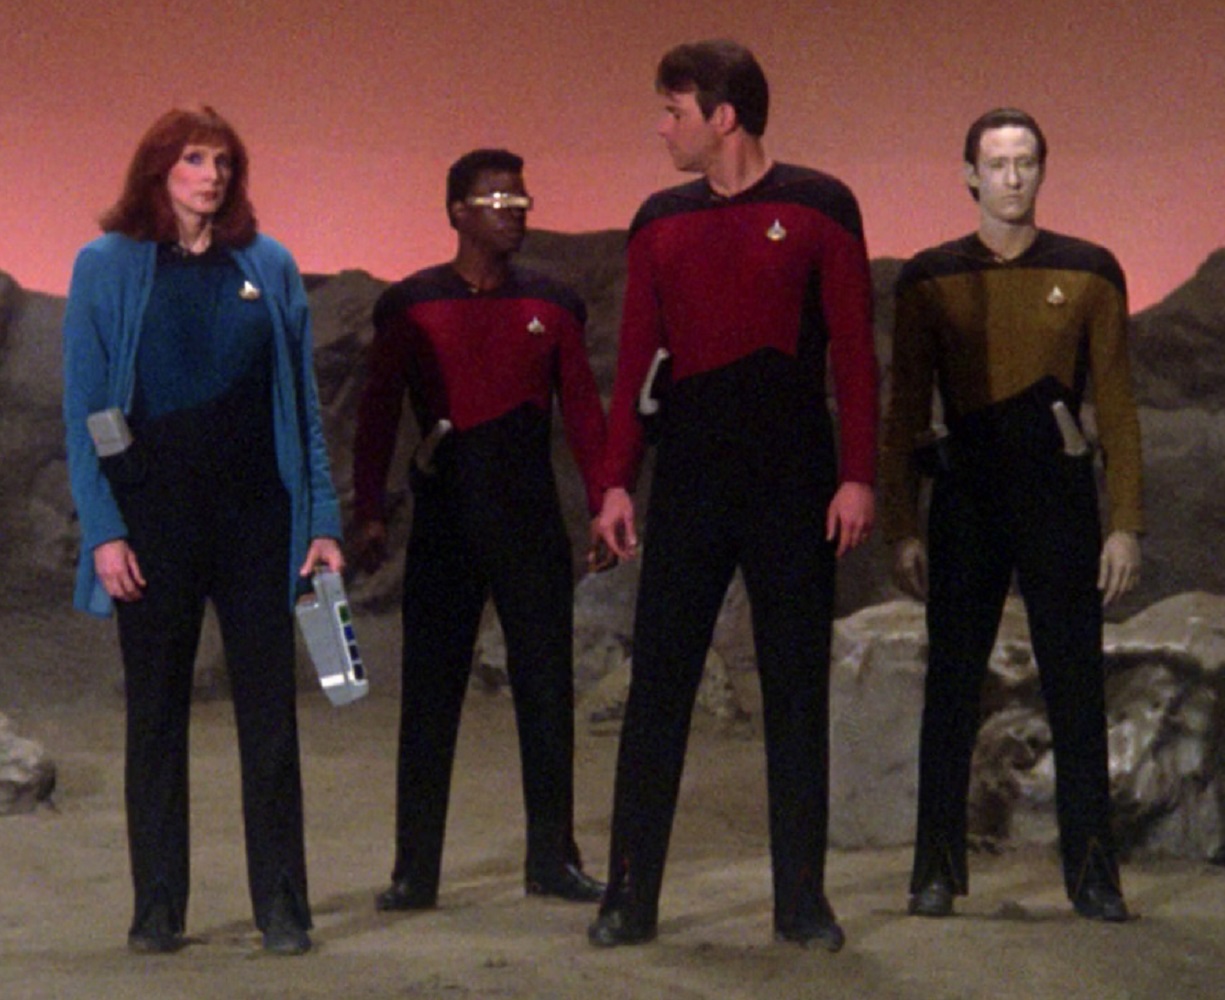
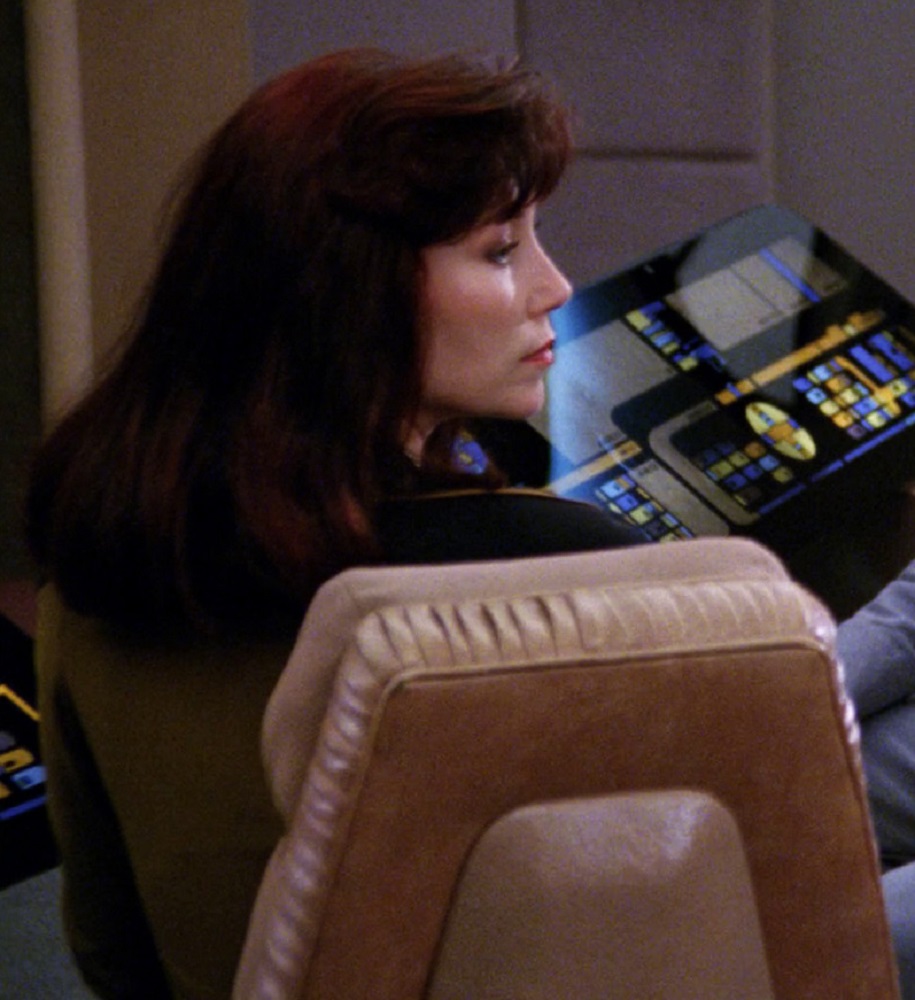
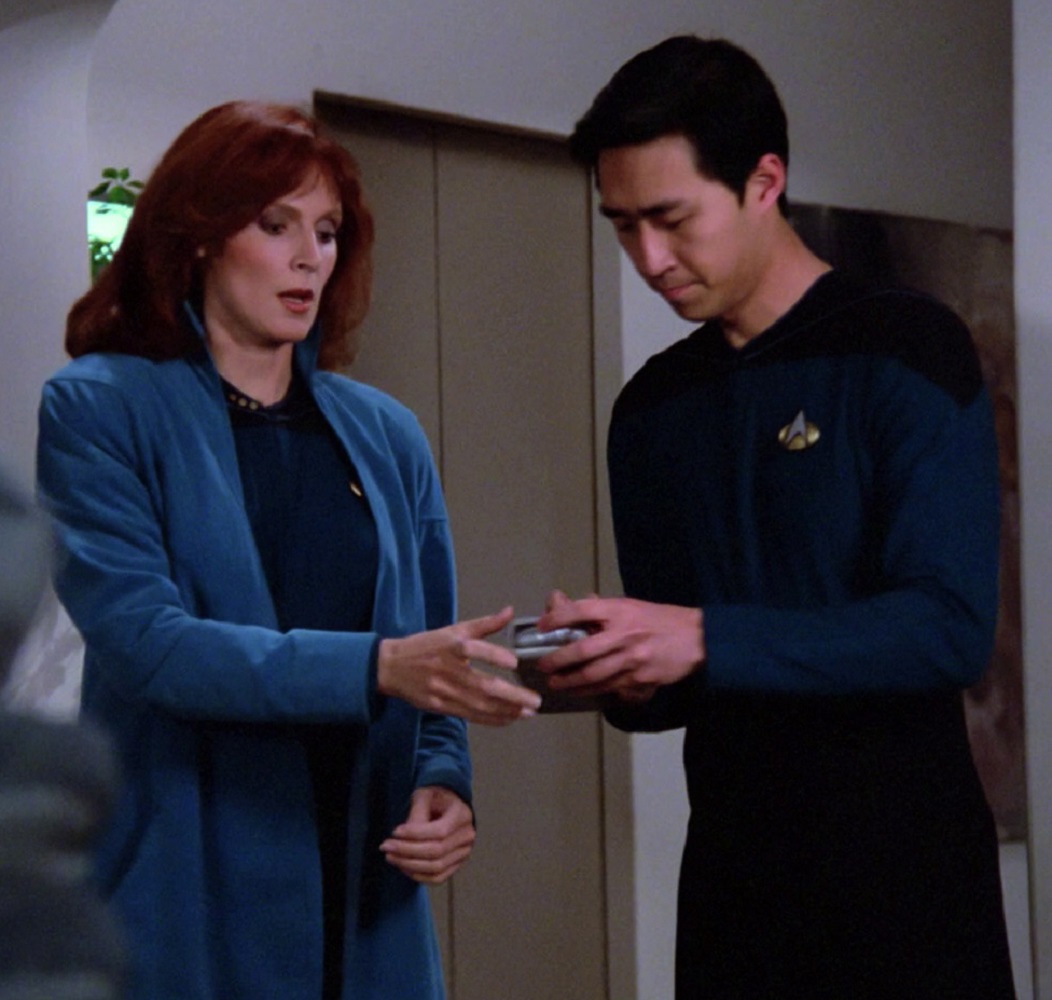
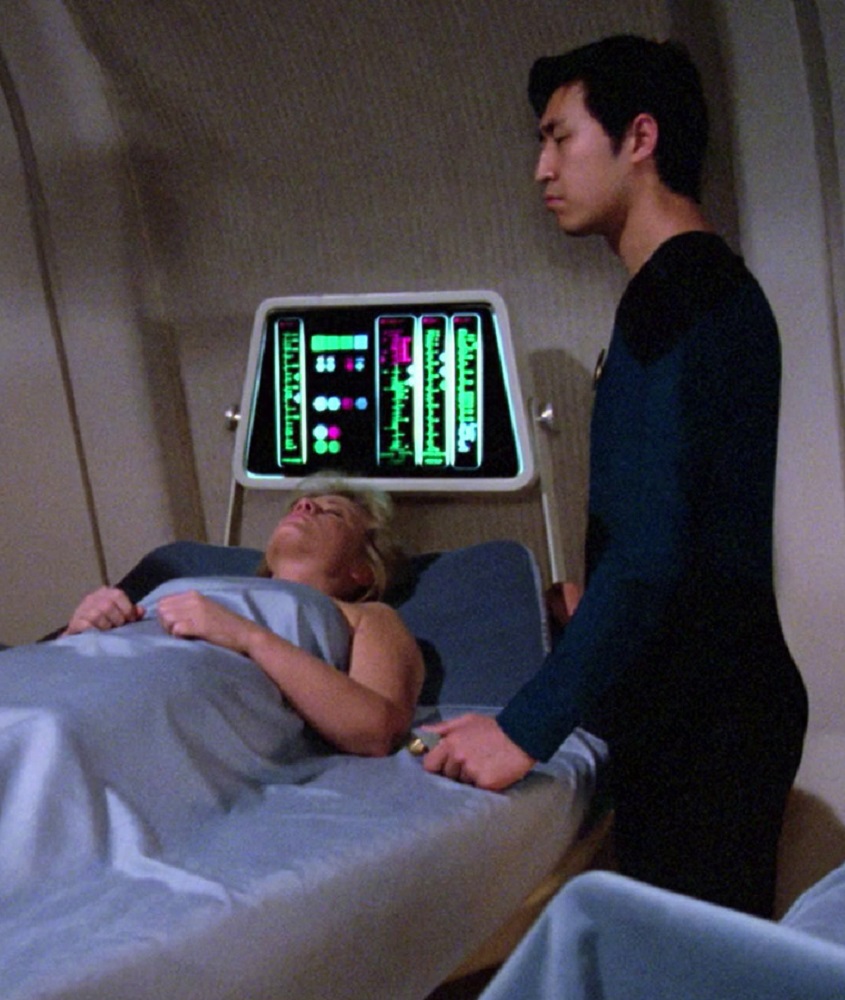
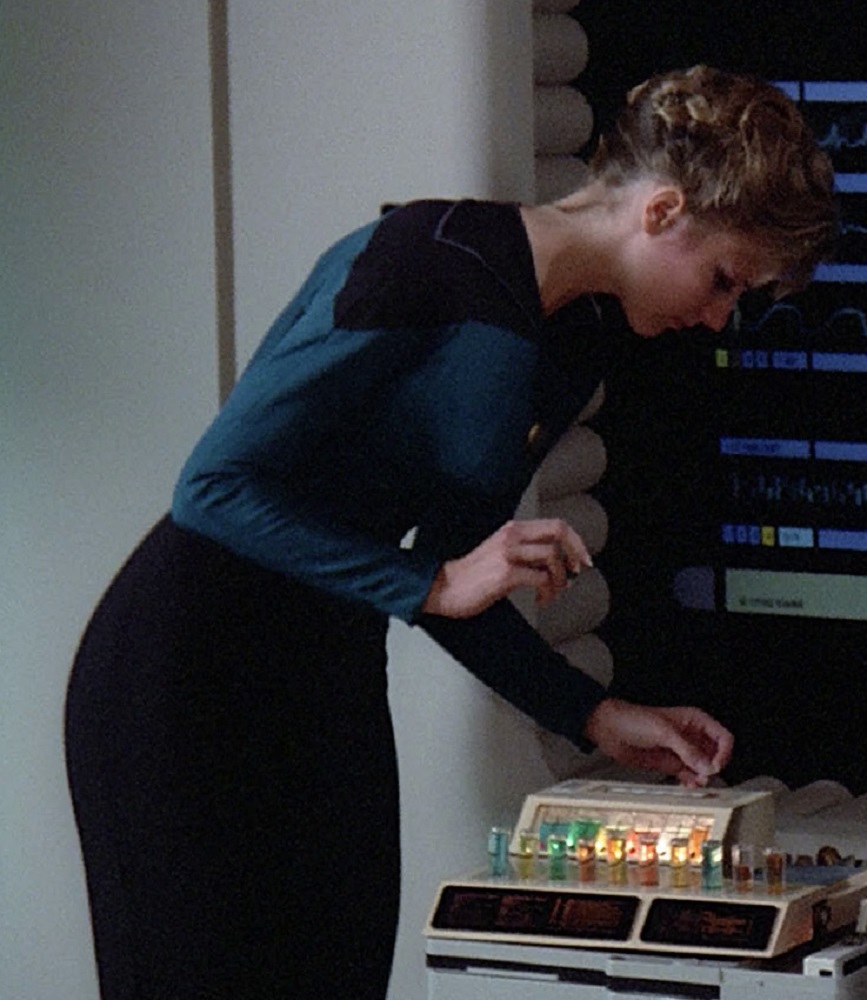
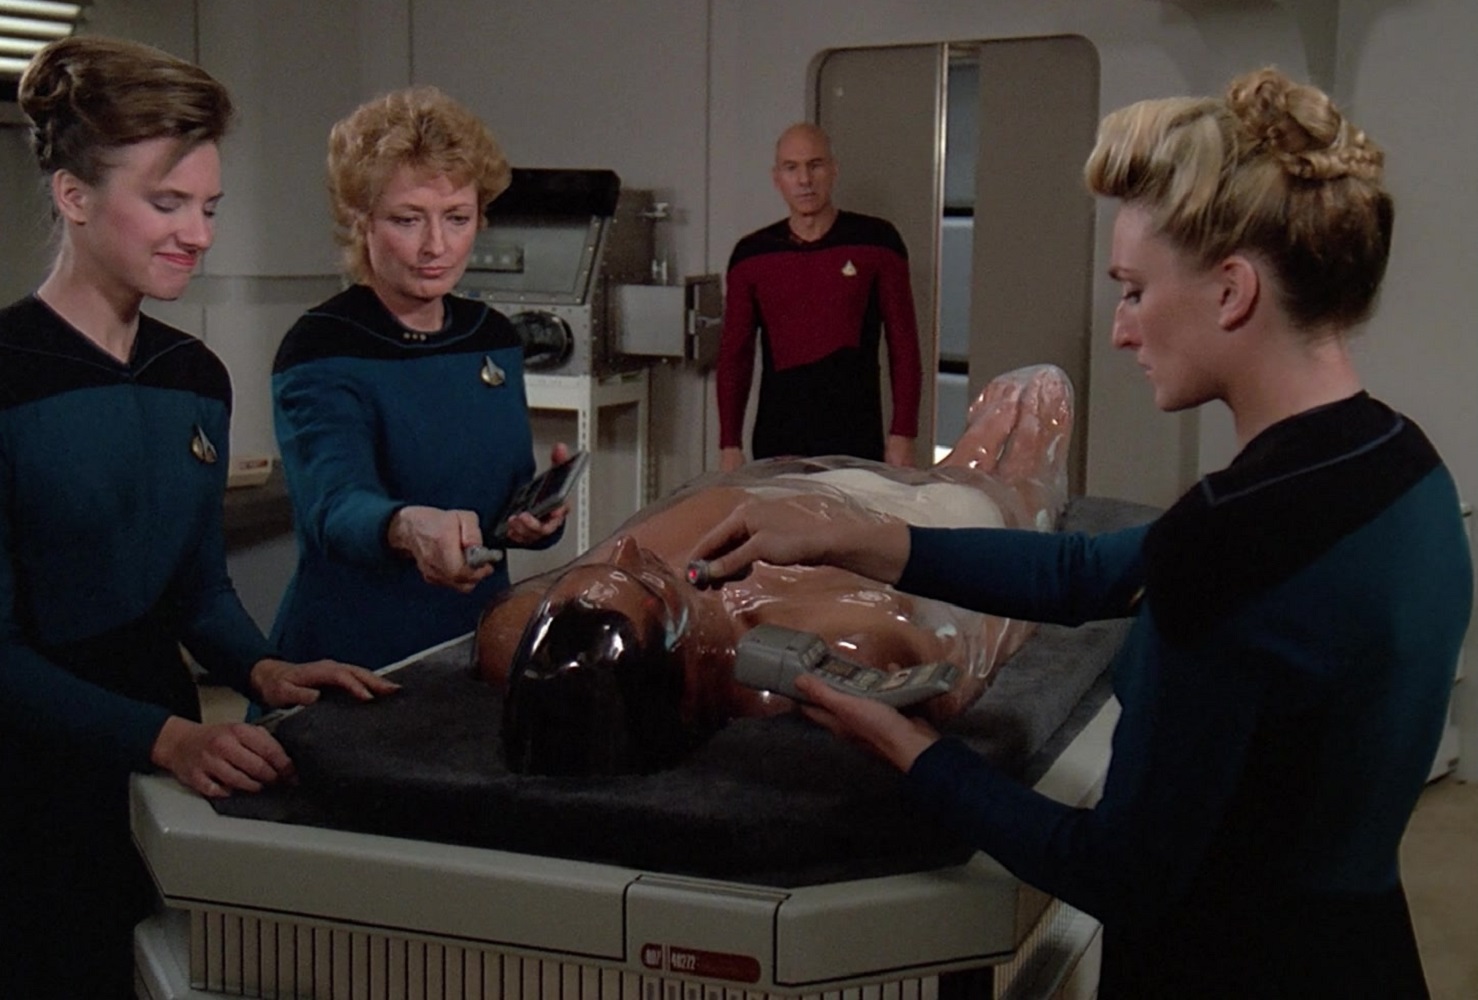
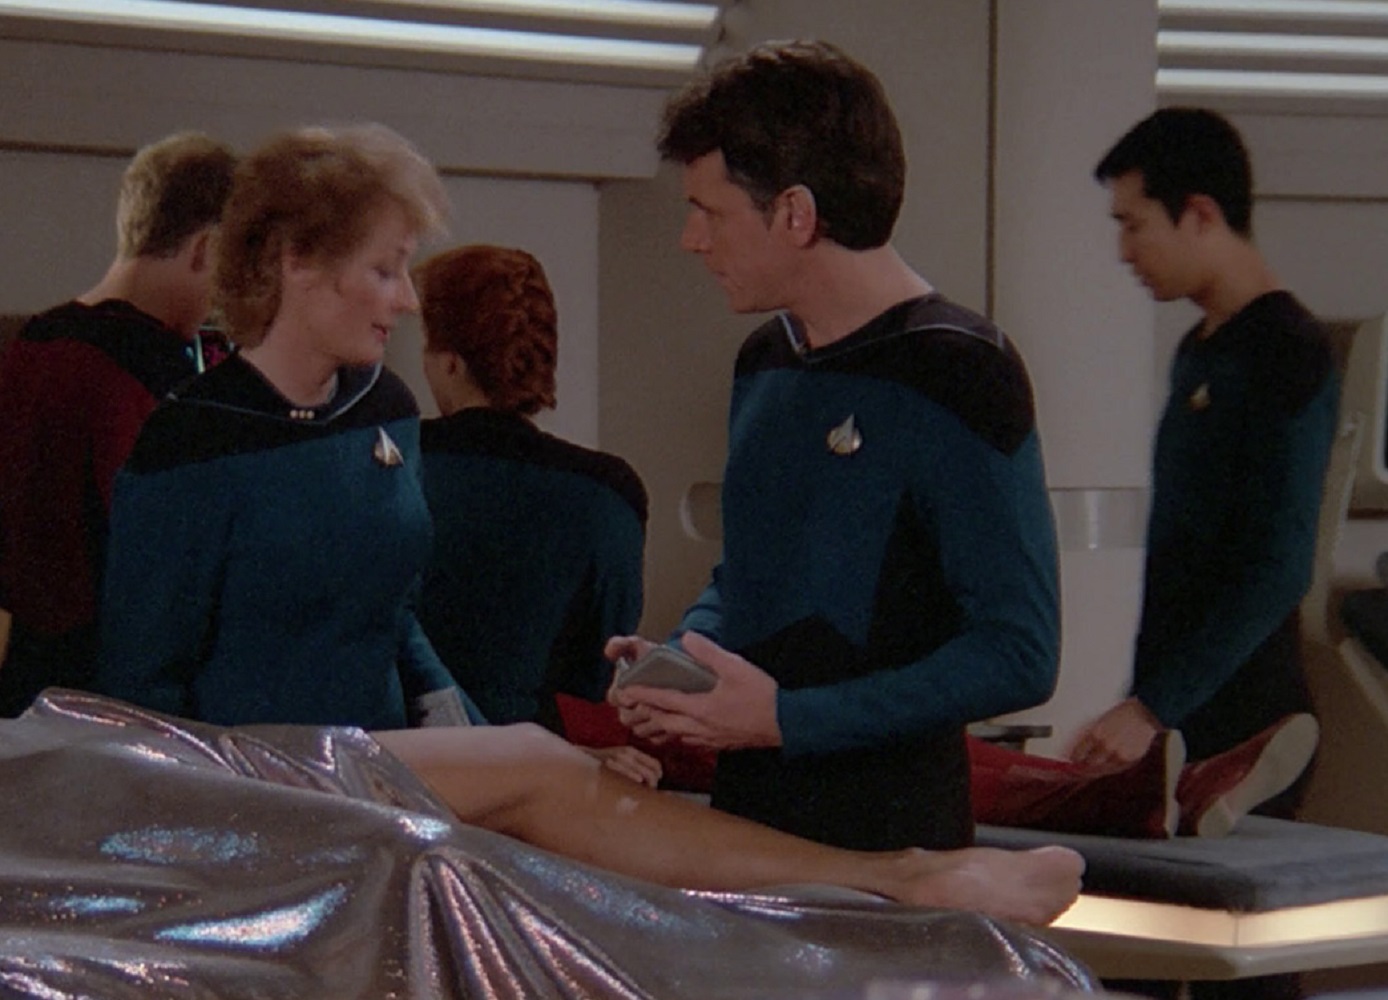
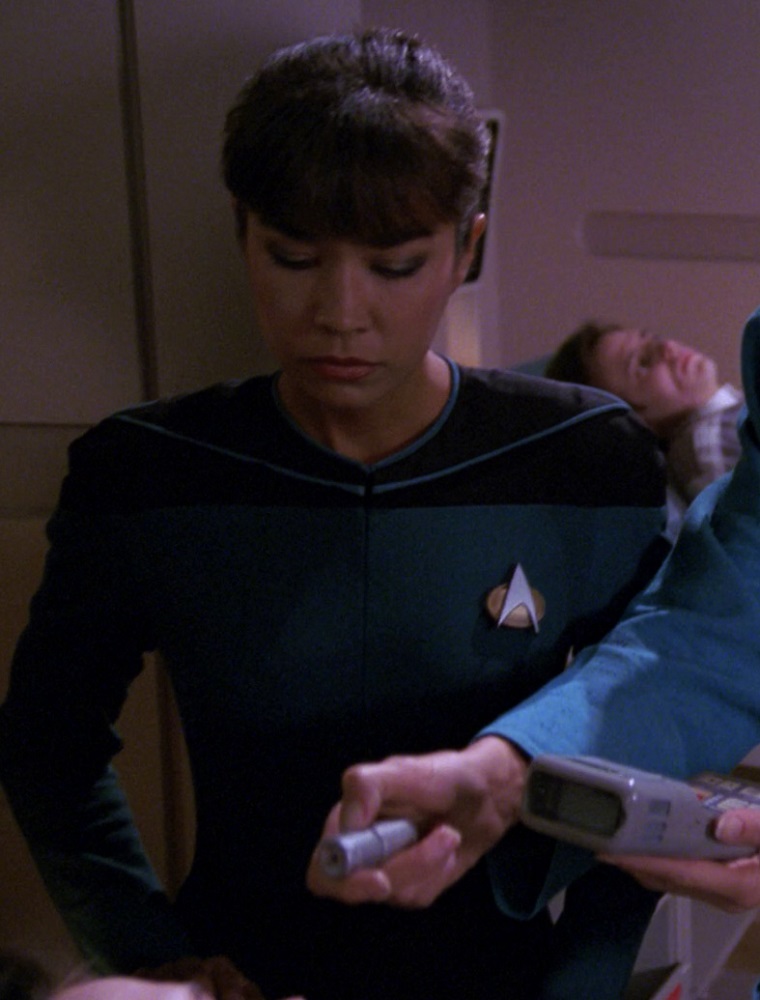
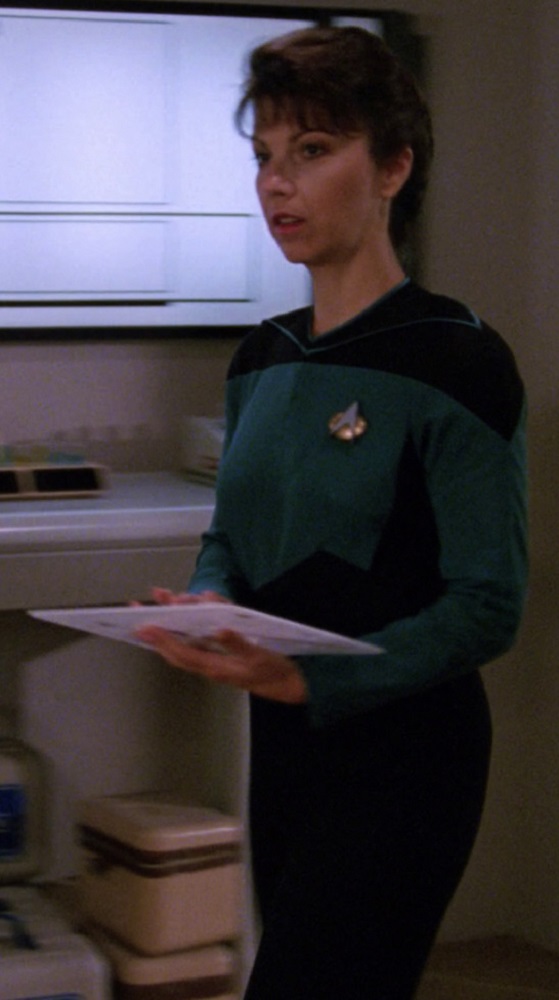
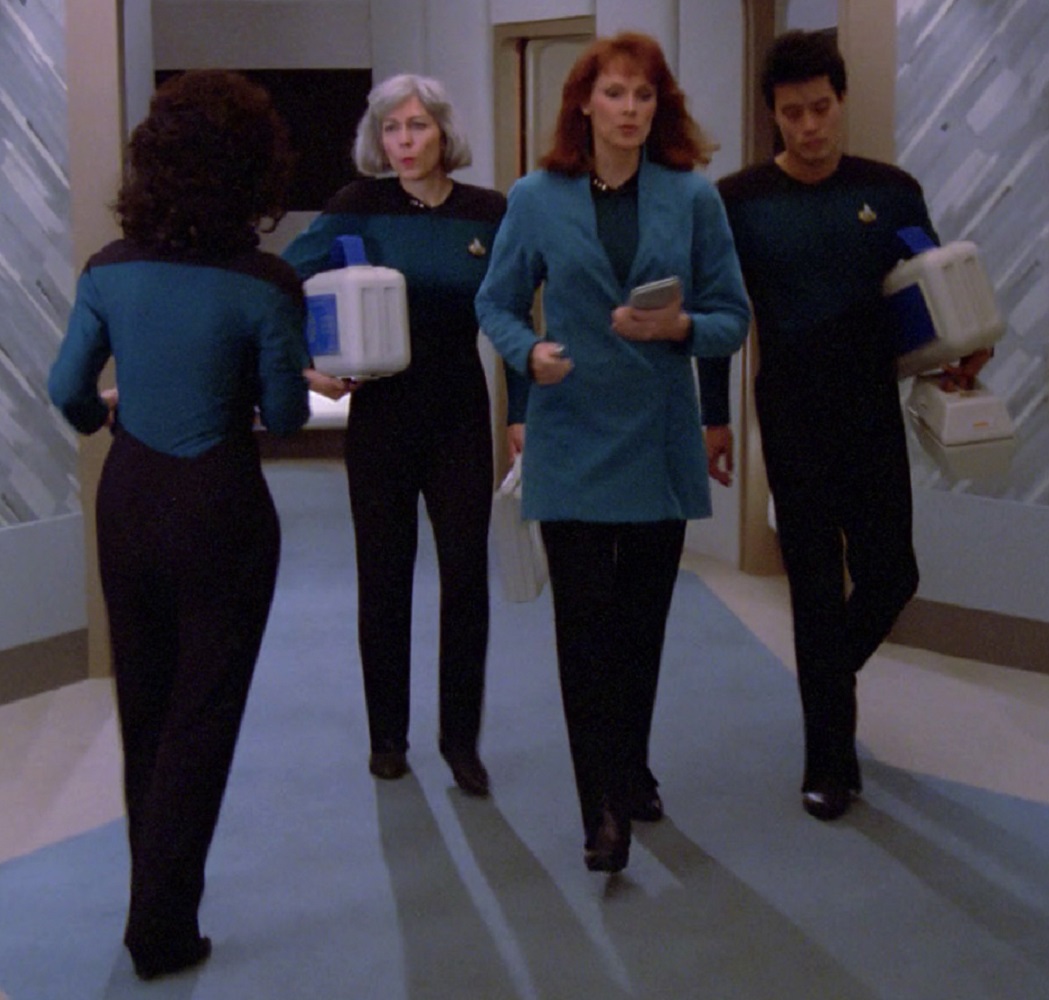
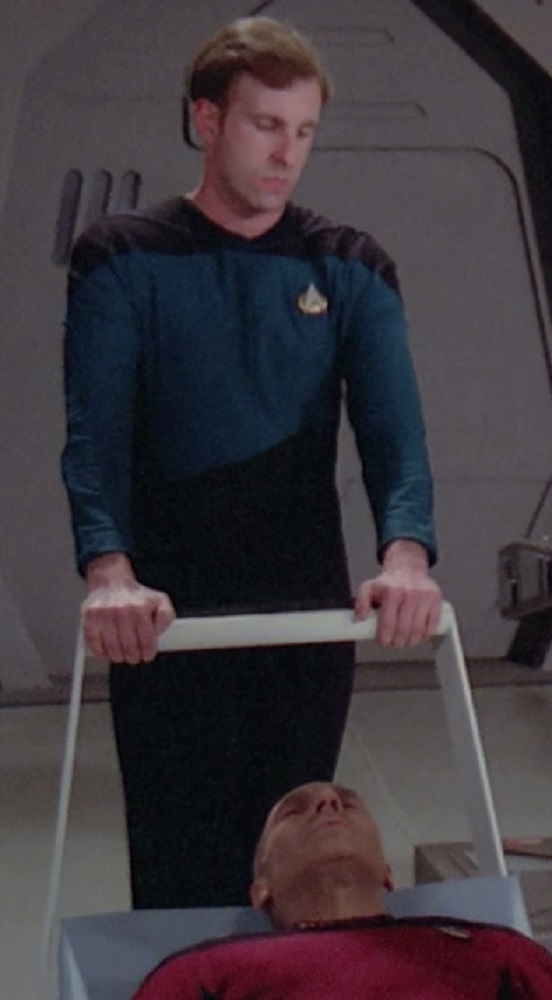
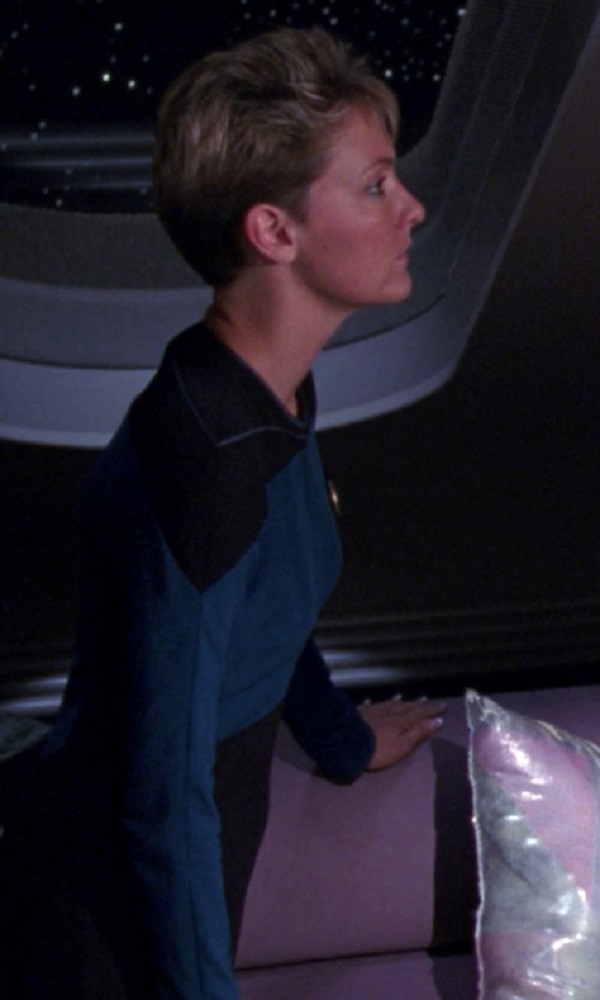
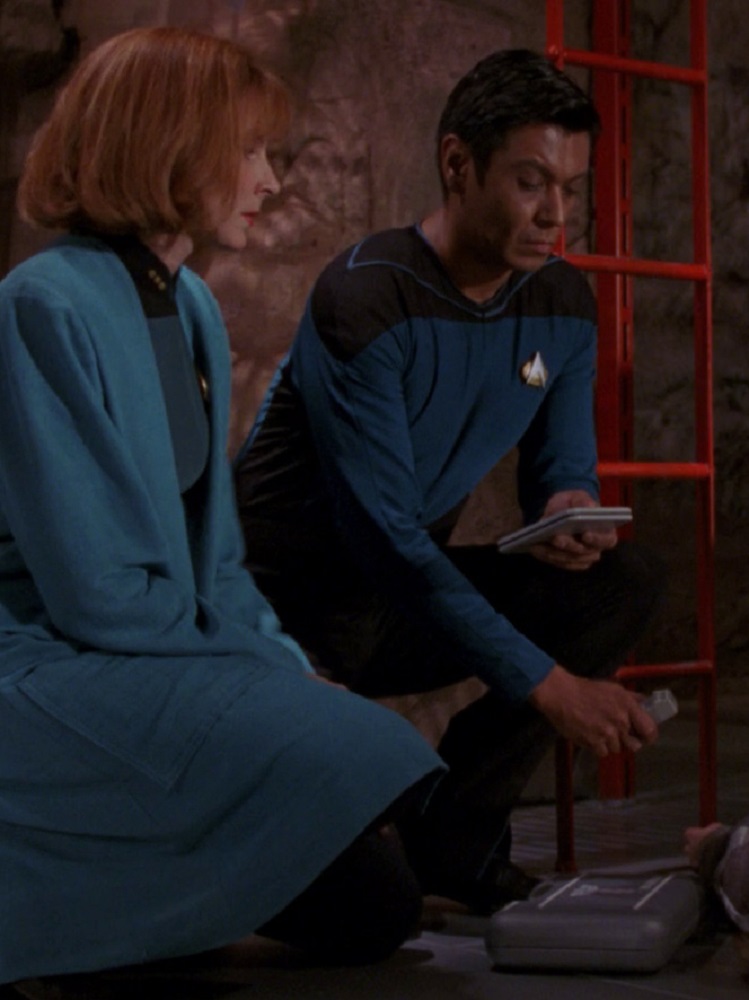
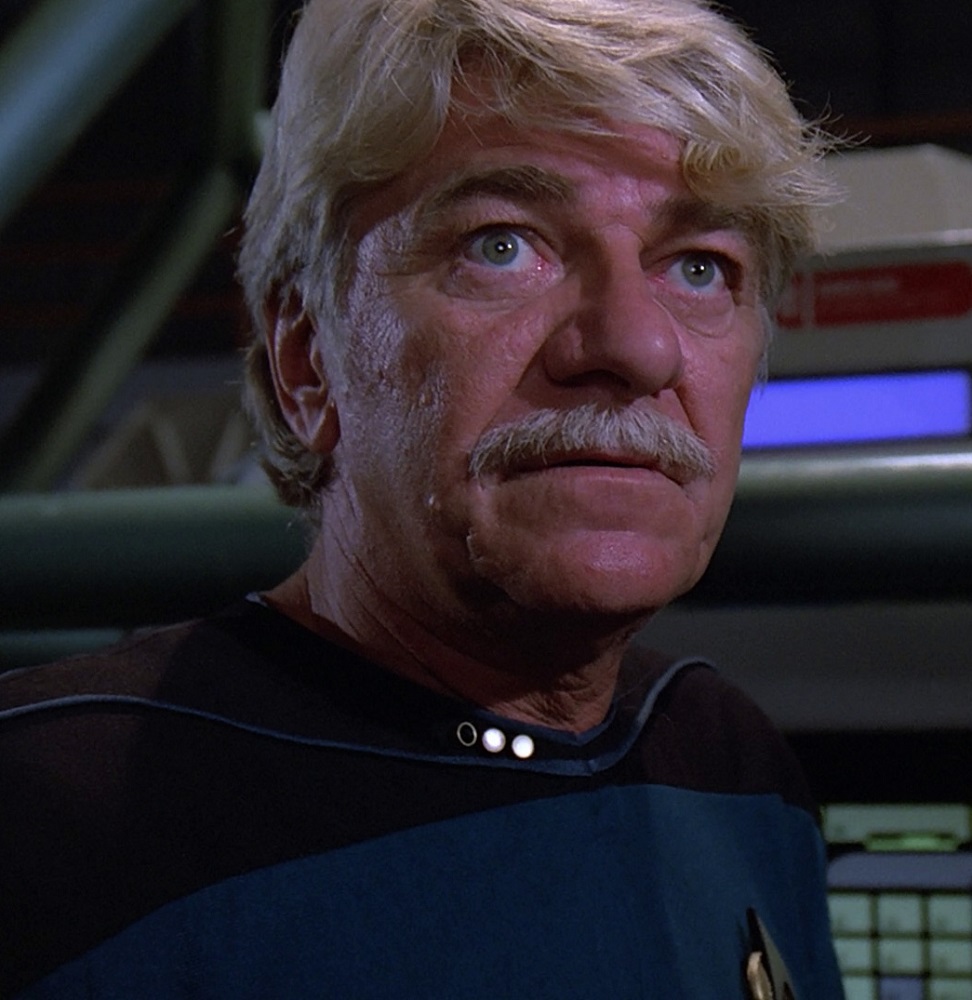
Teal – Medical
The third TNG-era division color was teal (although sometimes referred to as blue), which represented the medical and scientific fields – most obviously Dr. Crusher.
By extension, the medical staff all wore teal and were most often seen in sickbay.
TNG, 1x20 “Heart of Glory”
TNG, 1x22 “Symbiosis”
TNG, 1x23 “Skin of Evil”
TNG, 1x24 “We’ll Always Have Paris”
TNG, 1x26 “The Neutral Zone”
TNG, 2x1 “The Child”
TNG, 2x7 “Unnatural Selection”
TNG, 2x11 “Contagion”
TNG, 2x22 "Shades of Gray"
TNG, 3x4 "Who Watches the Watchers"
TNG, 3x7 "The Enemy"
TNG, 3x7 "The Enemy"
TNG, 3x9 "The Vengeance Factor"
TNG, 3x14 "A Matter of Perspective"
TNG, 3x25 "Transfigurations"
Doctors, nurses, medics, and other medical professionals were often also first responders in emergencies.
TNG, 1x10 “Hide and Q”
TNG, 2x13 “Time Squared”
TNG, 3x3 “The Survivors”
TNG, 3x4 “Who Watches the Watchers”
TNG, 3x7 “The Enemy”
Teal – Sciences
Teal was also the division color for the various sciences.
TNG, 1x17 "When the Bough Breaks"
TNG, 2x1 "The Child"
TNG, 2x9 "The Measure of a Man"
TNG, 2x15 “Pen Pals”
Teal – Education
Although most of the teachers we saw on board the Enterprise D were civilians, at least one wore the teal uniform.
(As a side note, I believe this may have been a recycled Dr. Crusher uniform from season one.)
TNG, 2x1 “The Child”
Teal – Annoying Characters
Teal also seems to have been the go-to color for annoying characters.
TNG, 2x8 "A Matter of Honor"
TNG, 2x9 "The Measure of a Man"
TNG, 2x15 "Pen Pals"
Teal – Injuries
Both the red and gold uniforms entailed hazardous, life-threatening occupations, but teal was a much safer line of work – although one might still suffer some comparatively minor injuries like broken bones and lacerations.
TNG, 1x21 “The Arsenal of Freedom”
These three division colors and their departmental associations, as established by William Ware Theiss during The Next Generation’s first season, would remain generally consistent throughout the remainder of the show, as well as the following two spinoff series (Deep Space Nine and Voyager).
Now that we’ve discussed some context for William Ware Theiss’ TNG-era uniform designs, the TNG jumpsuit fabric and fit, and the division colors he established that first season, let’s take a good look at the construction of the jumpsuit itself!
There was a memo by Mary Sadeghy dated October 28 1987, stating Bill Theiss' Pantone colours.
Wine uniform - 235C
Teal Uniform - 316C
Mustard Uniform - 140C
Interesting - thanks for sharing! I've seen a couple other, similar guides (with Pantones) too. But we should keep in mind that these are how the fabric colors were intended to look in the finished production, as opposed to how they look in-person. (Obviously individual preferences vary.)
- Alex
I always liked the ST:TNG uniform, but the change in the recent series Star Trek: Picard became unpleasant and repetitive, copying the uniform from the DS9 and Voyager series. I hope to back see this uniform.


There was a memo by Mary Sadeghy dated October 28 1987, stating Bill Theiss' Pantone colours.
Wine uniform - 235C
Teal Uniform - 316C
Mustard Uniform - 140C
Medical Coat - 314C
Troi: jumpsuit - 433C, sash 582 w/small blank lines, hairbeads - 199C
Wesley's new sweater: Lt. Grey - 431C, Dk. Grey - 433C, Wine Stripe - 235C, Teal Stripe - 316C, Mustard Stripe - 140C
Worf's sash - 871C
Hope this helps
Interesting - thanks for sharing! I've seen a couple other, similar guides (with Pantones) too. But we should keep in mind that these are how the fabric colors were intended to look in the finished production, as opposed to how they look in-person. (Obviously individual preferences vary.)
- Alex
I always liked the ST:TNG uniform, but the change in the recent series Star Trek: Picard became unpleasant and repetitive, copying the uniform from the DS9 and Voyager series. I hope to back see this uniform.