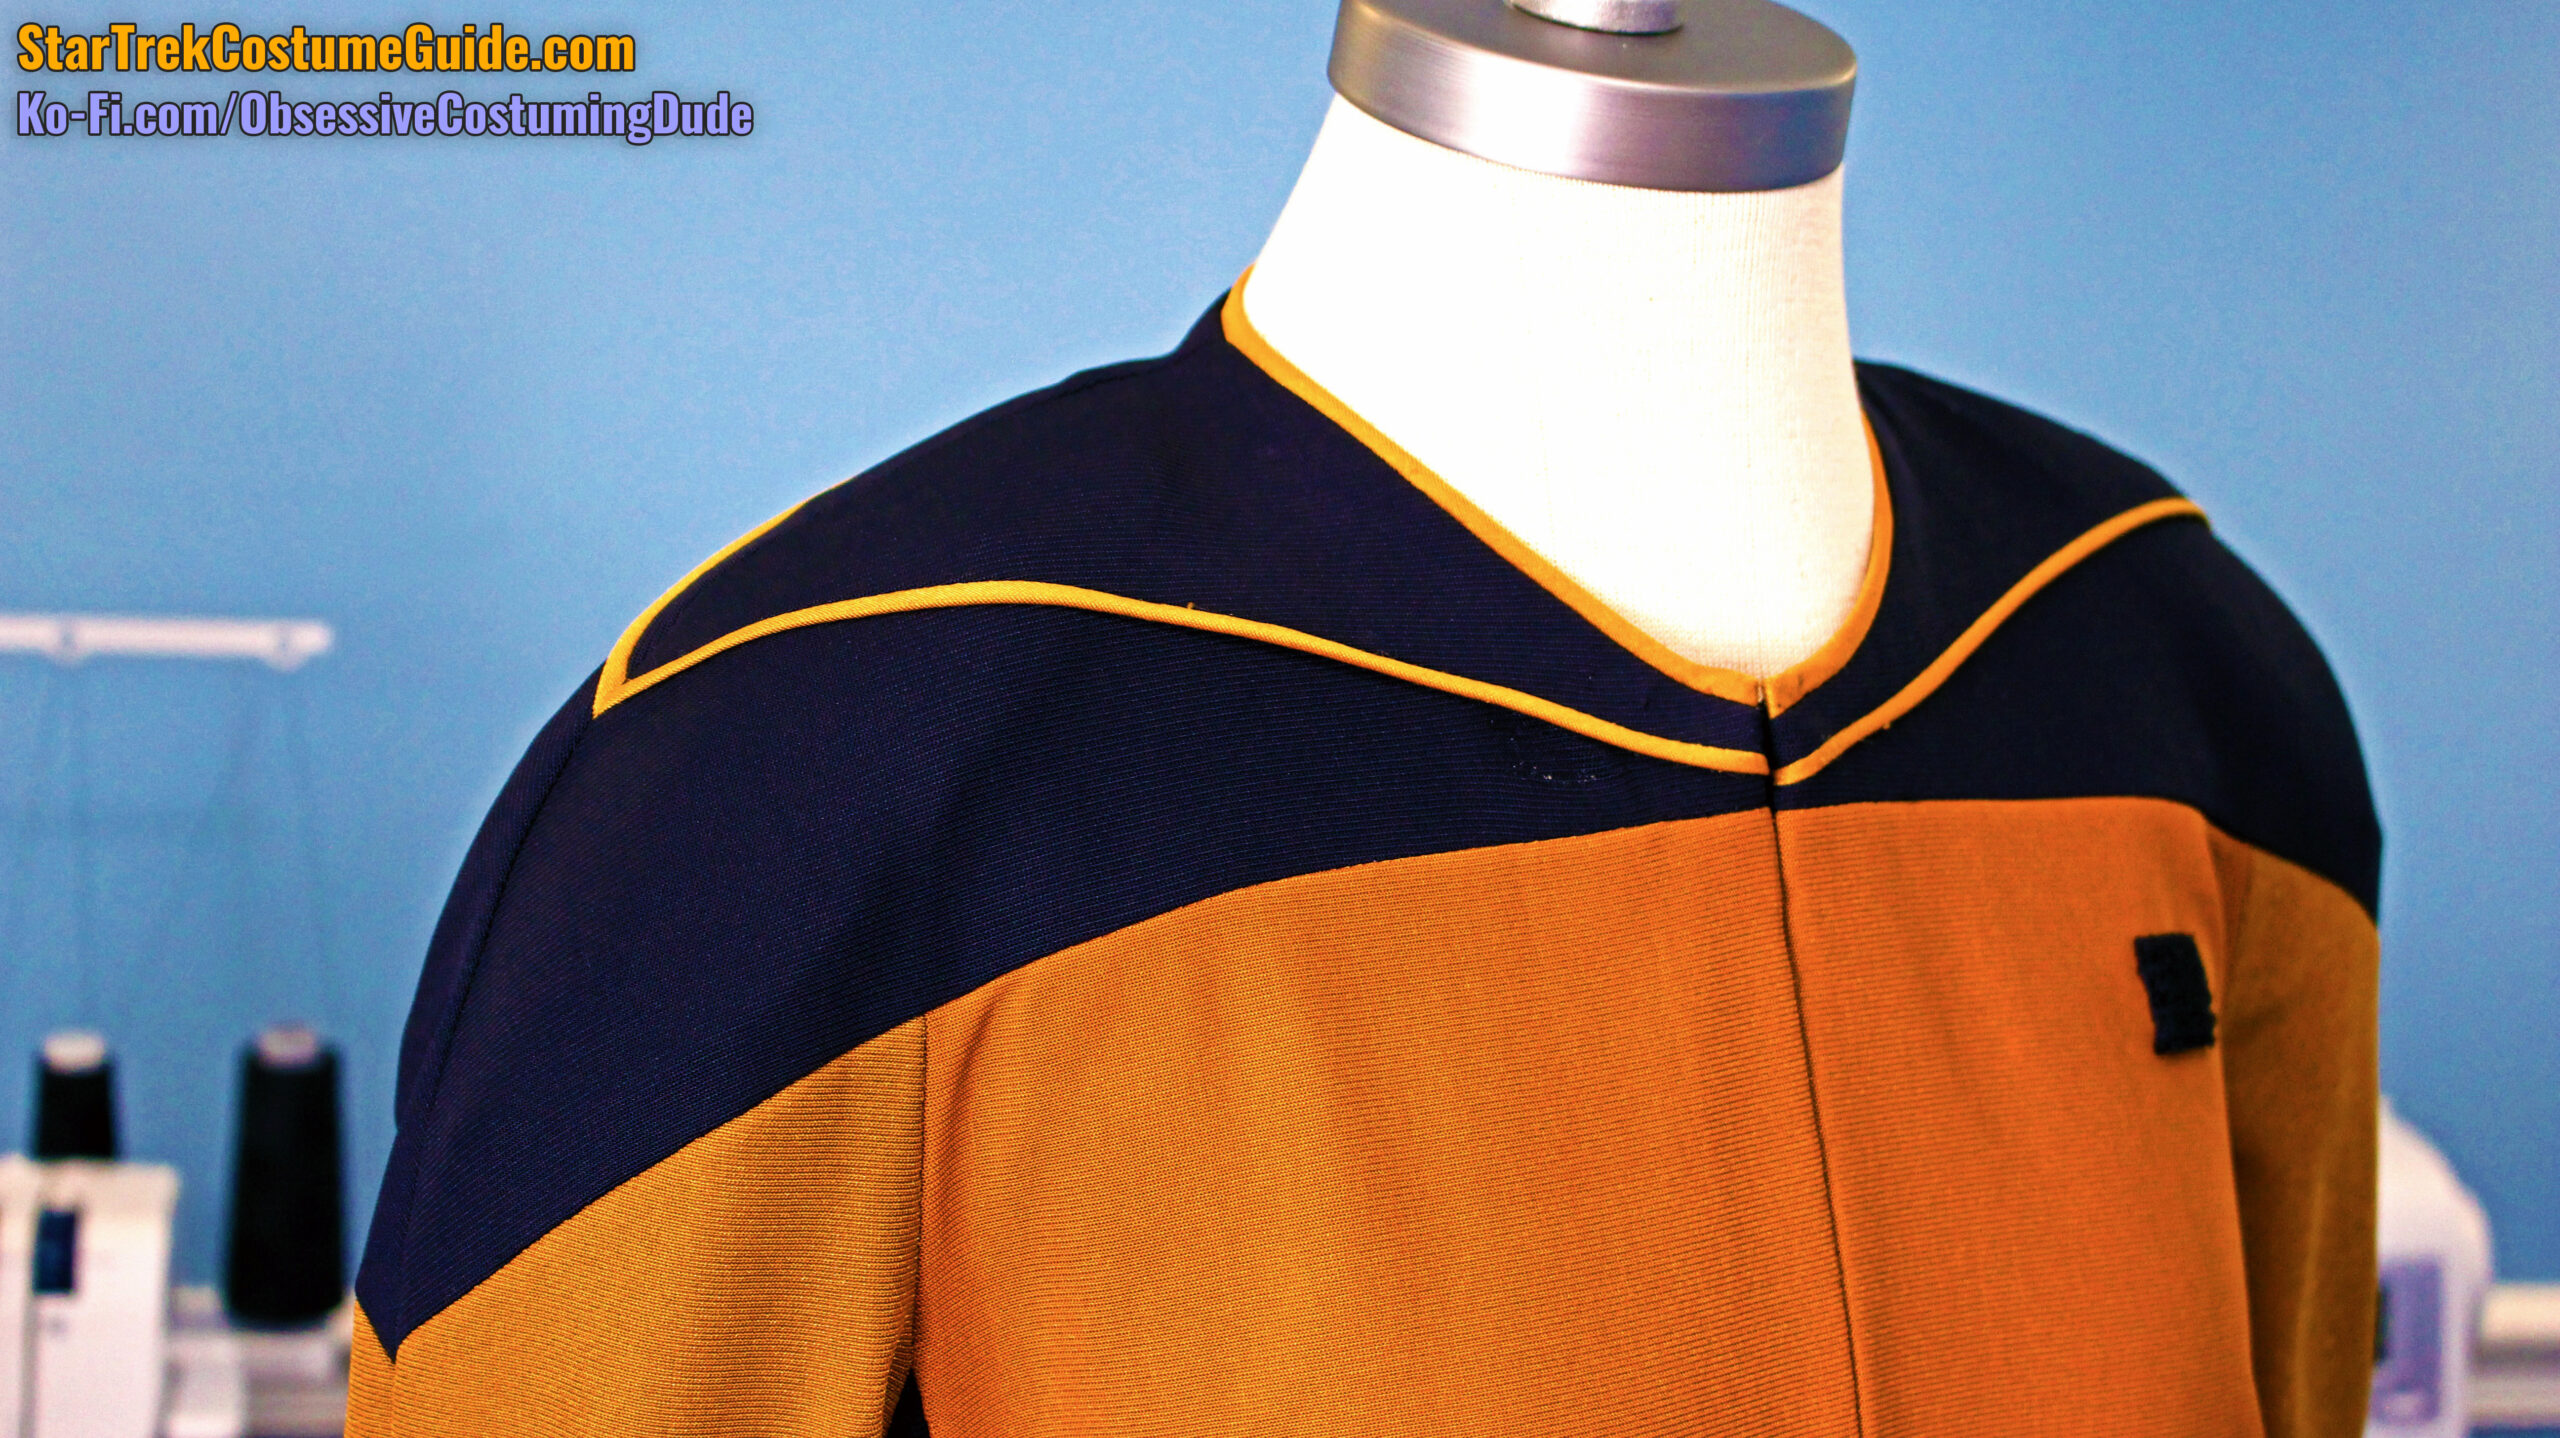
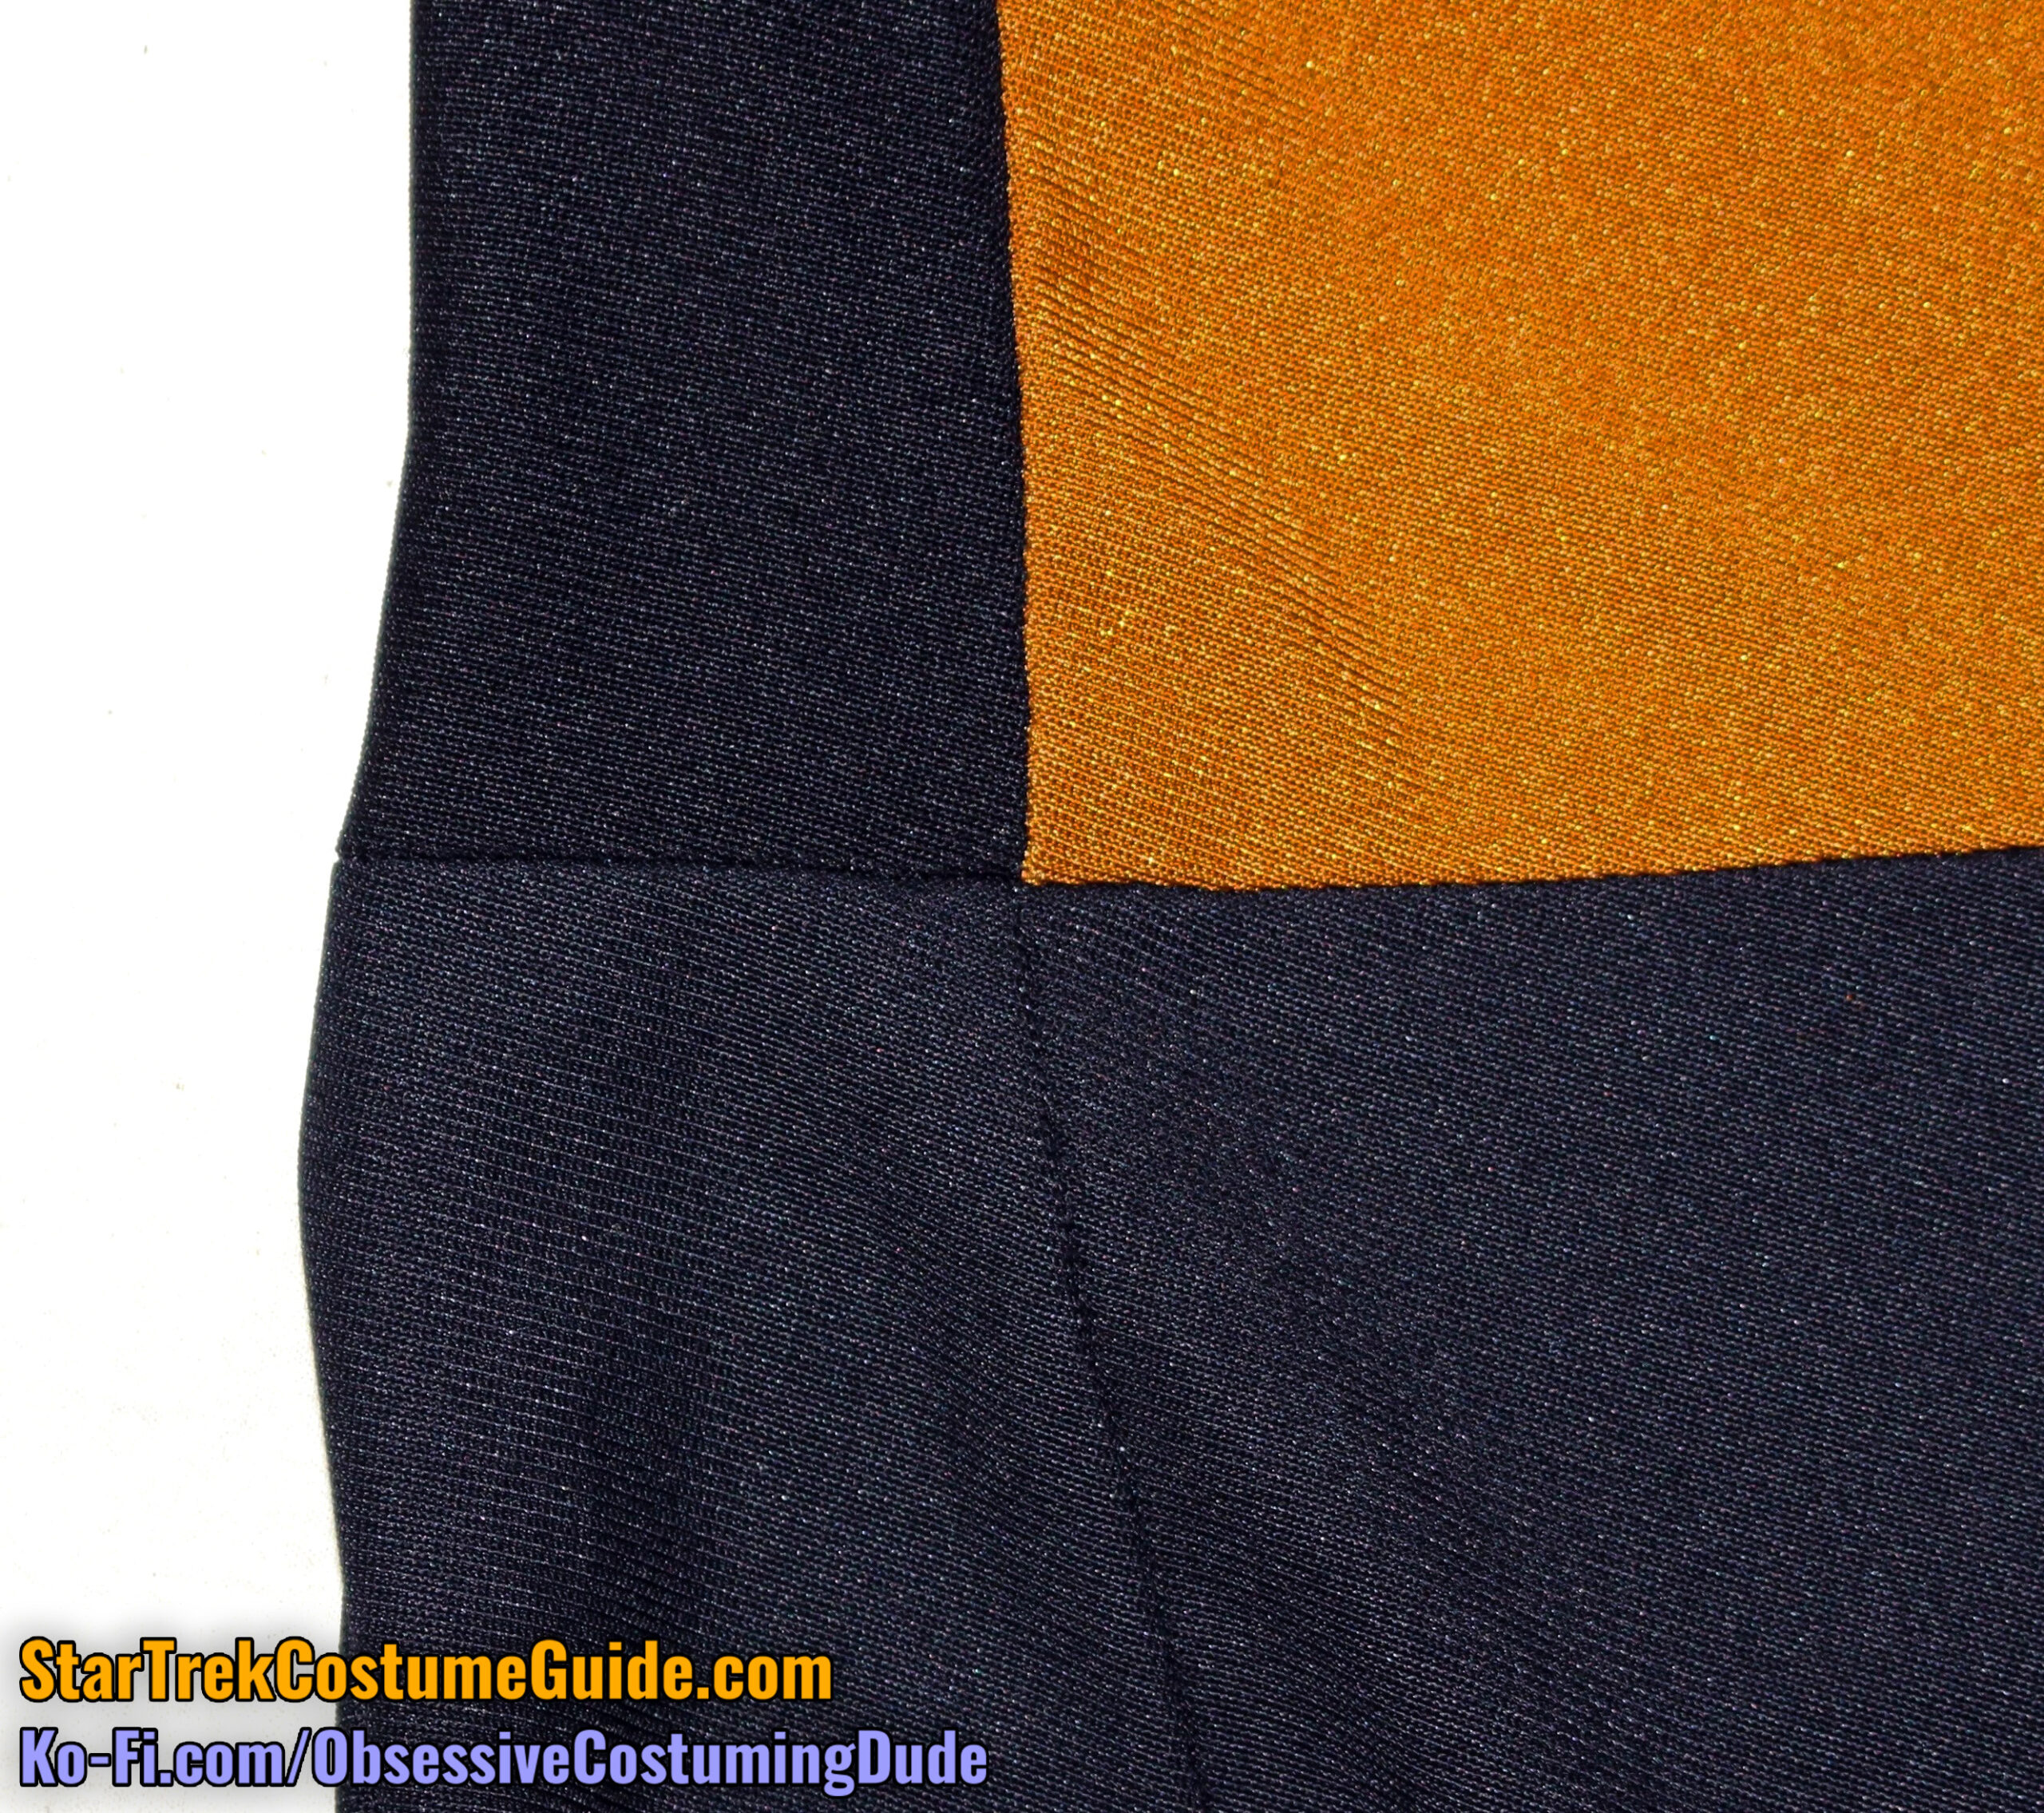
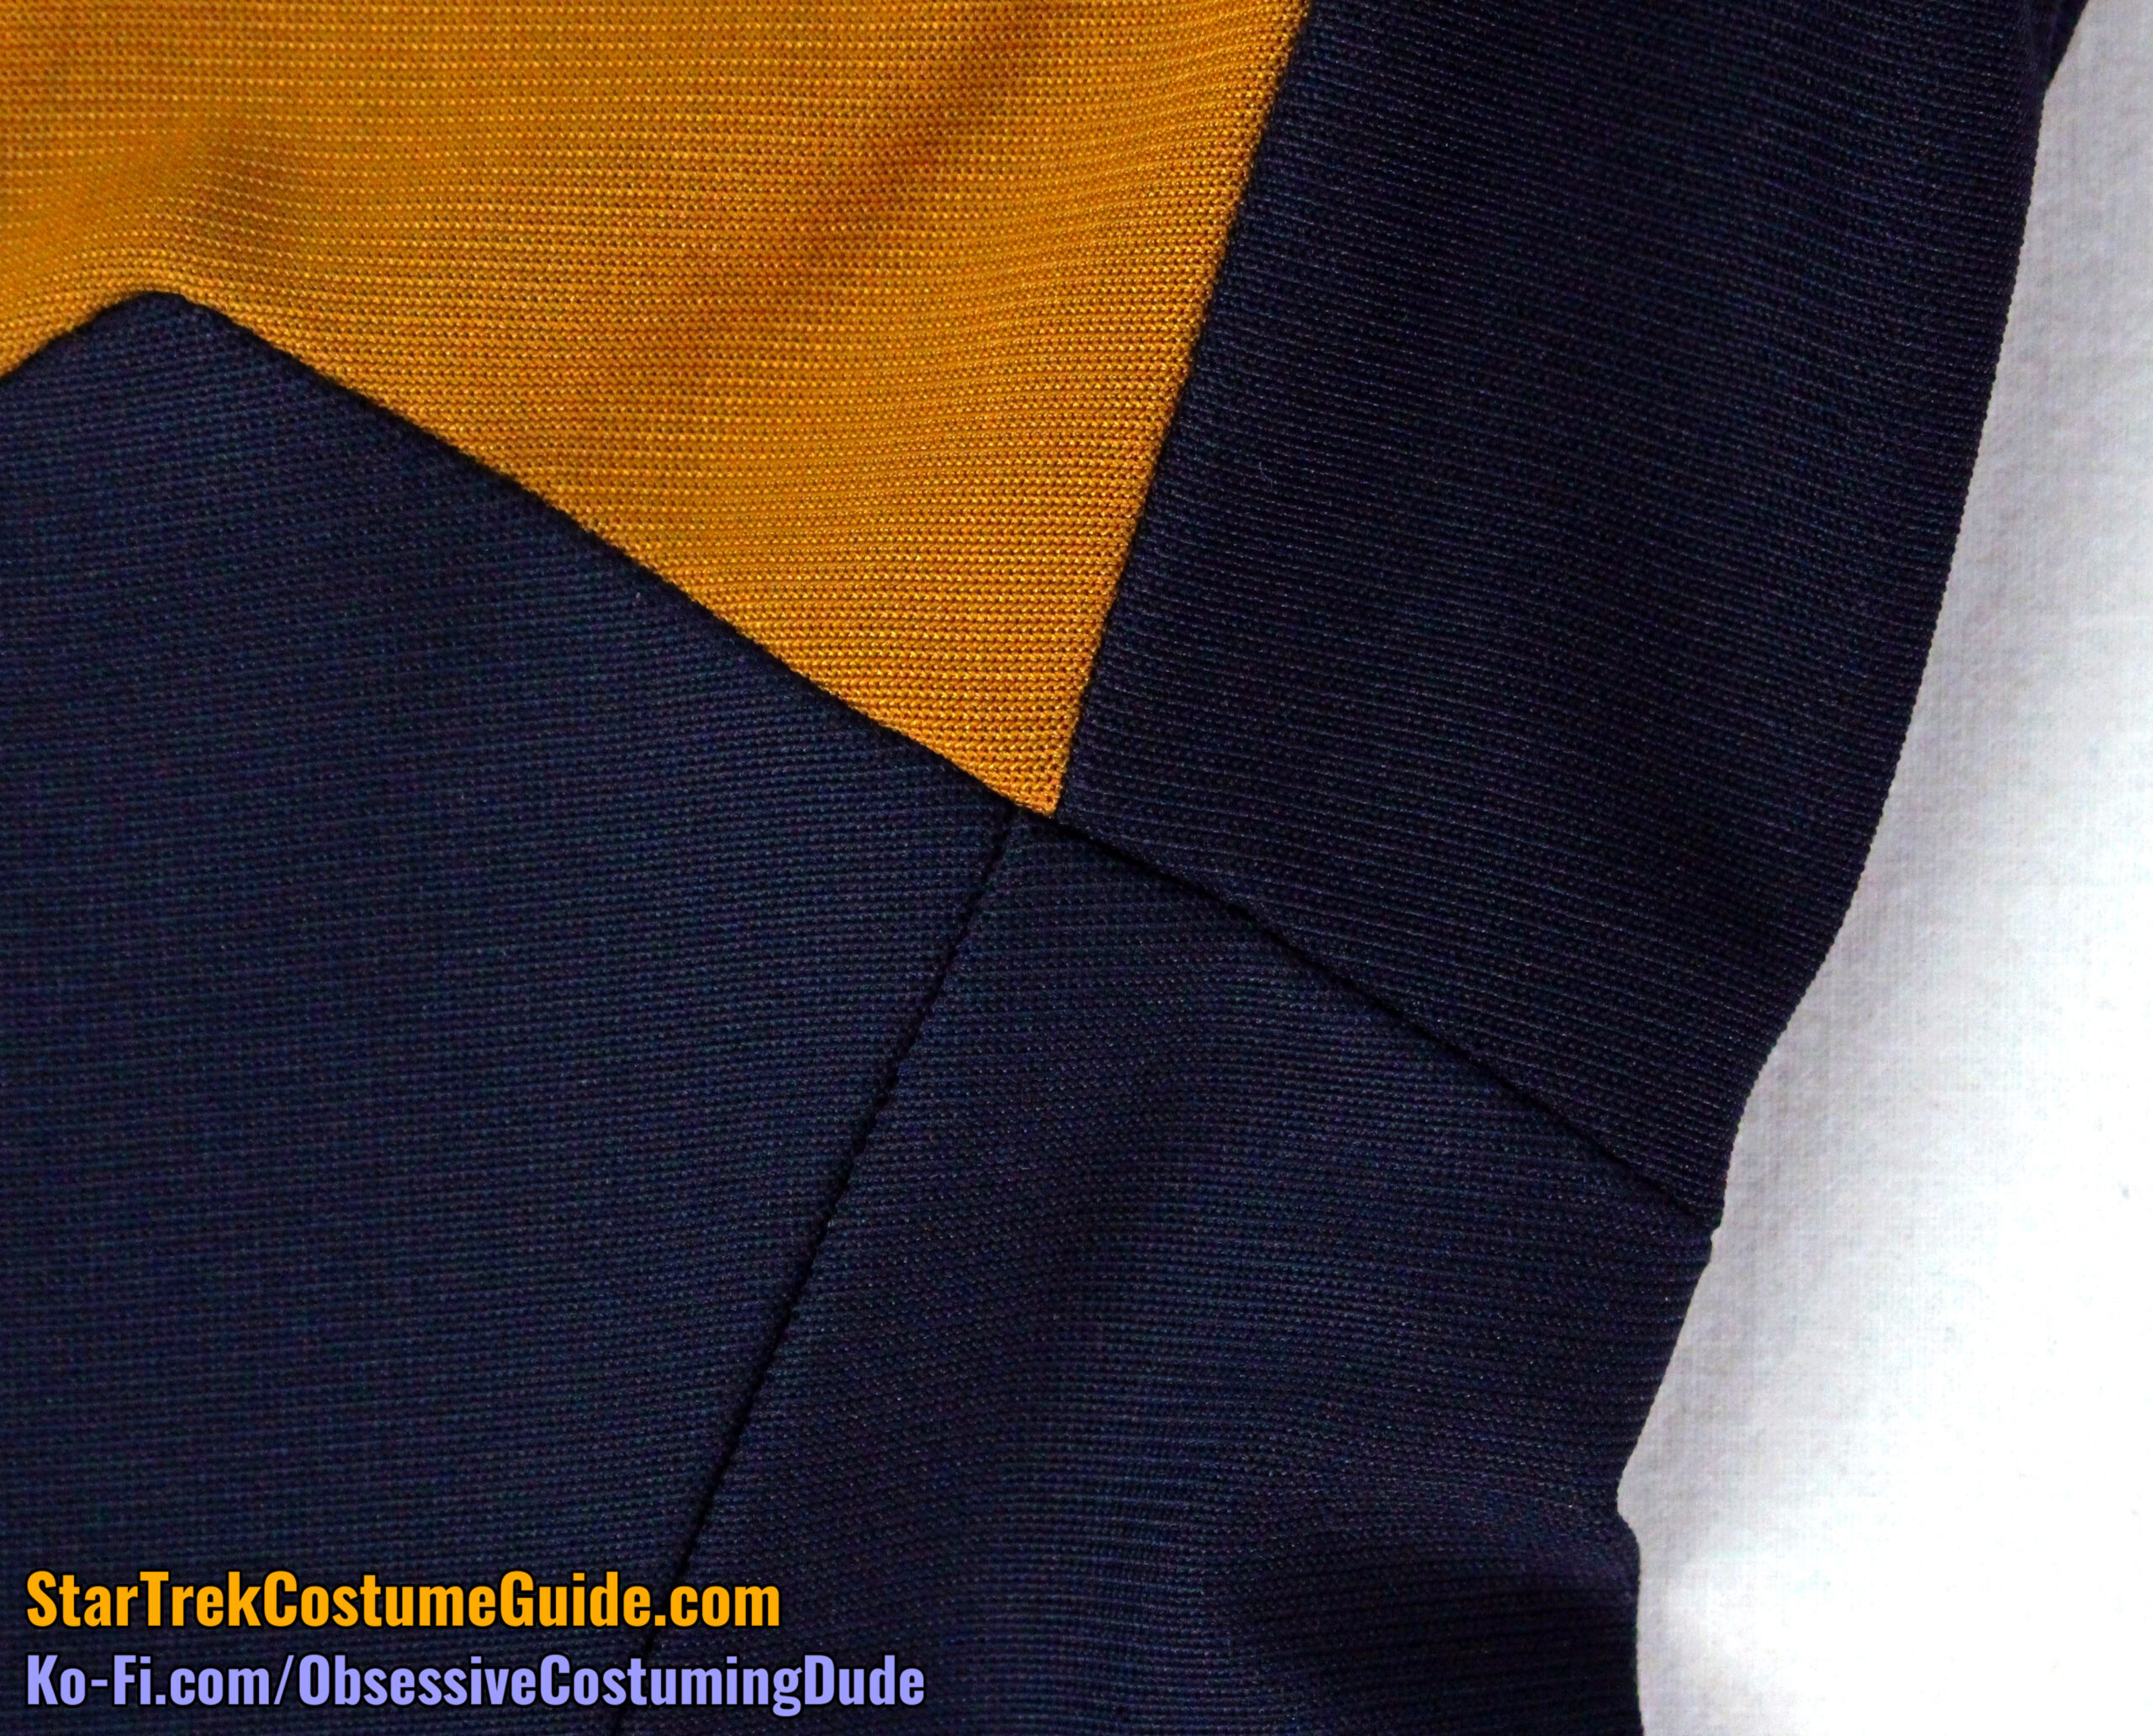
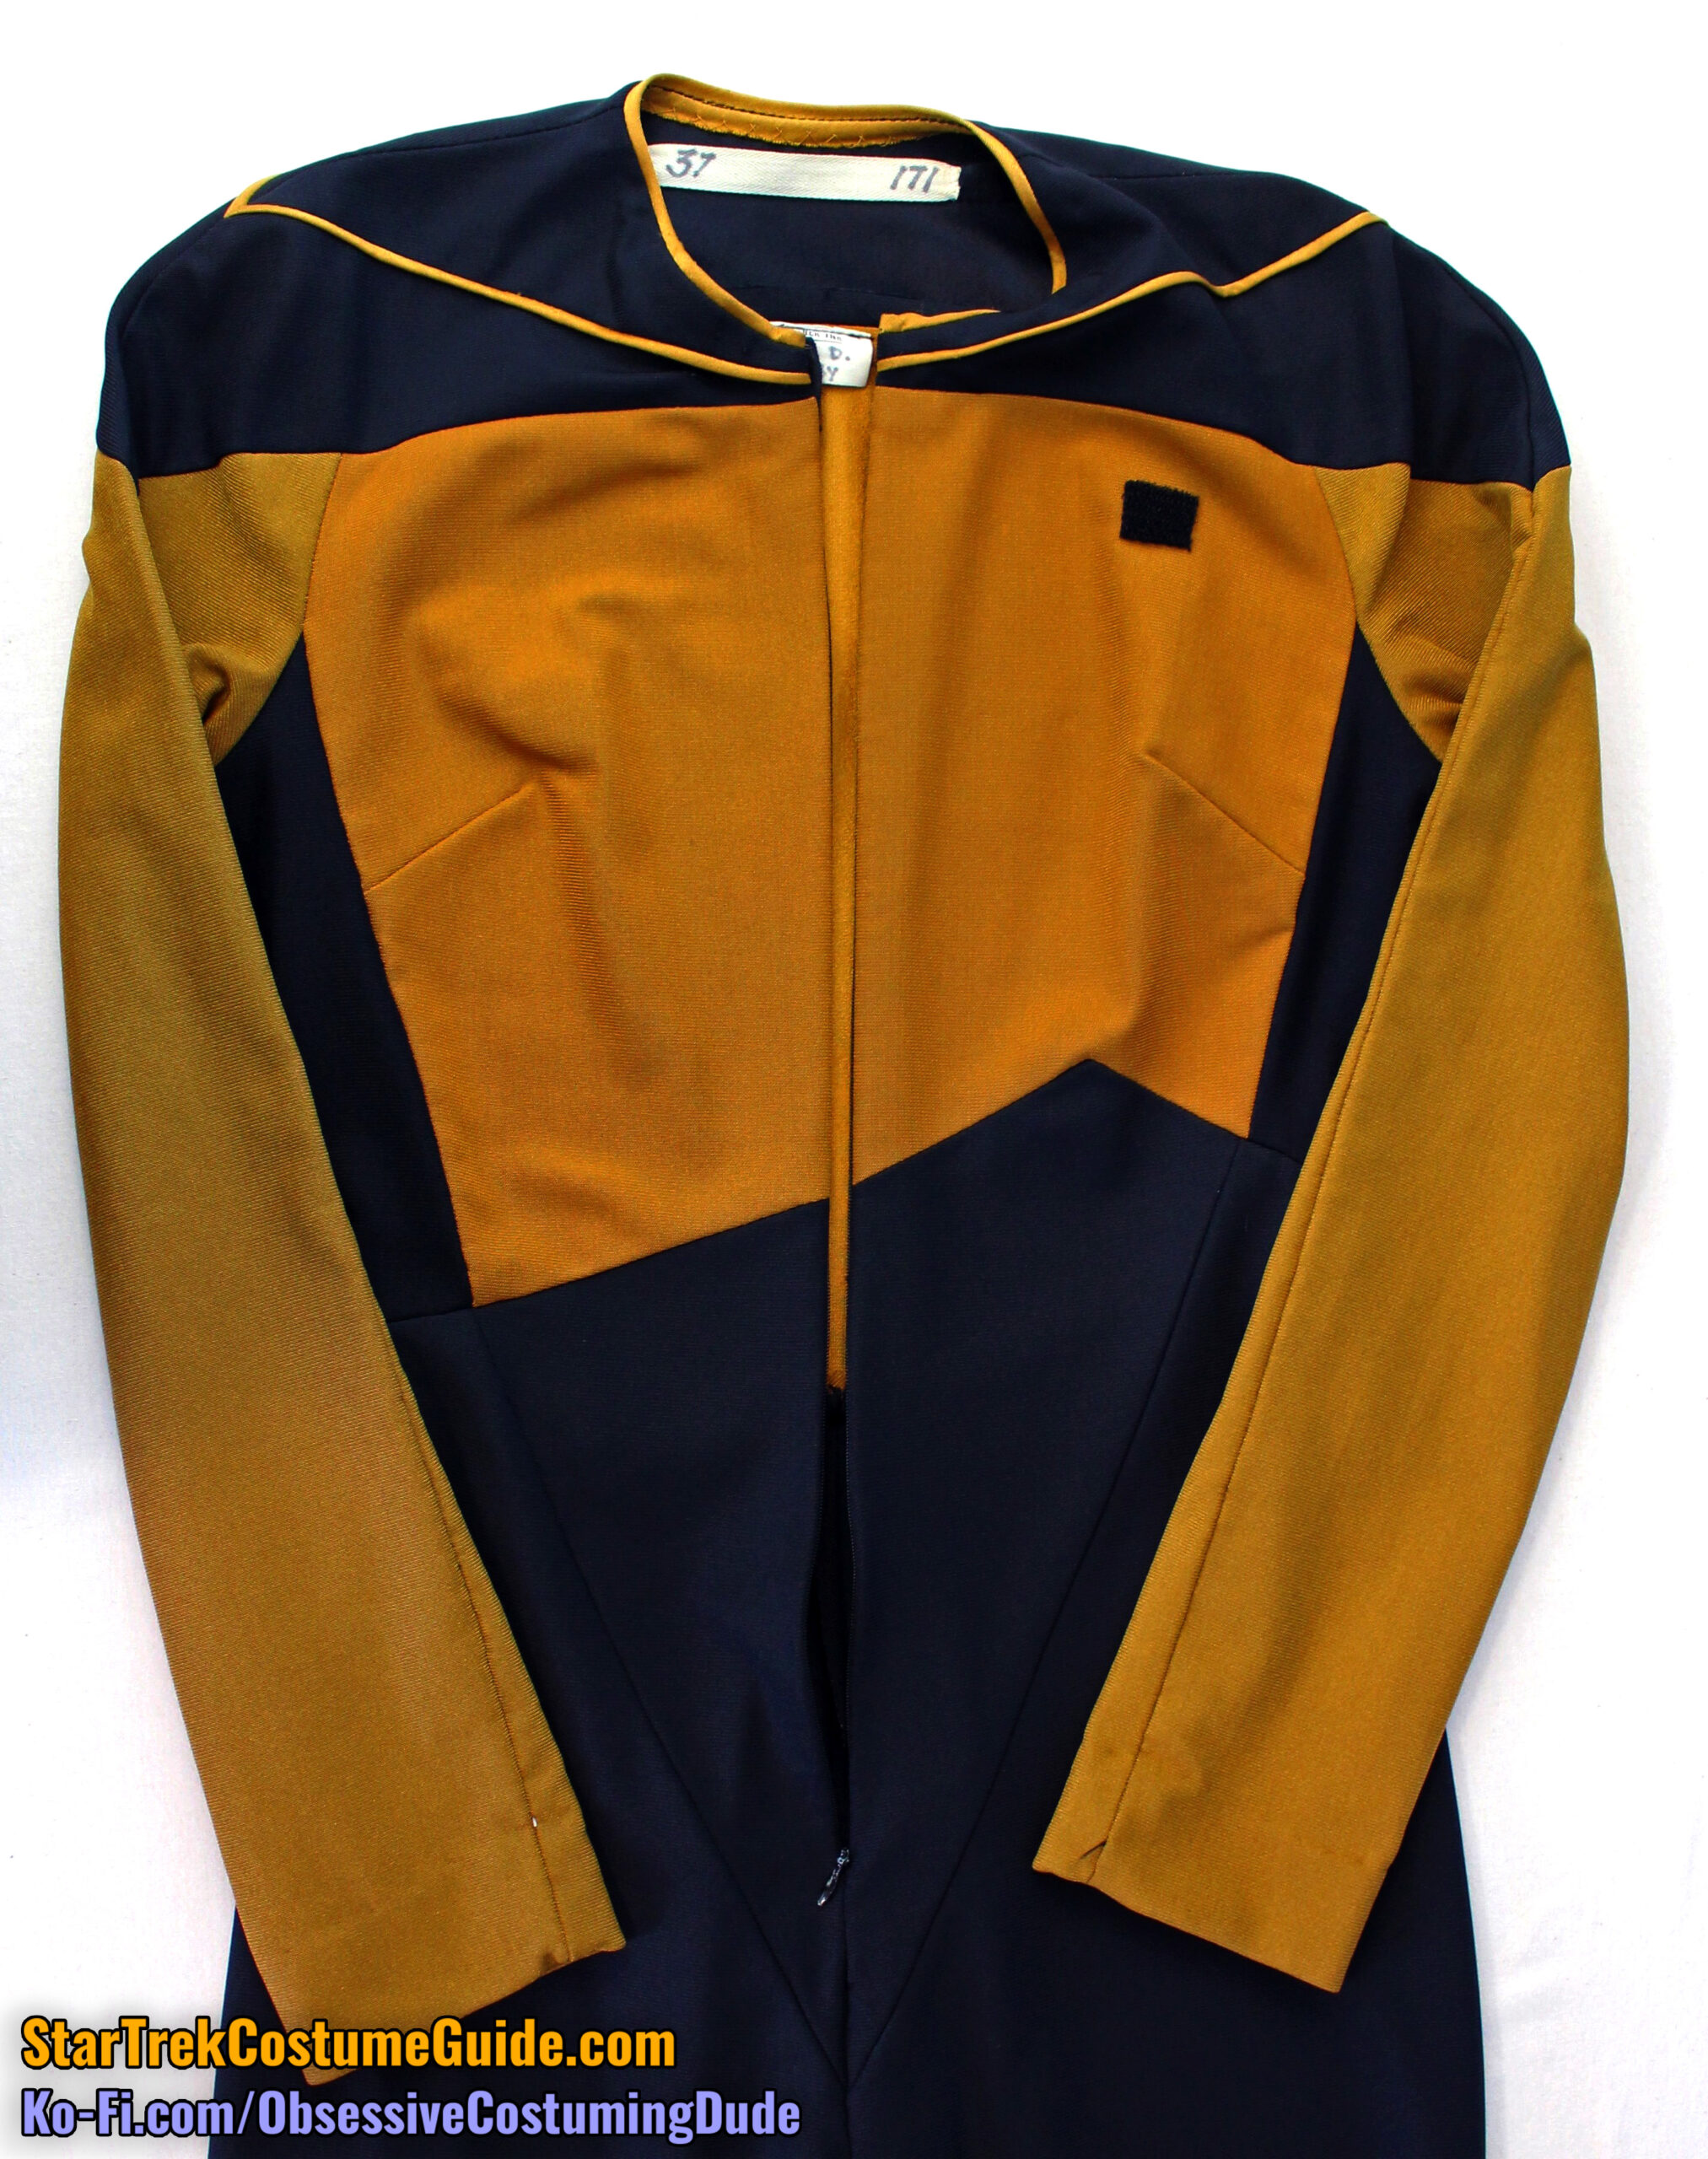
In the course of researching for my new TNG jumpsuit patterns and sewing tutorial, I had the privilege of examining five (!) screen-used TNG jumpsuits, courtesy of Star Trek collector extraordinaire Angelo Cifaldi.
In addition to my broader TNG jumpsuit analysis, we’ll be taking a detailed look of each of these individual TNG jumpsuits over the coming weeks, beginning with this season one Tasha Yar uniform.
In this corresponding video, I discuss some of the highlights from the following post:
Special thanks to Angelo and to my Ko-Fi supporters for helping make this possible. 🙂

FABRIC COLORS
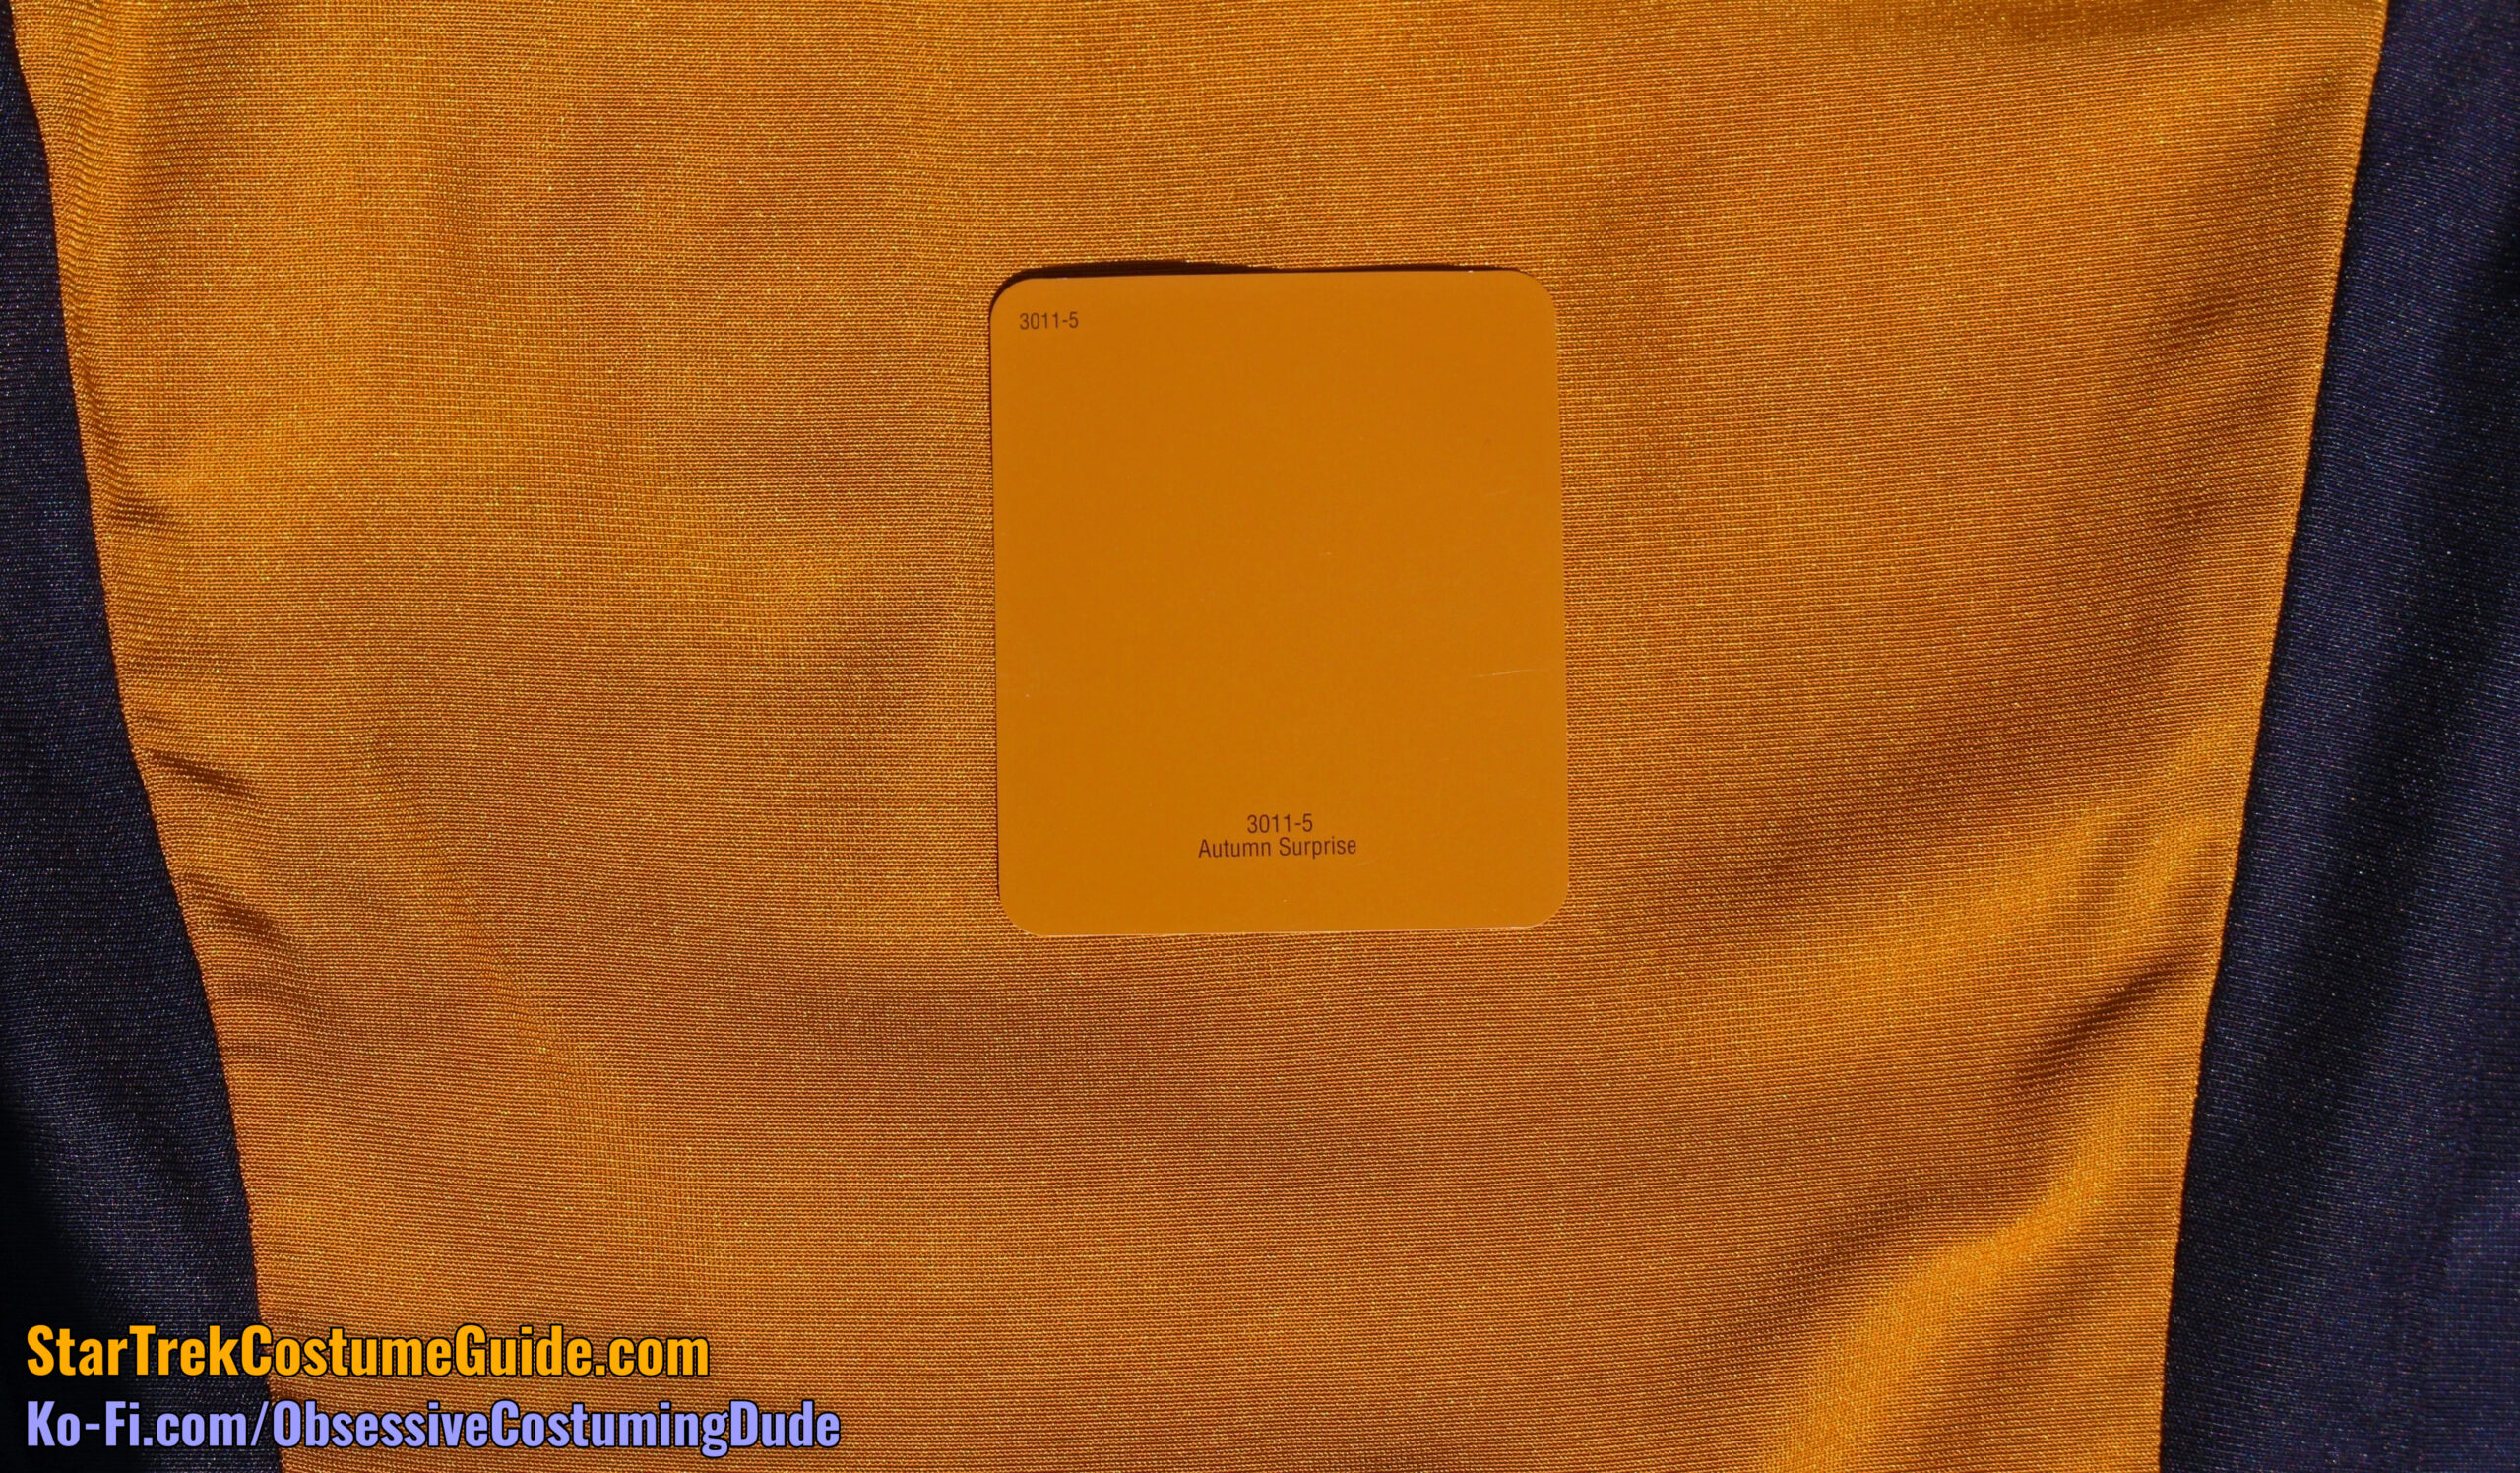
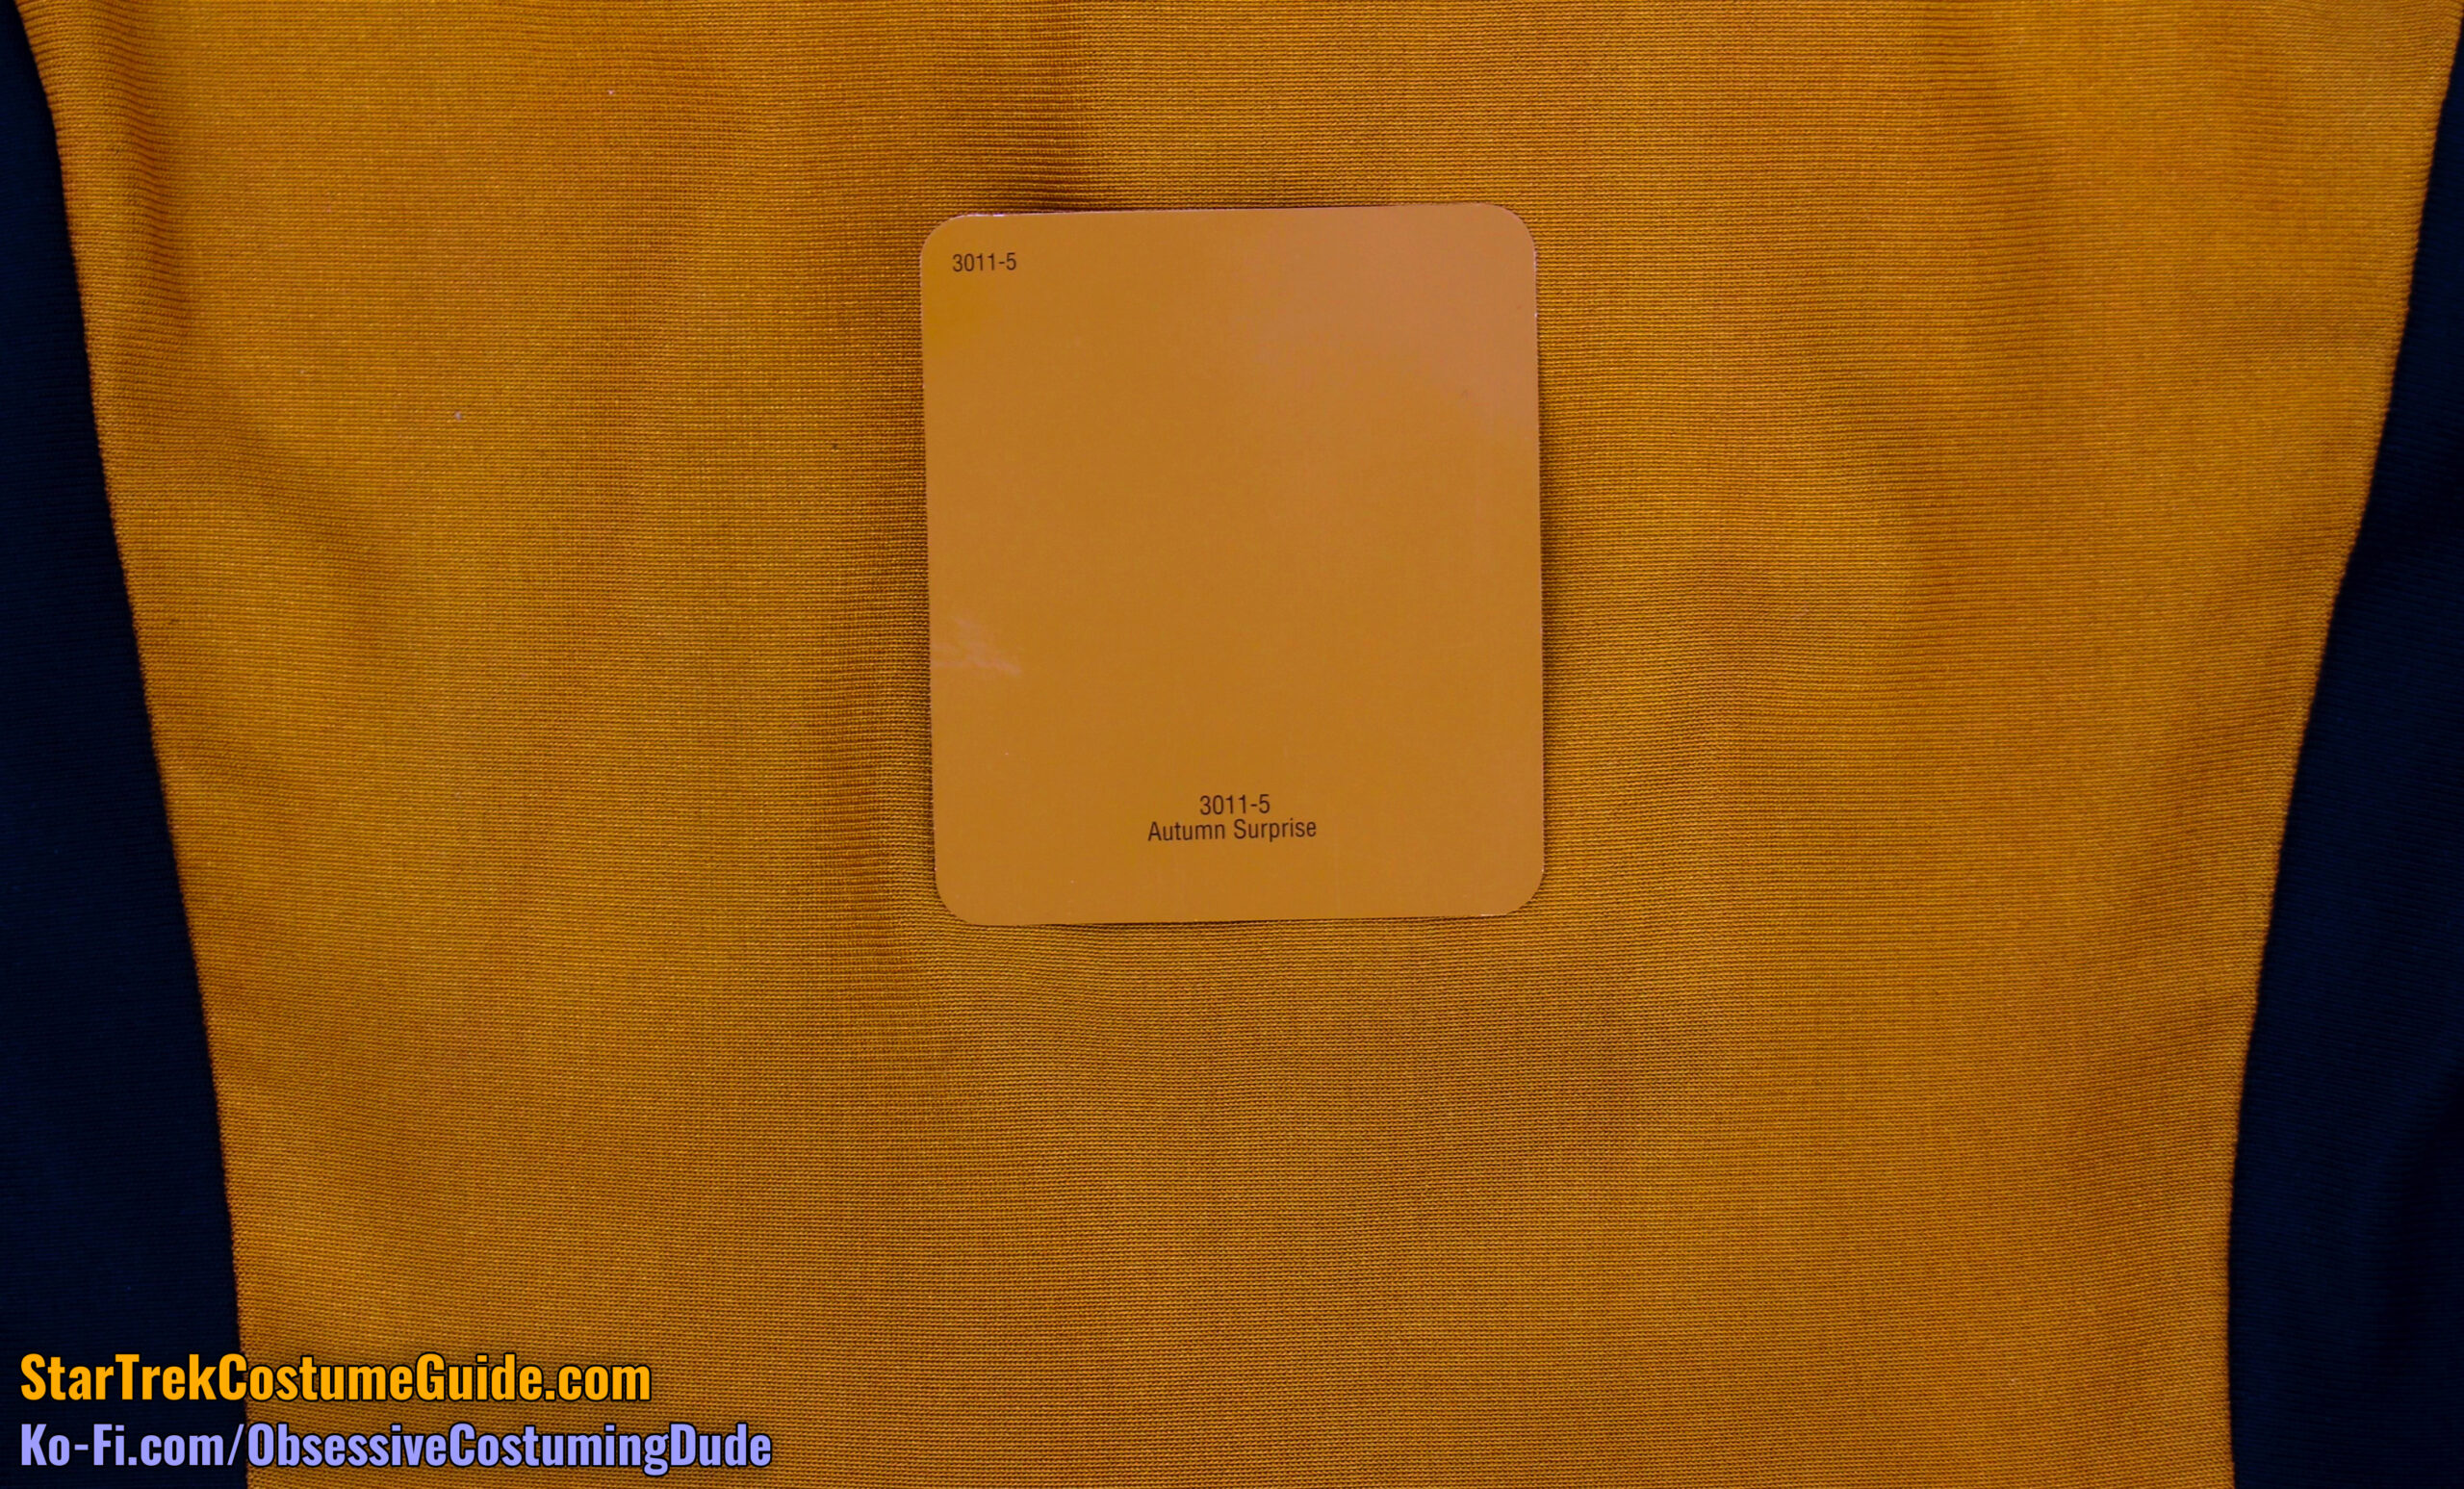
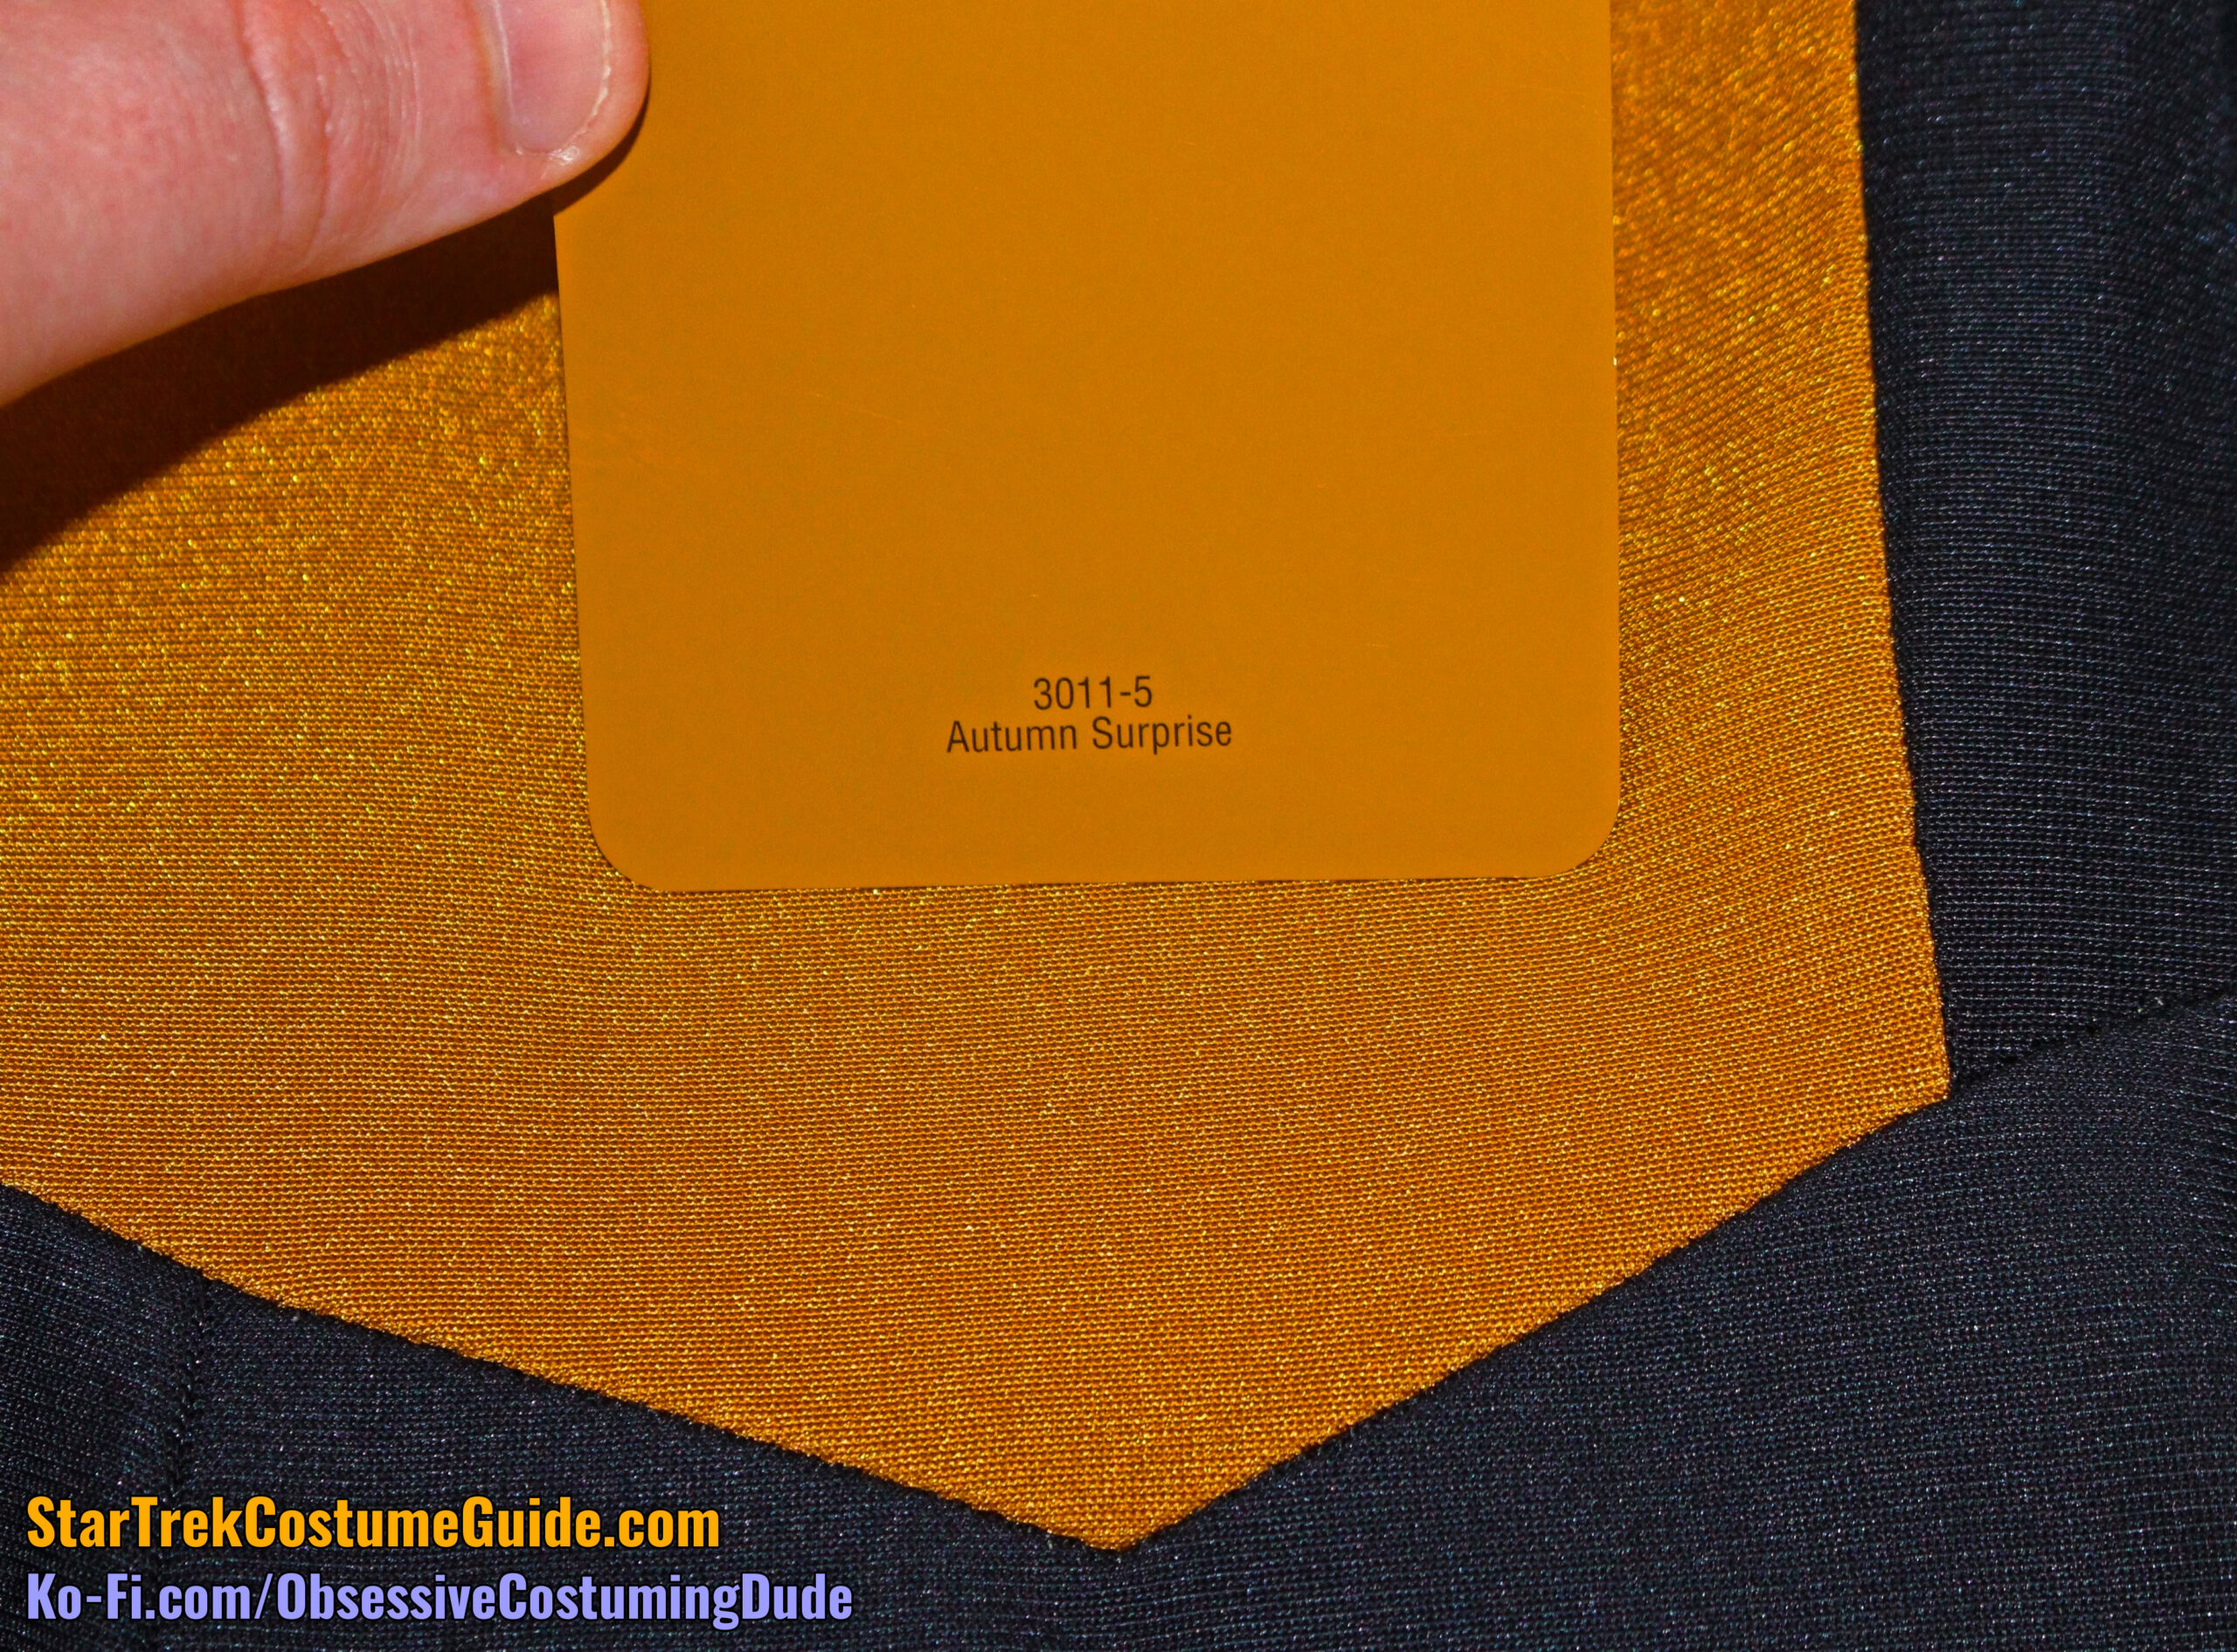
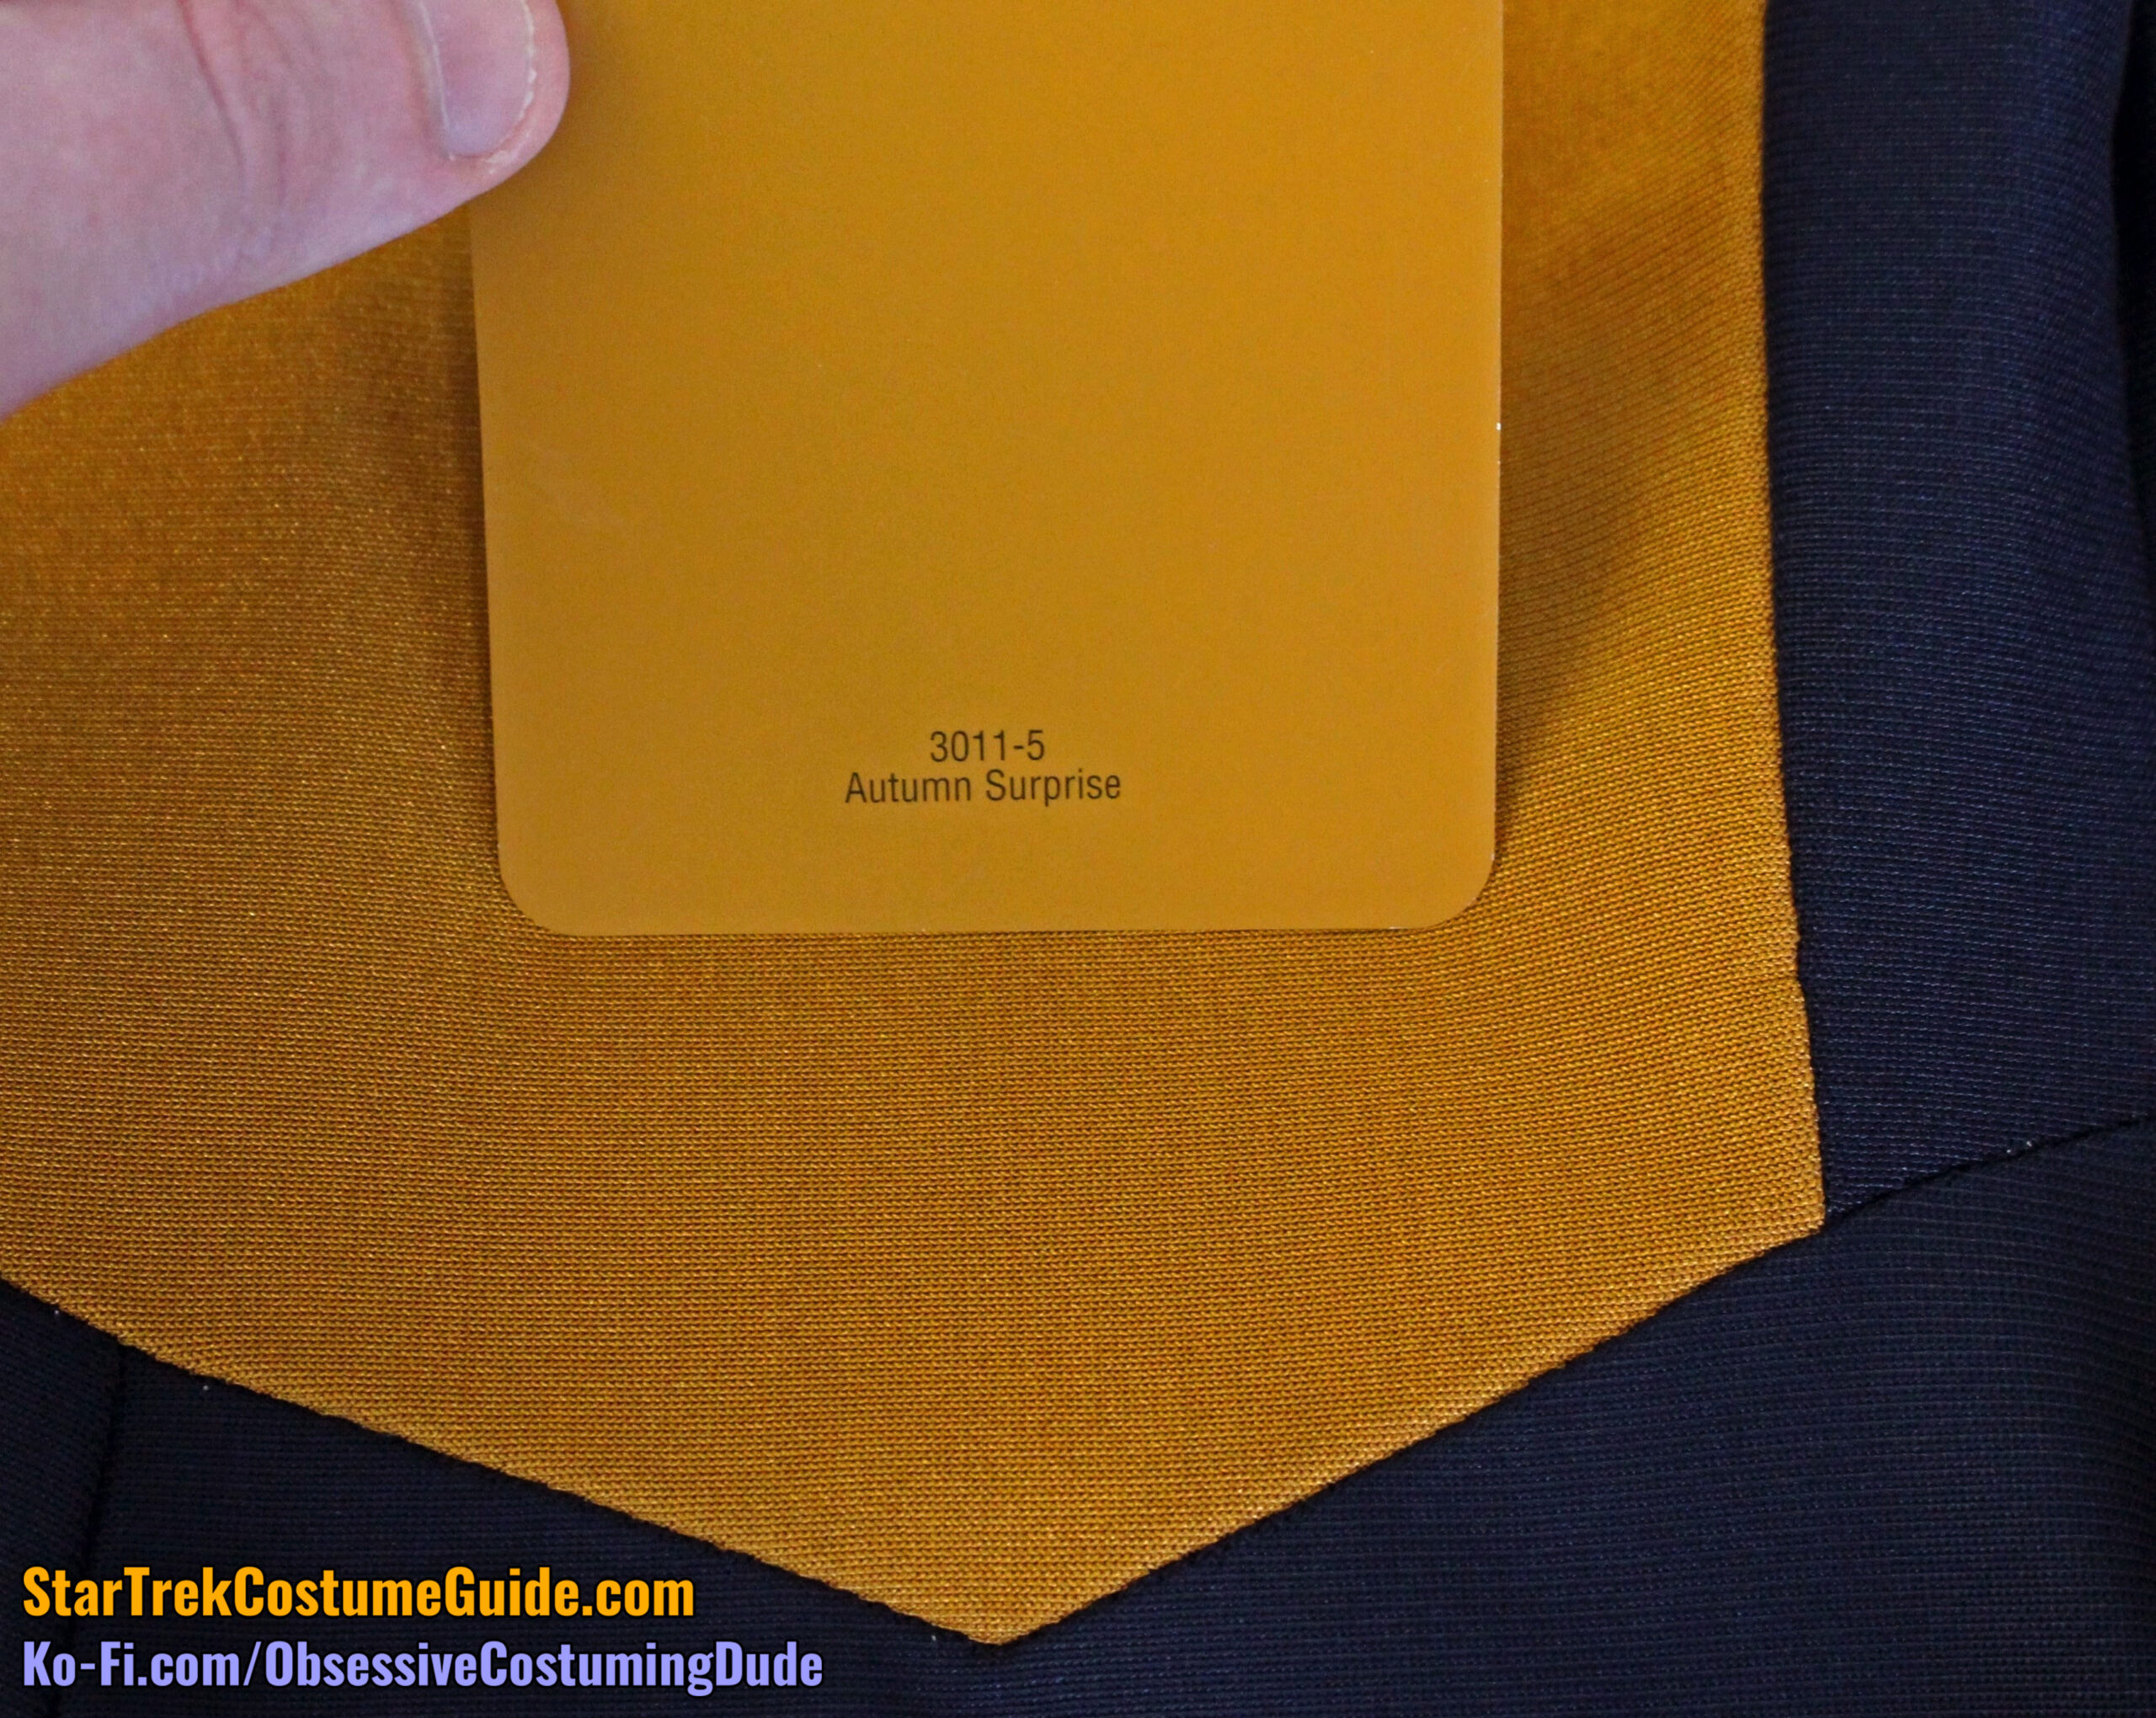
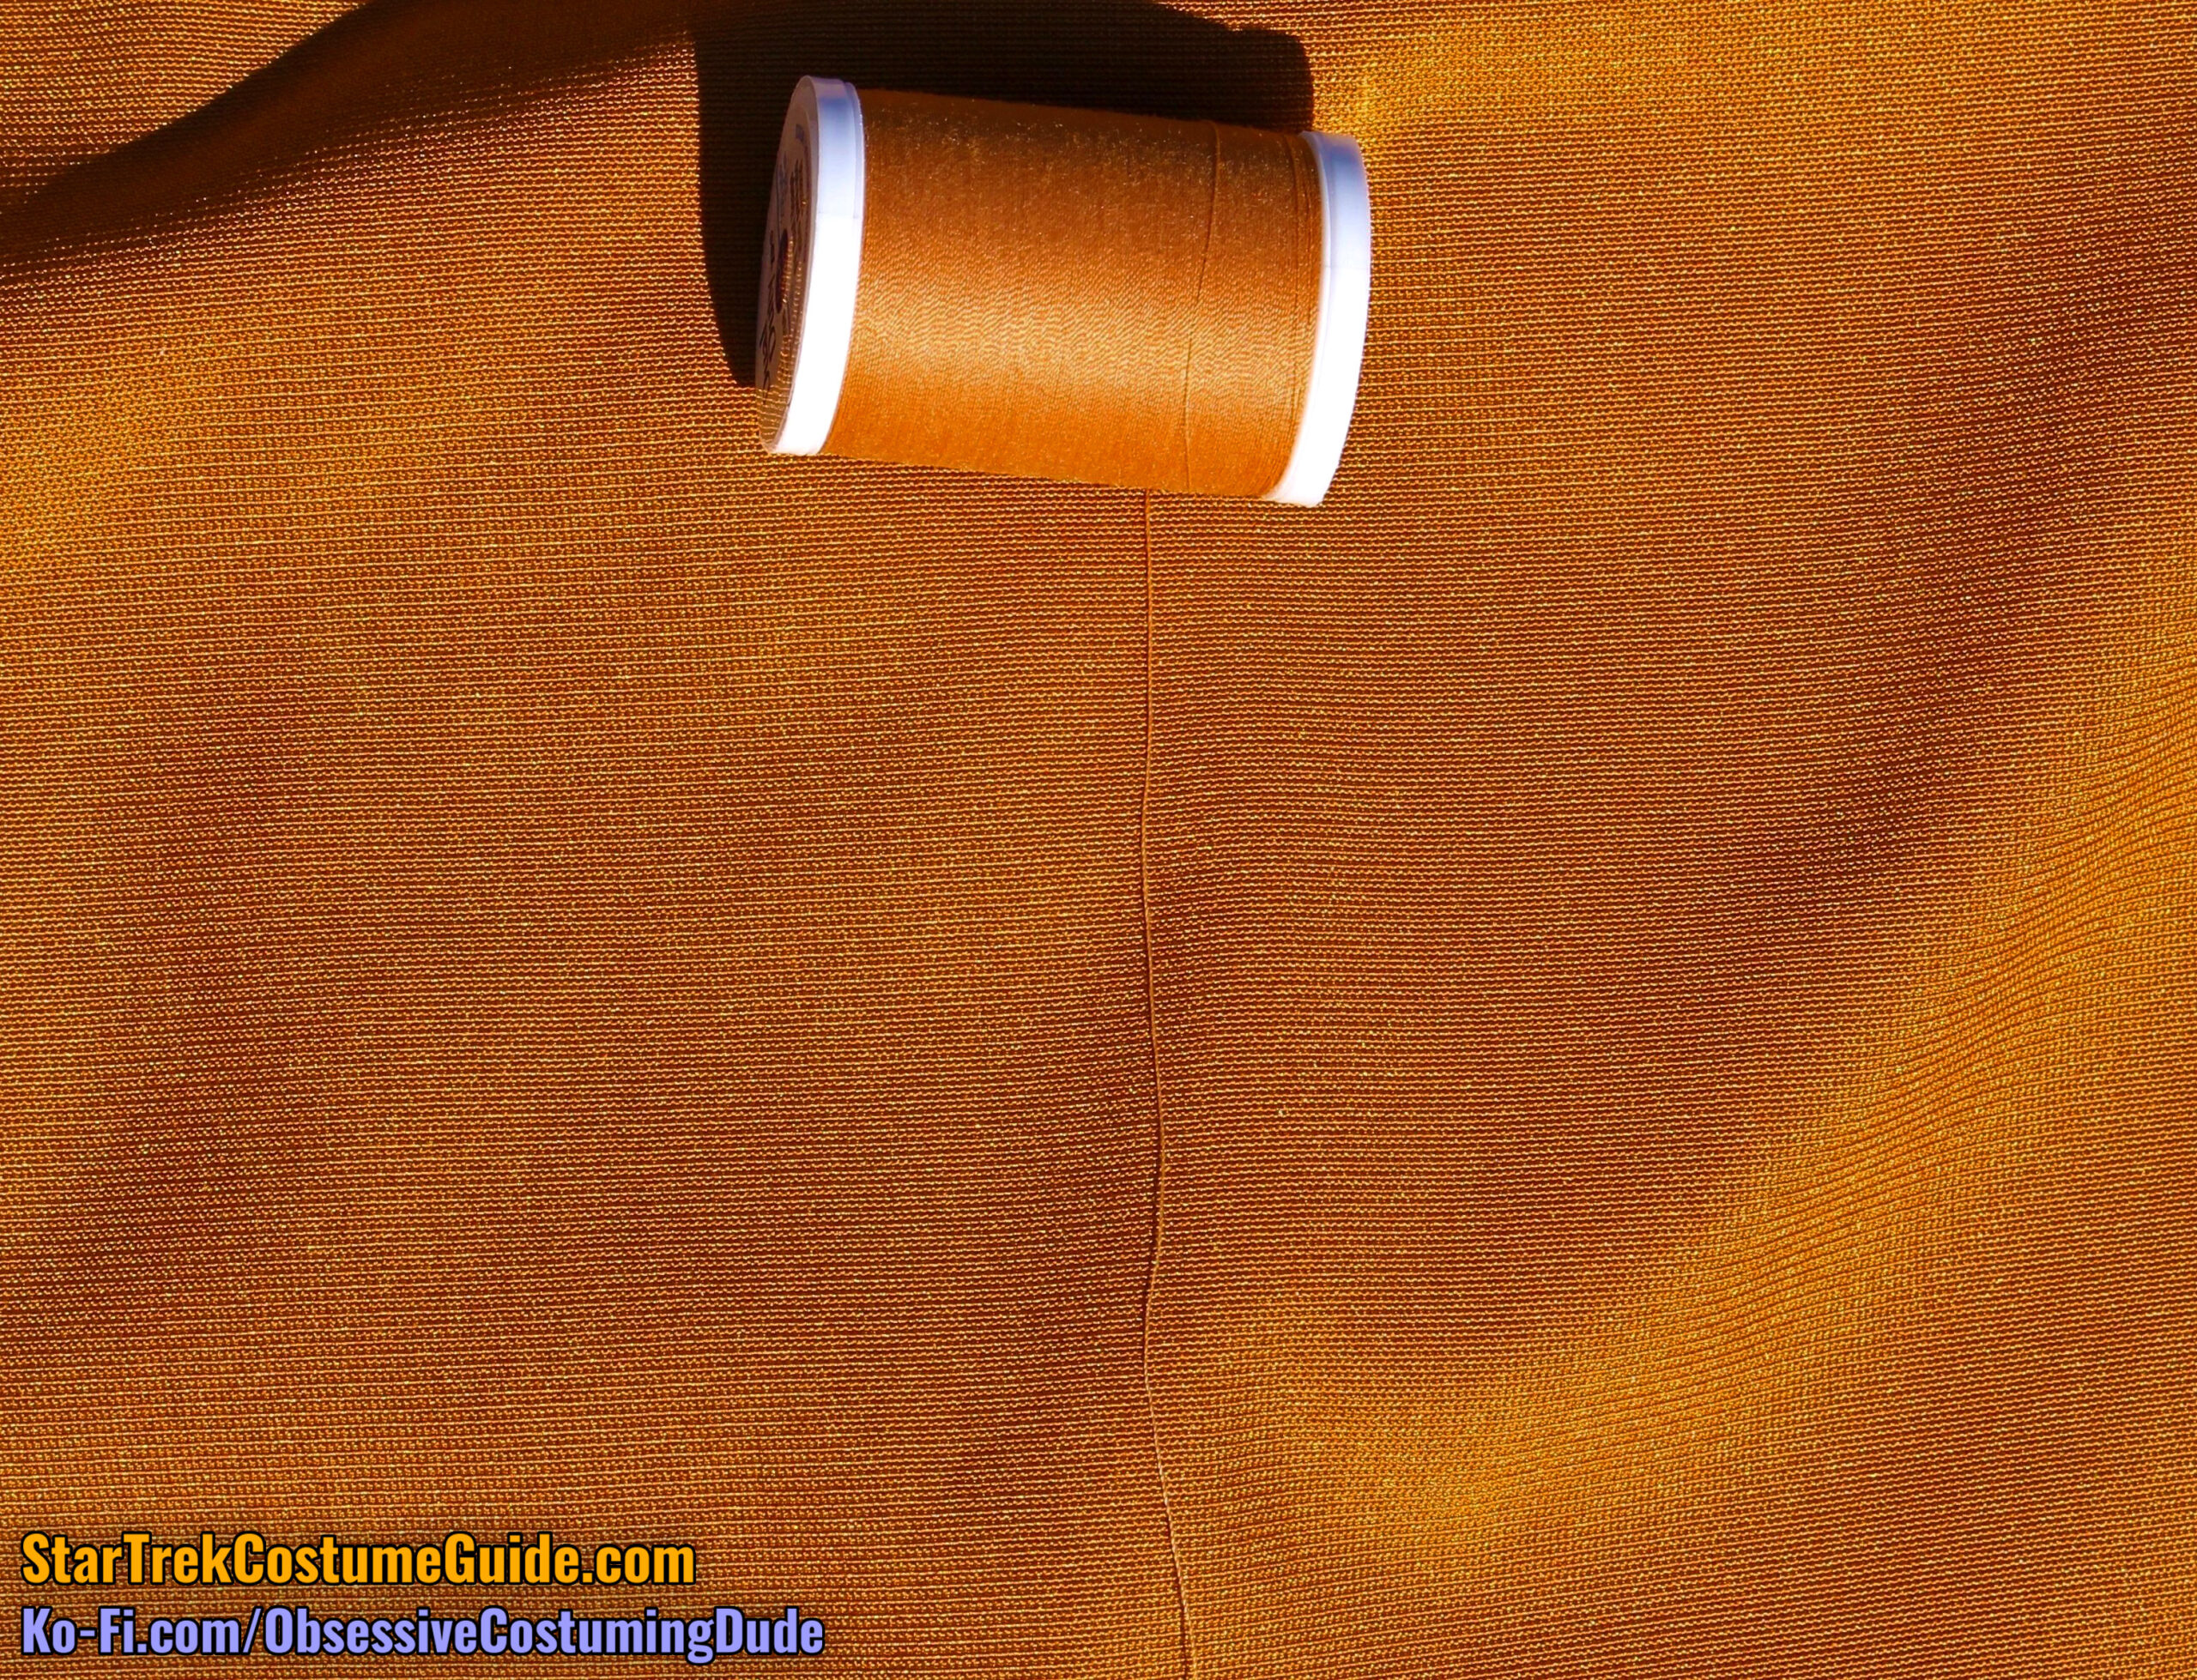
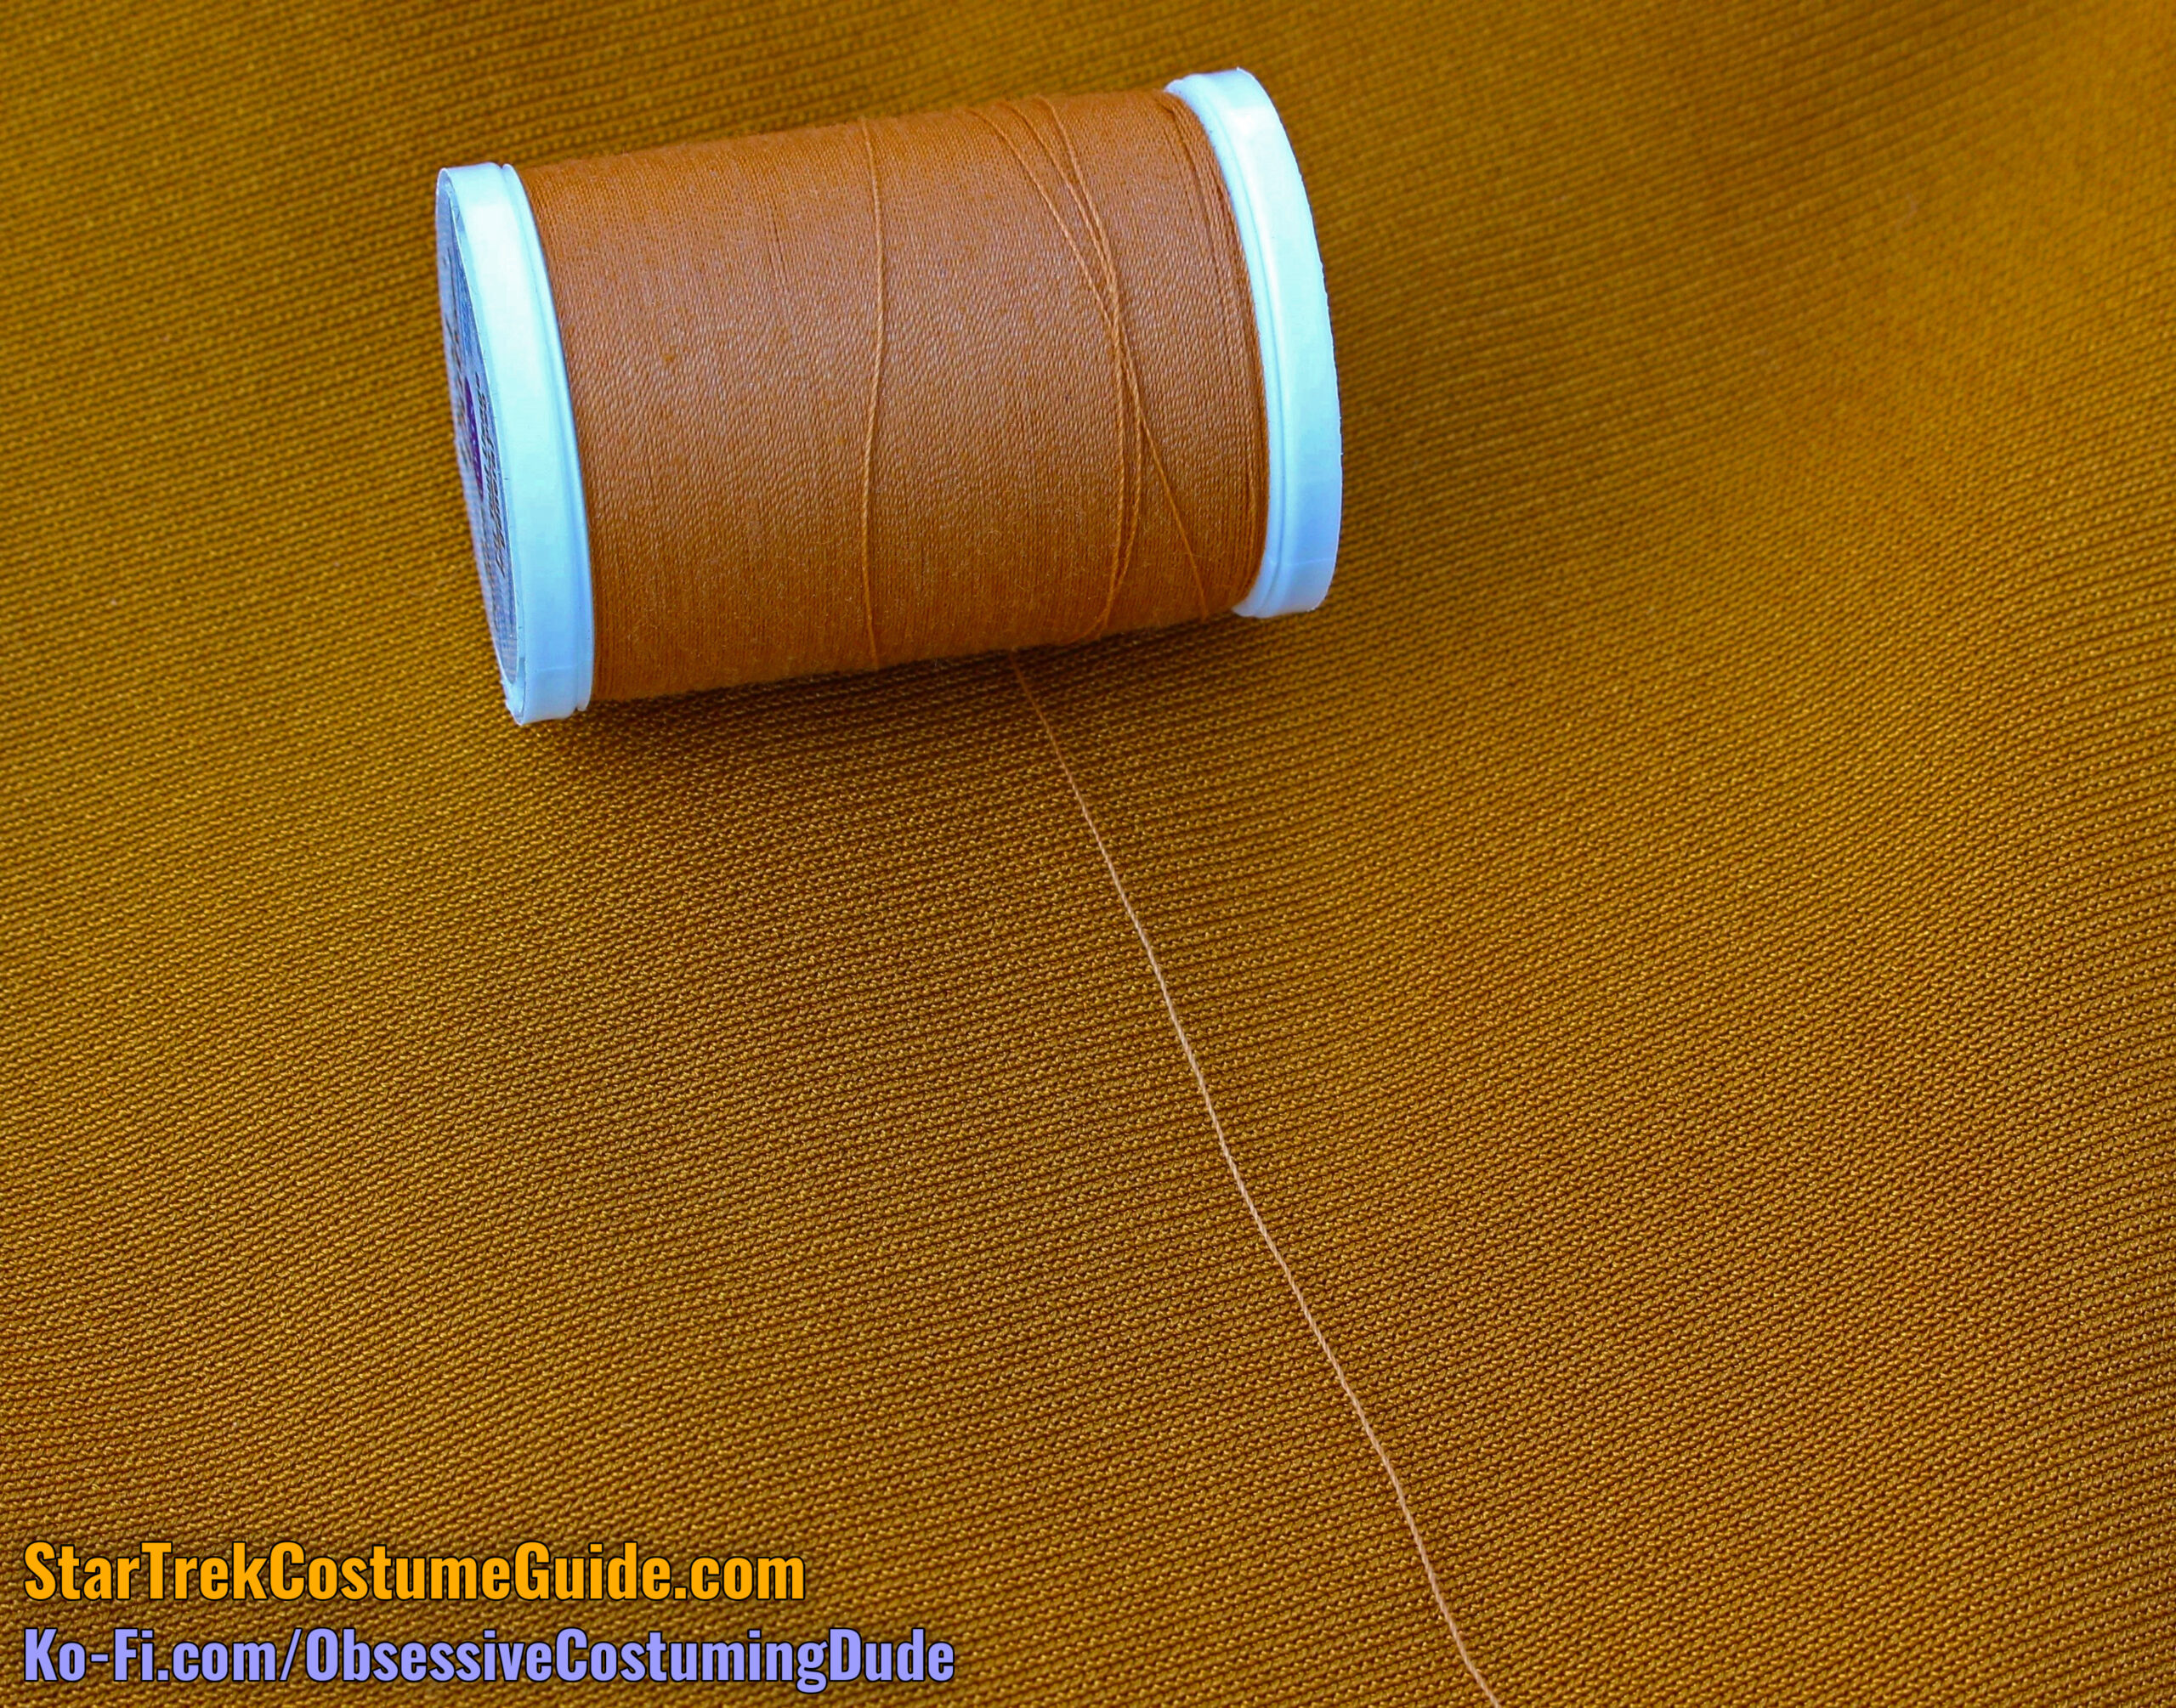
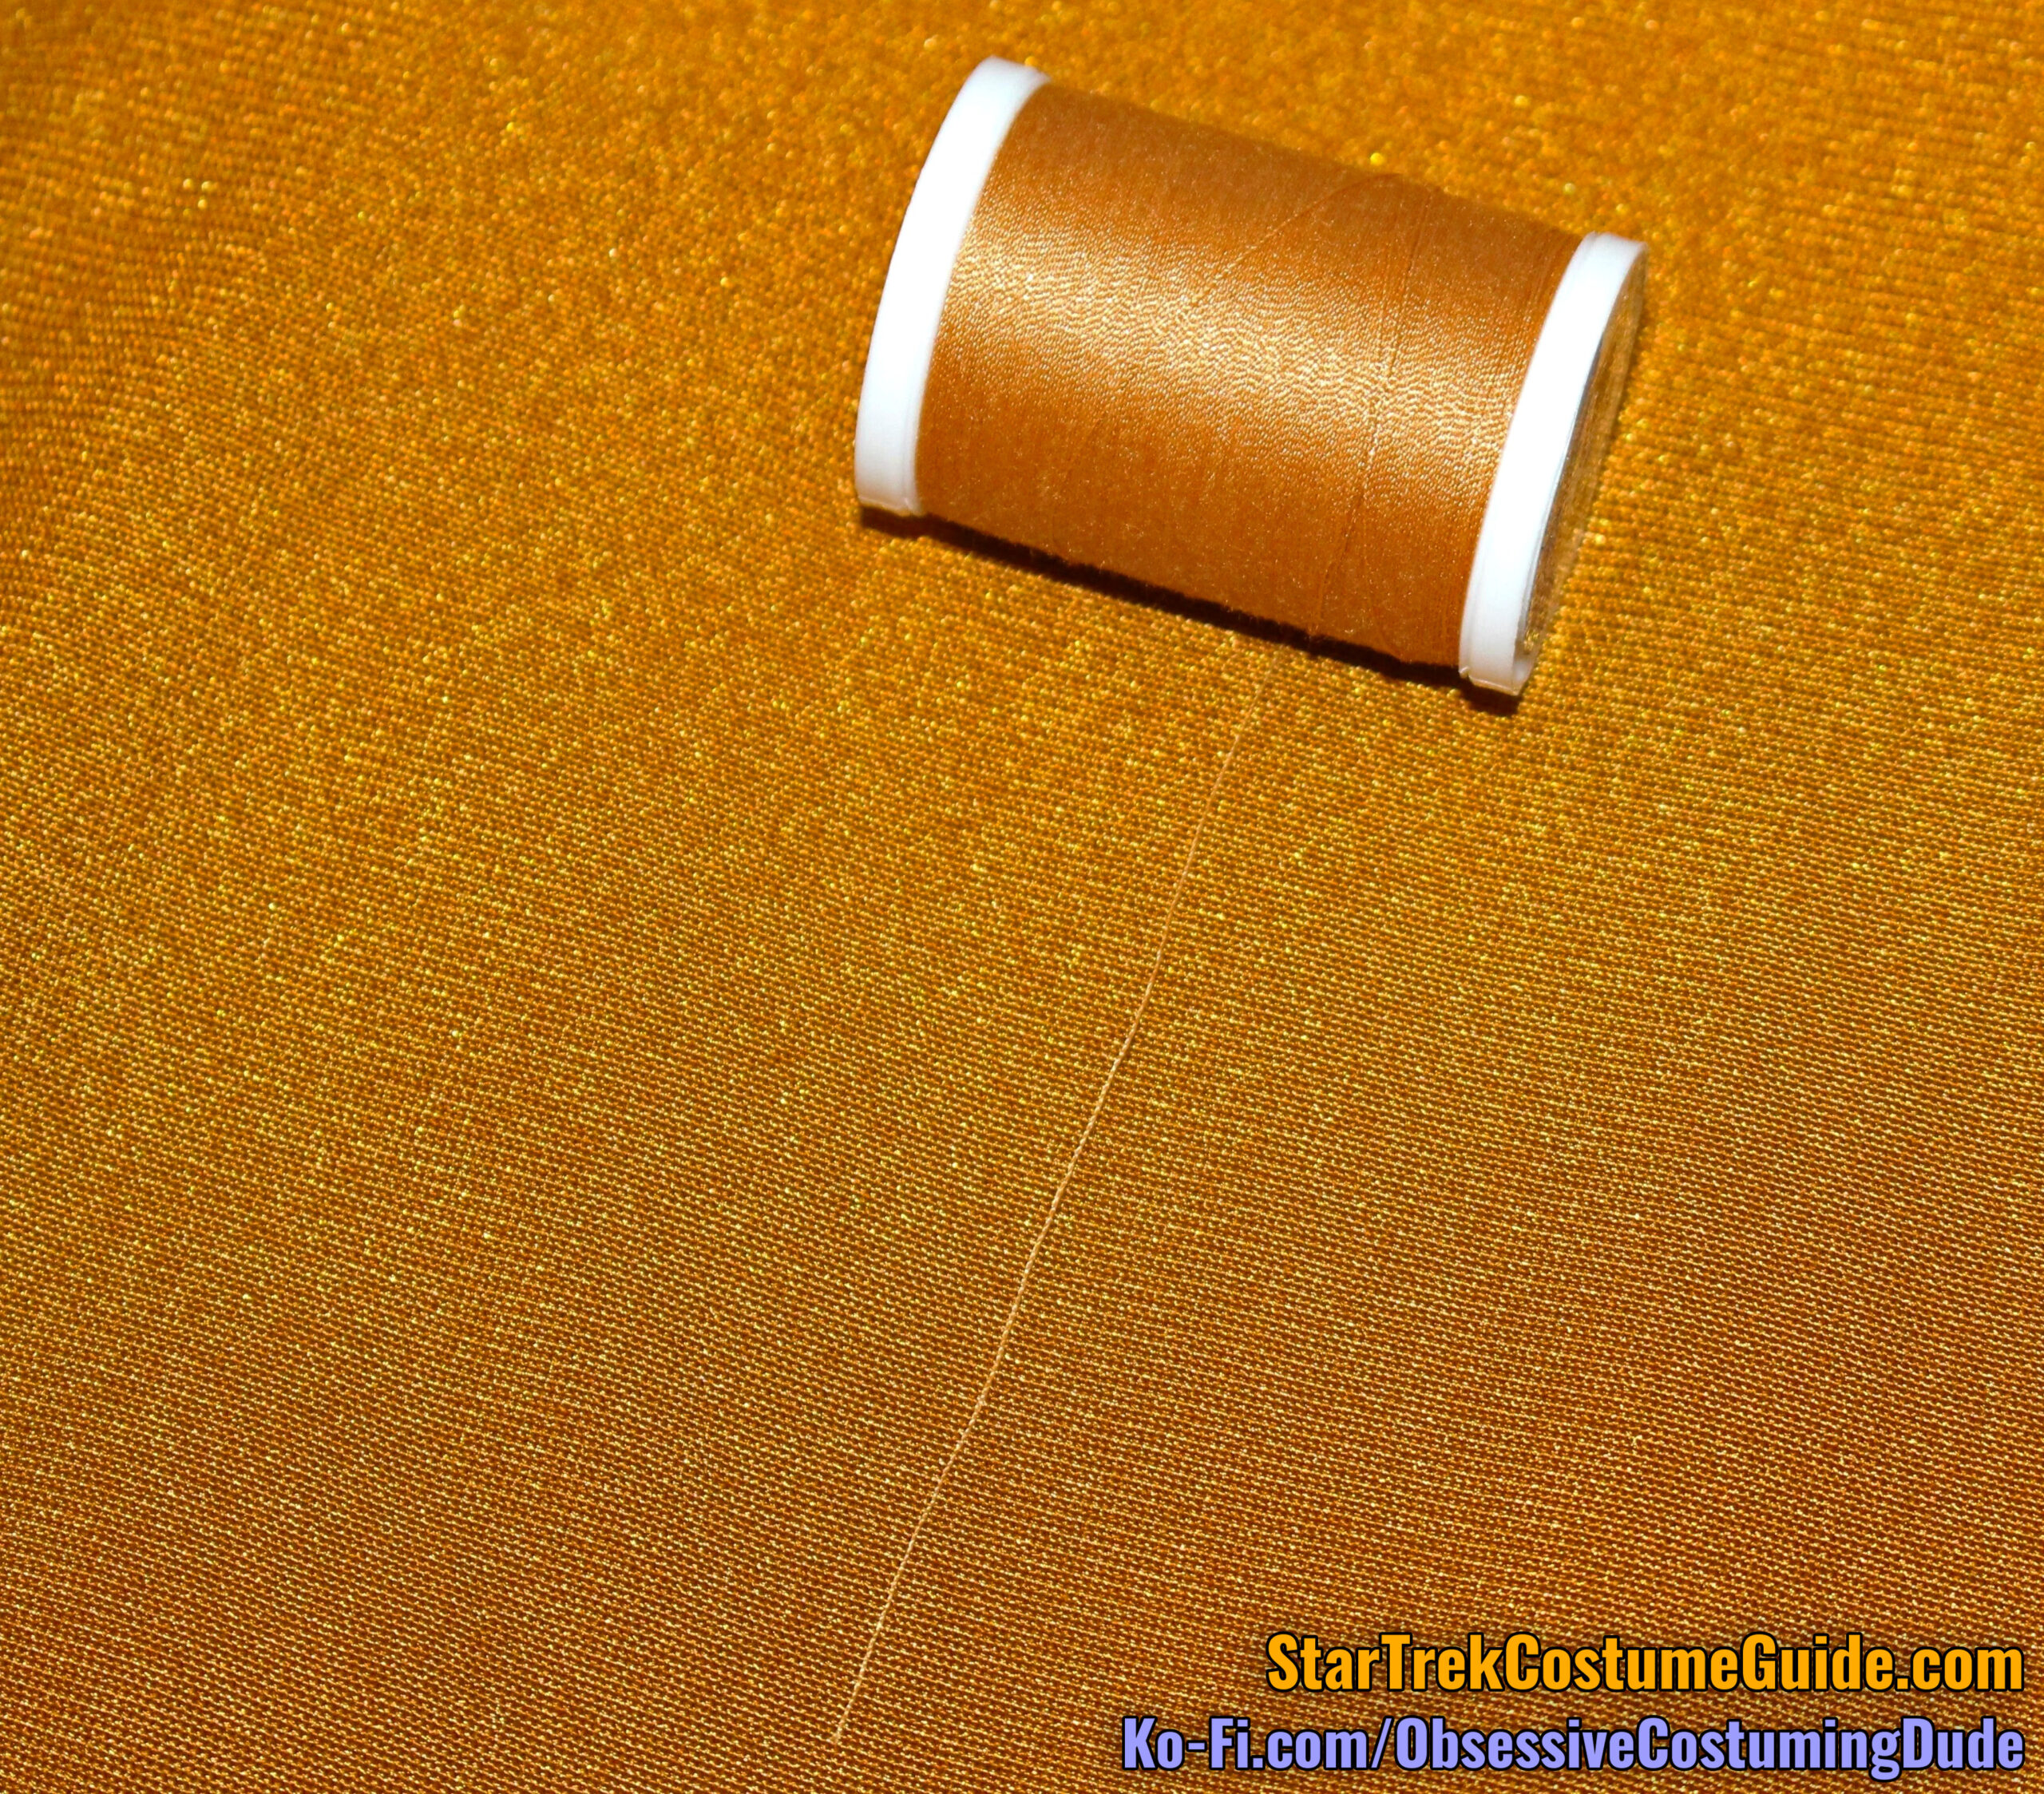
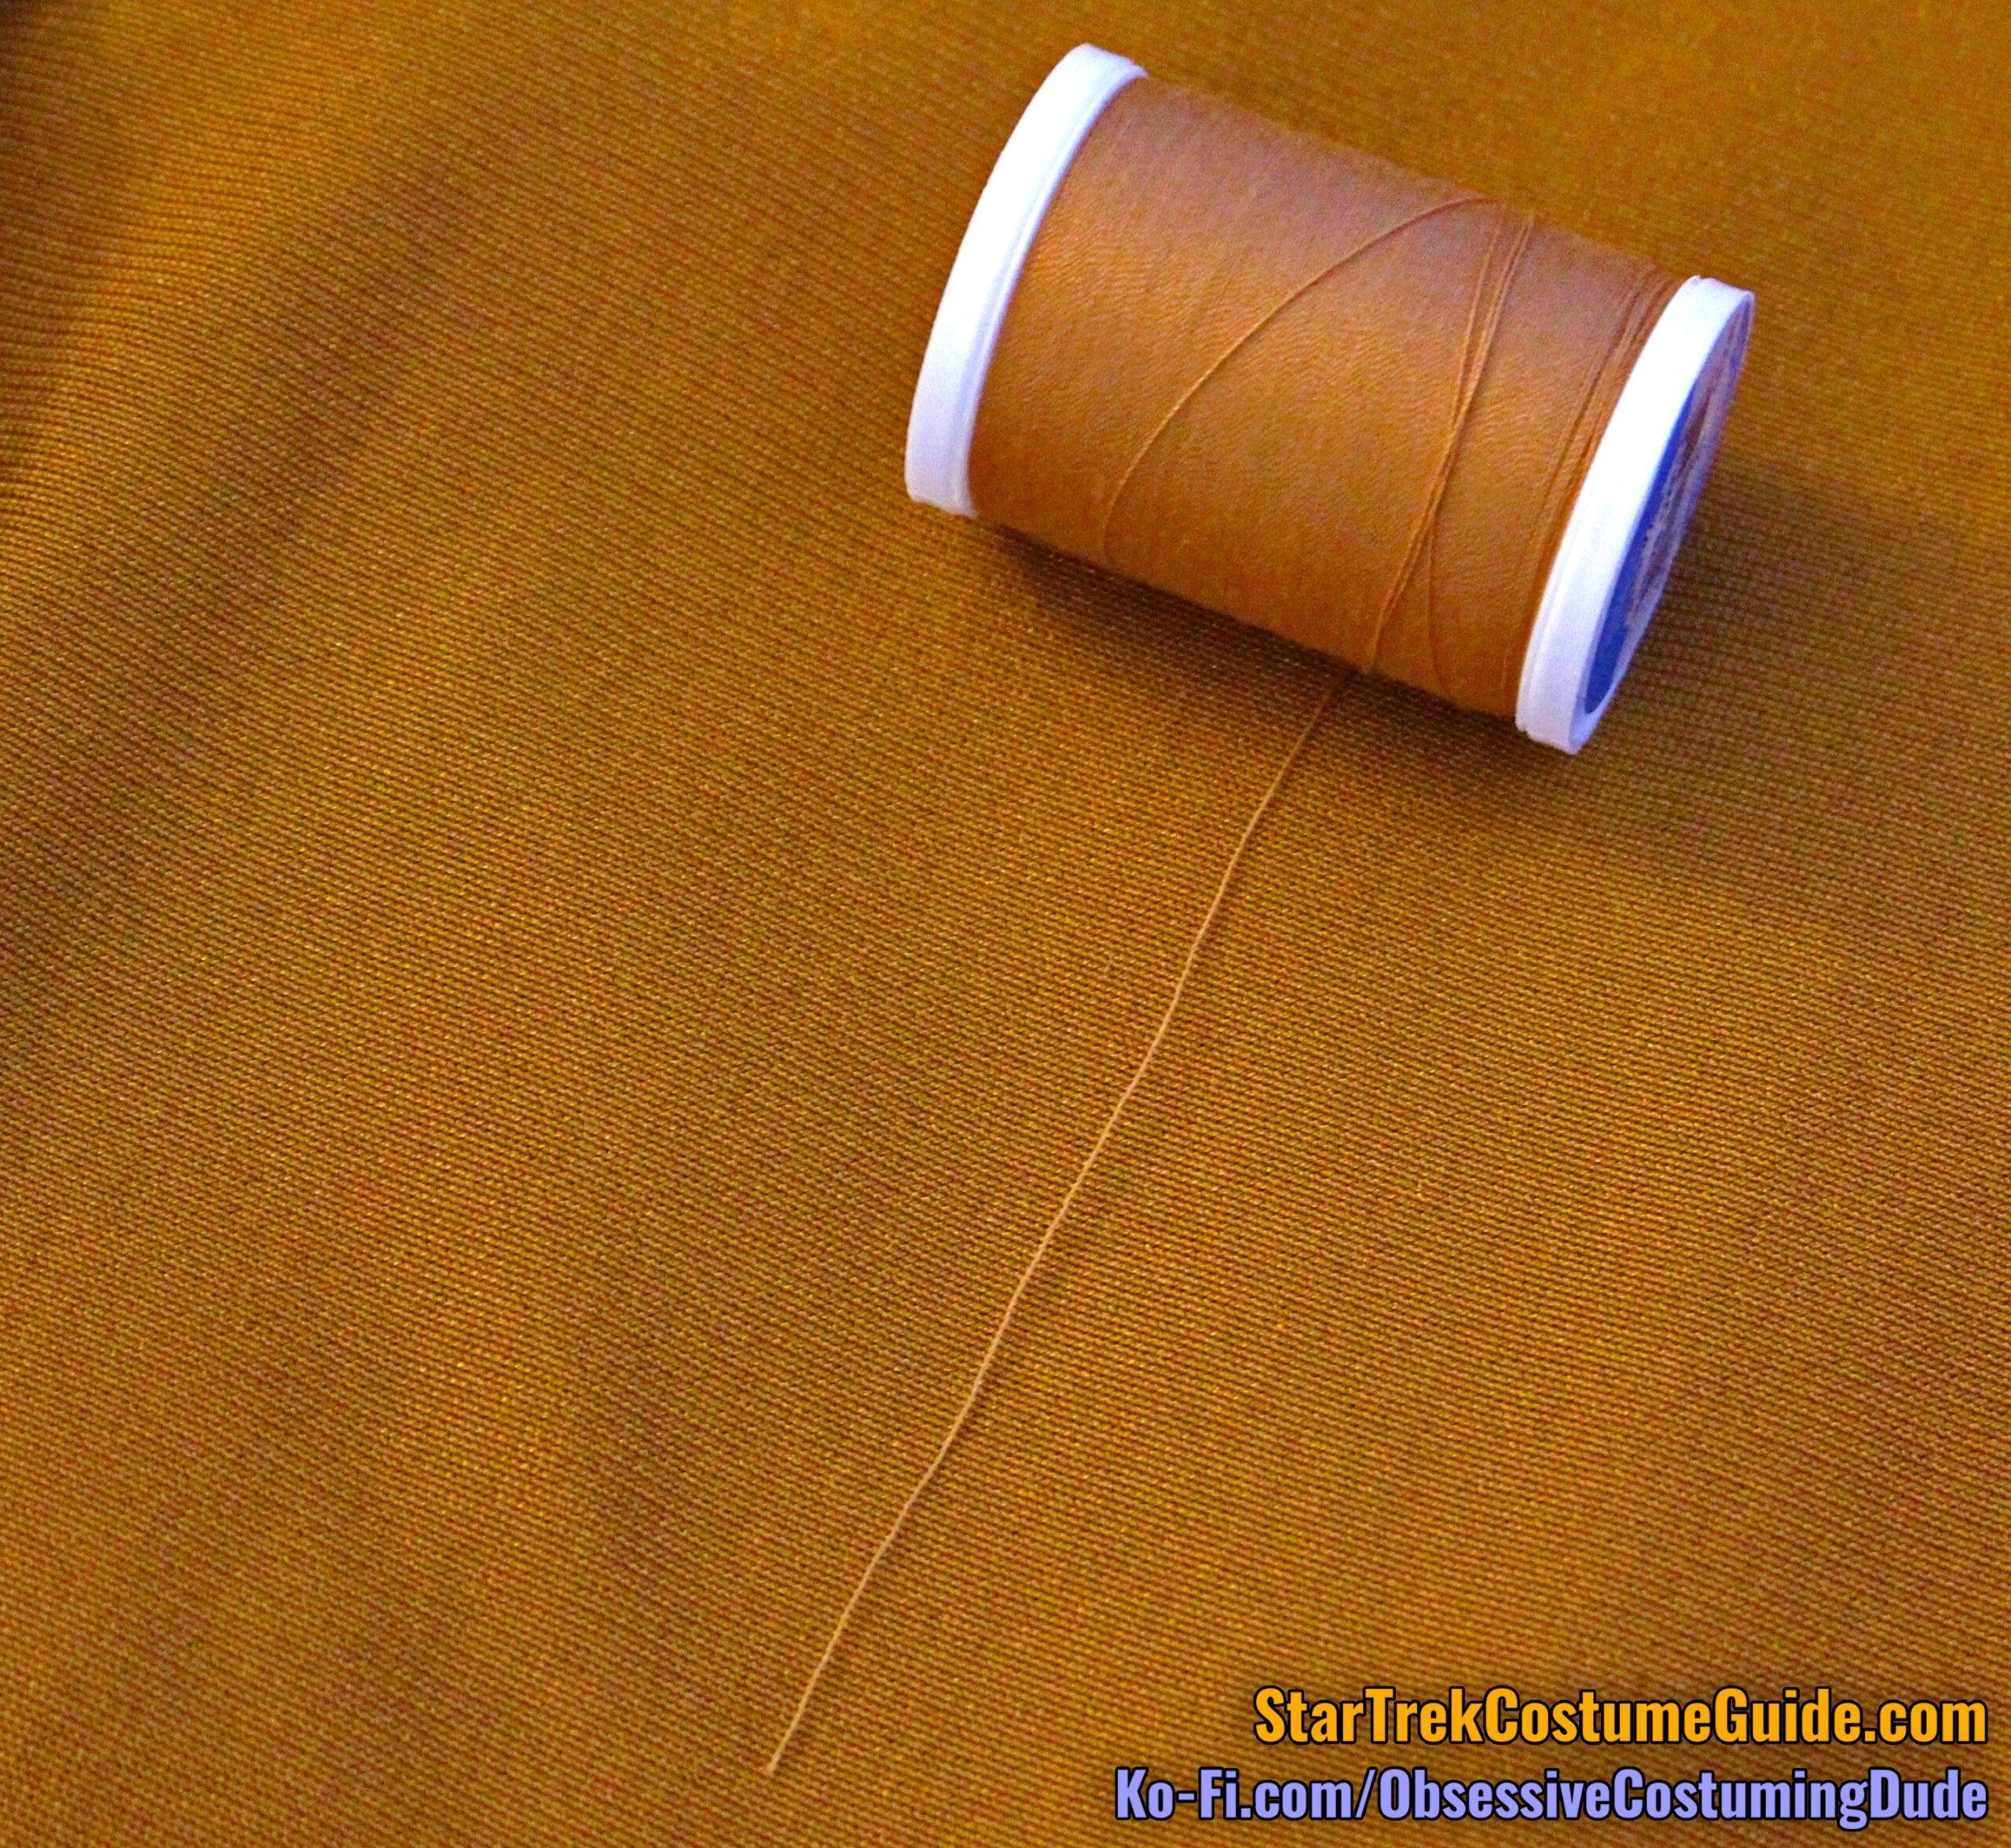
Like the screen-used TNG skant I examined a while back, perhaps the most surprising thing about the Tasha Yar jumpsuit was the actual gold fabric color.
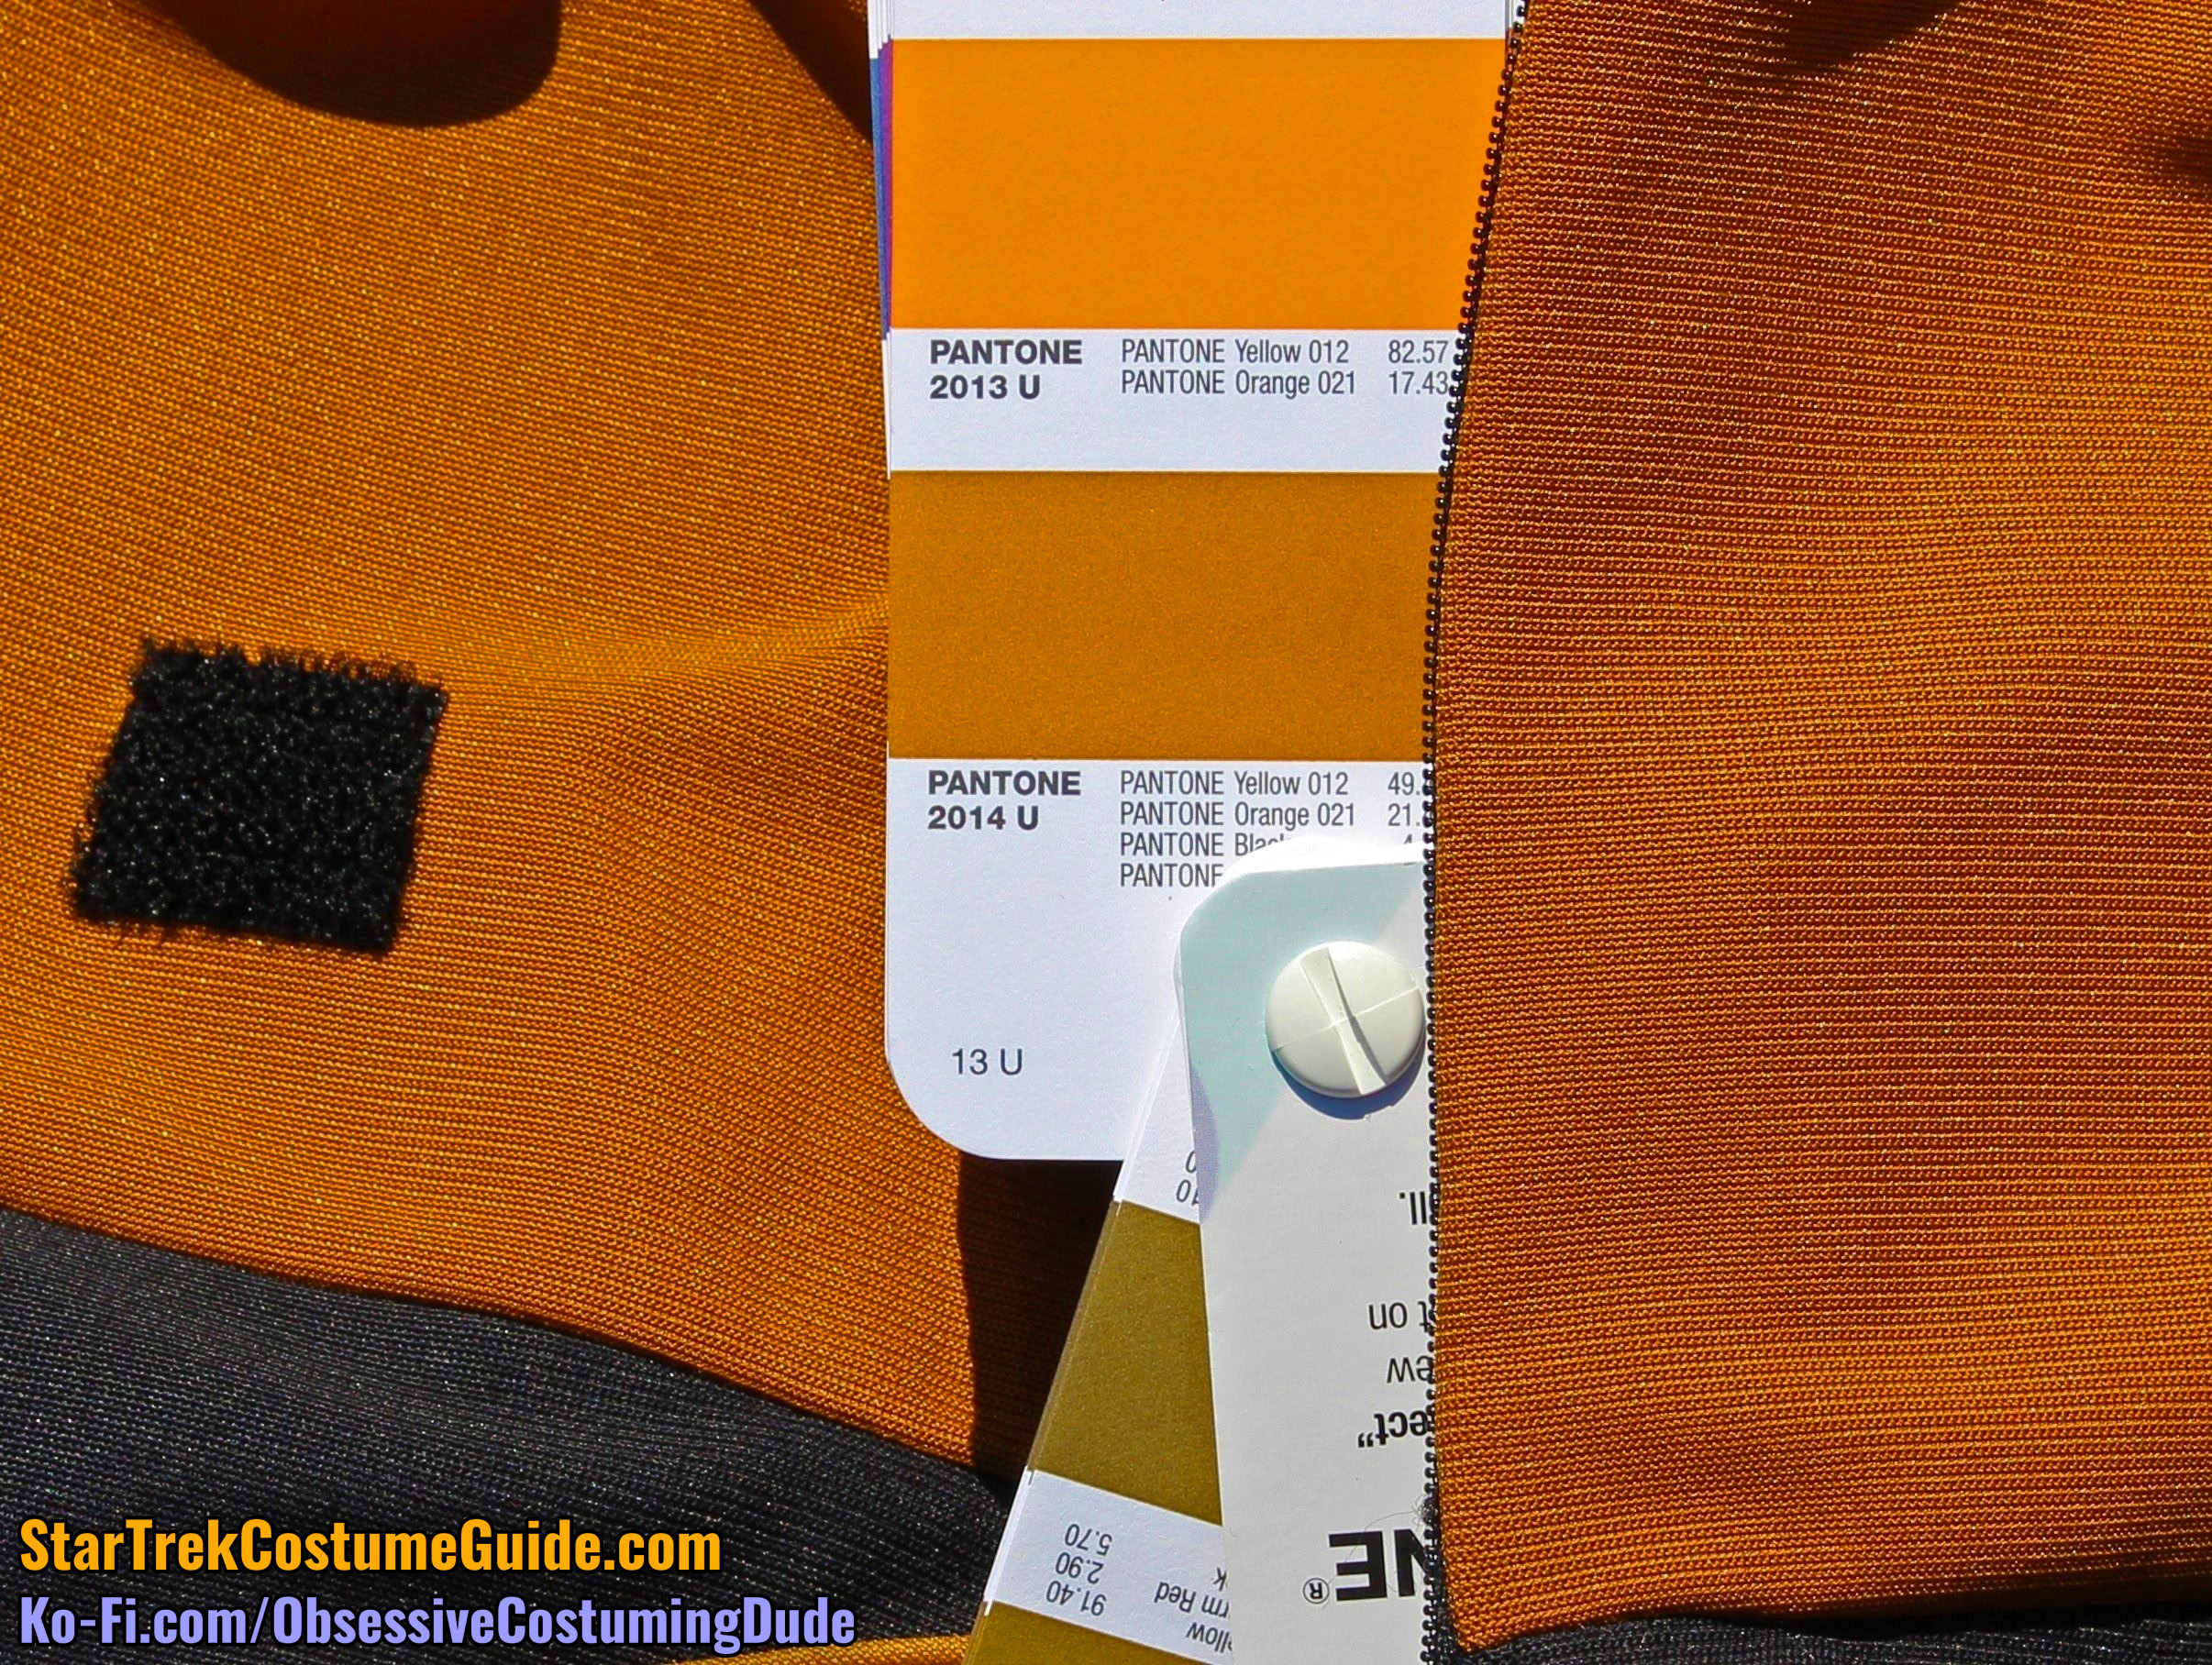
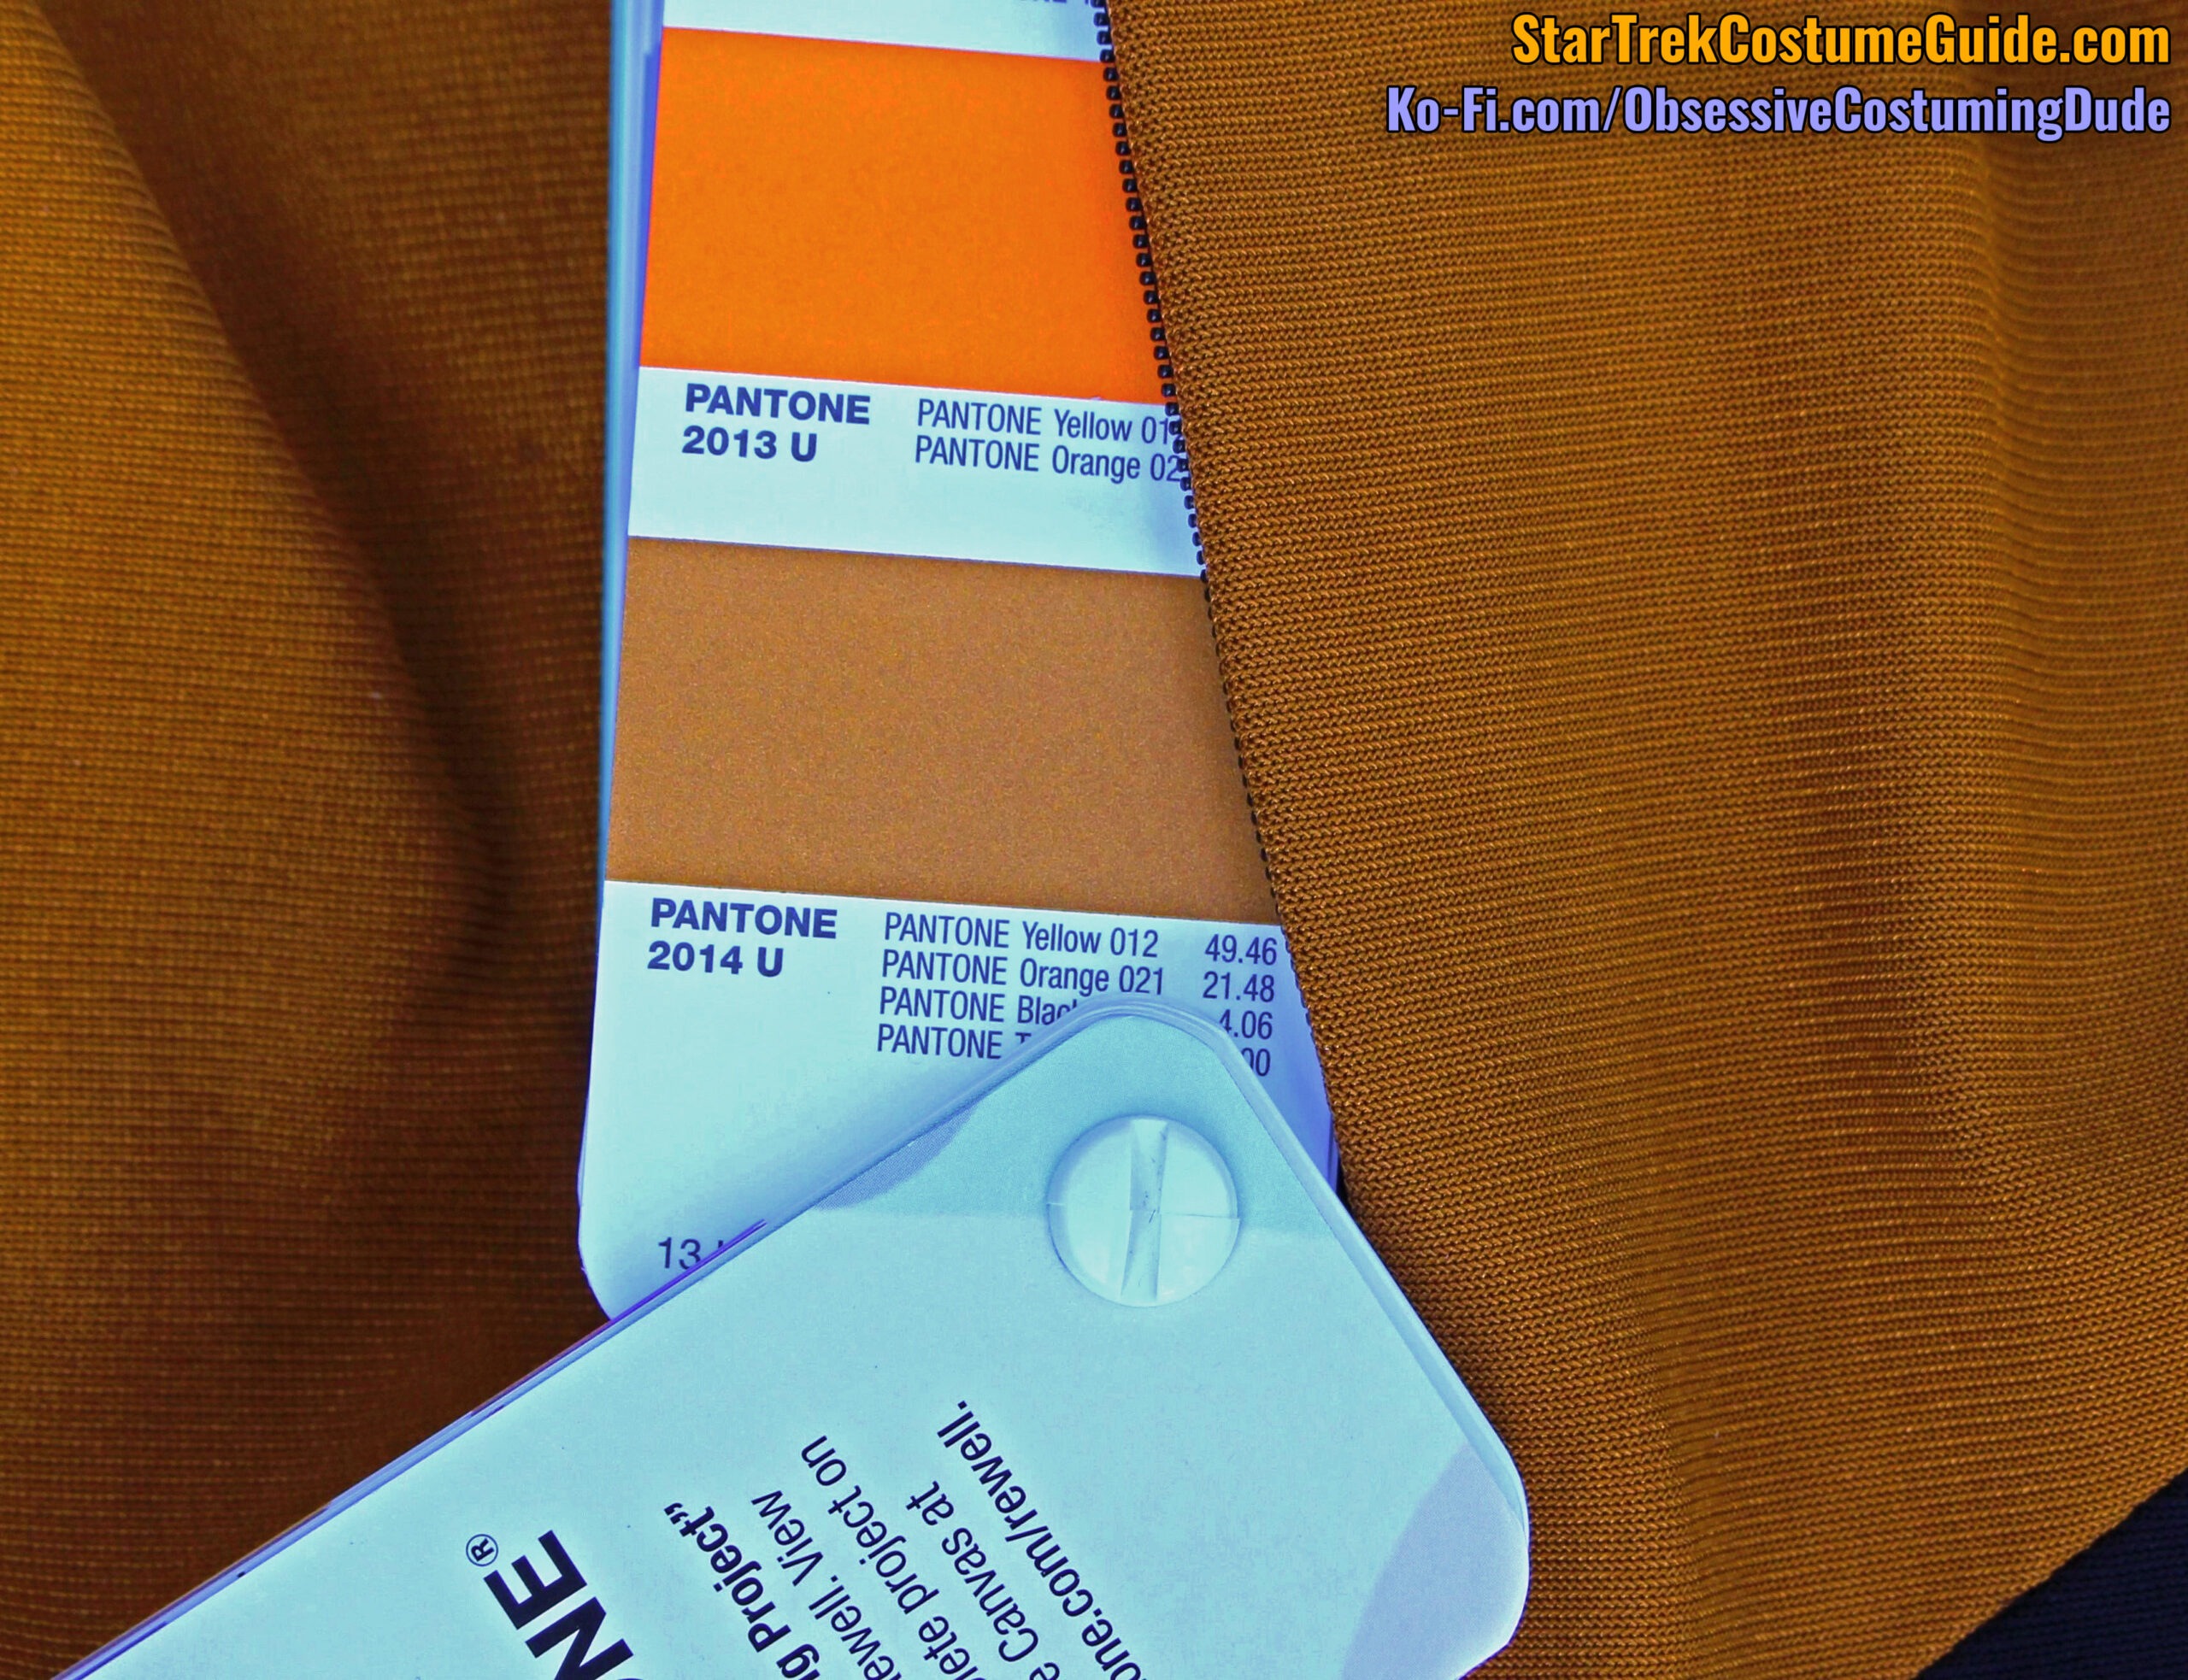
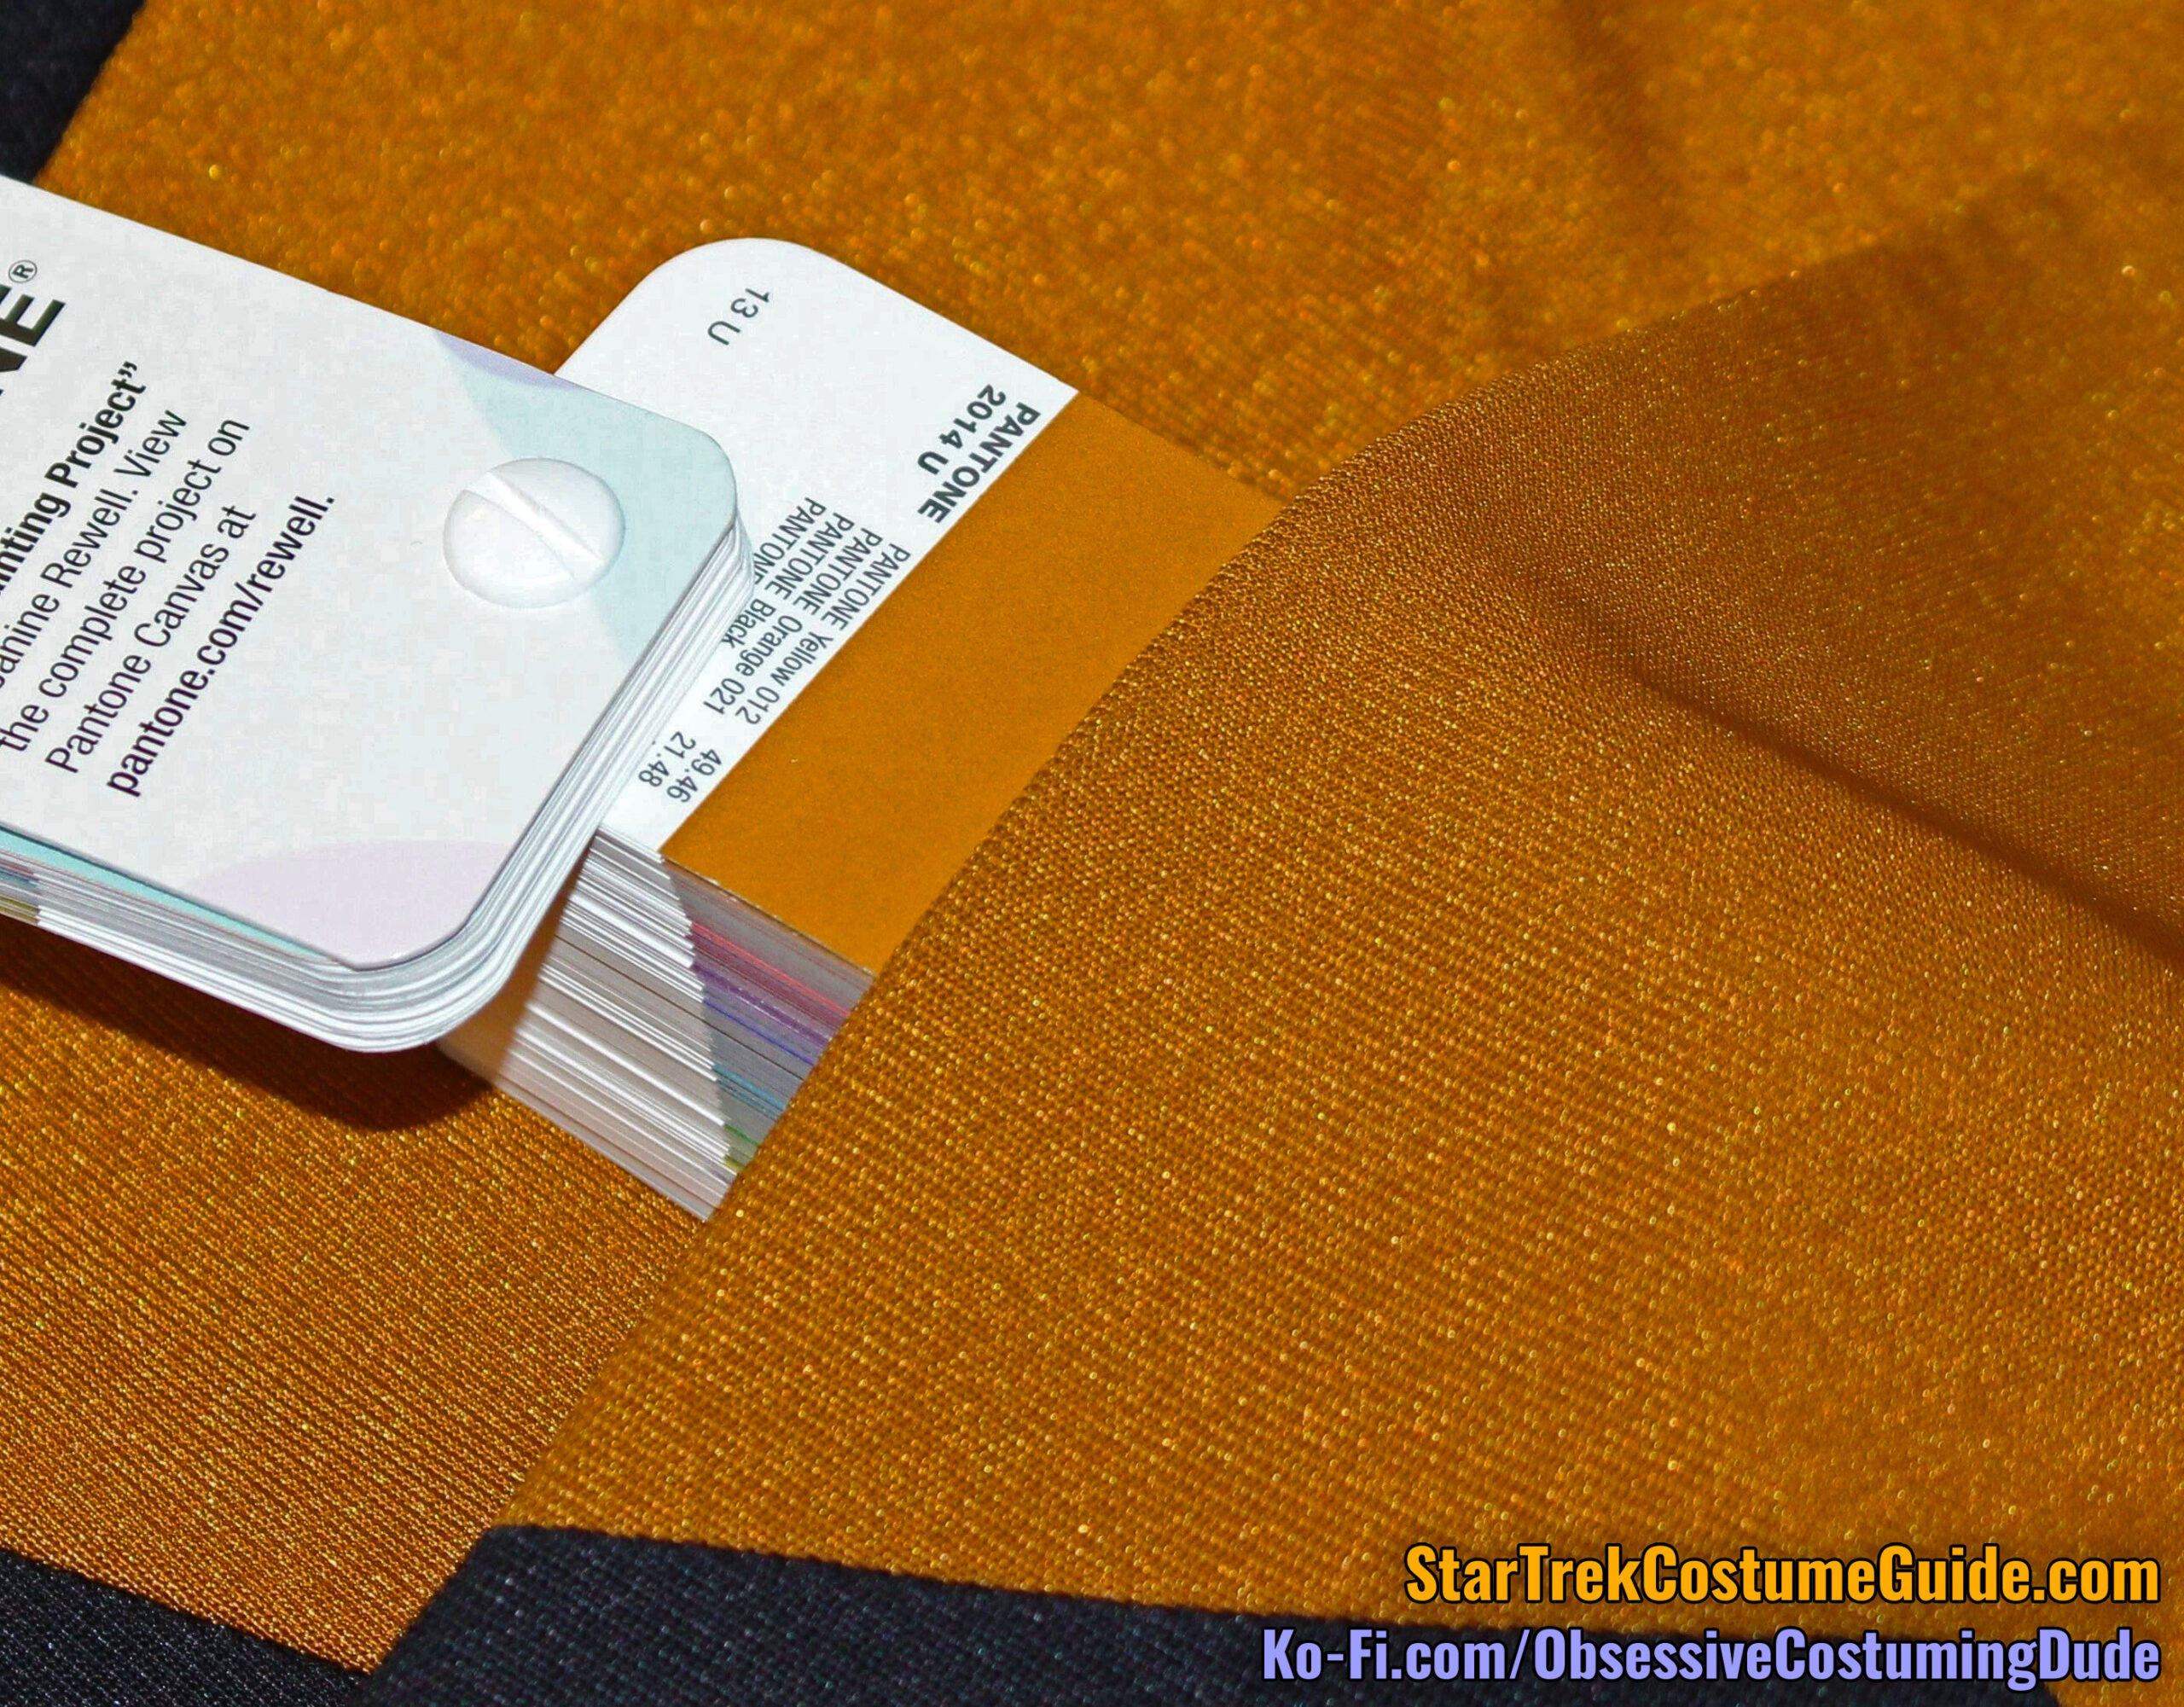
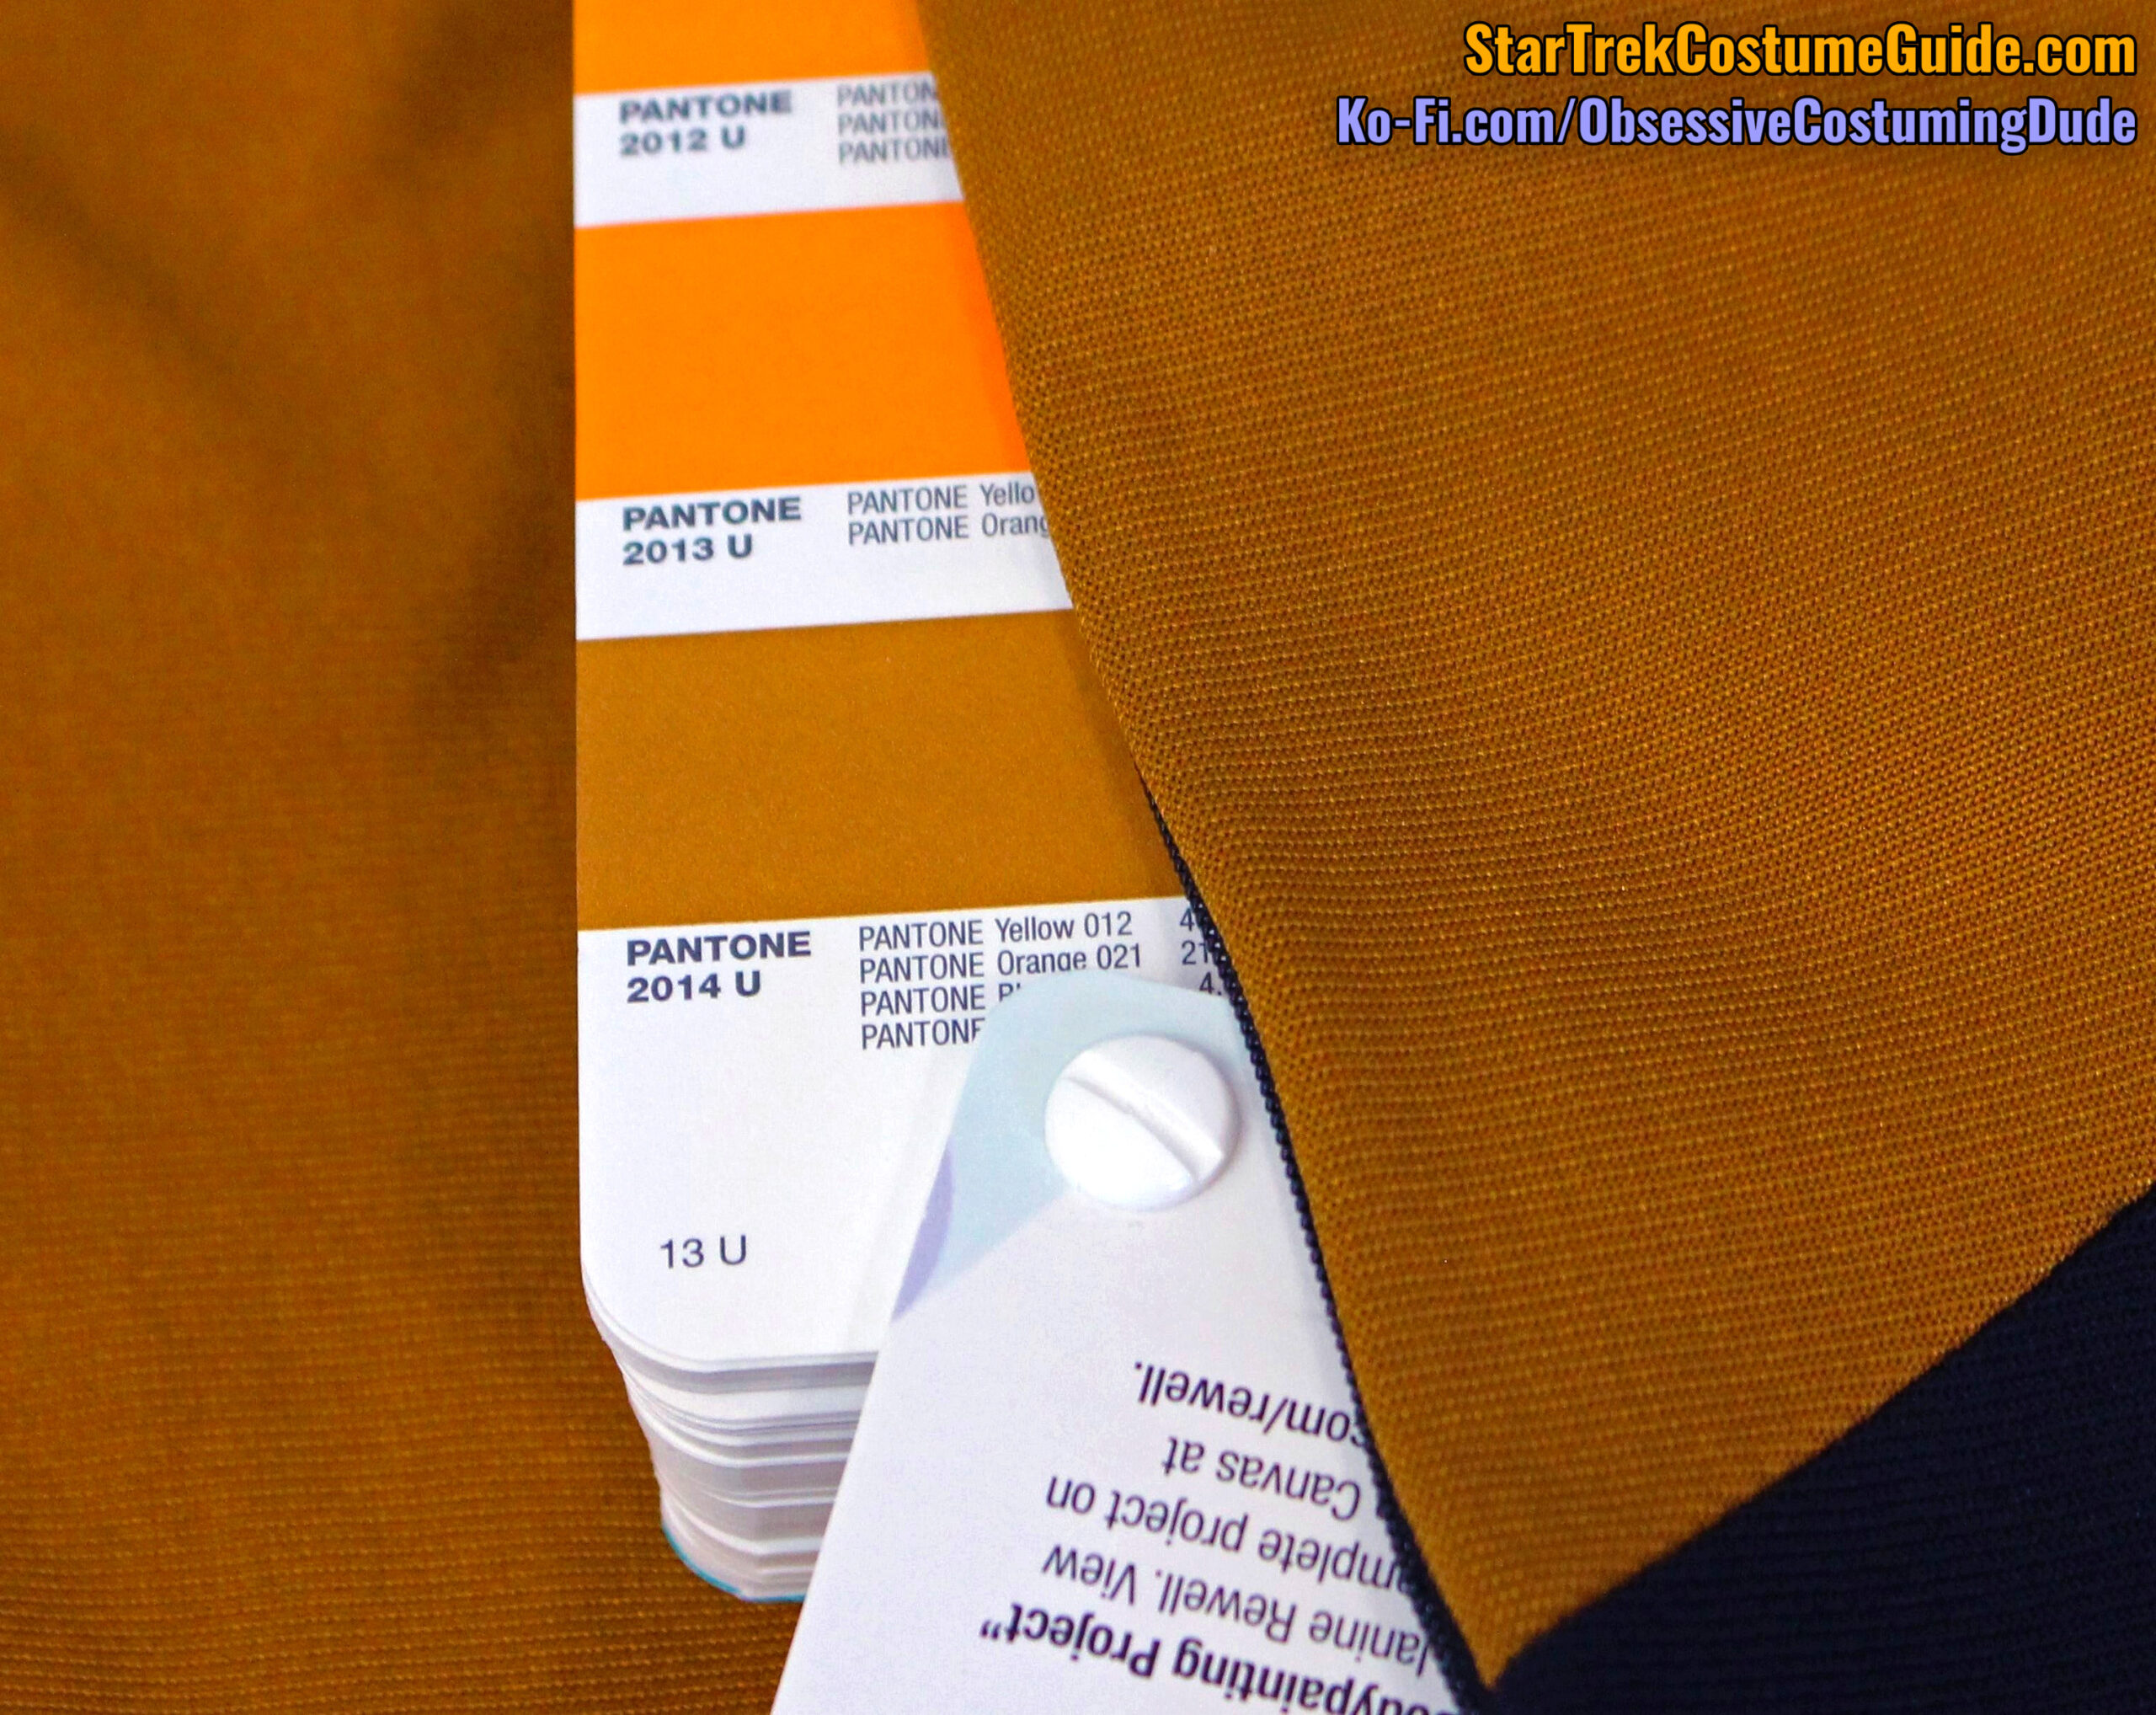
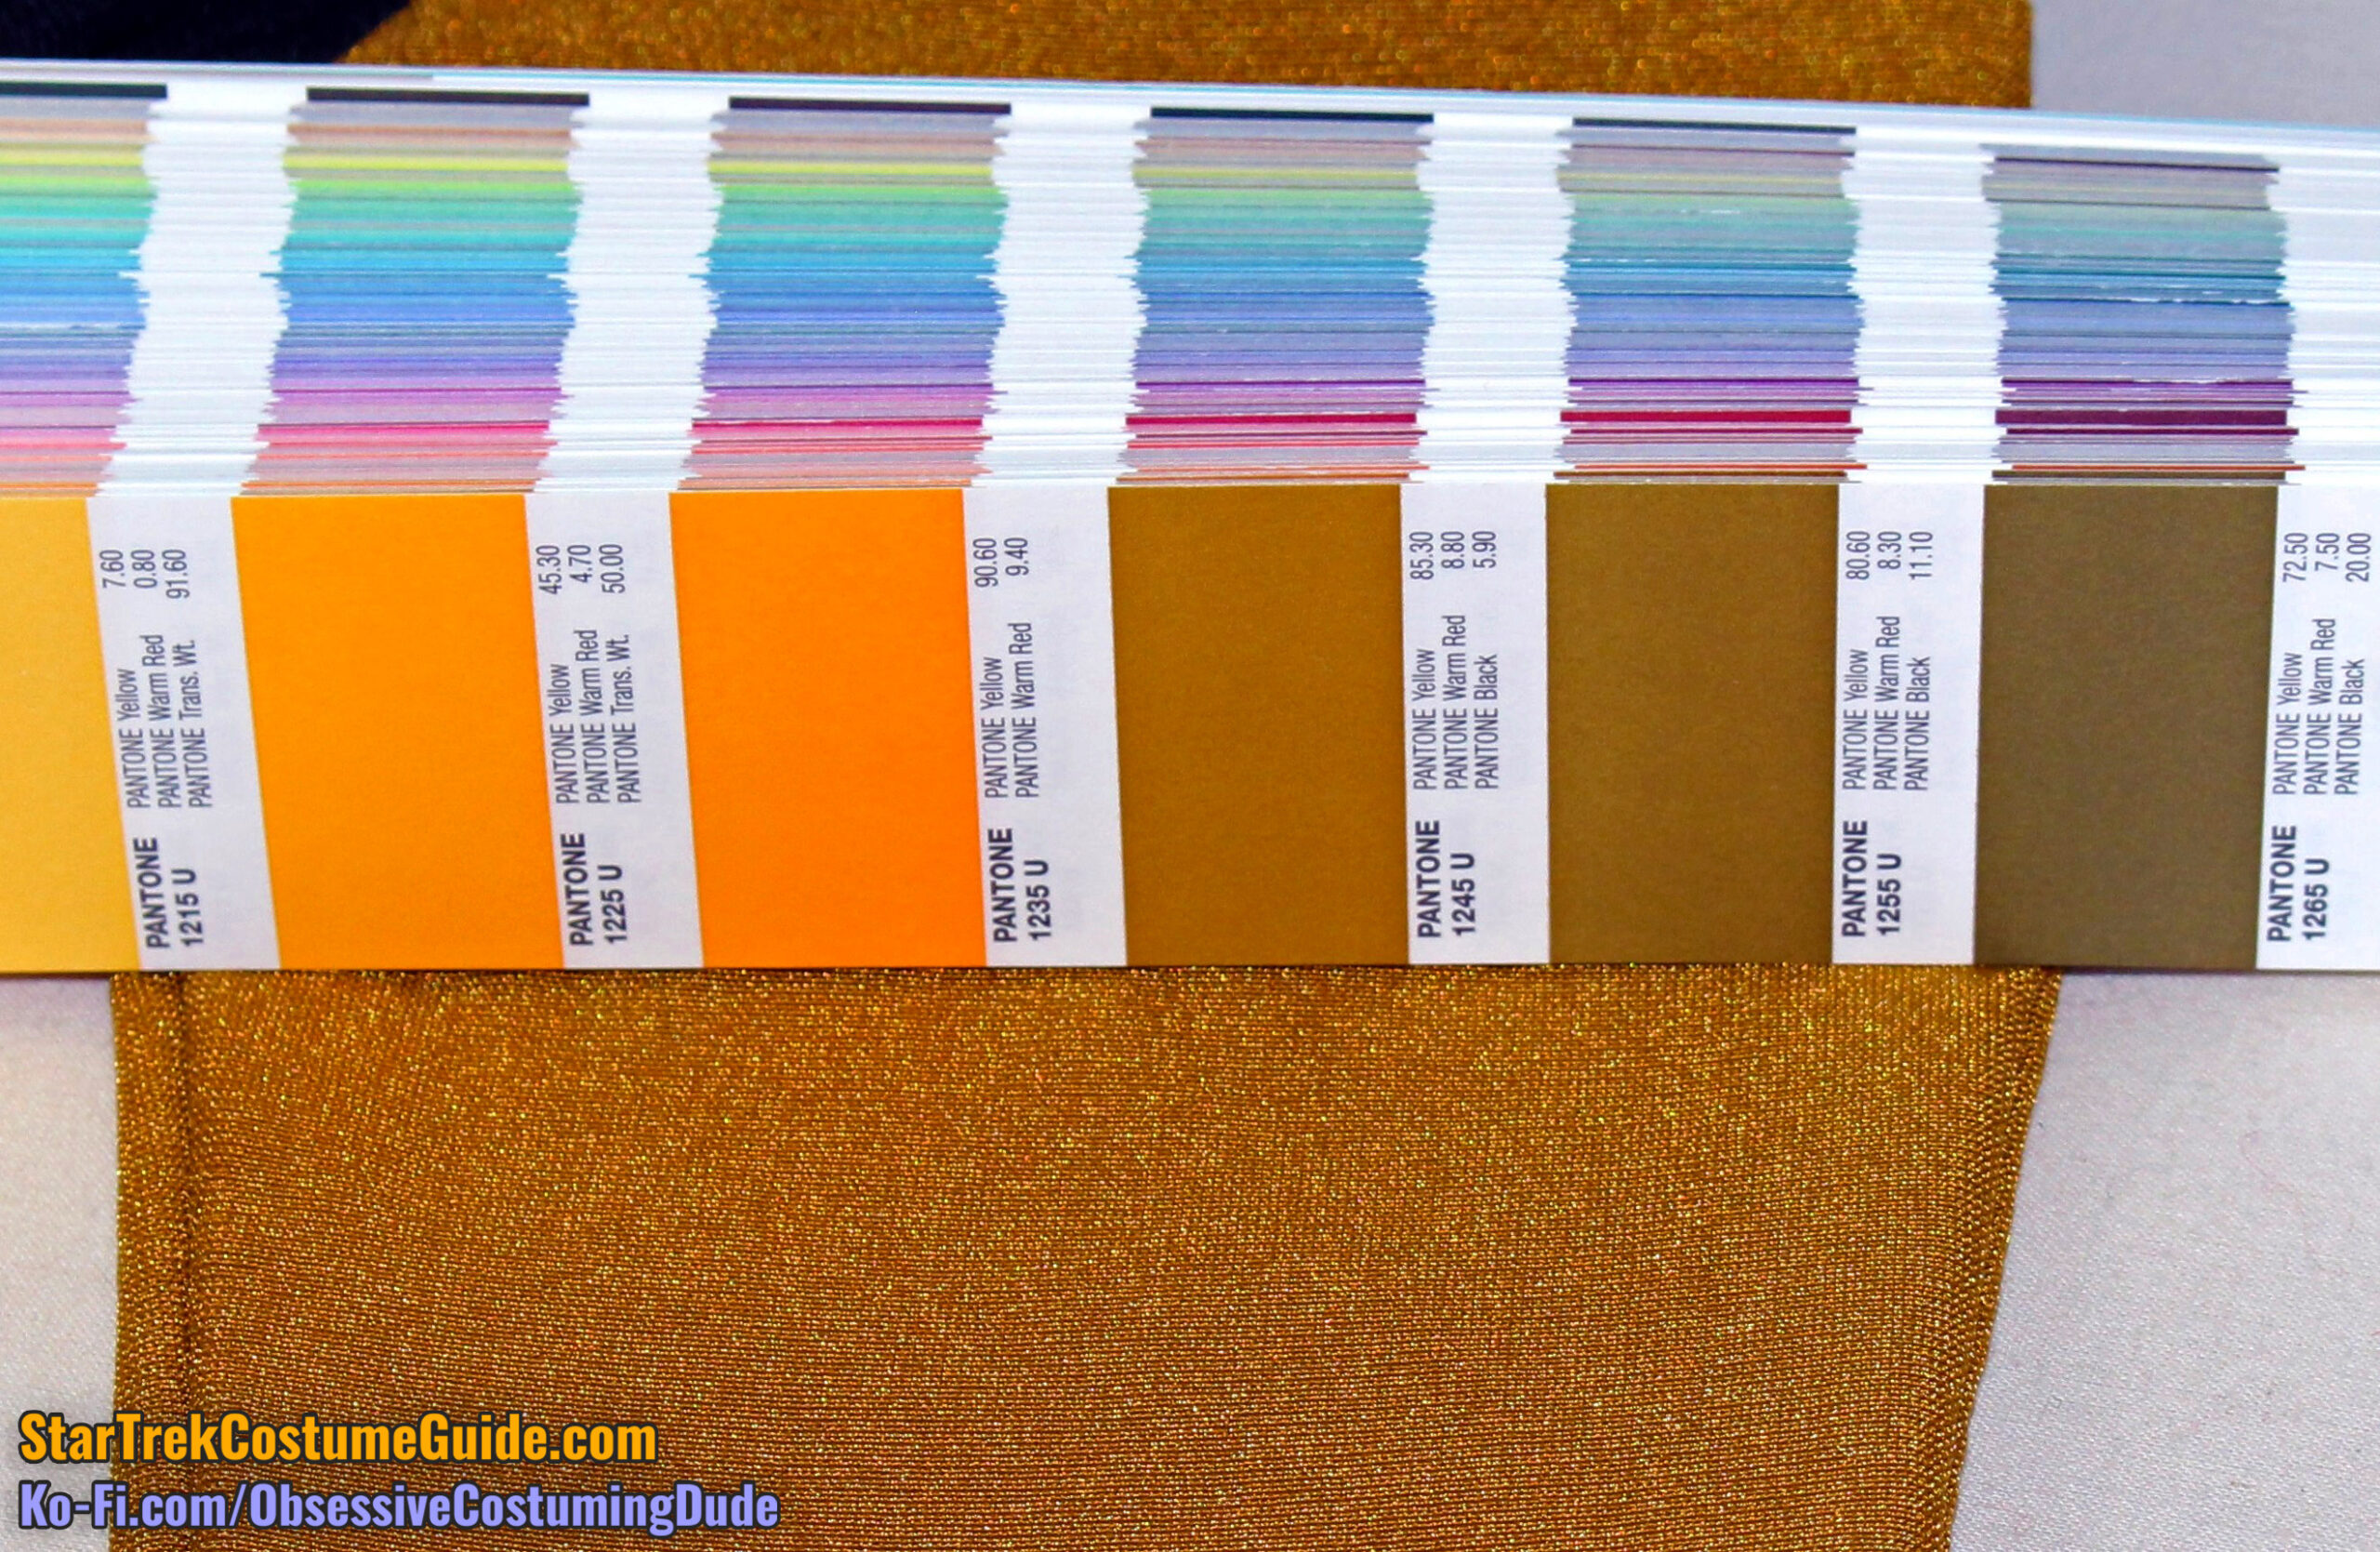
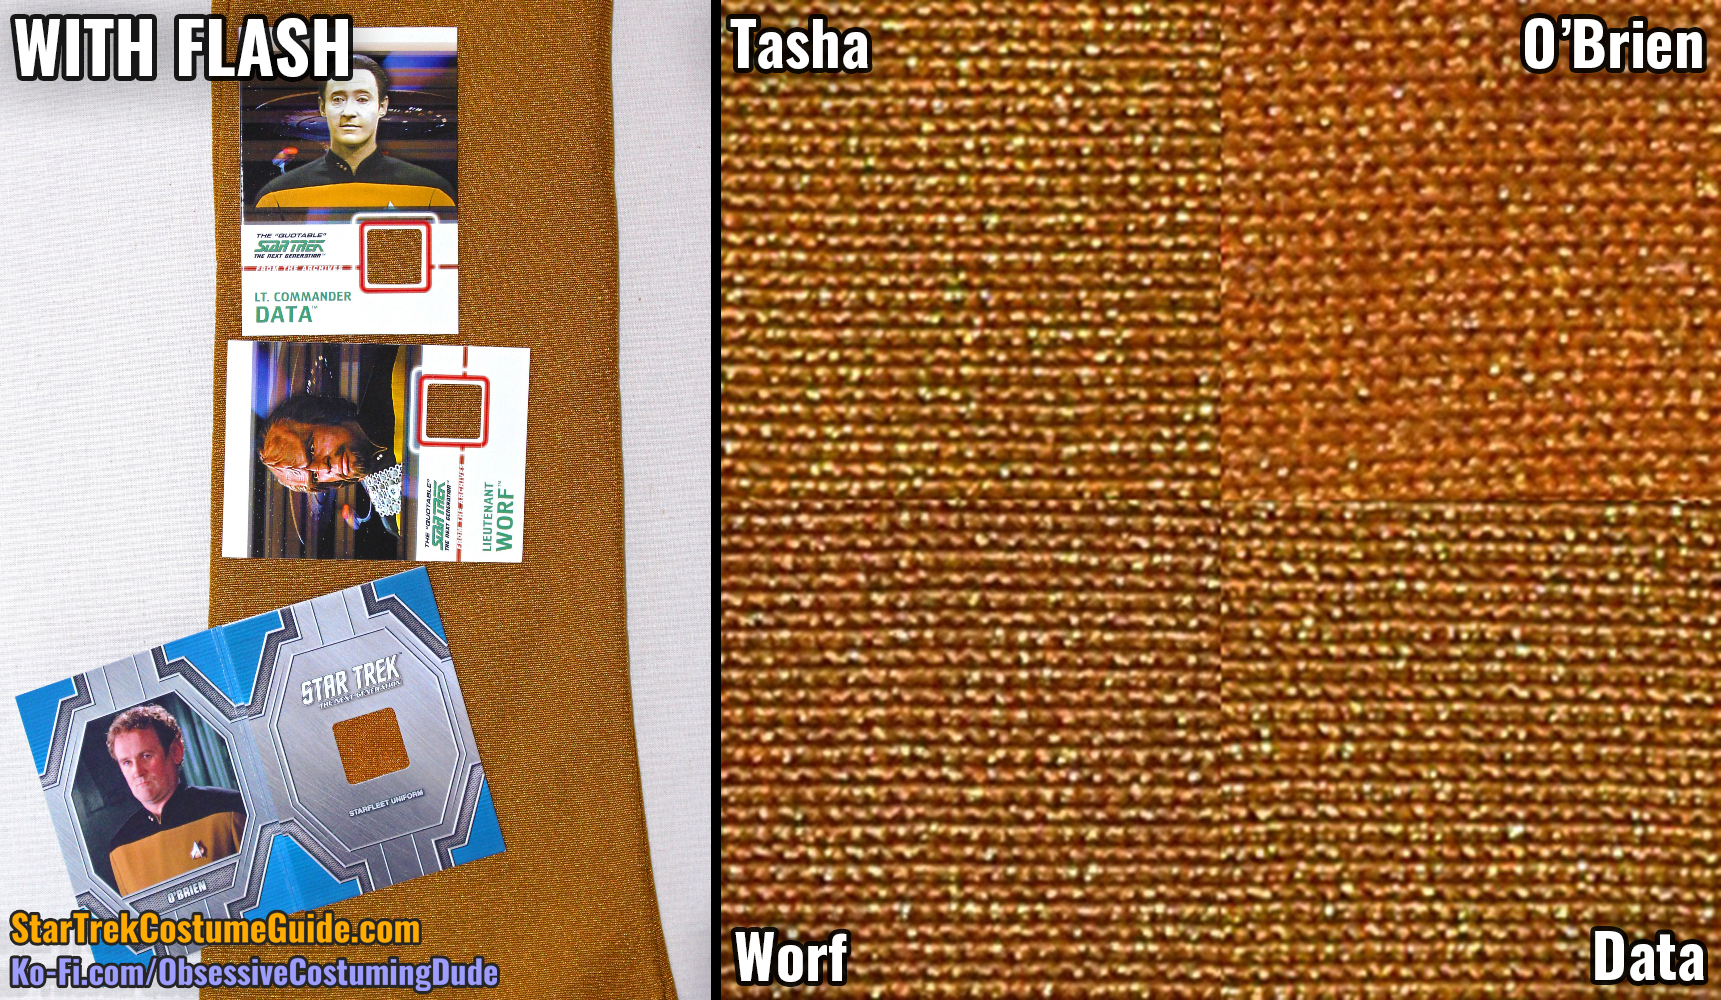
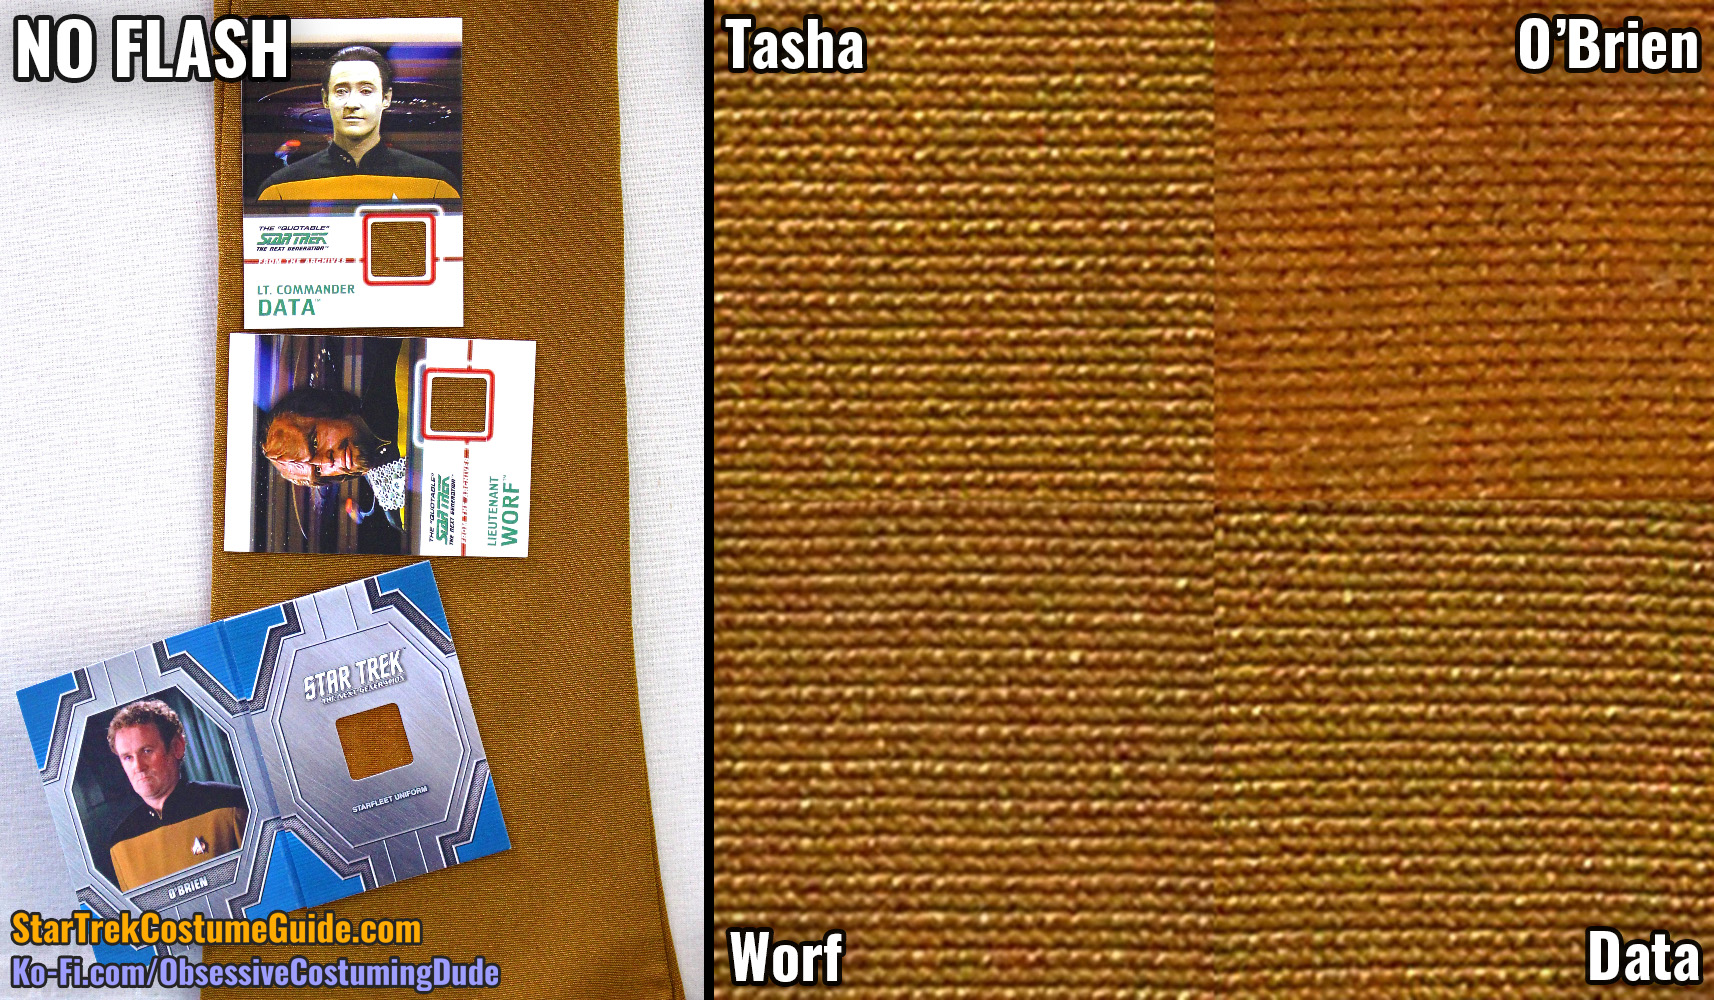
For those of you who have access to a Pantone book, color #2014 U (pictured below in a variety of lighting conditions) is a close representation of the screen-used fabric color.
Alternatively, you can pick up the Valspar paint chip #3011-5, “Autumn Surprise” from your local hardware store as a reference for the original fabric color.
It isn’t quite perfect, but it’s close.
And finally, the Coats & Clark thread color #7010 “Cider” was the closest match I found to the fabric at my local JoAnn.
Those should all help give you a good idea of the gold fabric color. 🙂
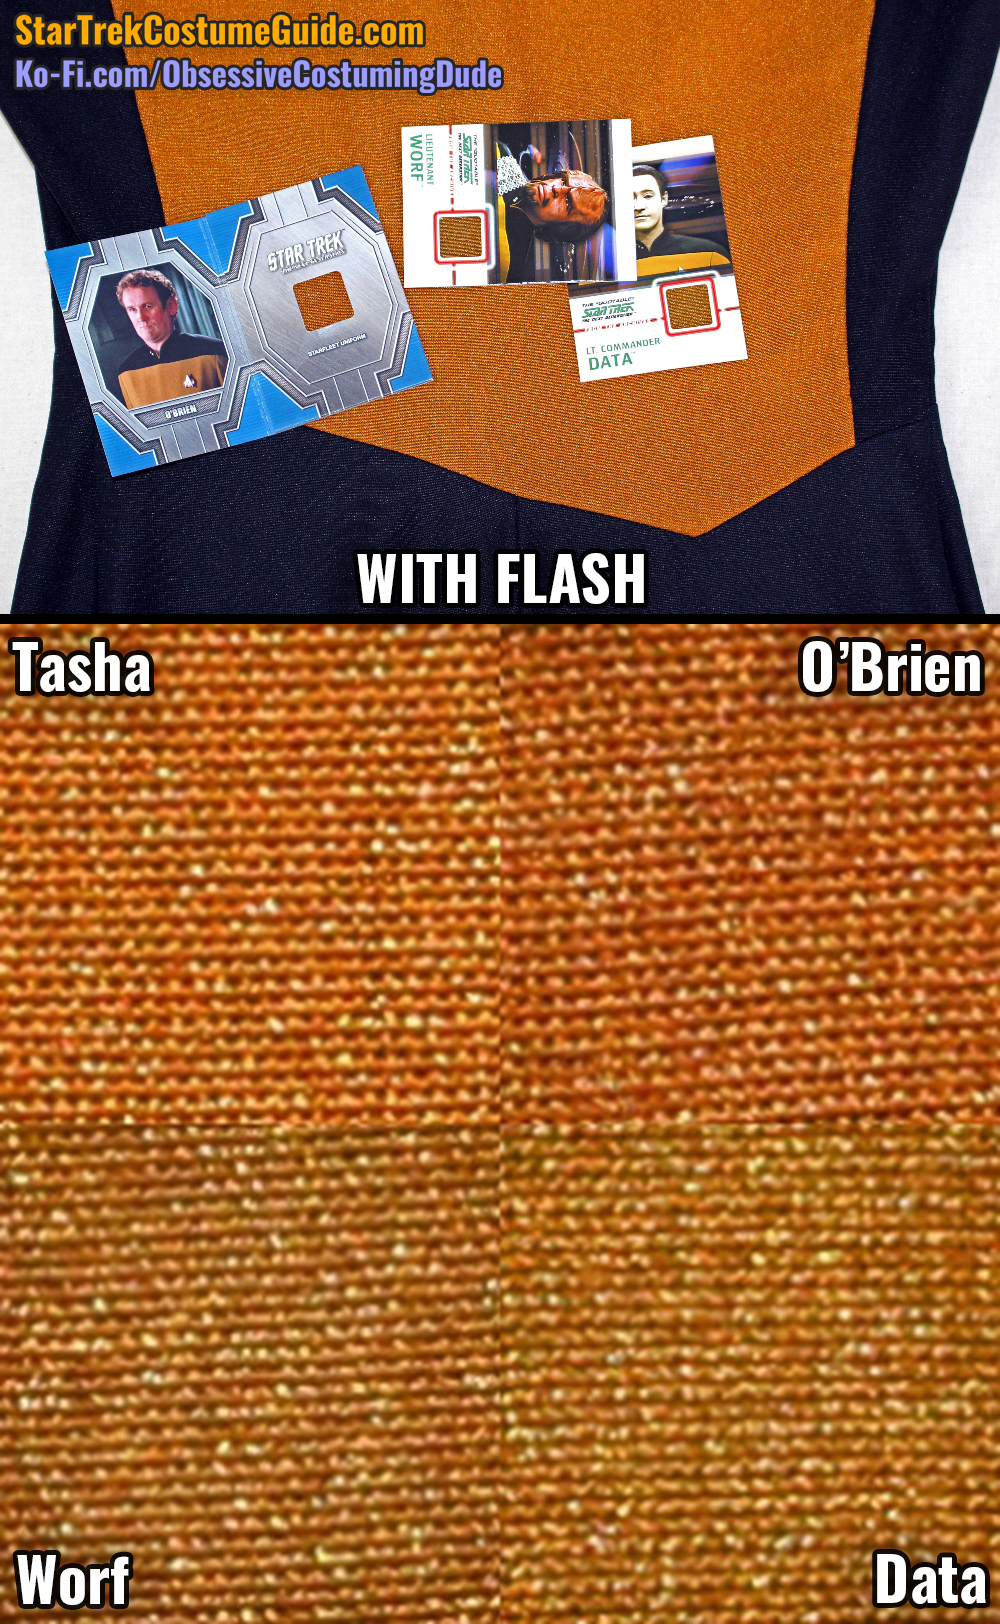
Just for kicks, here’s a color comparison between the Tasha Yar jumpsuit and three other TNG gold spandex swatches (Chief O’Brien, Worf, and Data):
As you can see, the closest match is the O’Brien costume card (which is also quite orange), but they’re still slightly different colors.
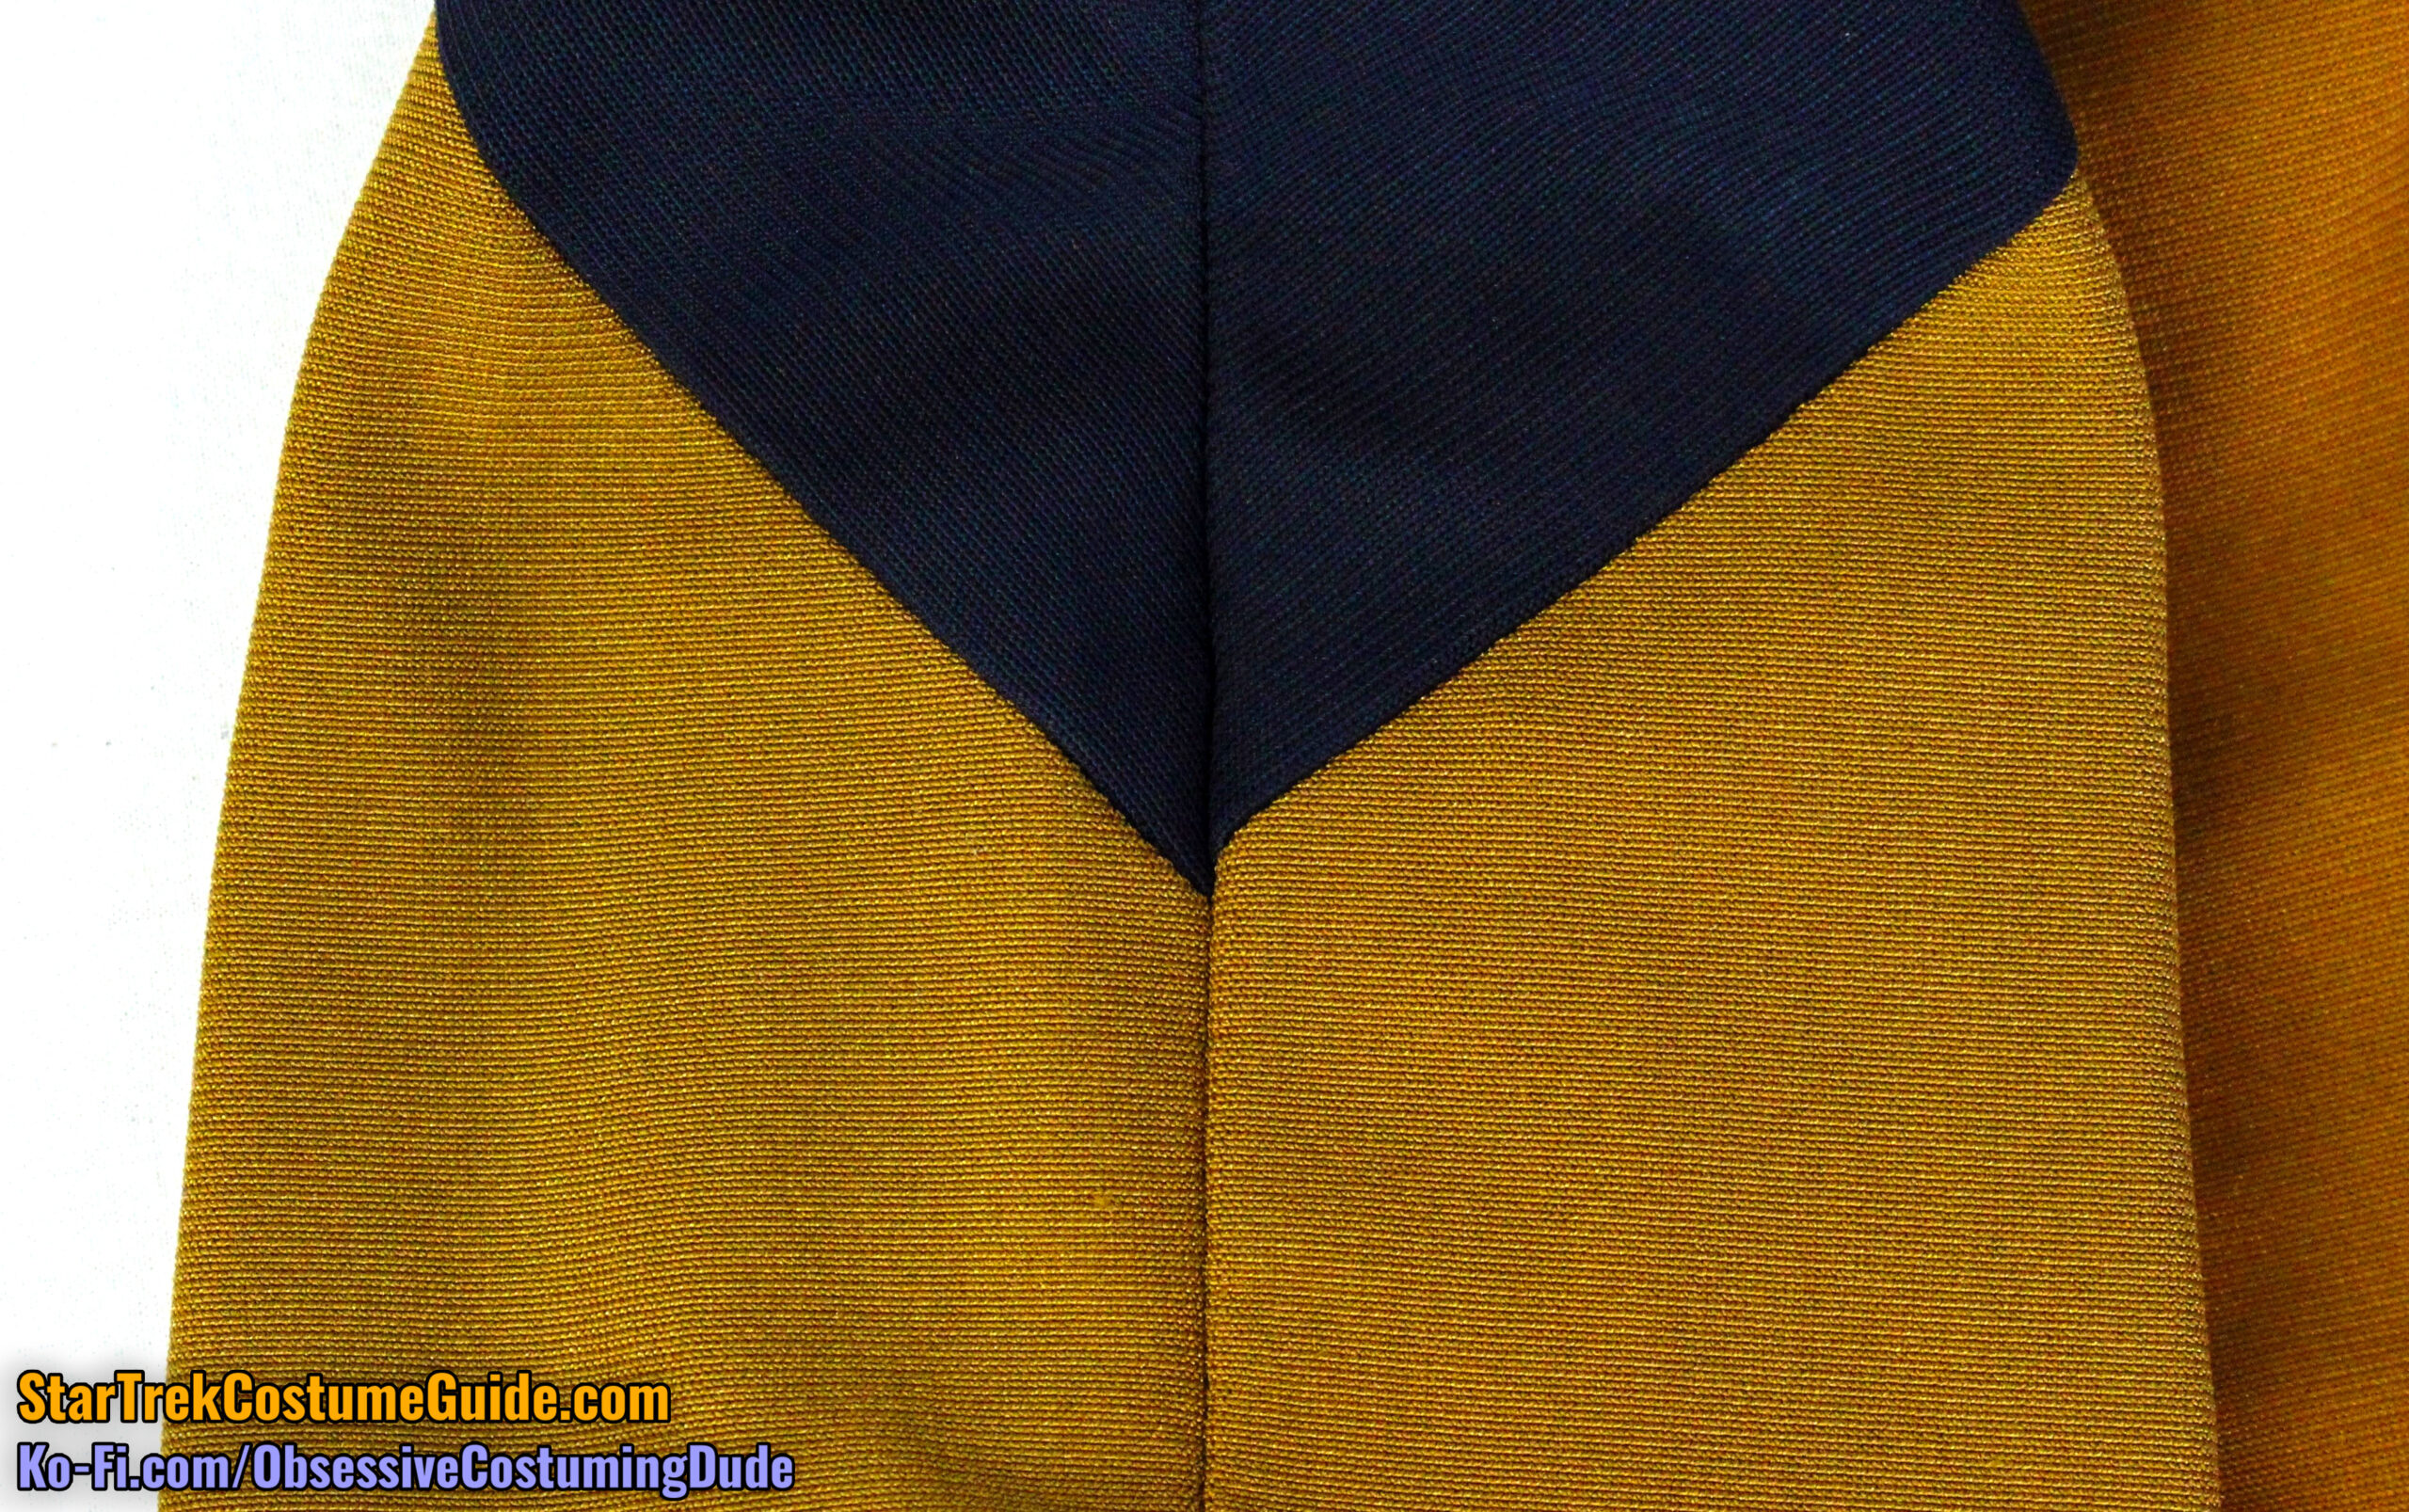
Another surprising peculiarity about this jumpsuit is that the sleeves are a noticeably different color than the body! (The sleeves are a bit greener, whereas the body is a bit more orange.)
I find this perplexing, since one would naturally assume the body panels were all cut, if not by the same person, at least from the same bolt or roll of fabric in one go!
Fabric colors obviously might vary from bolt-to-bolt or roll-to-roll, especially if there’s an appreciable amount of time between runs … but I think we can only speculate as to why, on the same uniform, the color-specific panels weren’t all cut from the same length of fabric for color consistency.
Regardless, the bright blue lighting during the early seasons (and possibly post-production color-correction) seems to have significantly narrowed the gap between the mismatched colors in the finished show.
It would’ve almost certainly been unnoticeable in VHS-quality on 80s-era TVs, and even in remastered HD one has to both know to look for it and watch like a hawk to spot it … but it was there.
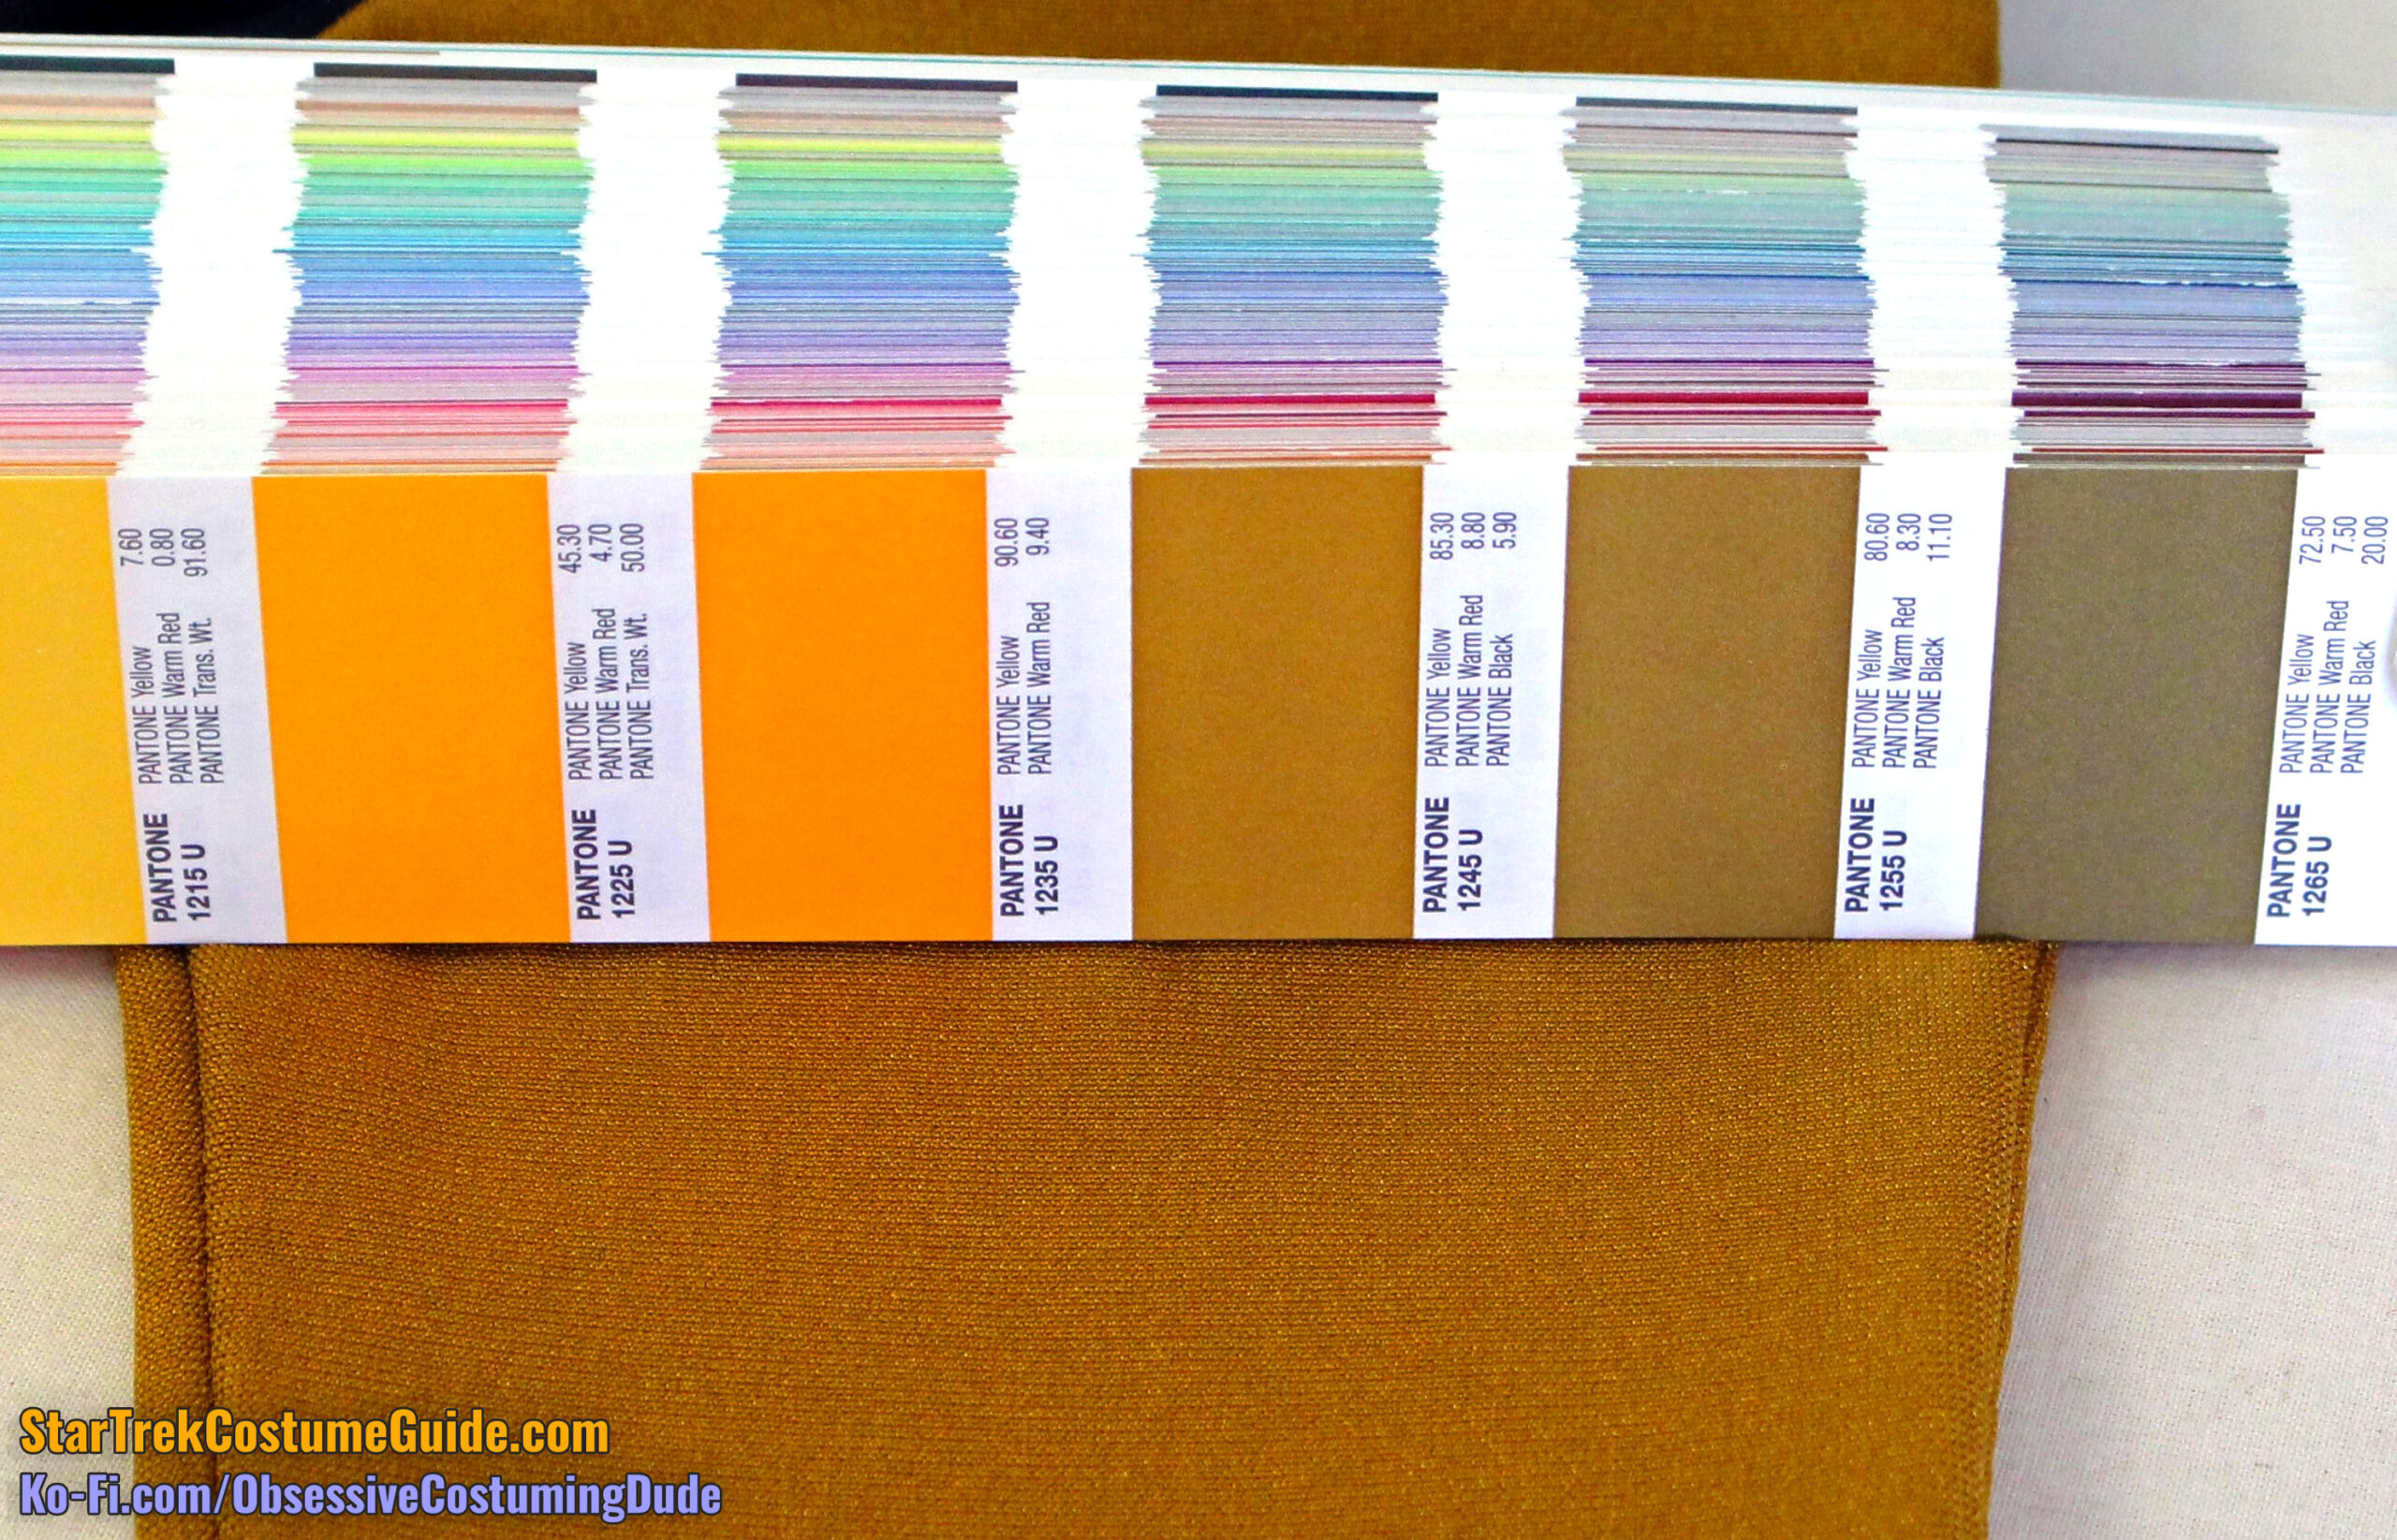
The closest reference I found to the sleeve color was Pantone #1245 U:
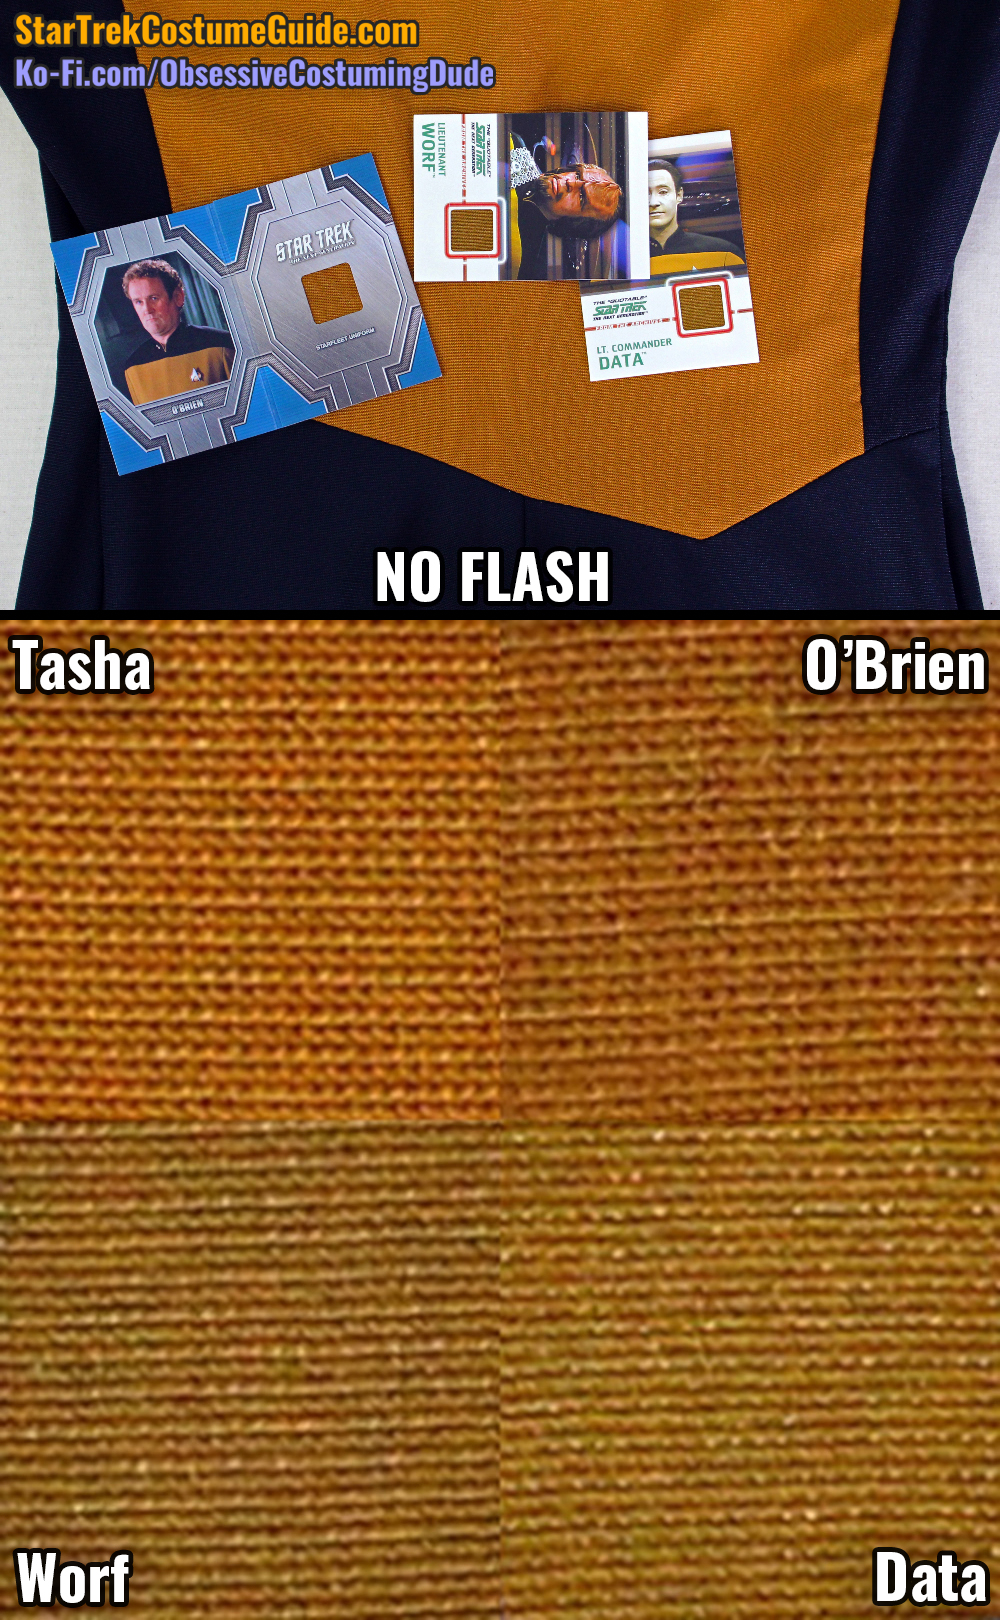
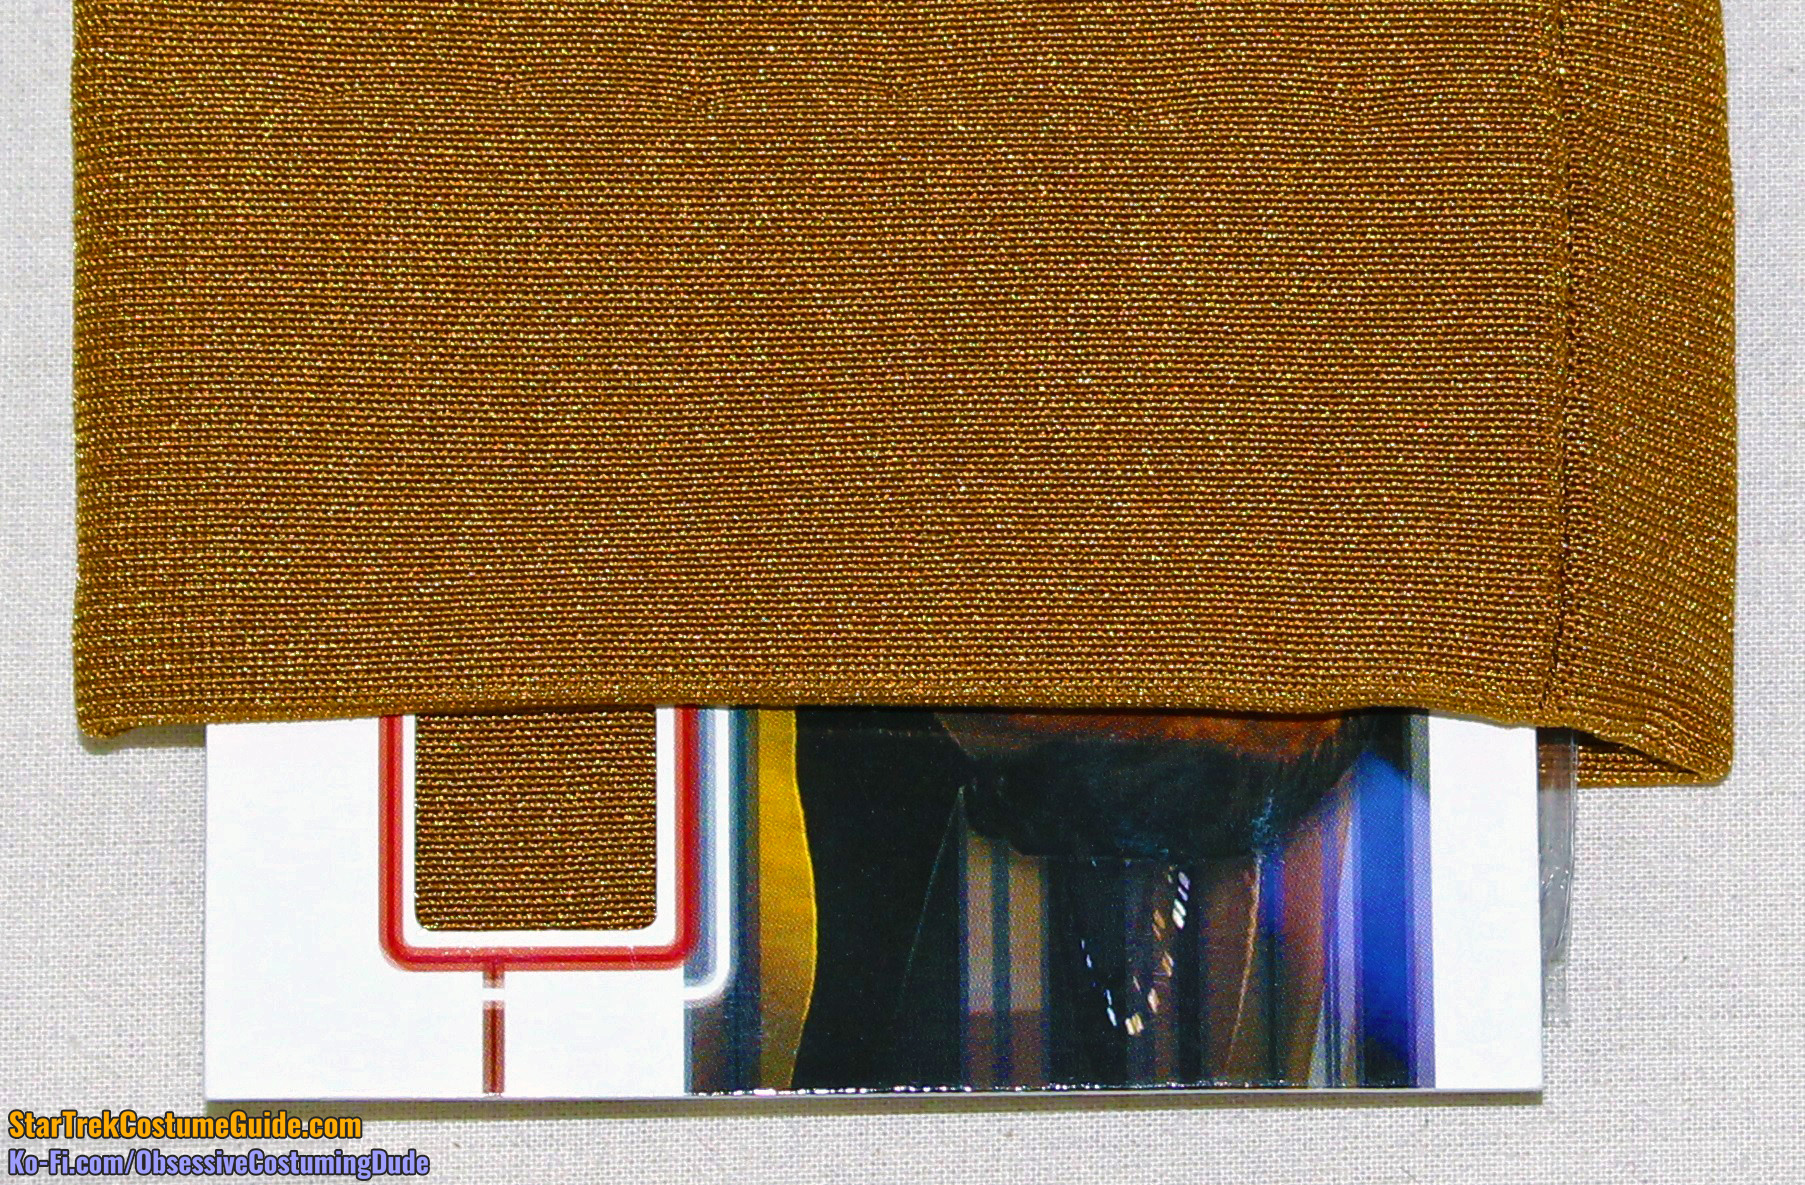
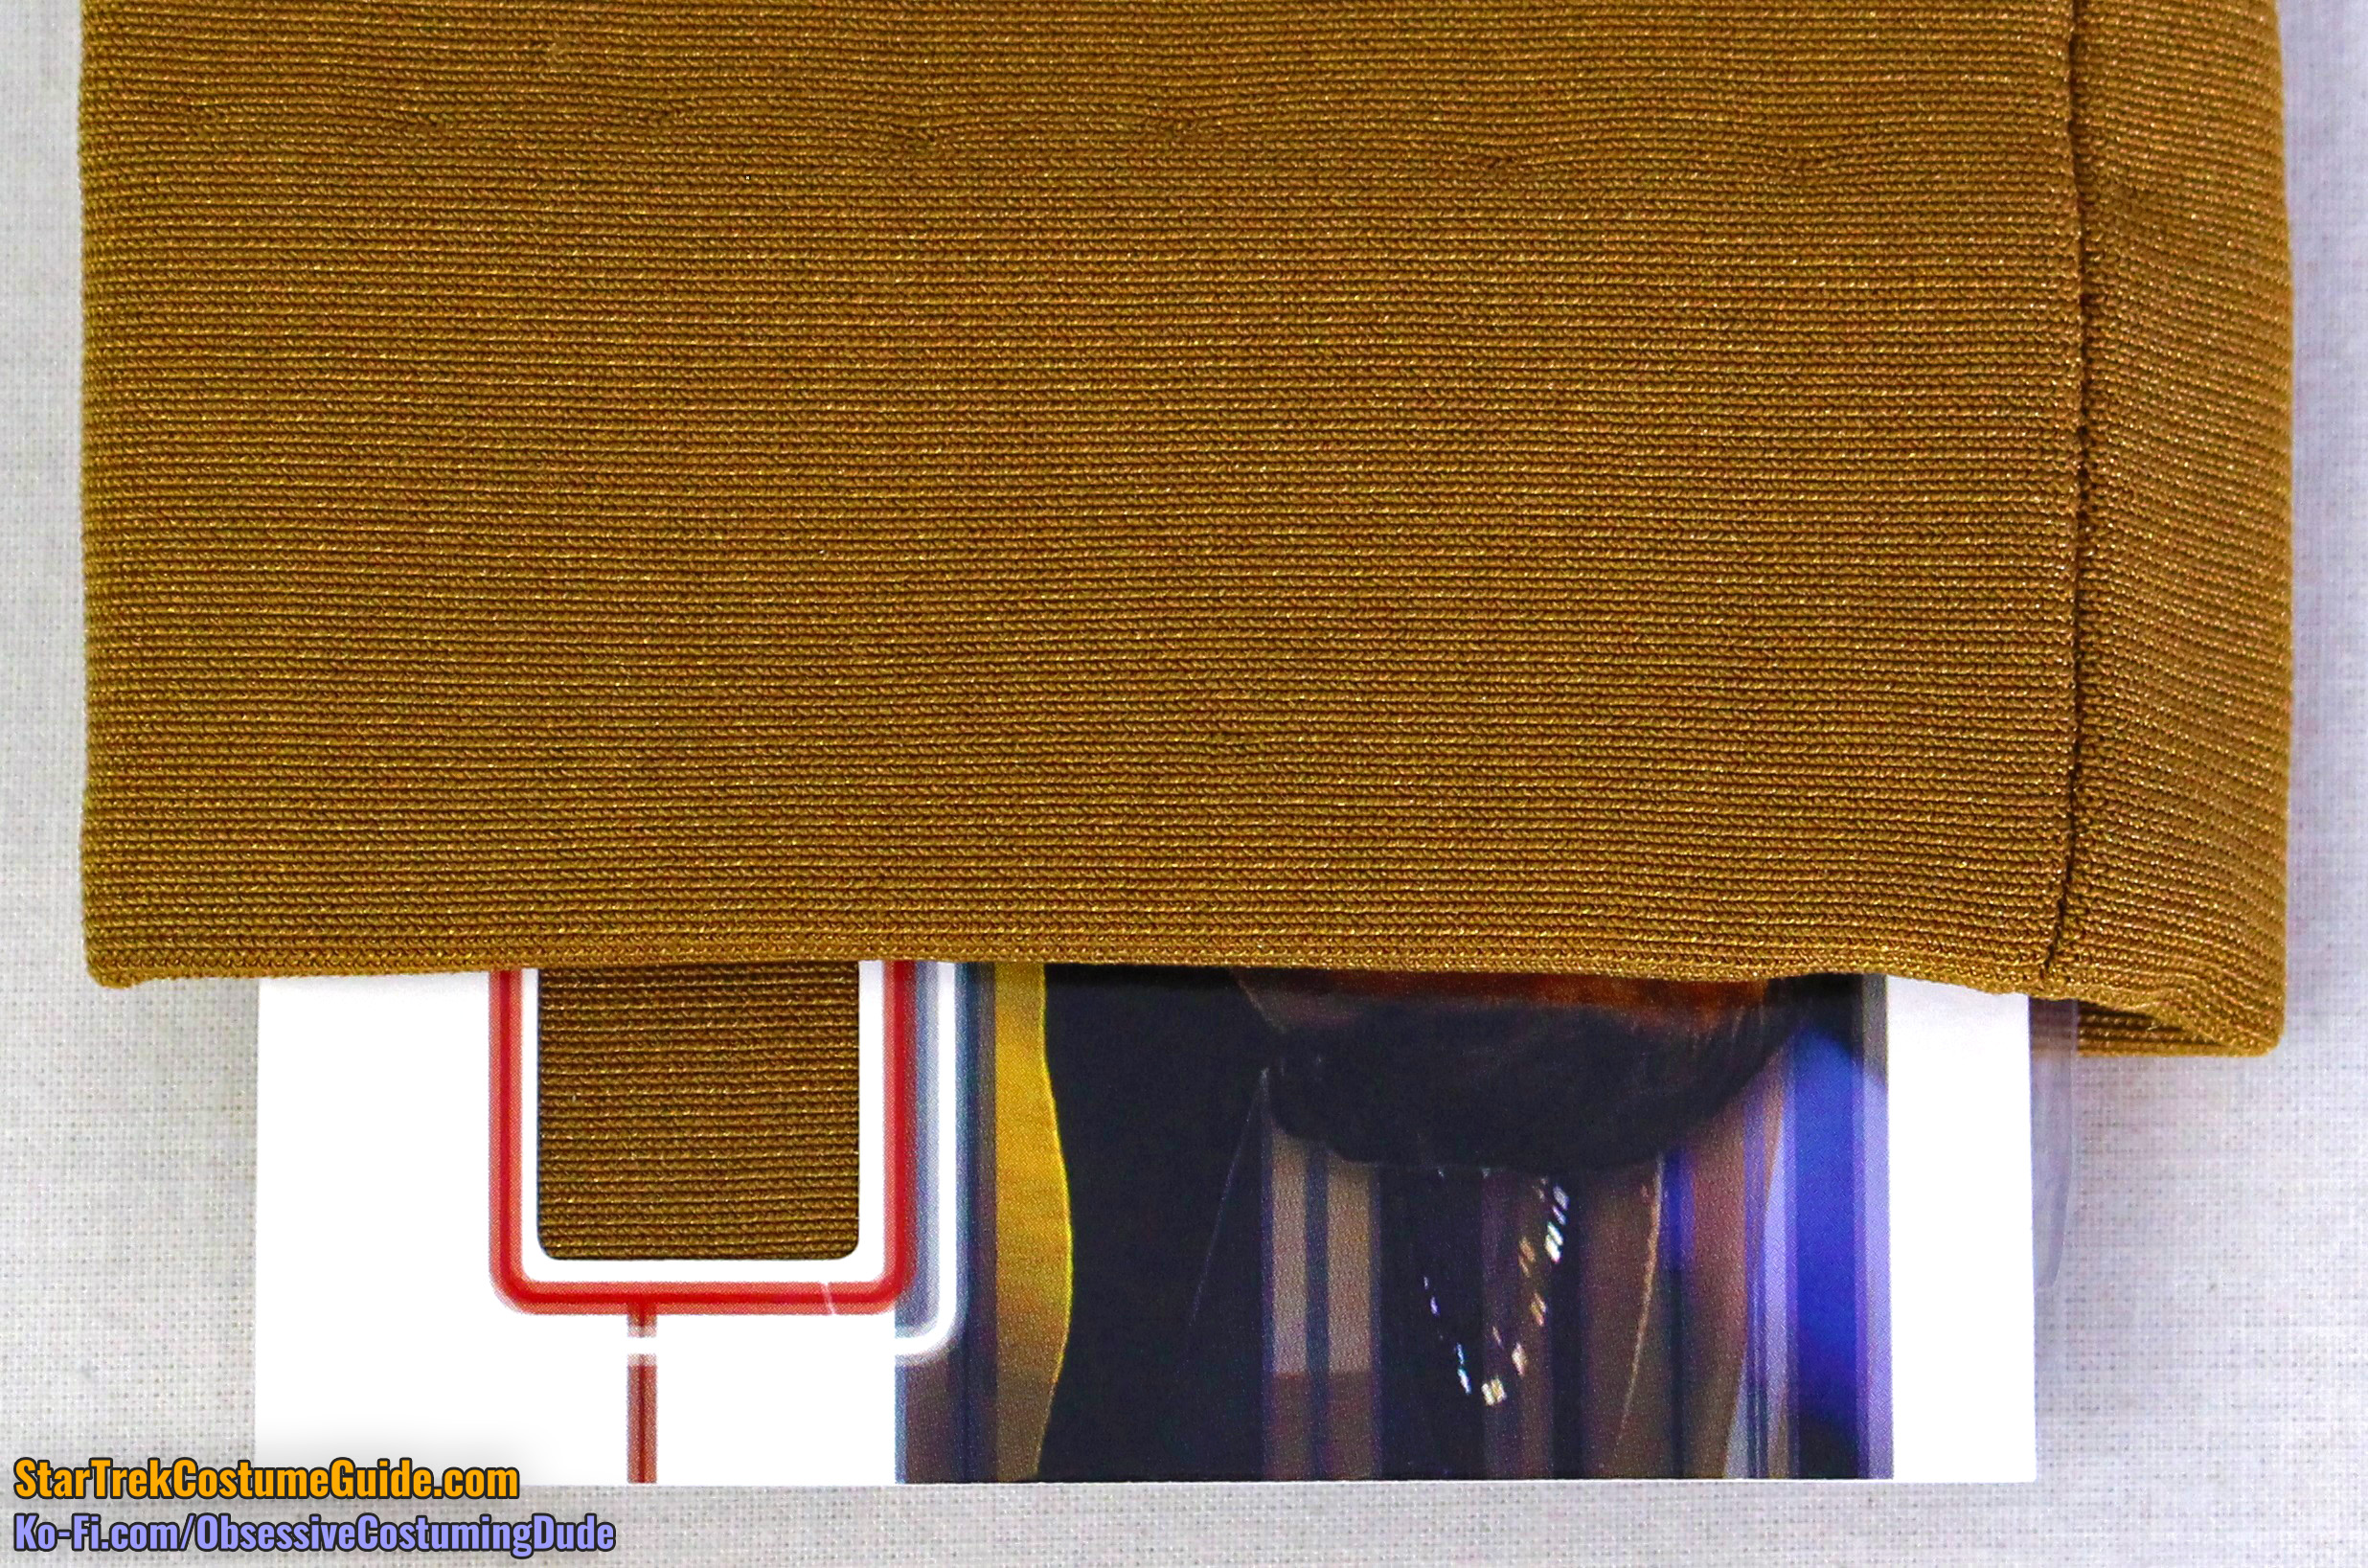
Here’s another color comparison – this time the same three costume cards with the sleeves on the Tasha Yar jumpsuit:
The Worf costume card was the closest color match to Tasha’s jumpsuit sleeves, although the Worf fabric (presumably from season 2) is slightly darker.
EXTERIOR DIMENSIONS and CONSTRUCTION
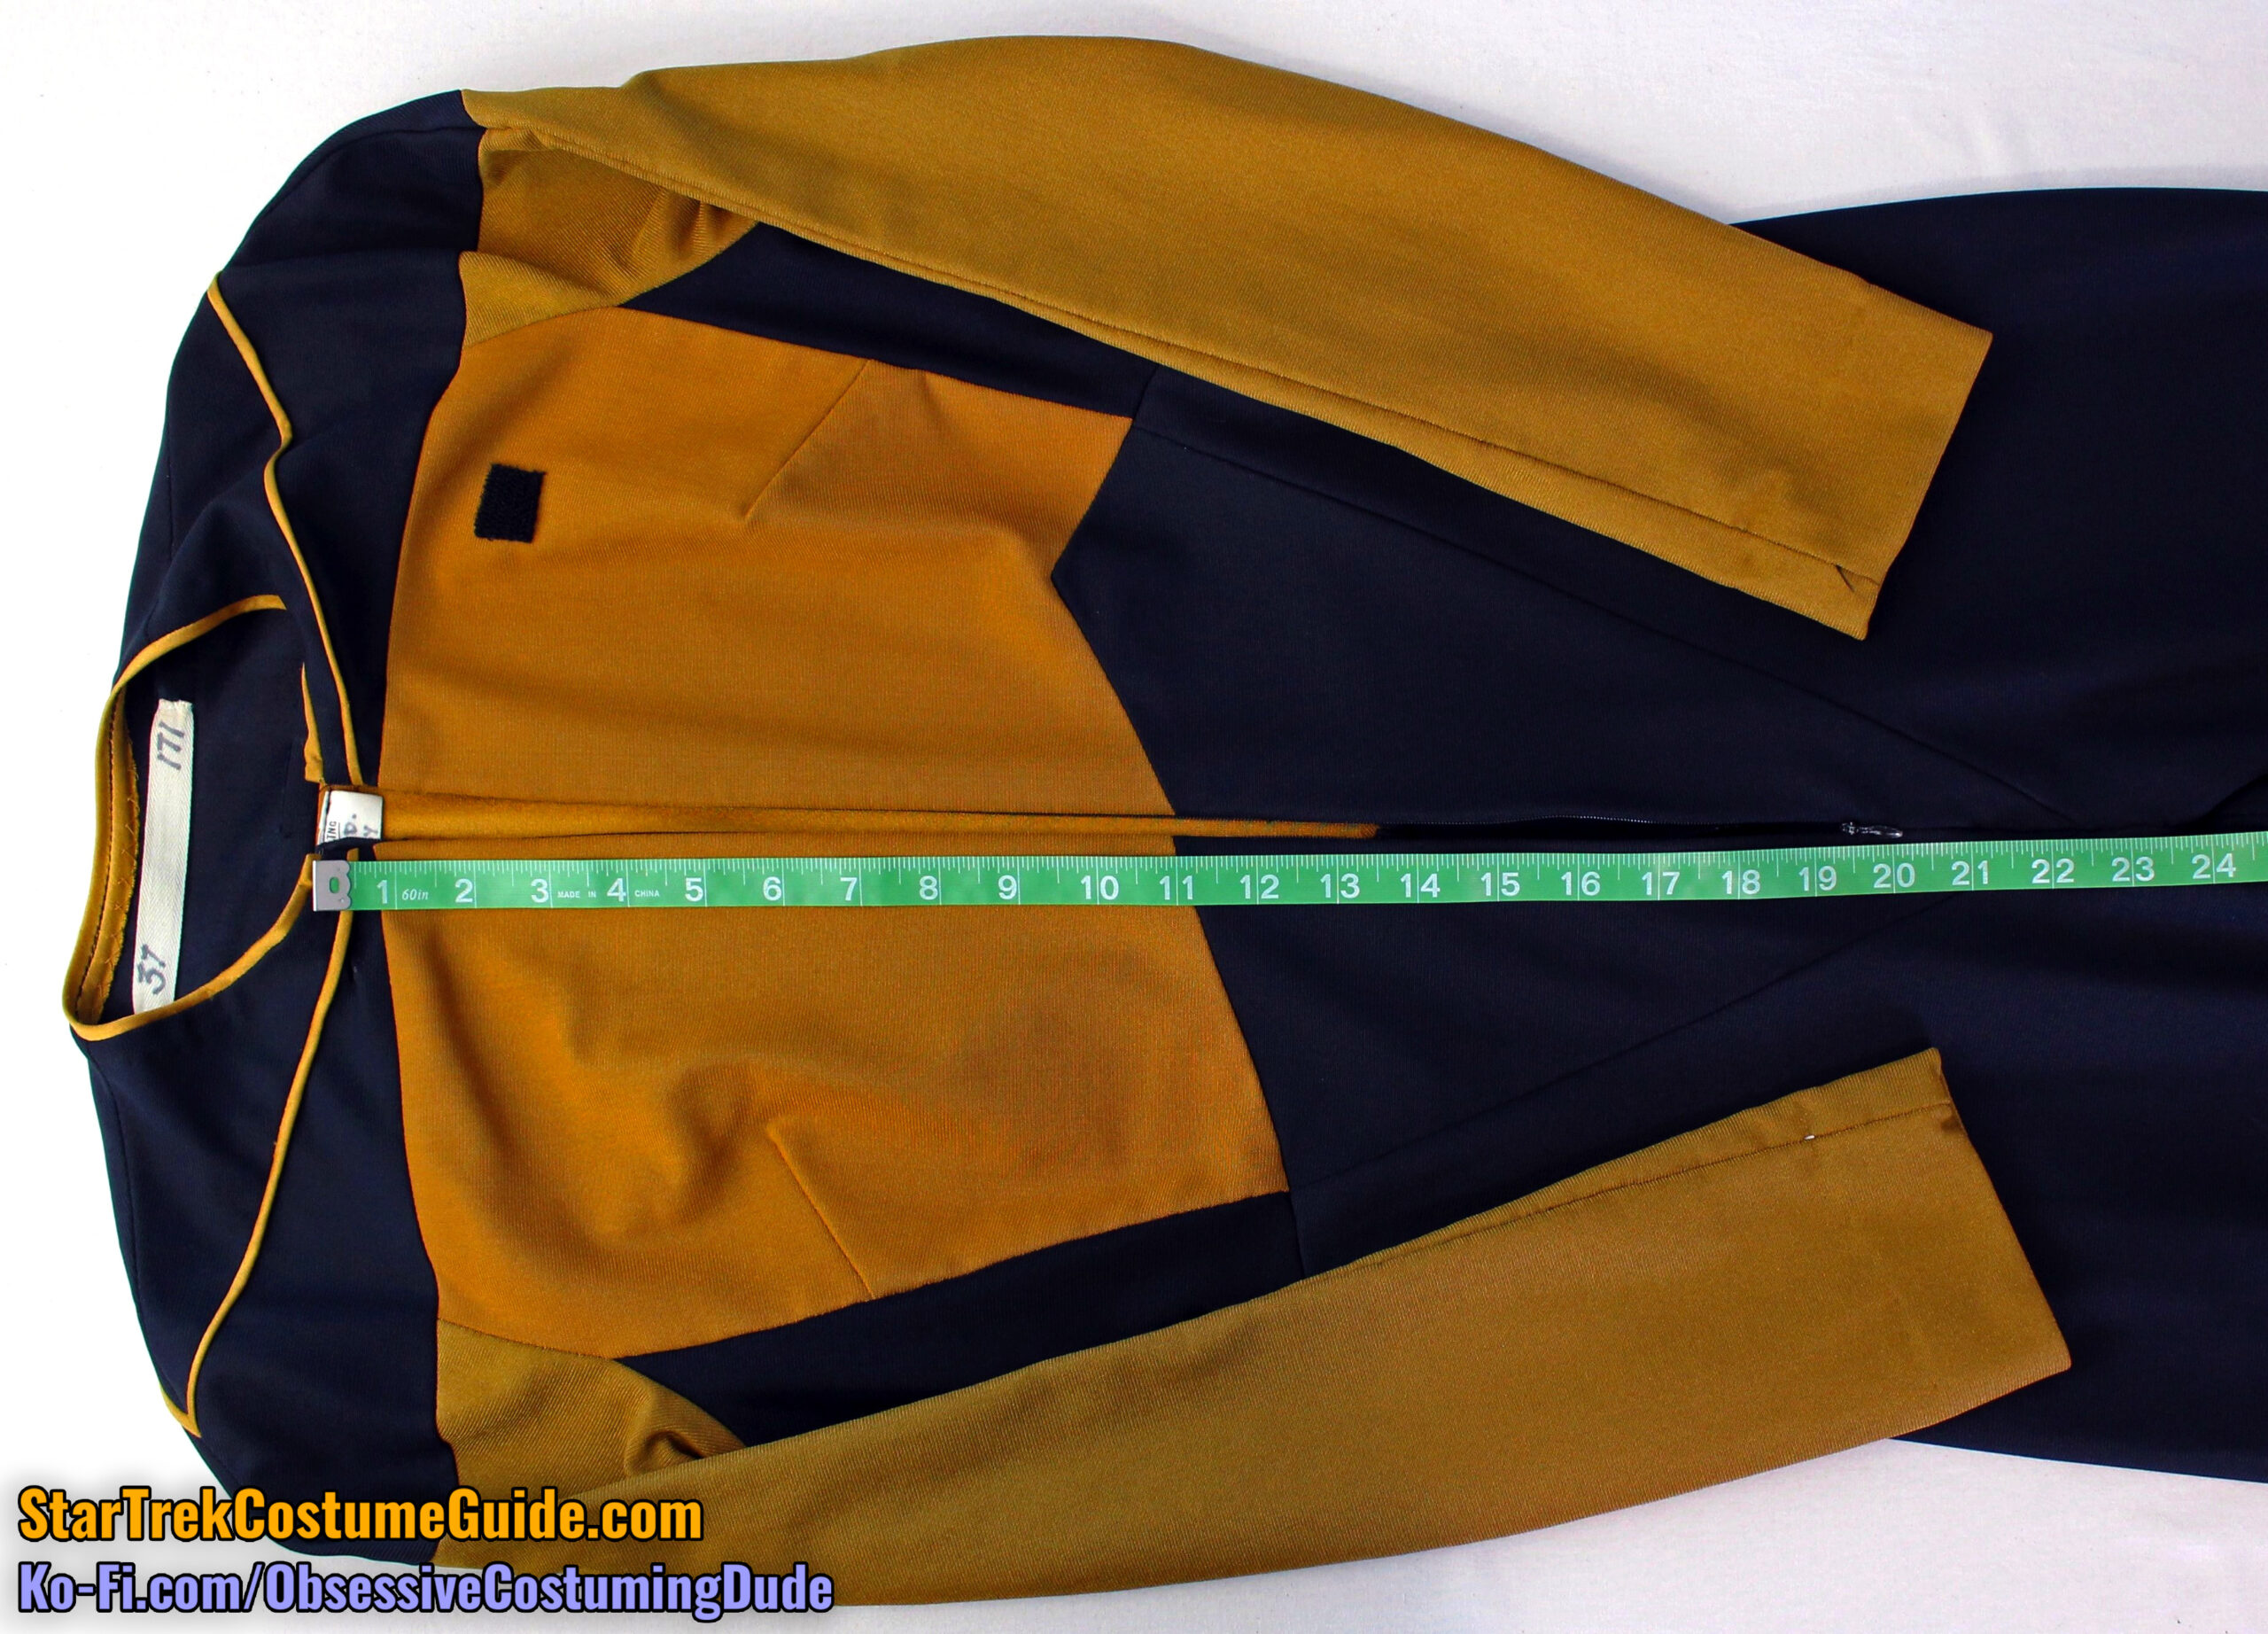
After documenting the color as best I could, I grabbed my measuring tape and began the process of documenting the jumpsuit’s dimensions and construction, generally working from the top down; front, then back; outside, then inside.
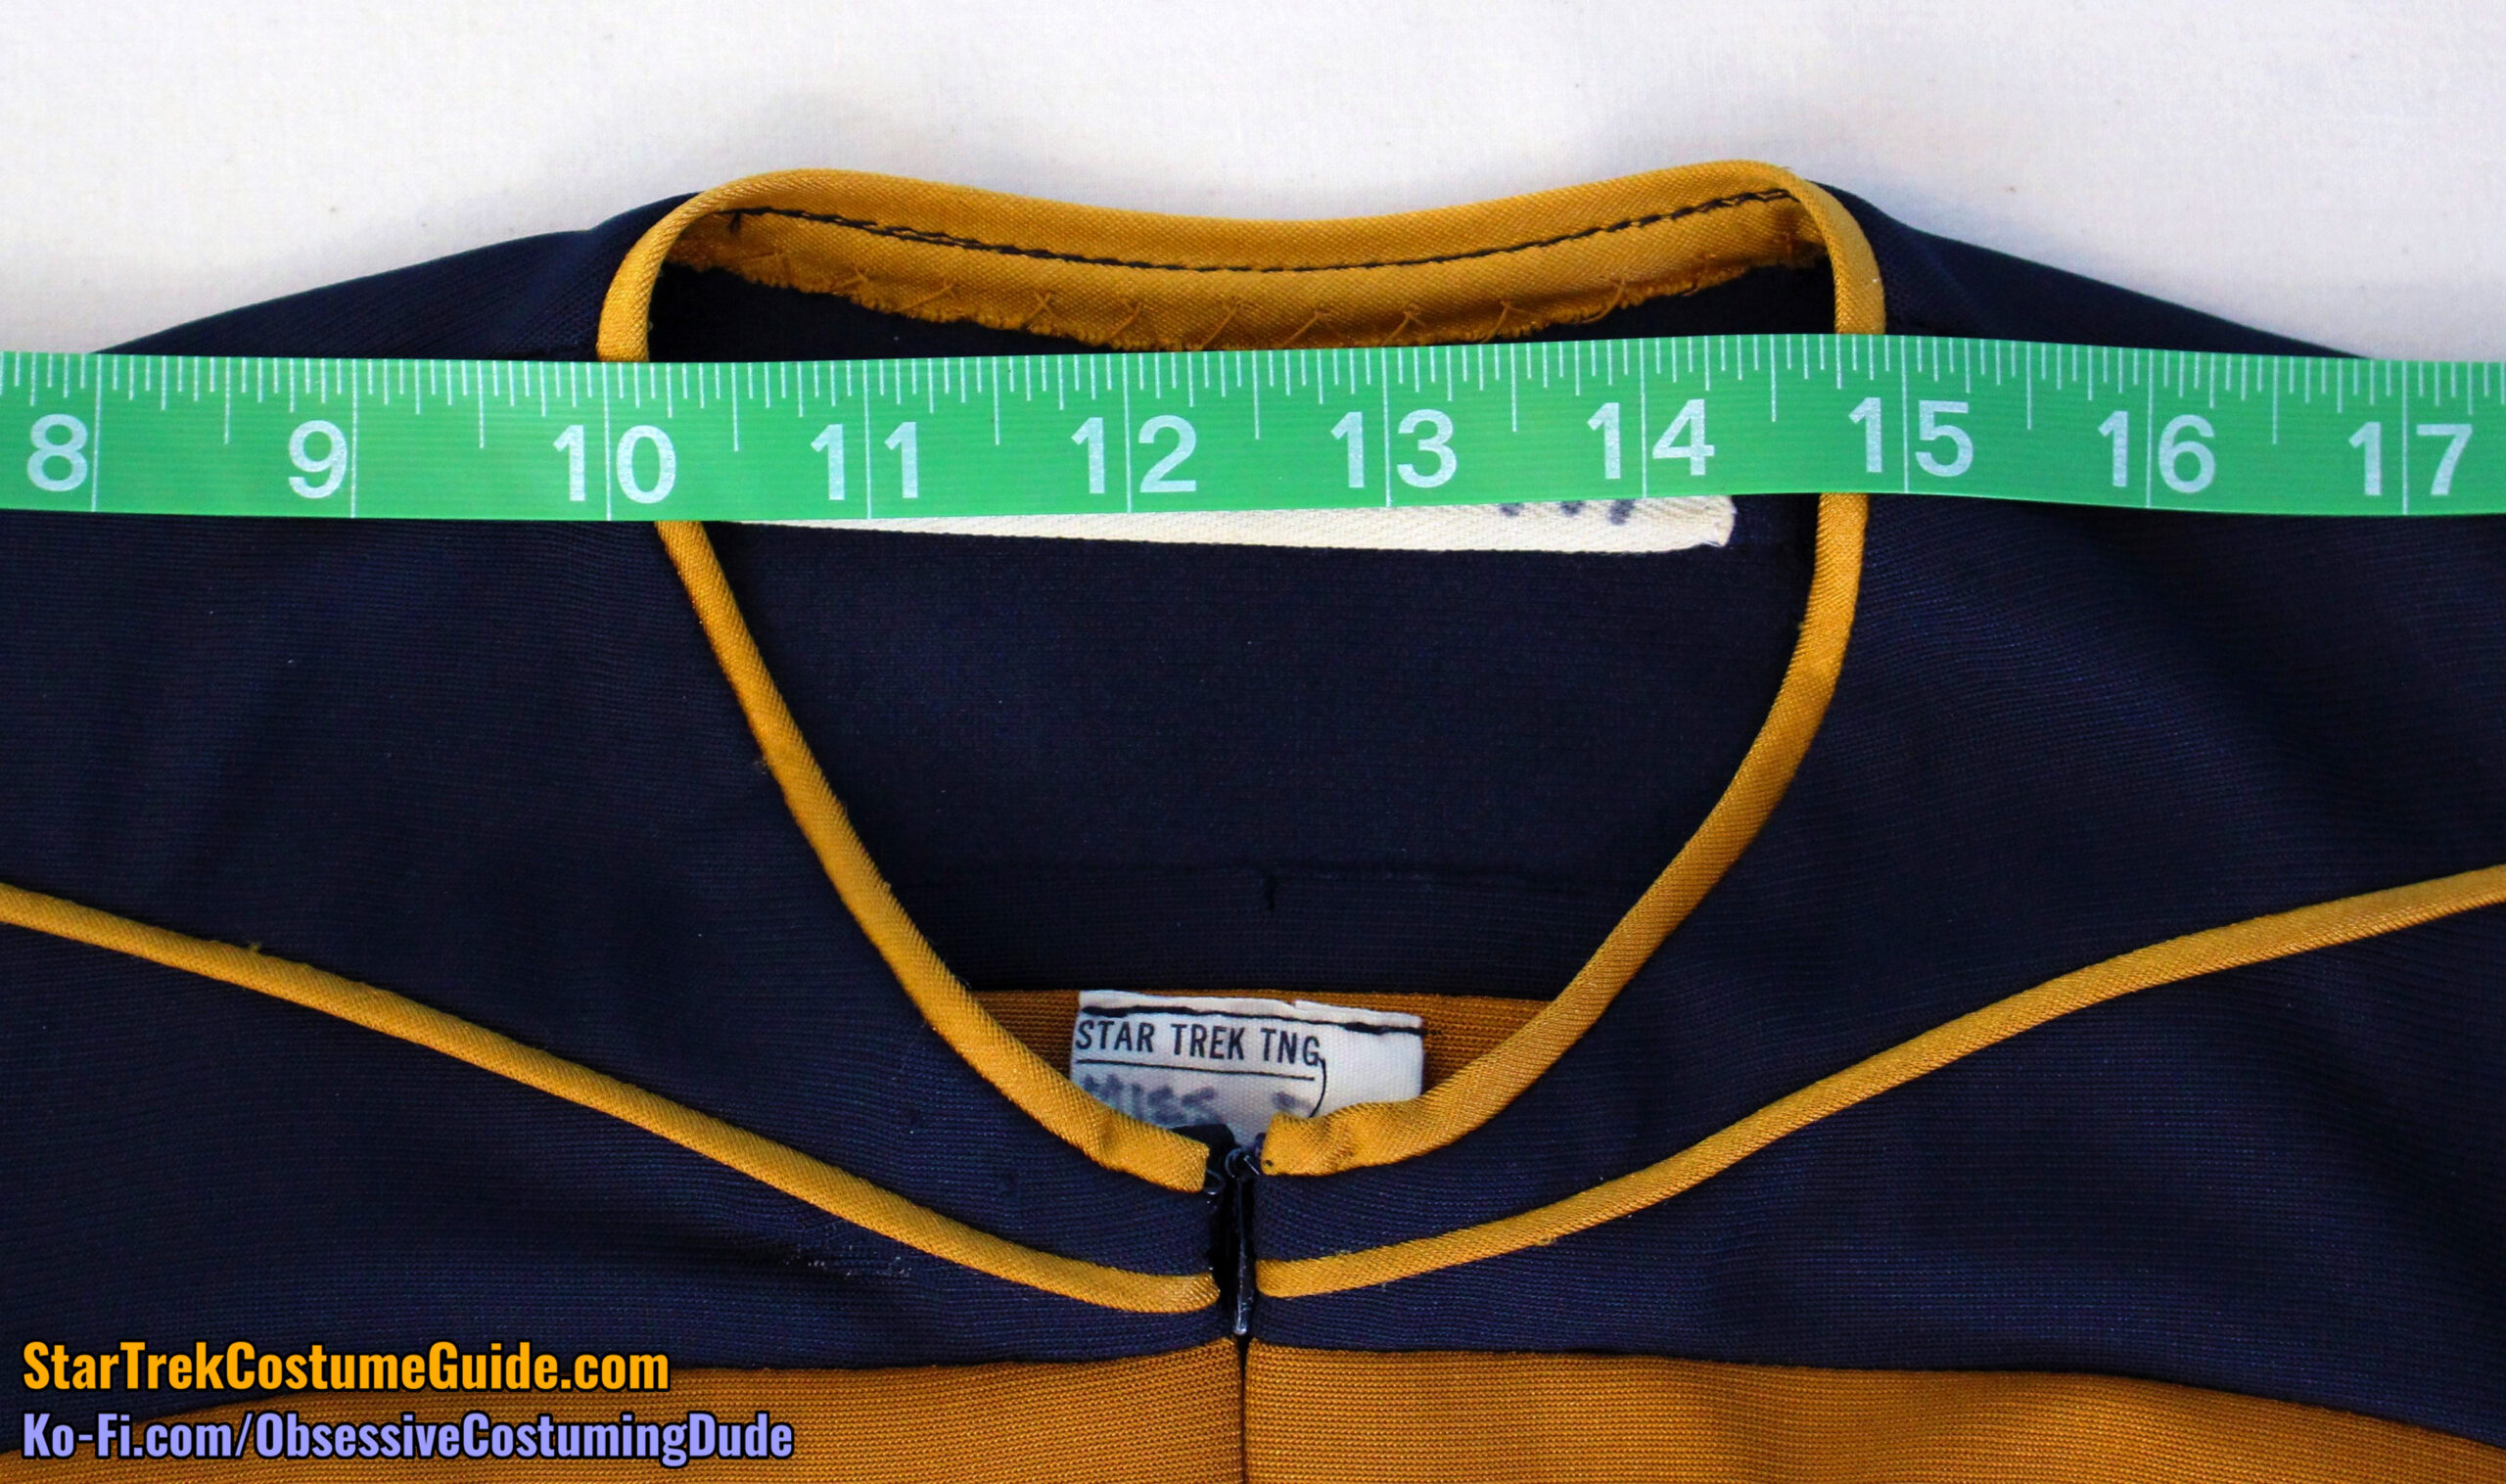
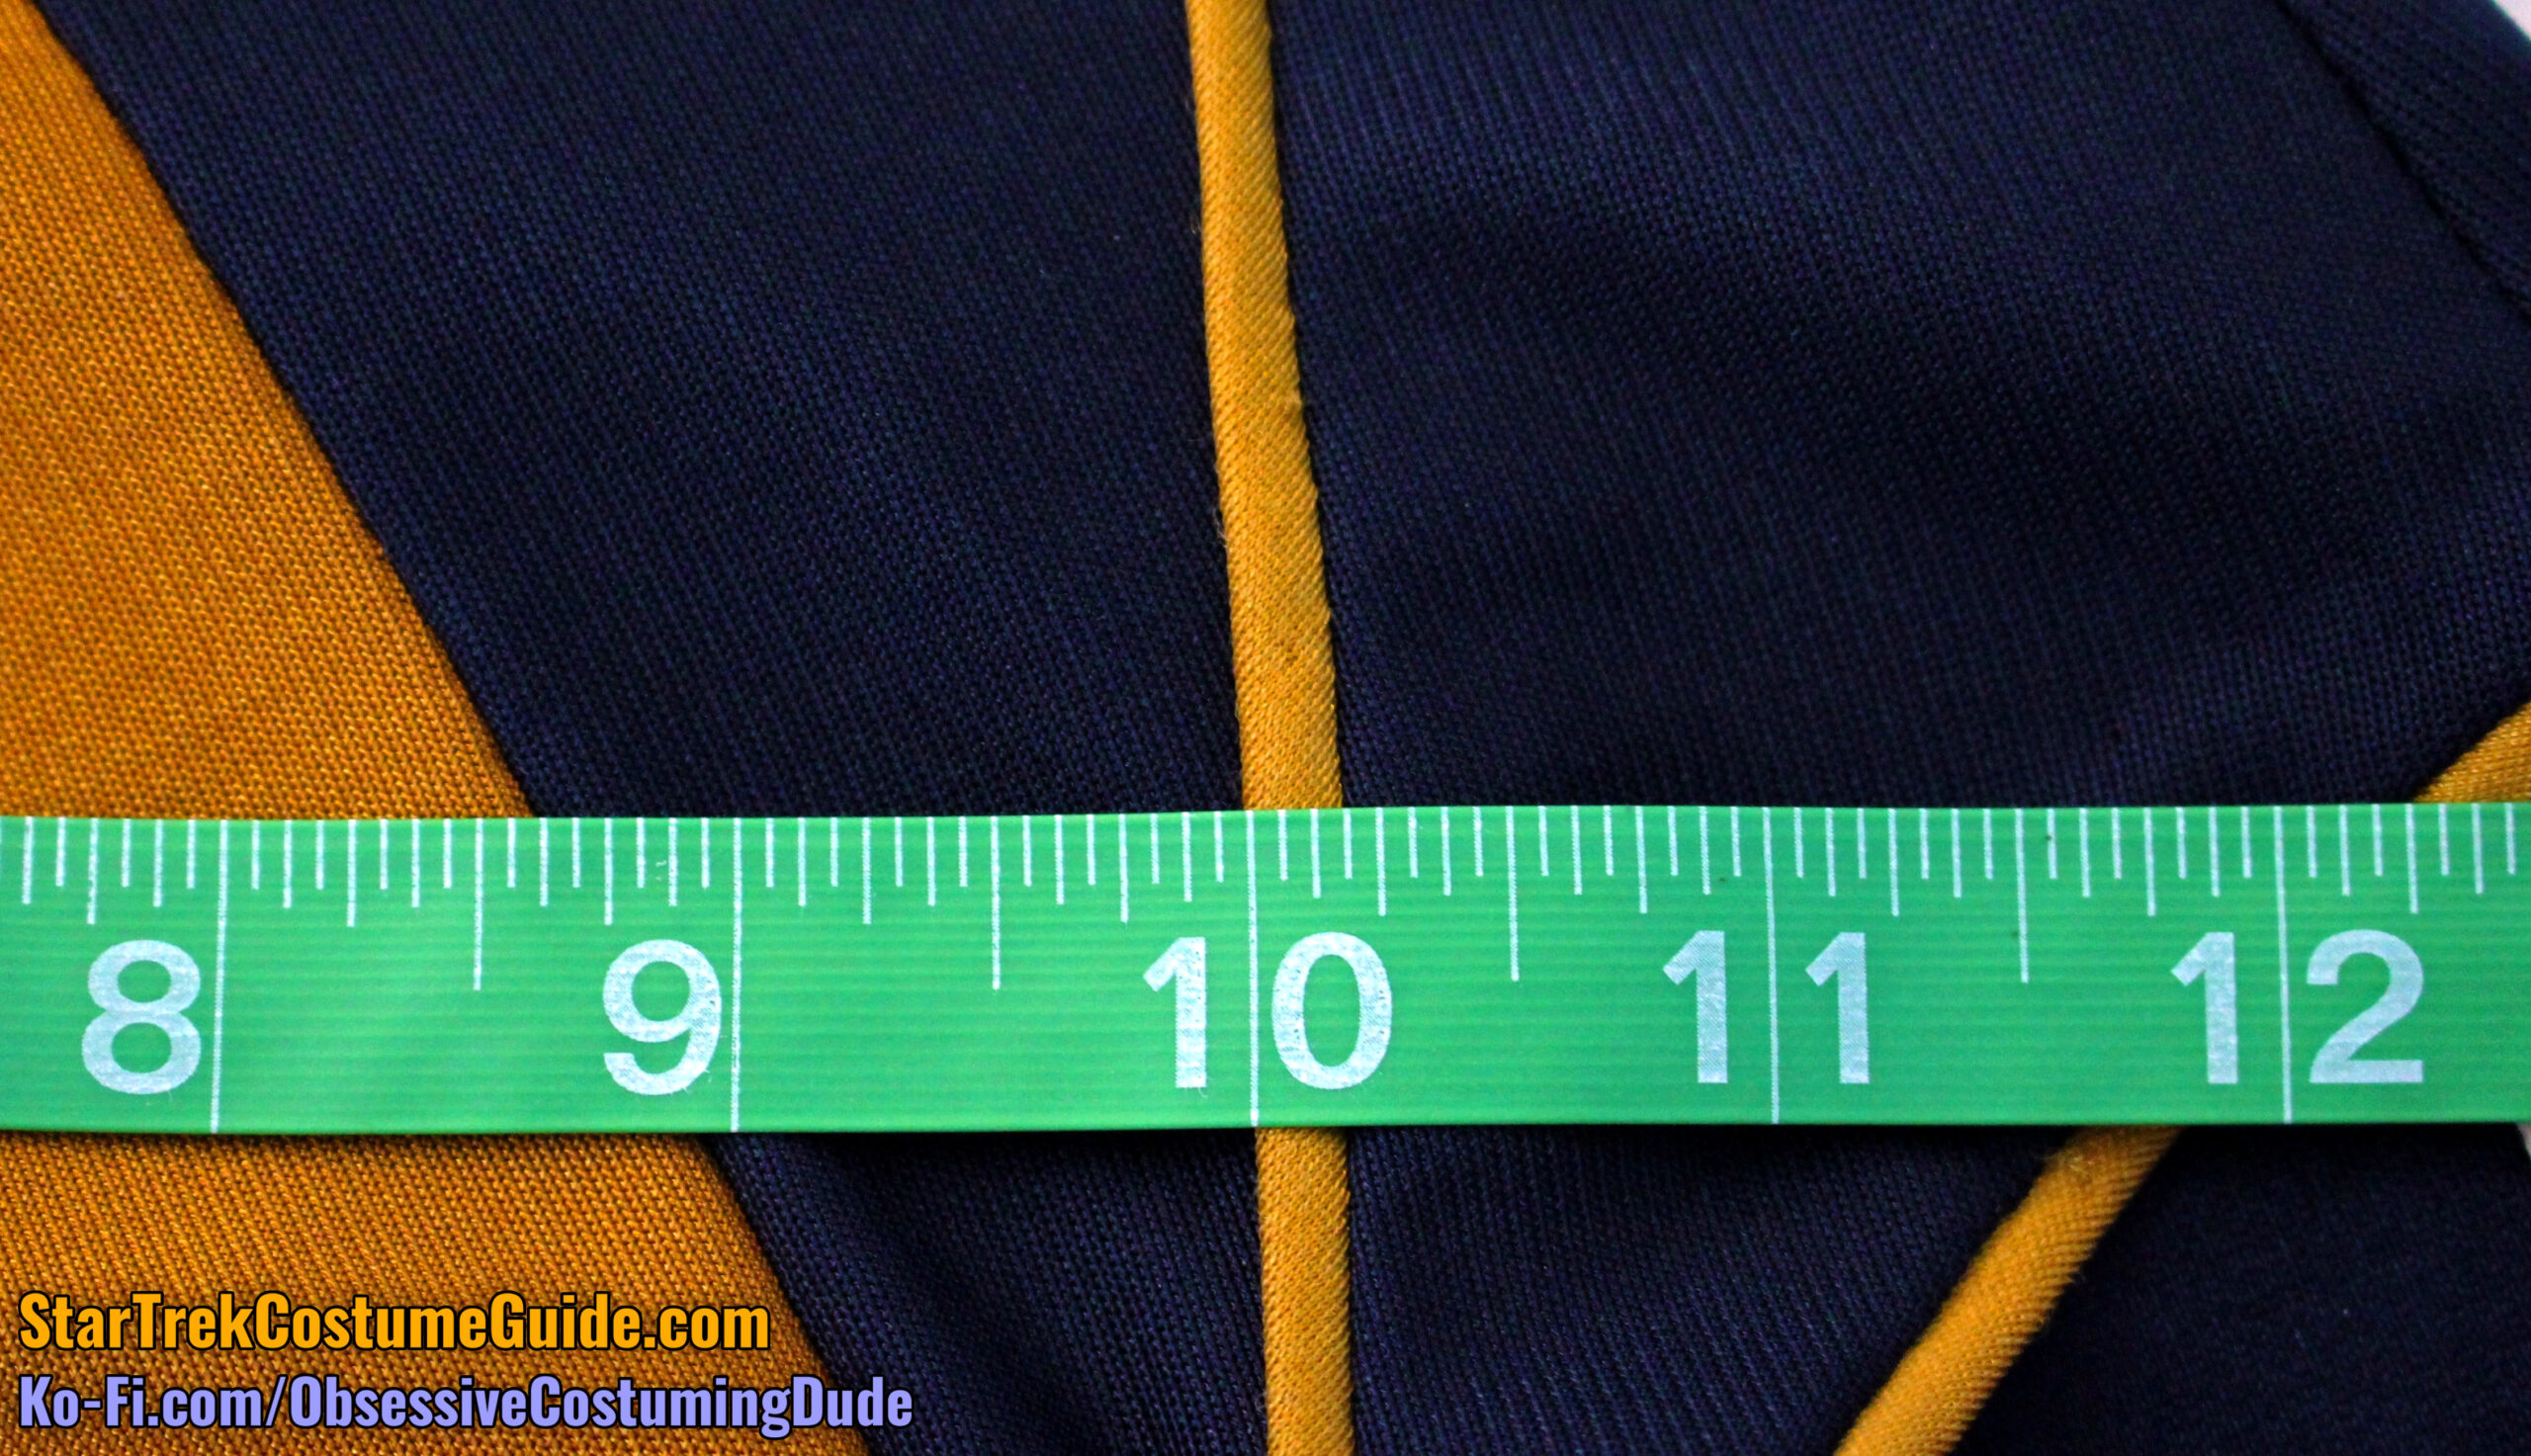
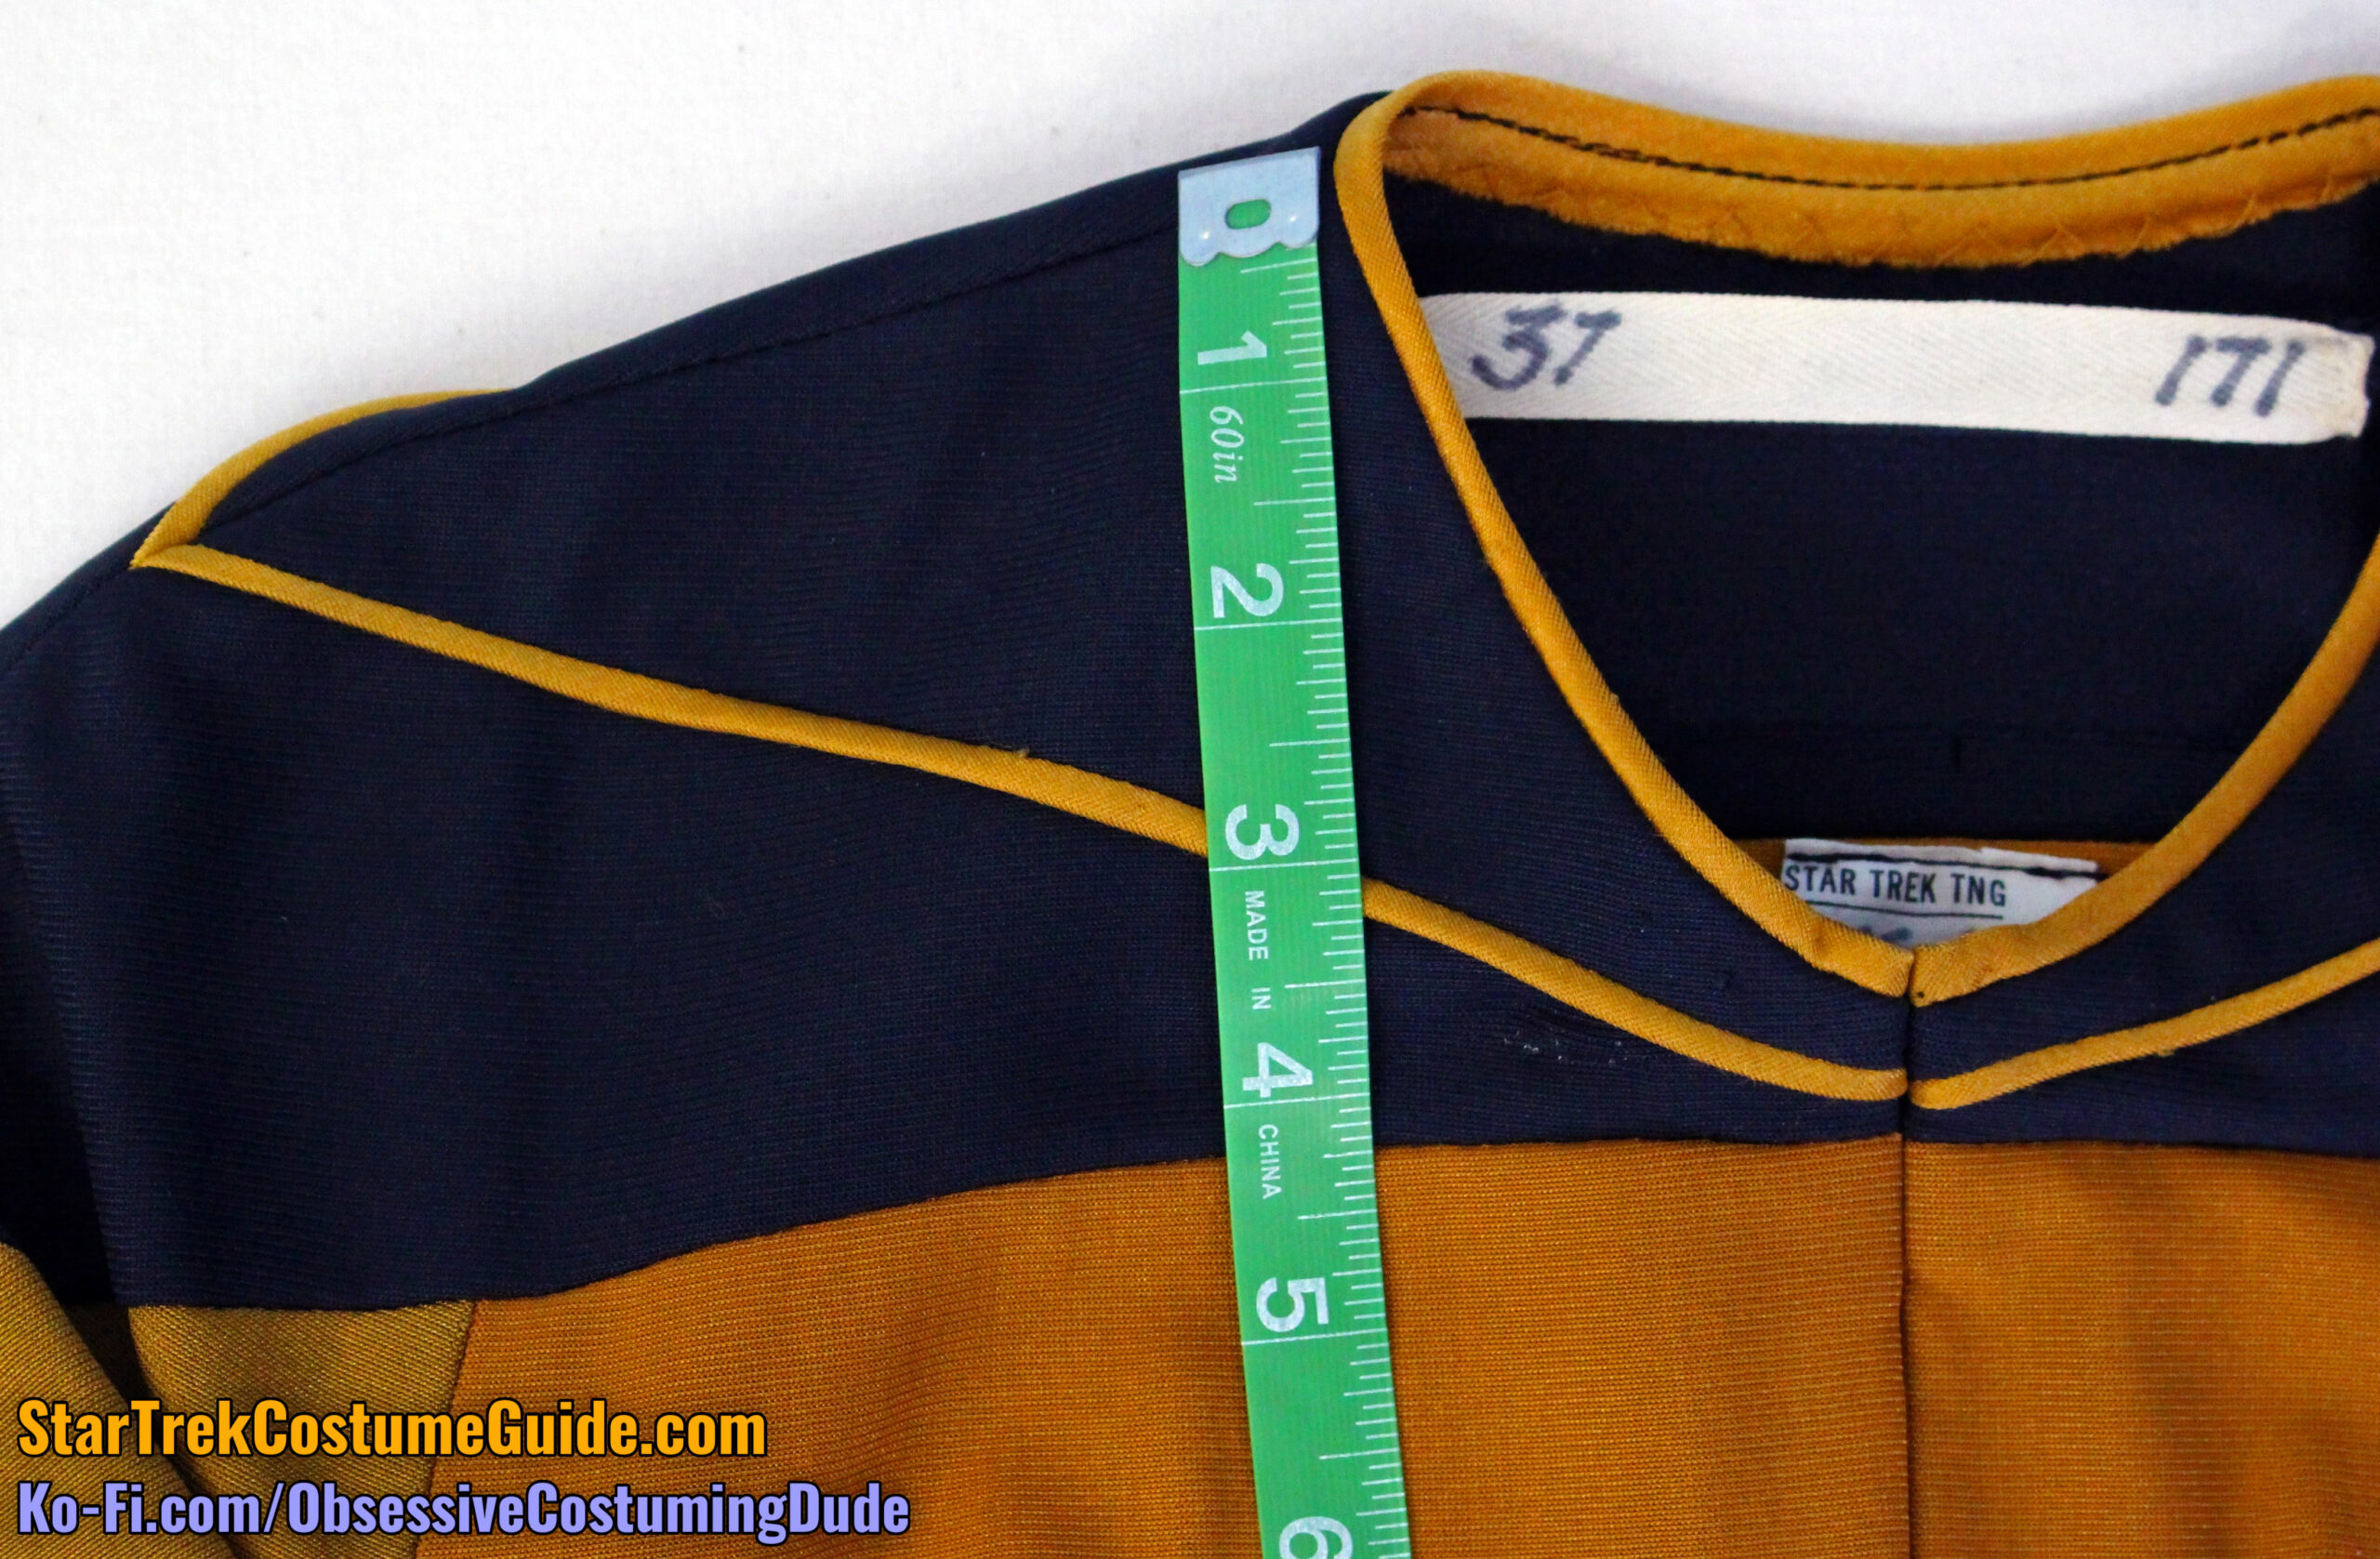
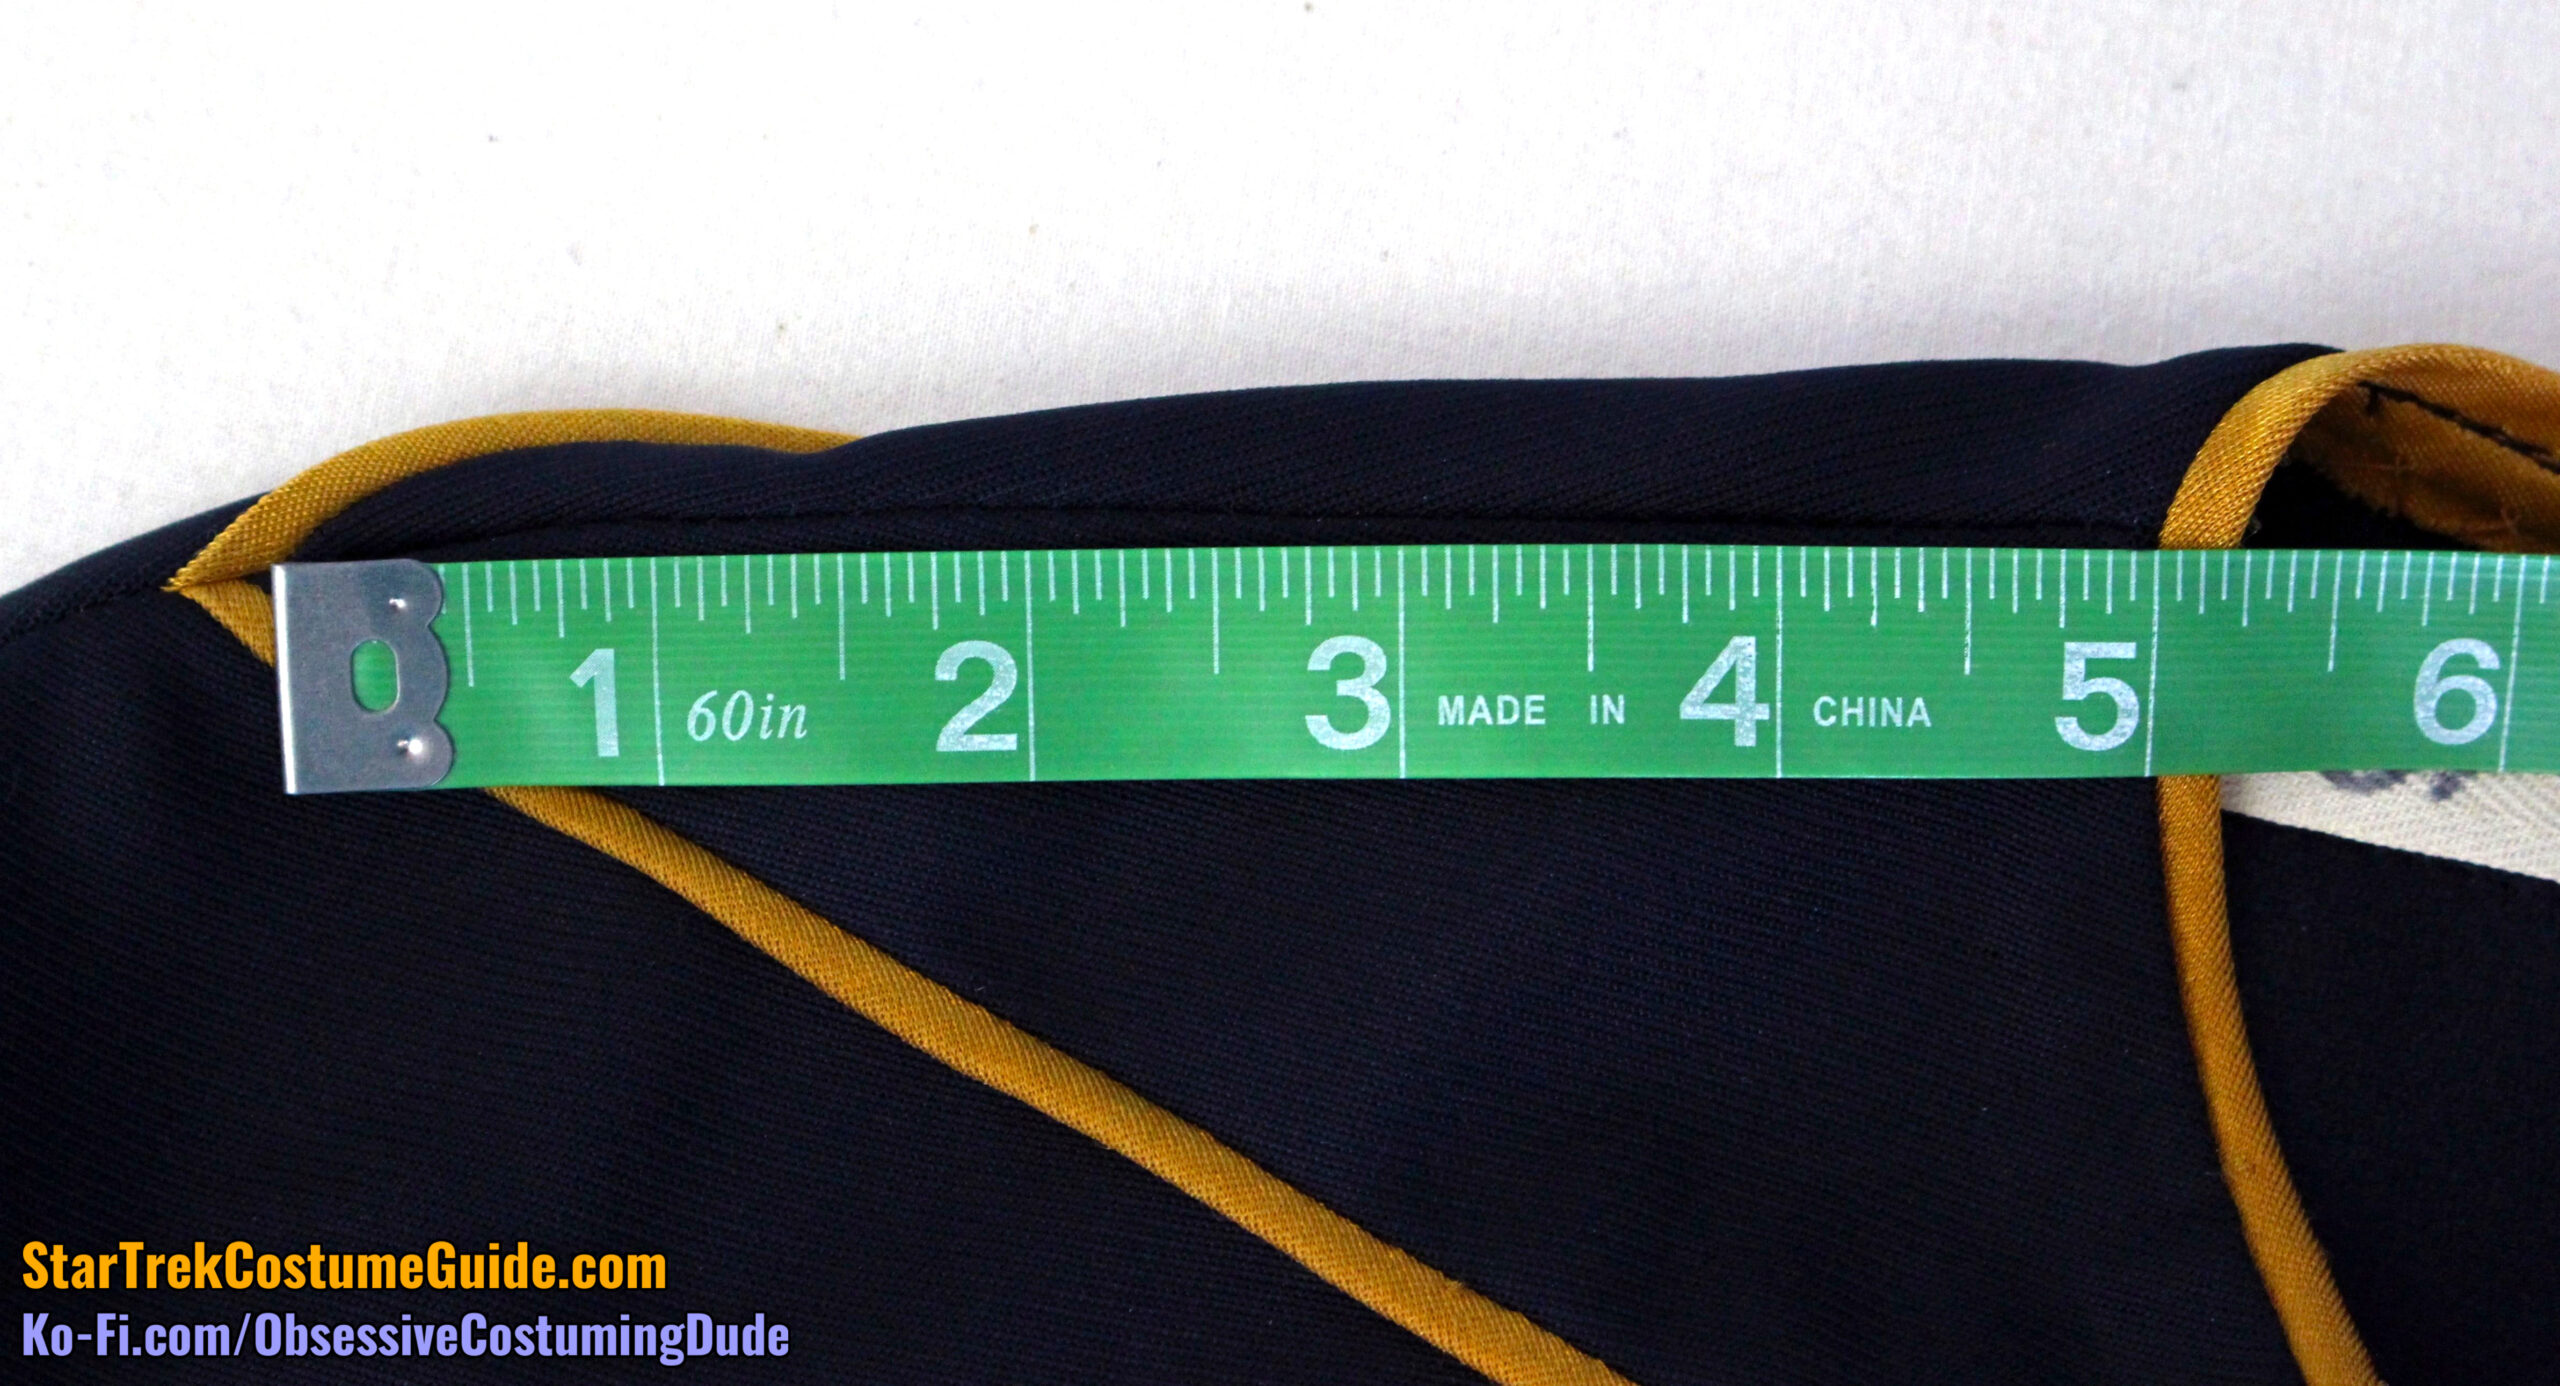
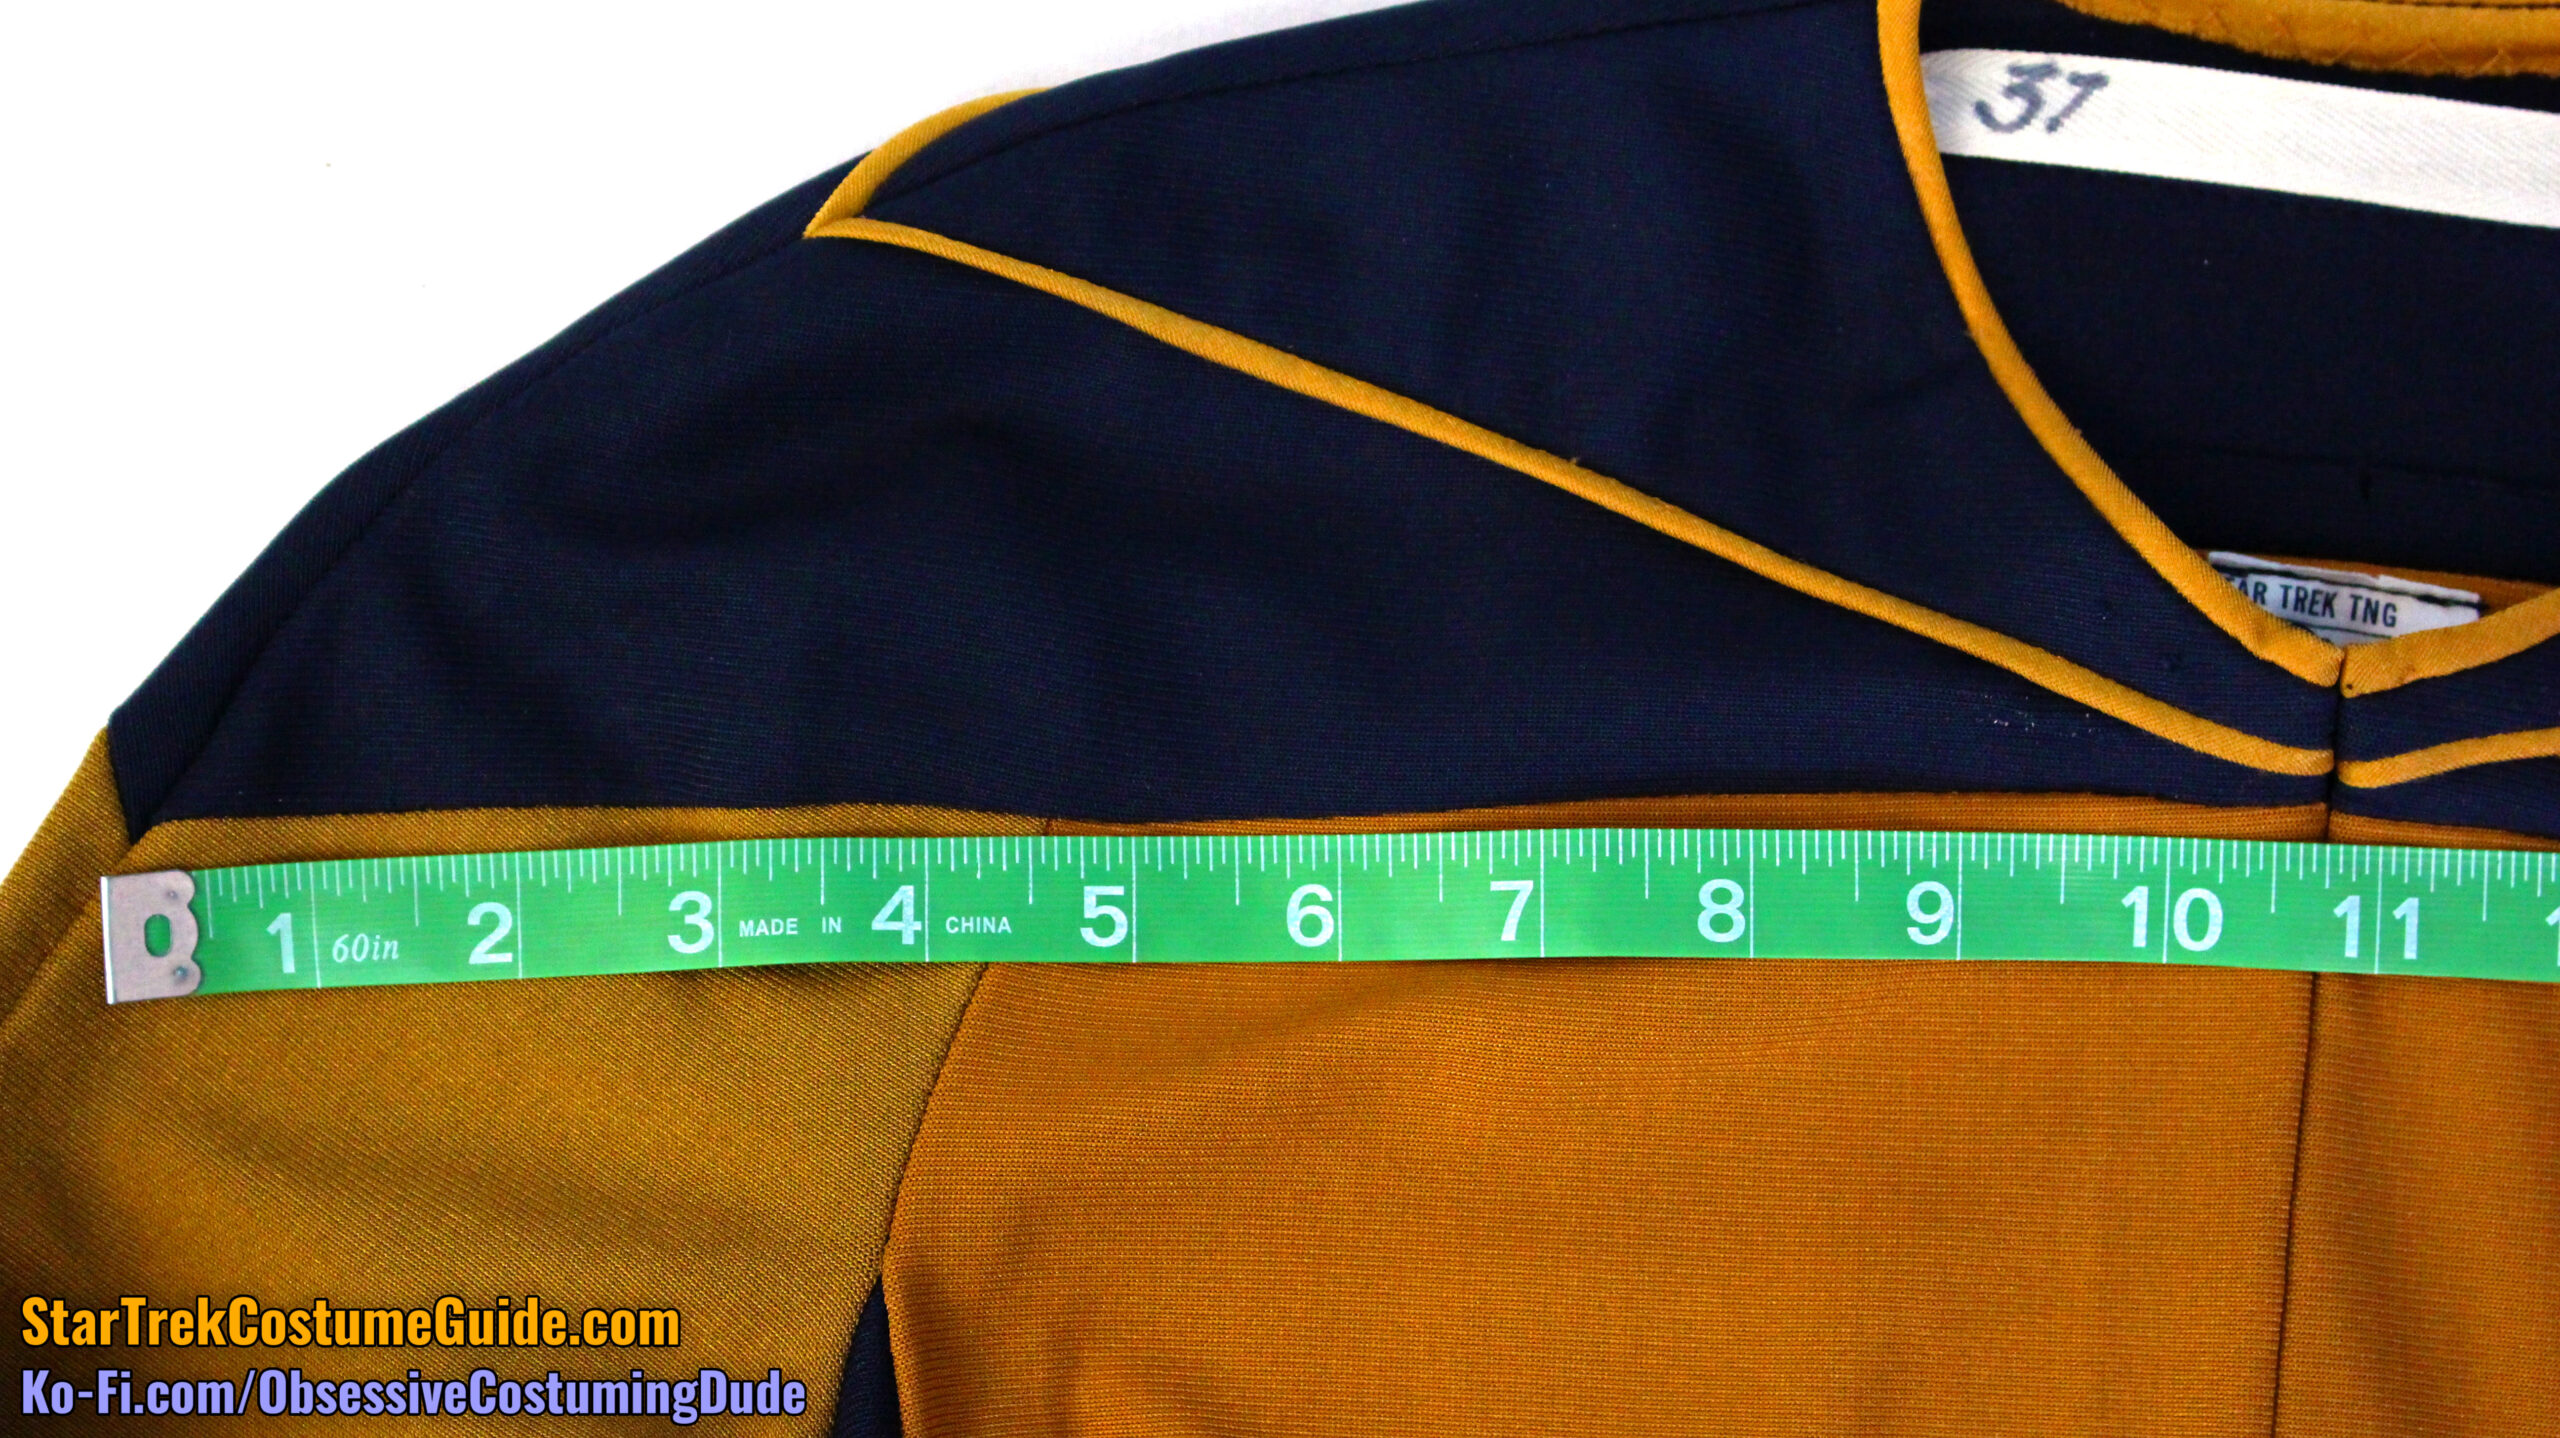
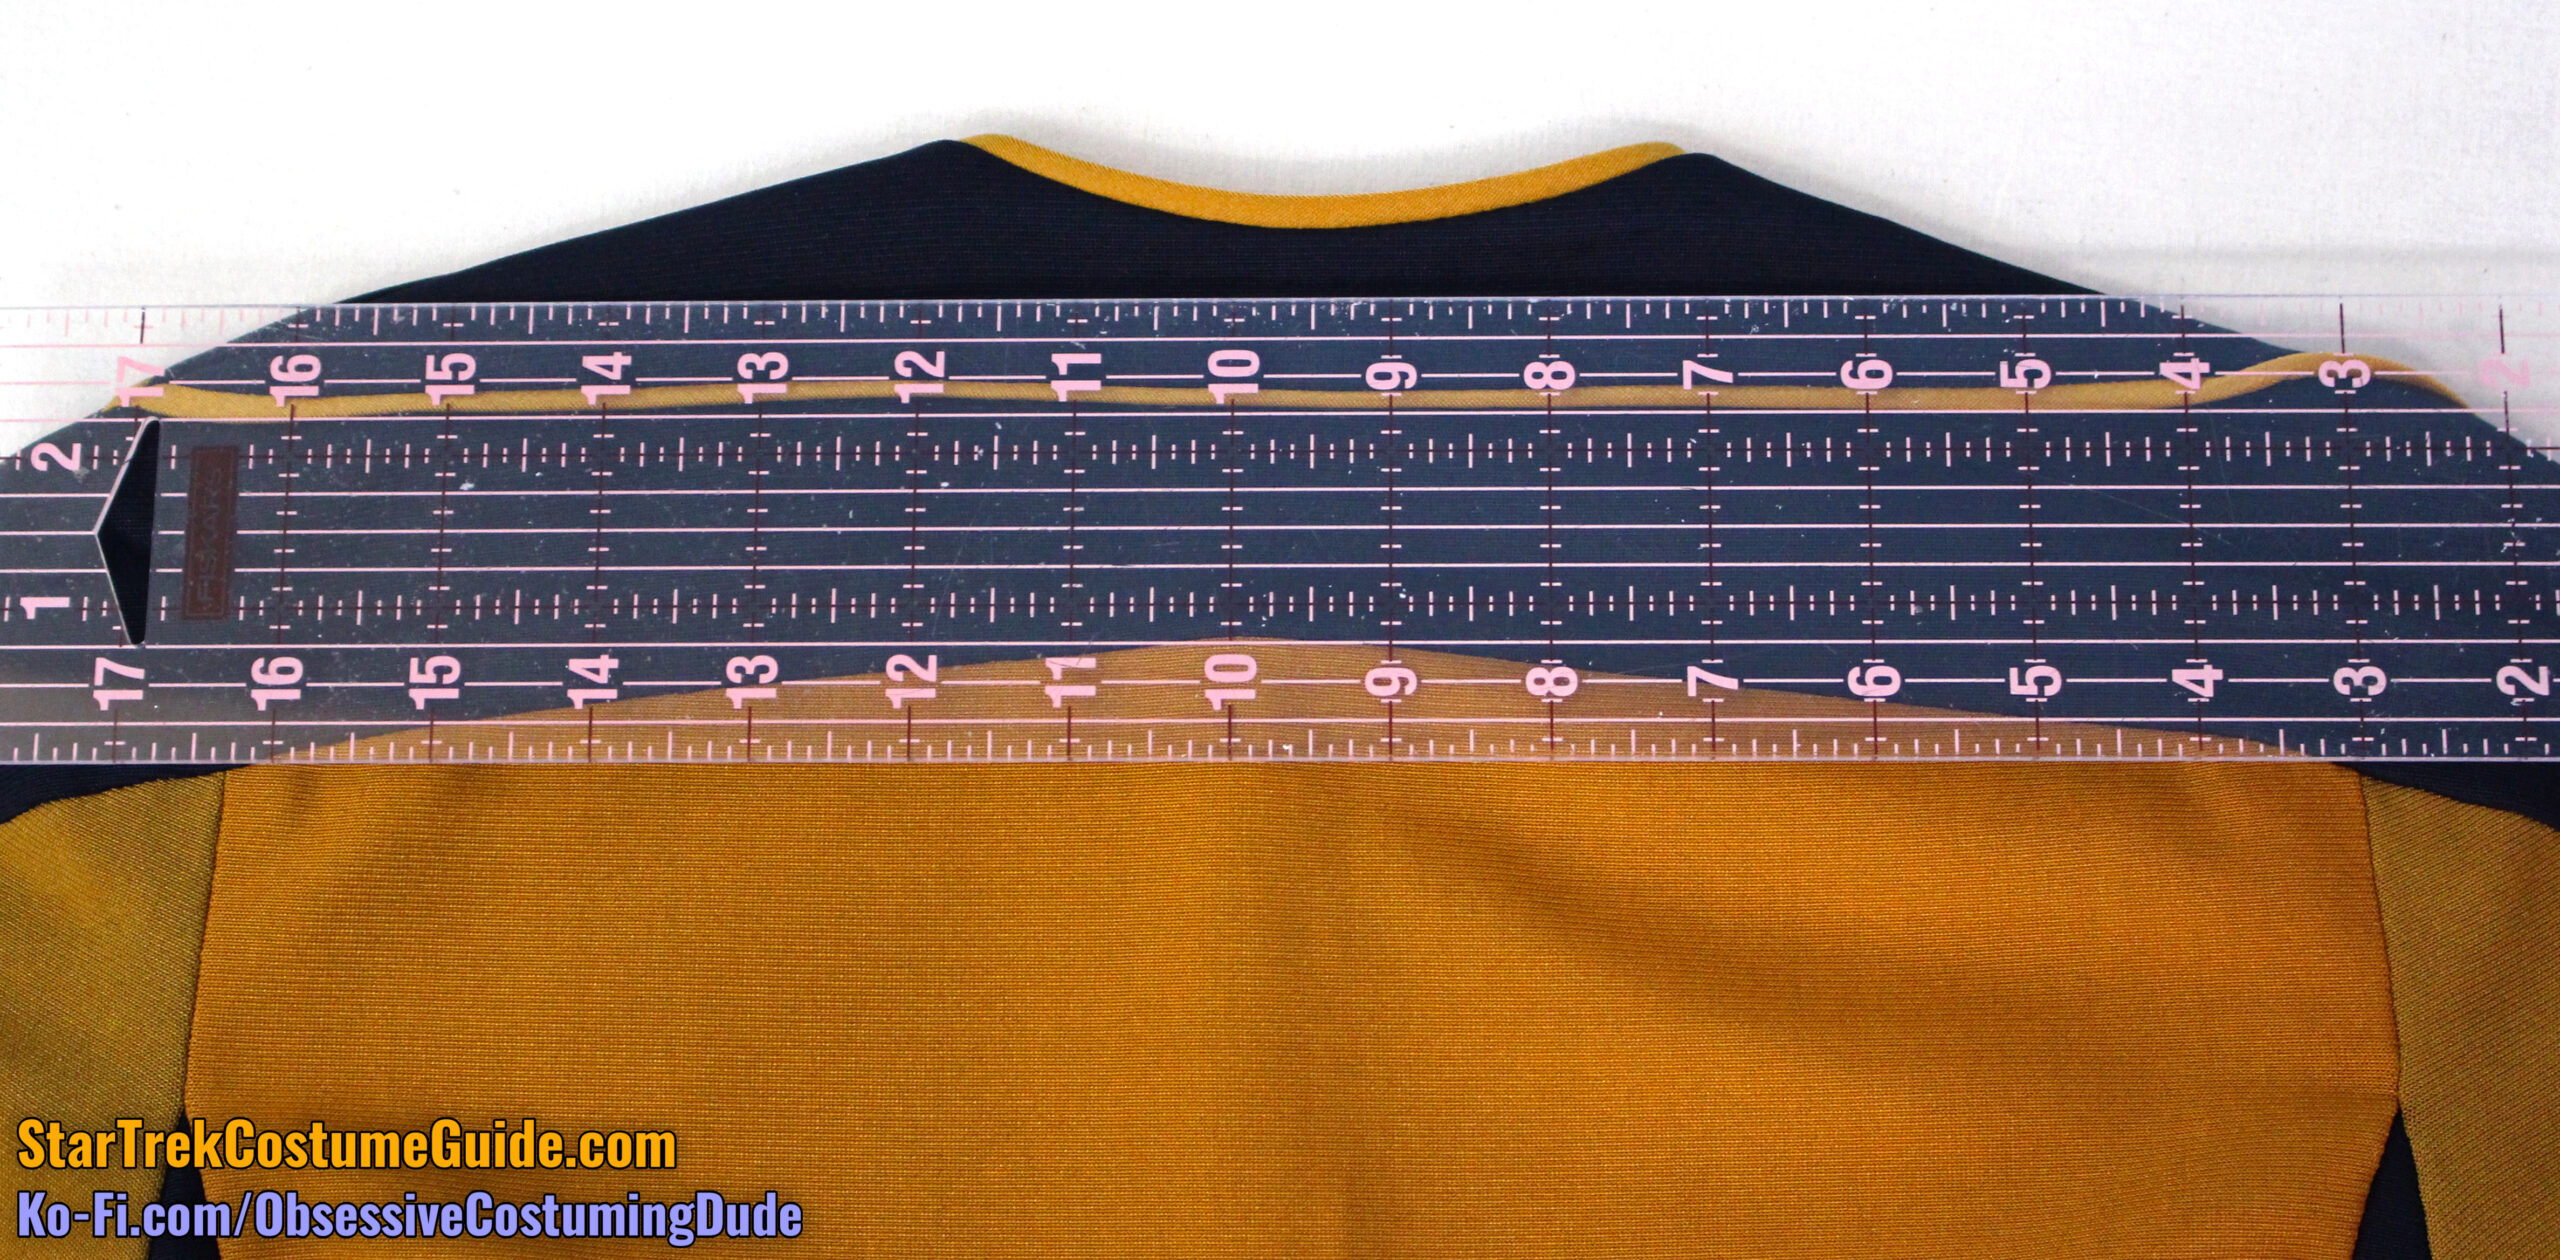
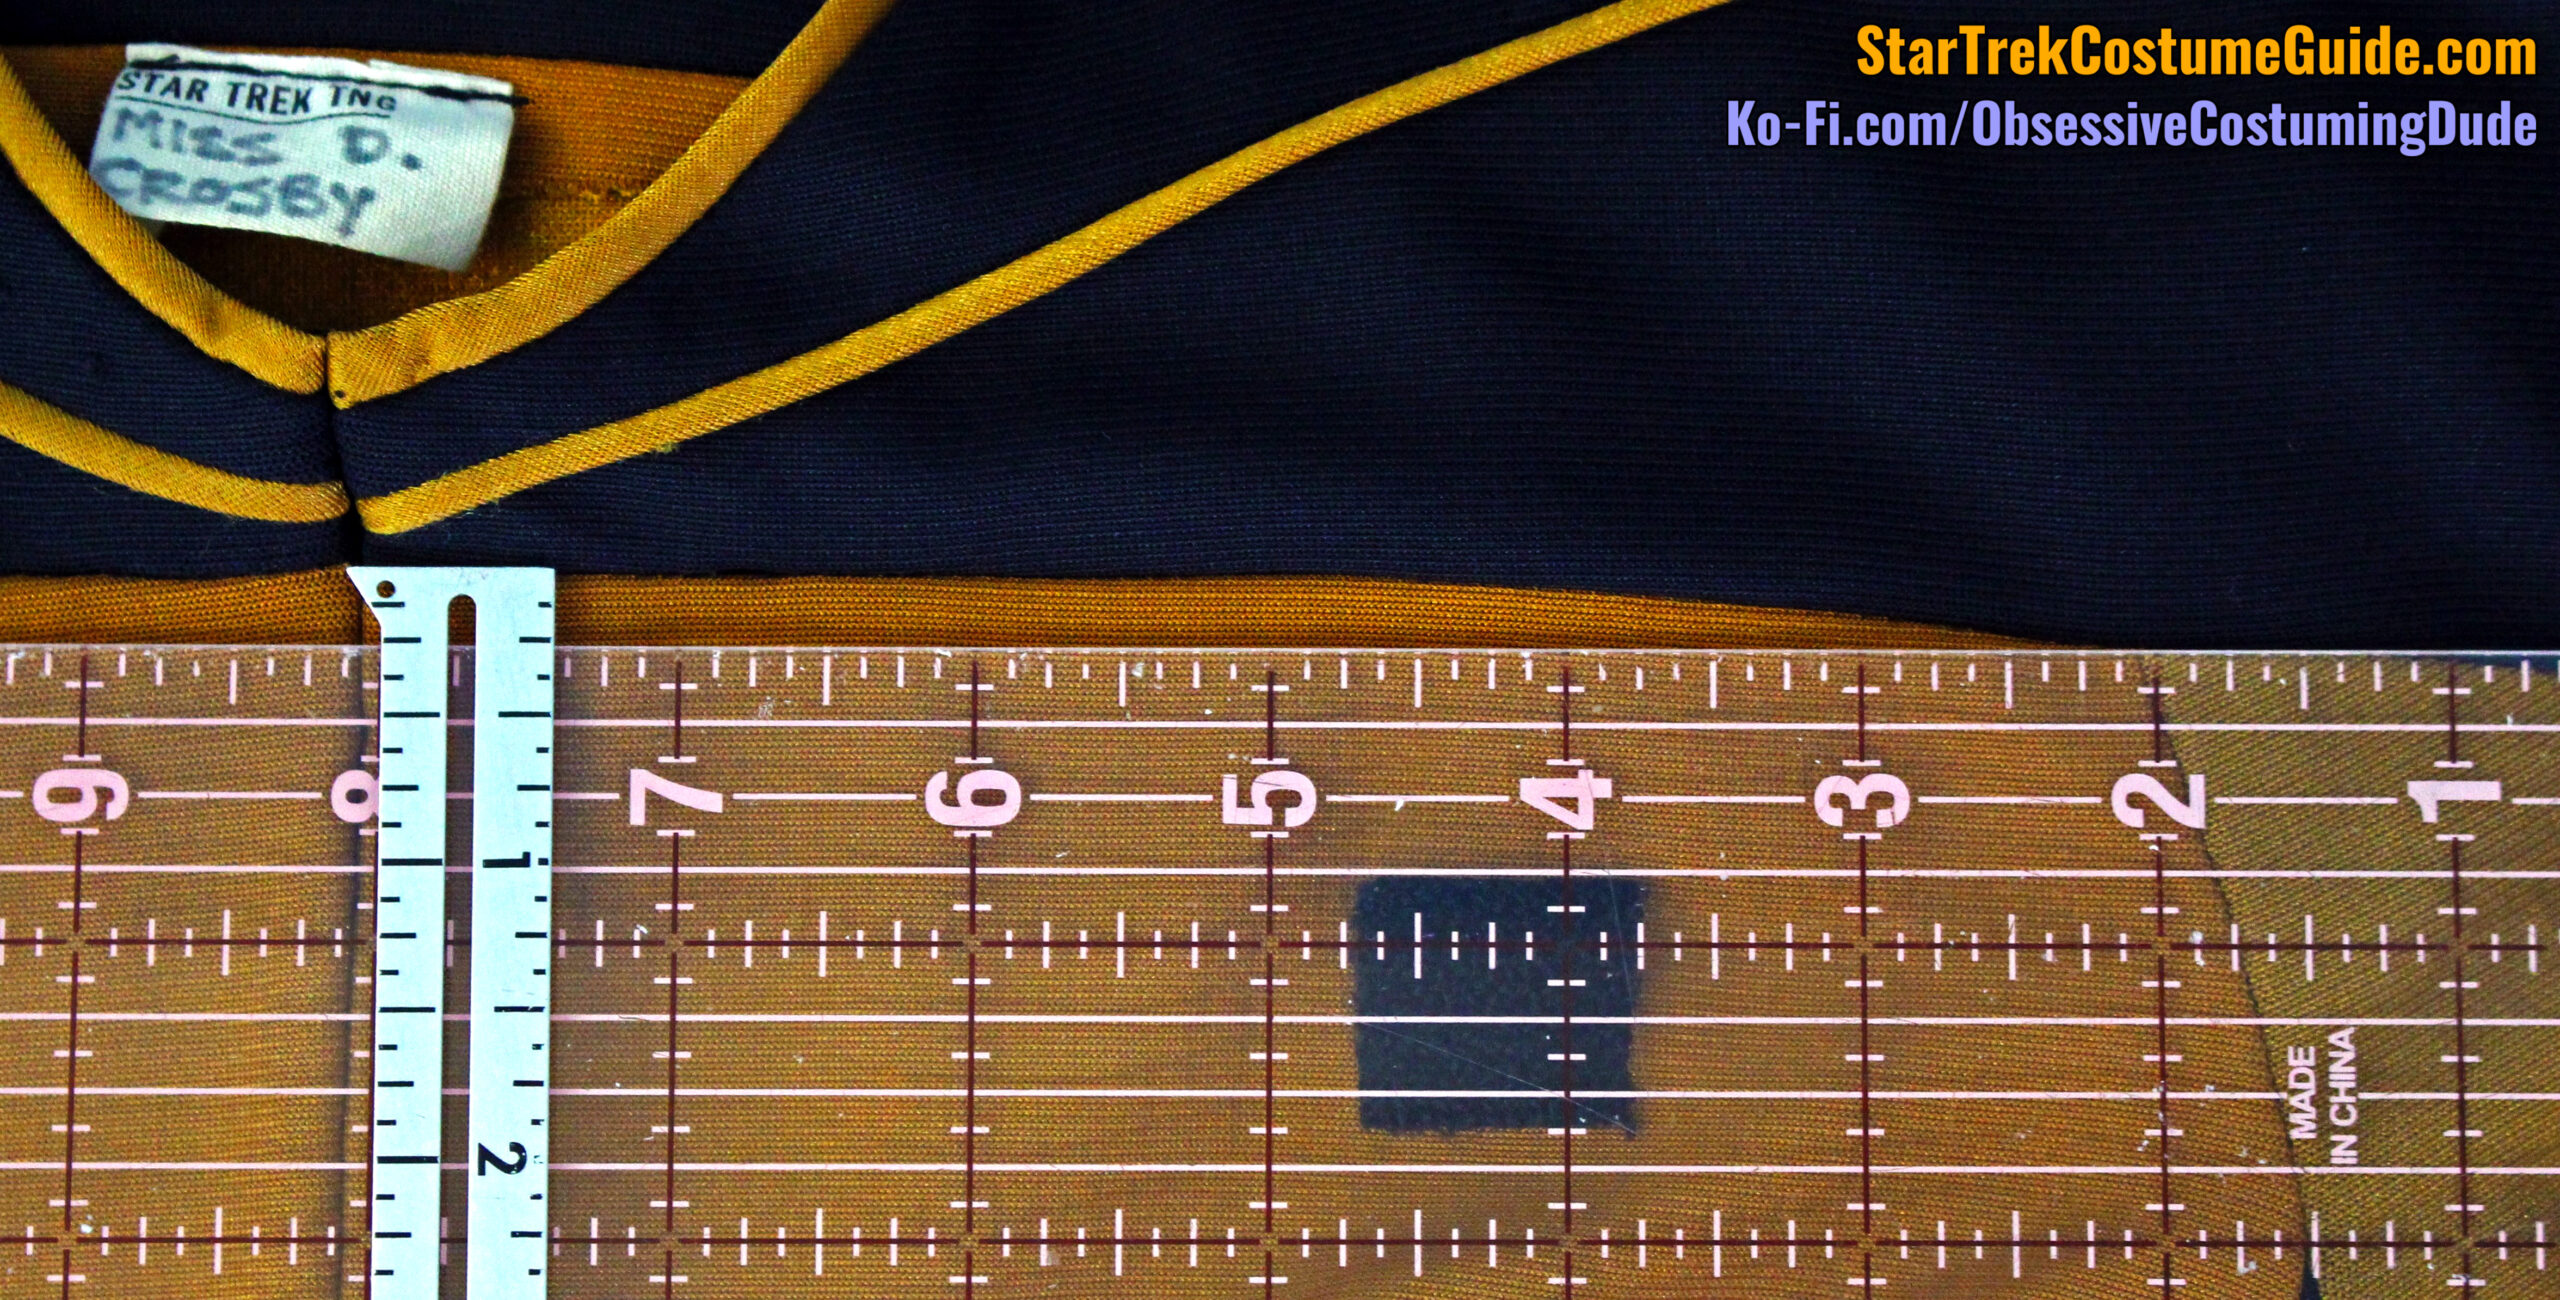
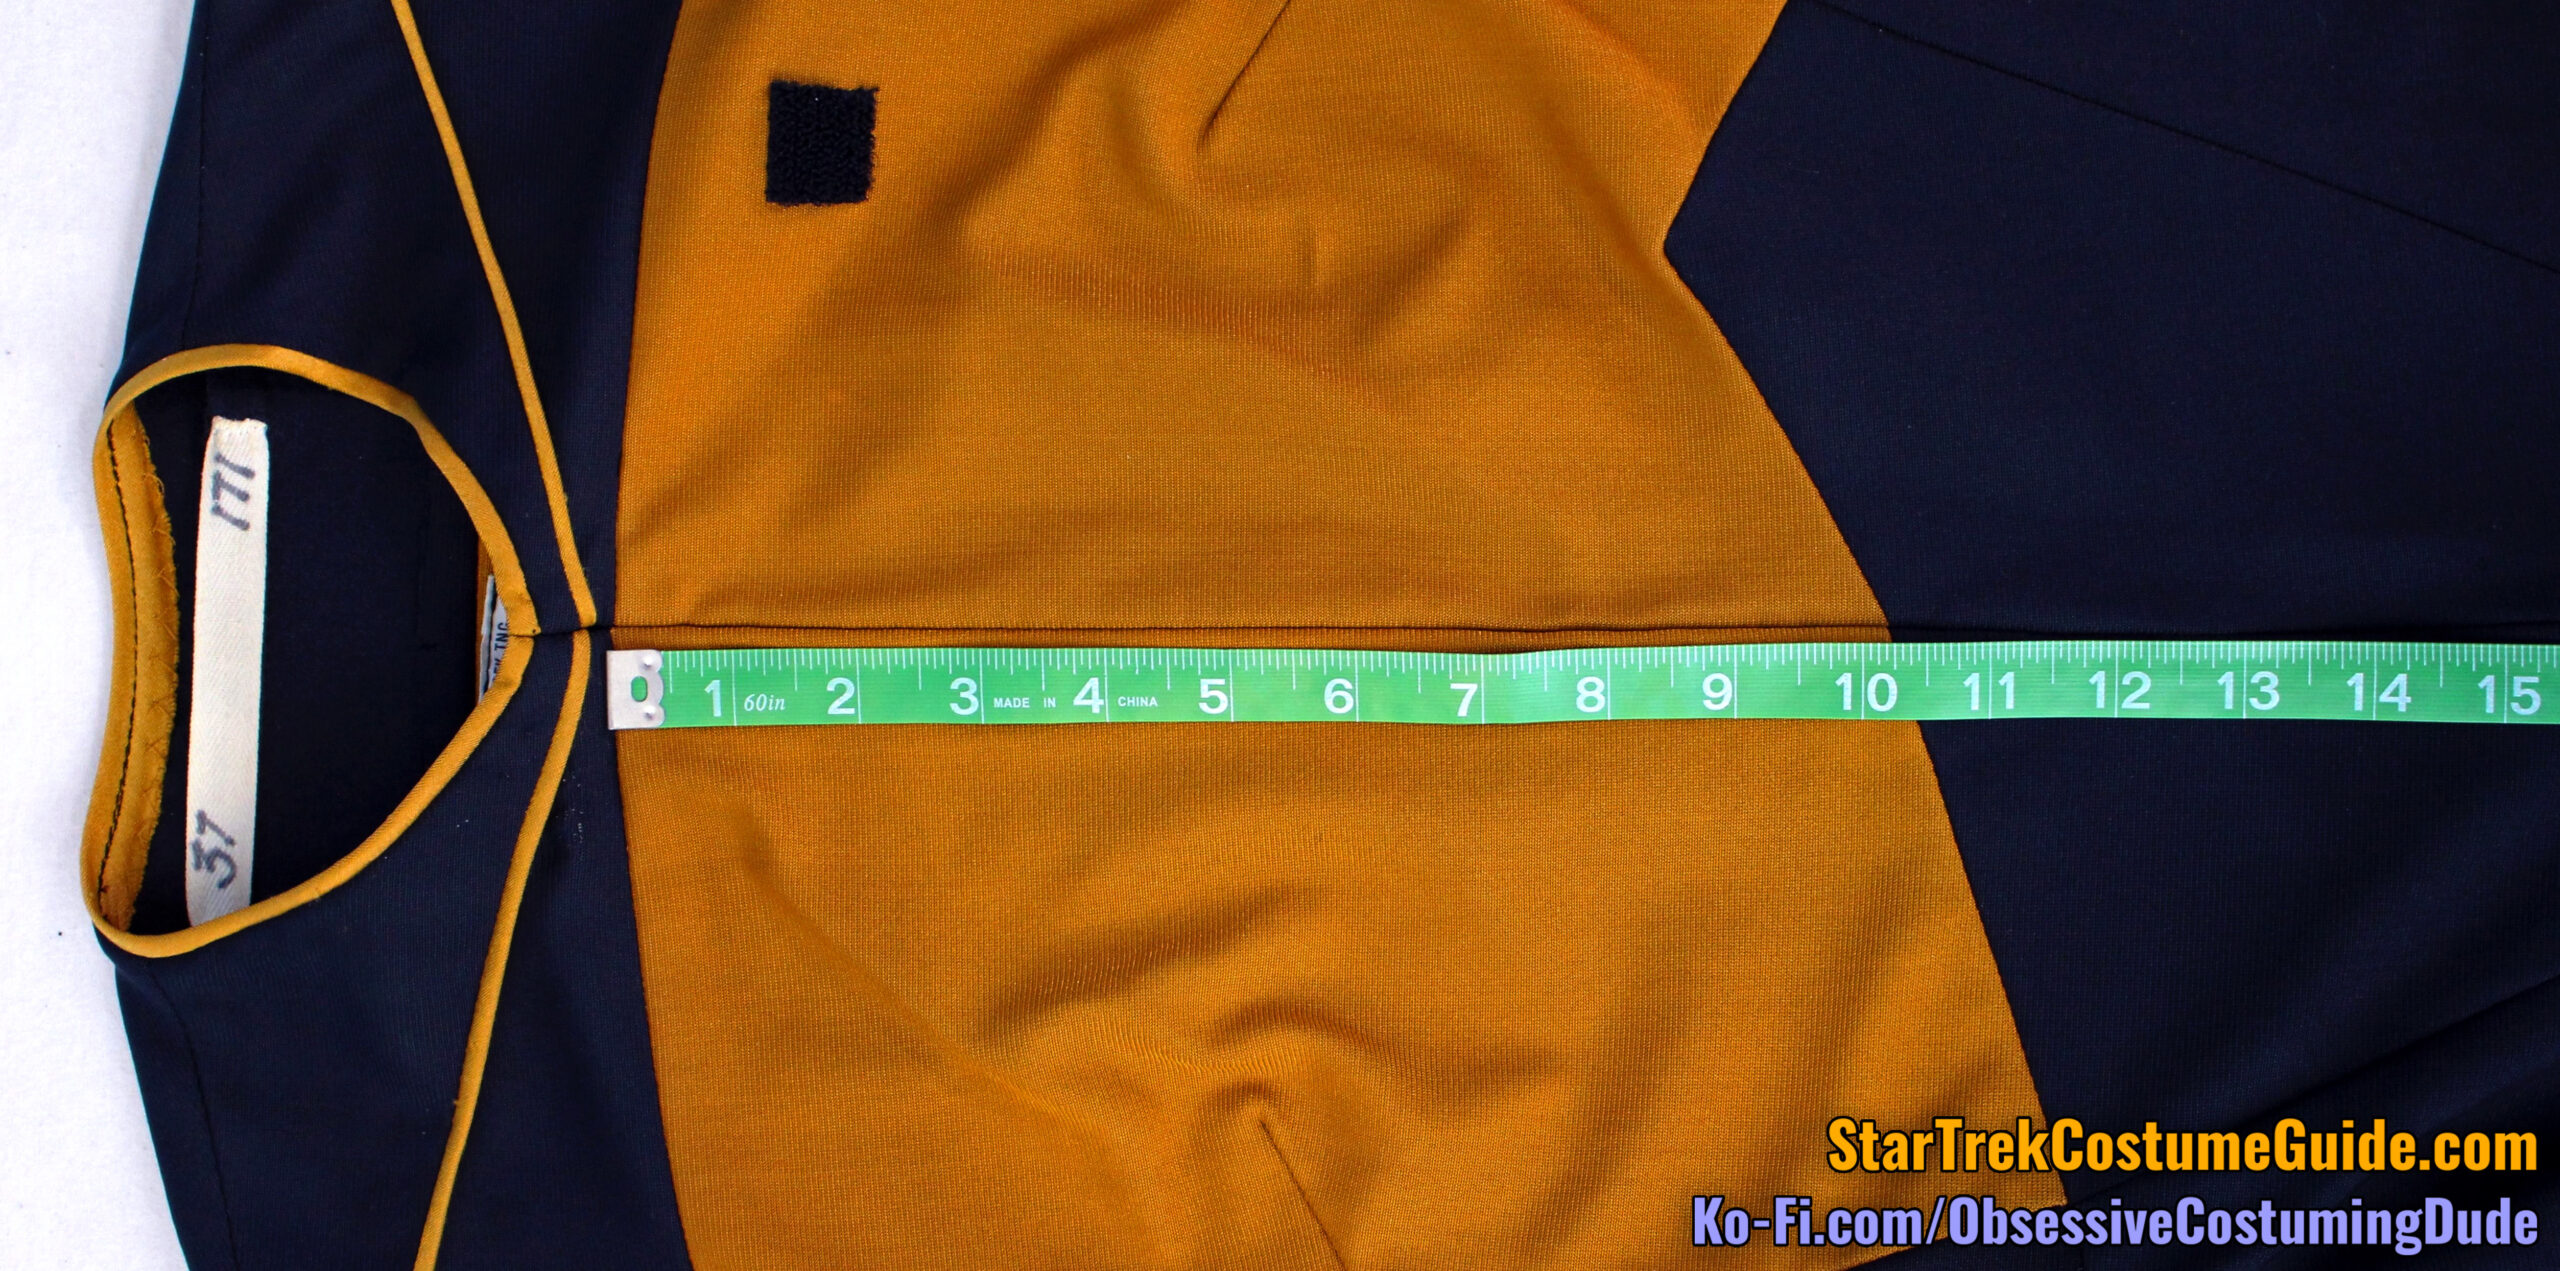
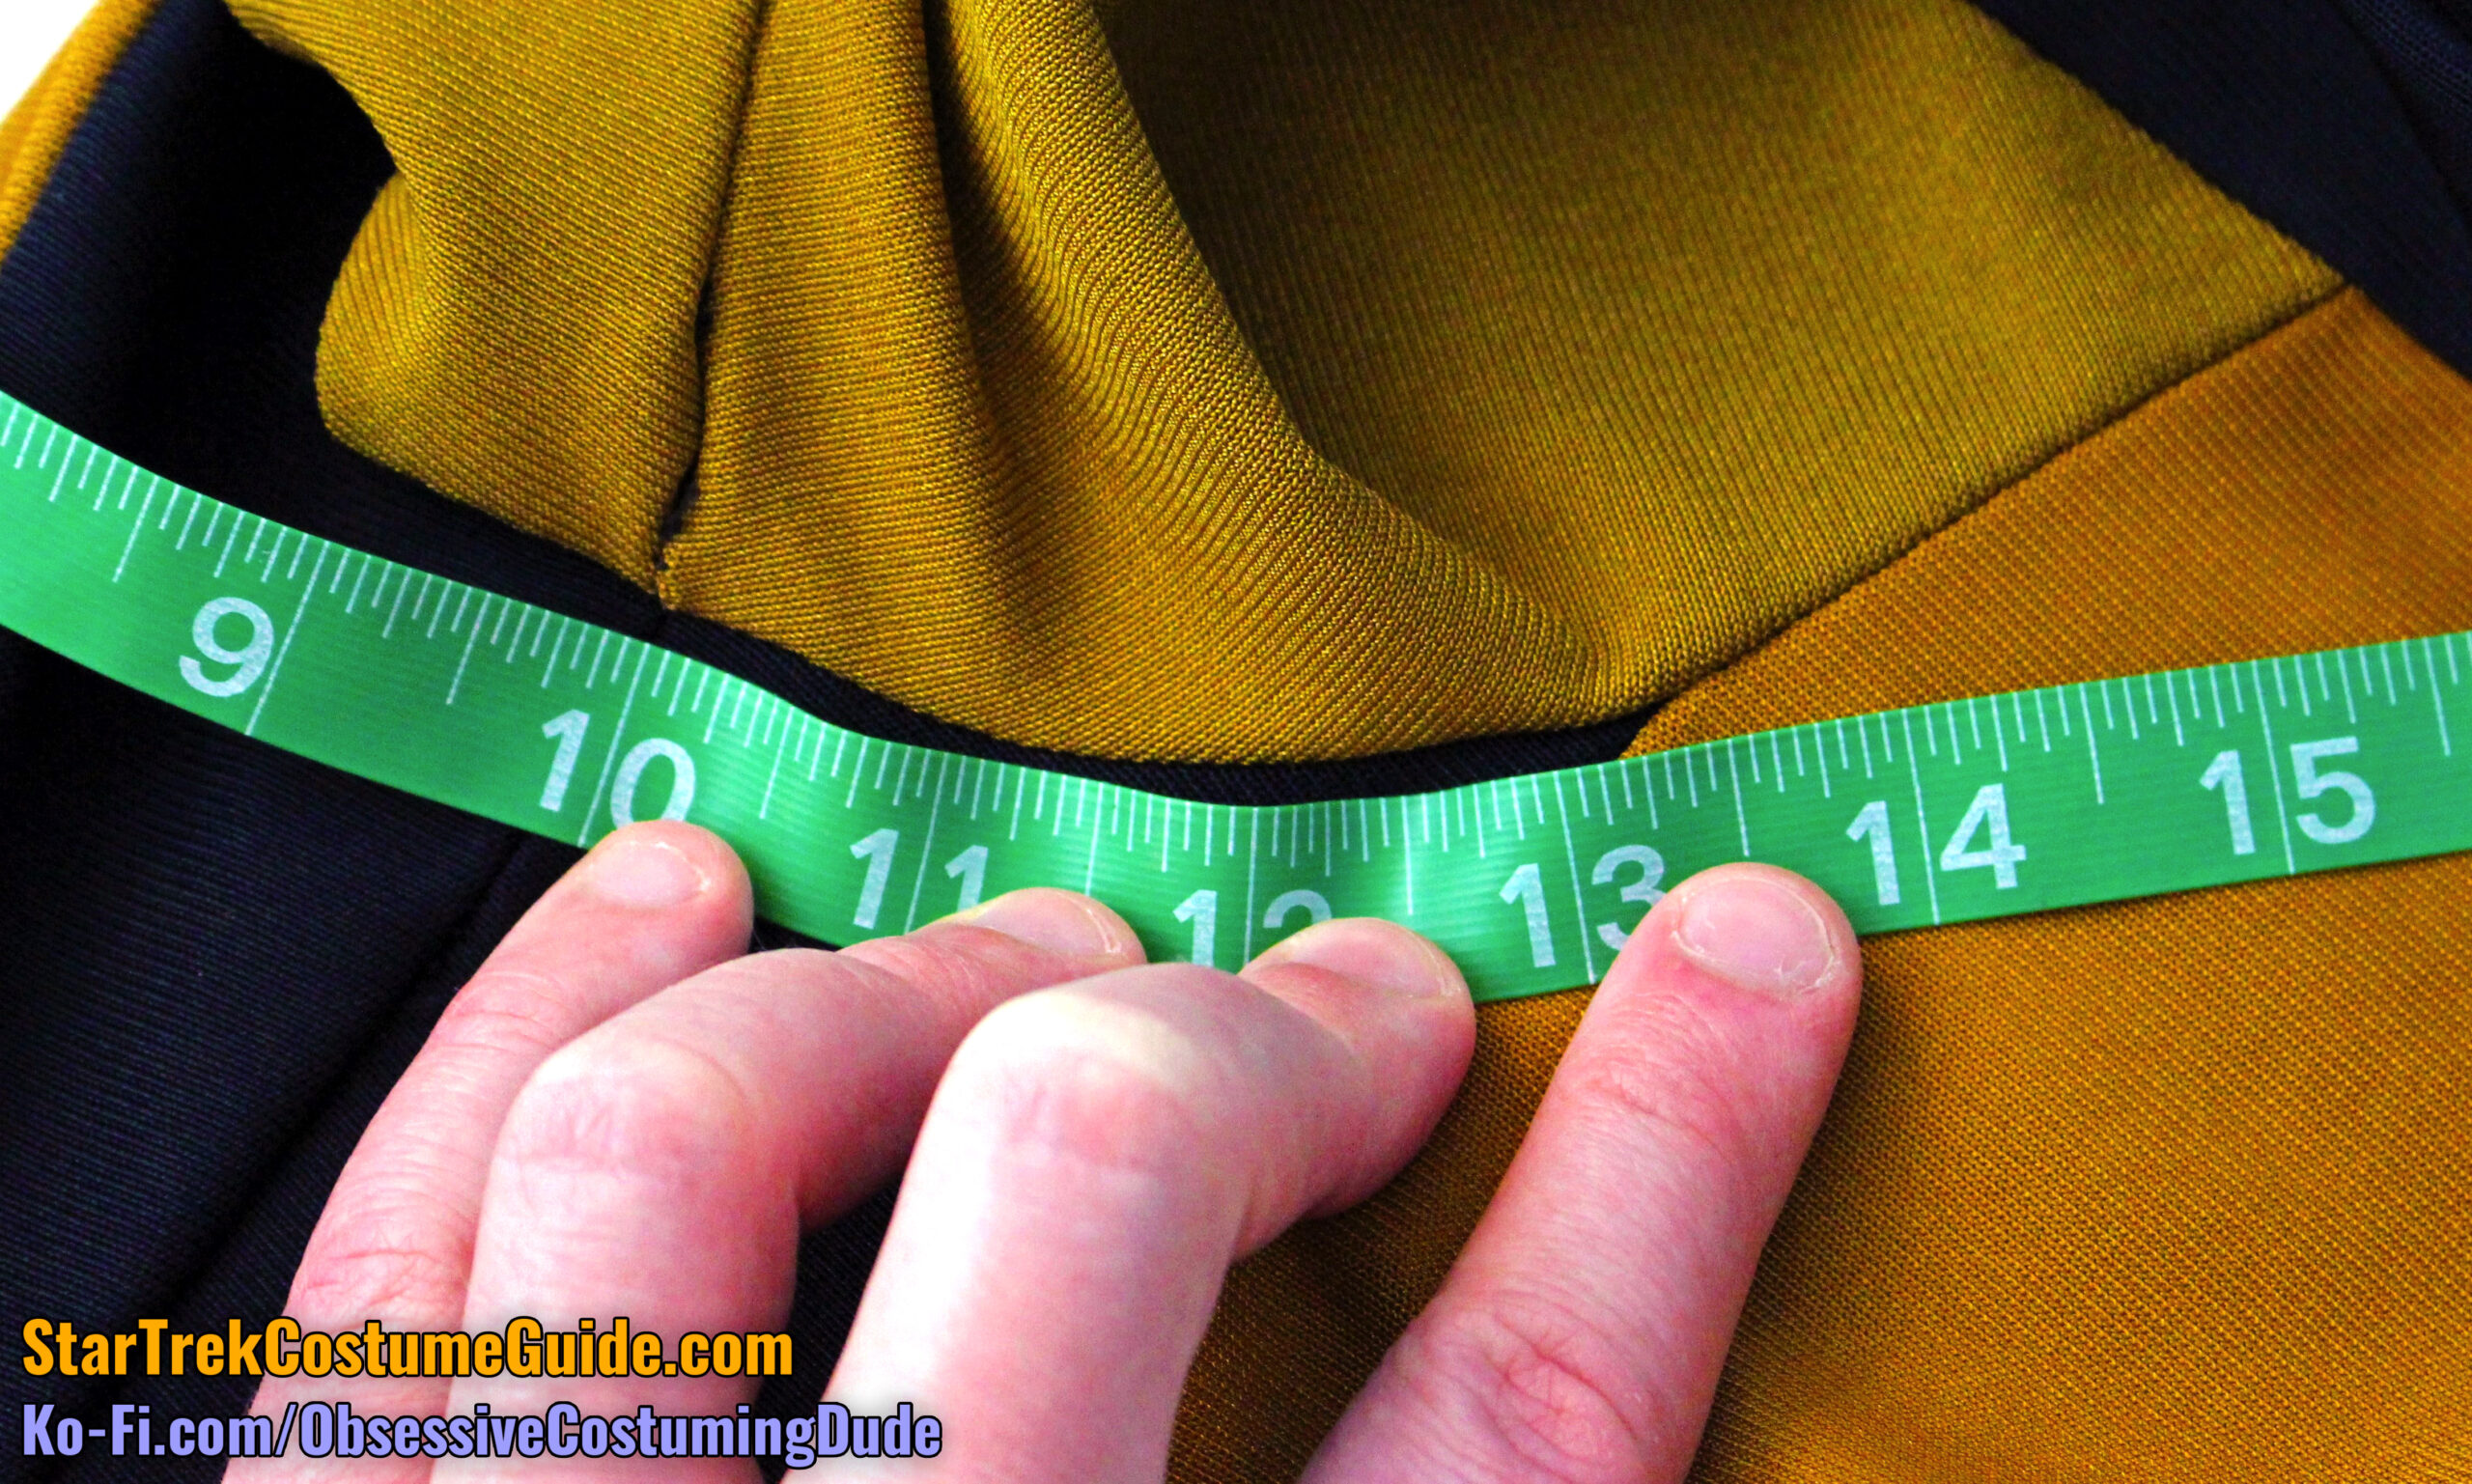
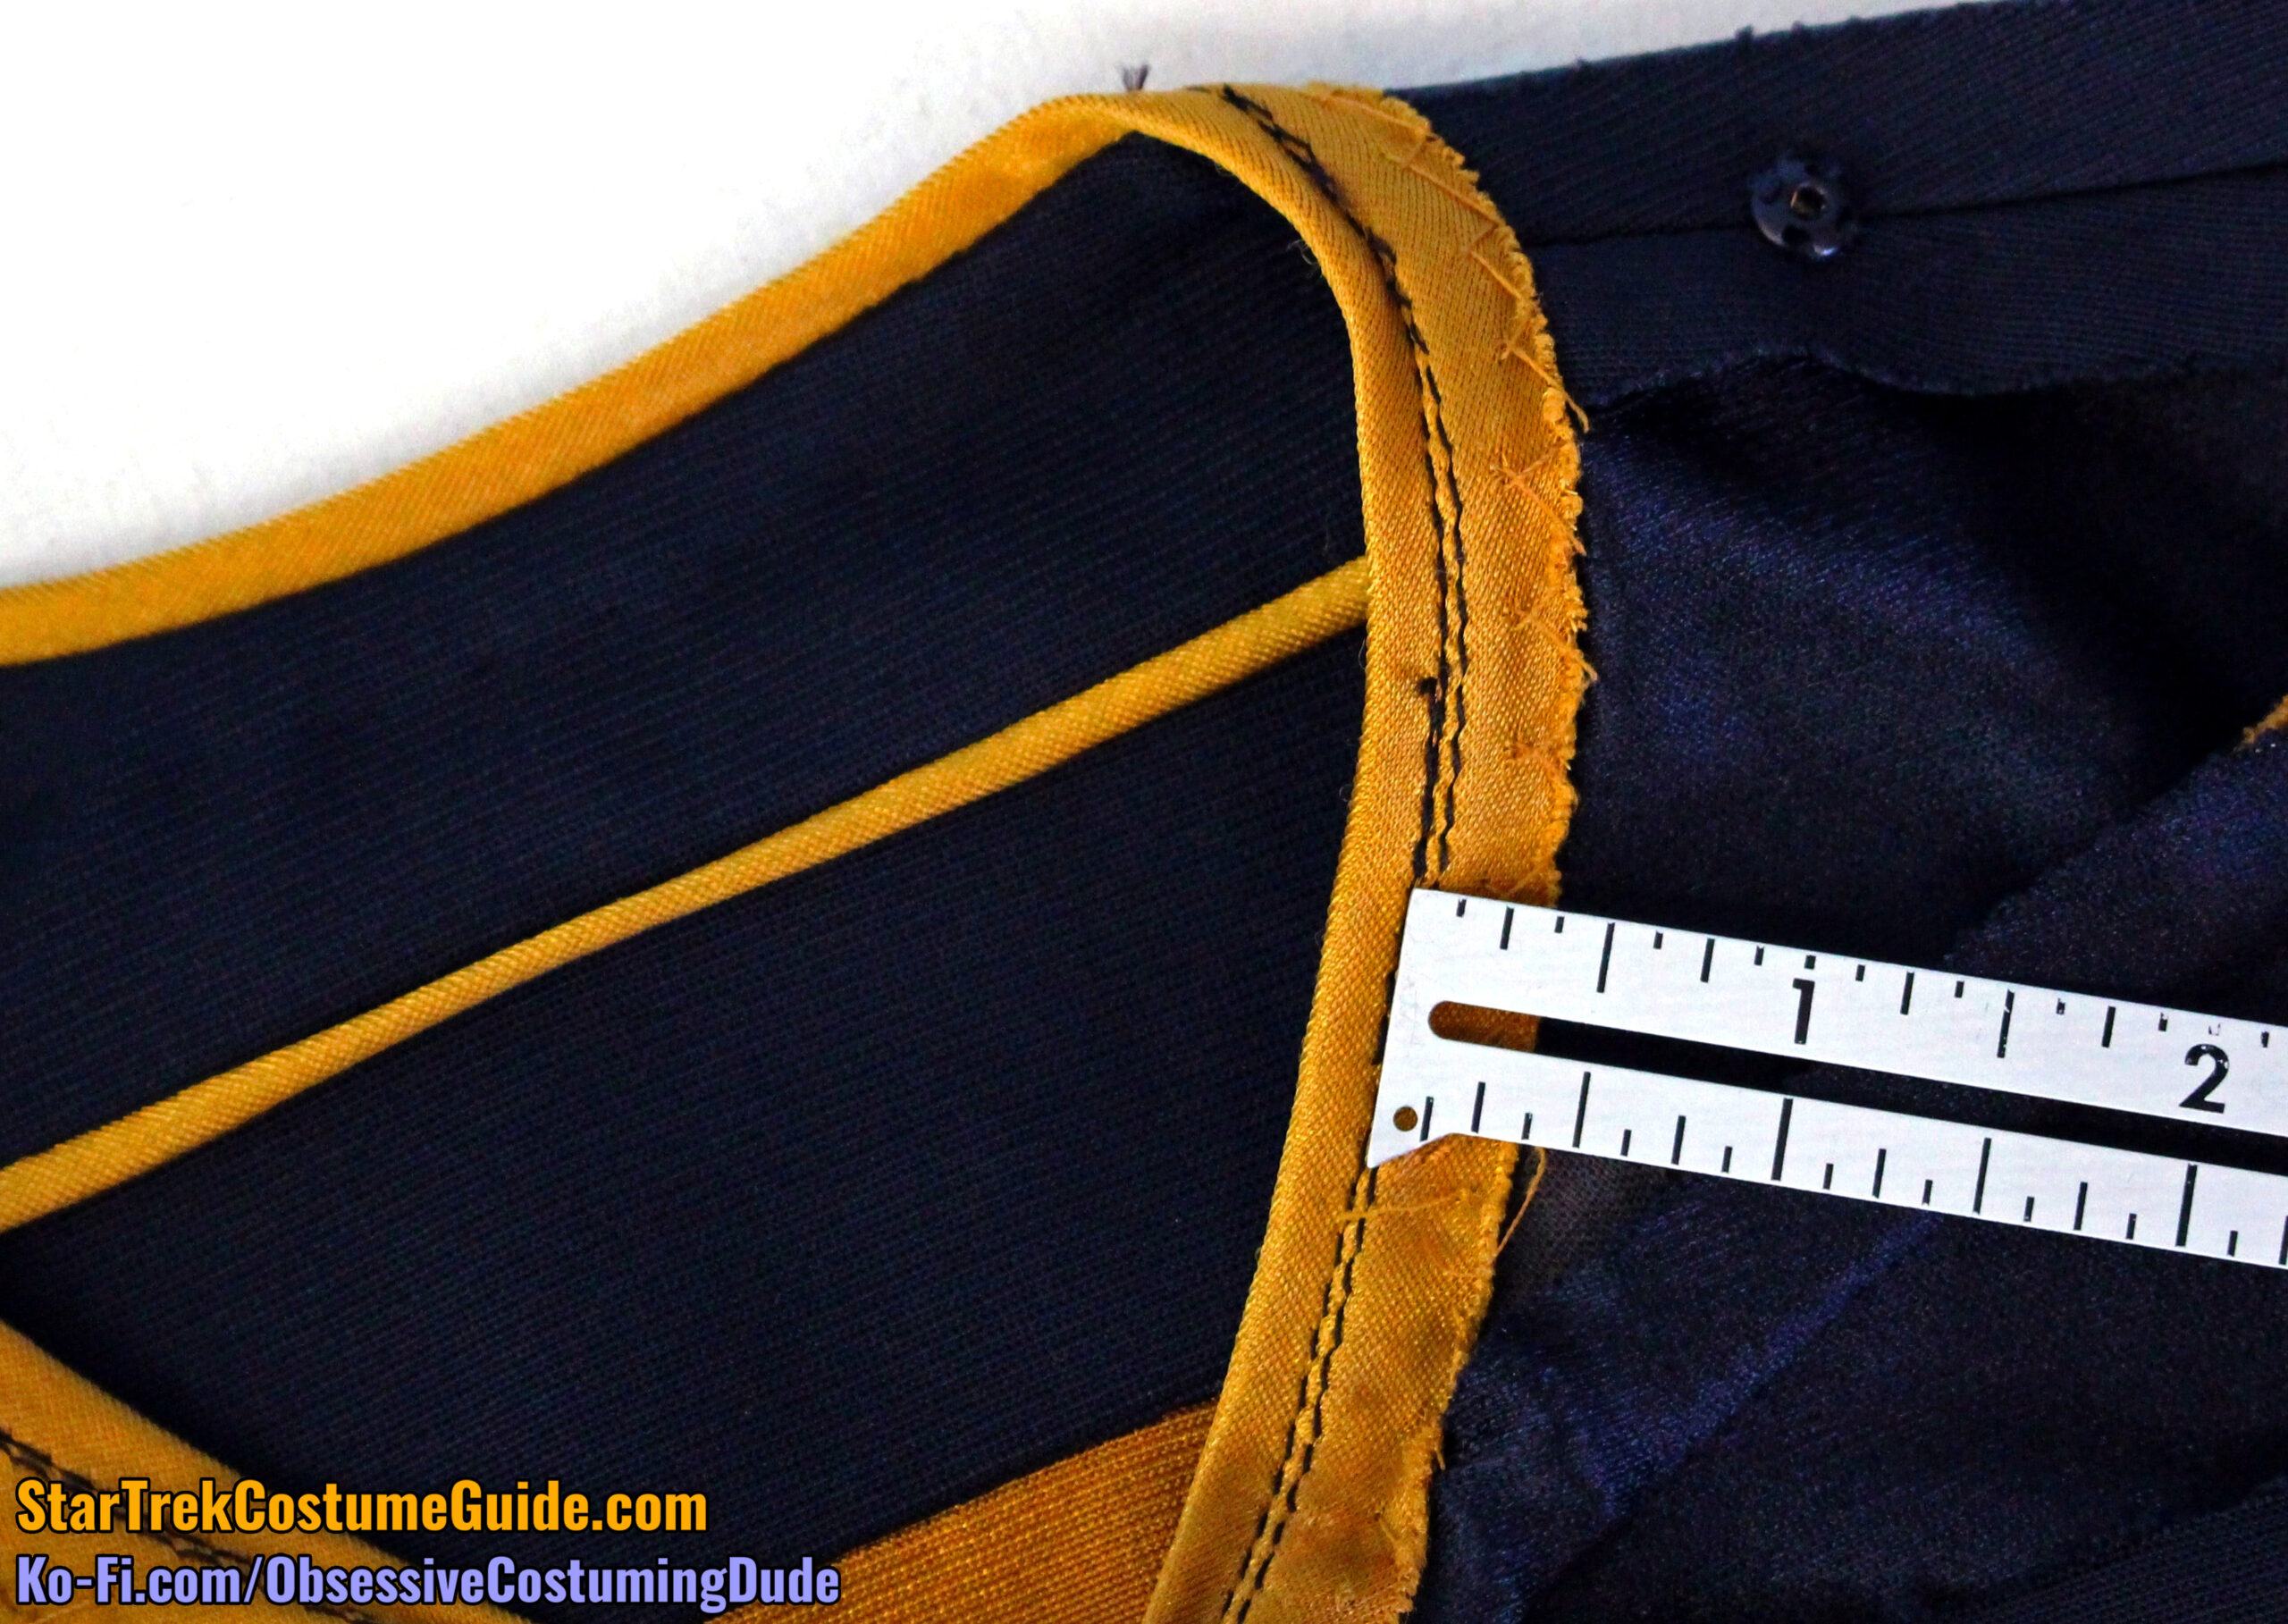
The neckline on Tasha’s jumpsuit was 5” wide at the shoulder seam (sans neckline trim).
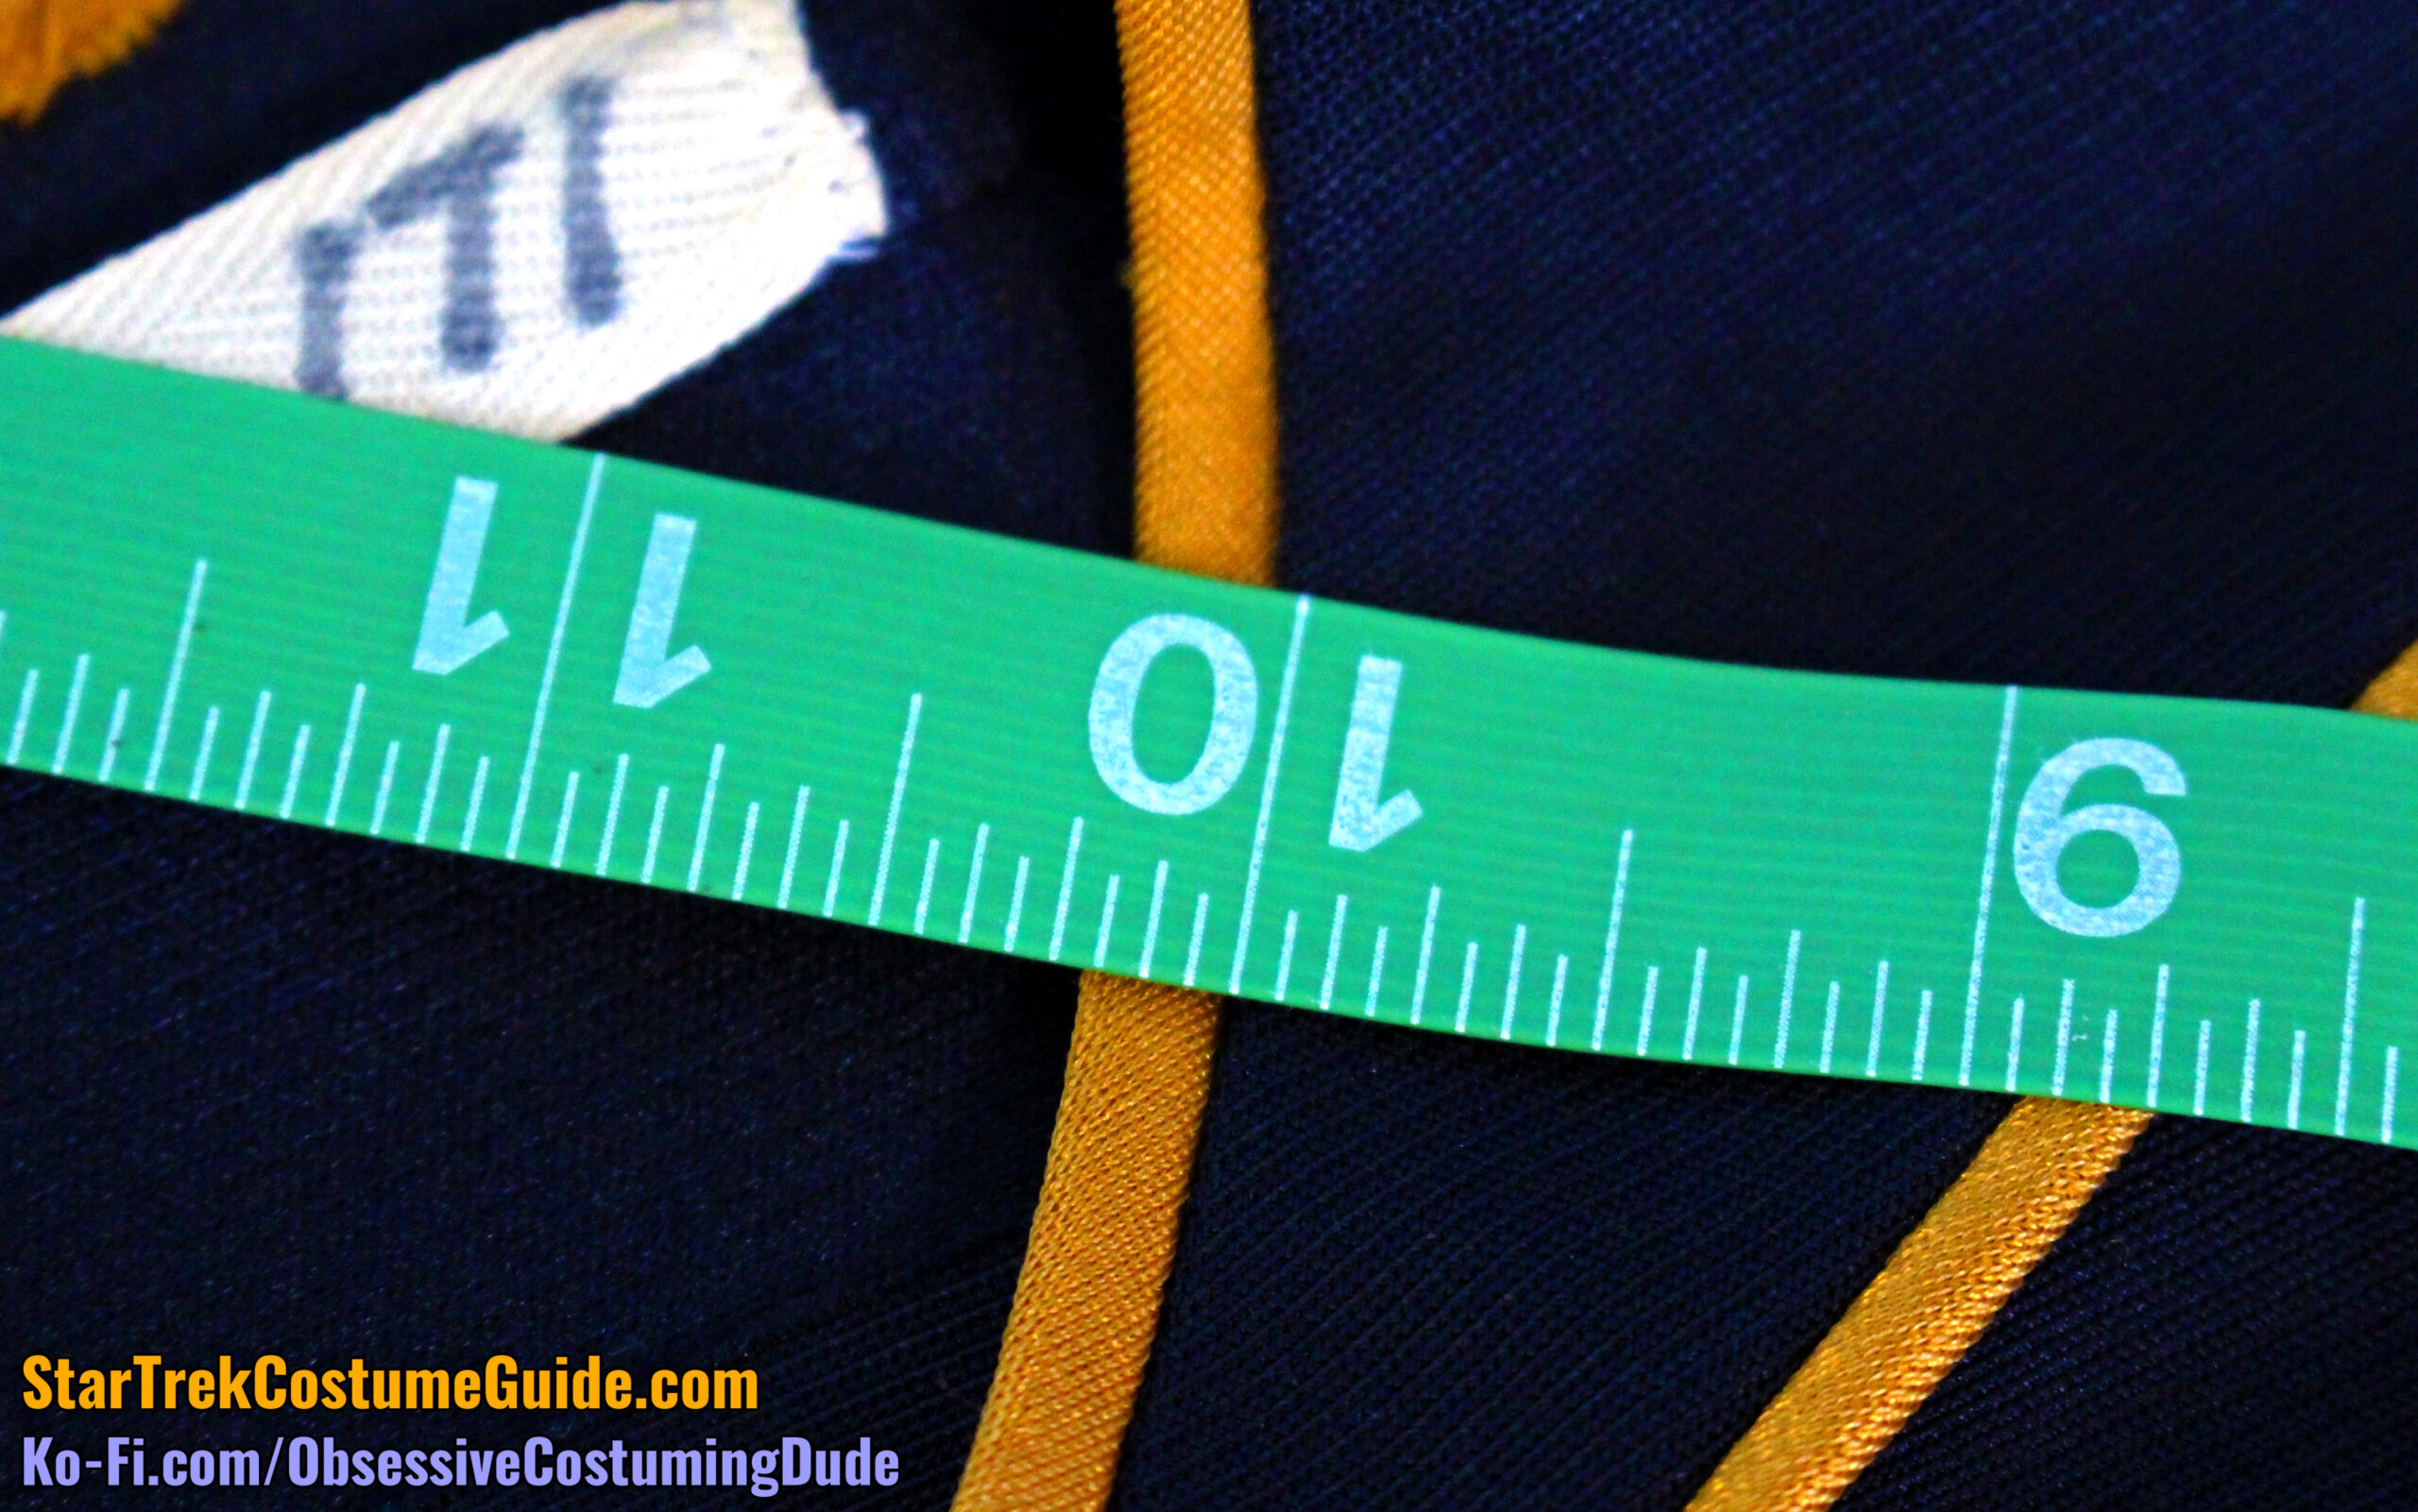
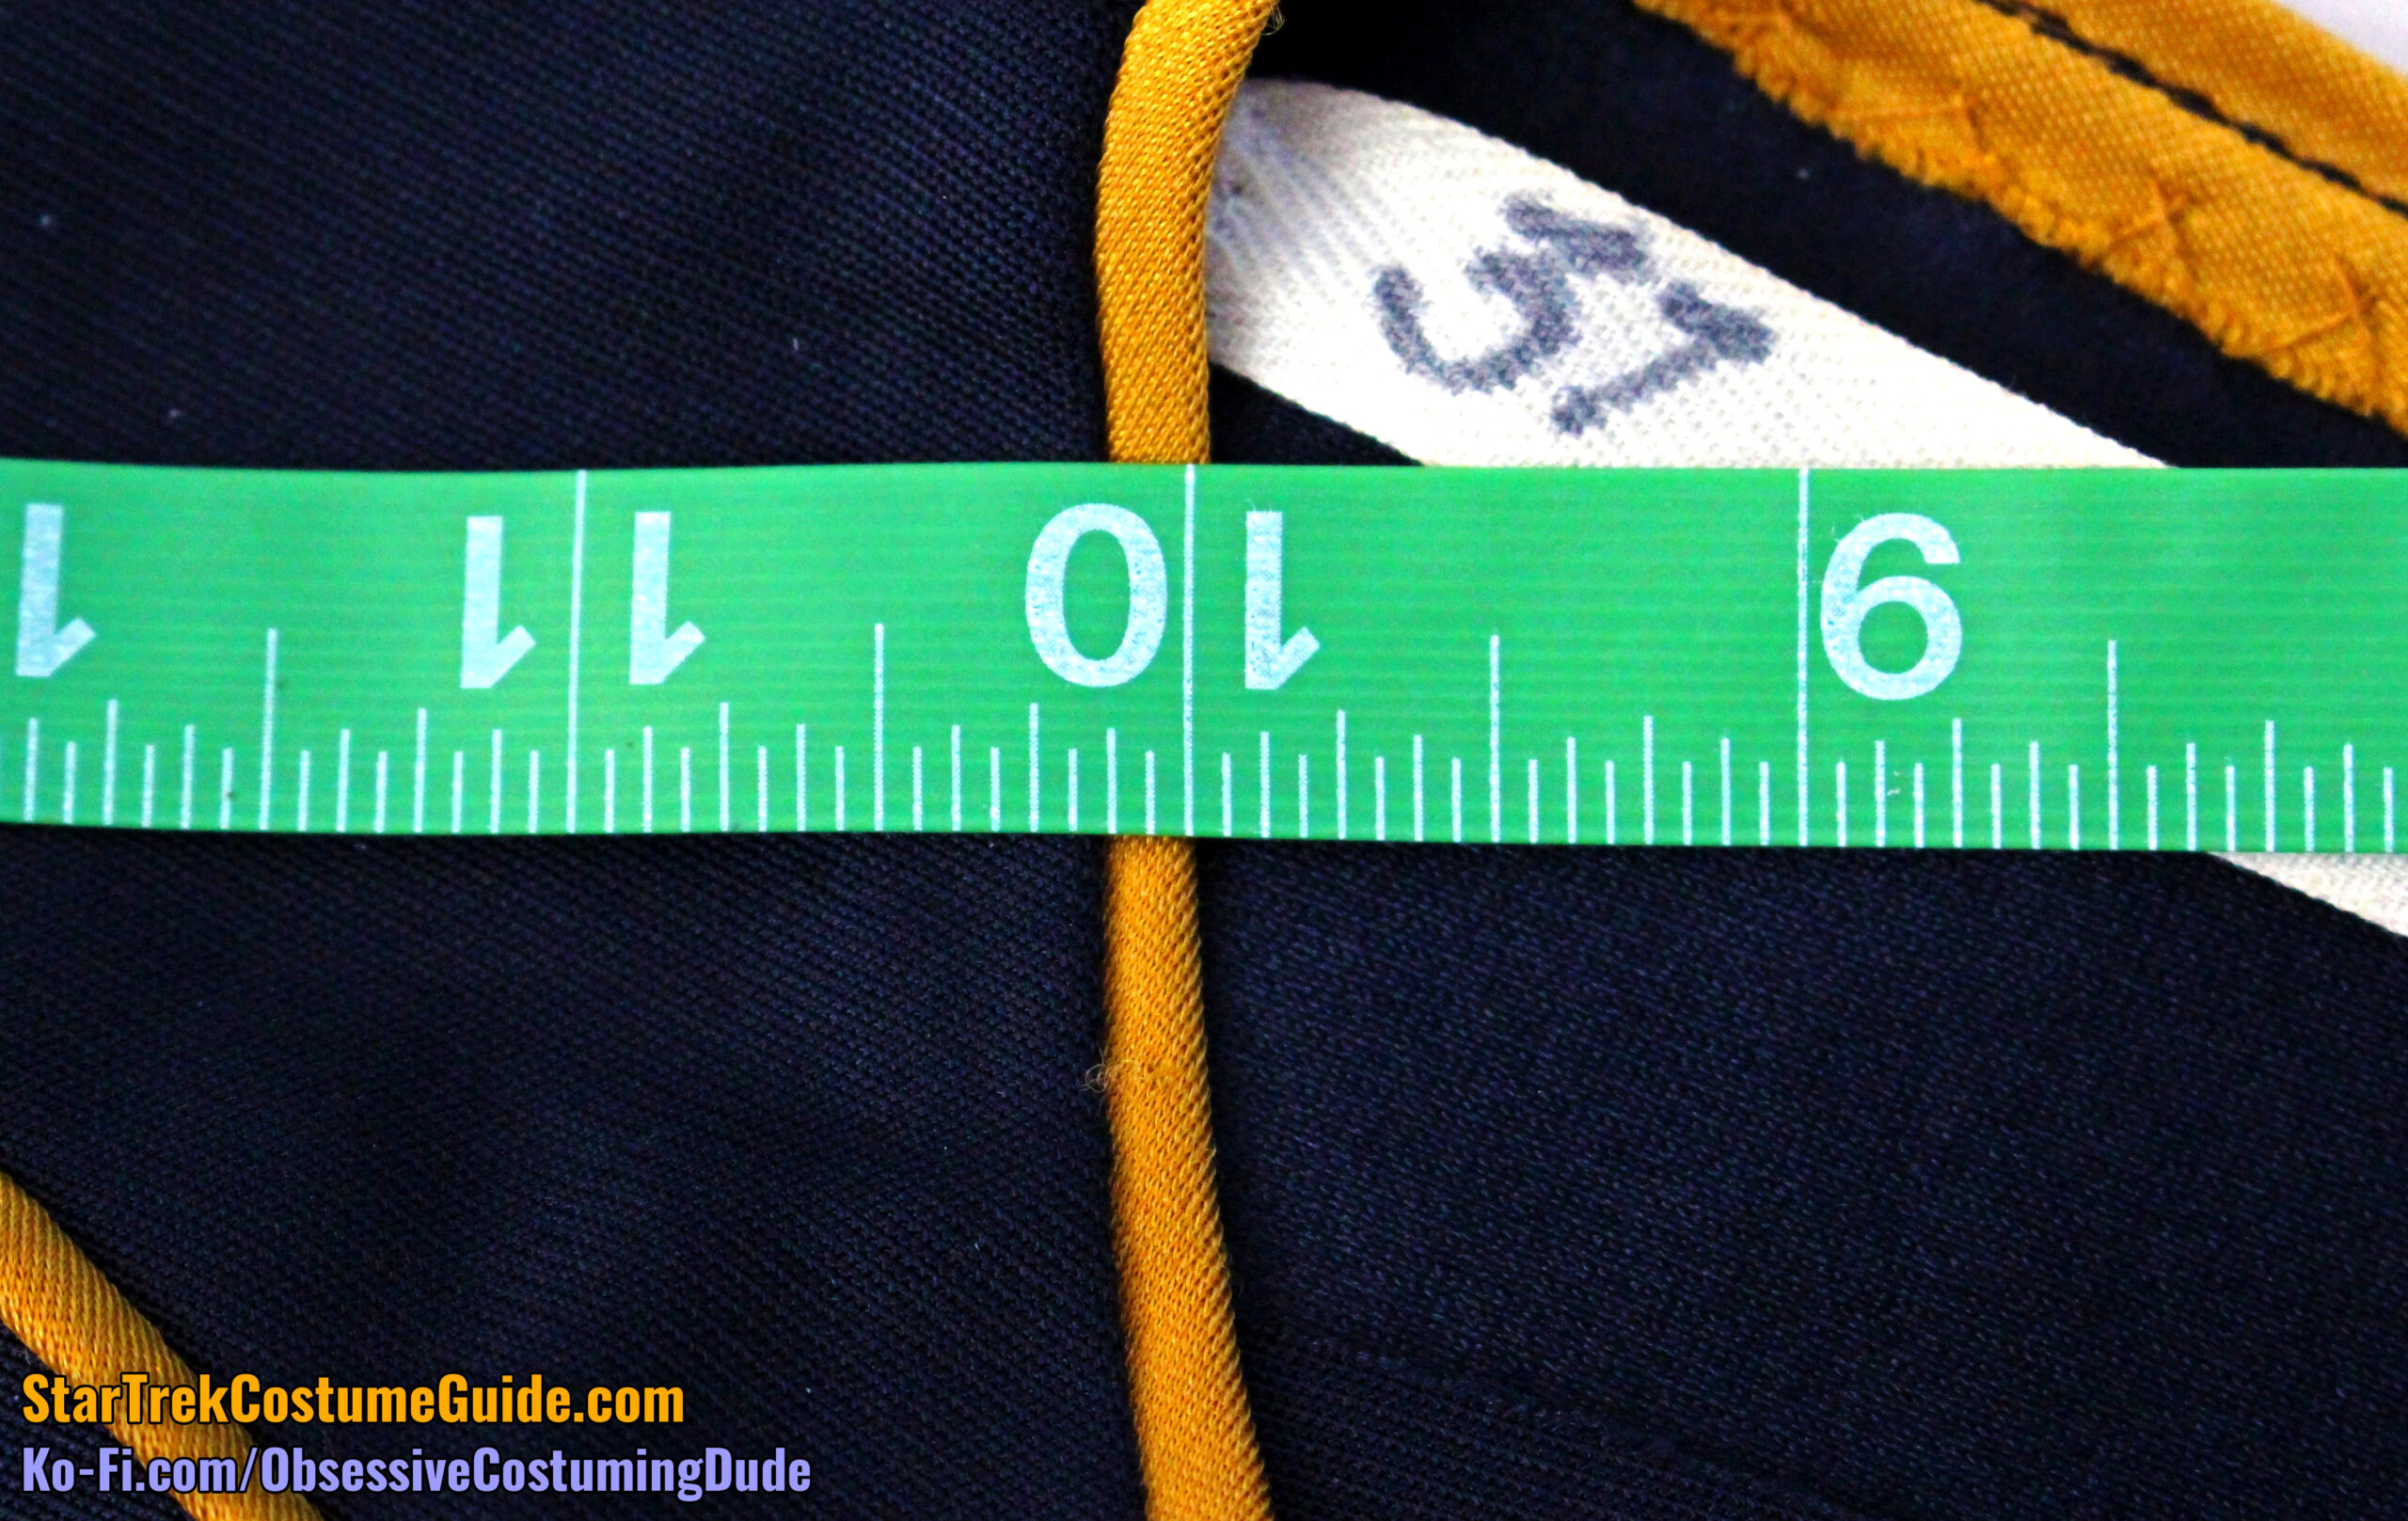
Like on the screen-used TNG skant I examined, the neckline trim was usually 3/16” wide, although it did sometimes vary a little bit (down to ⅛” at its narrowest).
The yoke piping was also 3/16” wide.
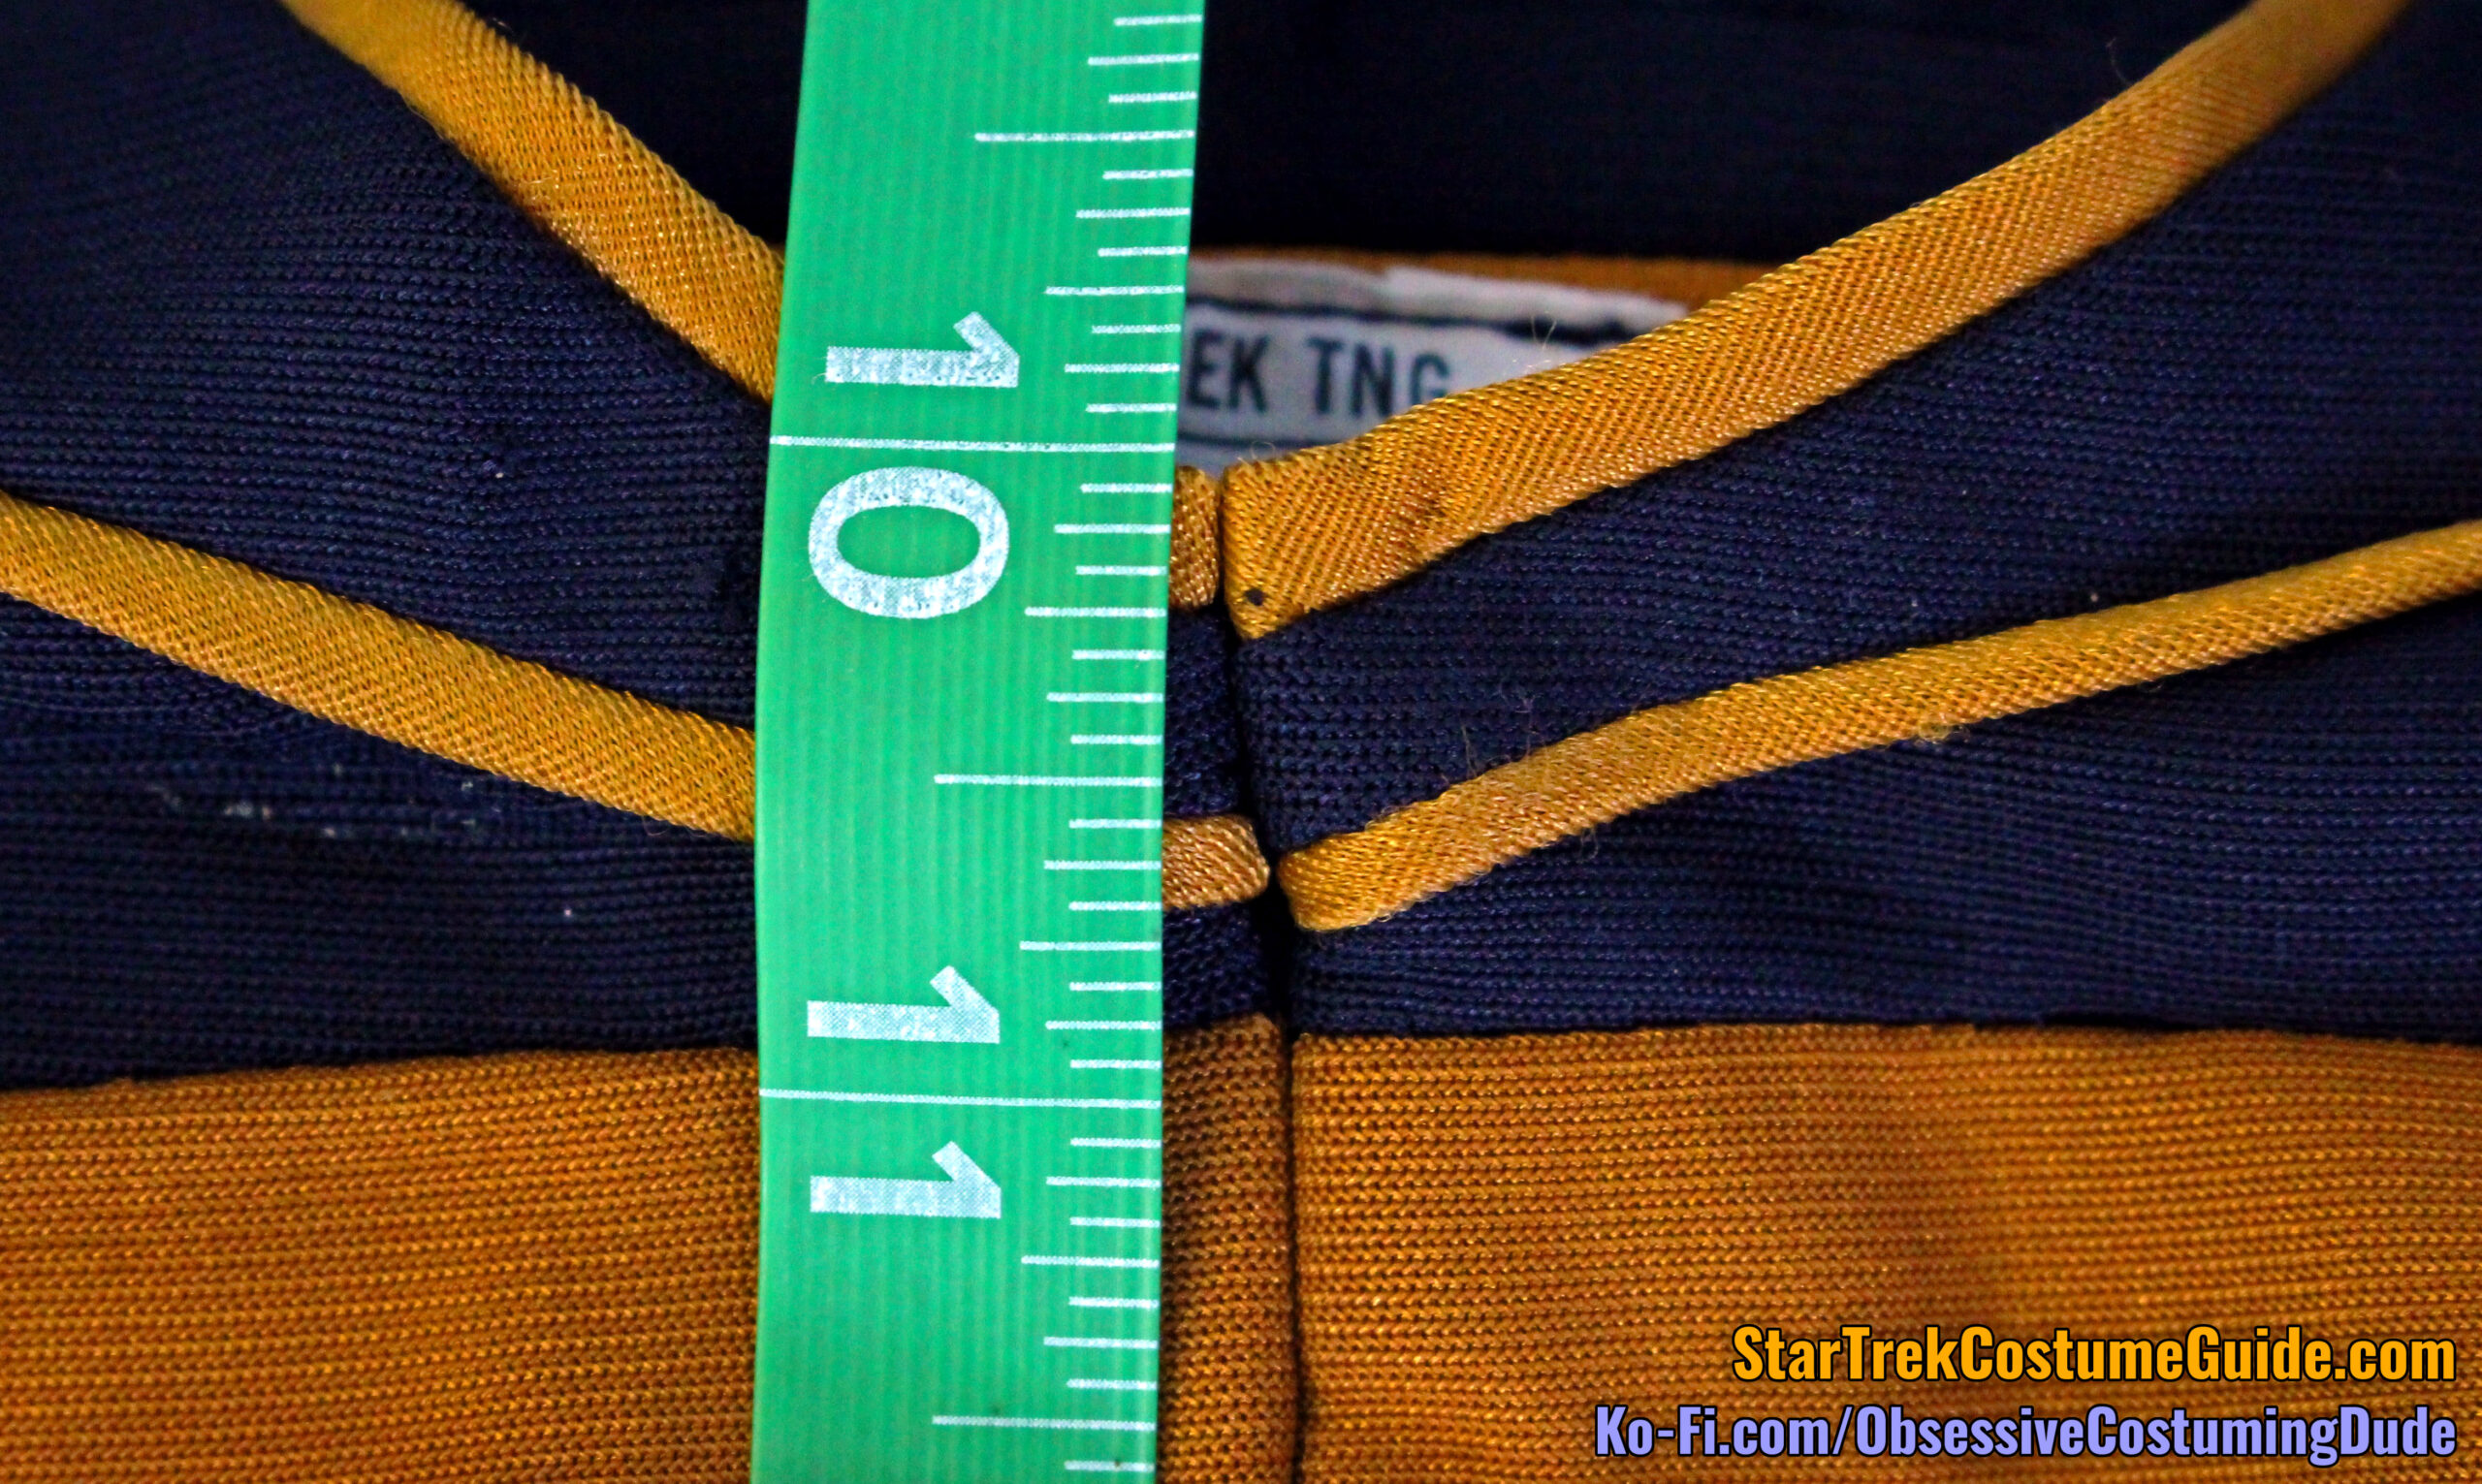
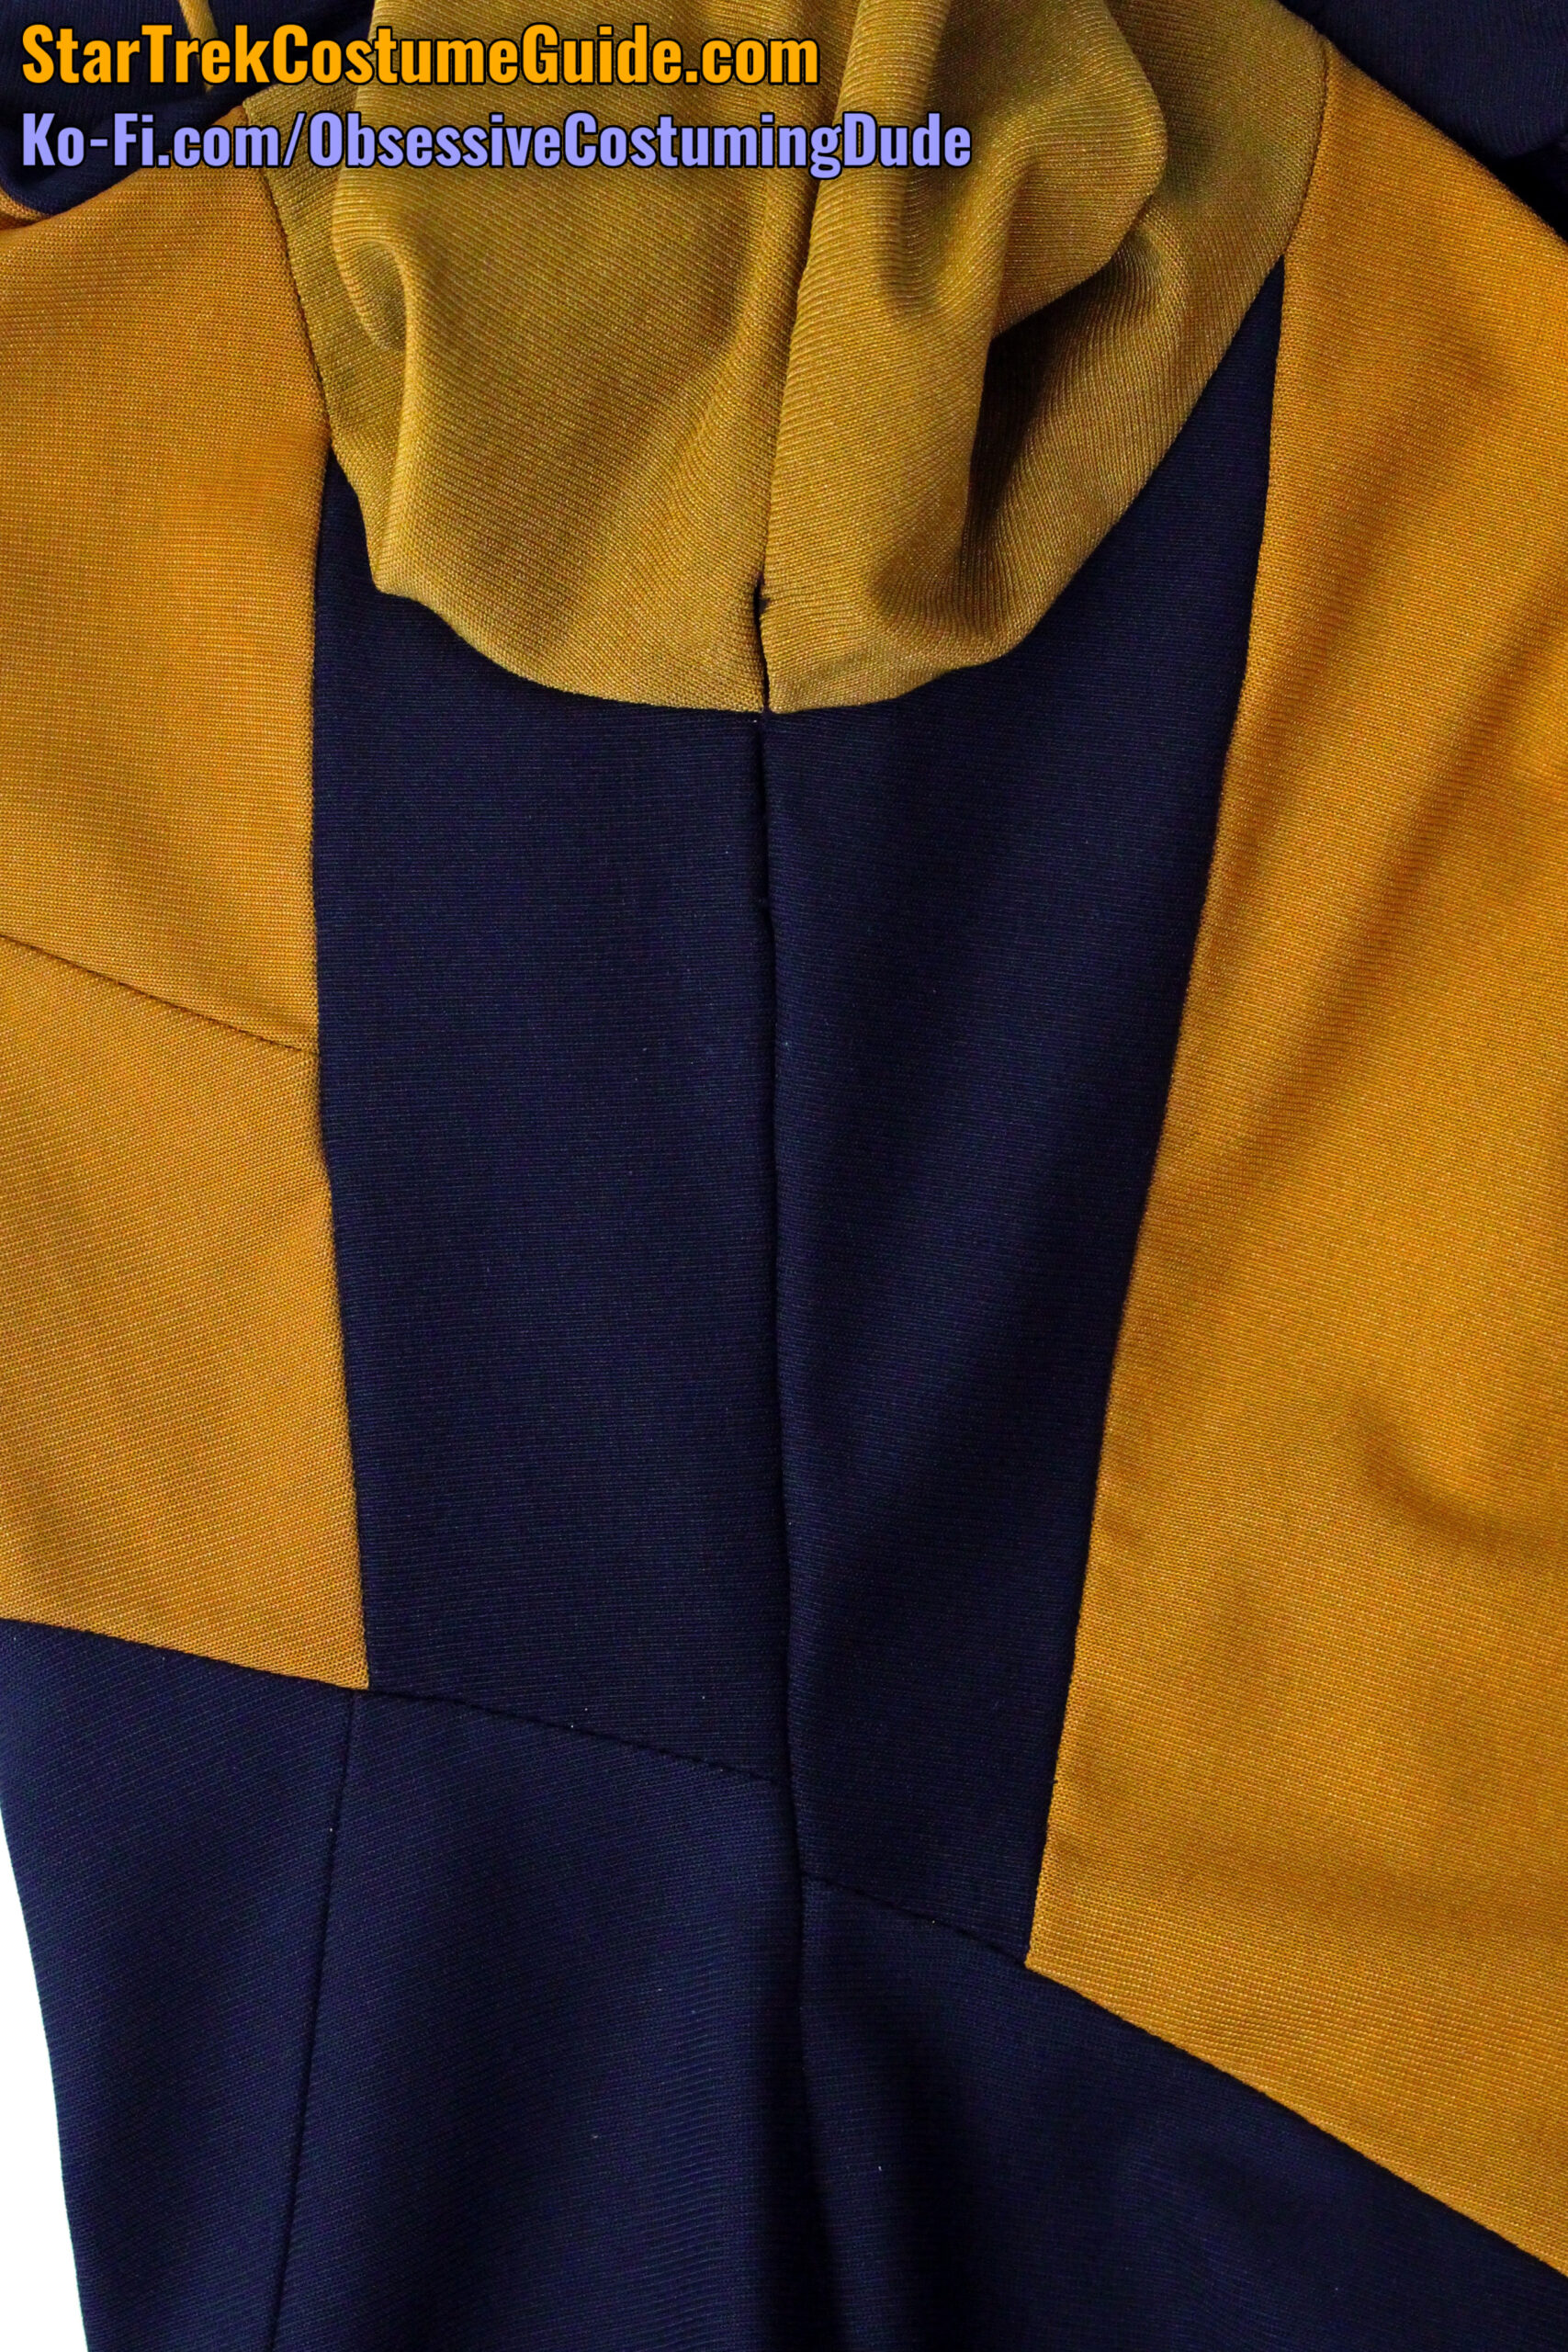
The yoke was ⅞” deep at the center front, including the neckline trim.
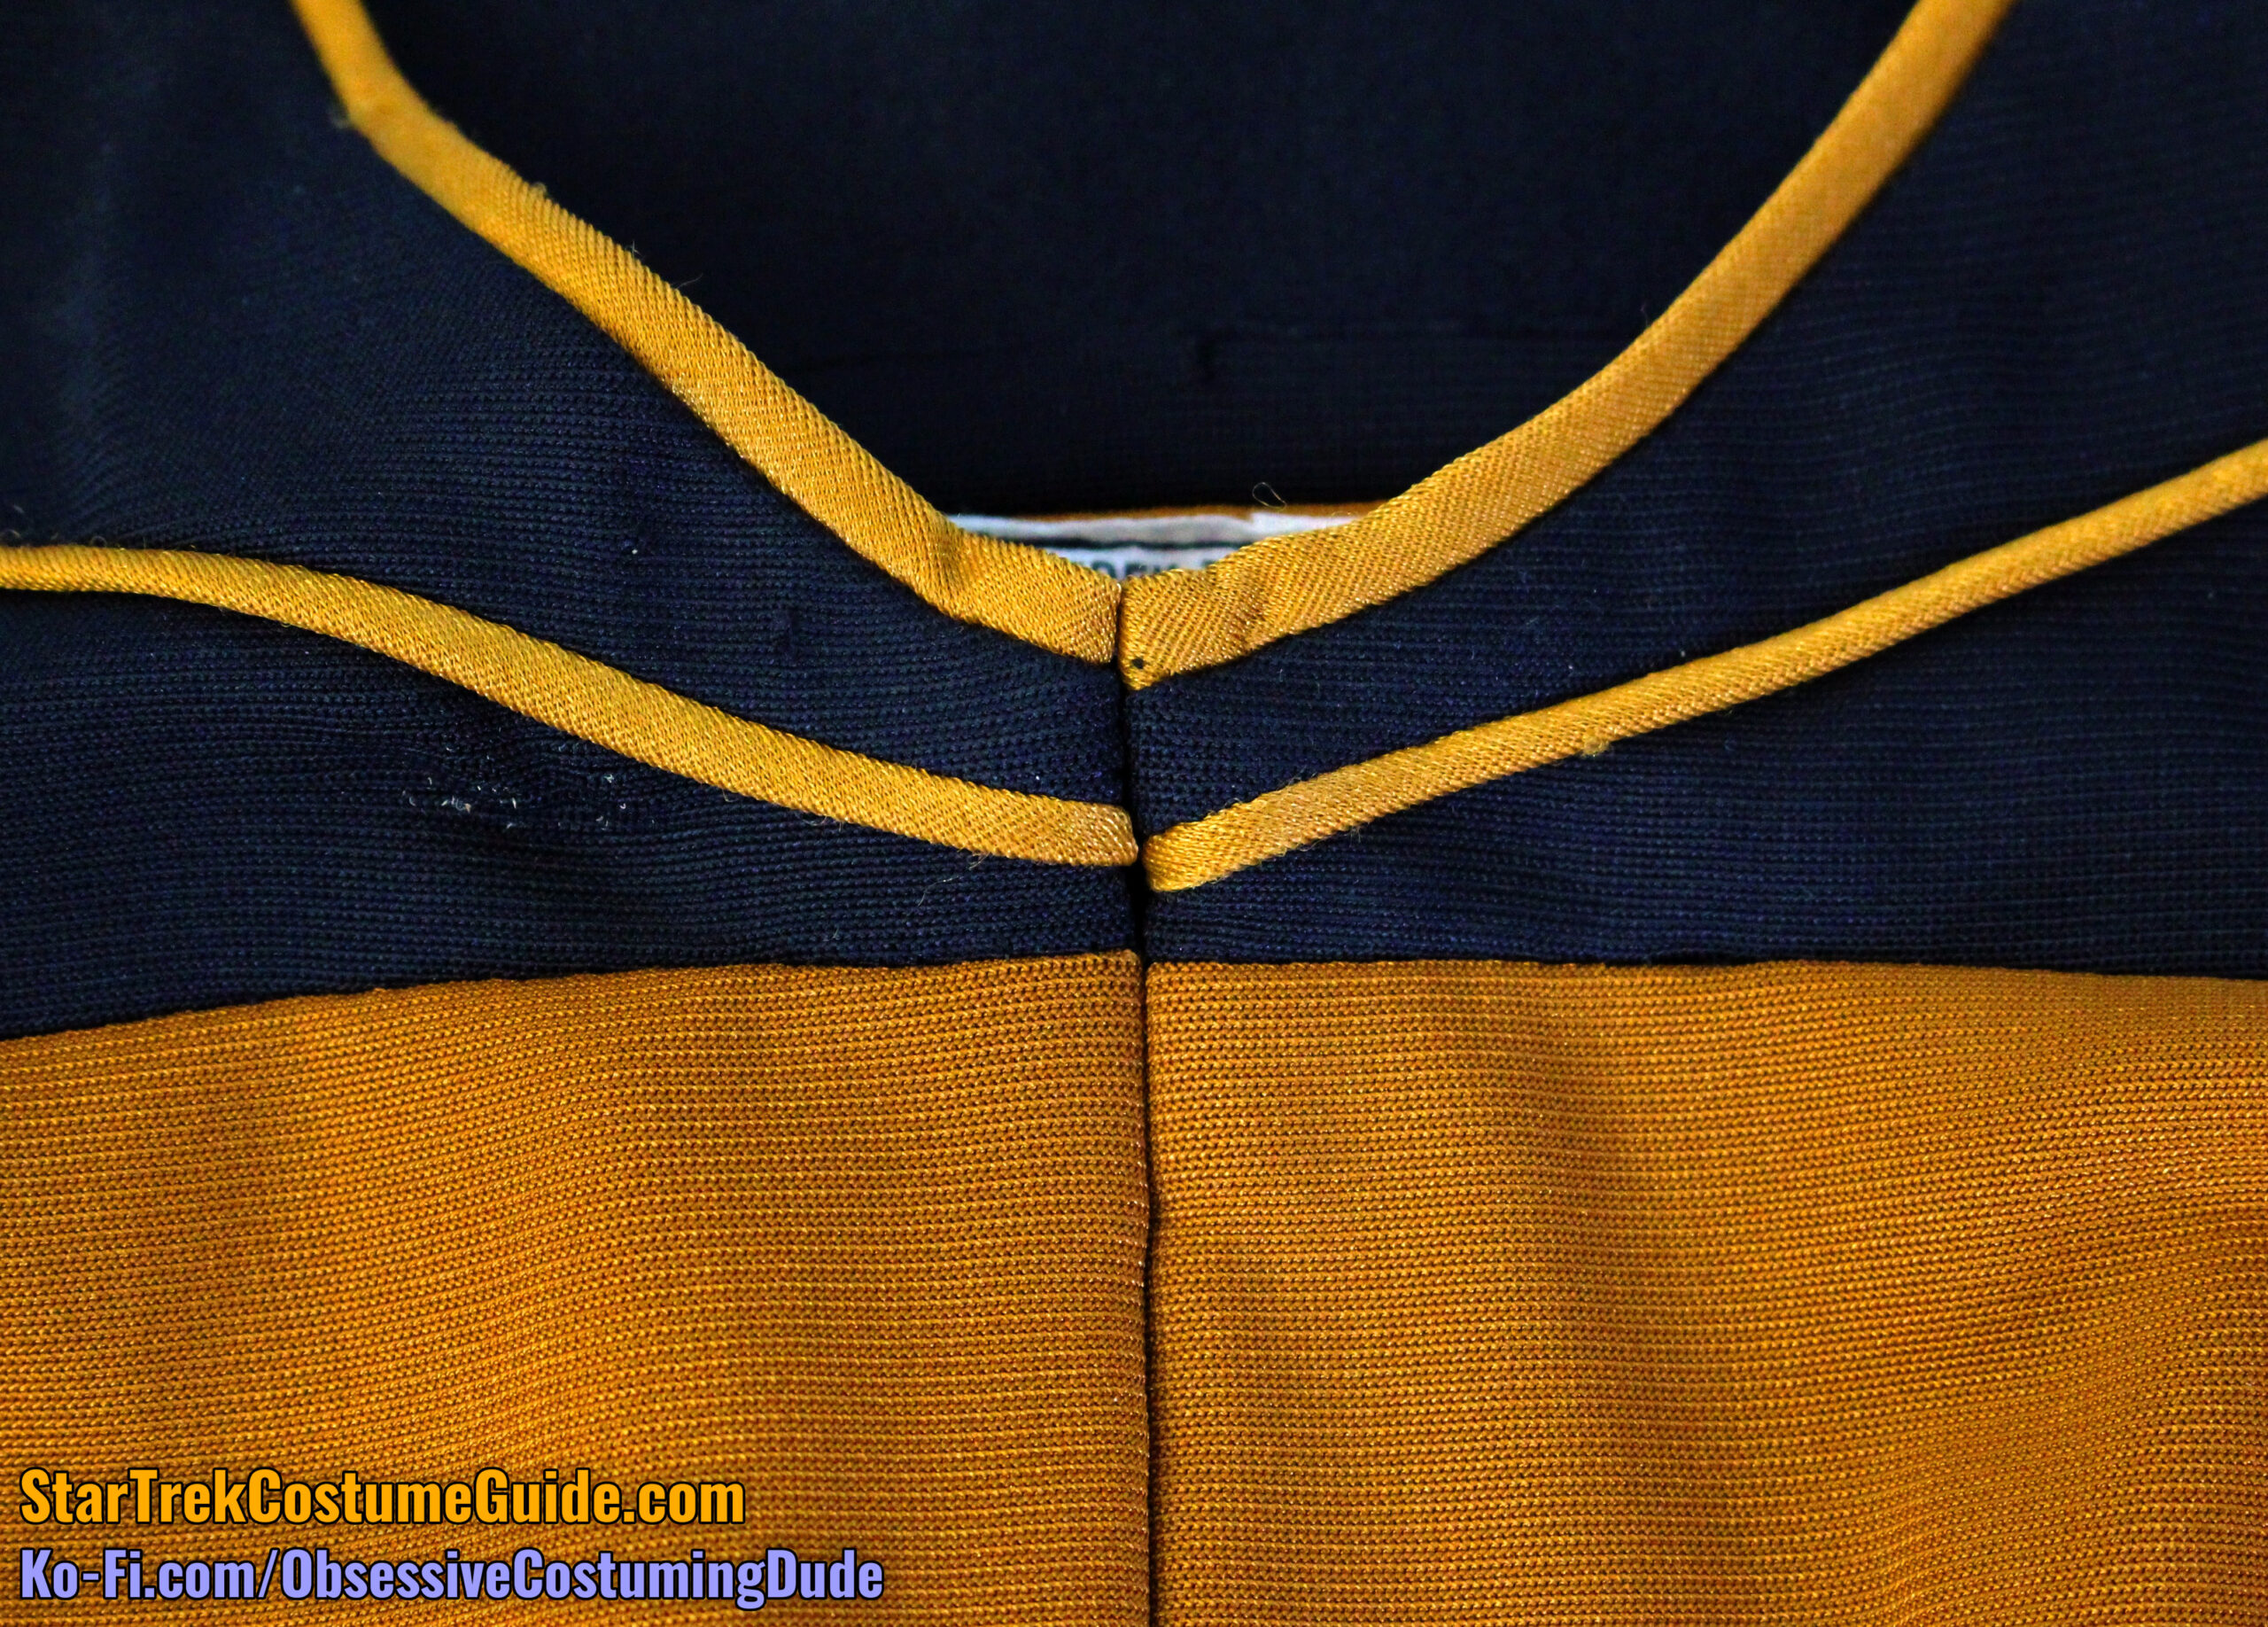
Also, observe that the yoke piping is slightly mismatched at the center front – a minor but recurring issue with some early TNG uniforms.
(I can personally attest to how challenging it can be to control both the neckline/yoke trim and jumpsuit body spandex to within 1/16” throughout the construction process.)
This specific trim mismatch was actually helpful in determining when, exactly, this particular uniform was seen in the show … and as it turns out, it’s from very early on in the first season, making it all the more special!
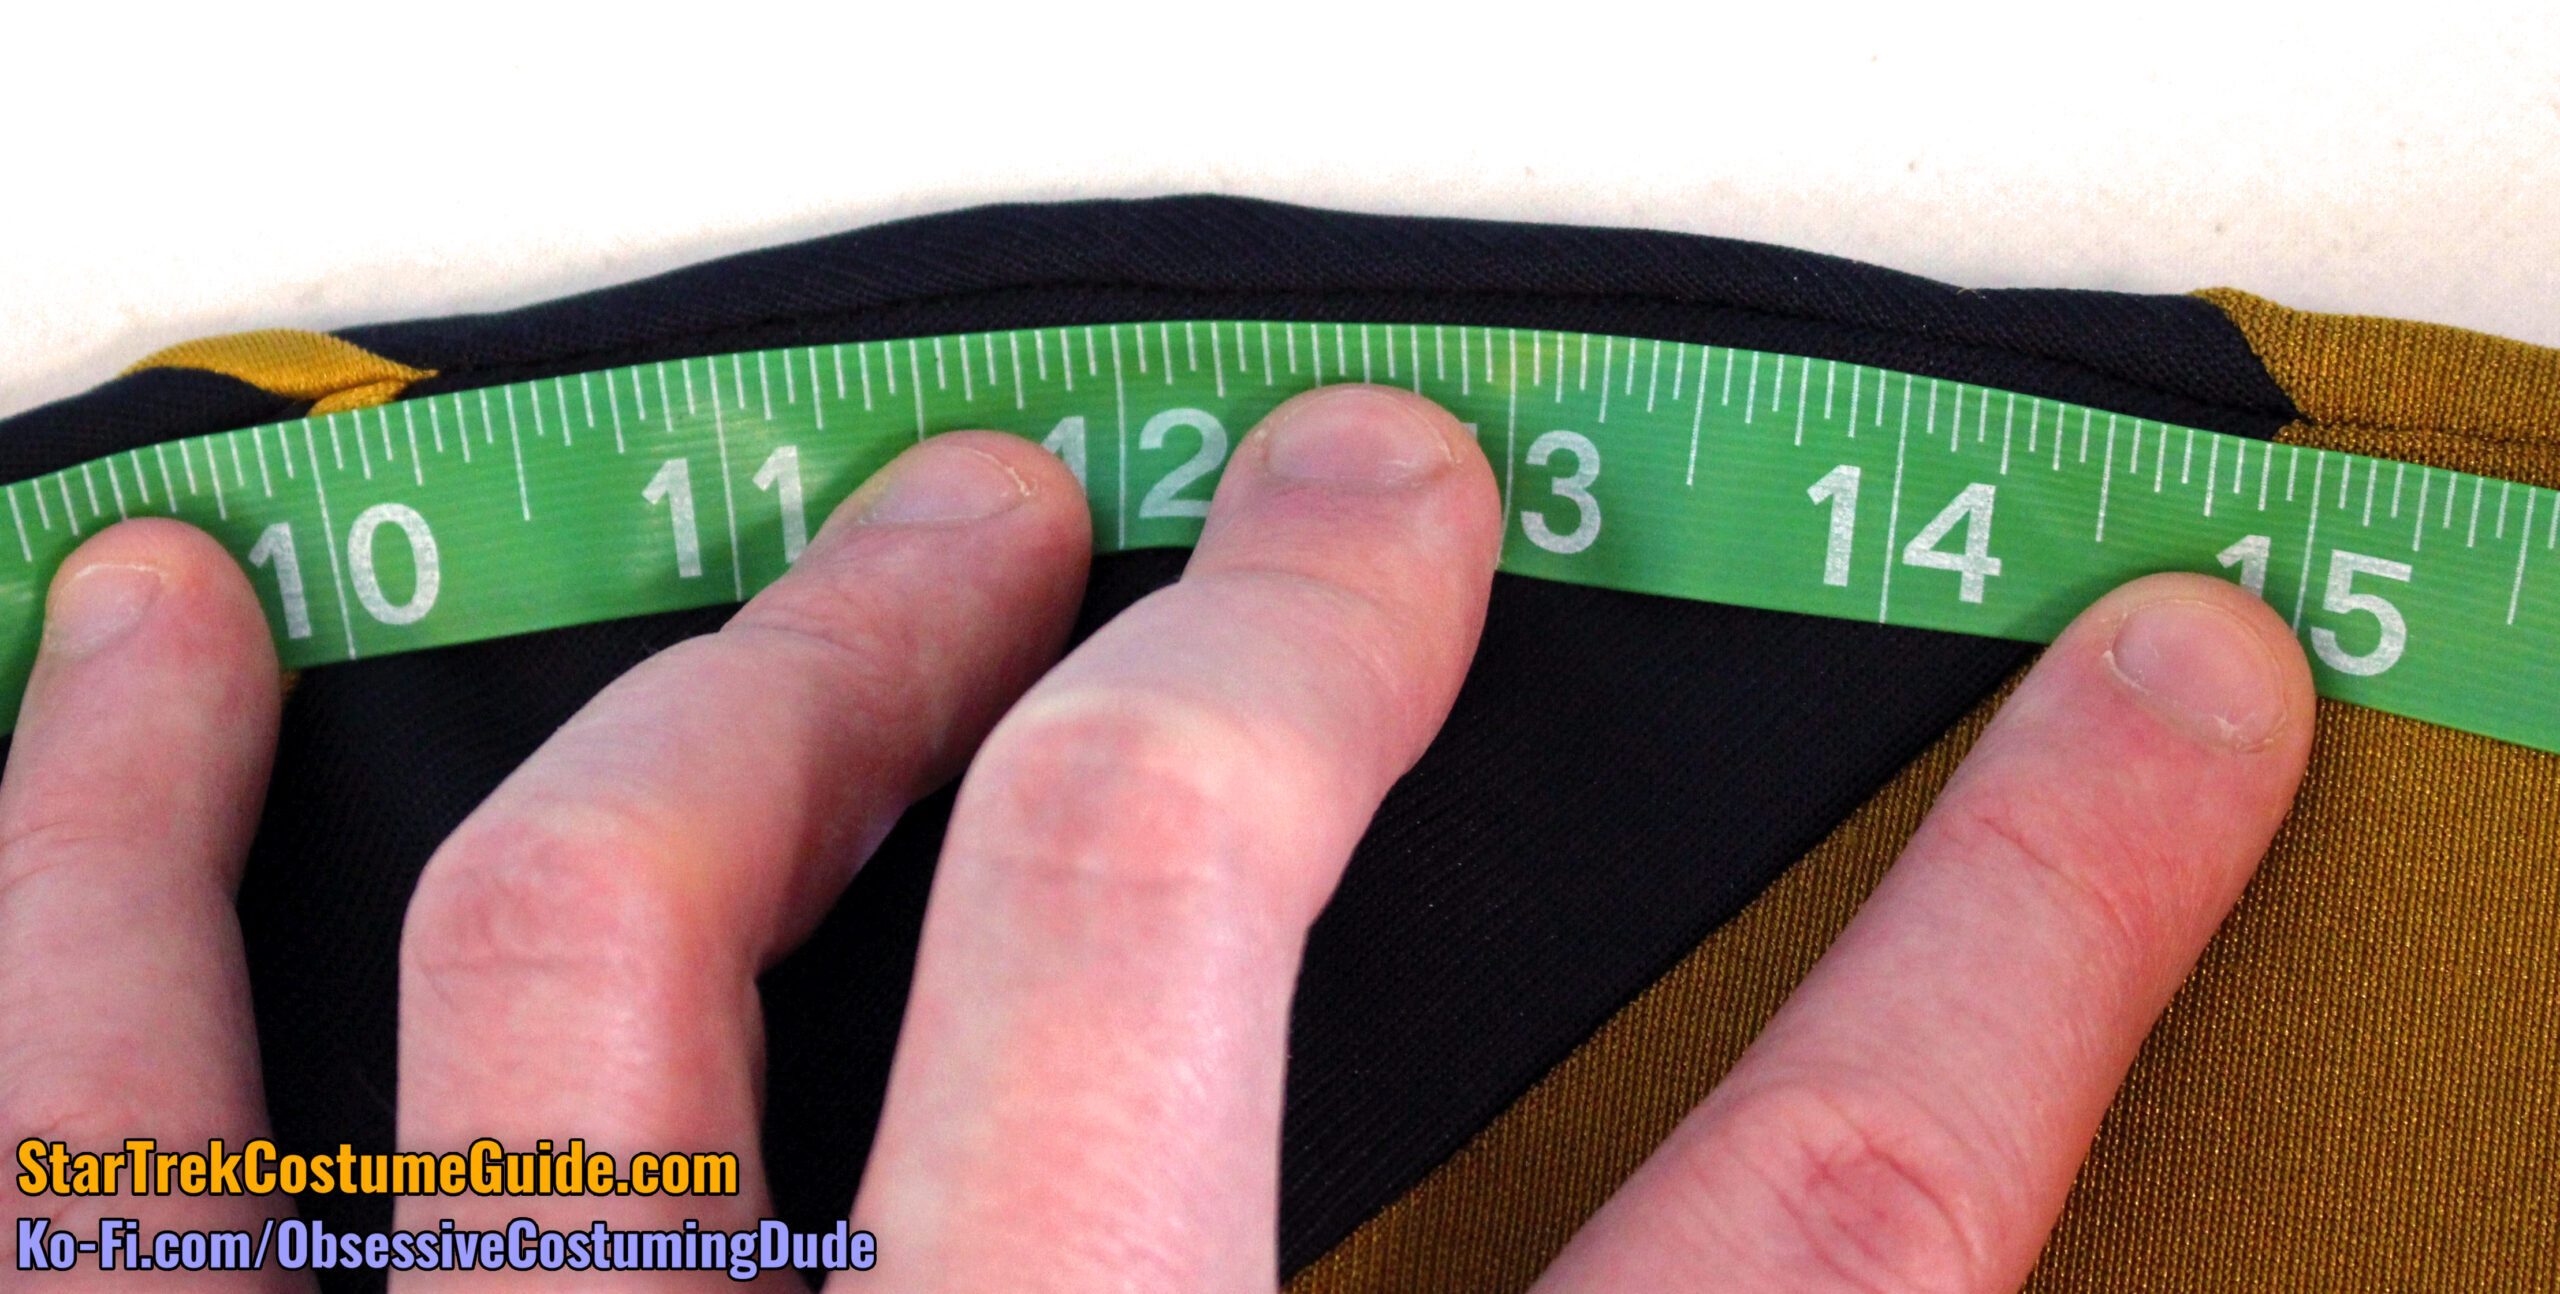
Both front yokes were 4 ¼” deep at the shoulder seams.
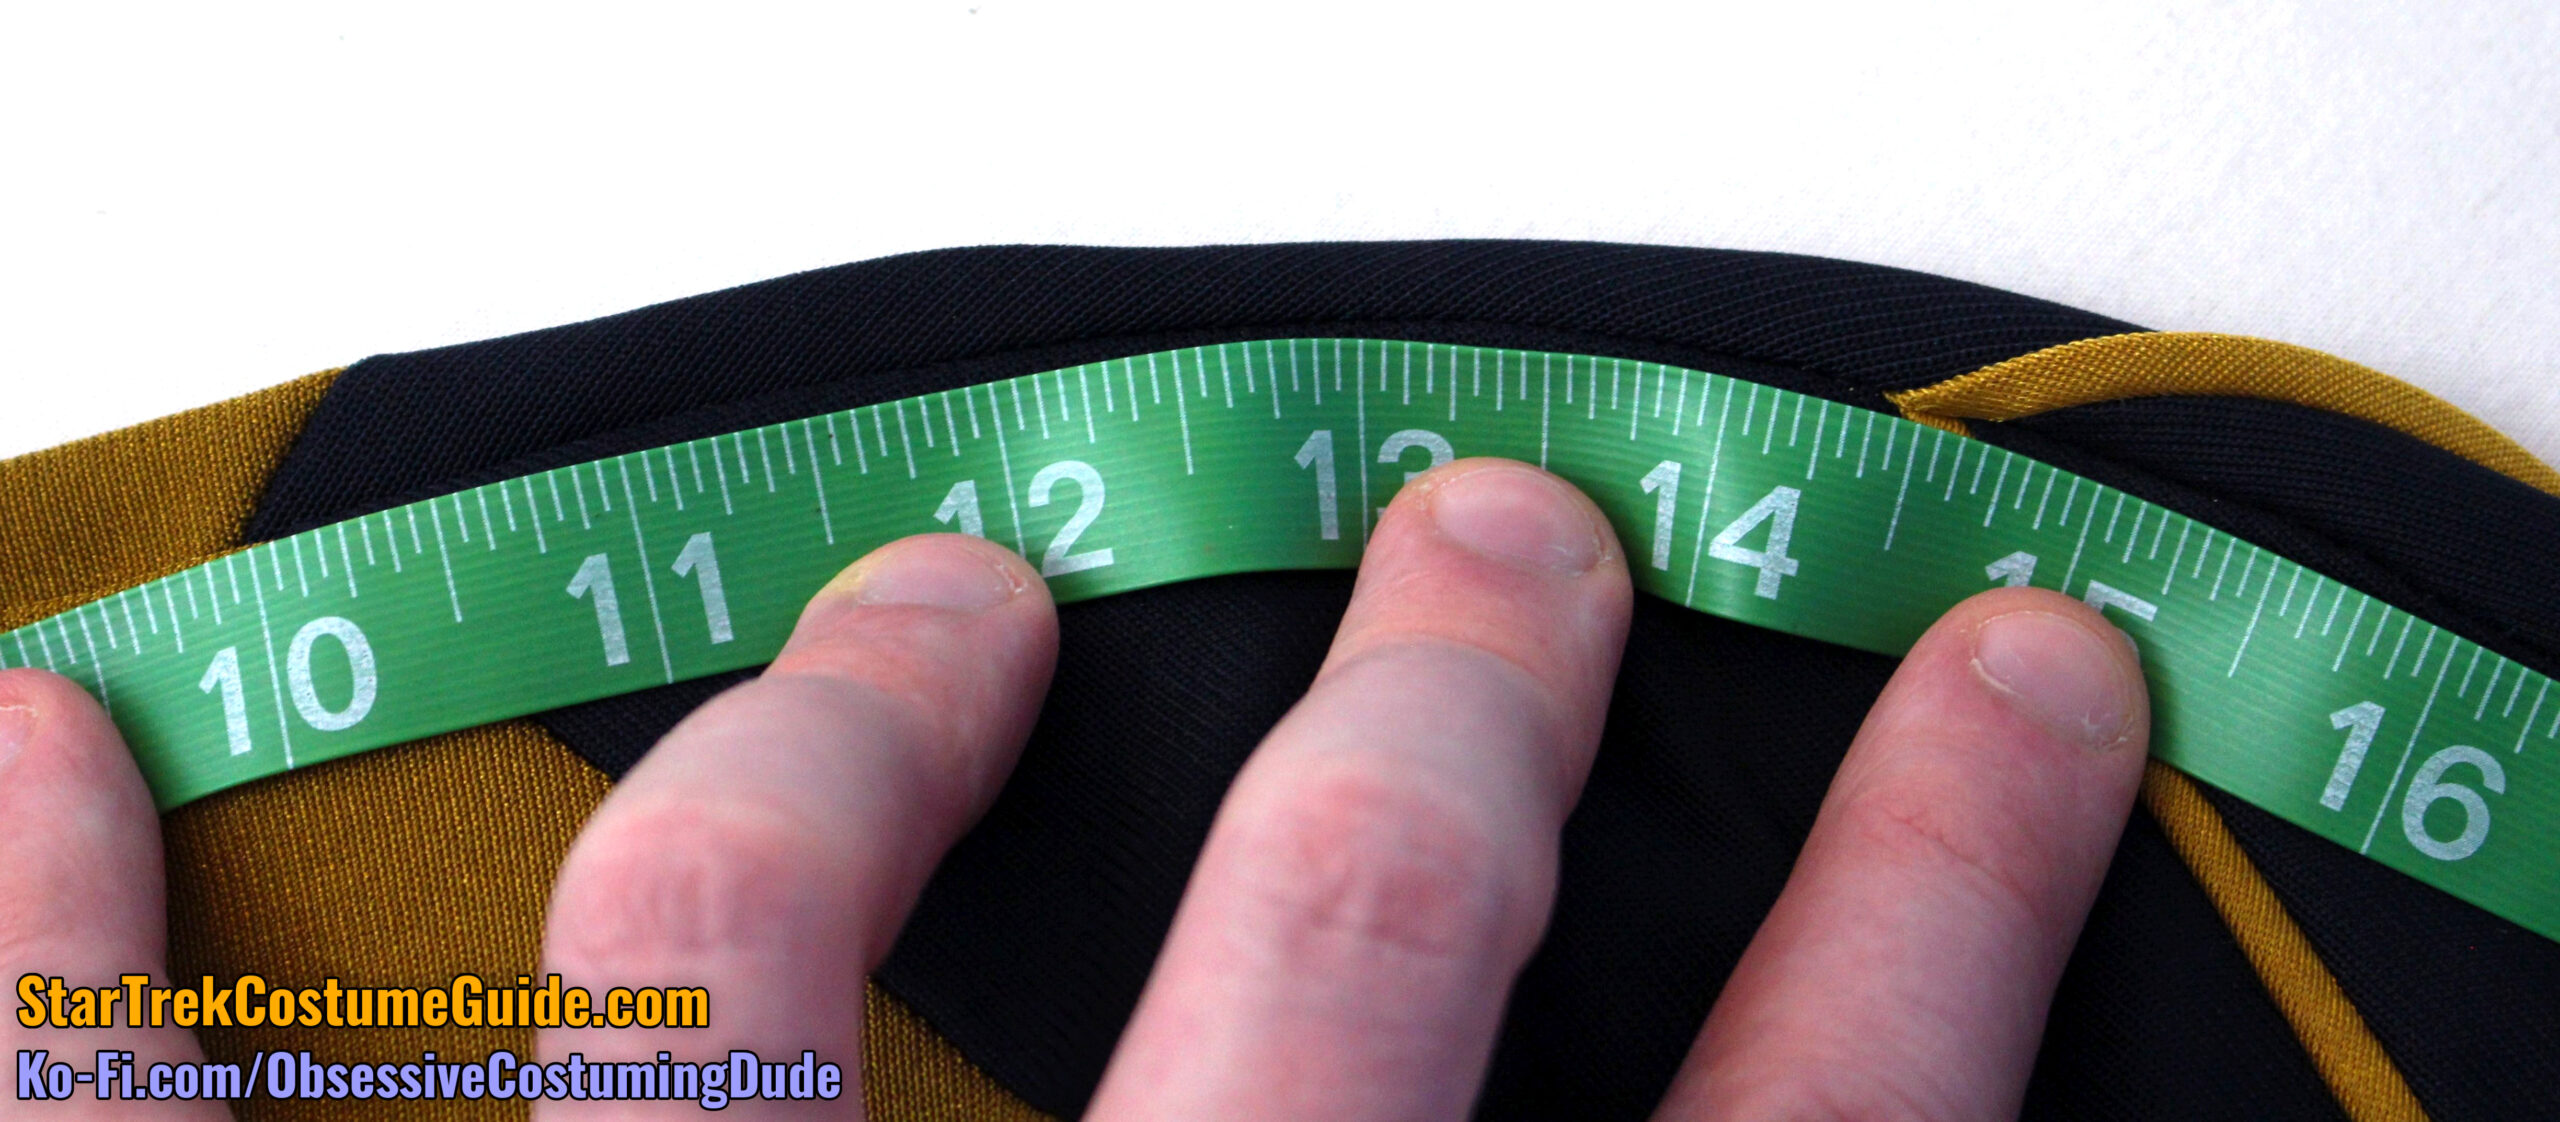
Both upper yoke/shoulder seams were 5”, measured from the outer edges of the neckline trim to the upper edges of the yoke piping.
However, the right yoke extended onto the sleeve 4 ⅝”, while the left yoke extended a bit farther, 4 ⅞”.
Observe how the contour of the yoke piping has only the slightest curve to it when lying flat, but it produces the gentle S-shaped curve when worn (or draped on a mannequin):
On the right side, the lower/outer yoke corners were slightly mismatched, leading me to believe that the left side was more how it was originally patterned.
(As you’ll see throughout this and subsequent TNG jumpsuit examinations, asymmetrical dimensions and mismatches like these were surprisingly common – probably because despite being patterned and assembled as accurately as possible, after test-fittings they were altered to better fit the specific actor/actress.)
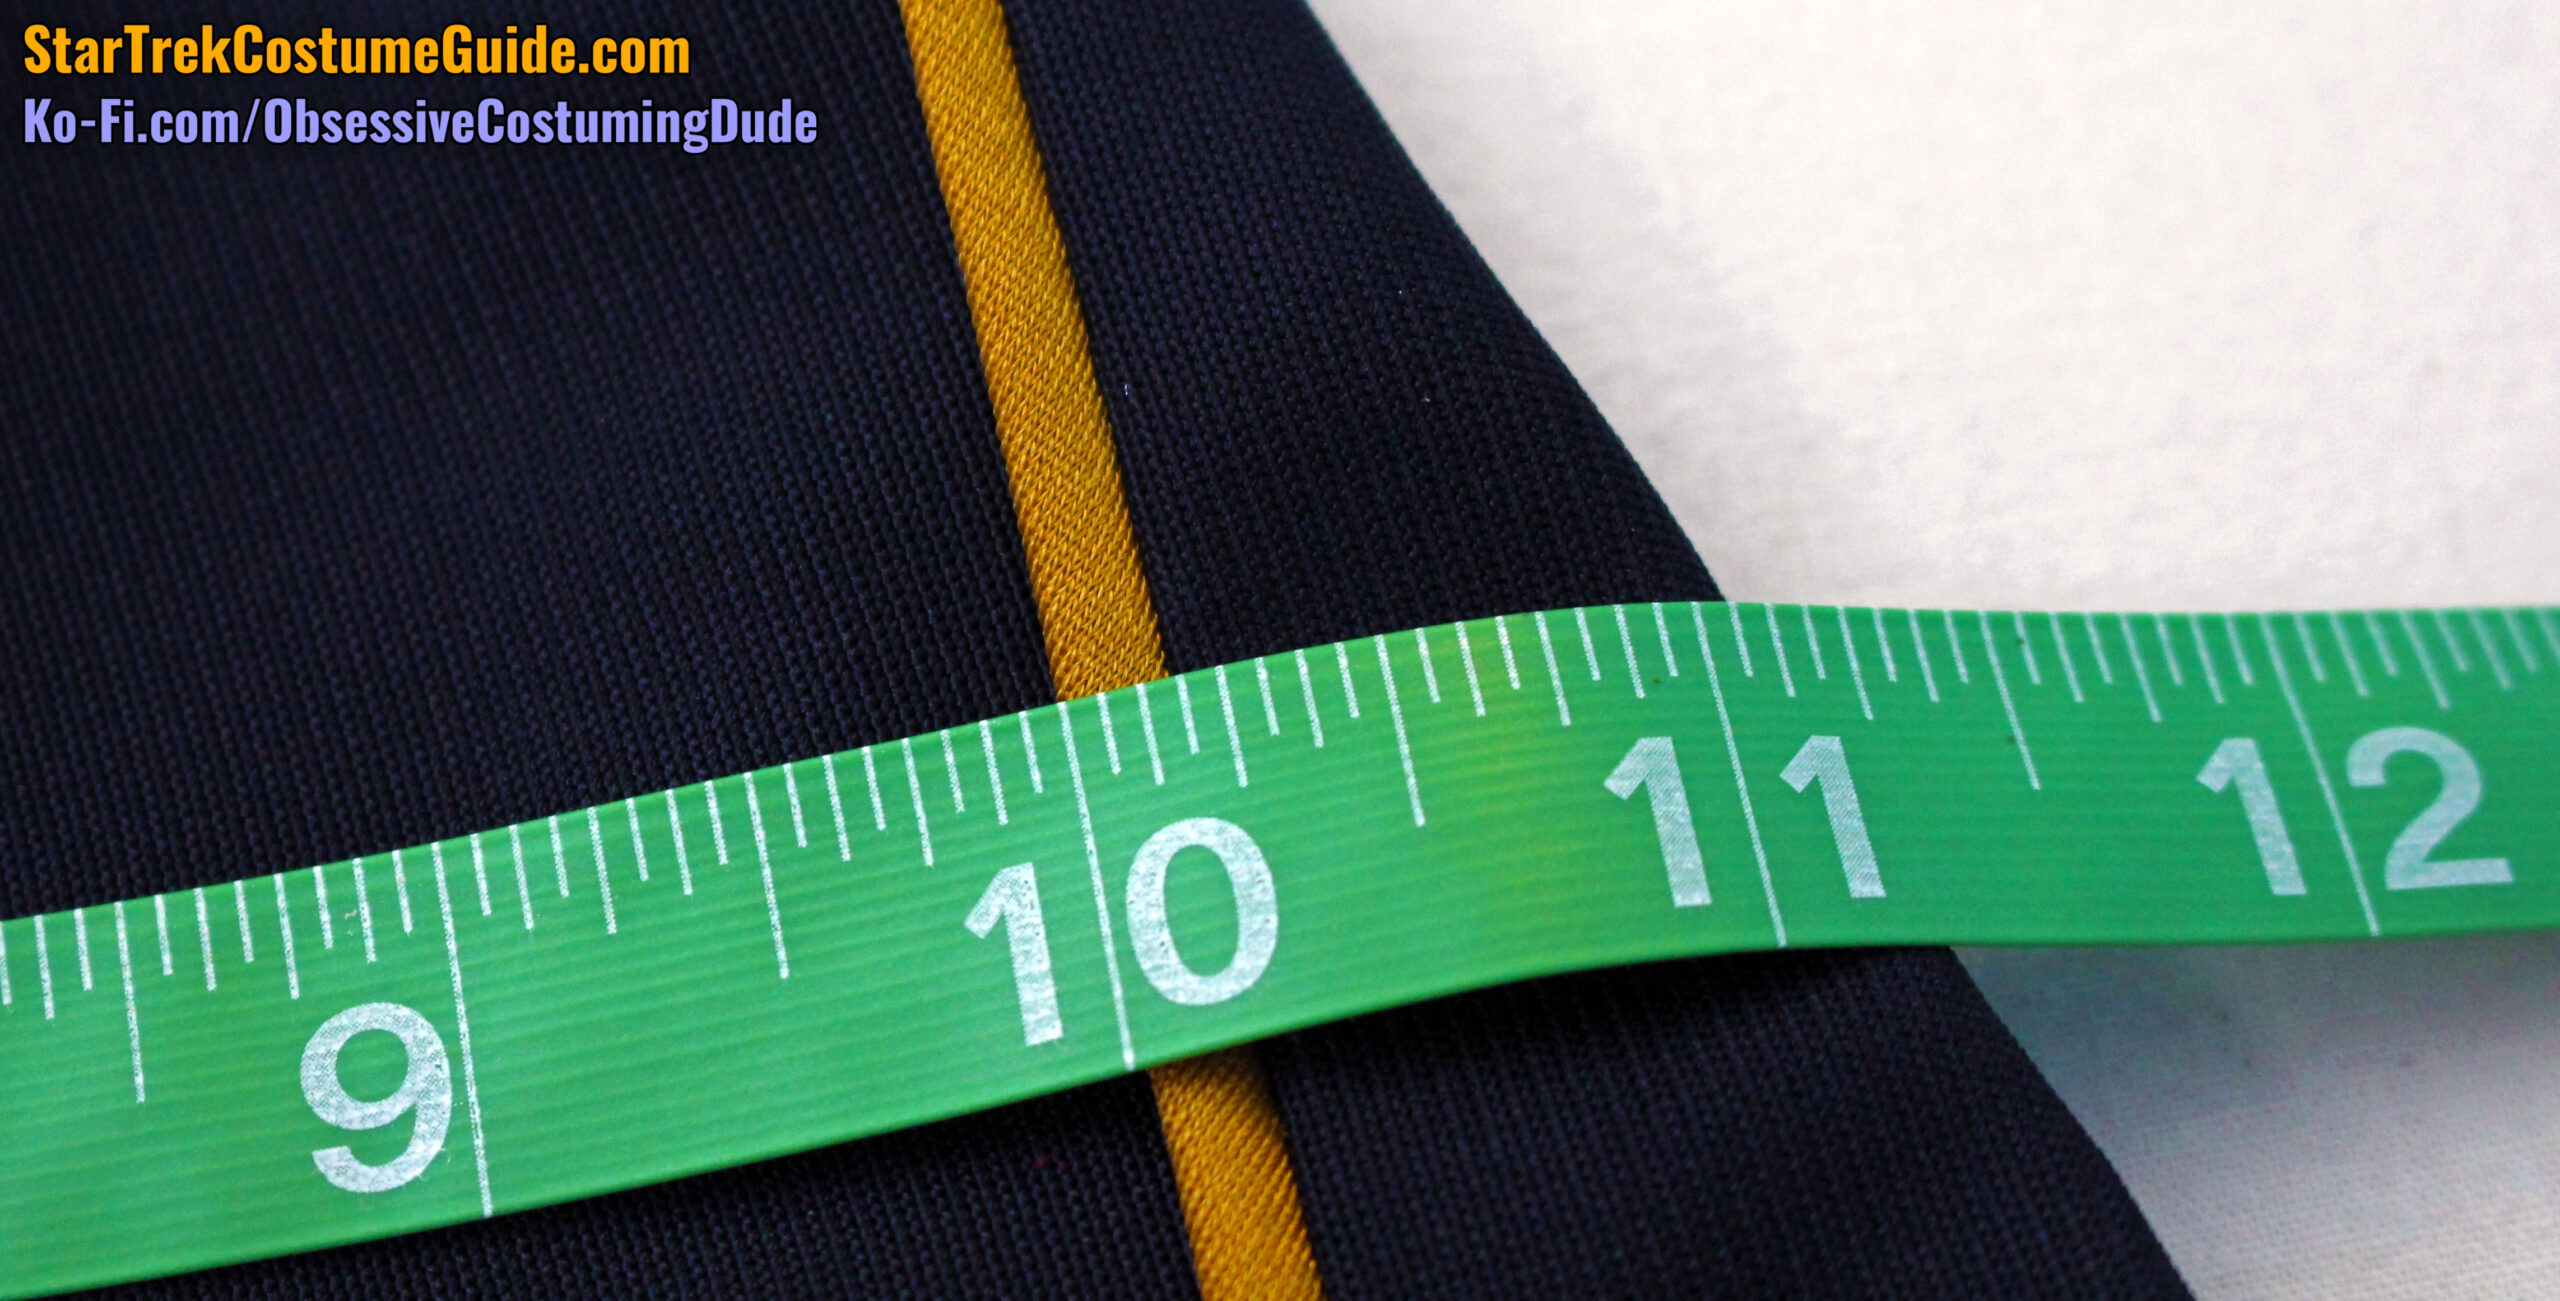
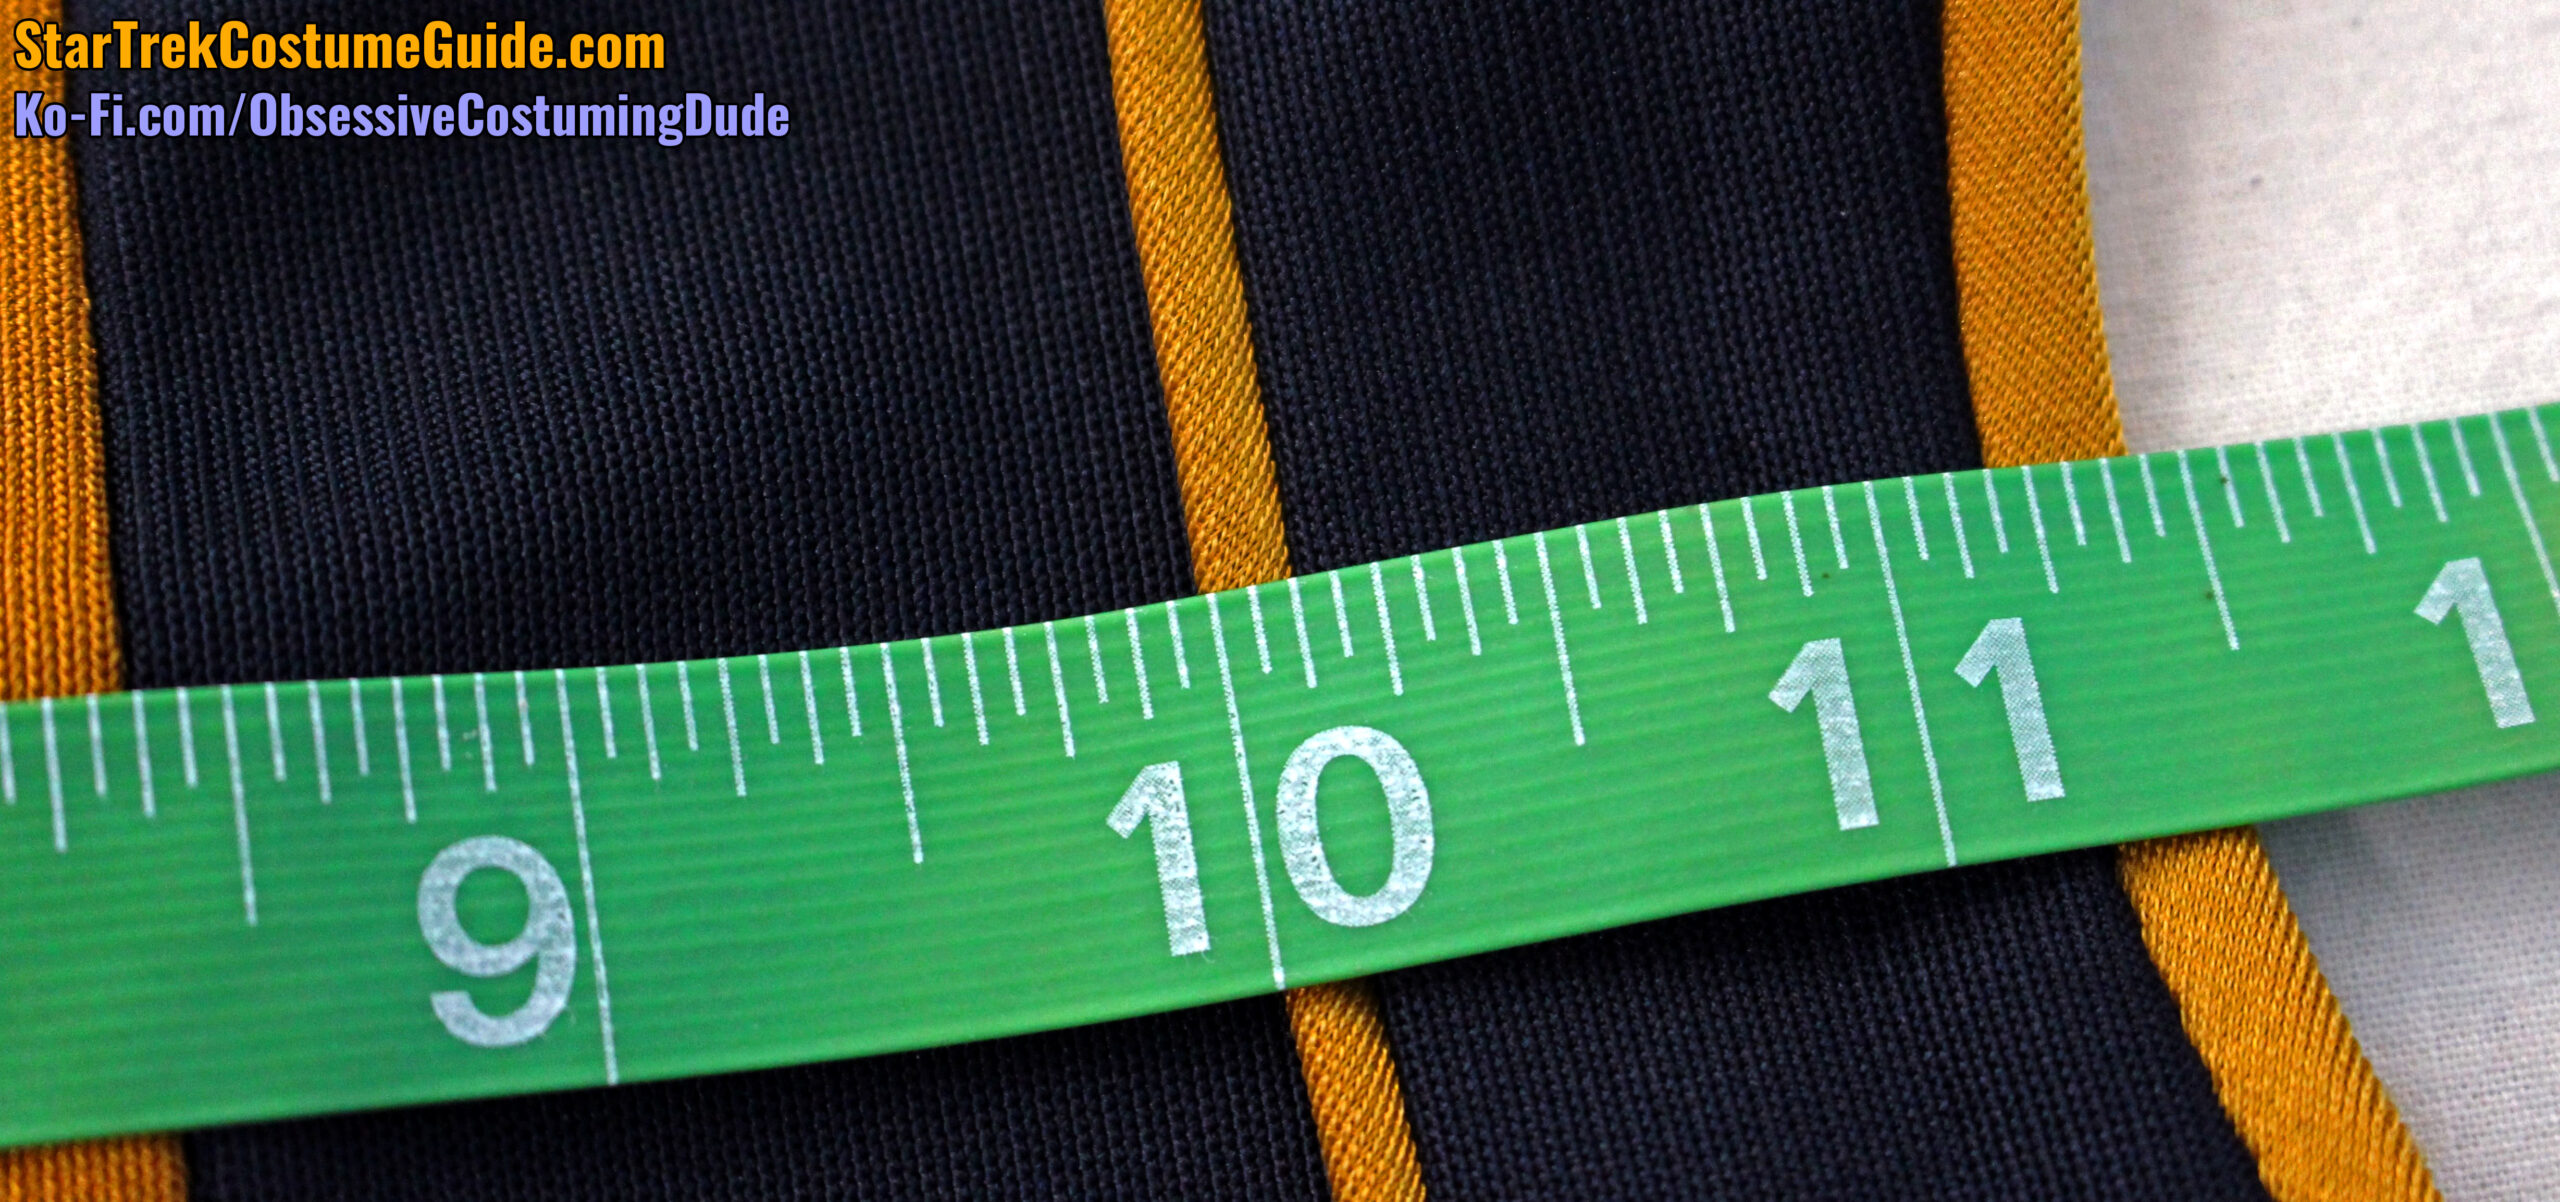
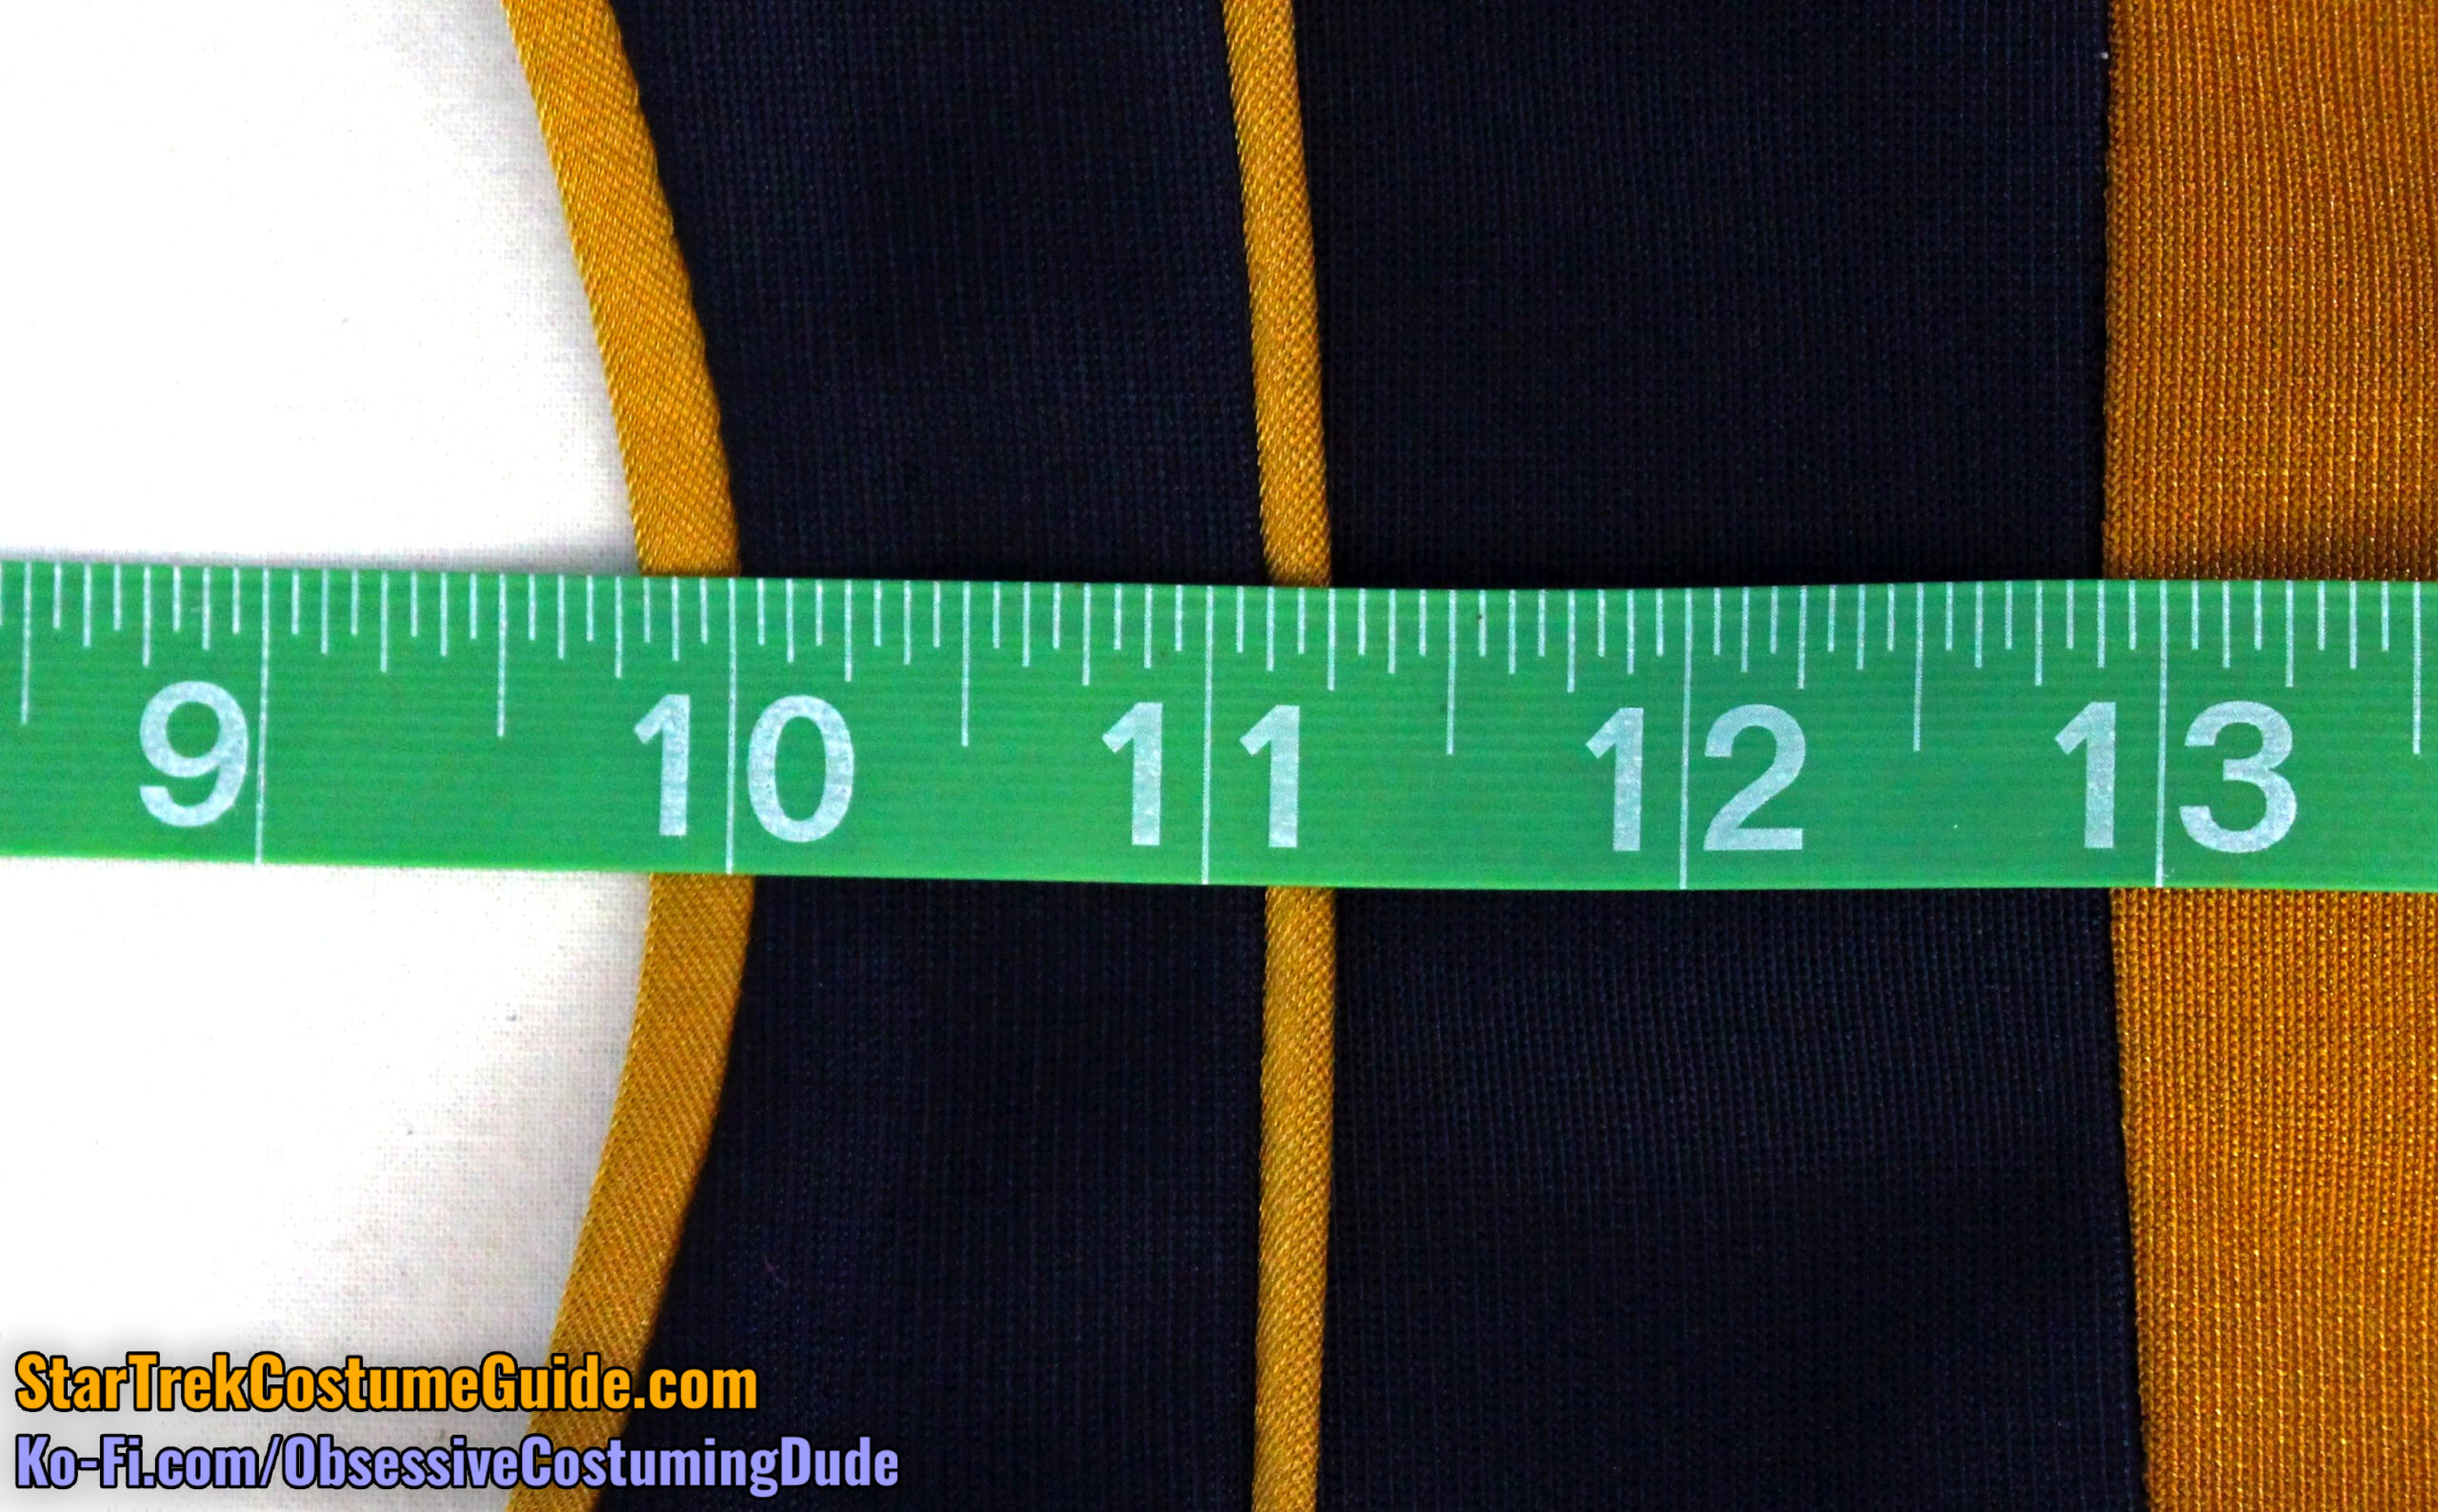
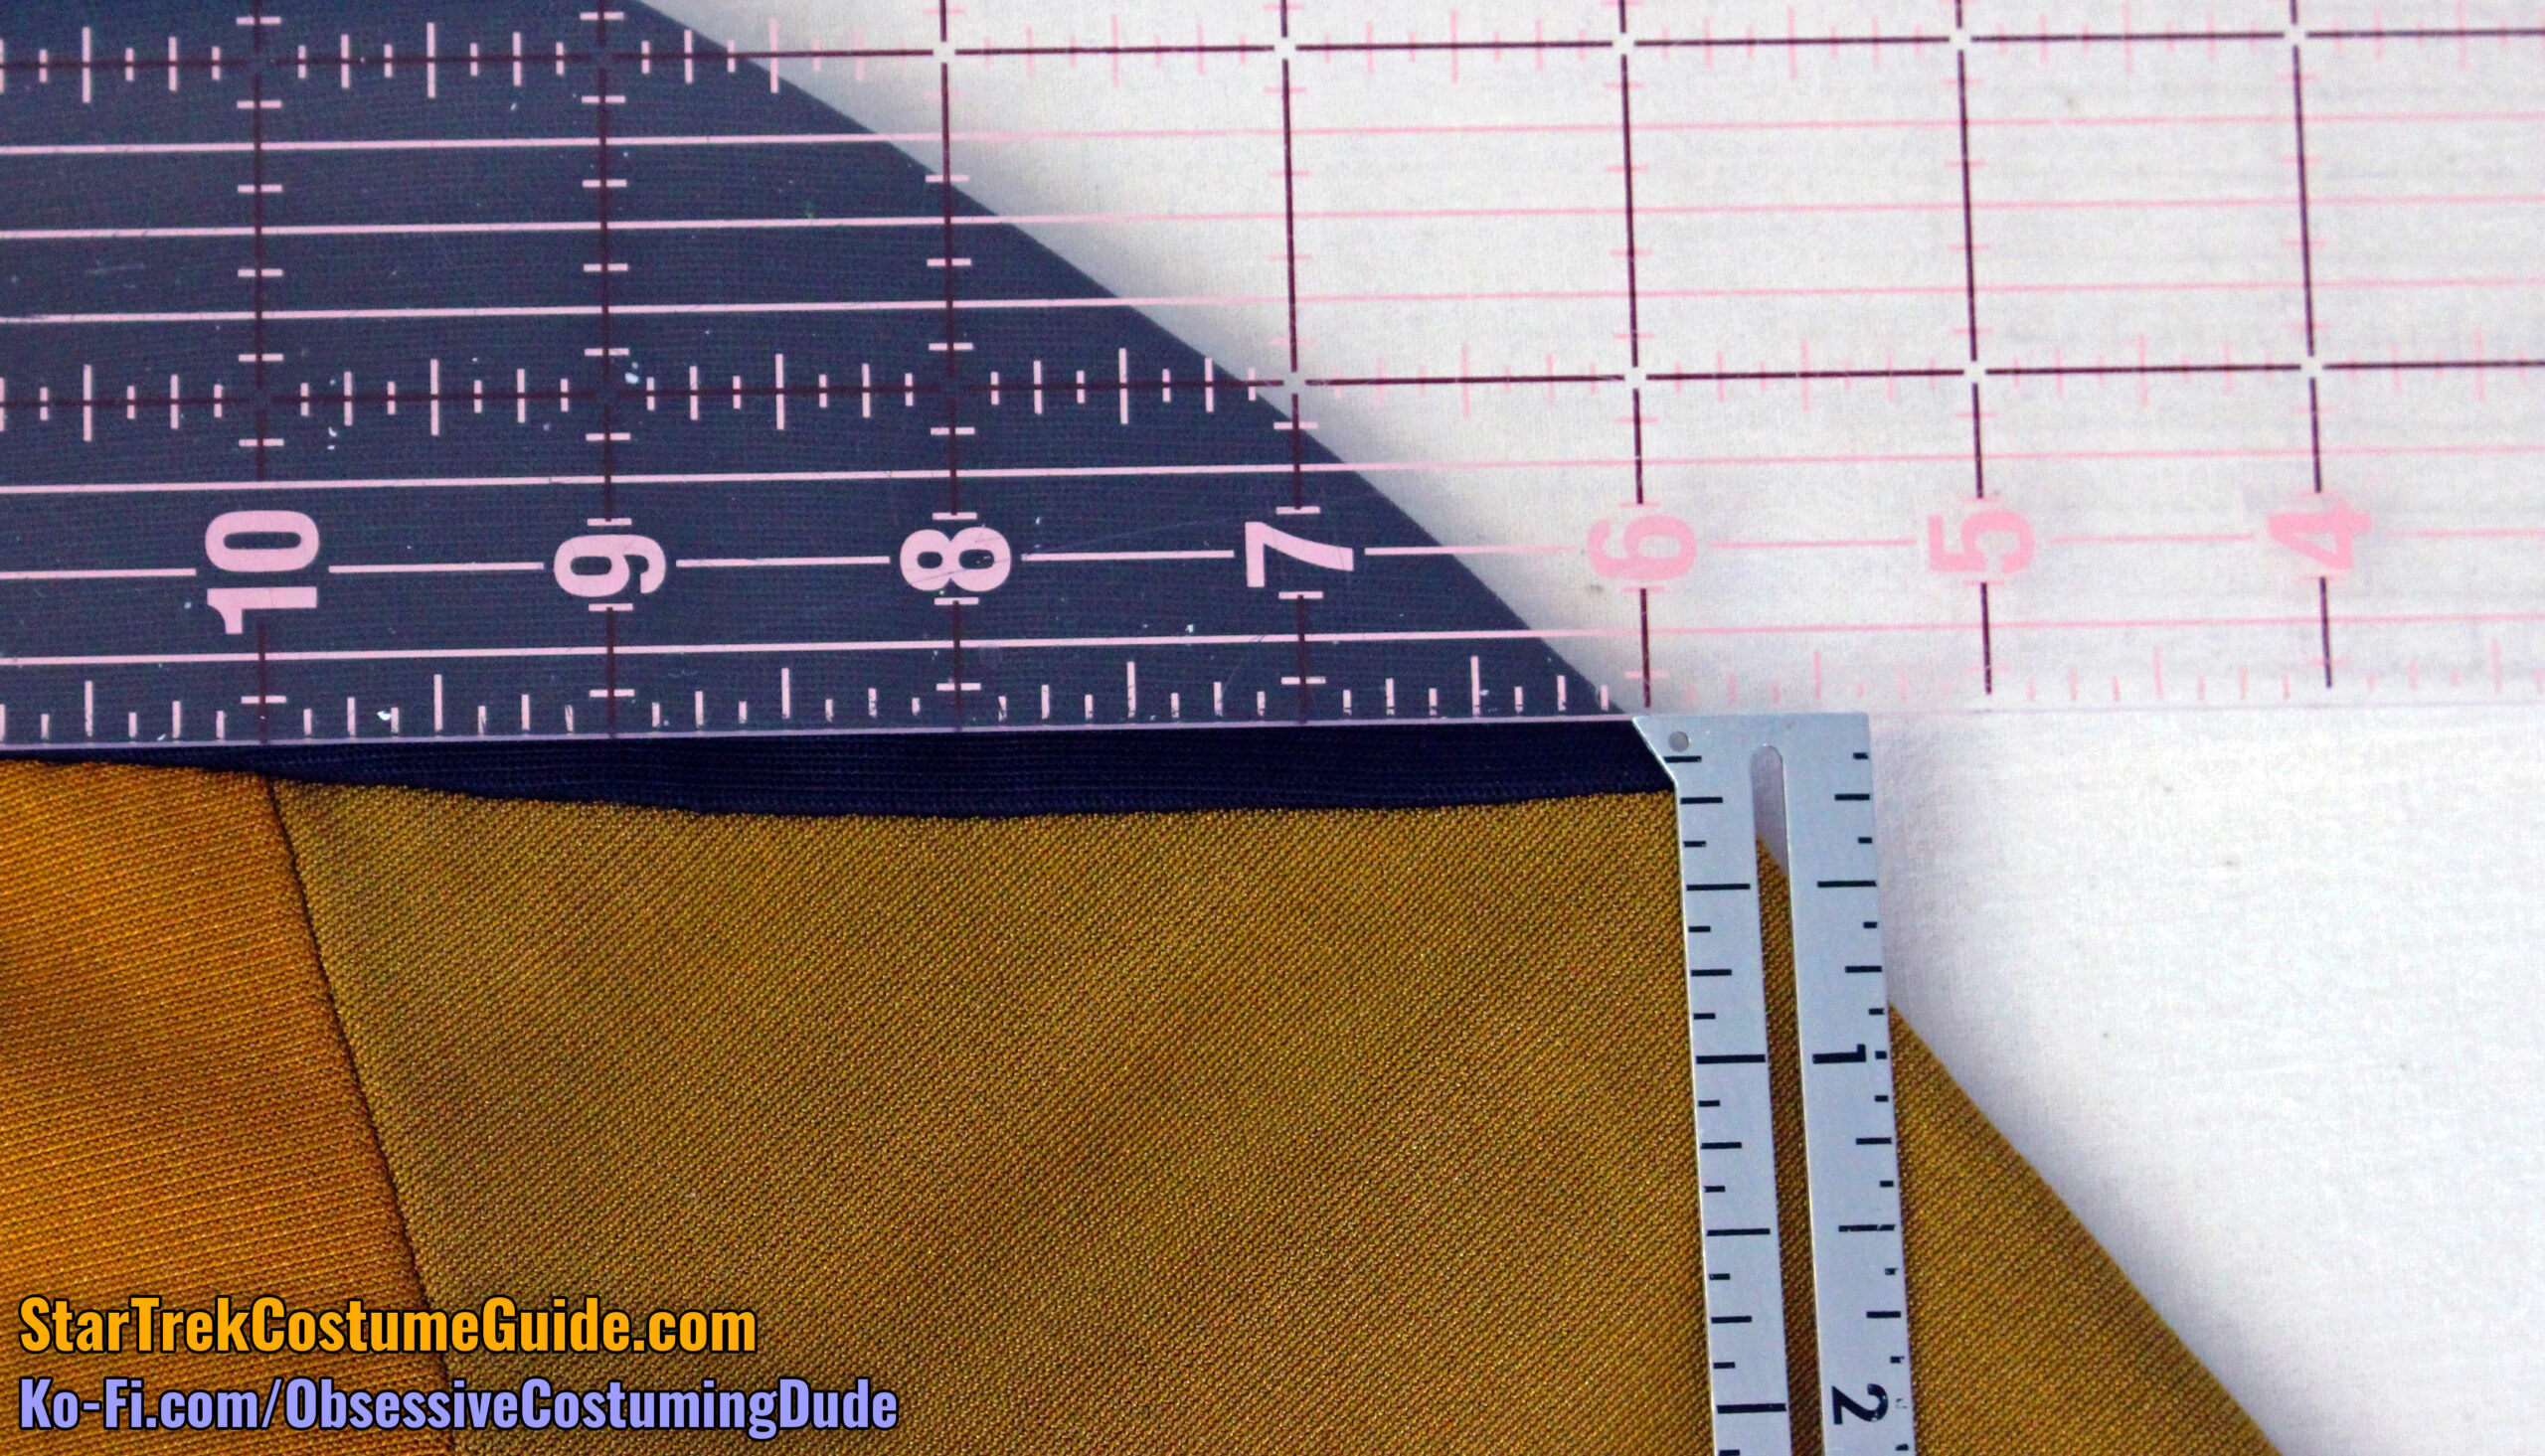
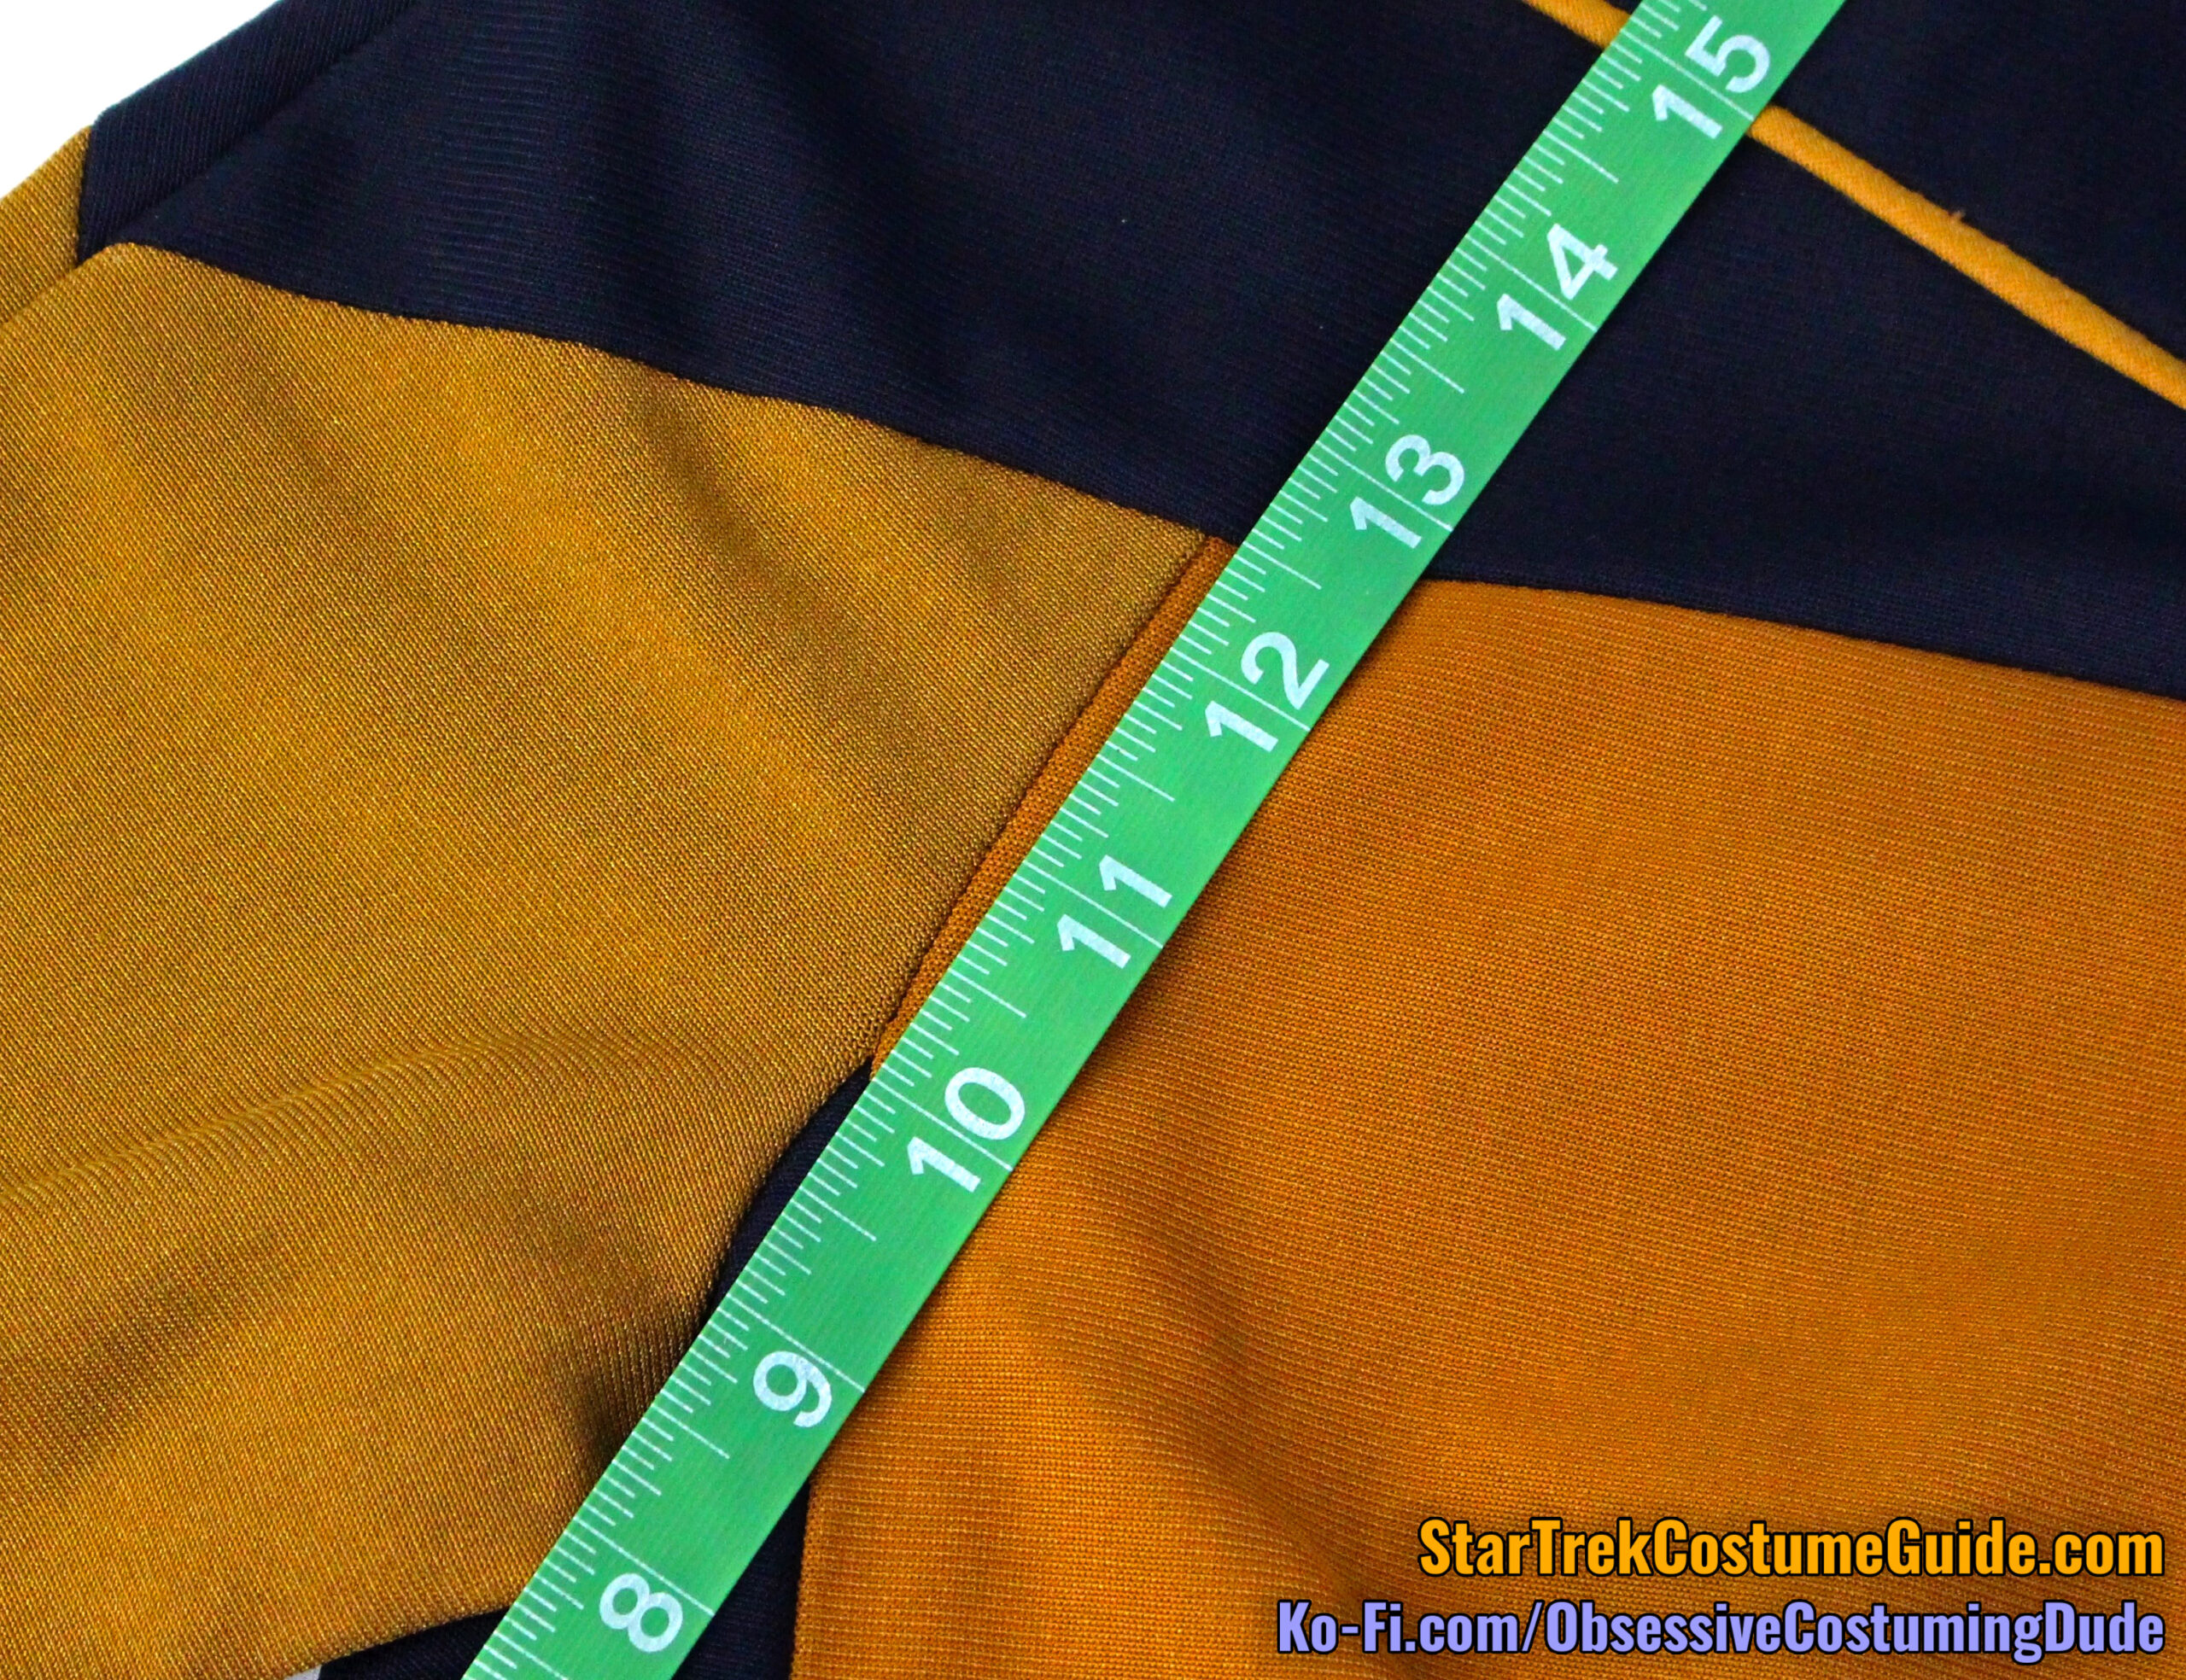
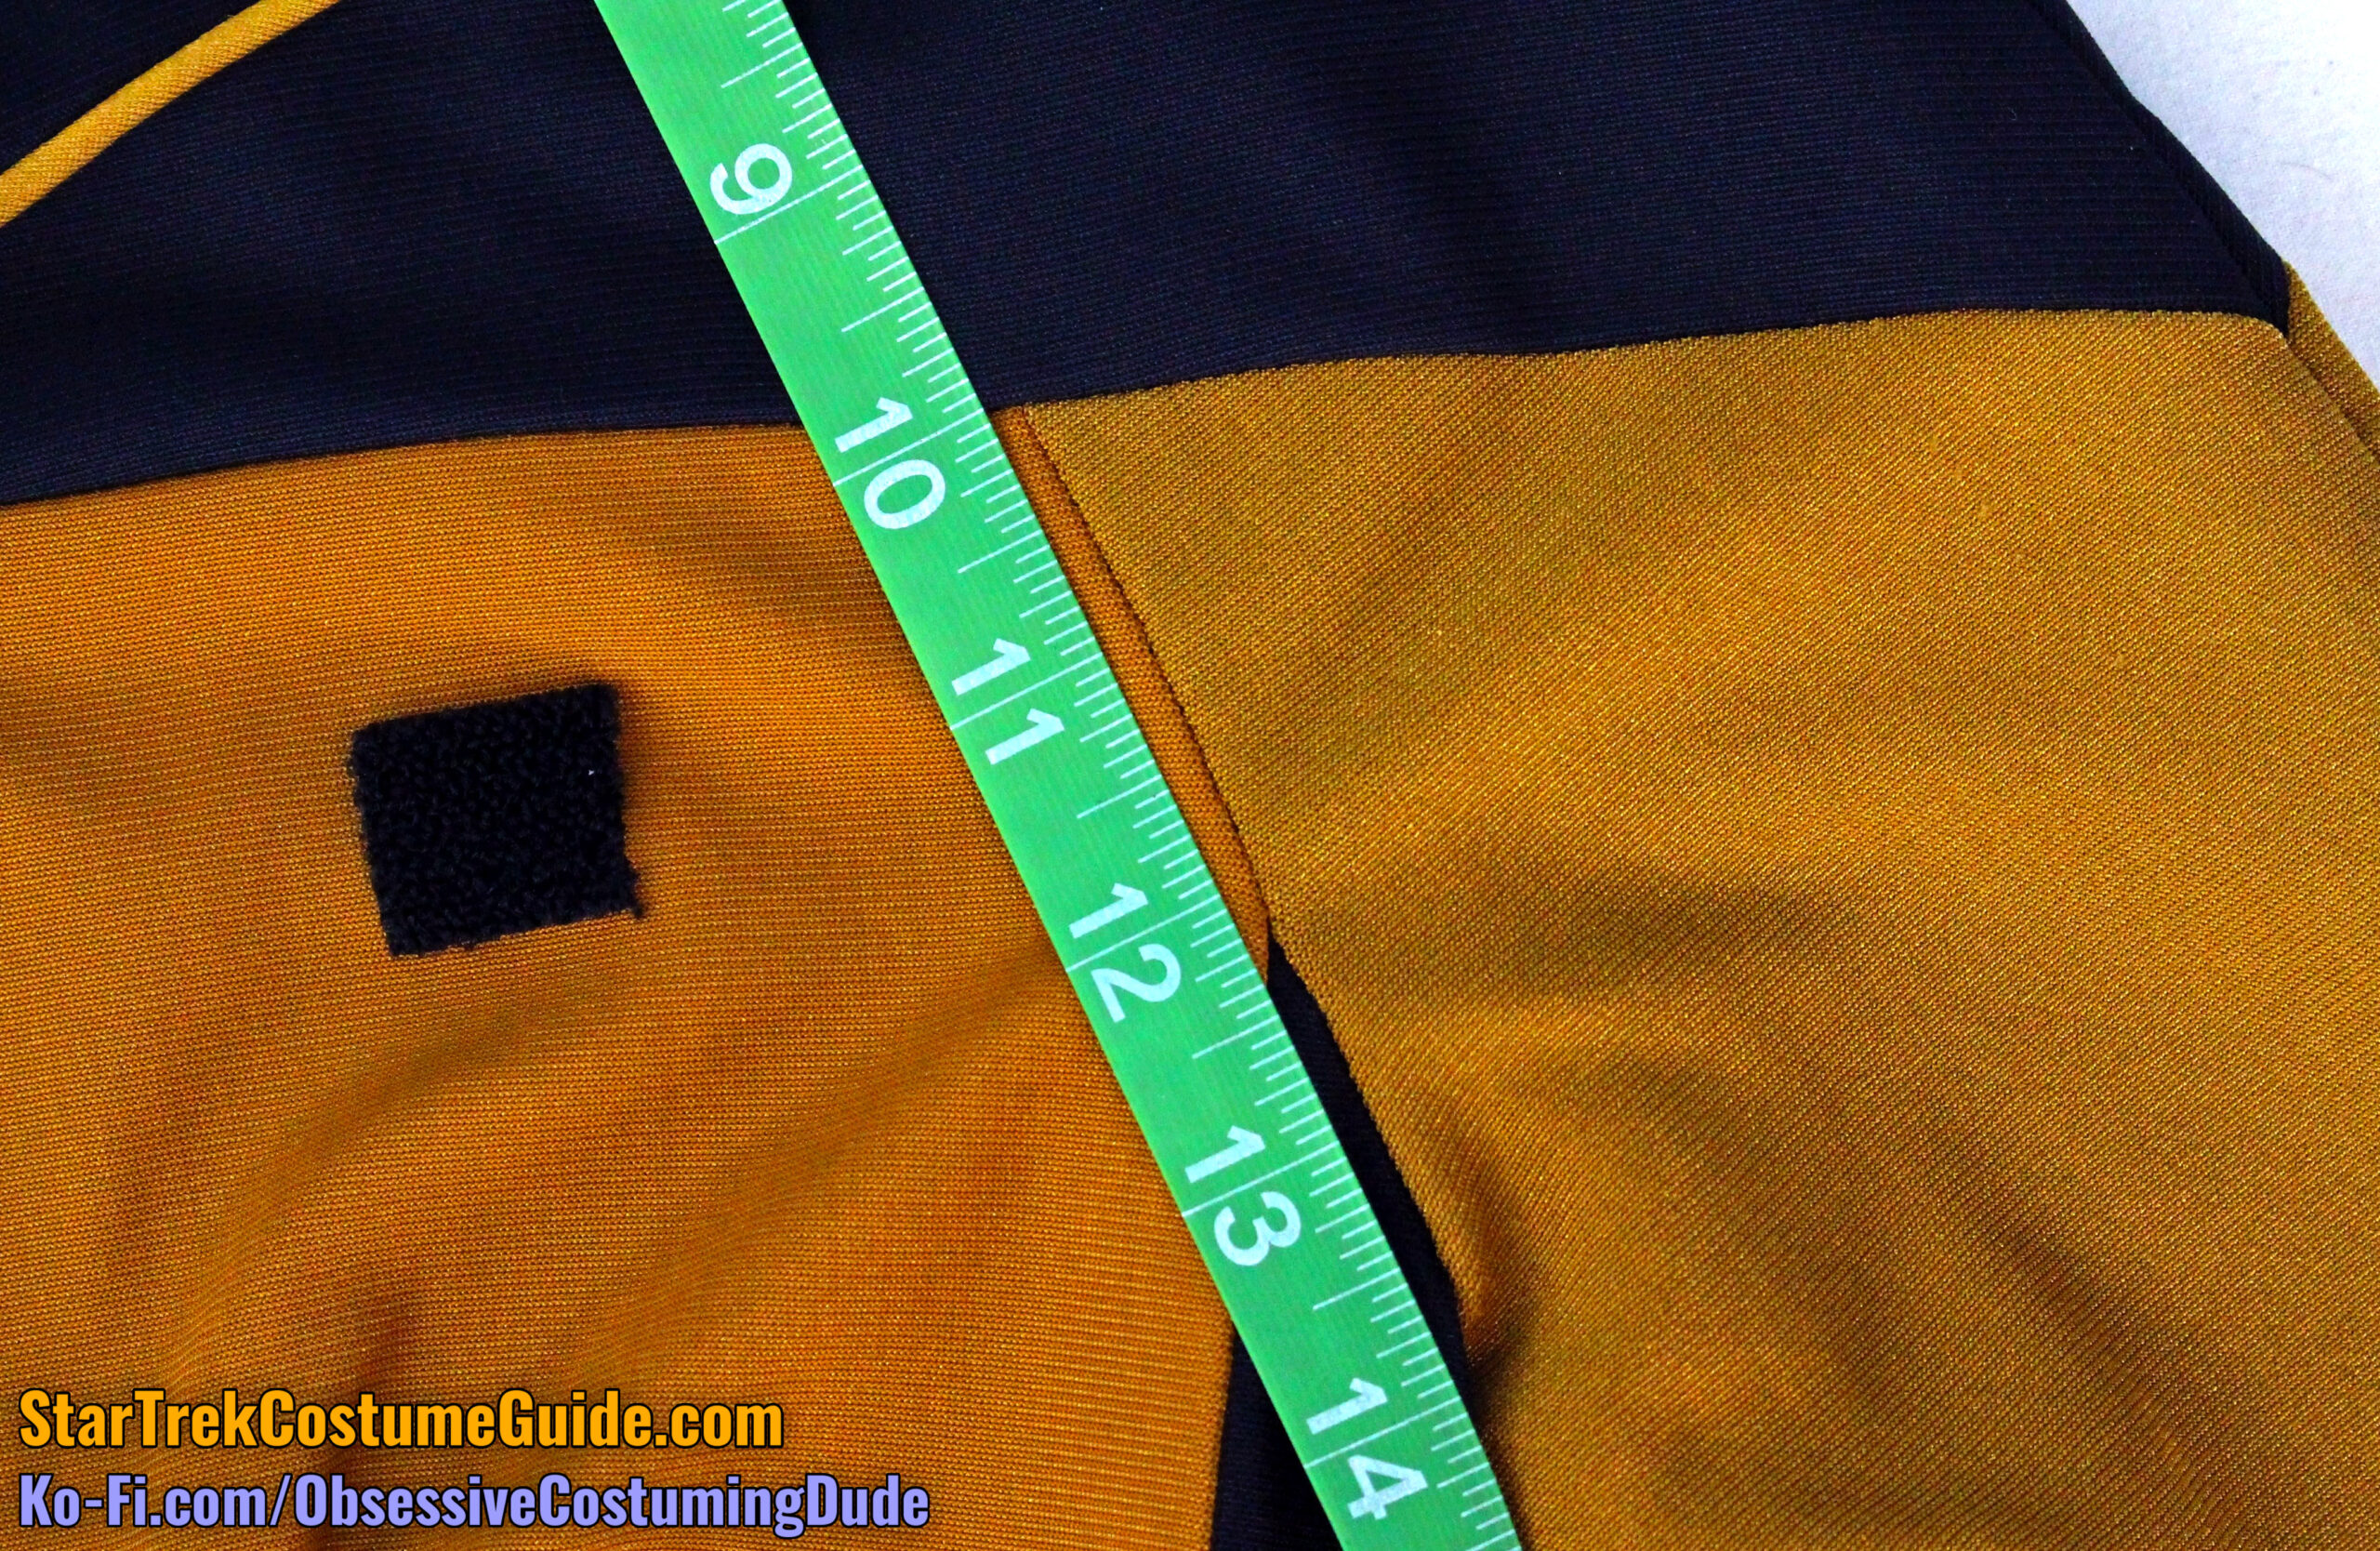
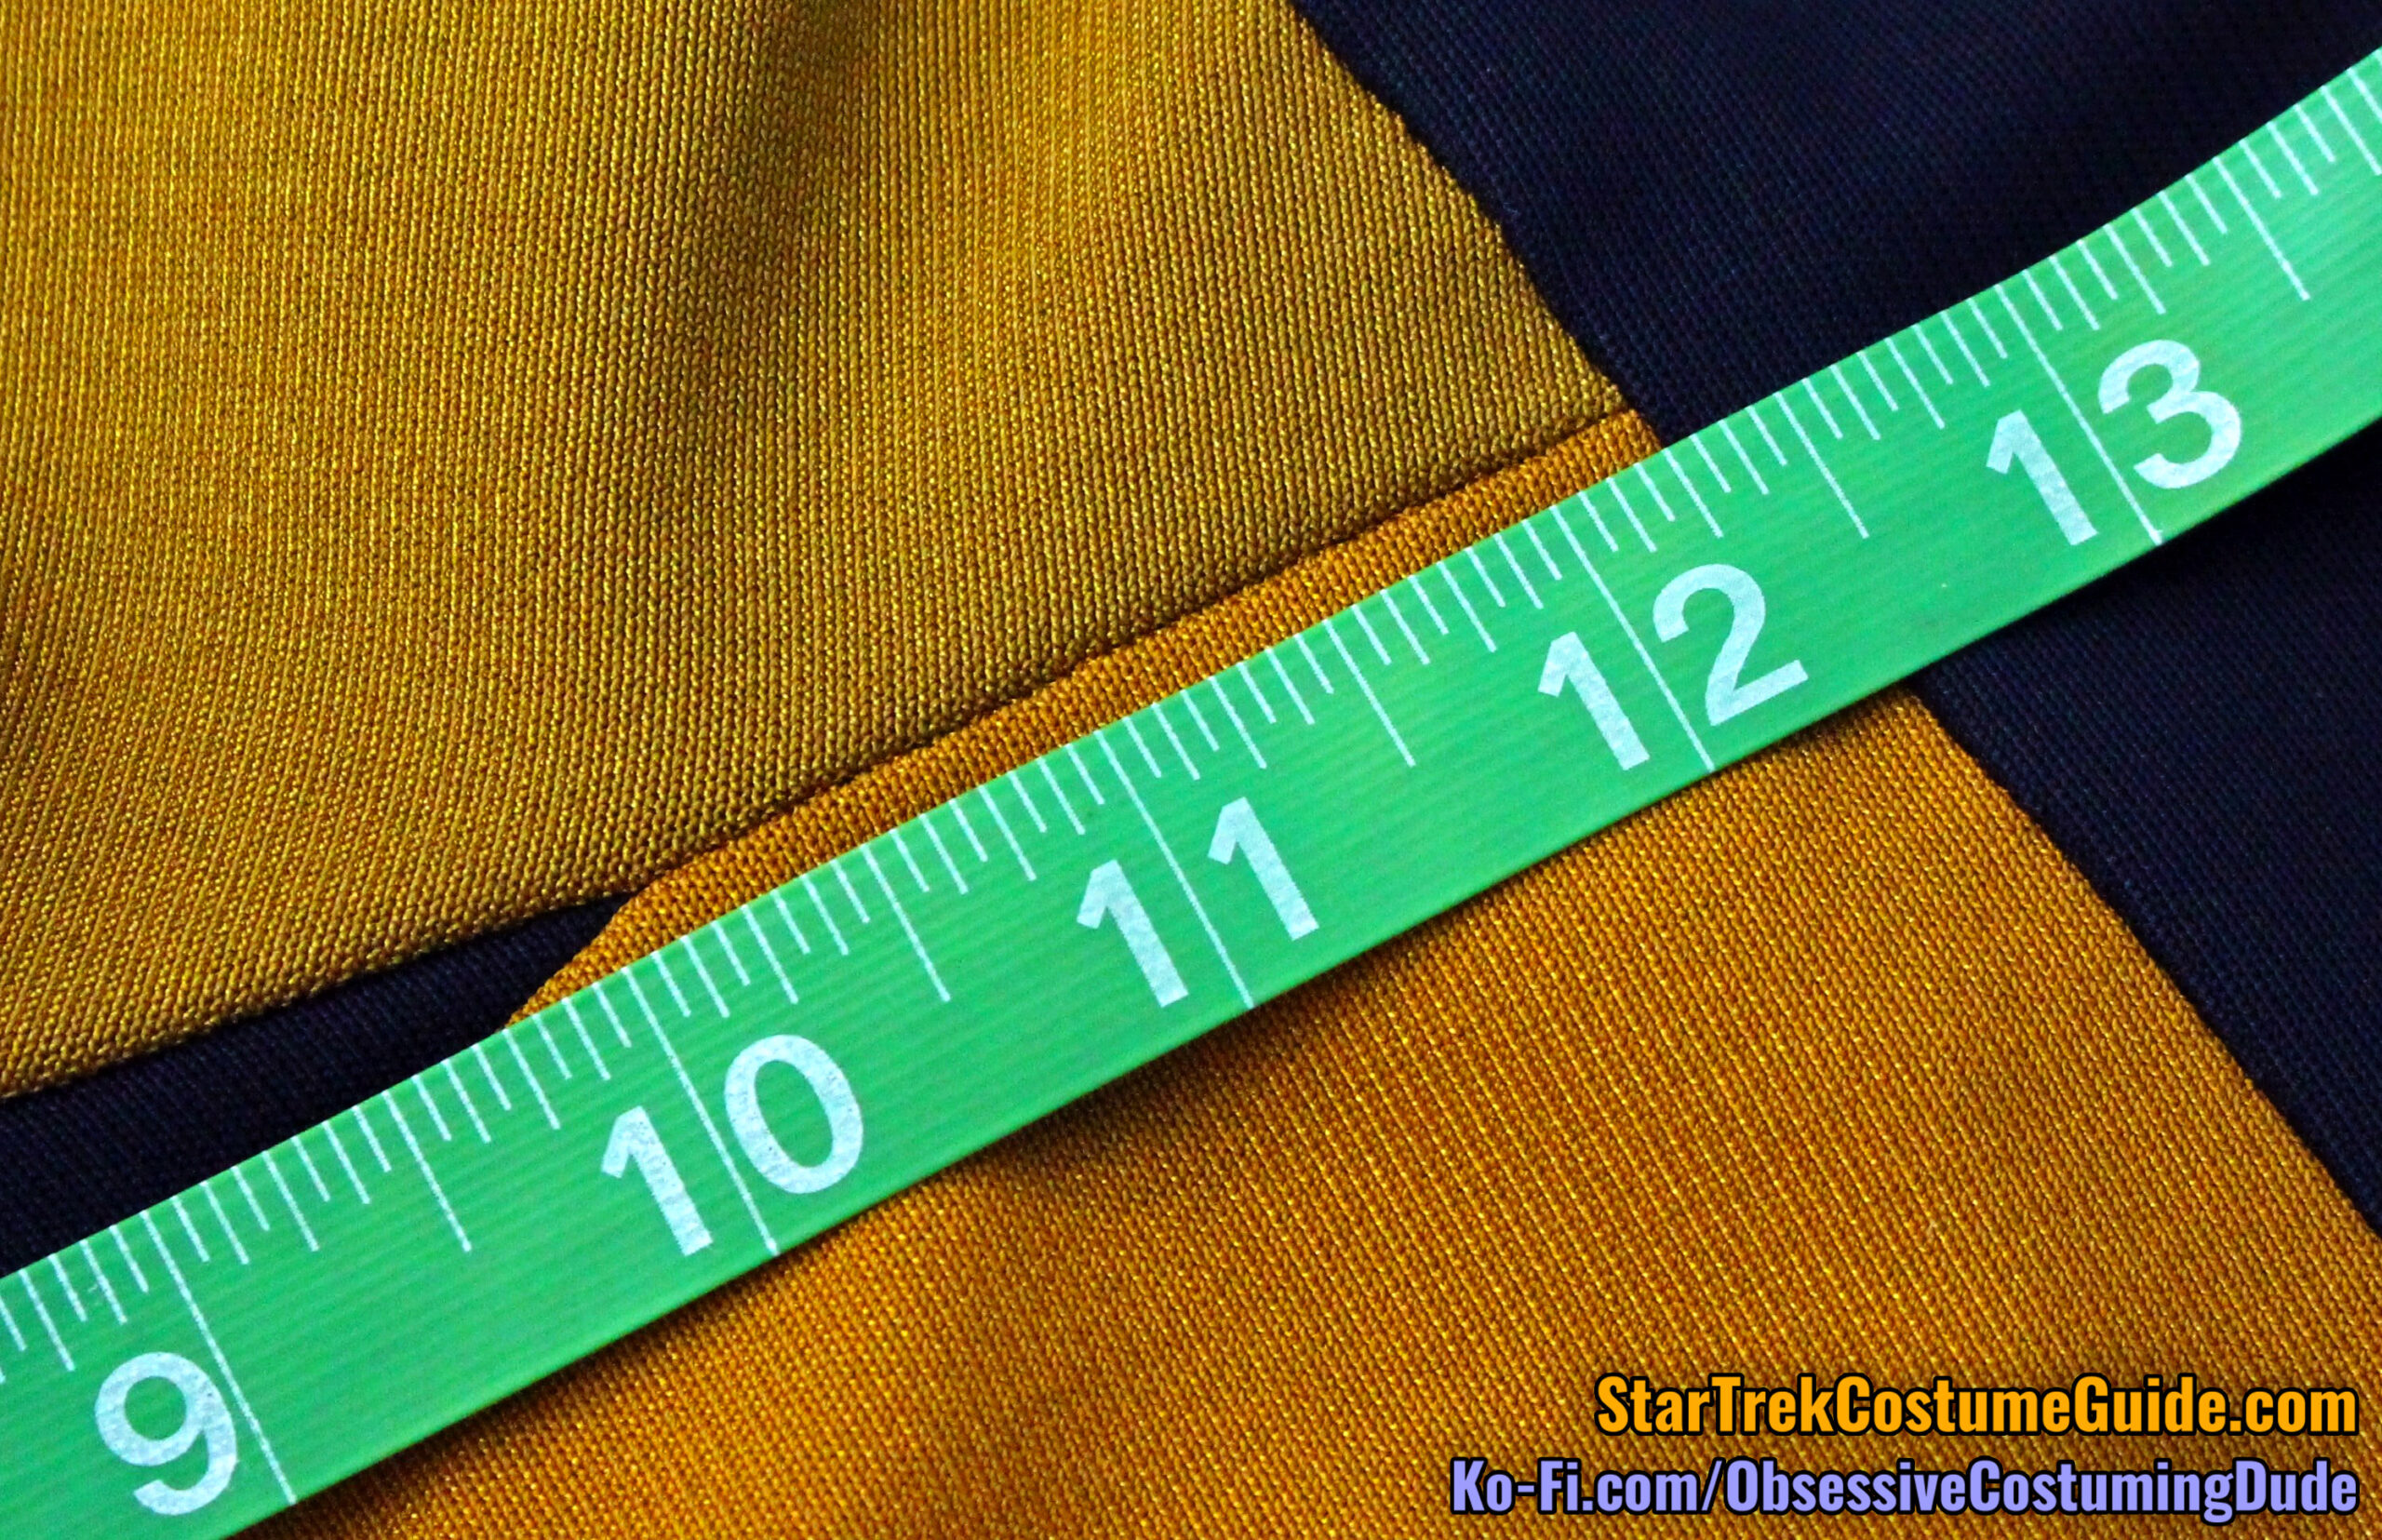
The lower front yoke seam was 10 ¾” total, measured from the center front to the lower/outer corners on the sleeve.
Of this total seam line, 6 ¼” was allocated to the upper front body, and 4 ½” extended onto the upper front sleeve.
Using the horizontal “weave” of the jumbo spandex as a guide, we can see that the lower front yoke seam gradually curved downward 1”, again from the center front to the lower/outer corner at the sleeve.
Like on the front, the back yoke piping was usually 3/16” but occasionally narrowed down to about ⅛”.
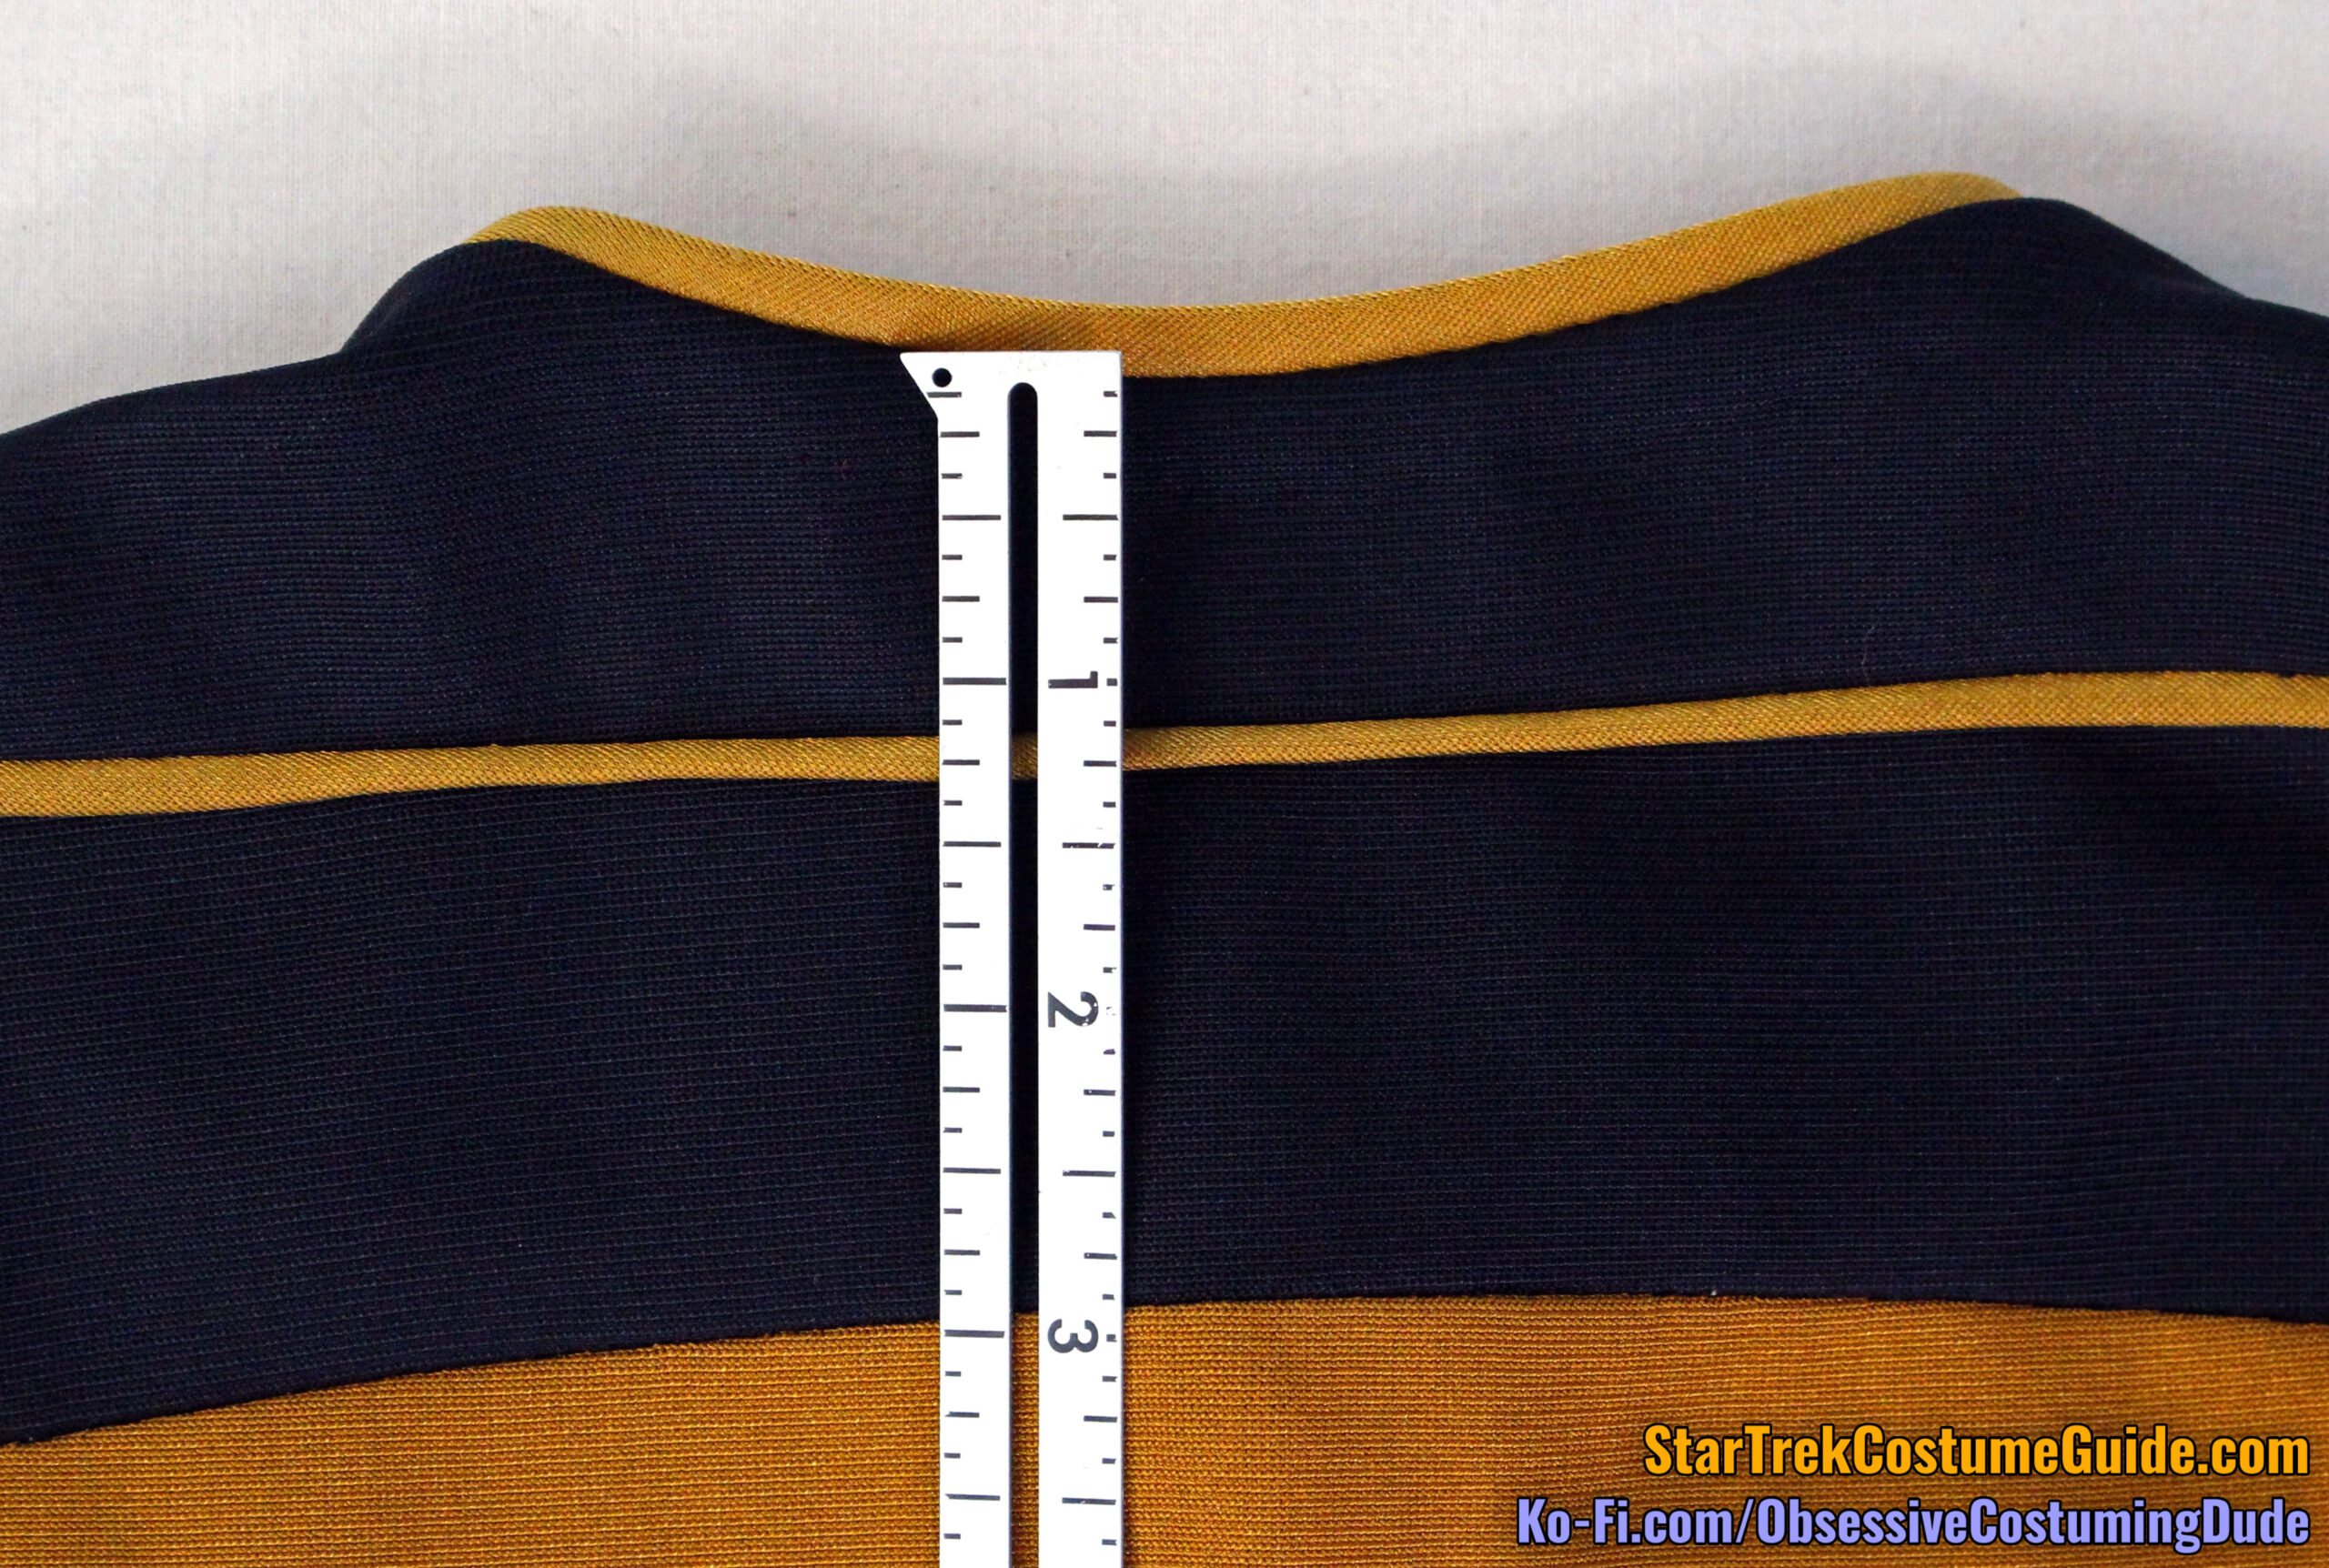
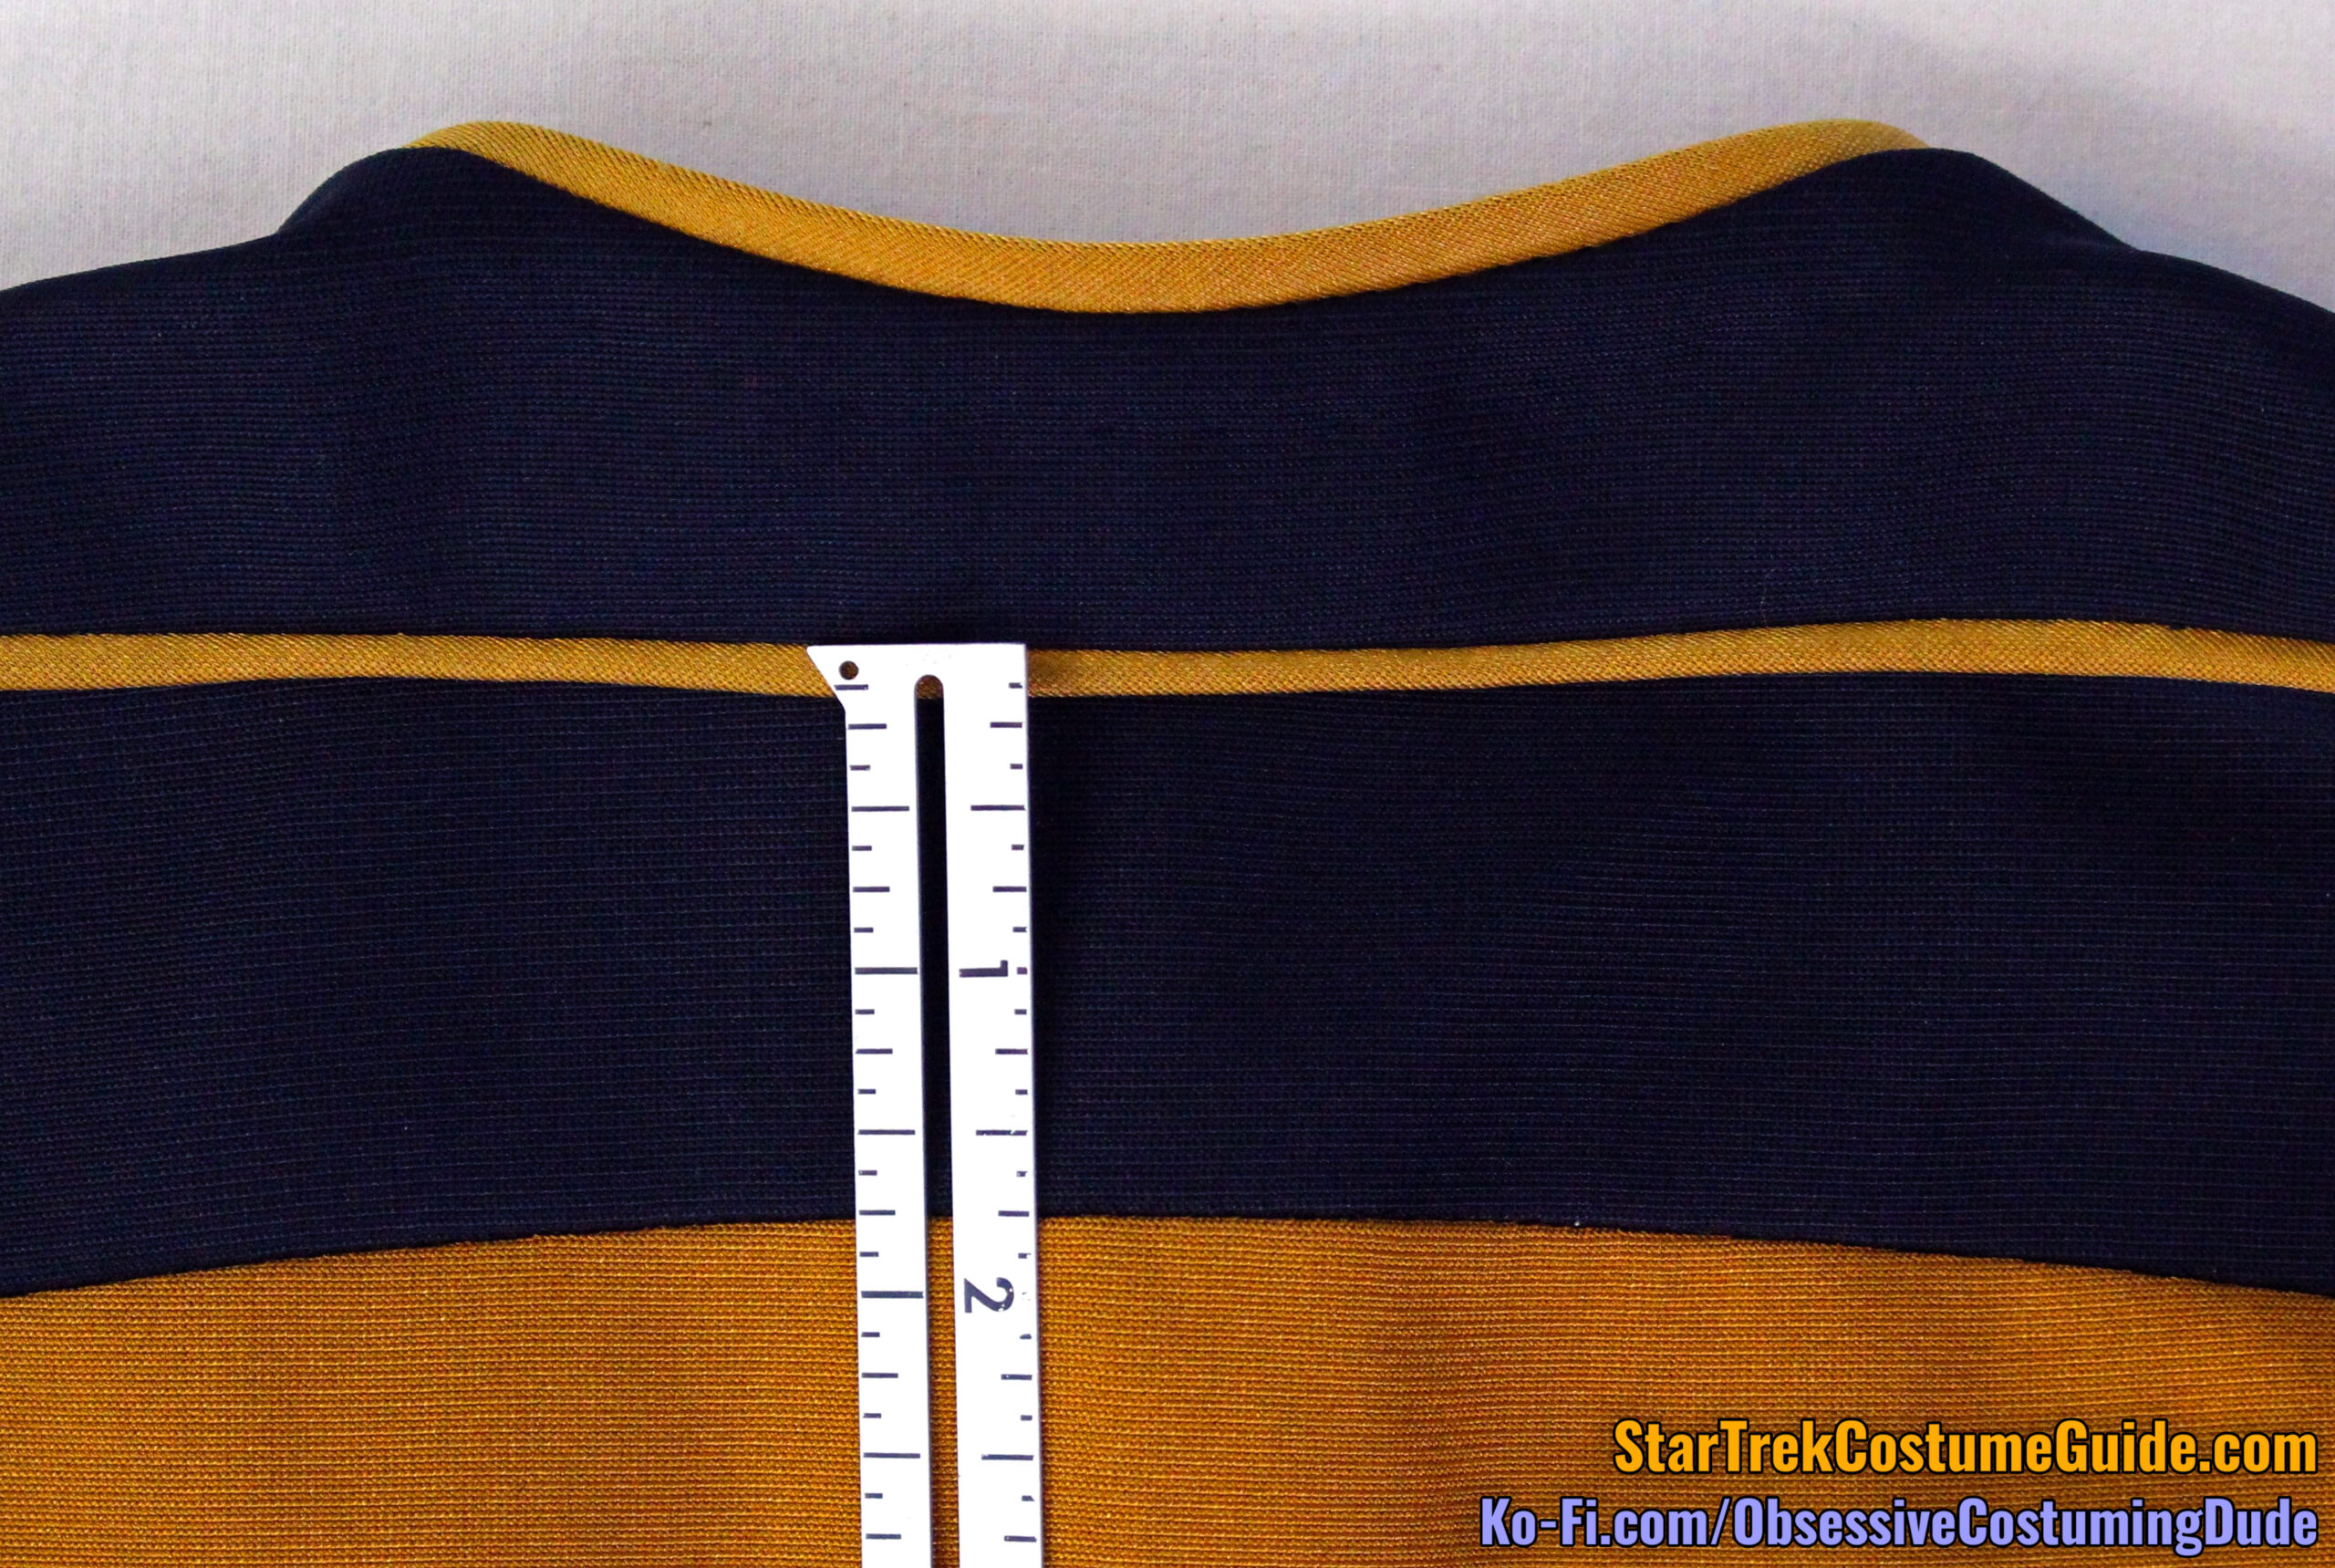
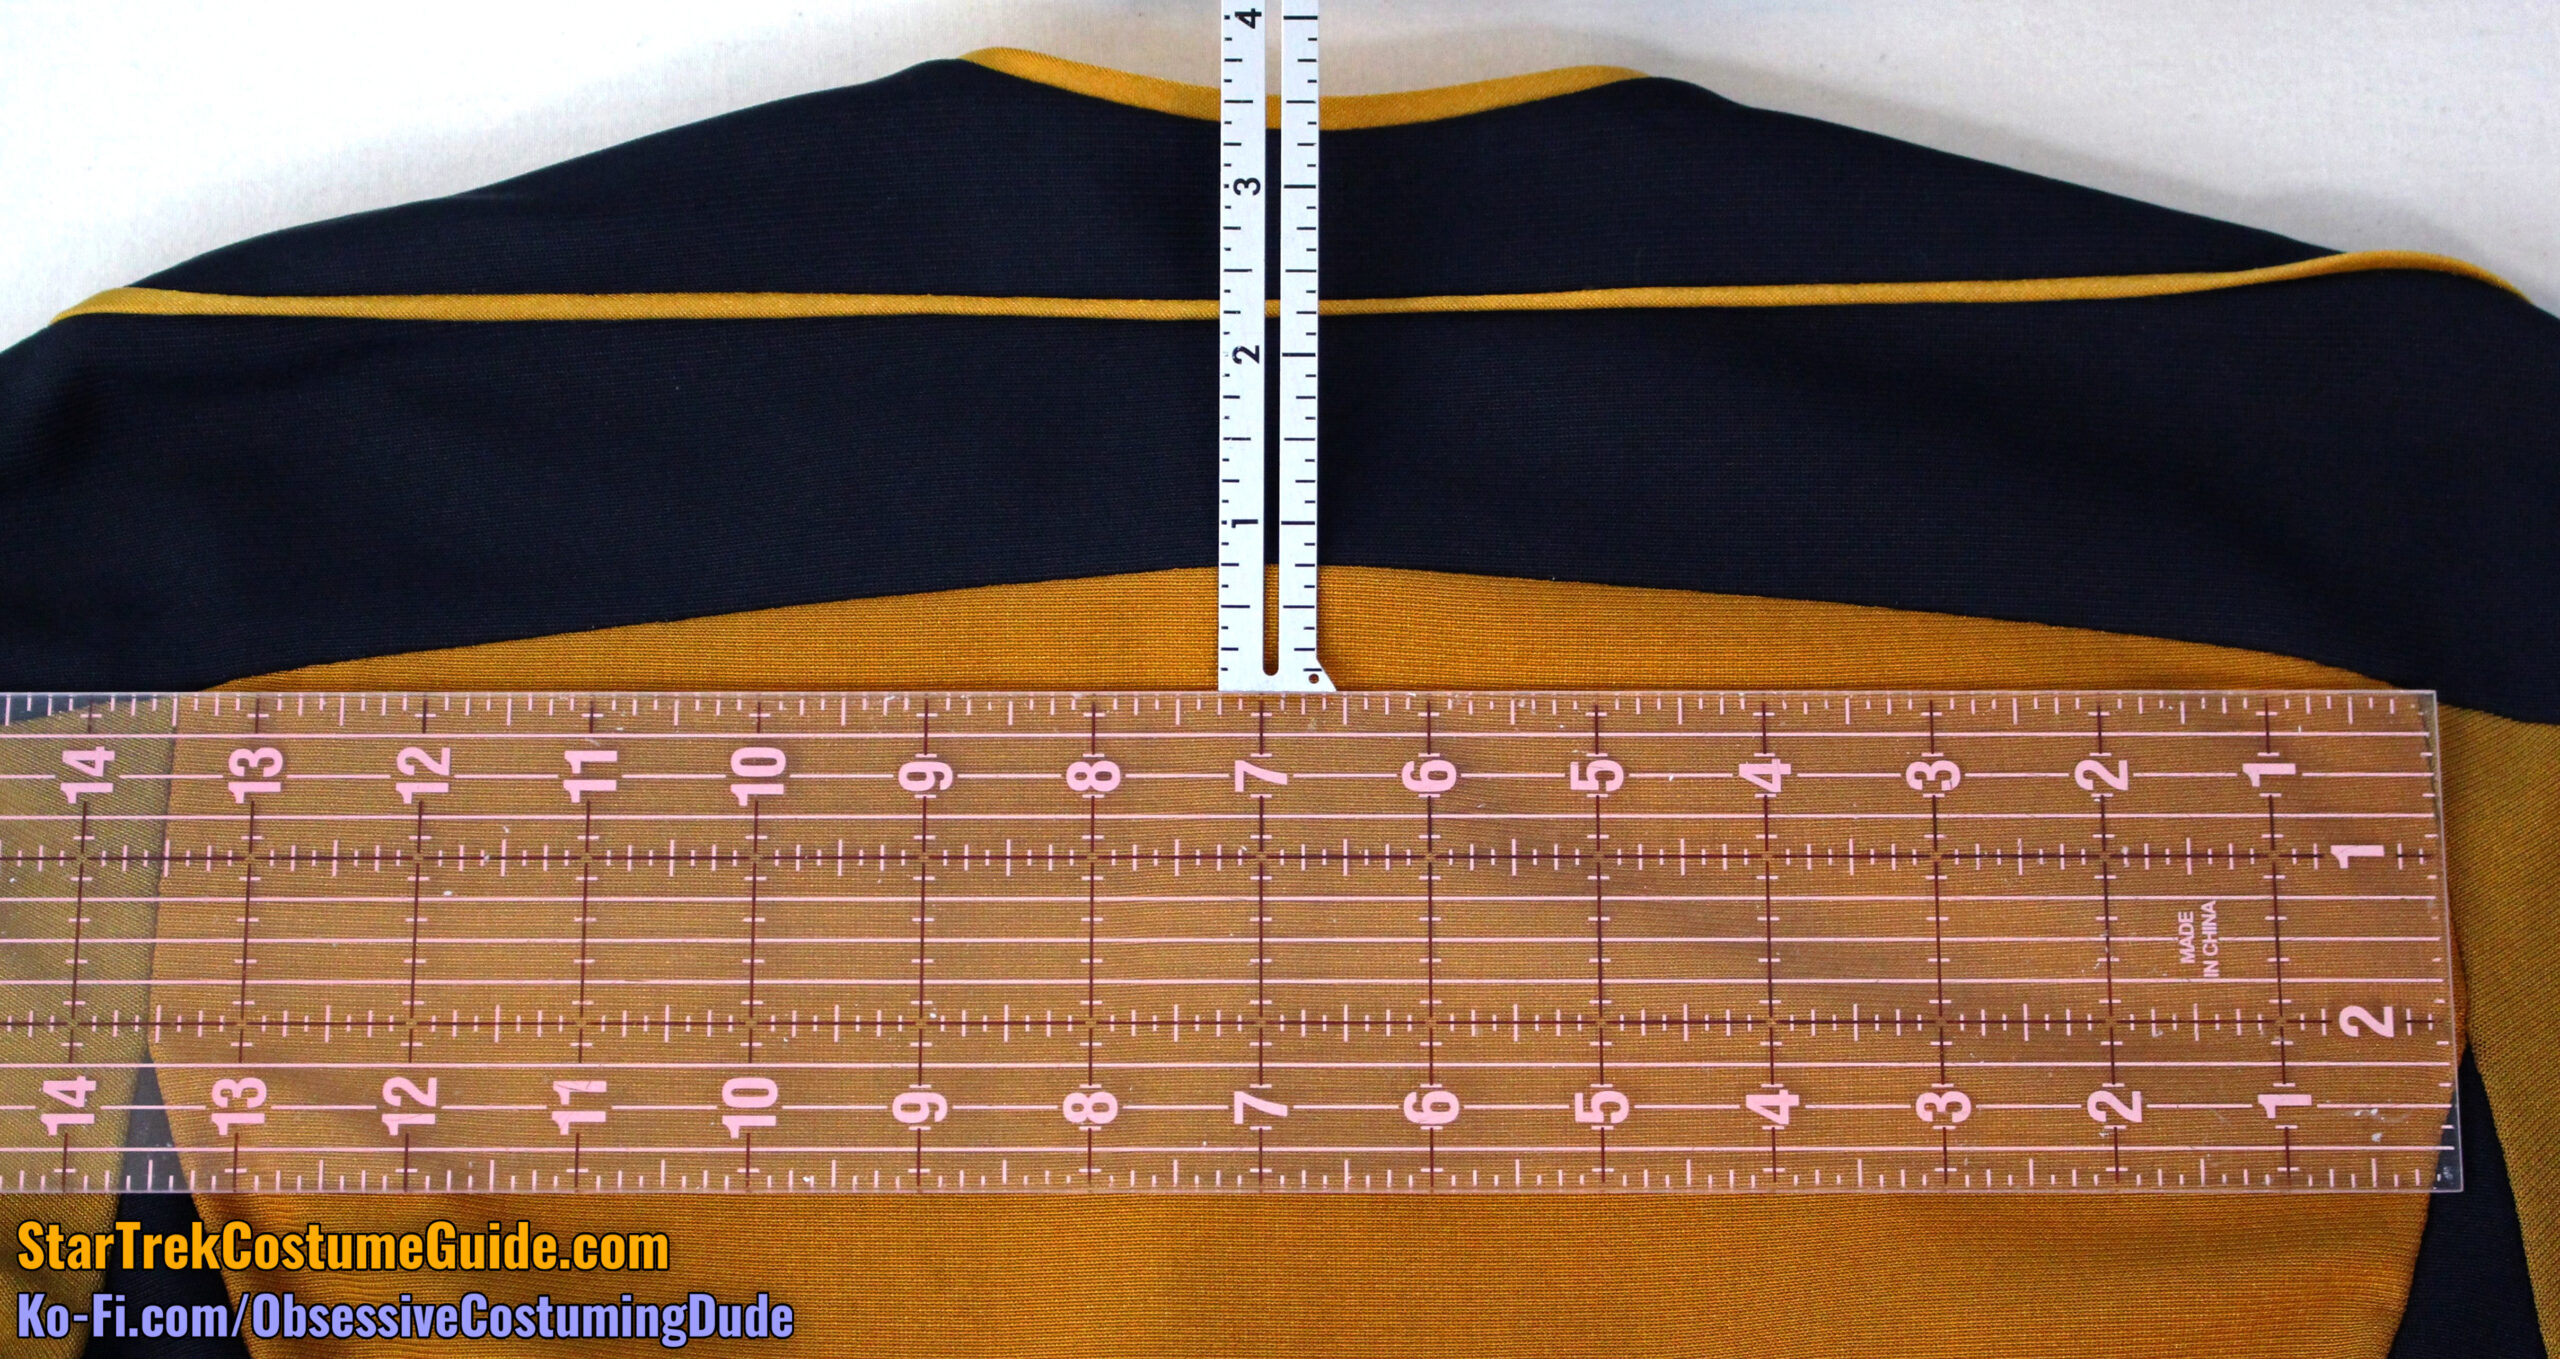
The back yoke was 2 ⅞” deep at the center back (sans neckline trim).
The upper yoke was 1 ⅛” deep, and the lower yoke was 1 ¾” deep (including the yoke piping).
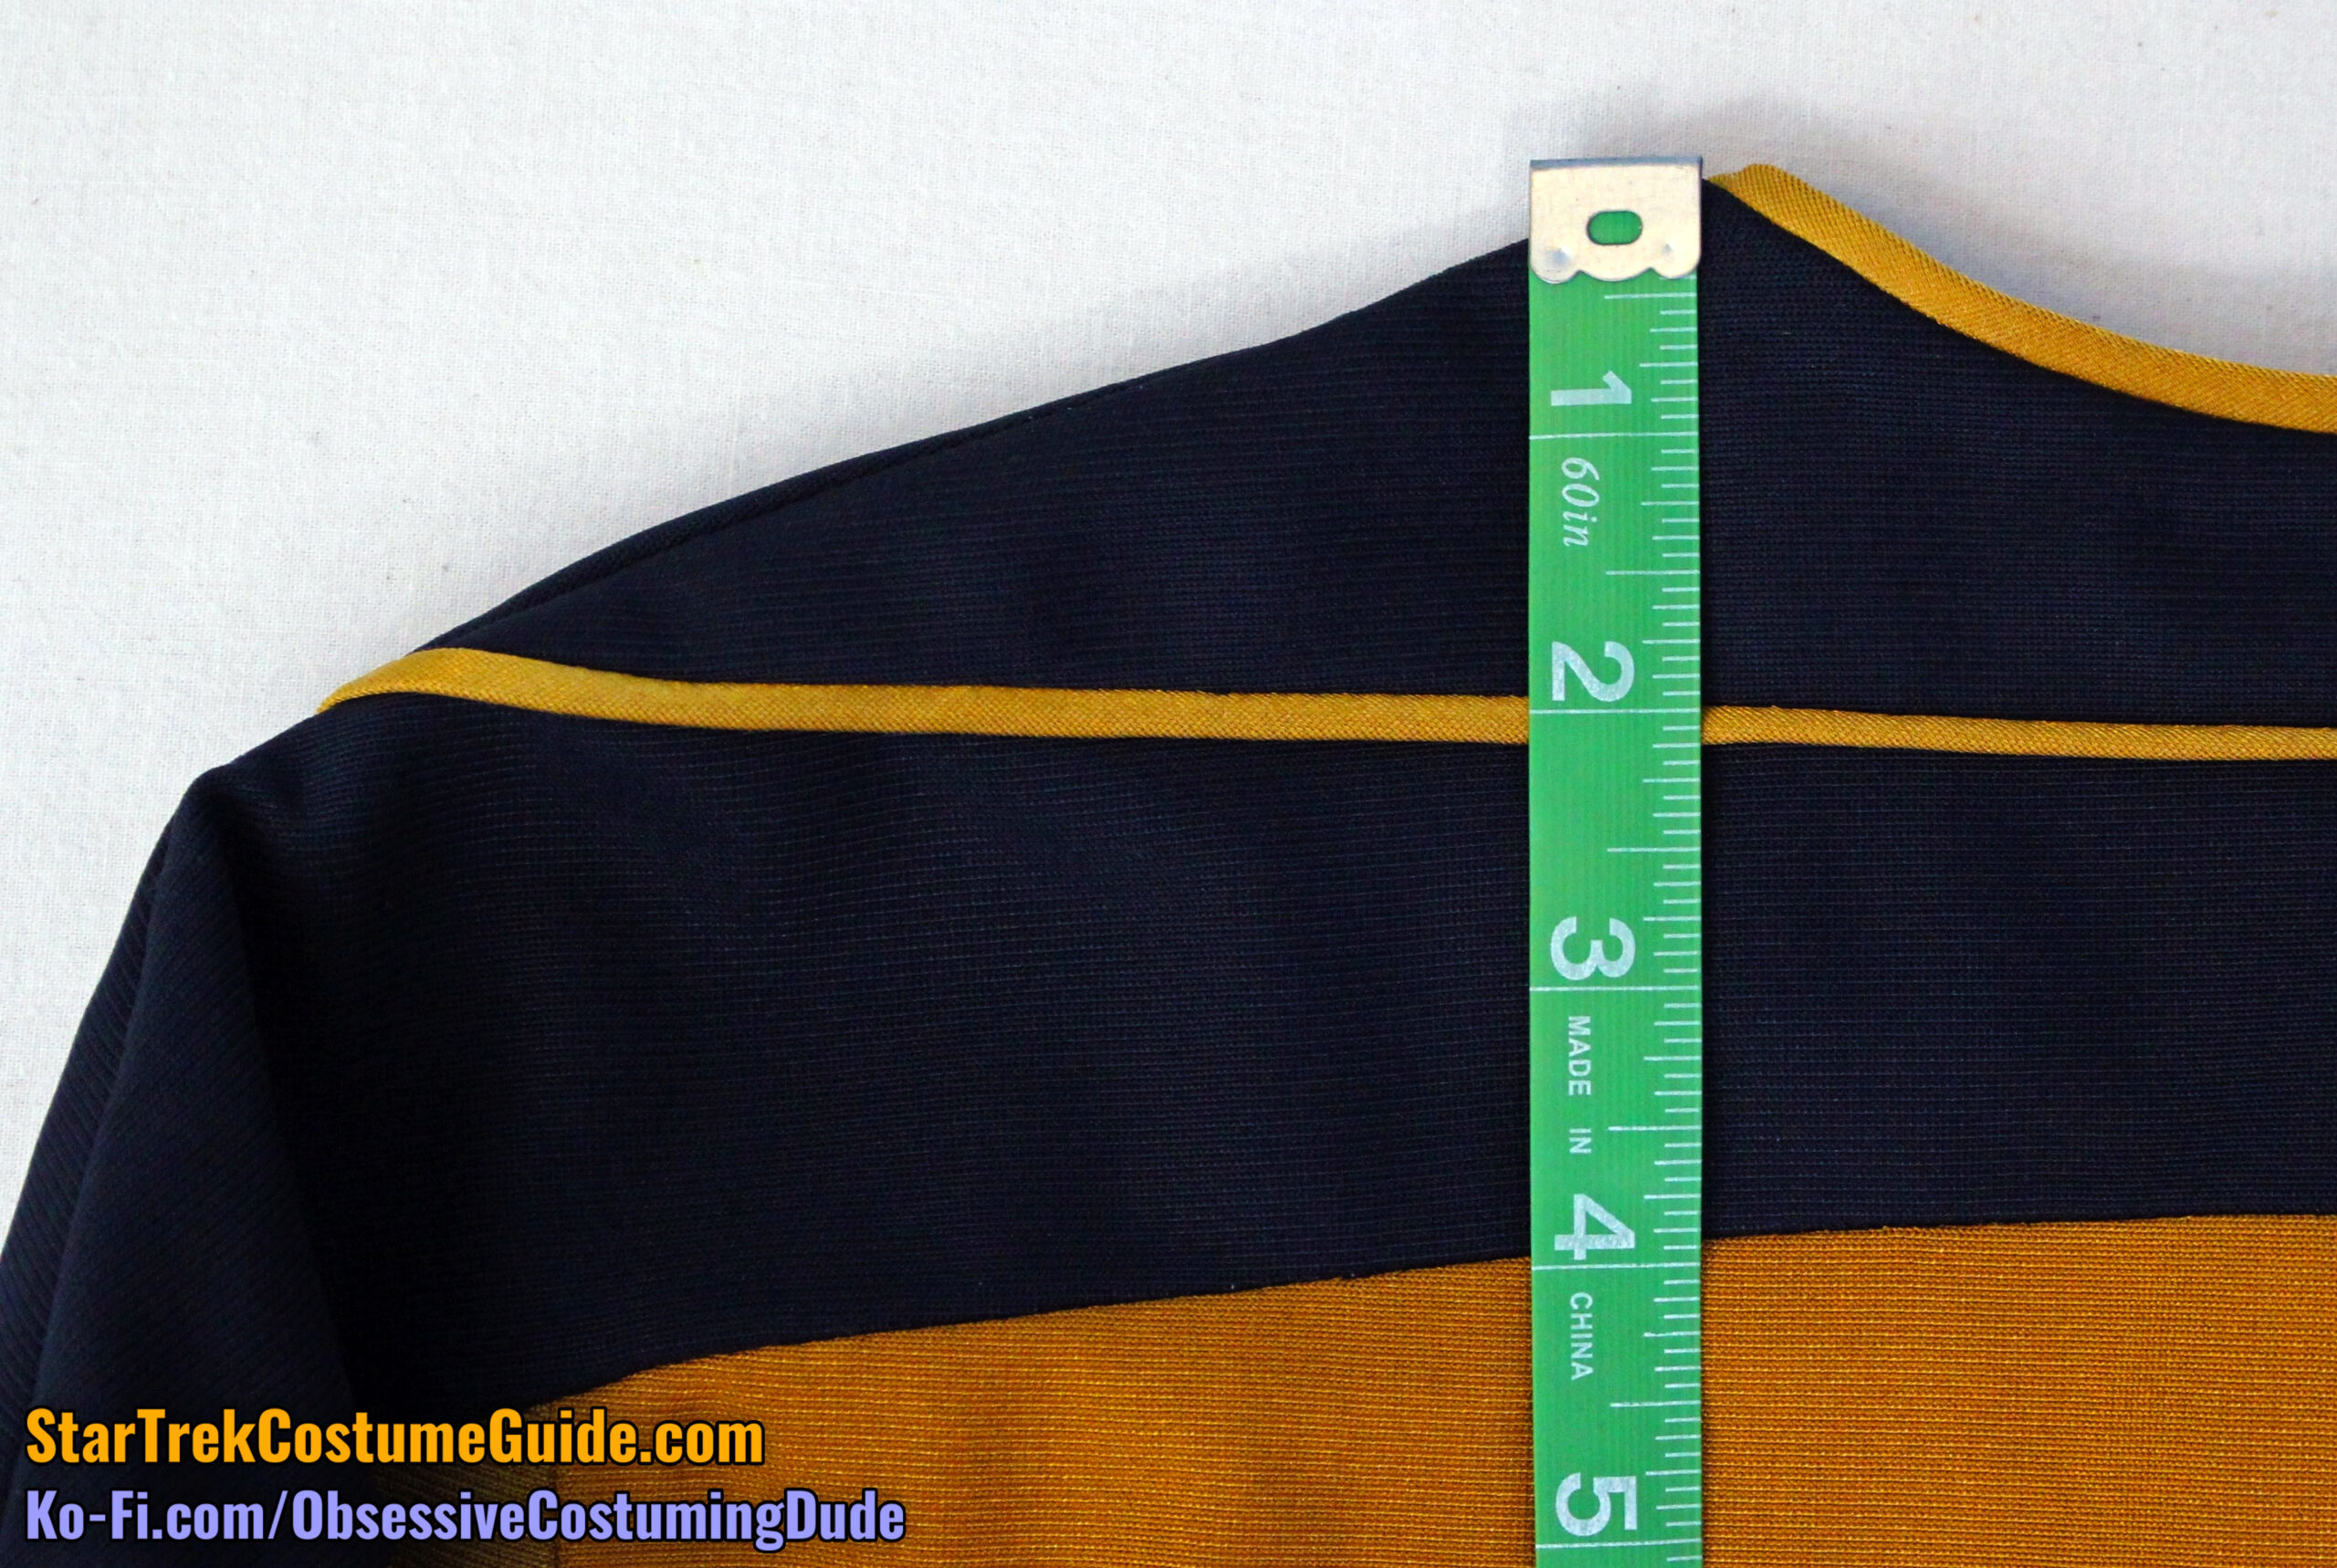
The back yoke was 3 ⅞” deep at the shoulder seam.
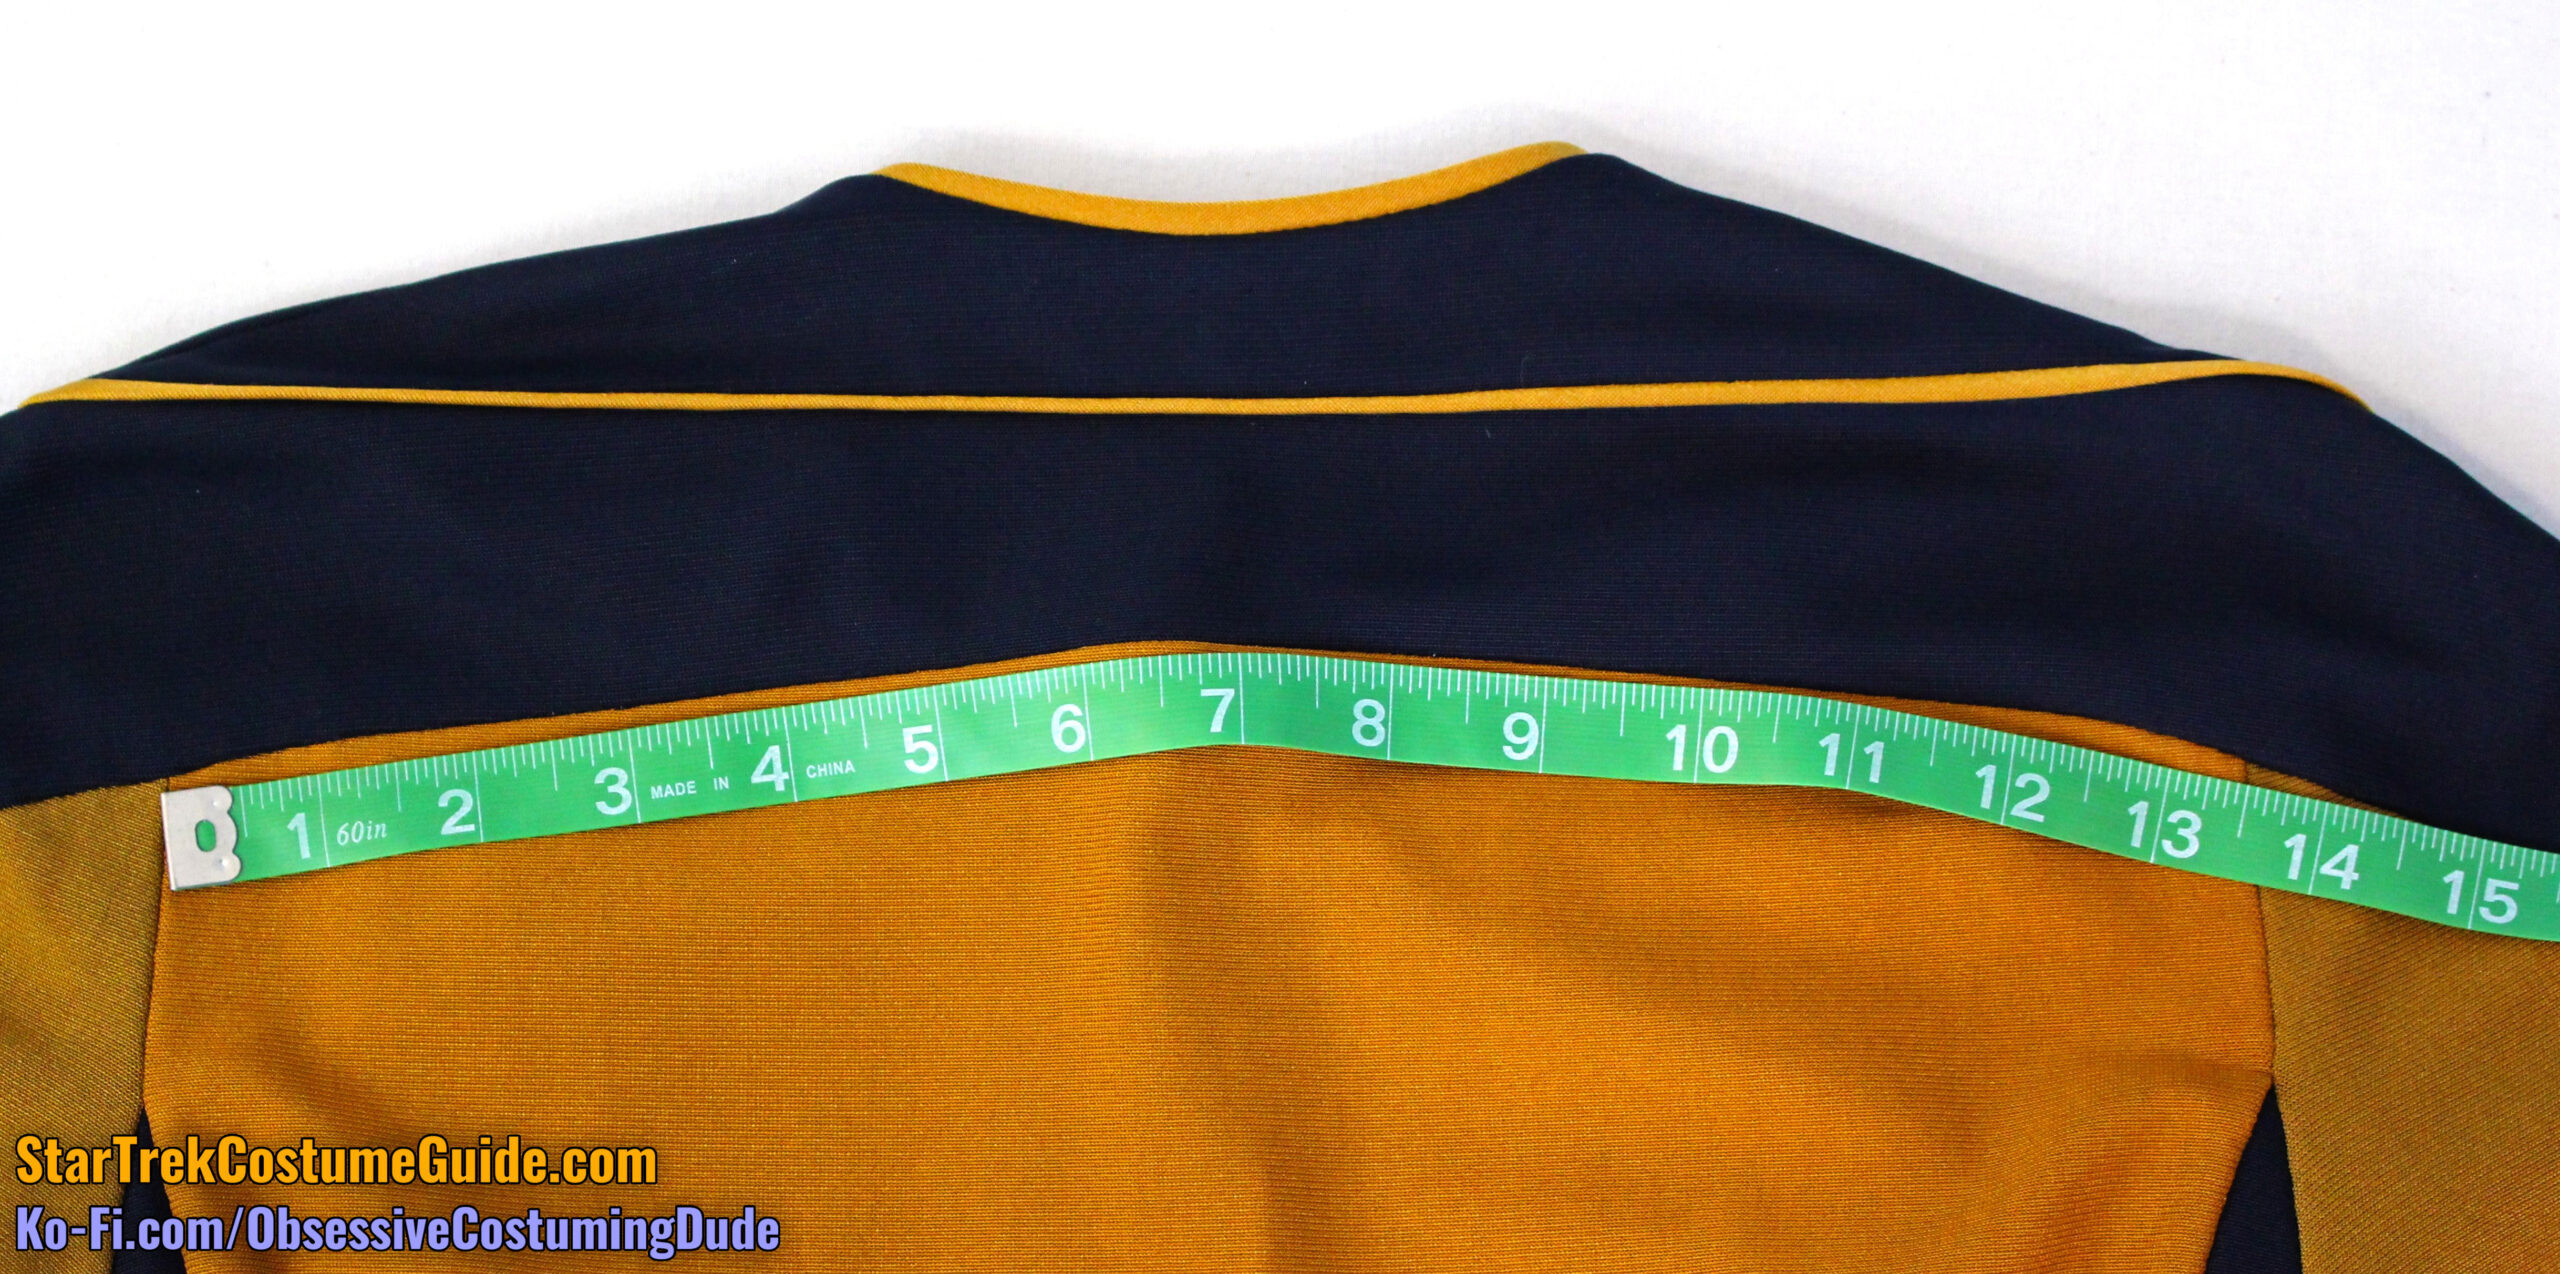
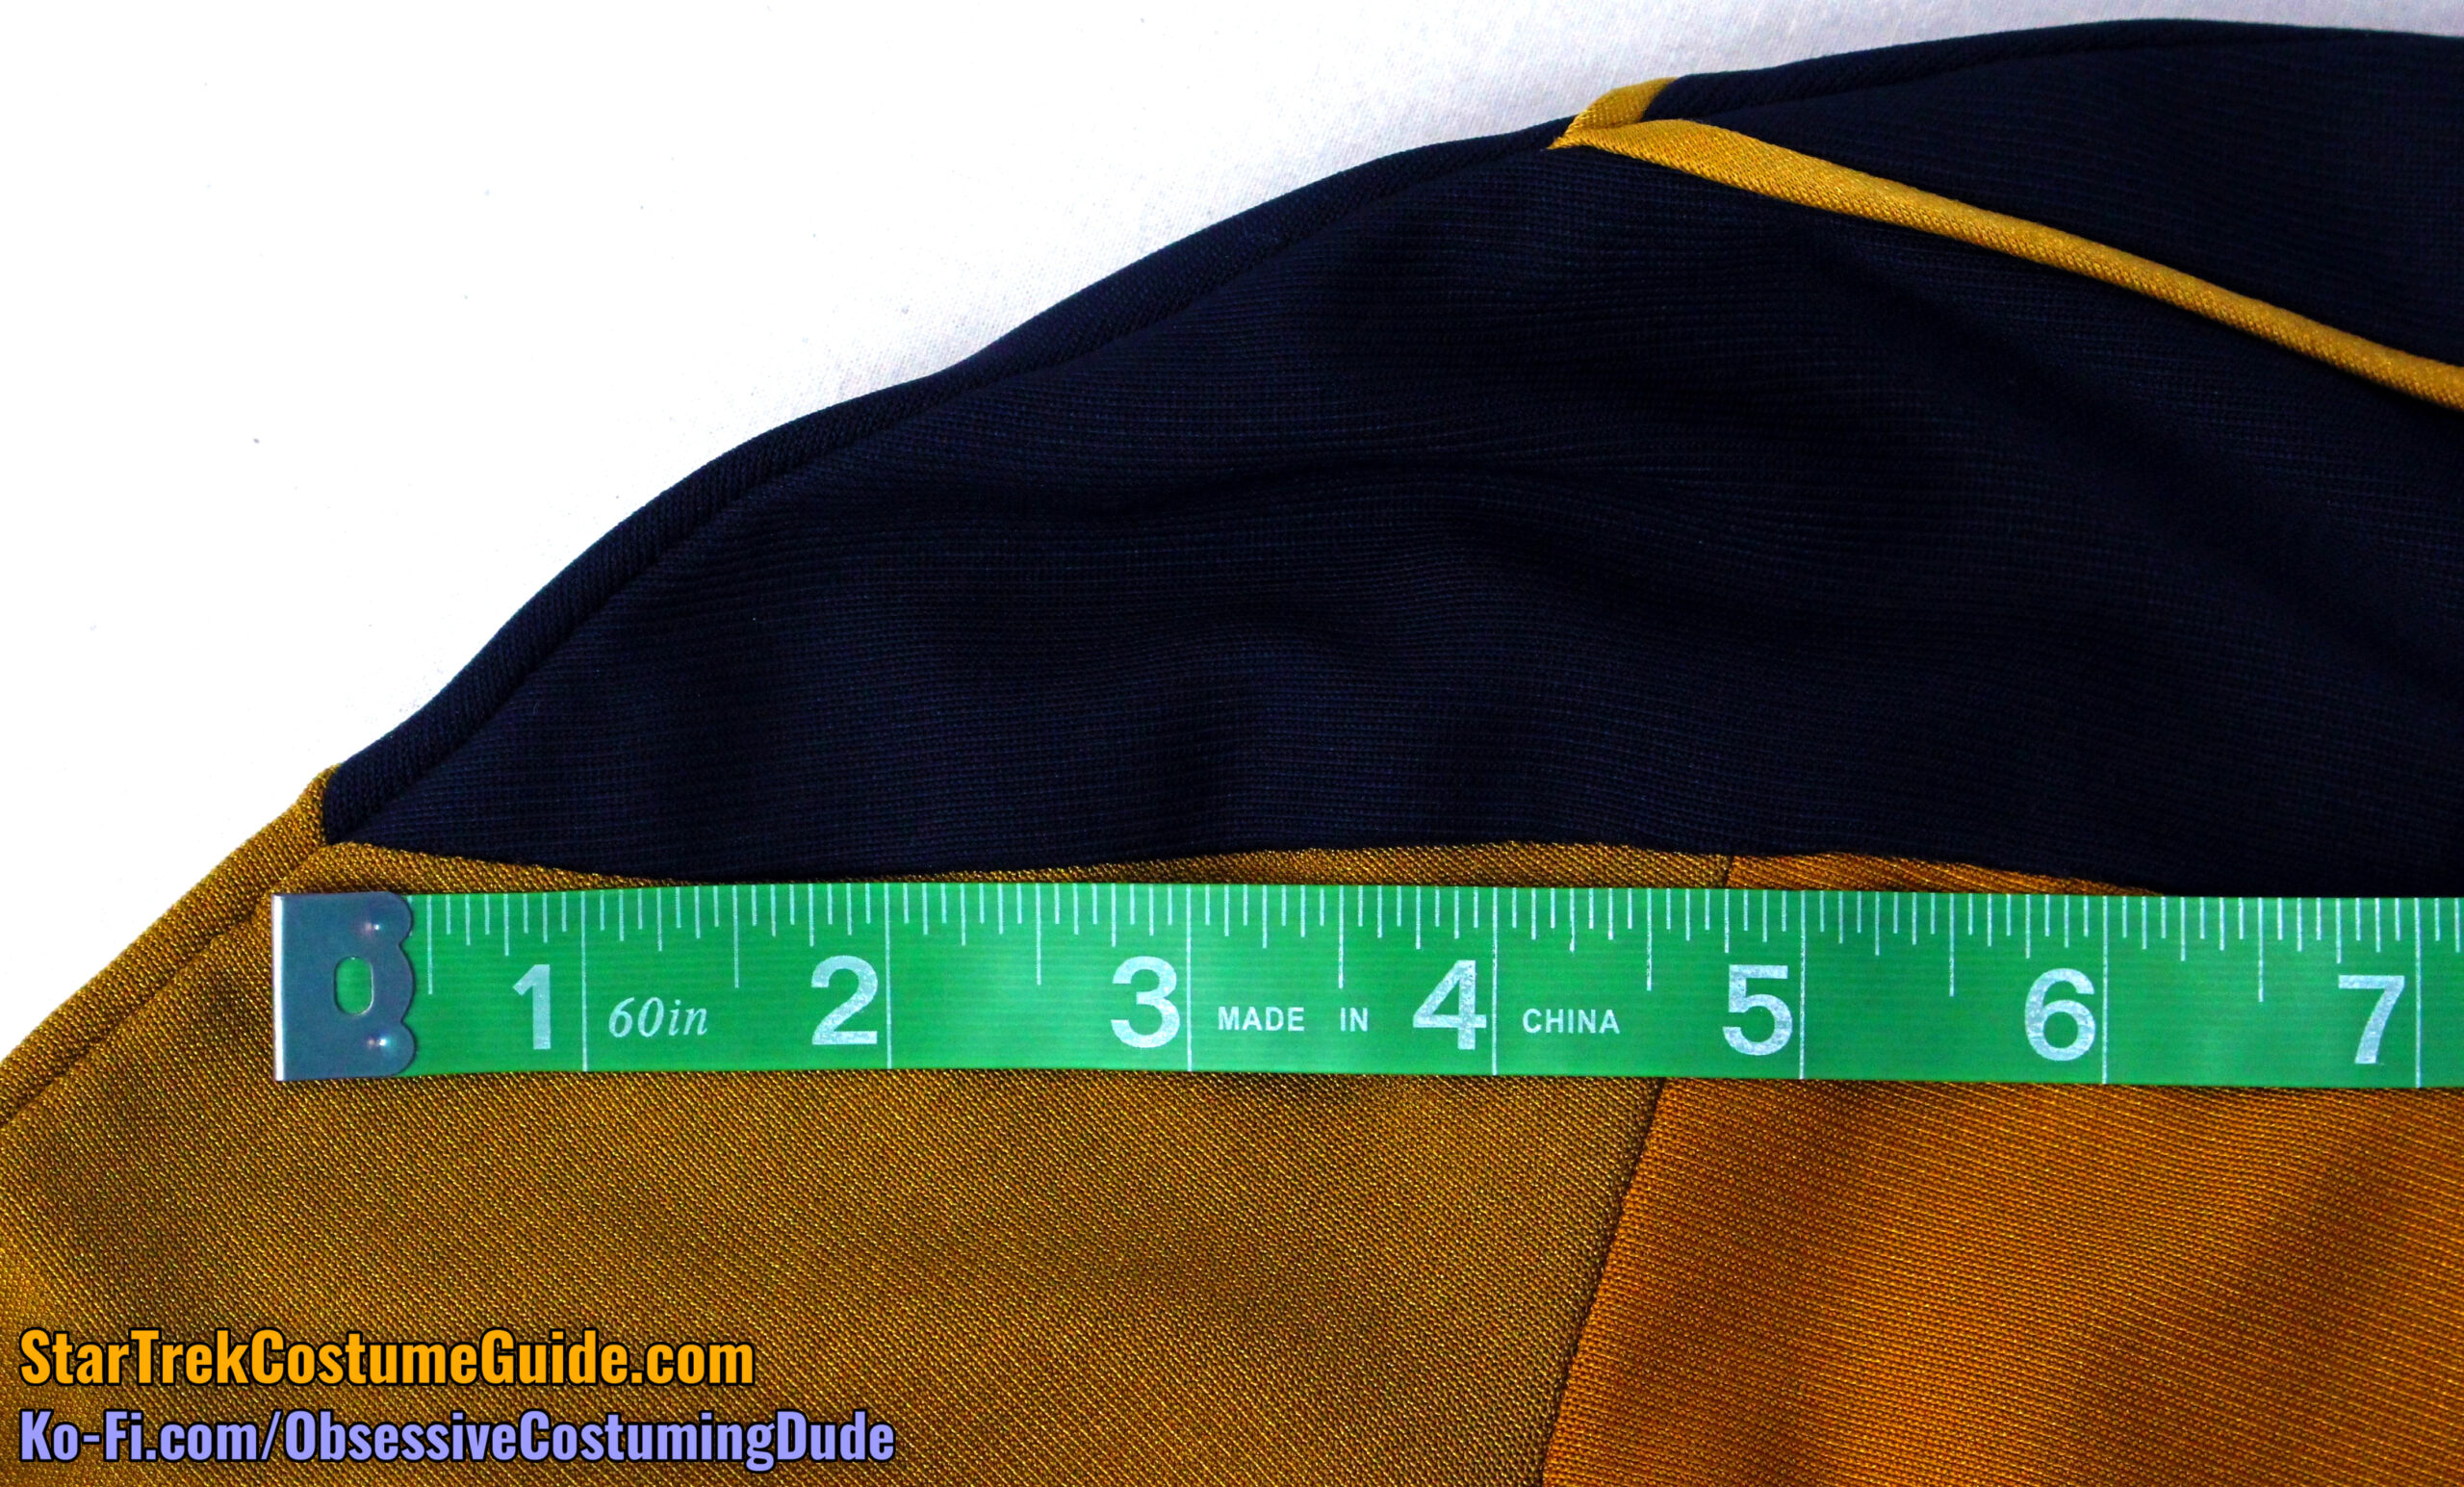
The lower back yoke seam line was 23” total.
Of this total seam line, 13 ½” was allocated to the upper back body, and 4 ¾” extended onto each of the upper back sleeves.
Like the front, the lower edge of the back yoke seam also curved downward.
And again using the jumbo spandex “weave” as a reference, we can see that the back yoke curved downward ¾” from center back to the armscye seams.
From the armscye, the back yoke continued to curve downward an additional ¼” to the lower/outer corners.
However, these curved seam lines were actually fitted!
In other words, they weren’t just “drawn onto” a flat pattern base; these seams were cinched in a bit and actually functioned like darts in that regard.
The upper front body panels curved downward as well, but only ¼” from center front to armscye. (The bust darts pulled the upper edge into a steeper curve.)
The right side front seam was 2 ½” below the yoke at the armscye, but the left side front seam was only 2 ¼” lower.
The center front/zipper seam was 10 ¼” long, measured from the lower yoke seam to the asymmetrical “wedge” insert.
The right front lower seam line was 4 ¾” long, with approximately 1 ½” upward slant.
The lower left front seam lines were 3 ½” and 2 ⅜”.
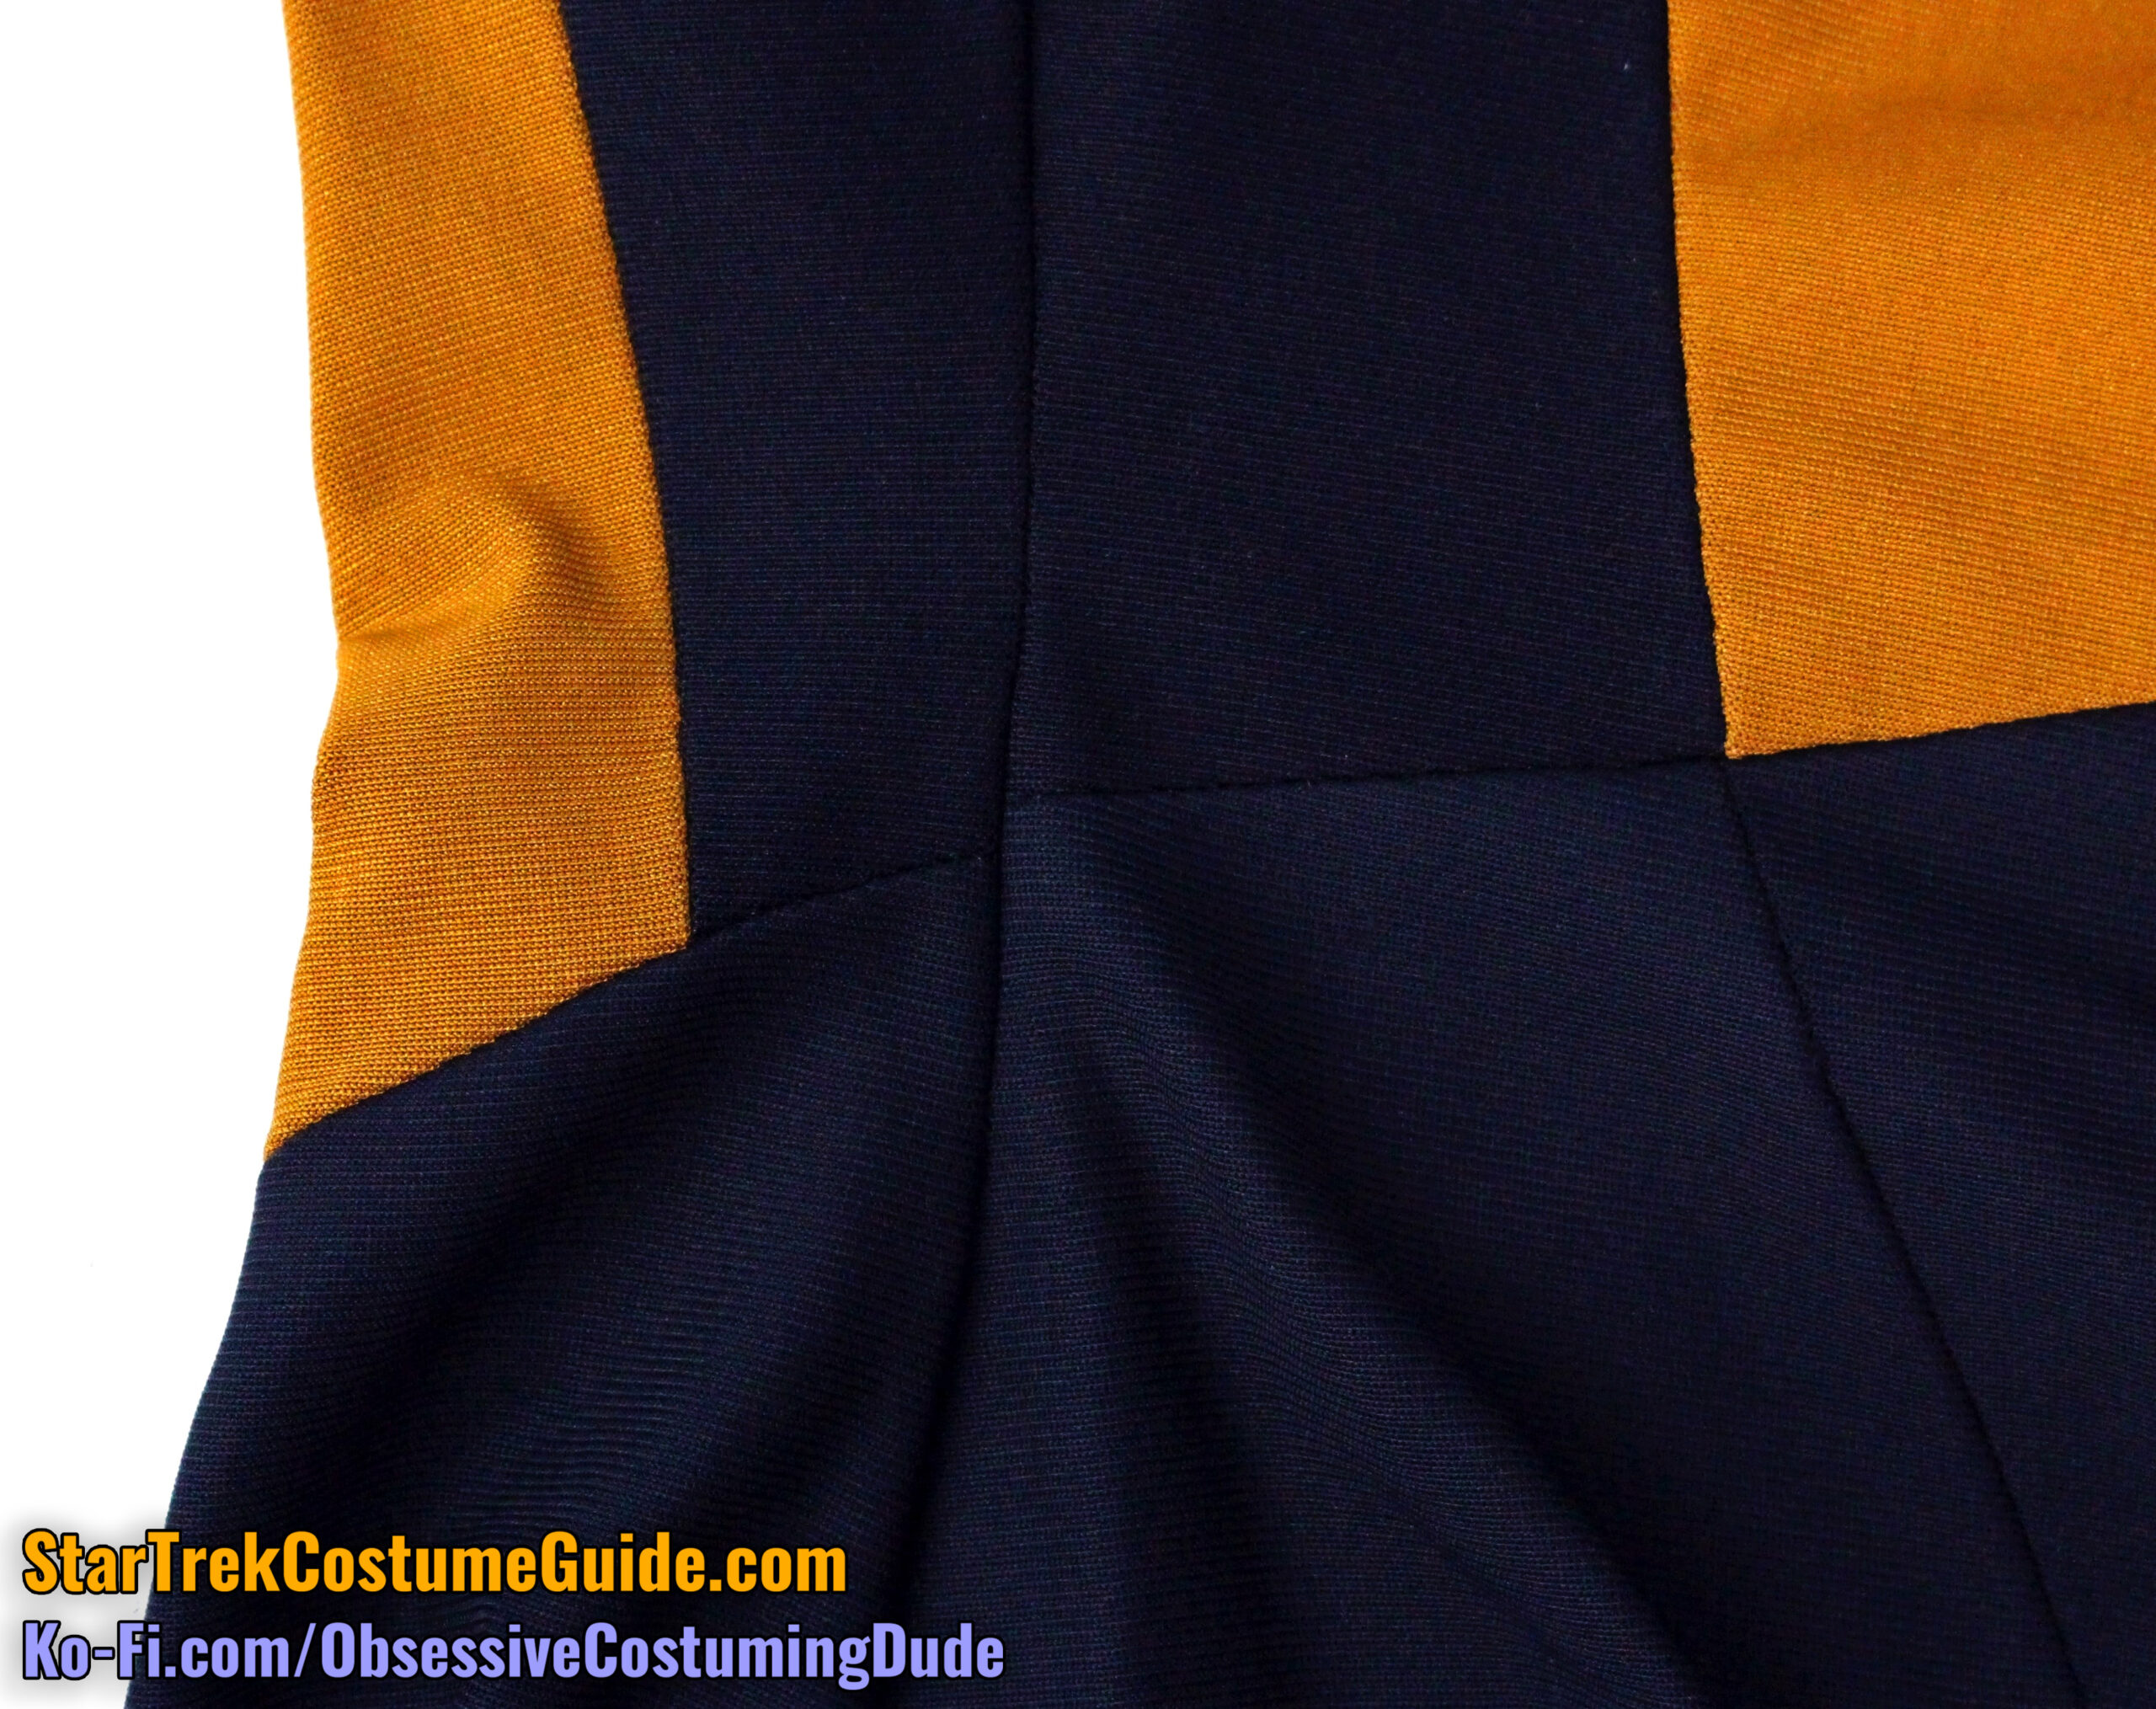
However, I believe that outer (2 ⅜”) seam line may have originally intended to be 2 ½”; observe how the seam lines all properly intersect on the right side of the jumpsuit but are just a hair “off” on the left side:
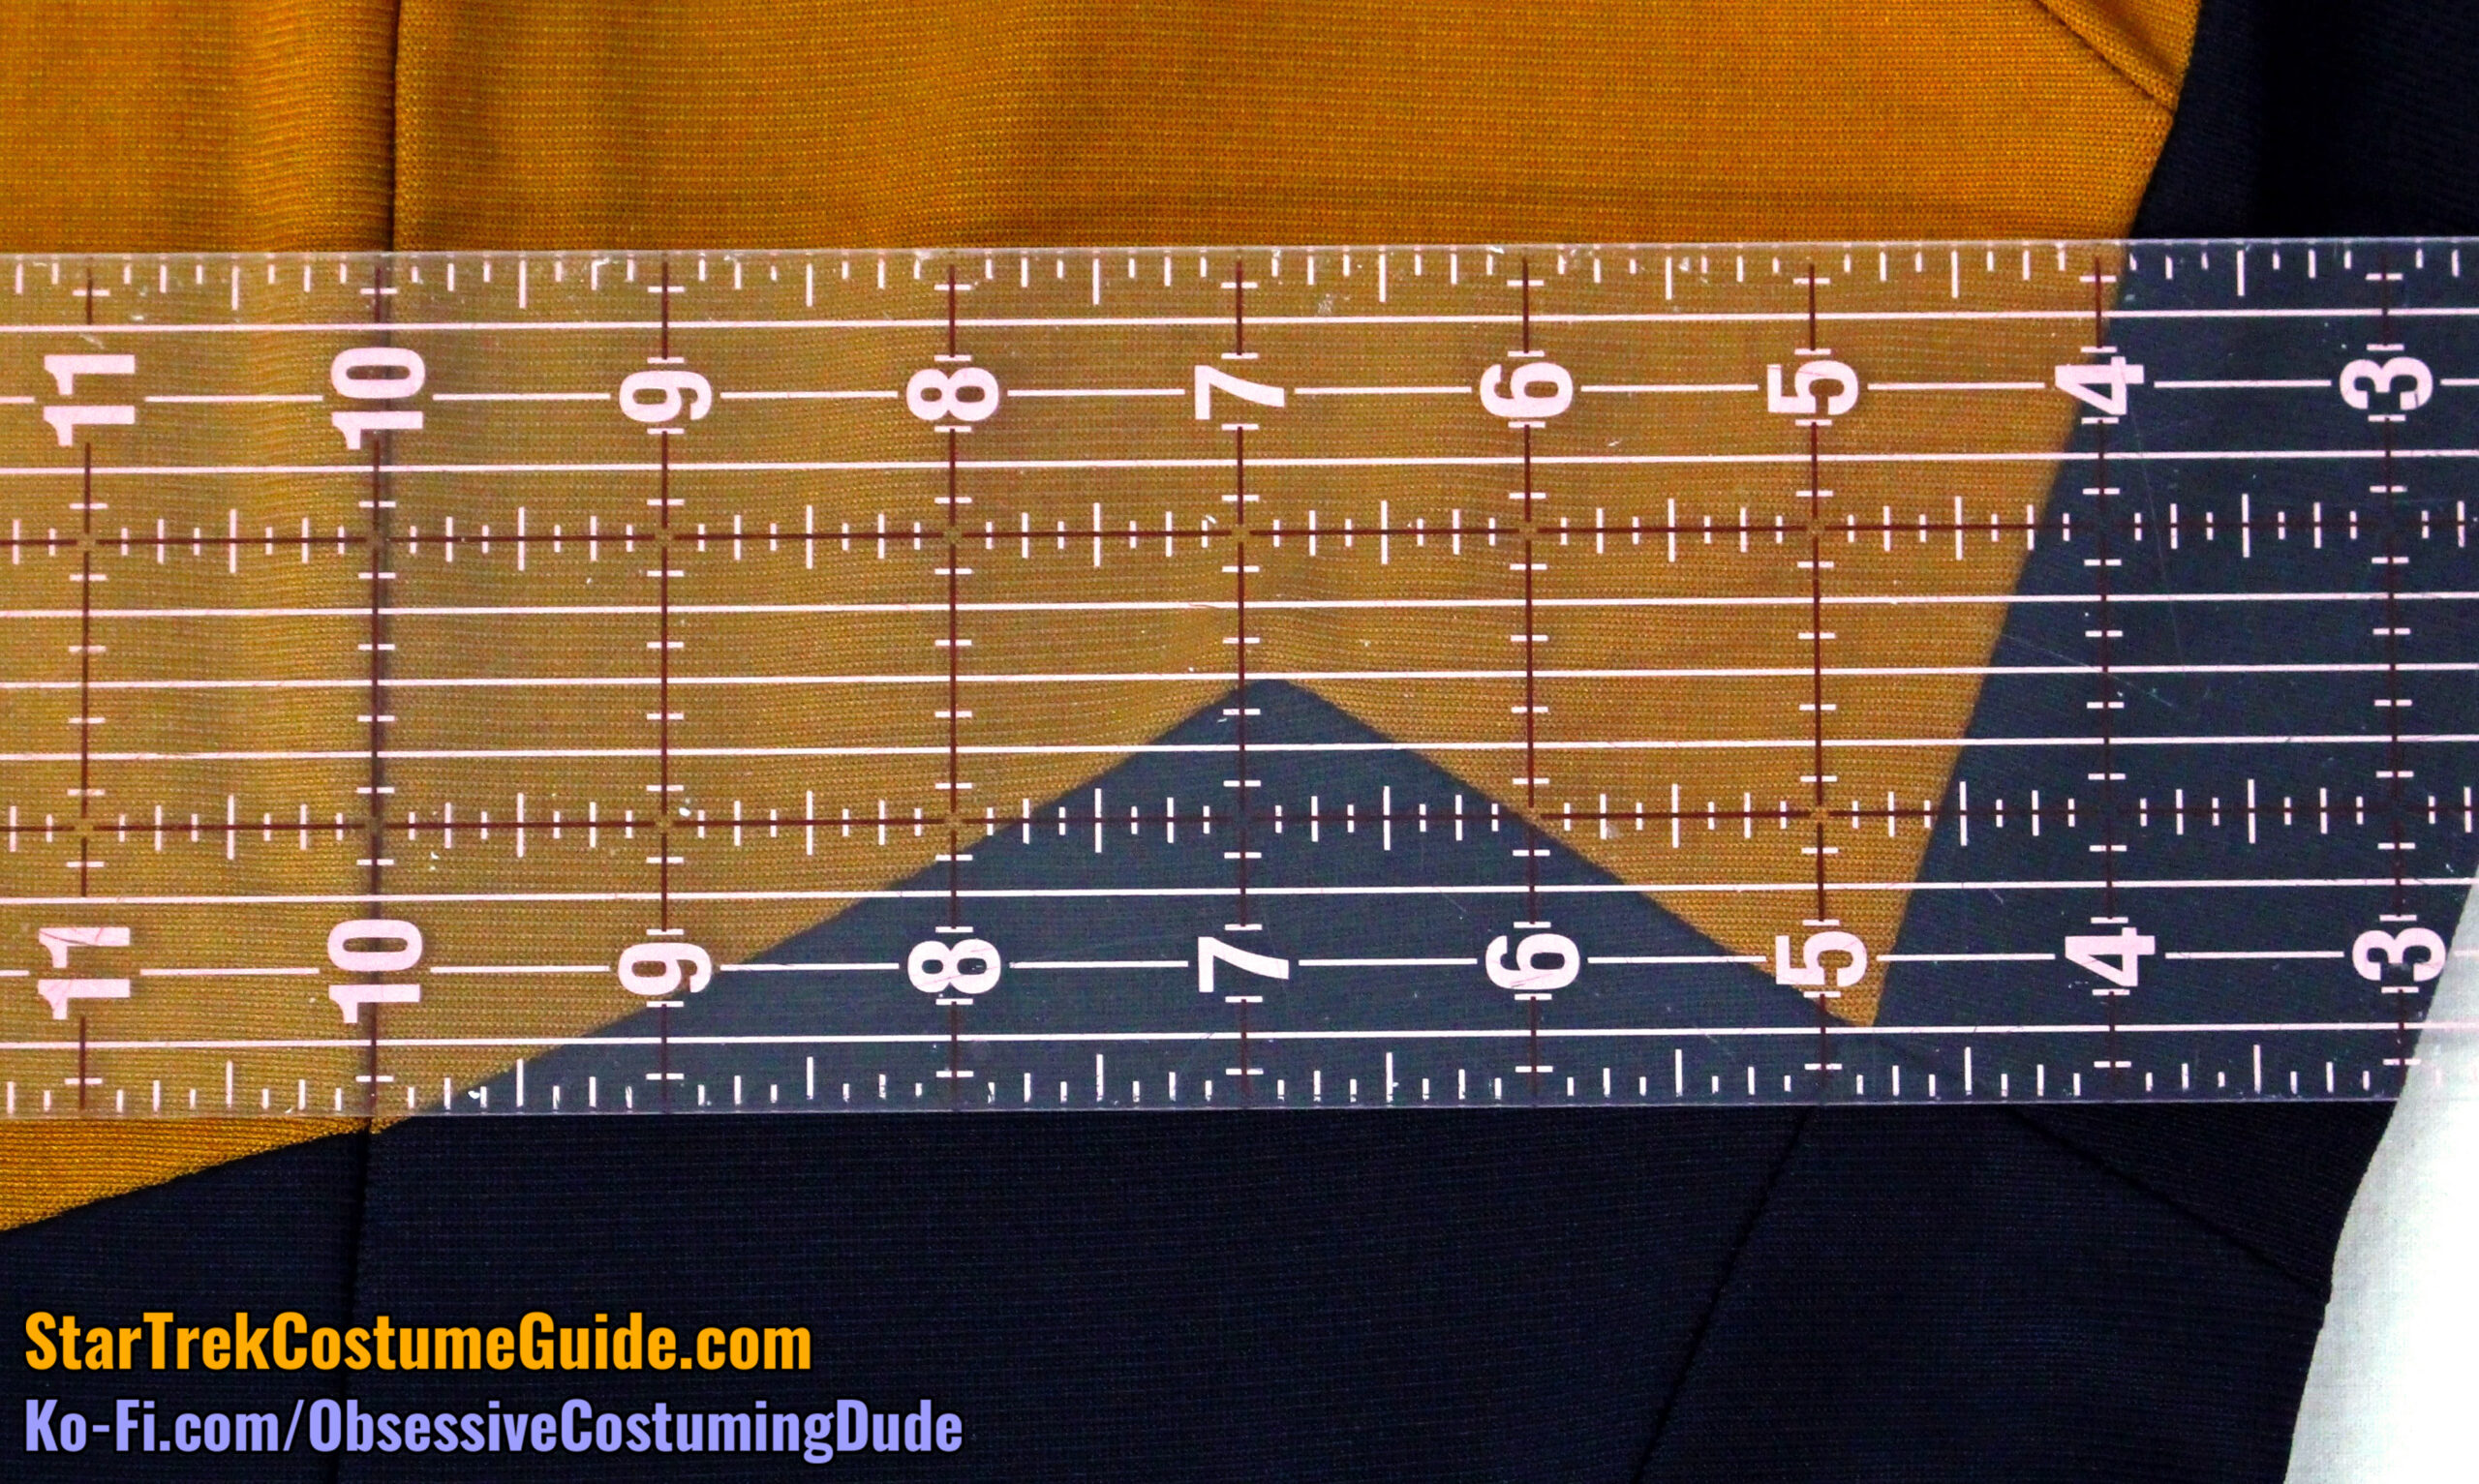
Nevertheless, this wedge-shaped insert slanted upward 1 ½” away from center, then downward 1 ¼” toward the side front seam.
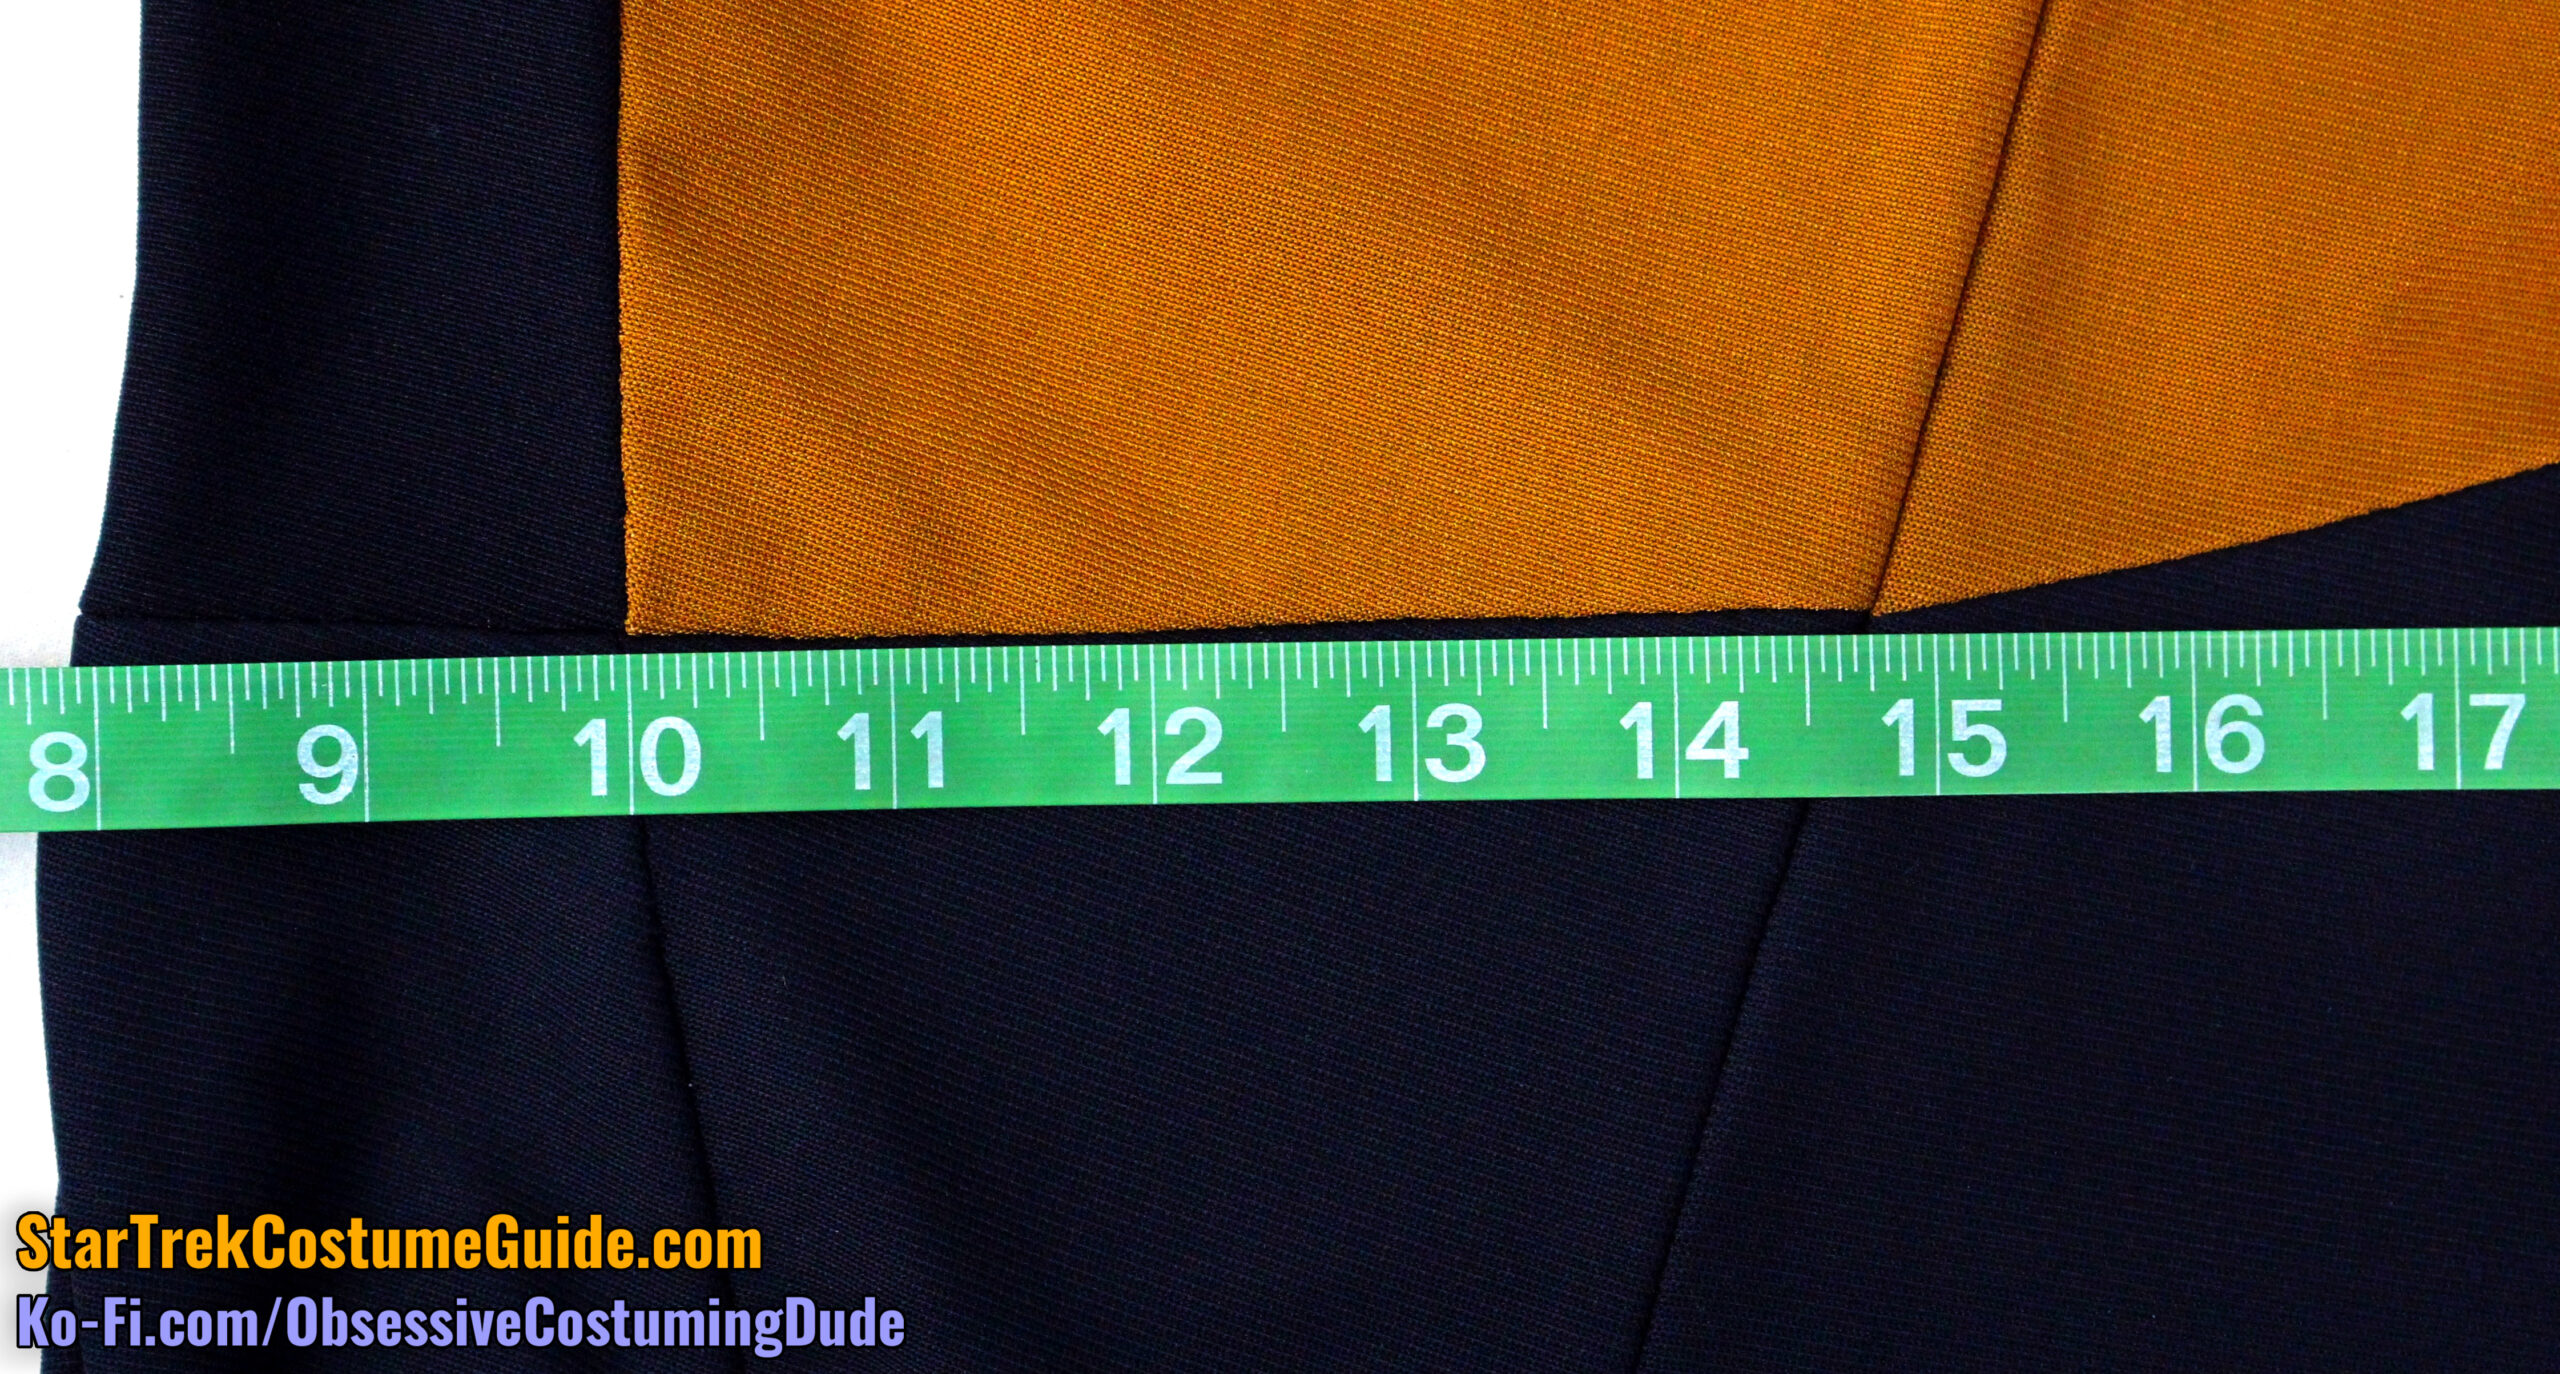
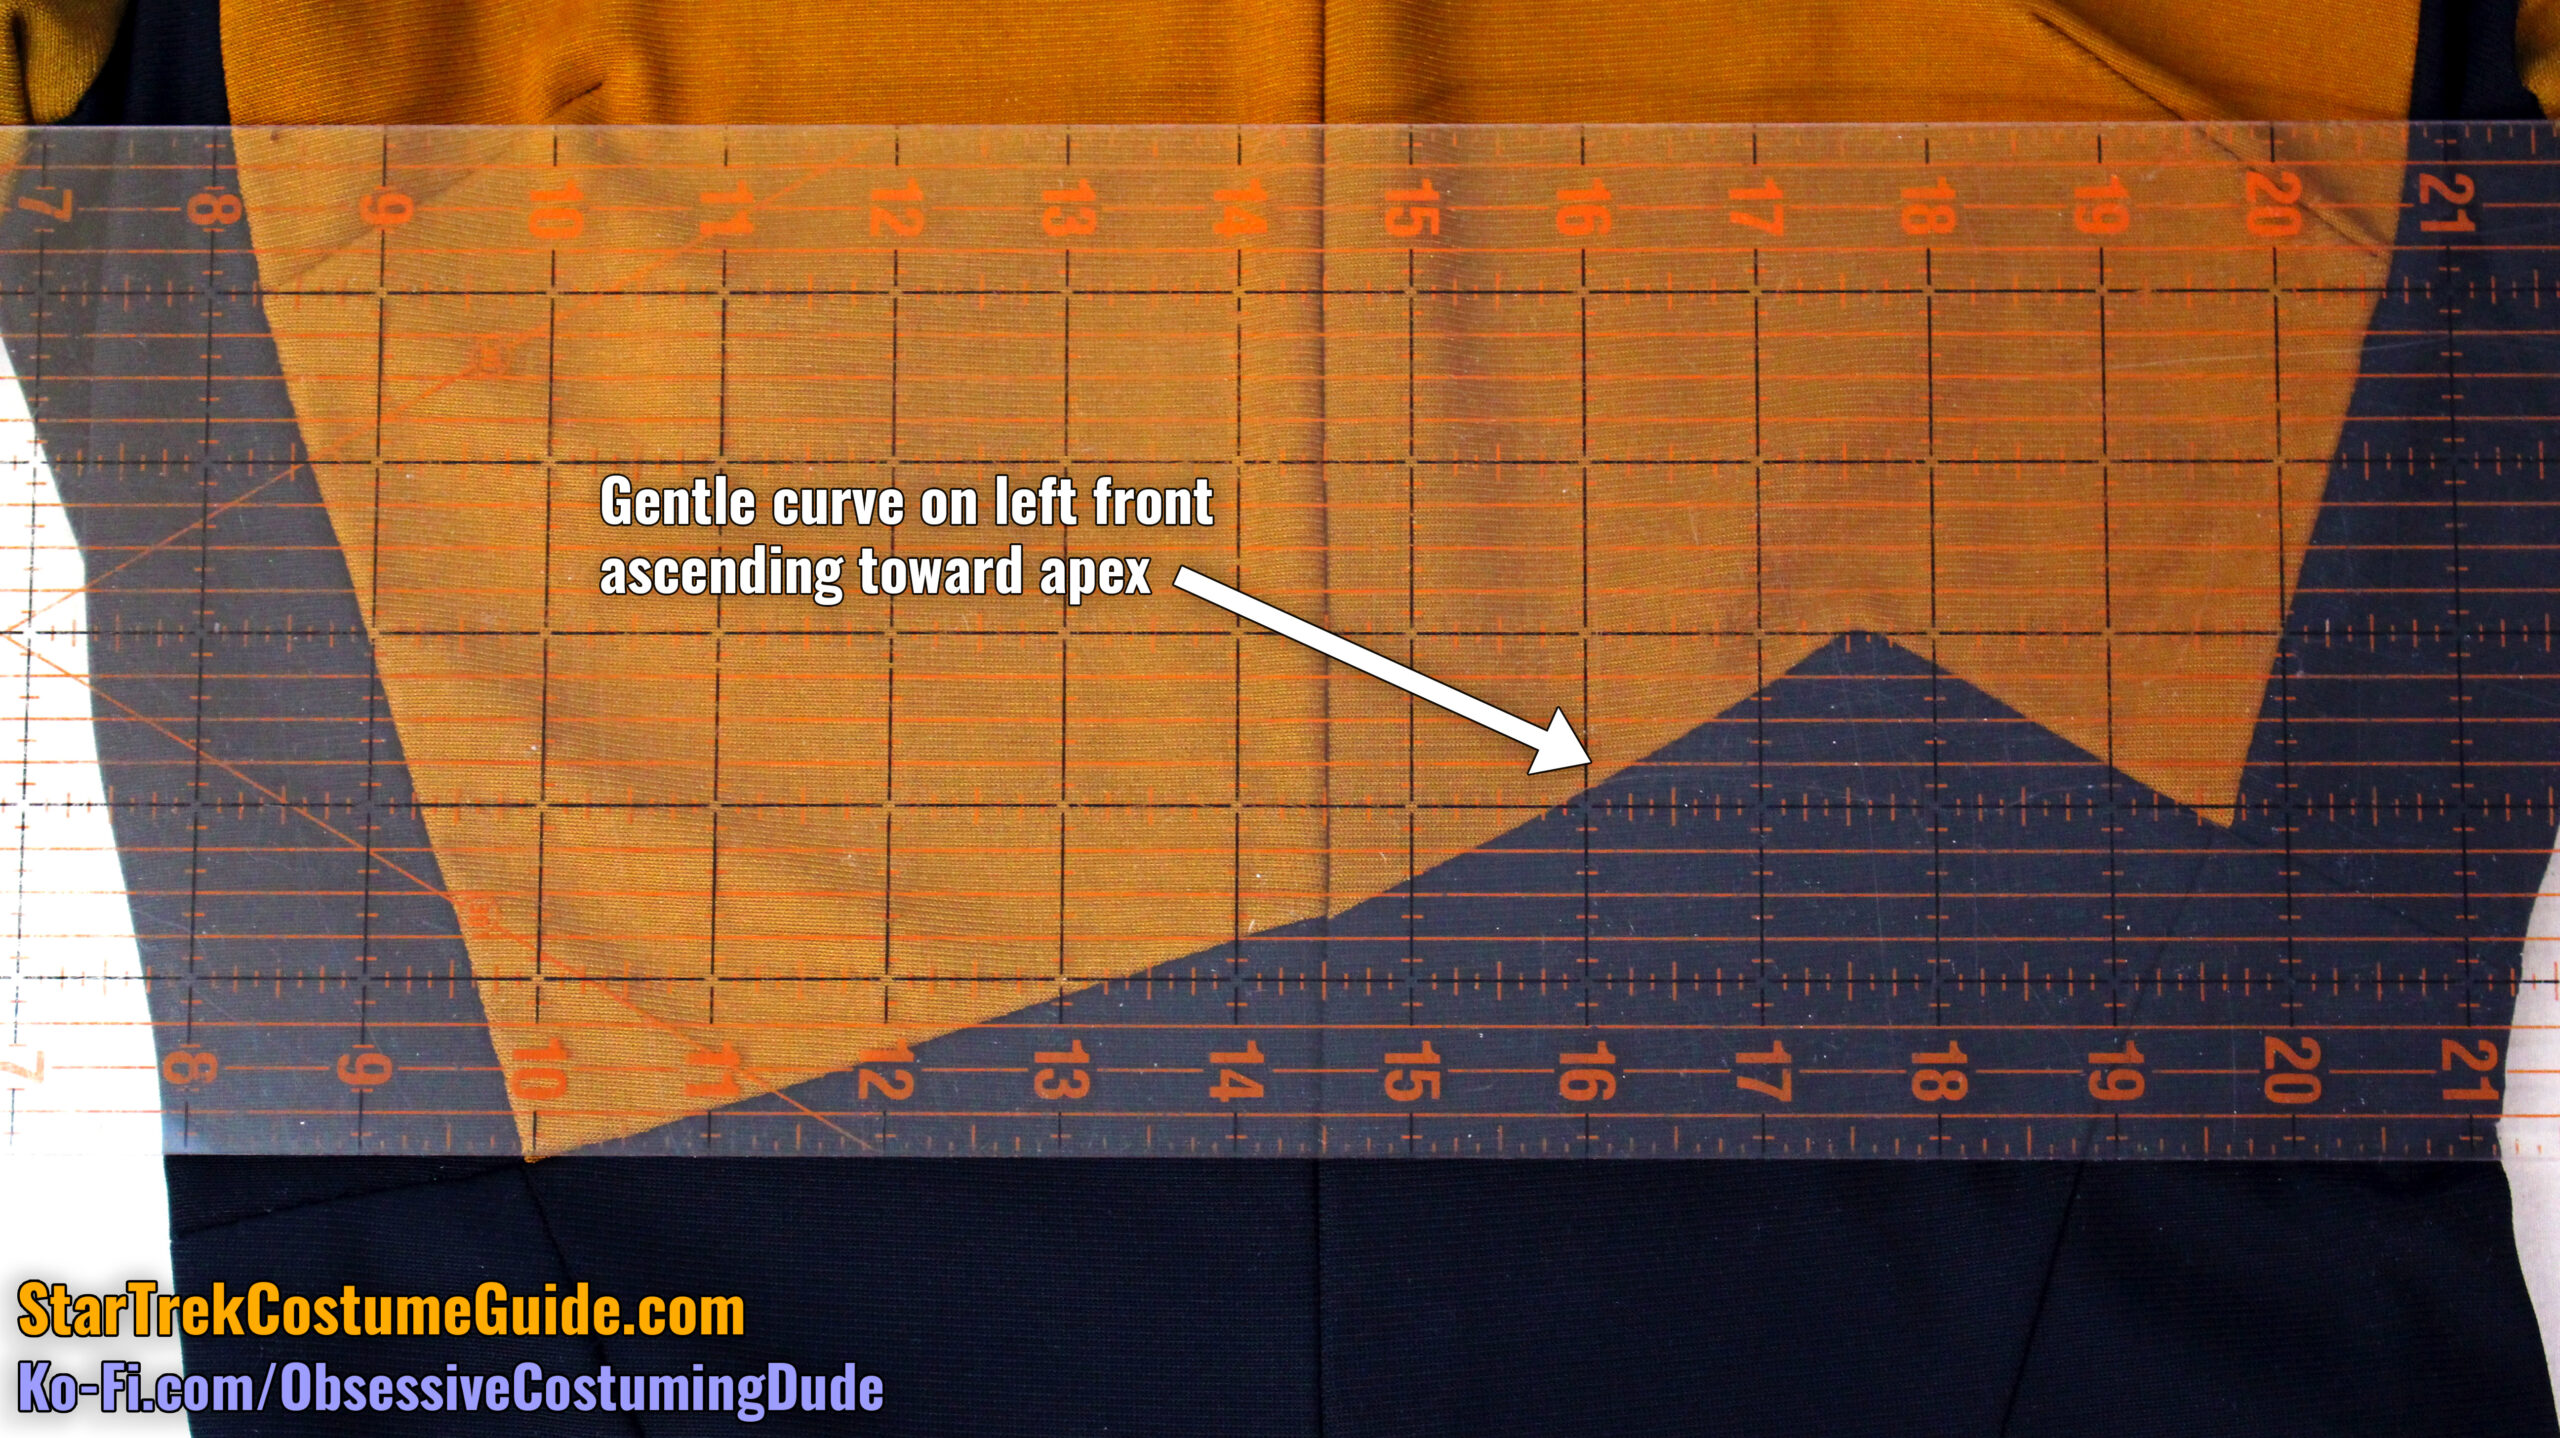
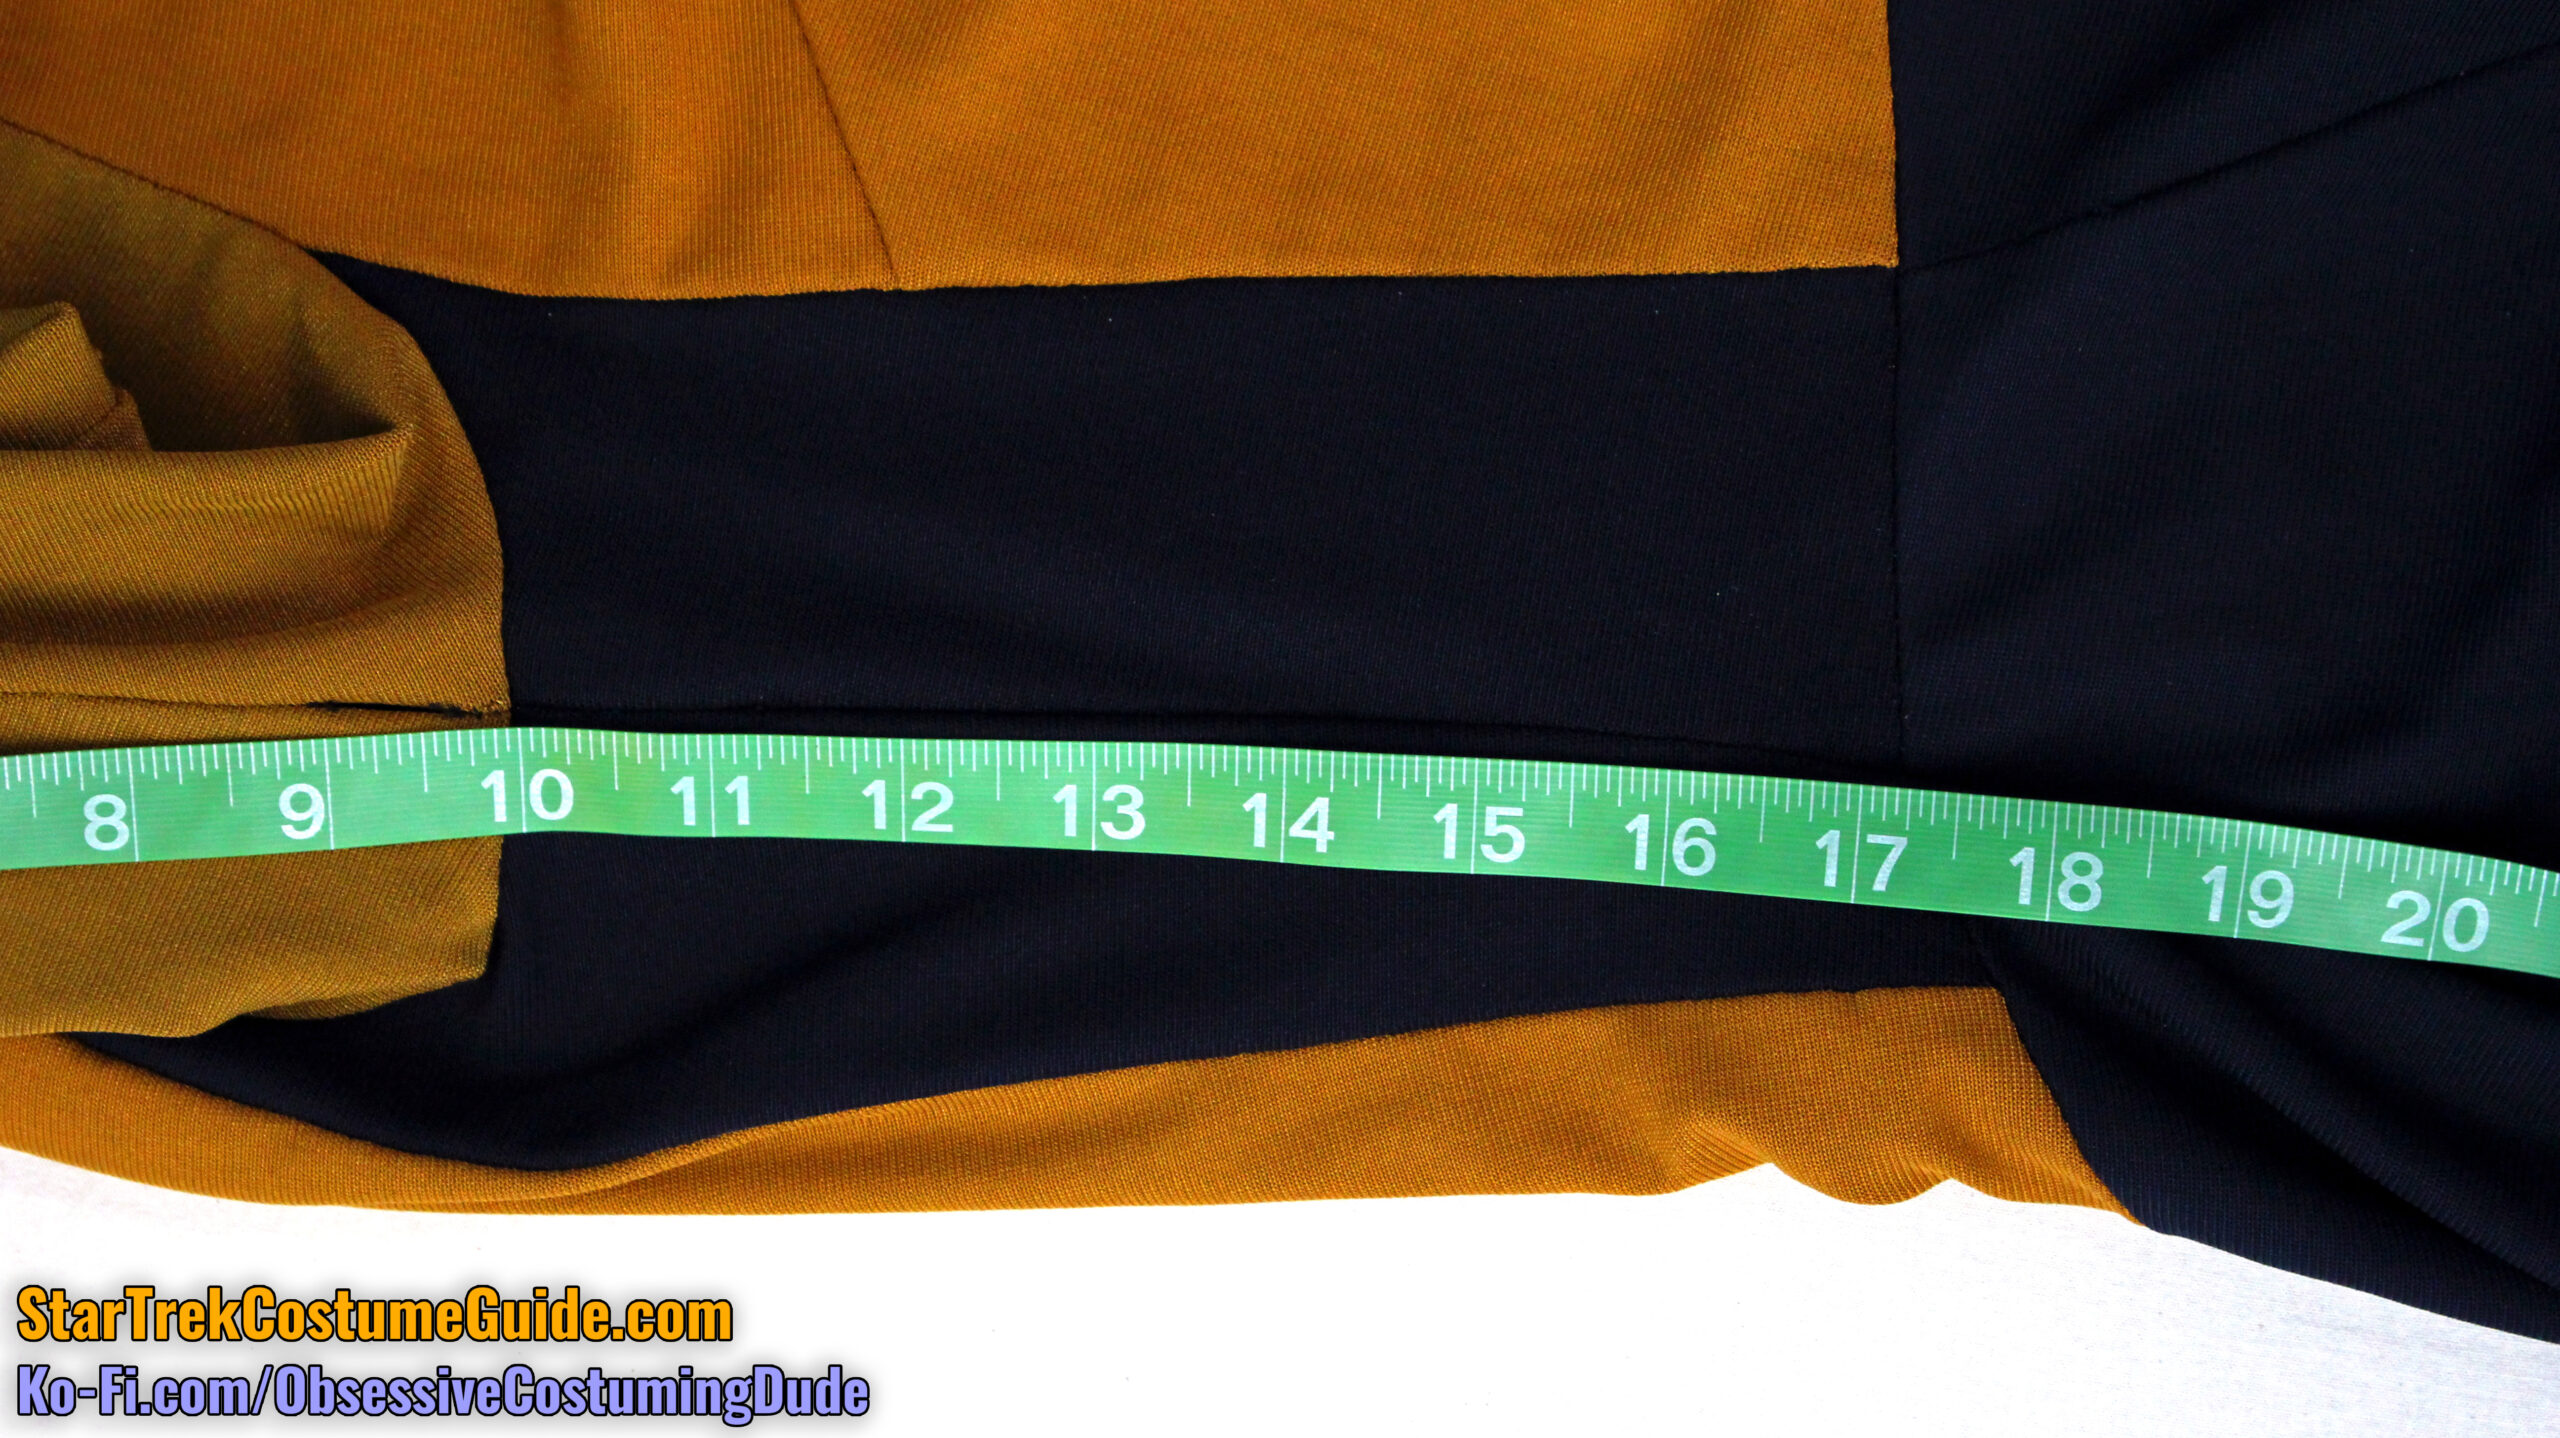
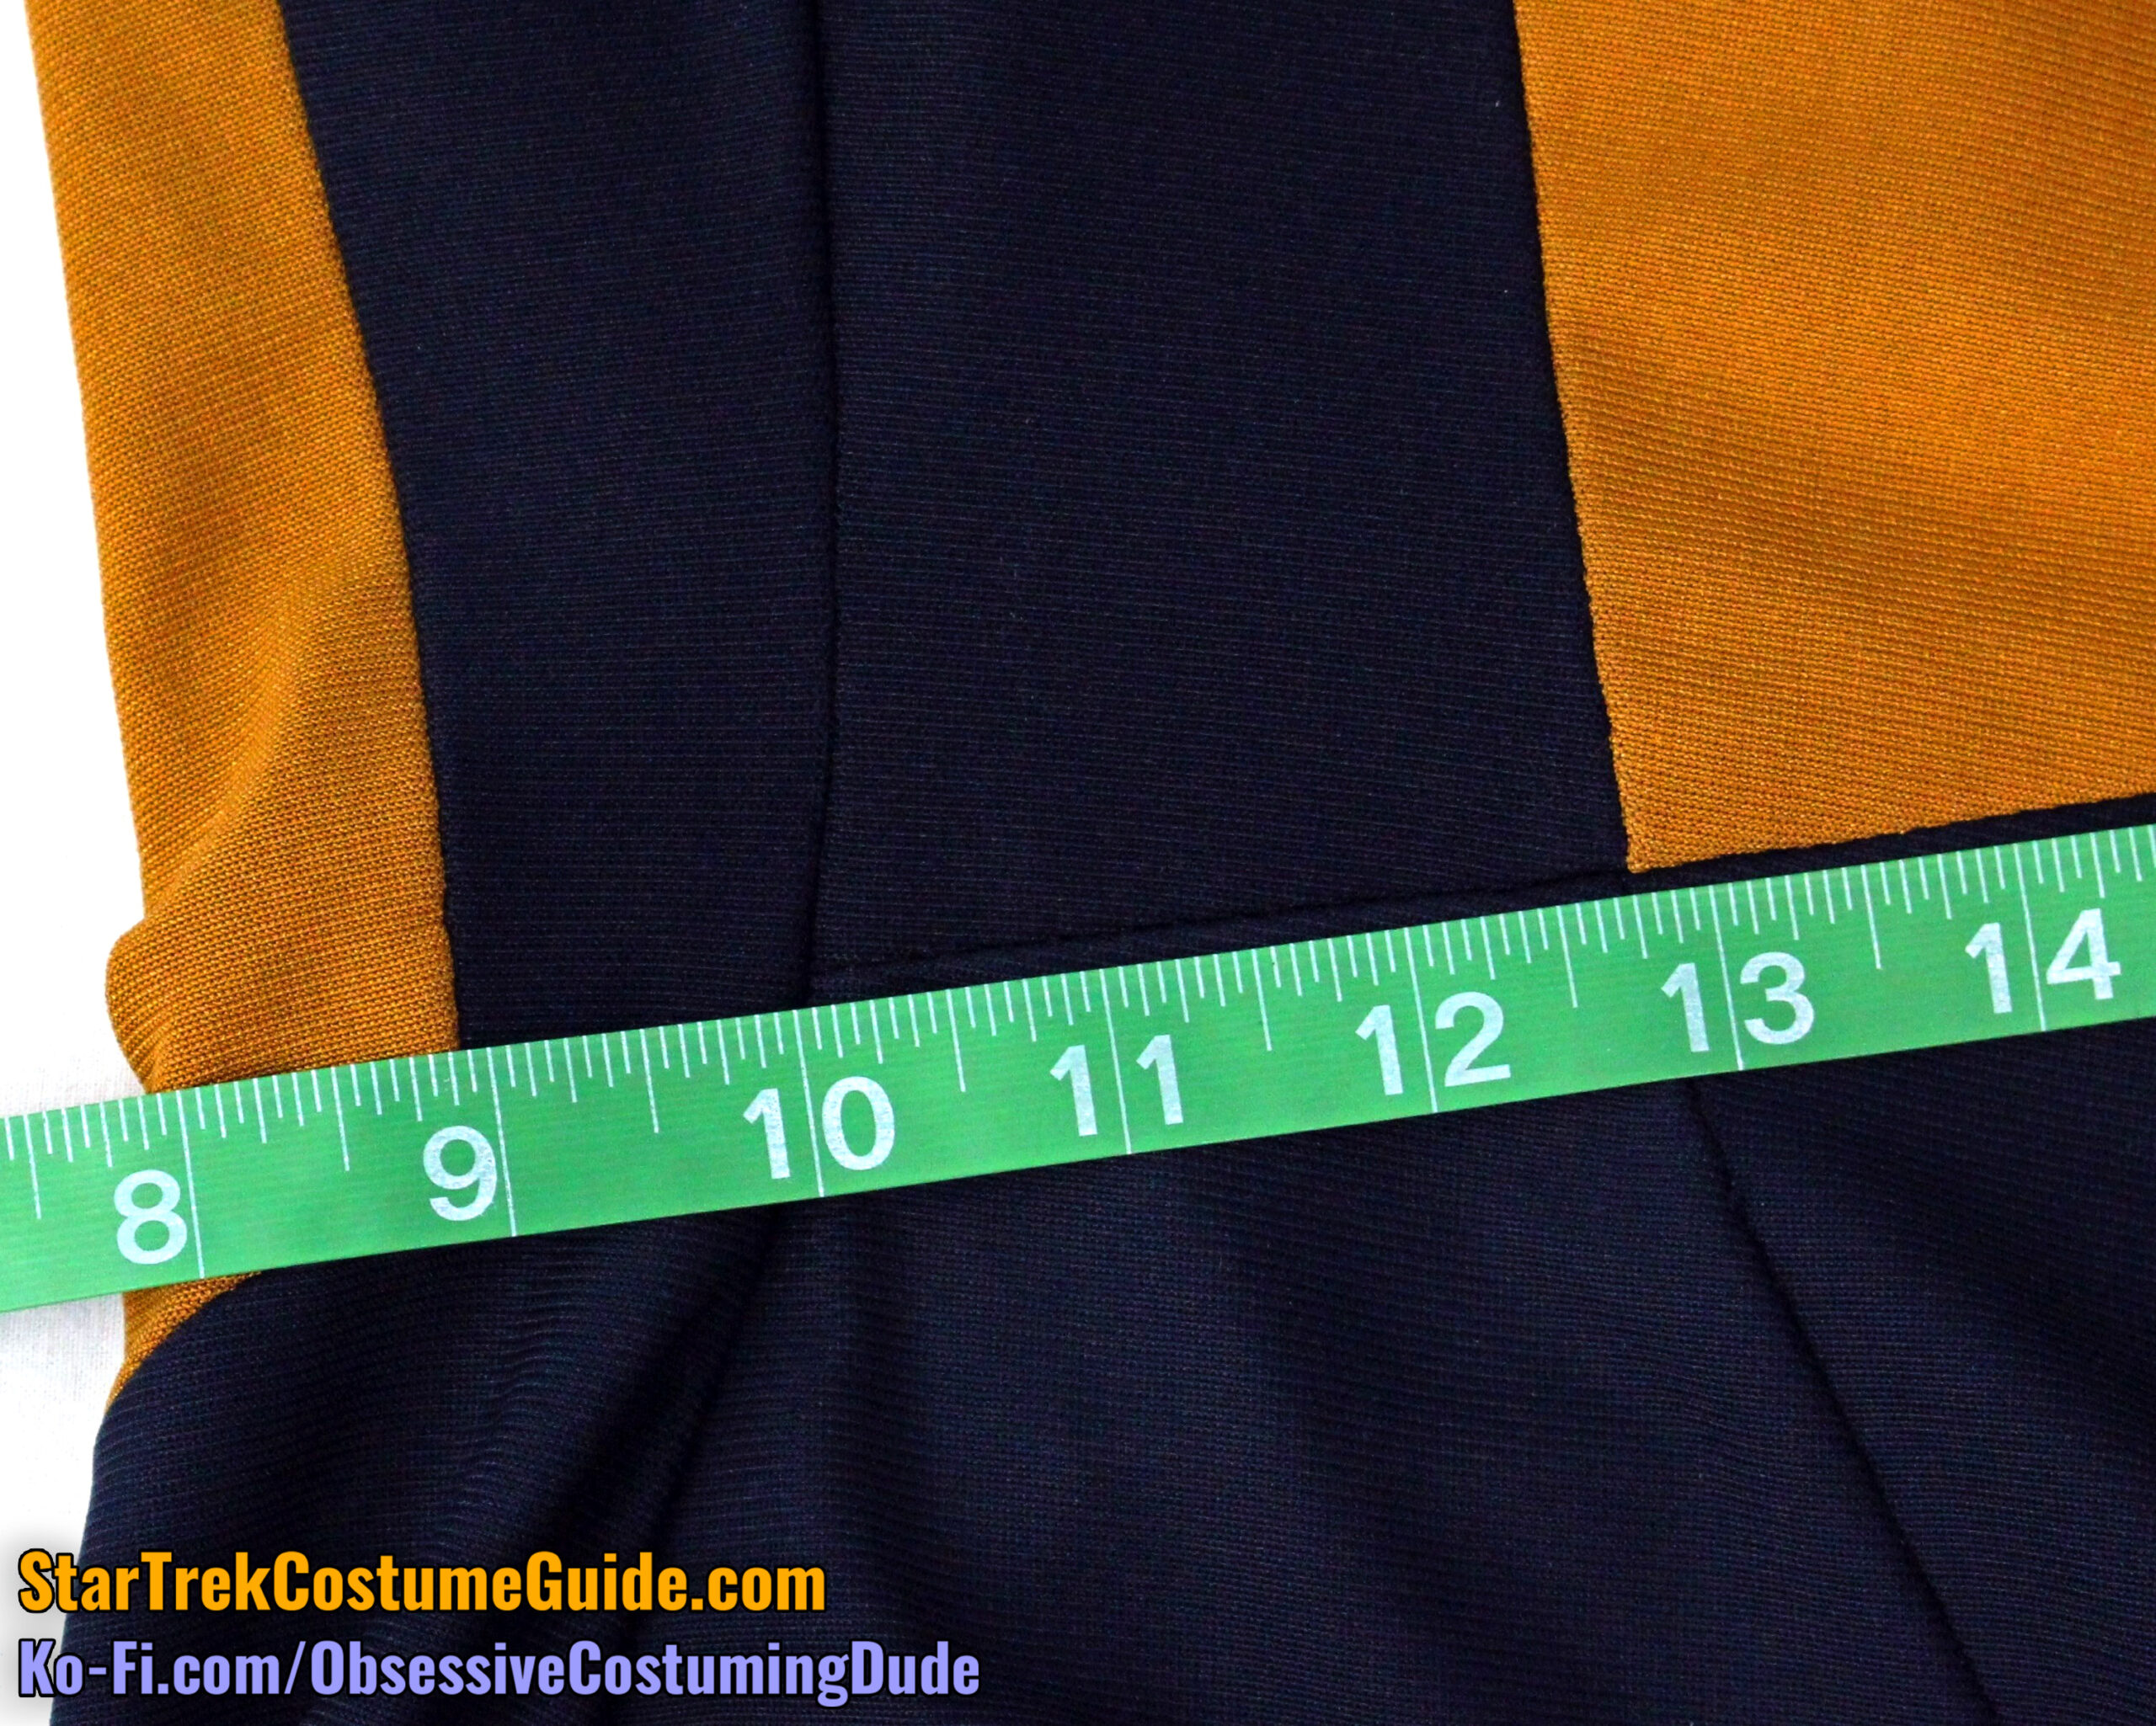
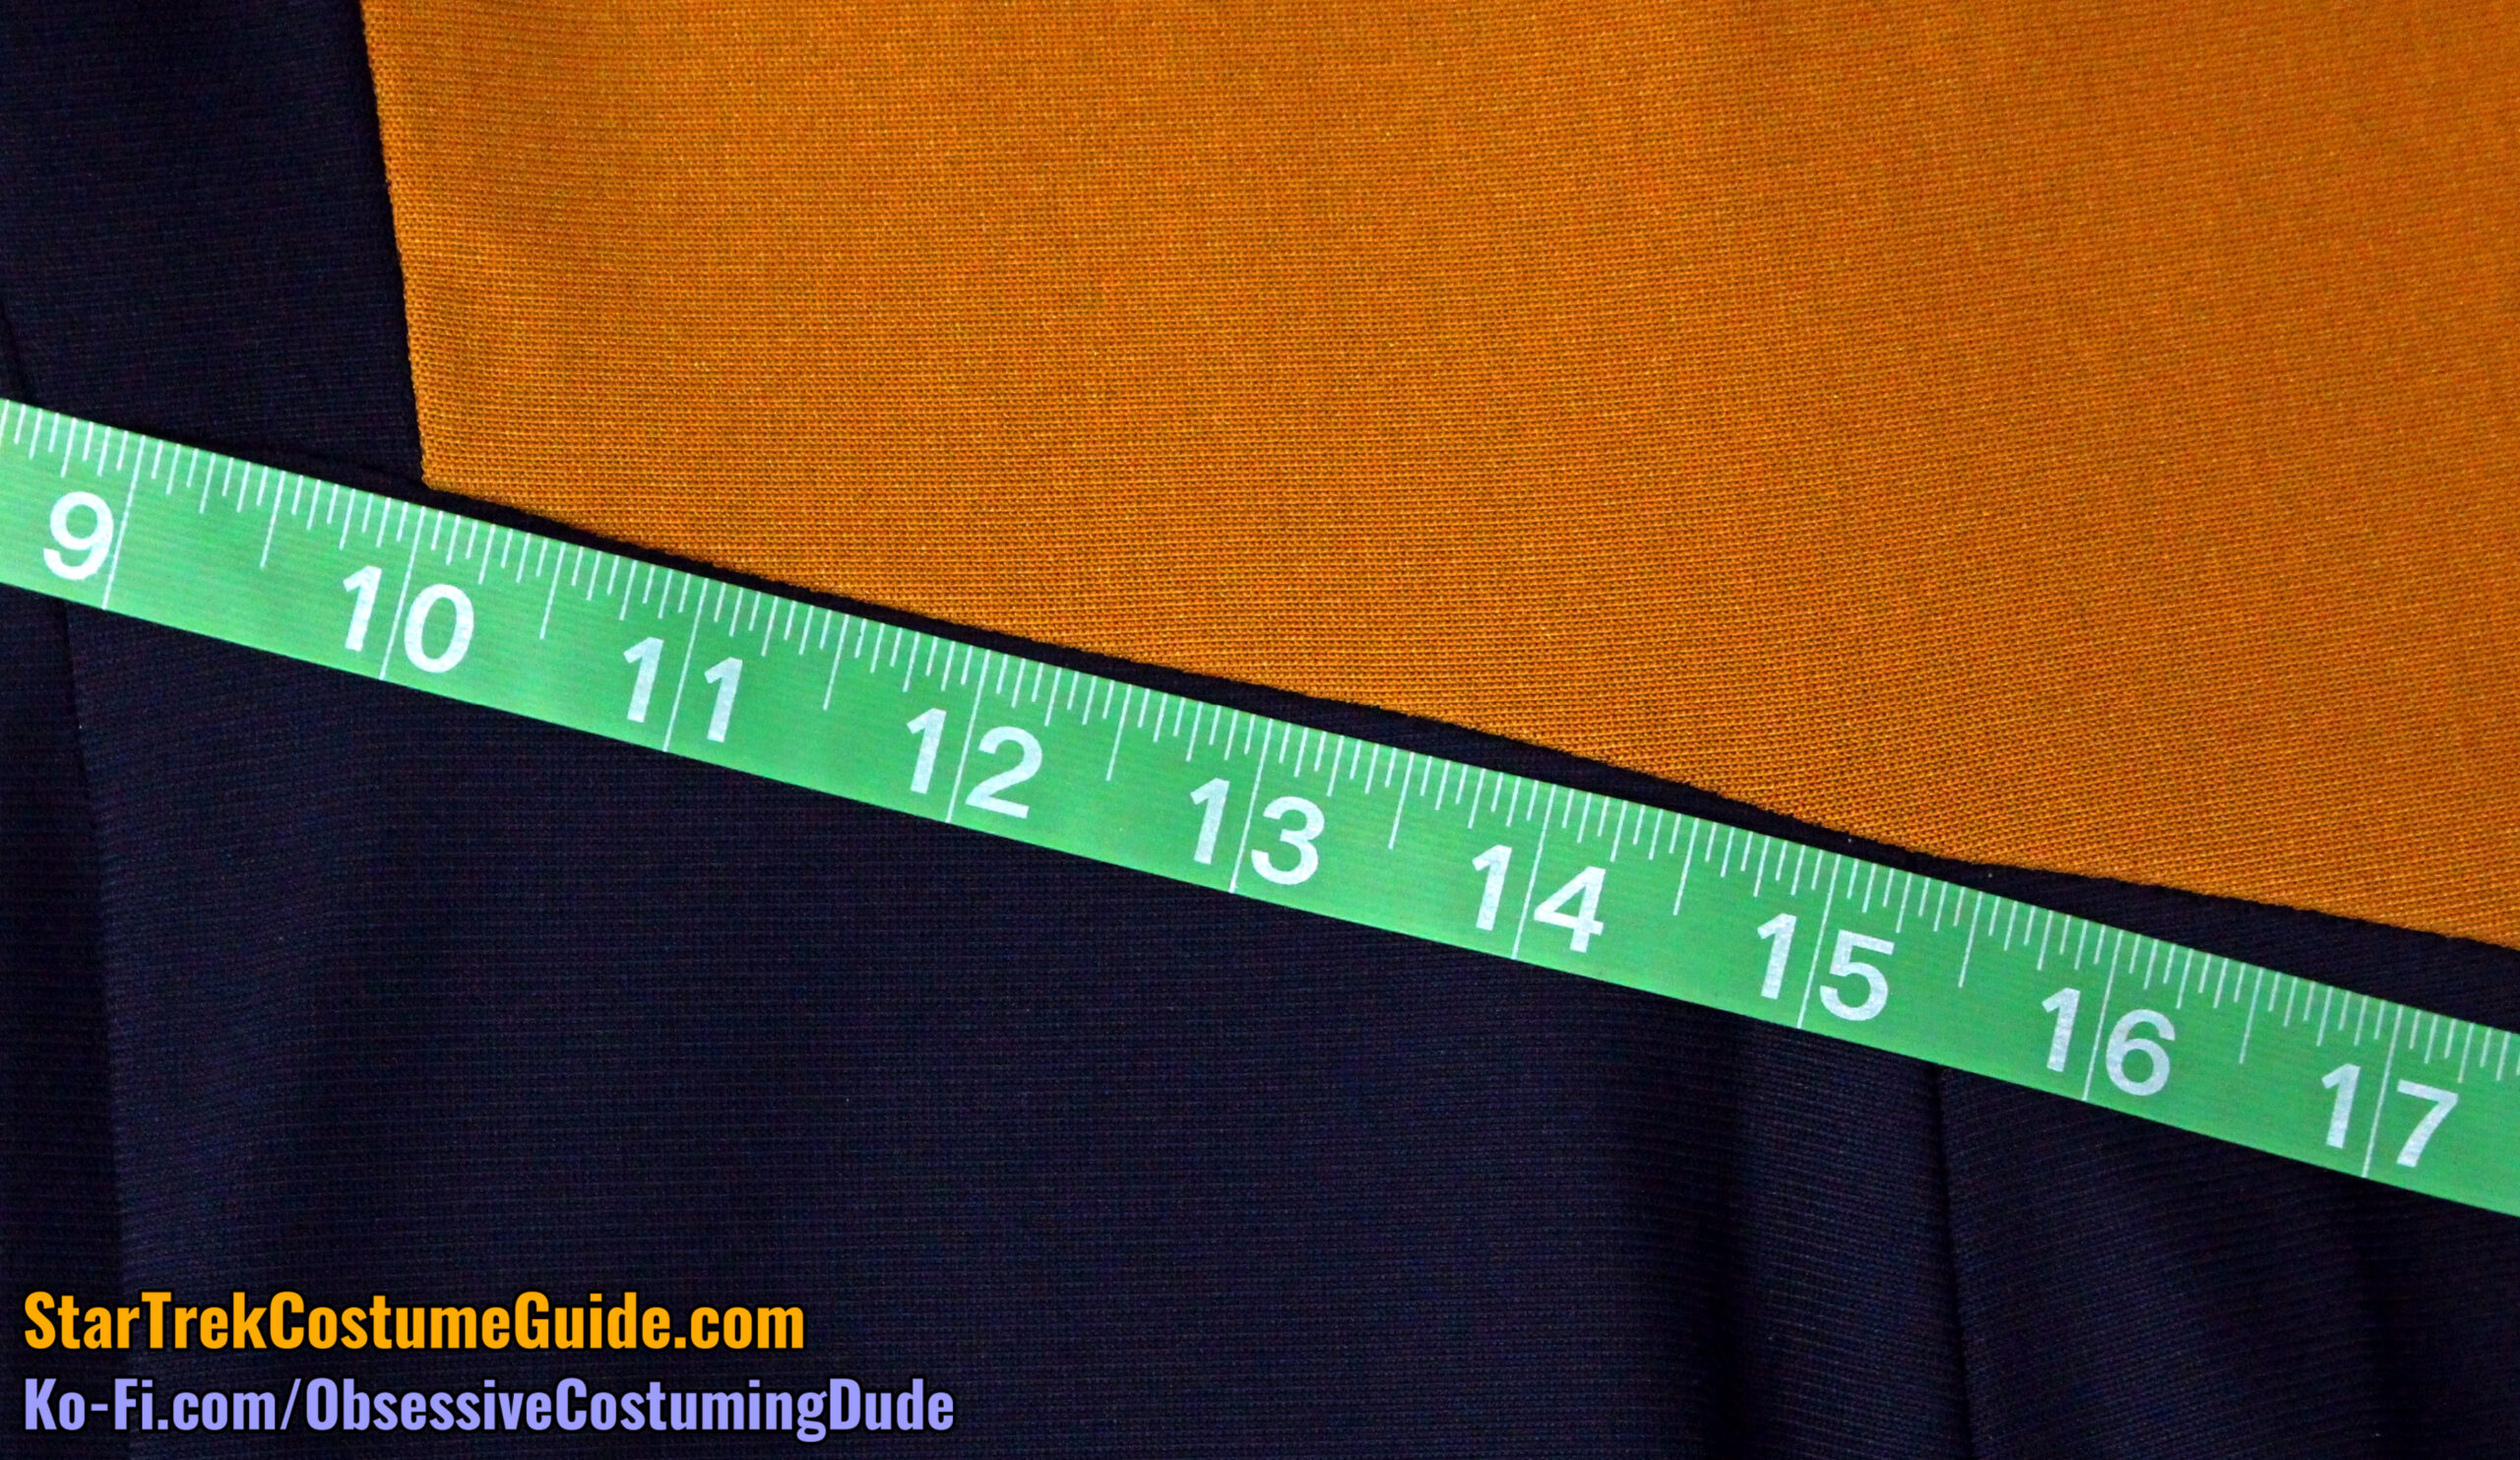
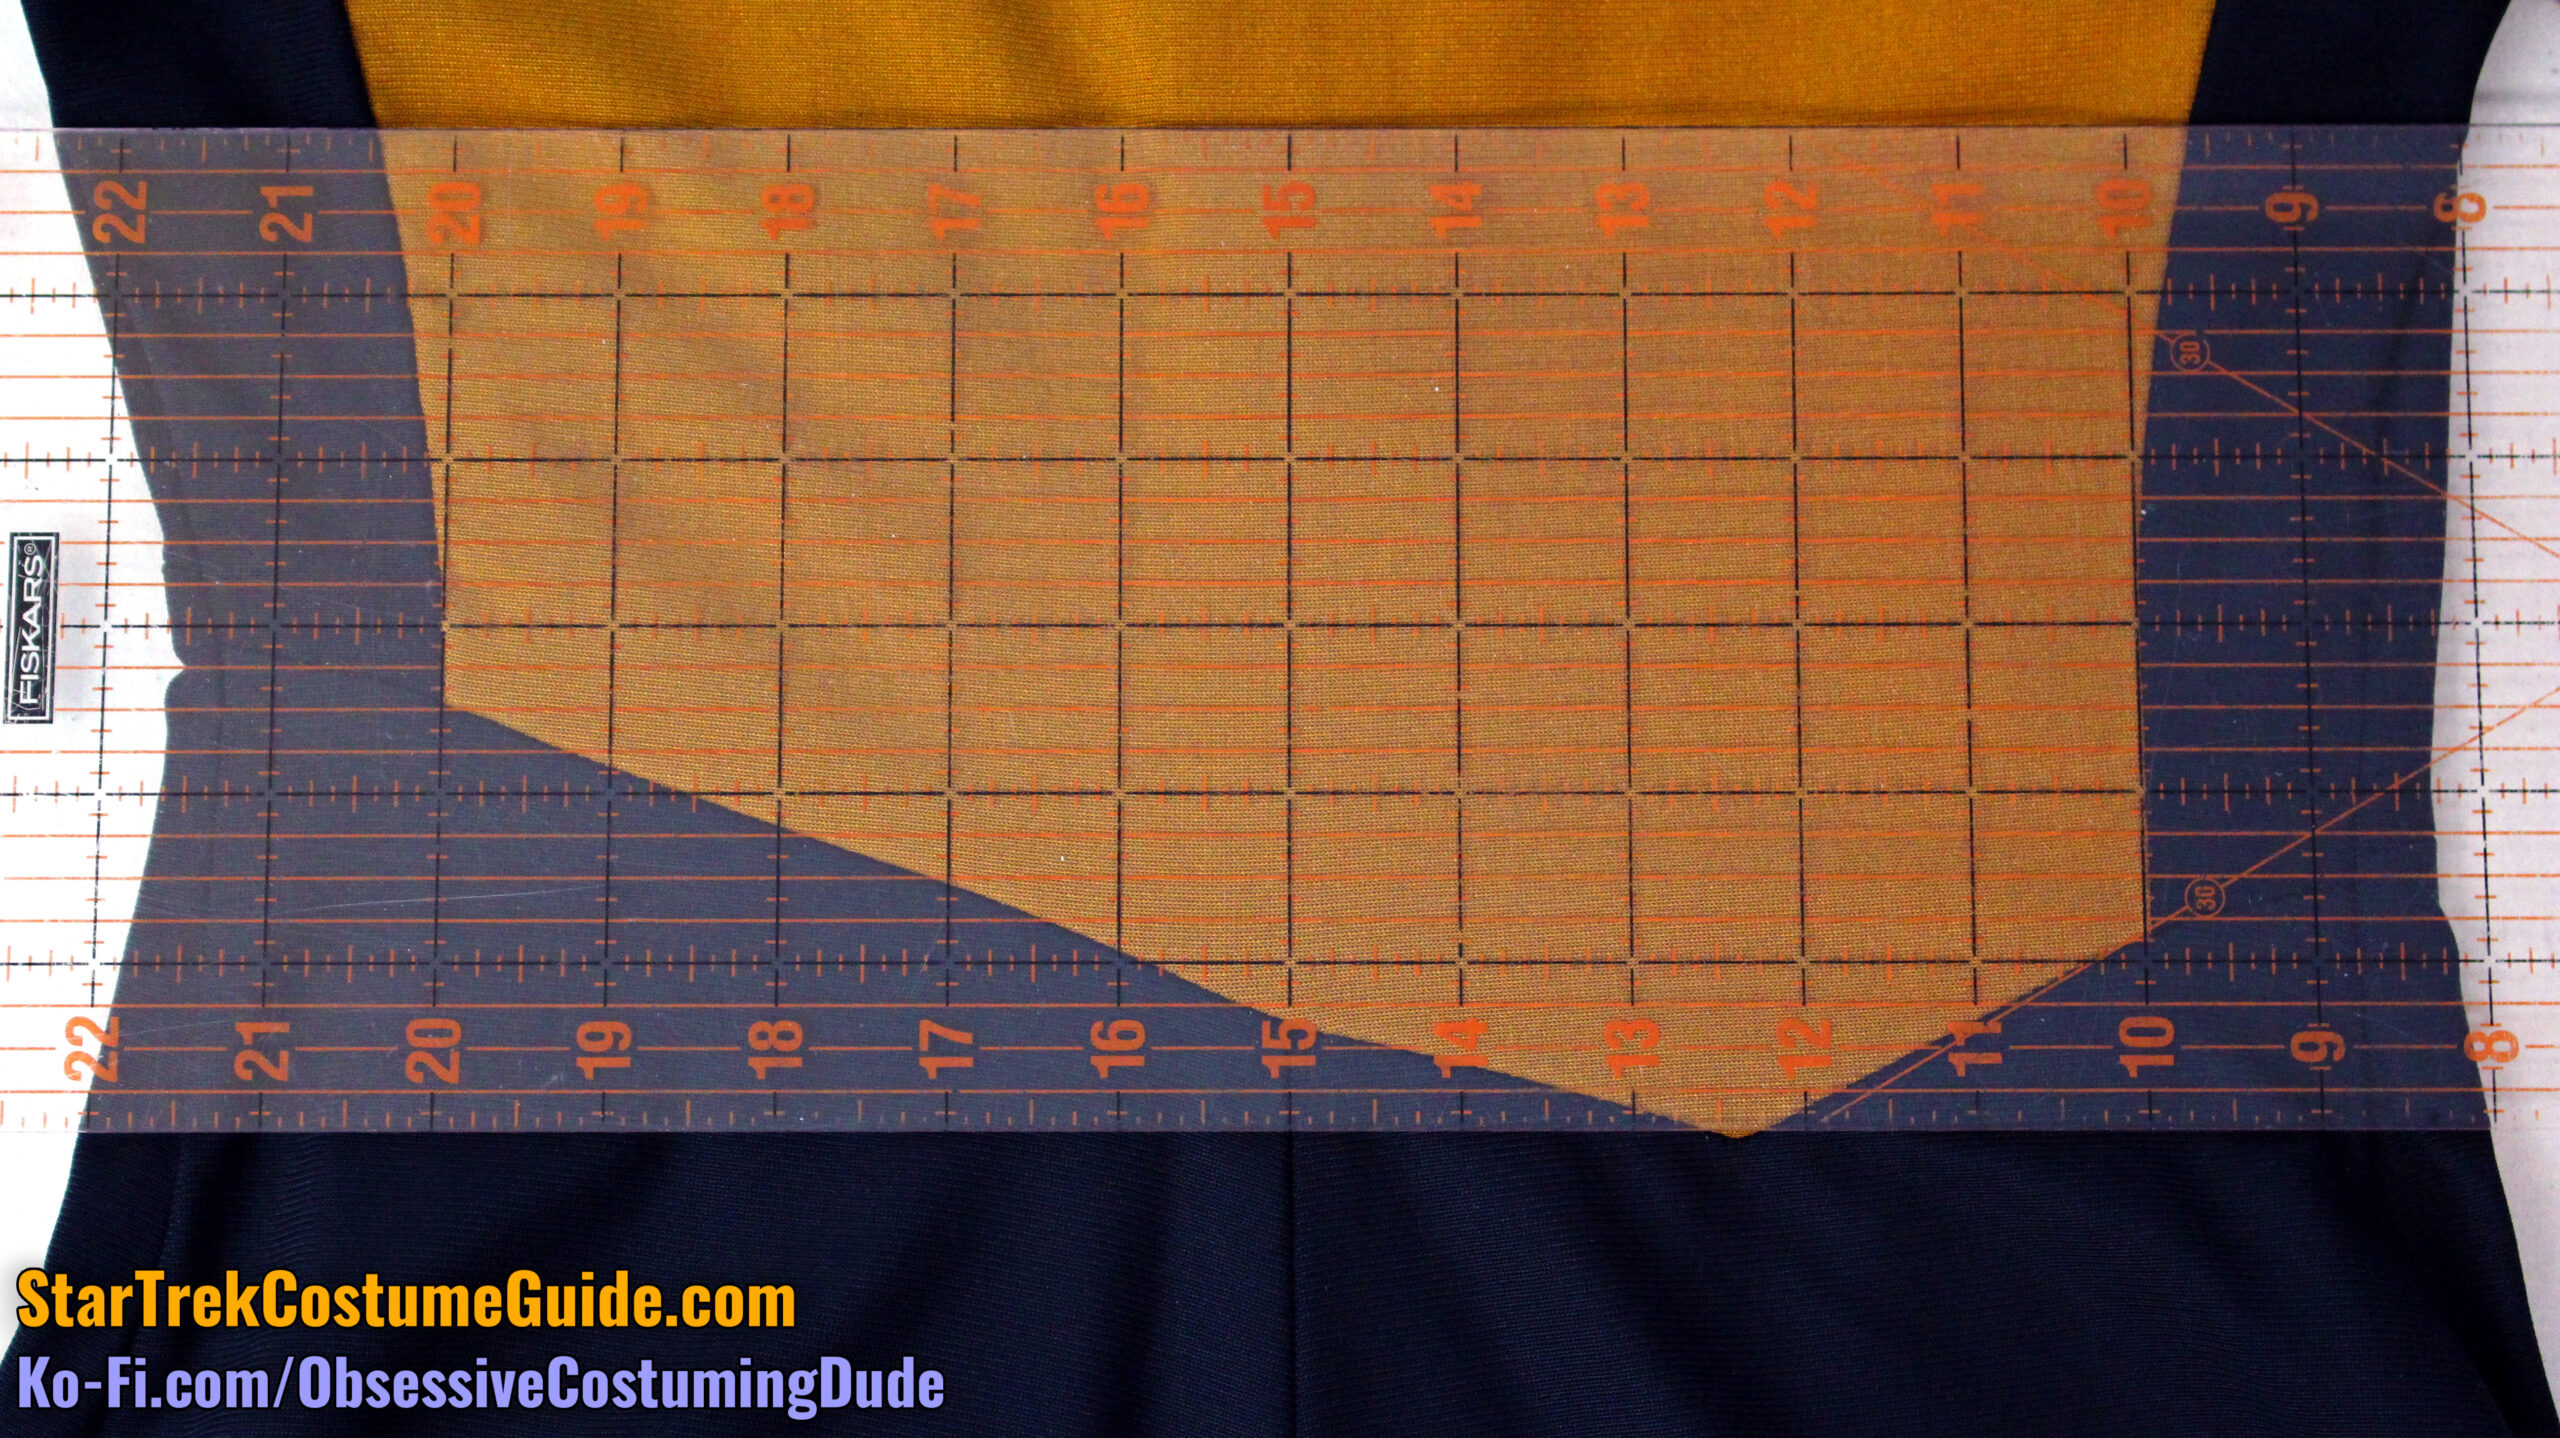
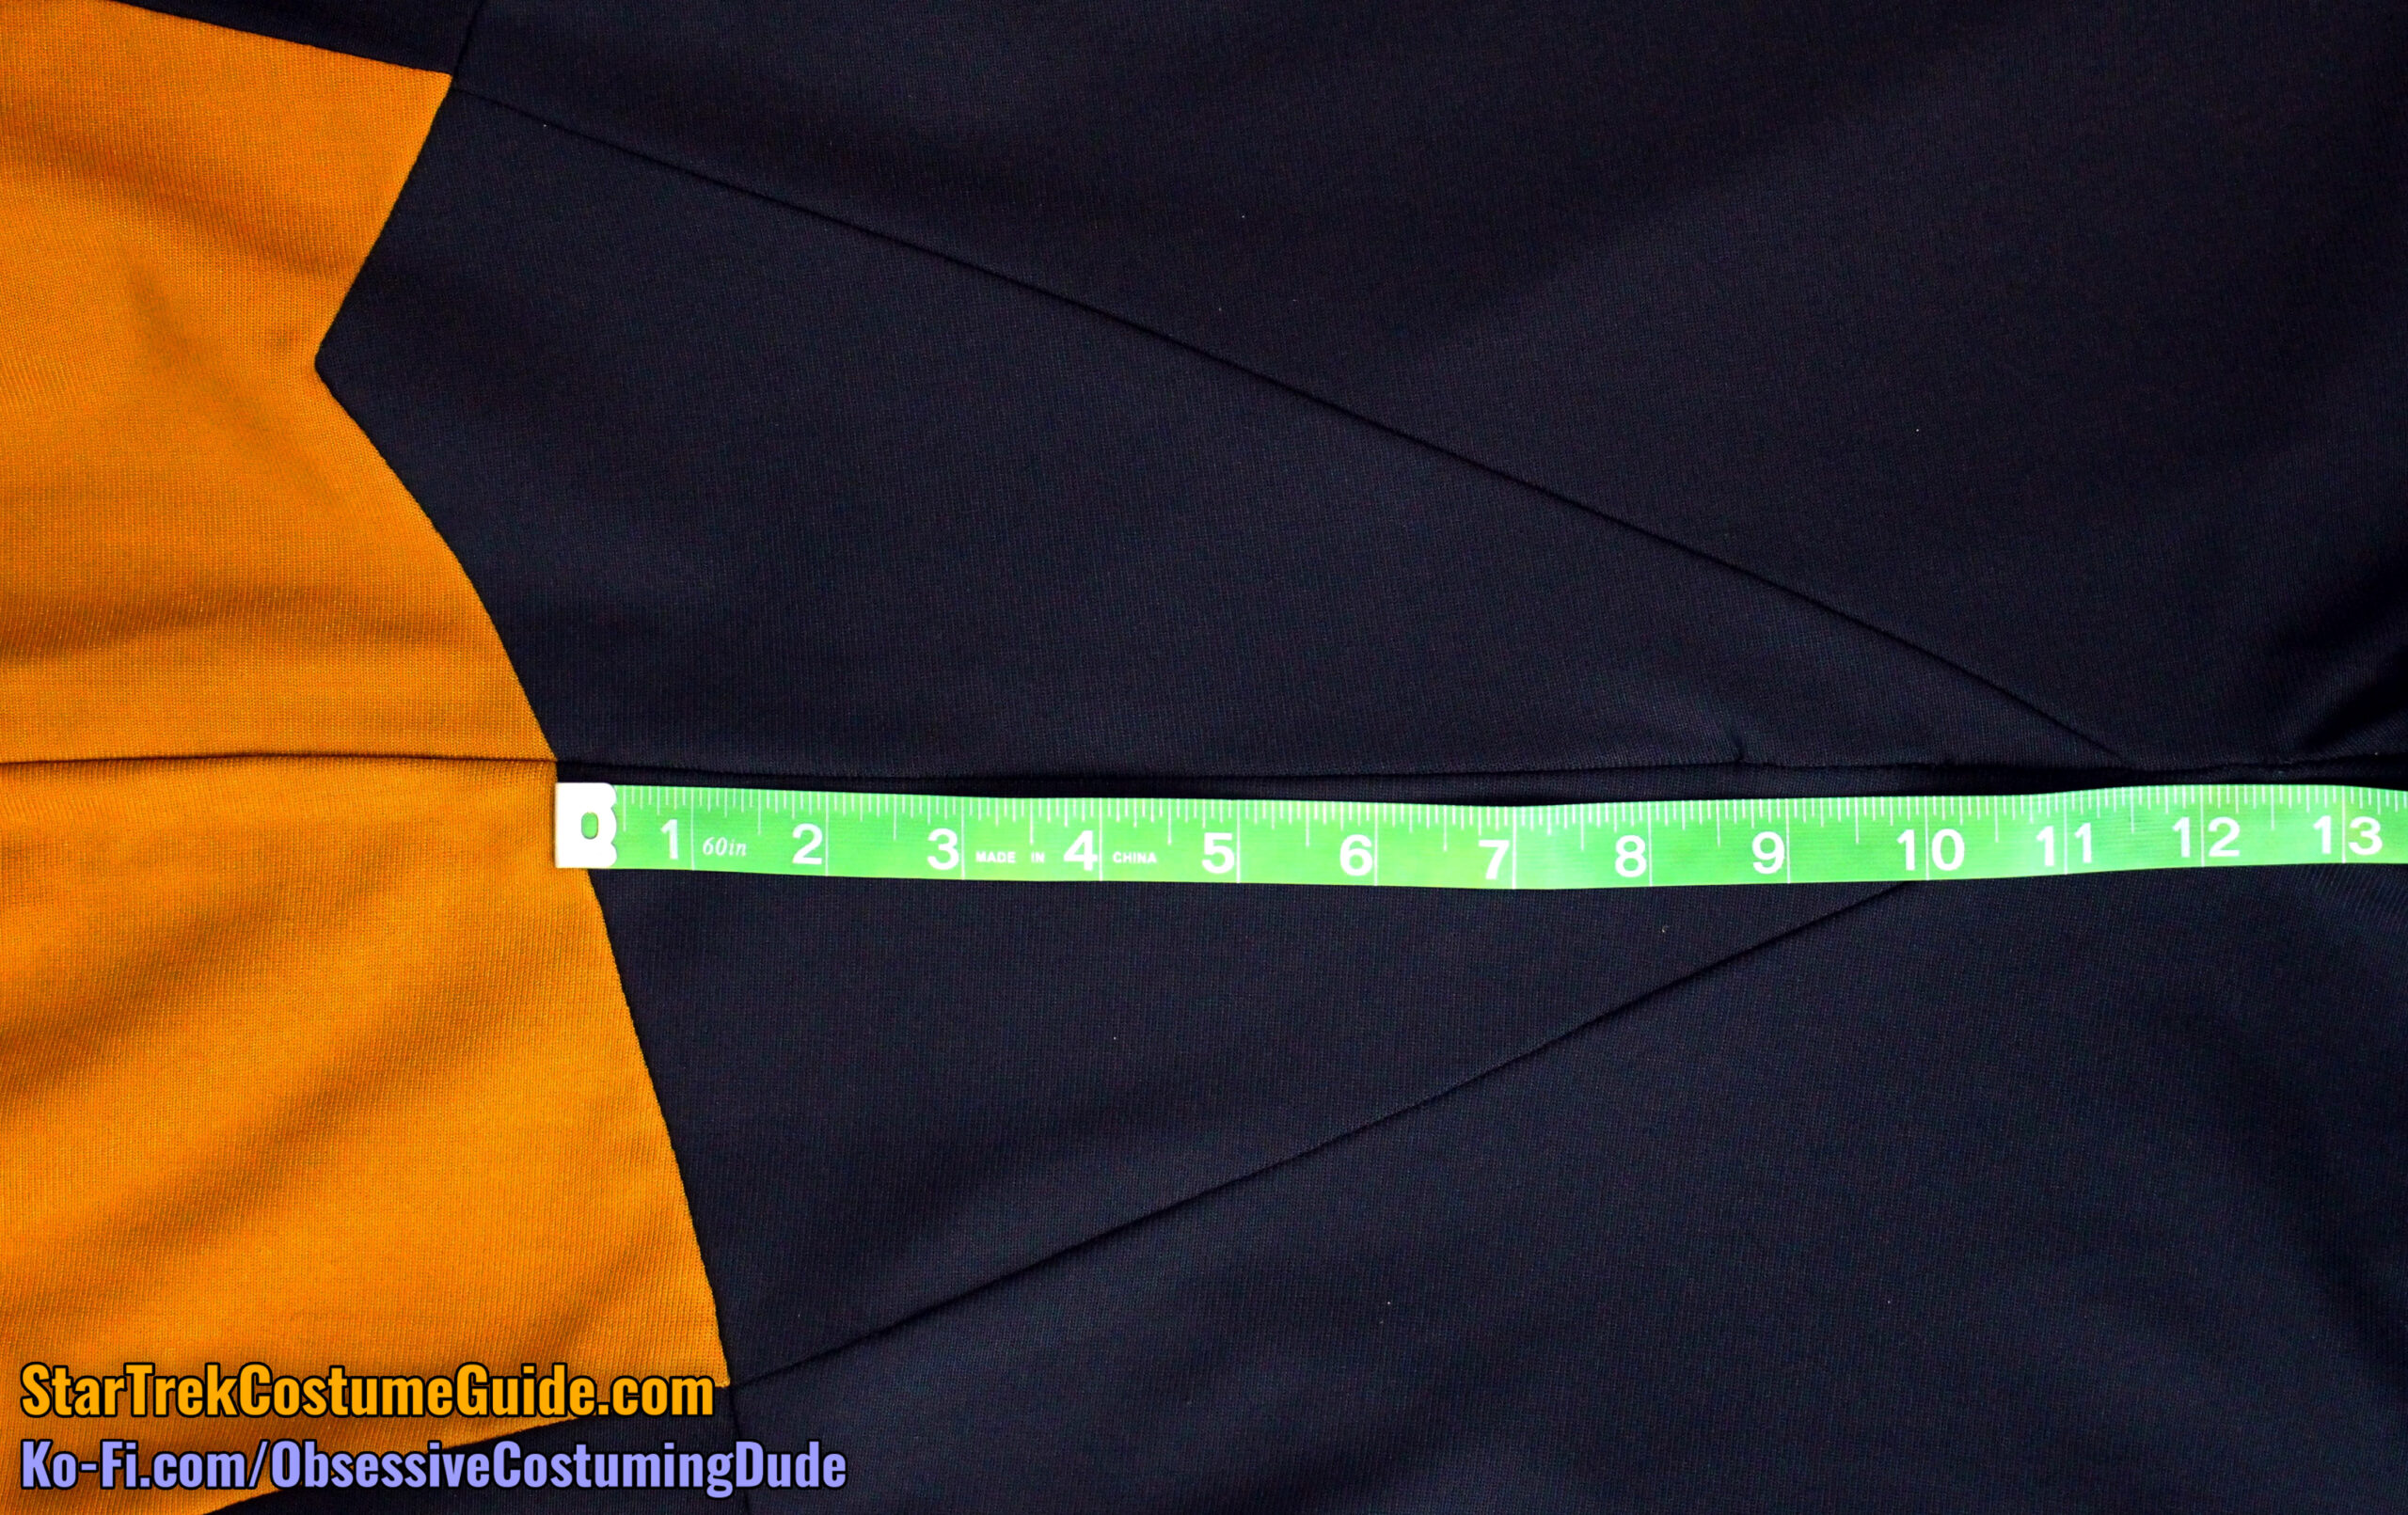
Keeping in mind that the lower front panels were cinched in a bit (thus making the fitted jumpsuit not lie flat on the table), here are the overall dimensions/proportions of the front asymmetrical design.
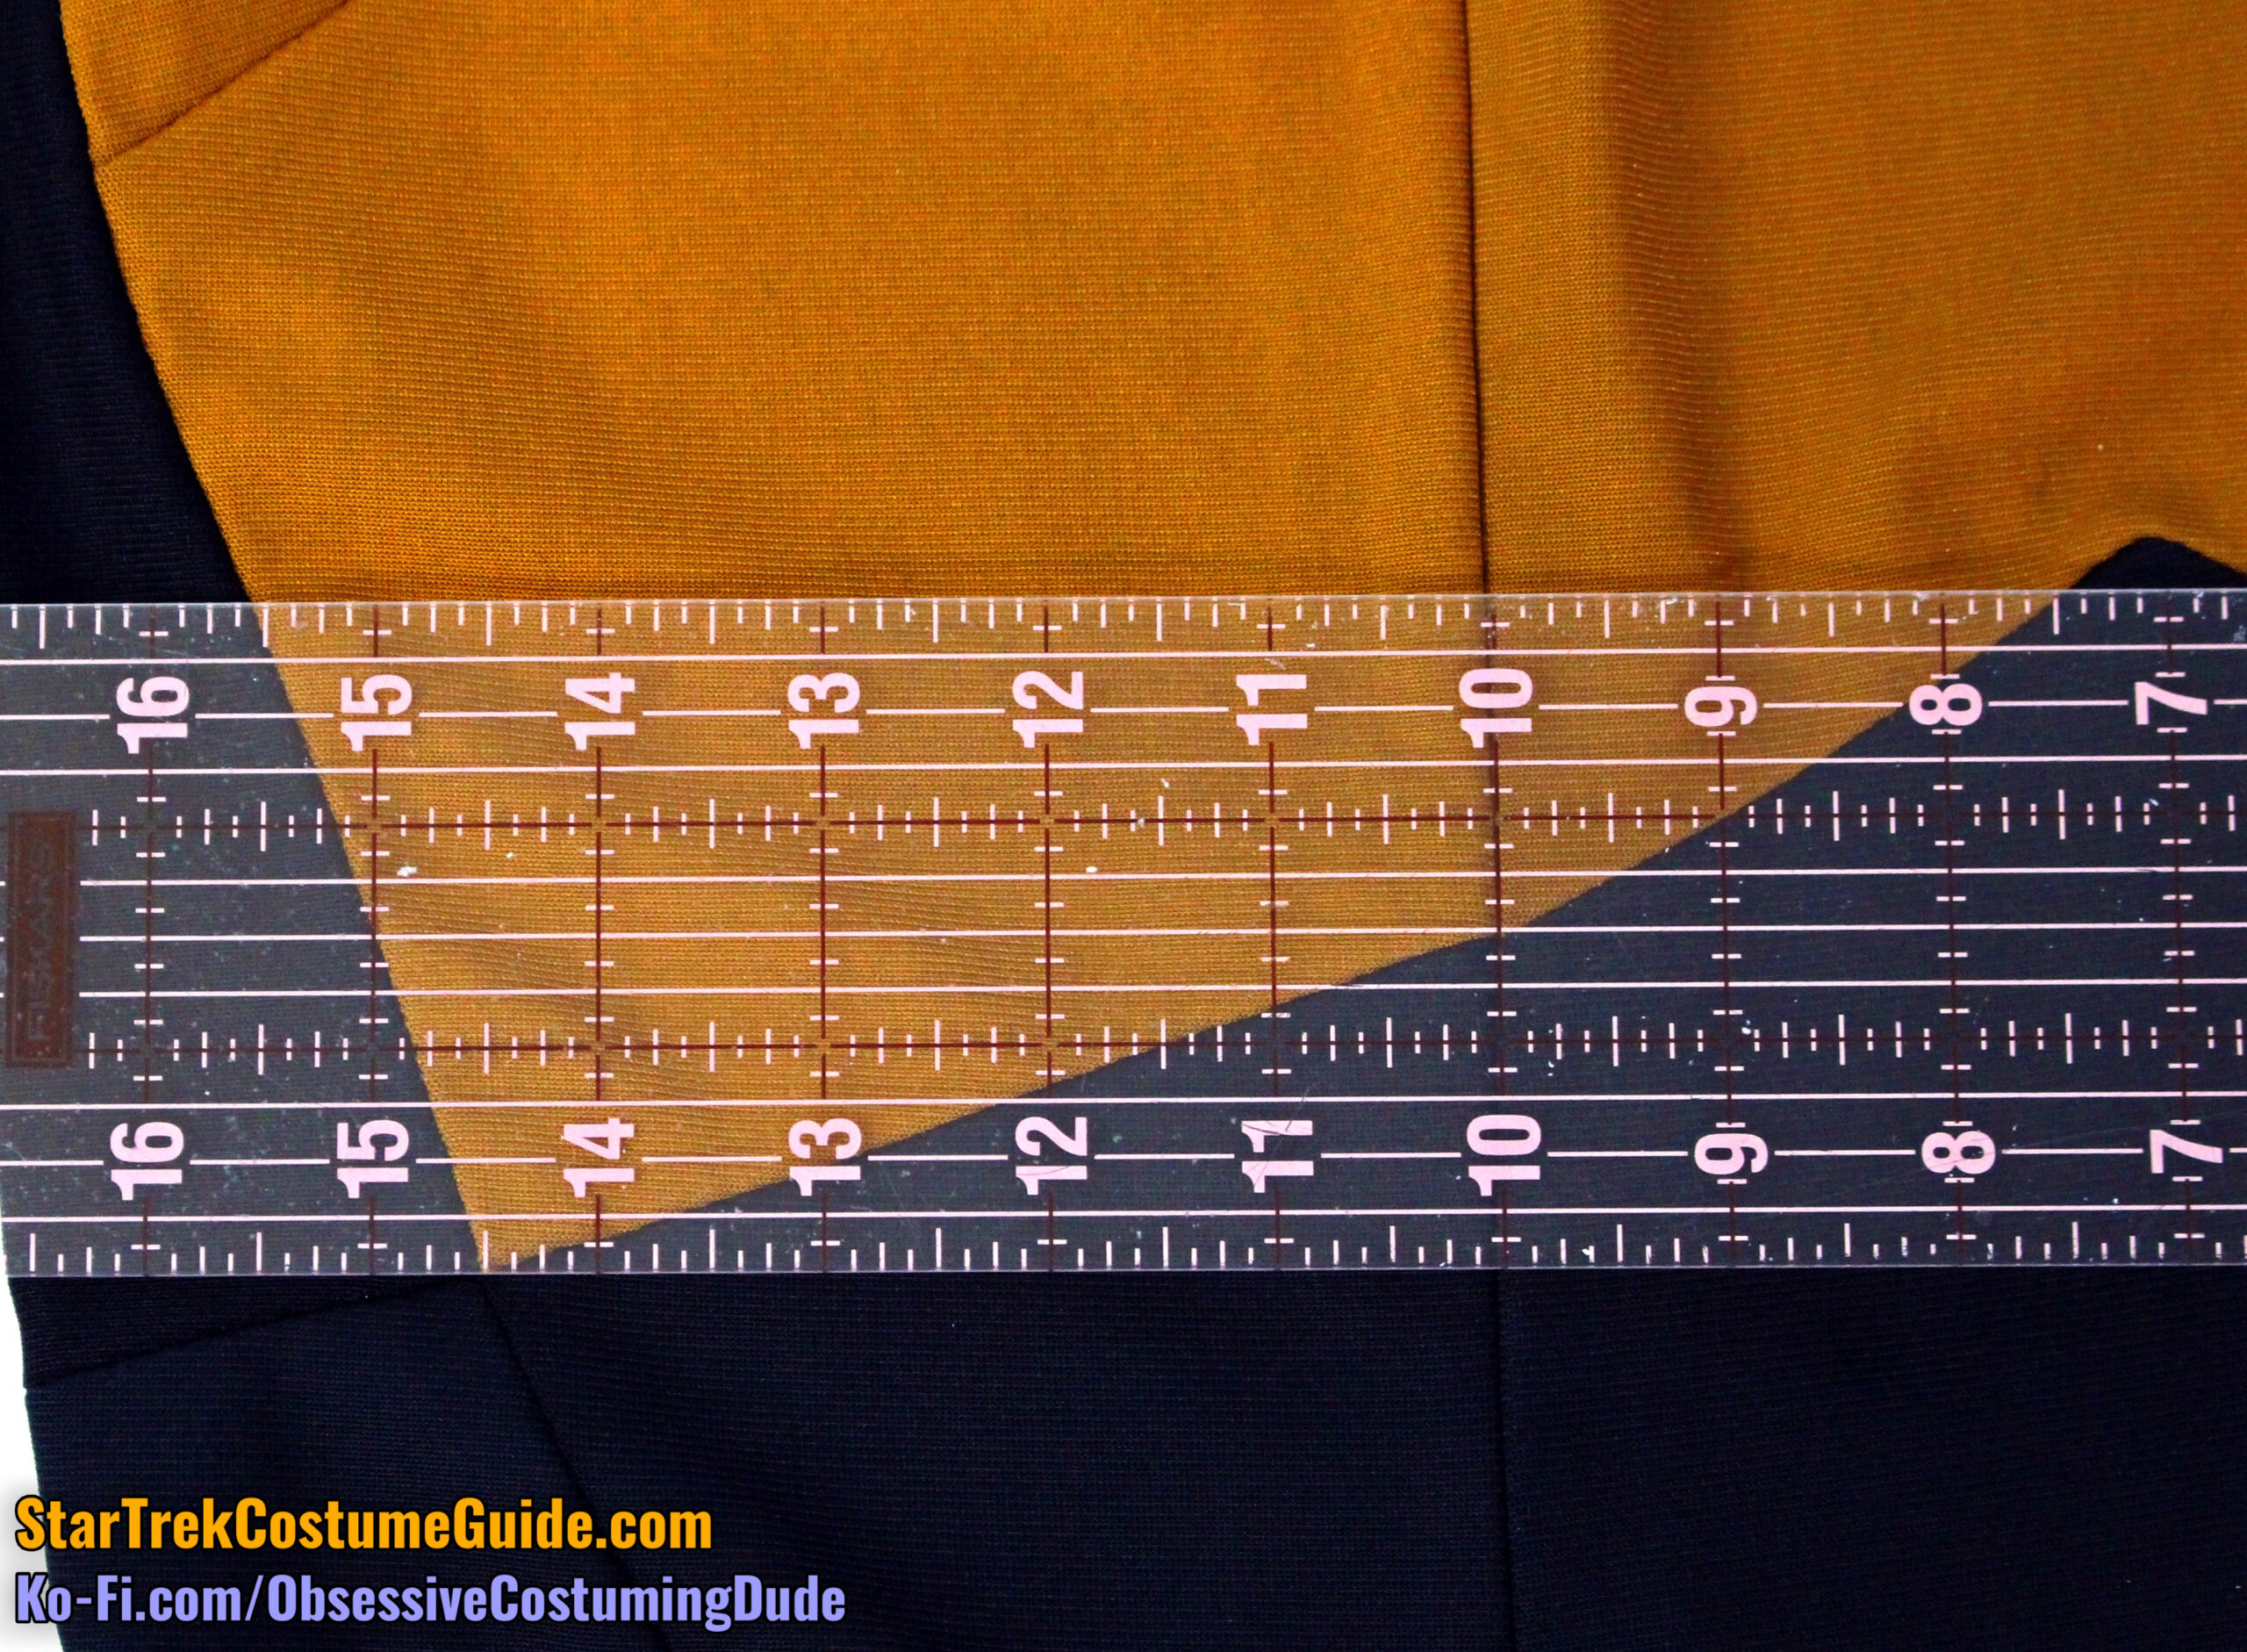
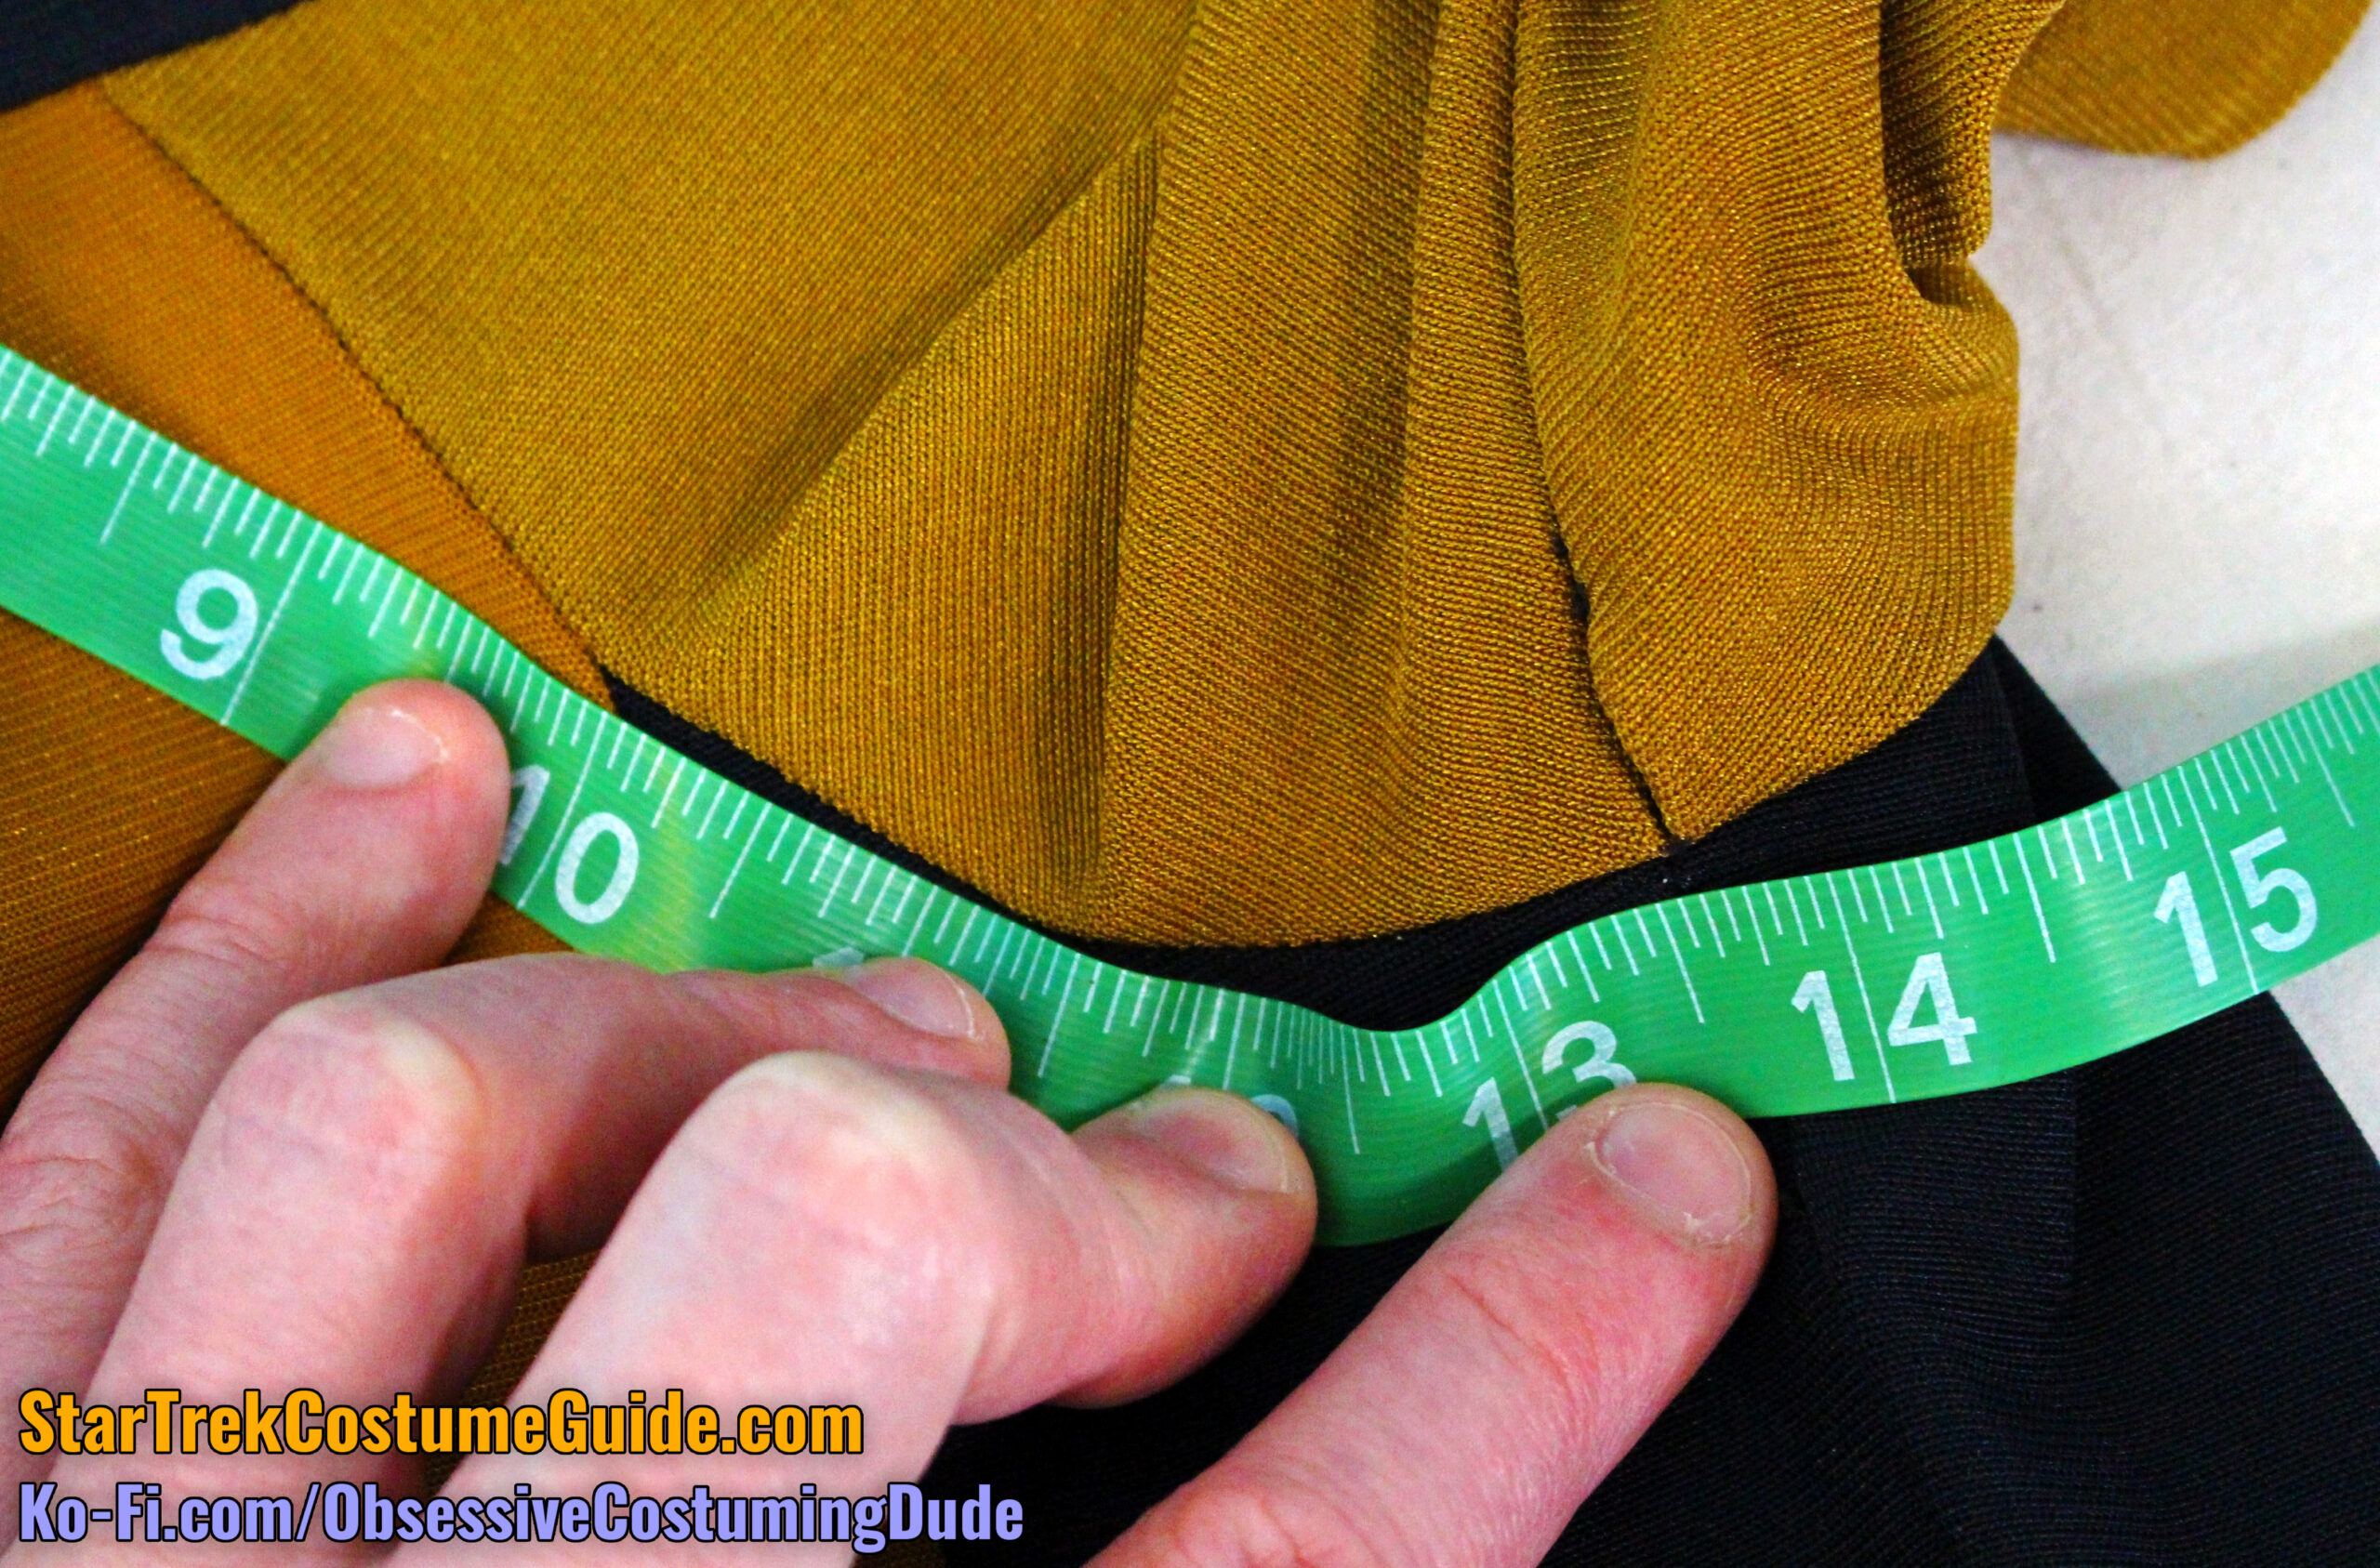
As you can see, measured from the side front seams, the asymmetrical insert ascends approximately 3” from (picture) left to right, then descends approximately 1 ⅛”.
Also note the slight upward curve as the insert approaches the apex – a subtle, but lovely little detail!
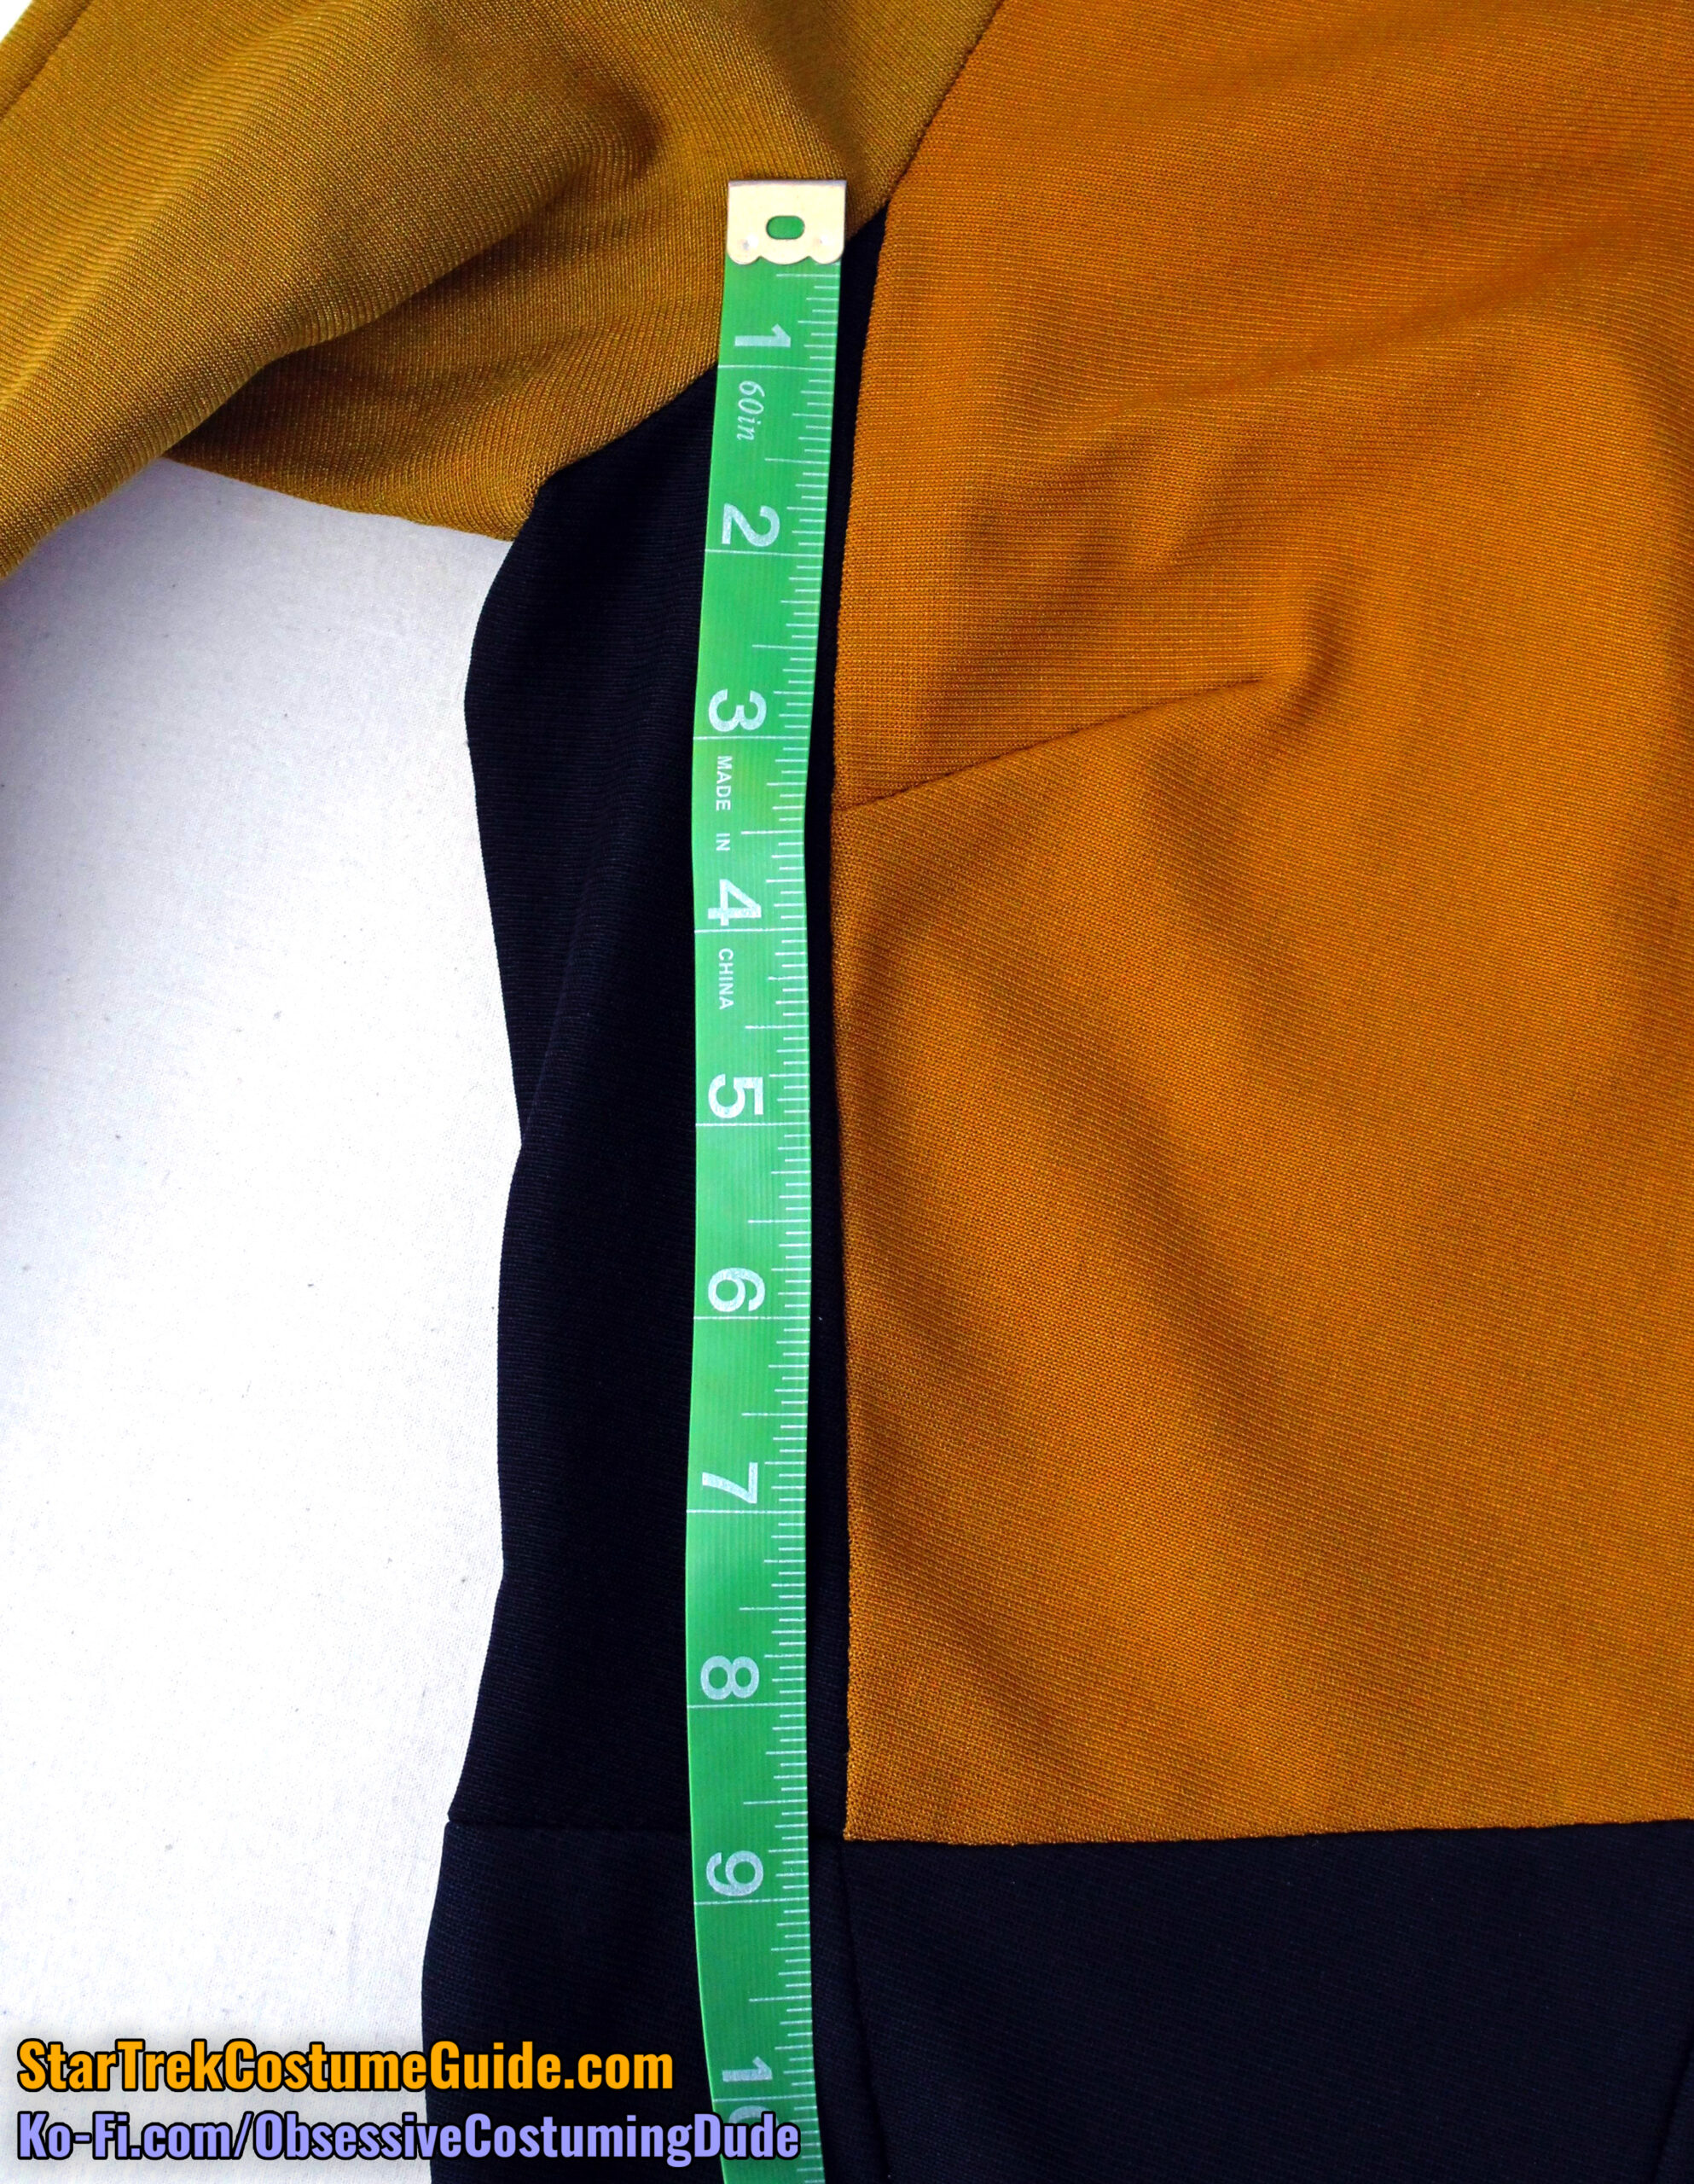
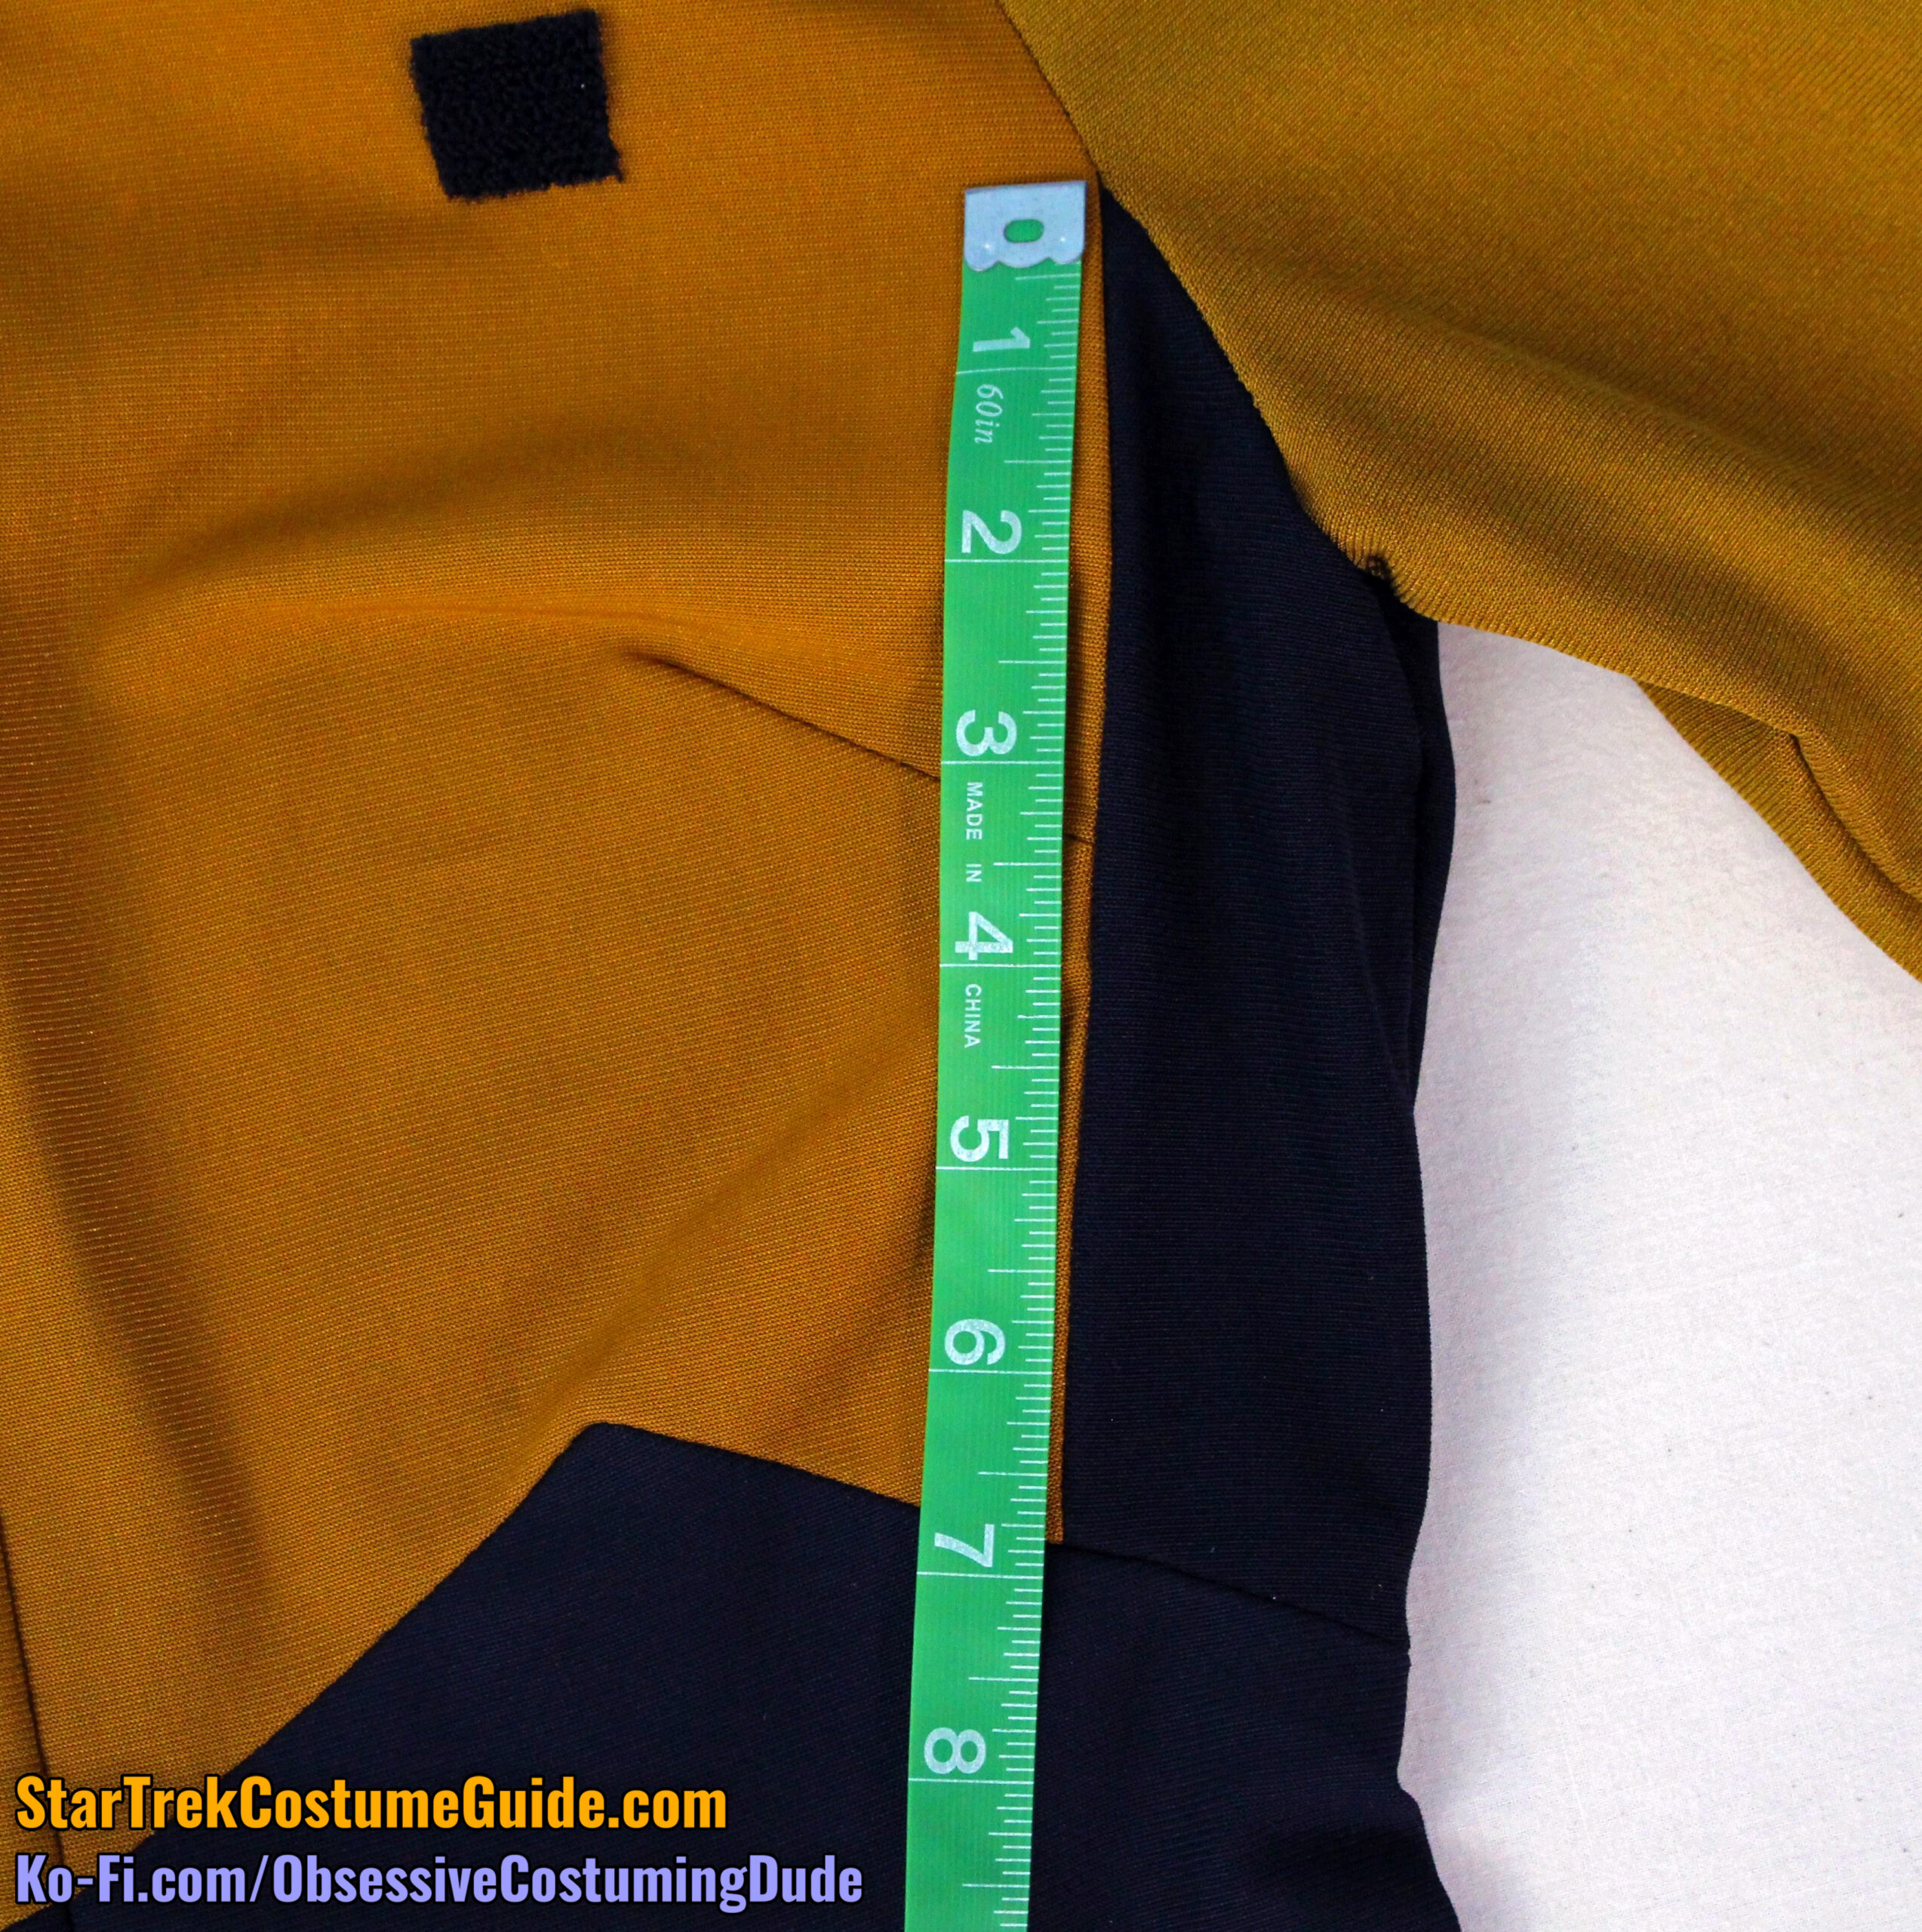
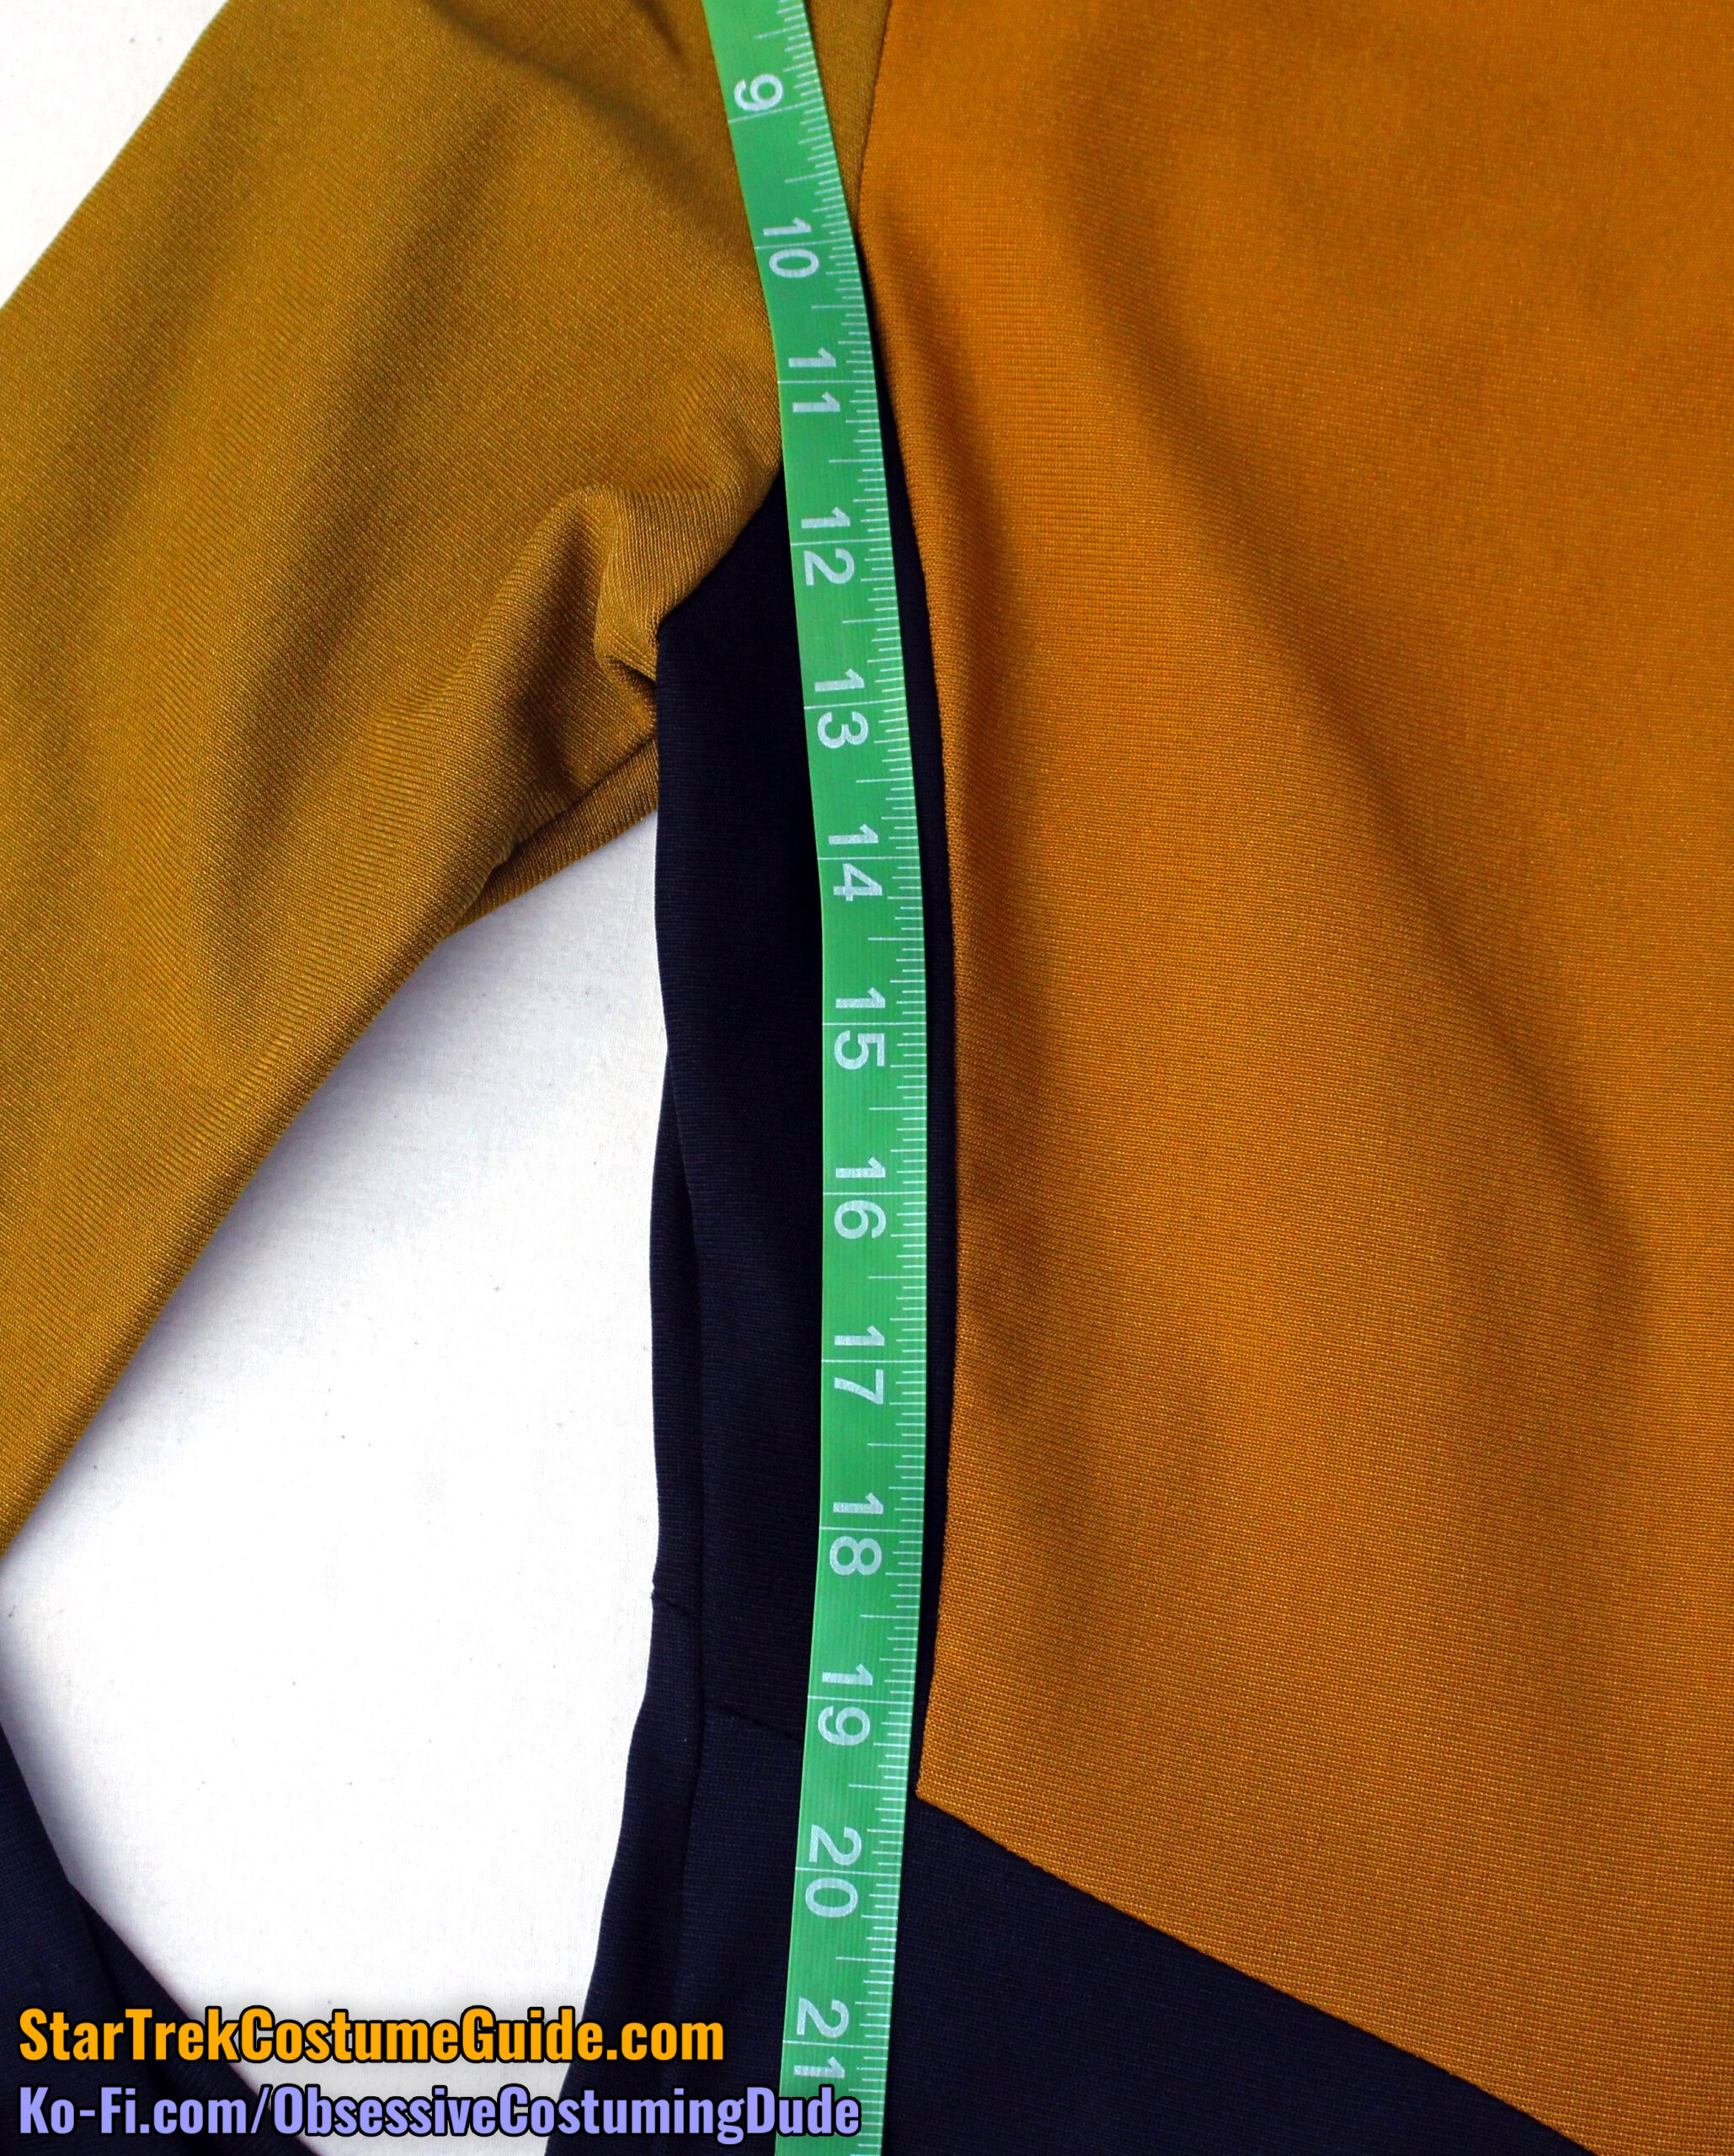
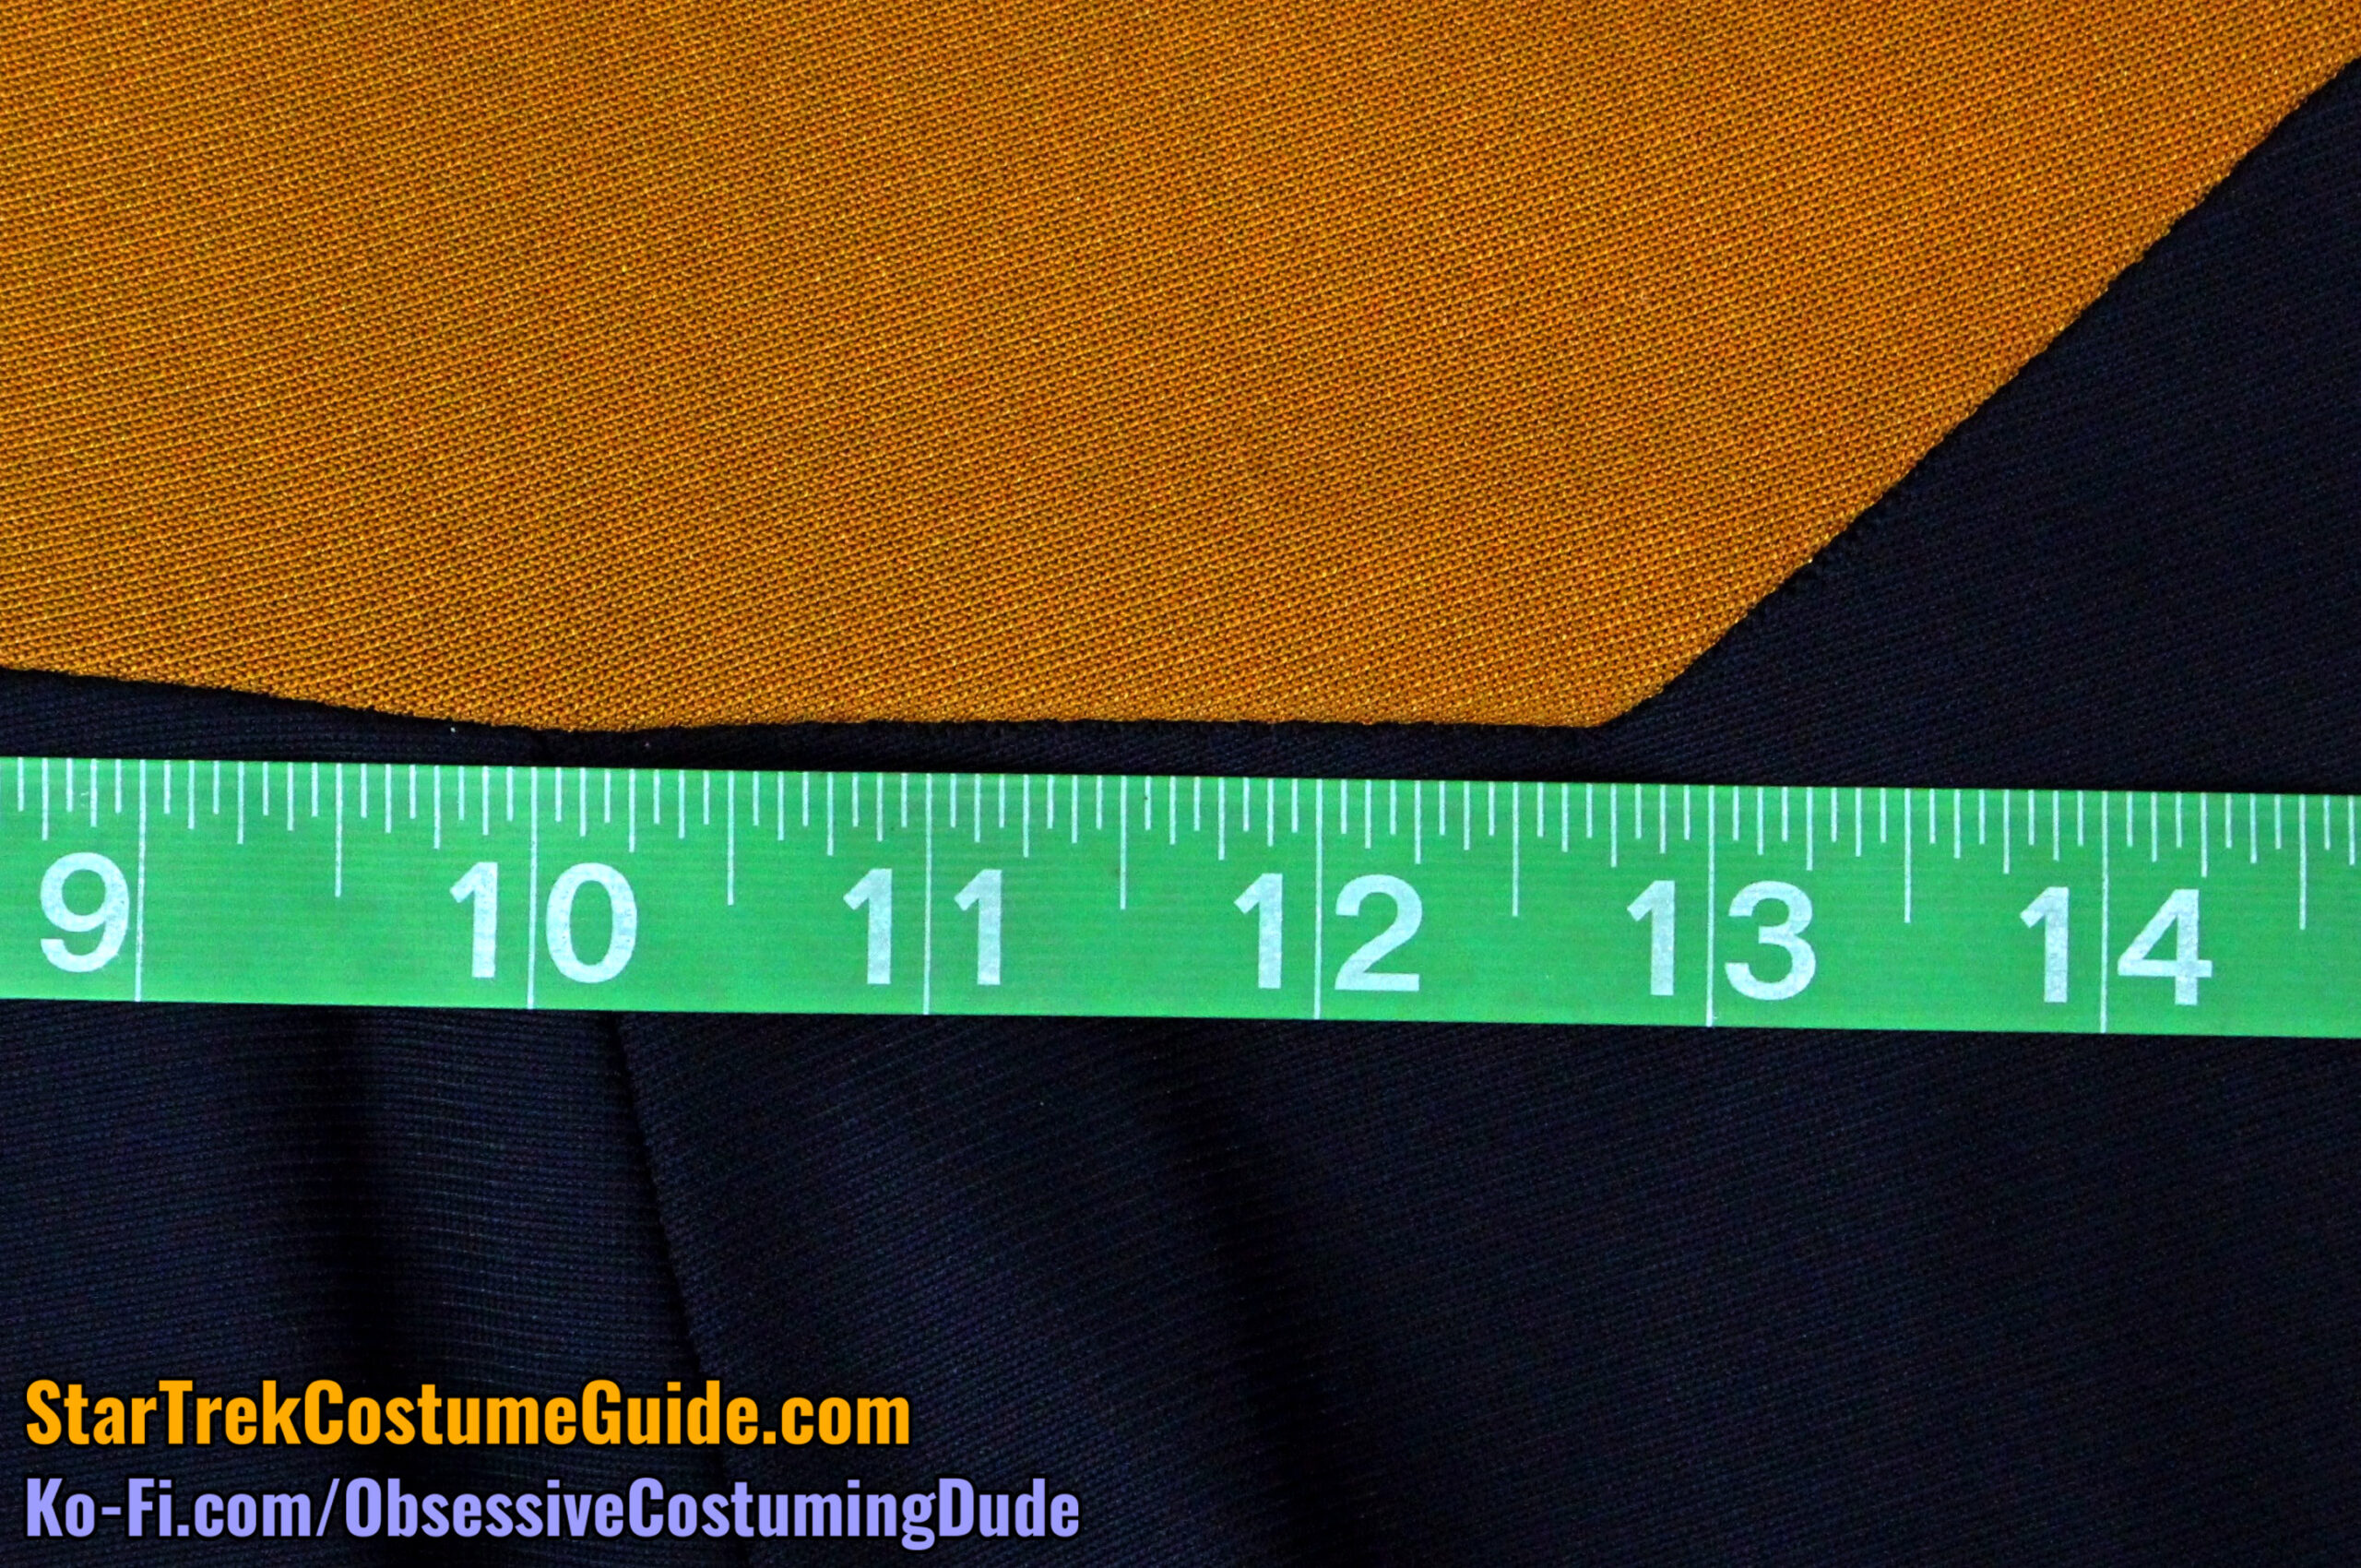
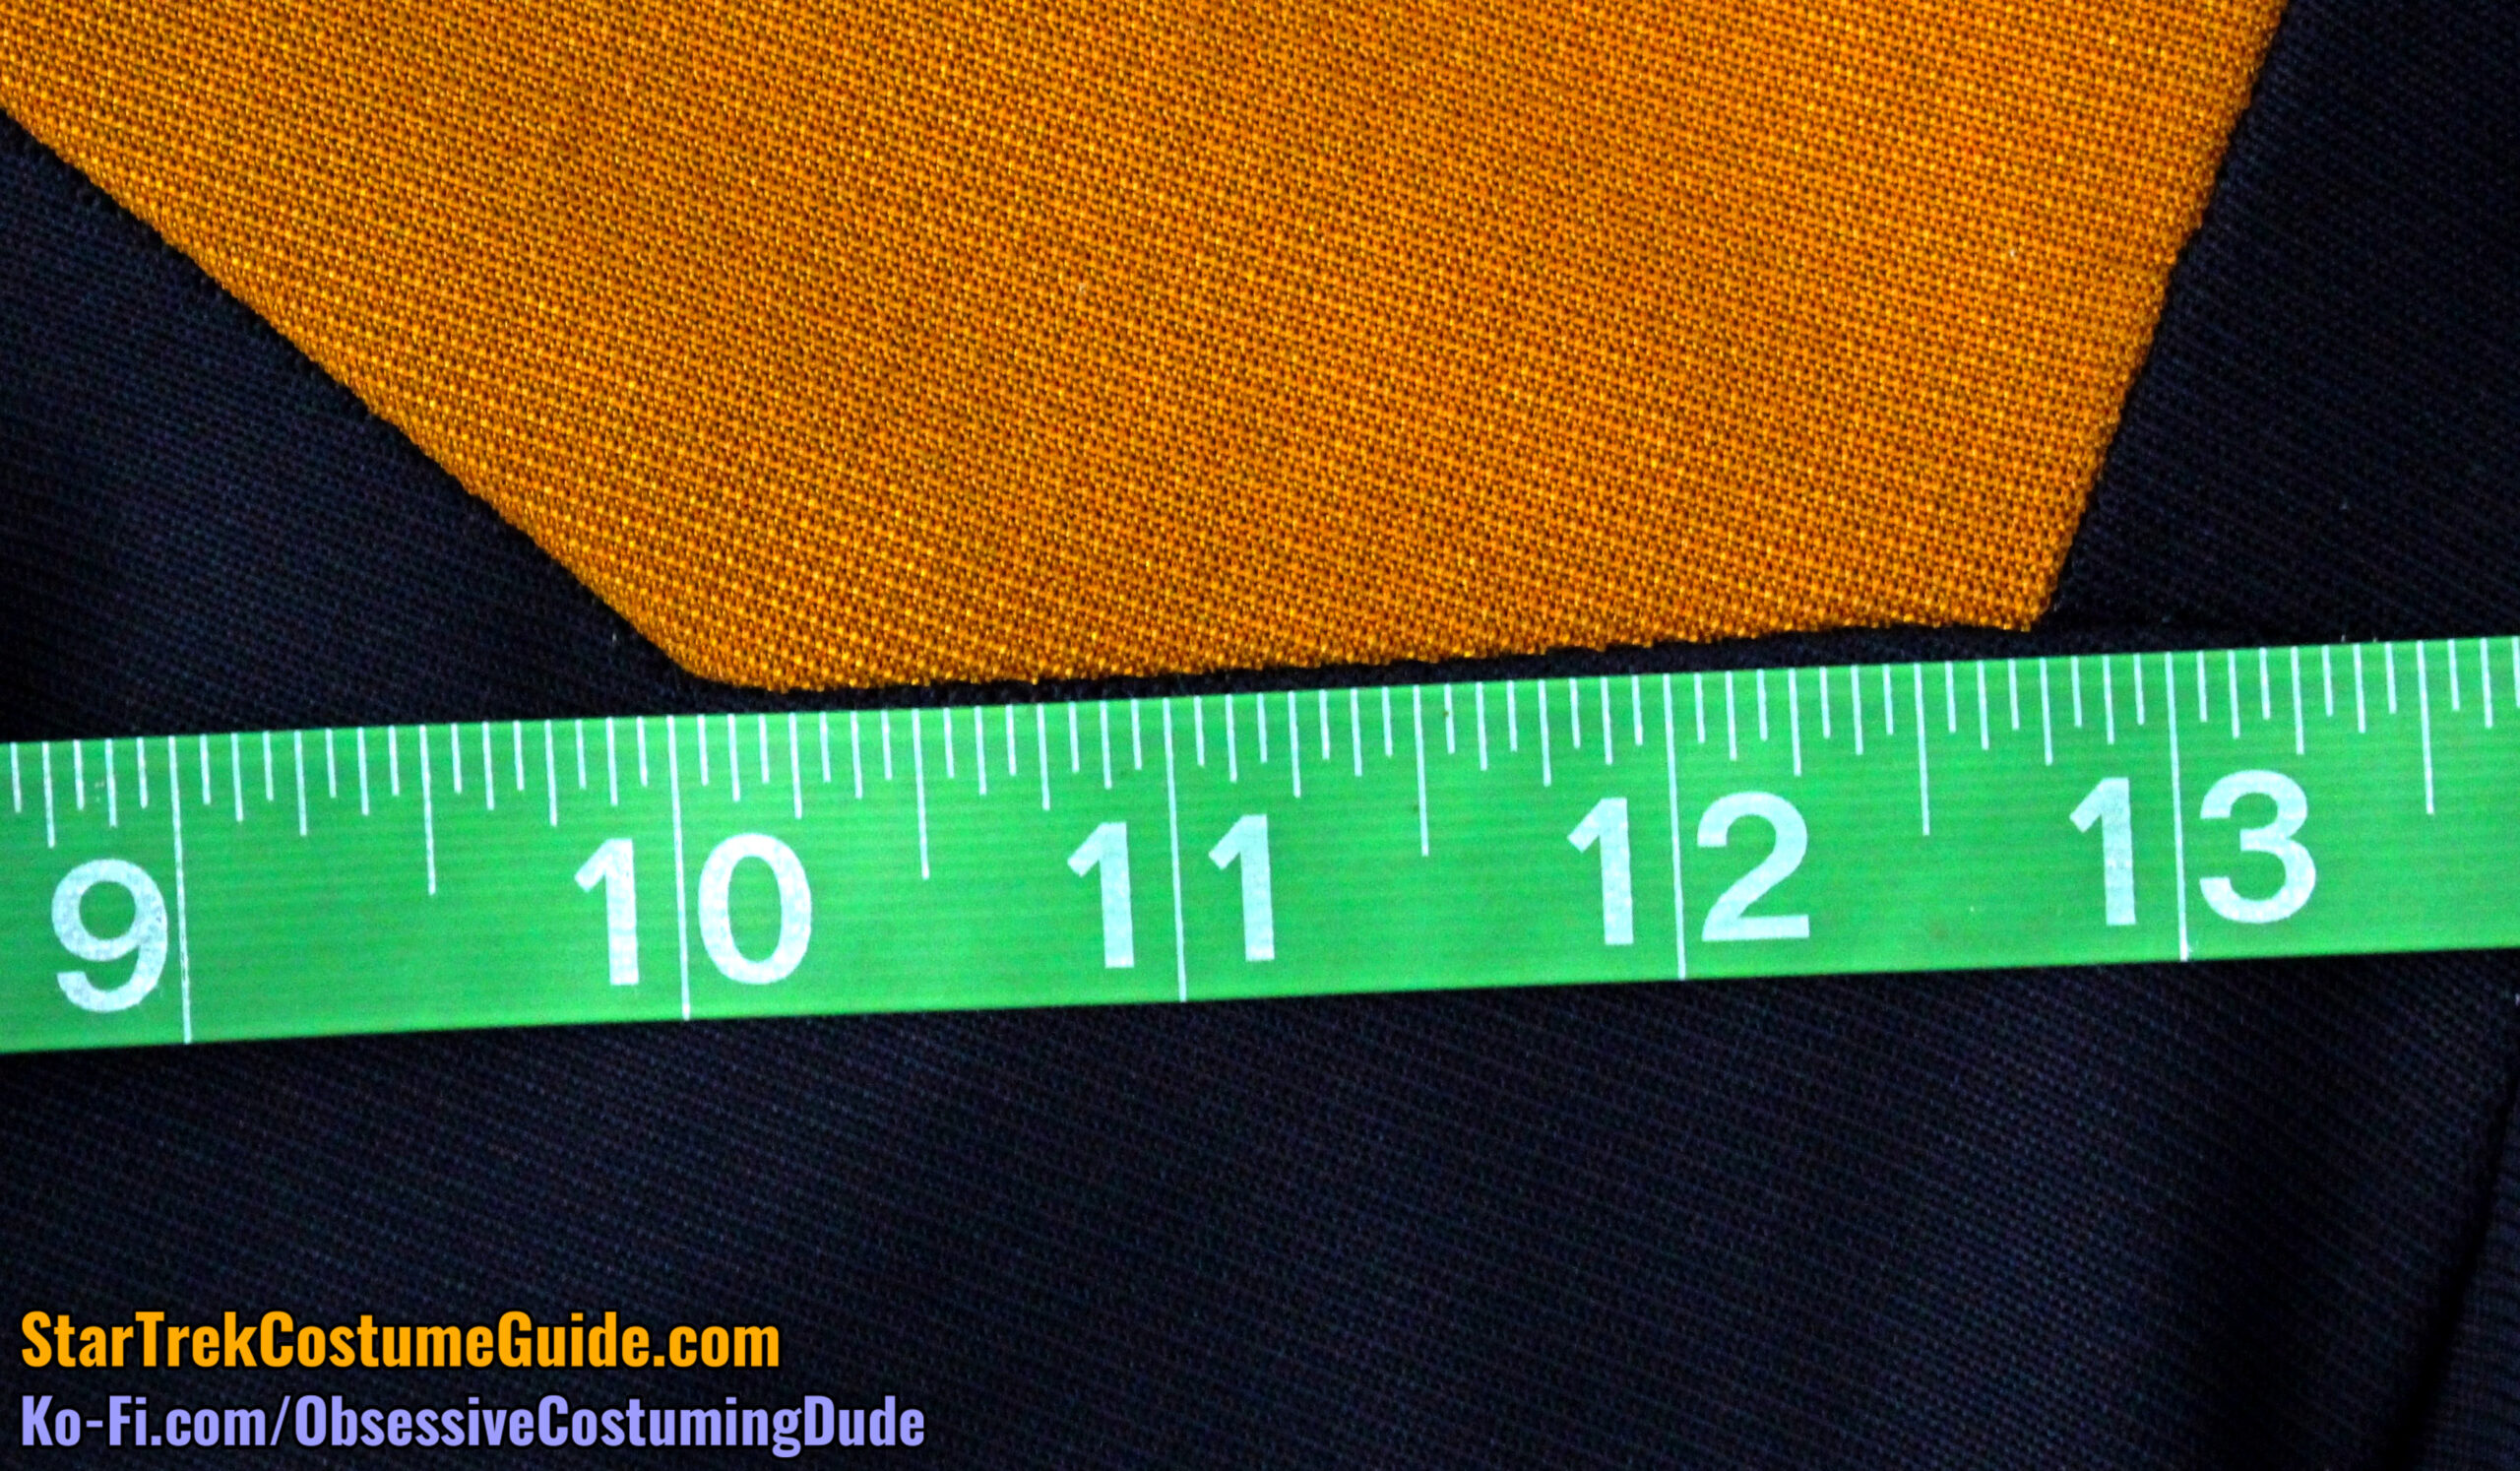
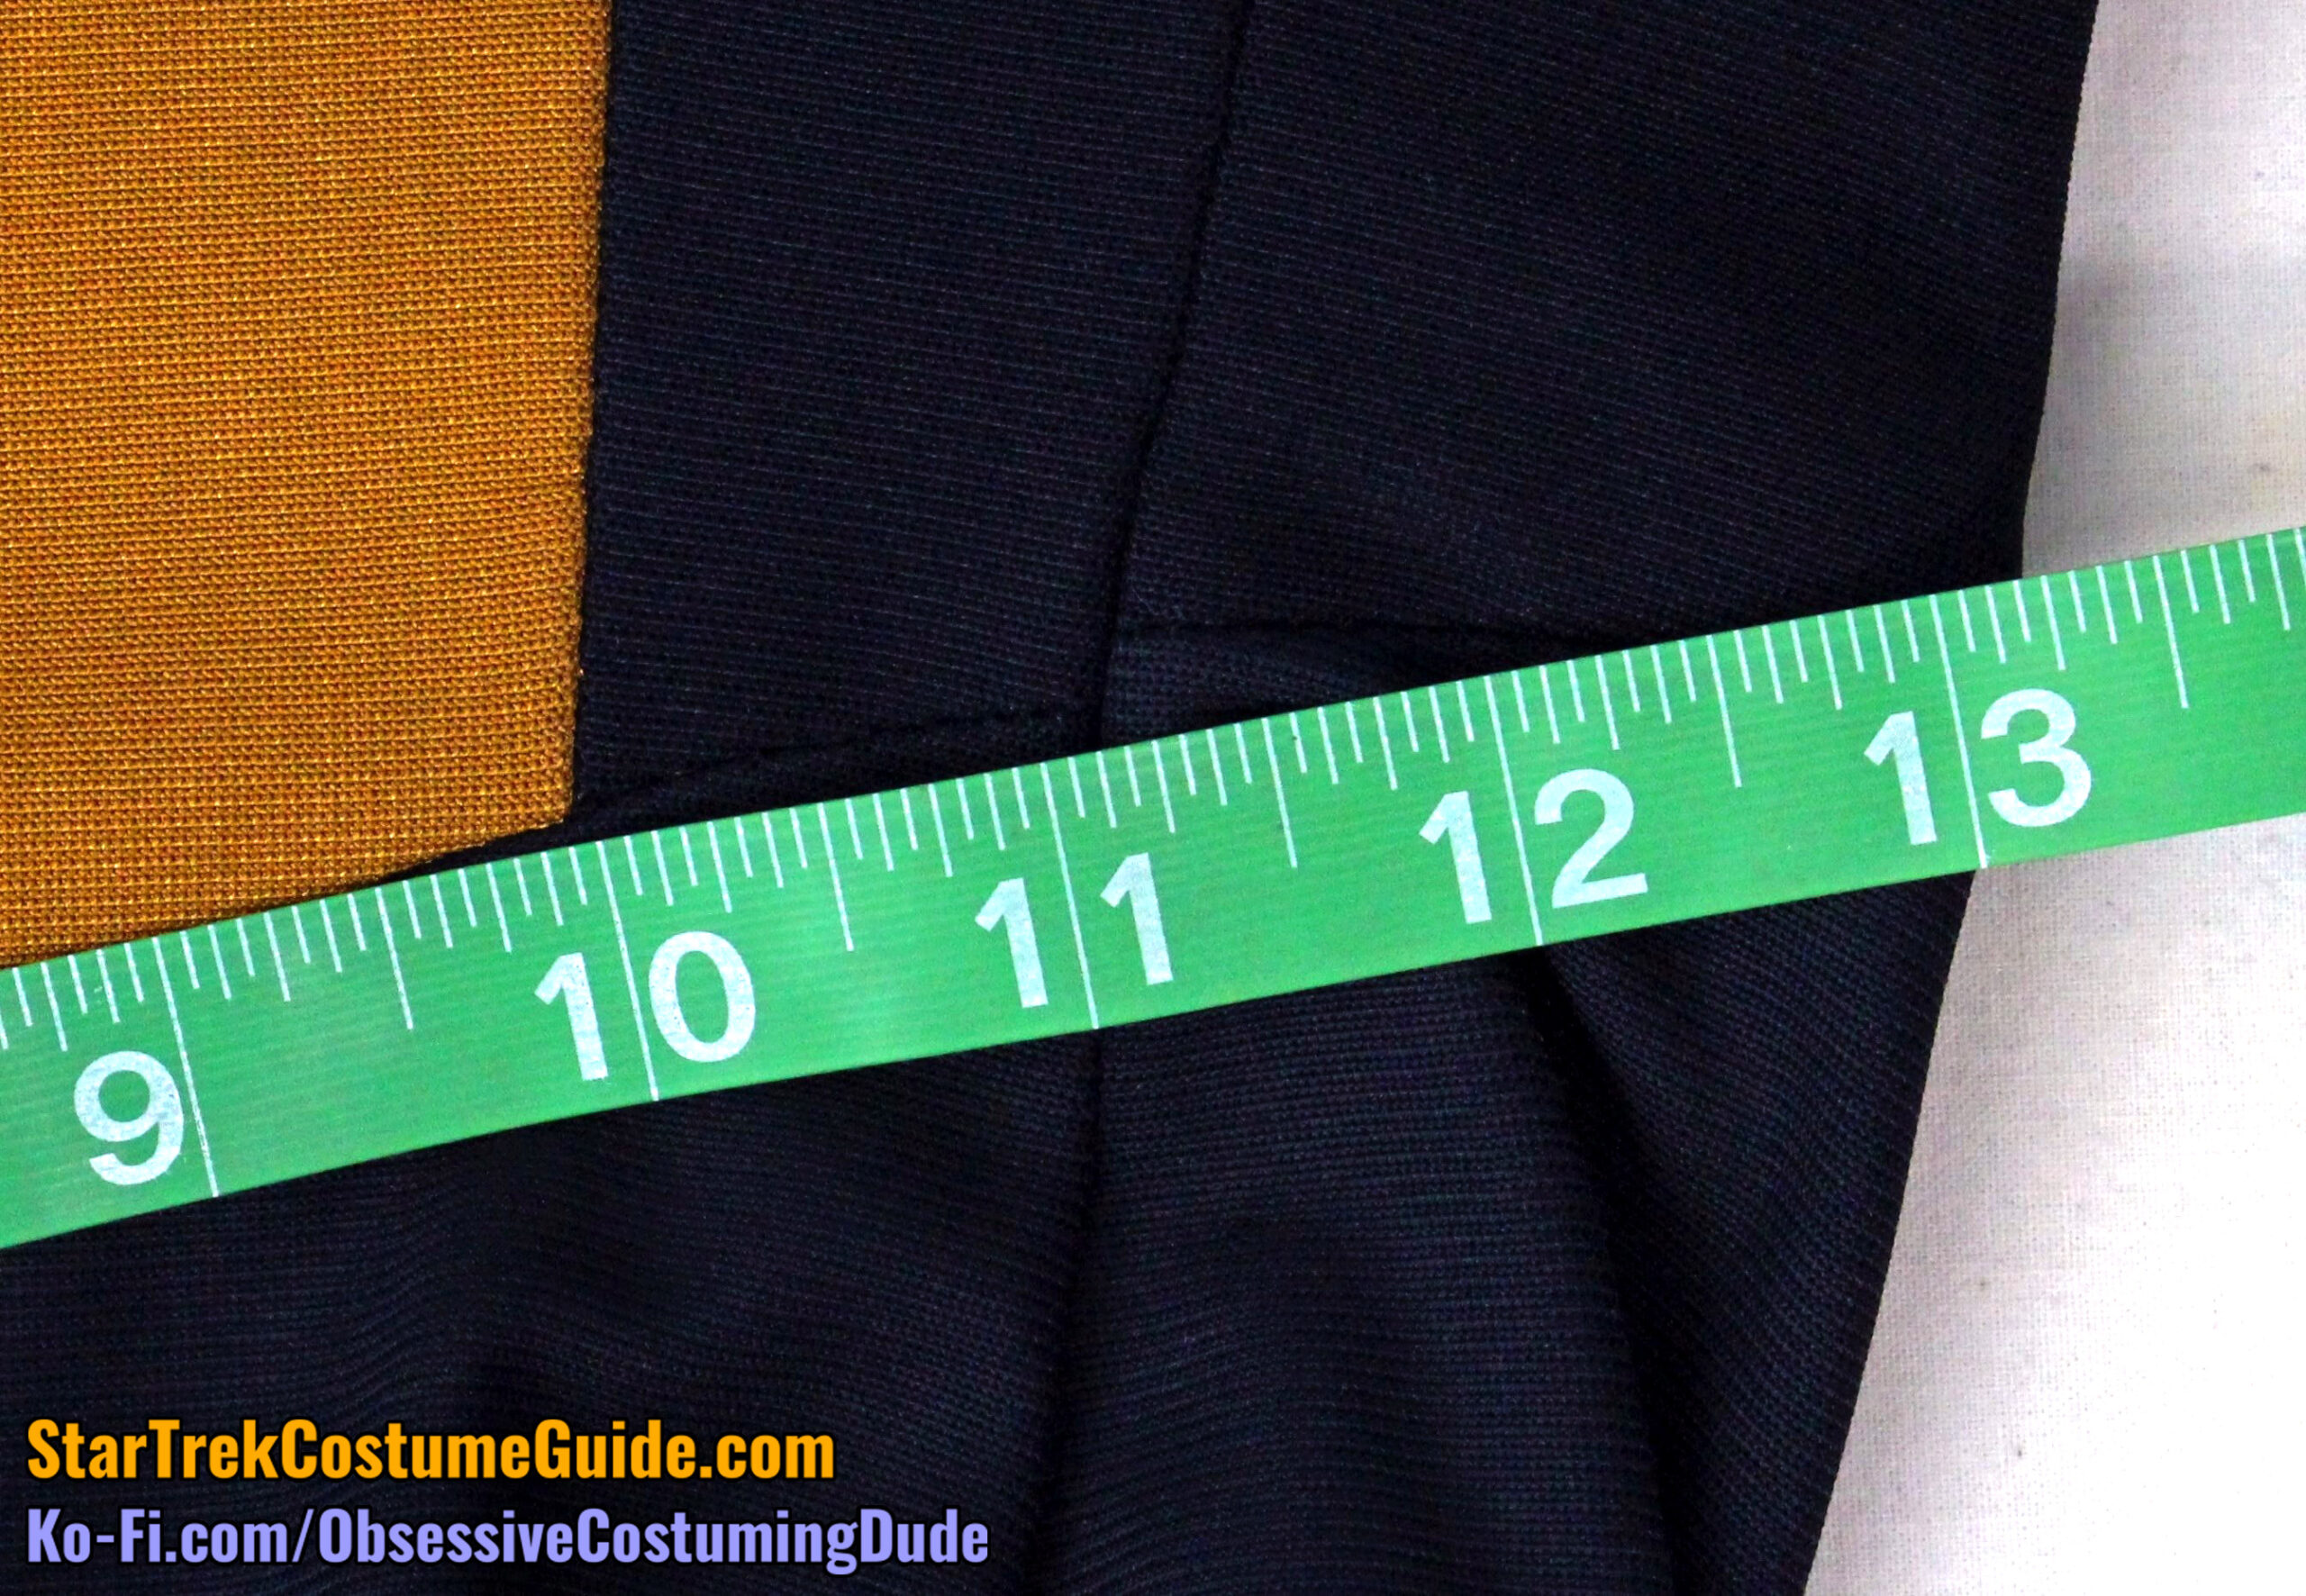
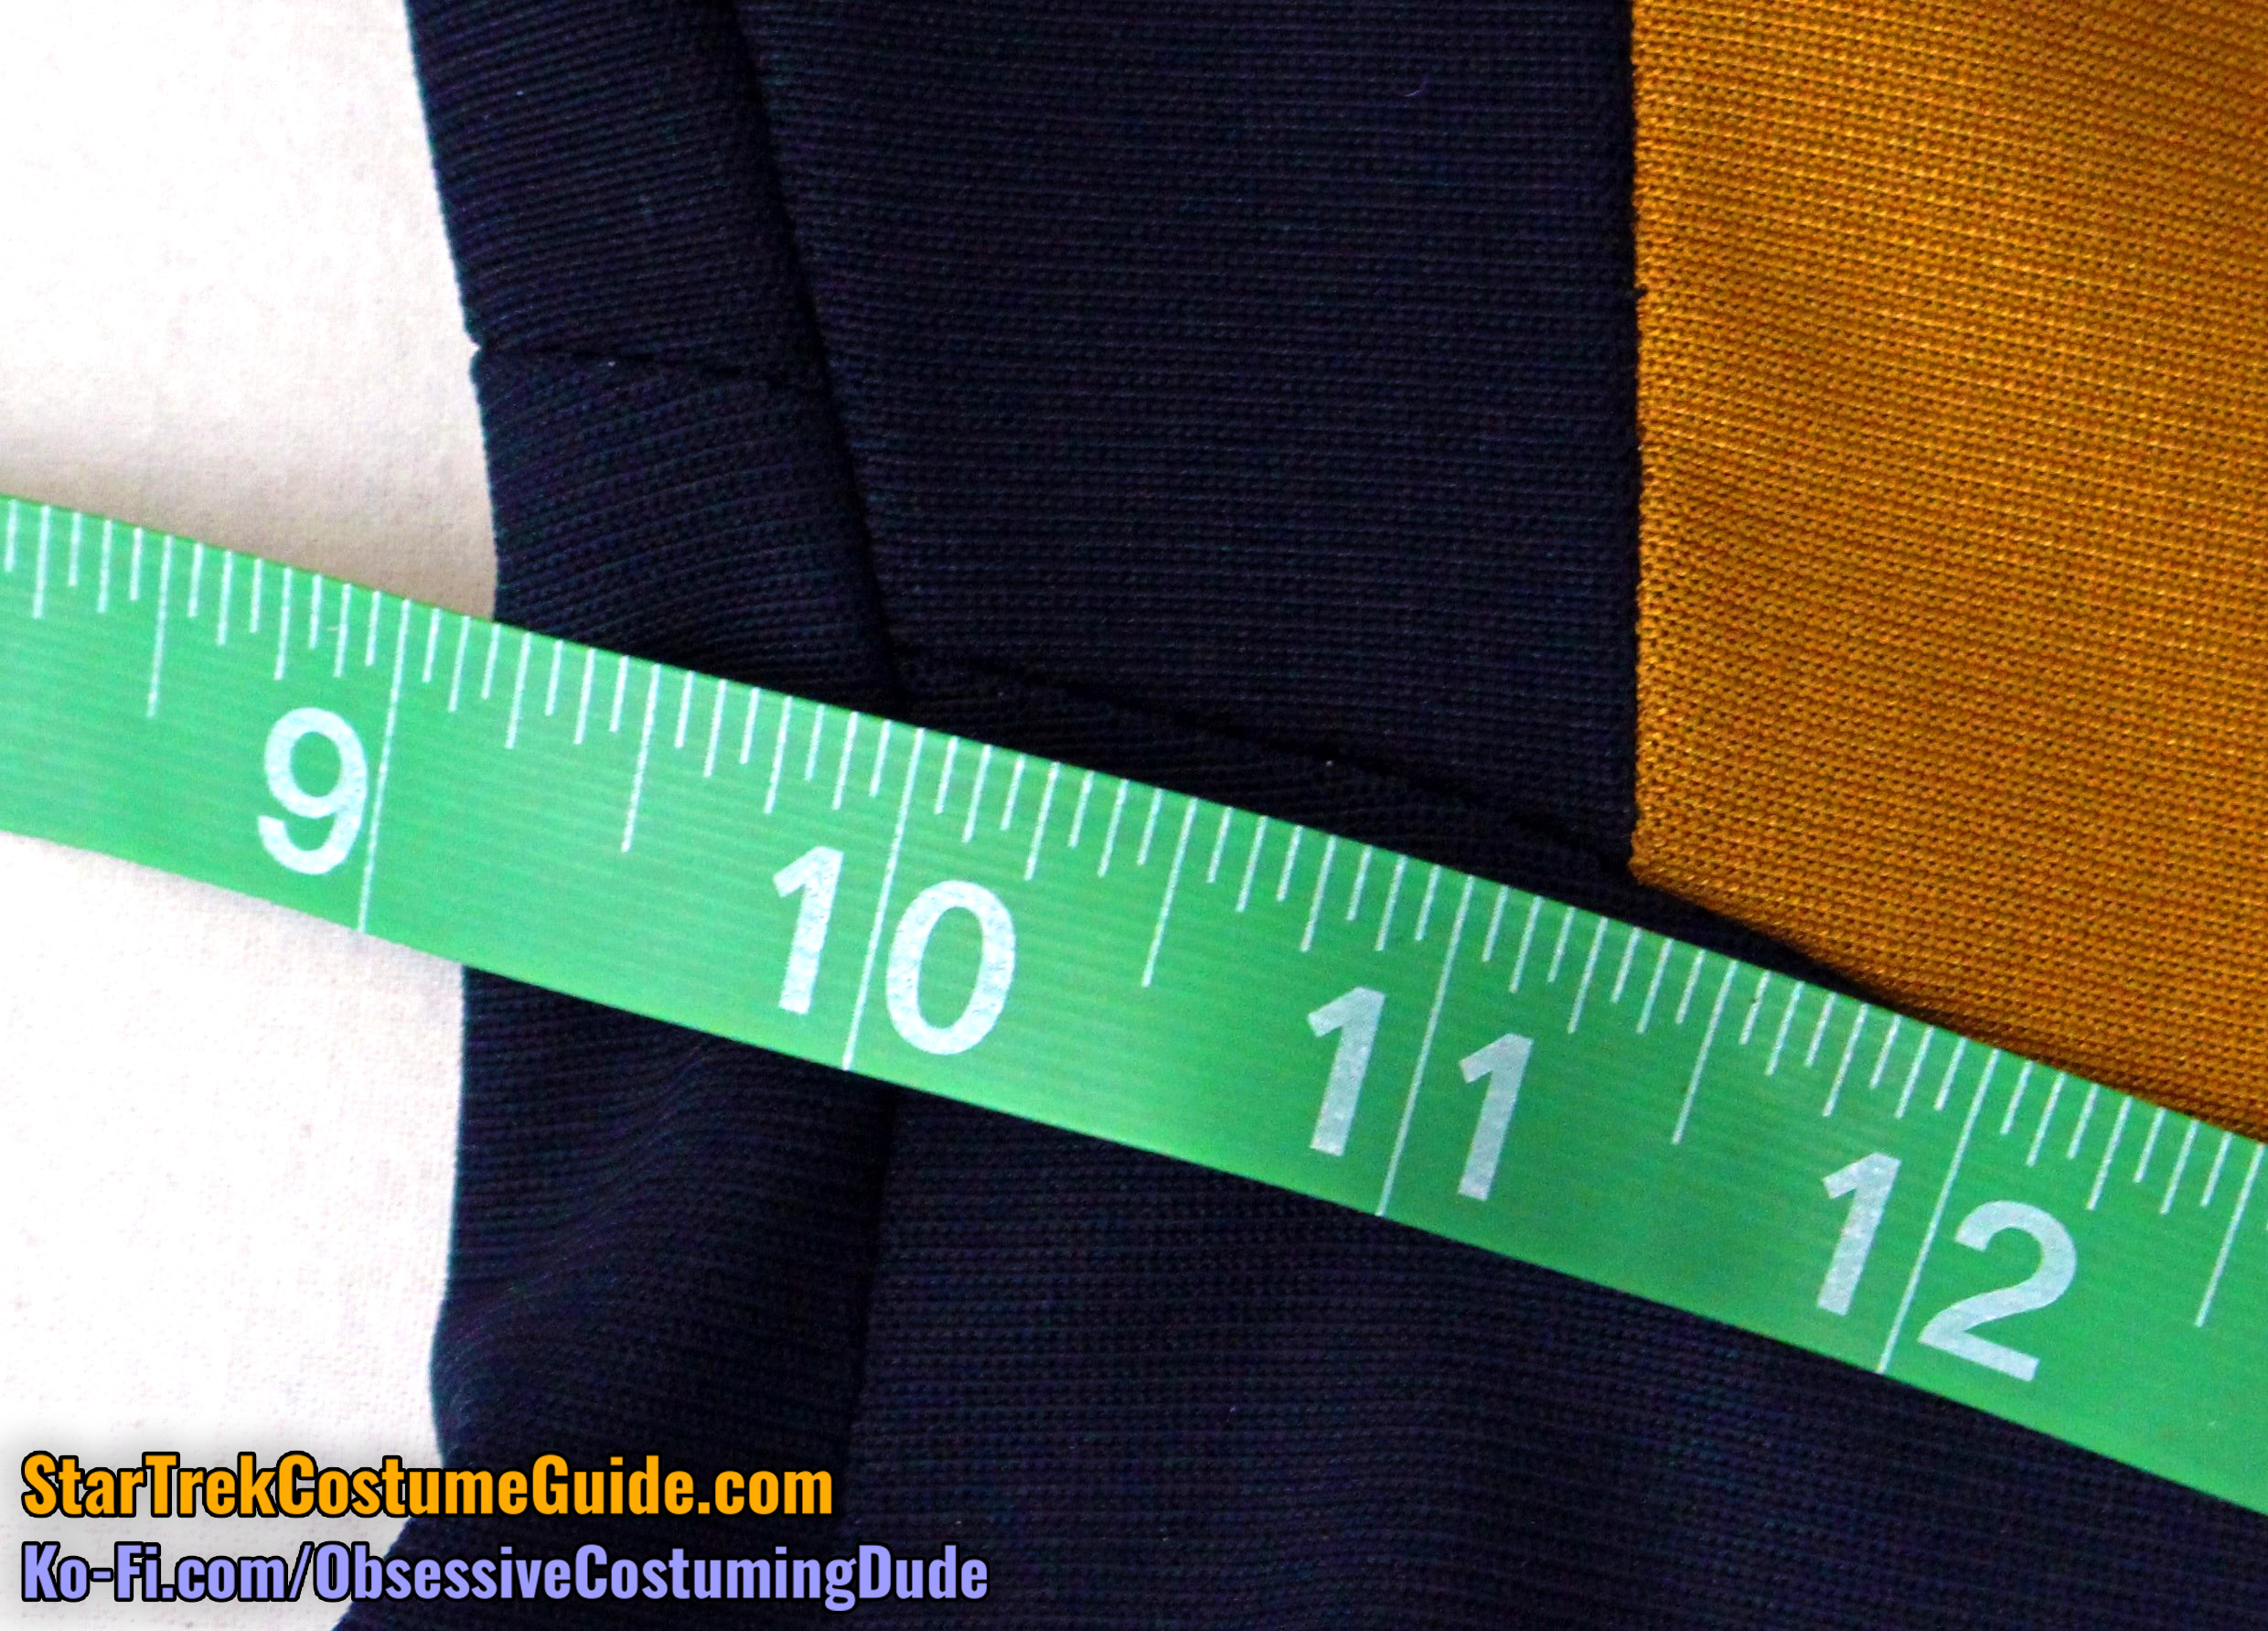
The right side front (lower) armscye was 3 ¼”, measured from the side front to side seams.
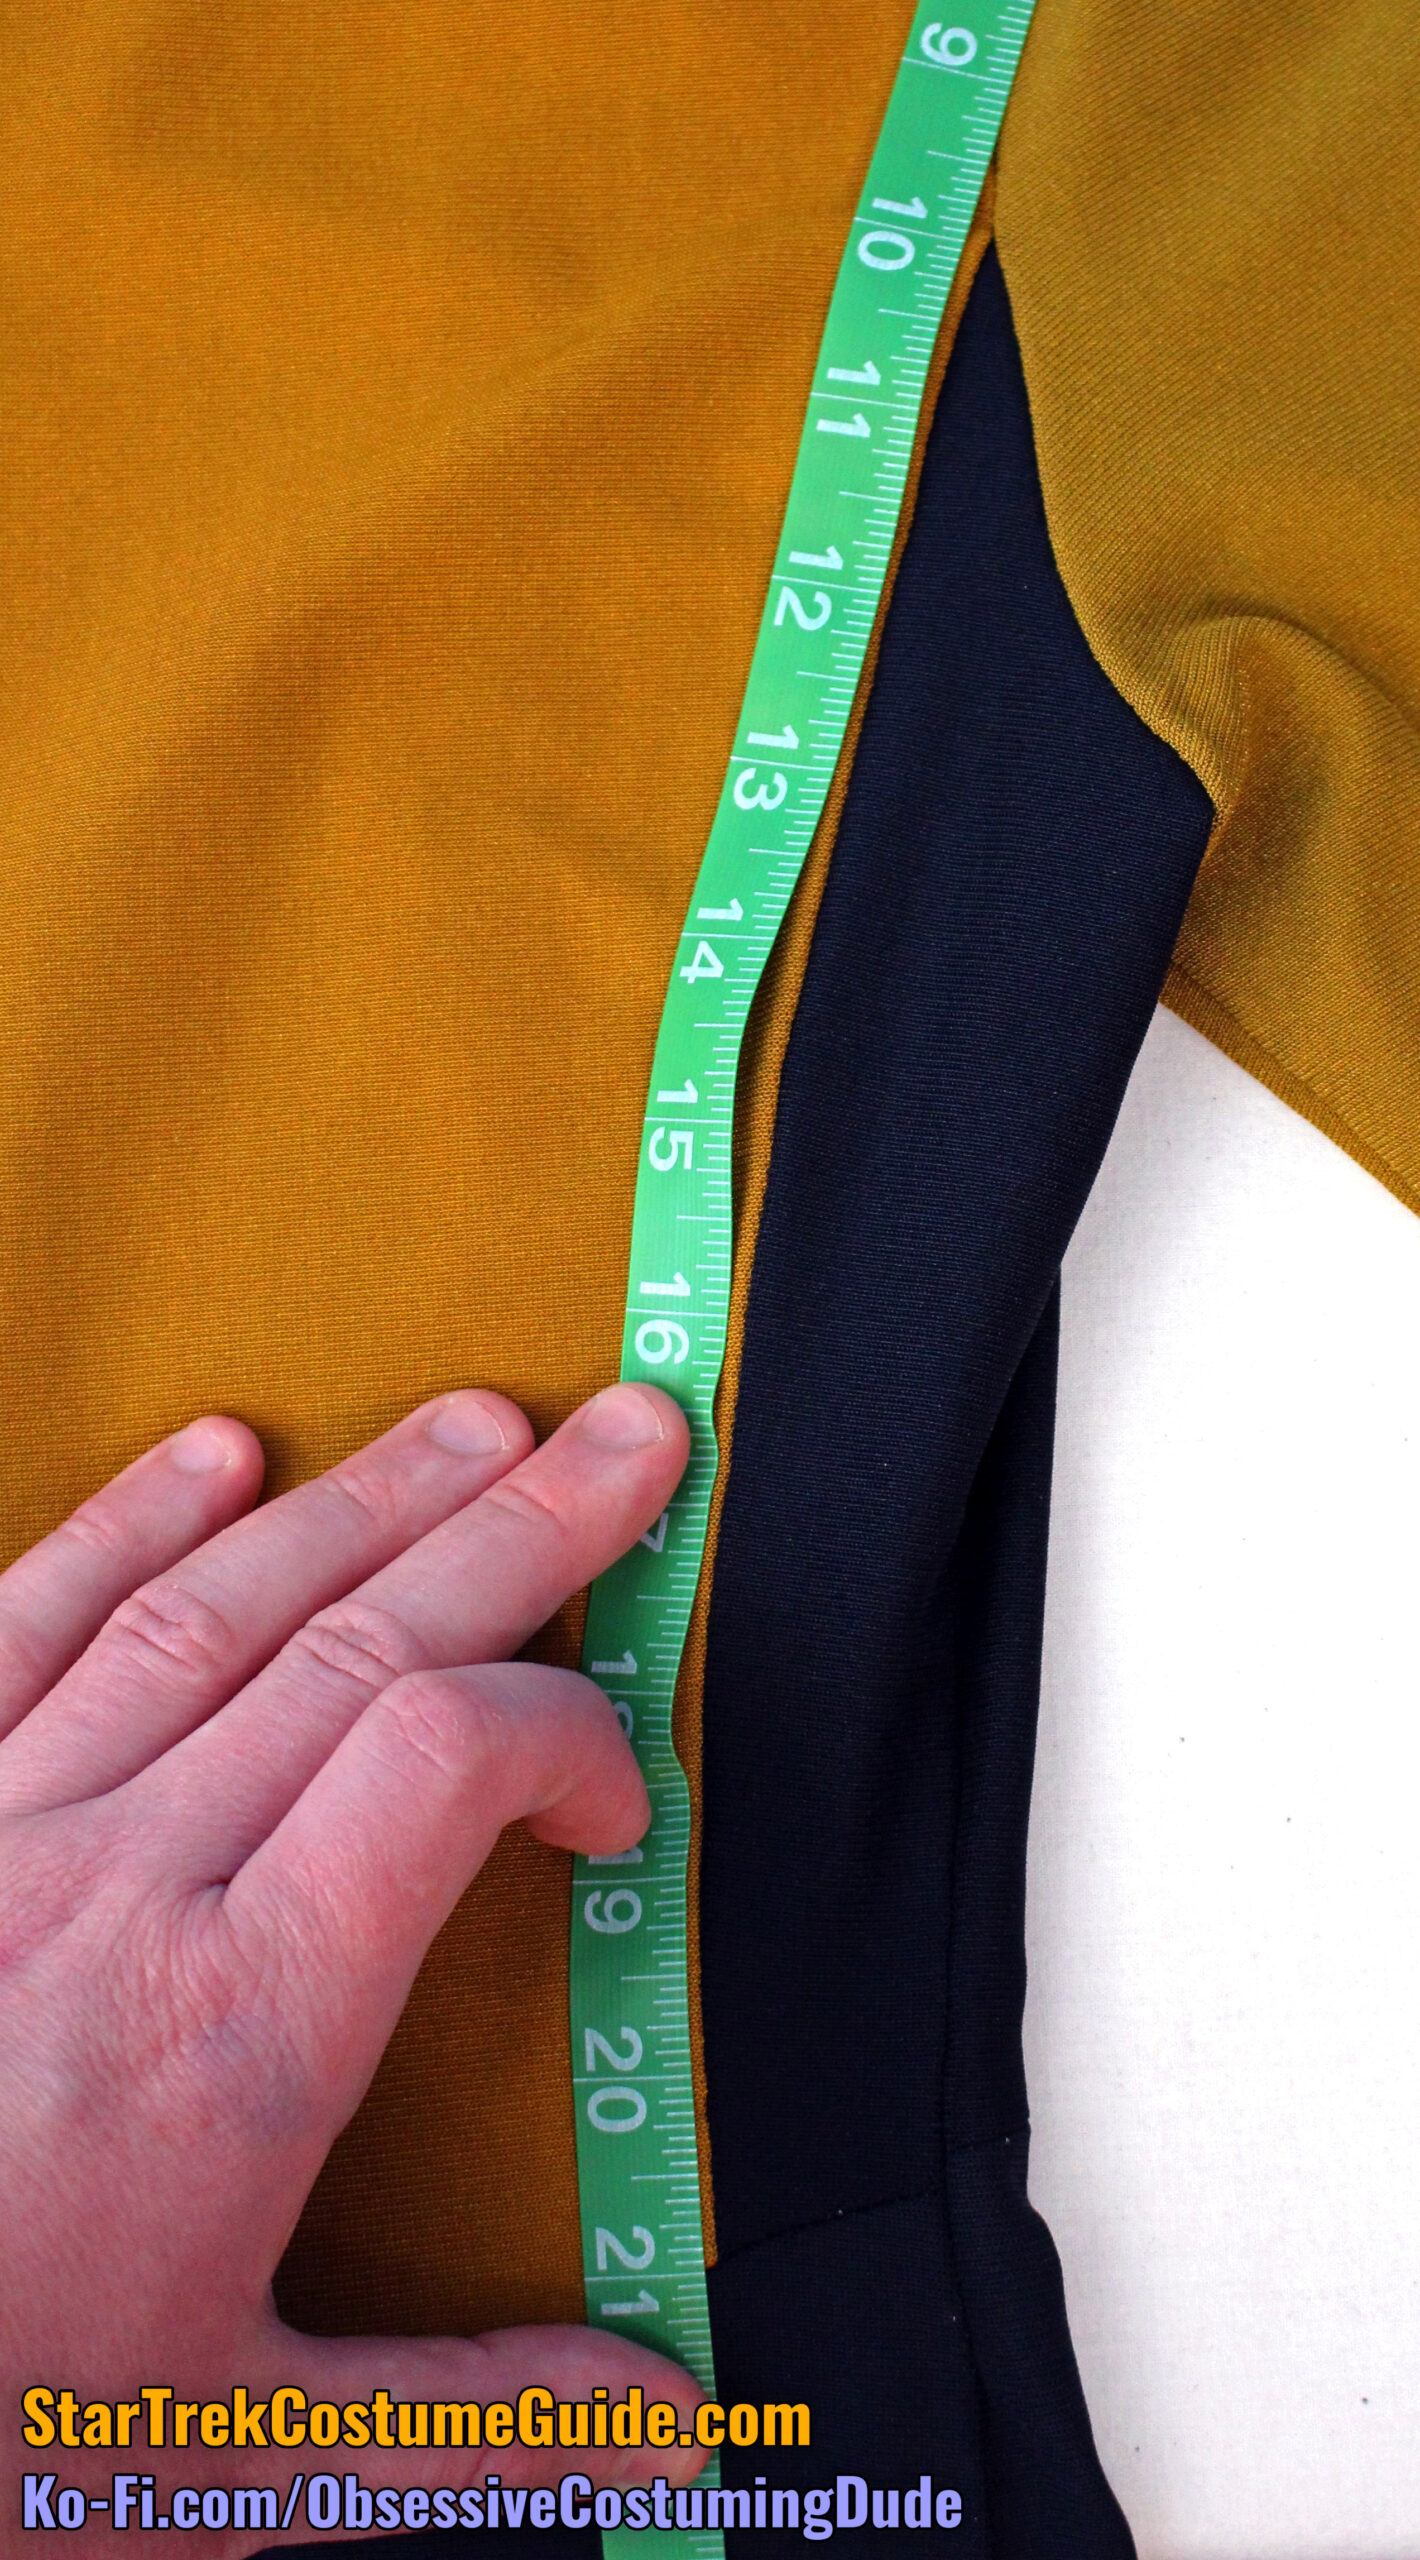
The right side seam was 7 5/16” long on the front, but a bit longer on the back (7 ½”); as you can see, the seams do not properly align at the waist. (More on this shortly.)
The right side front lower seam line was 2 ¾”, with a ⅝” upward slant.
(I’ll follow up with more shortly, but I believe the original slant to have been ¾”.)

The left side front (lower) armscye was a bit longer than the right, measuring 3 ½”.
The left side seam was 5 ⅞” long on the front, but 6 ⅜” long on the back.
(Again, the seam lines did not properly align at the waist.)
The left side front lower seam line was 2 ¼”, with a ⅝” slant.
(As with the right side, I believe the original slant to have been ¾”.)
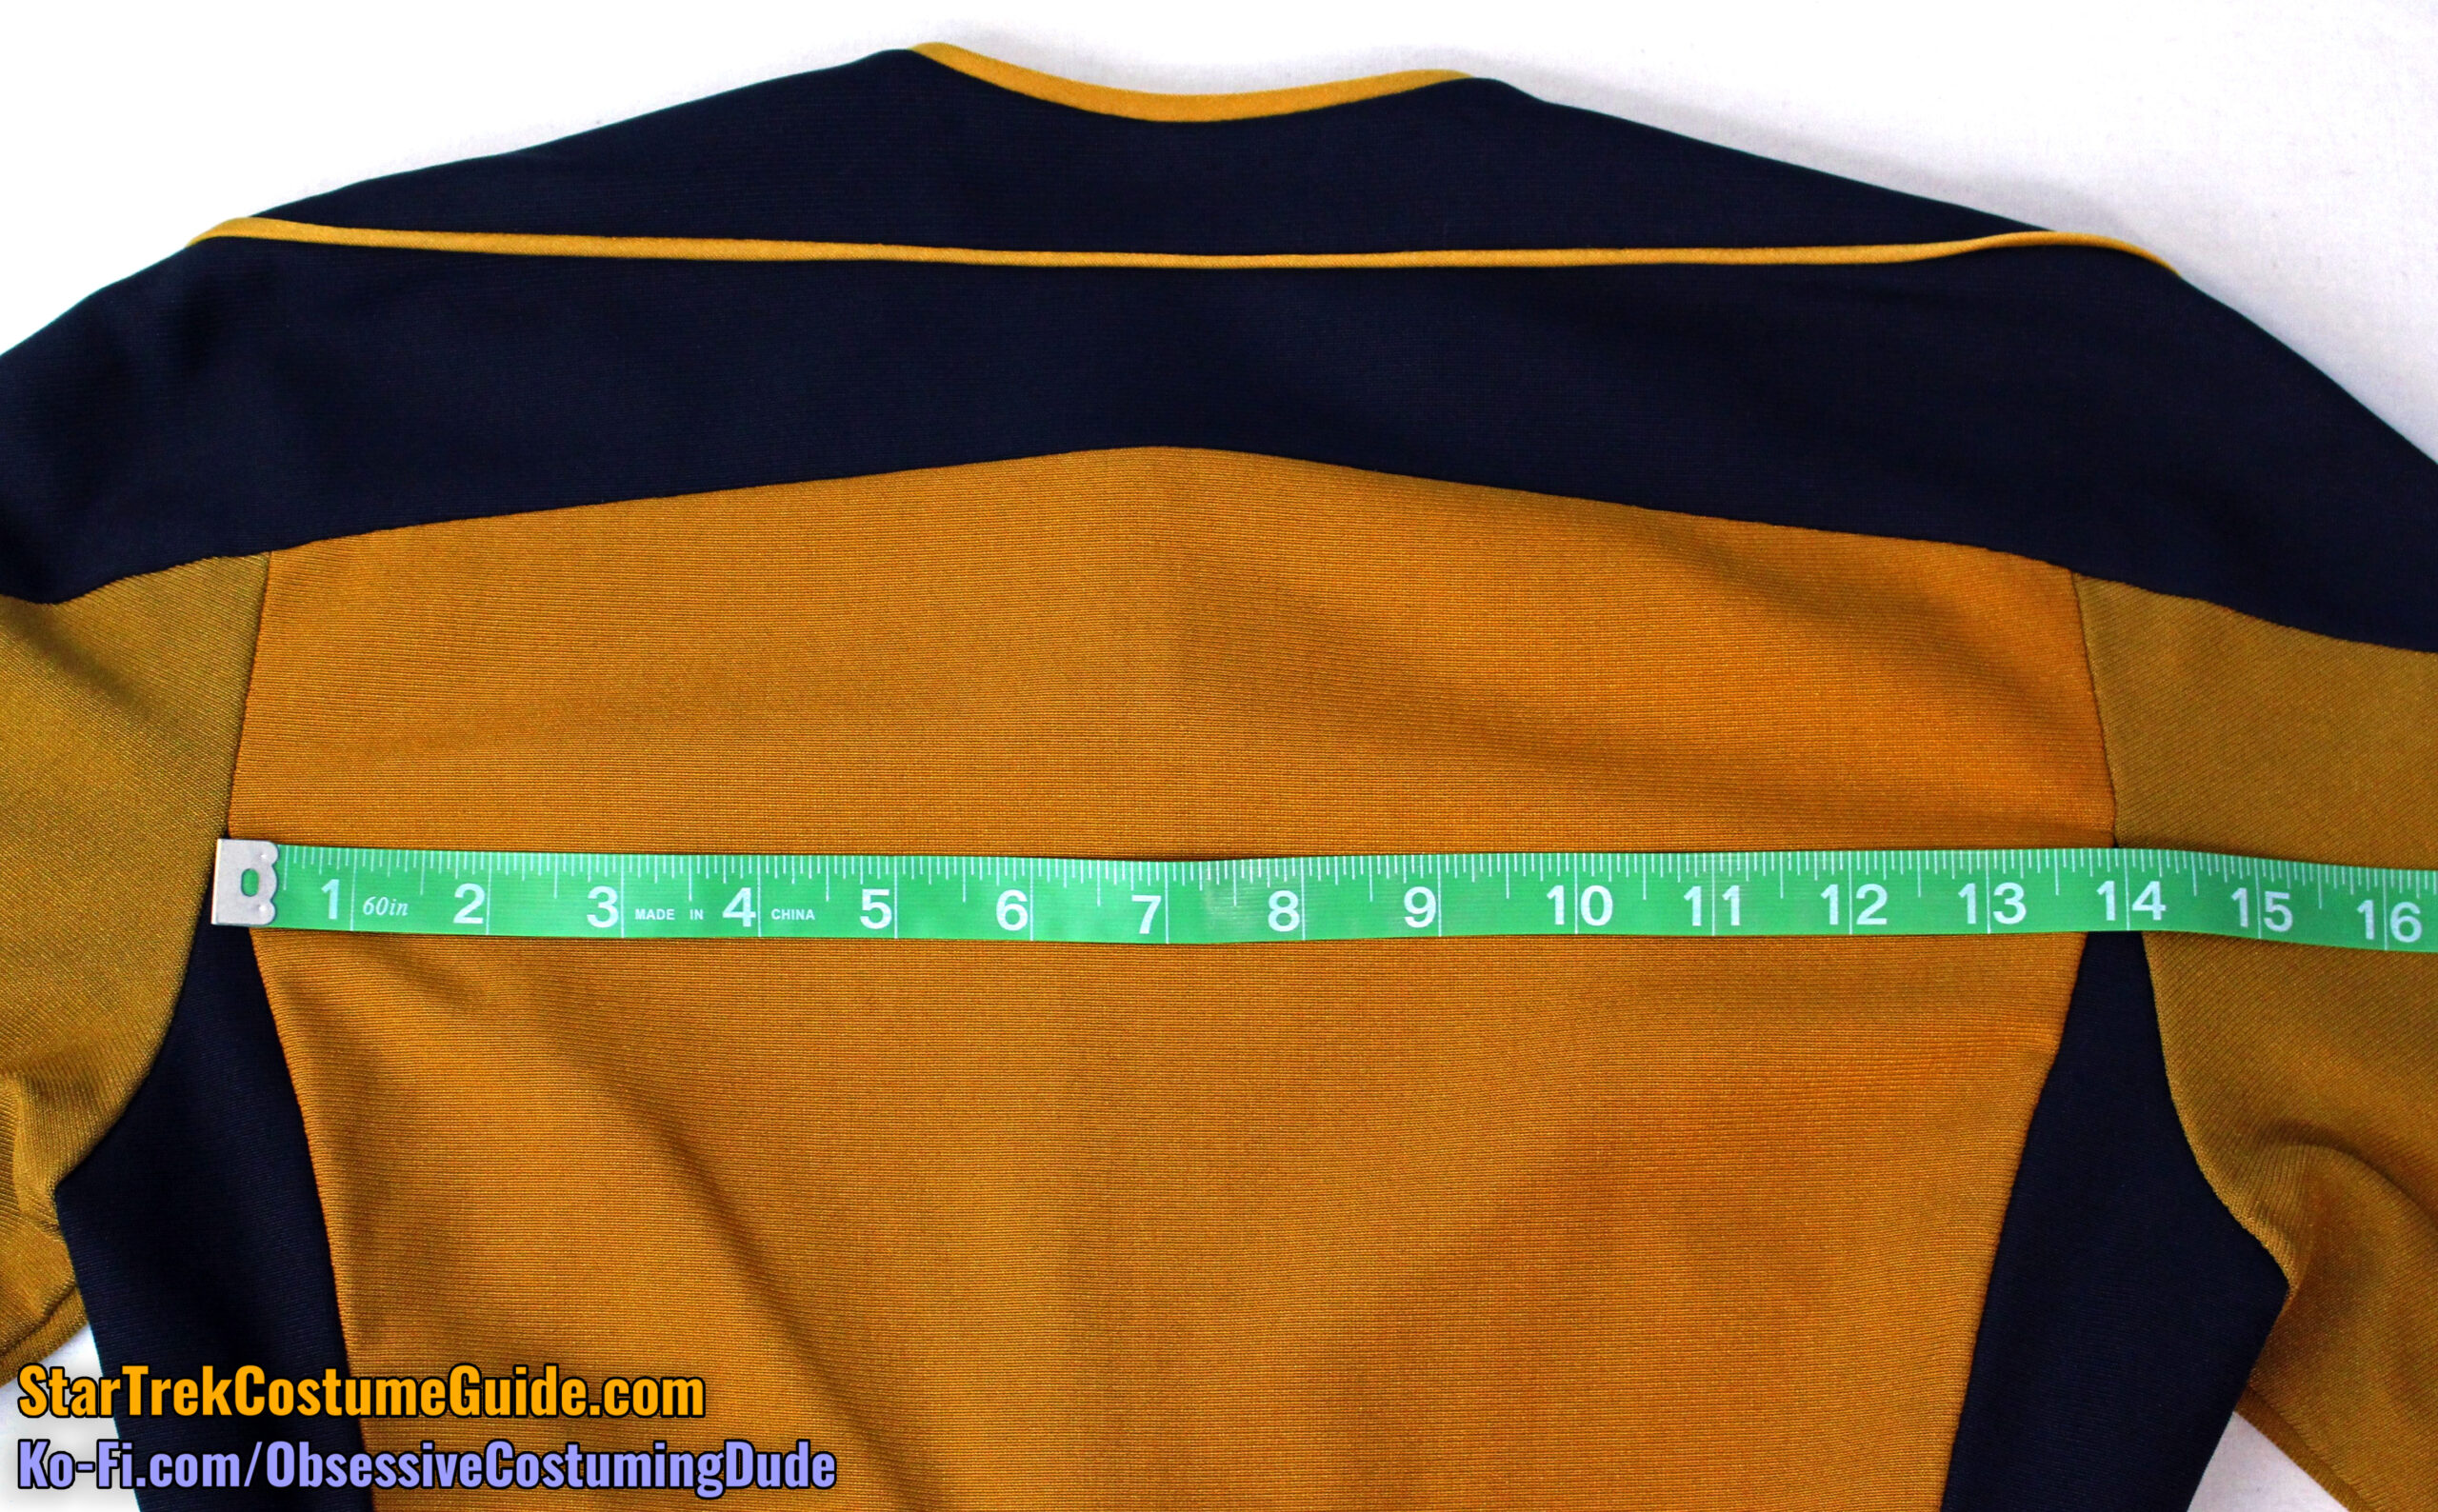
As I mentioned previously, the upper back yoke/body seam line was 13 ½”.
On the upper back body, this seam line curved downward ¾” from center back to each armscye.
Both side back seam lines were 2 ¼” below the yoke at the armscye.
While the upper back was 14” across at the upper side back seams, it was only 10” across at the lower side back seams … (numerically) revealing the contours and proportions of the side back seams.
The left side back seam line was 9 ½”, and the right side back seam line was 11”.
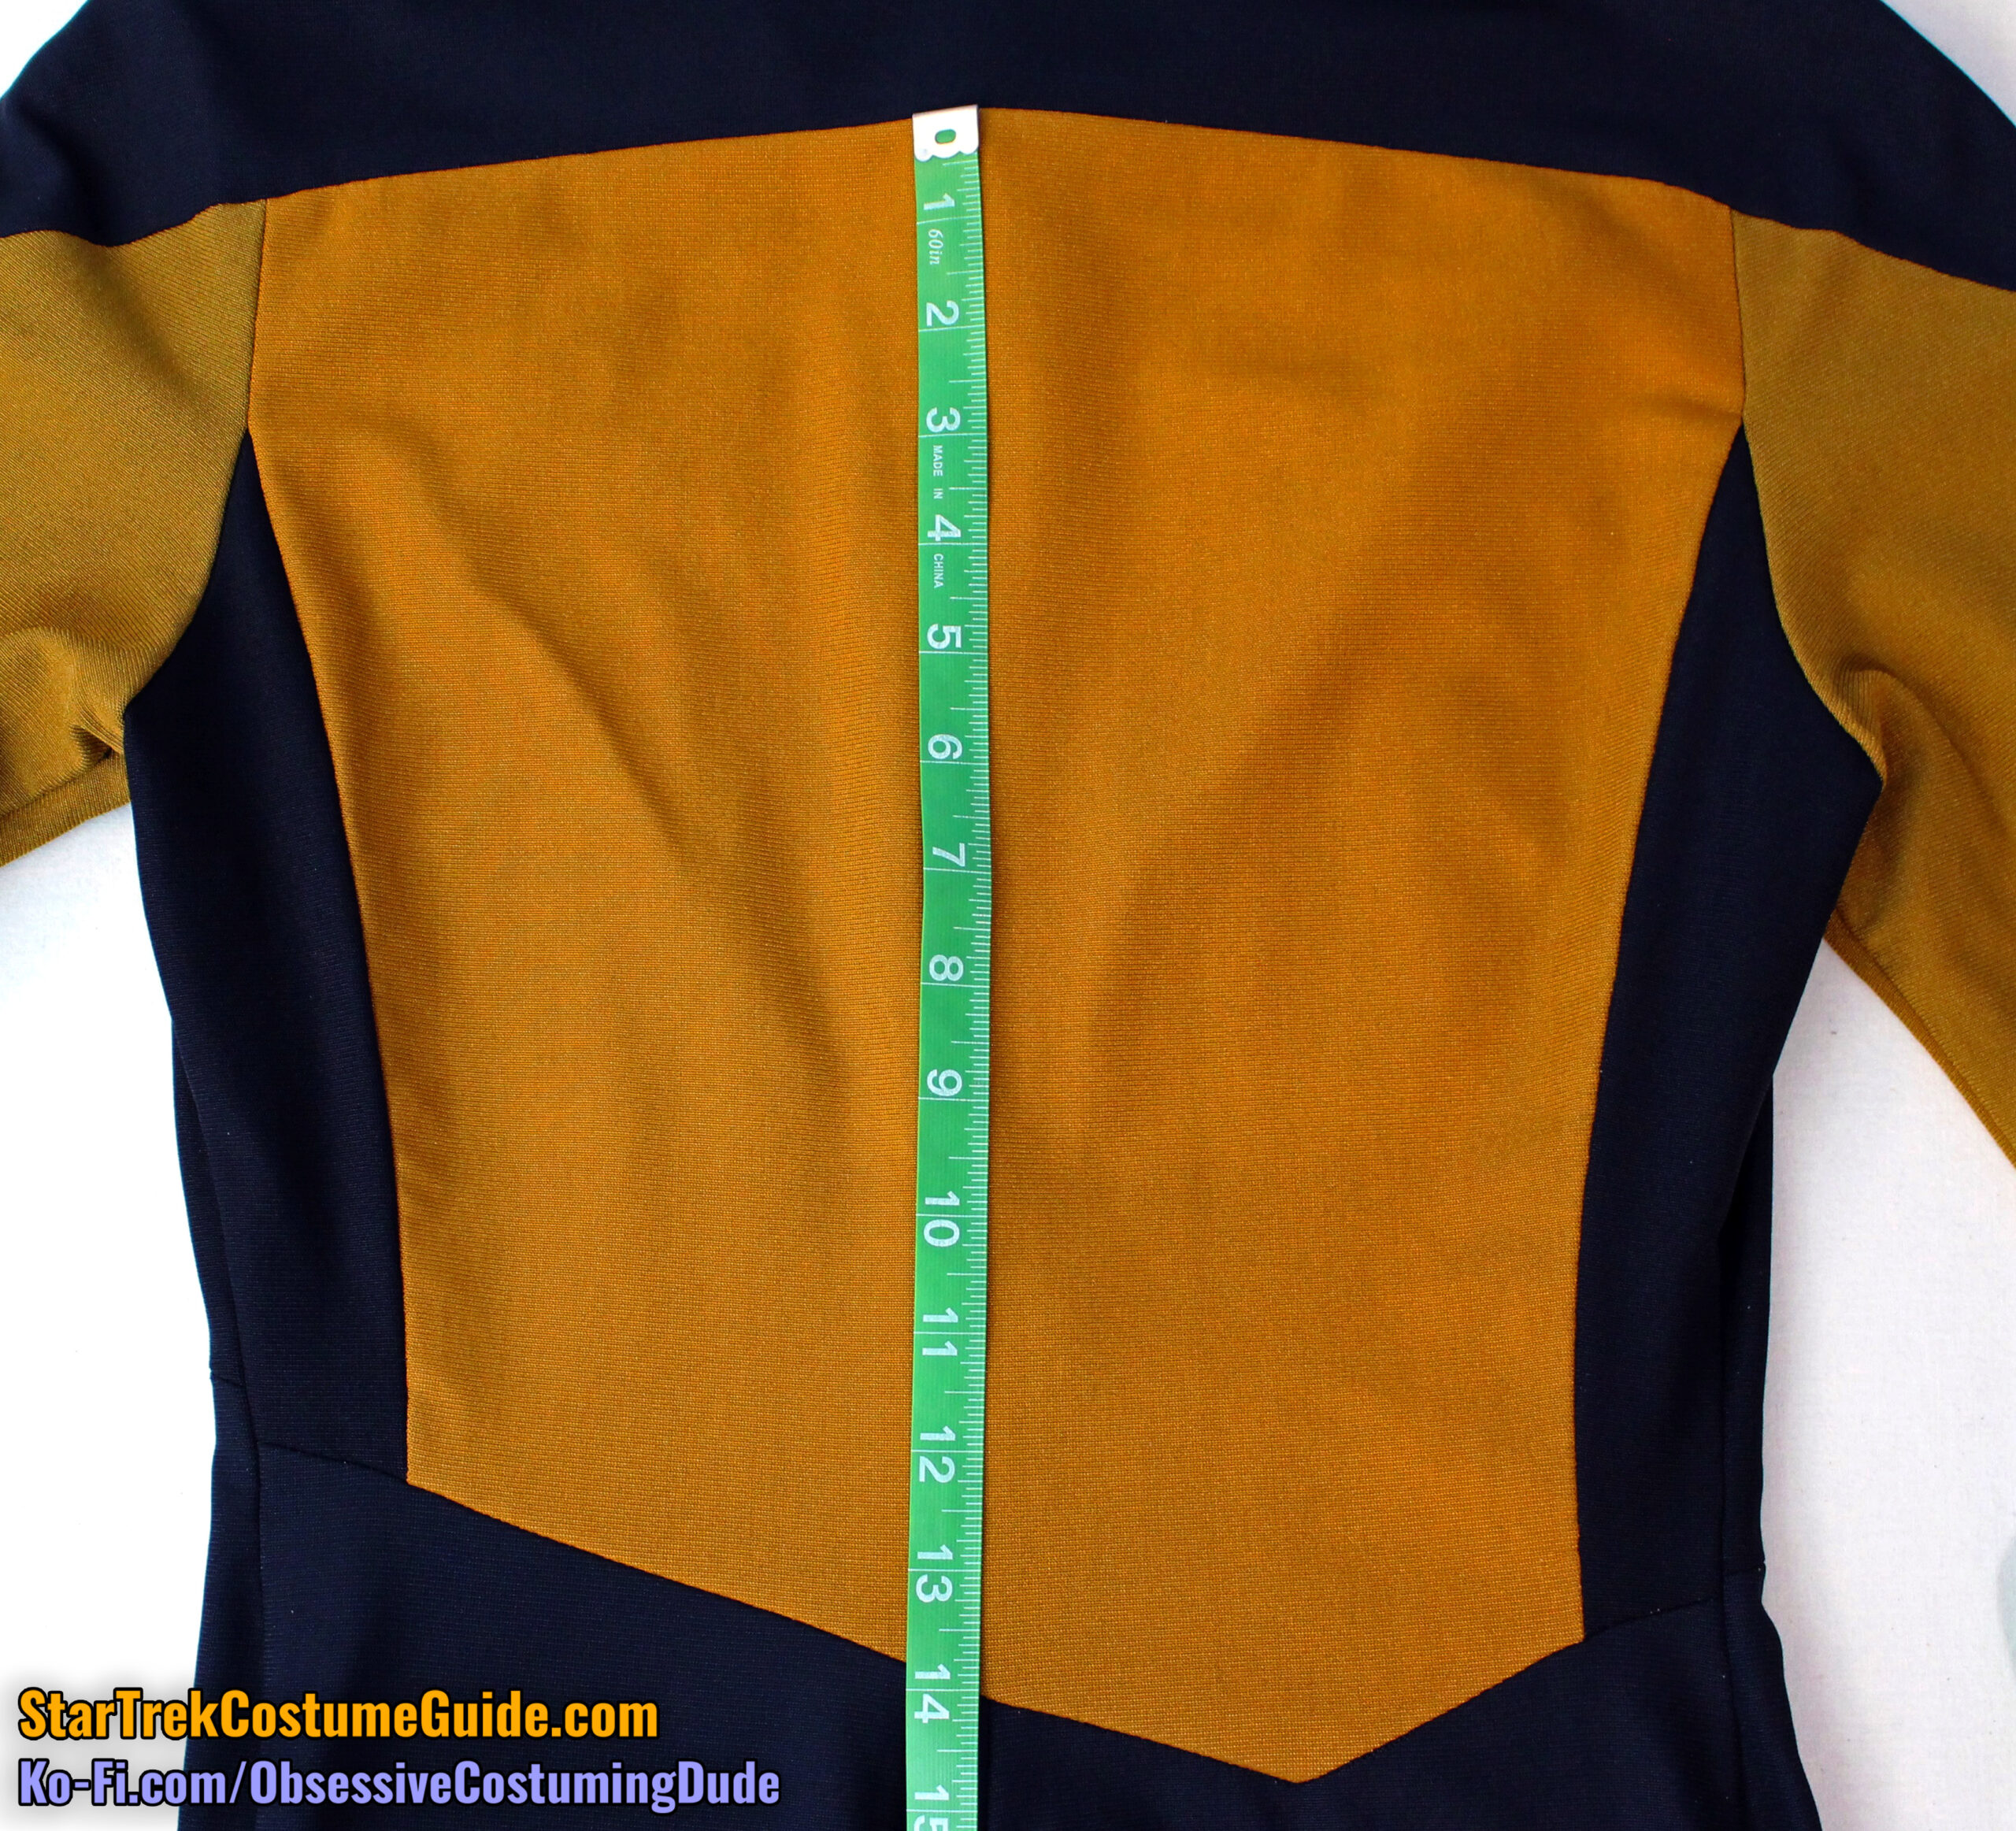
The upper back panel was 14” deep at the center back, measured from the yoke seam to the asymmetrical seam at the pant legs.
The lower back seam line was 5 ¼” long, from the left side back seam to the center back.
The seam continued 2 ¾” from the center back to the lower corner, then pivoted upward and extended another 2 ¾” from the corner to the right side back seam.
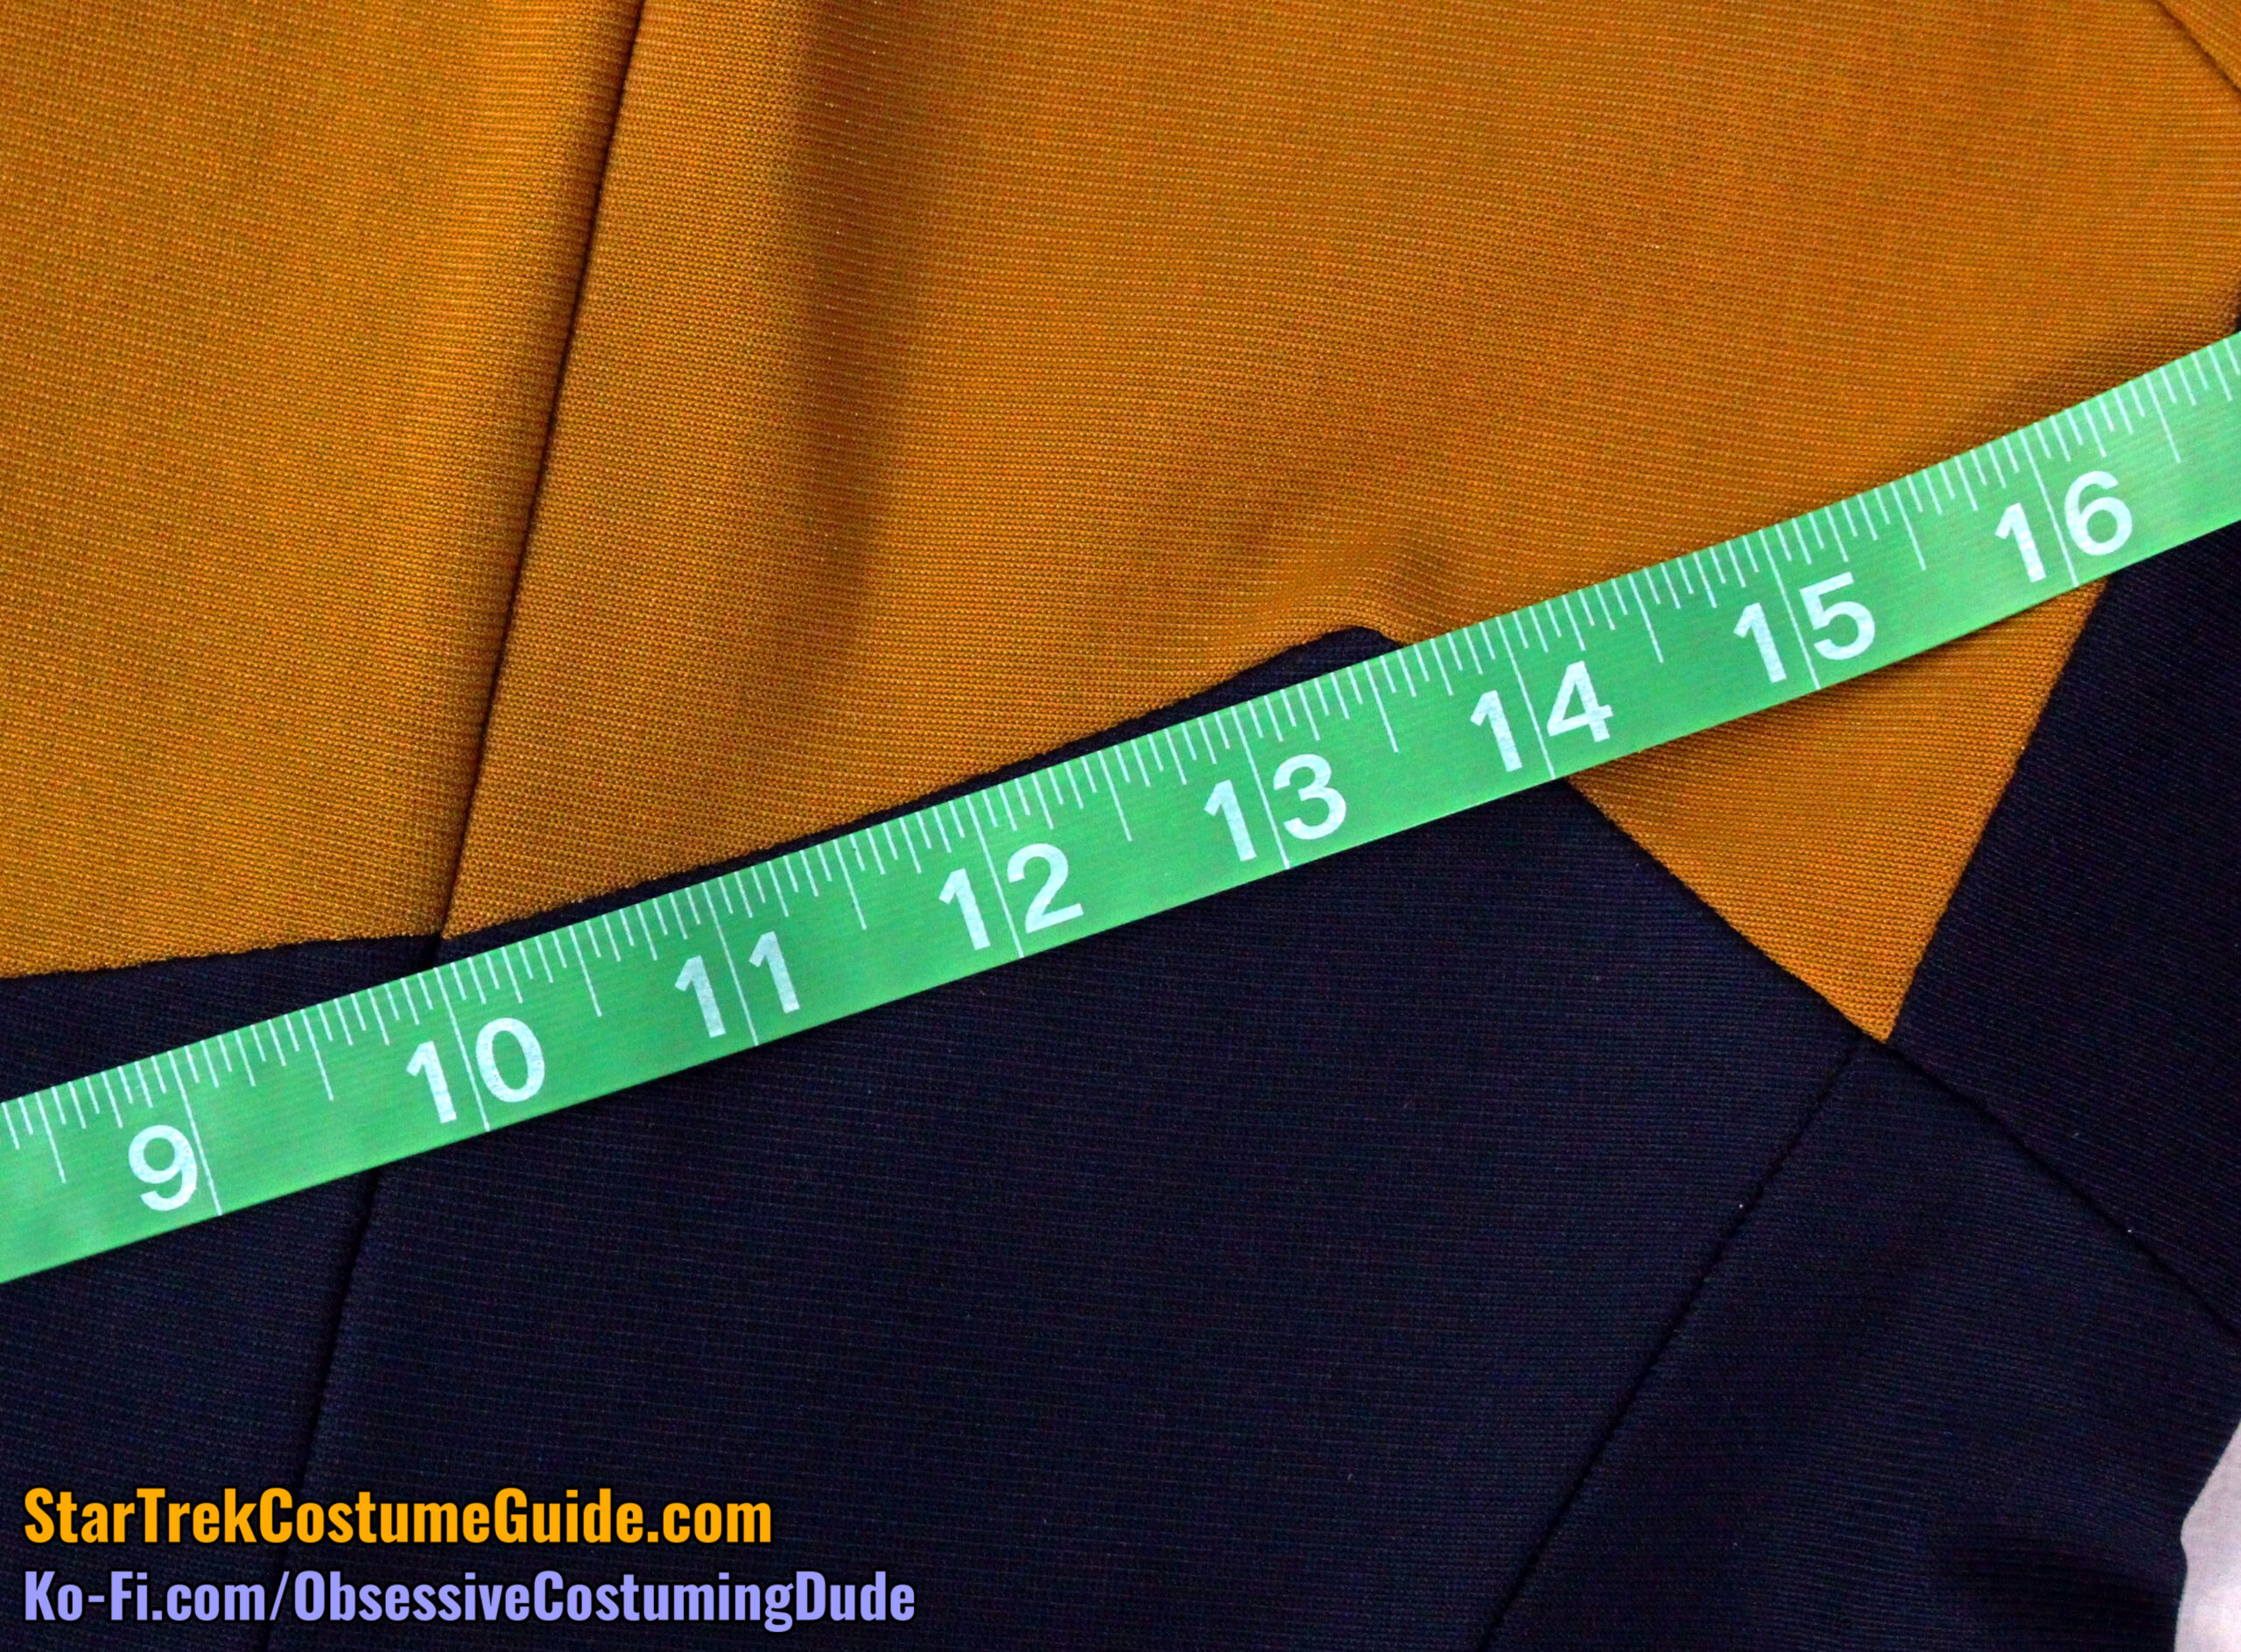
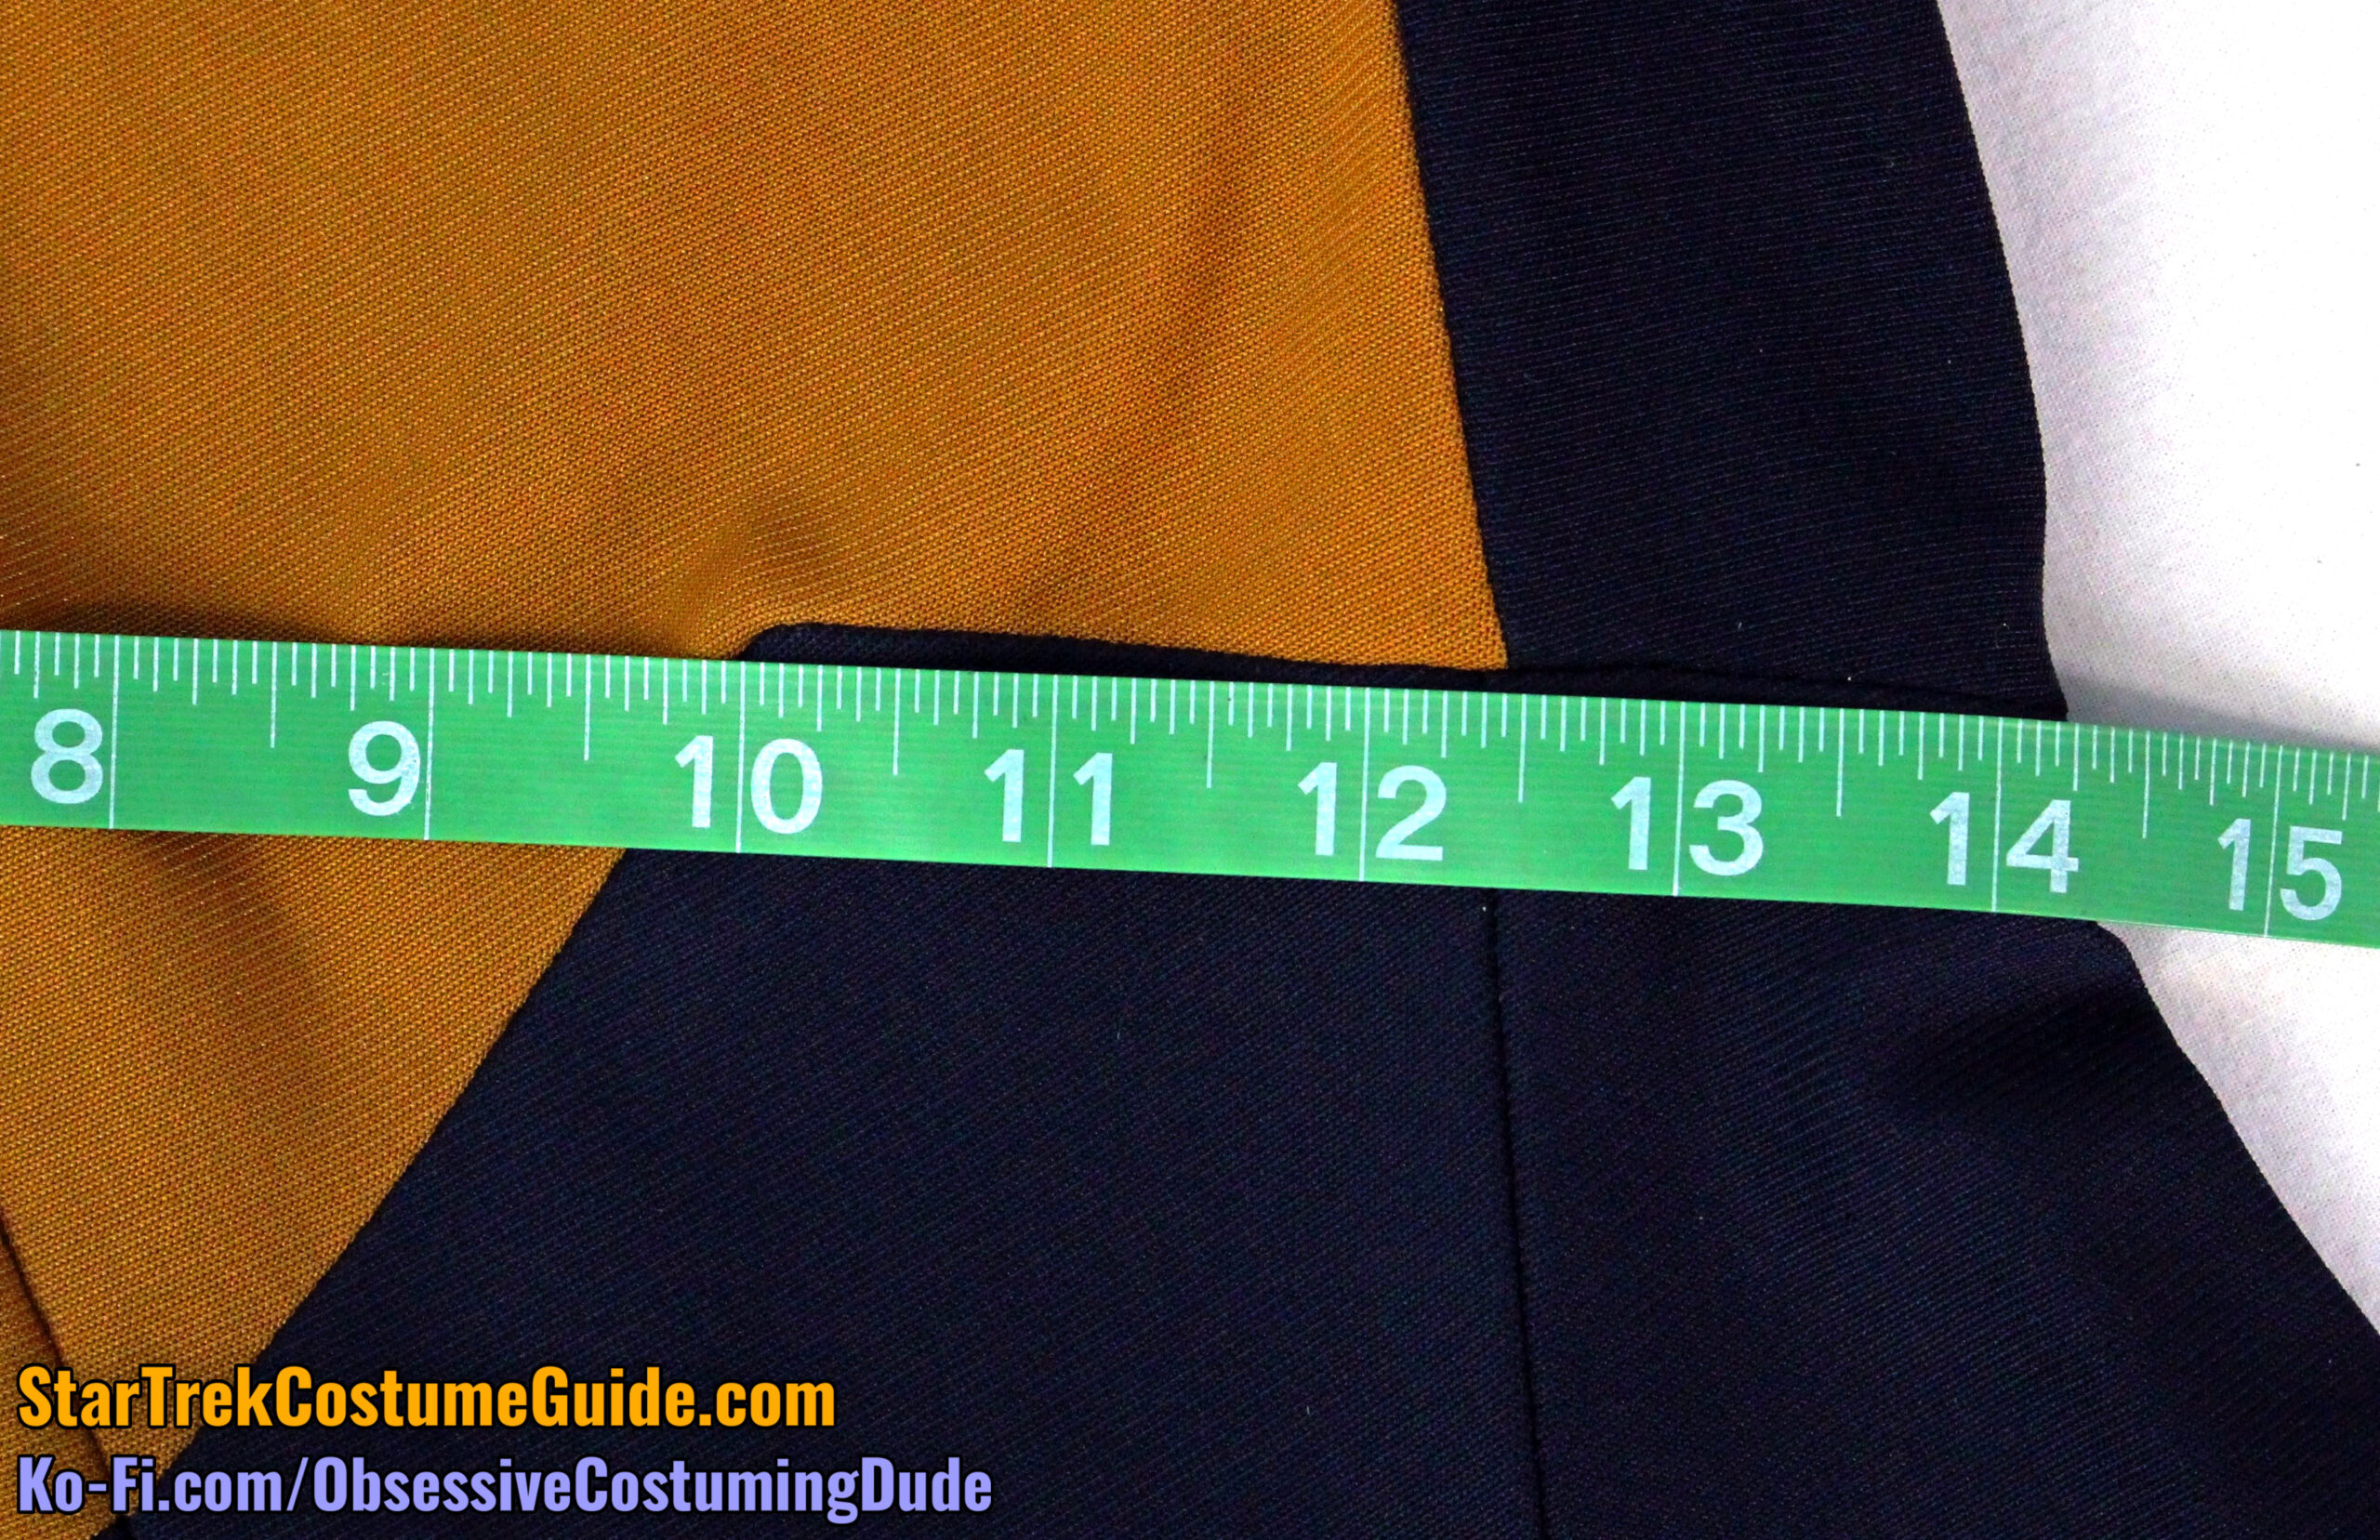
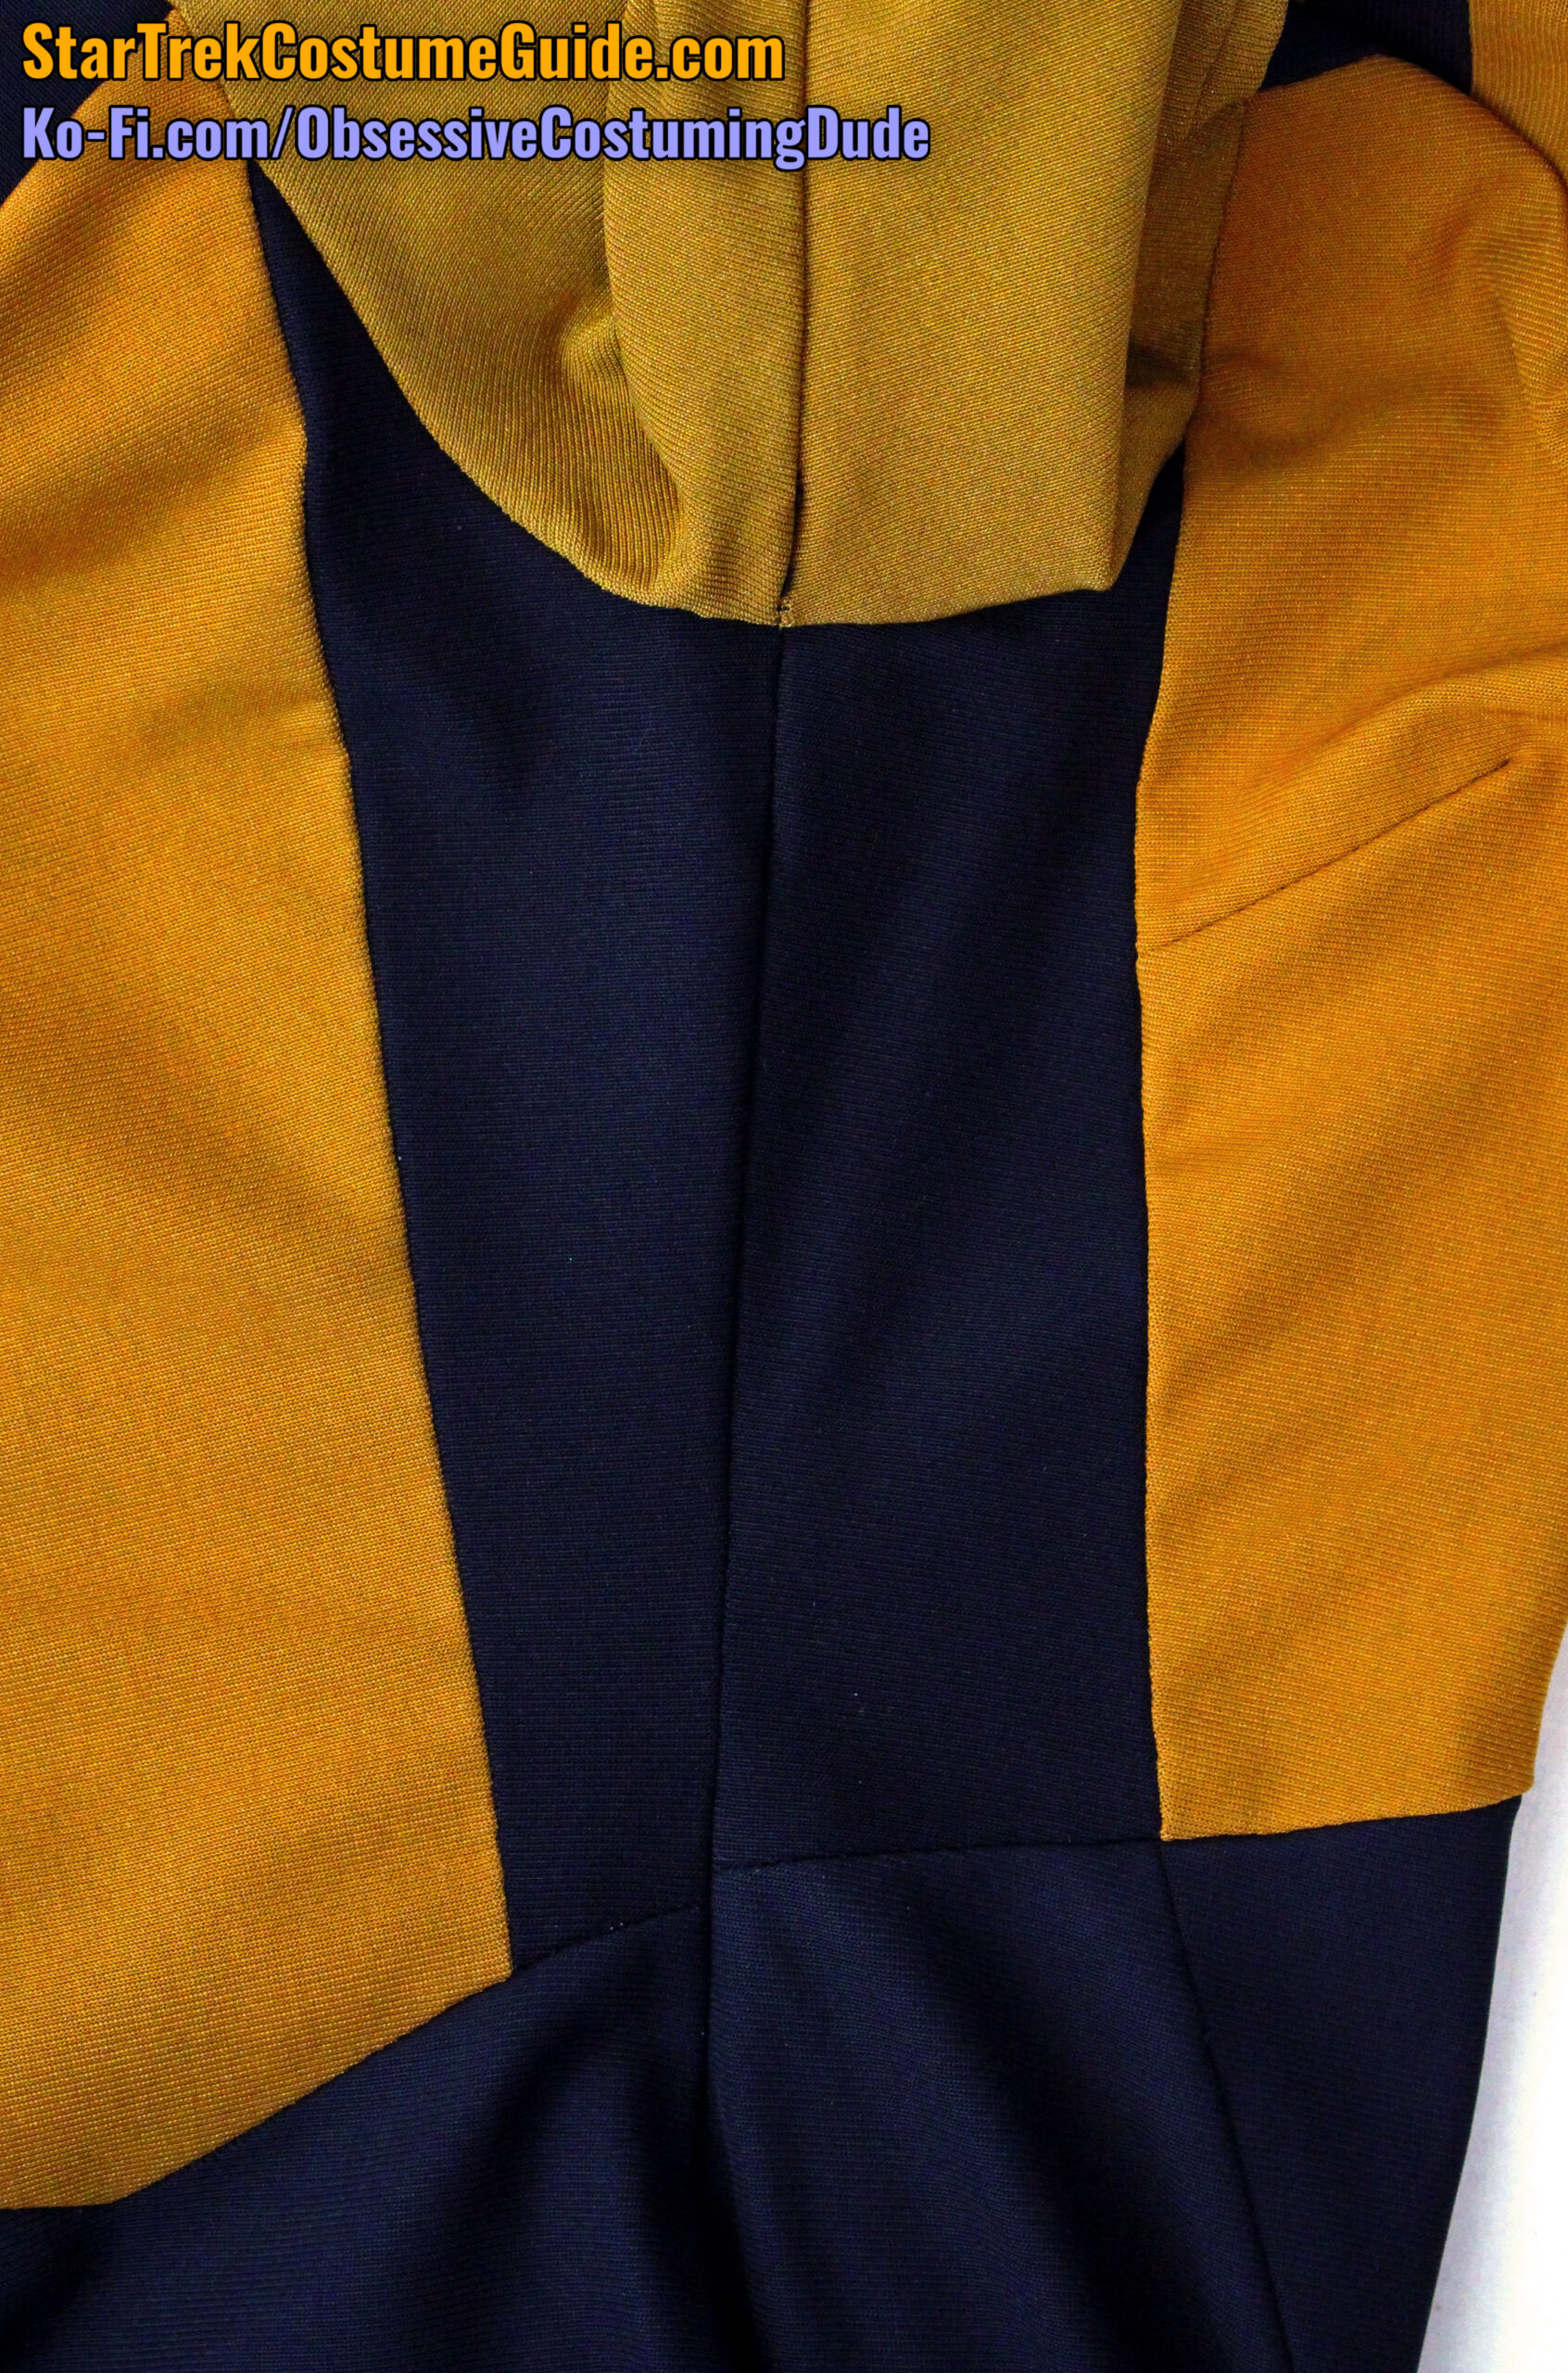
Keeping in mind that the center back seam tapered up to the waist so the fitted jumpsuit didn’t want to lie flat on the table, here’s a look at the overall dimensions/proportions of the asymmetrical back design.
As you can see, it extends downward approximately 2 ½” from the left side back seam to the lower corner, then back up again approximately 1 ⅛” (or 1 ¼”) from the corner to the right side back seam.
Each side back (lower) armscye was 4 ½”, measured from the side back to side seams.
However, here is why I mentioned earlier that I believe the side font panels were originally shaped differently.
Observe how disproportionate the side front/back panels are on both sides of the jumpsuit, as well as how the diagonal waist seam lines are misaligned at the side seams.
This is because the jumpsuit appears to have been taken in at the waist, after its initial construction.
In other words, the costume was made but when Denise Crosby tried it on, it was too baggy – with the bagginess apparently concentrated across the back.
To compensate, the jumpsuit was cinched tighter around the back at the waist, leaving the front mostly intact but “shaving off” a good bit of those side back panels.
Hypothetically, were those side back panels let back out, the side front/back panels would then be more proportionately analogous to each other, and those diagonal waist seam lines would almost certainly intersect at the side seams.
The question naturally arises as to why those diagonal waist seams weren’t redrawn after the jumpsuit was taken in; my guess is that it simply wasn’t worth the time to do such a tedious alteration under the TV grind, early in the then-unproven show’s first season.
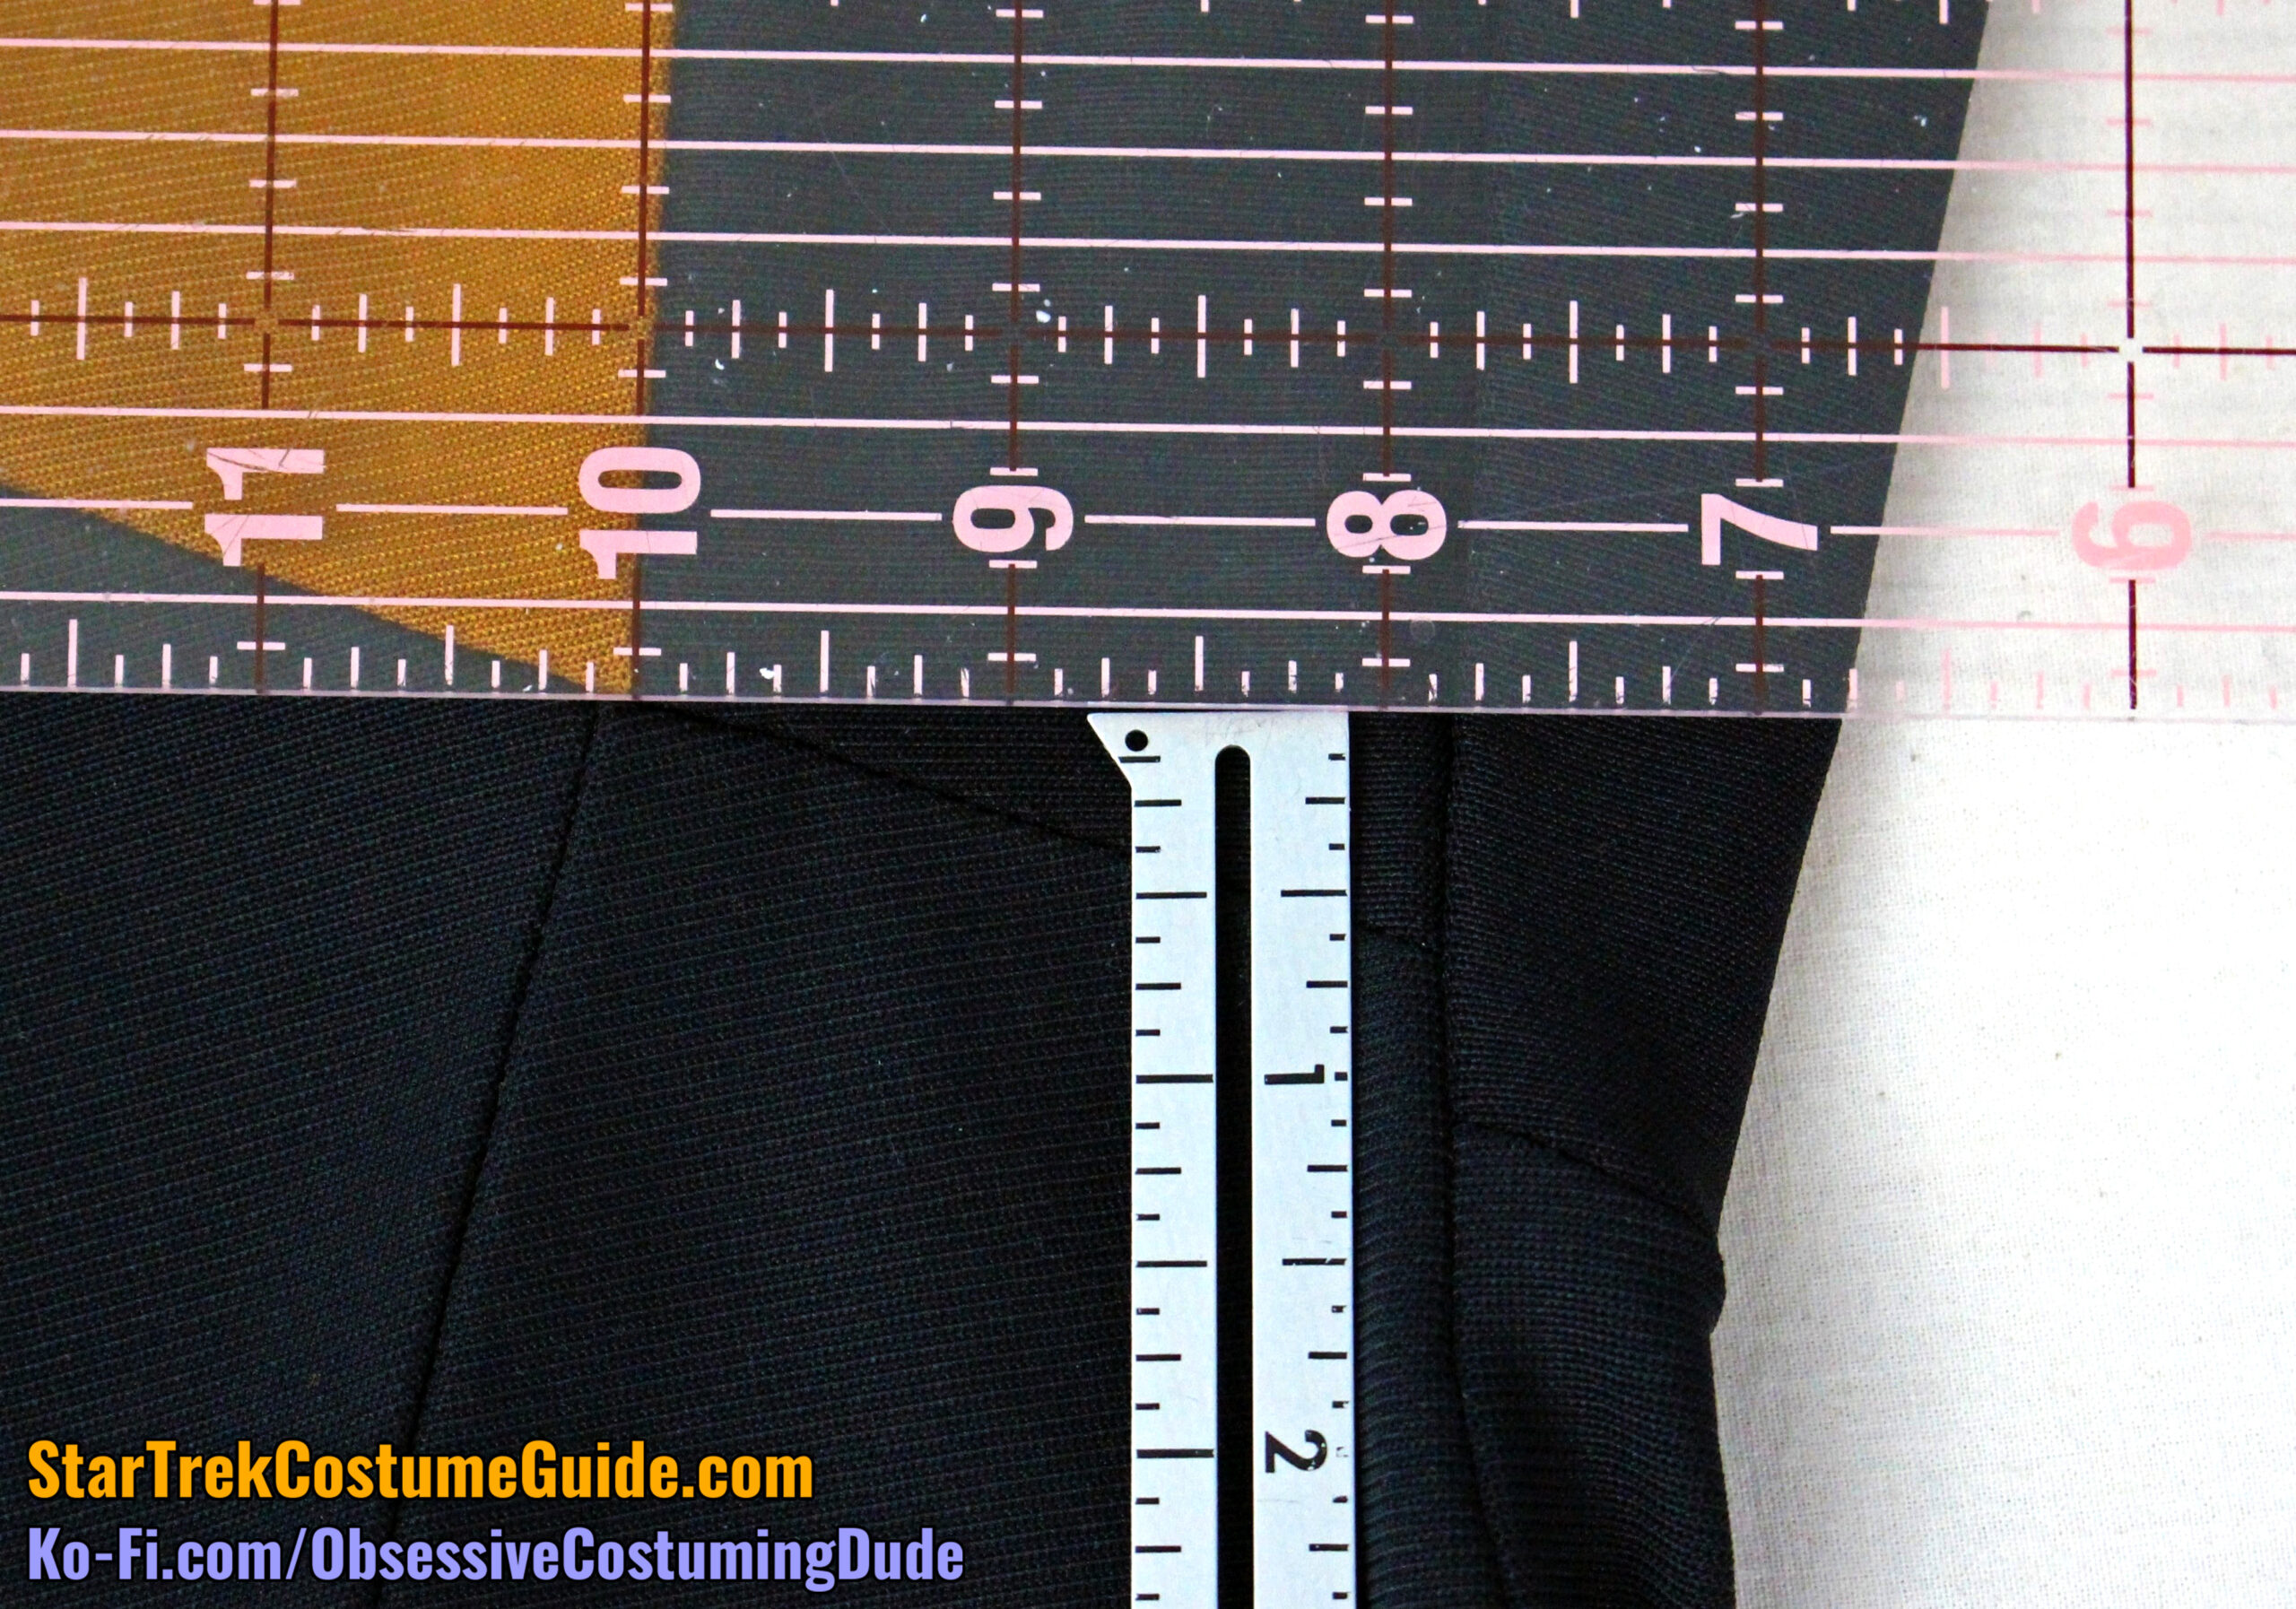
Nevertheless, as they are, the right side back lower seam measured 1 ⅛” and the left side back seam line measured 1 ¼”.
The lower center front seam line was 11 ½”, measured from the asymmetrical front insert to the intersection of lower front panel seams.
The lower right front seam line was 11 ¼”, and the lower left front seam line was 13 ⅜”.
All three of the lower front seams were fitted, essentially performing the function of fitting darts; they were each cinched in a bit upward from the hips to the waist.
The lower front crotch seam was 3 ⅝”, measured from the intersection of lower front panel seams to the inseam.
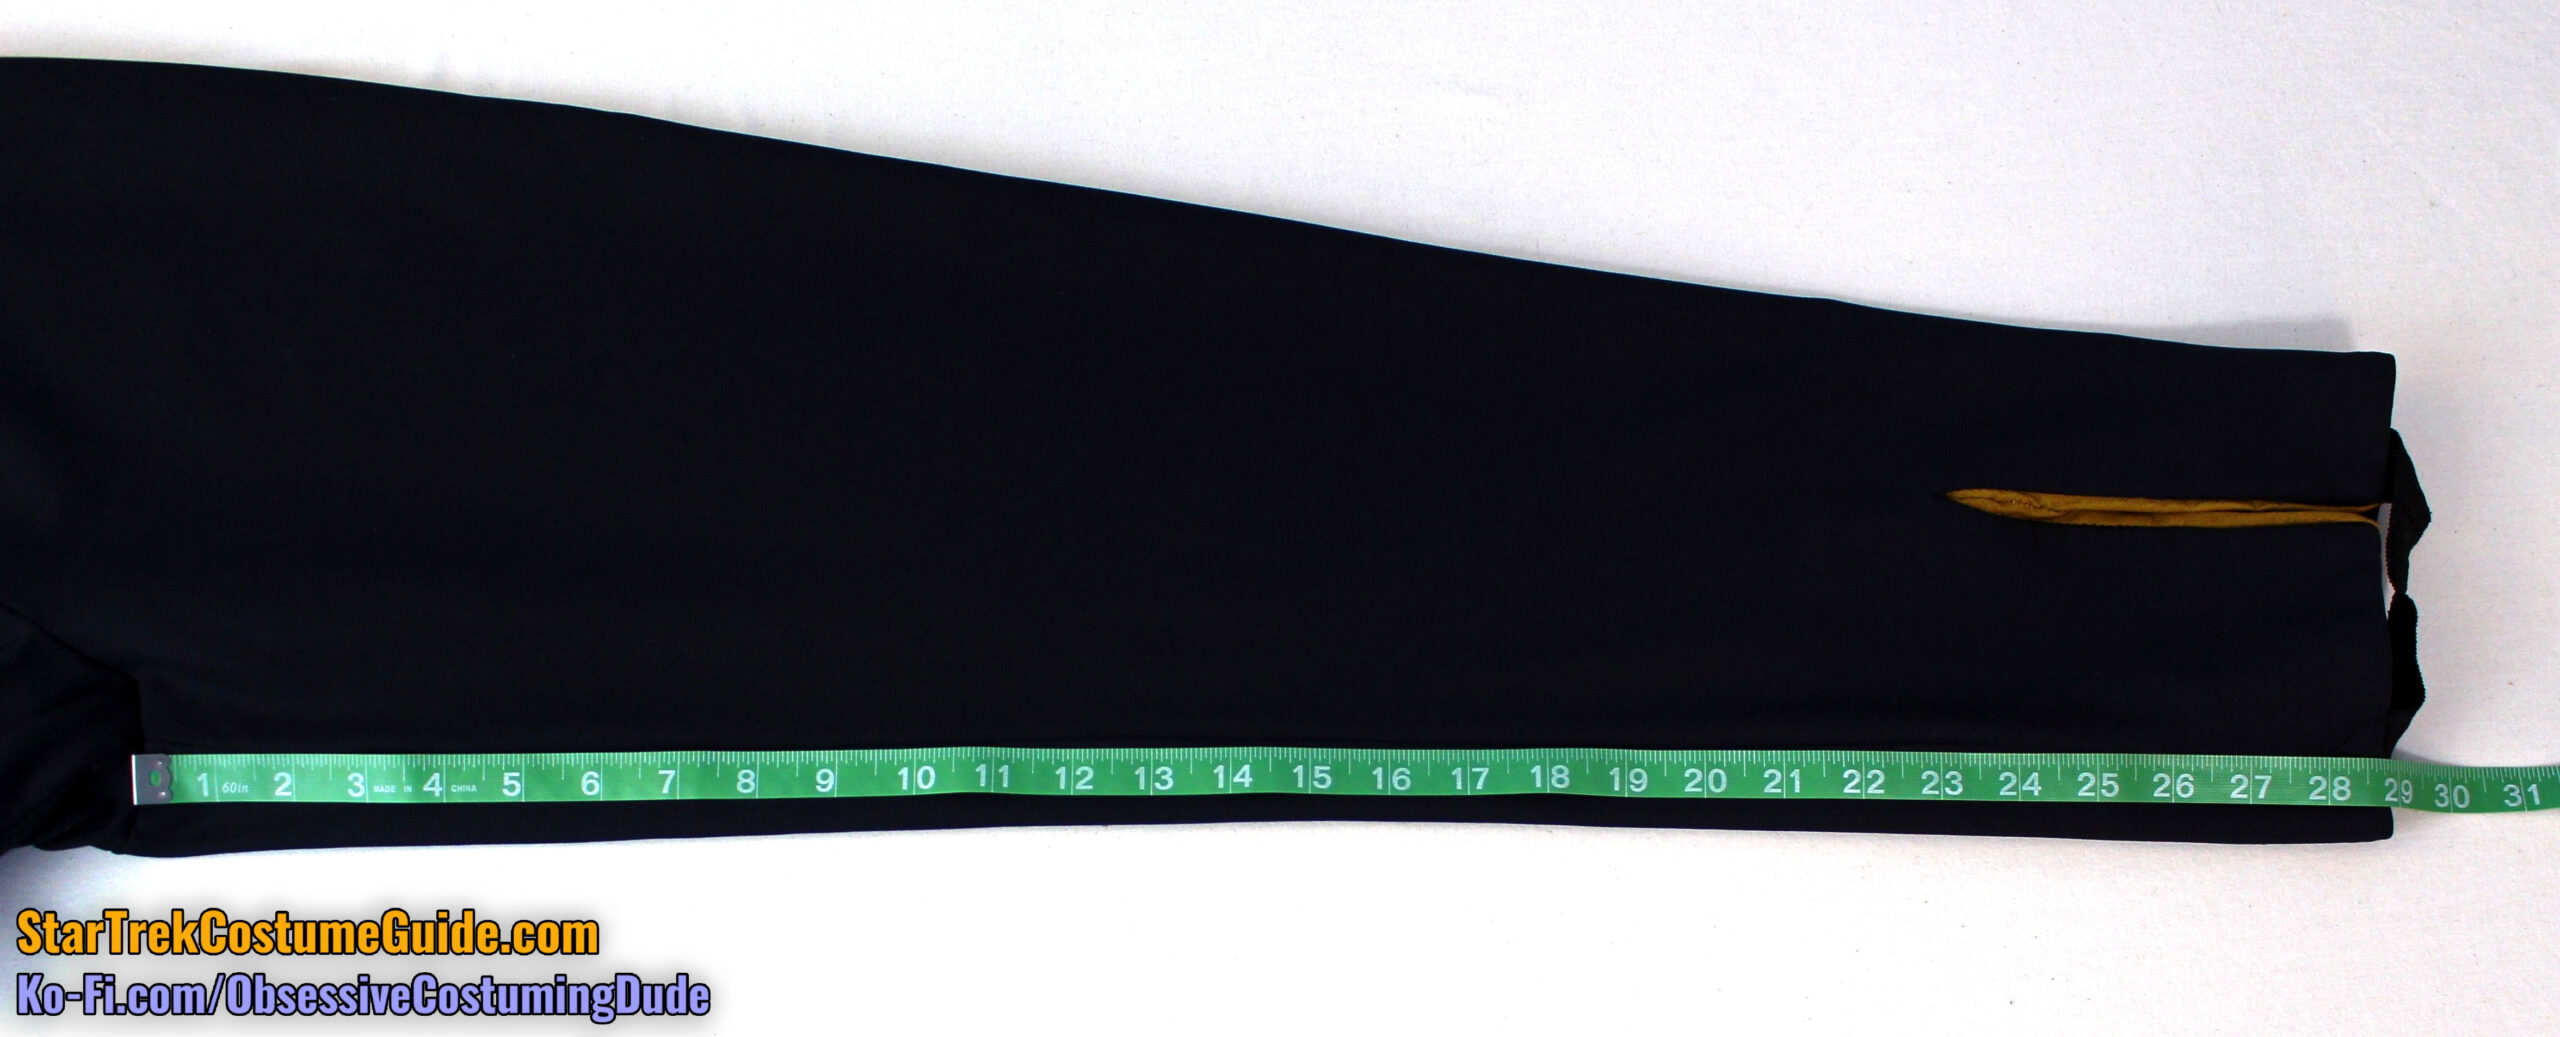
Speaking of which, the inseam on Tasha’s jumpsuit was approximately 28 ¾”.
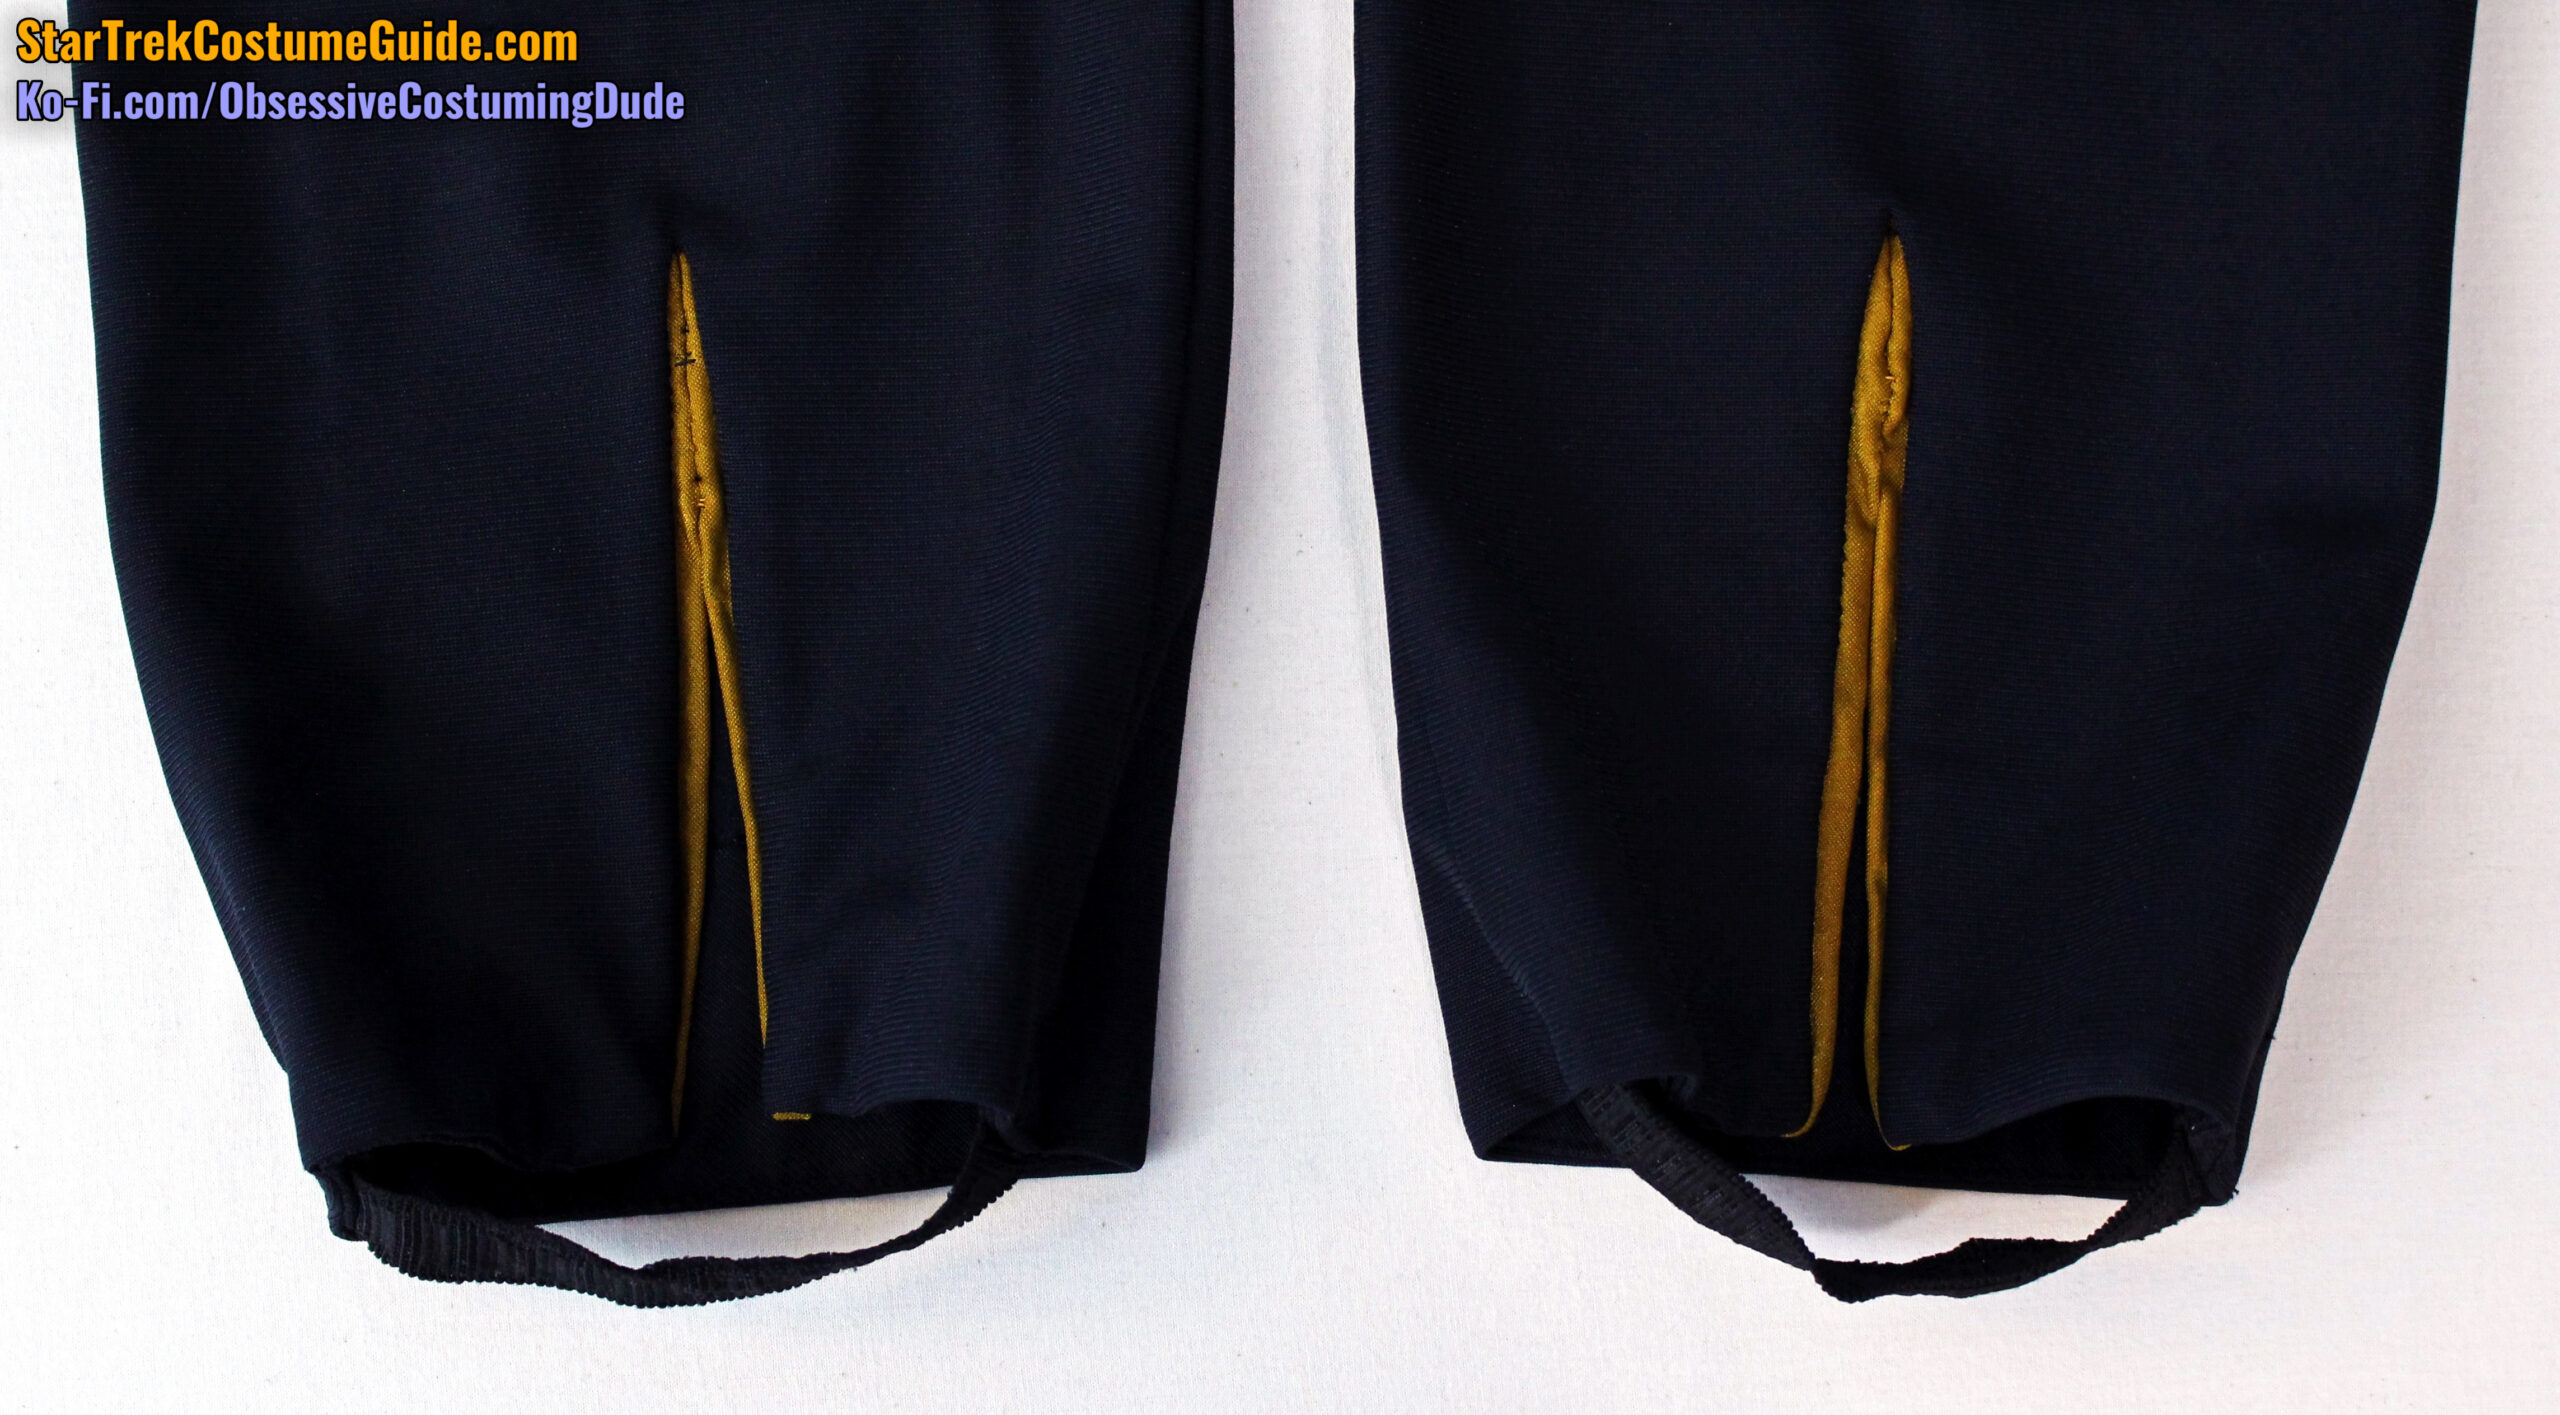
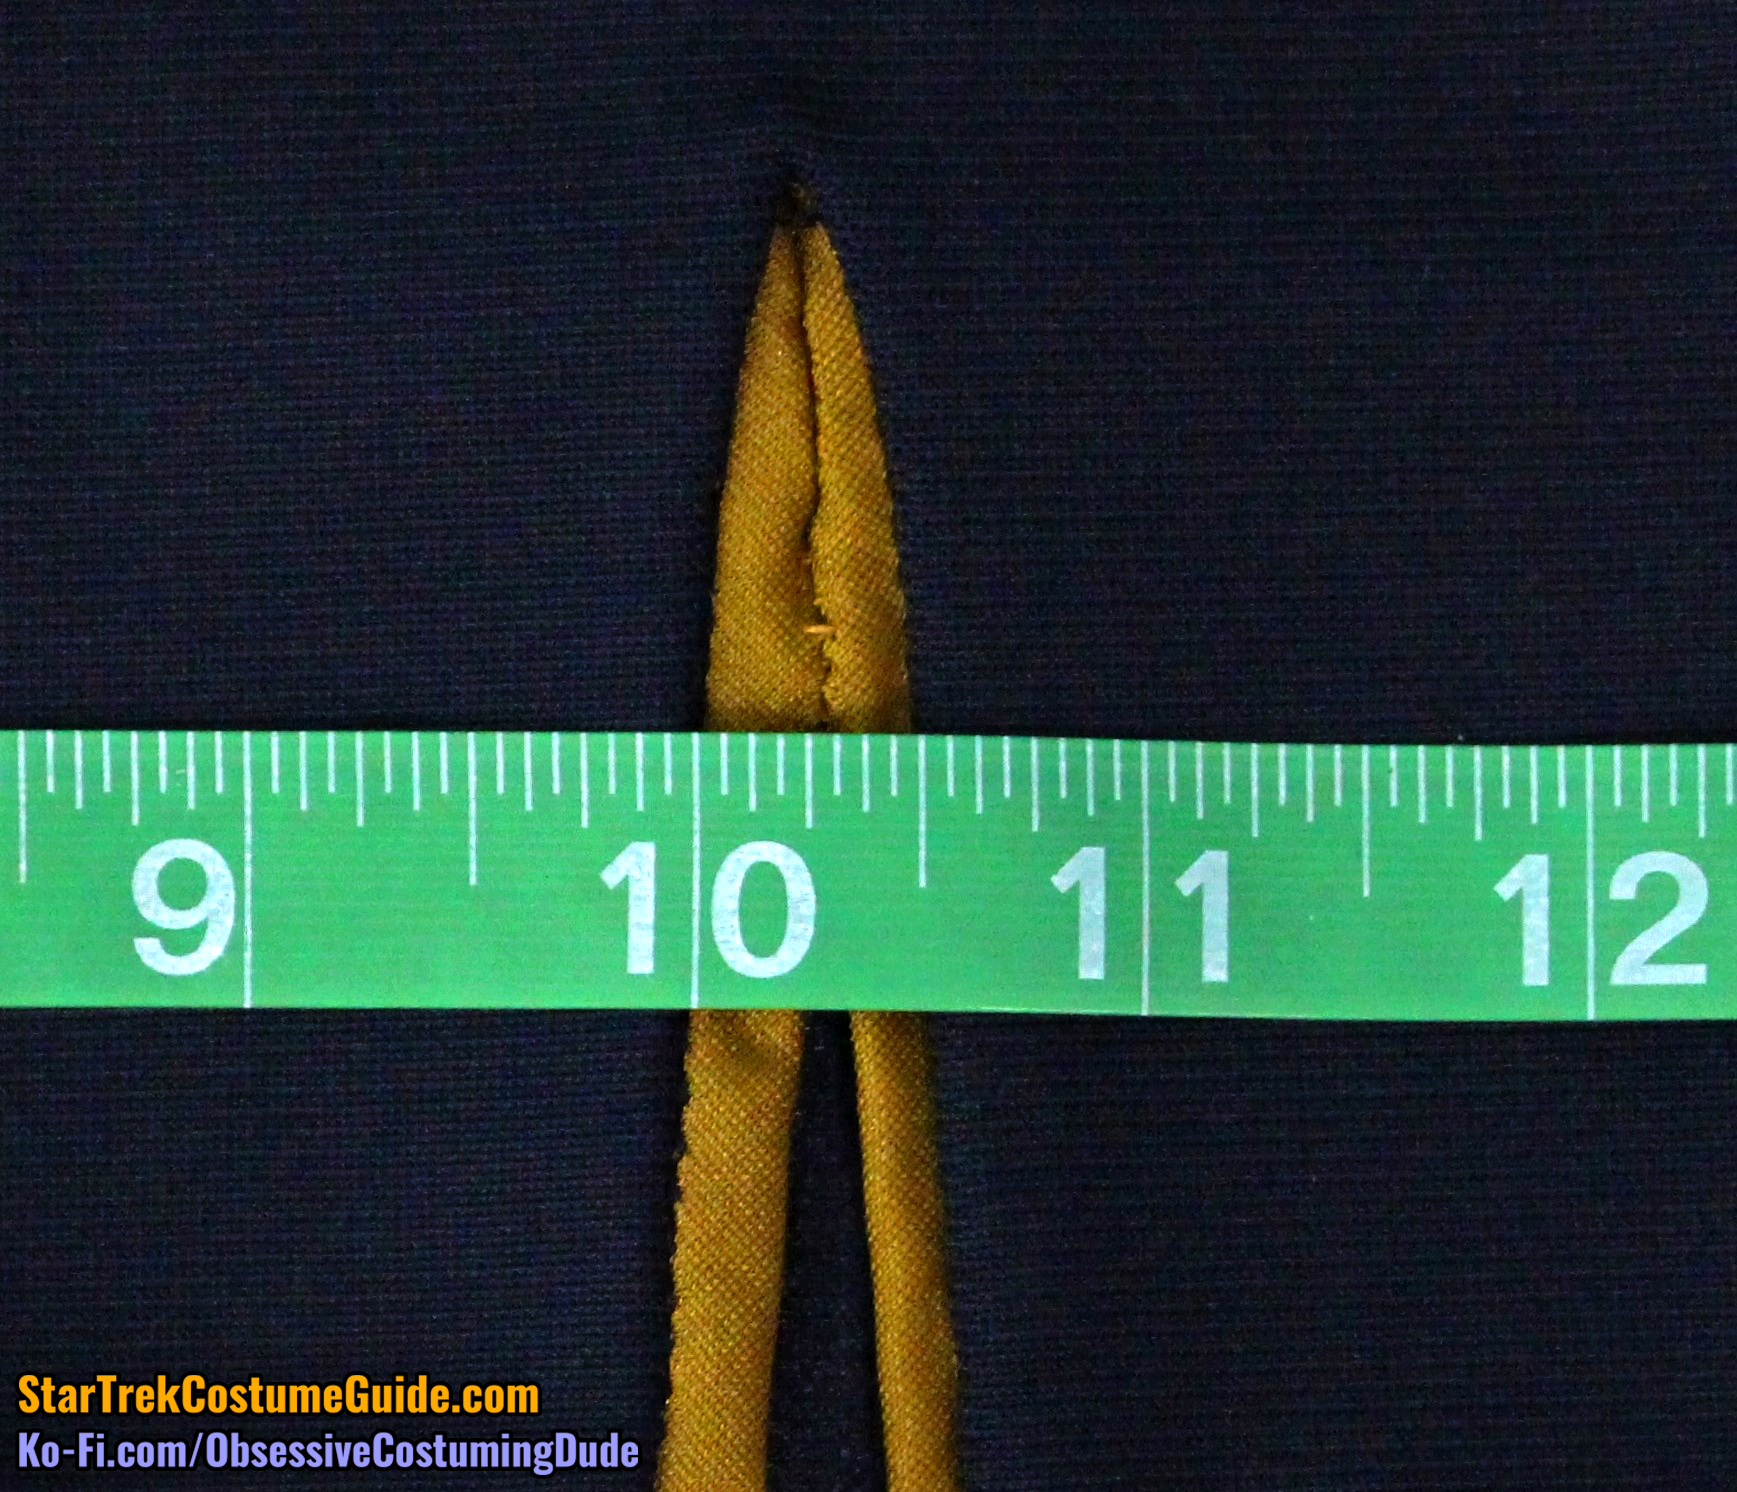
Being an early-style uniform, the slits on the lower front pant legs were accented with division-color trim.
(Also note the ubiquitous elastic stirrups.)
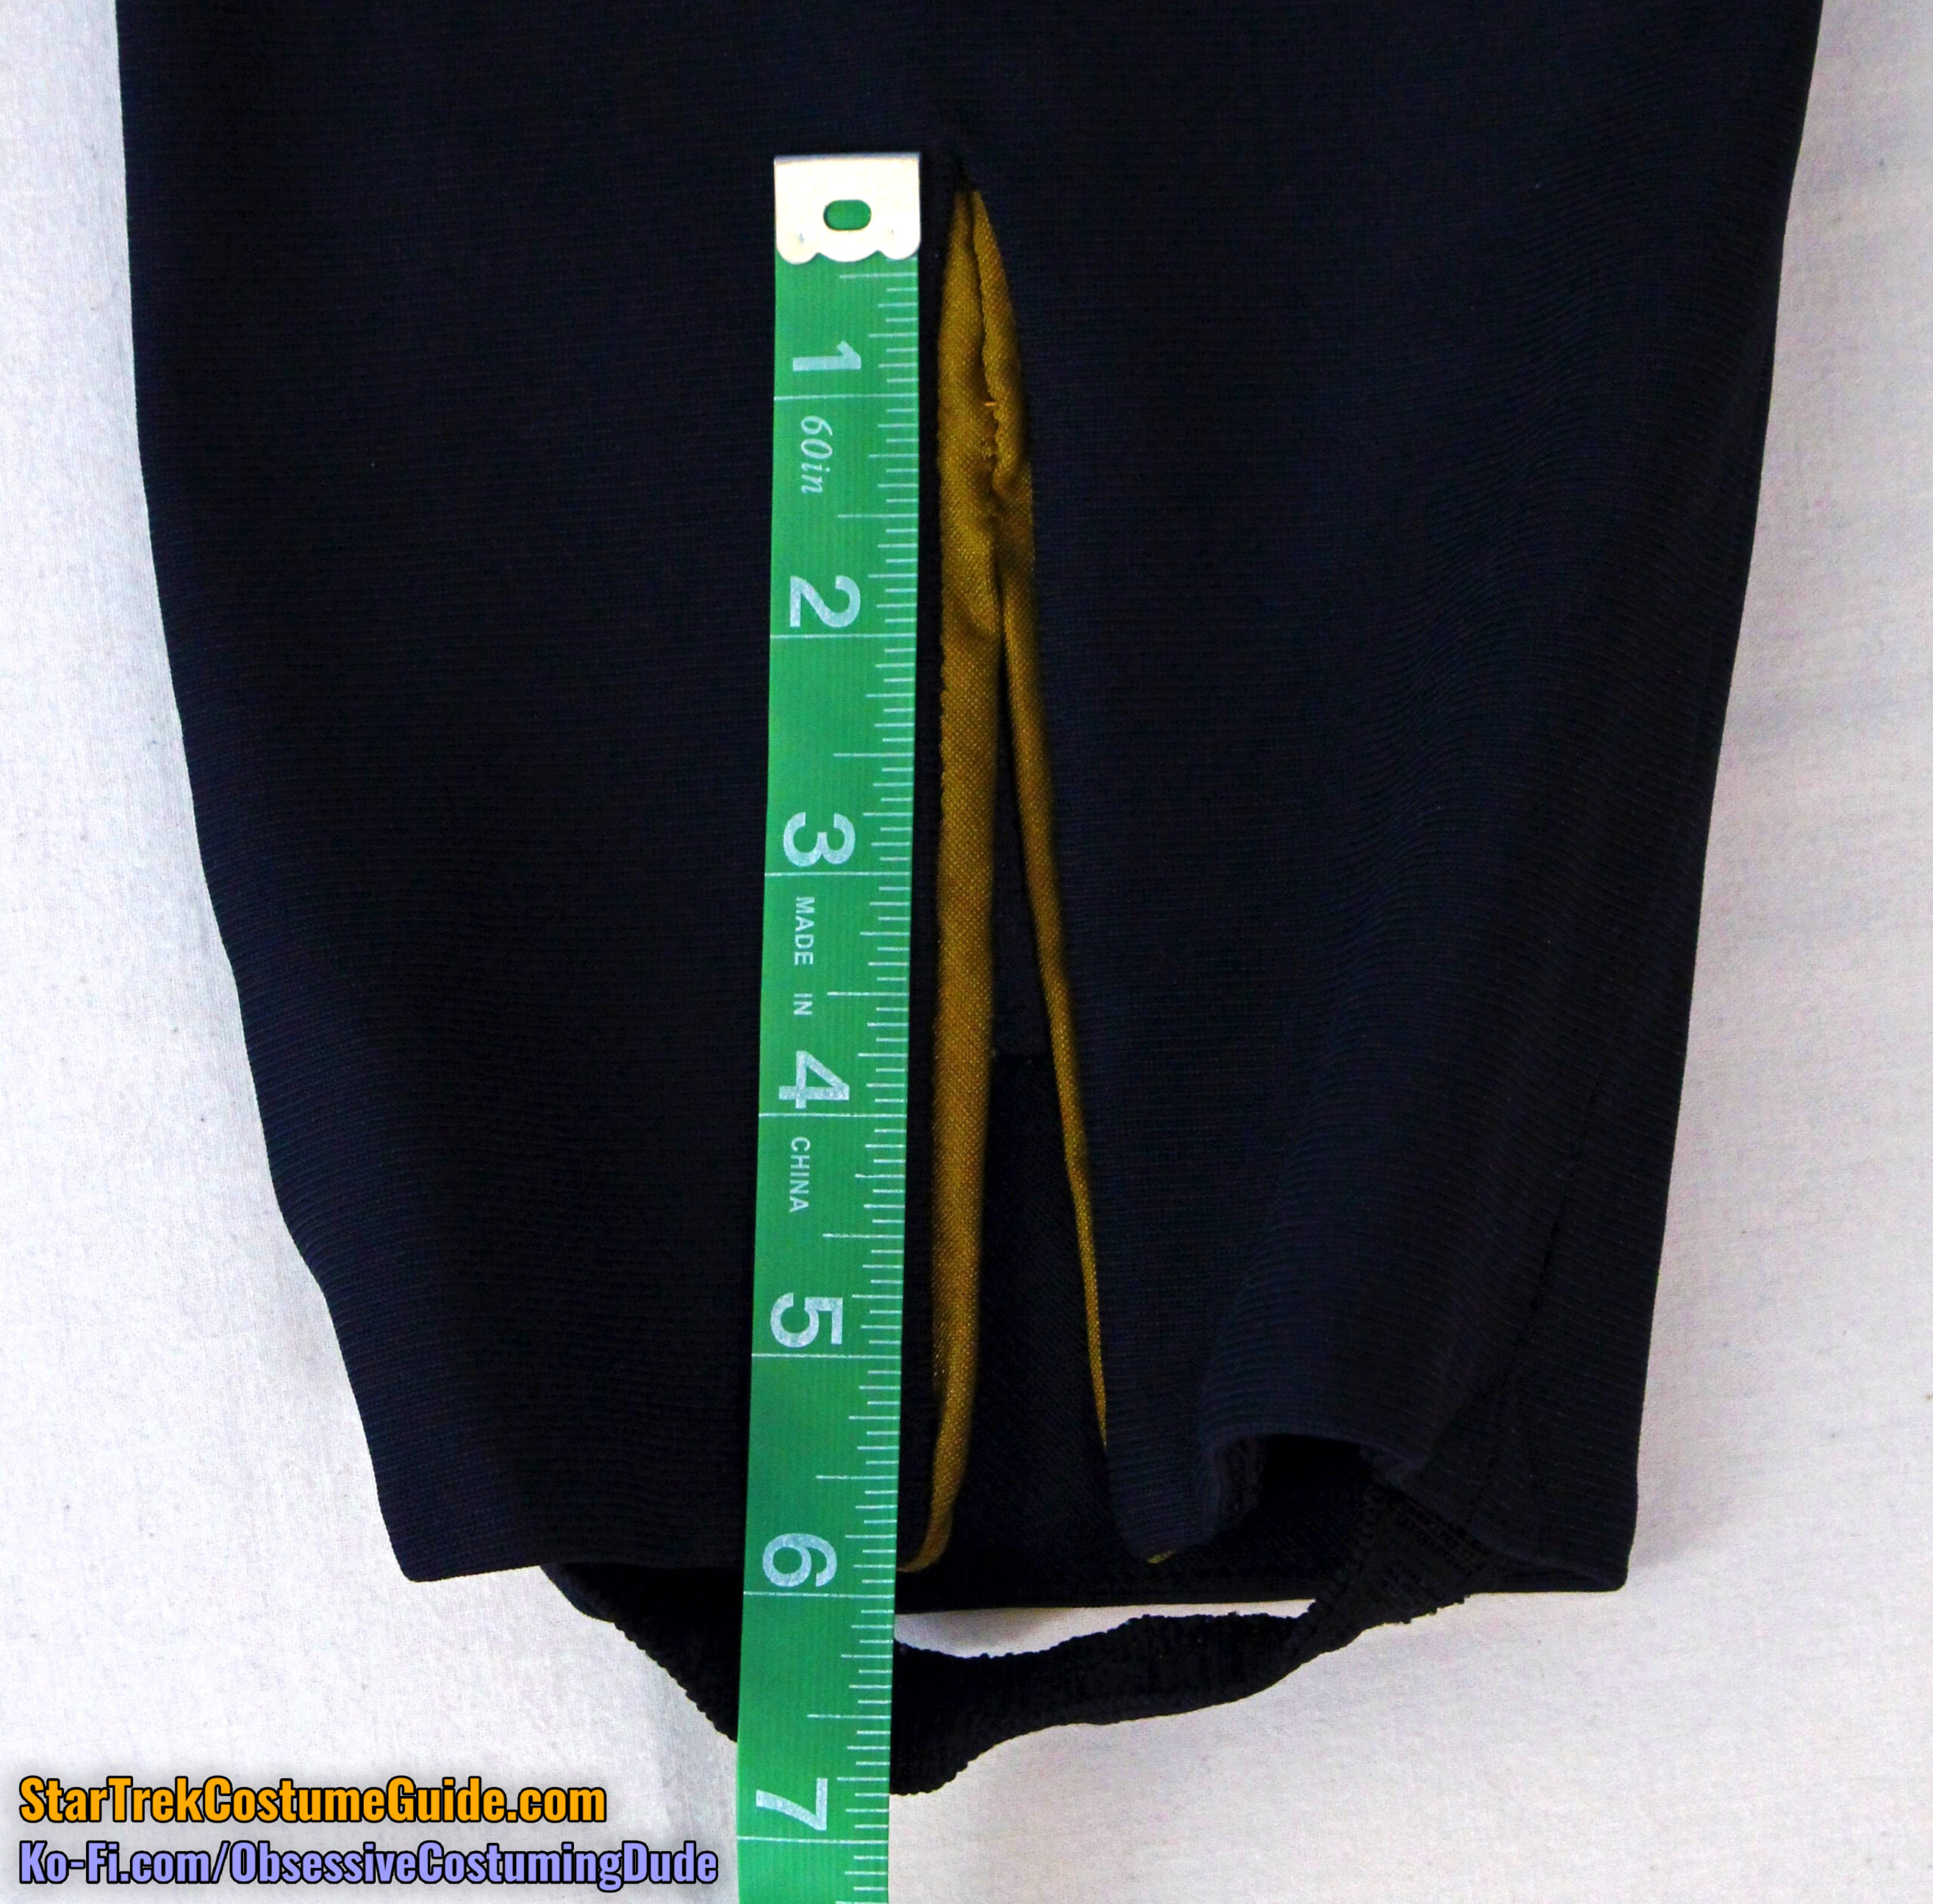
The lower pant leg openings on Tasha’s jumpsuit were 5 ⅞” tall.
Each side of trim on the lower front pant legs was approximately ¼” wide.
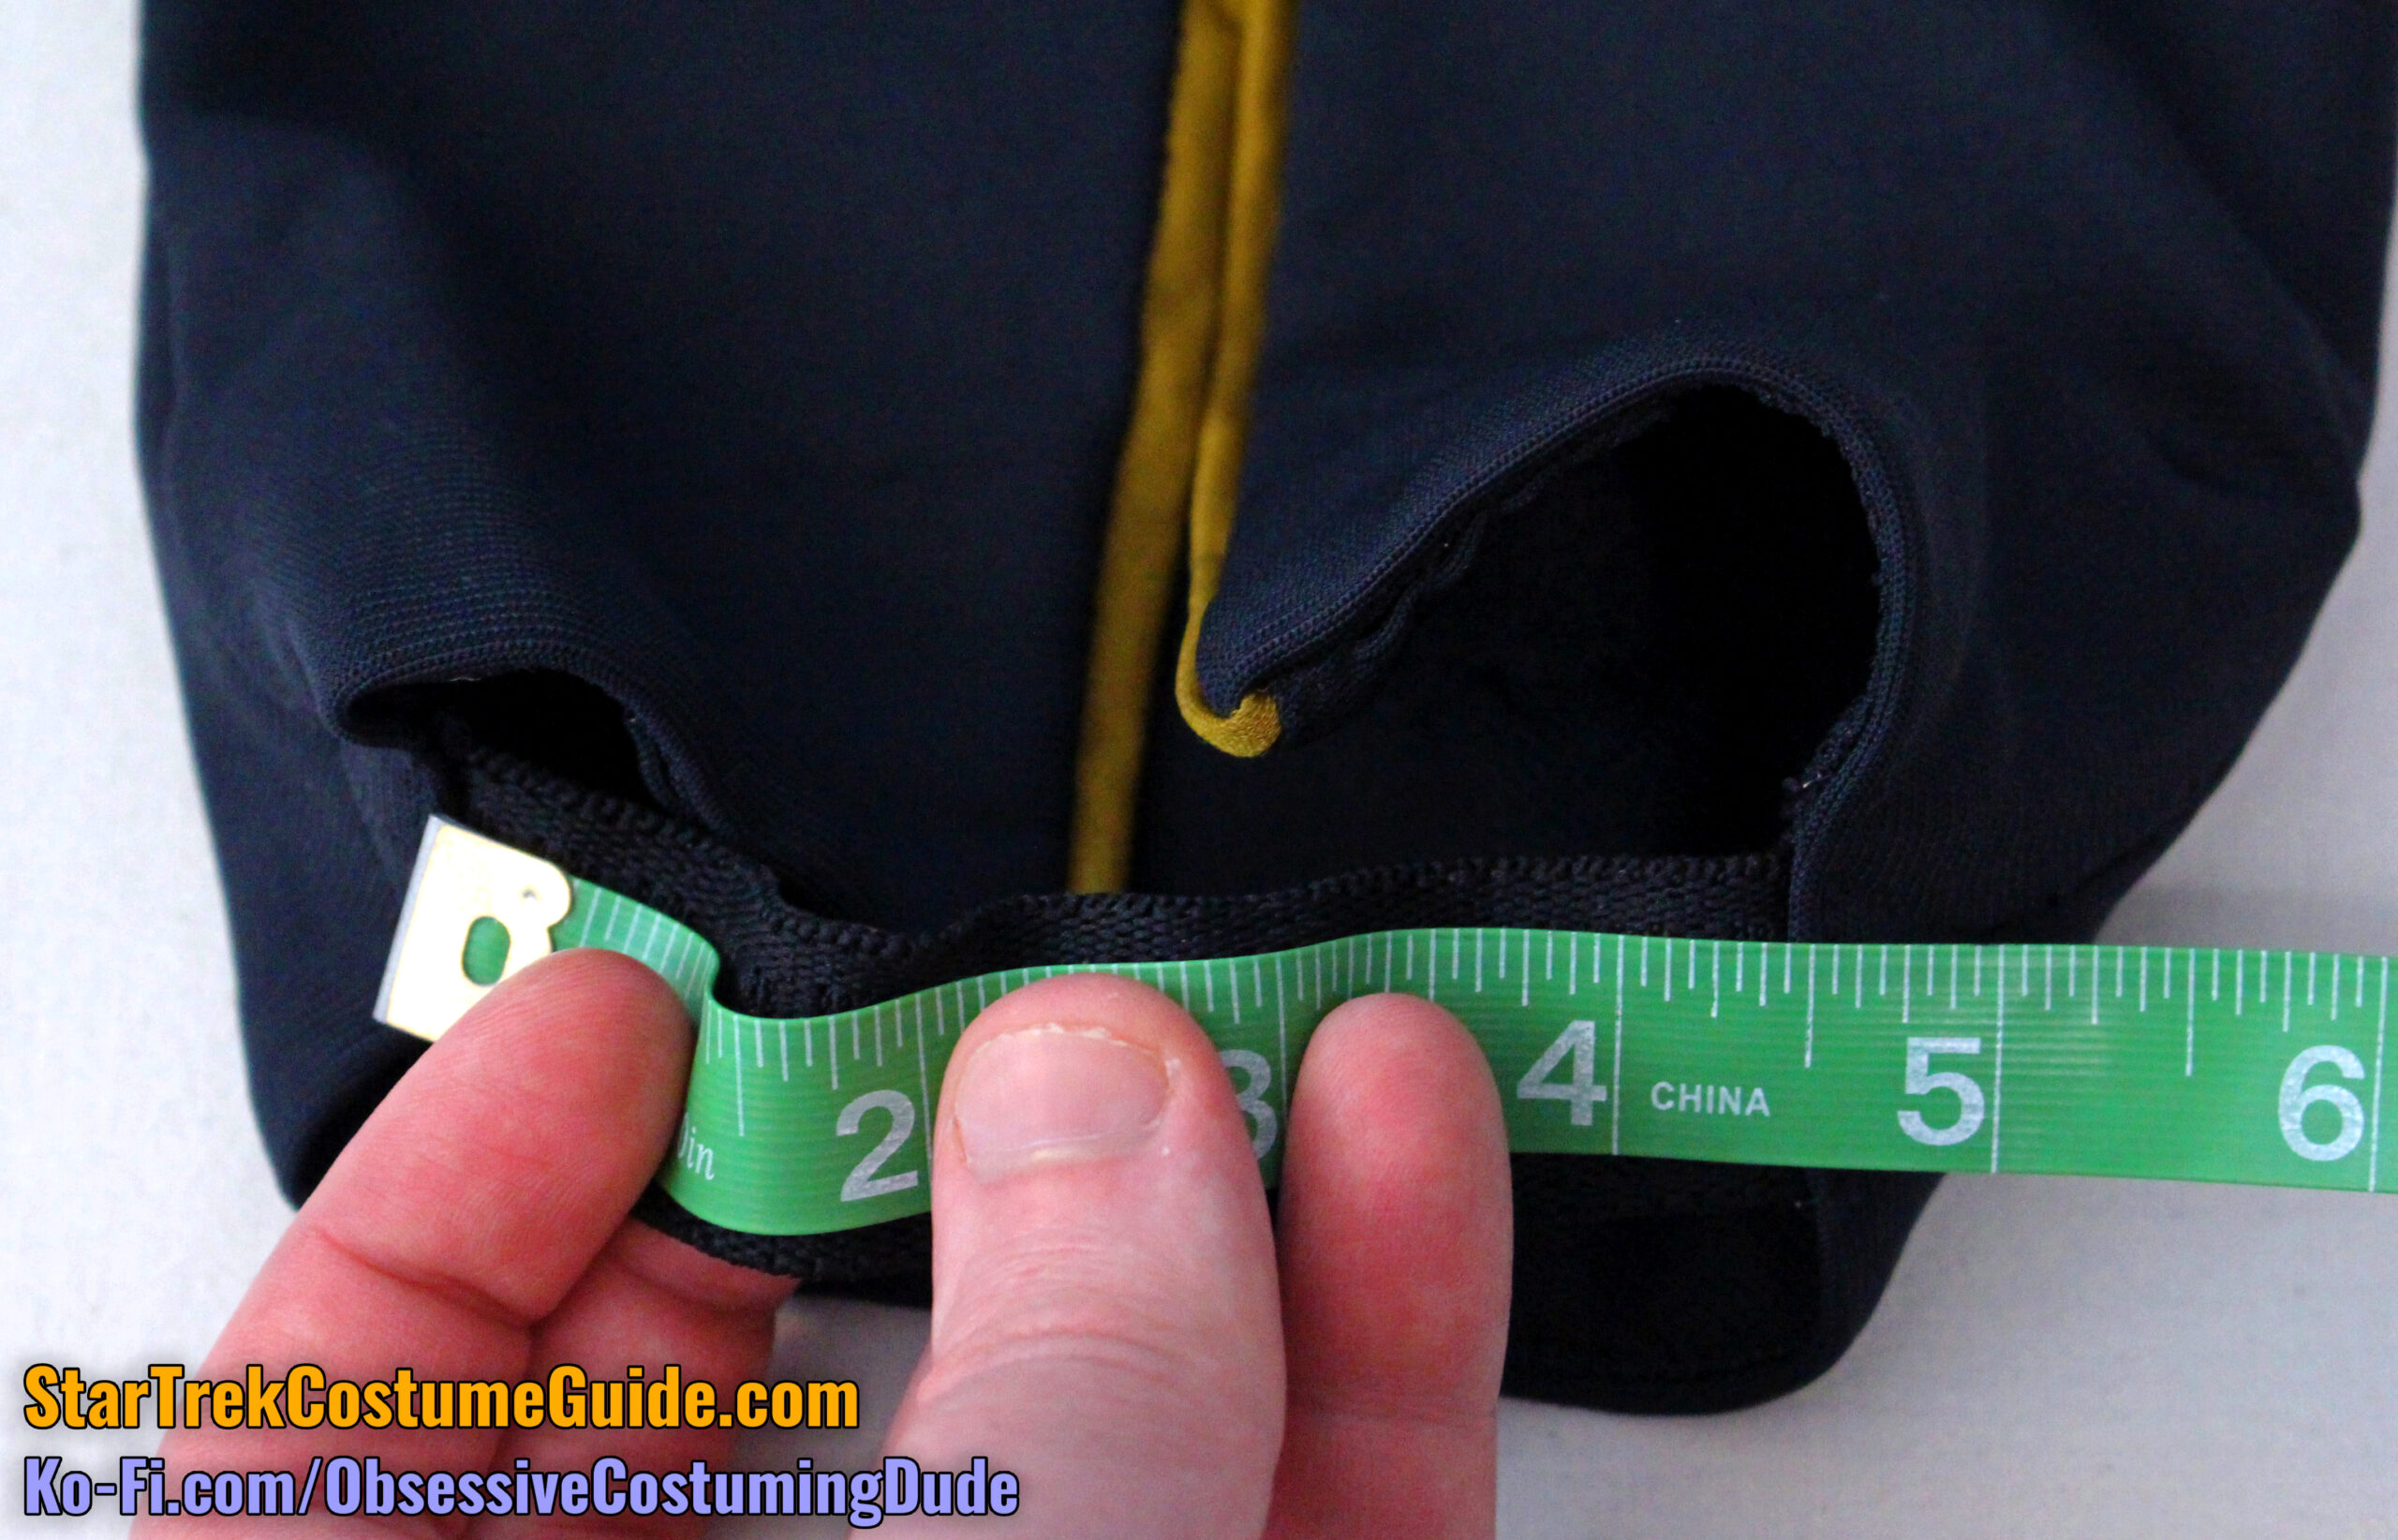
The elastic stirrups were approximately 4 ½” long, plus allowance.
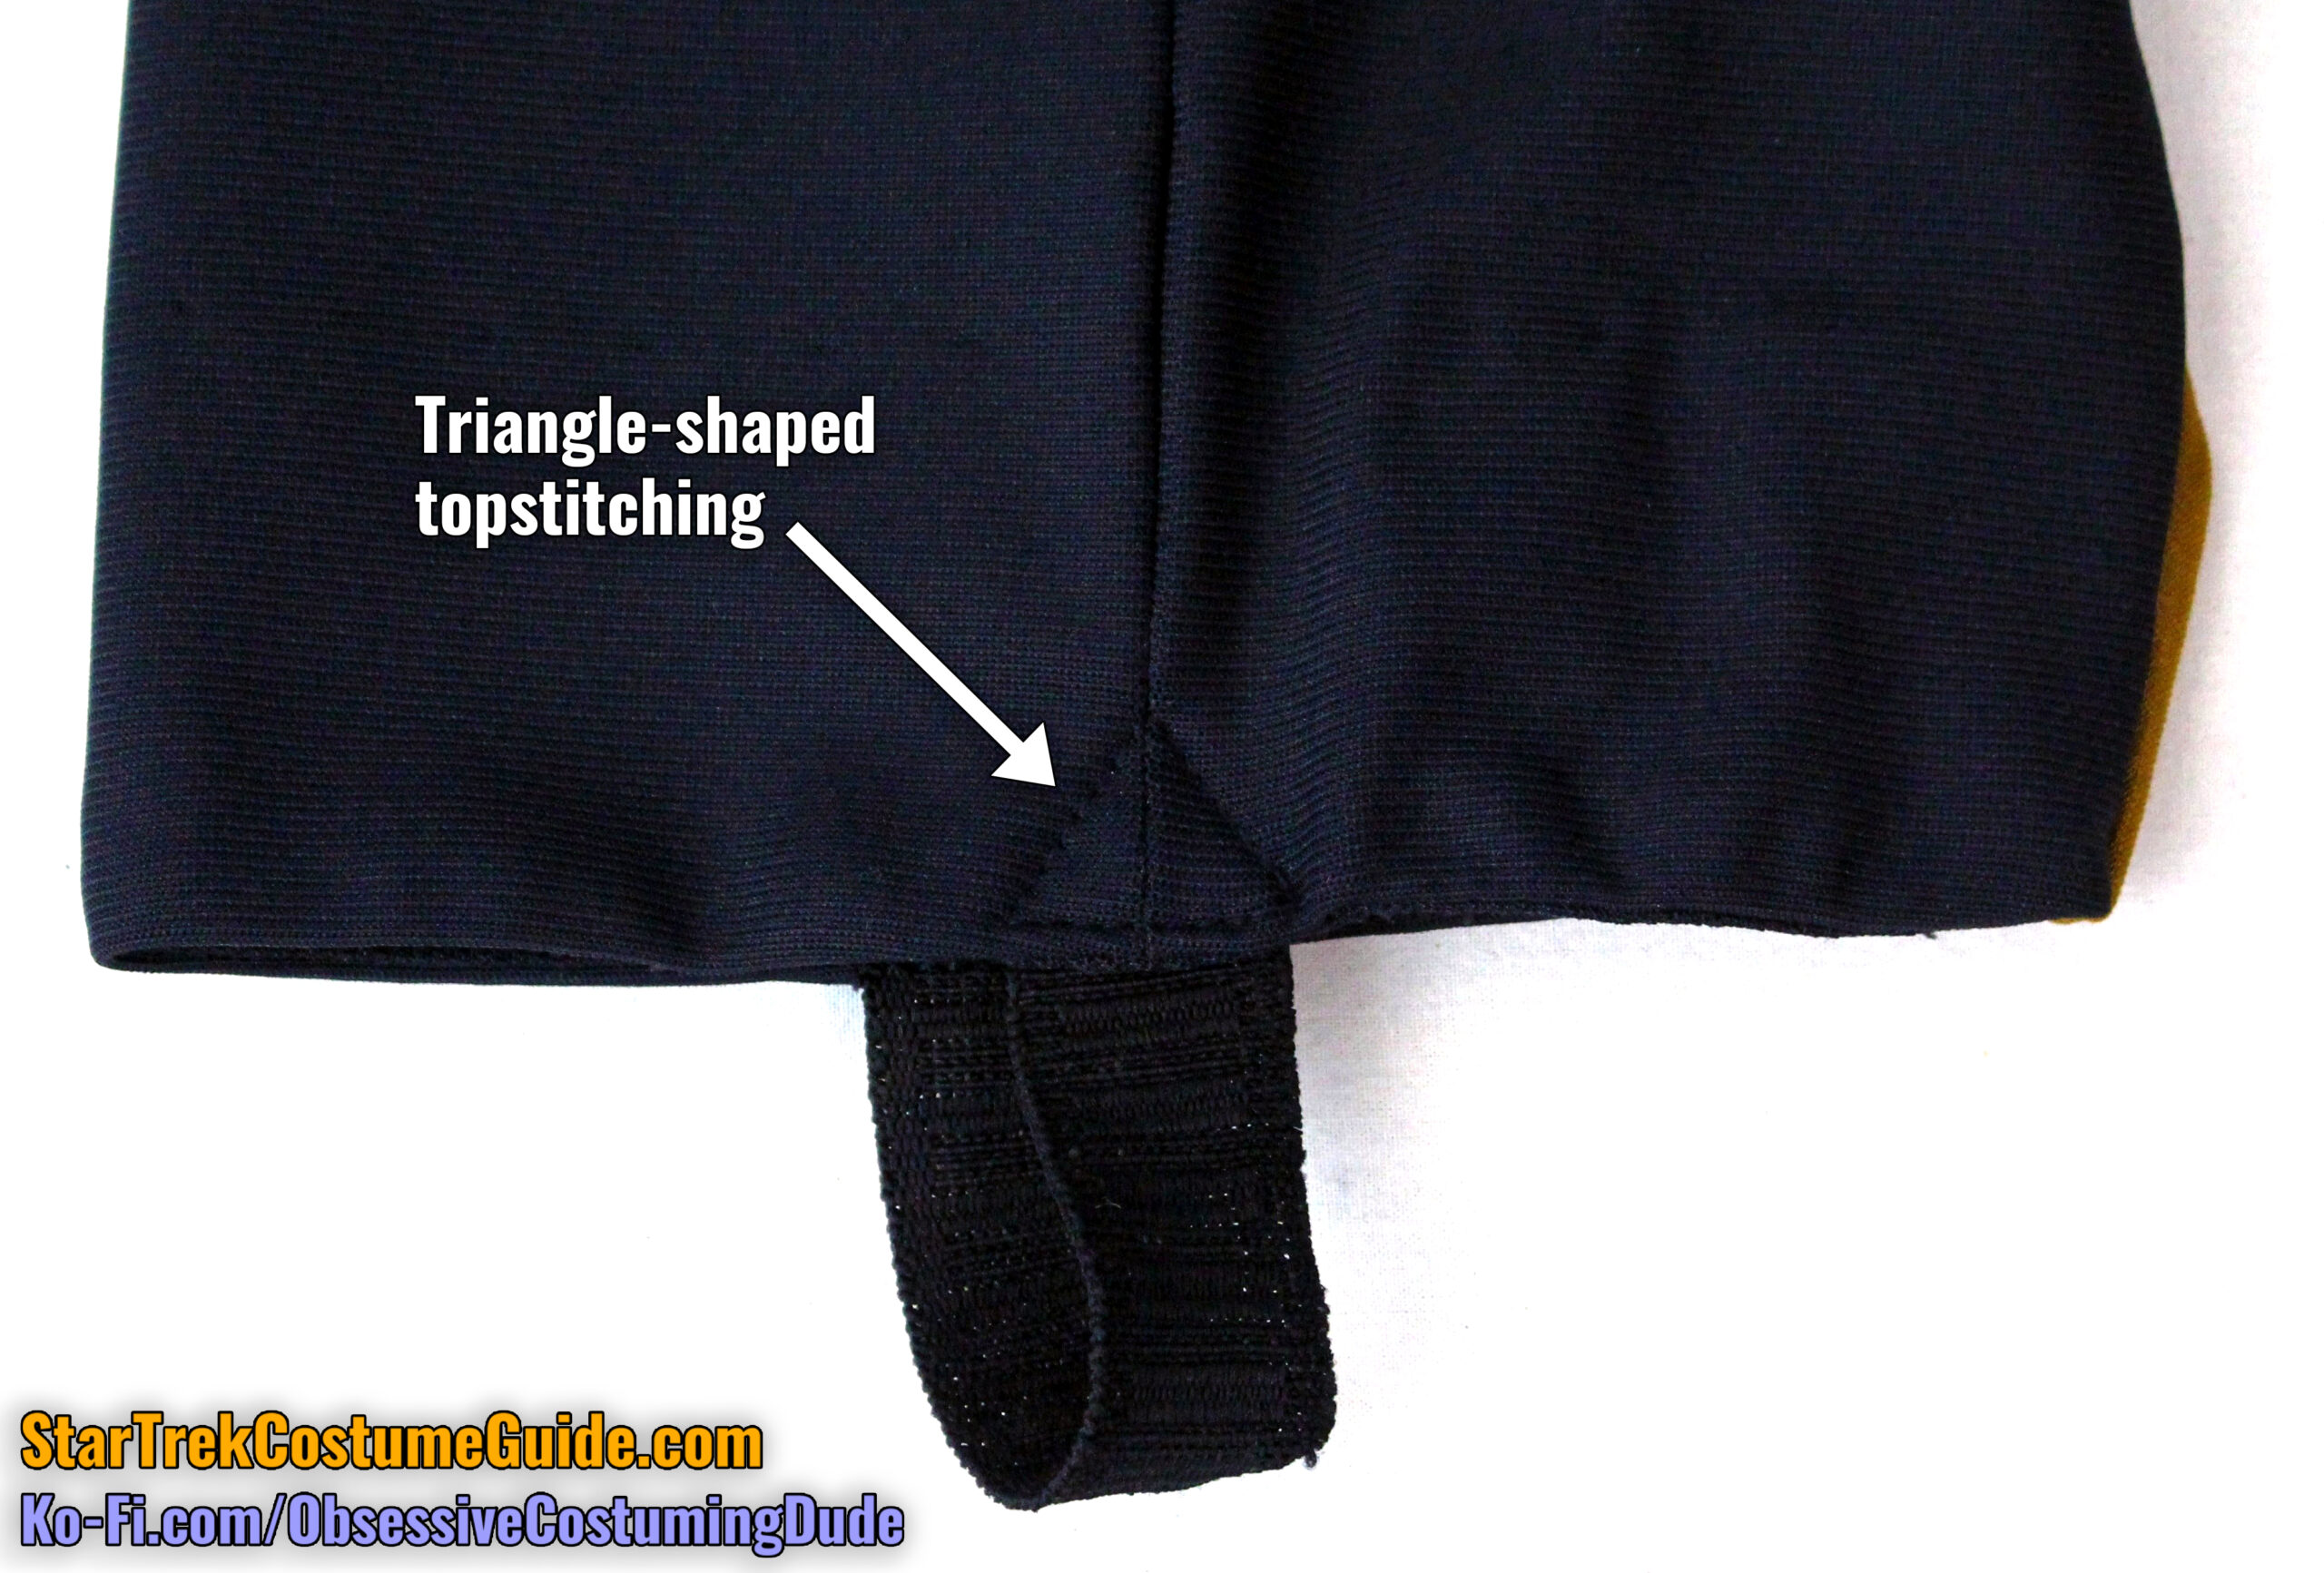
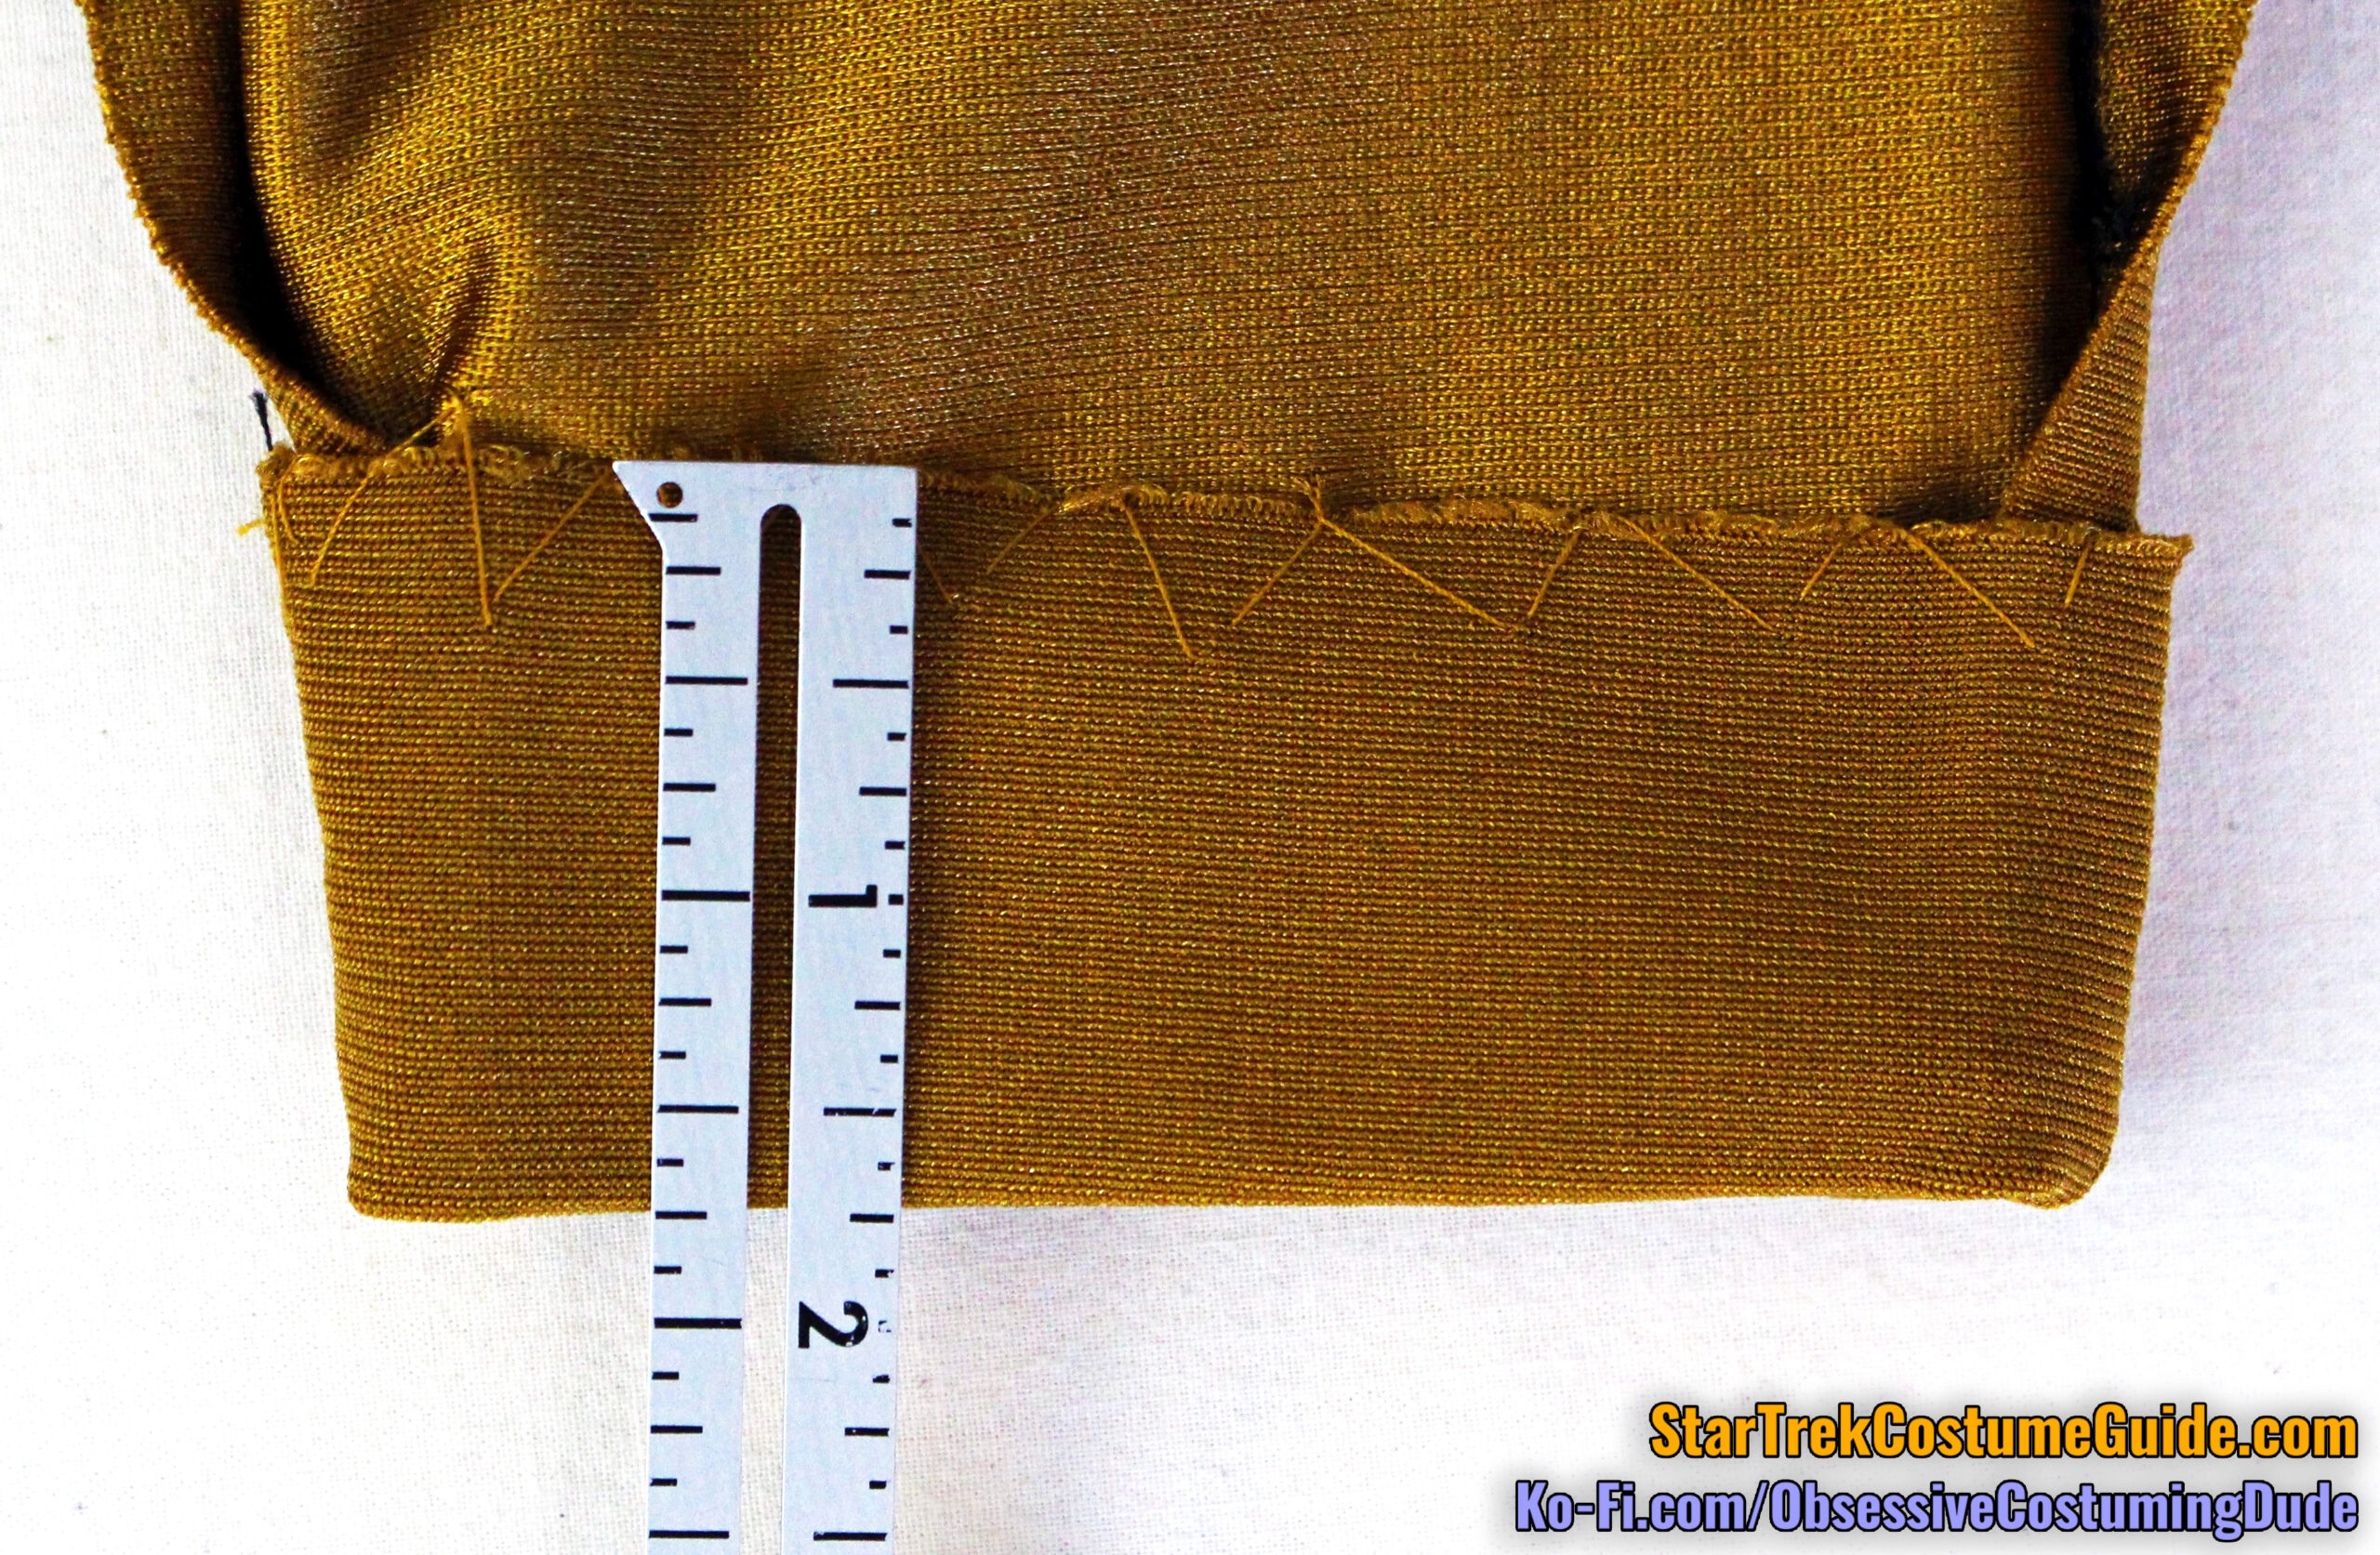
On this particular uniform, the elastic stirrups were attached and secured via triangular-shaped topstitching, just above the hem.
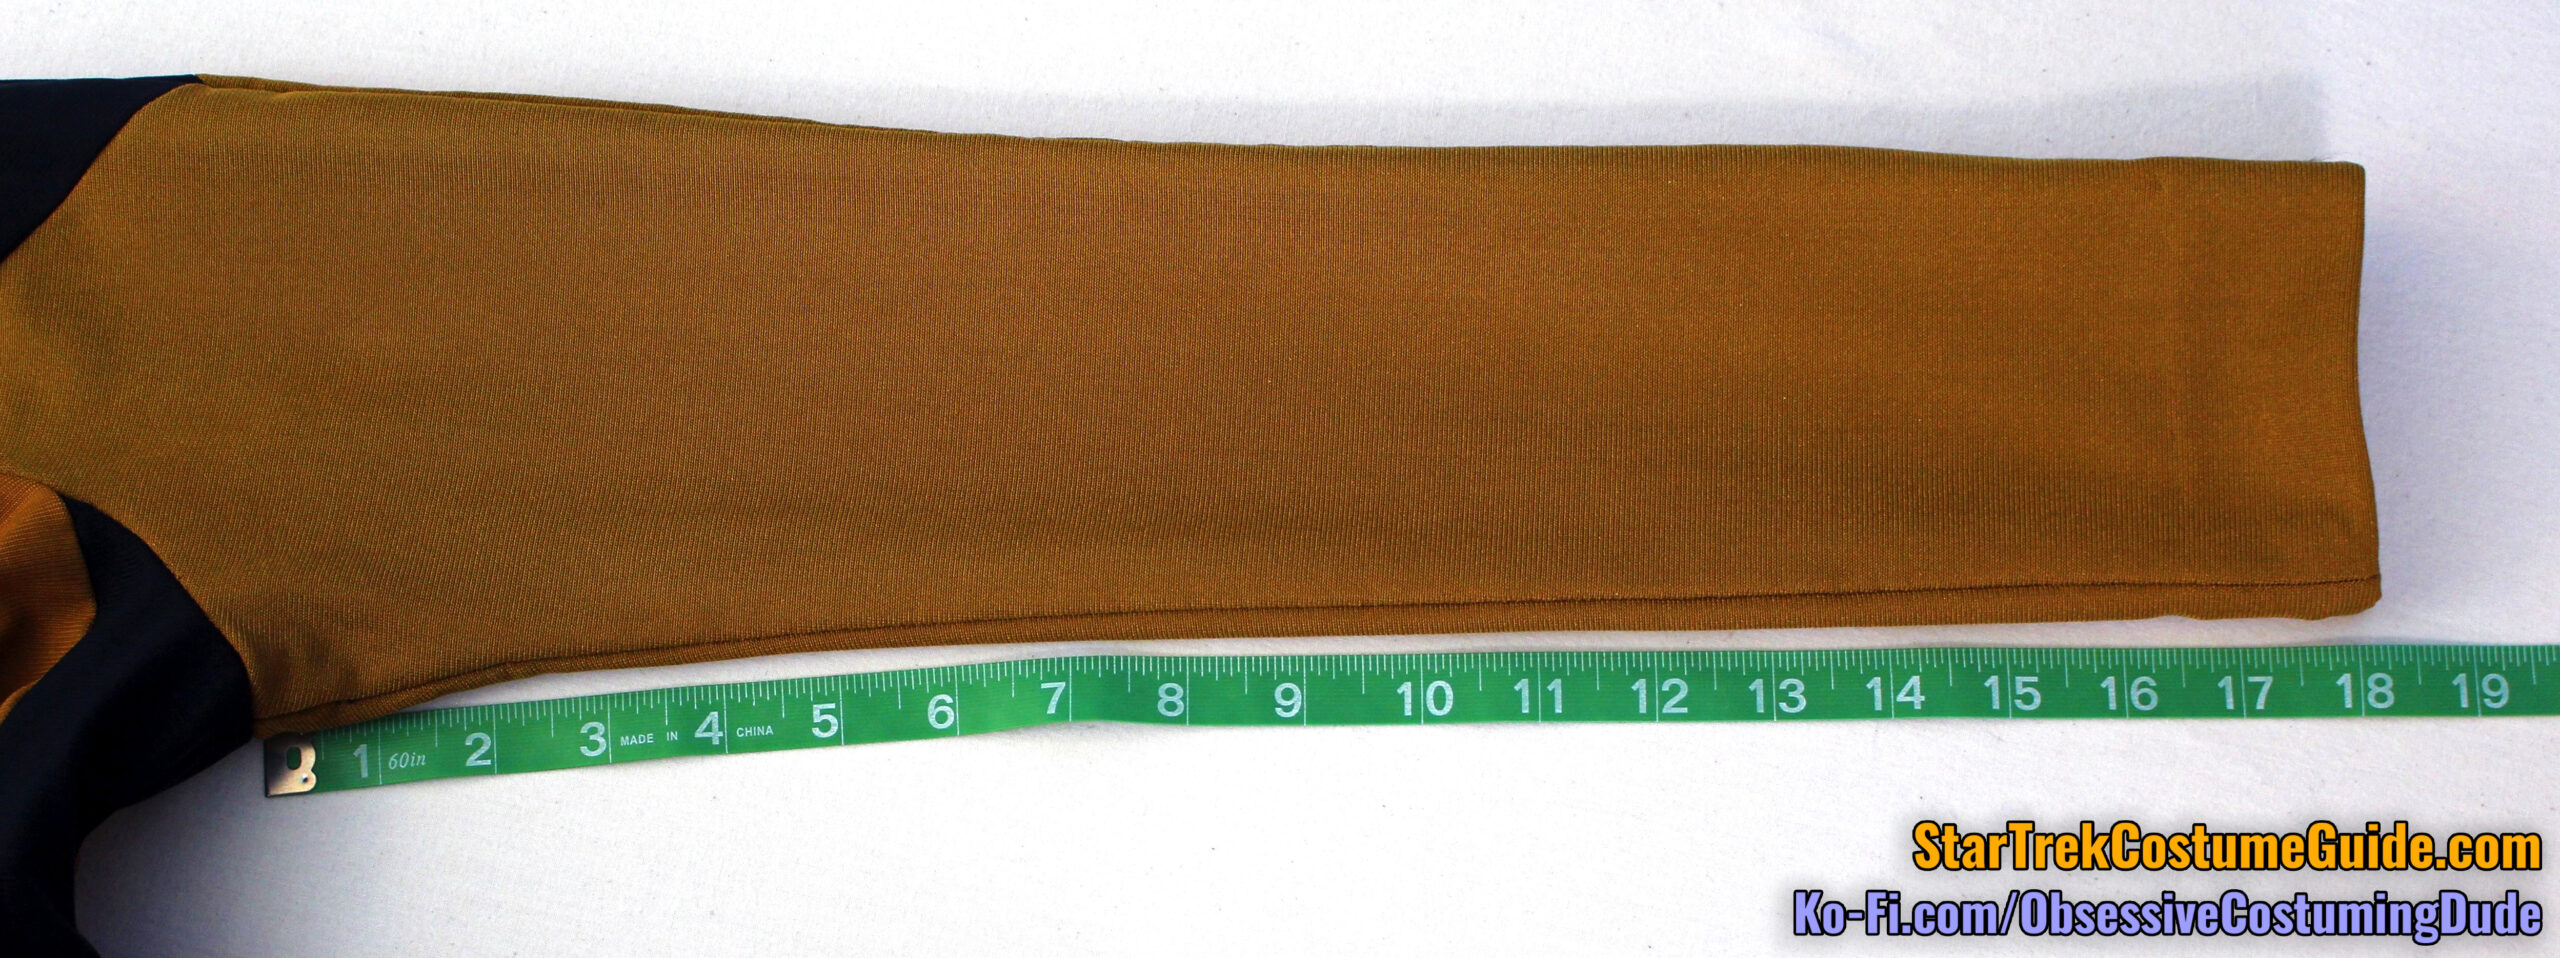
On both sleeves, the outer seam line was 19”.
And on both sleeves, the inner sleeve seam line was 18”.
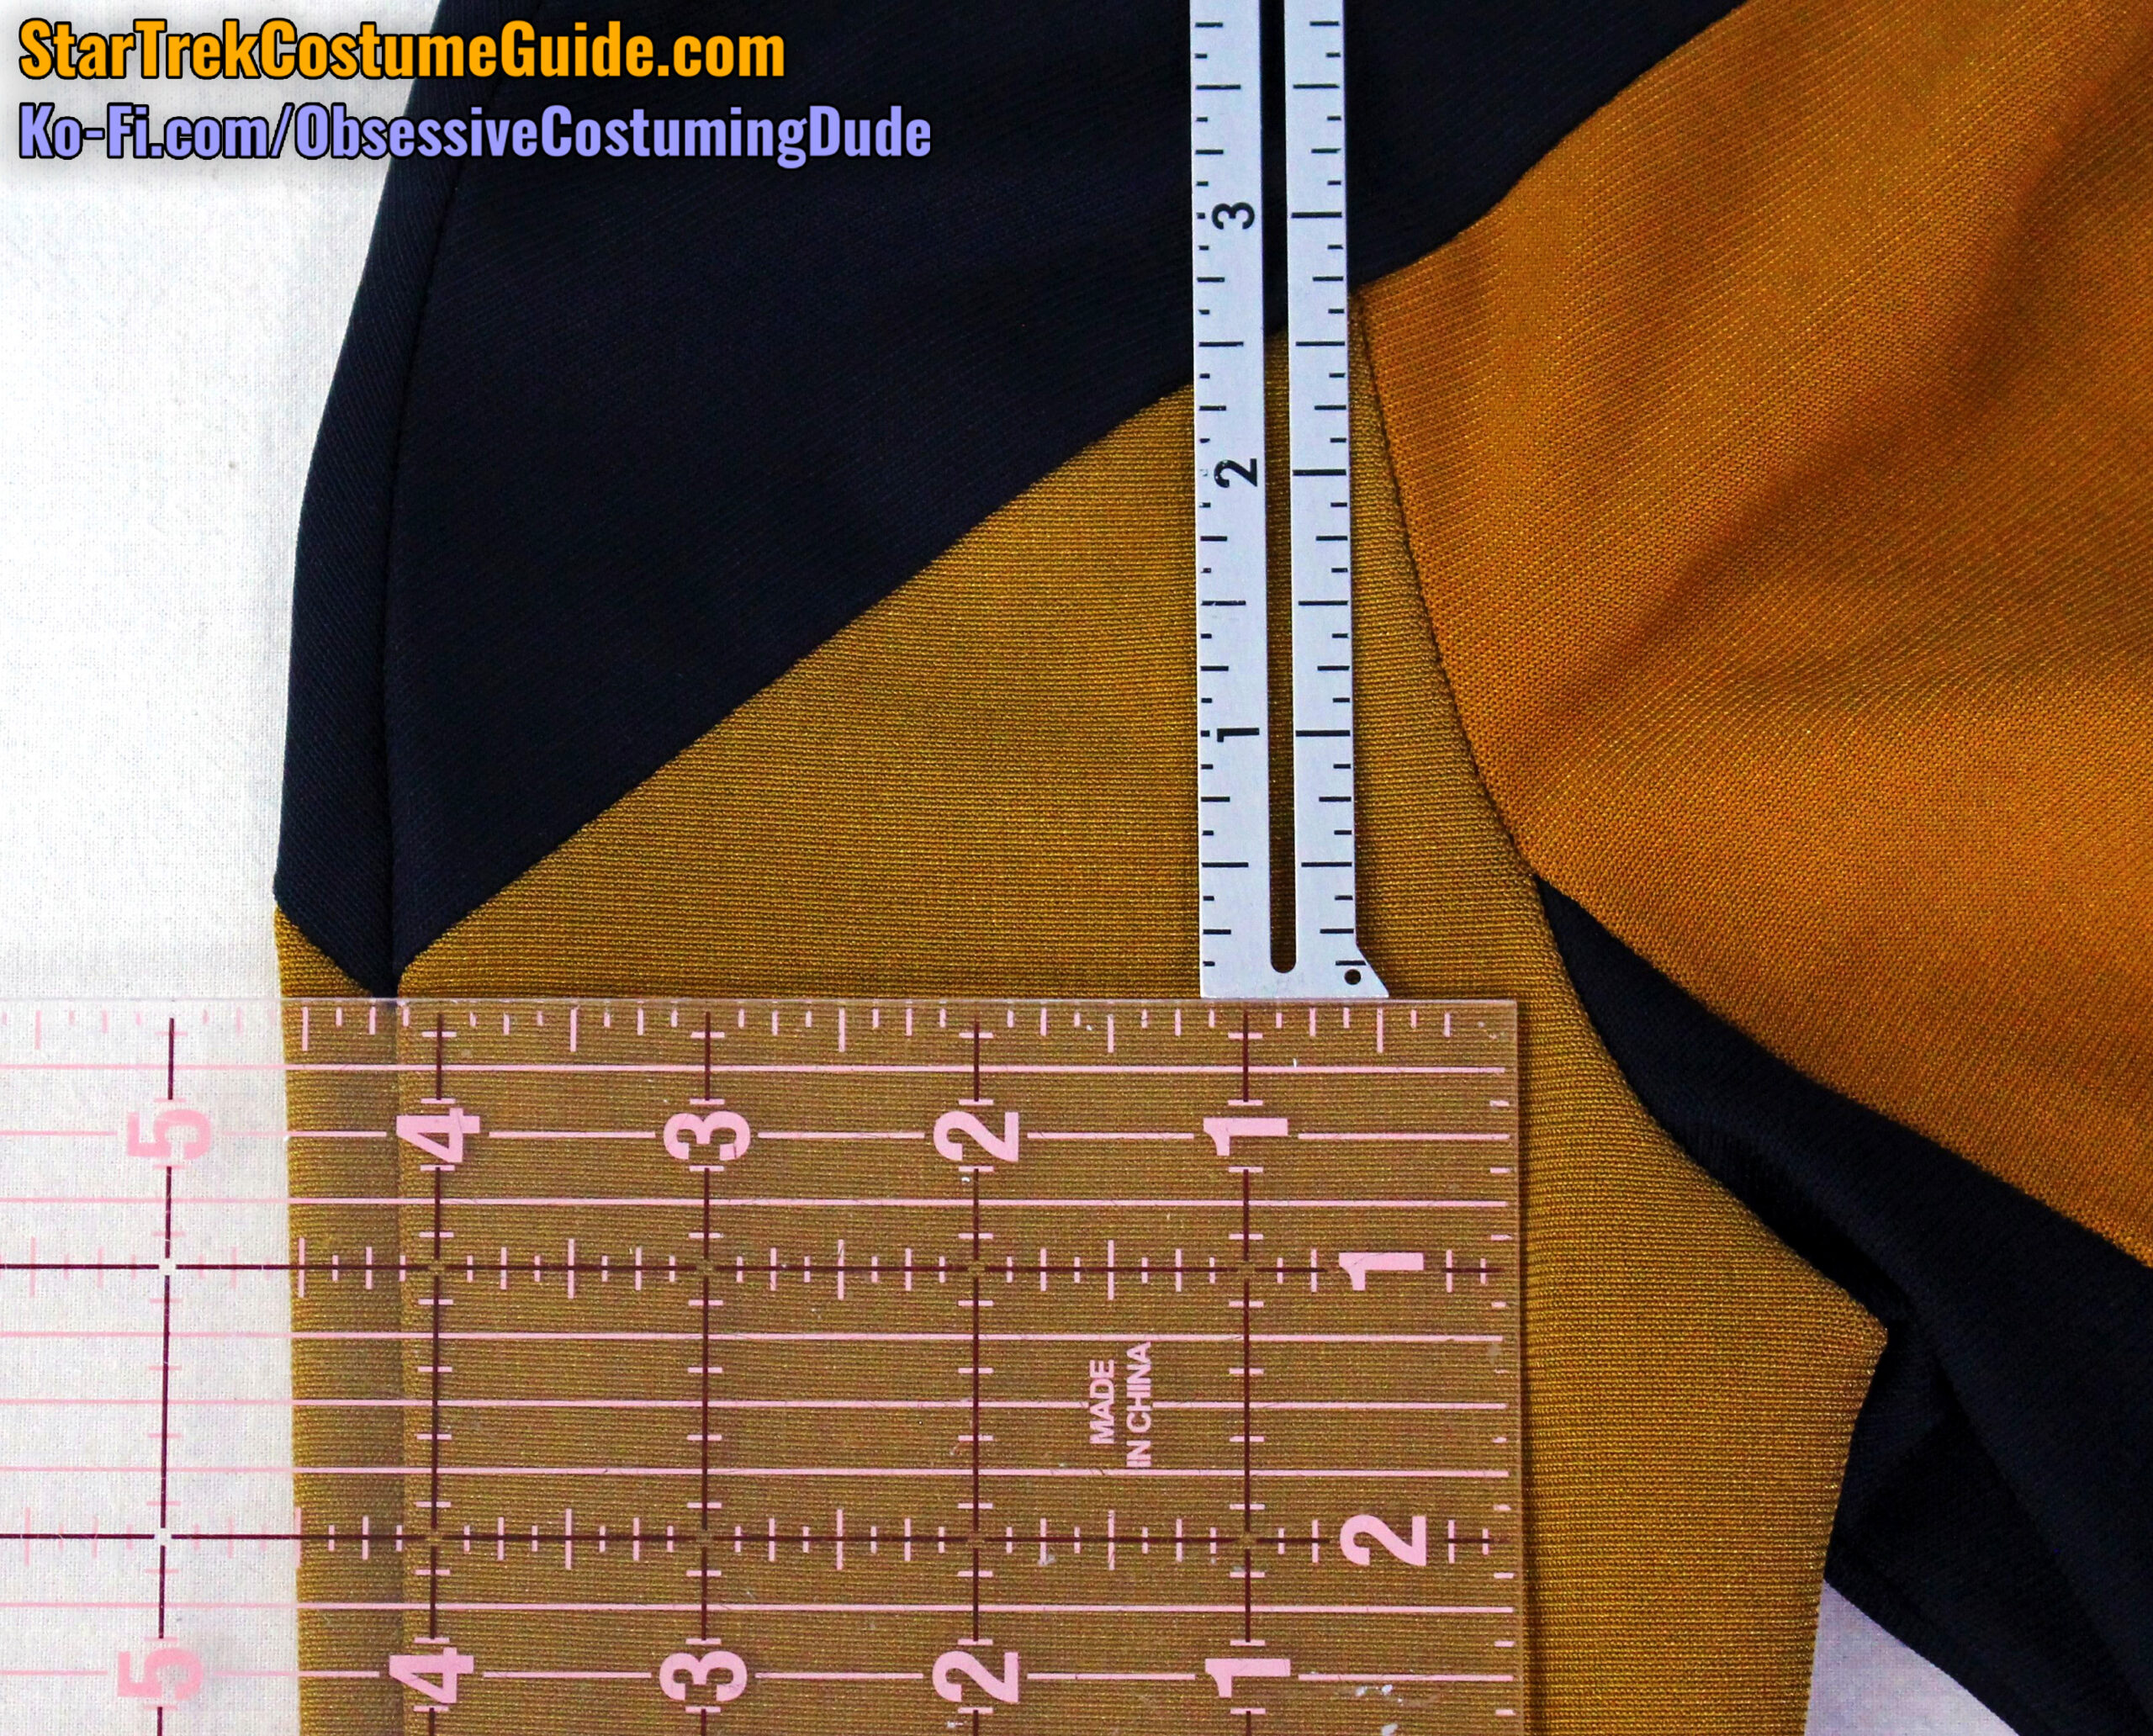
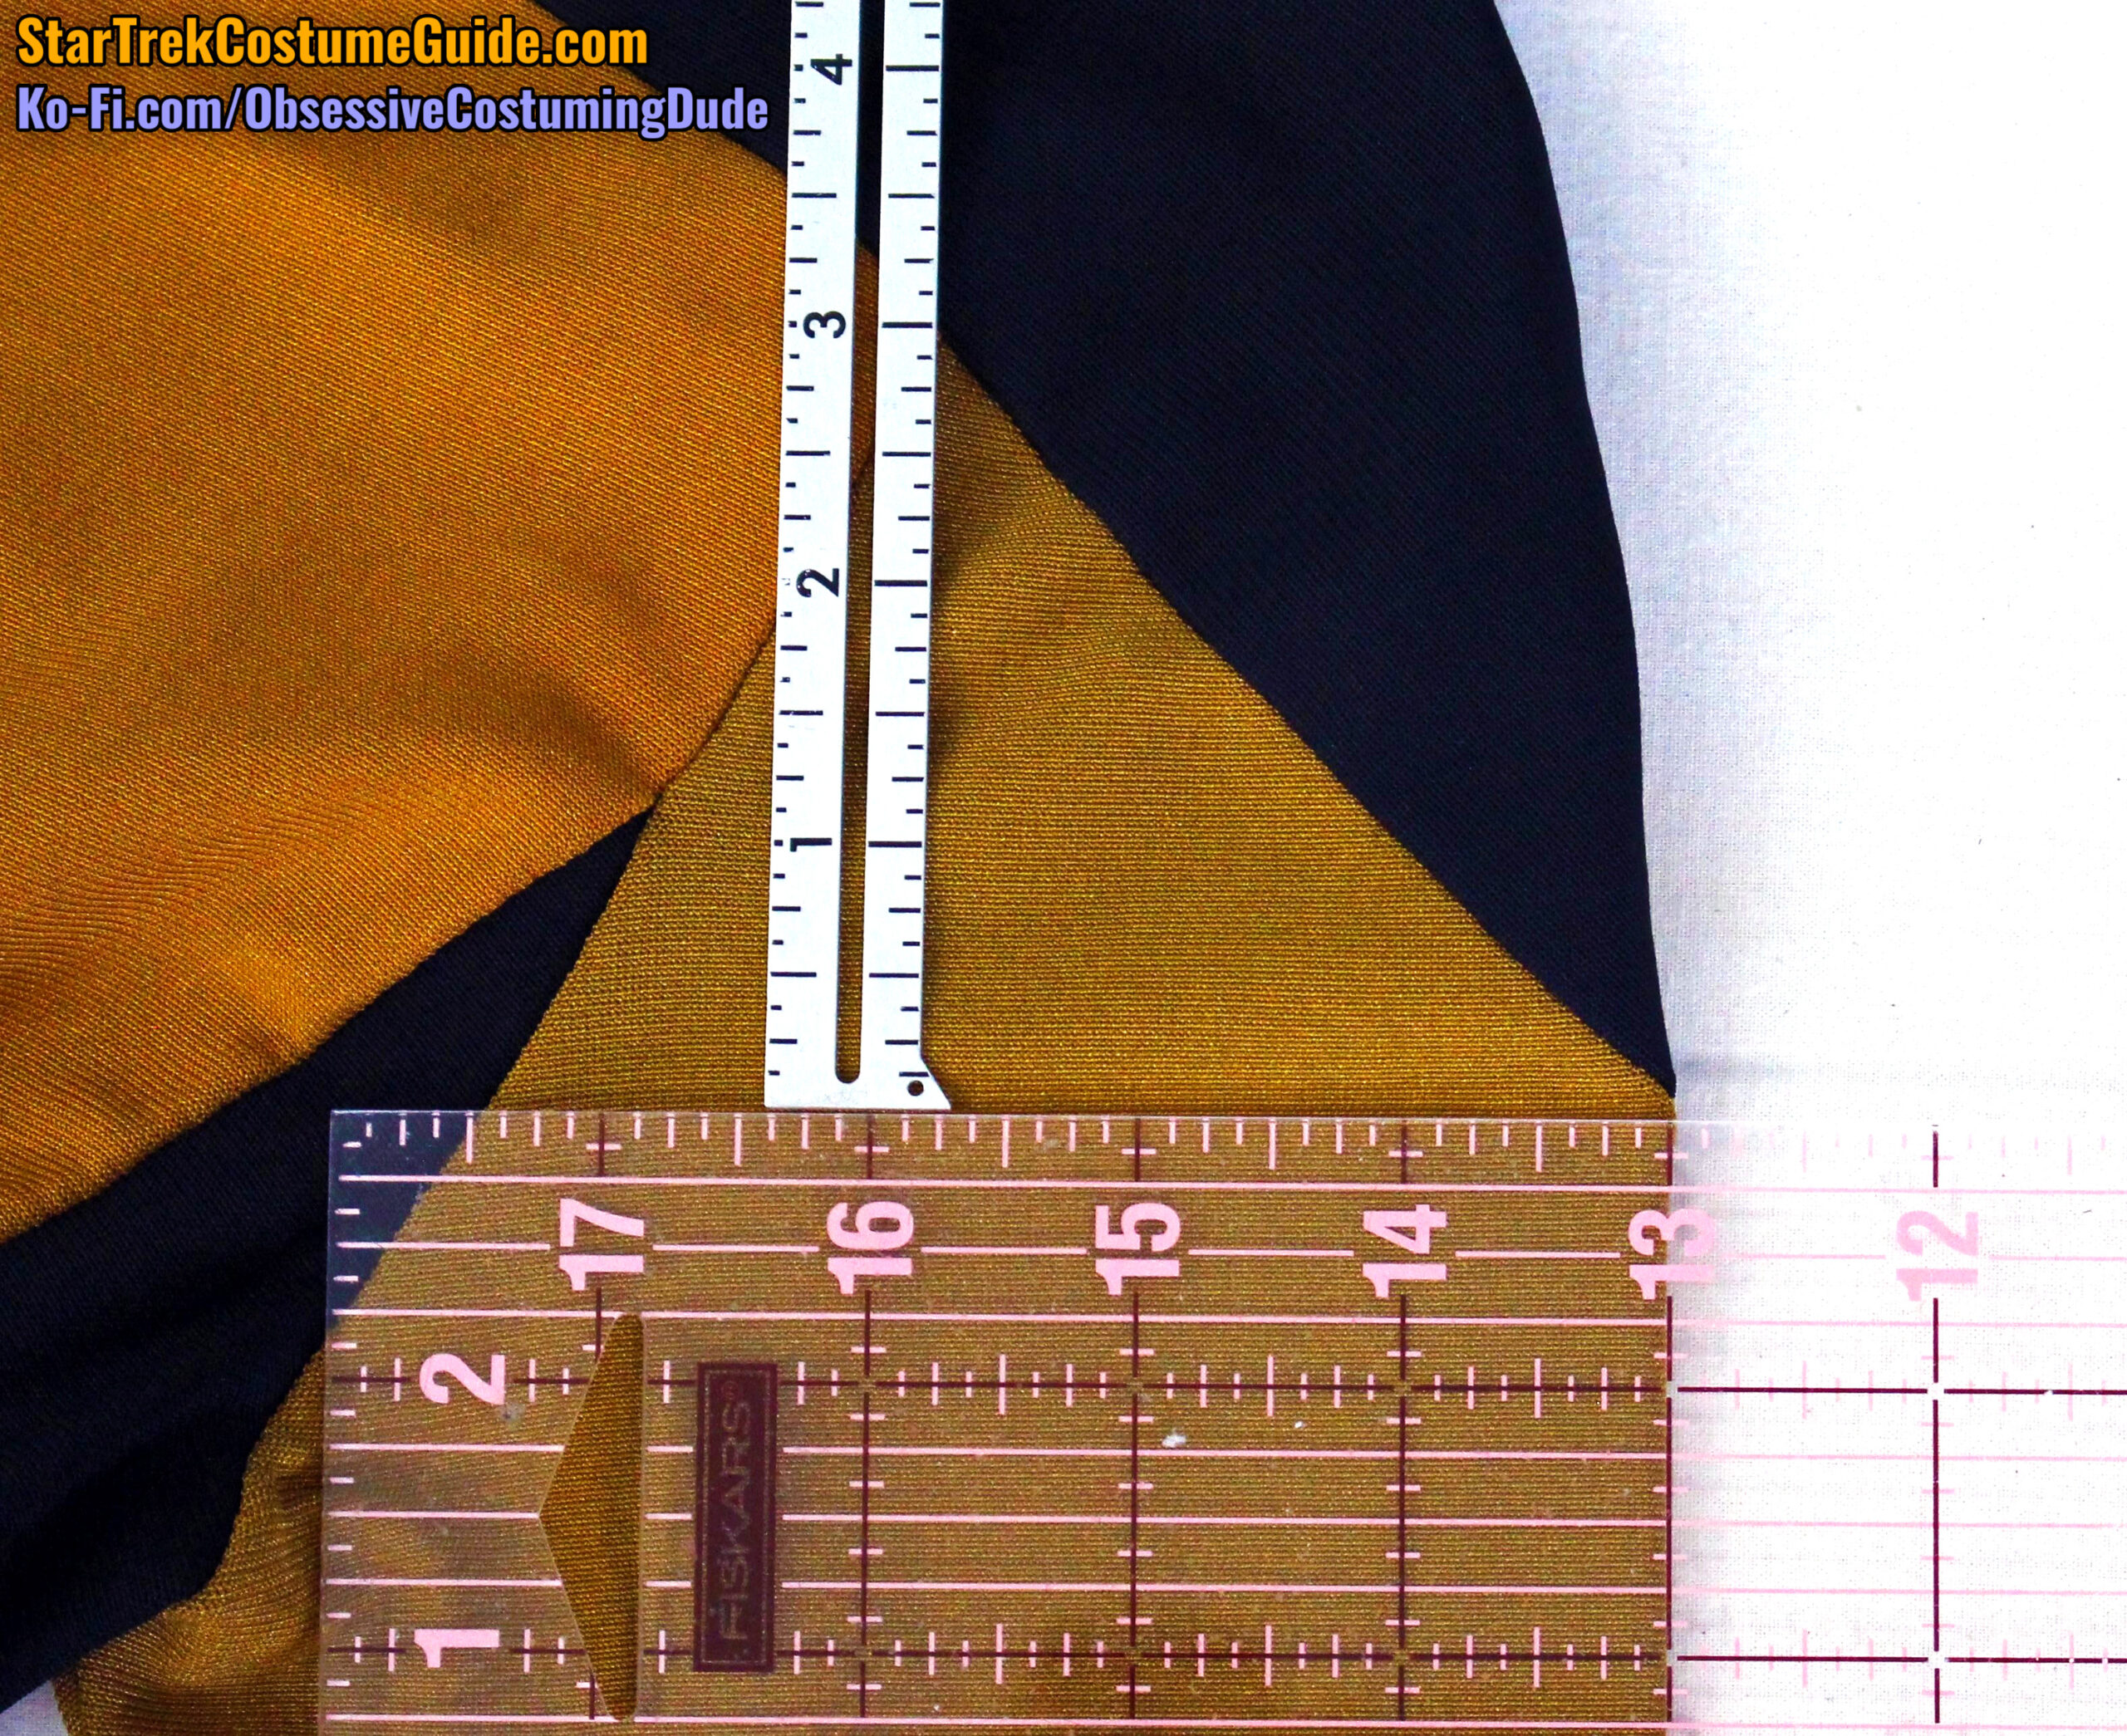
Again using the “weave” of the jumbo spandex as a visual reference, we can see that the front sleeve insert was 2 ¾” tall, and the back sleeve insert was 3” tall (both relative to the outer sleeve seam).
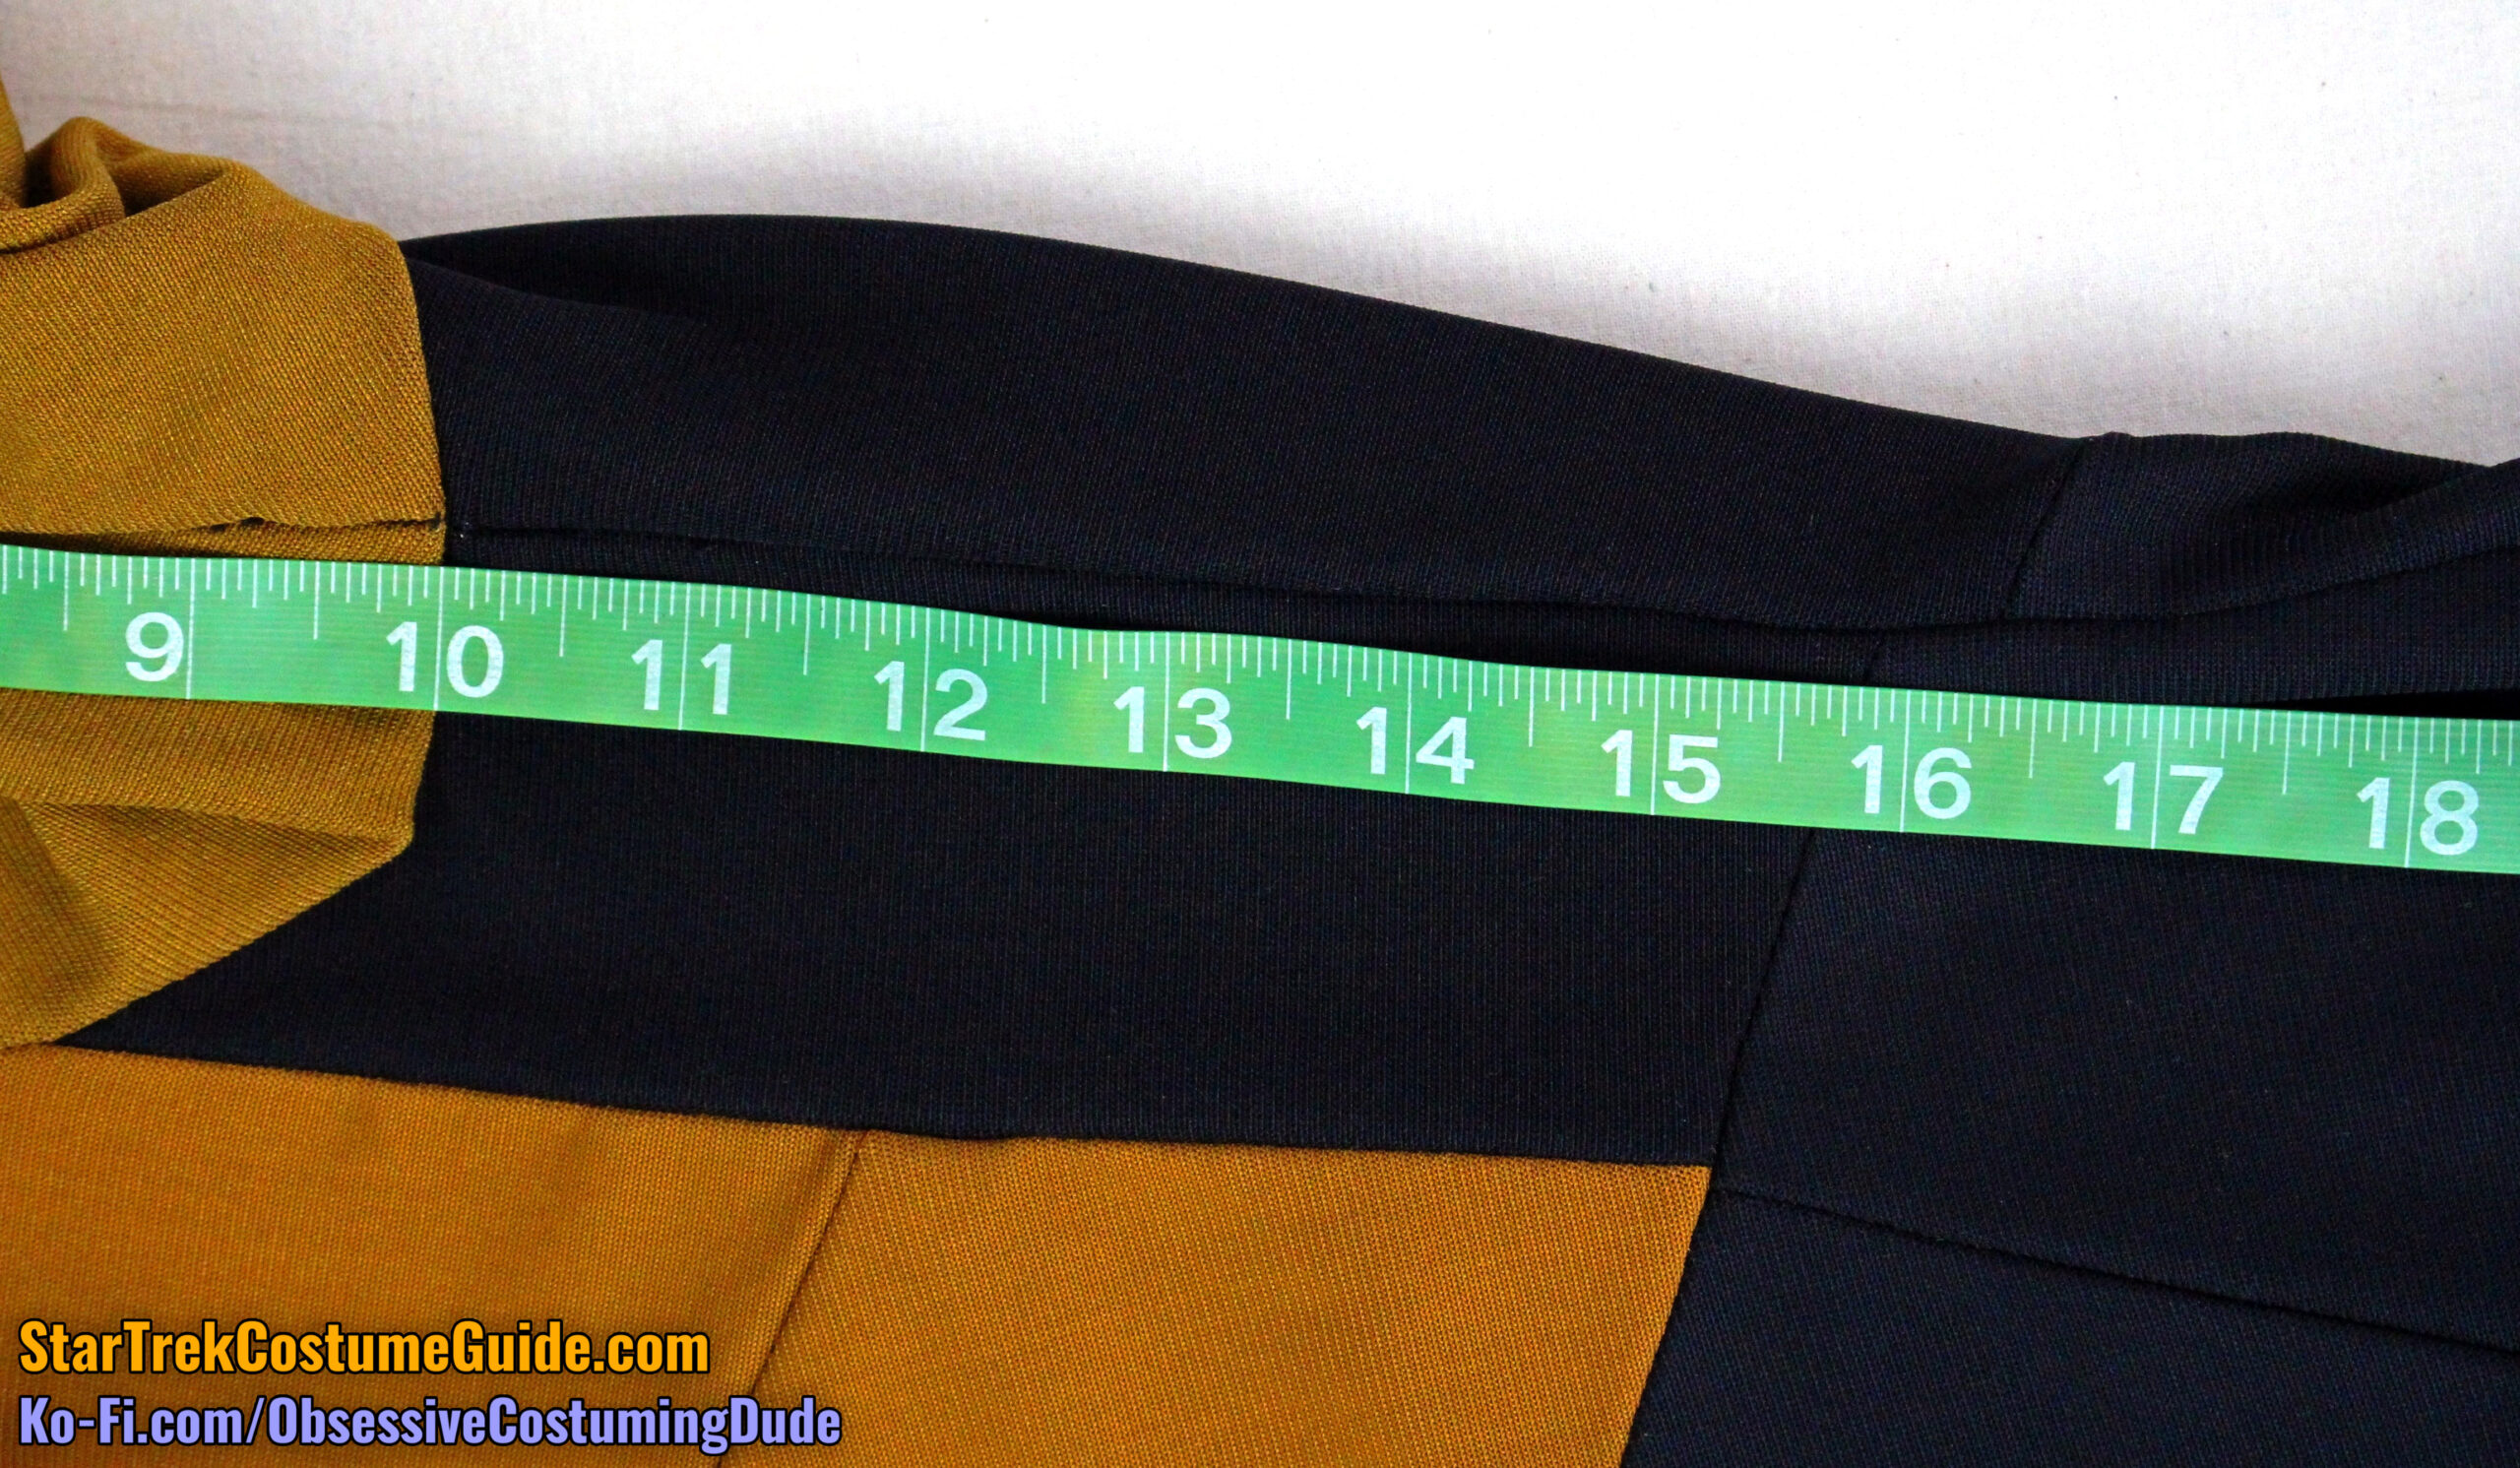
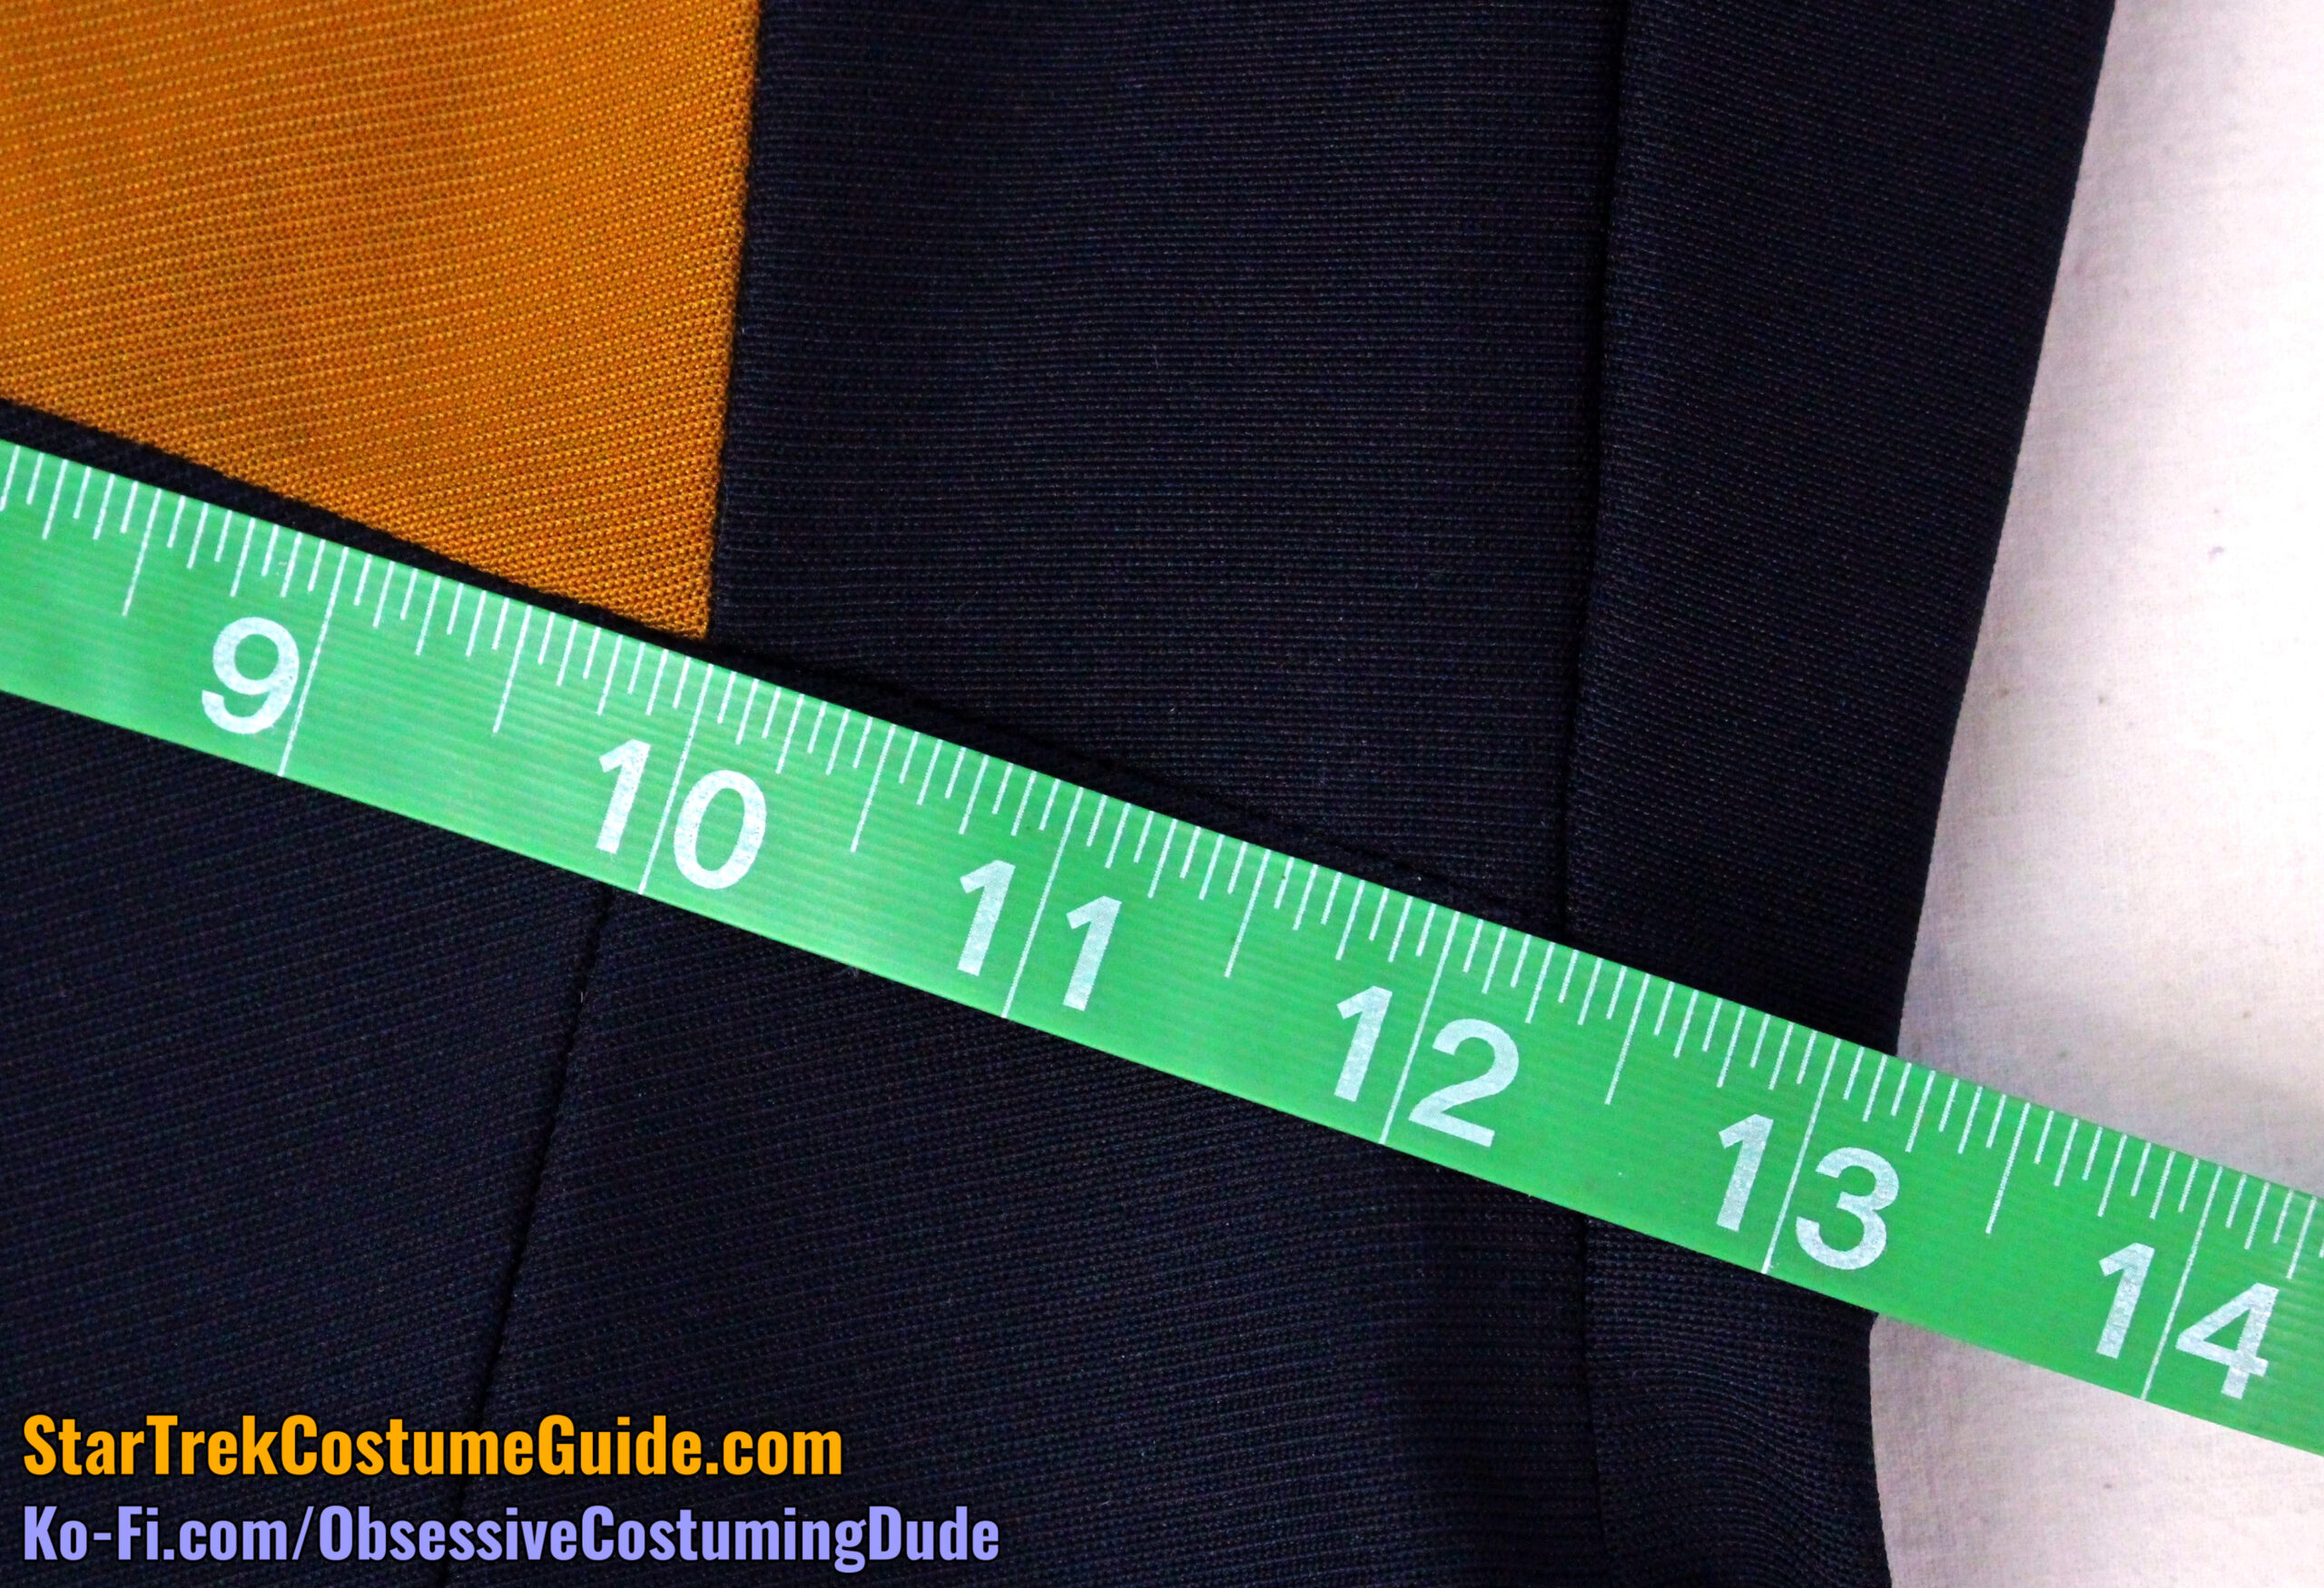
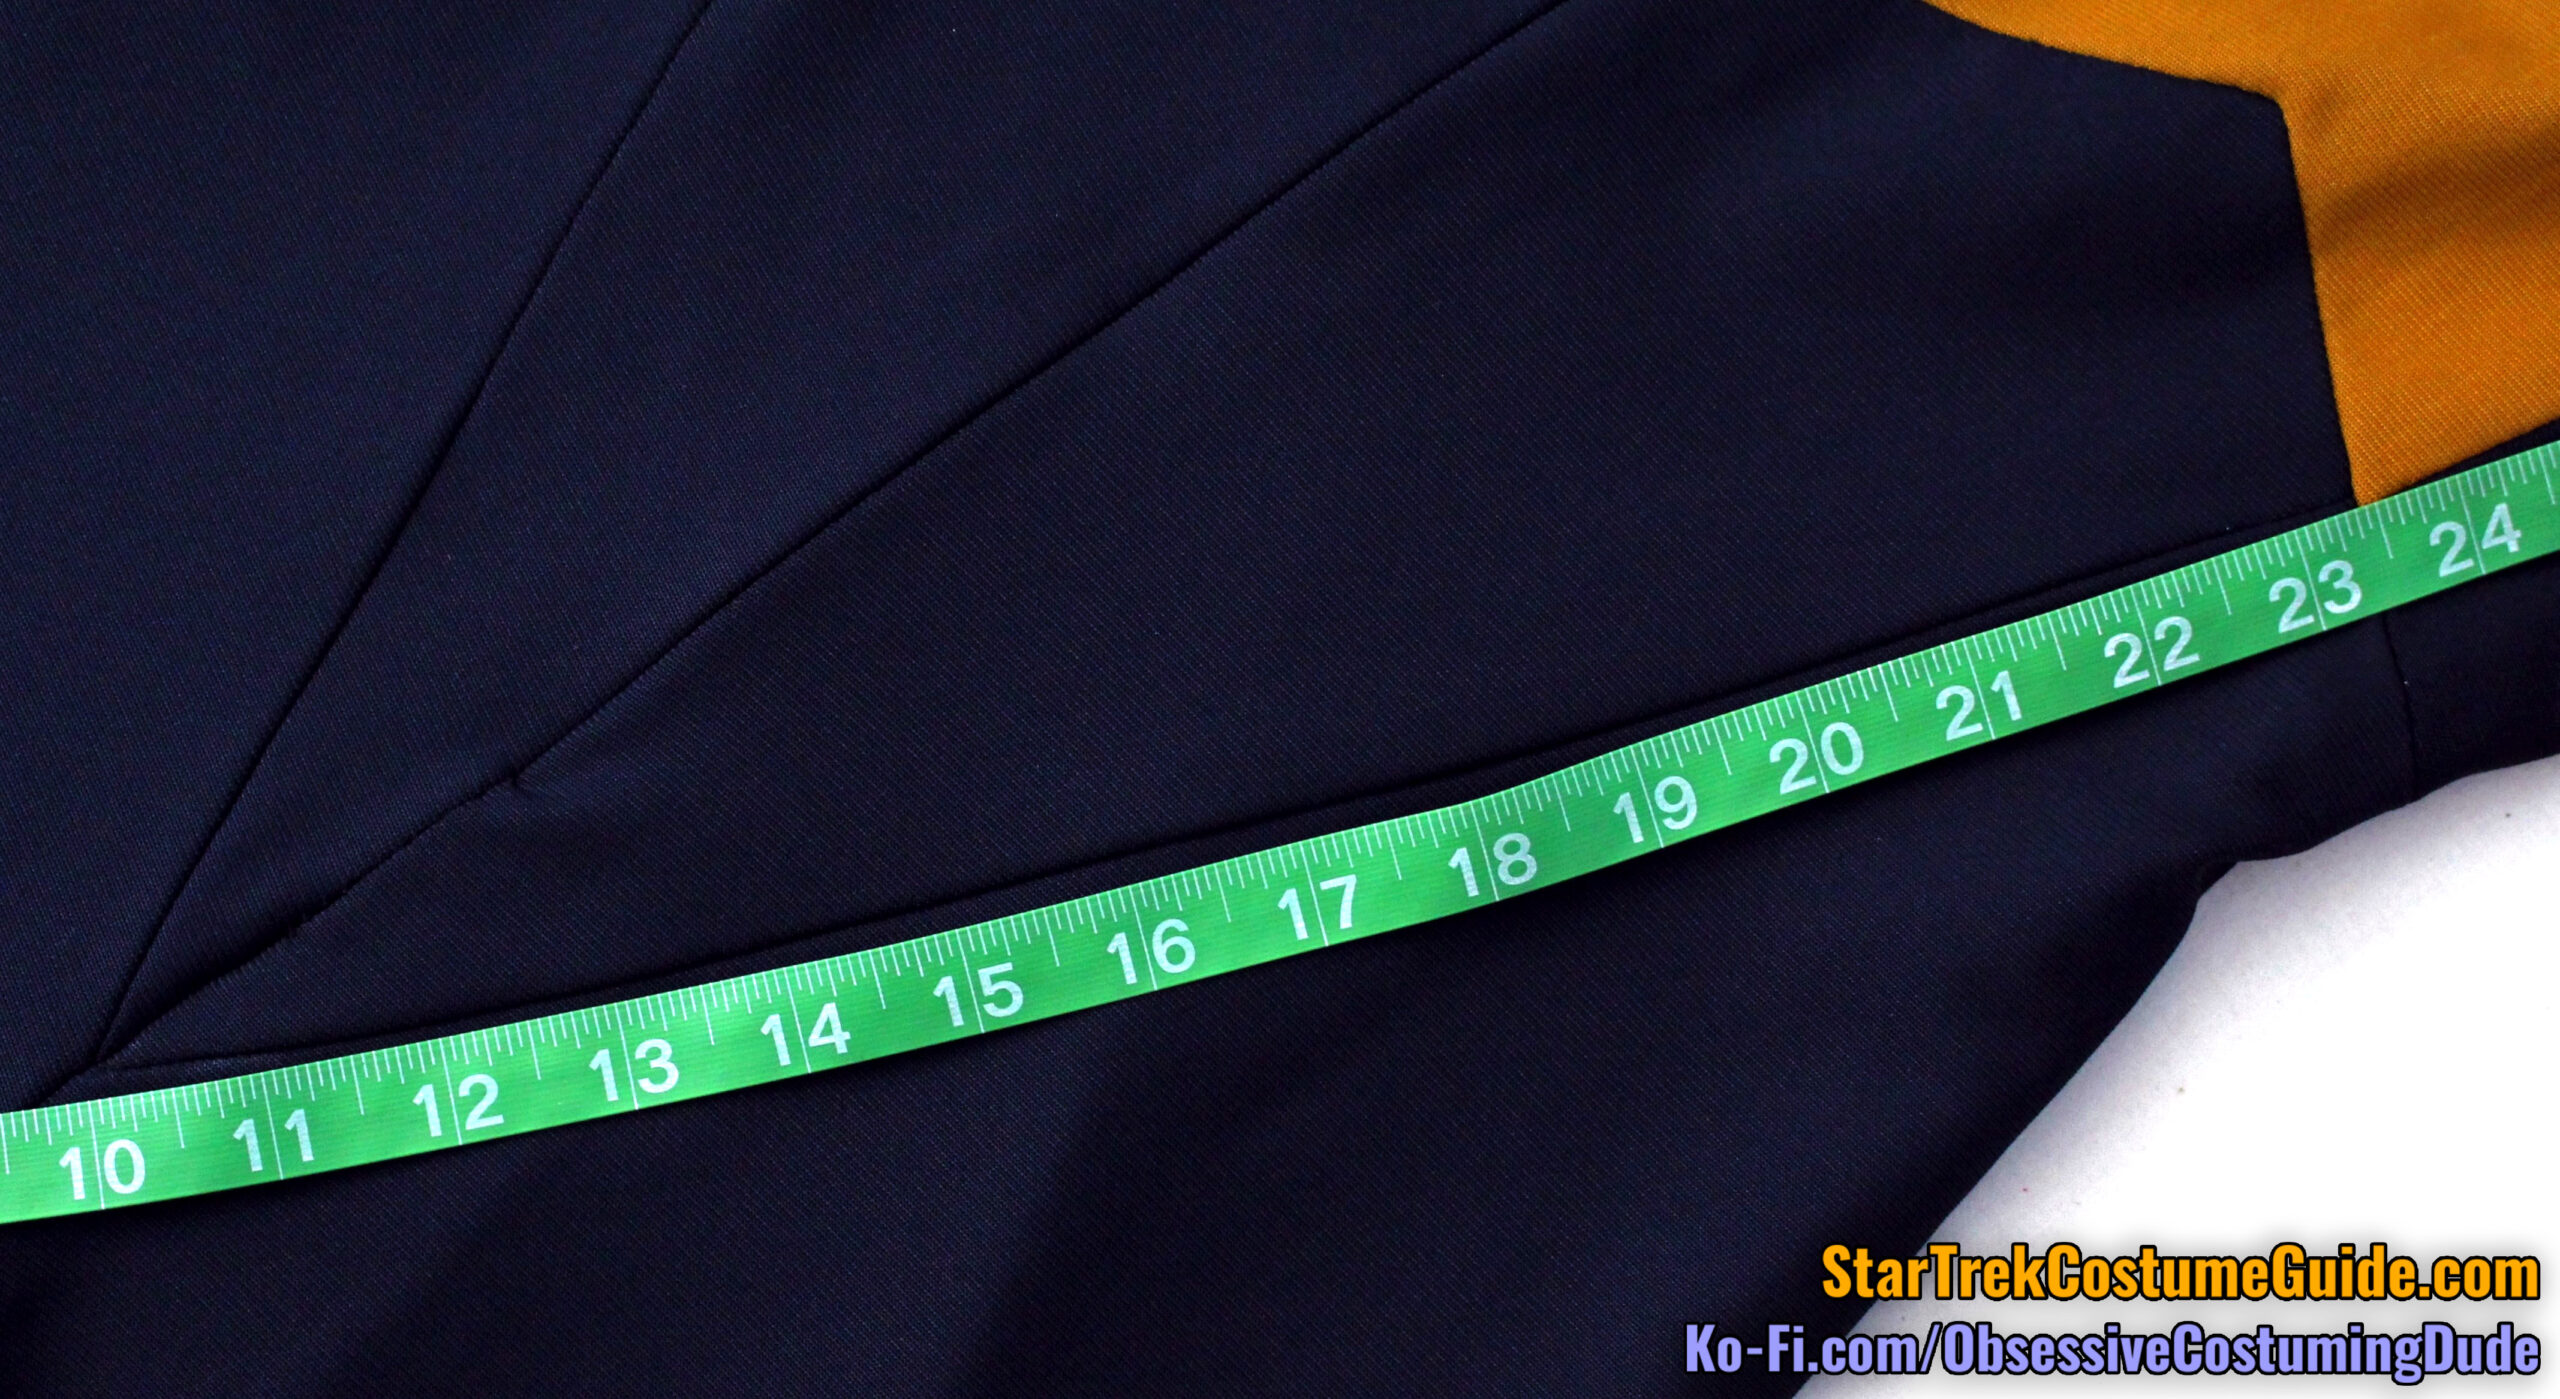
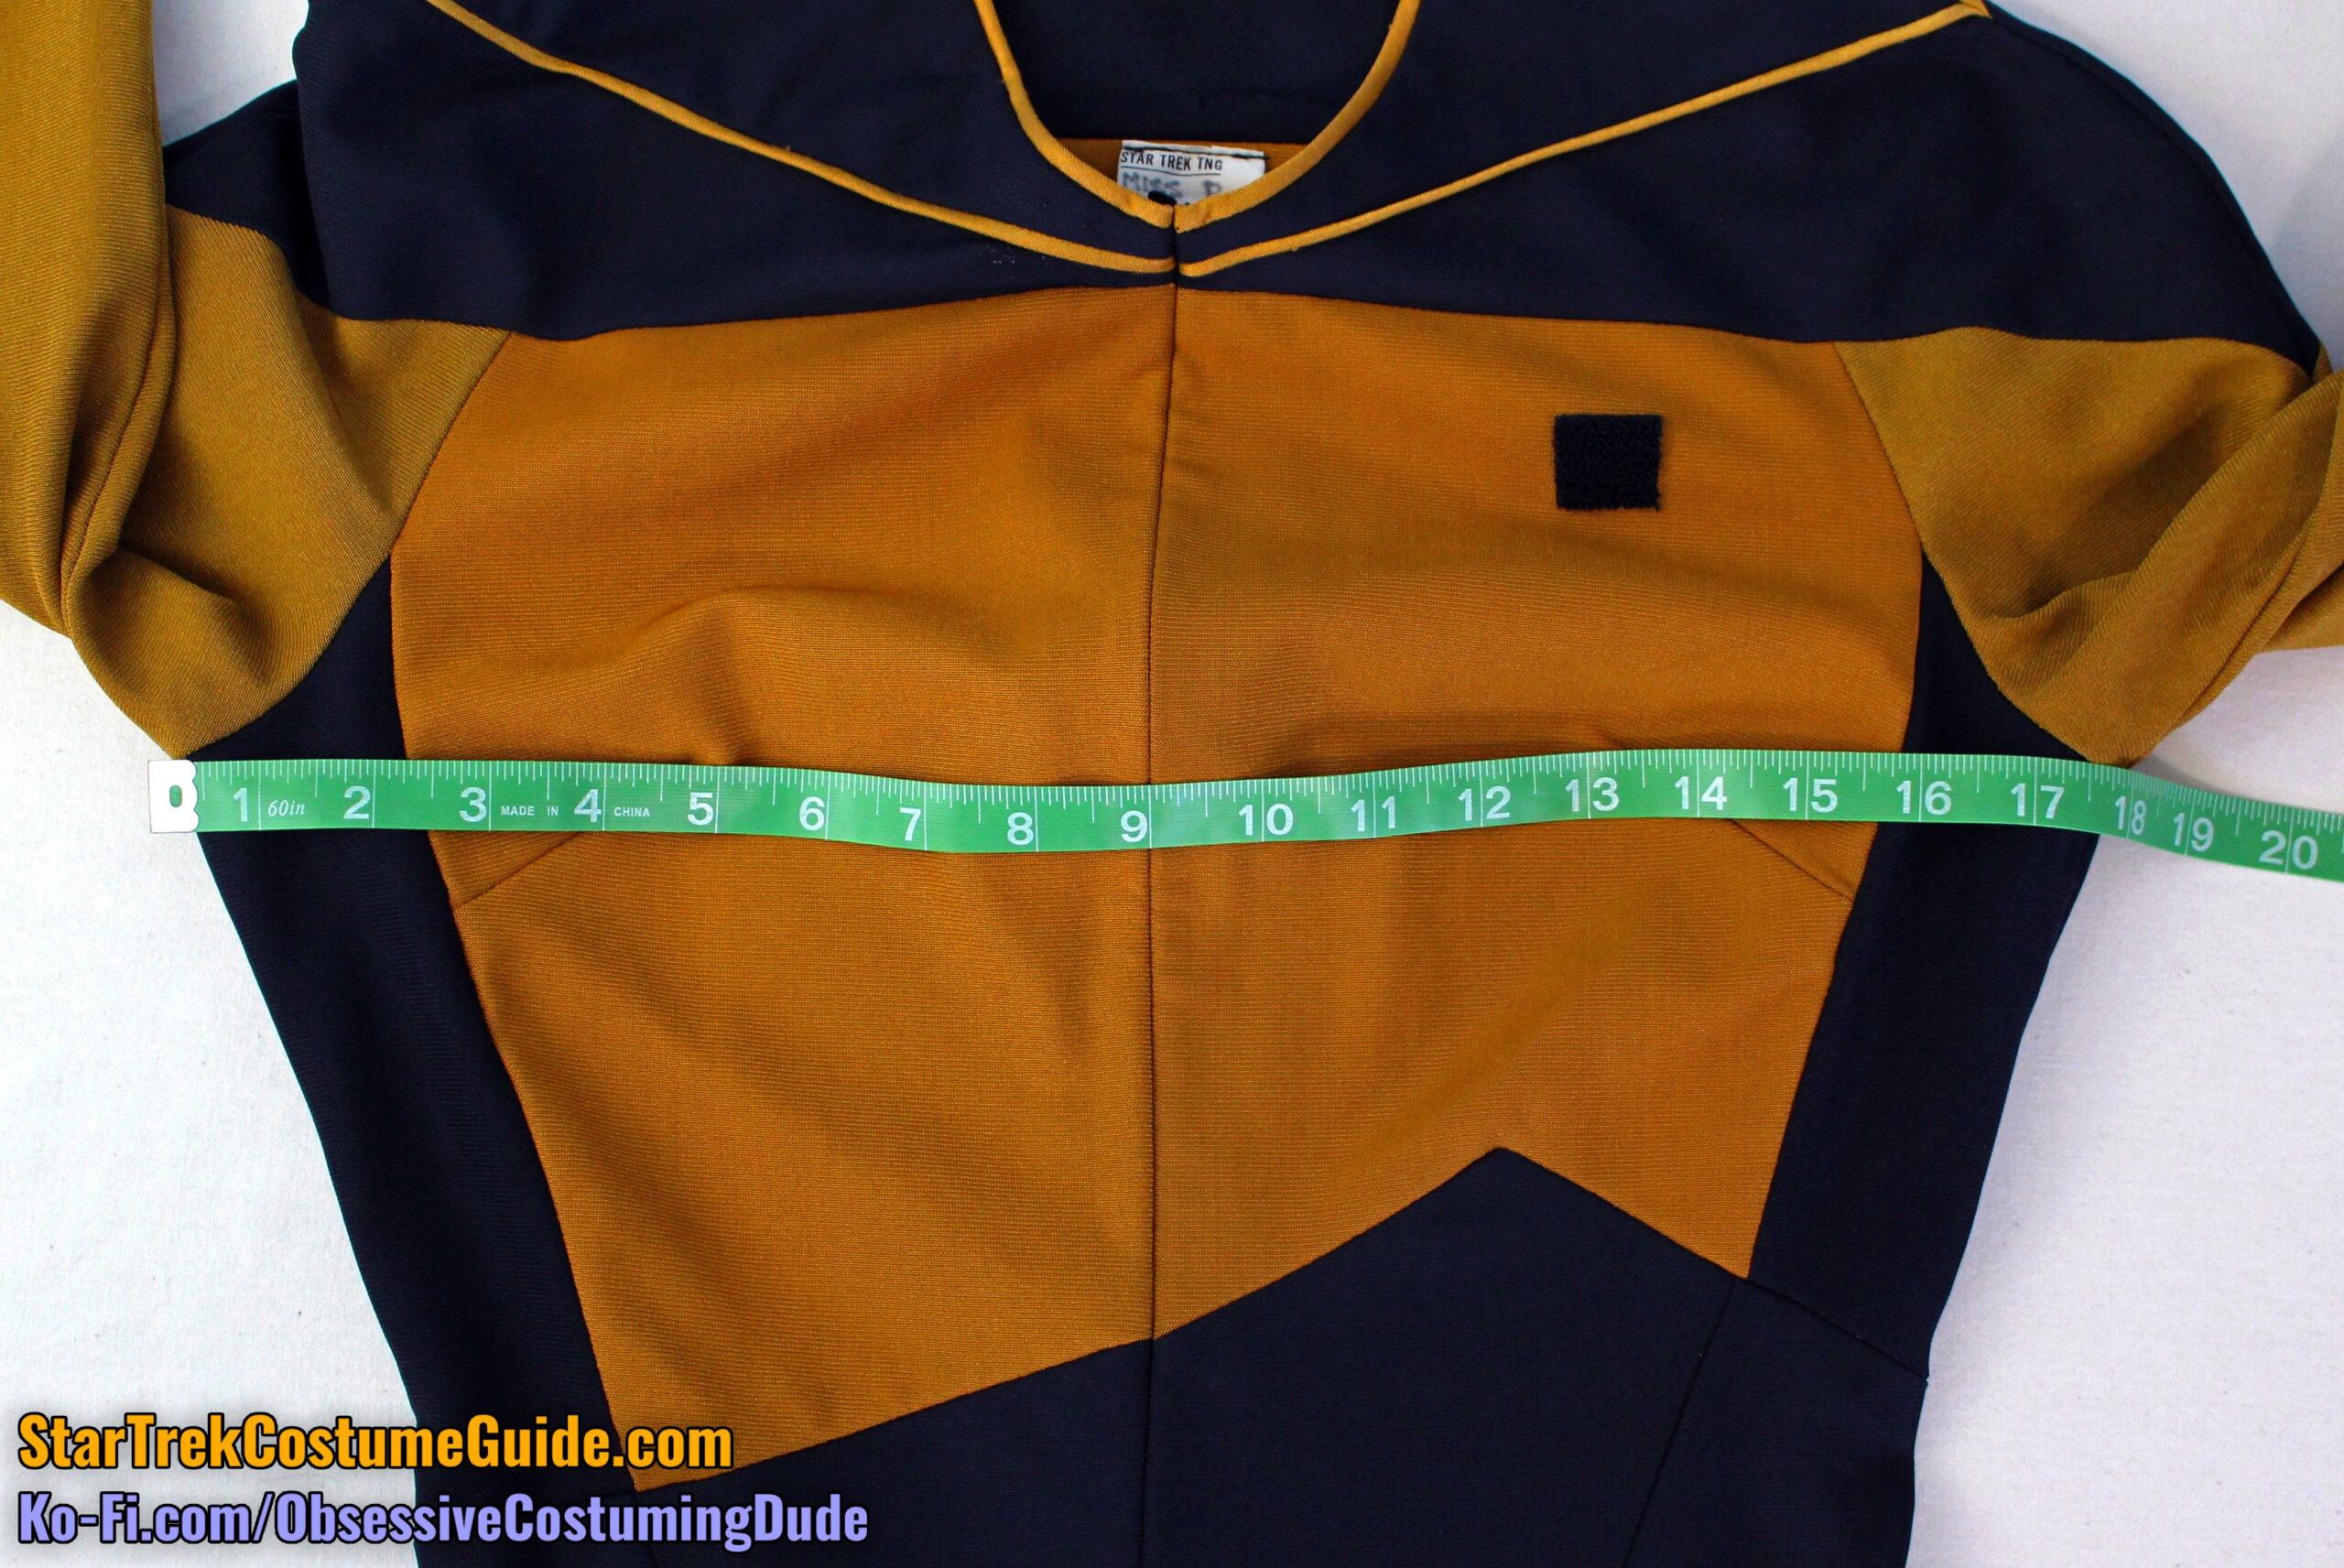
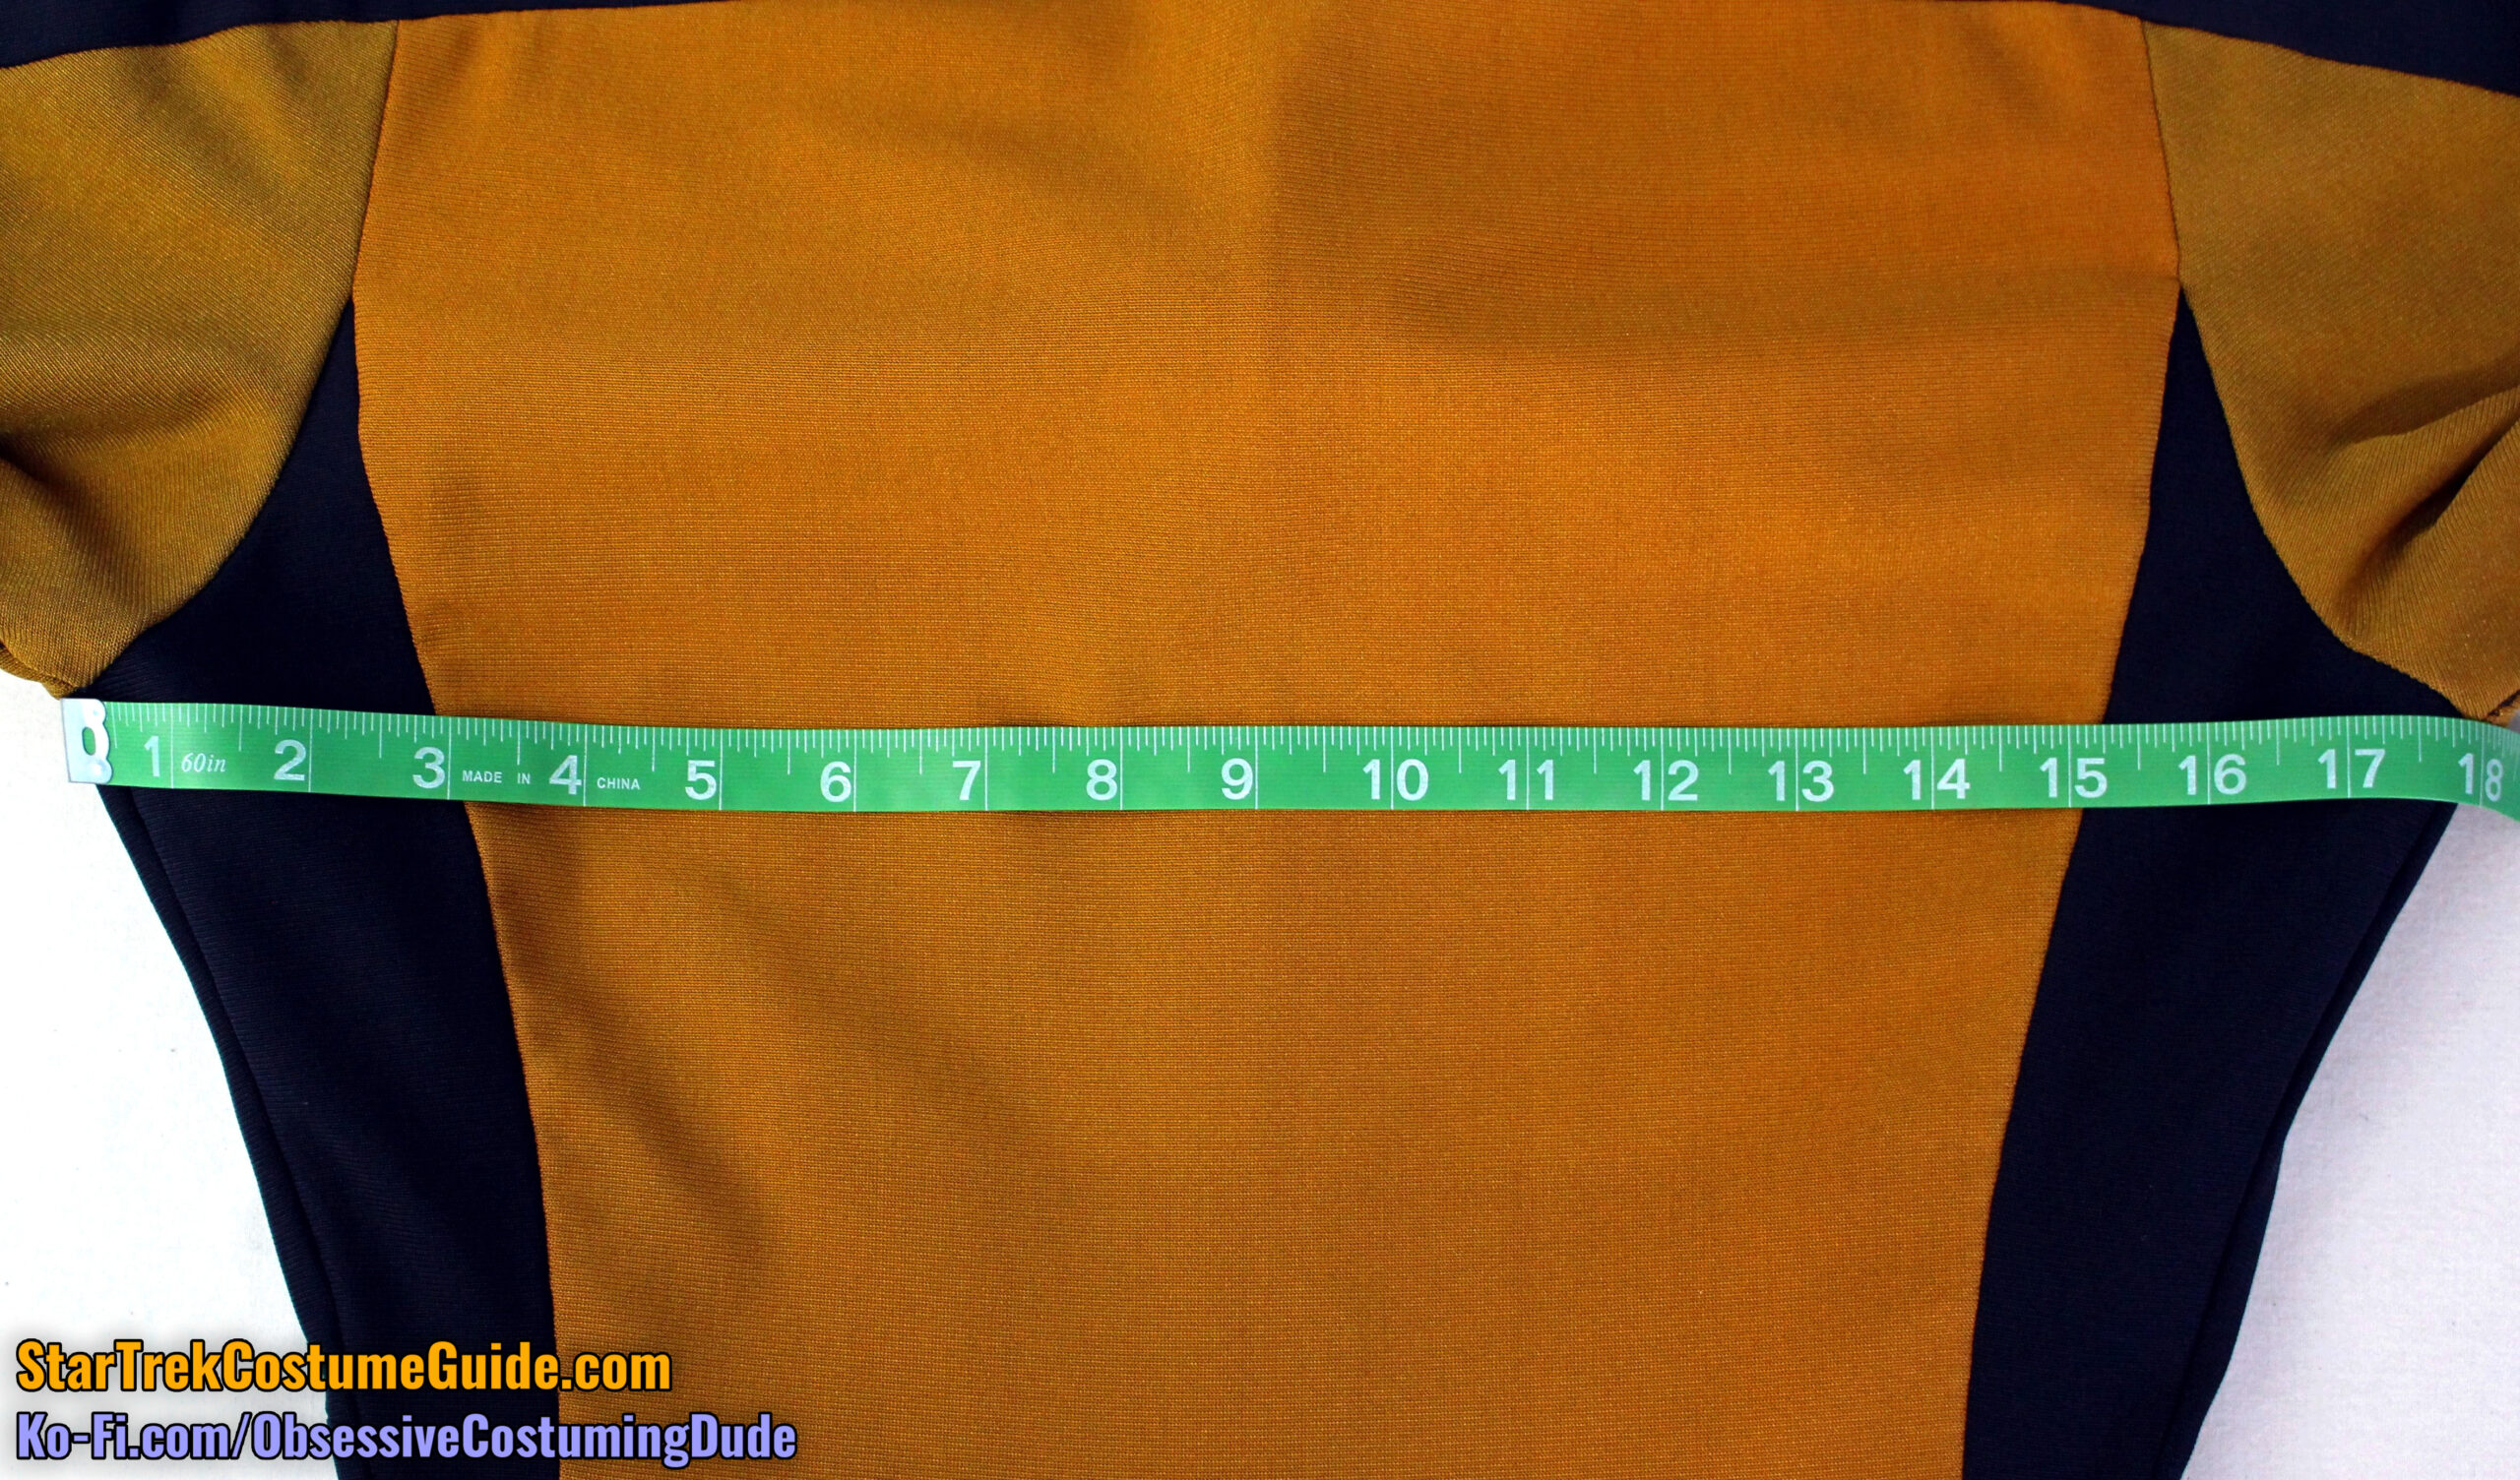
Both the front and back chests measured approximately 18” across at the lower armscye (underarm), for a total chest/bust measurement of approximately 36”.
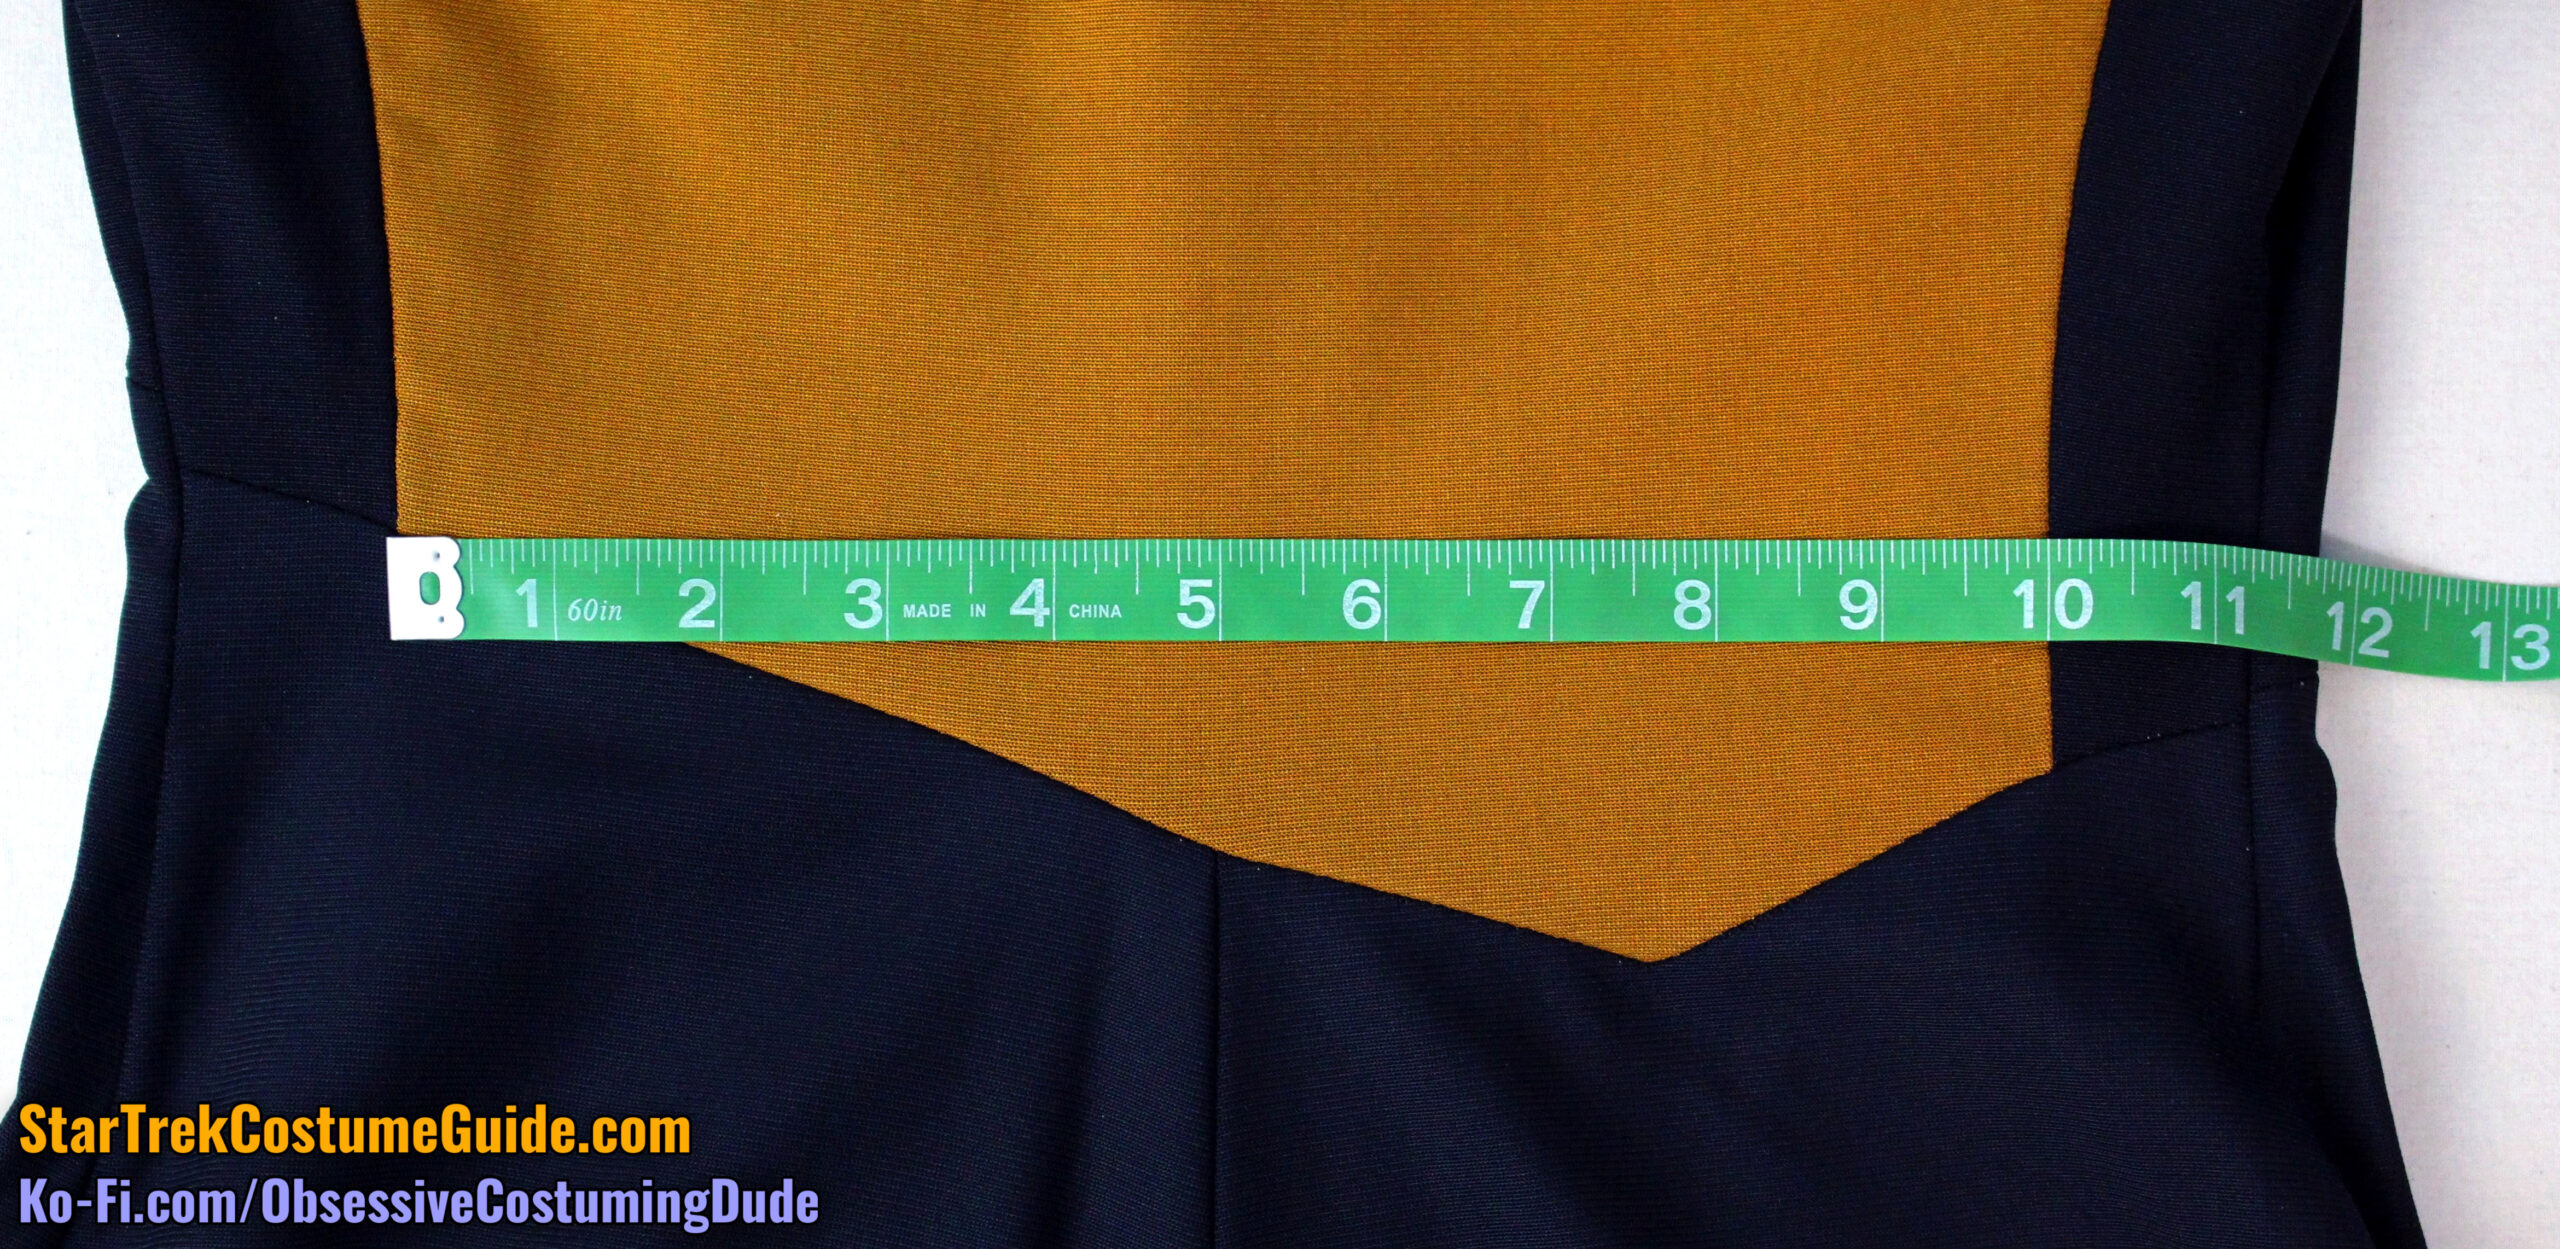
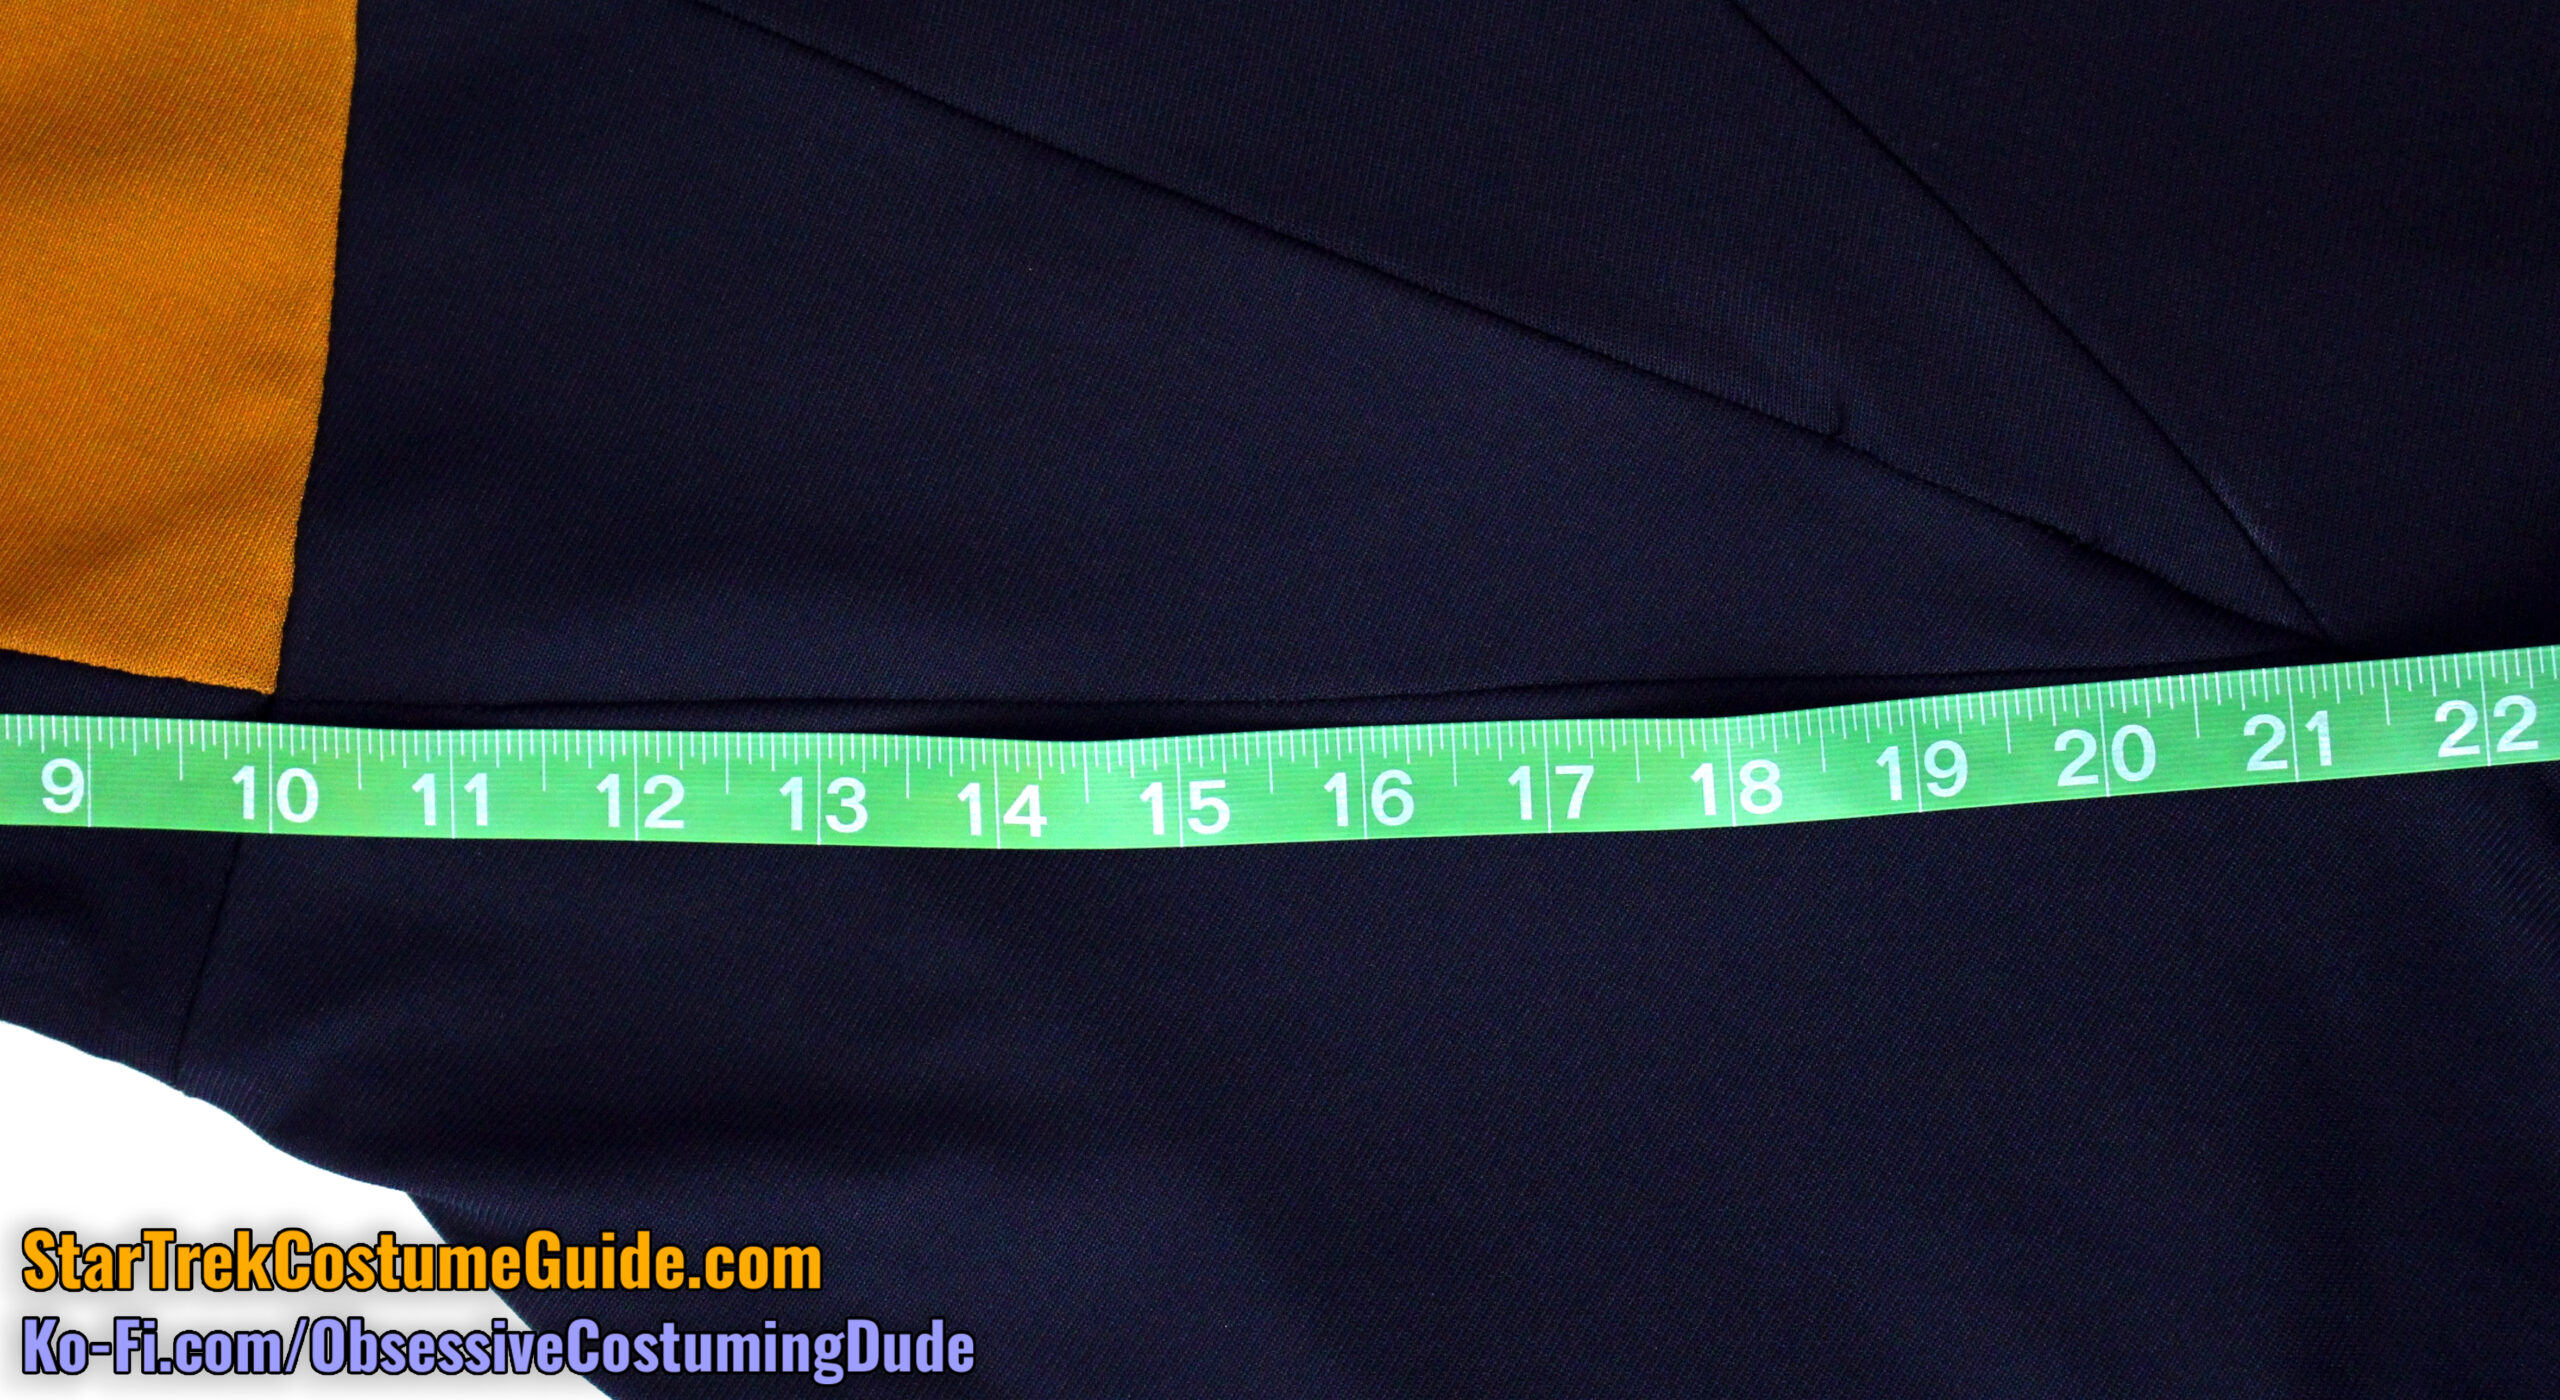
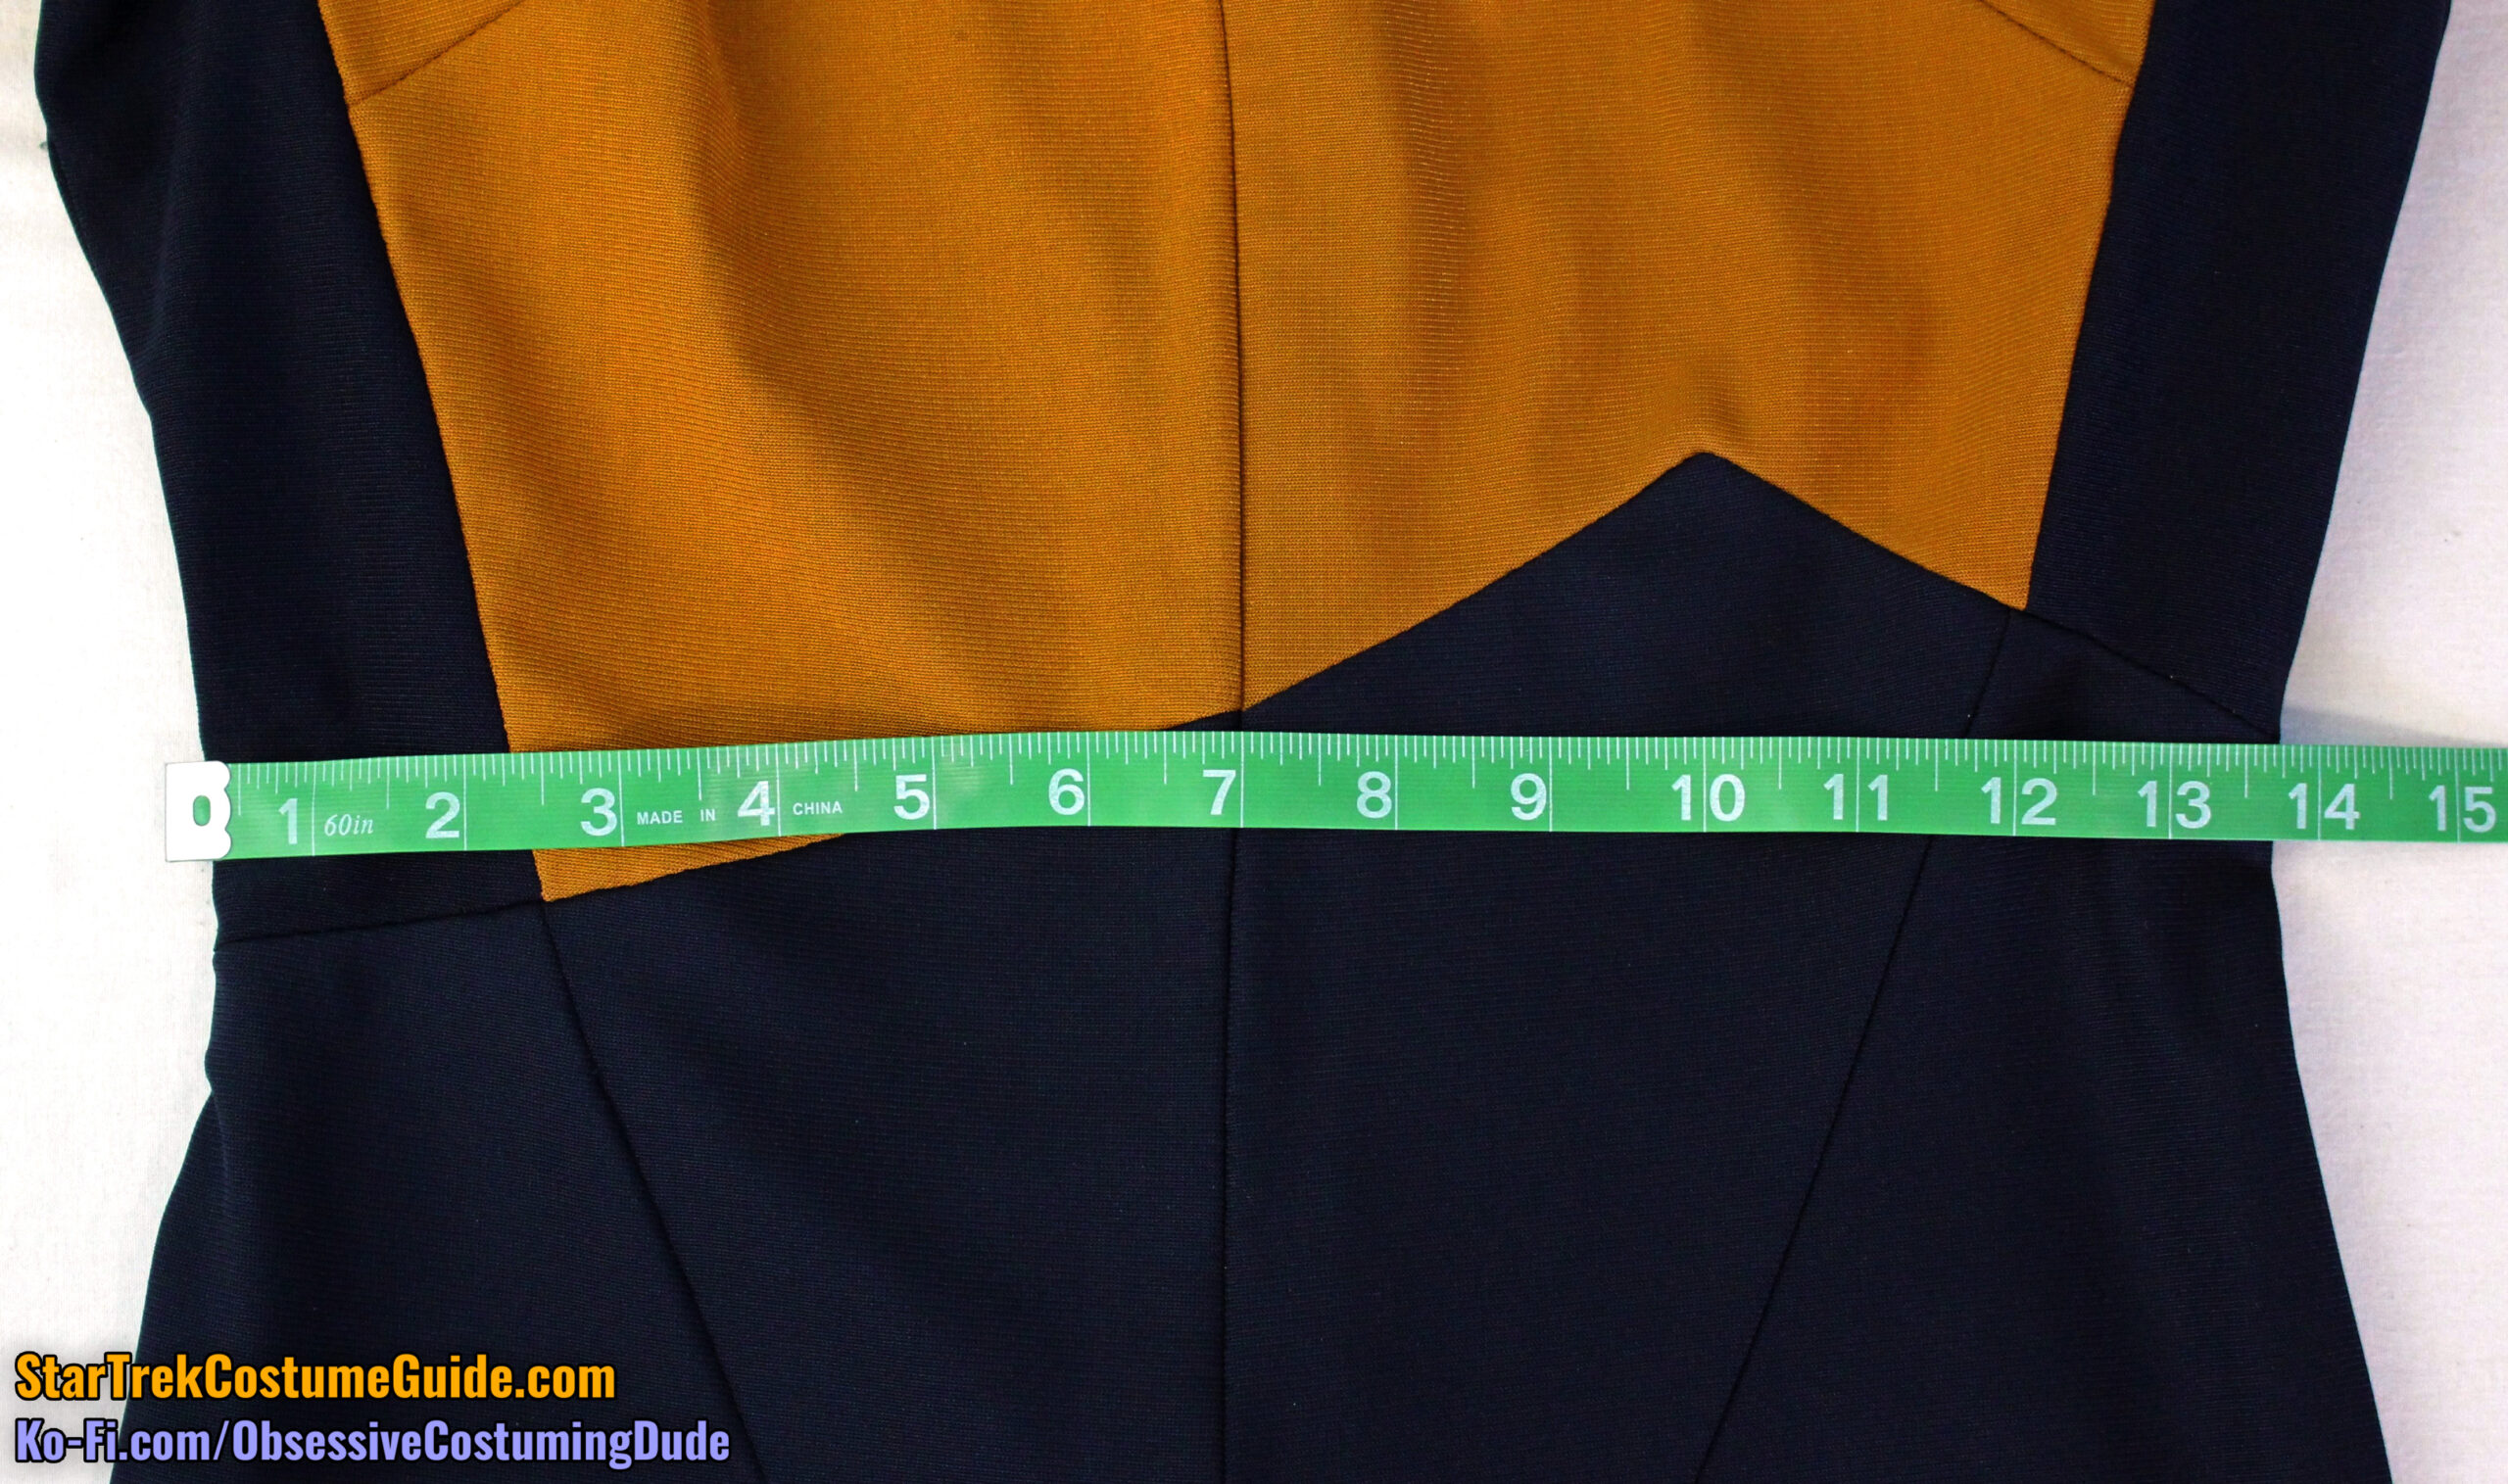
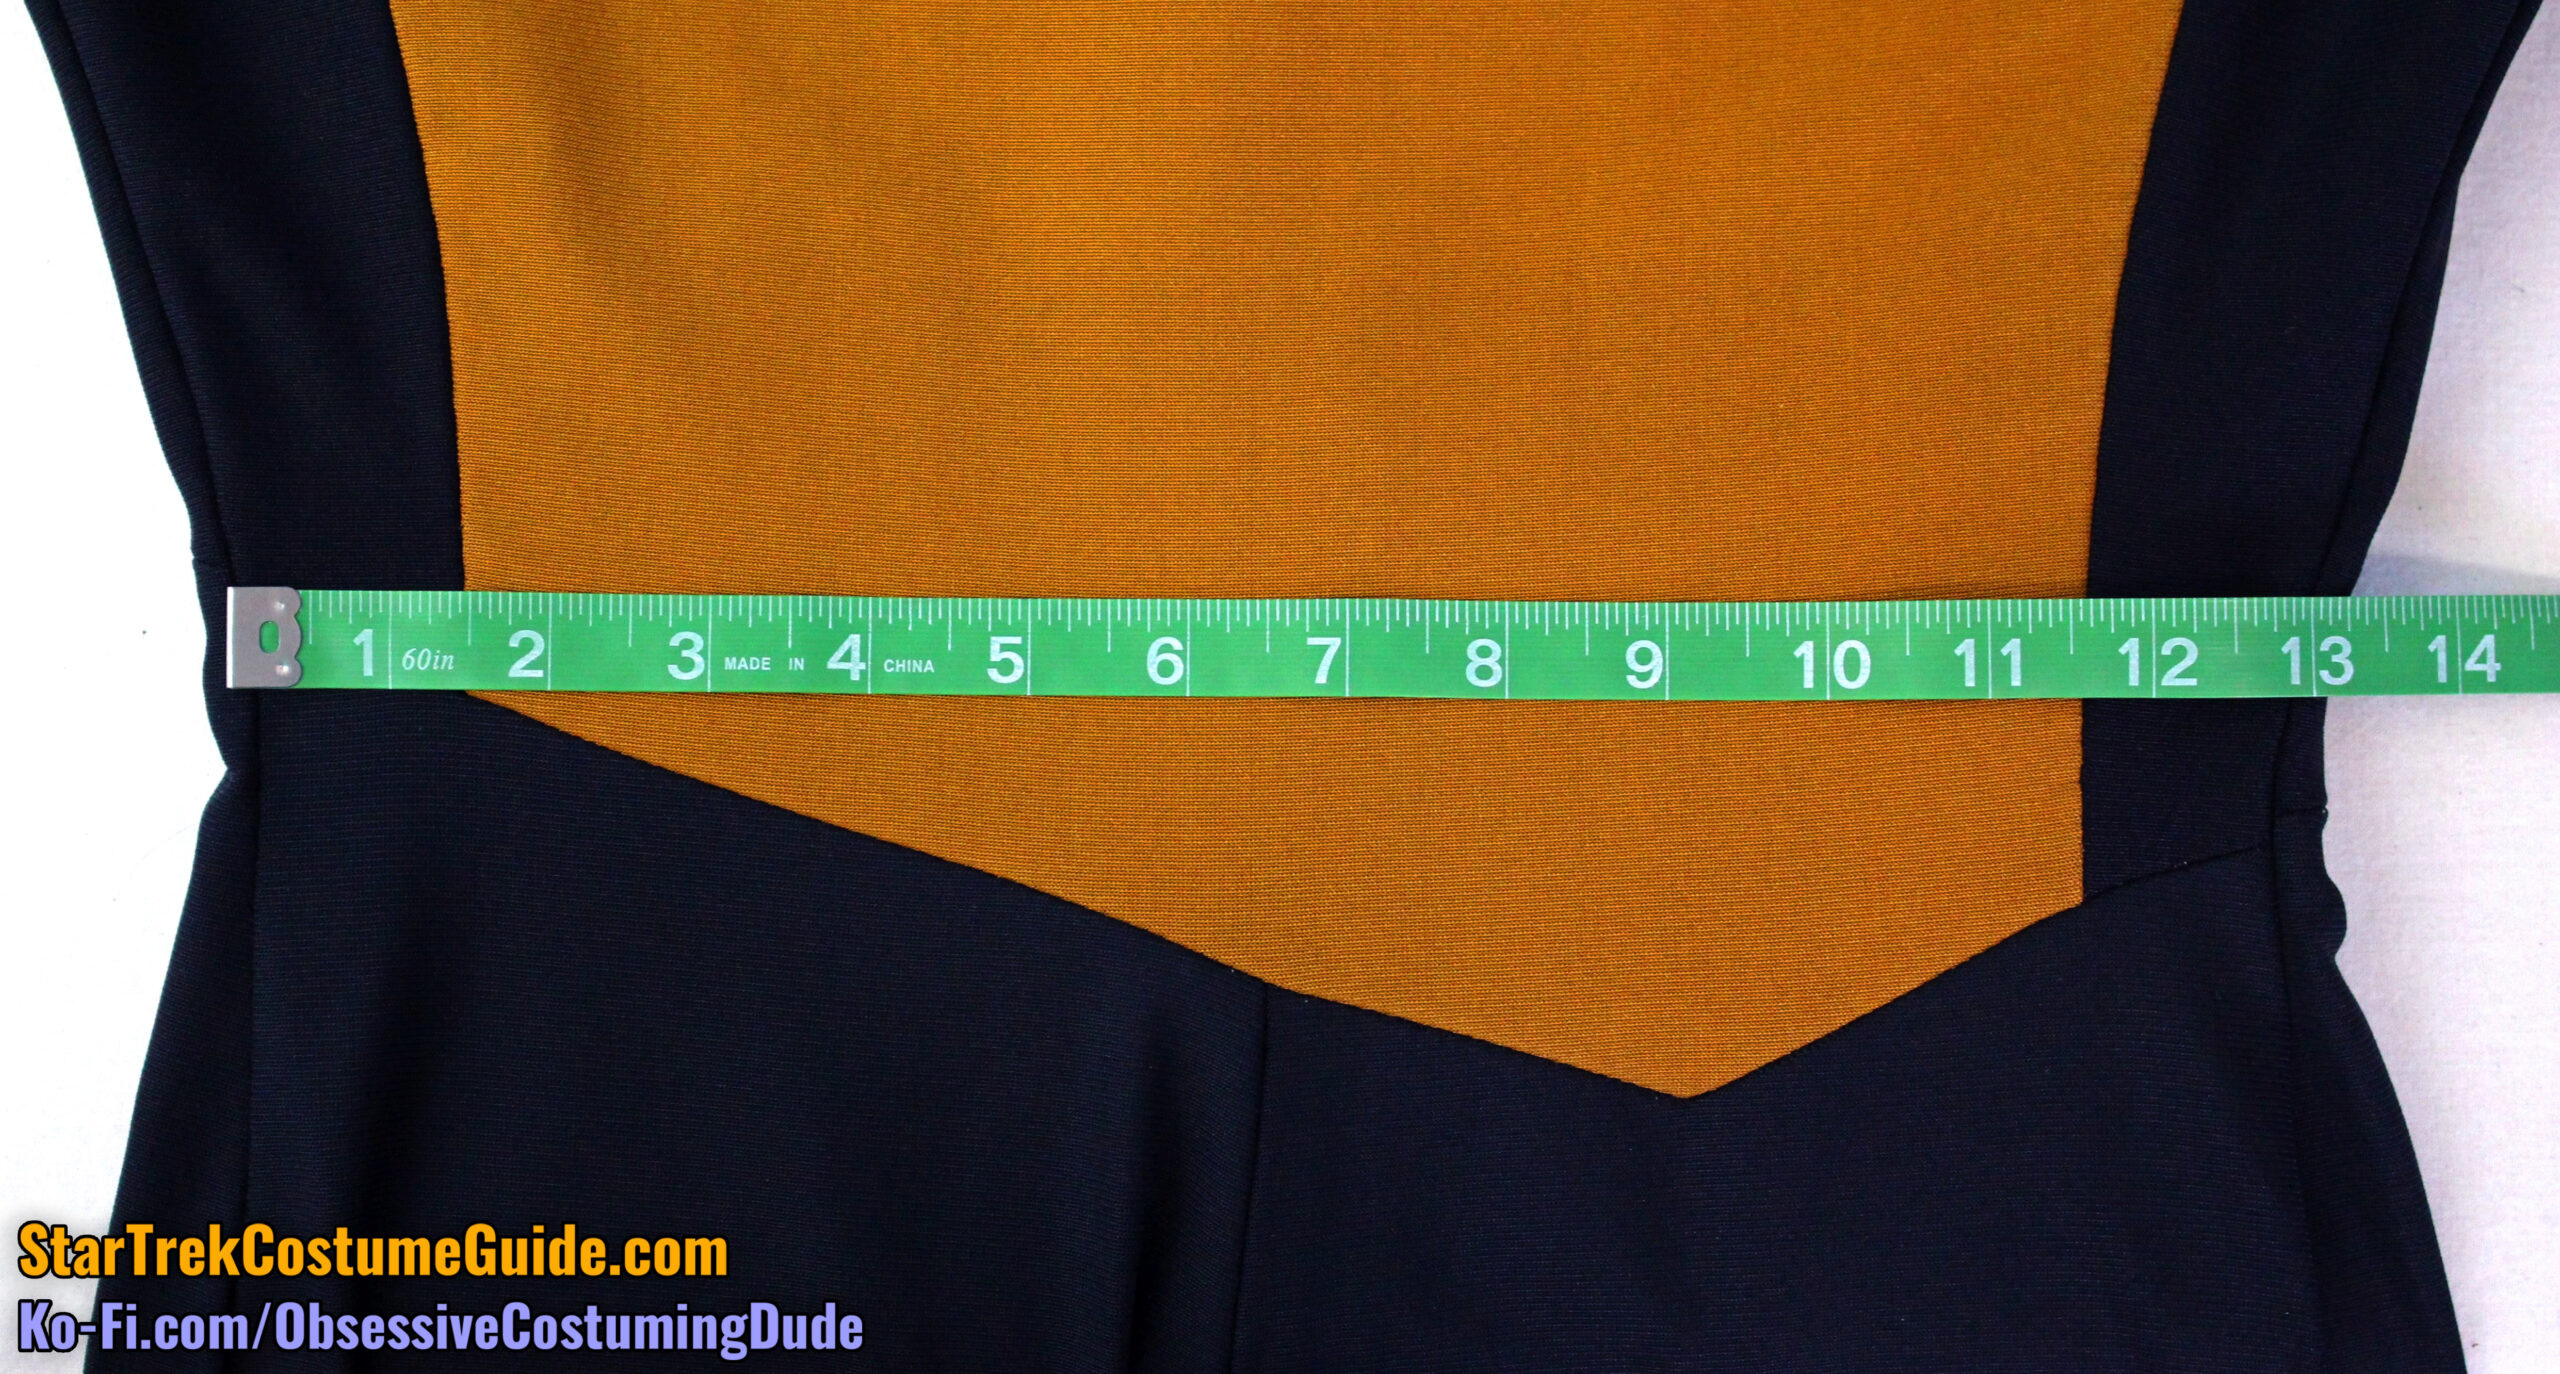
Although the side seams were slightly rolled to the underside at the waist (making it difficult to photograph properly), the front waist measured 14” and the back waist was 13”, for a total waist measurement of 27”.
(Considering how the chest/bust was proportioned evenly on the front and back of the jumpsuit, I believe the back waist being 1” narrower than the front further supports my assertion that this jumpsuit was cinched in across the back.)
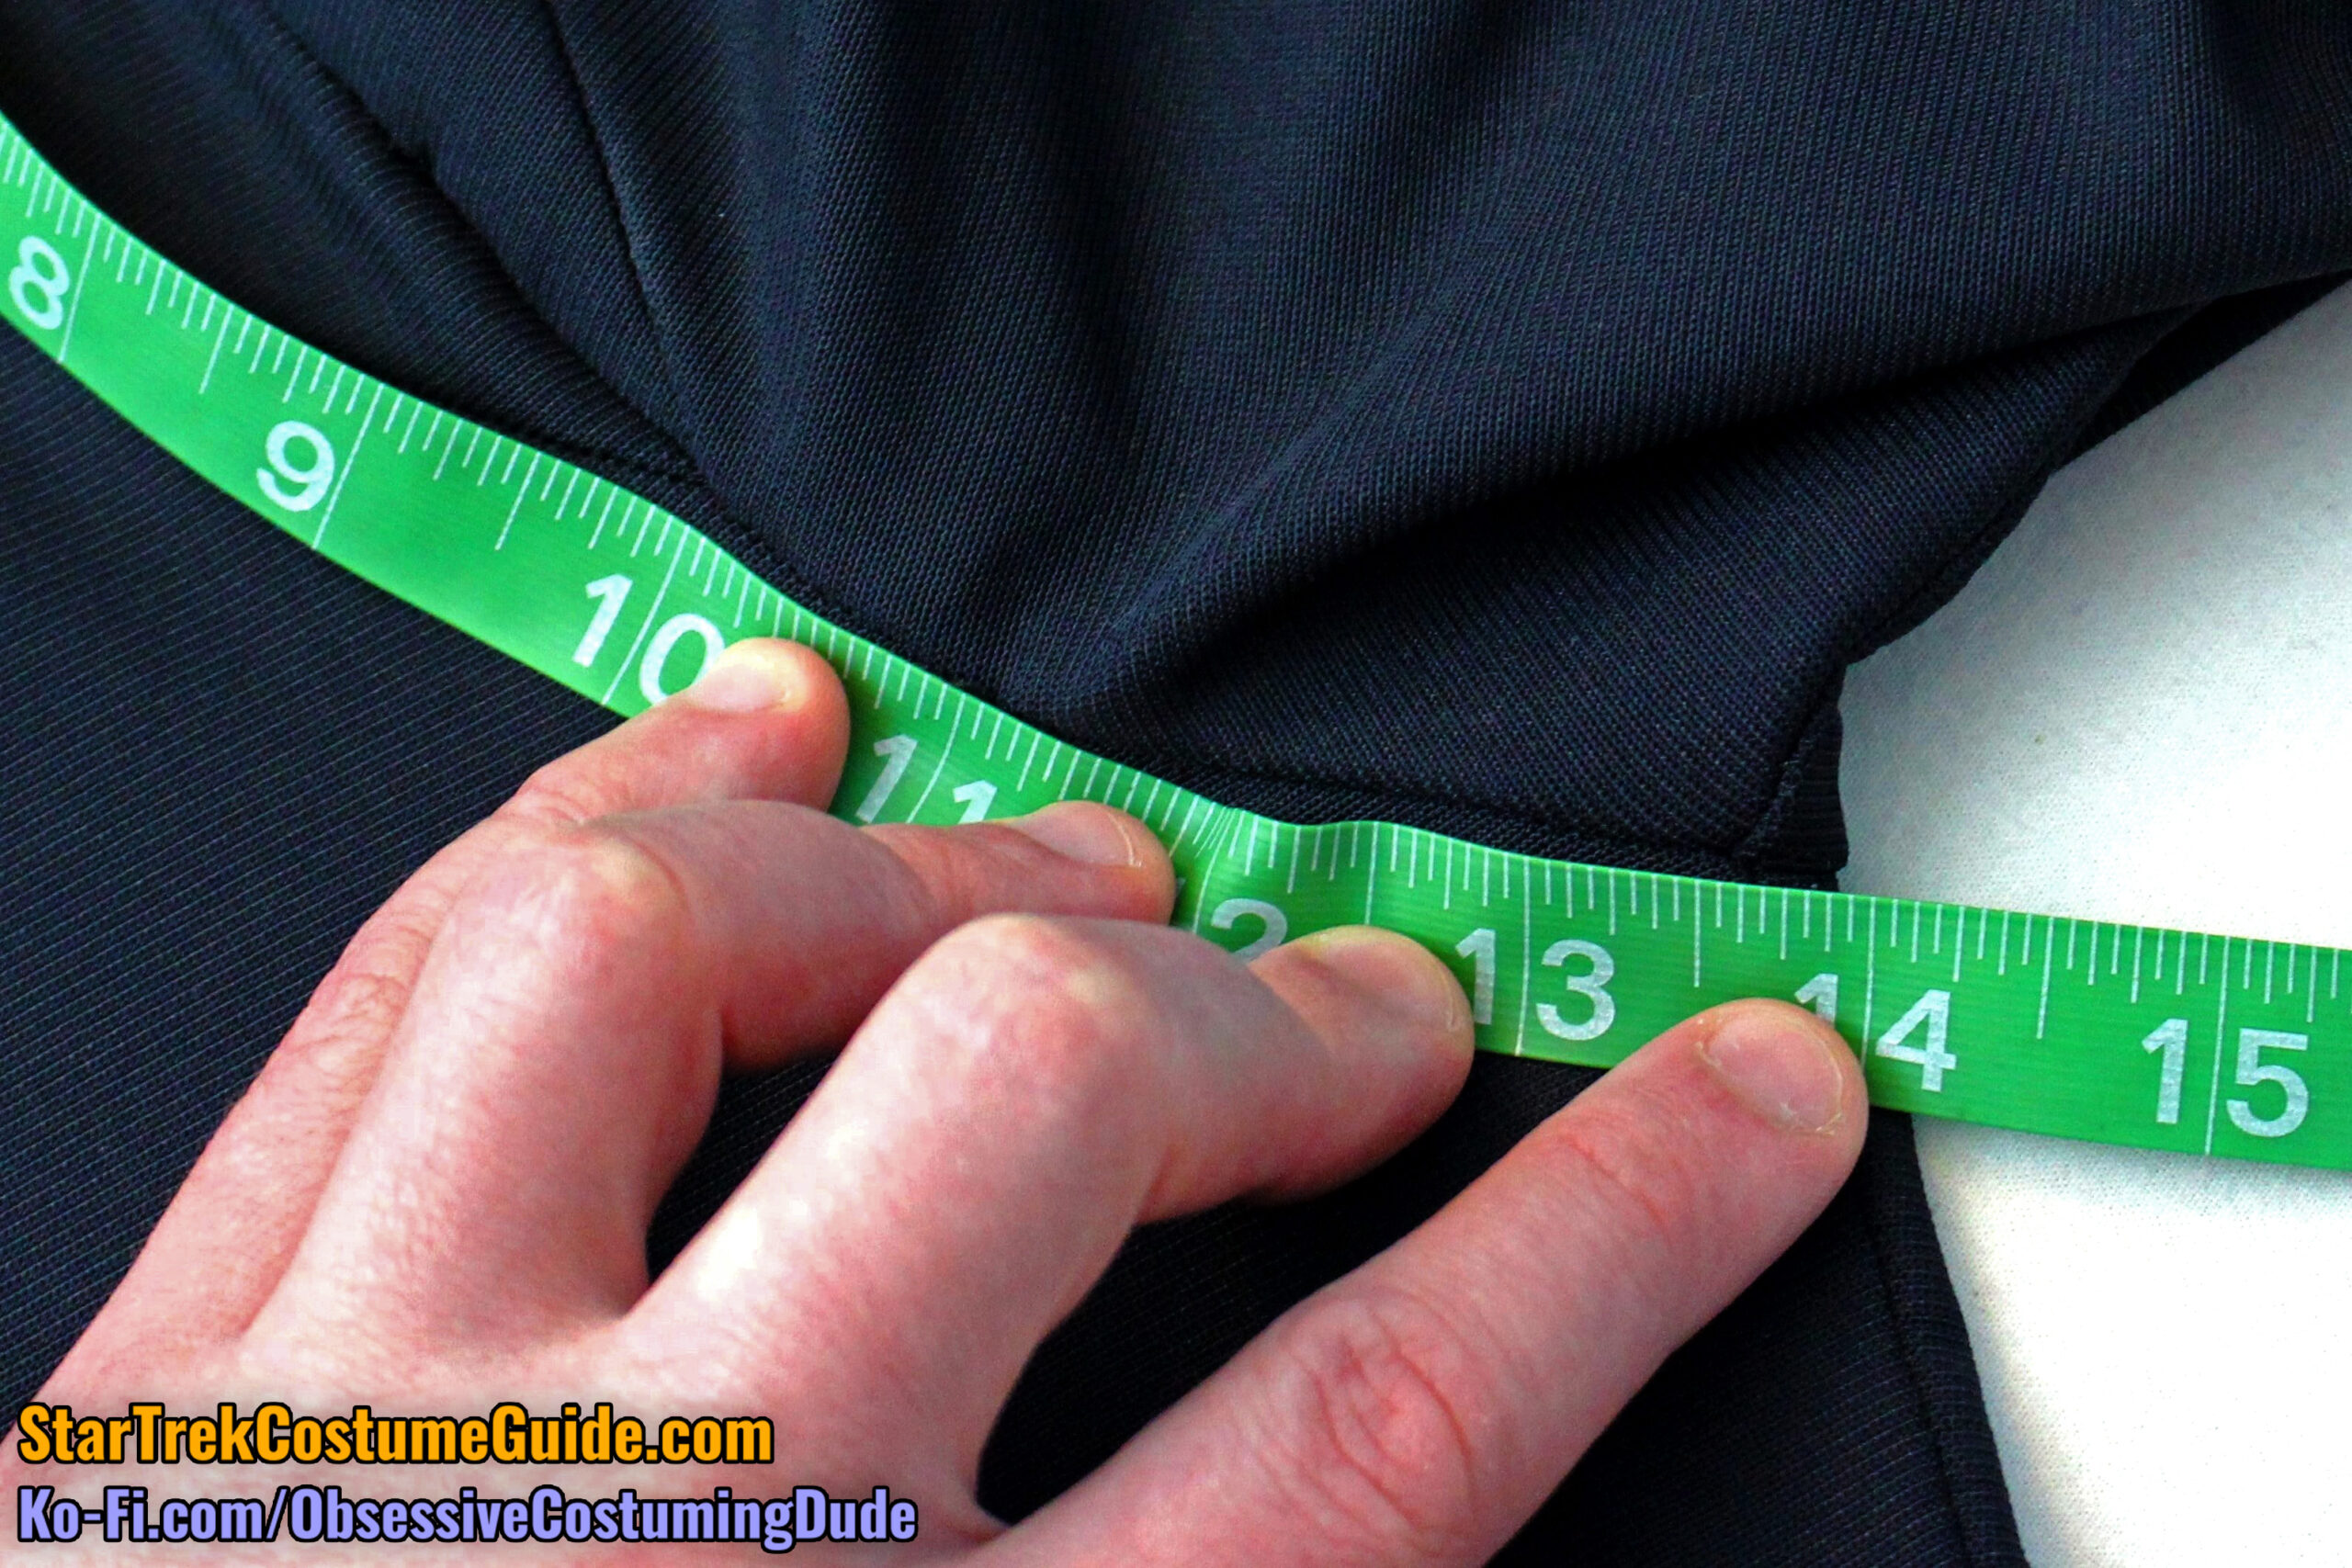
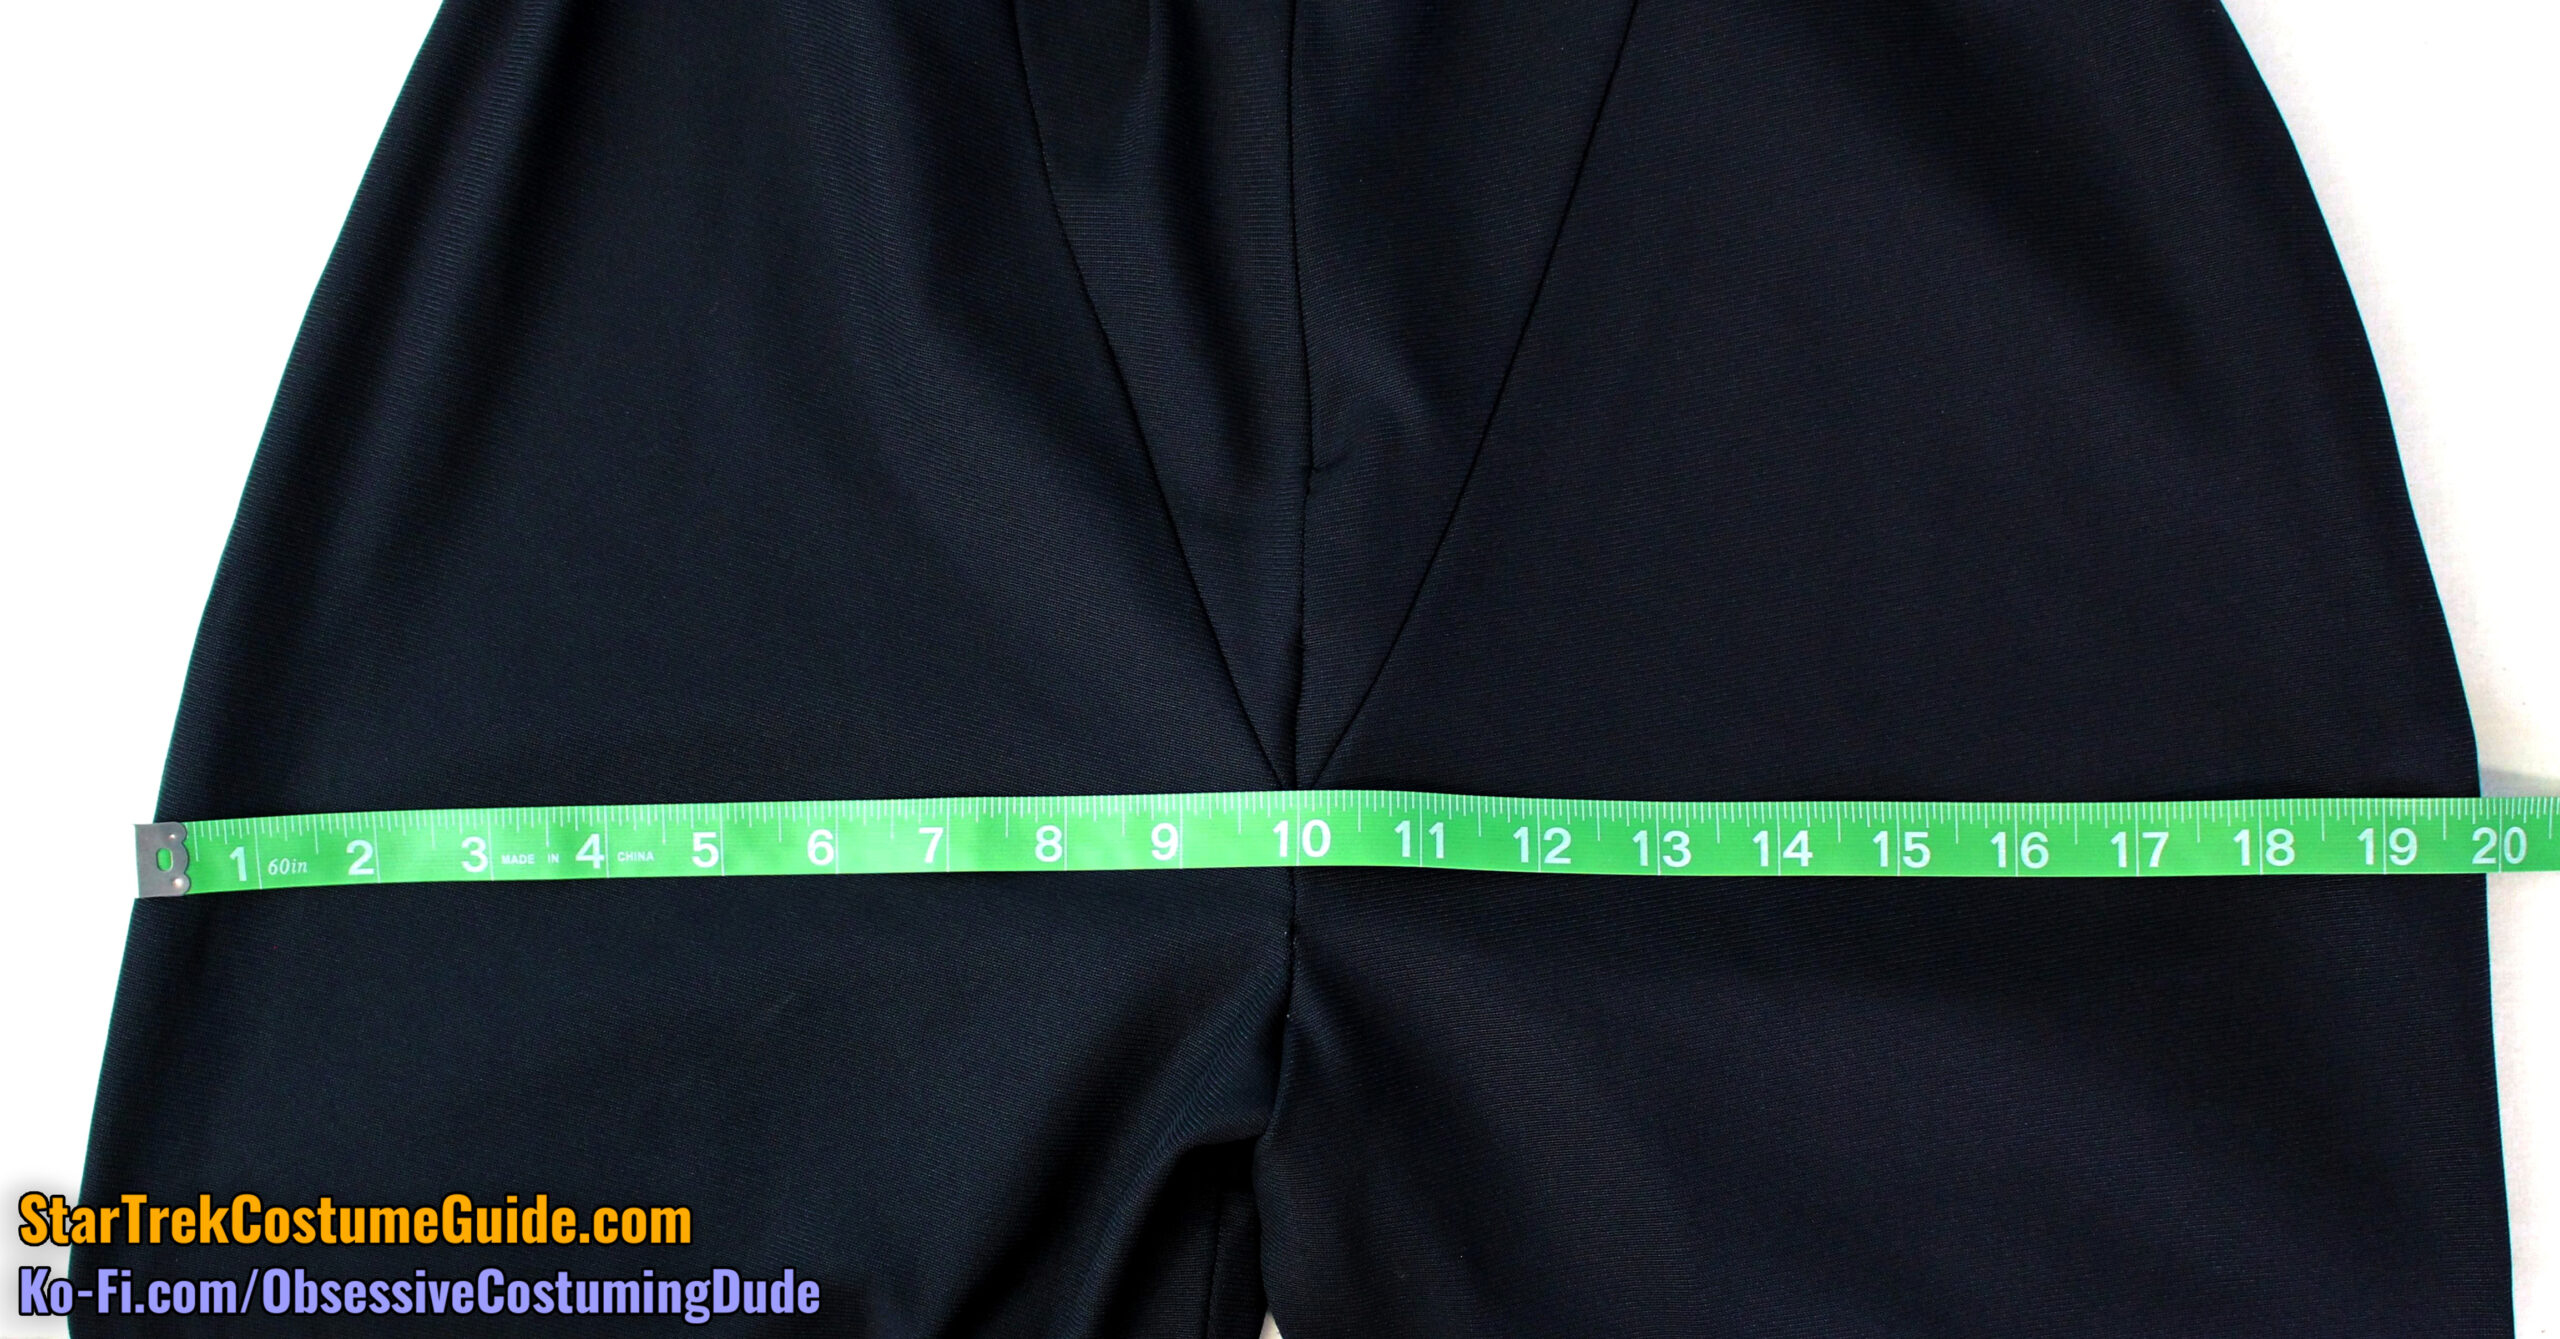
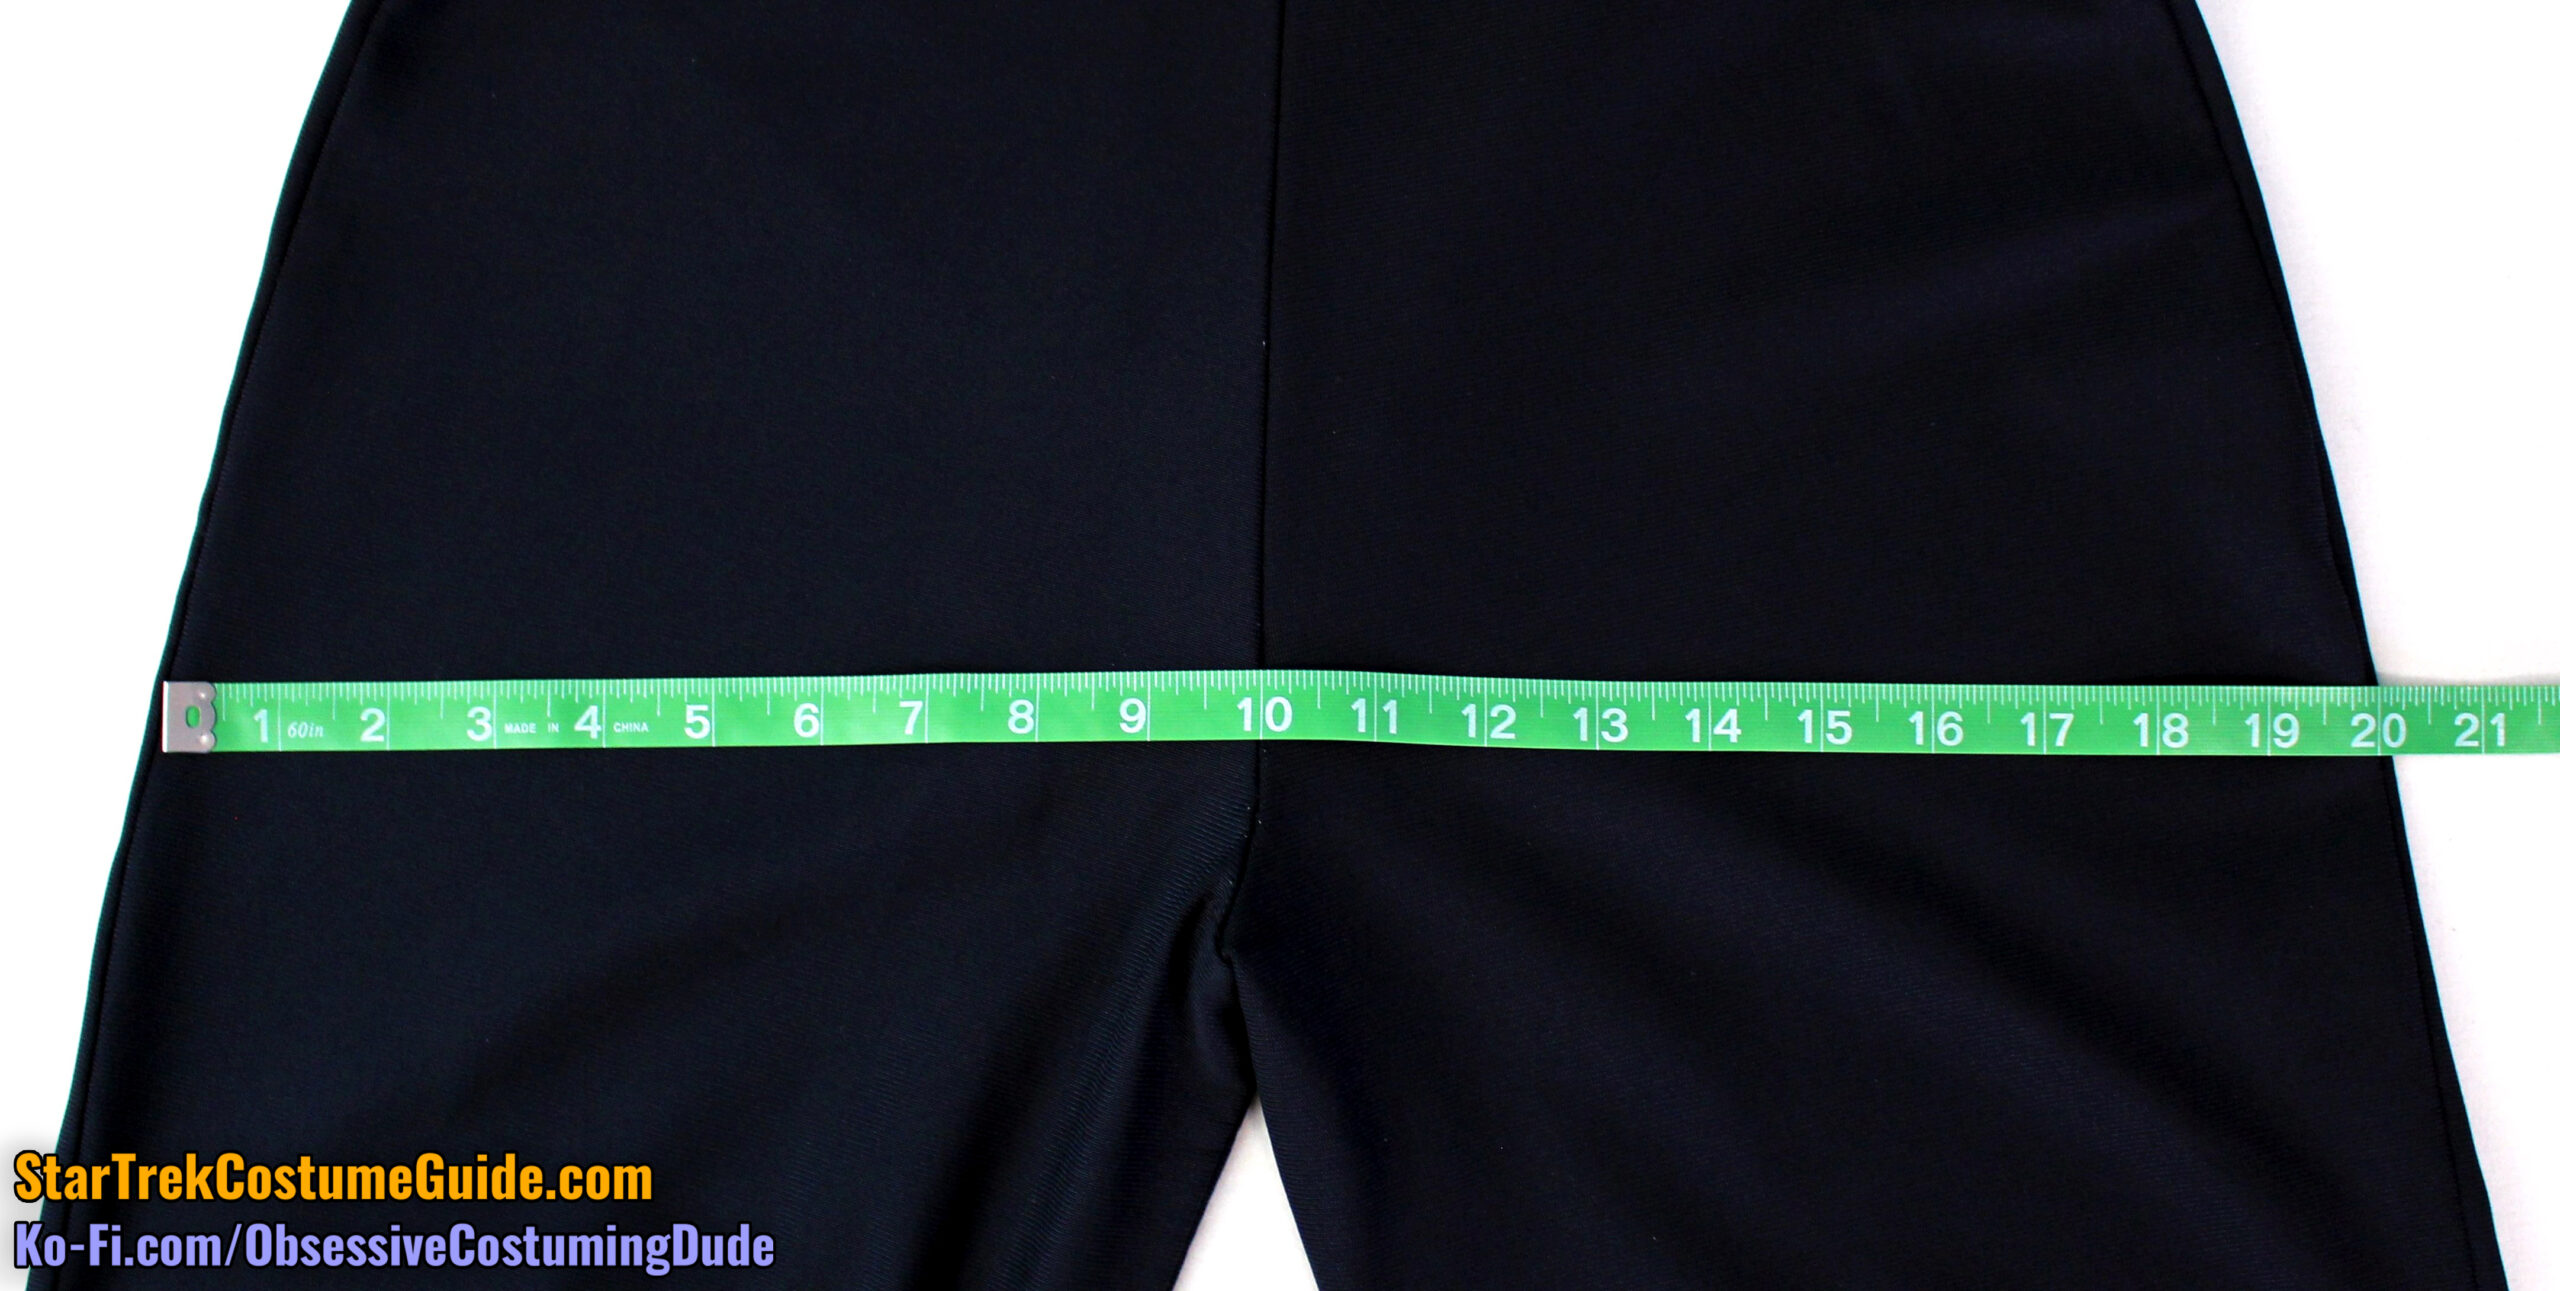
The side seams were again difficult to photograph properly, but the total hip measurement was approximately 38 ½”.
CLOSURE SYSTEM
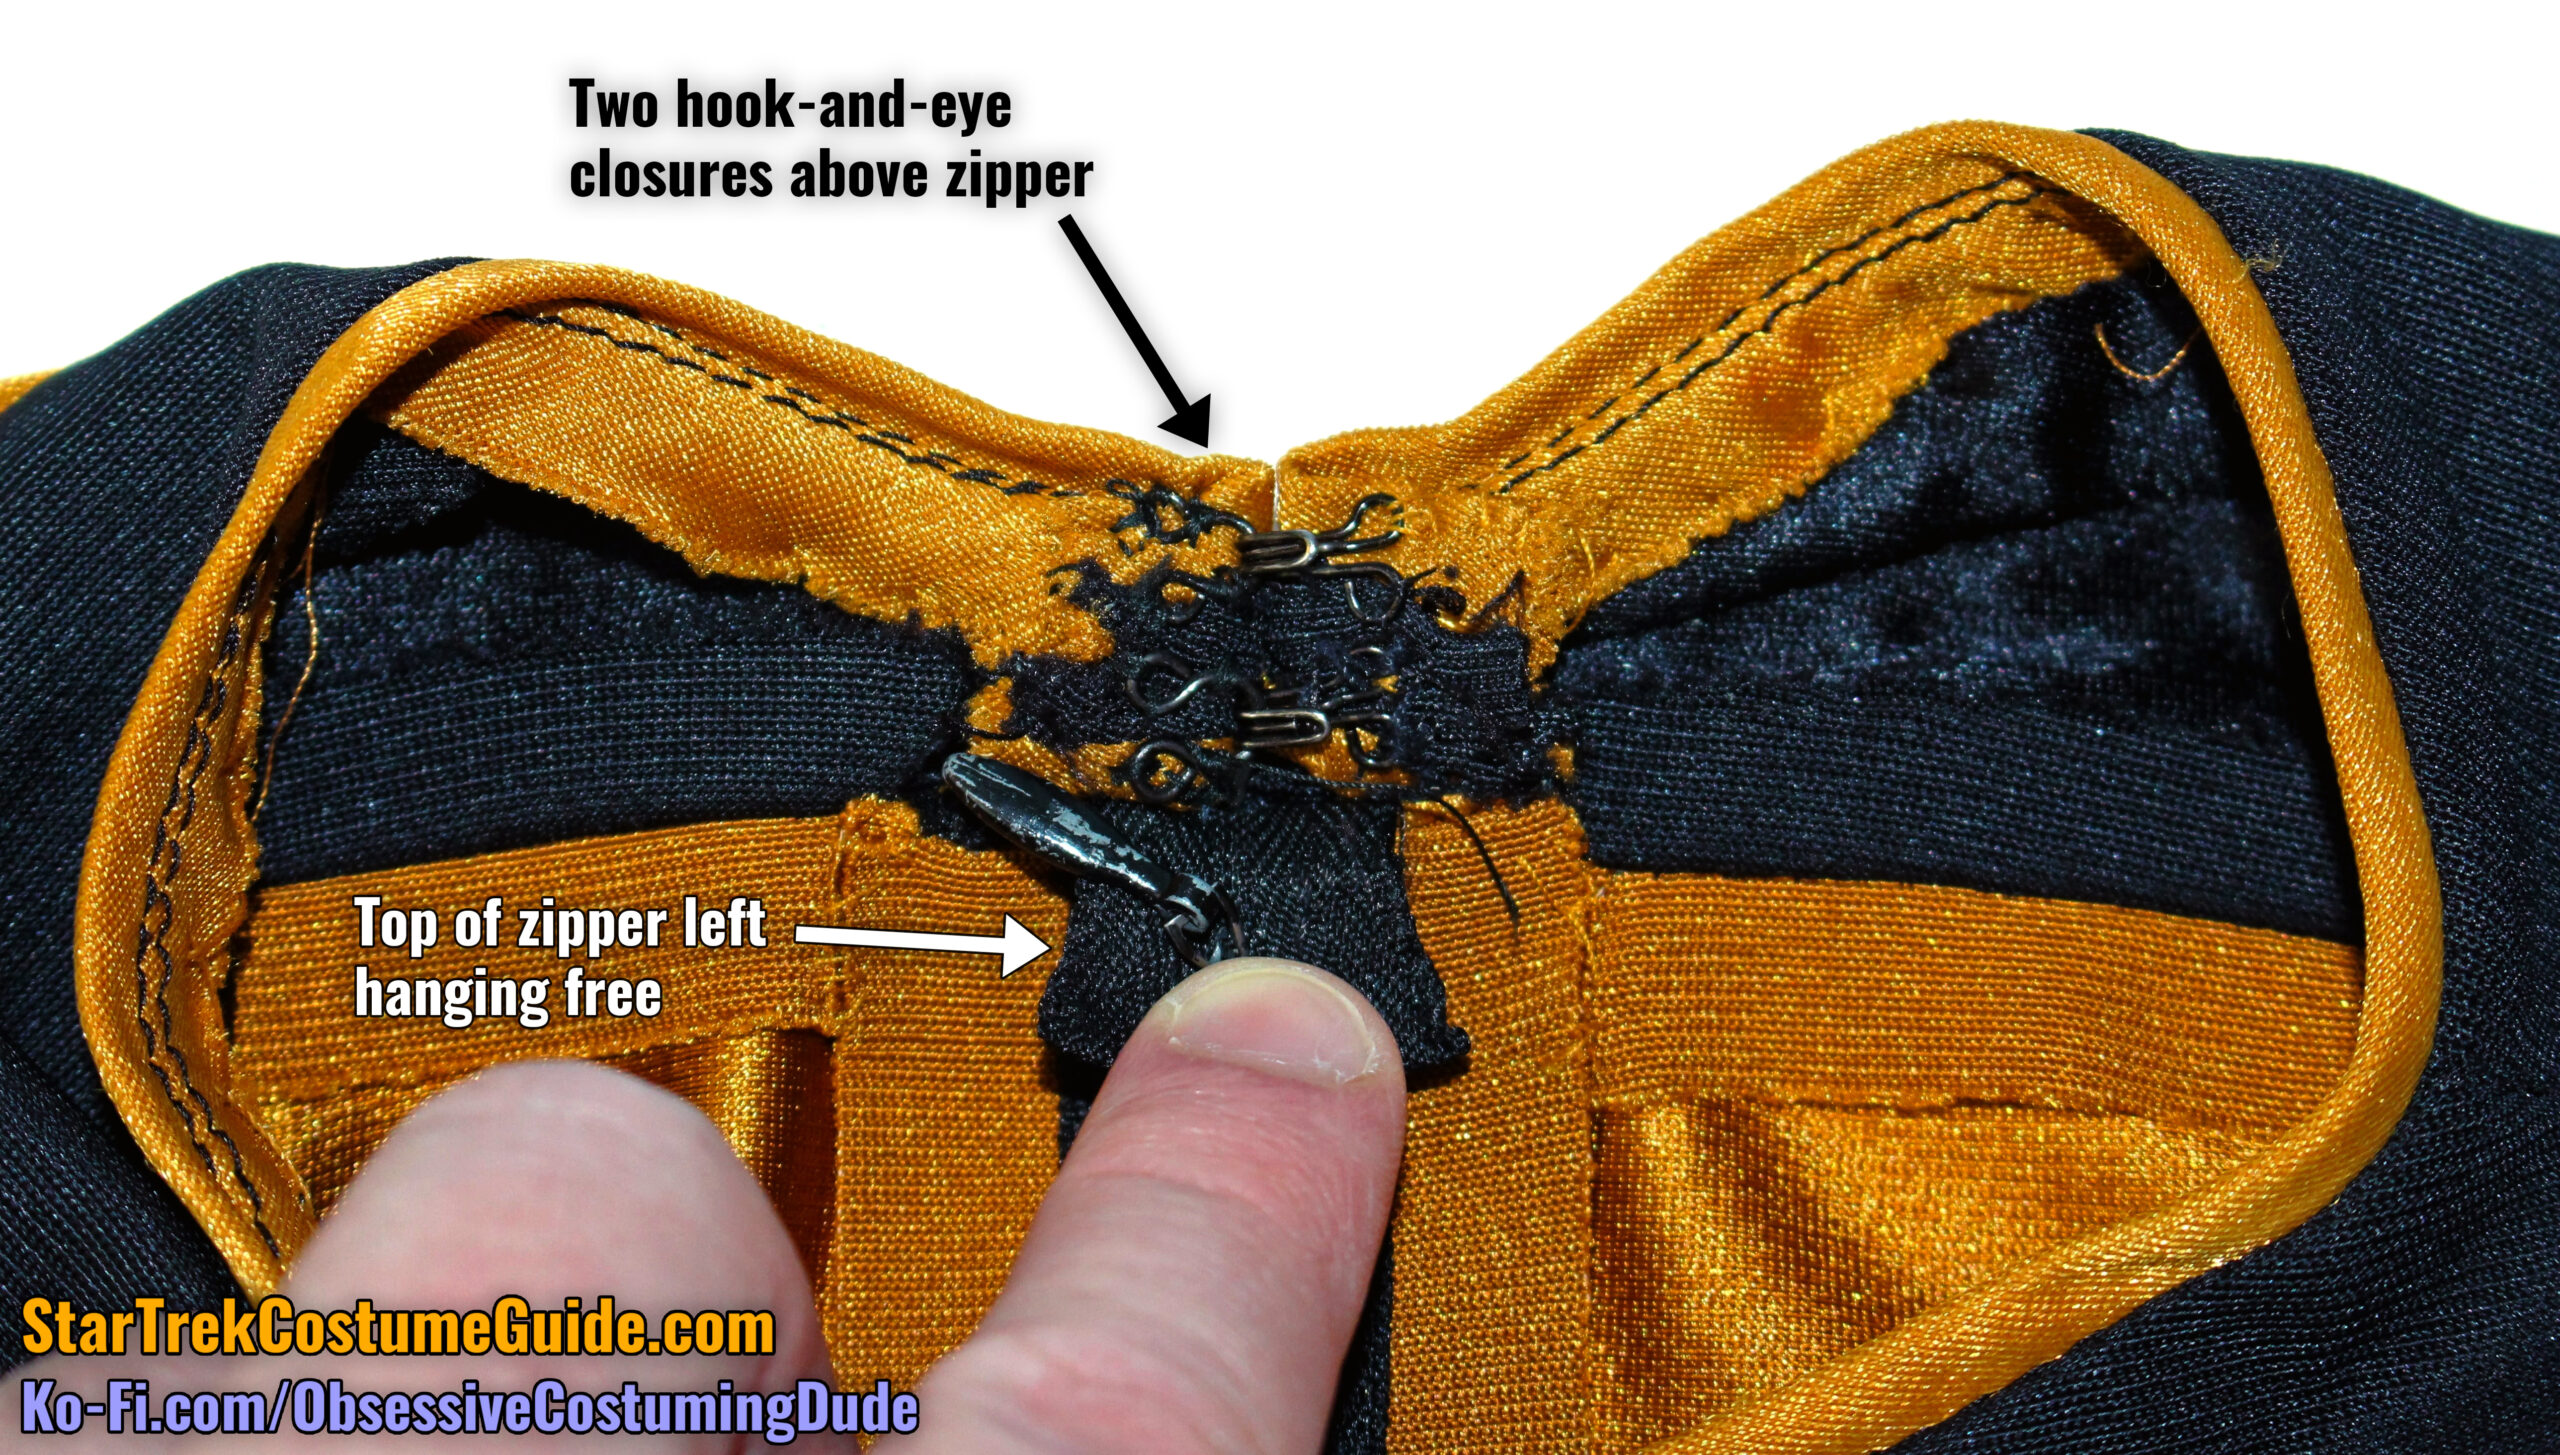
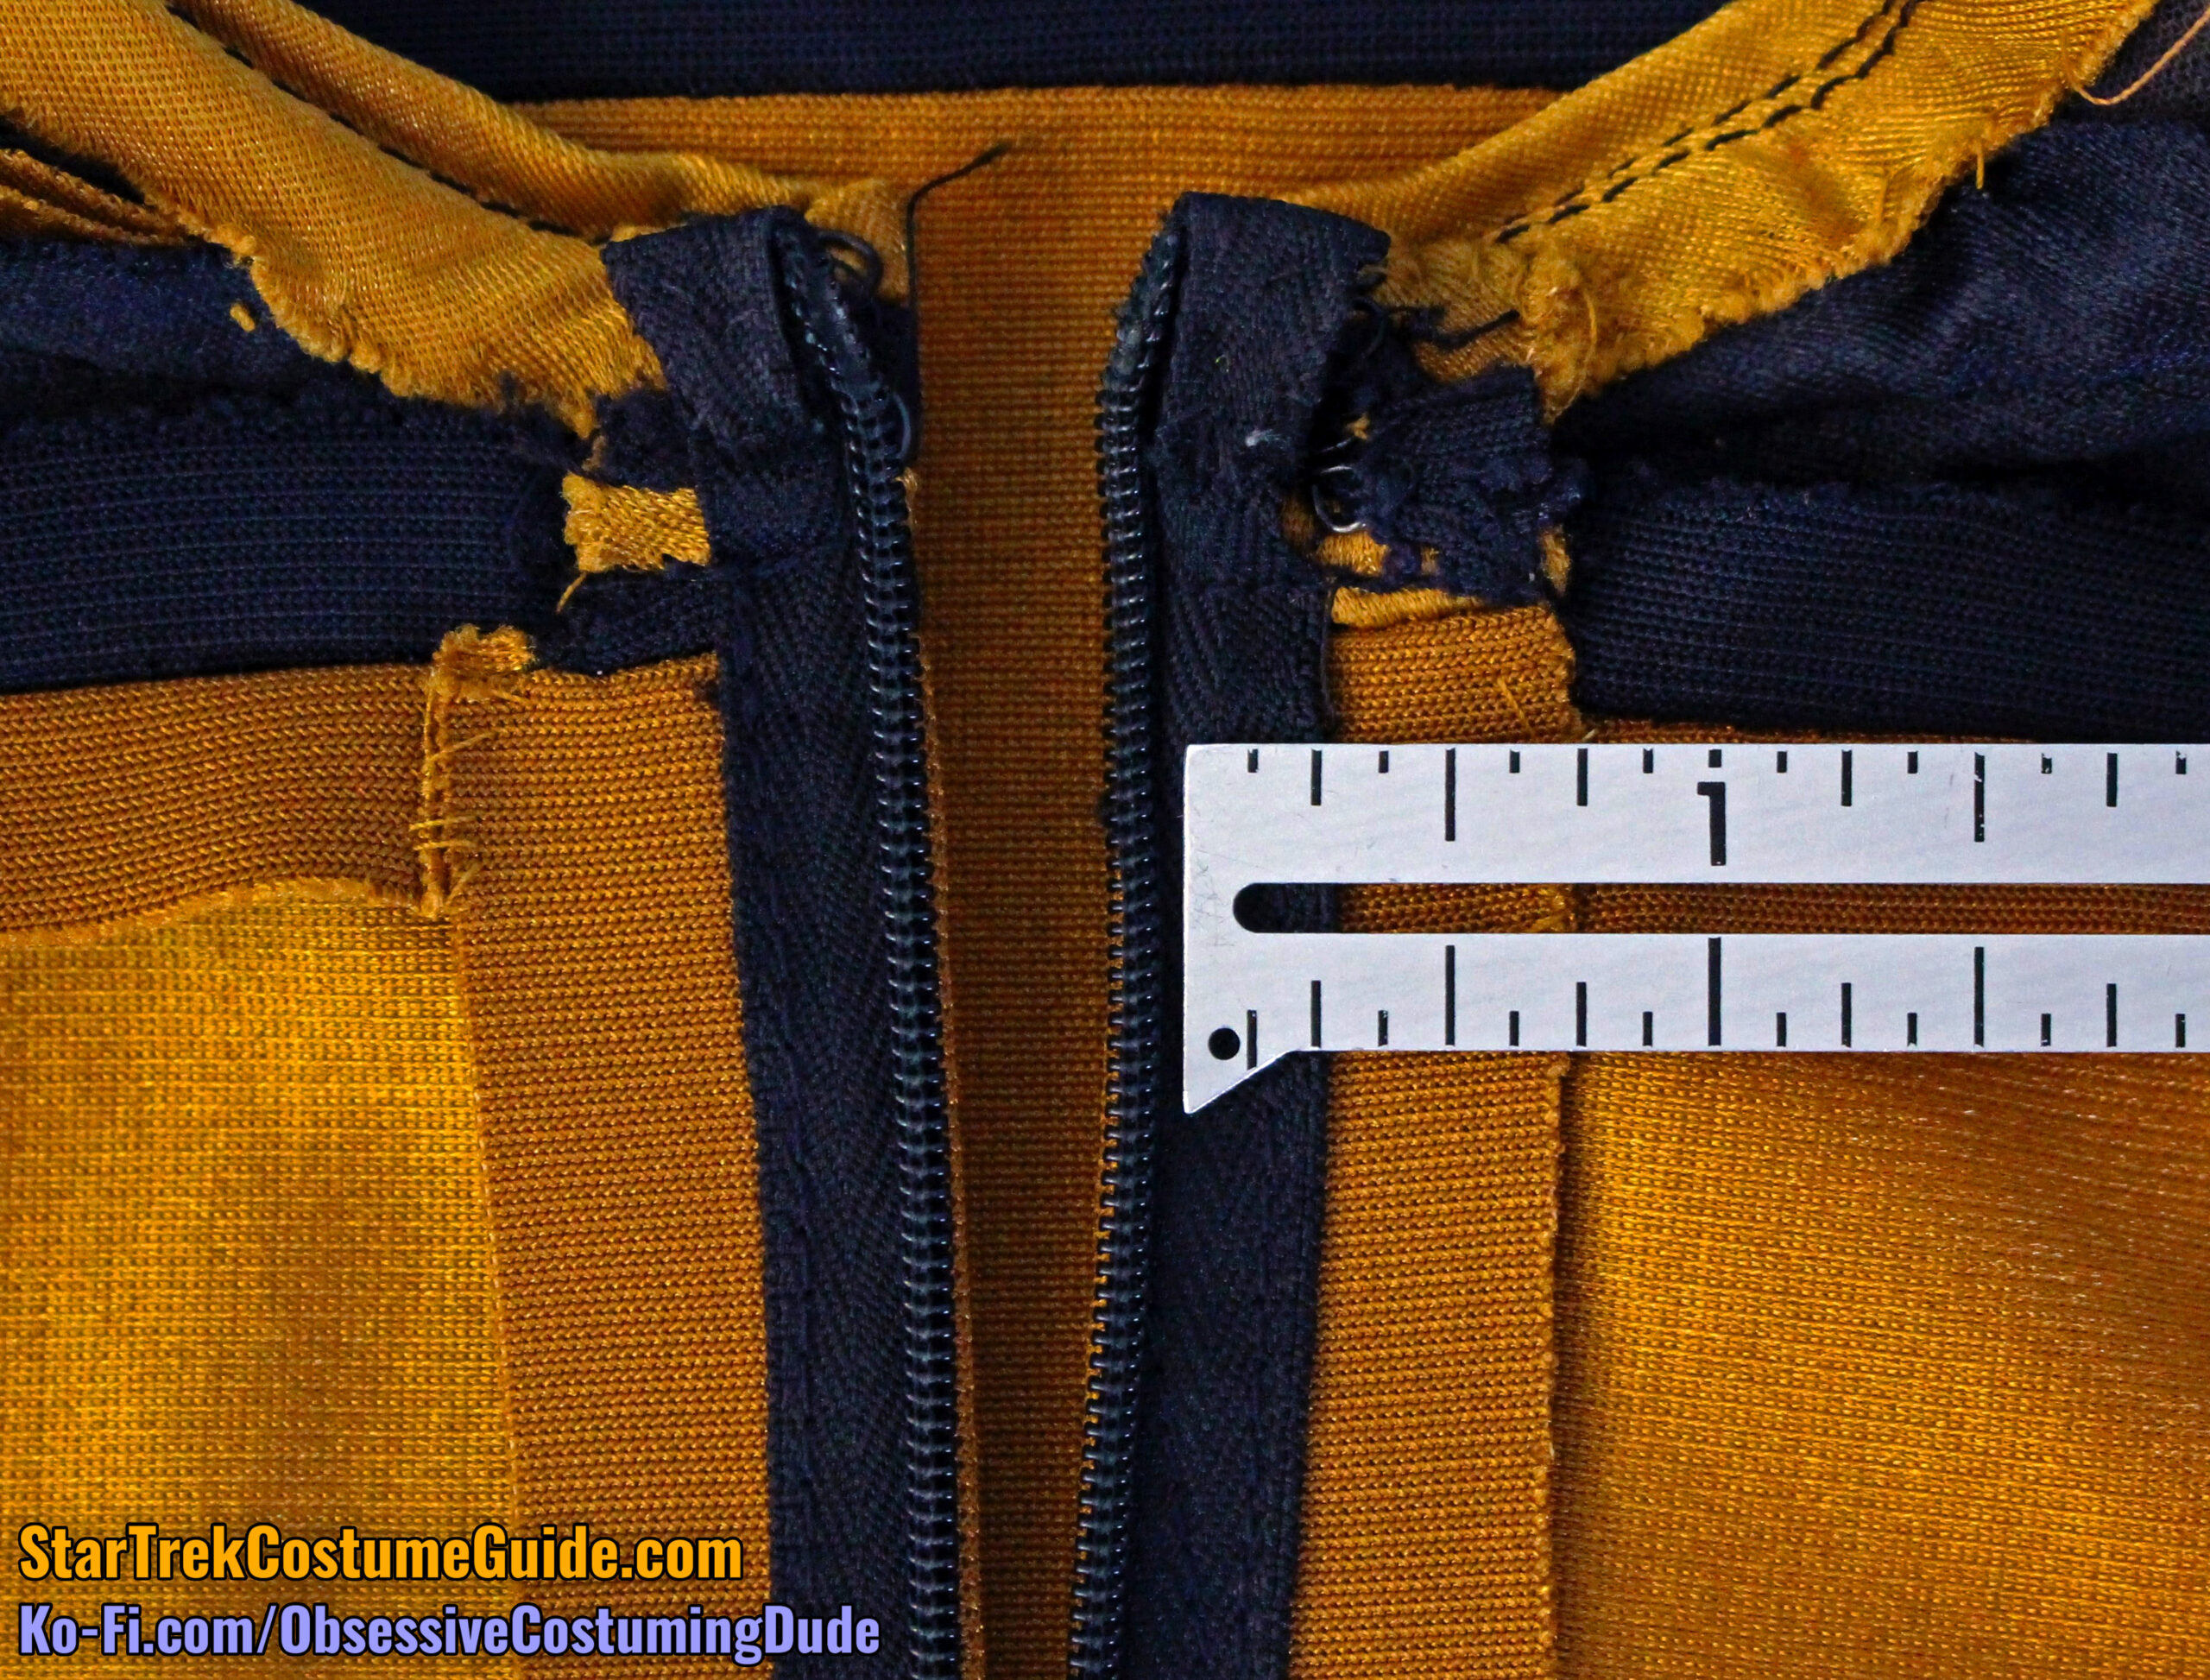
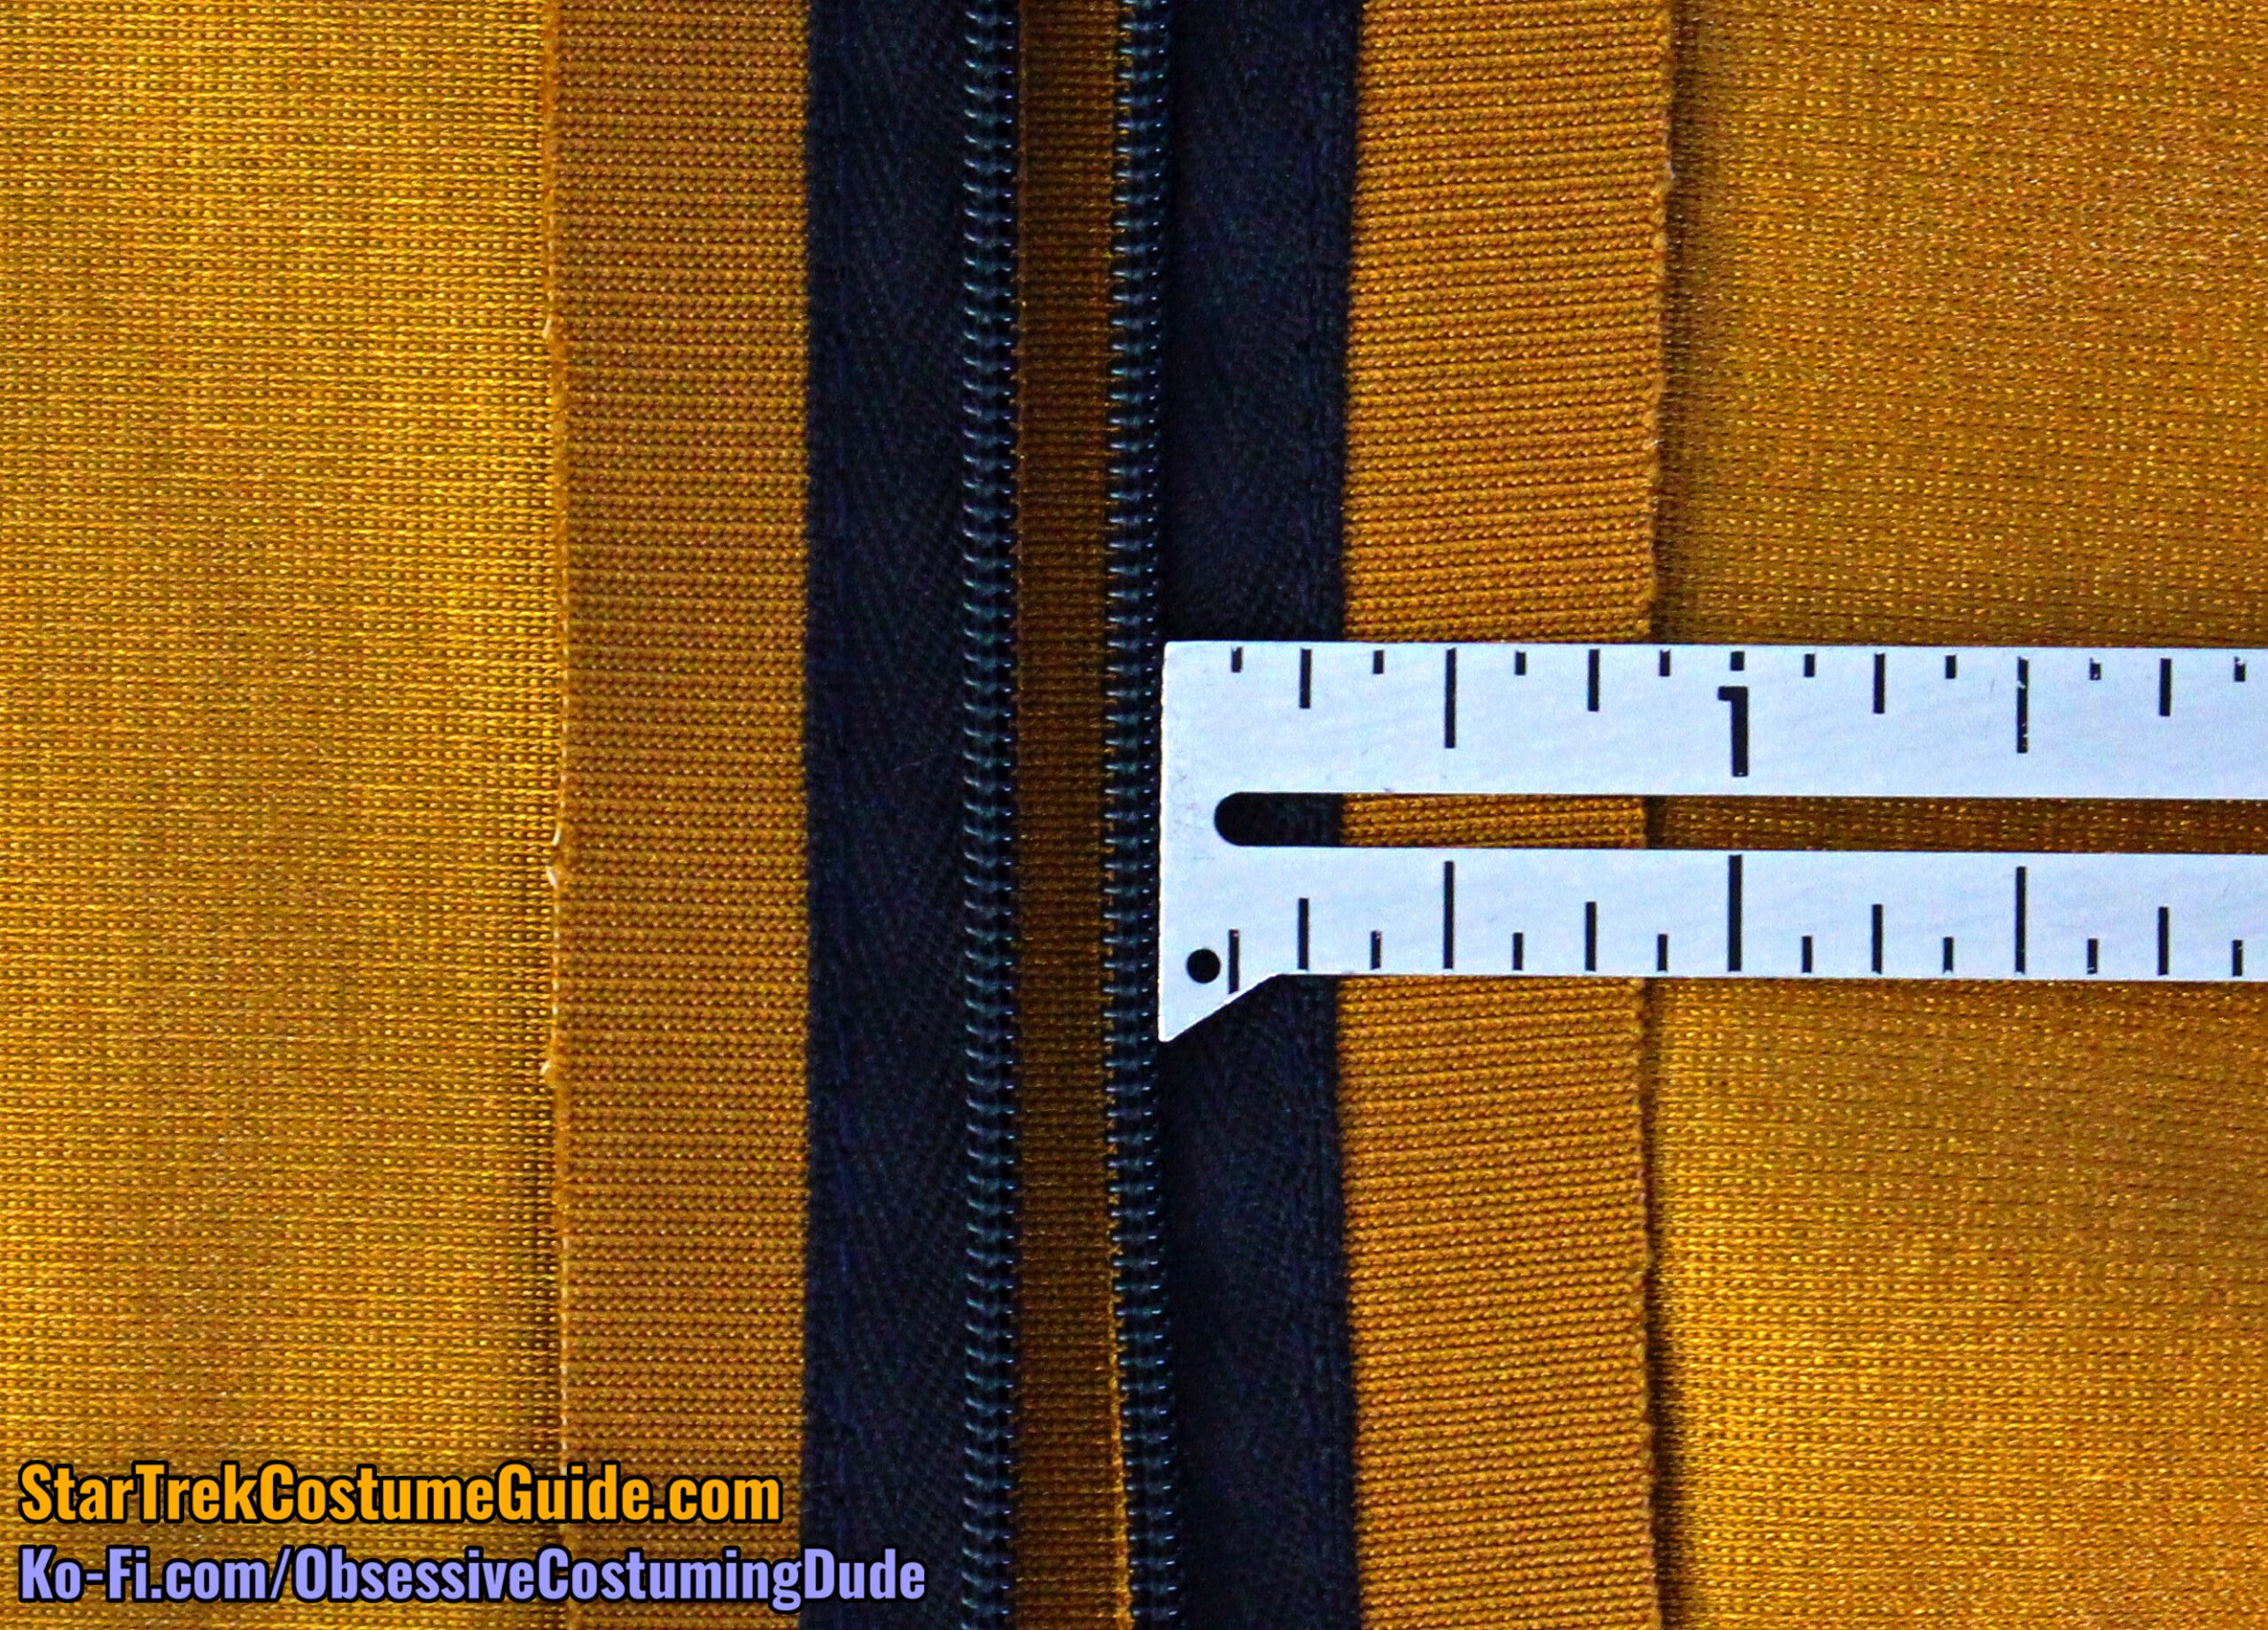
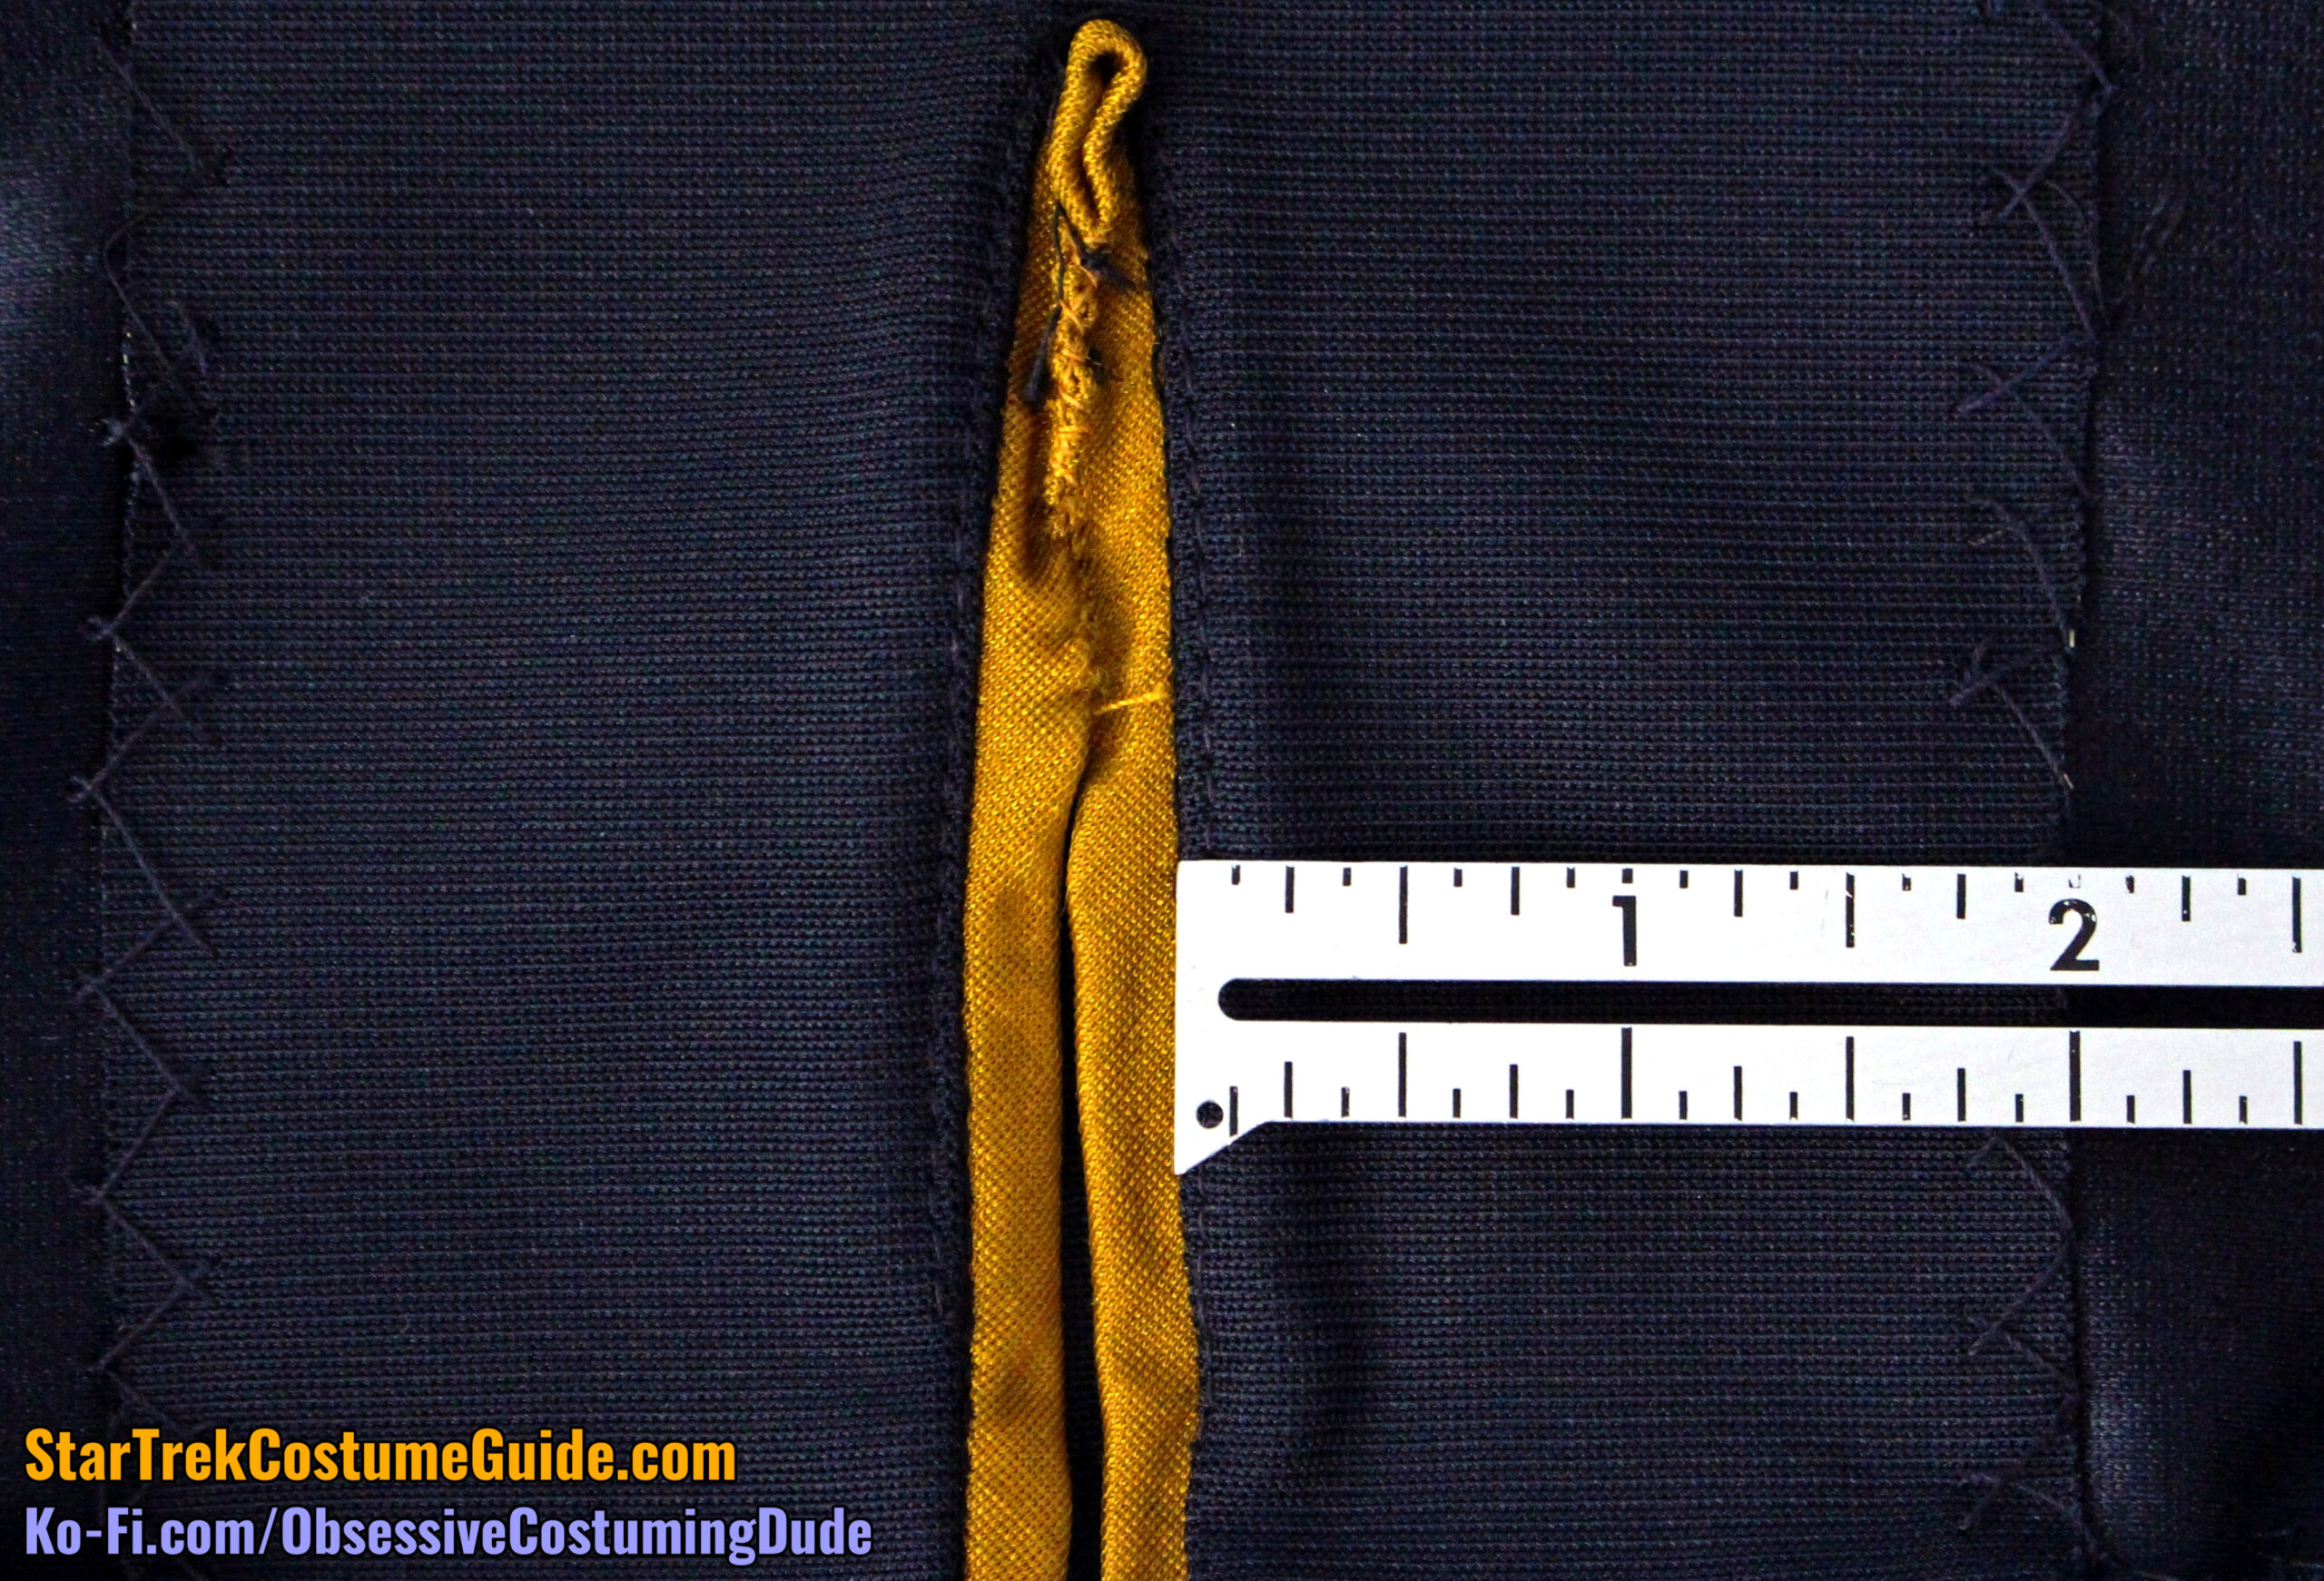
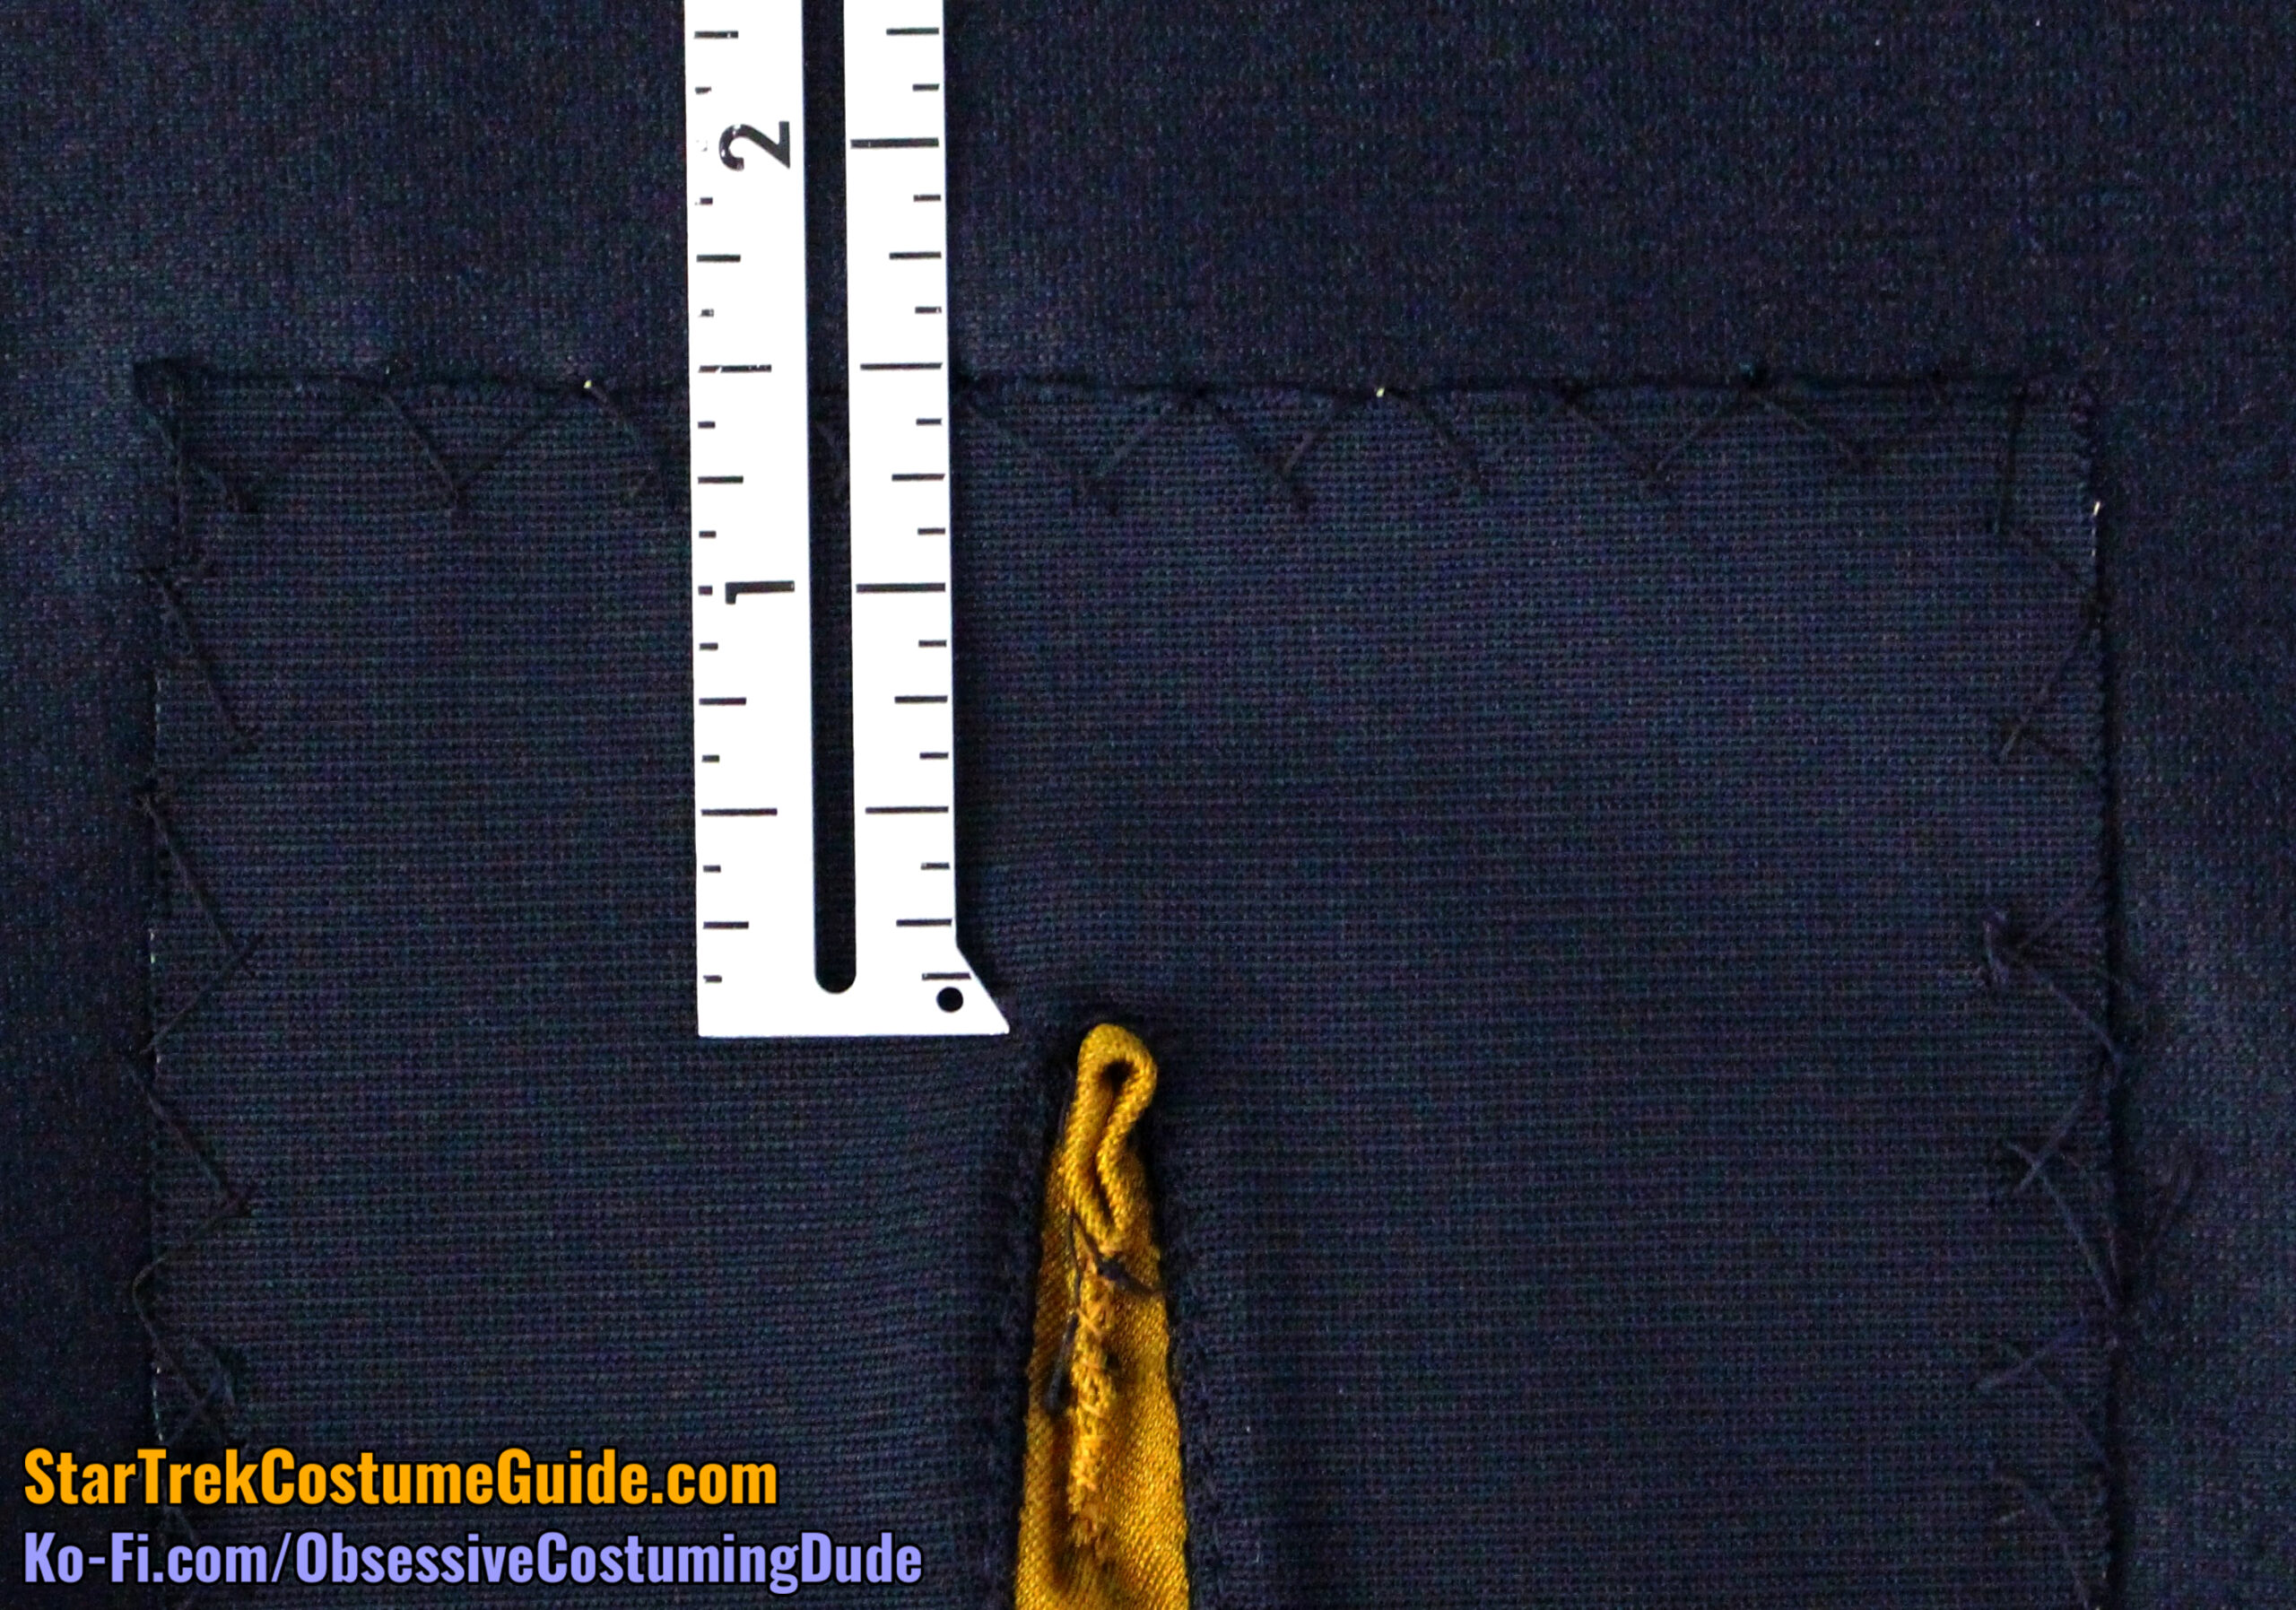
As you’re probably aware, these early-style jumpsuits closed up the front via an invisible zipper, with the top left hanging free and a couple hook-and-eye closures above to “seal the deal.”
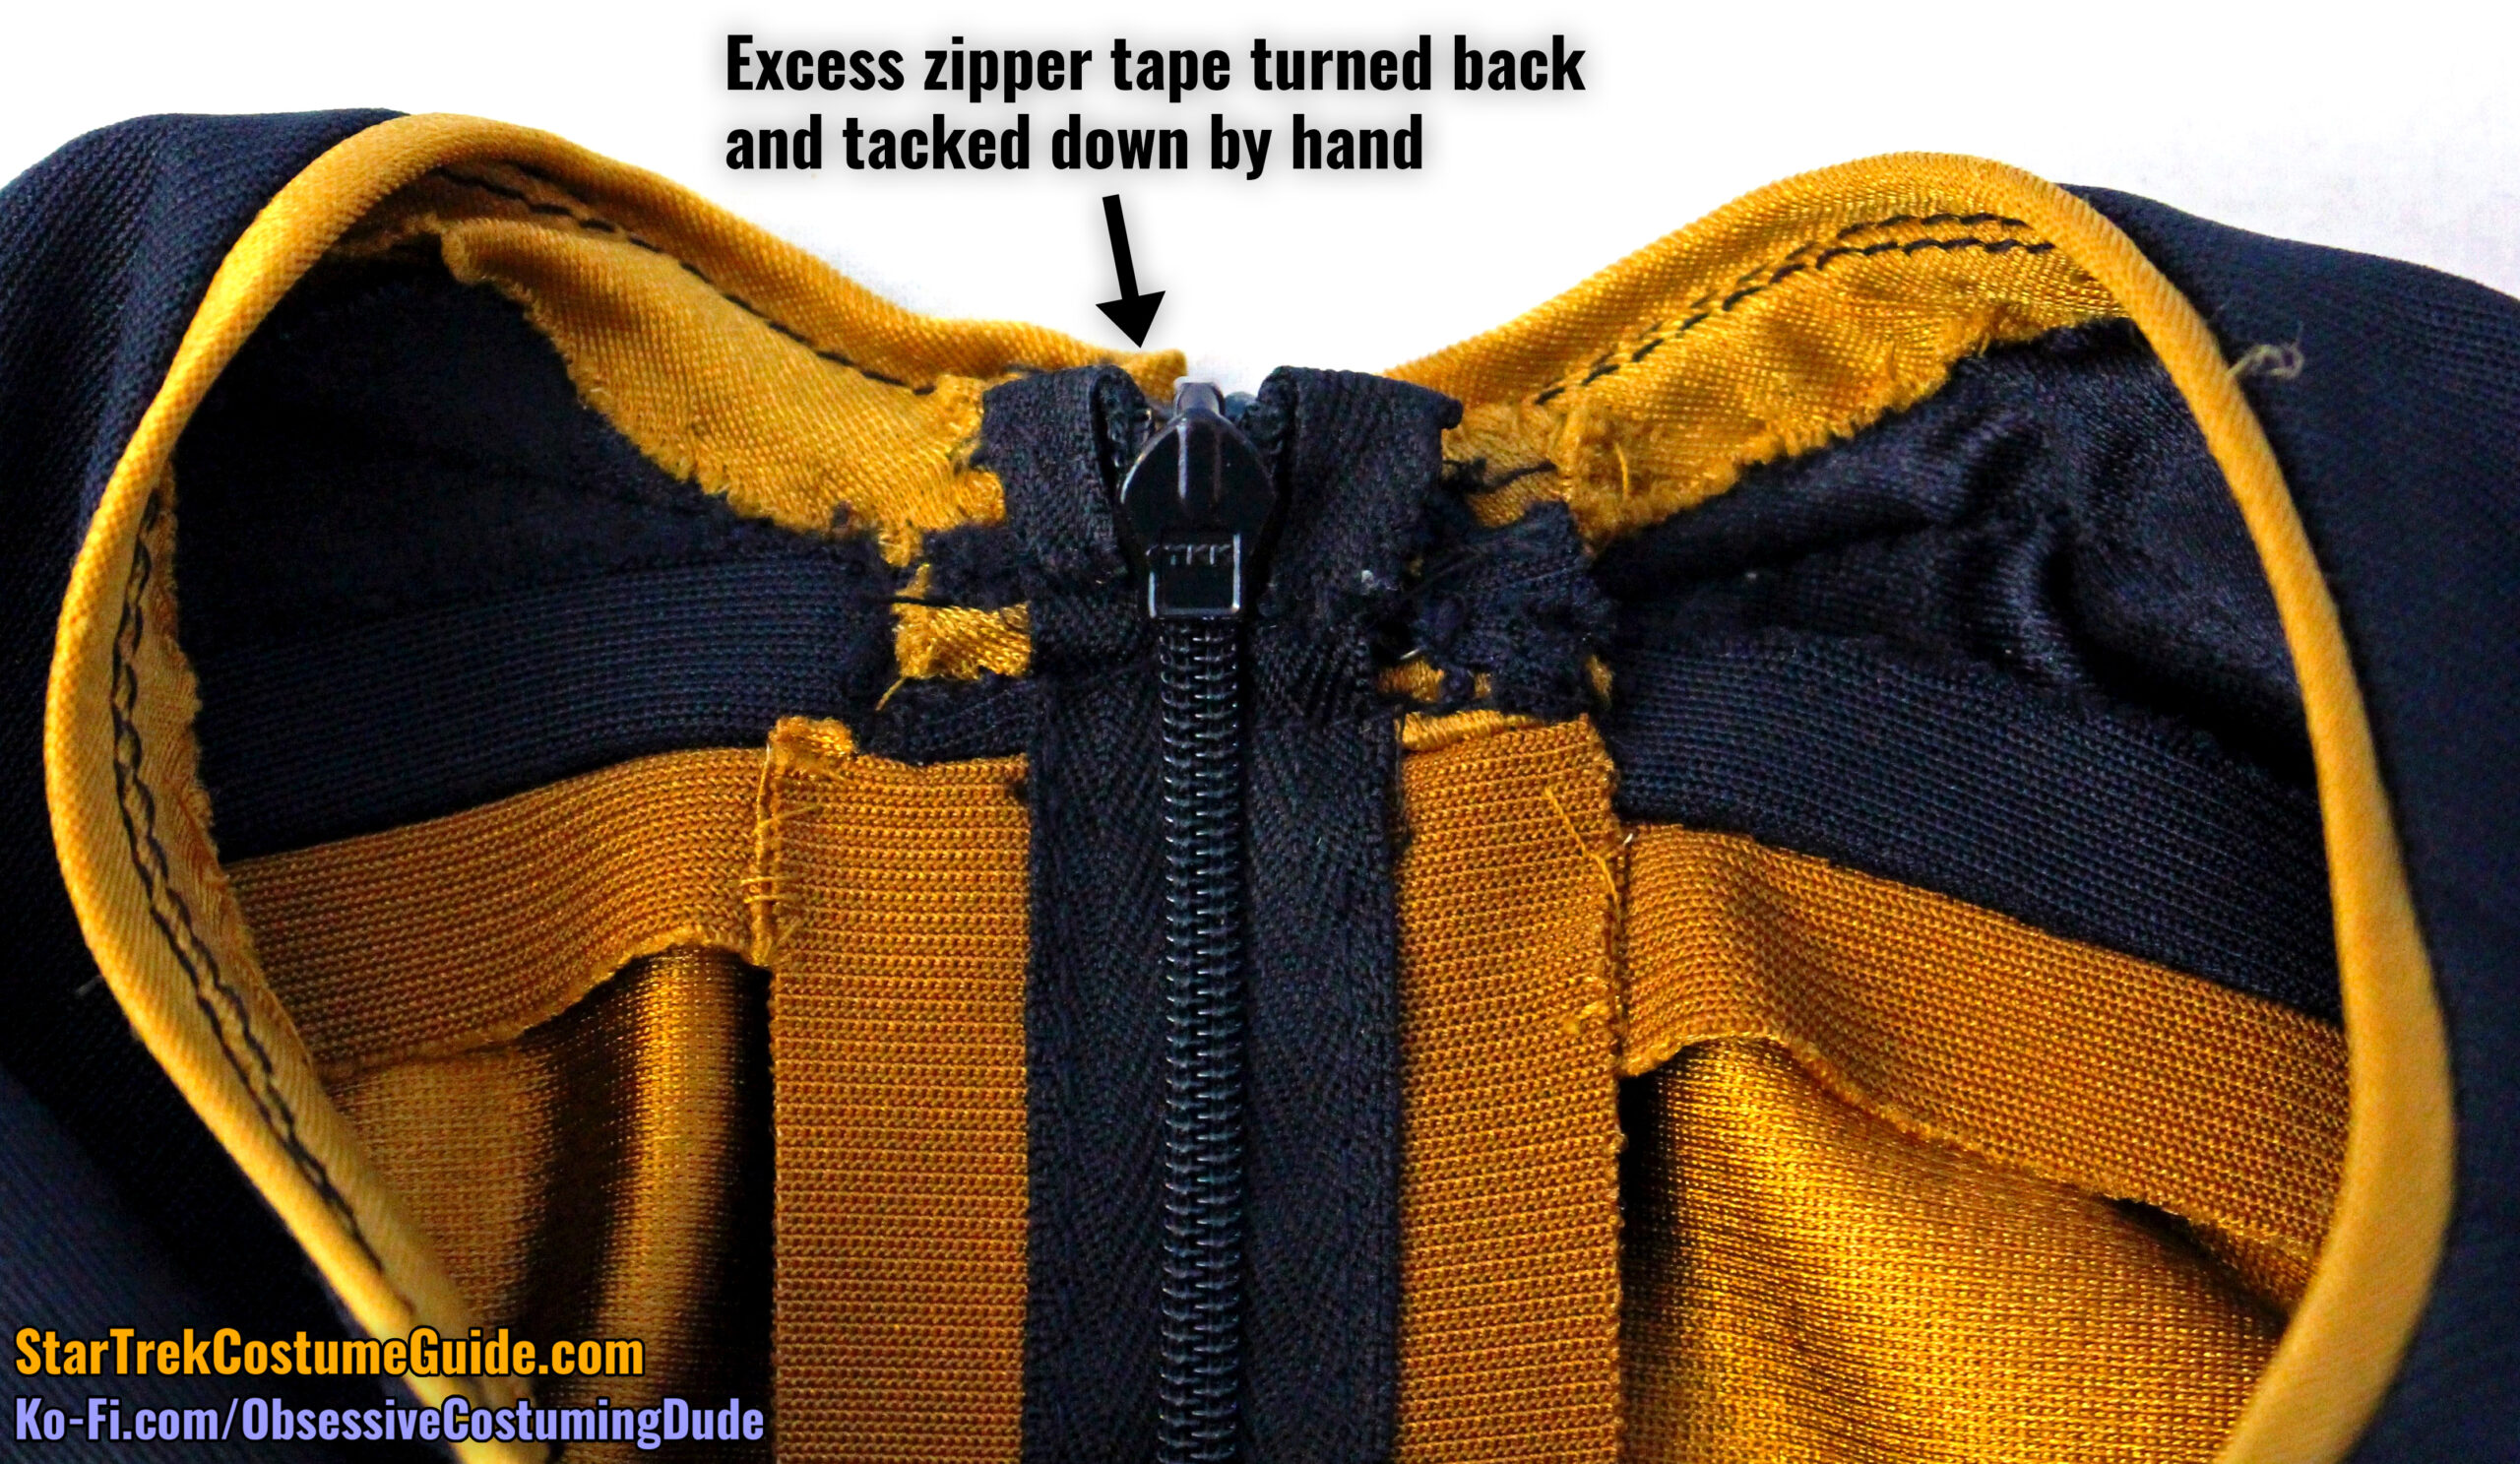
The excess zipper tape at the top of the invisible zippers was handled different ways on different uniforms; on this Tasha Yar jumpsuit, it was turned under and tacked down by hand.
The invisible zipper was 19 ½” long, plus seam allowance and upper excess – a standard retail invisible zipper.
INTERIOR CONSTRUCTION
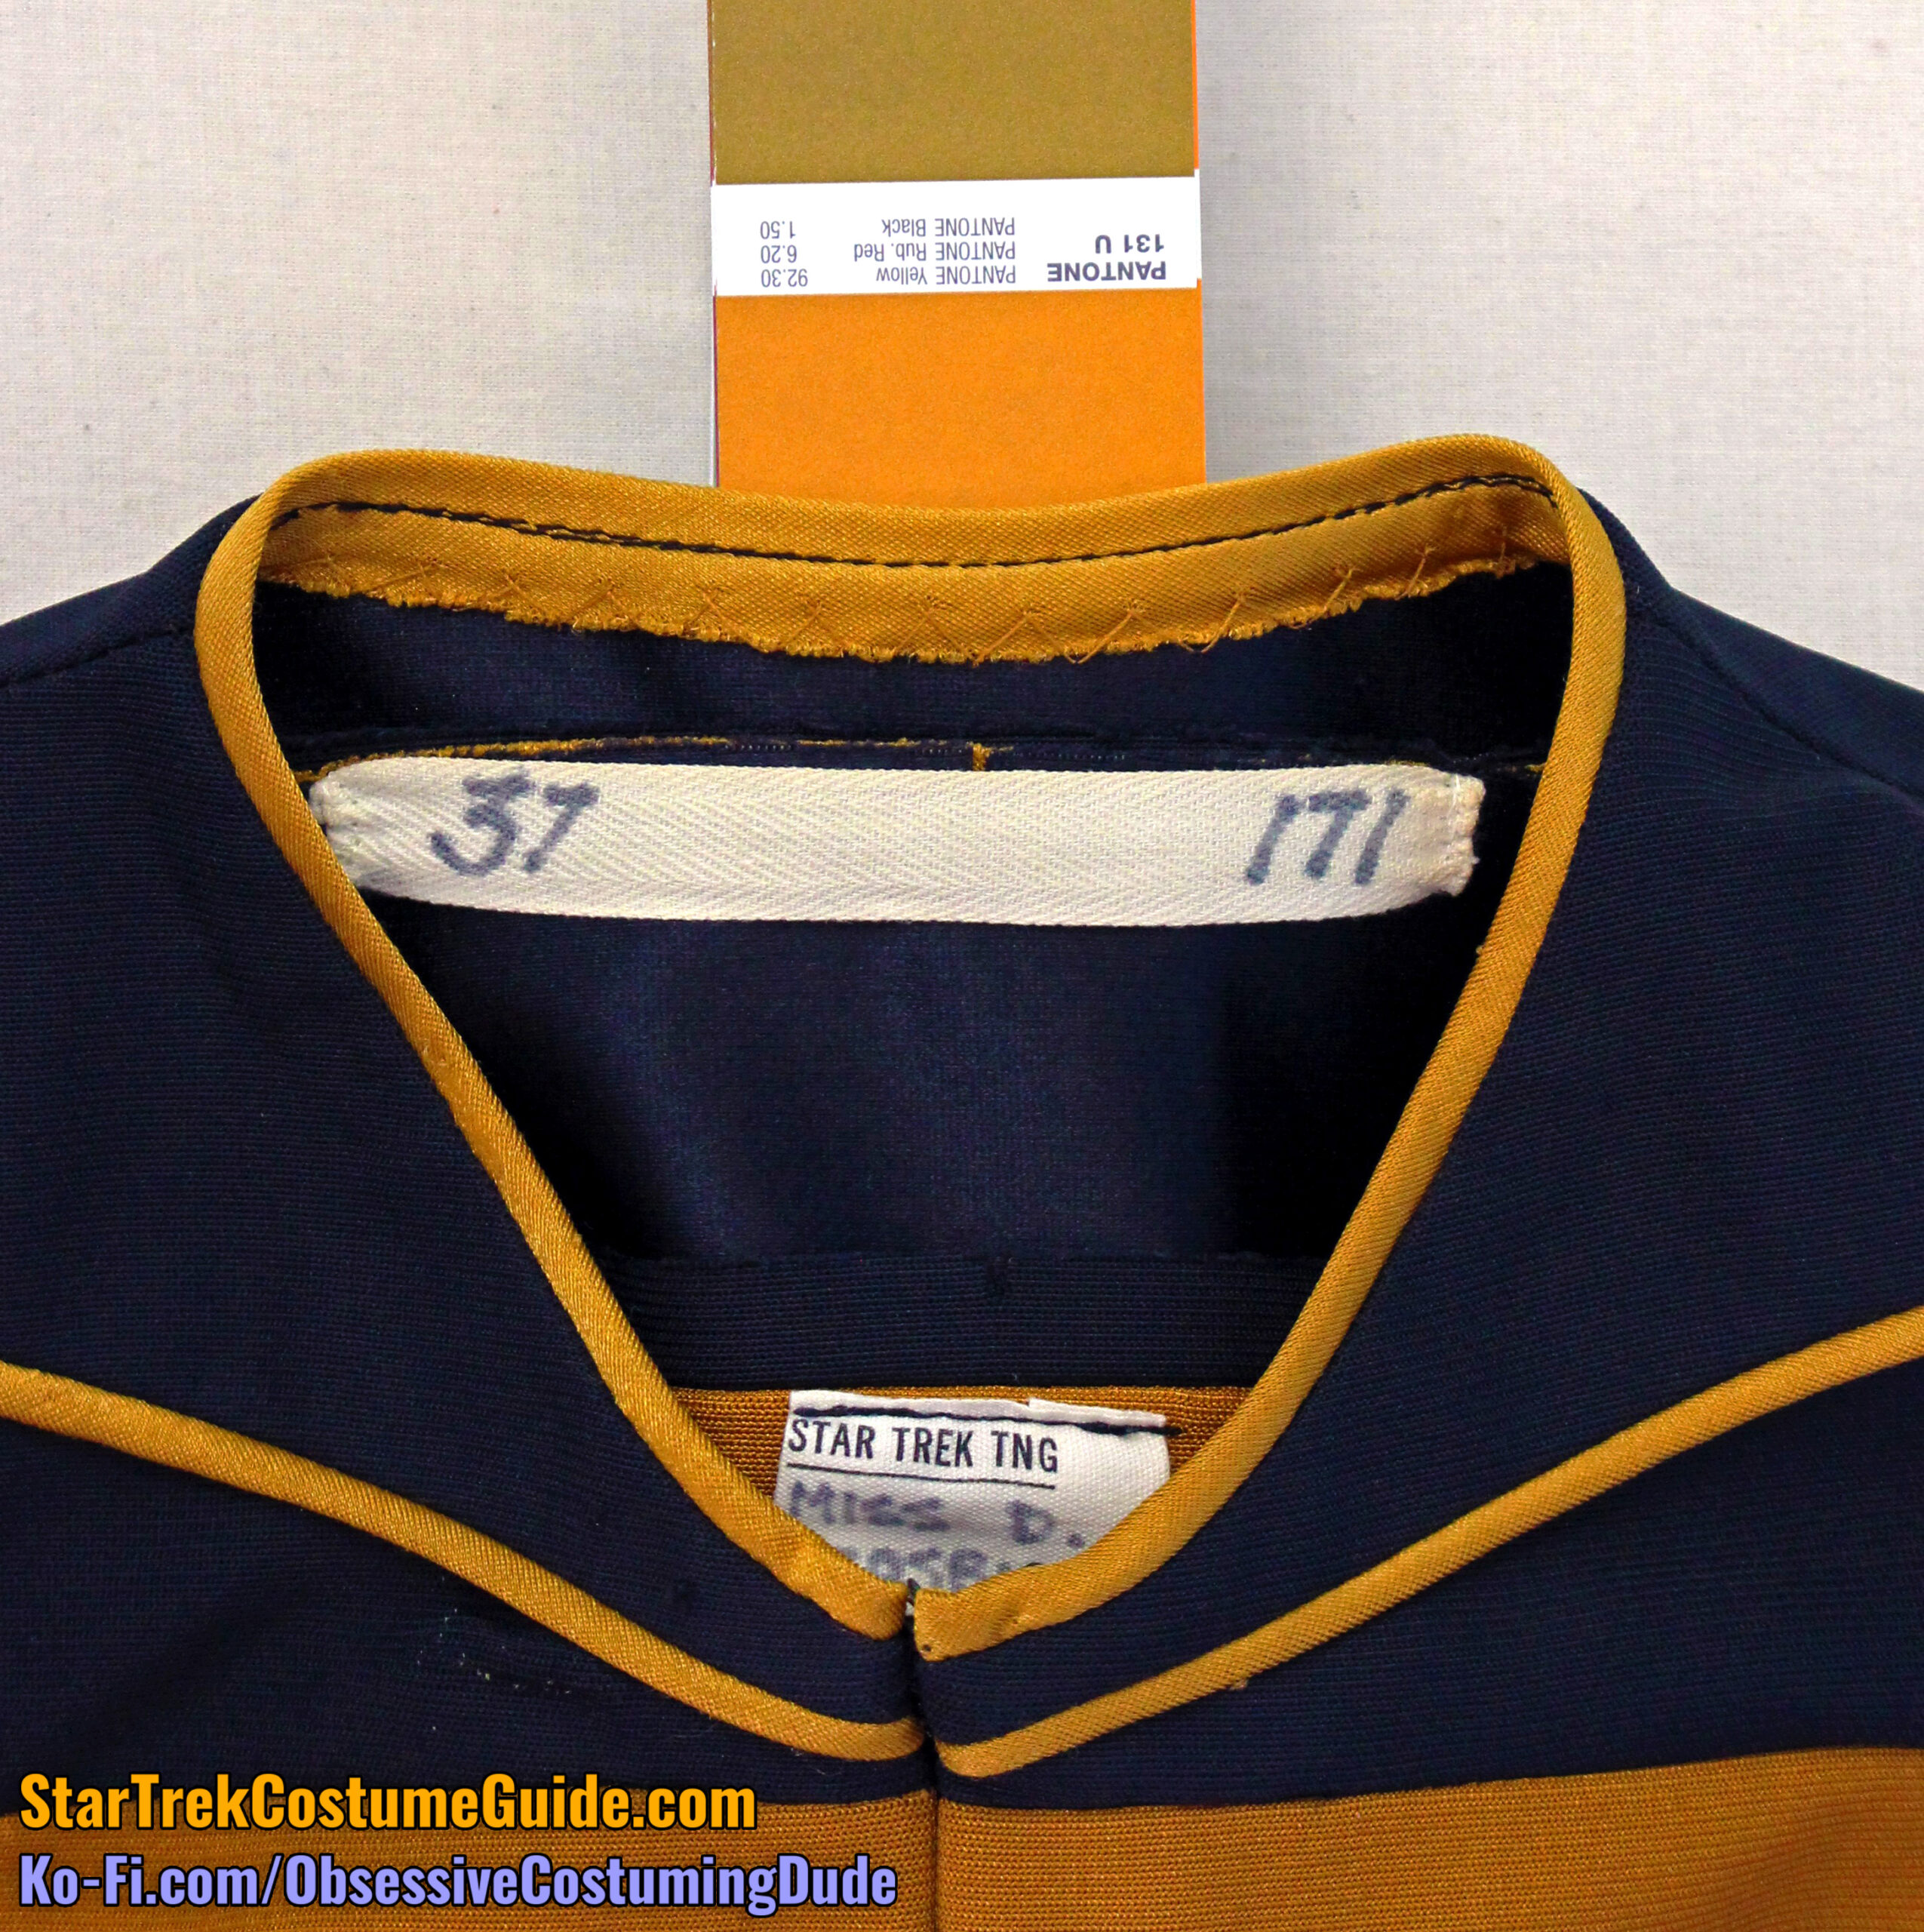
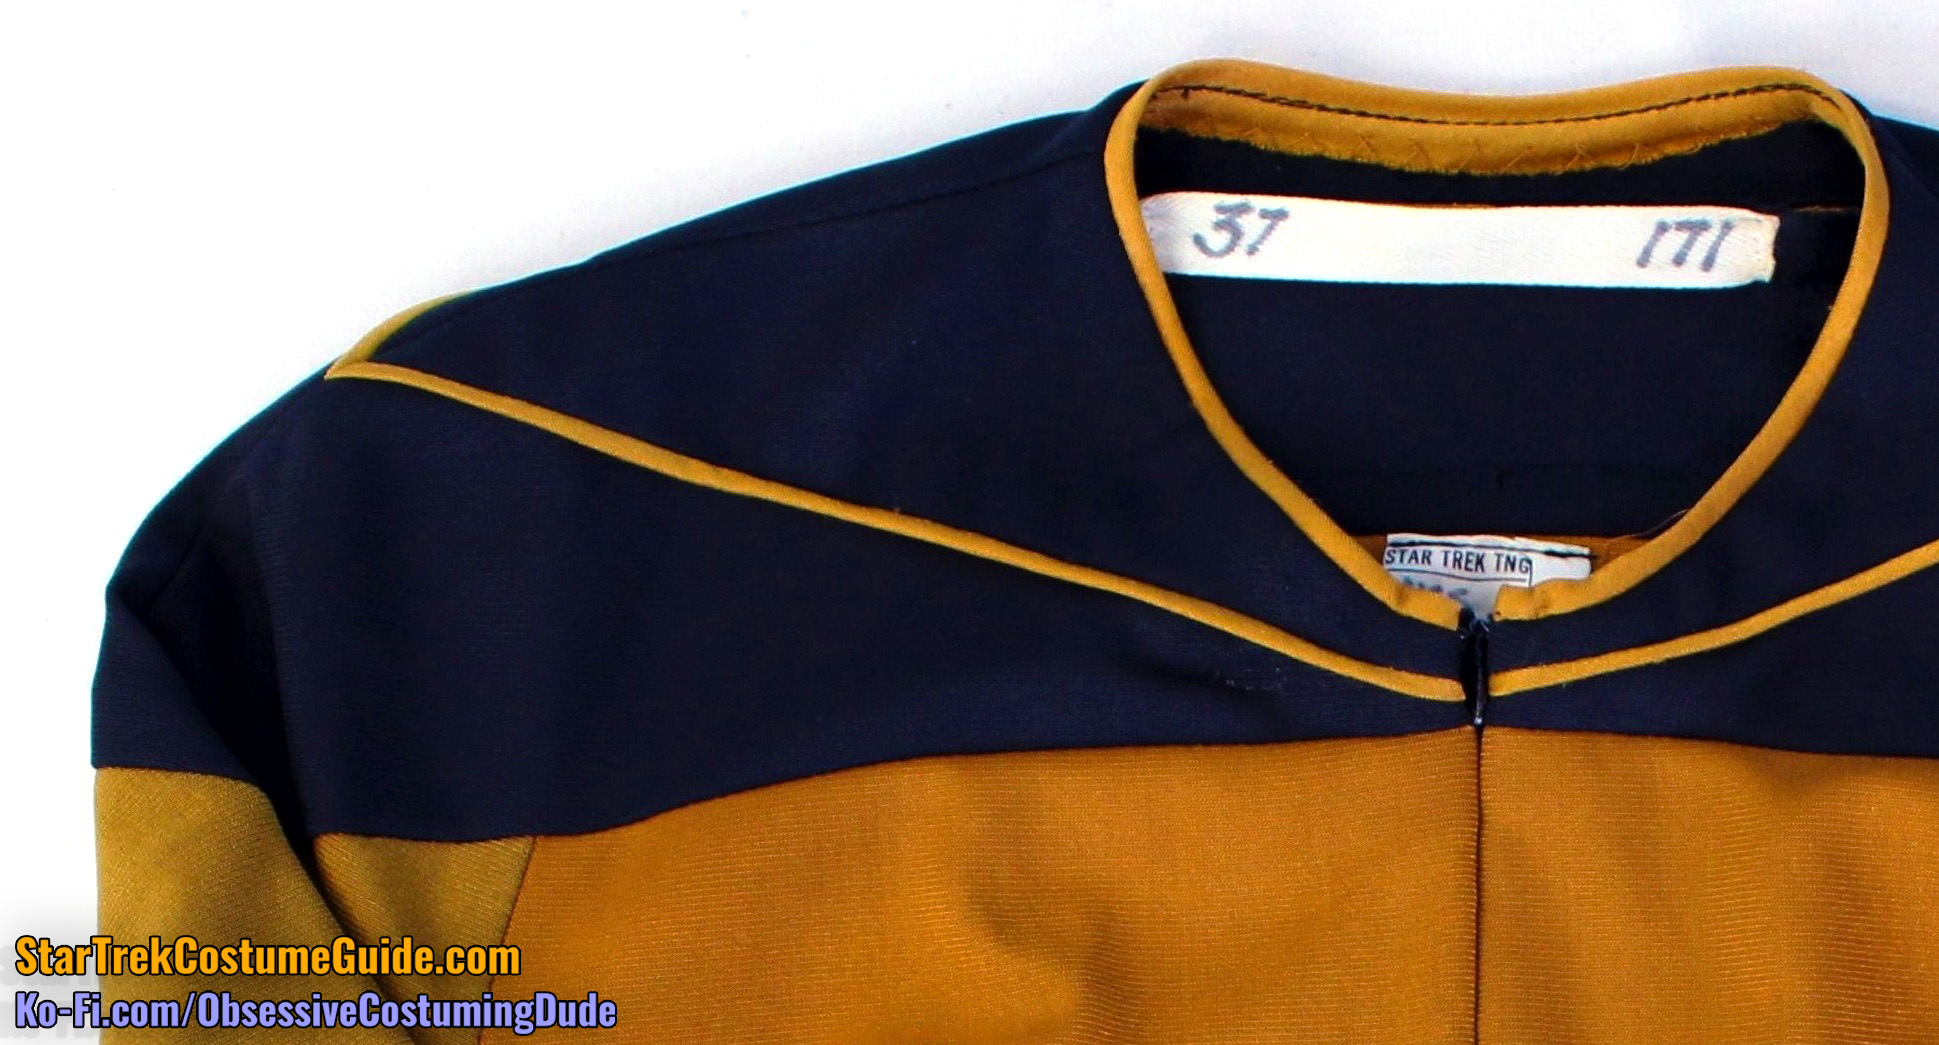
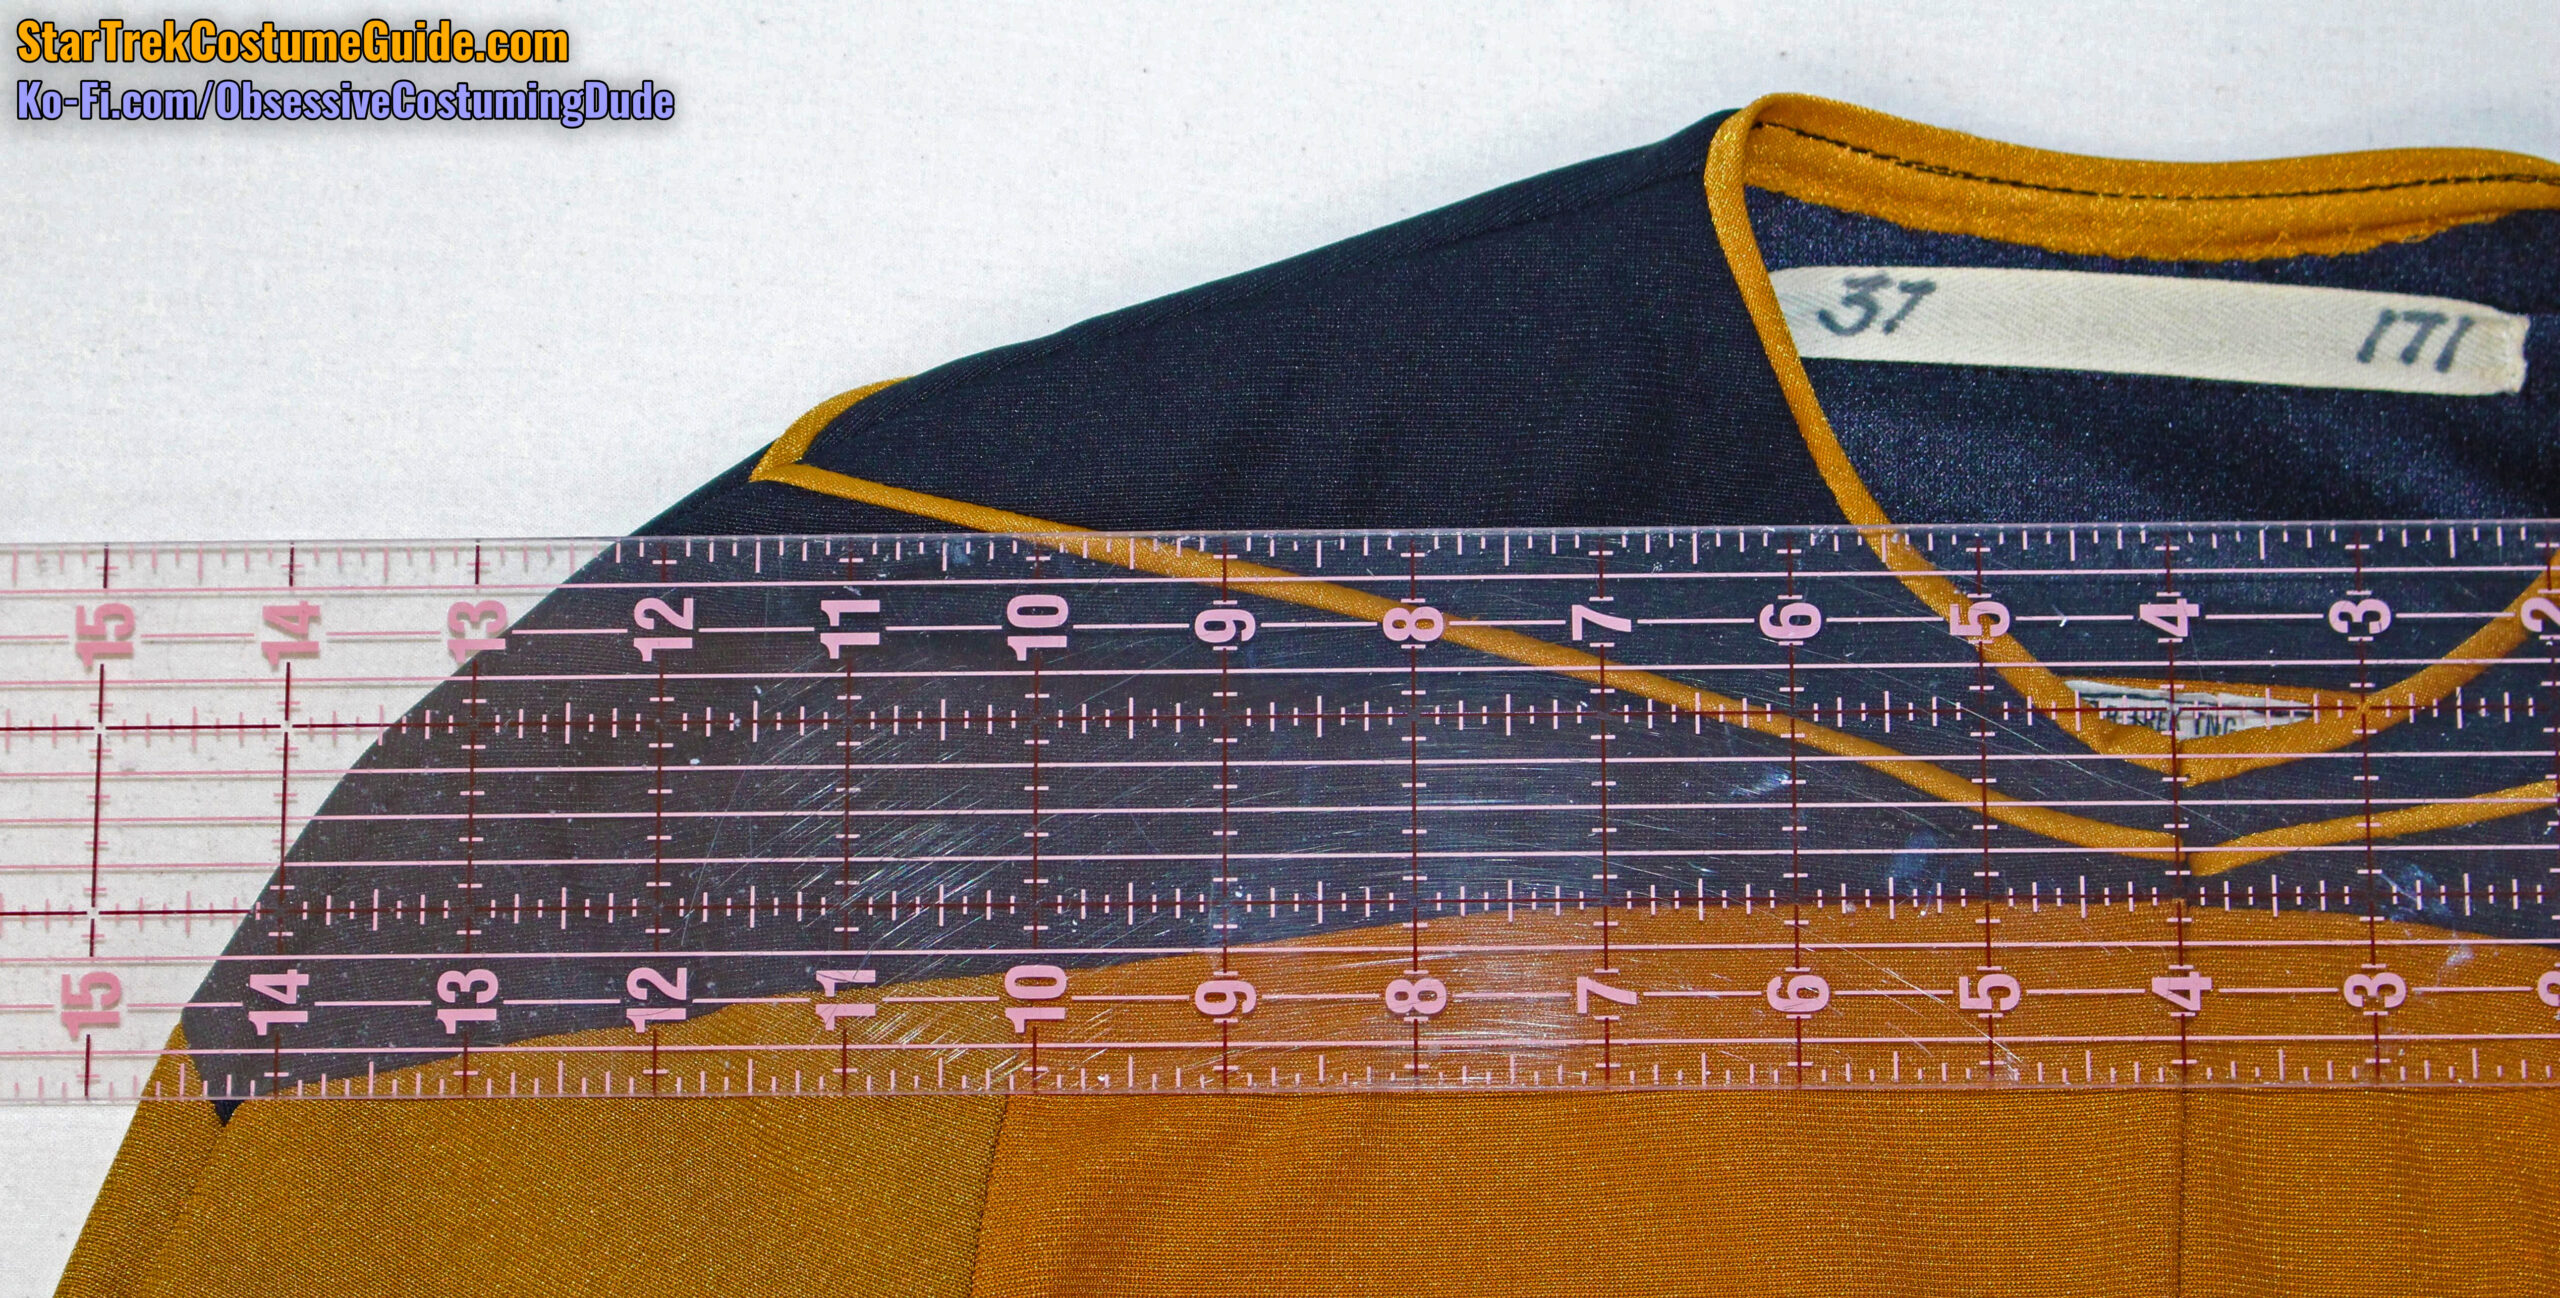
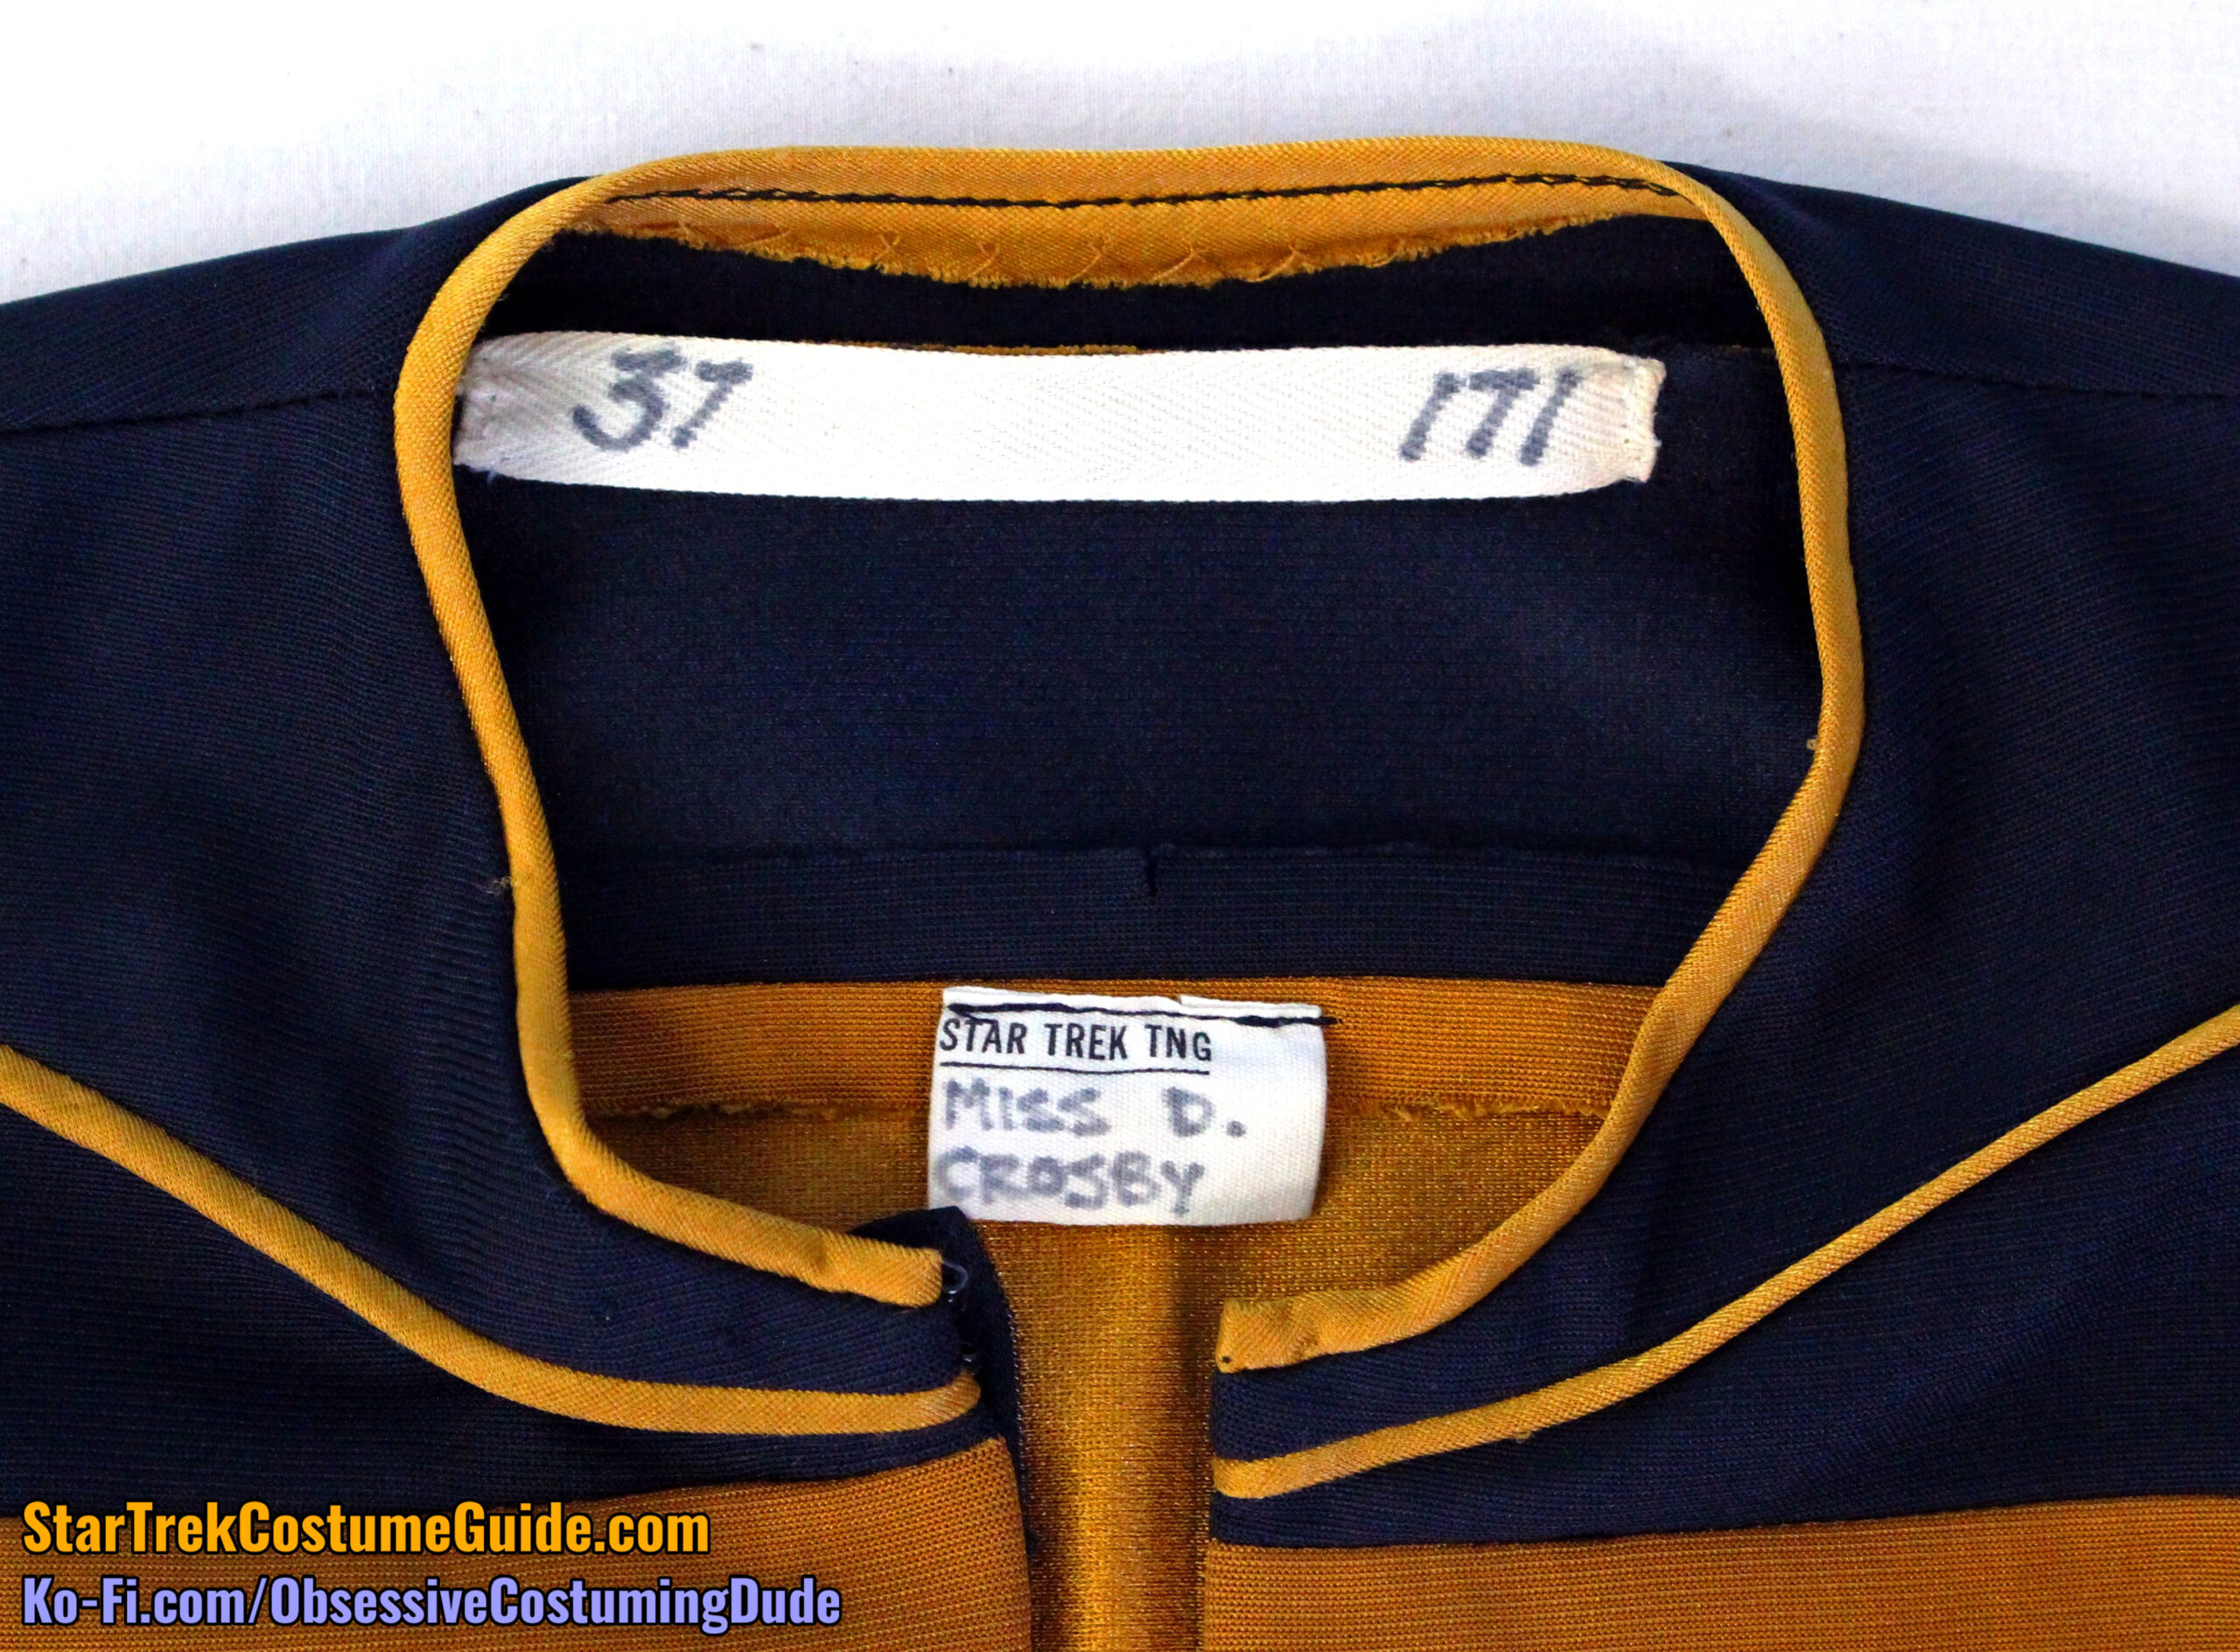
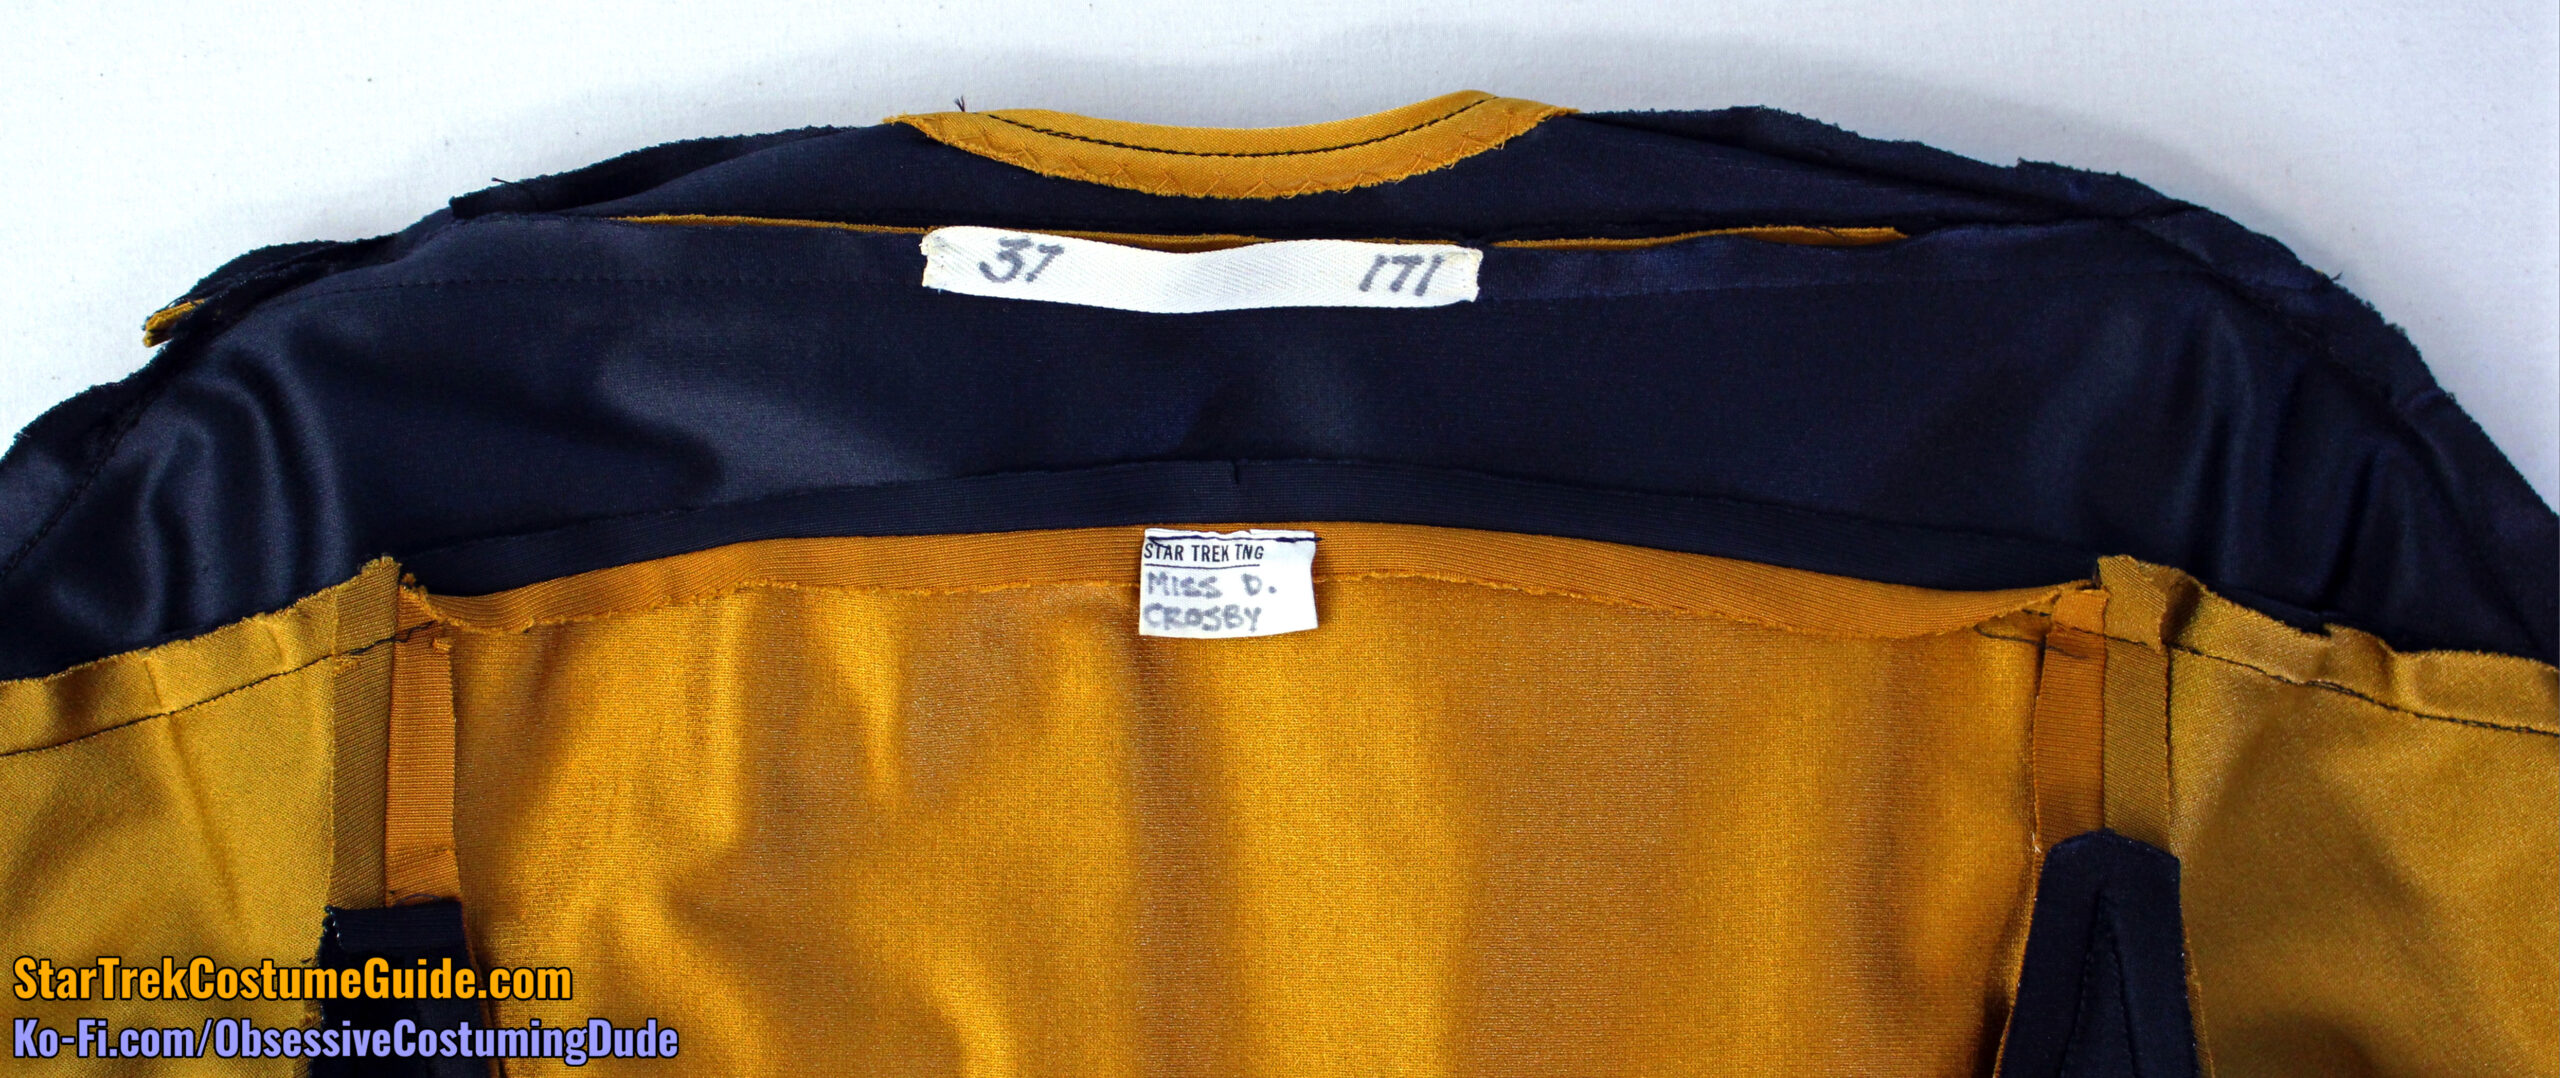
Here you can see the interior production tags.
The upper tag was white twill tape, with two numbers written in marker.
The “171” to the (photo) right is probably a production number, although indicative of what, I don’t know.
I believe the “37” on the (photo) left was intended to denote the size of the costume … although with a 37” bust and a finished garment measurement of only 36”, that would mean the jumpsuit was not only skin-tight, but it actually had 1” of NEGATIVE of wearing ease!
That might not be so bad, IF the spandex were cut with the stretch going horizontally, around the wearer’s body … but with the stretch going the opposite direction (vertically) and negligible stretch horizontally, it’s no wonder the cast notoriously hated wearing these uniforms!
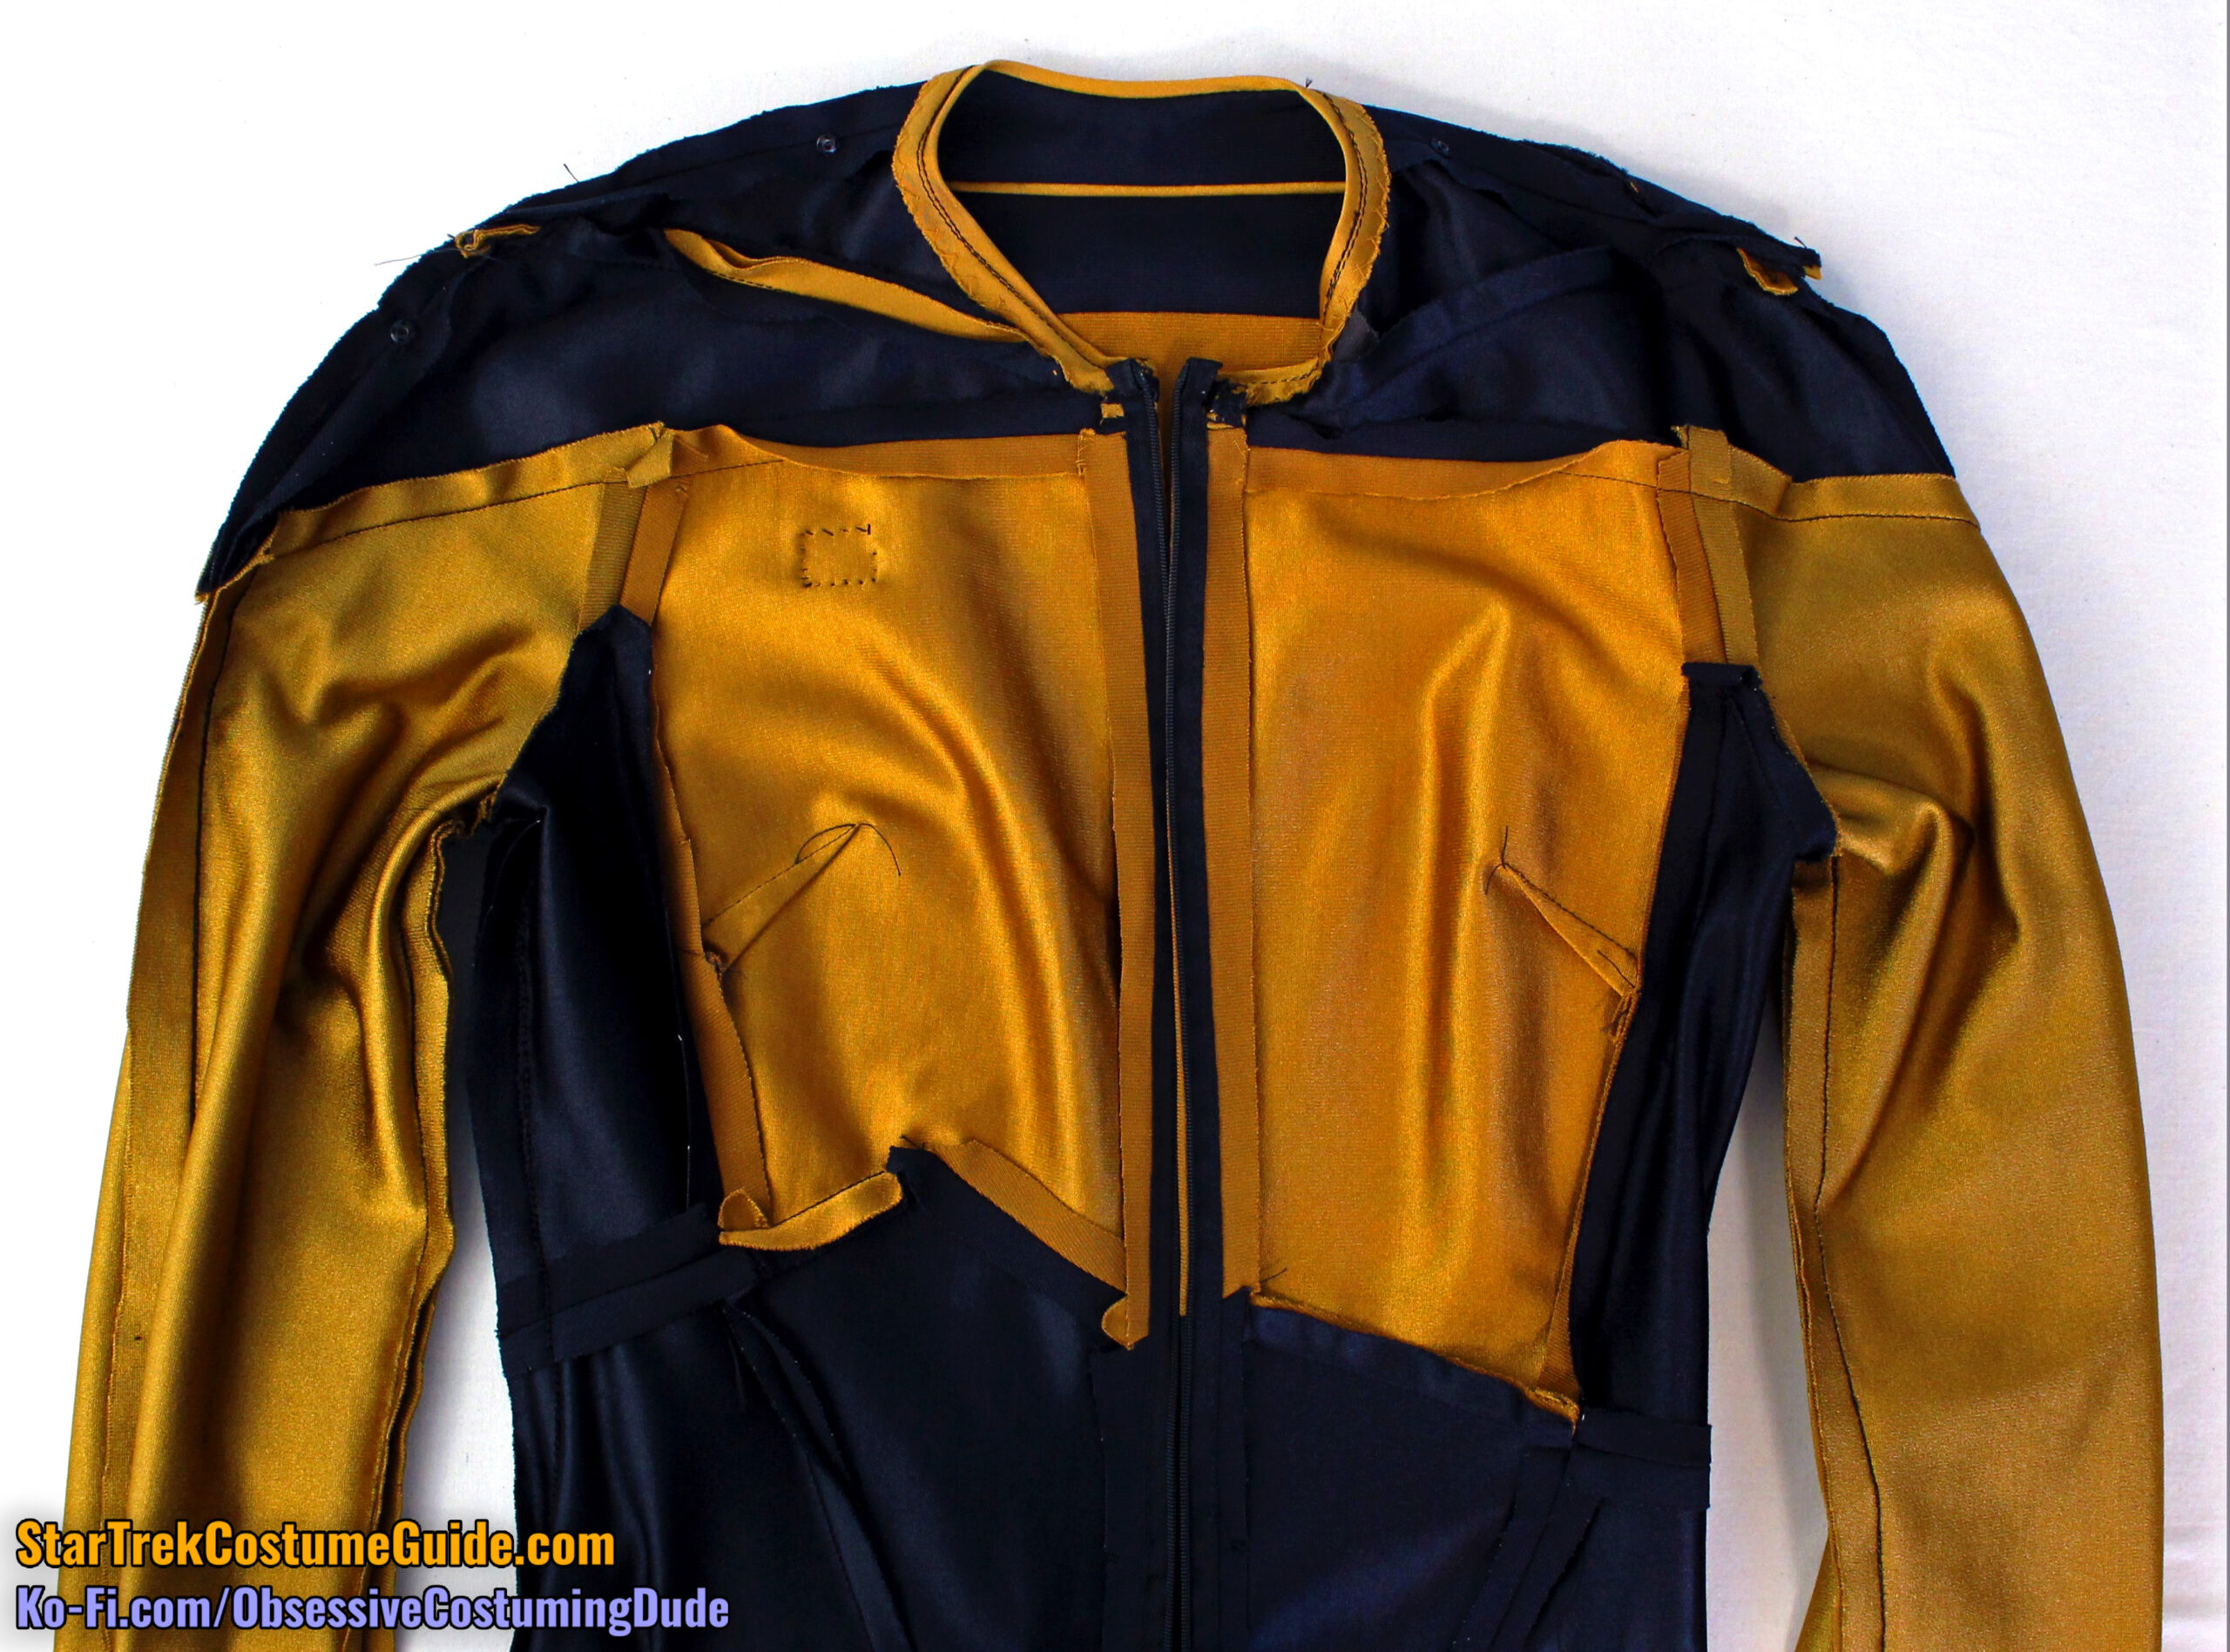
Like so many other William Ware Theiss costume designs, the longer you stare at the interior of a TNG jumpsuit, the weirder it seems to get … and they all look a bit different on the inside! (Because of course they do, LOL).

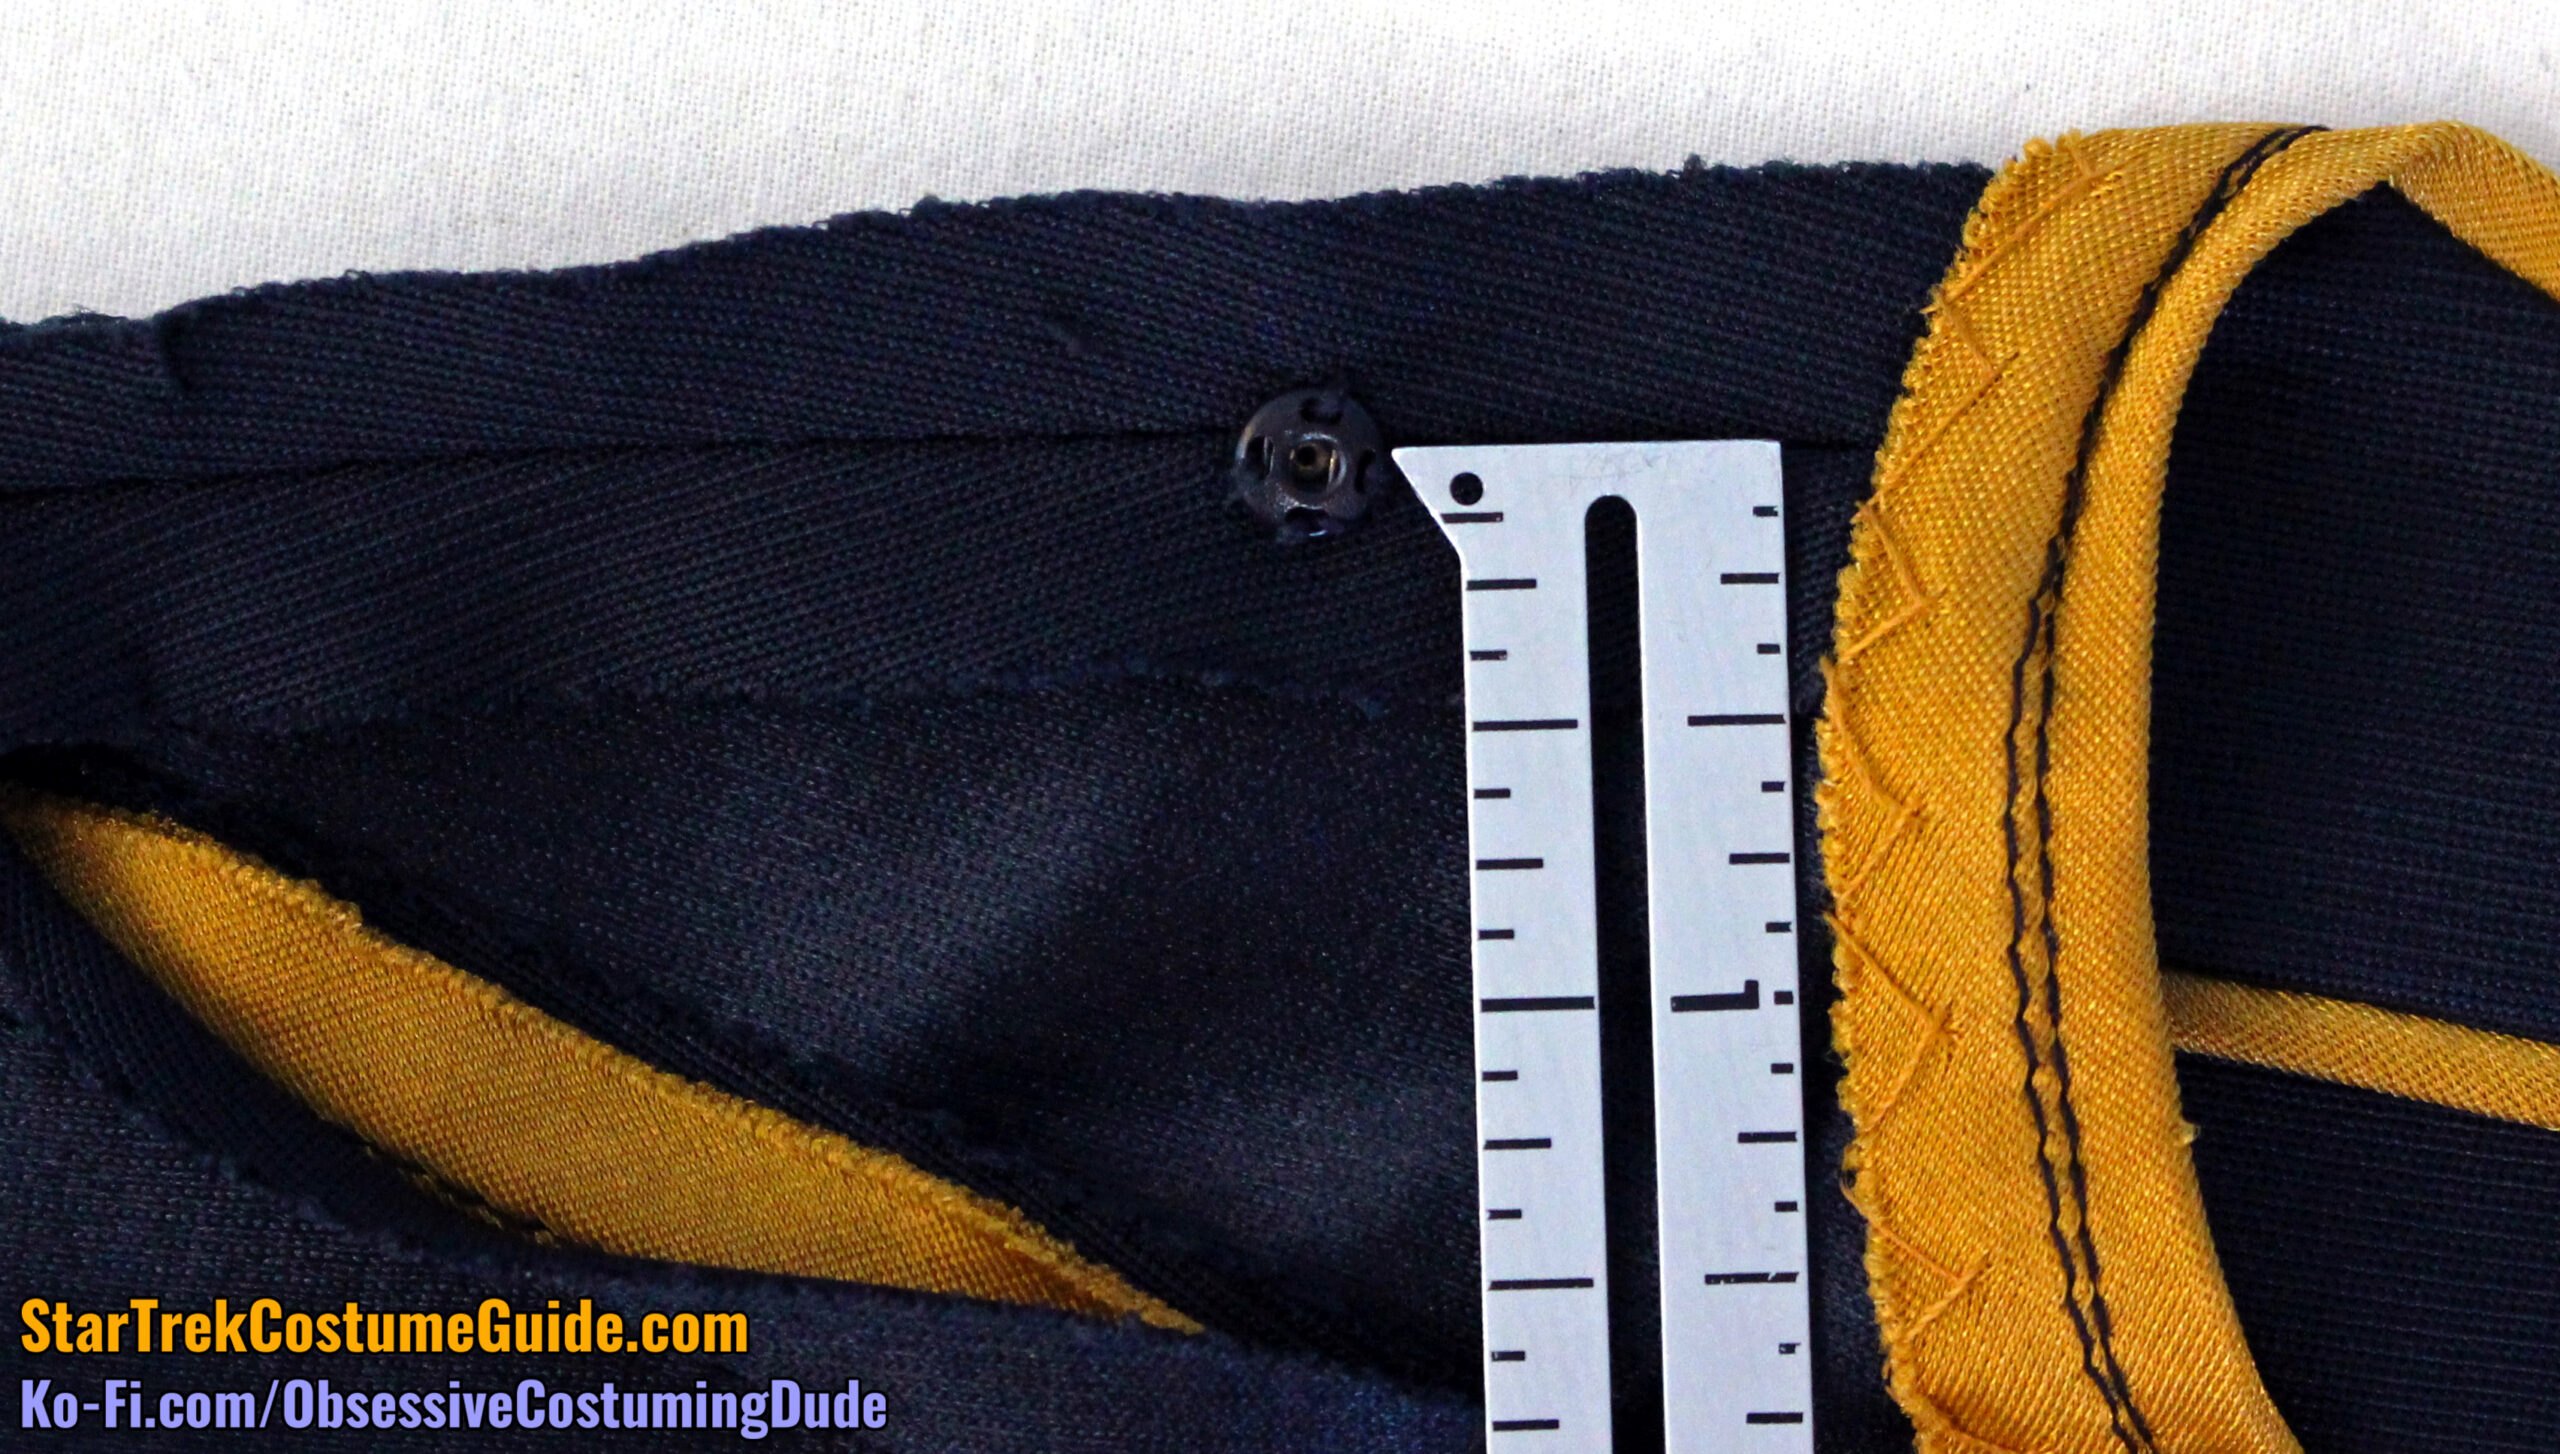
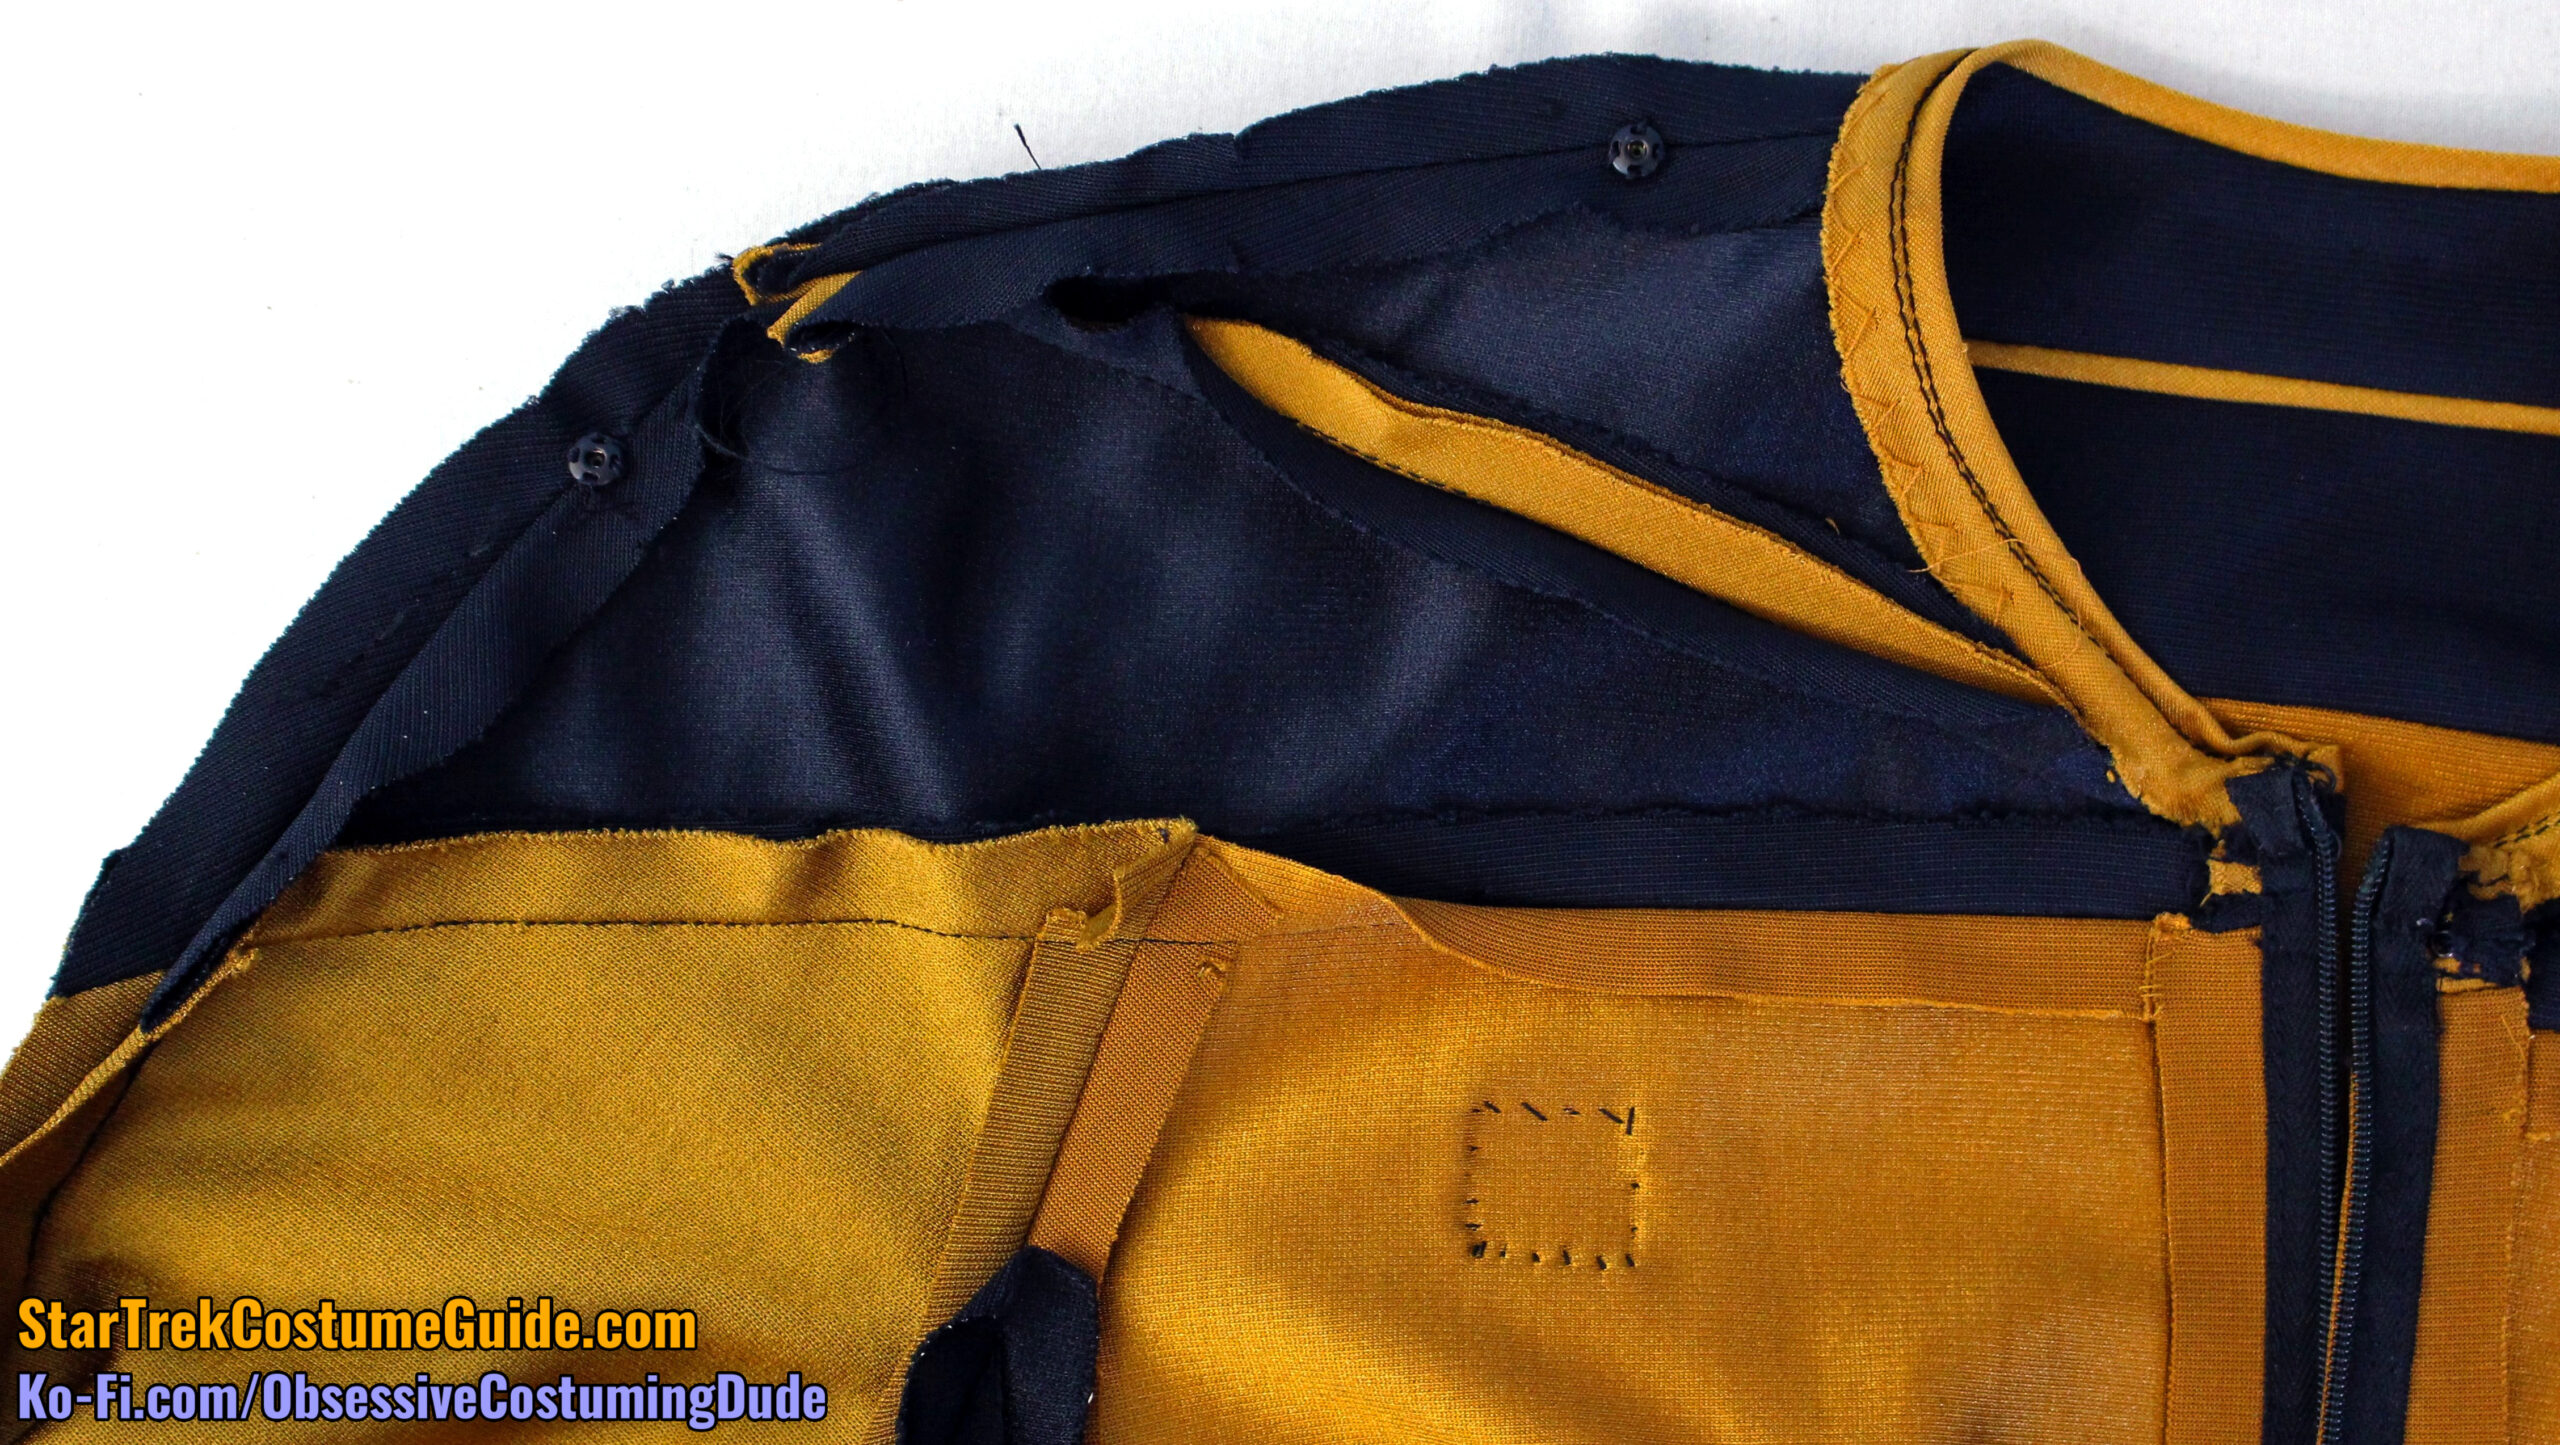
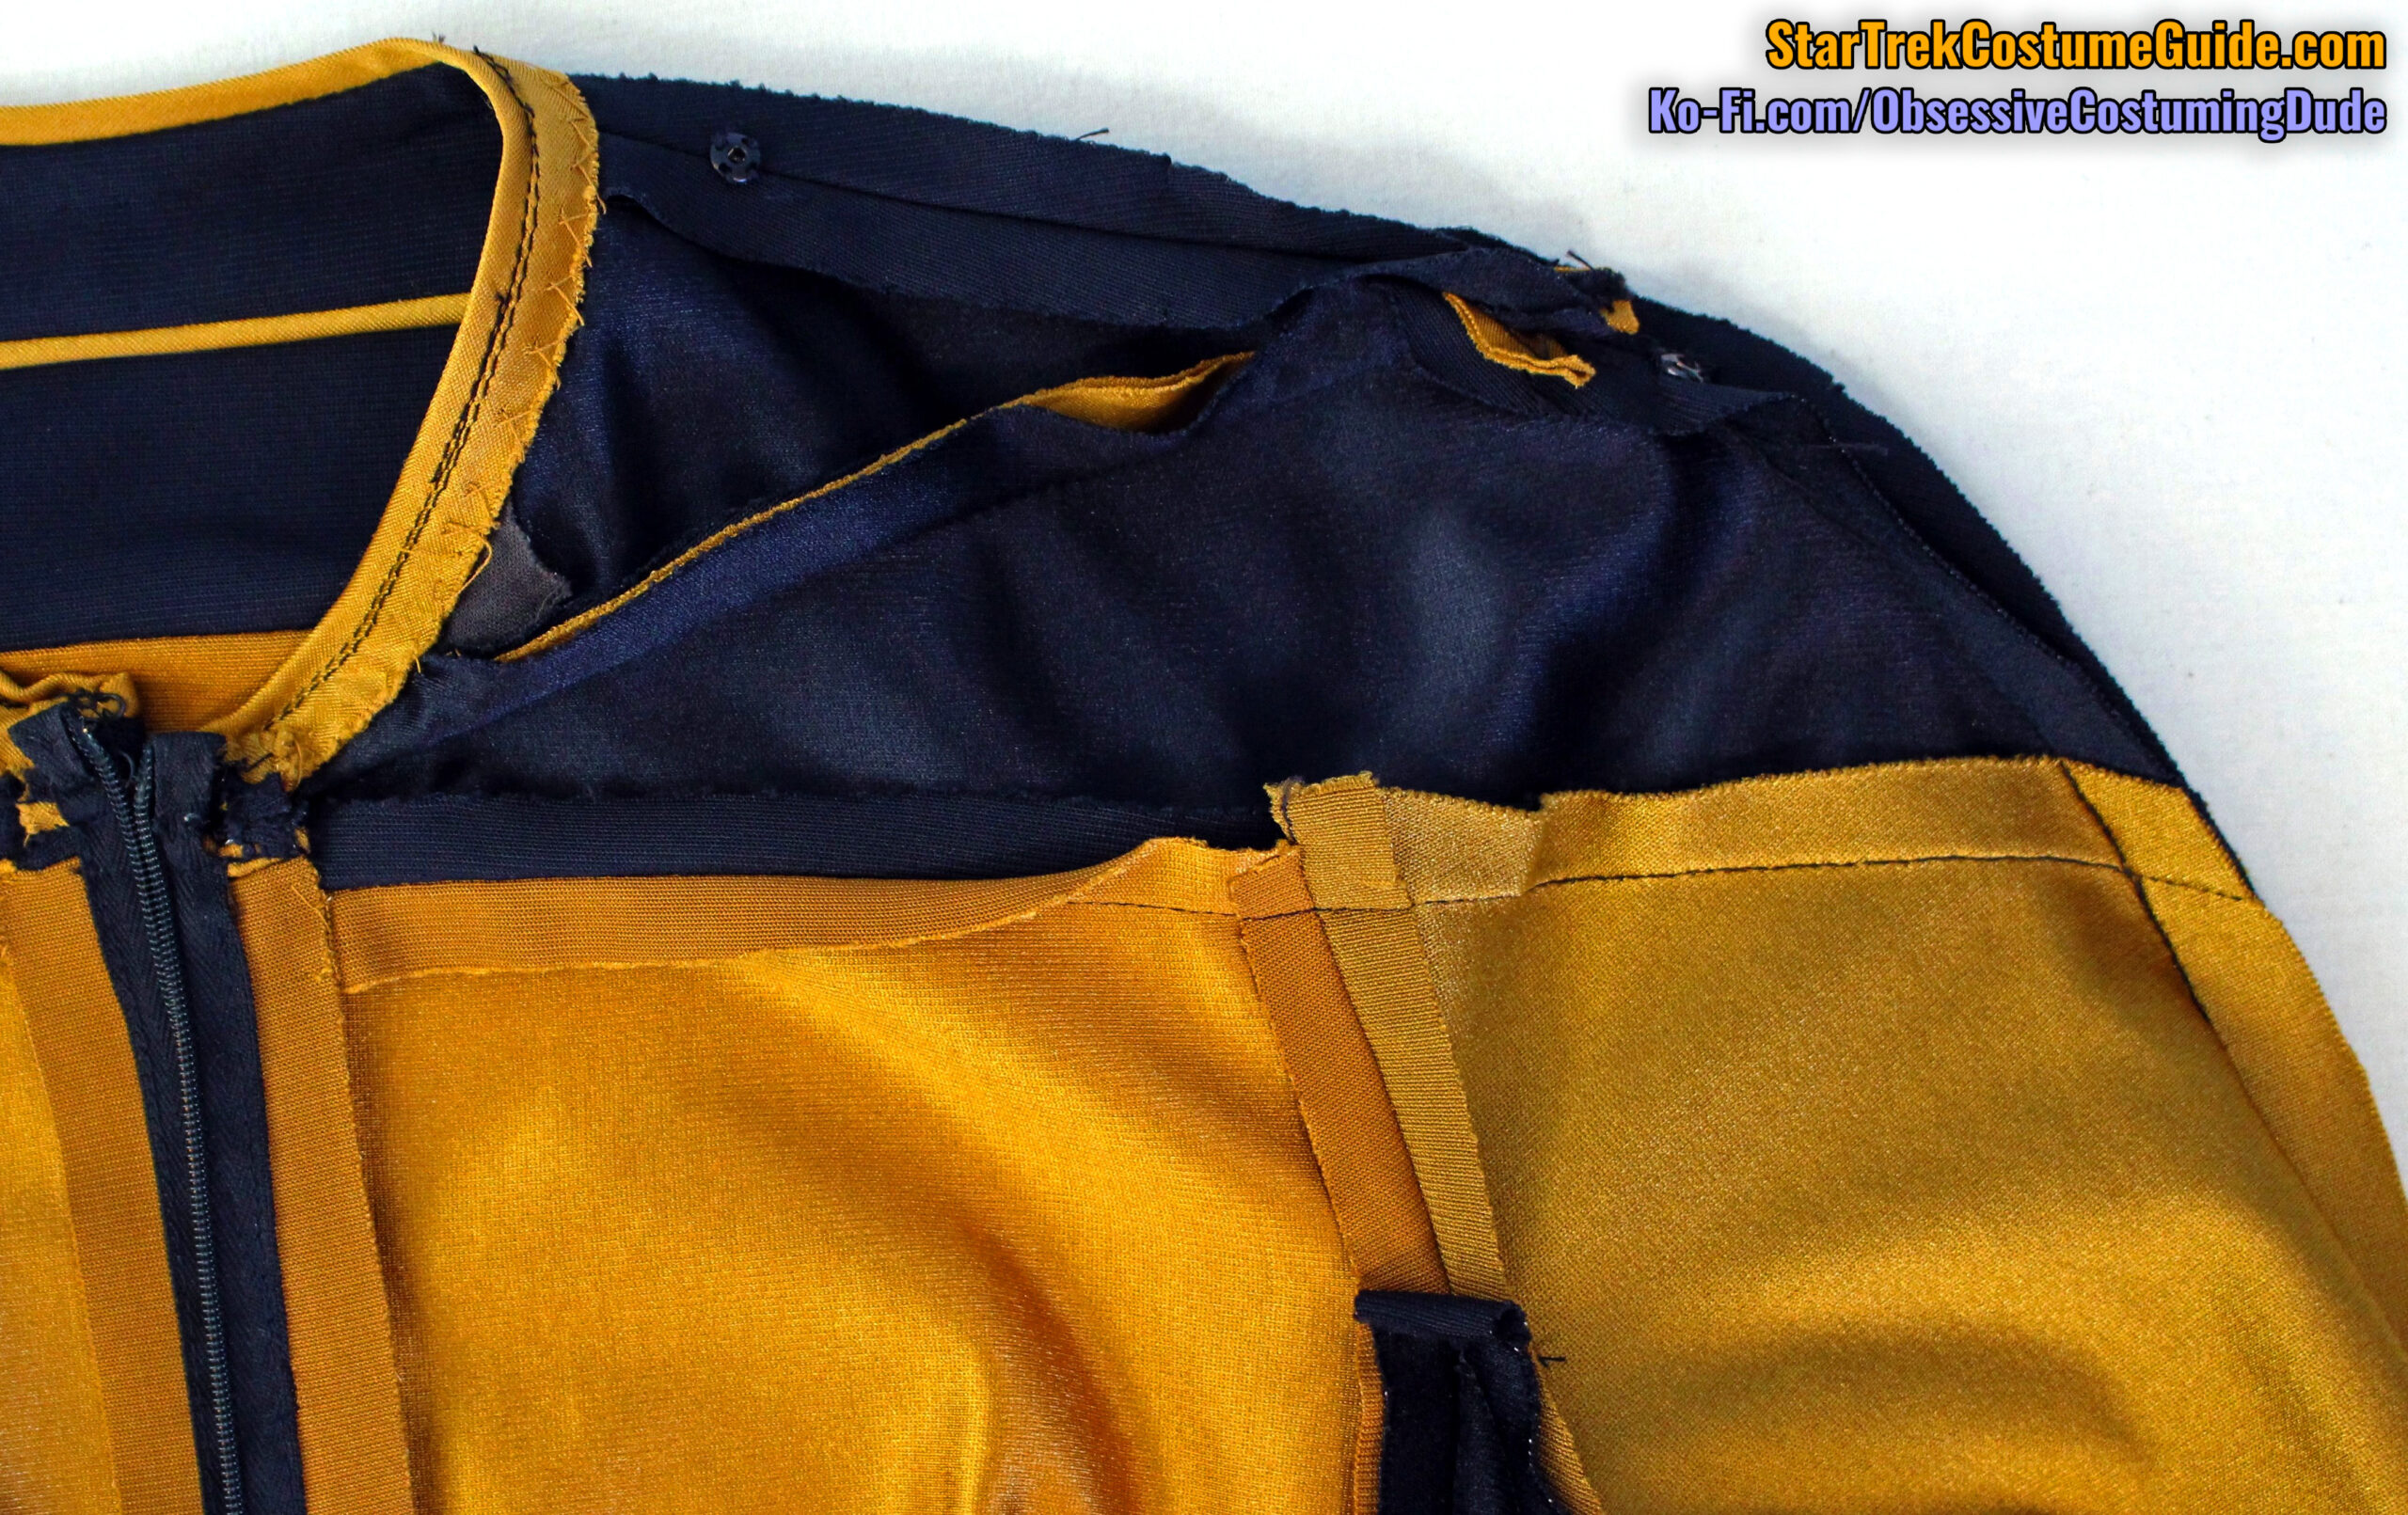
Like the screen-used TNG skant I examined, the neckline/trim seam allowance was ⅜” and the outer edges were catch-stitched to the underside of the yoke (albeit curiously with gold thread, instead of black).
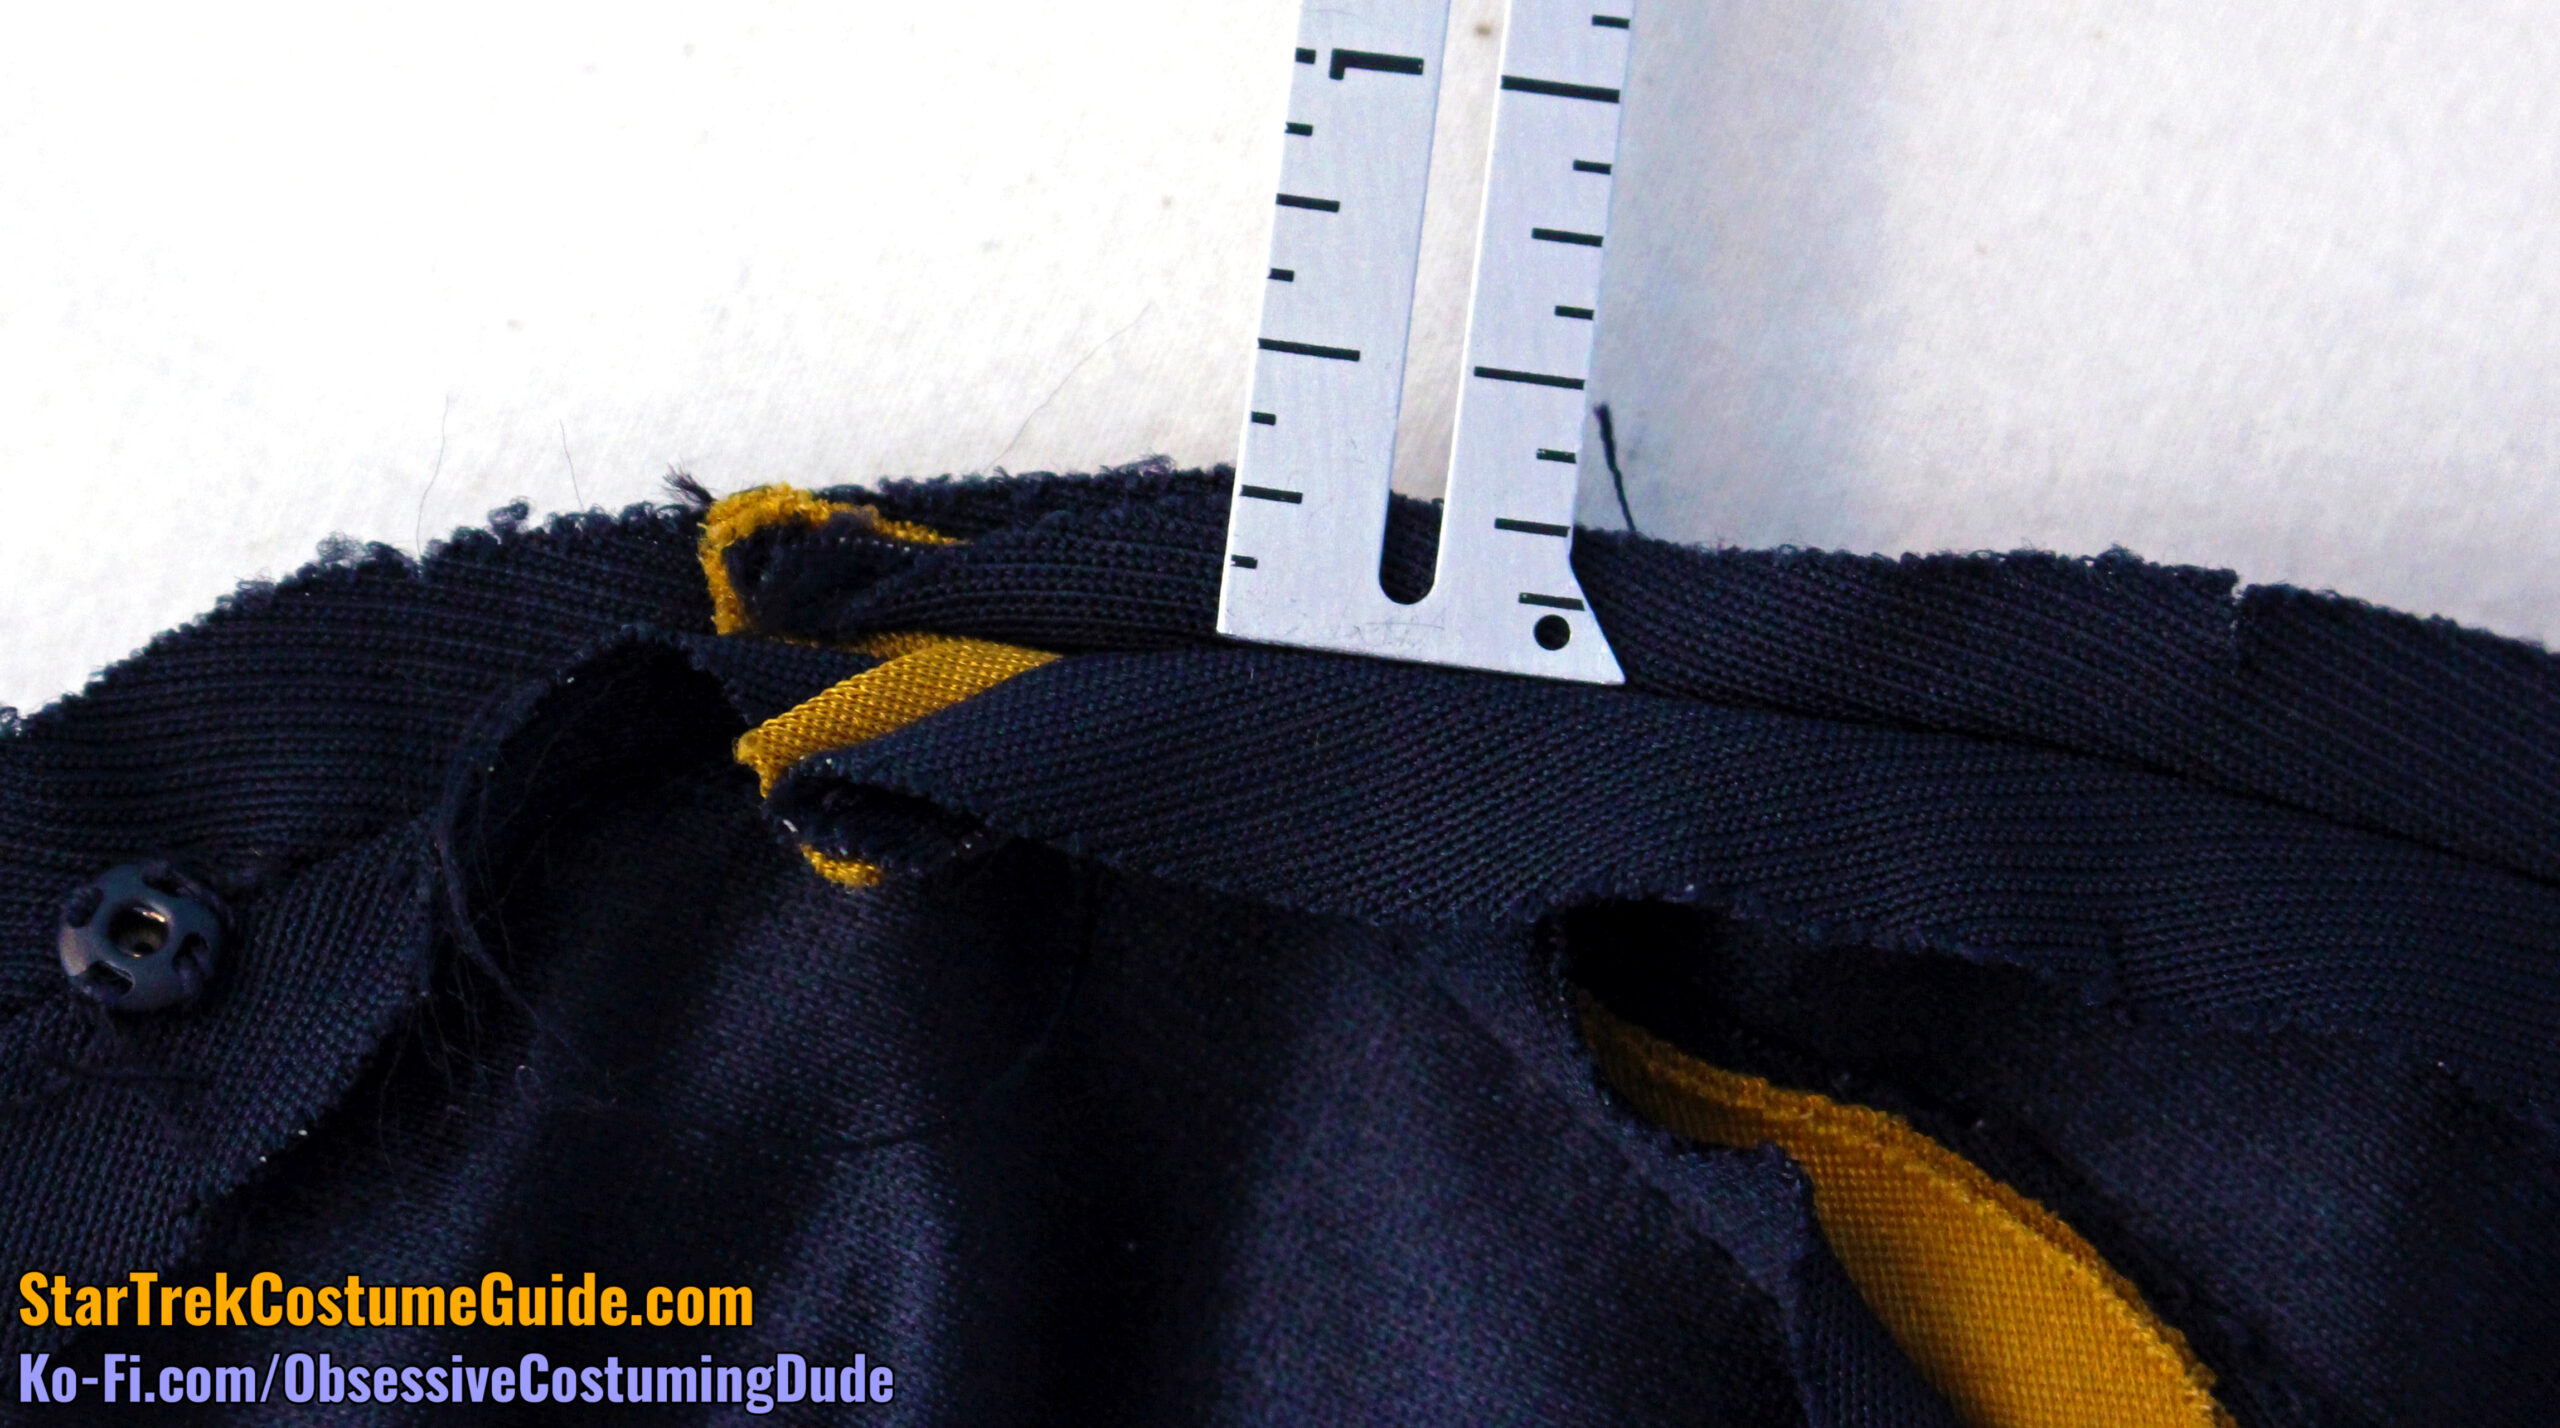
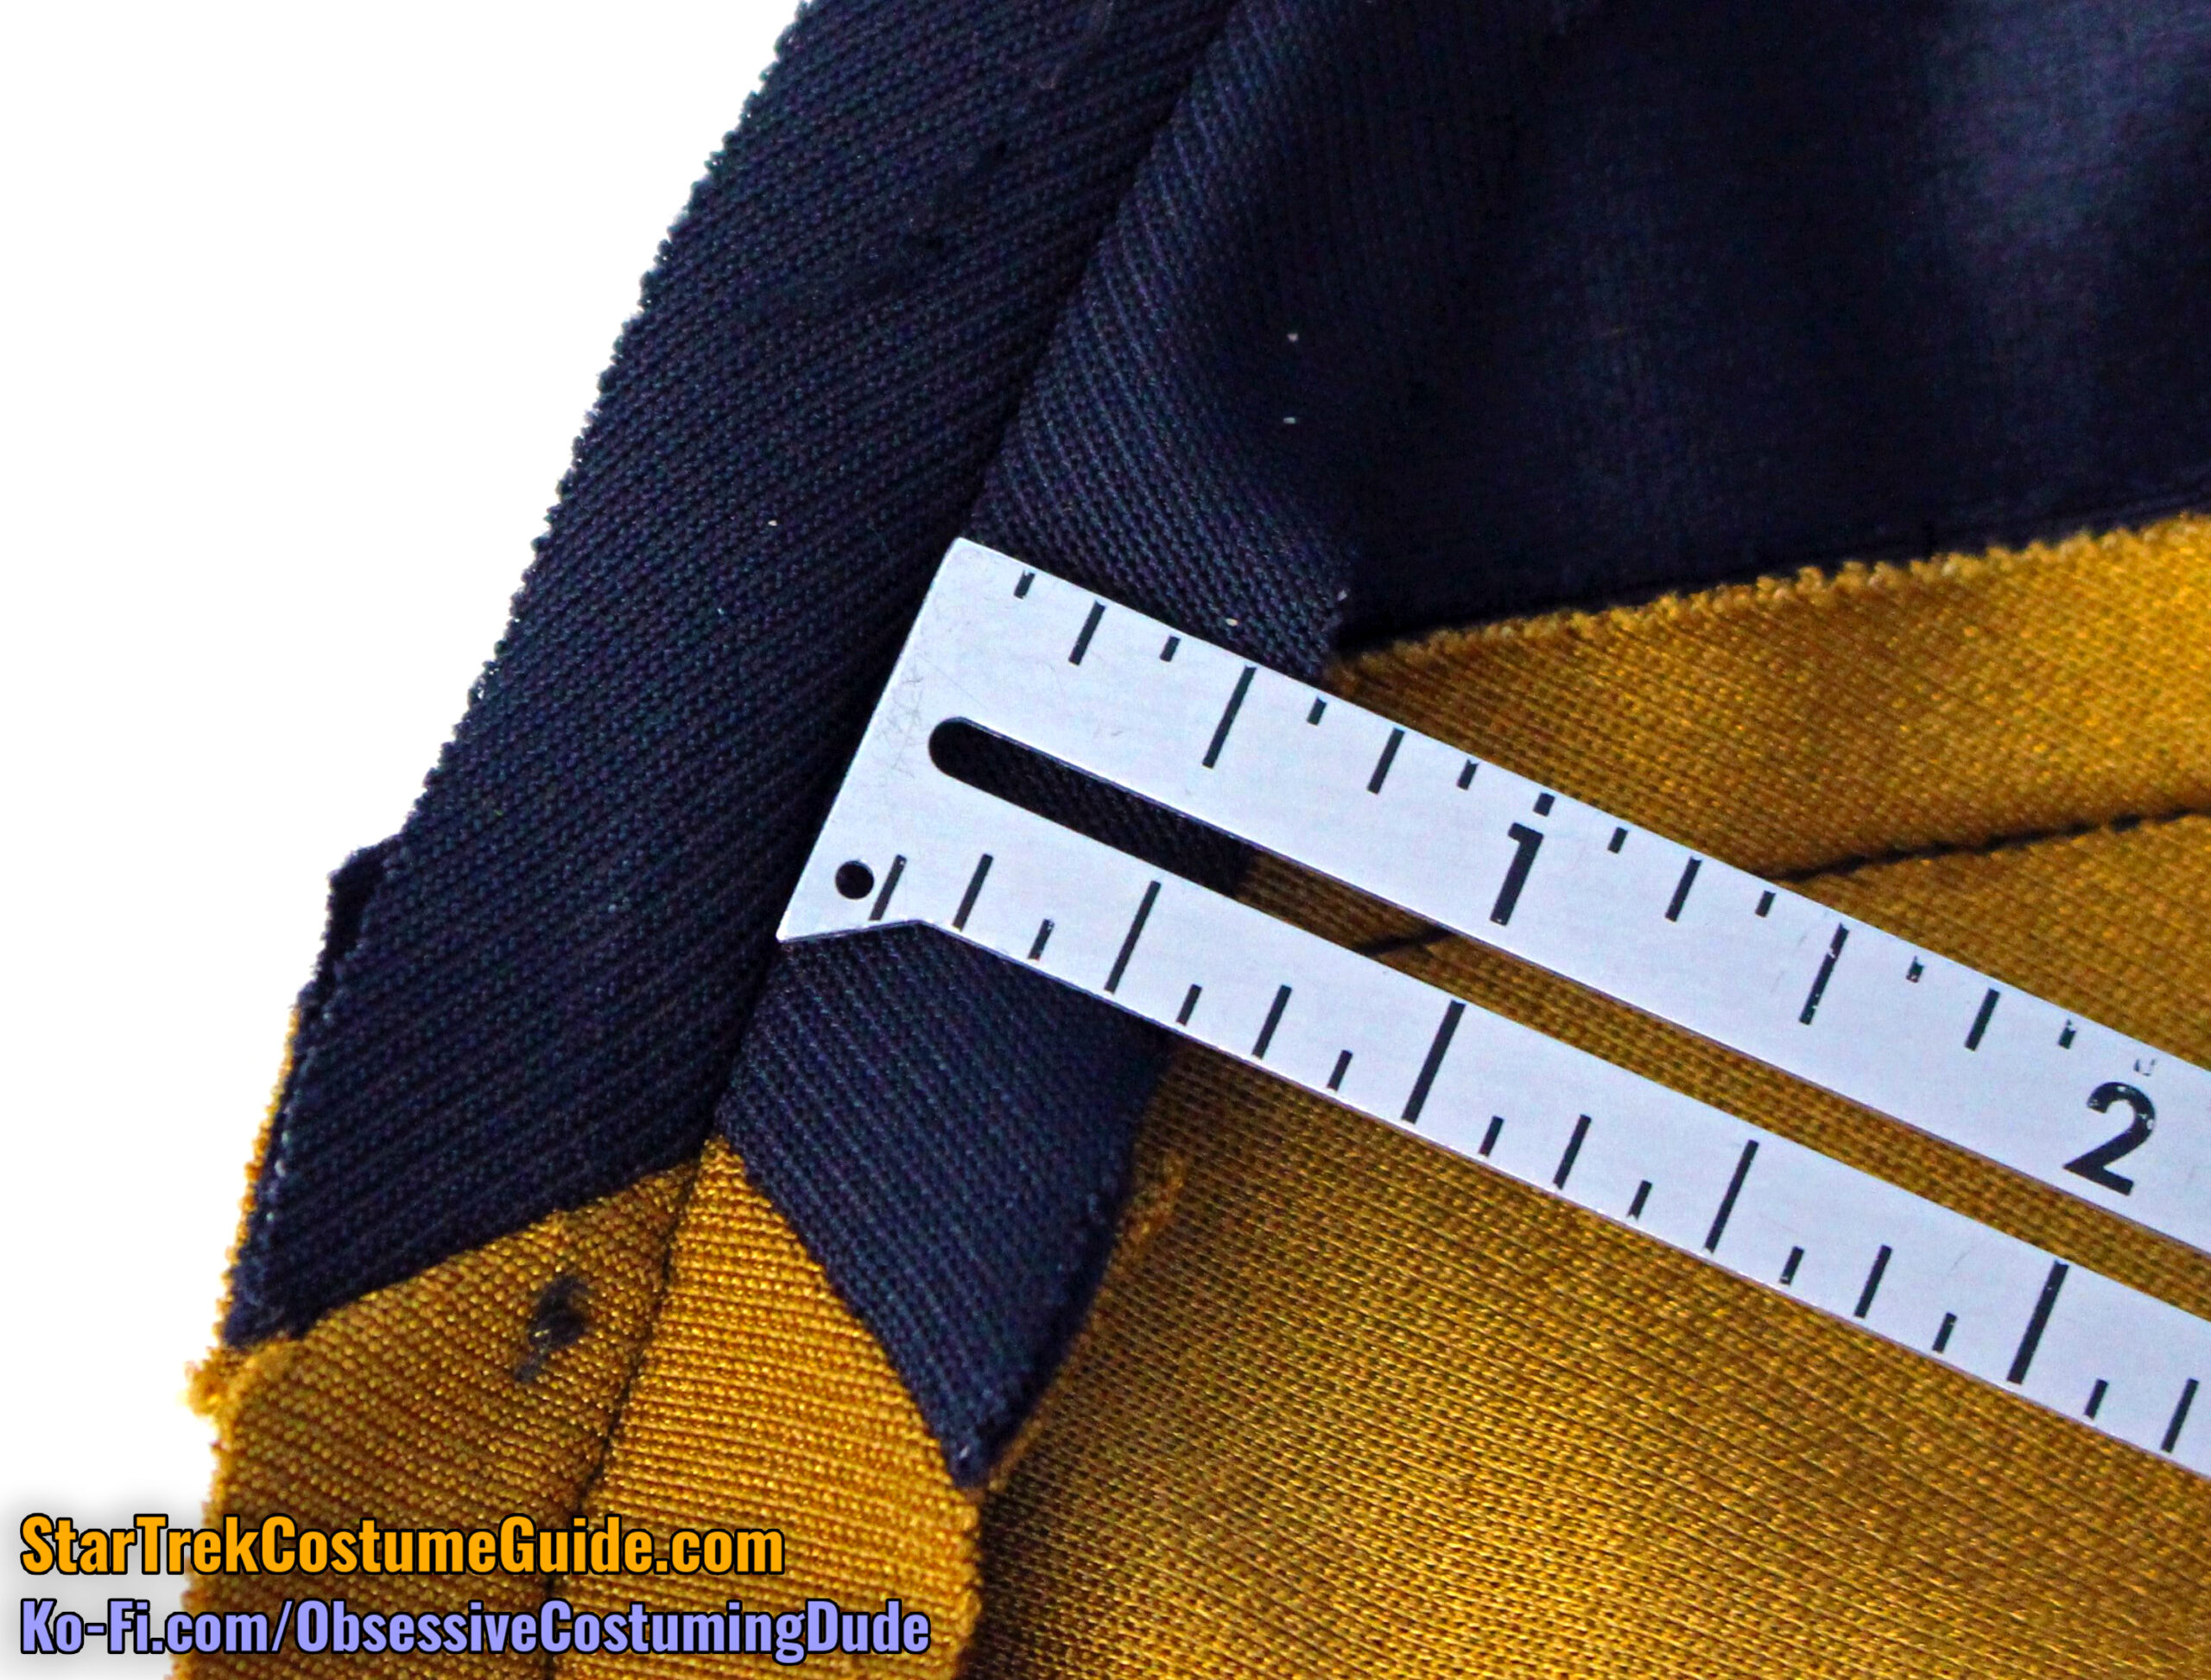
The shoulder seam allowances varied a bit; sometimes they were upwards of ½”, but as little as ¼” and as much as ⅝”.
For what it’s worth, I believe the original patterned seam allowances were an even ½”, but the otherwise-finished jumpsuit was altered to better Denise Crosby after a test fitting.
The upper/lower yoke seam allowances were ½”, with the yoke piping seam allowances (sometimes) trimmed down to ⅜”.
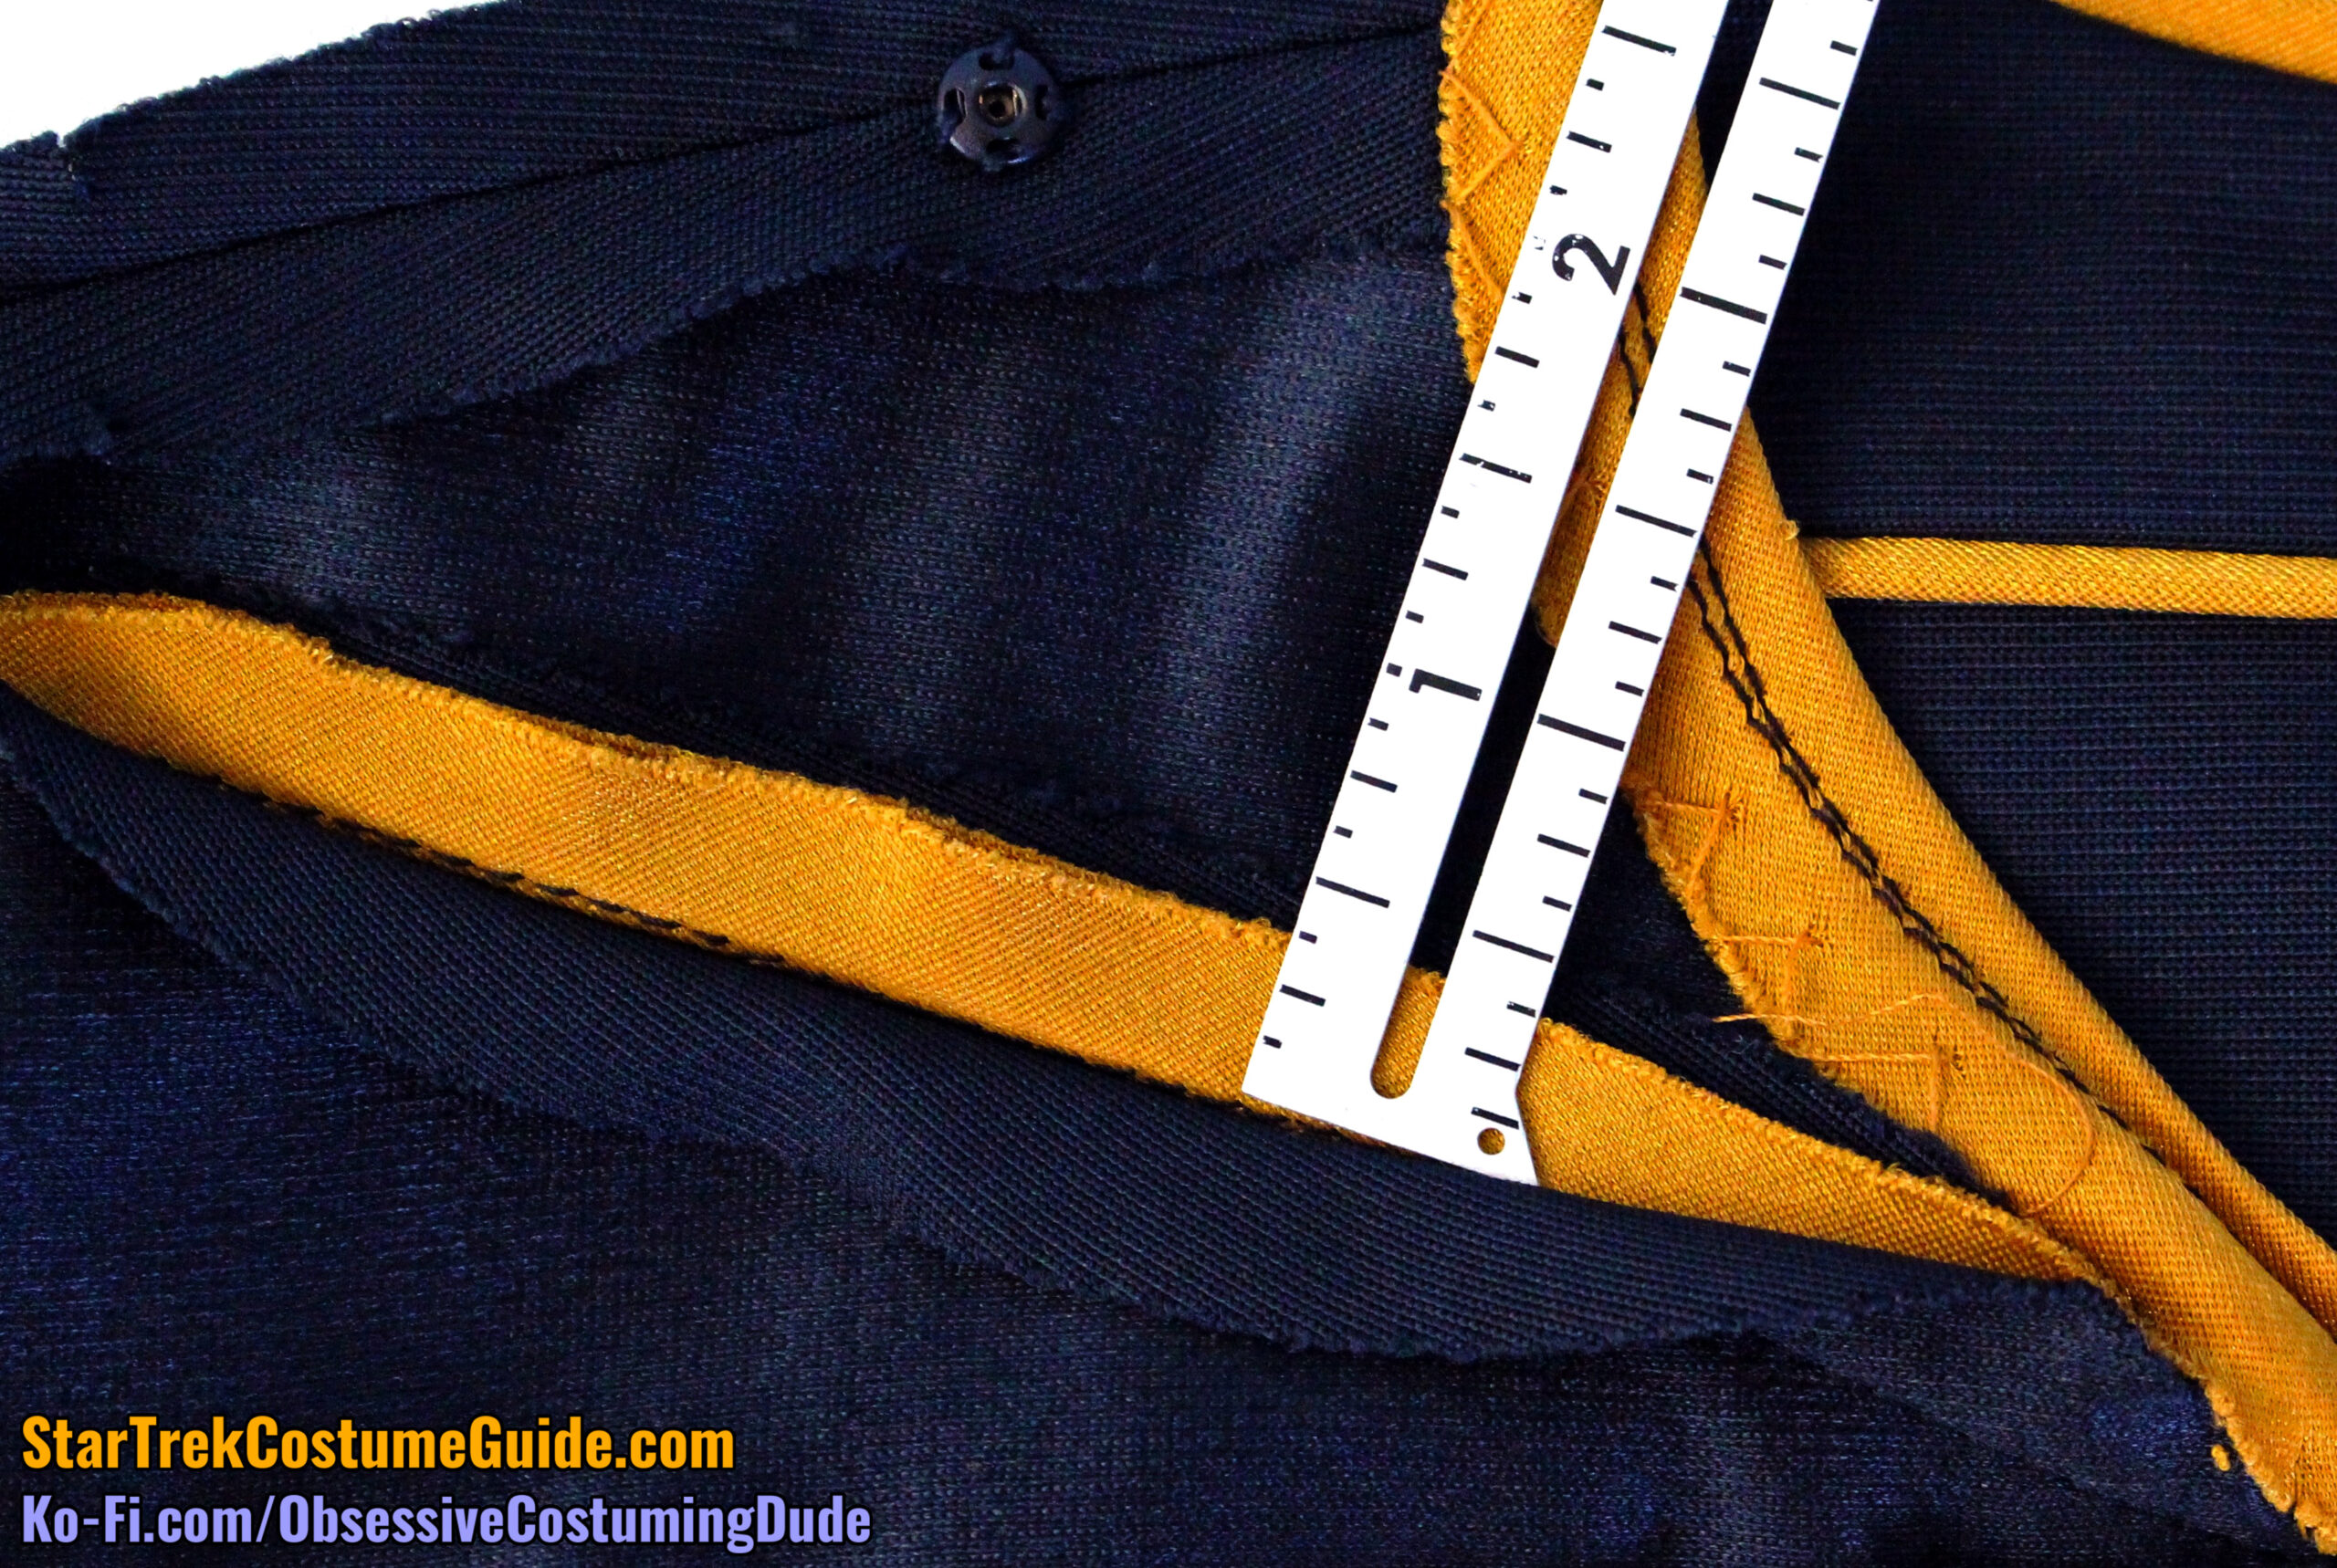
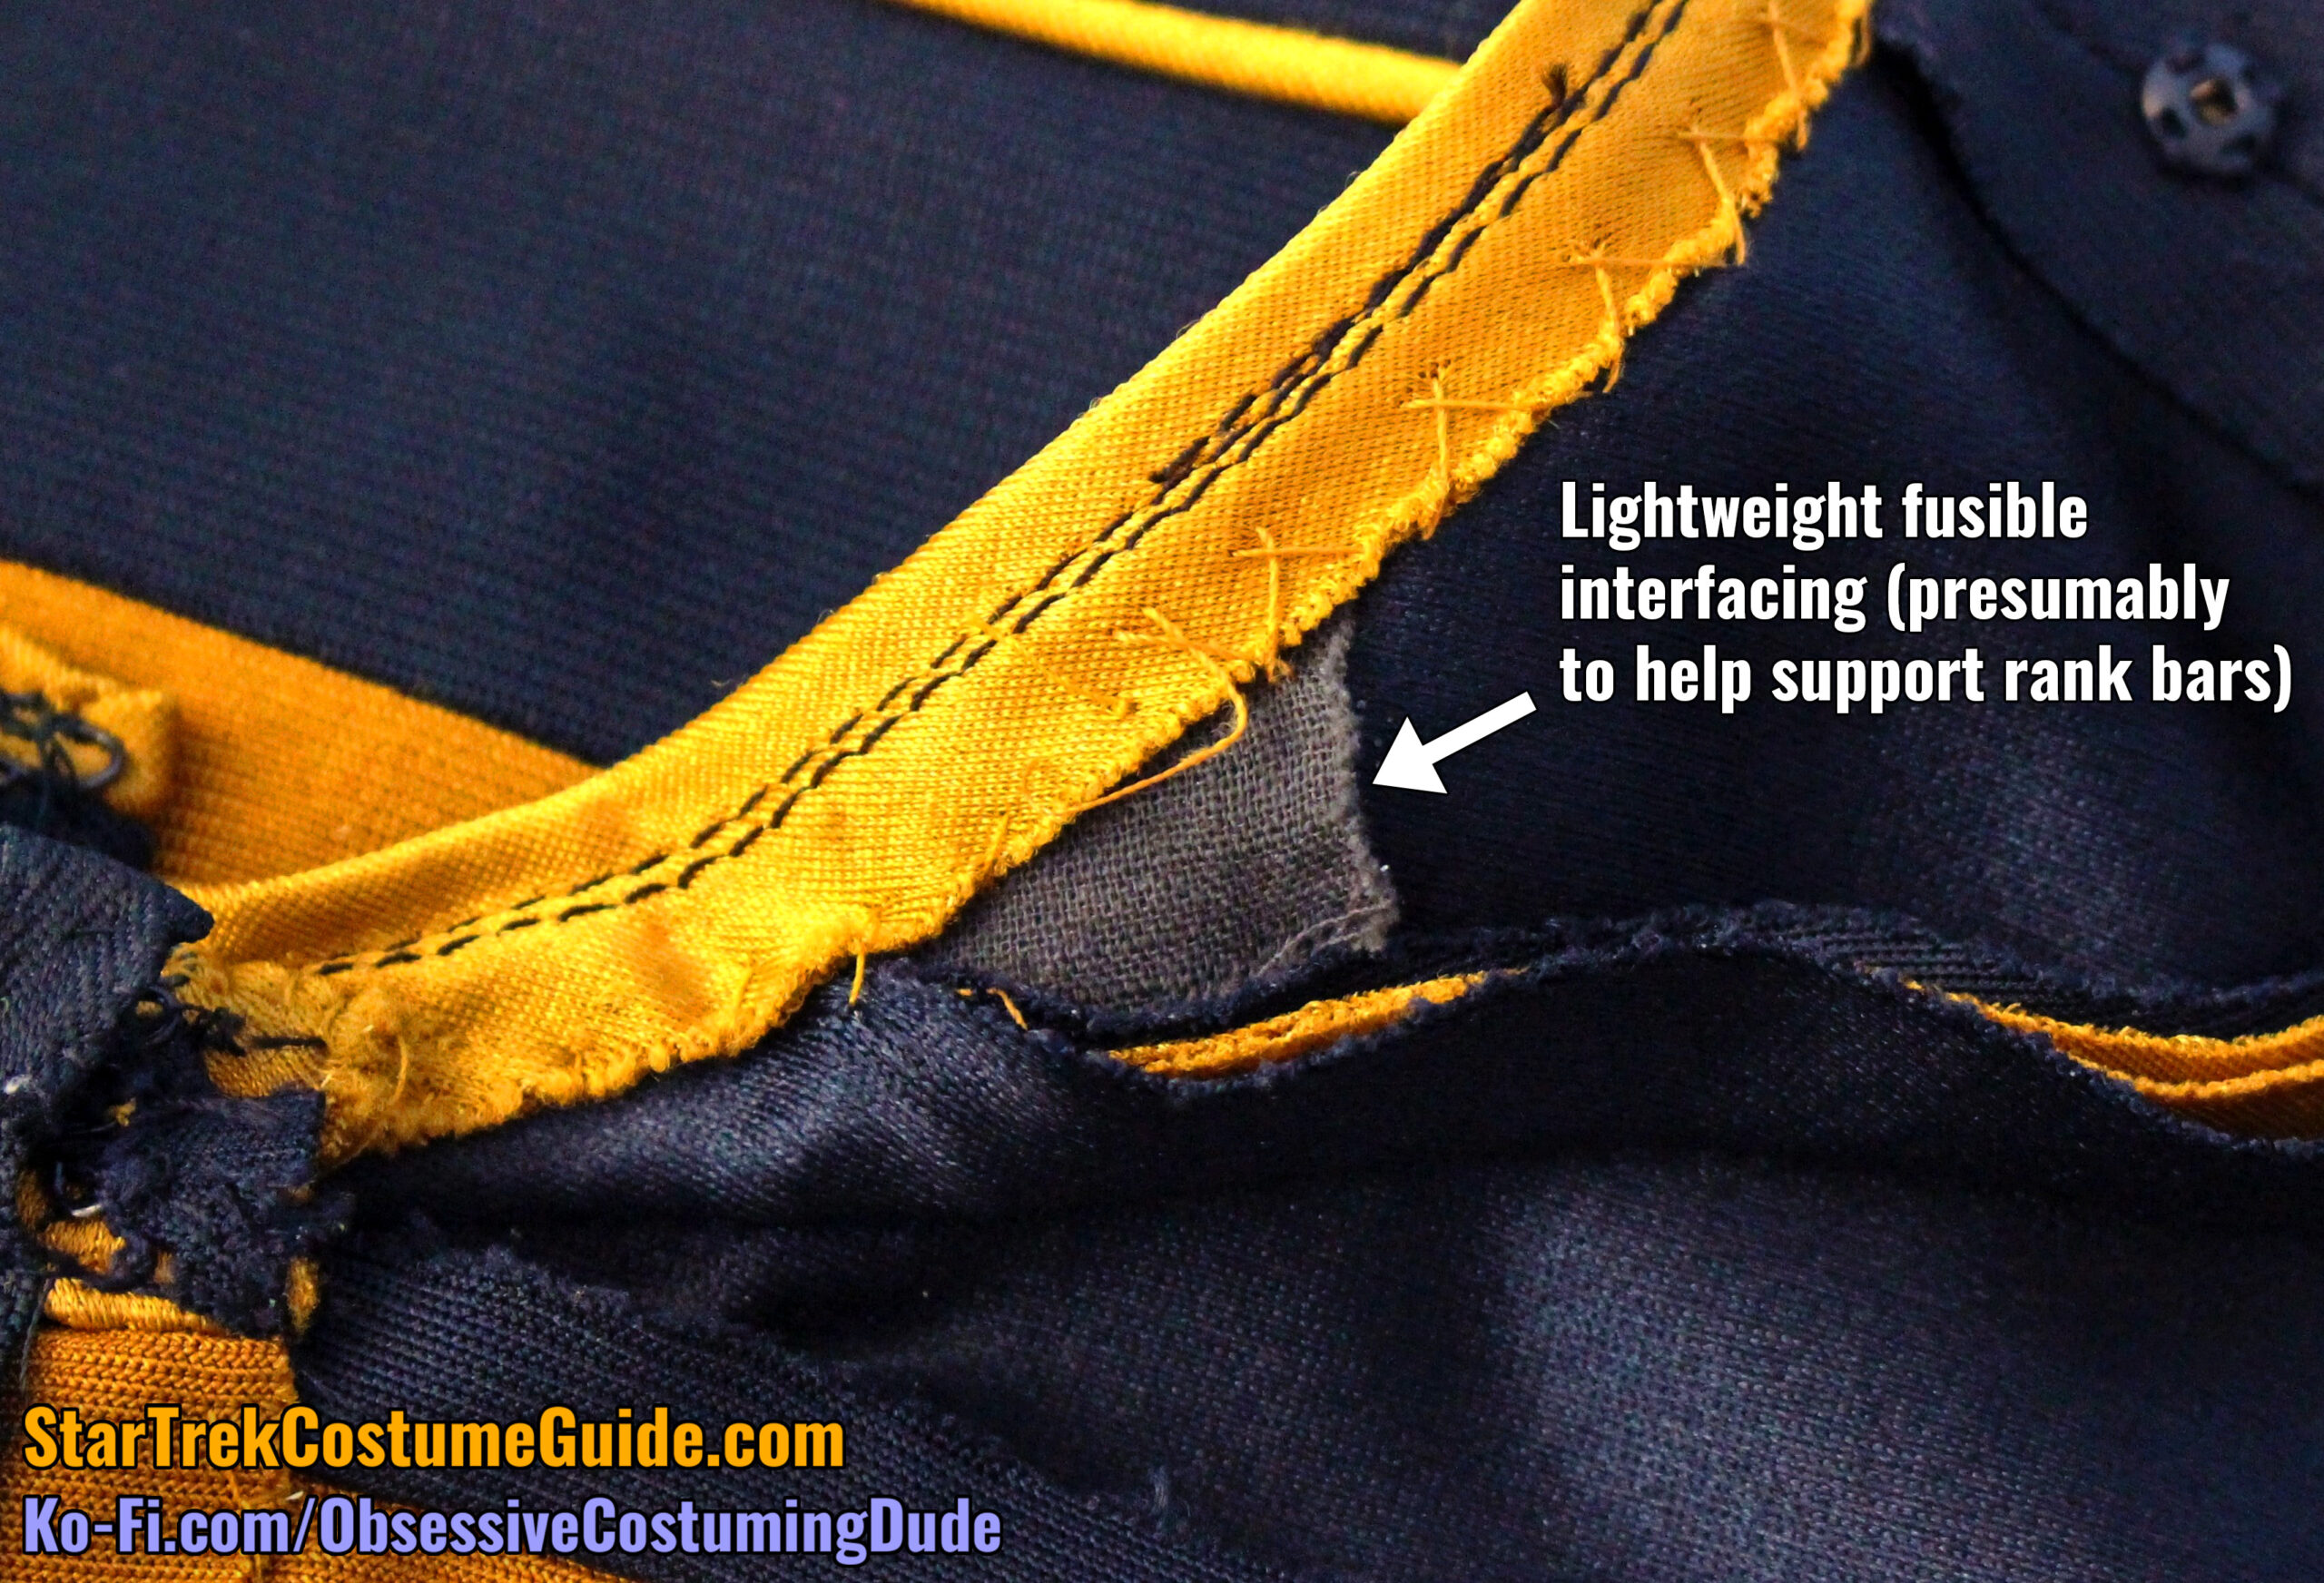
The upper right front area was reinforced with a lightweight fusible interfacing, presumably to provide support for the rank bars.
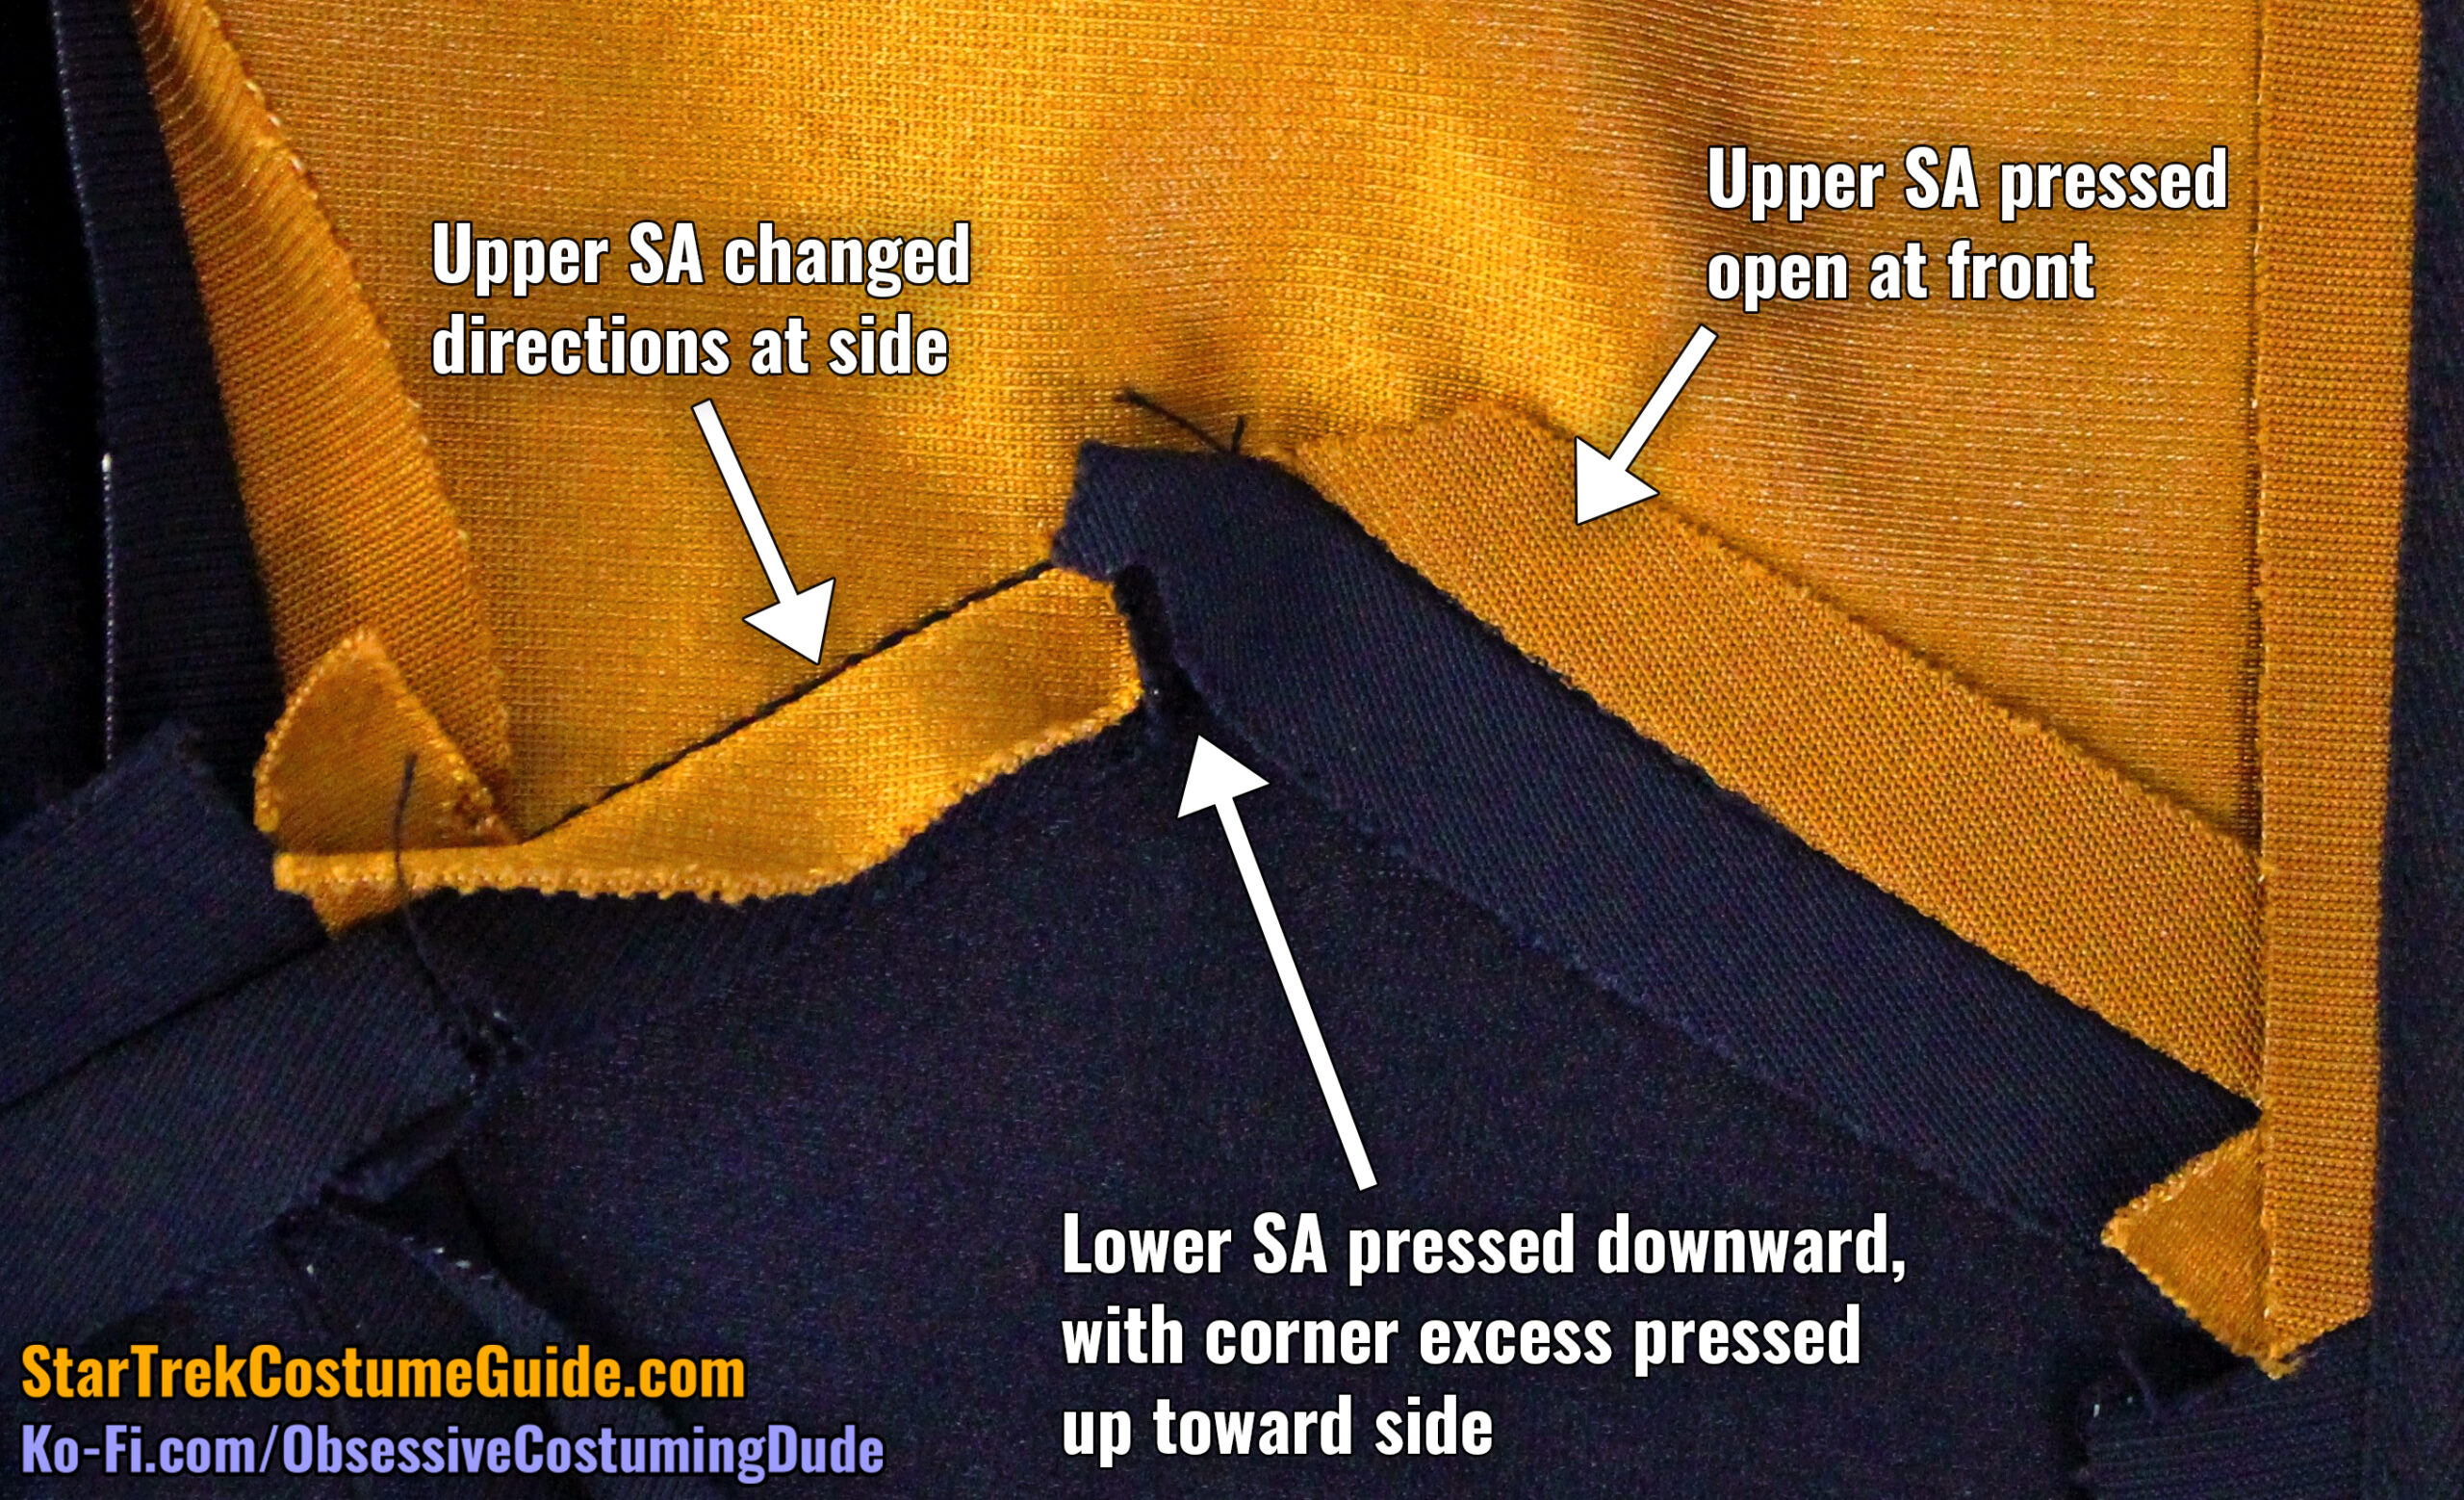
Both front yoke/body seam allowances changed directions from the center front to the sleeve seams.
They were pressed open at the center front, but the lower body/sleeve seam allowance reversed toward the armscye seam and both seam allowances were pressed (and sewn in) upward at the sleeve seam.
The same was true for the back yoke/body seam allowances.
(William Ware Theiss seems to have had absolutely NO problem with seam allowances changing direction over the course of a seam.)
Both the front and back upper armscye seam allowances were pressed open.
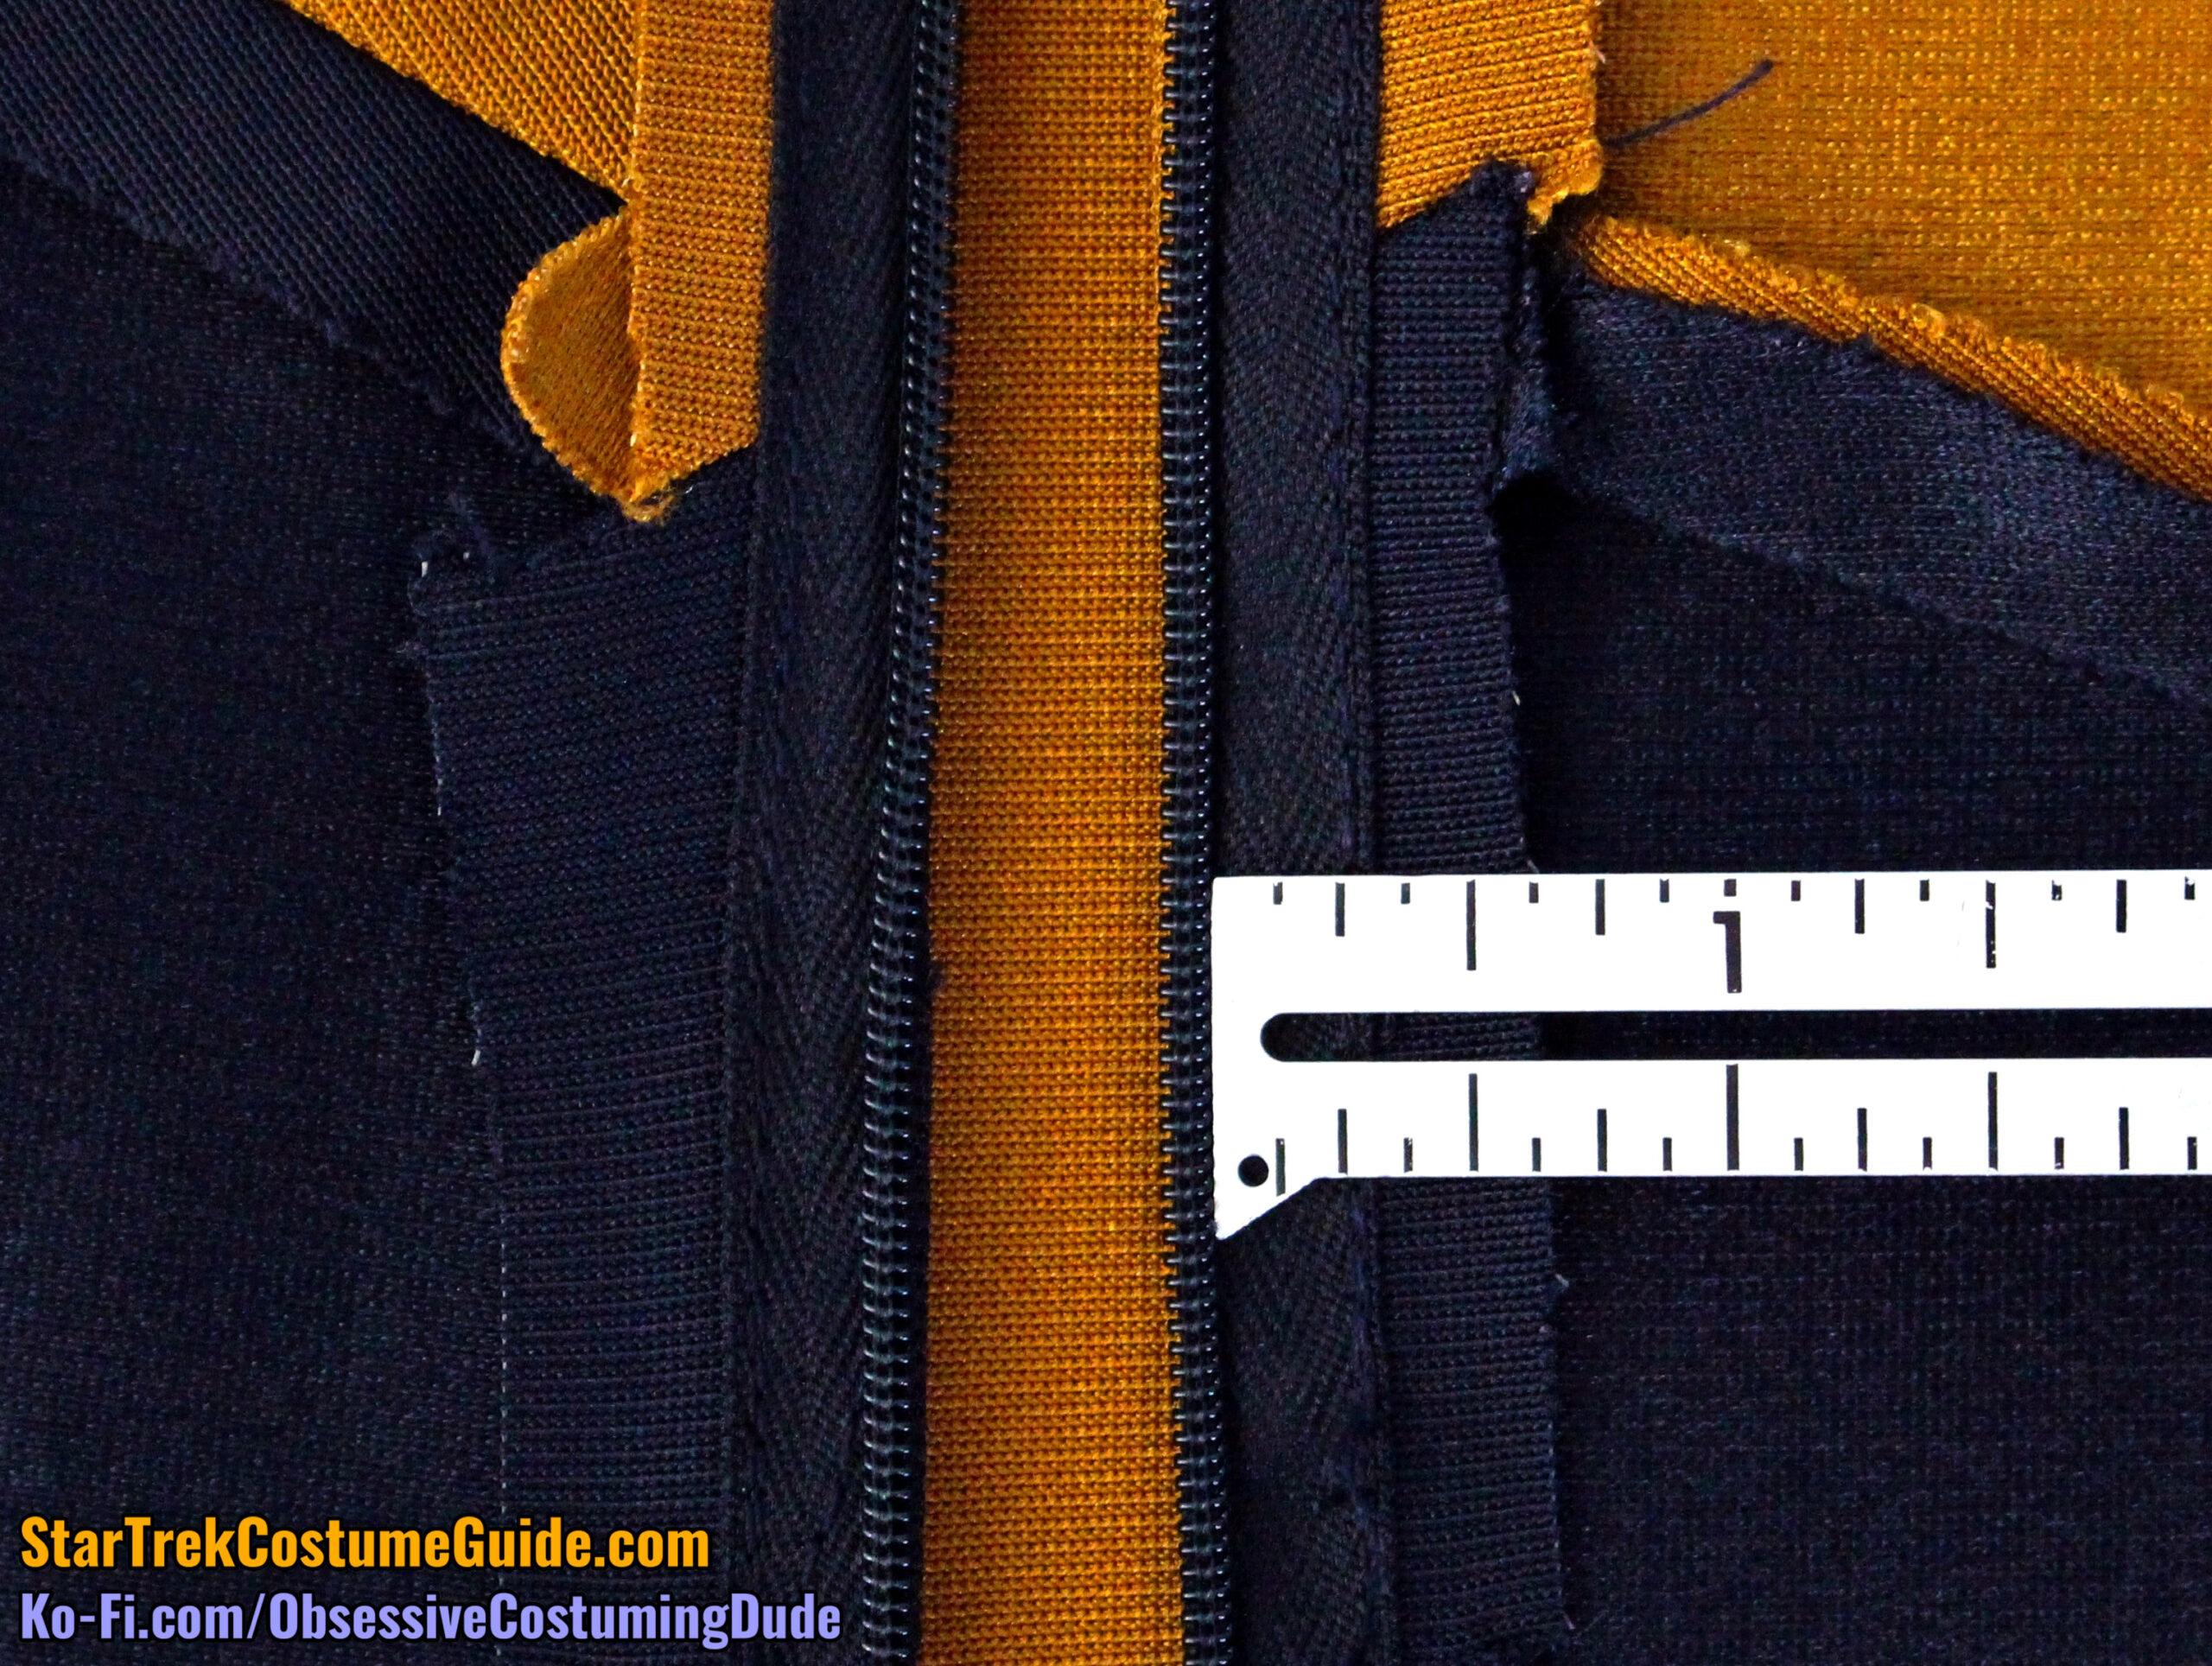
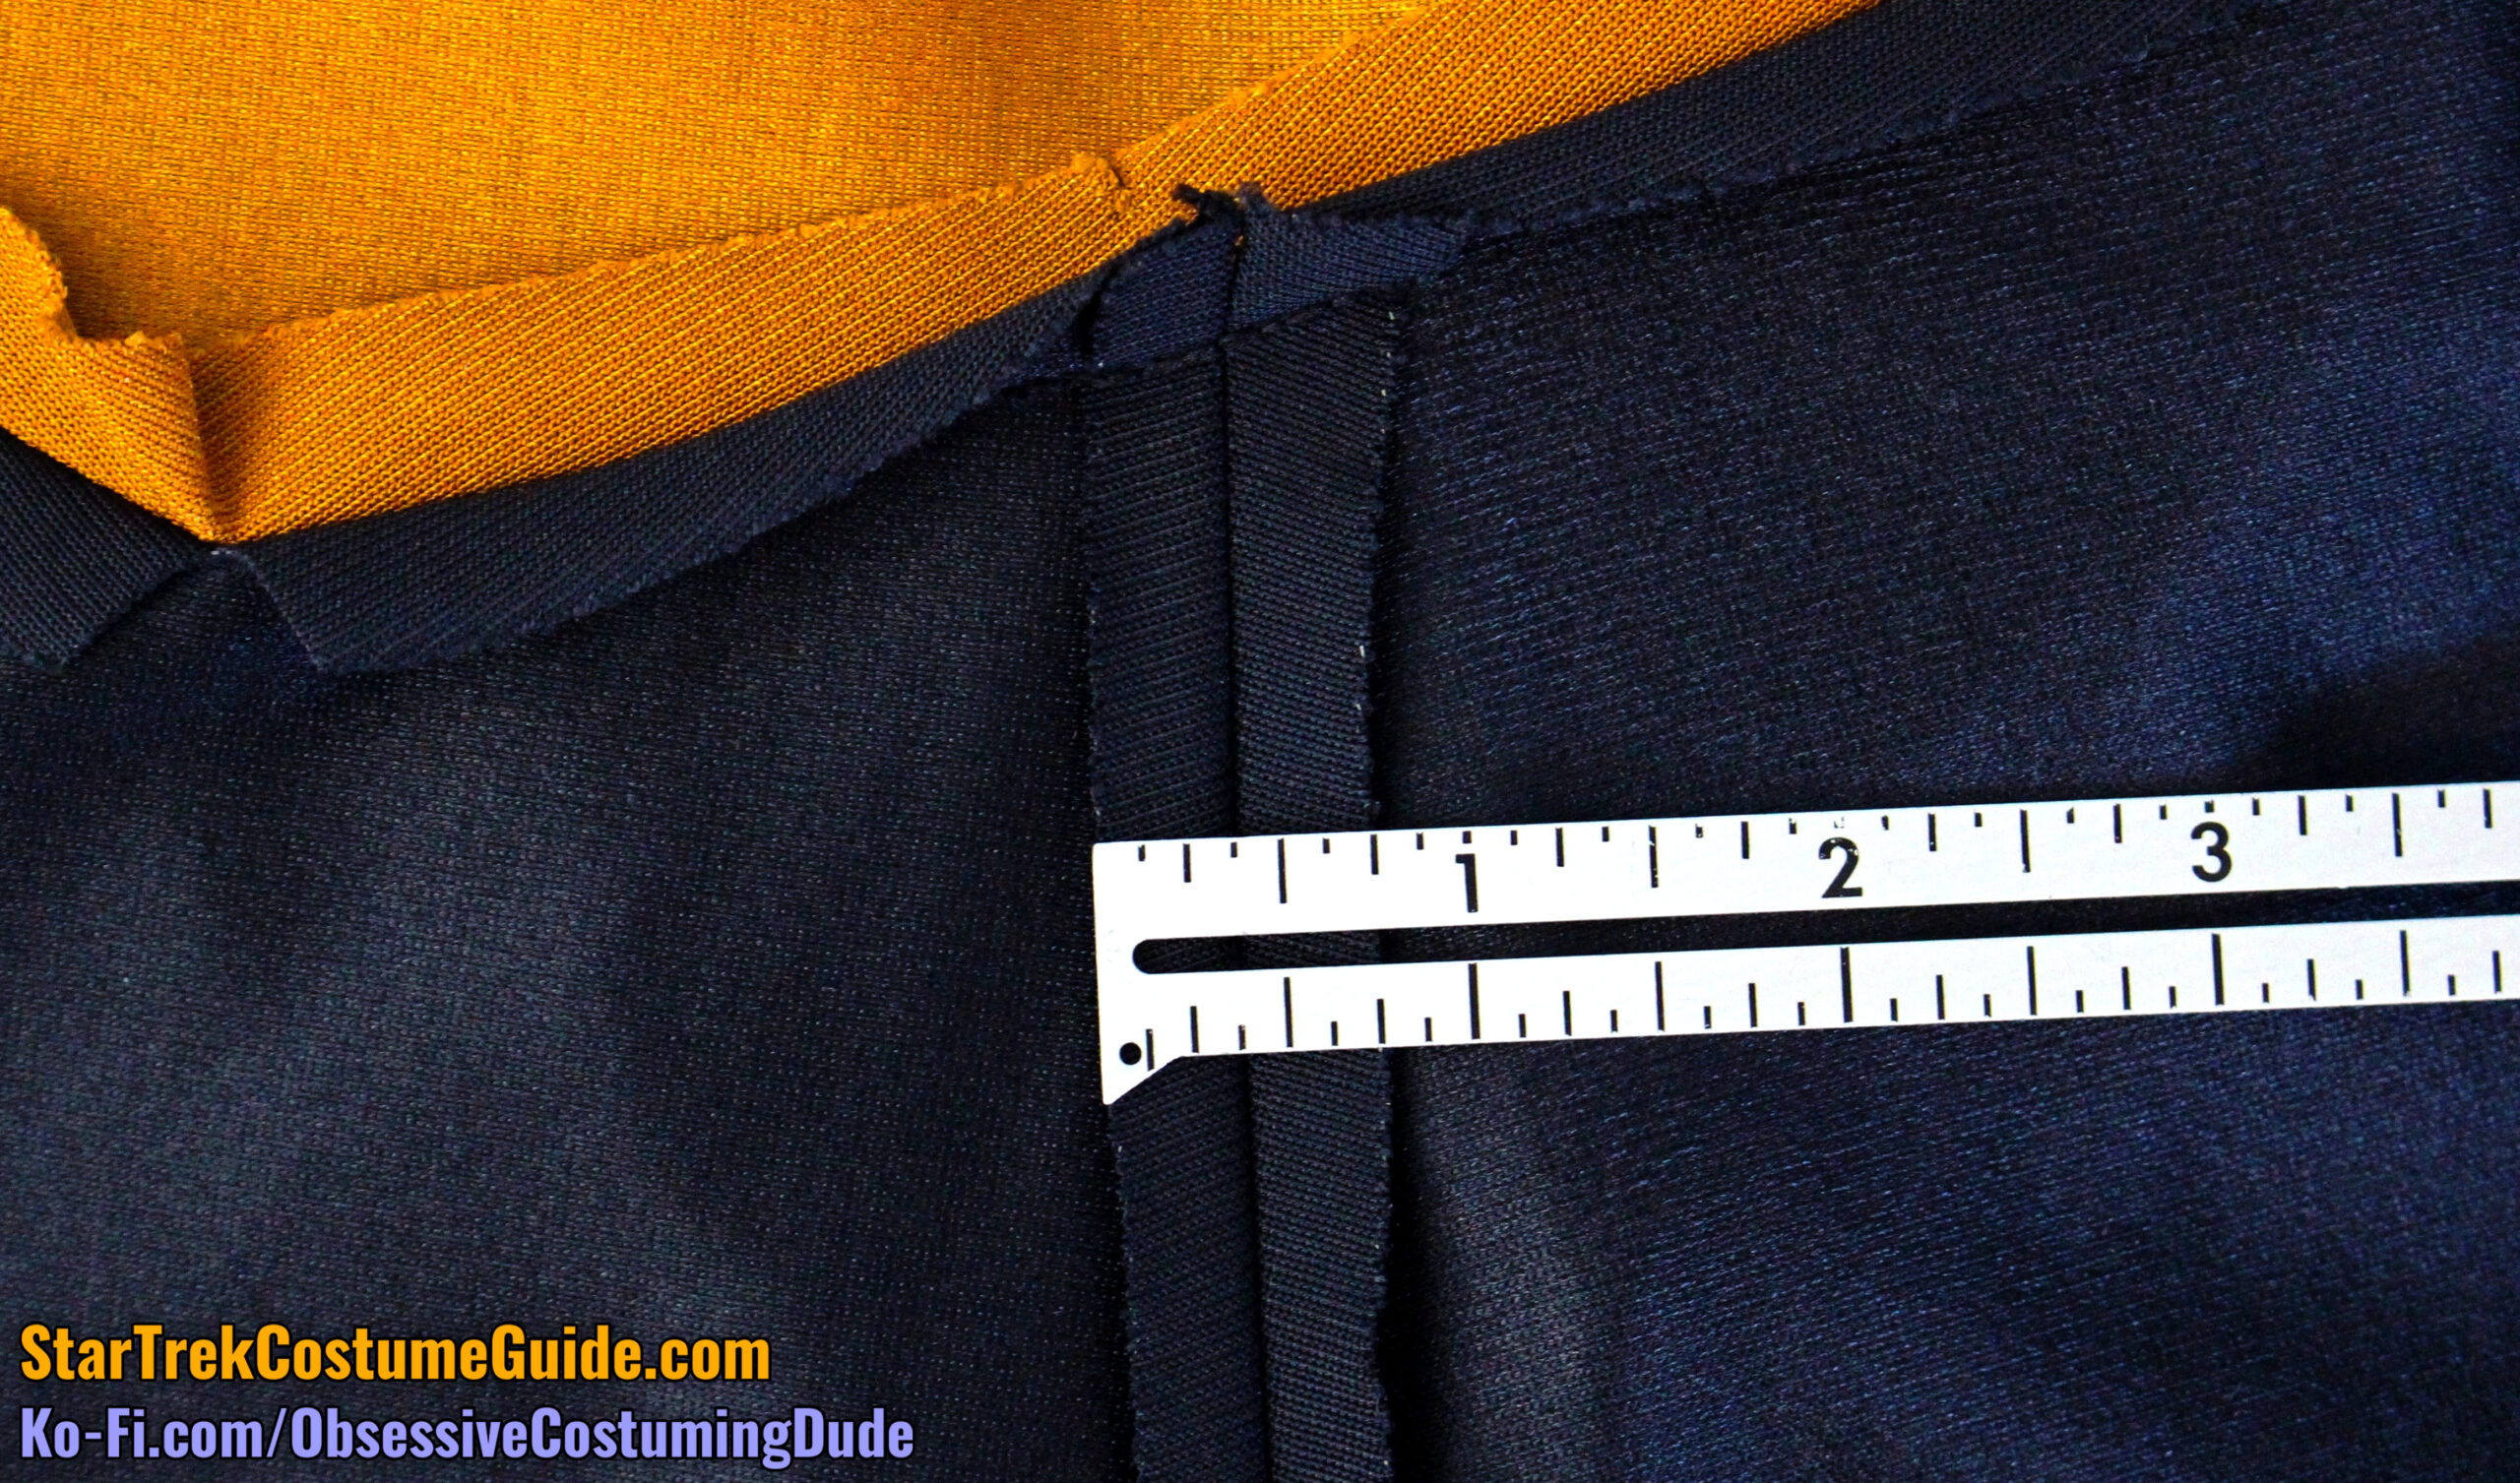
The center front/zipper seam allowance was a bit inconsistent … approximately ¾” near the top, widening to ⅞” down toward the waist, and narrowing to ⅝” down toward the hips.
(For what it’s worth, I believe the original patterned seam allowance may have been an even ¾”, but this area of the jumpsuit was also slightly altered to better fit Denise Crosby after a test fitting.)
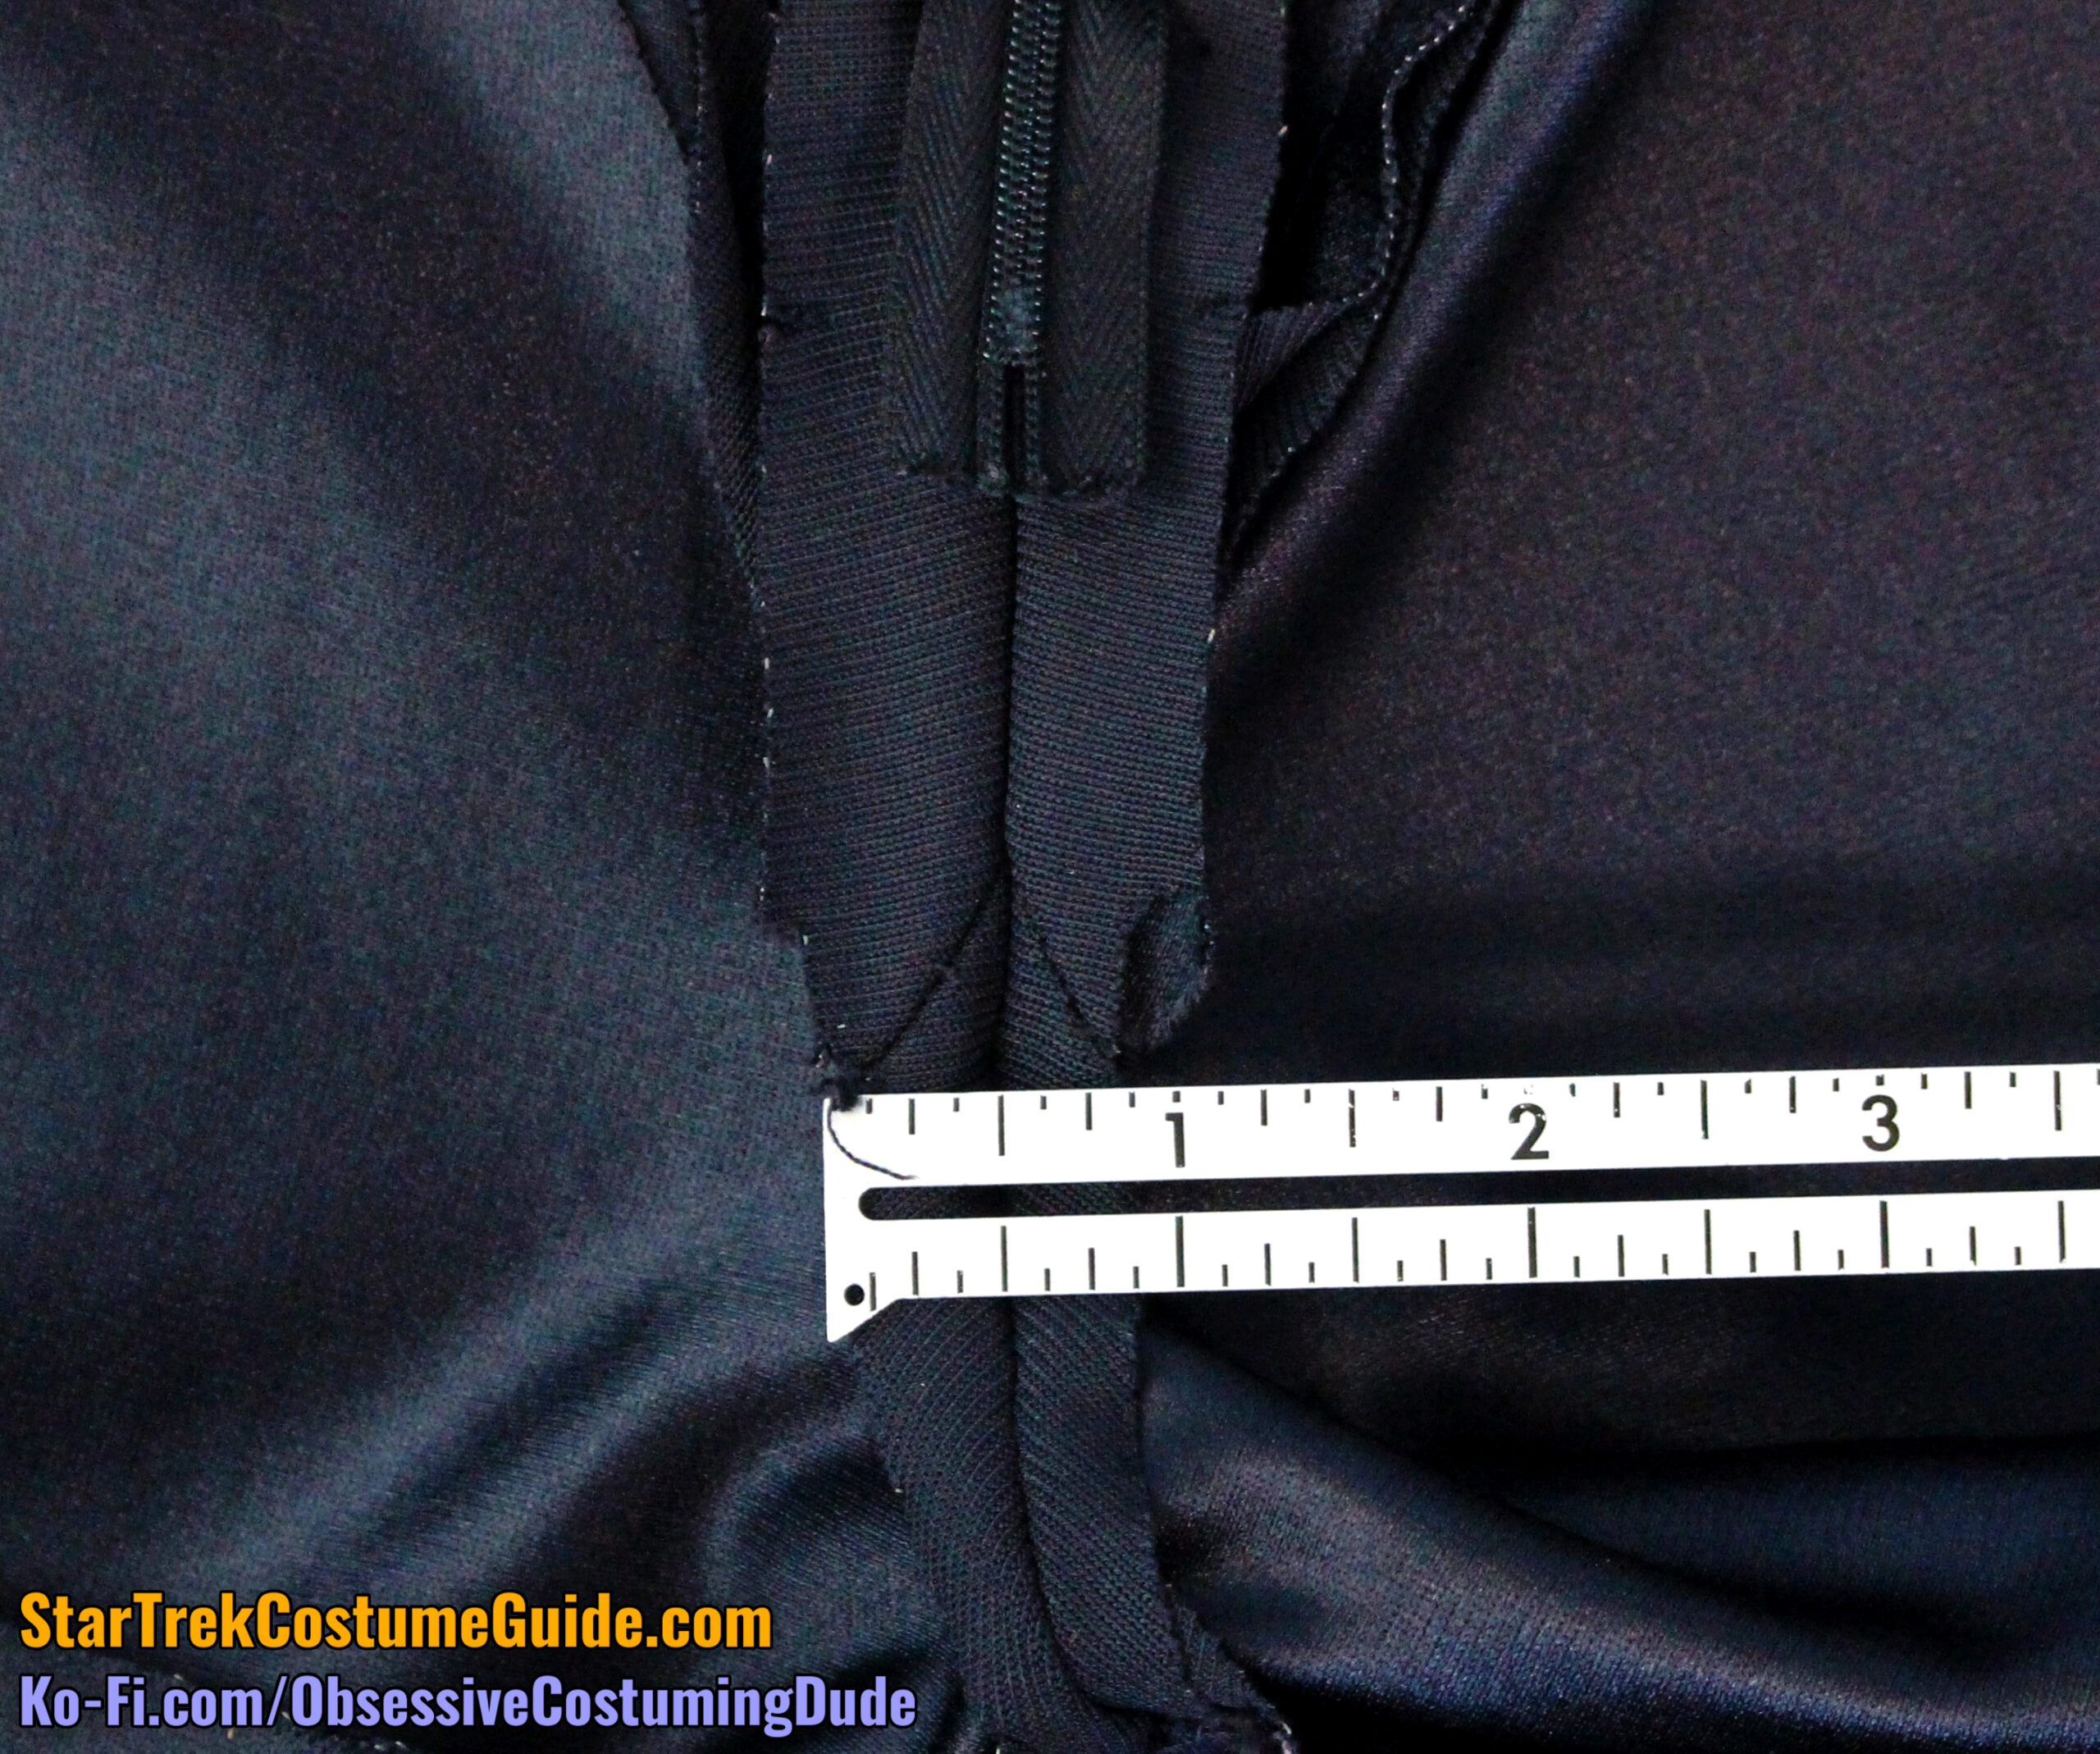
Beneath the zipper, the crotch seam allowances were just over ⅜”.
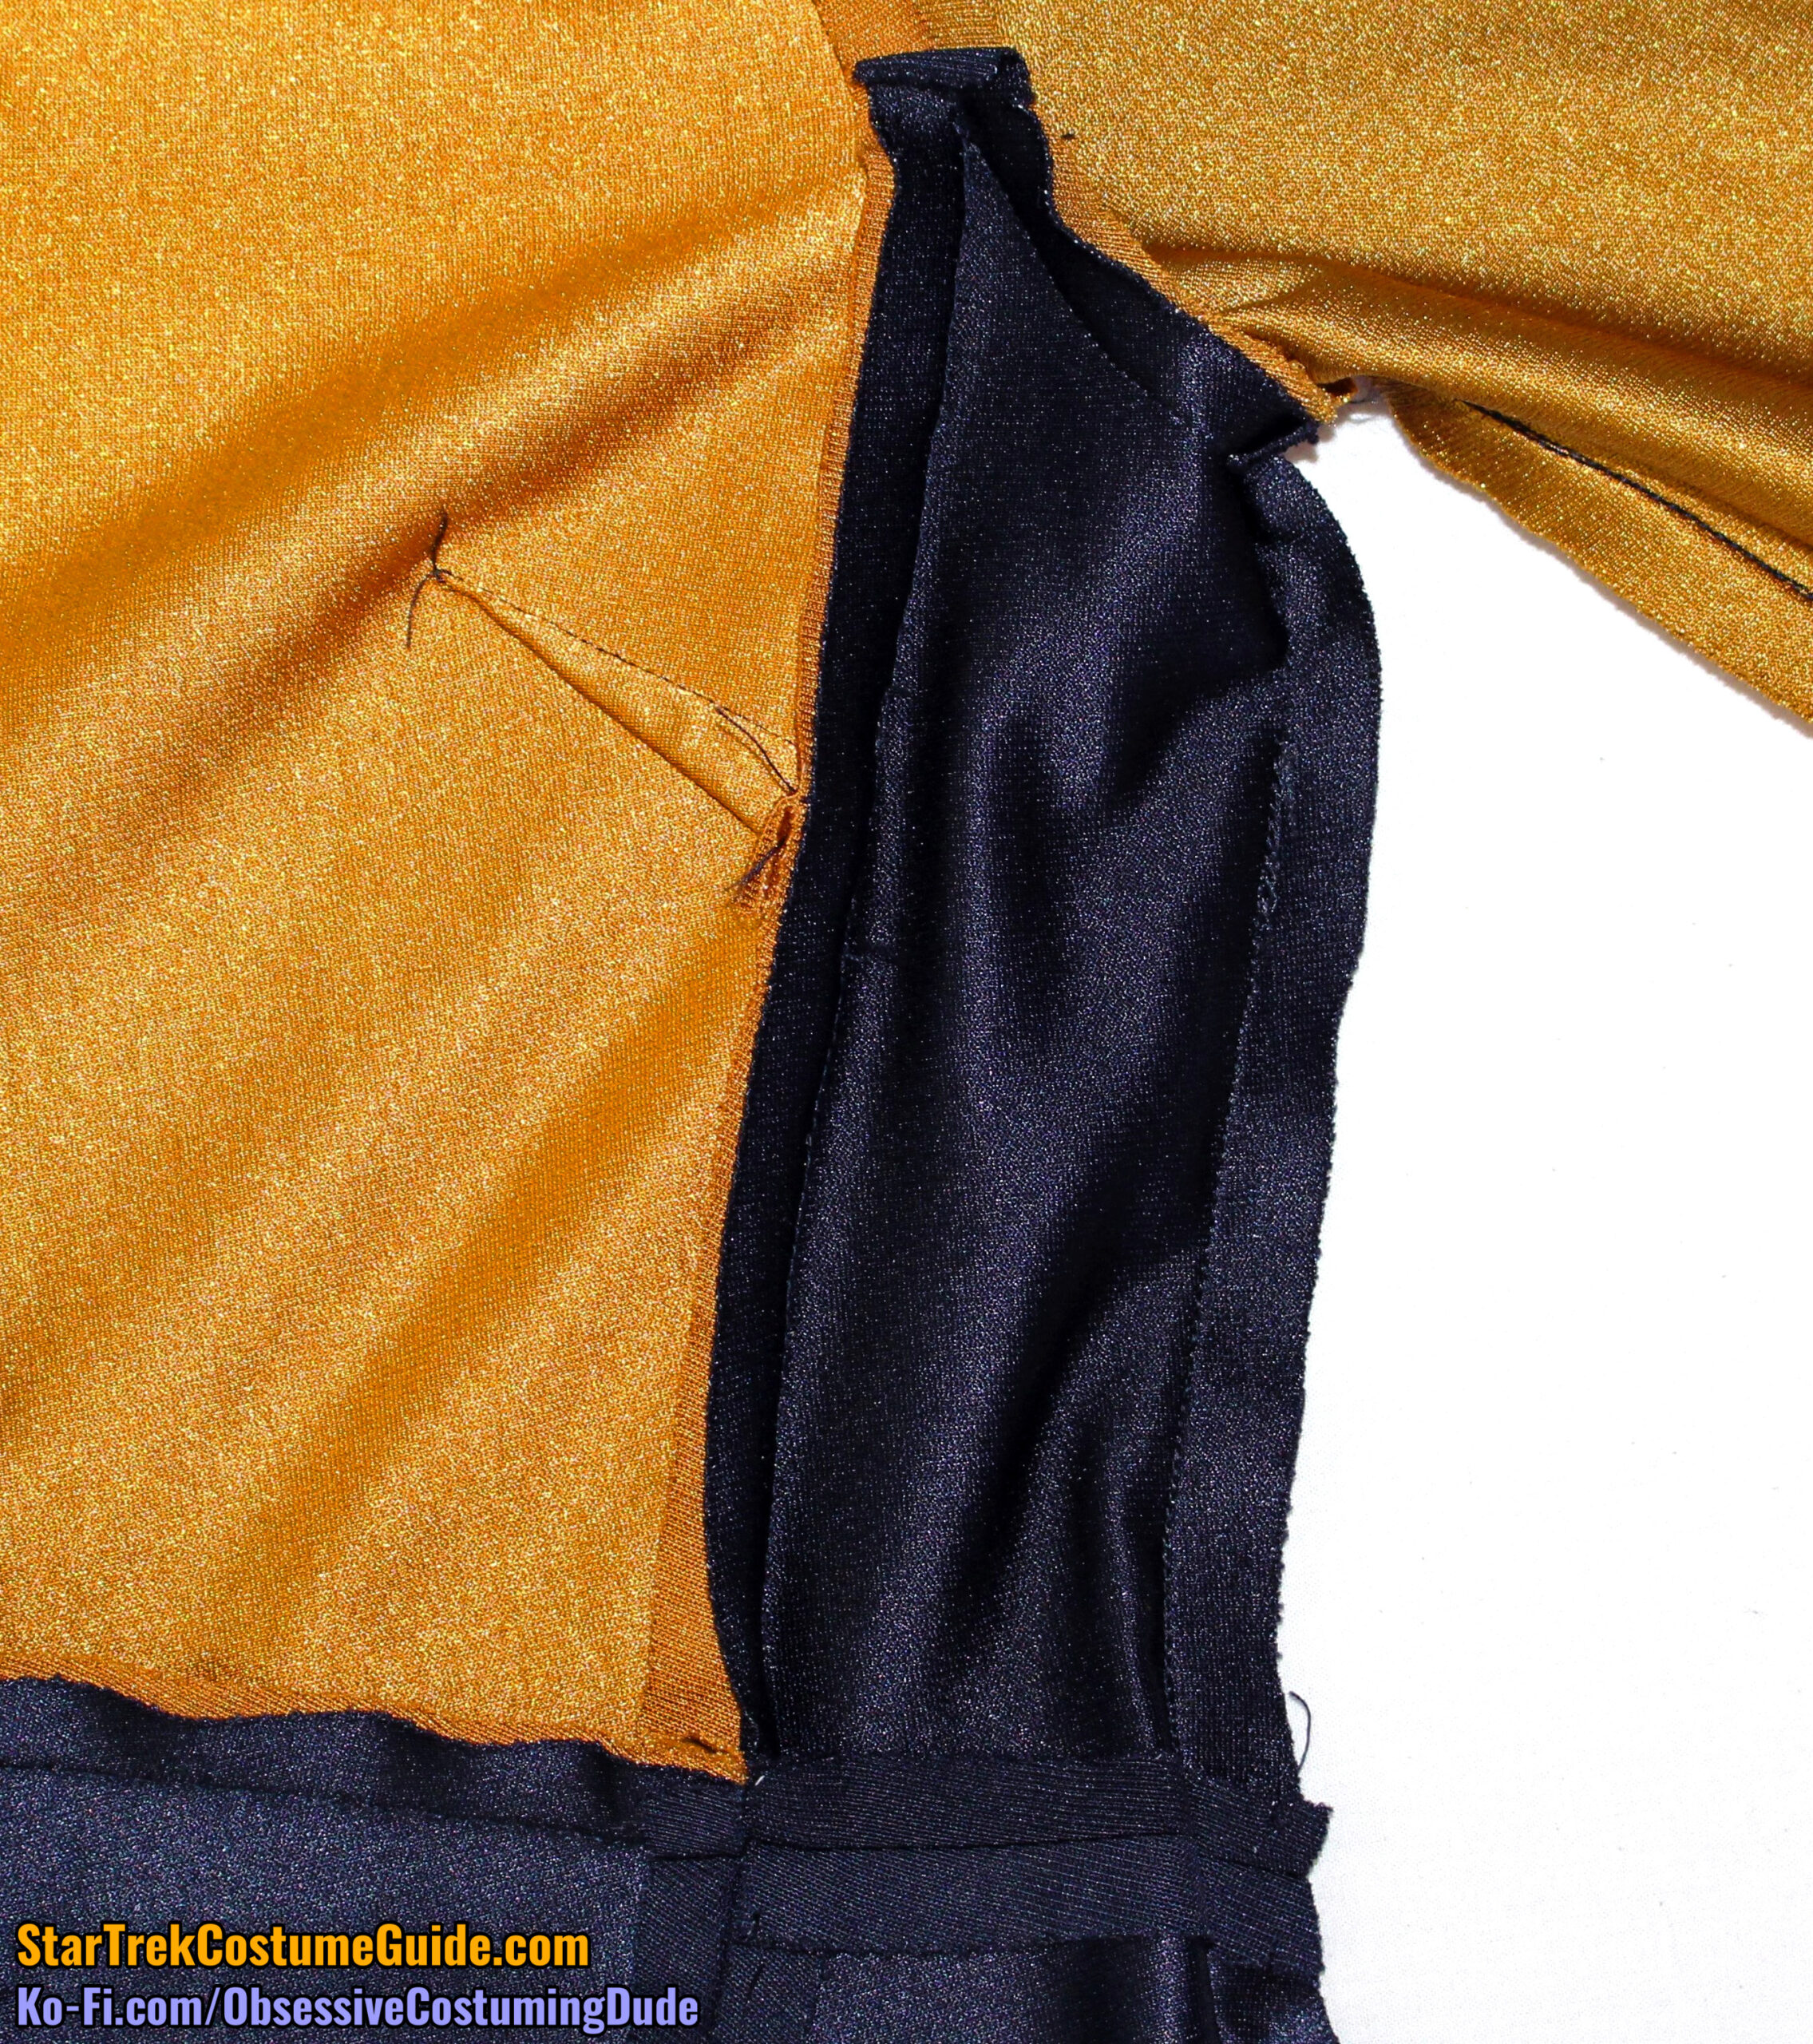
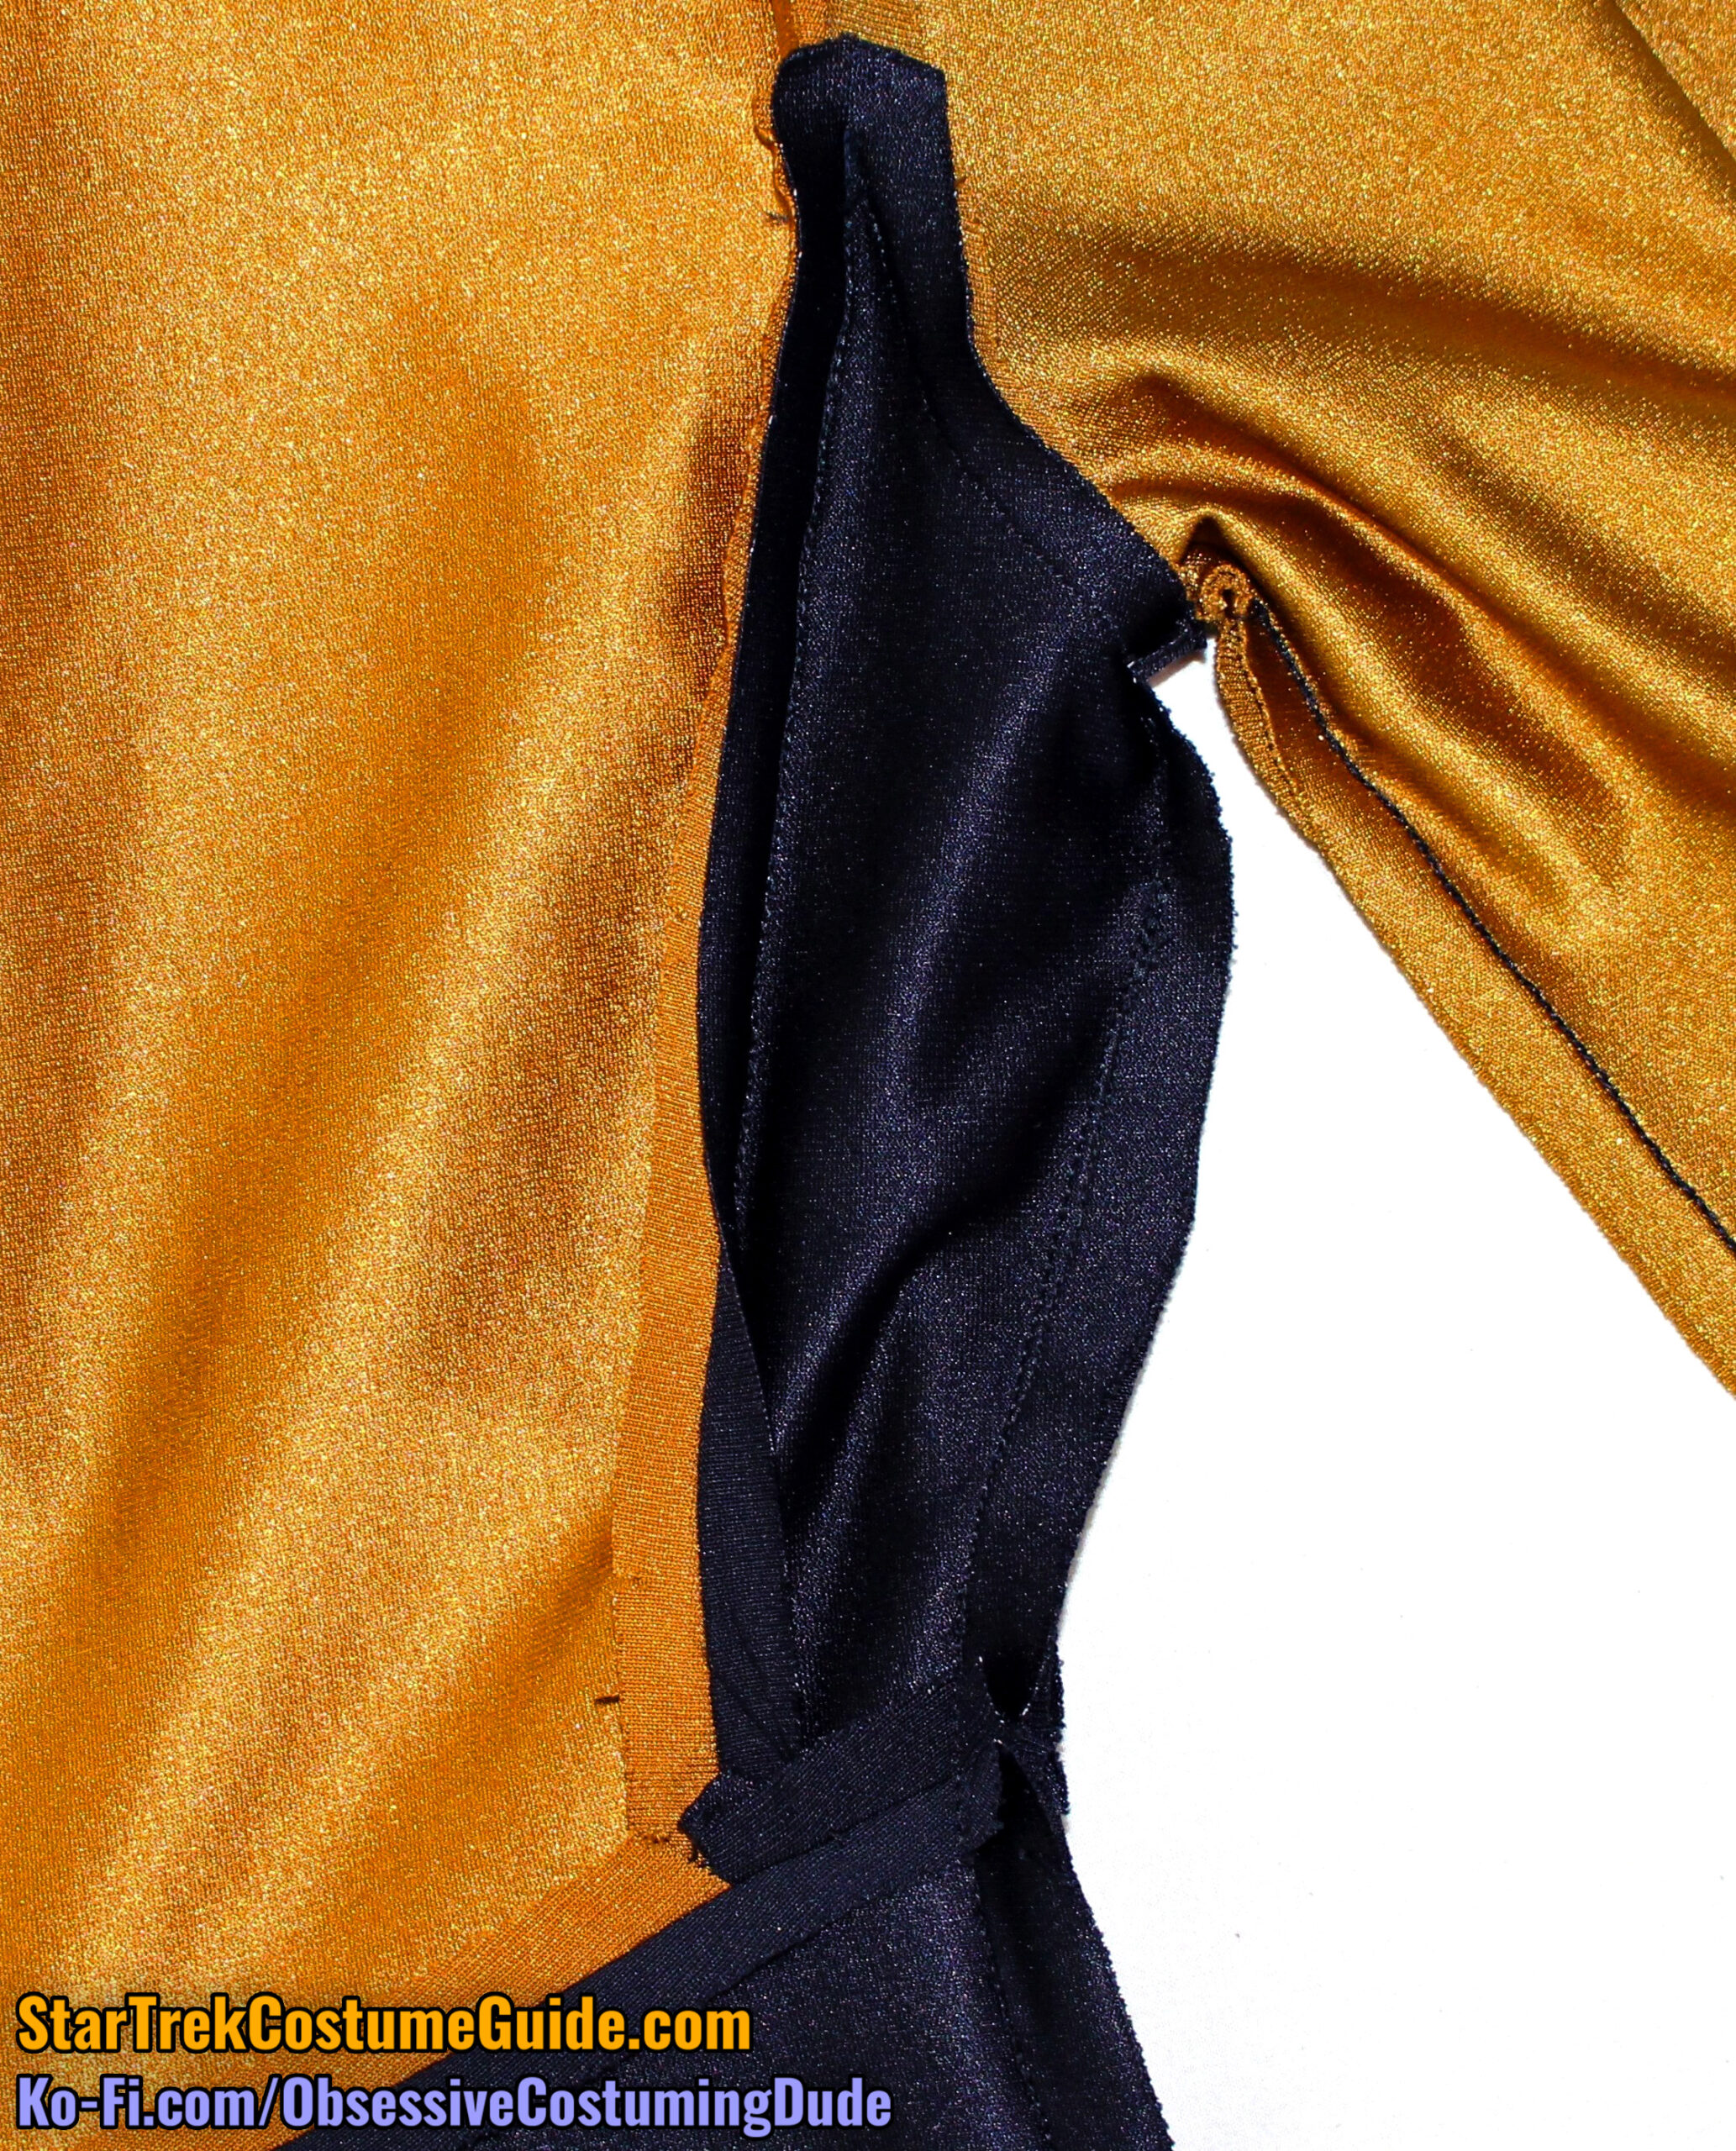
Both the side front and side back seam allowances also changed directions; they were mostly pressed toward the front and back body panels, respectively, but toward the bottom they were pressed (and sewn into the waist seam) open.
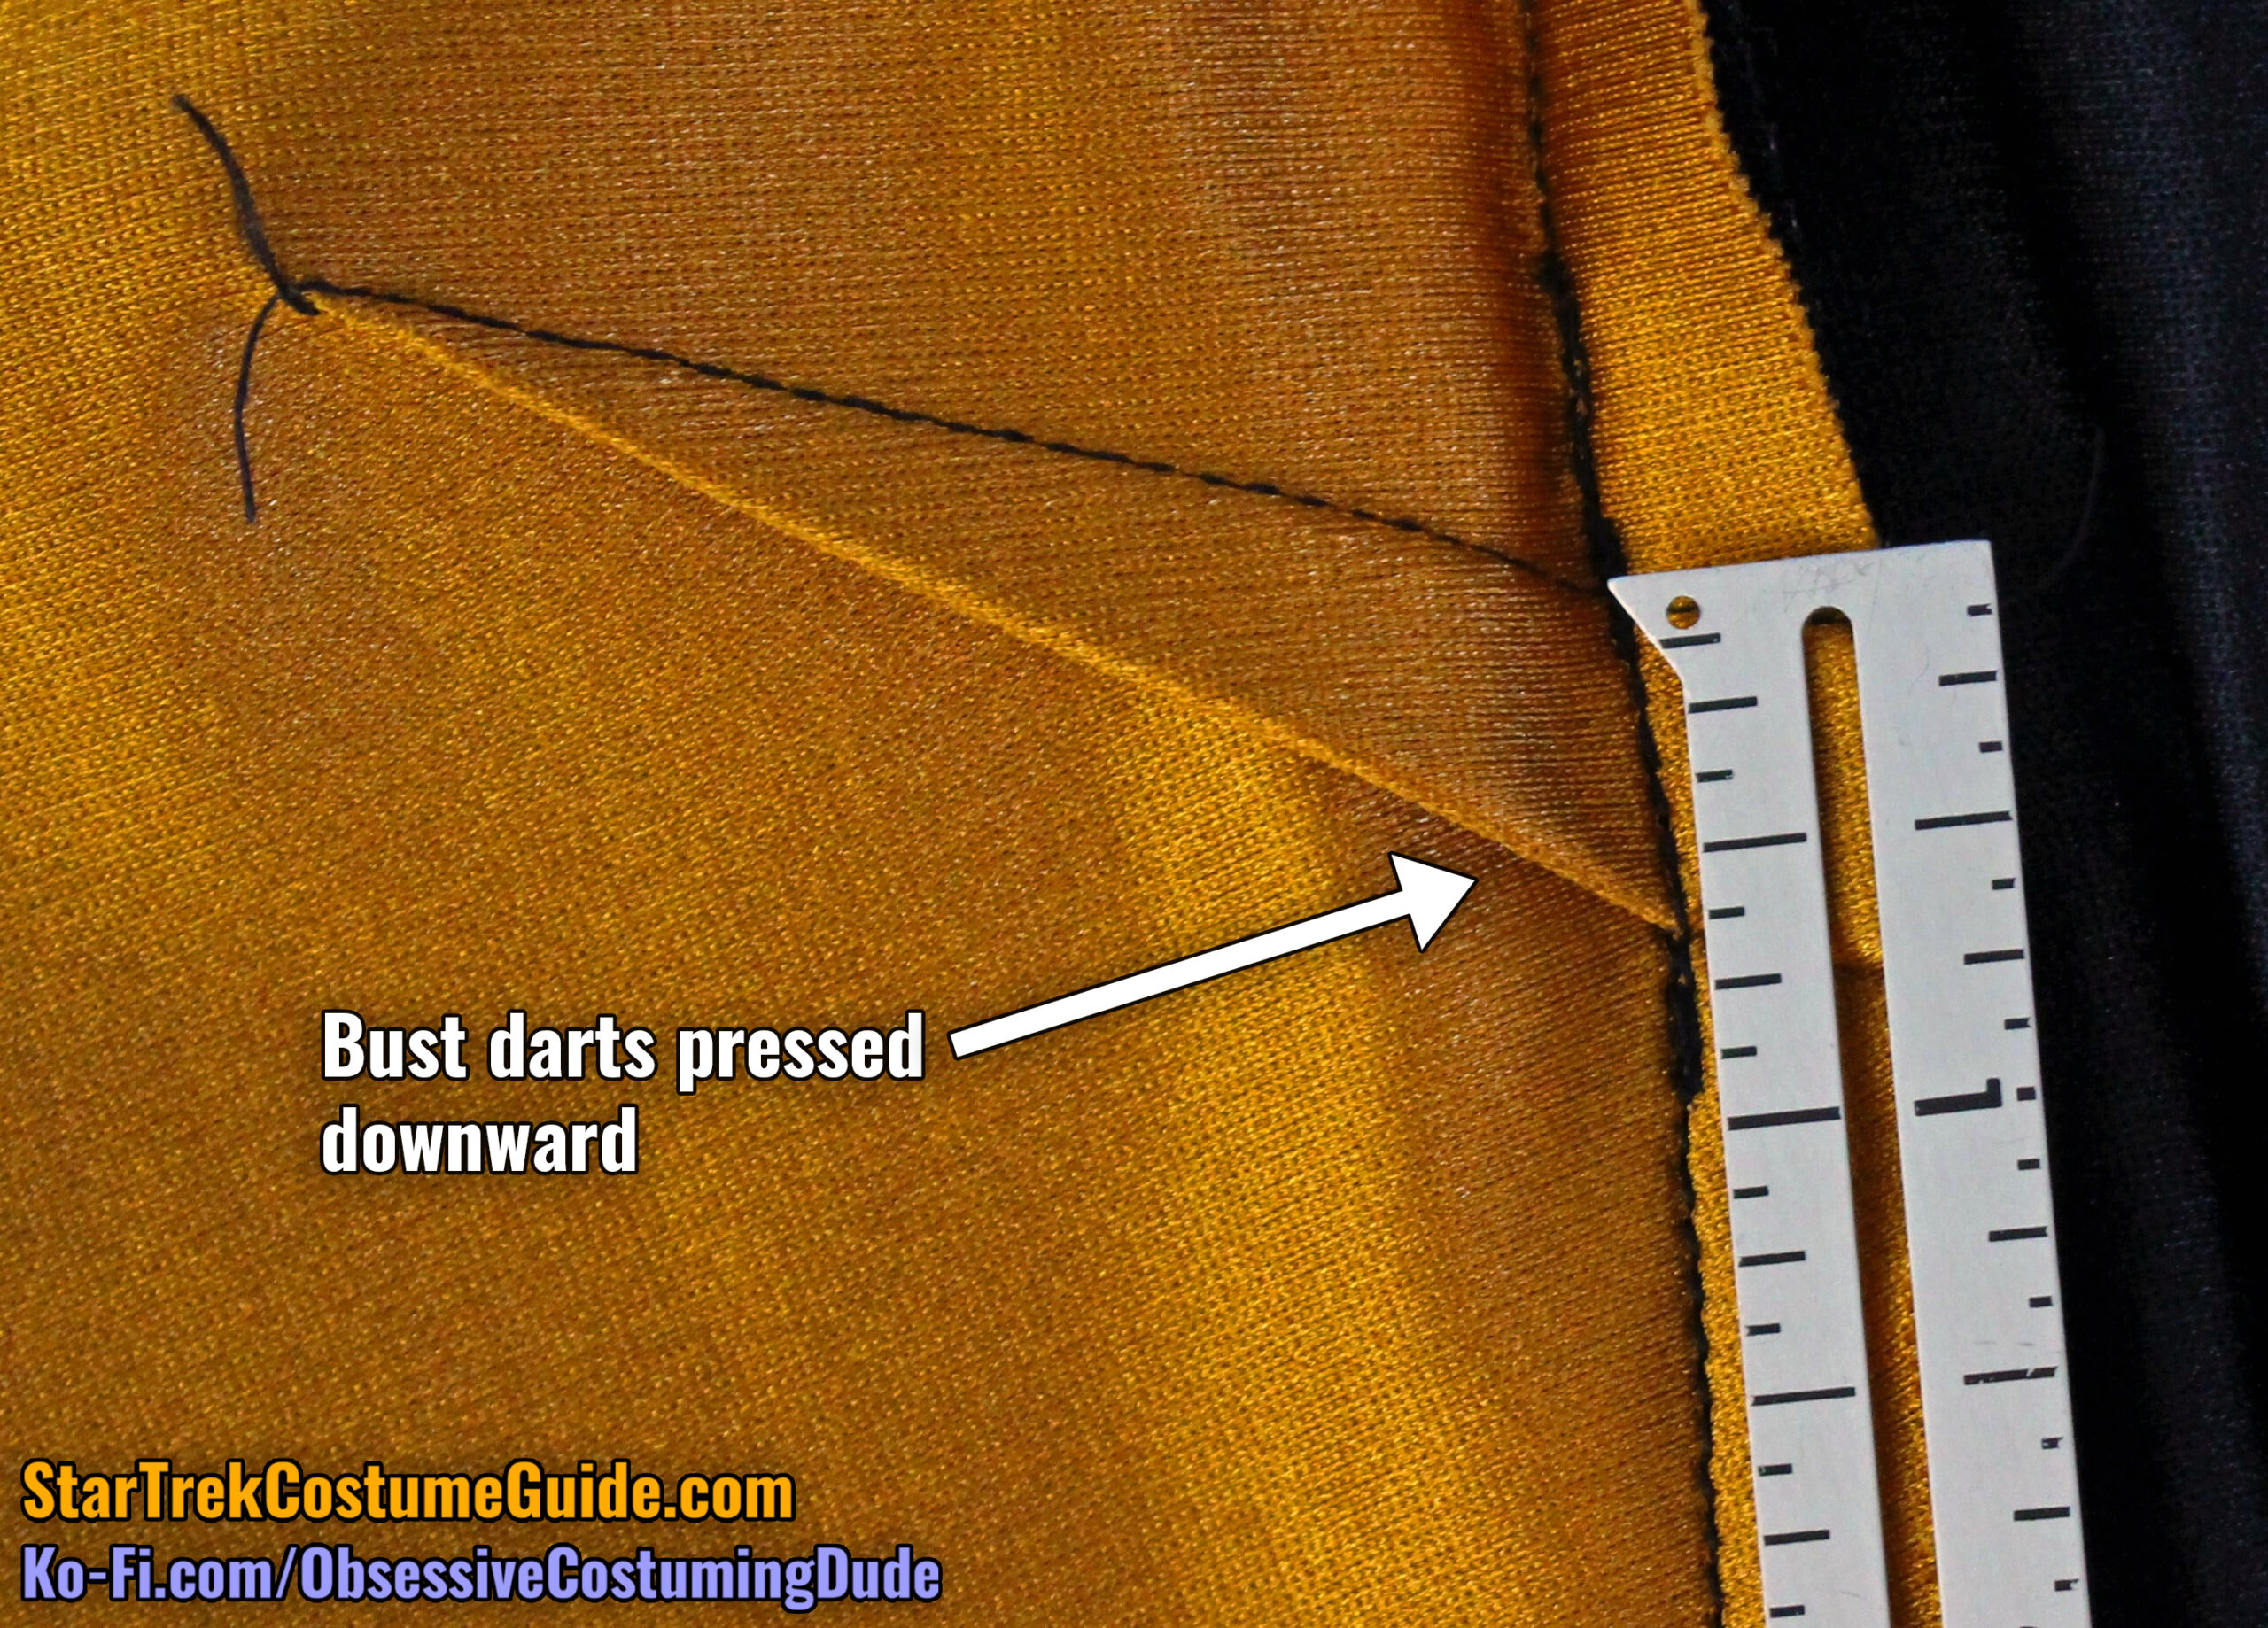
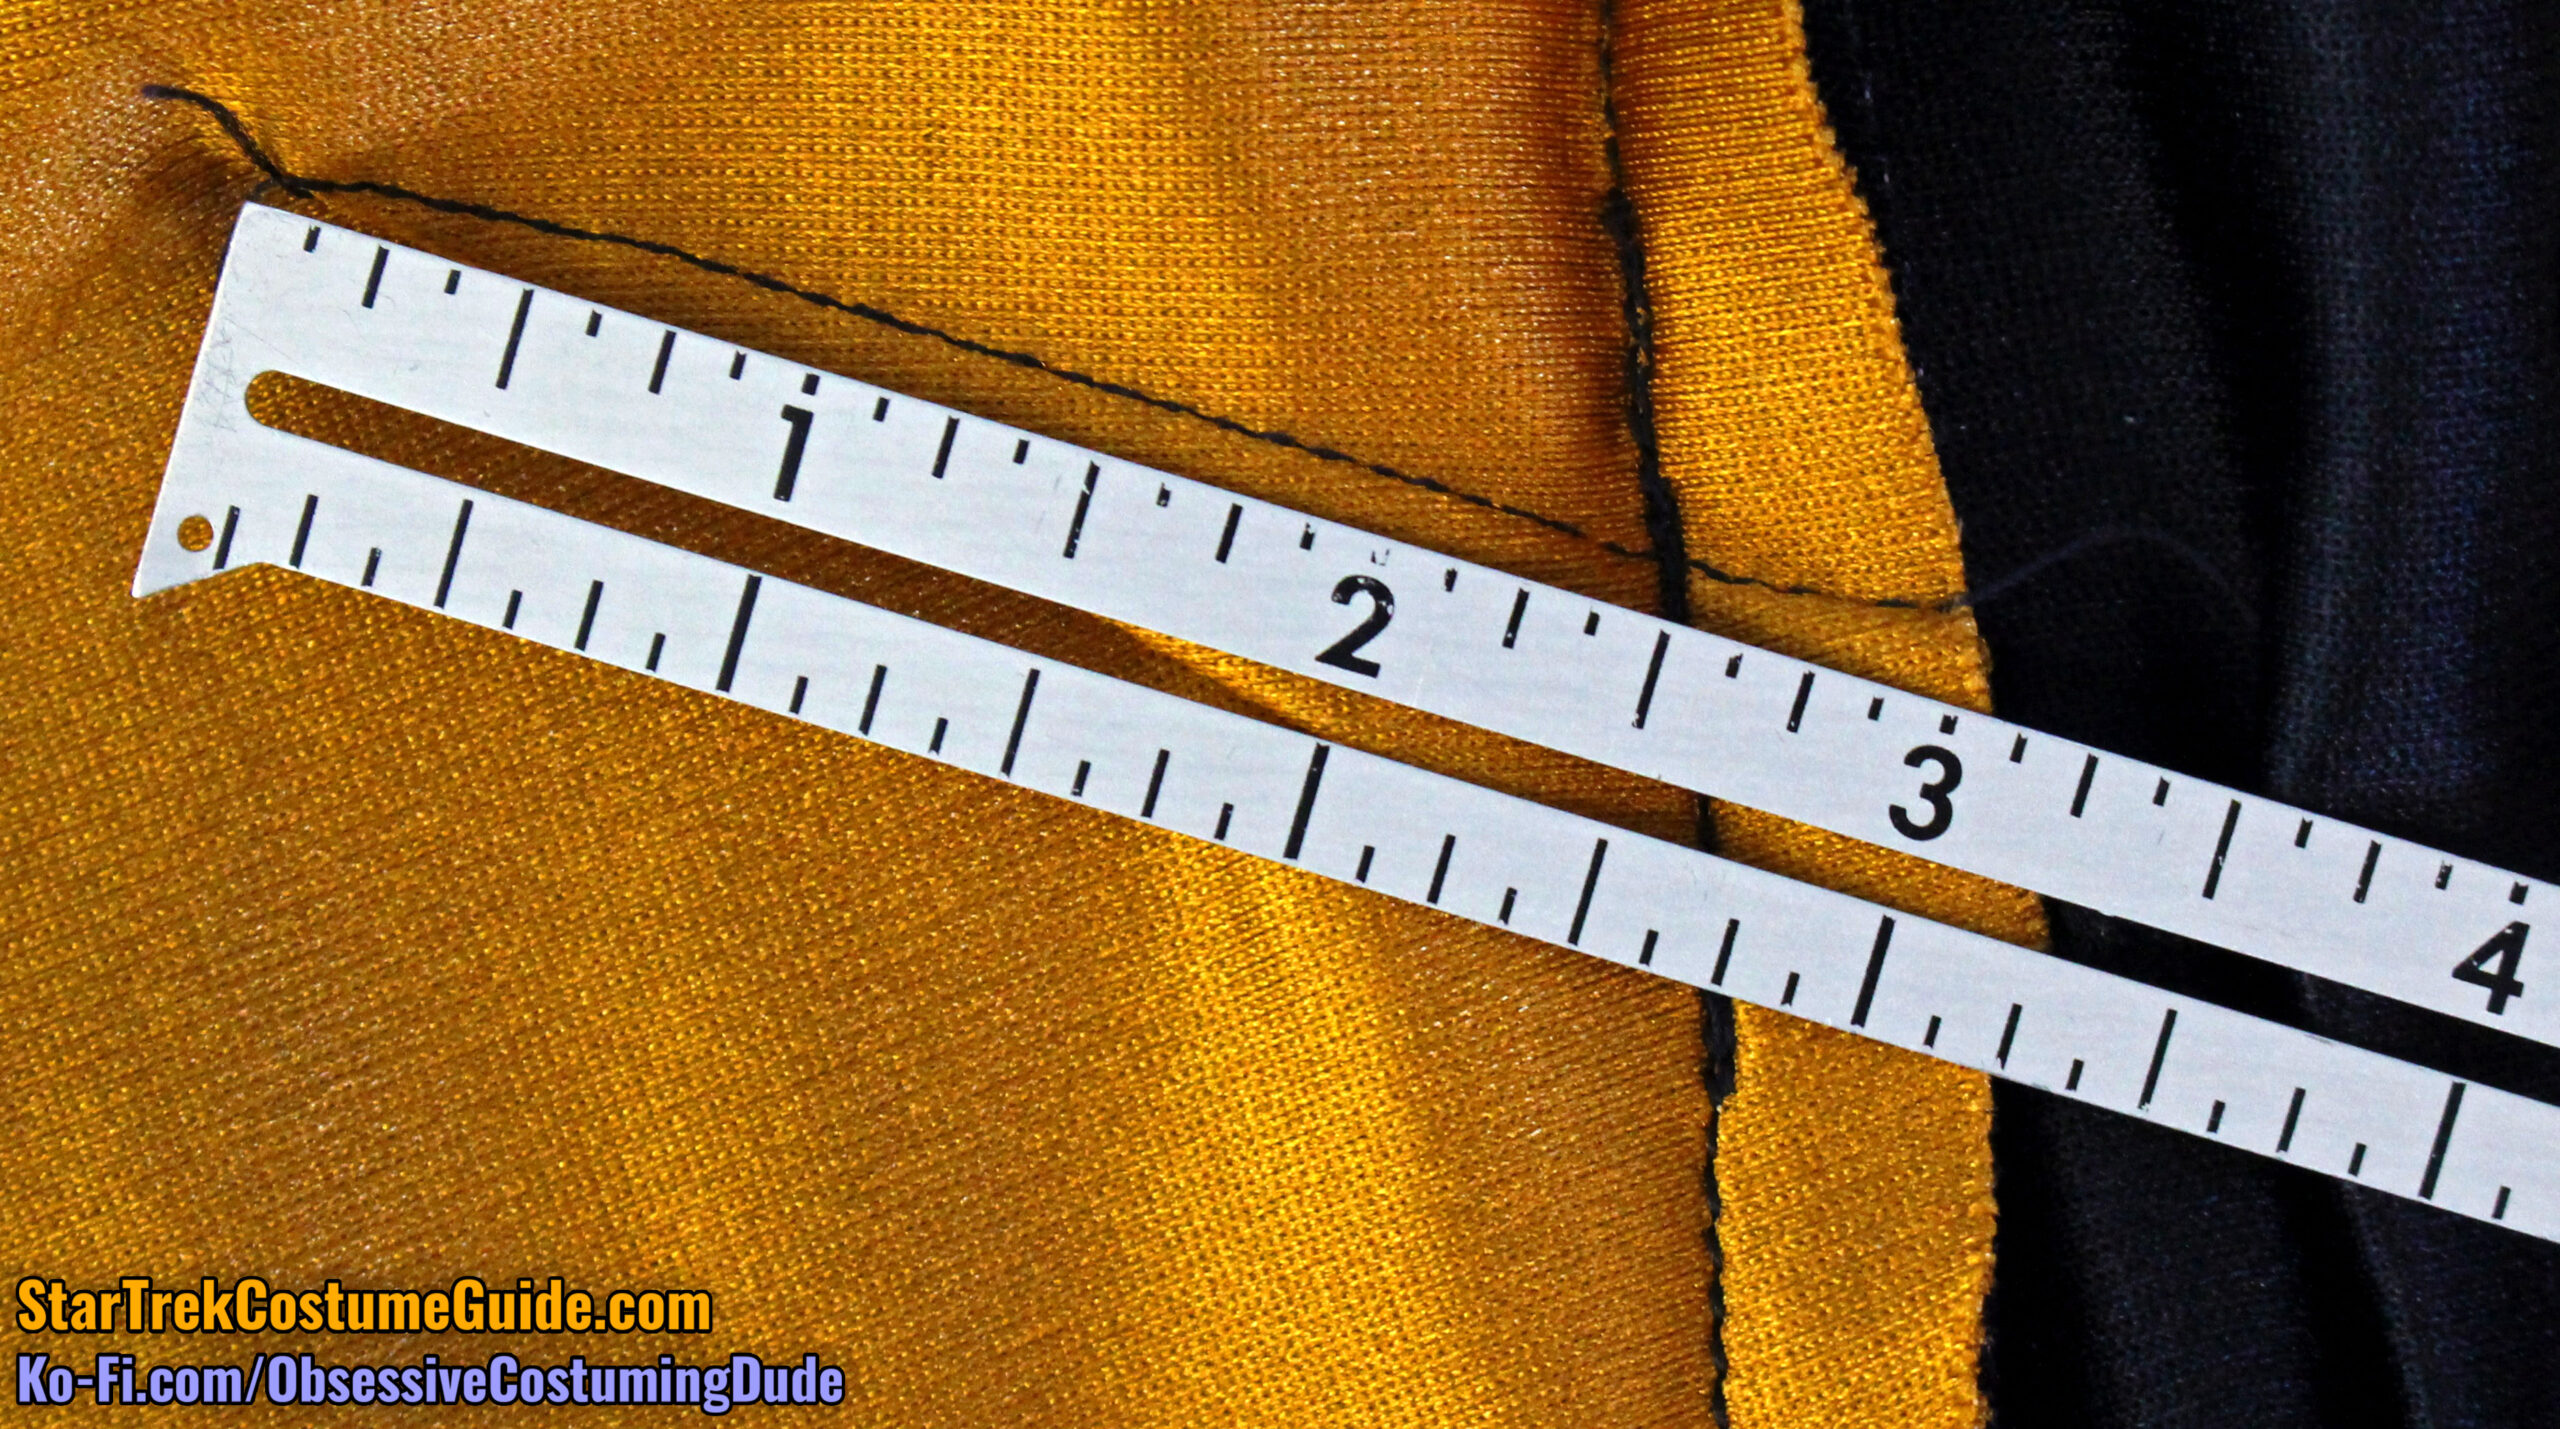
The bust darts were ⅝” wide (1 ¼” total), 2 ½” long, and pressed downward.
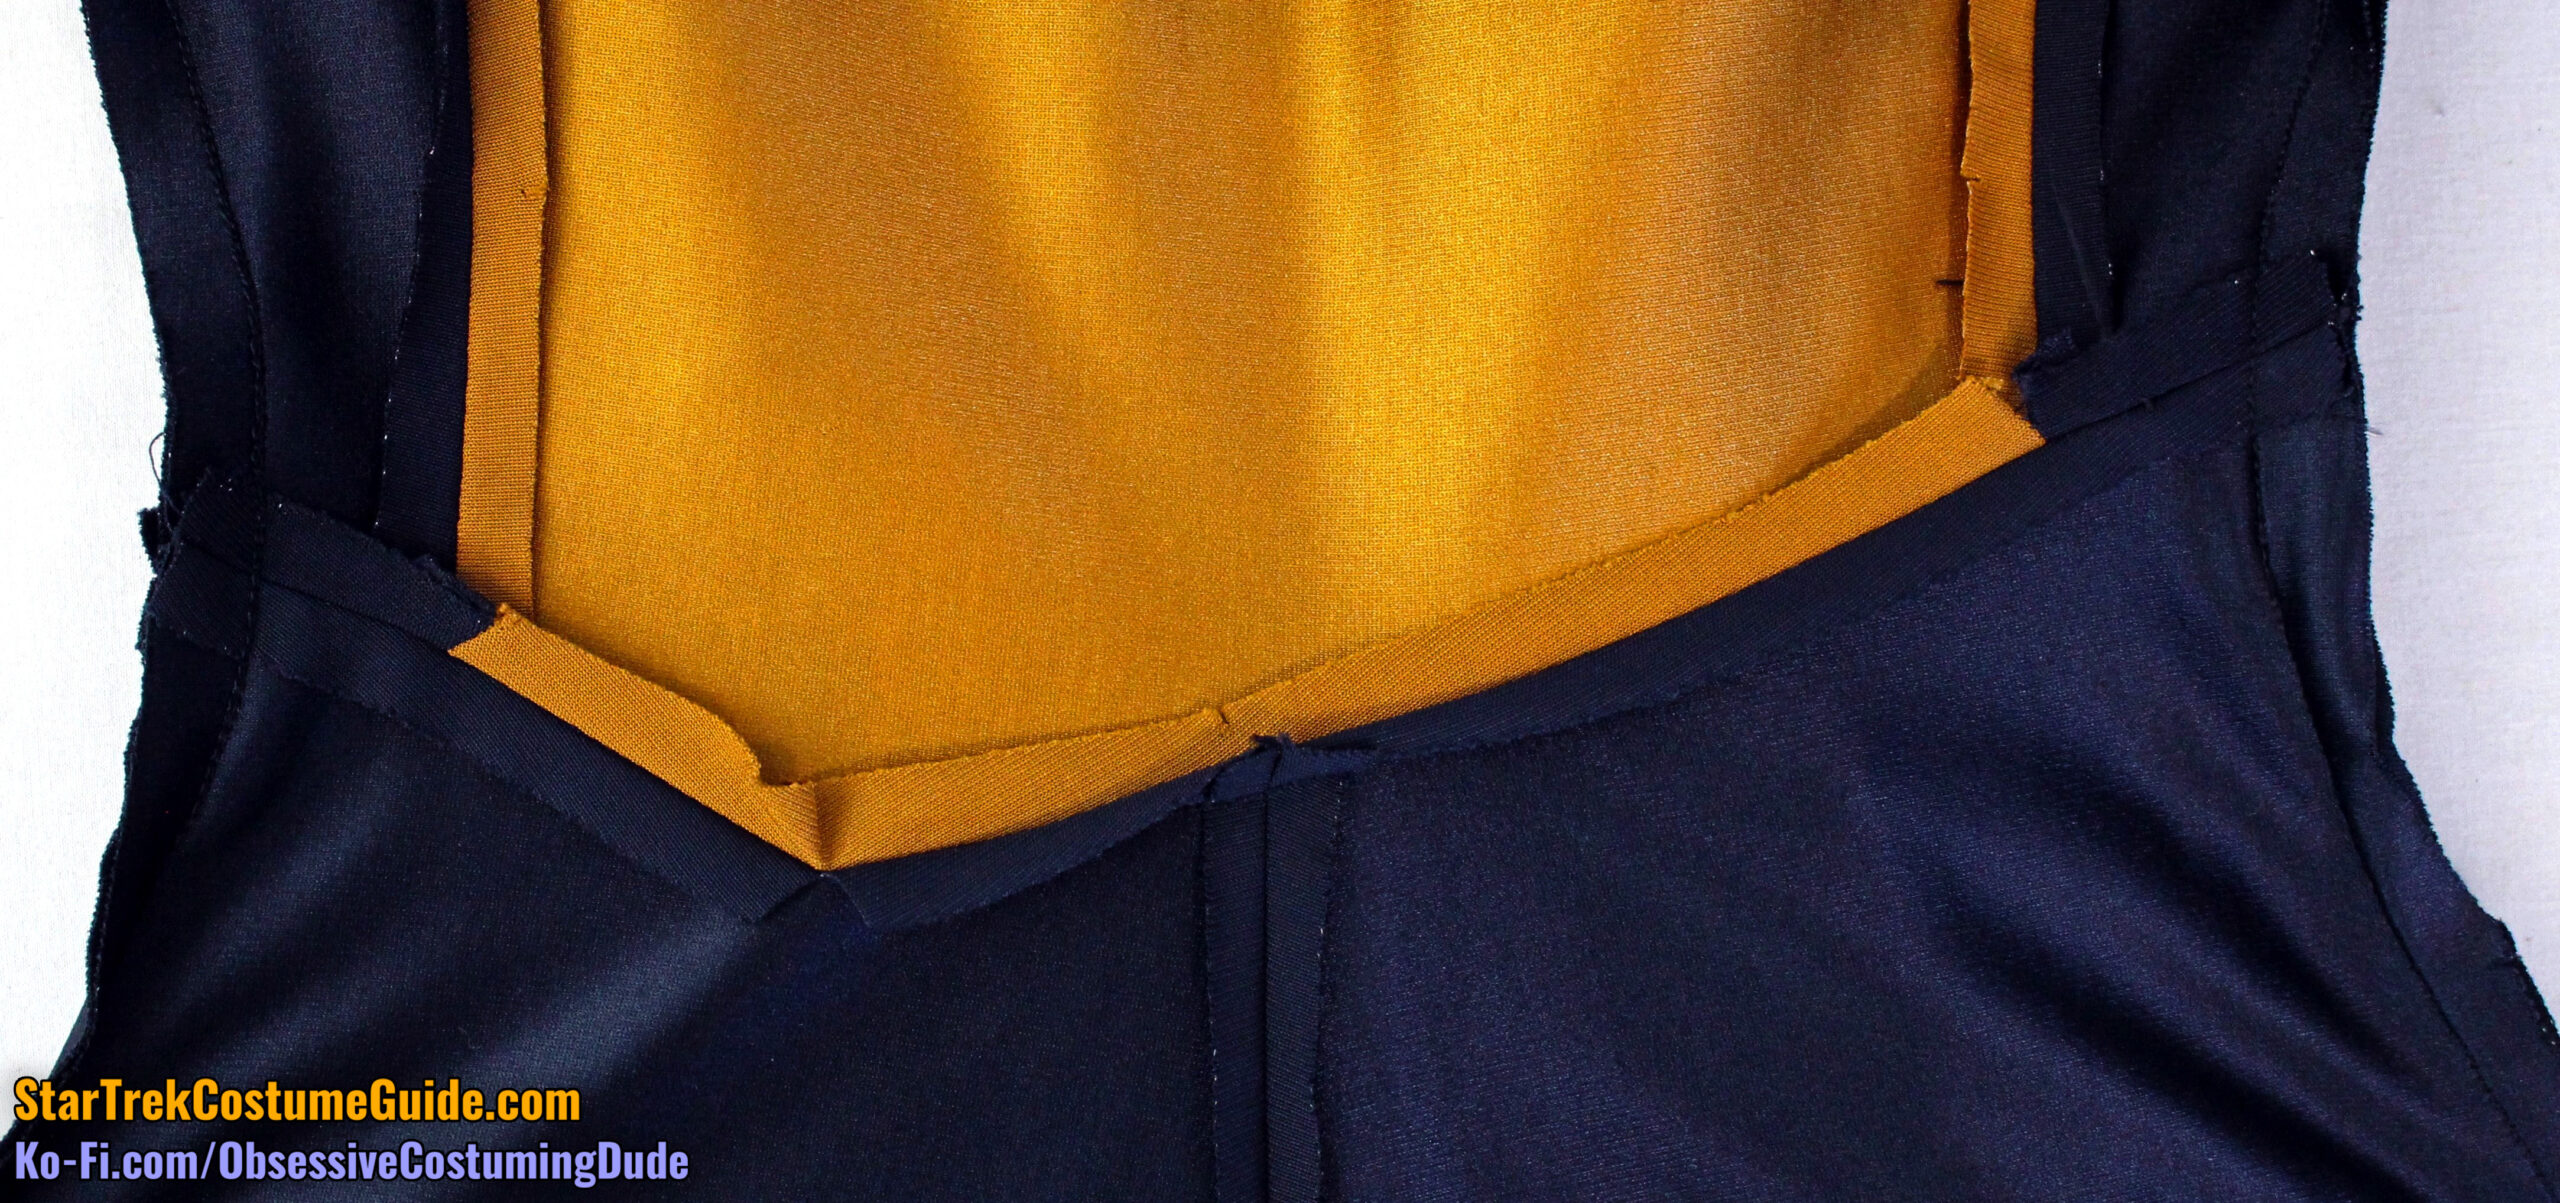
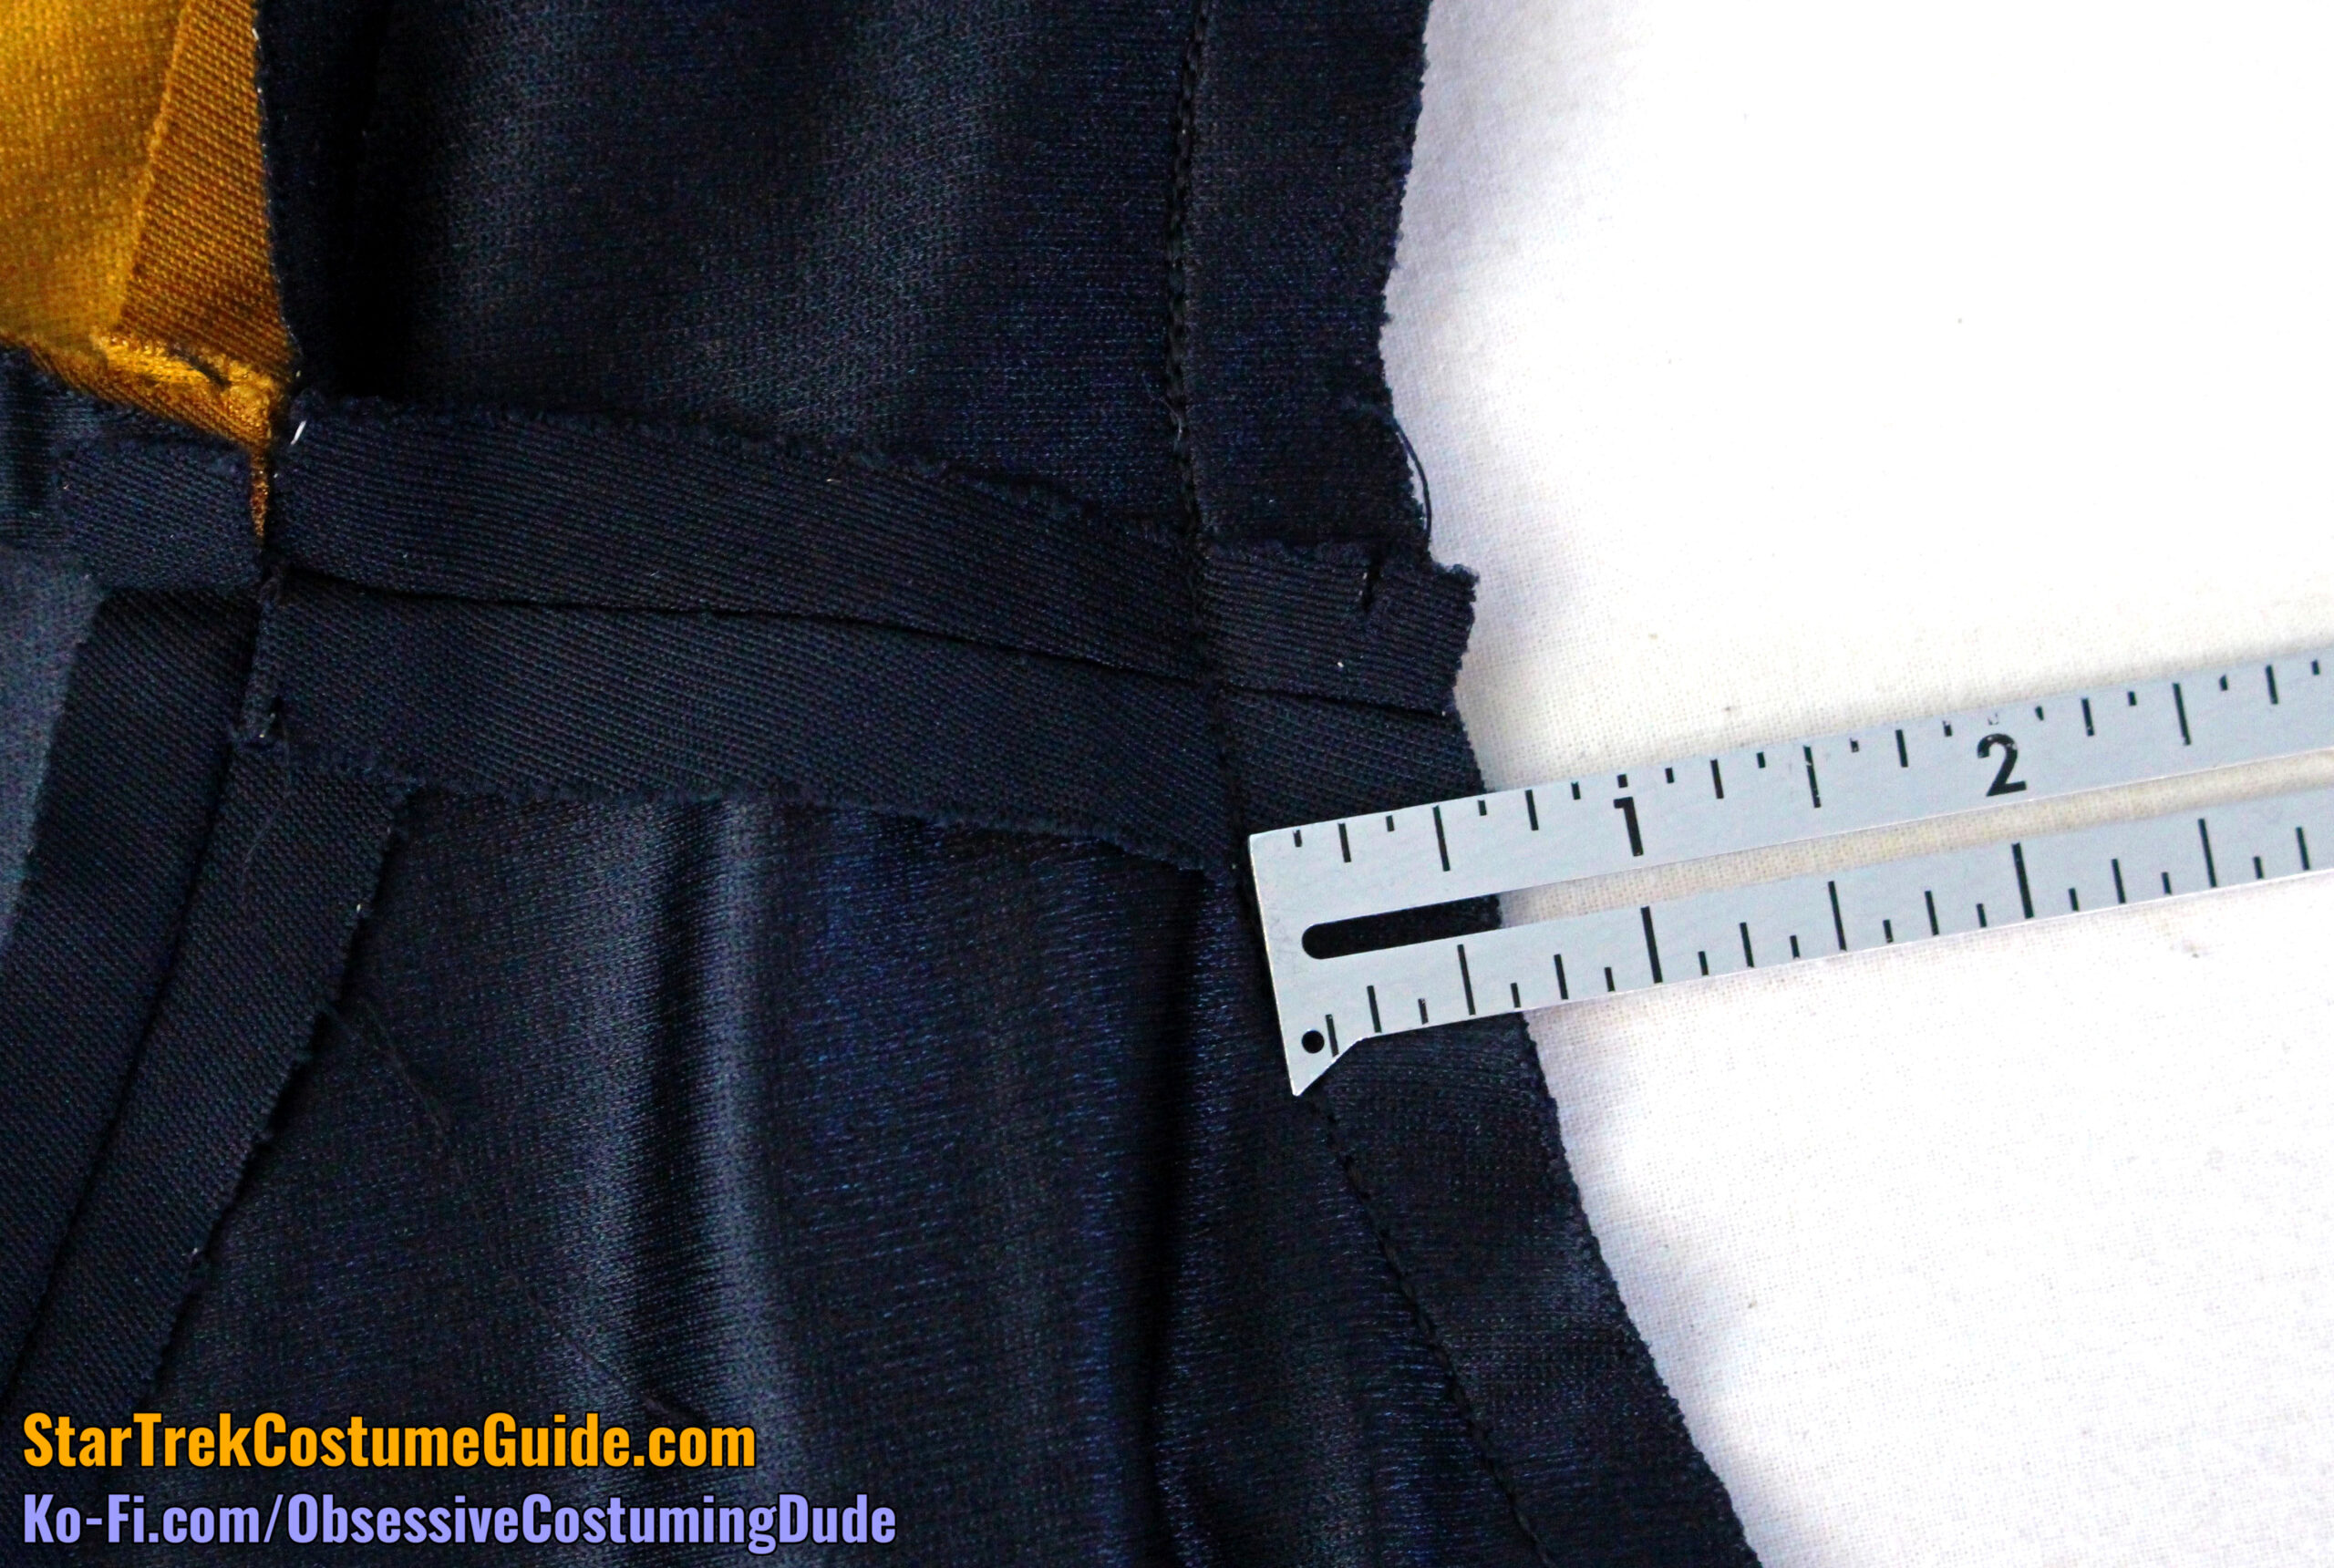
As you’ll see in subsequent TNG jumpsuit examinations, the waist seam allowances were handled differently on nearly every uniform I studied.
(These various methods were all probably attempts to avoid making a “divot” above the corner on the outside of the garment.)
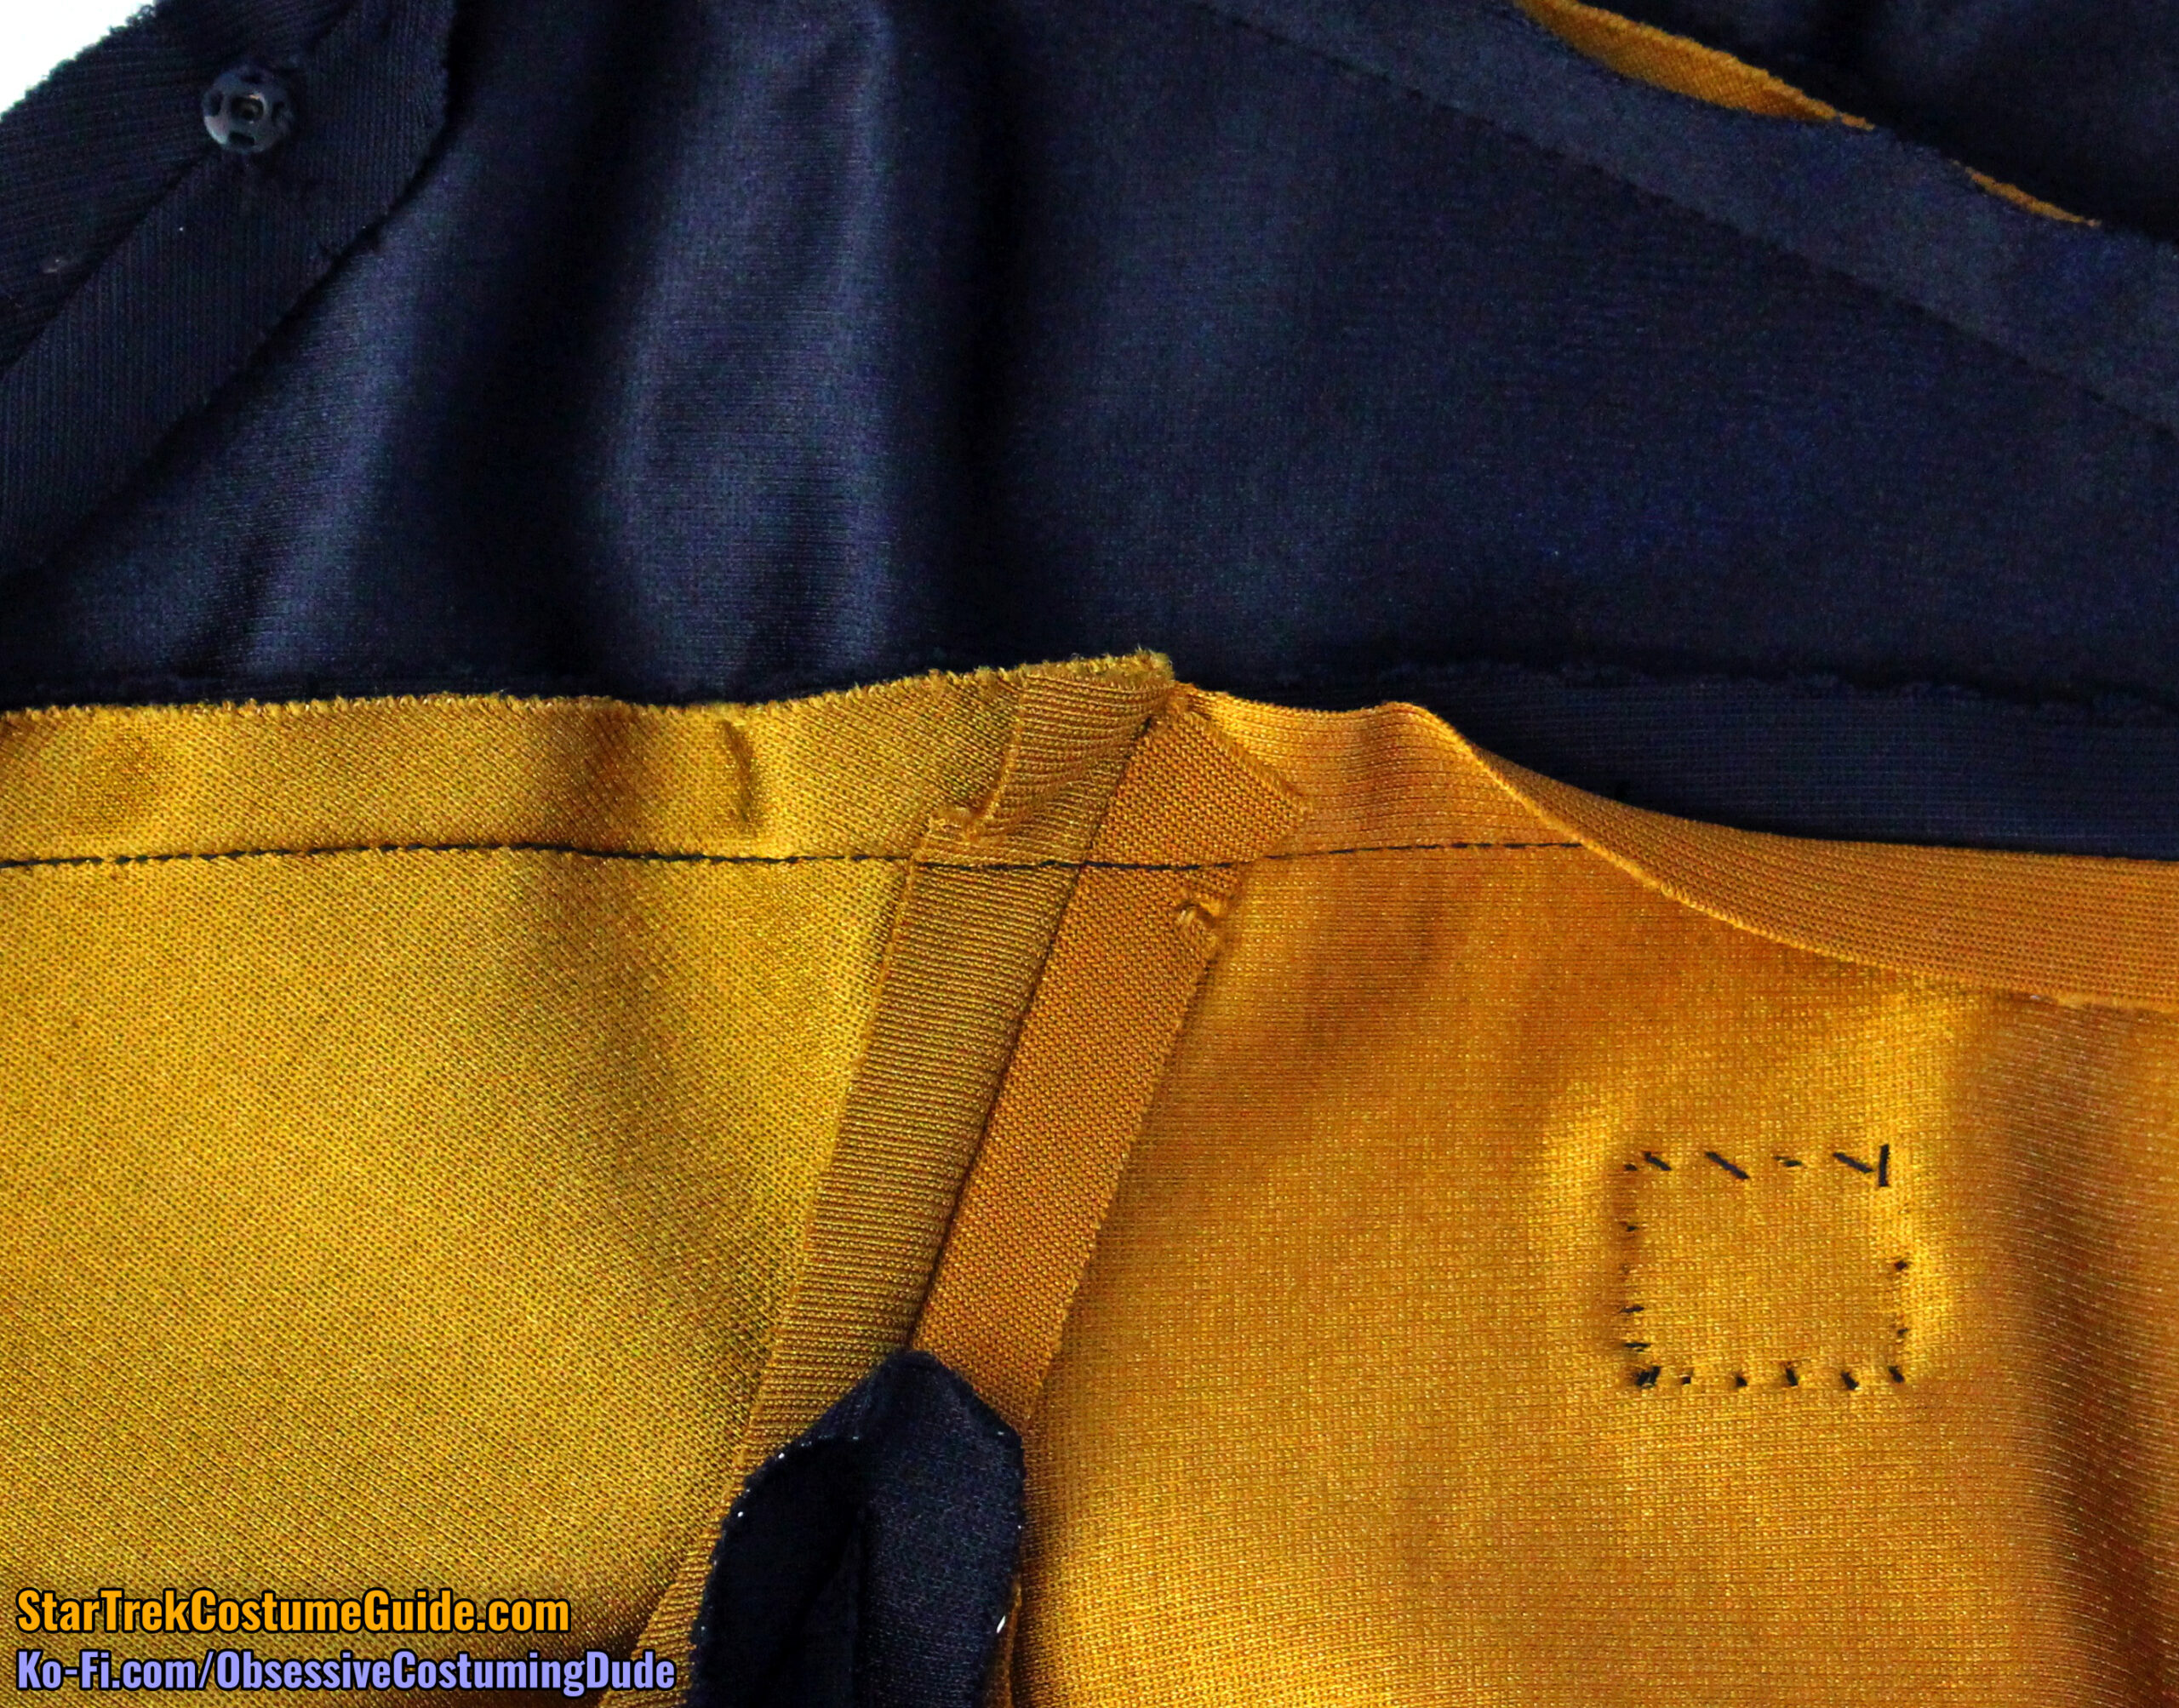
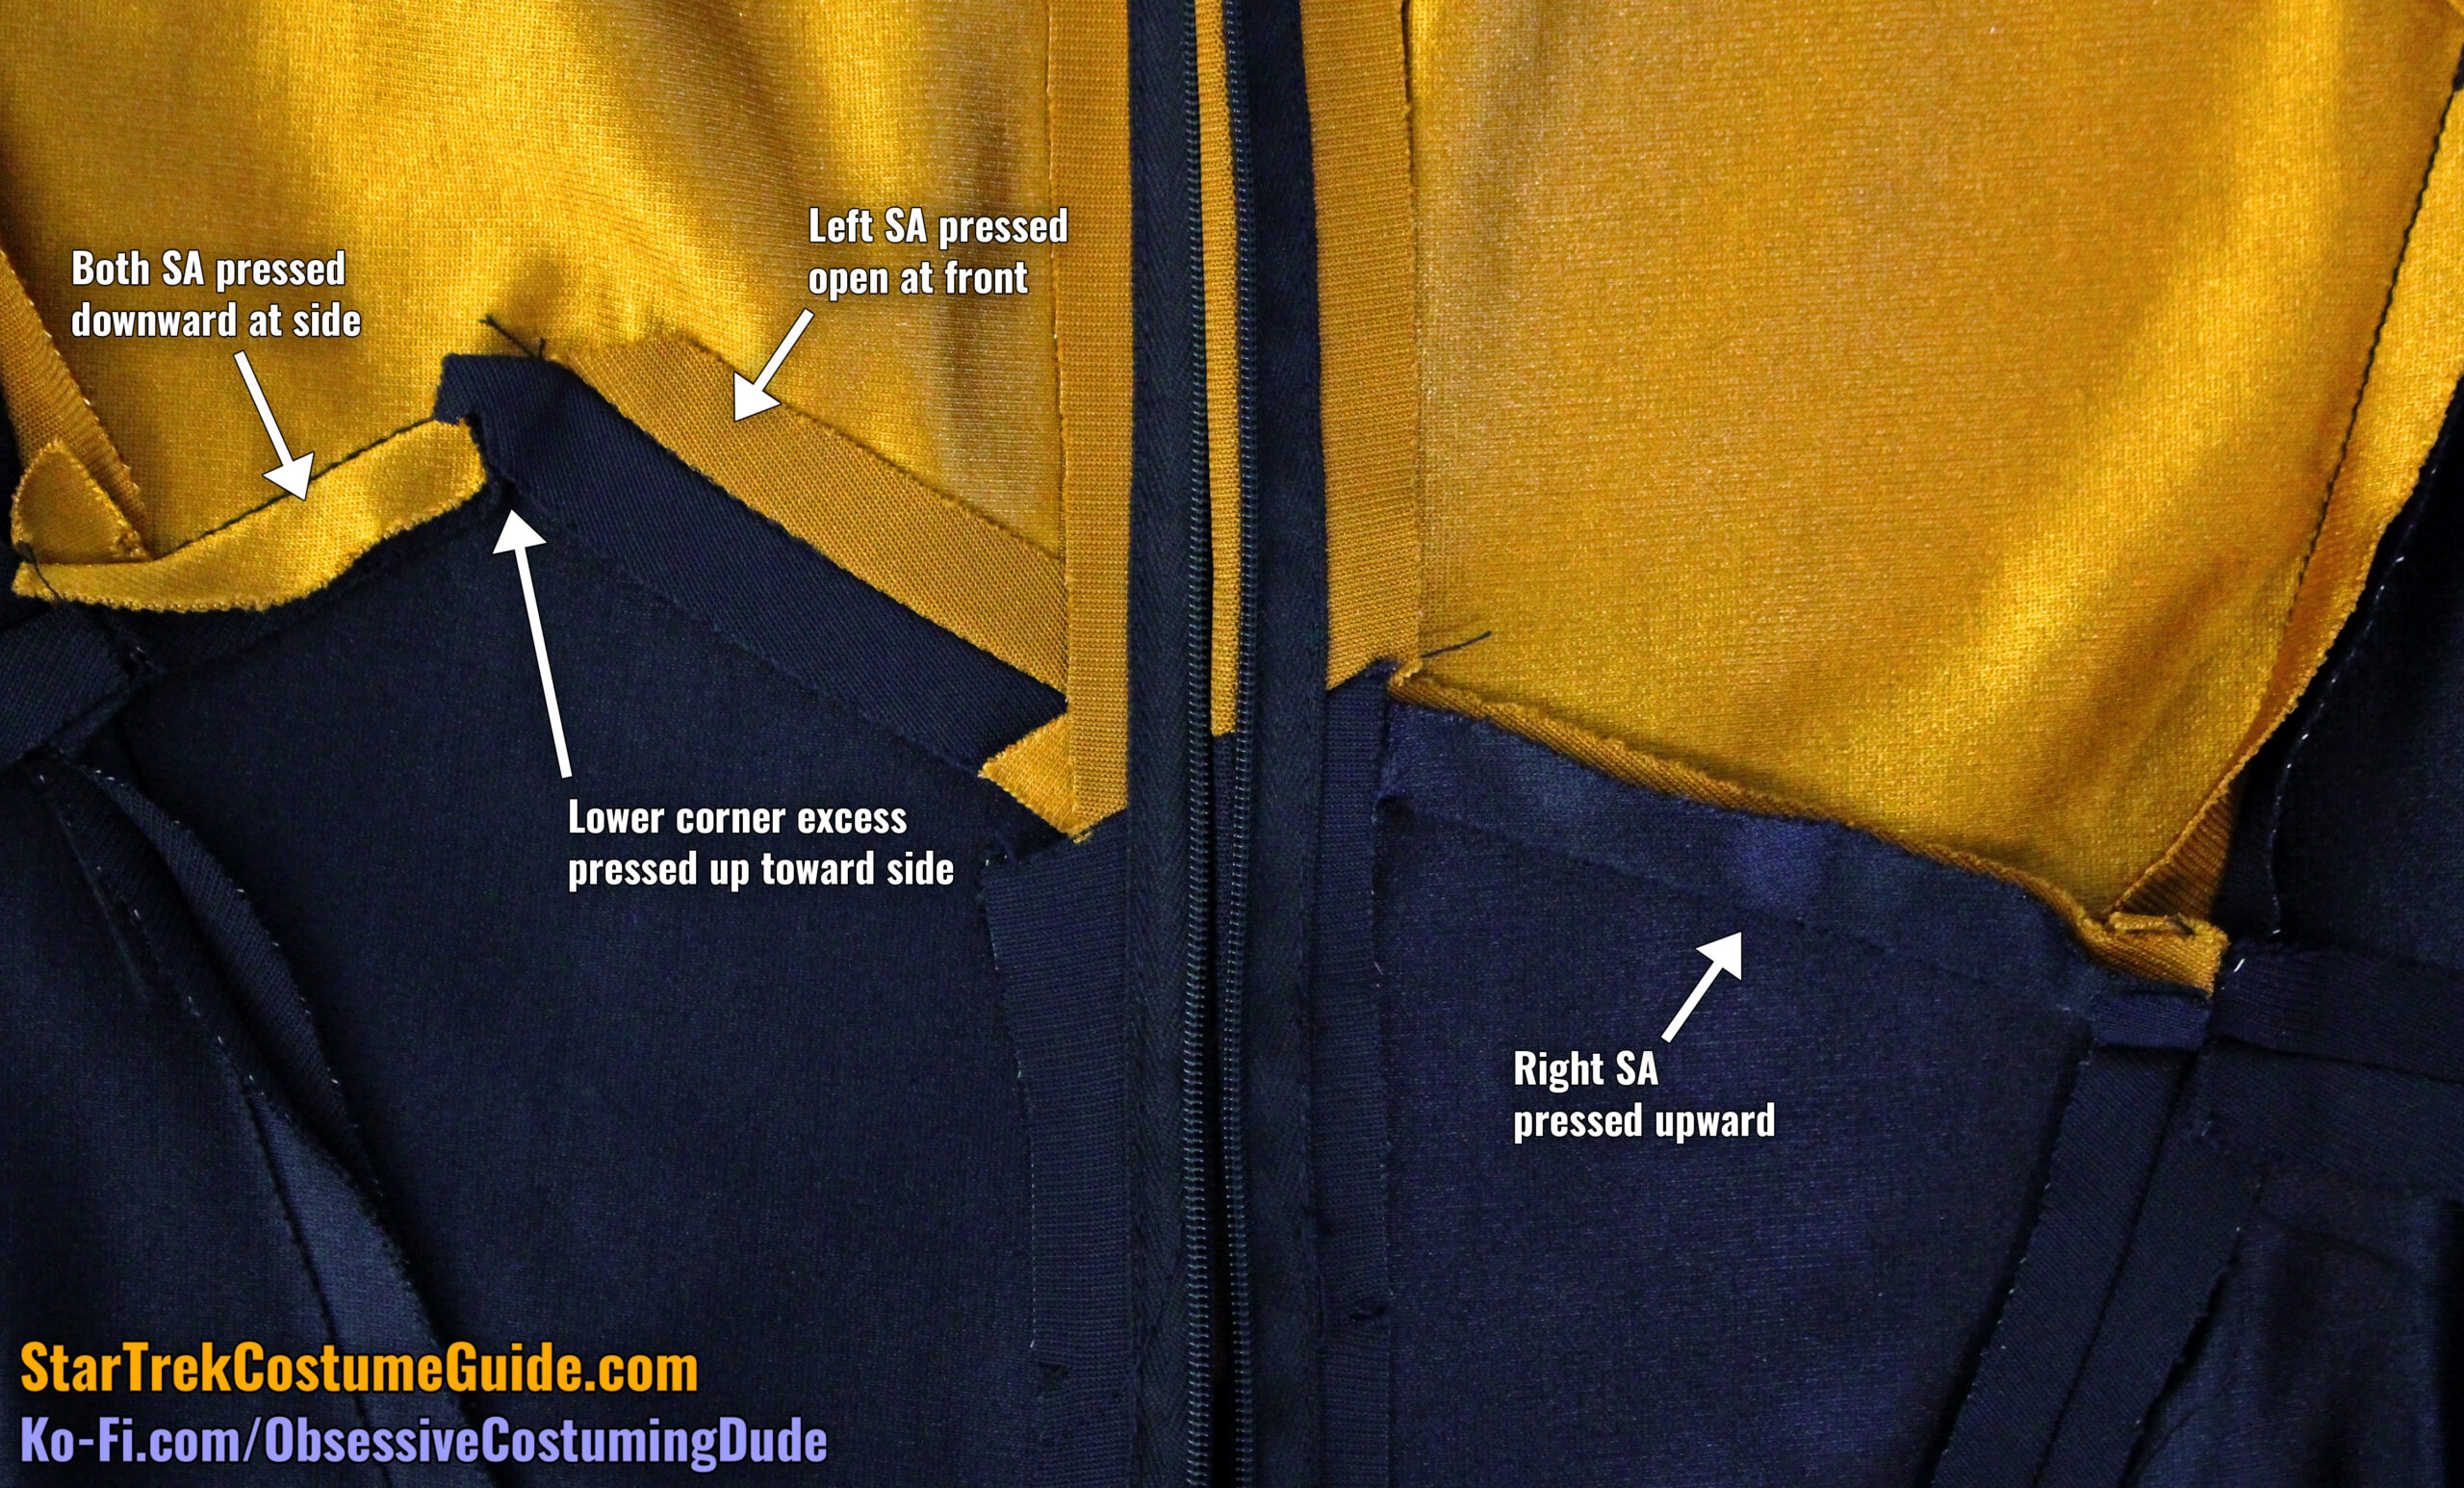
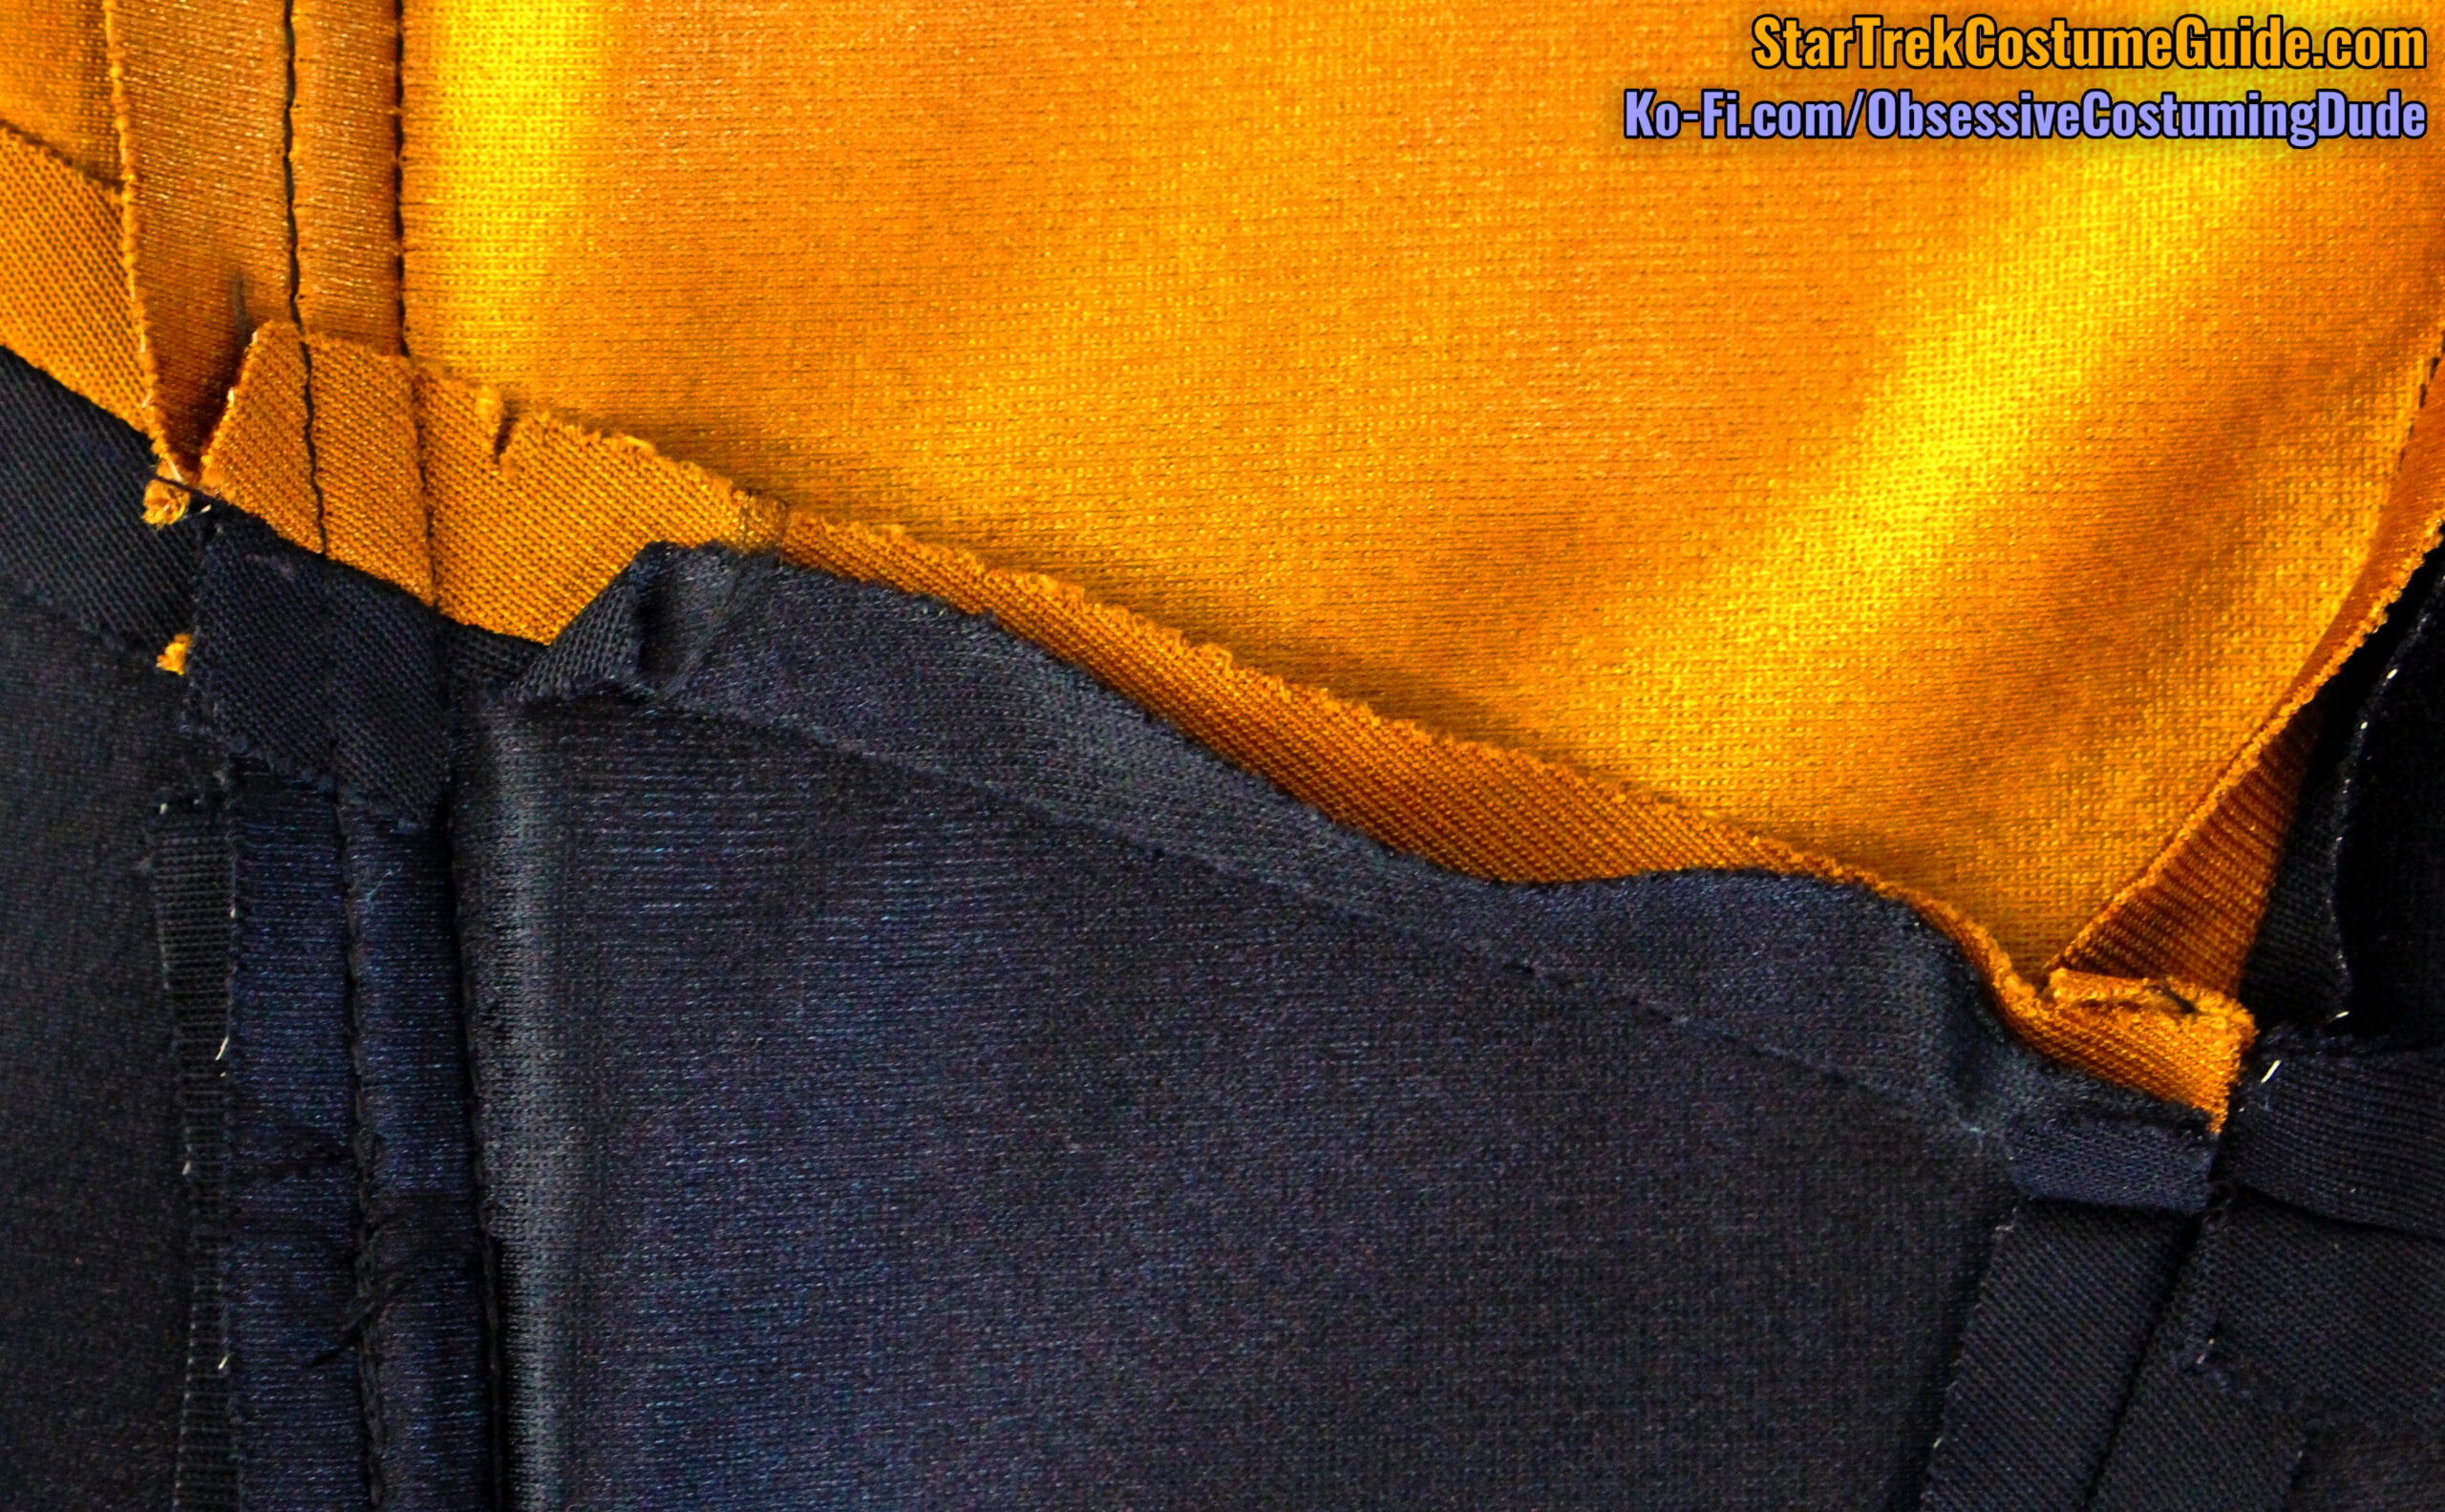
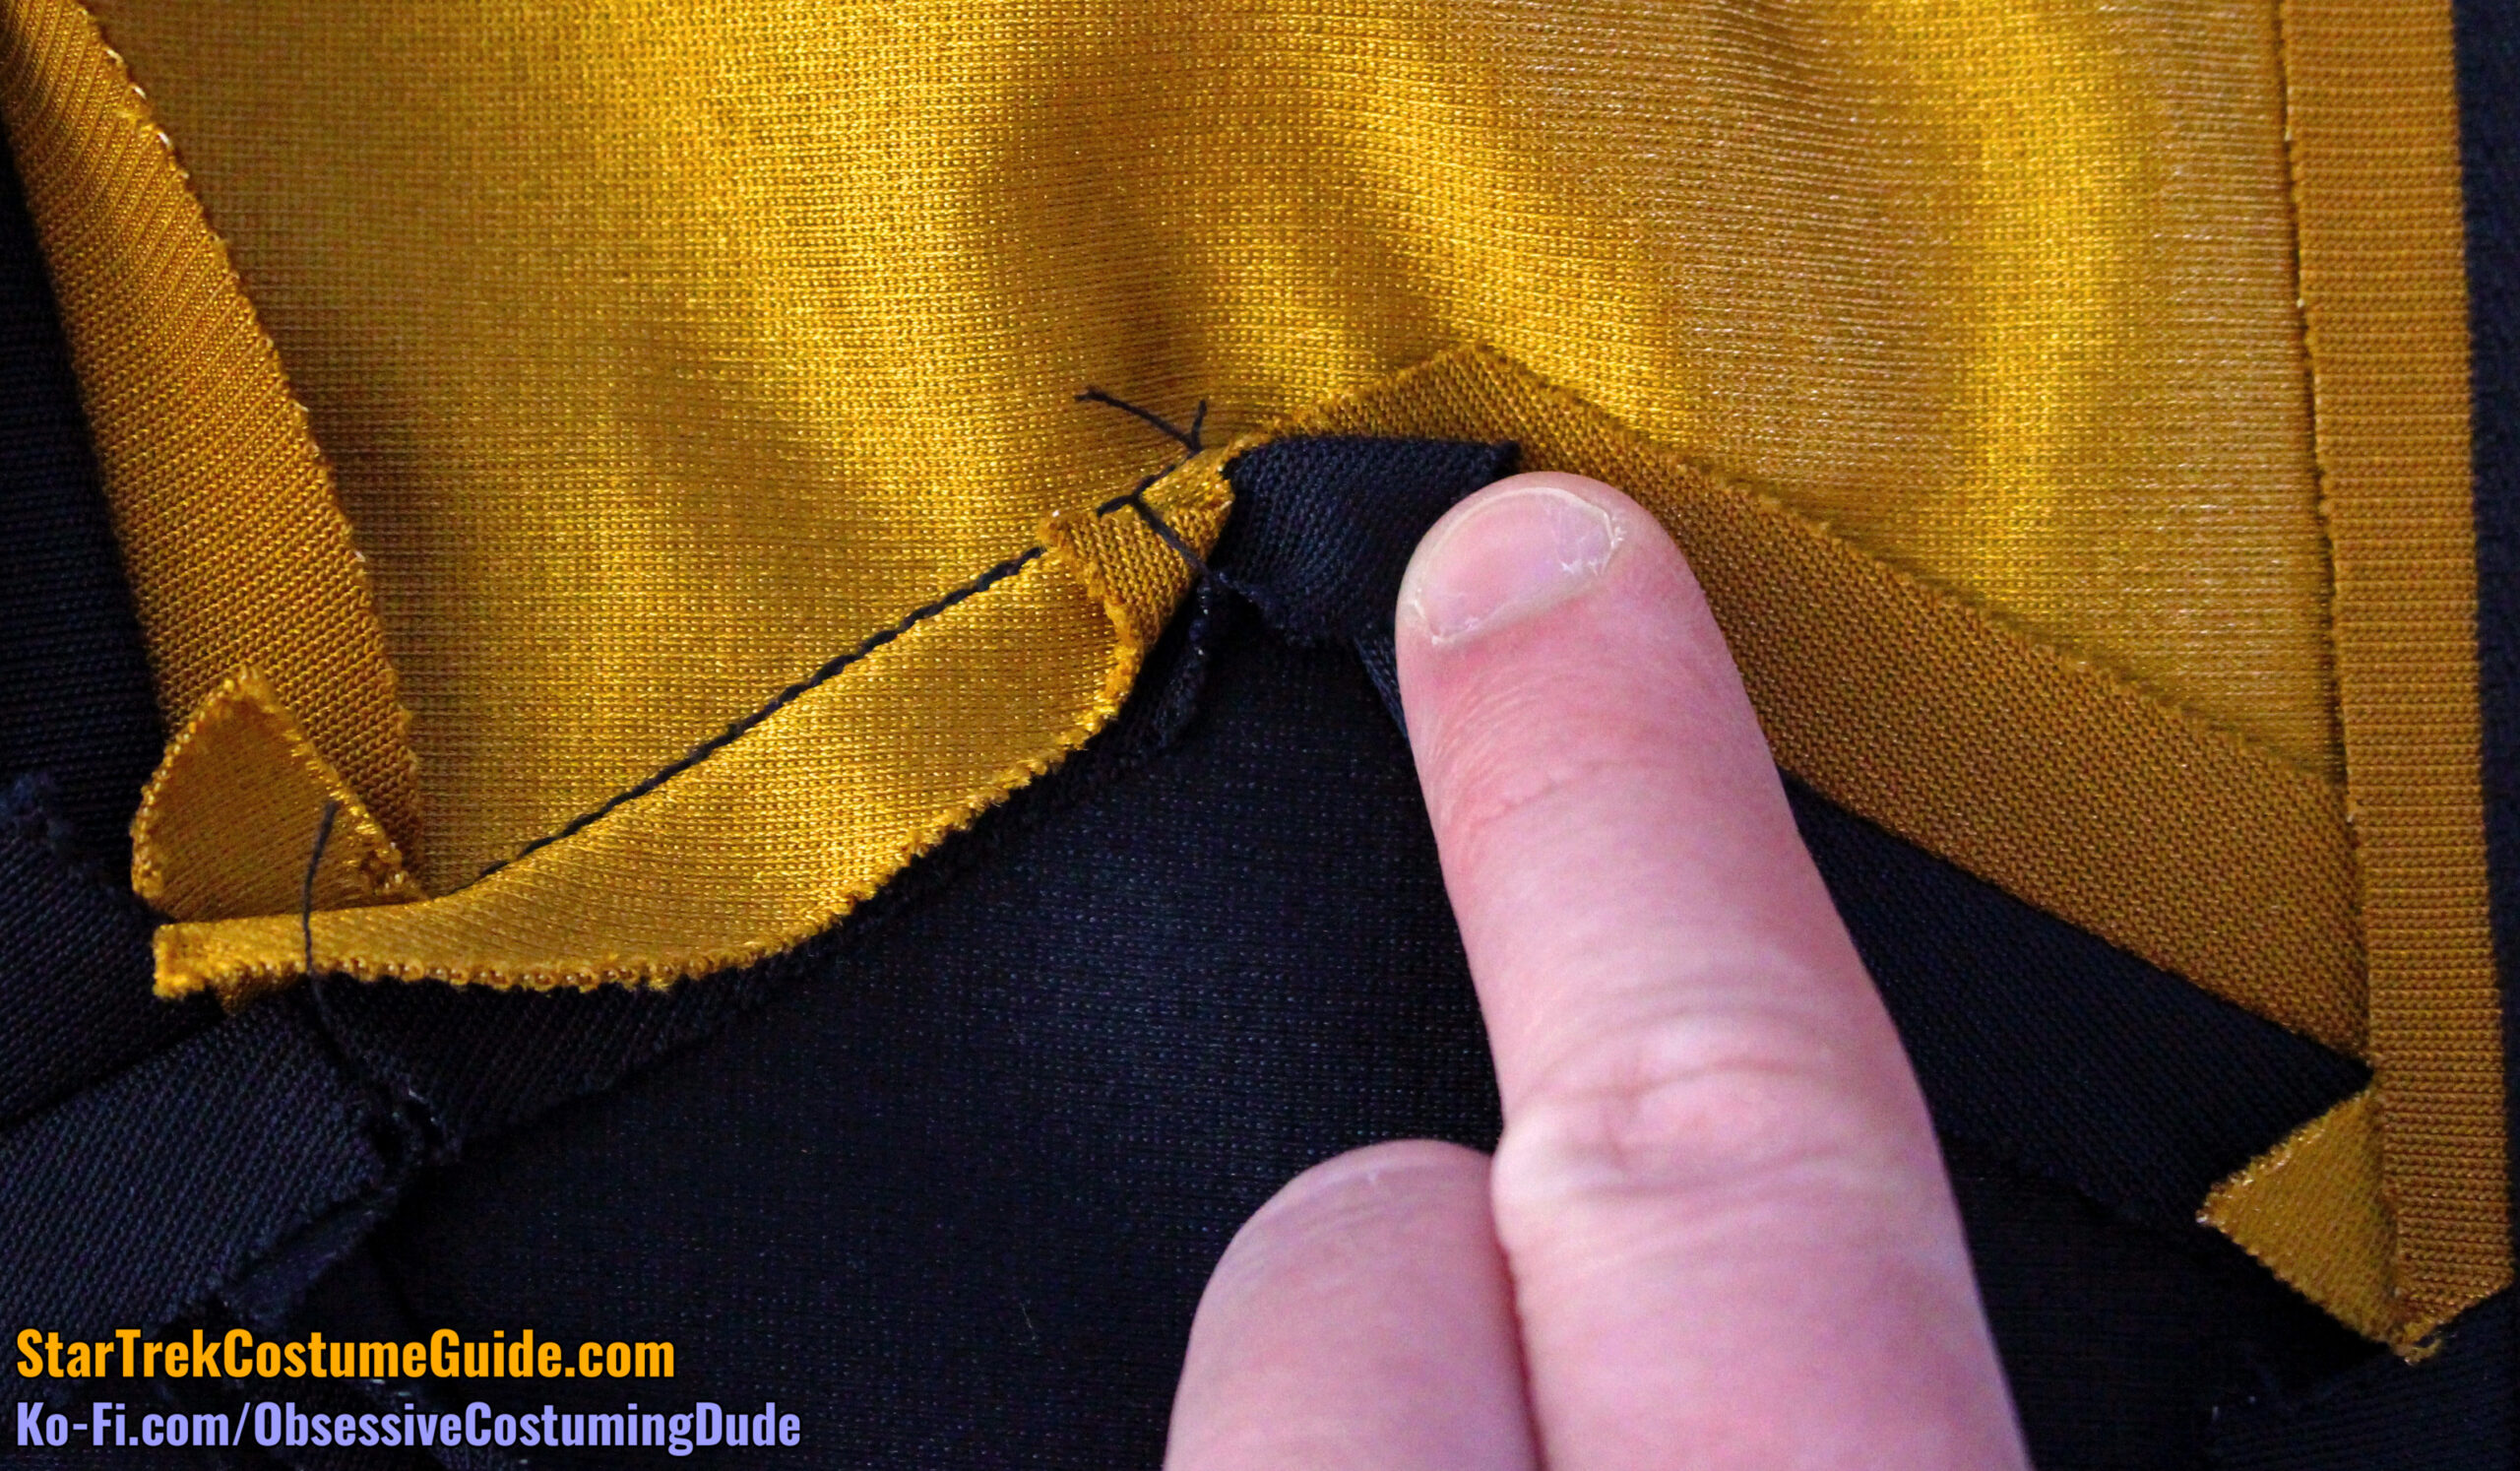
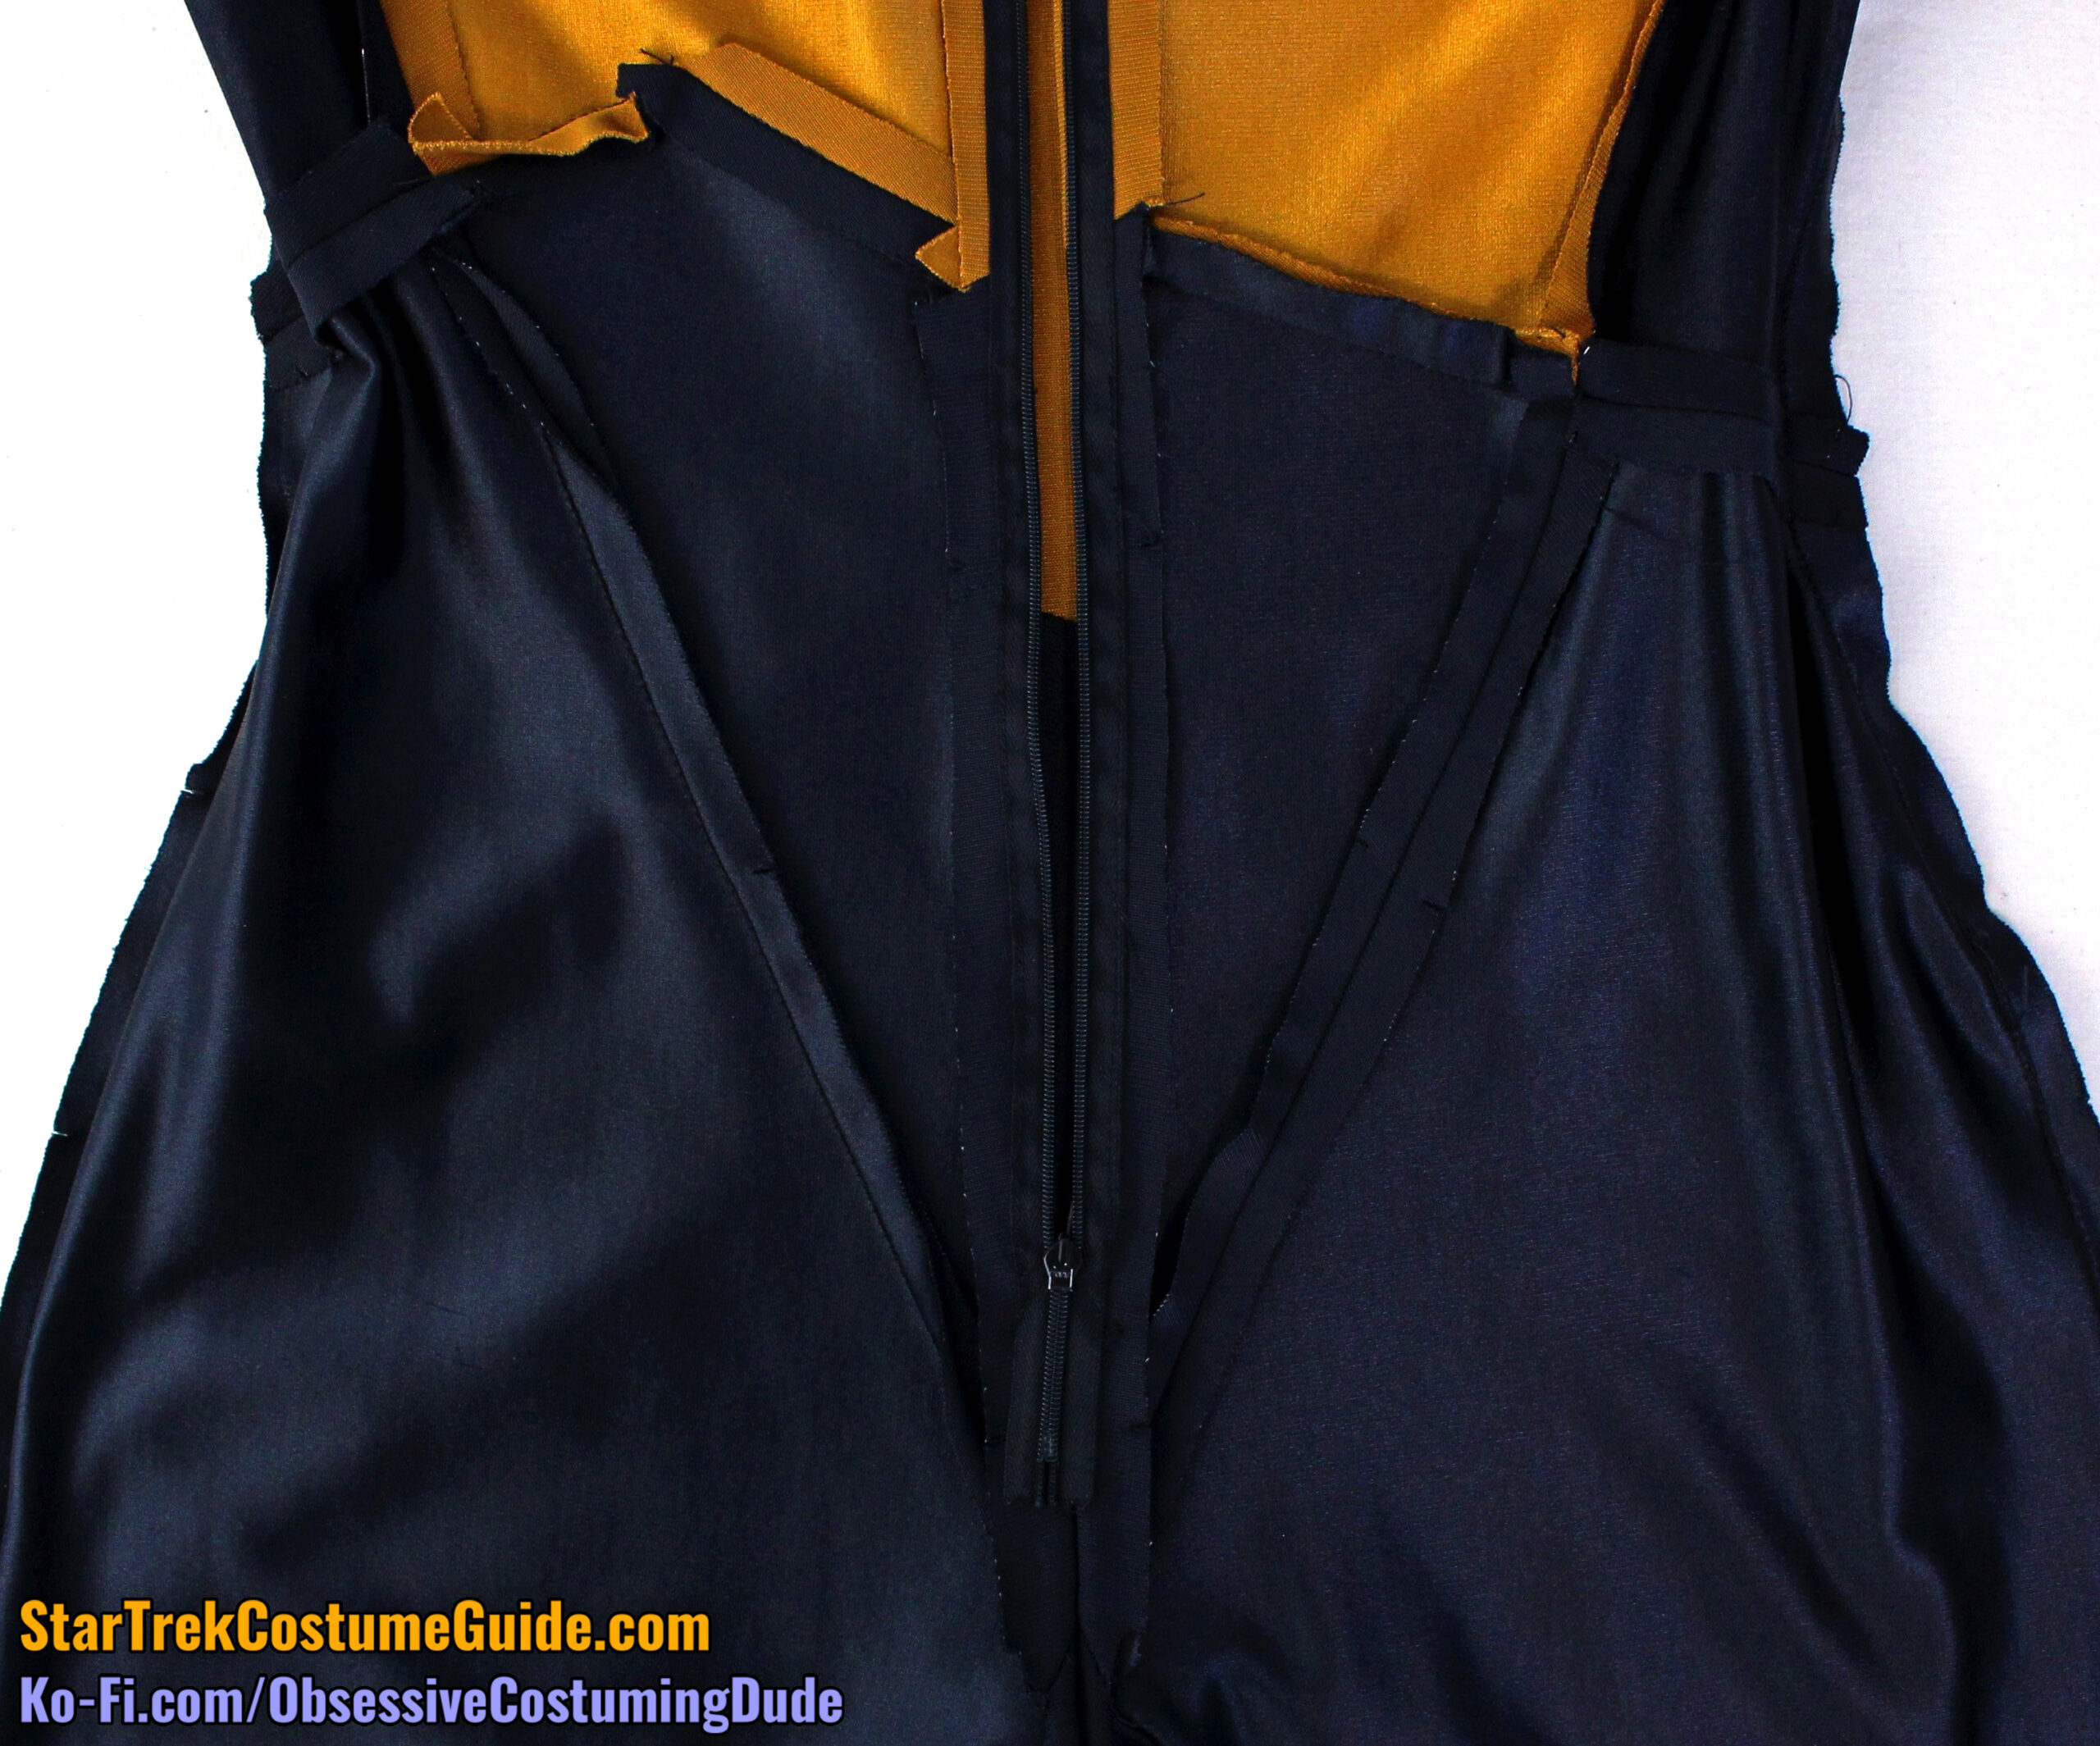
On this particular jumpsuit, the right front allowances were sewn into the front/zipper seam open.
The lower front (black) allowance was clipped just outside of the zipper stitching, and both seam allowances were pressed upward.
If you look carefully, you’ll see that there was even a loop of thread, securing both allowances together in the same direction.
On the left side, the front allowances were pressed open, while the outer/side seam allowances were pressed downward … only to open up again toward the left side seam.
Just to the left of the front corner, there was another loop of thread hand-sewn to the allowances to secure them both together in the same direction.
The back waist seam allowances, however, were consistently pressed open.
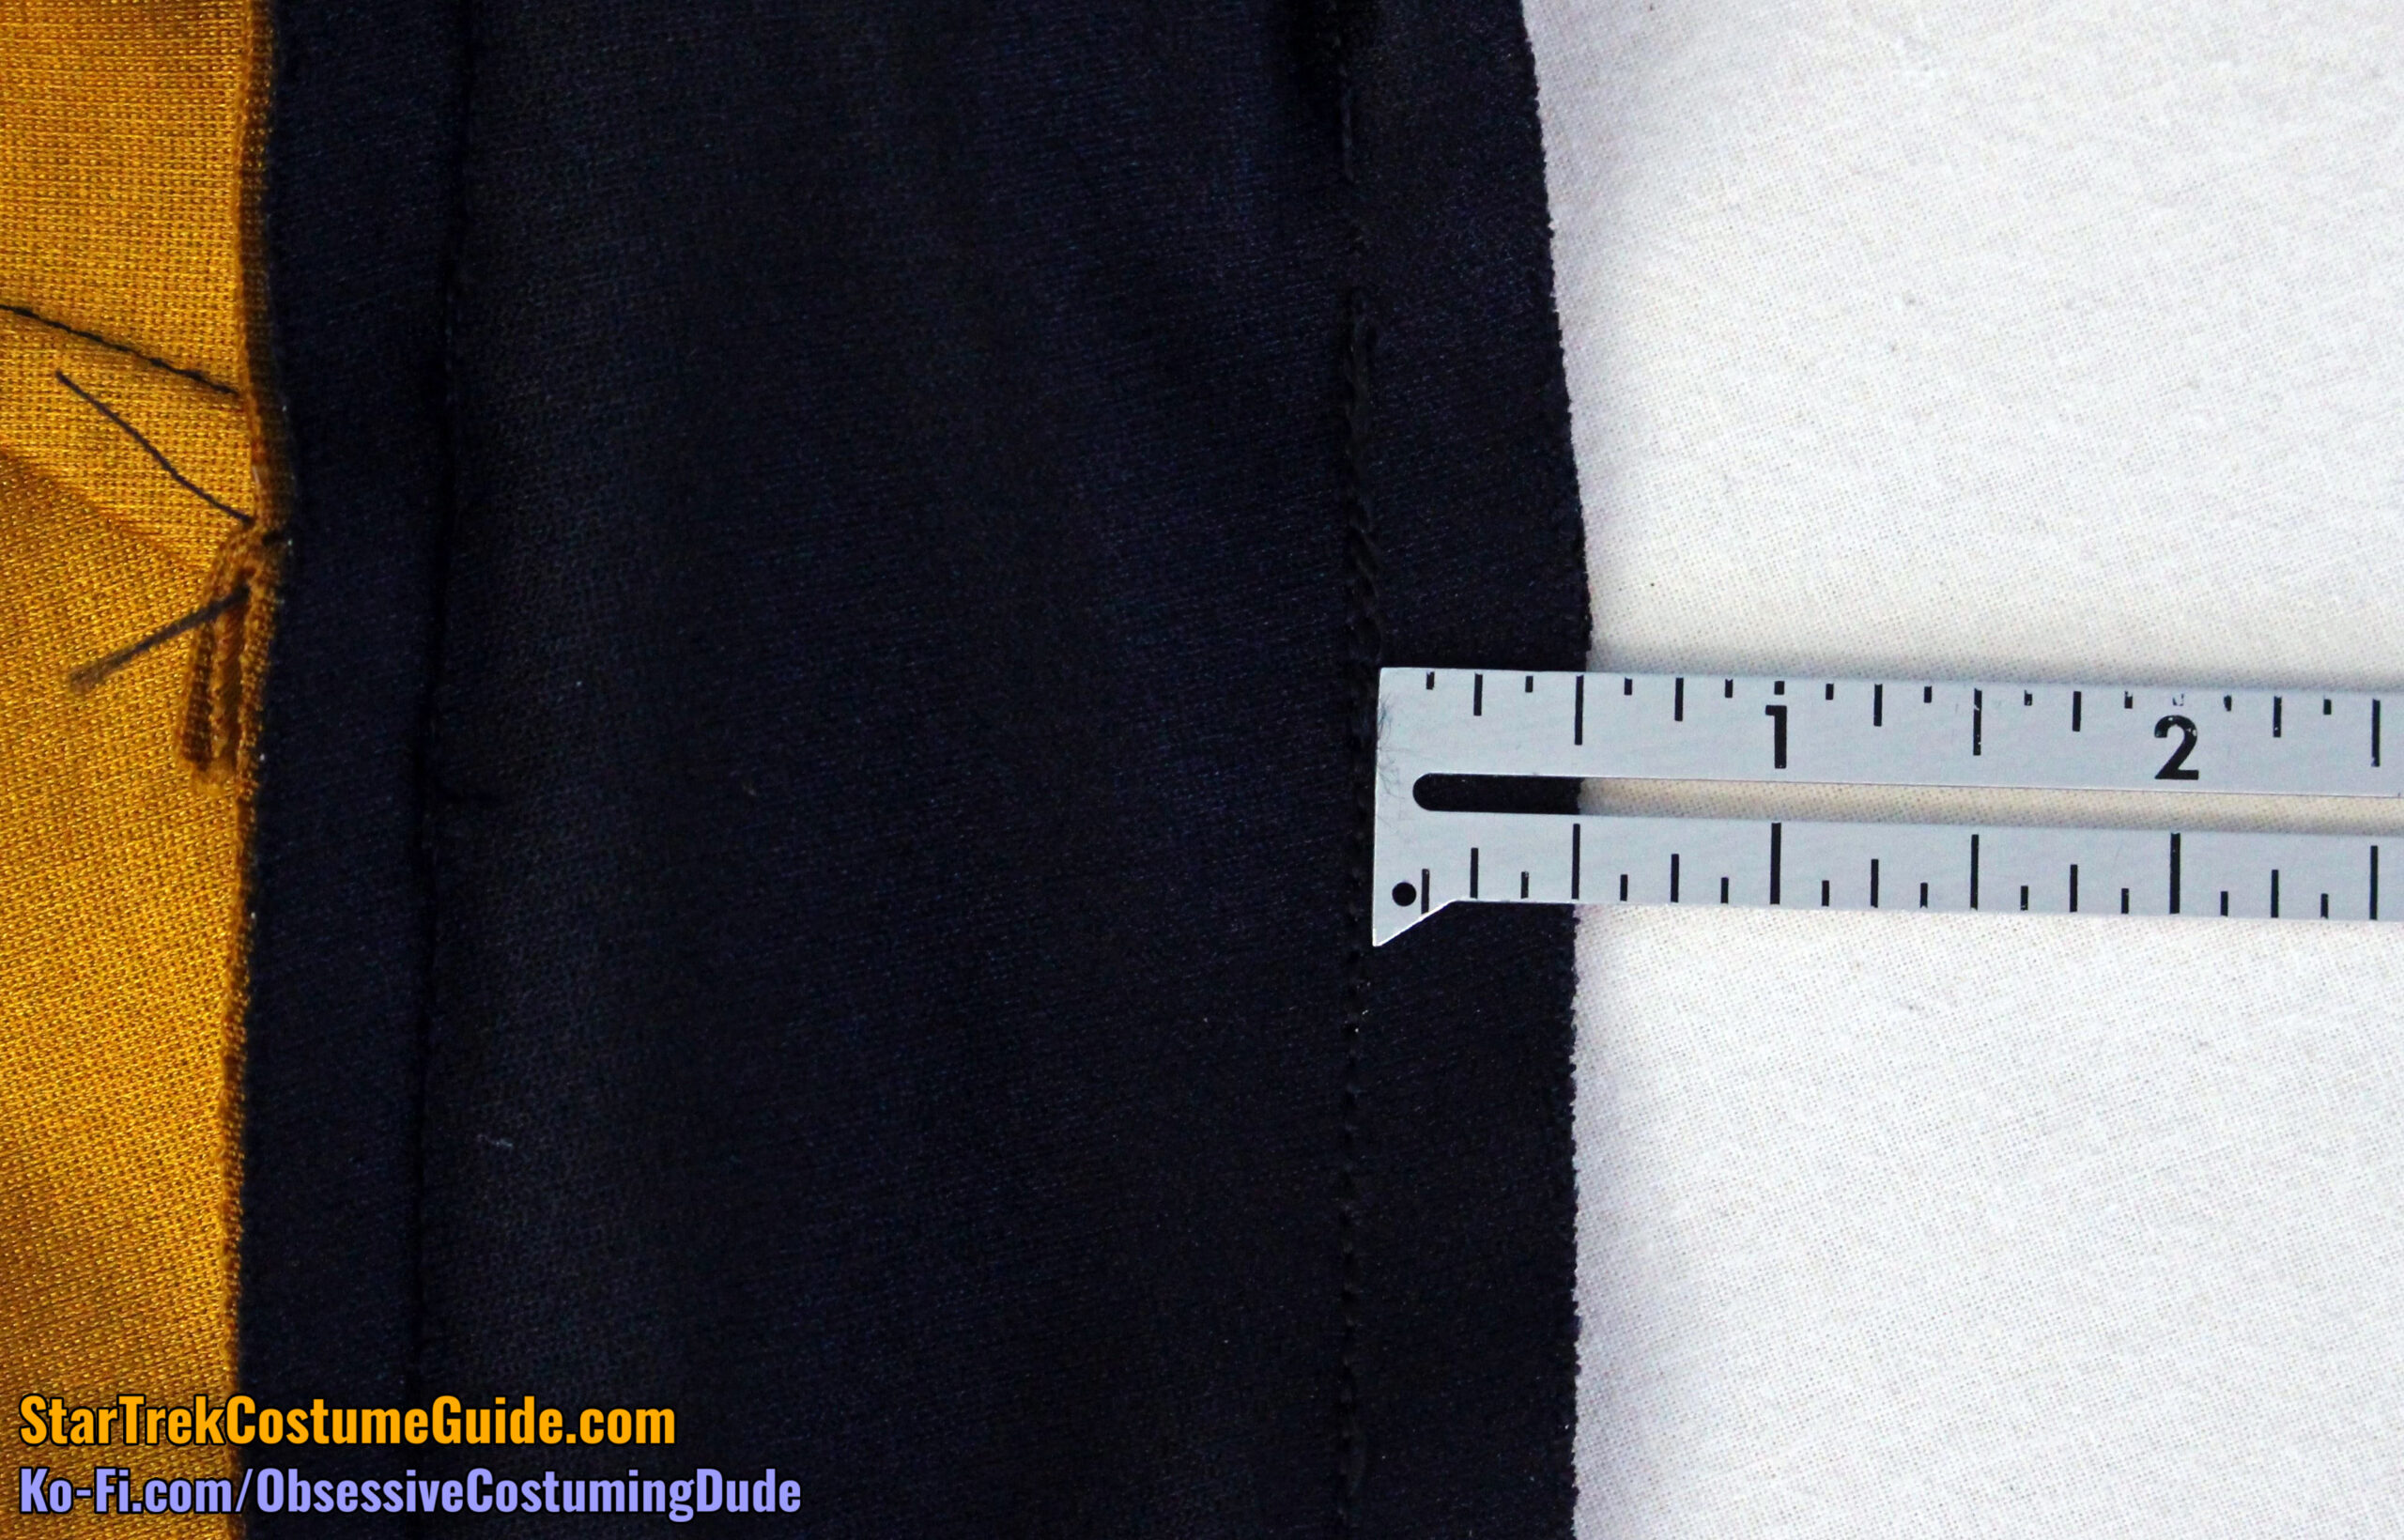
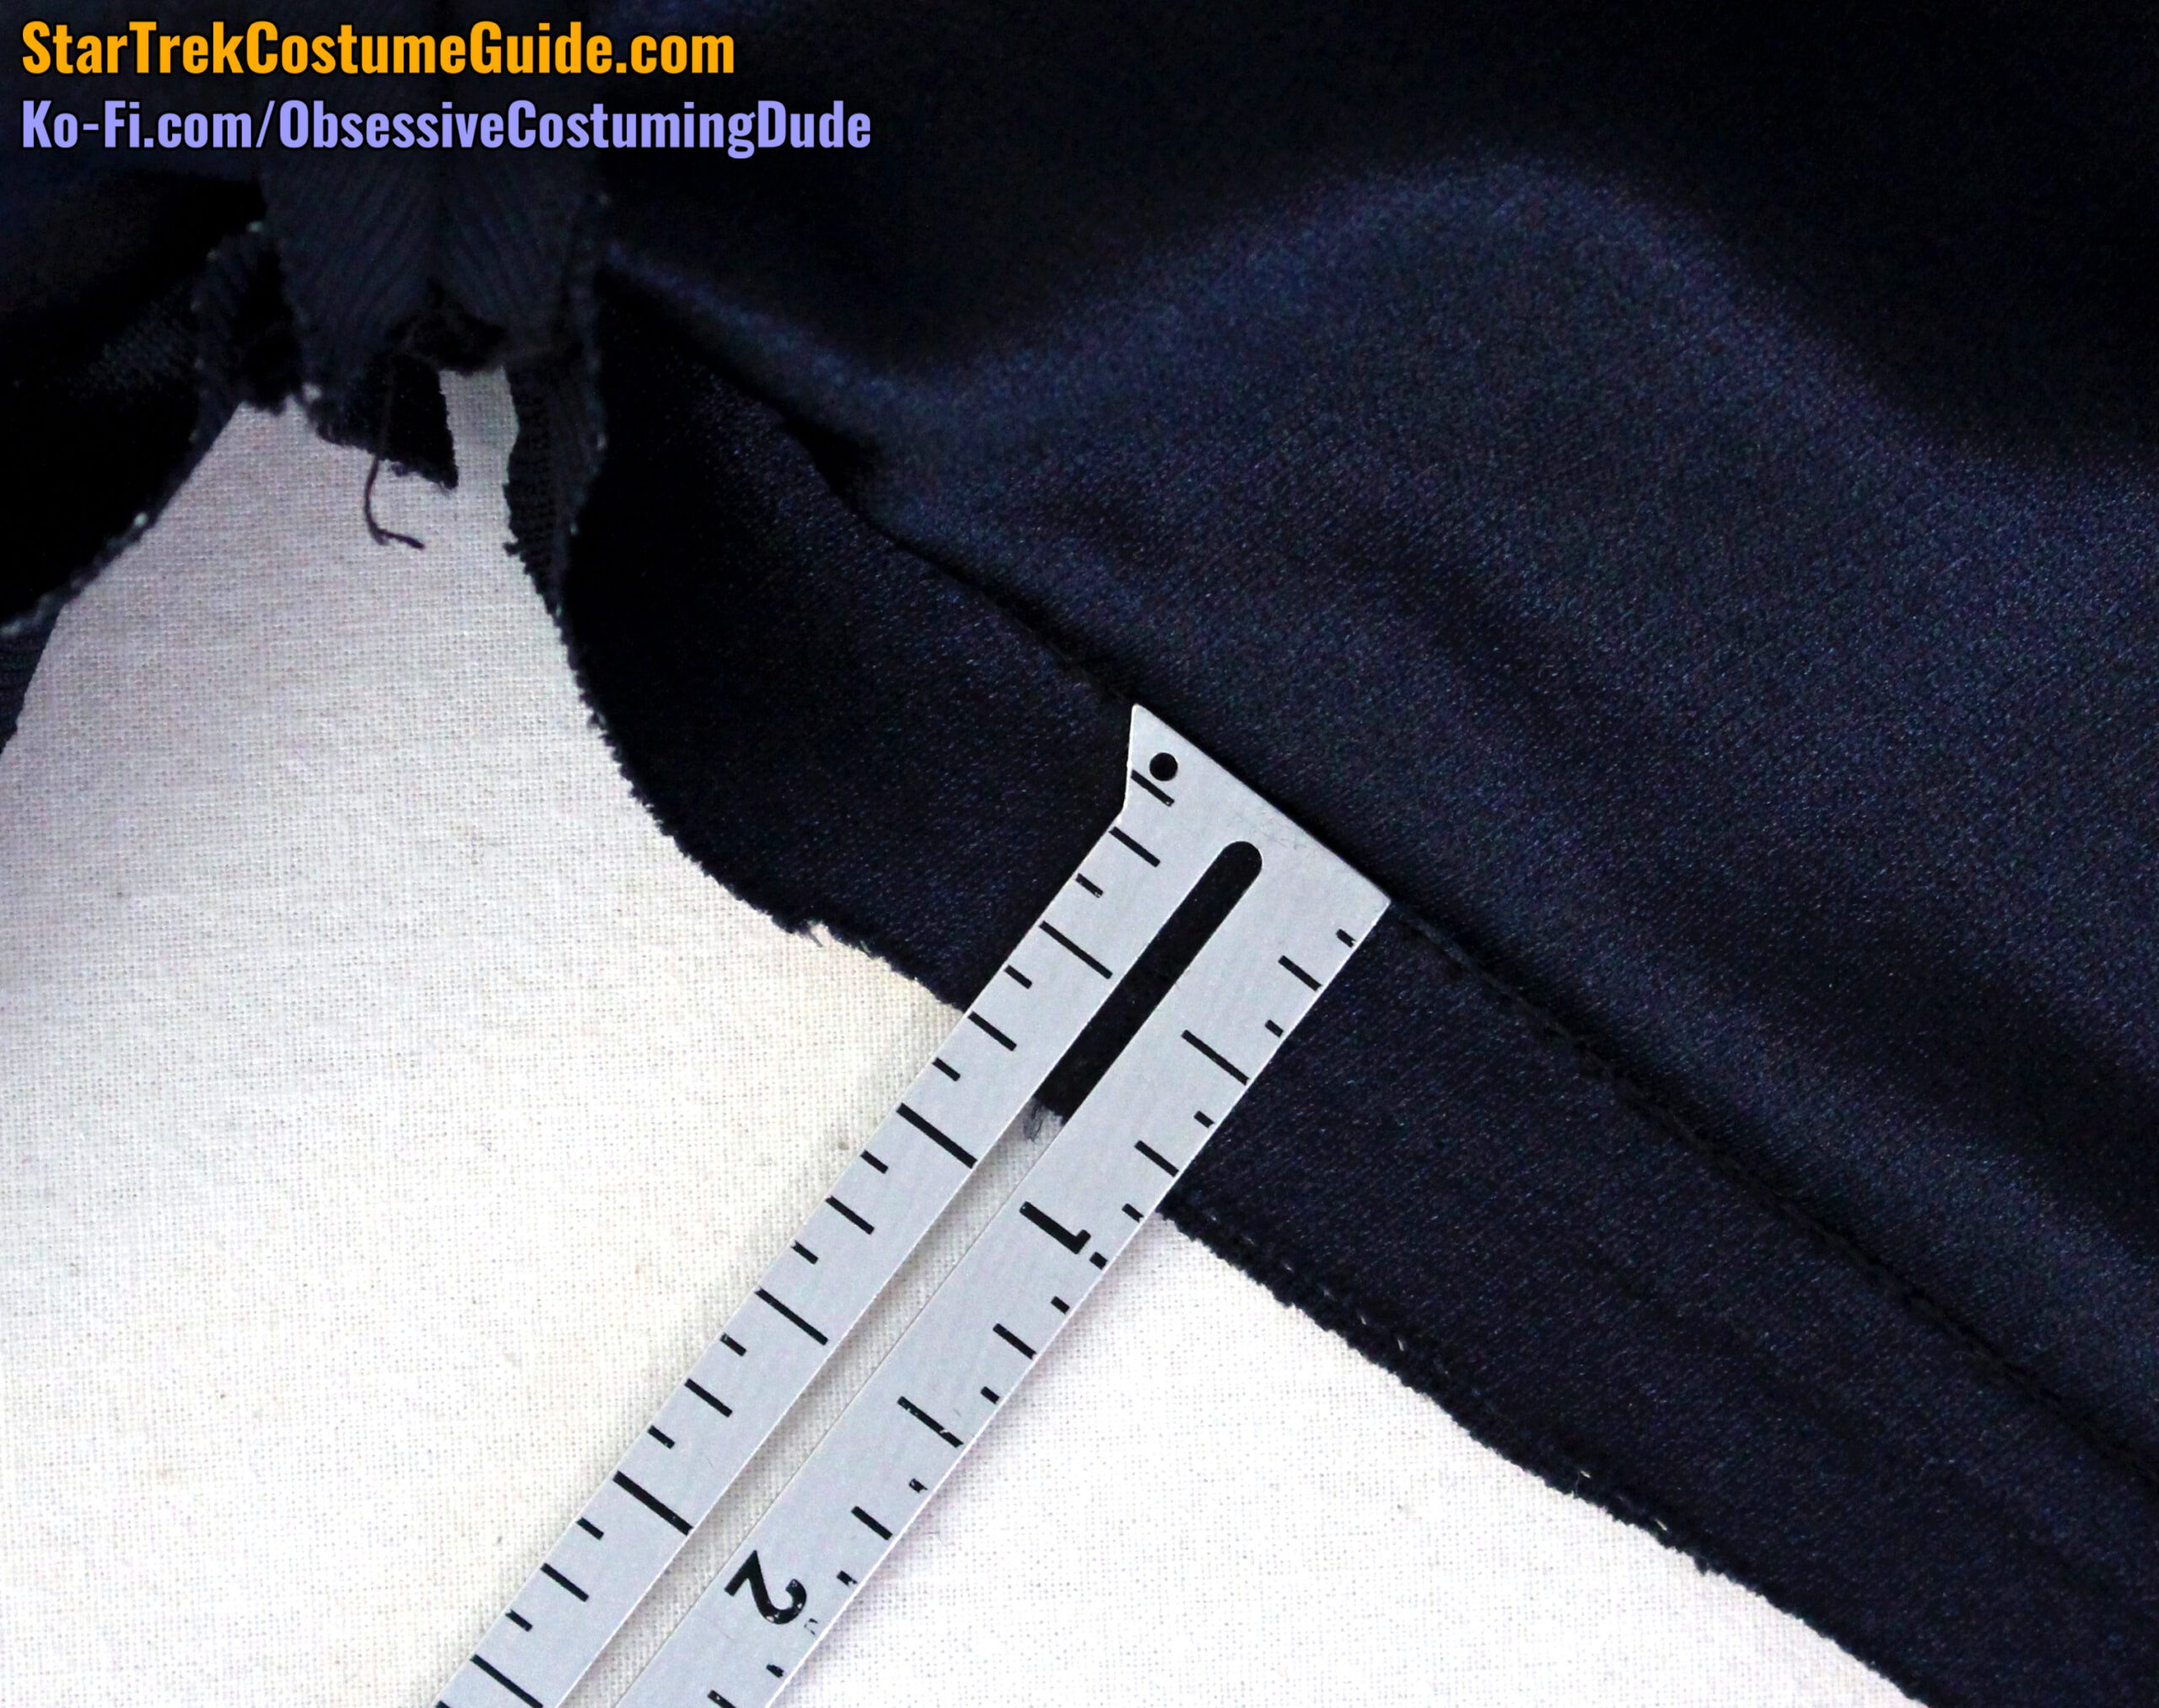
The lower back seam allowances were ⅜”.
By this point, it should come as no surprise that the lower front (diagonal) seam allowances also changed directions.
The lower right front allowances were consistently pressed open.
However, the lower left front allowances were both sewn into the waist seam toward the side/back, appear to have been pressed toward the front for most of the seam, and were finally sewn into the lower front seam fully opened.
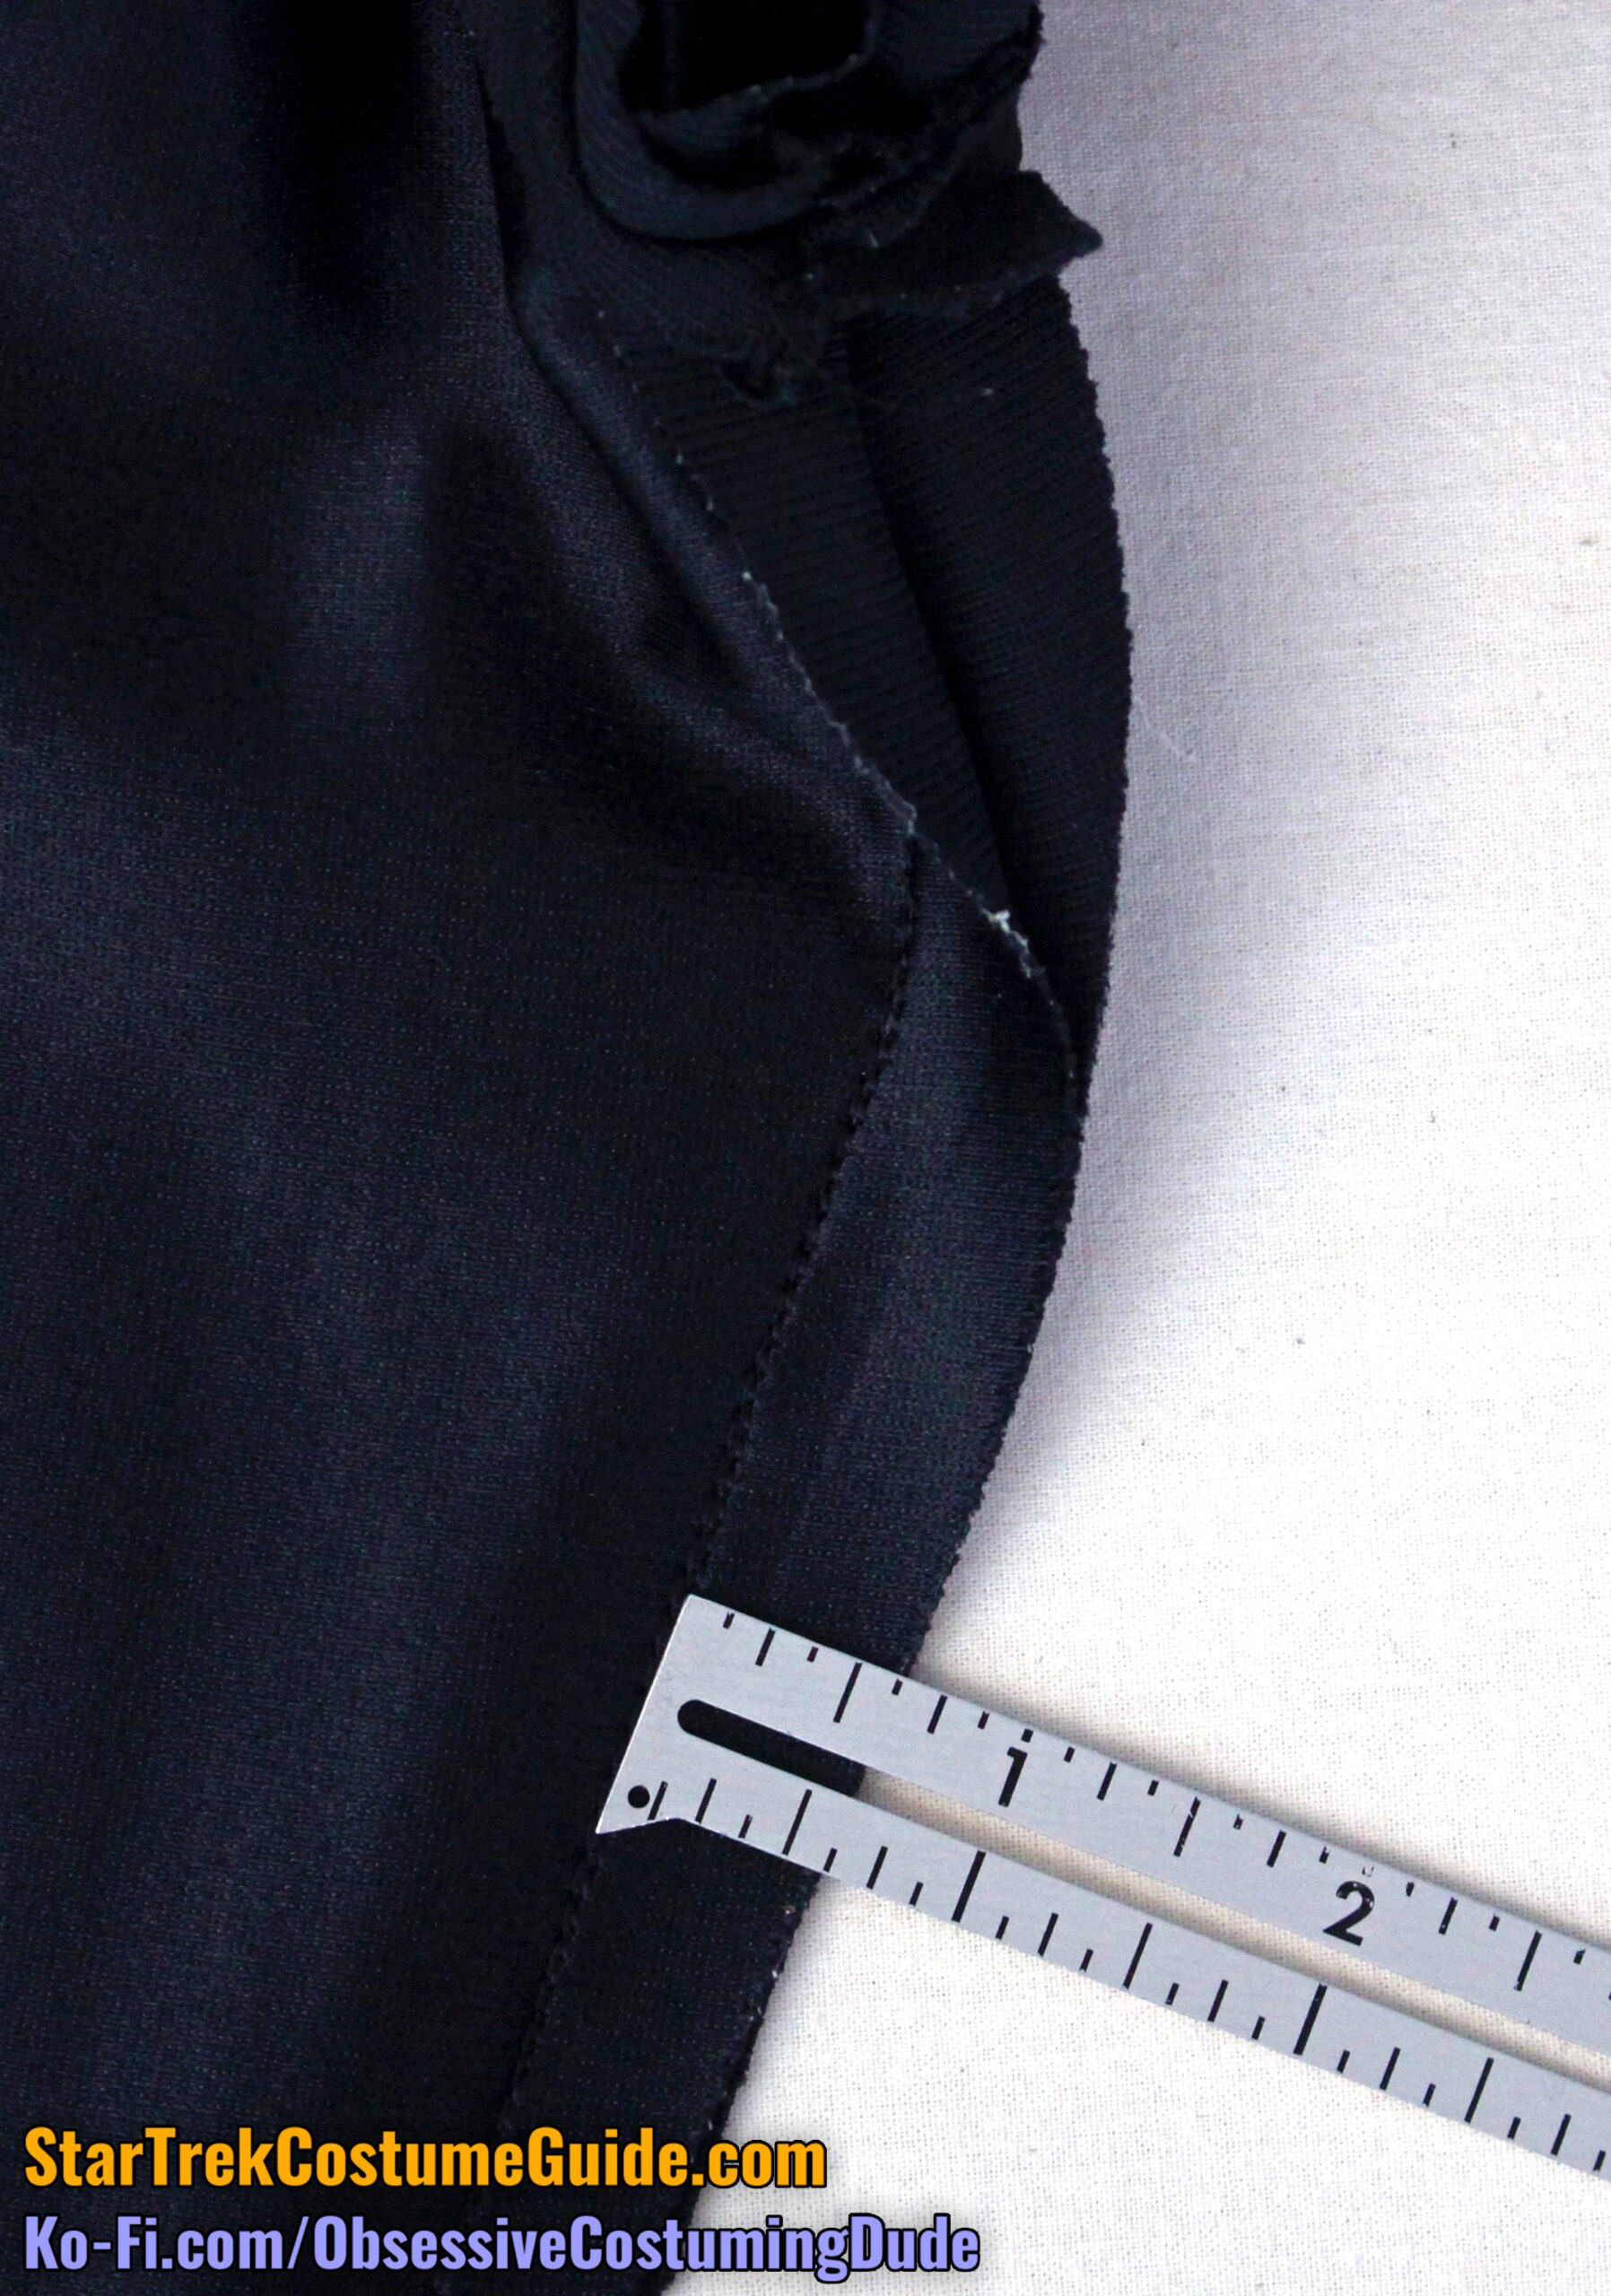
The side seam allowances were usually ½”, although they widened to ⅝” toward the waist and “wobbled” a bit down the leg …
The right inseam allowance was ¾”.
However, the left inseam allowance was only ⅝” … suggesting that perhaps the right inseam was accidentally sewn with a bit too much allowance, the left inseam was accidentally sewn with not quite enough, or for some reason the left inseam allowance was trimmed down to ⅝” while the right inseam allowance wasn’t.
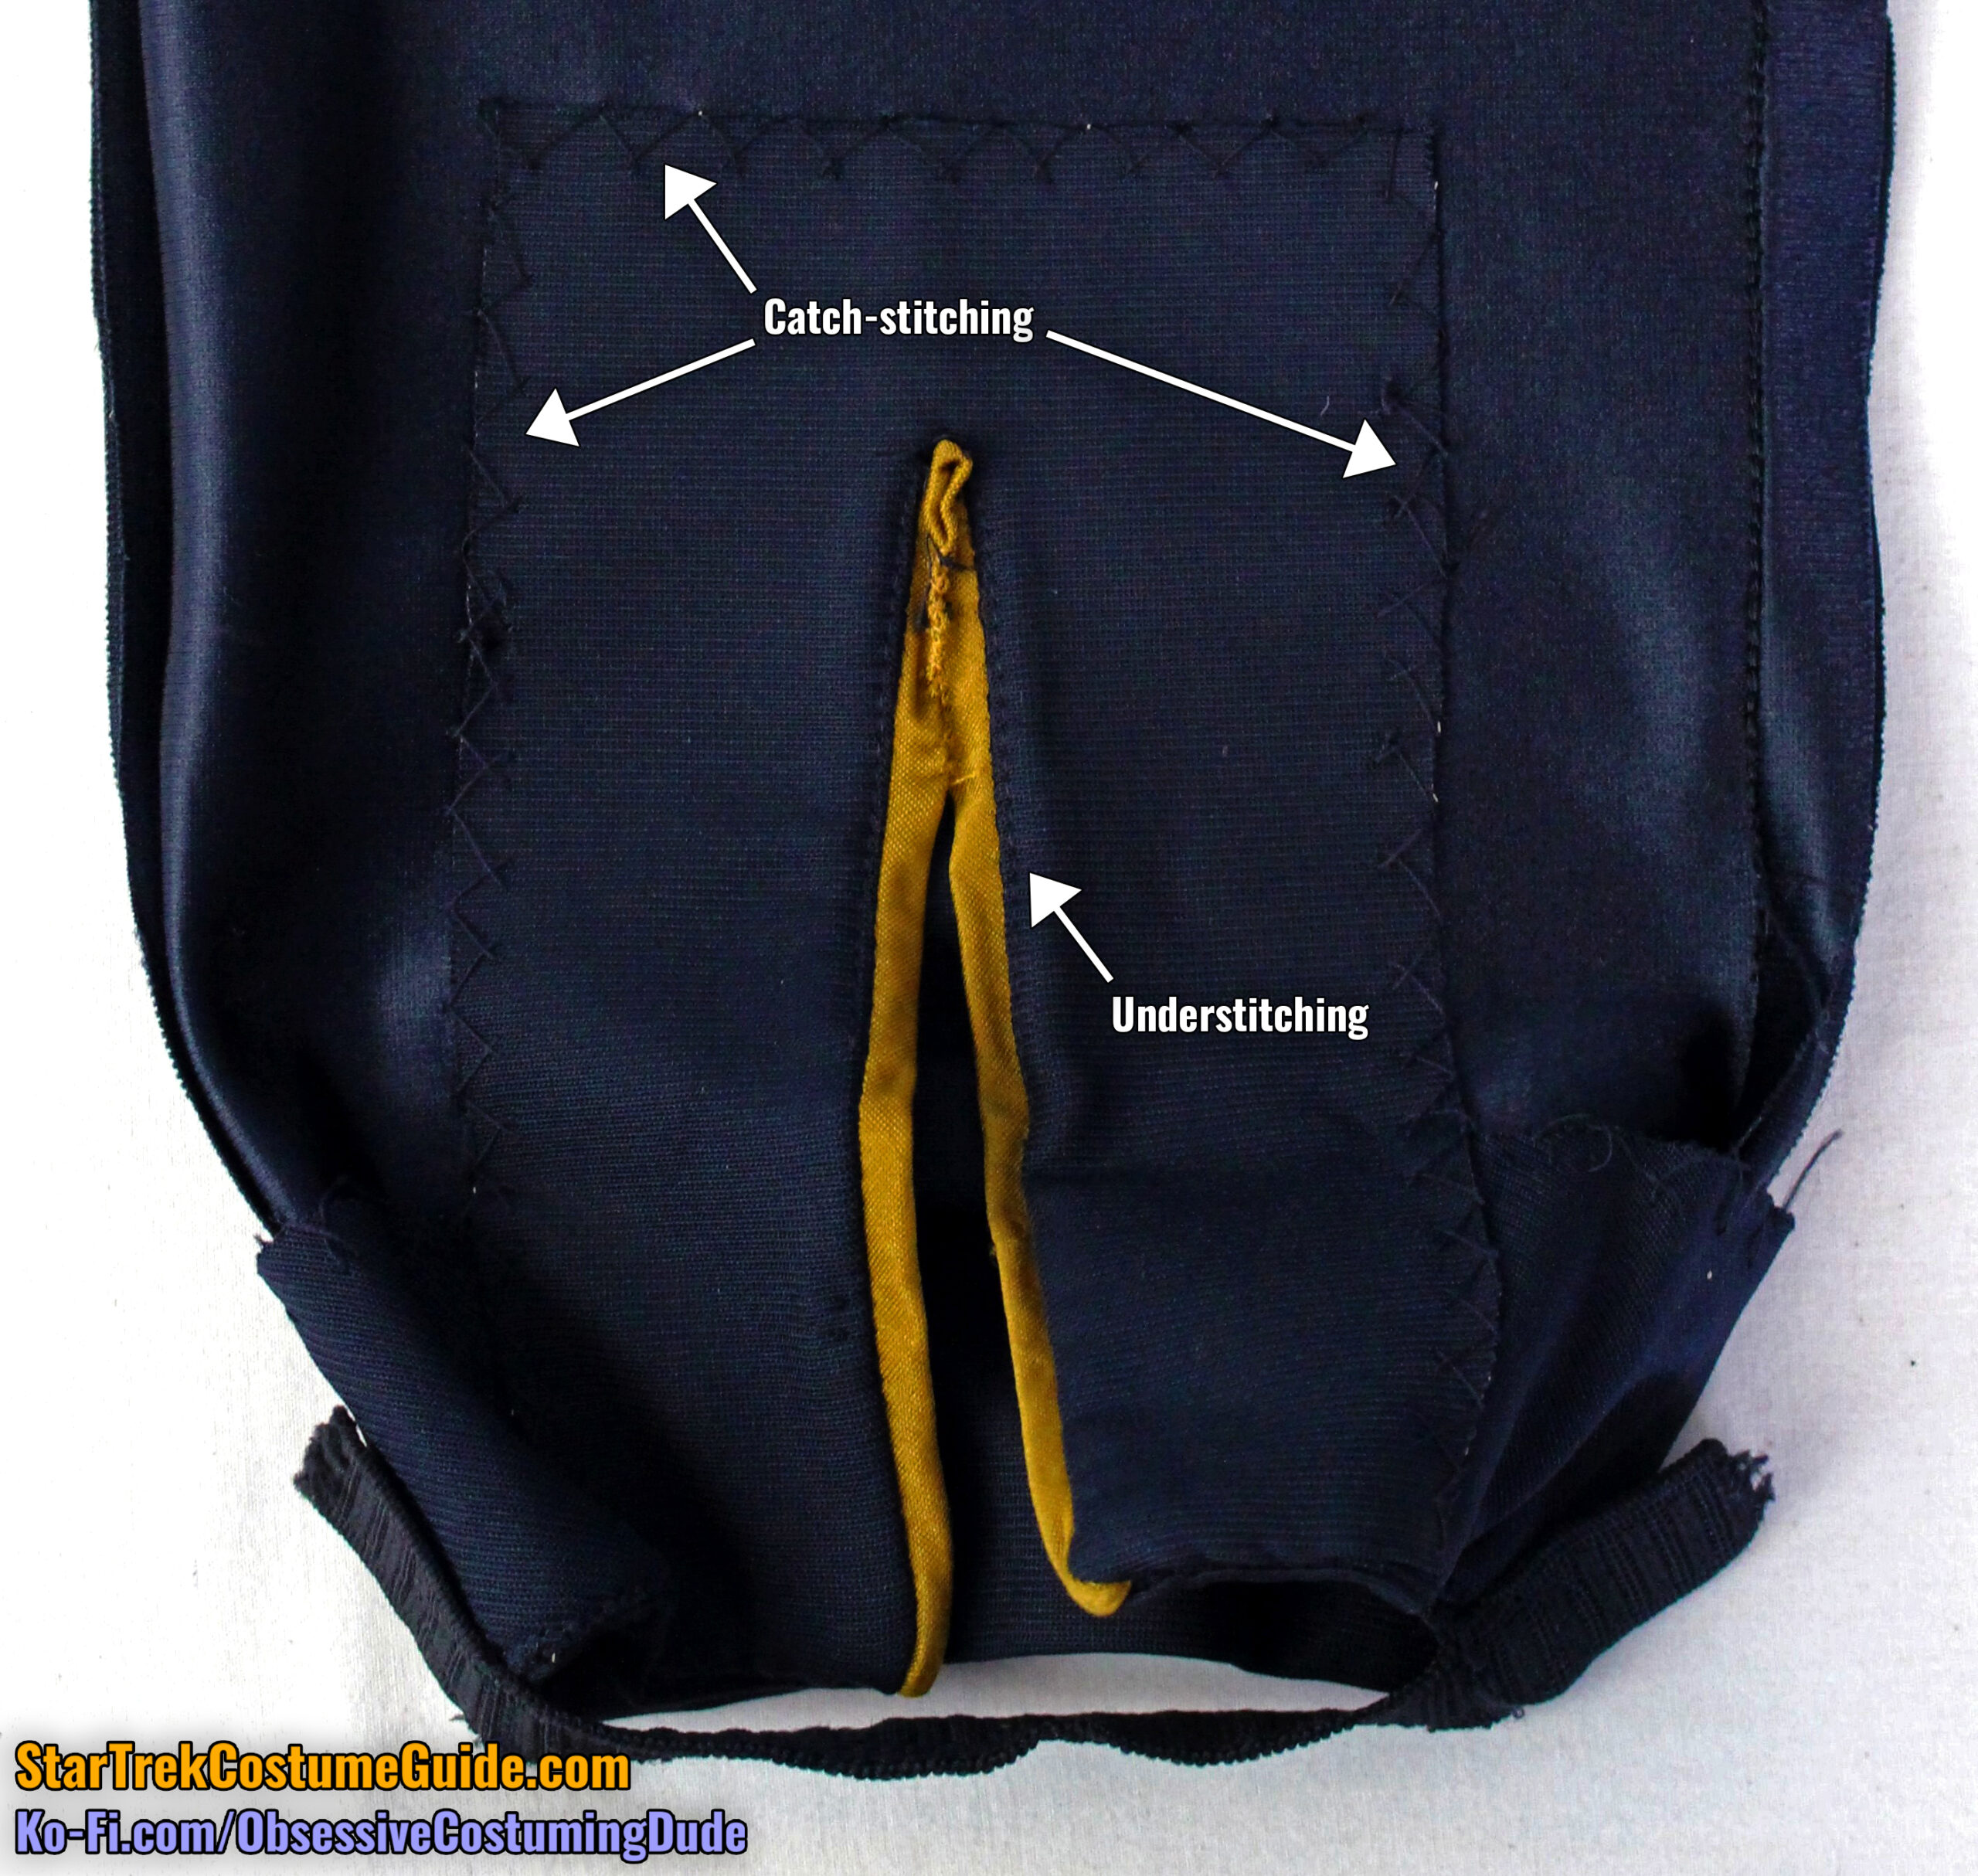
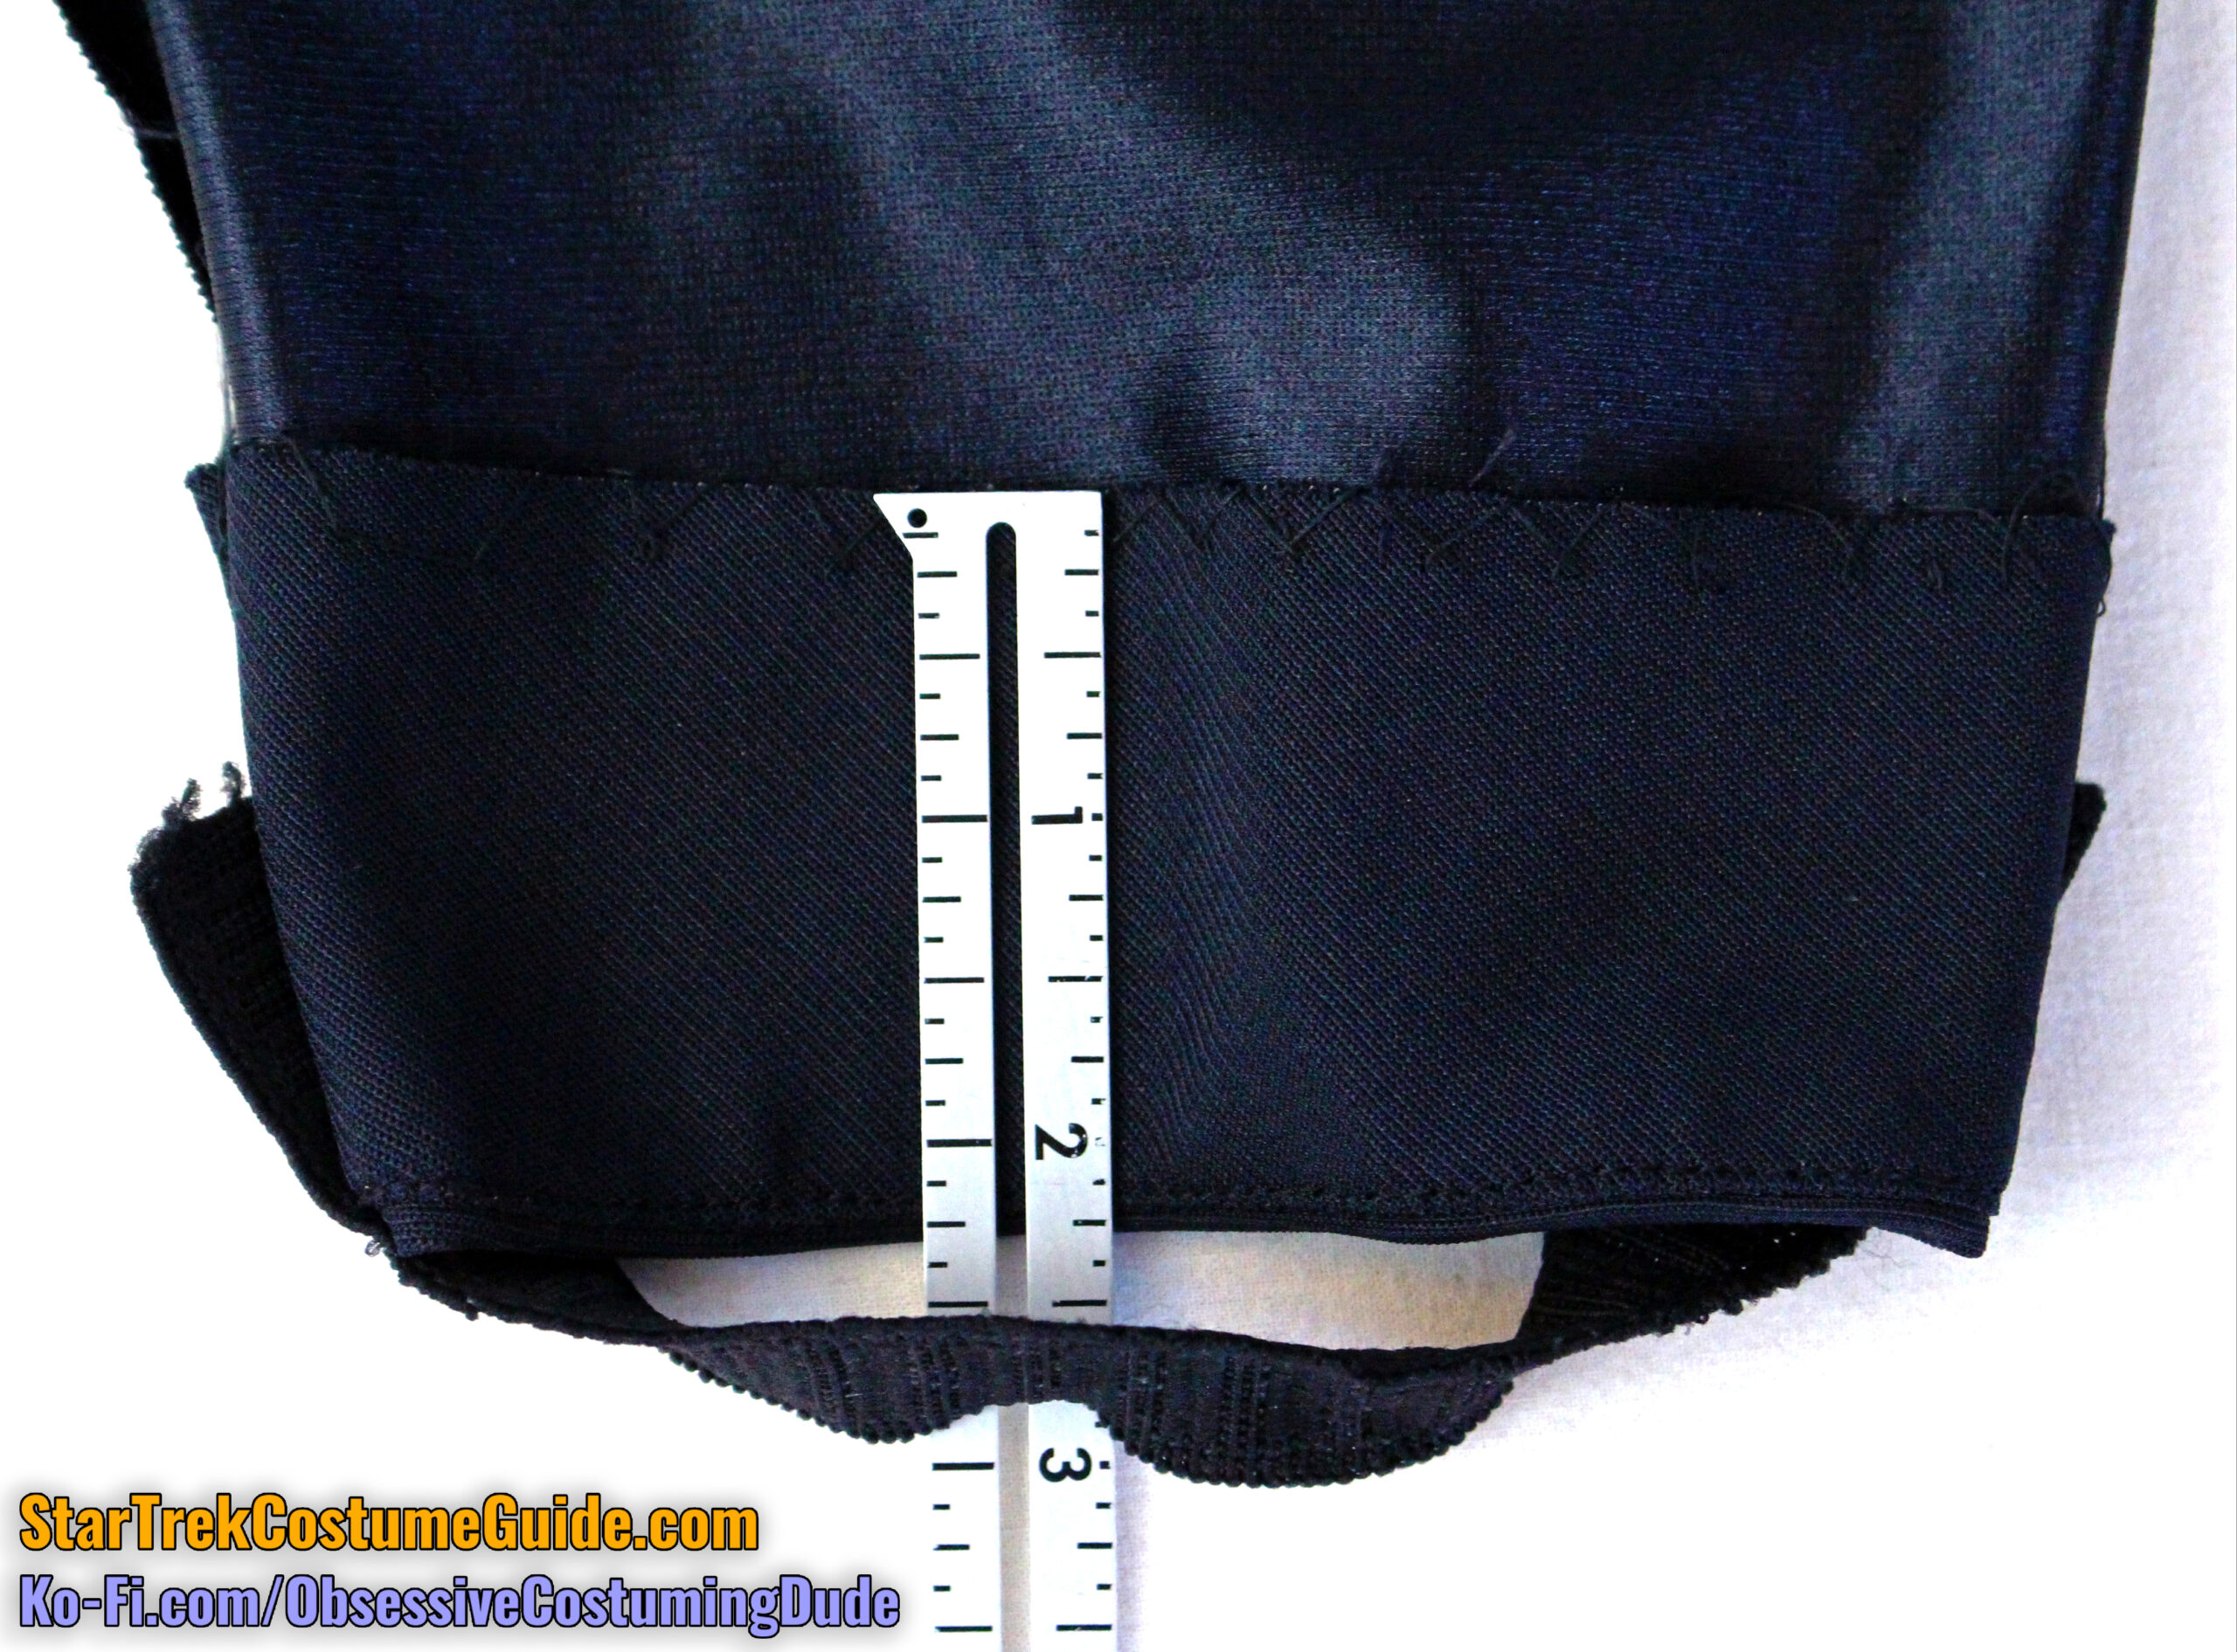
Here’s a look at the interior lower pant leg.
Observe the large facing on the underside, which was understitched along the upper half or so of the trim.
The outer edges were secured to the pant leg and hem via catch-stitching.
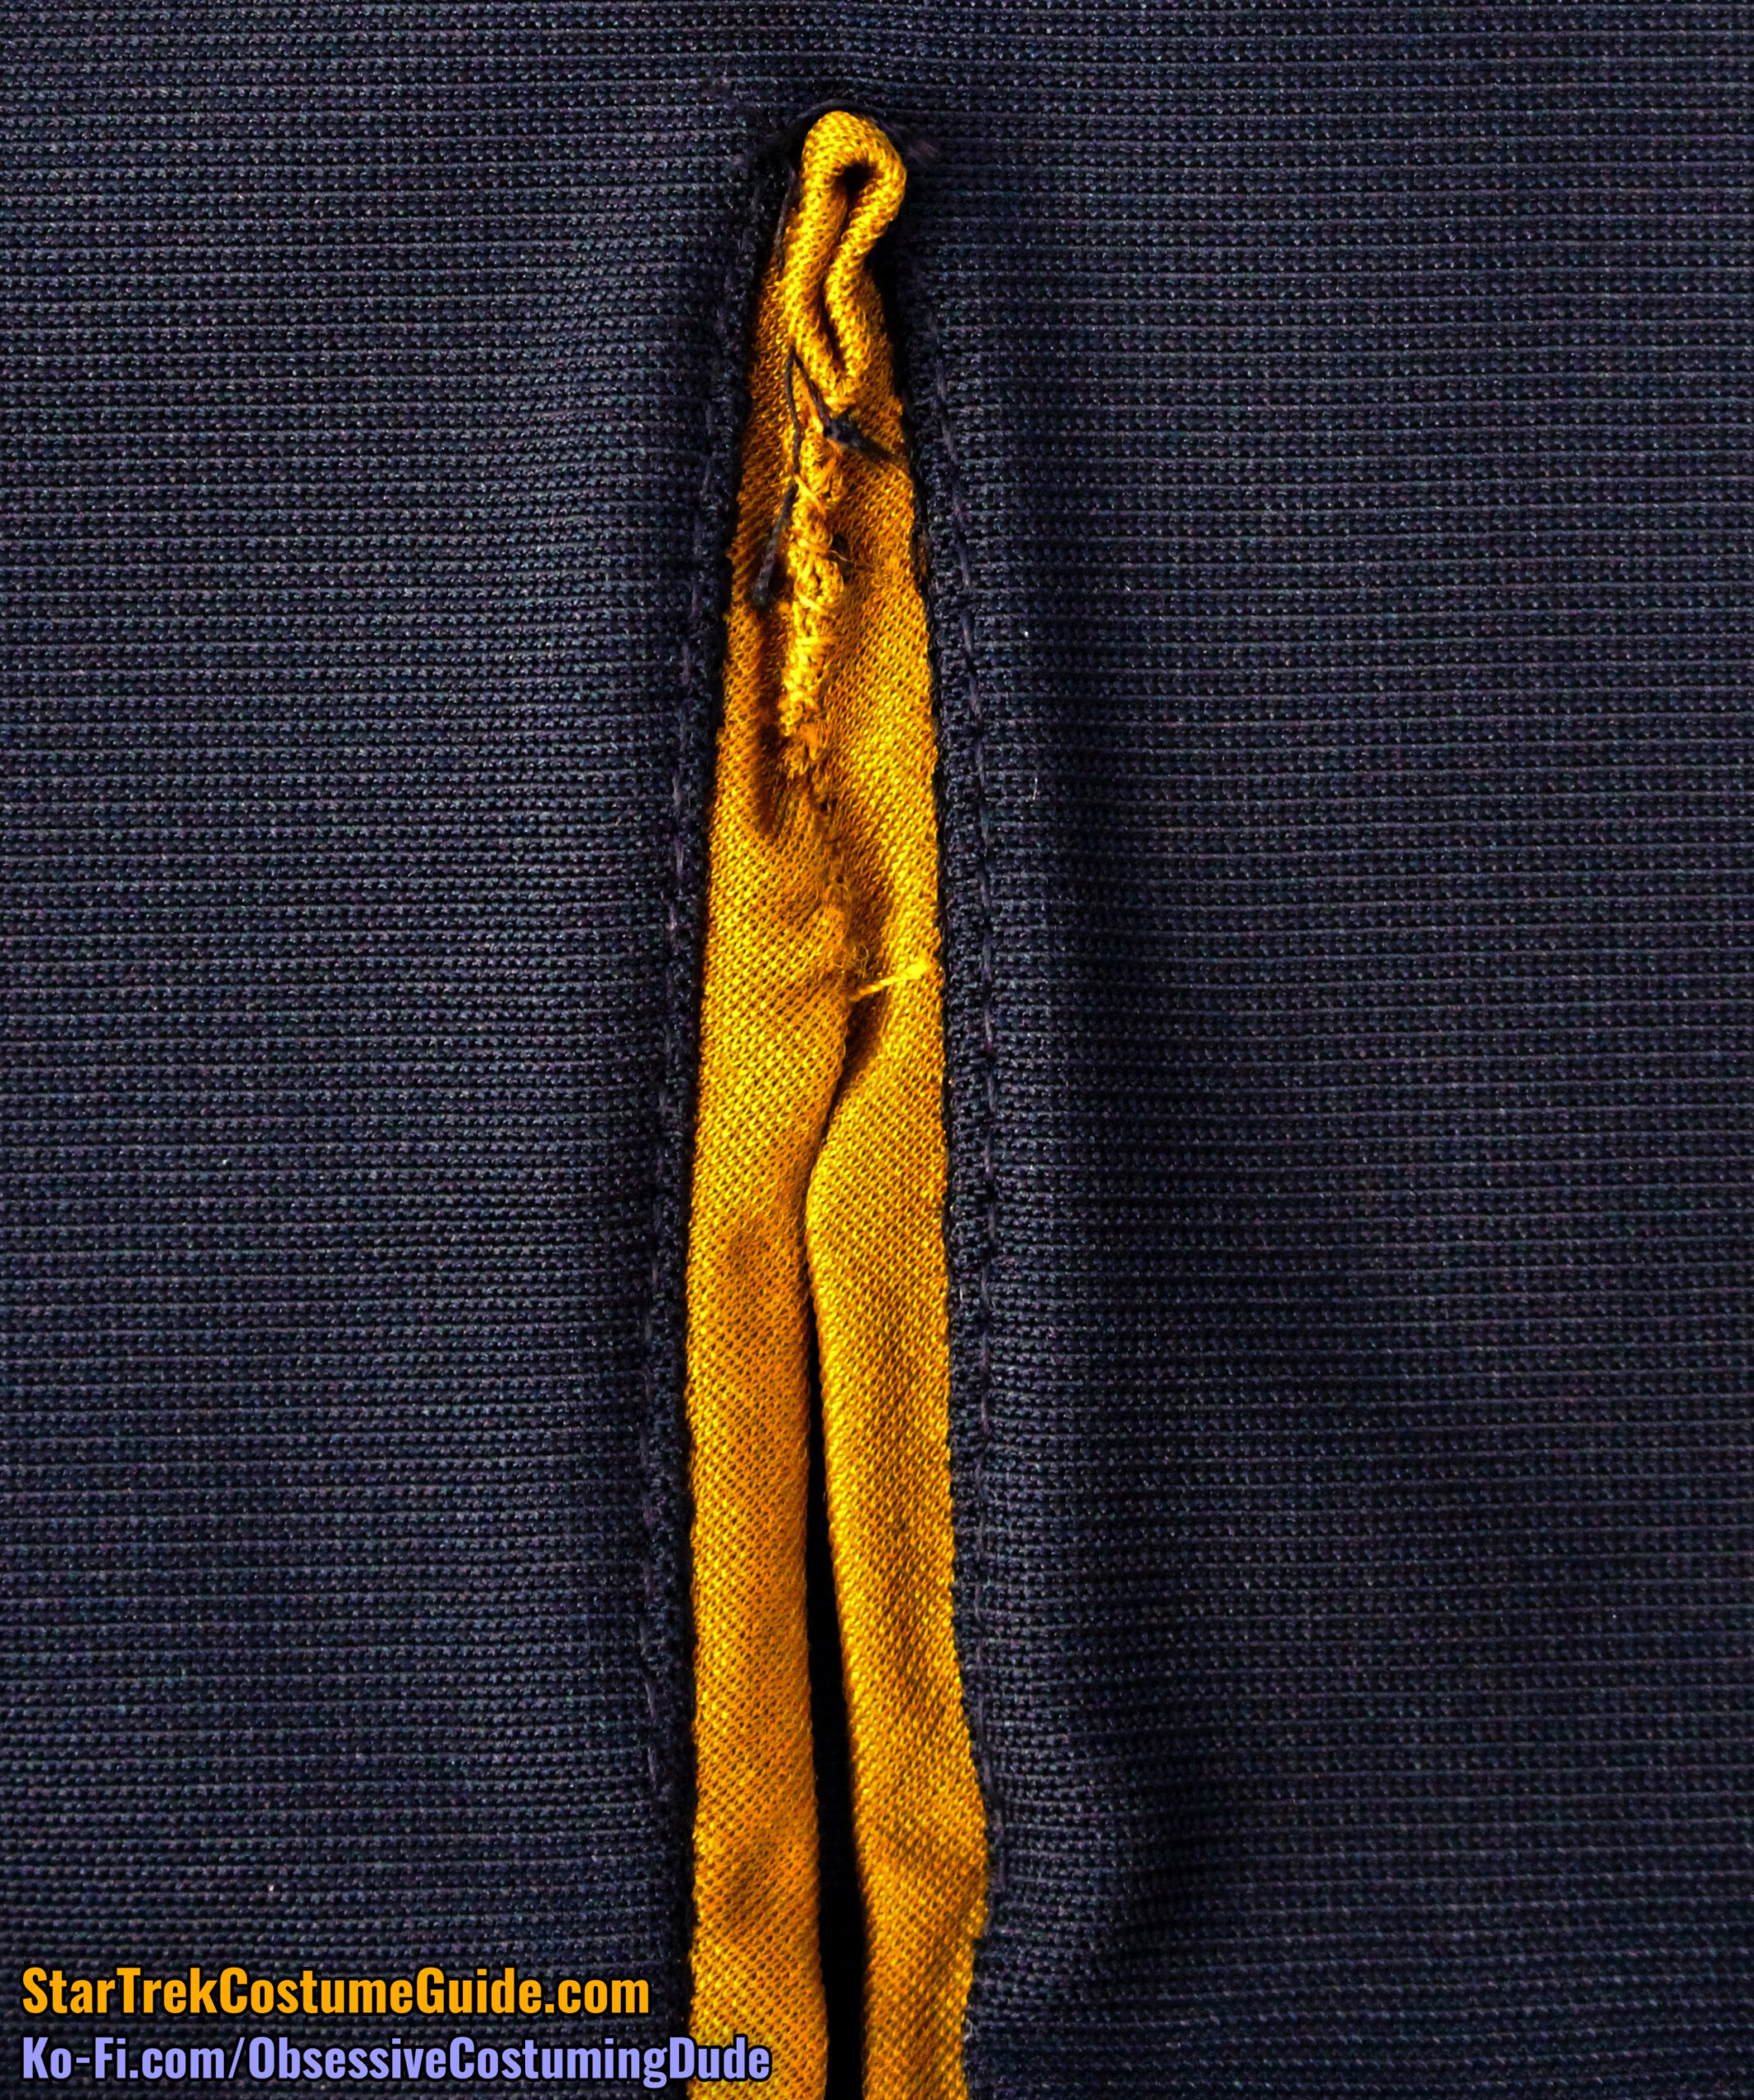
The season 1 construction technique for the trim at the bottom of the pant legs was perhaps innovative, but in my opinion inelegant compared to the season 2 technique.
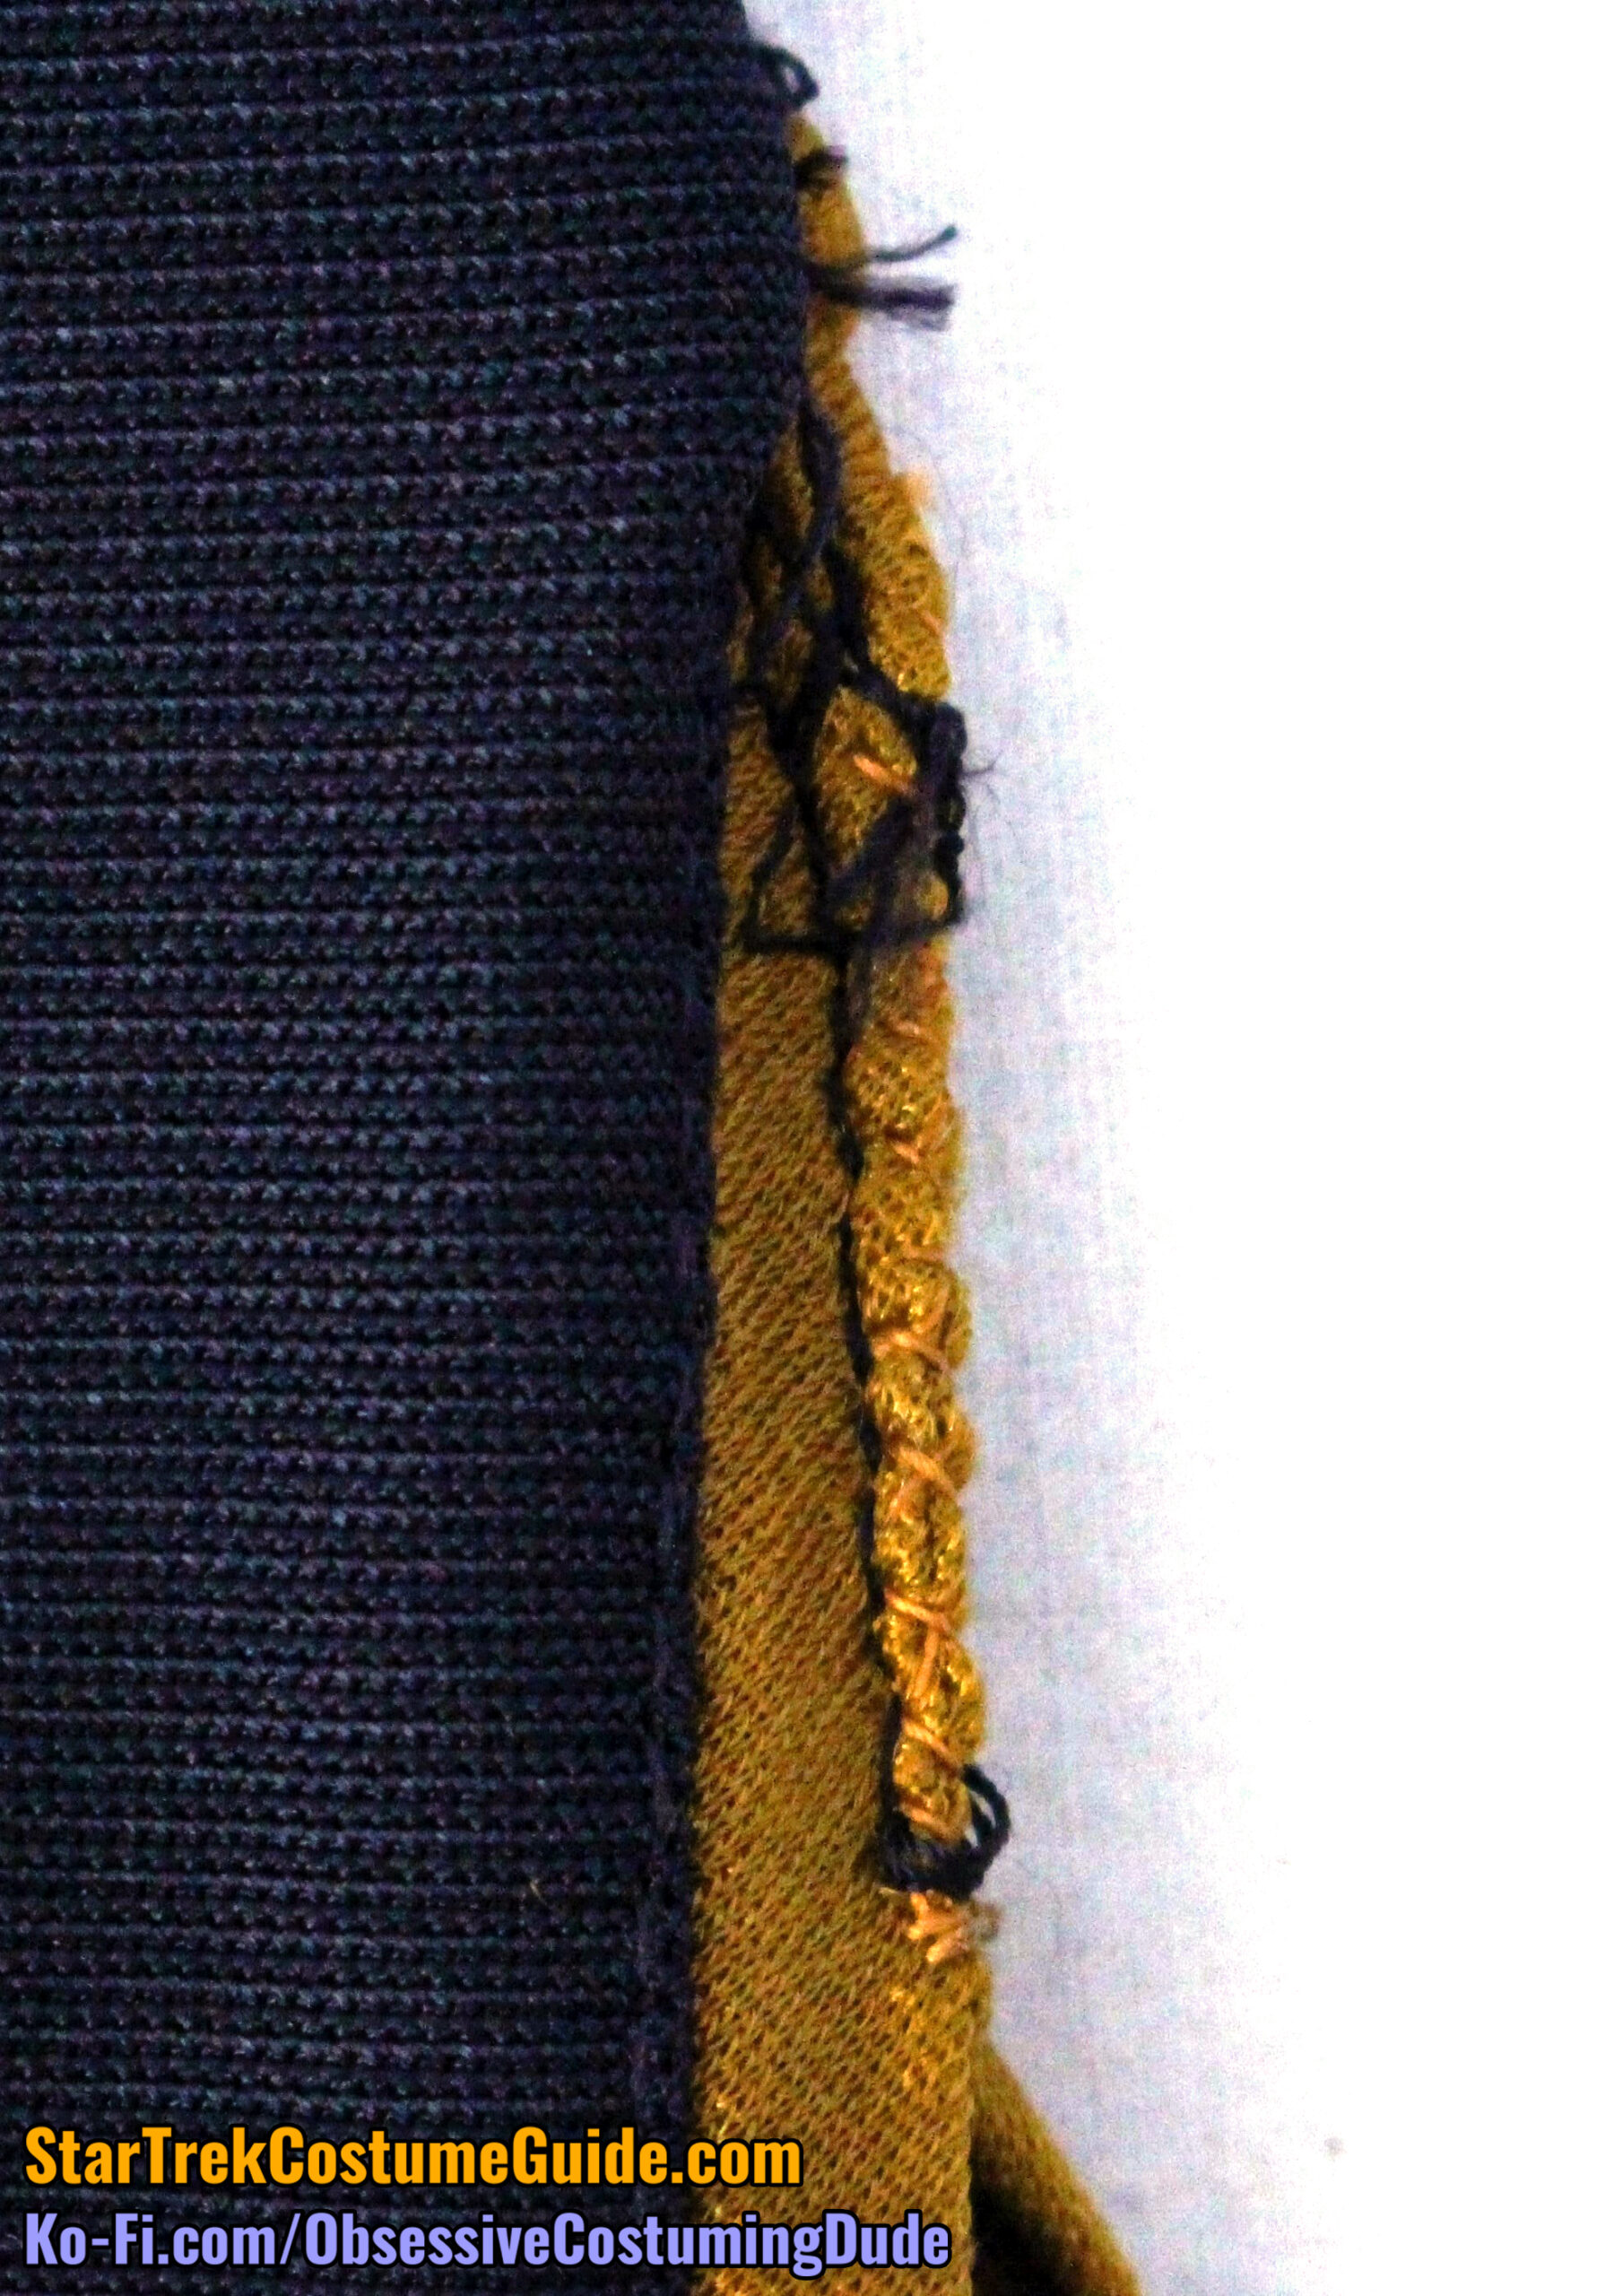
One long strip of trim was attached in one long go, the opening slashed, then the layers of trim simply “pinched” and sewn together with a diagonal stitch across the top of the opening.
(Also note the zig-zag/overcast stitching inside the black machine stitch, presumably as a “failsafe.”)
The facing itself extended approximately 2” outside and 1 ½” above the trim.
The pant legs of the Tasha Yar jumpsuit weren’t hemmed with conventional hem allowance, but with separate bias-cut hem facings.
The 2 ¼” facing was sewn onto each pant leg, turned upward, and under-stitched close to the lower seam line.
The upper edge was secured with catch-stitching, just as hem allowance typically would be.
(As I mentioned in my Intermediate Sewing course, hem facings can be a means of extending sleeves and pant legs when there isn’t enough patterned allowance.)
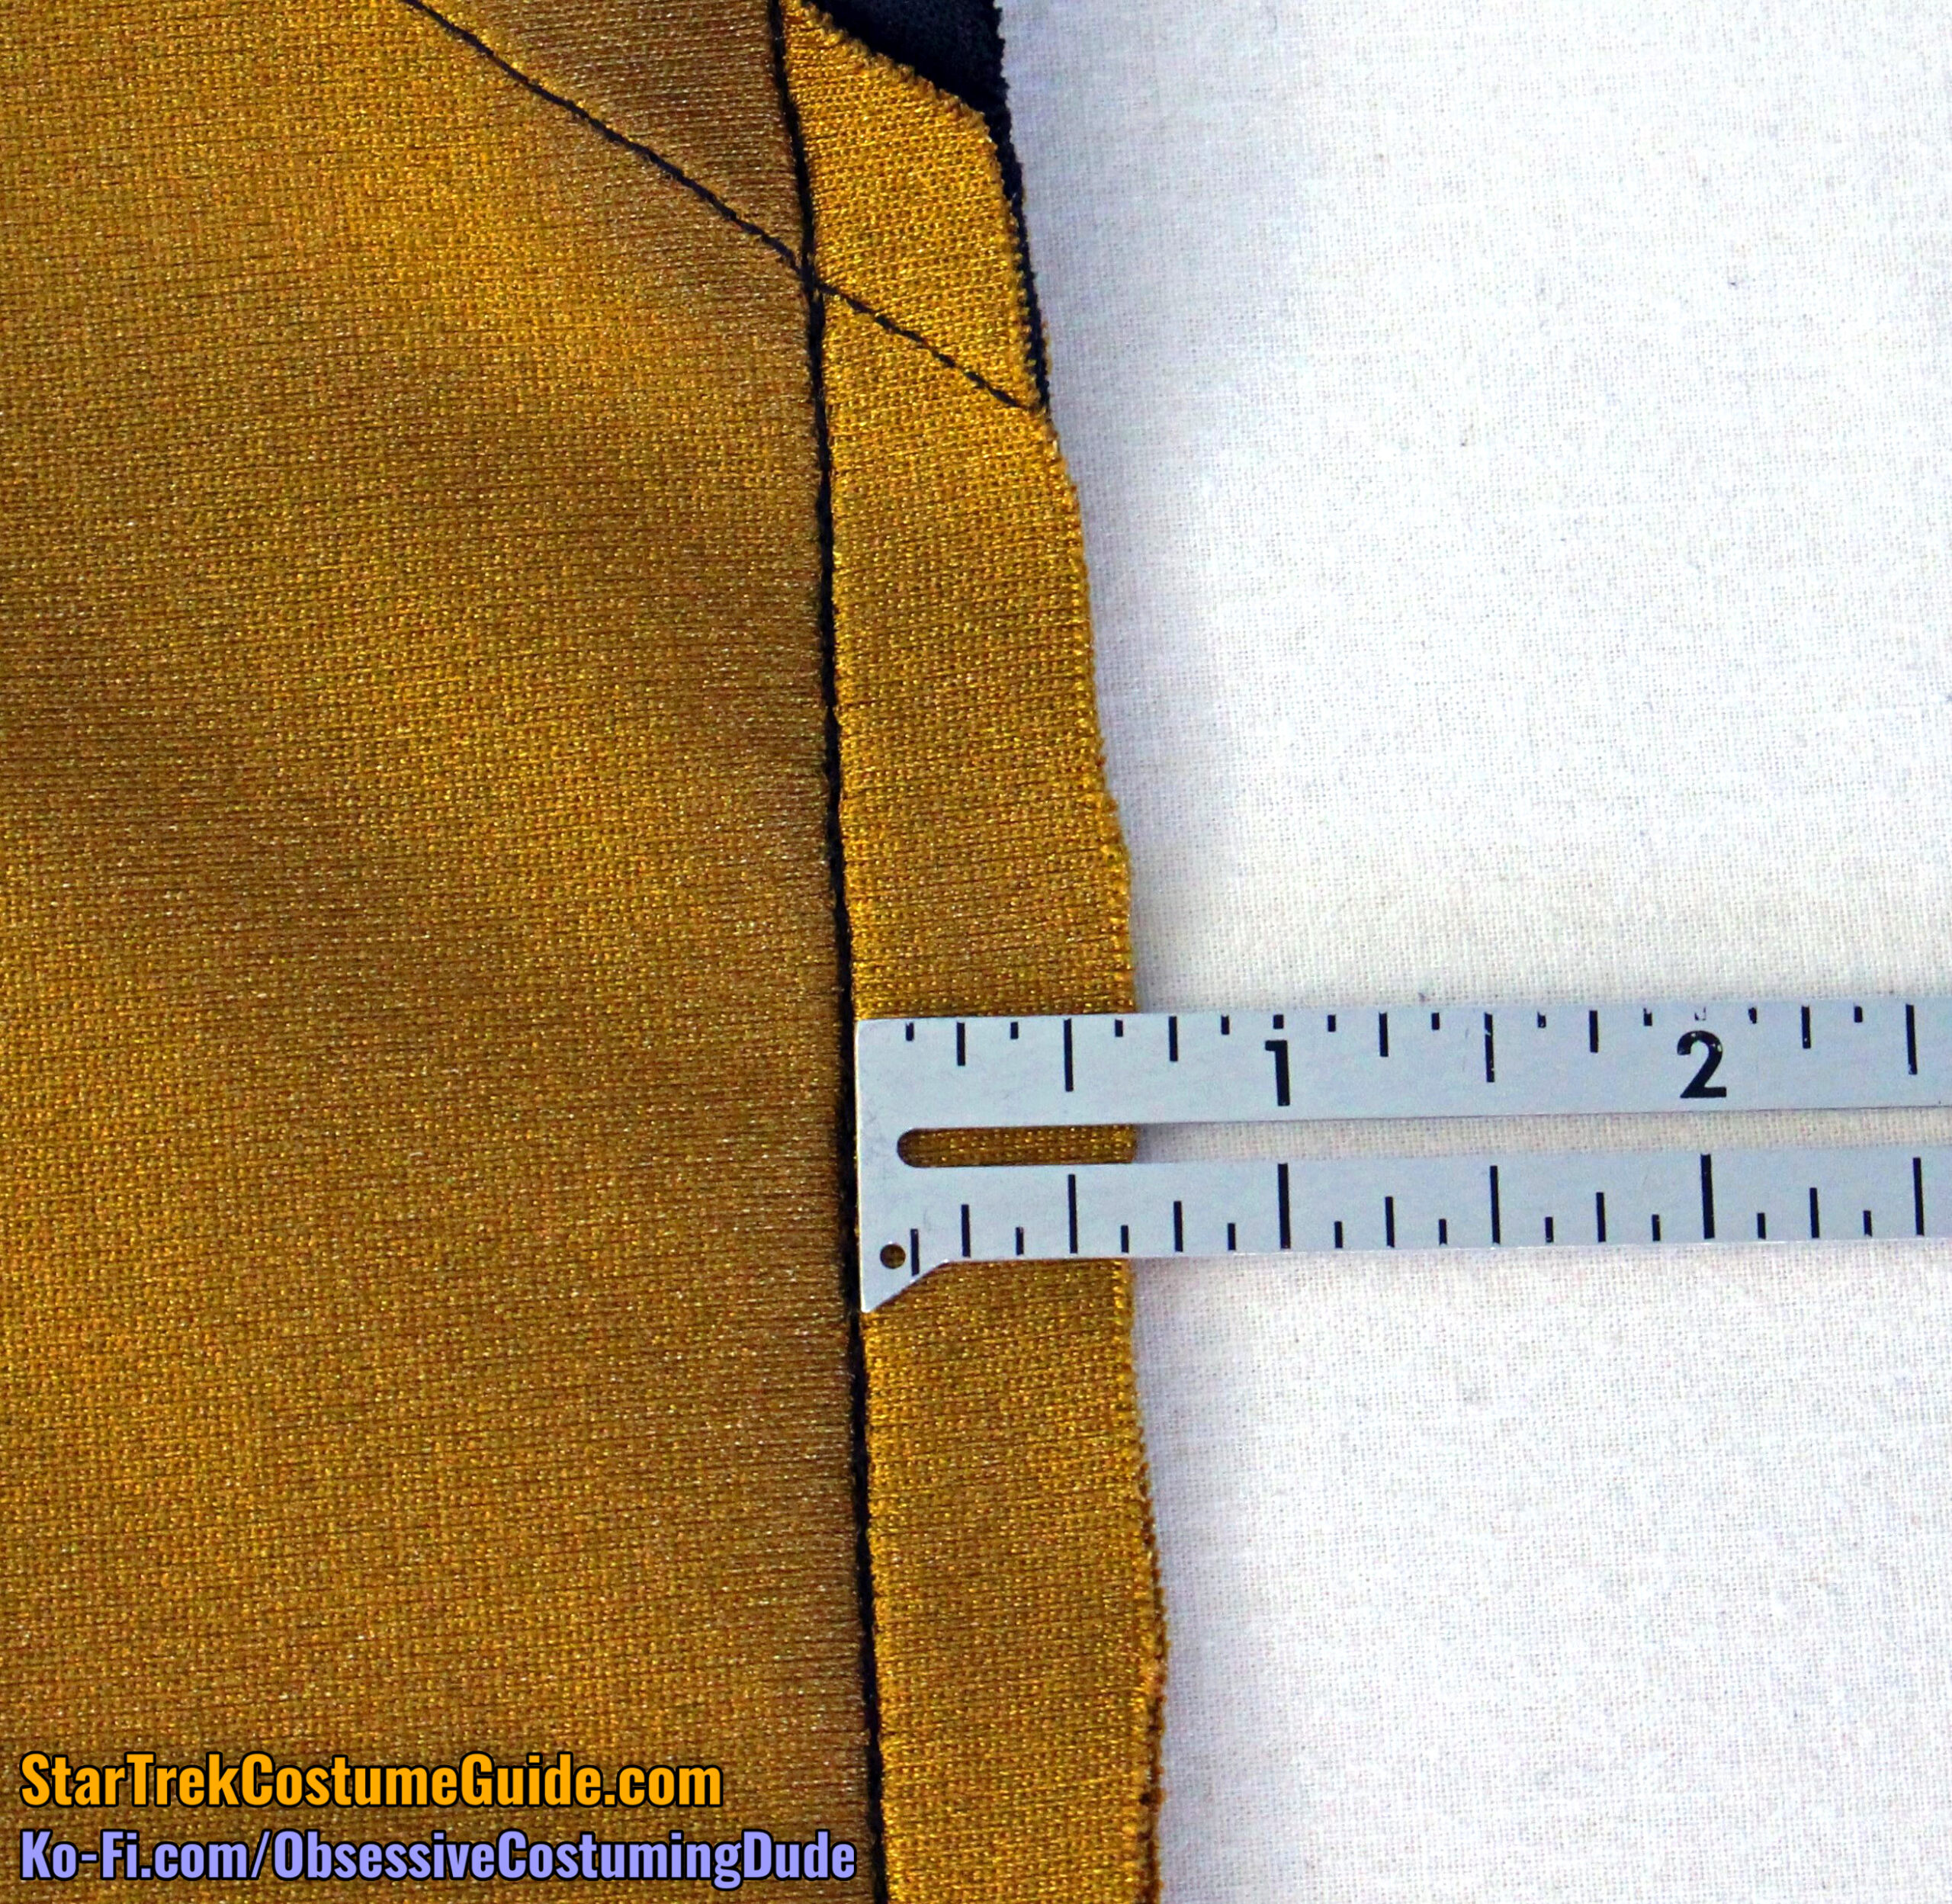
The outer sleeve seam allowances varied between ½” and ⅝”.
However, the inner/under sleeve seam allowances were consistently ½”, leading me to believe that the outer sleeve allowances were originally intended to be ½” as well.
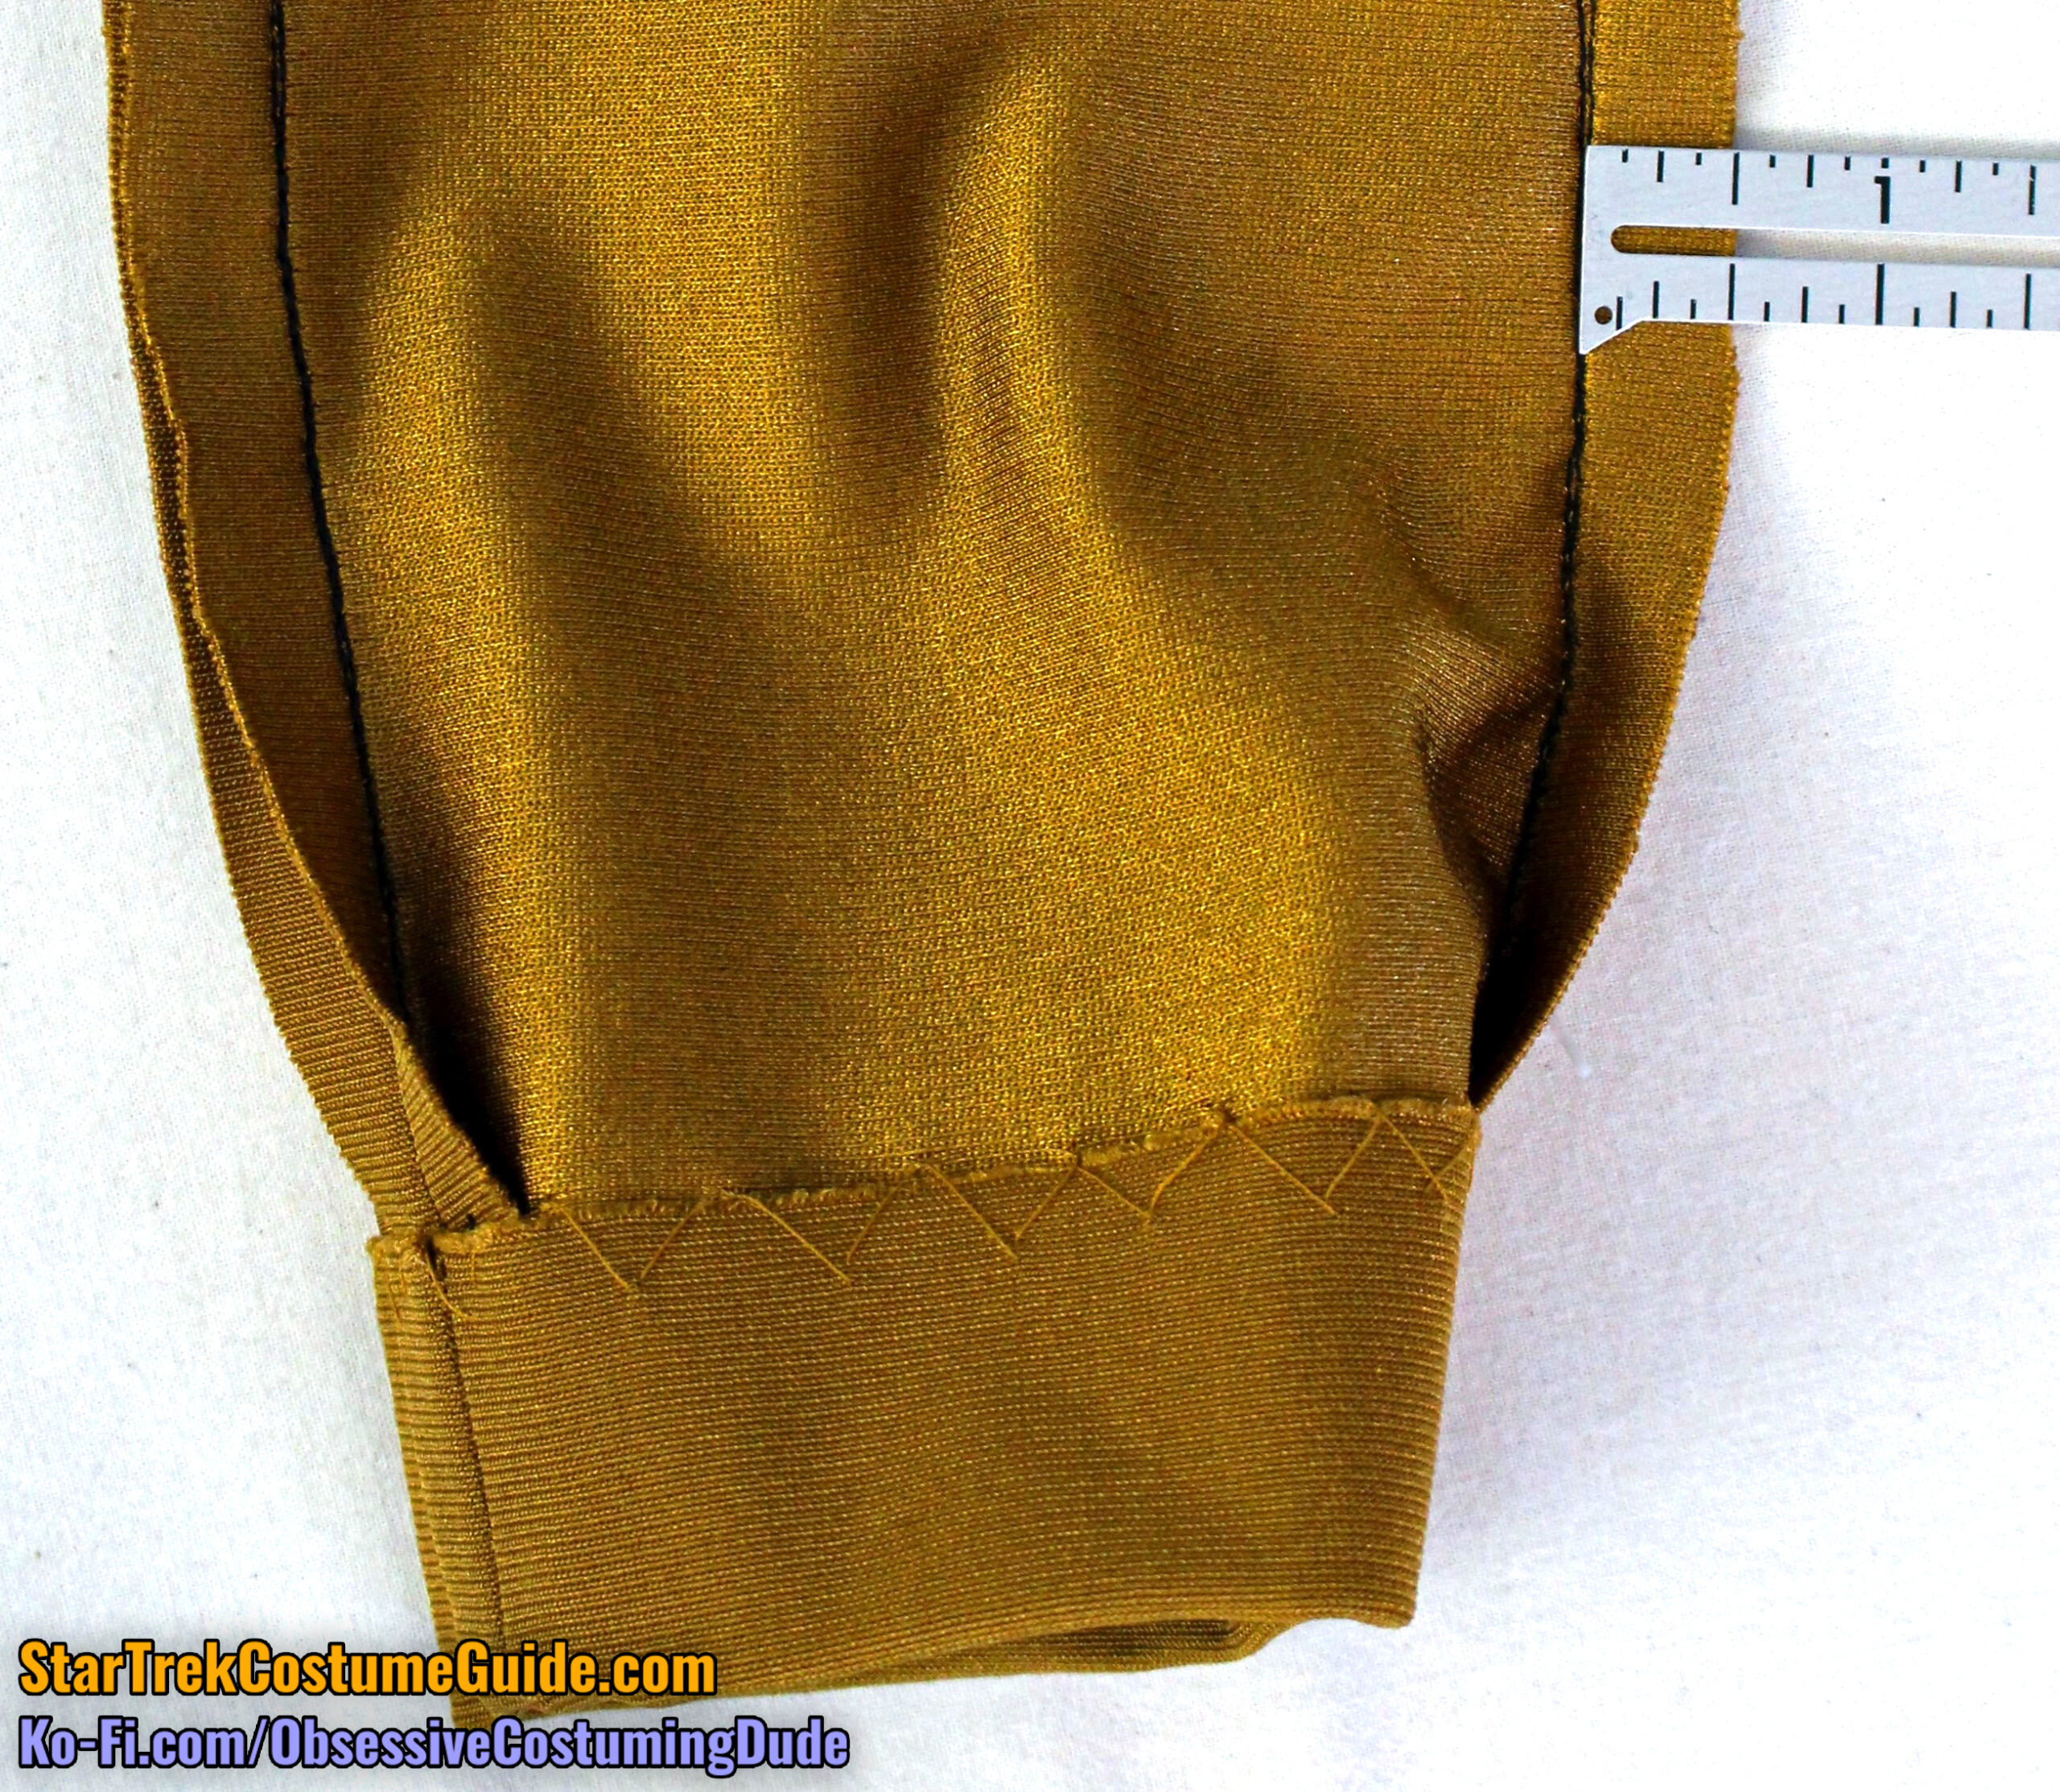
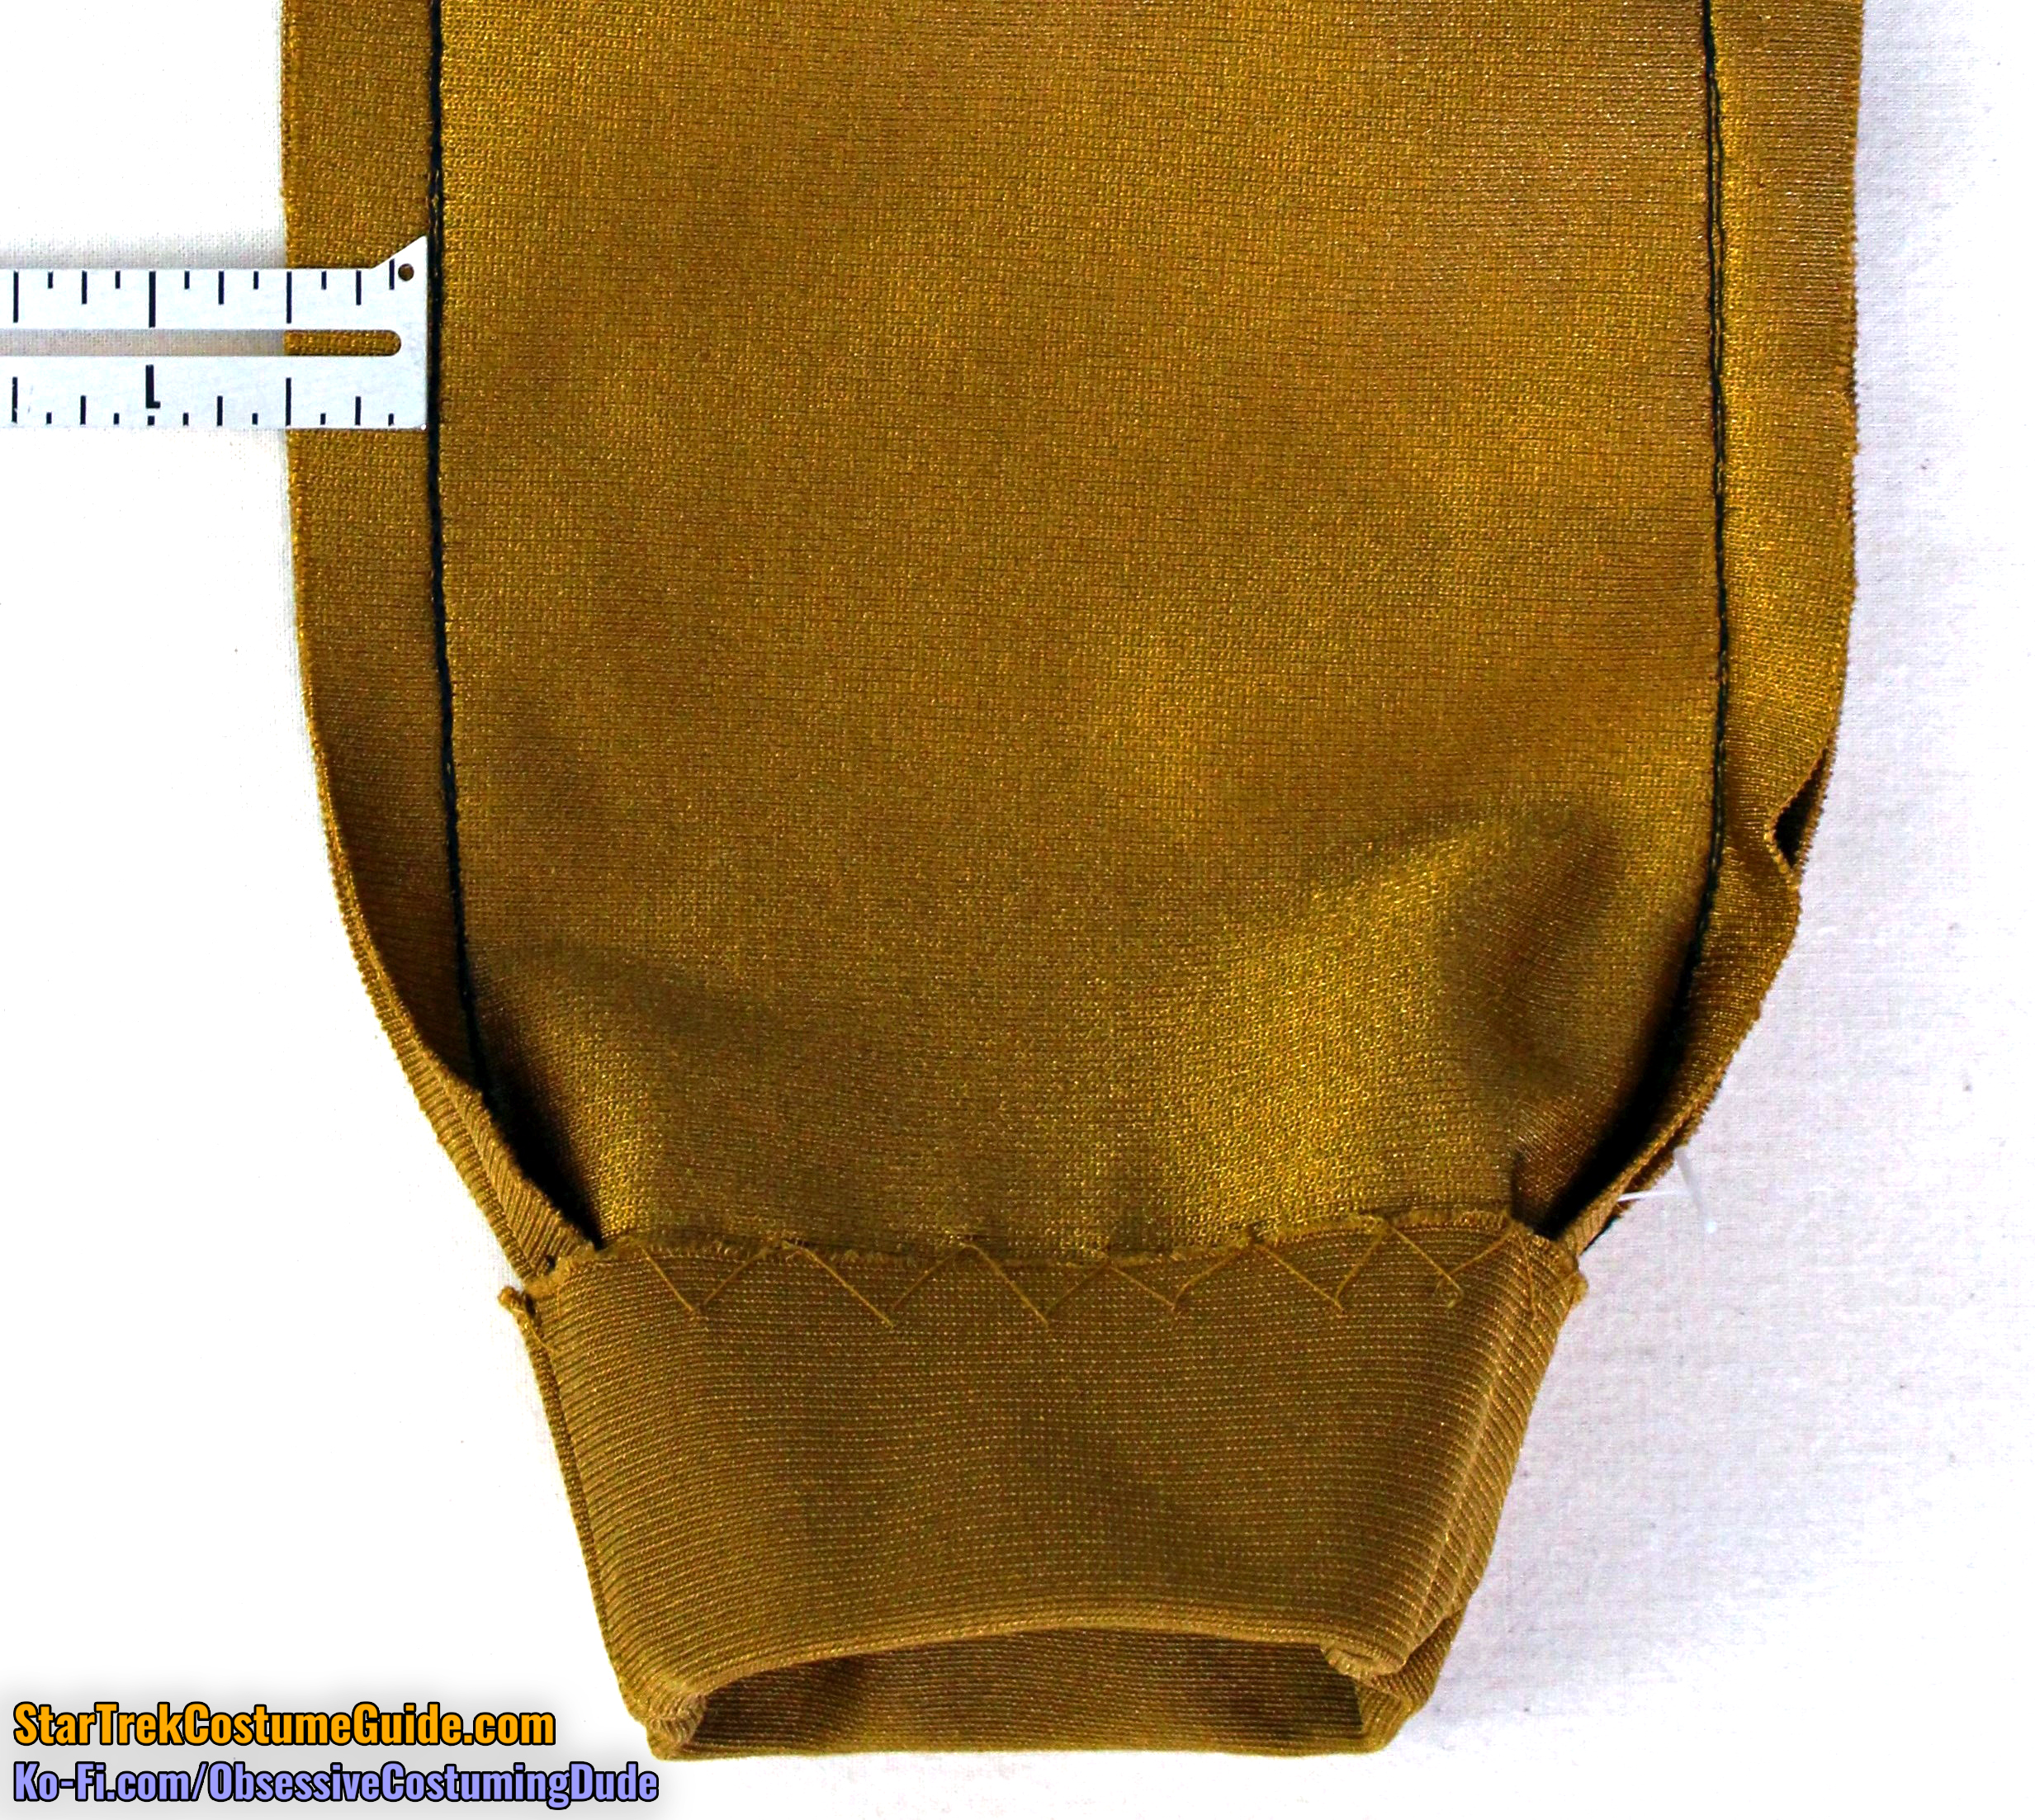
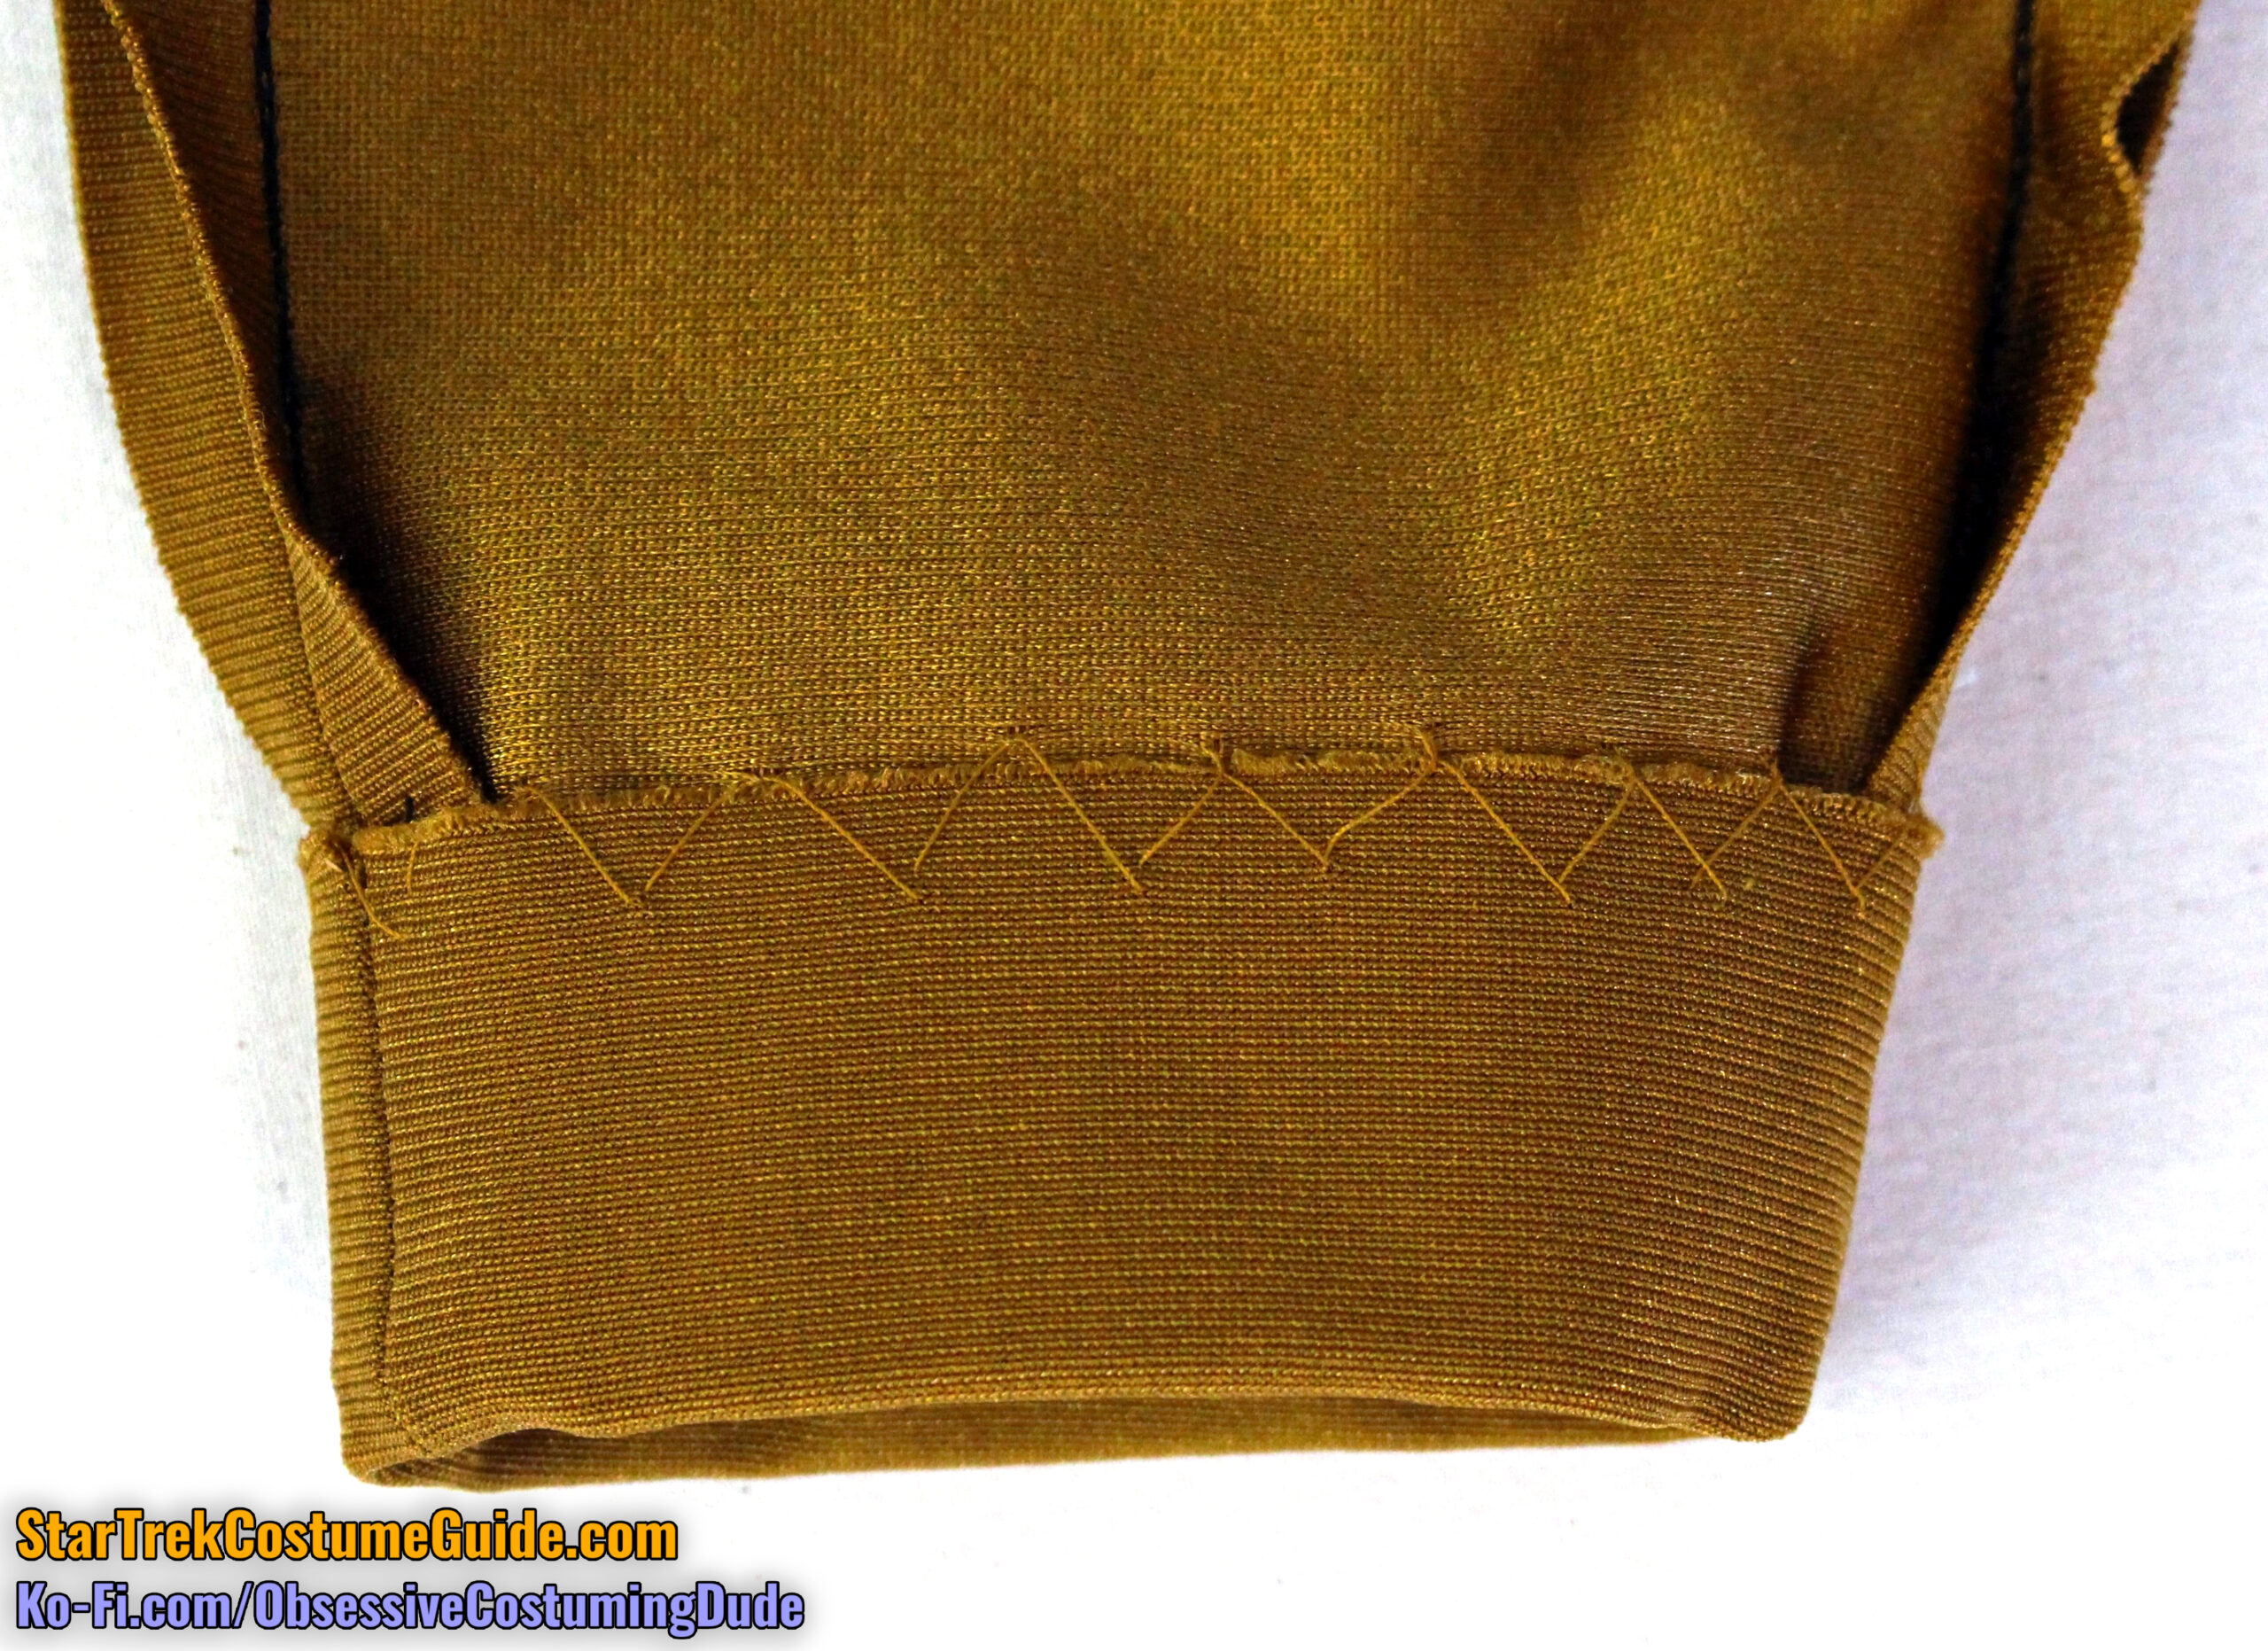
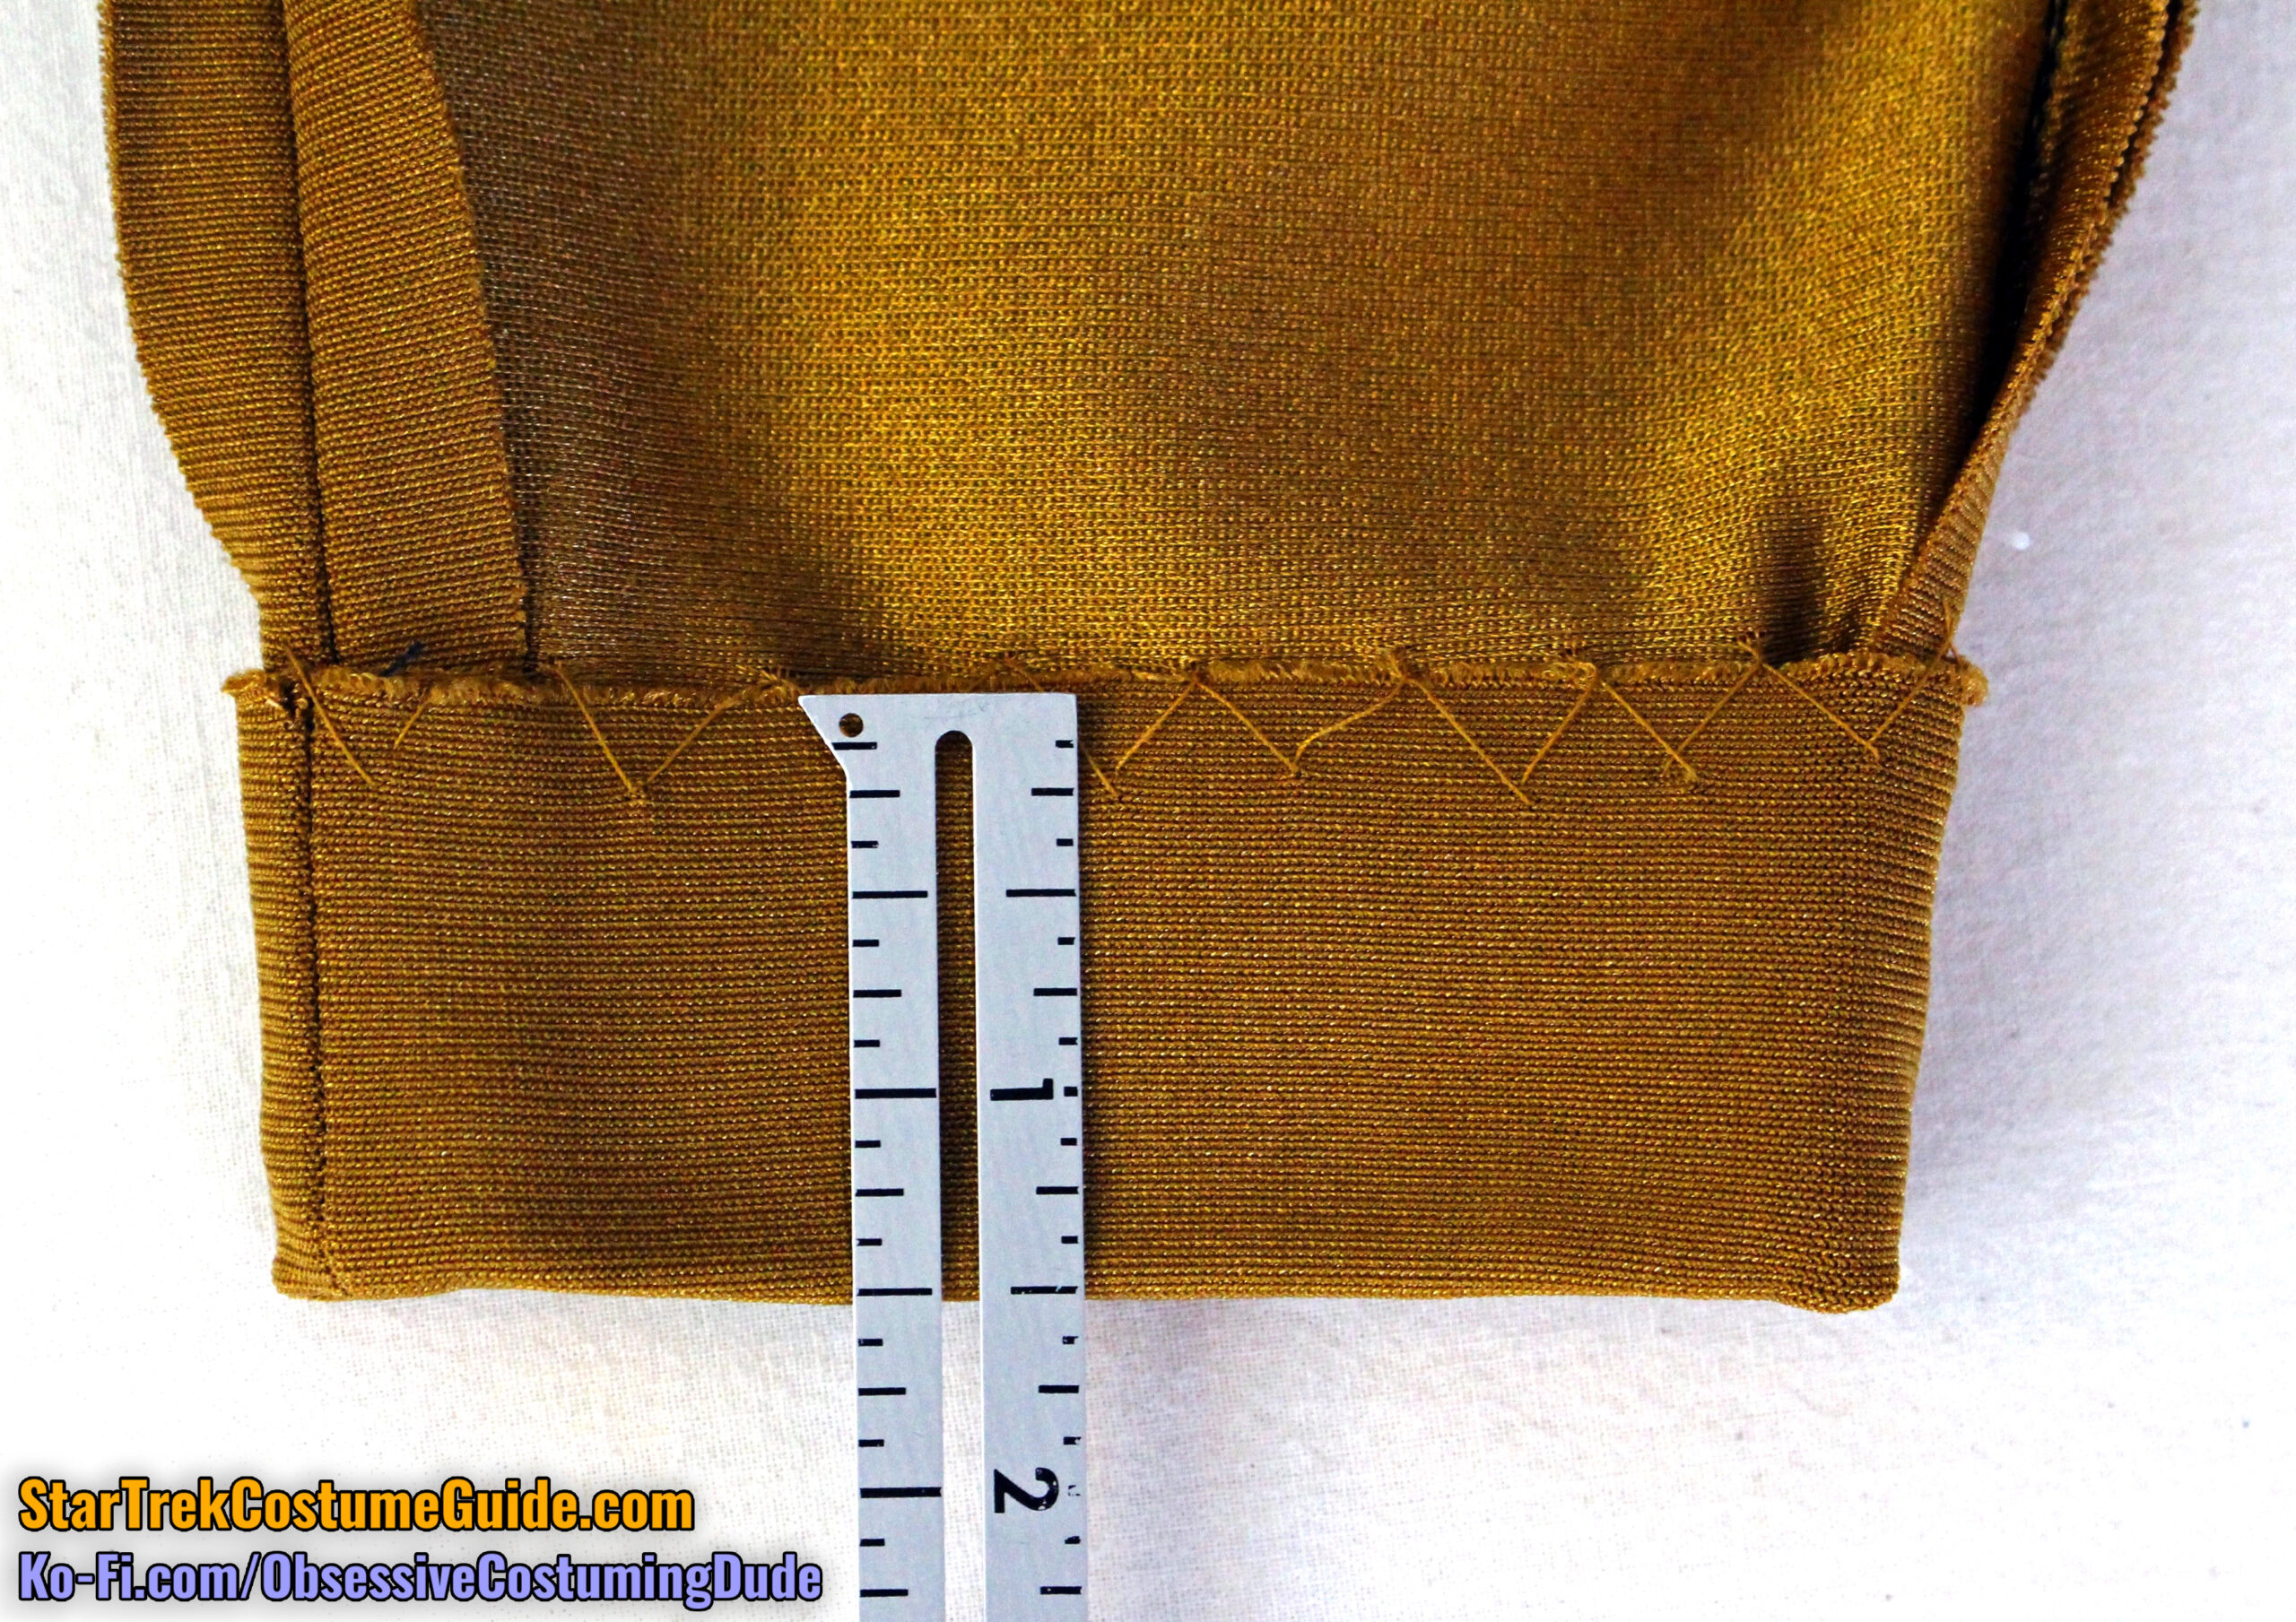
Unlike the pant legs, the sleeves on this Tasha Yar jumpsuit were simply turned upward and hemmed with standard hem allowance.
The upper edges of the hem allowance were catch-stitched to the sleeve with division-colored thread.
However, the sleeve hem allowance varied slightly, ranging from 1 ½” to 1 ¾”.
IN CONCLUSION
I’d like to again thank Angelo Cifaldi for the opportunity to study this screen-used Tasha Yar TNG jumpsuit and share my research with you.
I learned a great deal from the experience, and I hope you did as well!

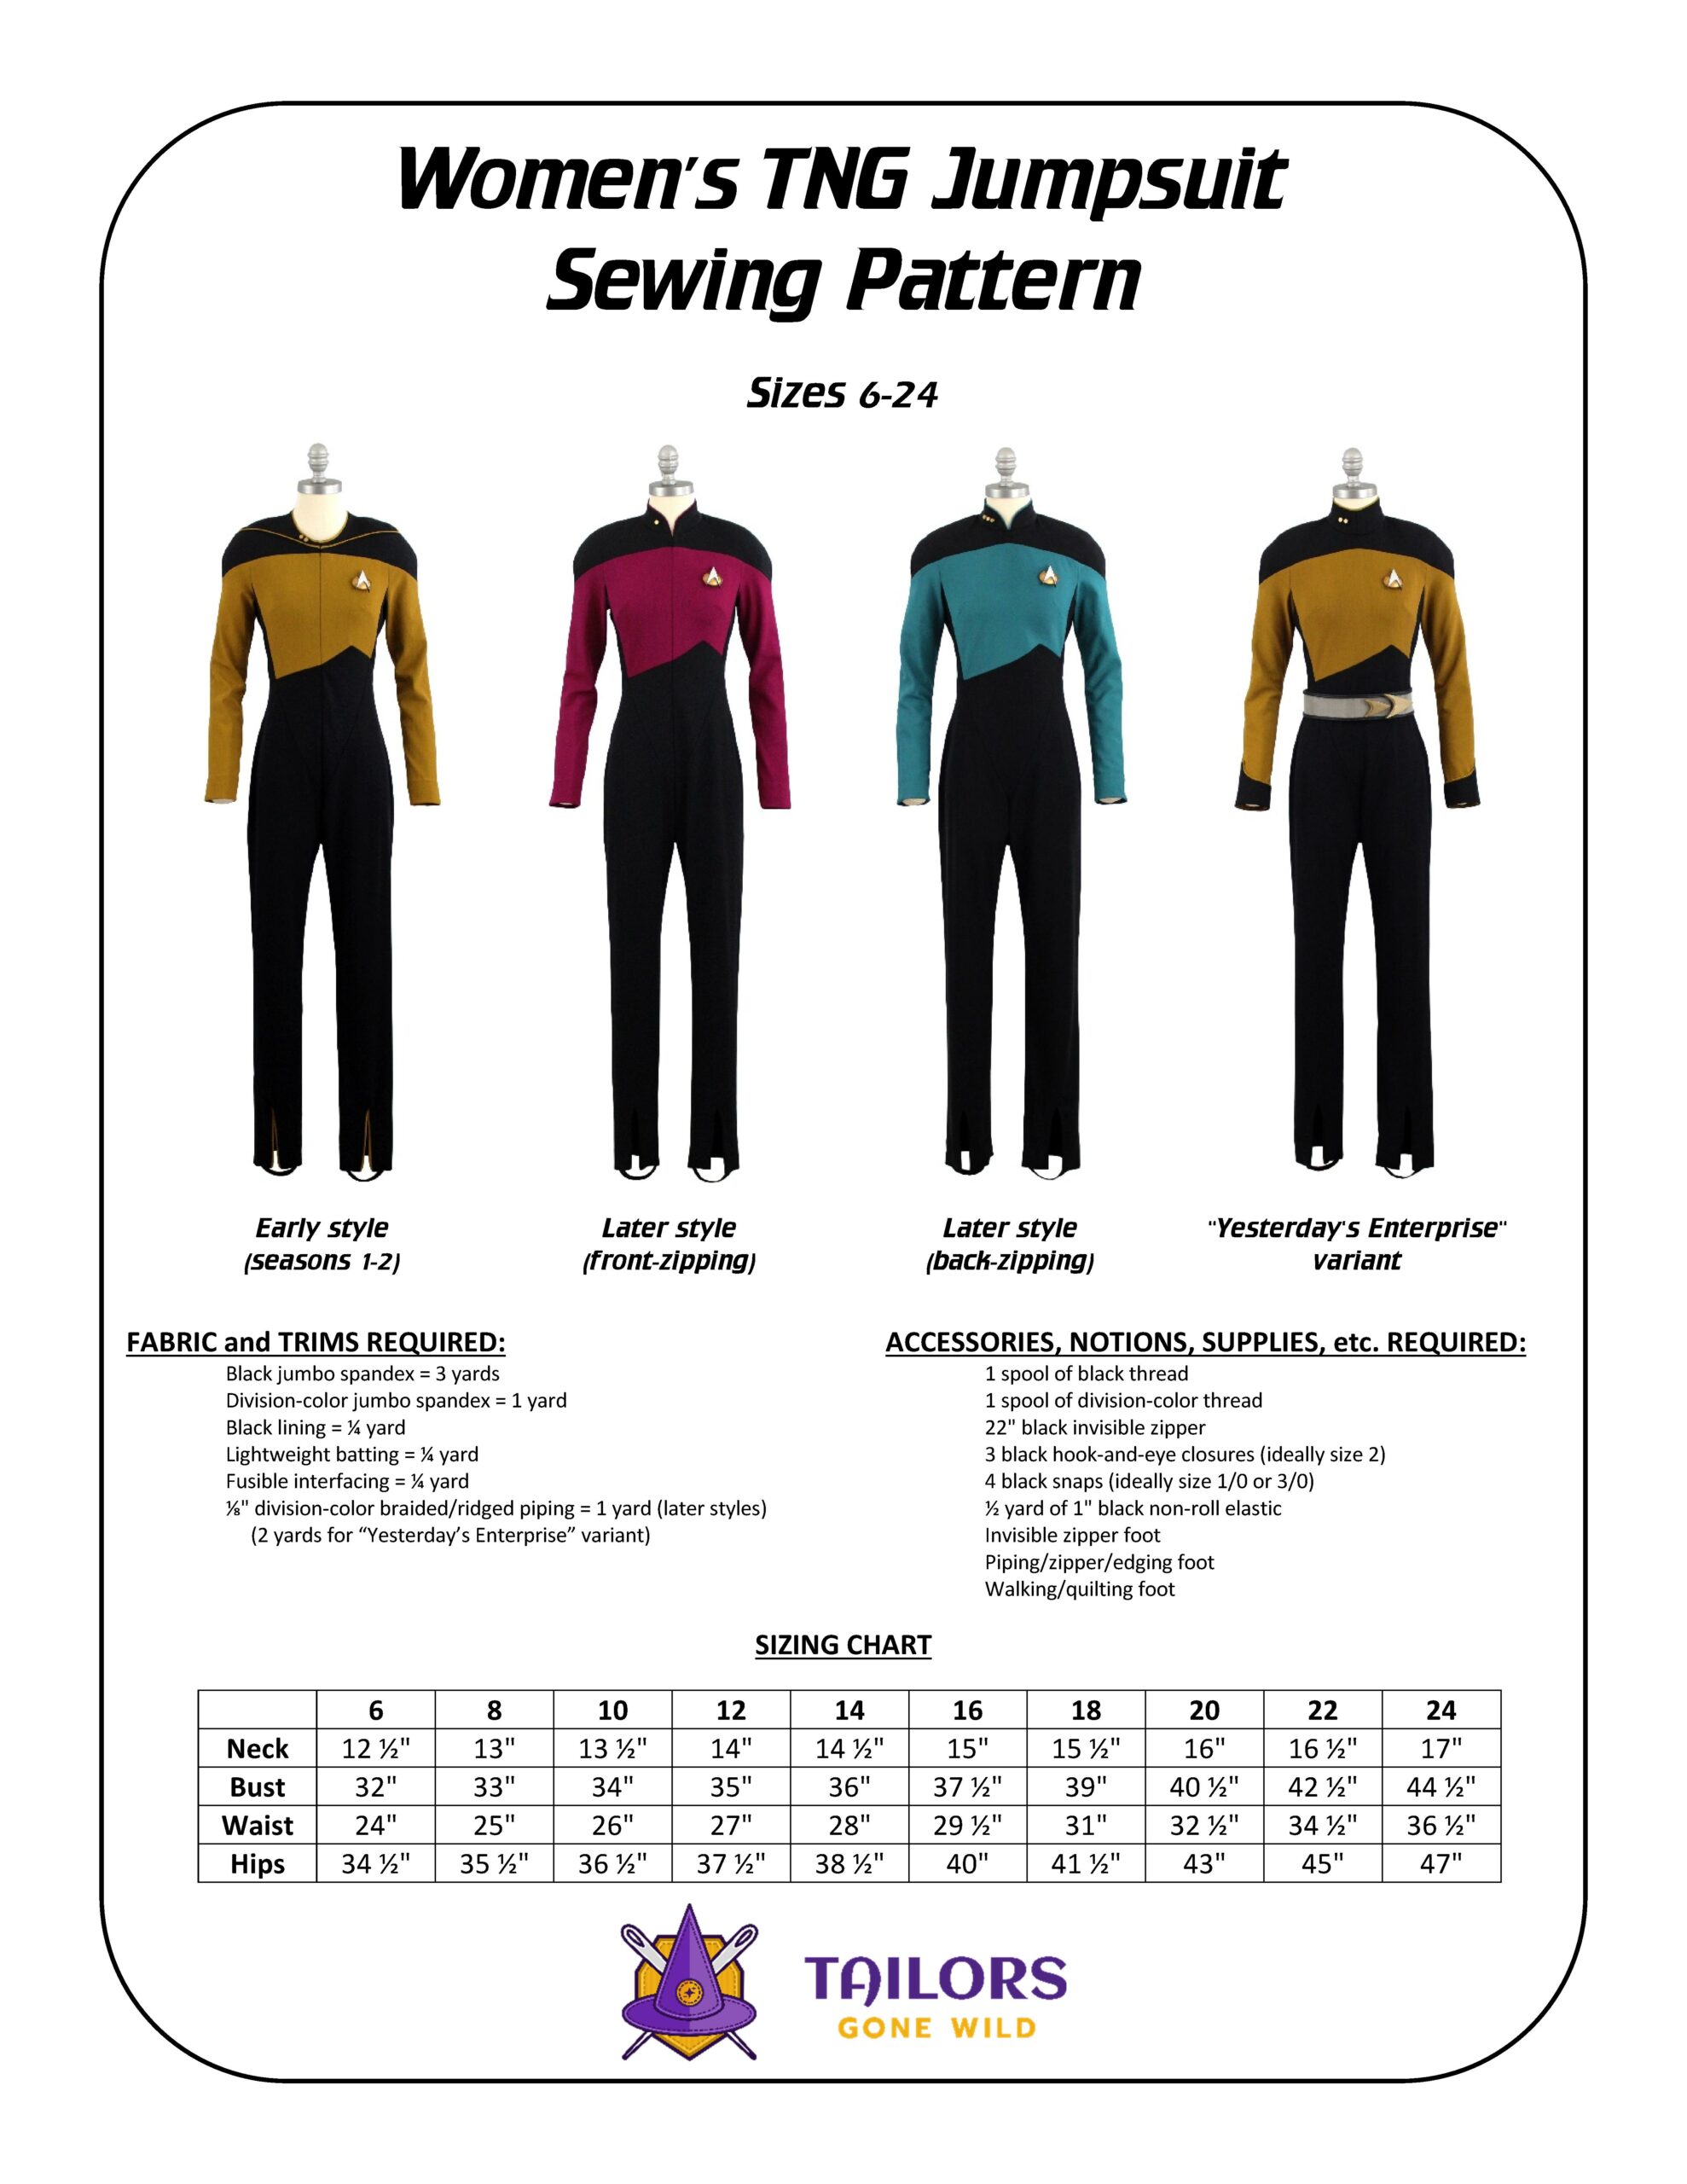
FYI, this Tasha Yar uniform was one of the primary bases I used for my Tailors Gone Wild women’s TNG jumpsuit pattern.
If you enjoyed this blog post, please support my costume research on Ko-Fi.
Every bar of gold-pressed latinum helps me produce more sewing and costuming resources like this, for everyone interested in Star Trek costumes. 🙂


