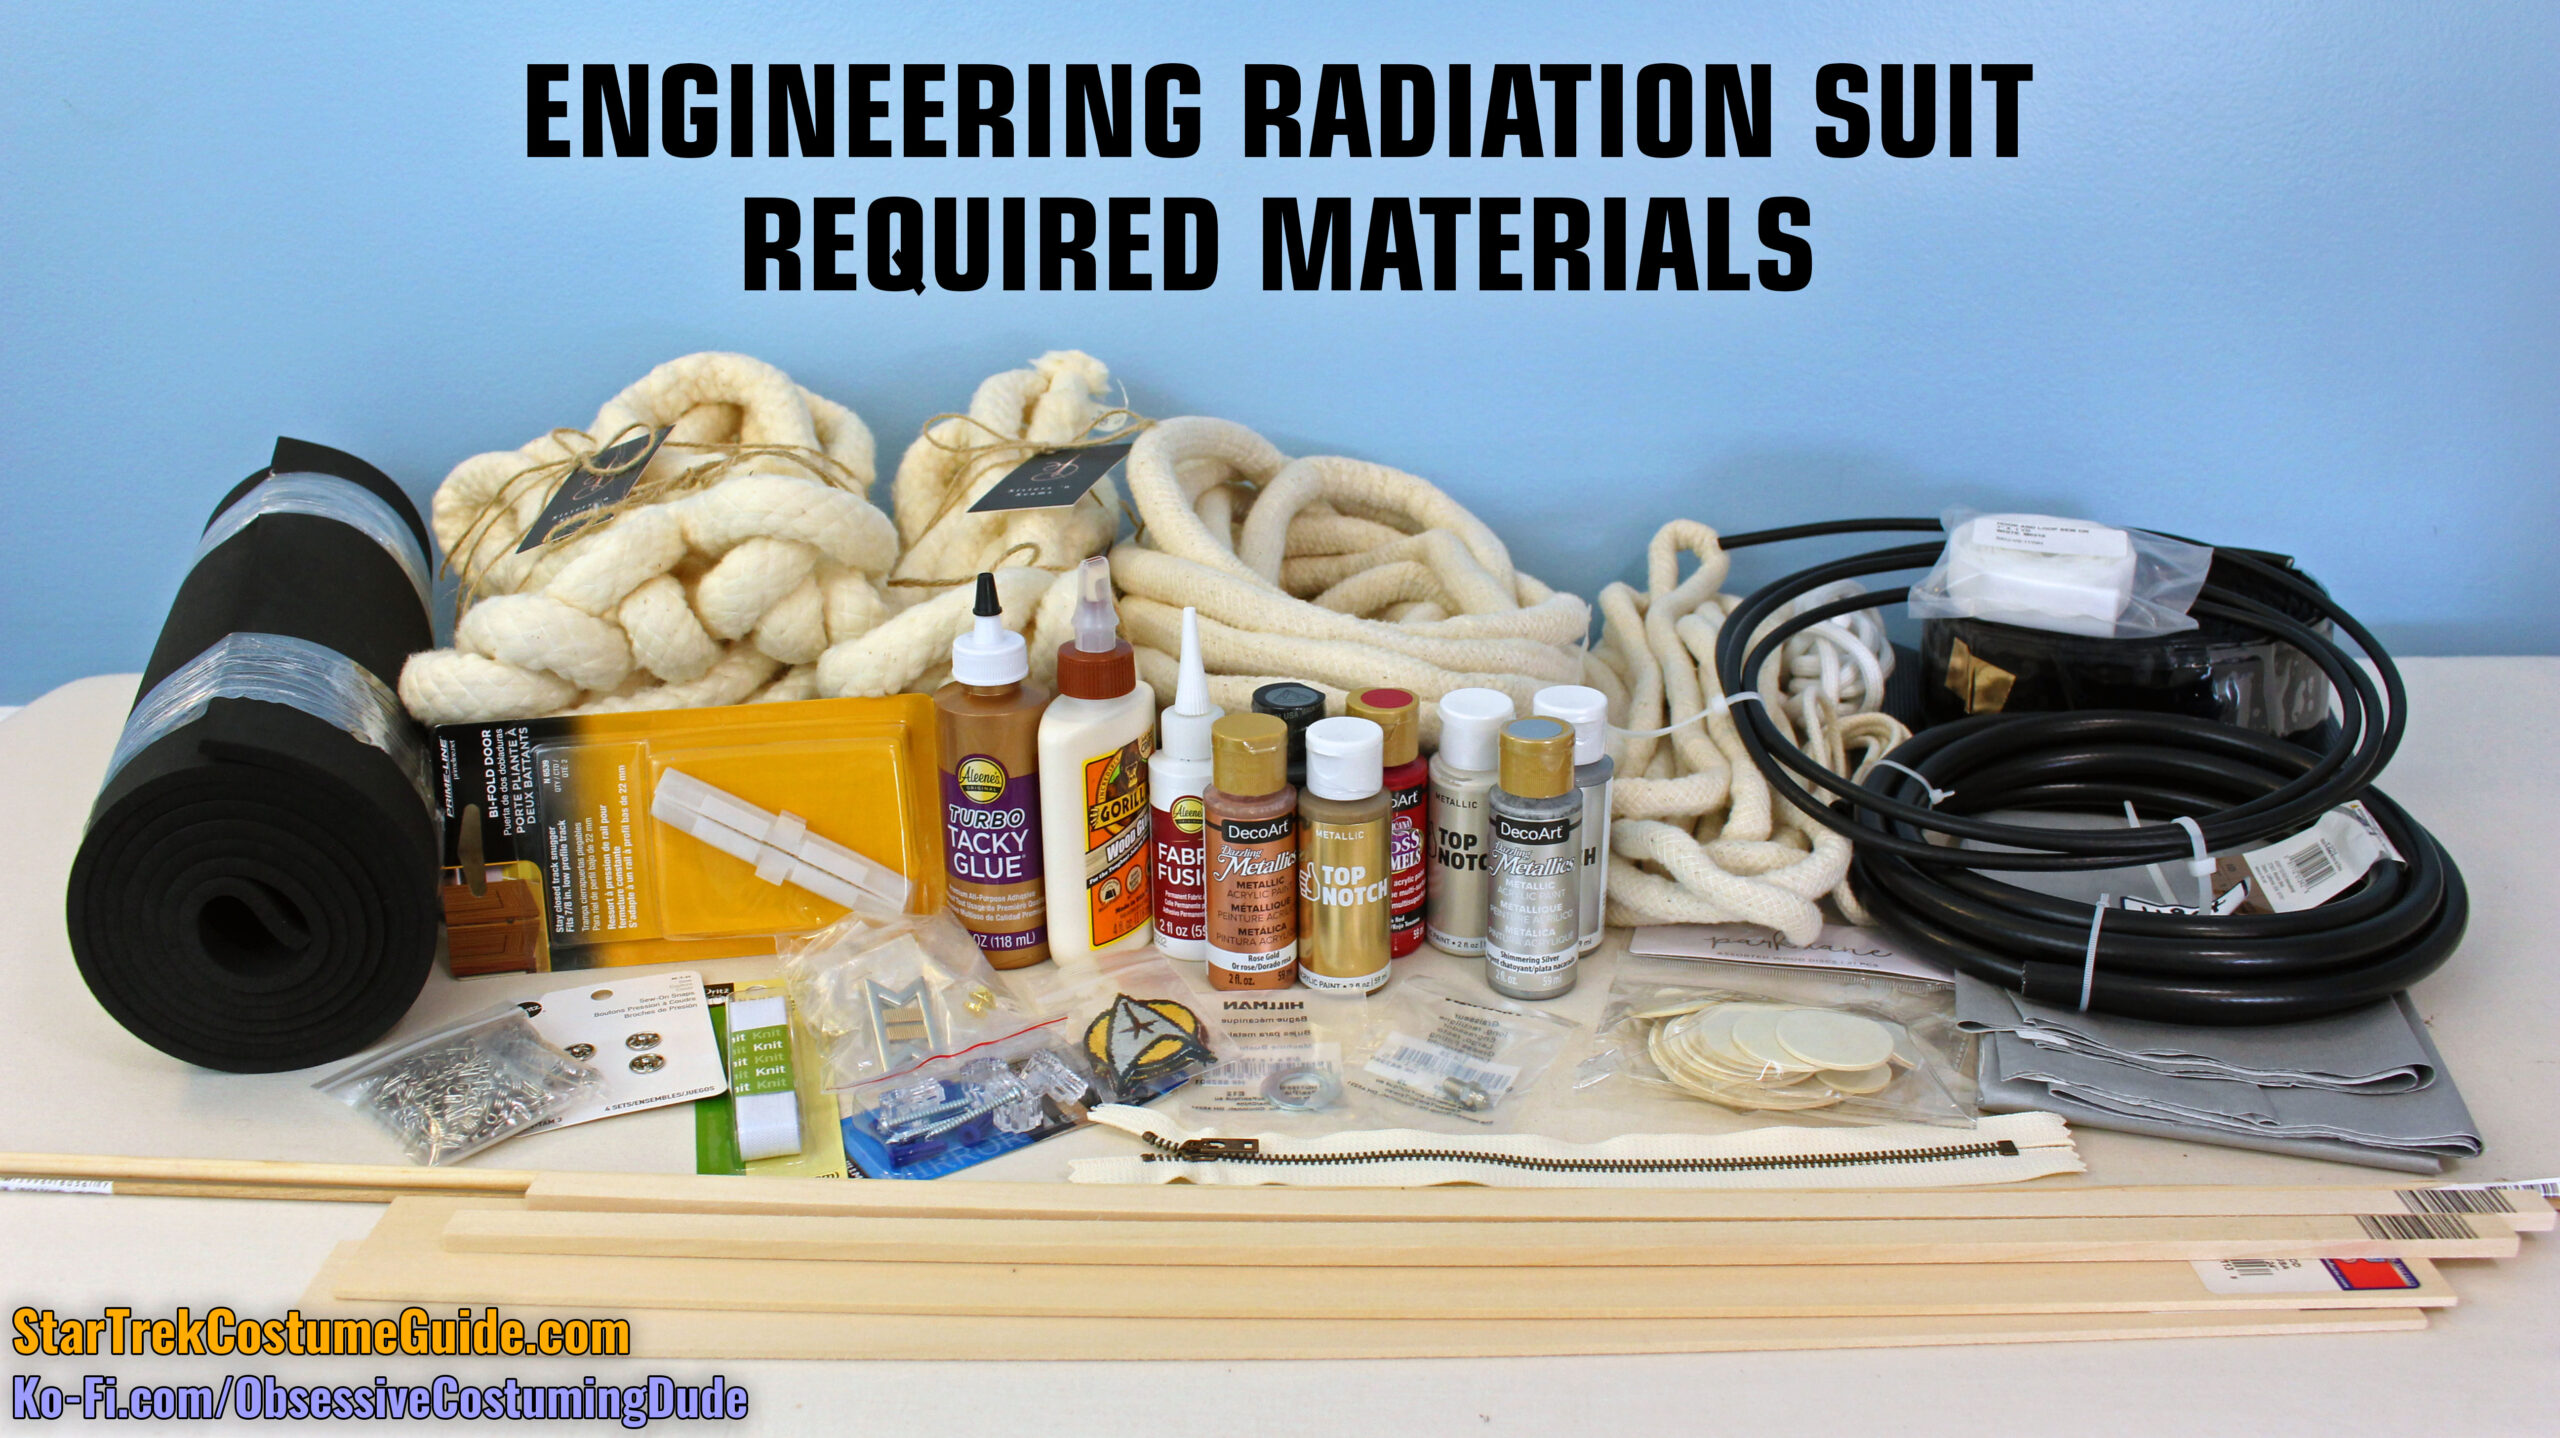
This a “master” list of required materials and supplies needed to make (nearly) every component of every uniform style.
Unless you plan to make multiple costumes in multiple styles, you probably won’t need everything on this list.
For your shopping convenience, I’ve categorized this list by product type (e.g. fabric, sewing notions, hardware, paint, glue, etc.) and I’ll briefly mention what each item is used for on the finished costume.
In the subsequent tutorial we’ll generally be focusing on one specific component/area of the costume at a time, and during each section, I’ll again mention the materials required for the individual element of our focus.
I’ll also be mentioning possible alternative options as we go, and what I believe their pros and cons to be (e.g. “option A” looks best but “option B” is cheaper).
And finally, I have some suggestions for making this costume on a tighter budget. The majority of the required materials for this costume are inexpensive, but (as you’ll see) there are a great many of them.
But first, the list itself!
FABRICS and CORDING
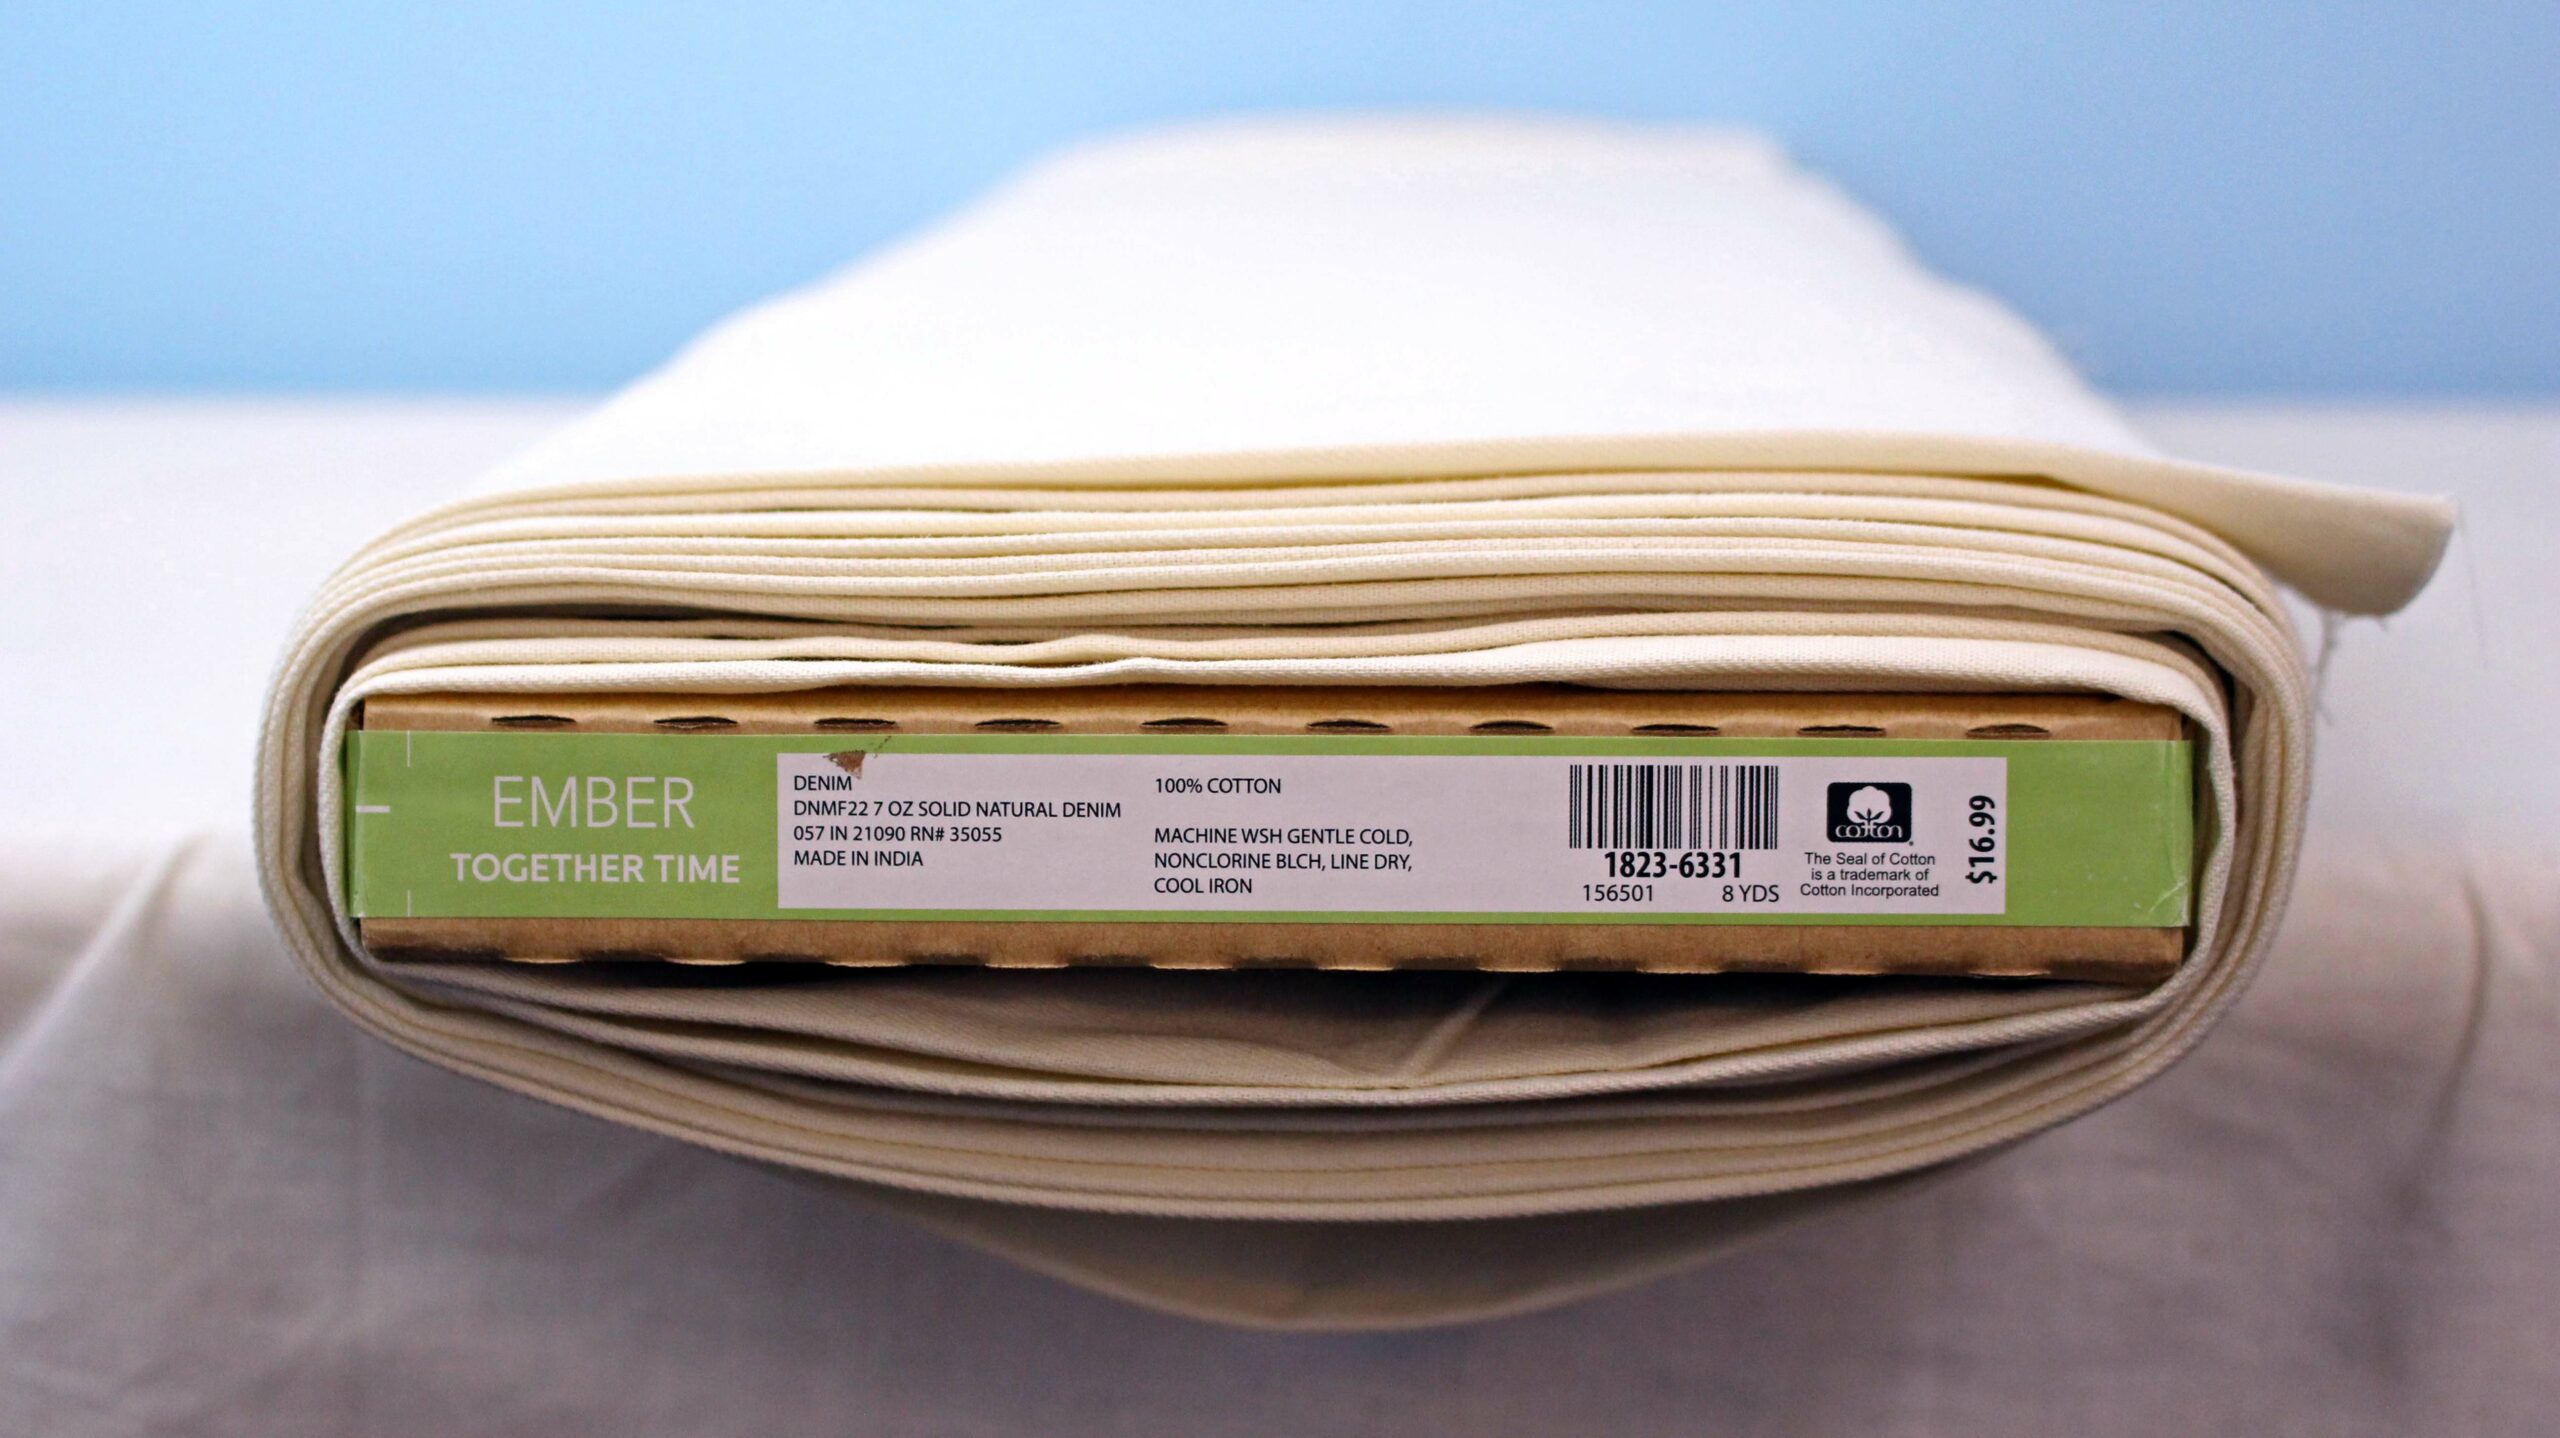
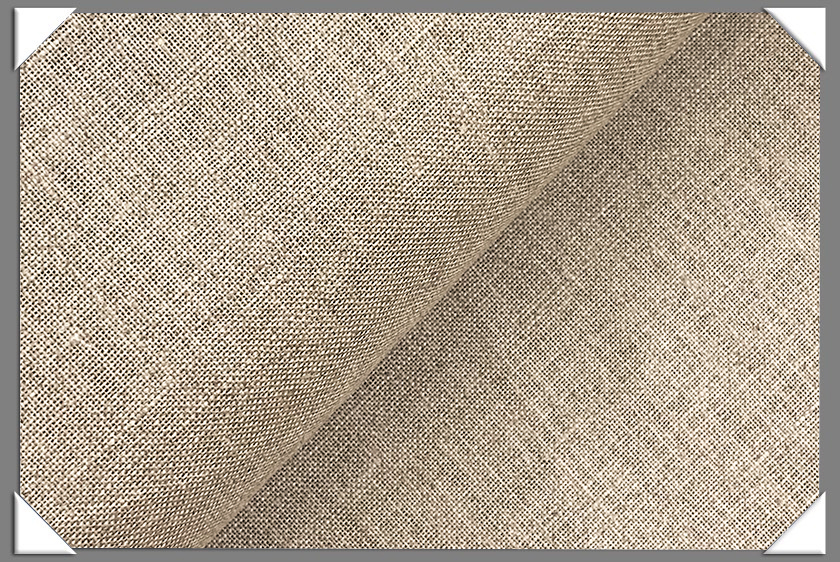
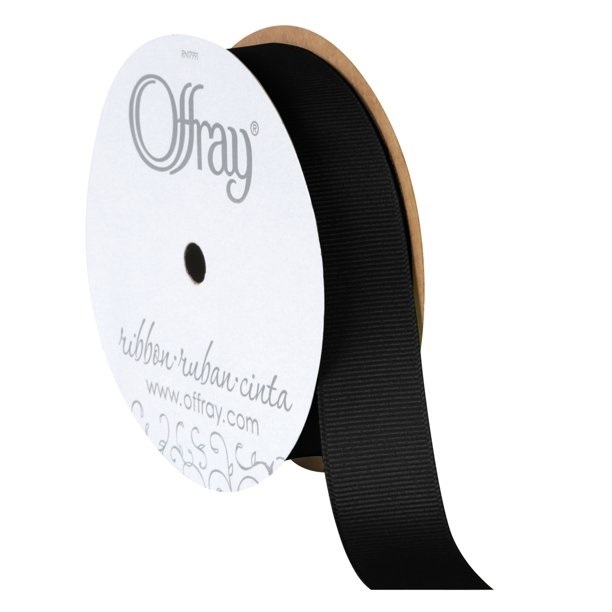
“Cream” wool gabardine = 5 yards
This is for the jumpsuit body, as well as the custom-made piping on the accents, gloves, and boots.
As a more budget-friendly alternative, I suggest using cotton bull denim.
(If you want to make the orange variant, obviously use orange fabric instead.)
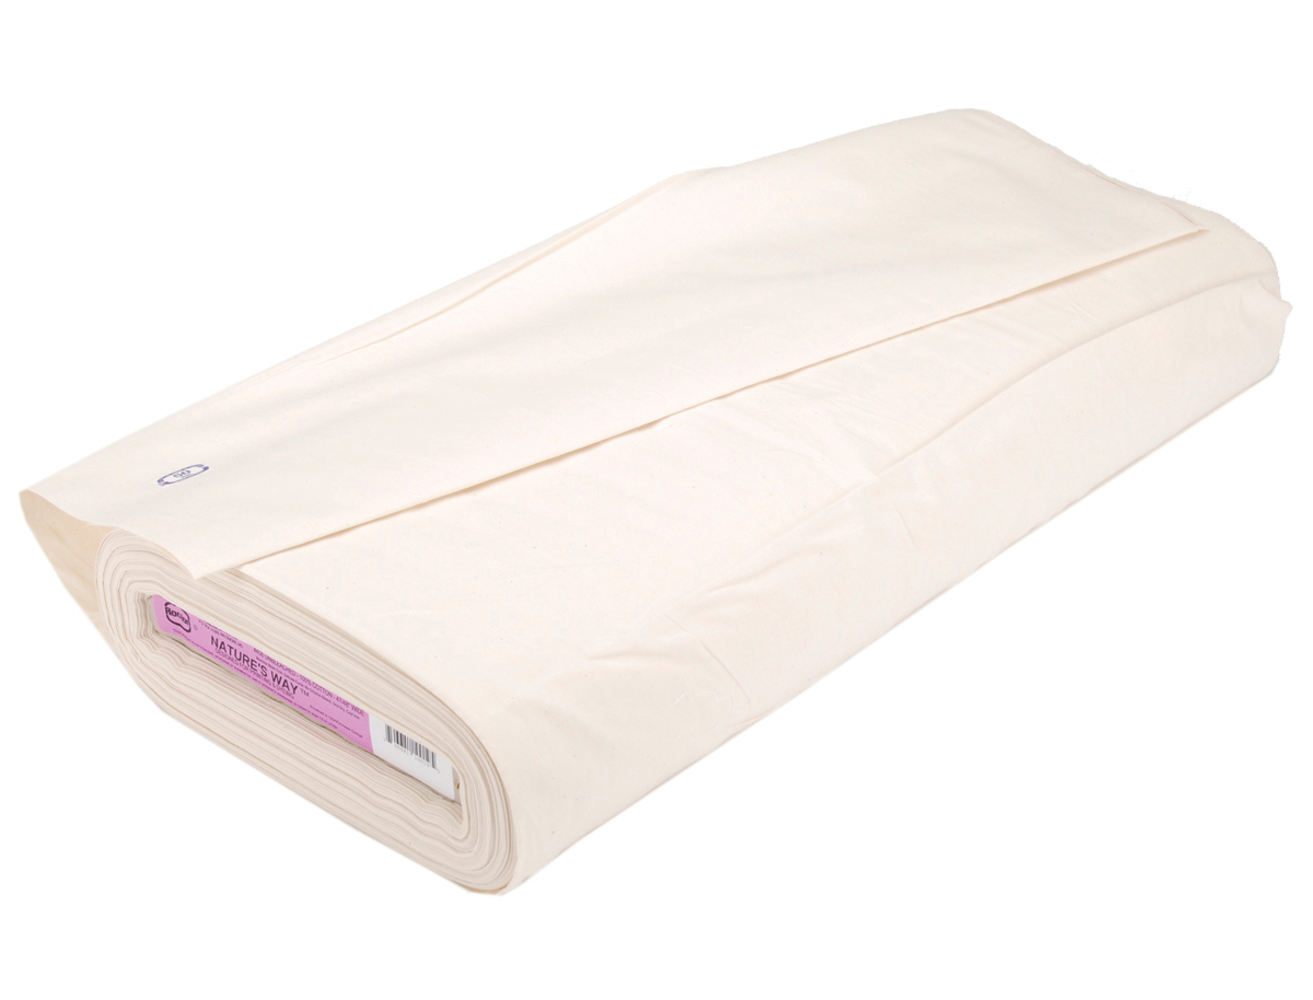
Off-white cotton muslin = 6 yards
This is for the jumpsuit body underlining (“flat-lining”), and the backing for some of the quilted elements.
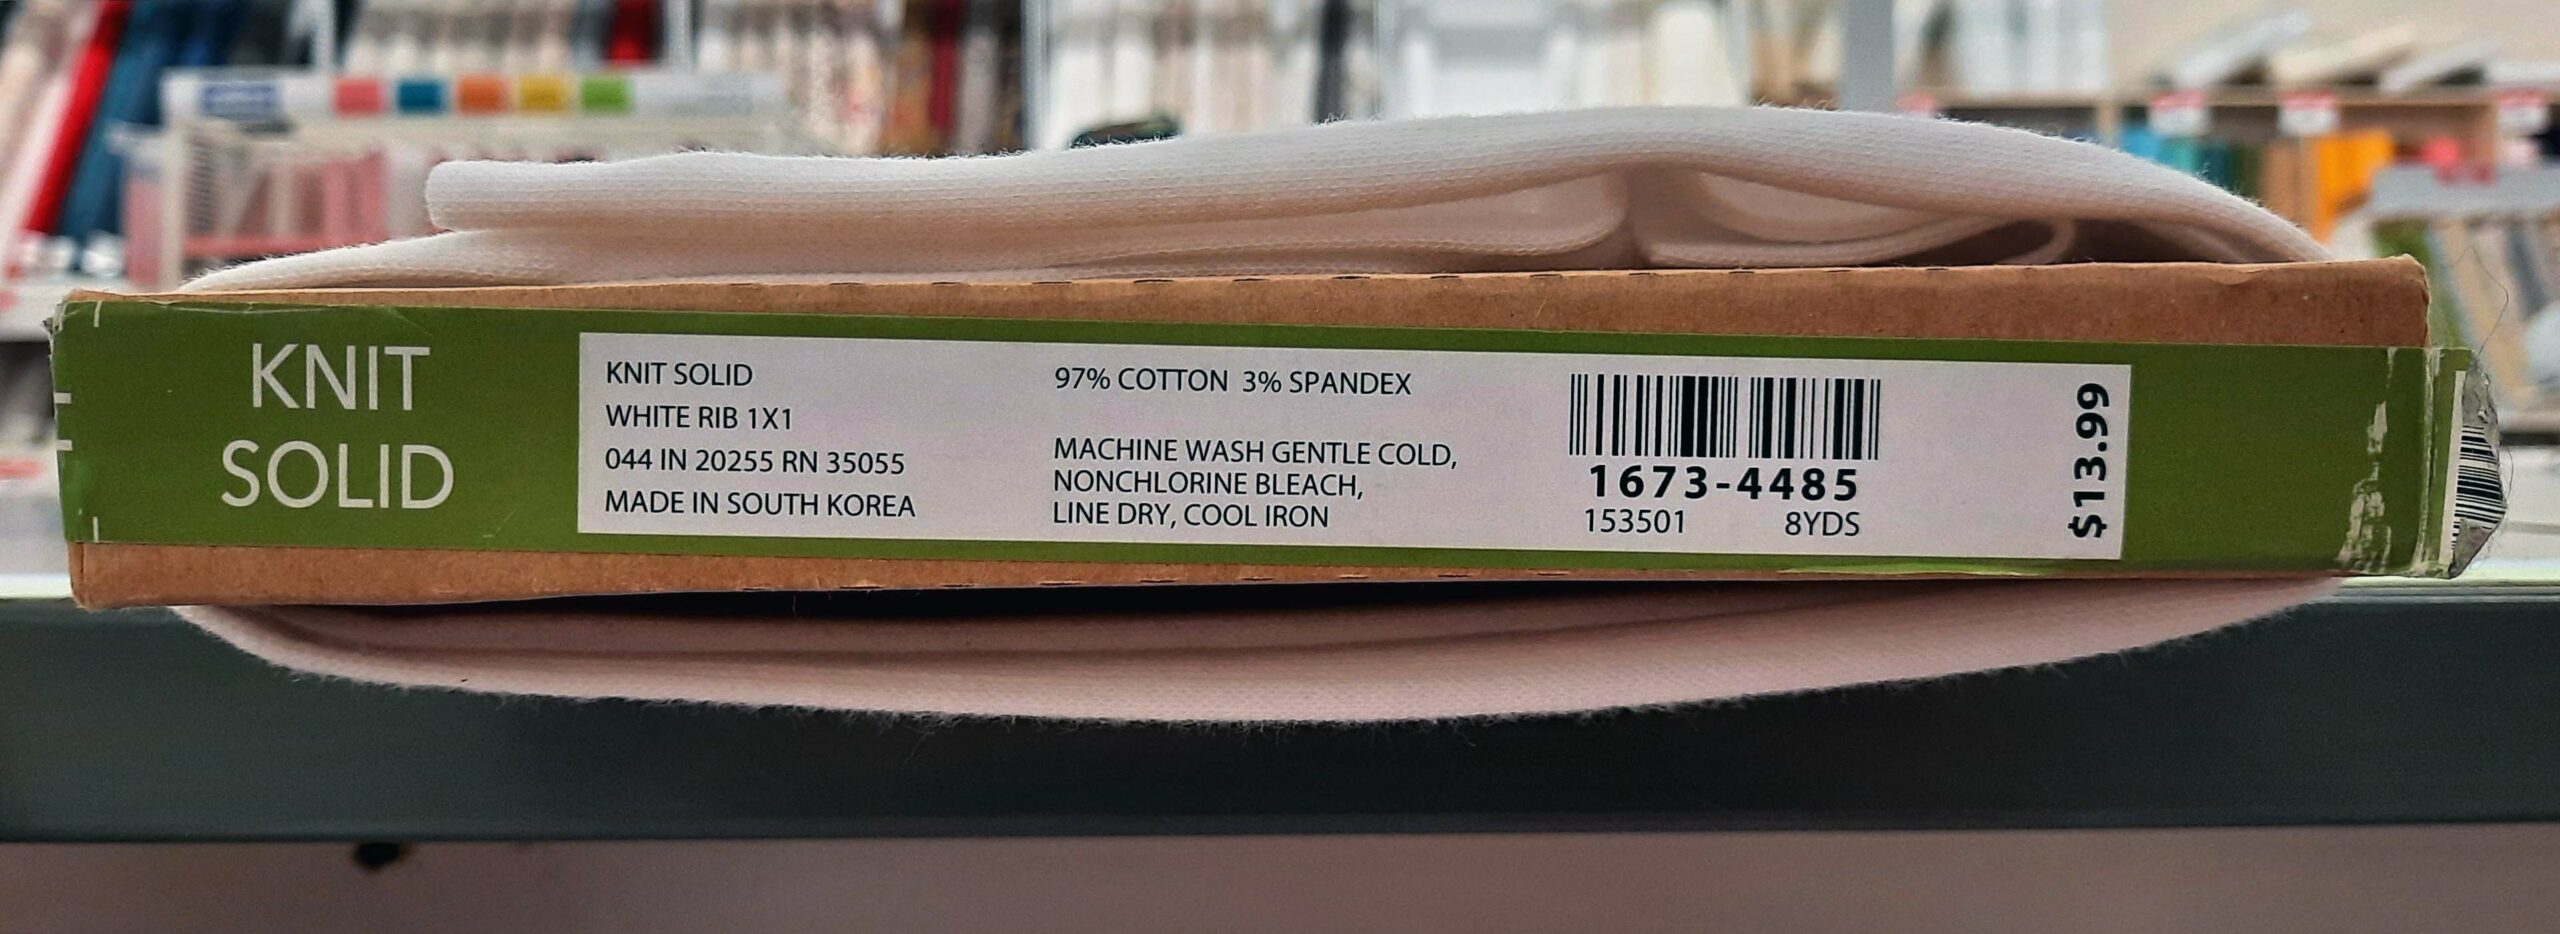
“Cream” knit fabric = 1 yard
This is for the “chest circles” on the jumpsuit body, so the two fabric colors should match as closely as possible. I recommend a matte (not shiny) cotton or rayon knit.
You can also use this fabric for the custom-made piping on some of the jumpsuit accents.
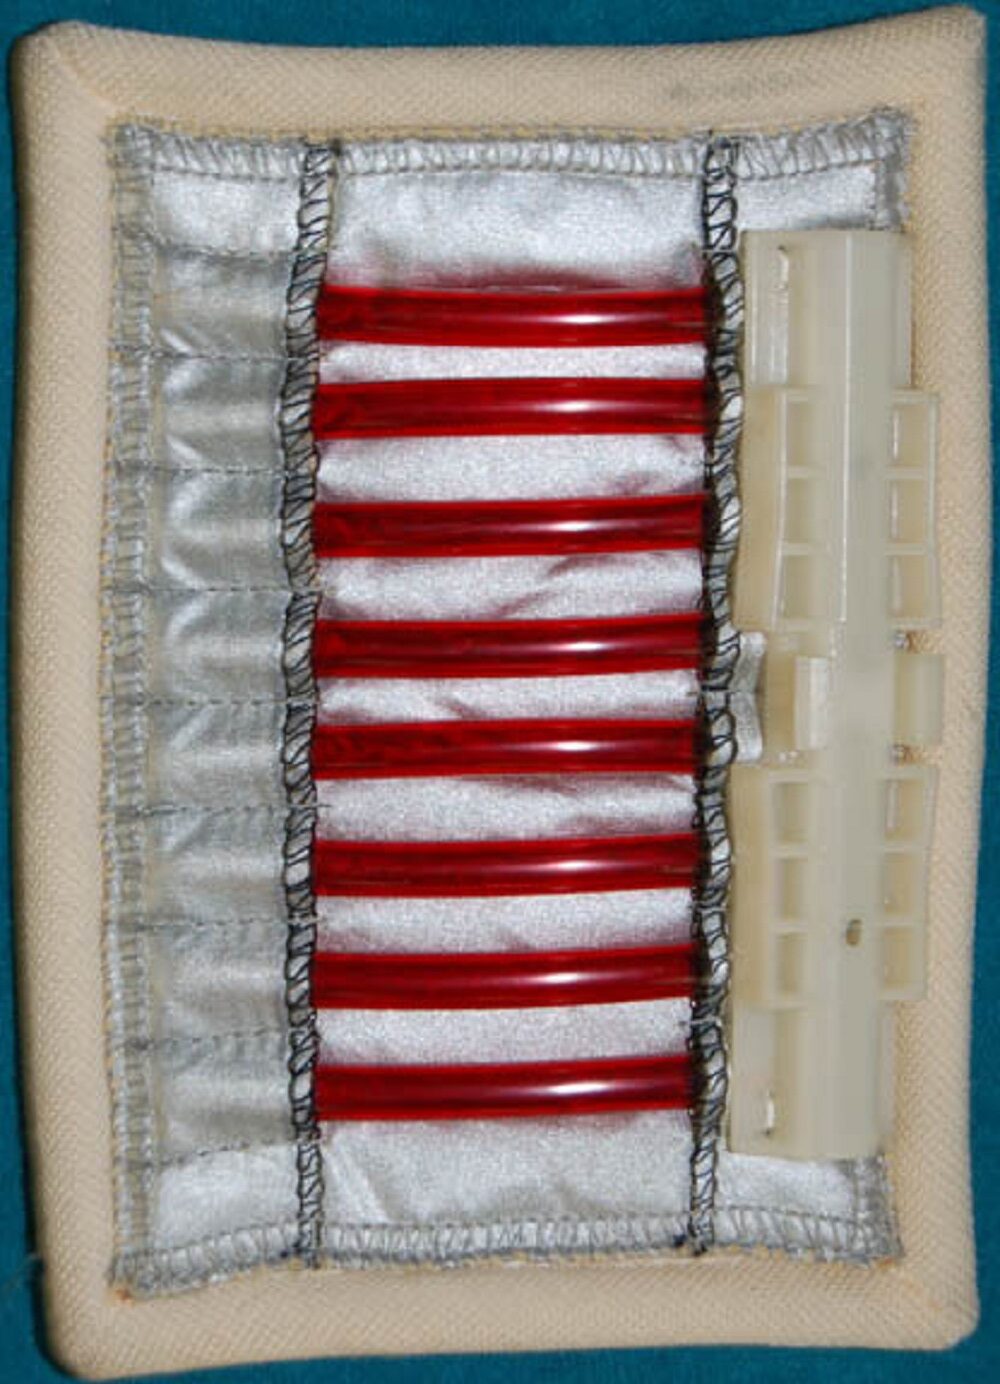
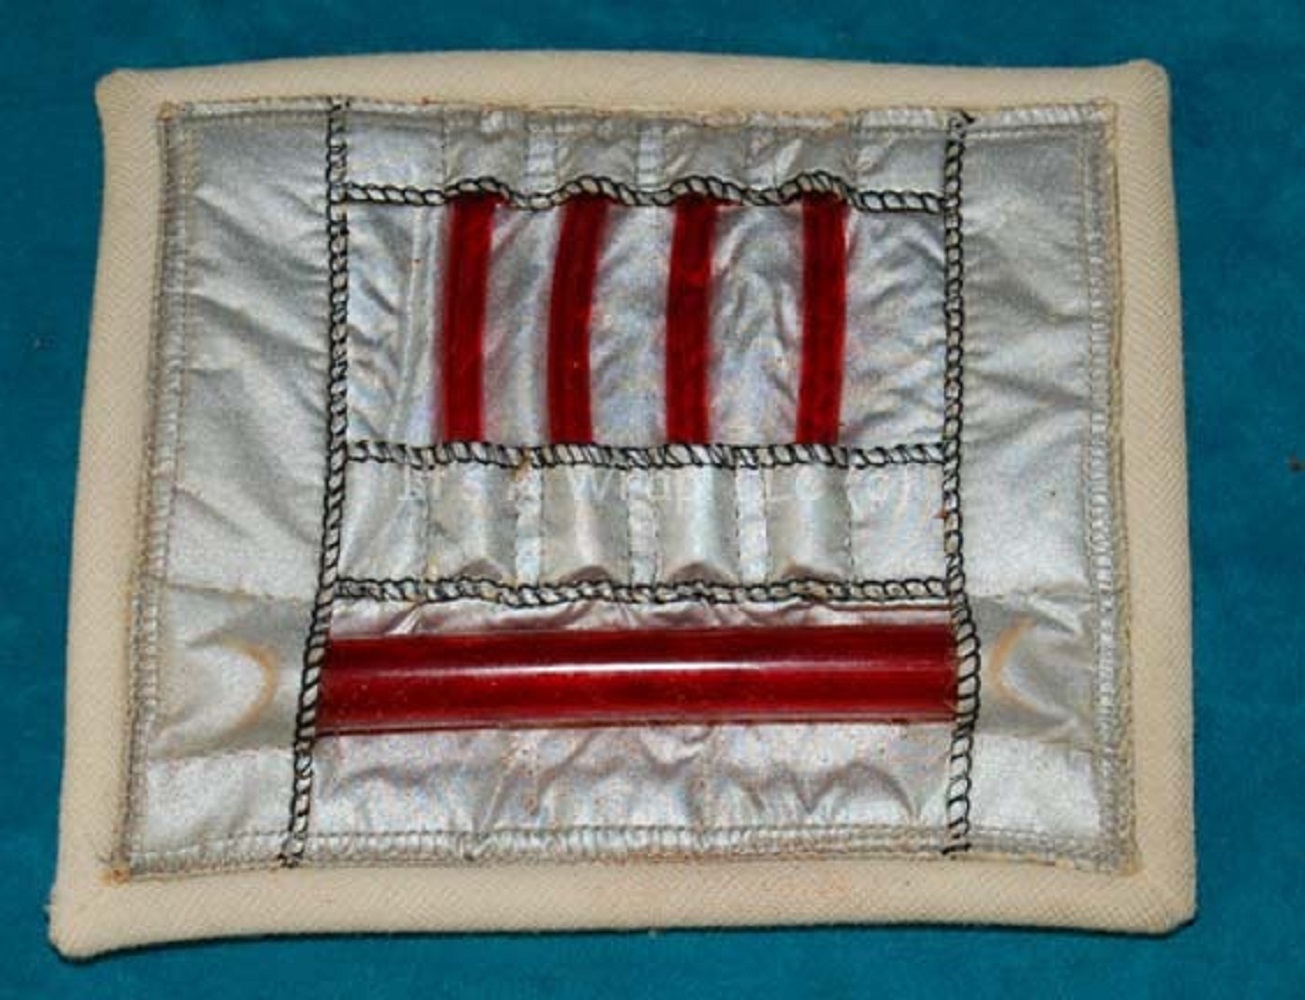
Silver ironing board cover fabric = 1 yard
This is for the TWOK-era thigh, left sleeve, and glove panel assemblies.
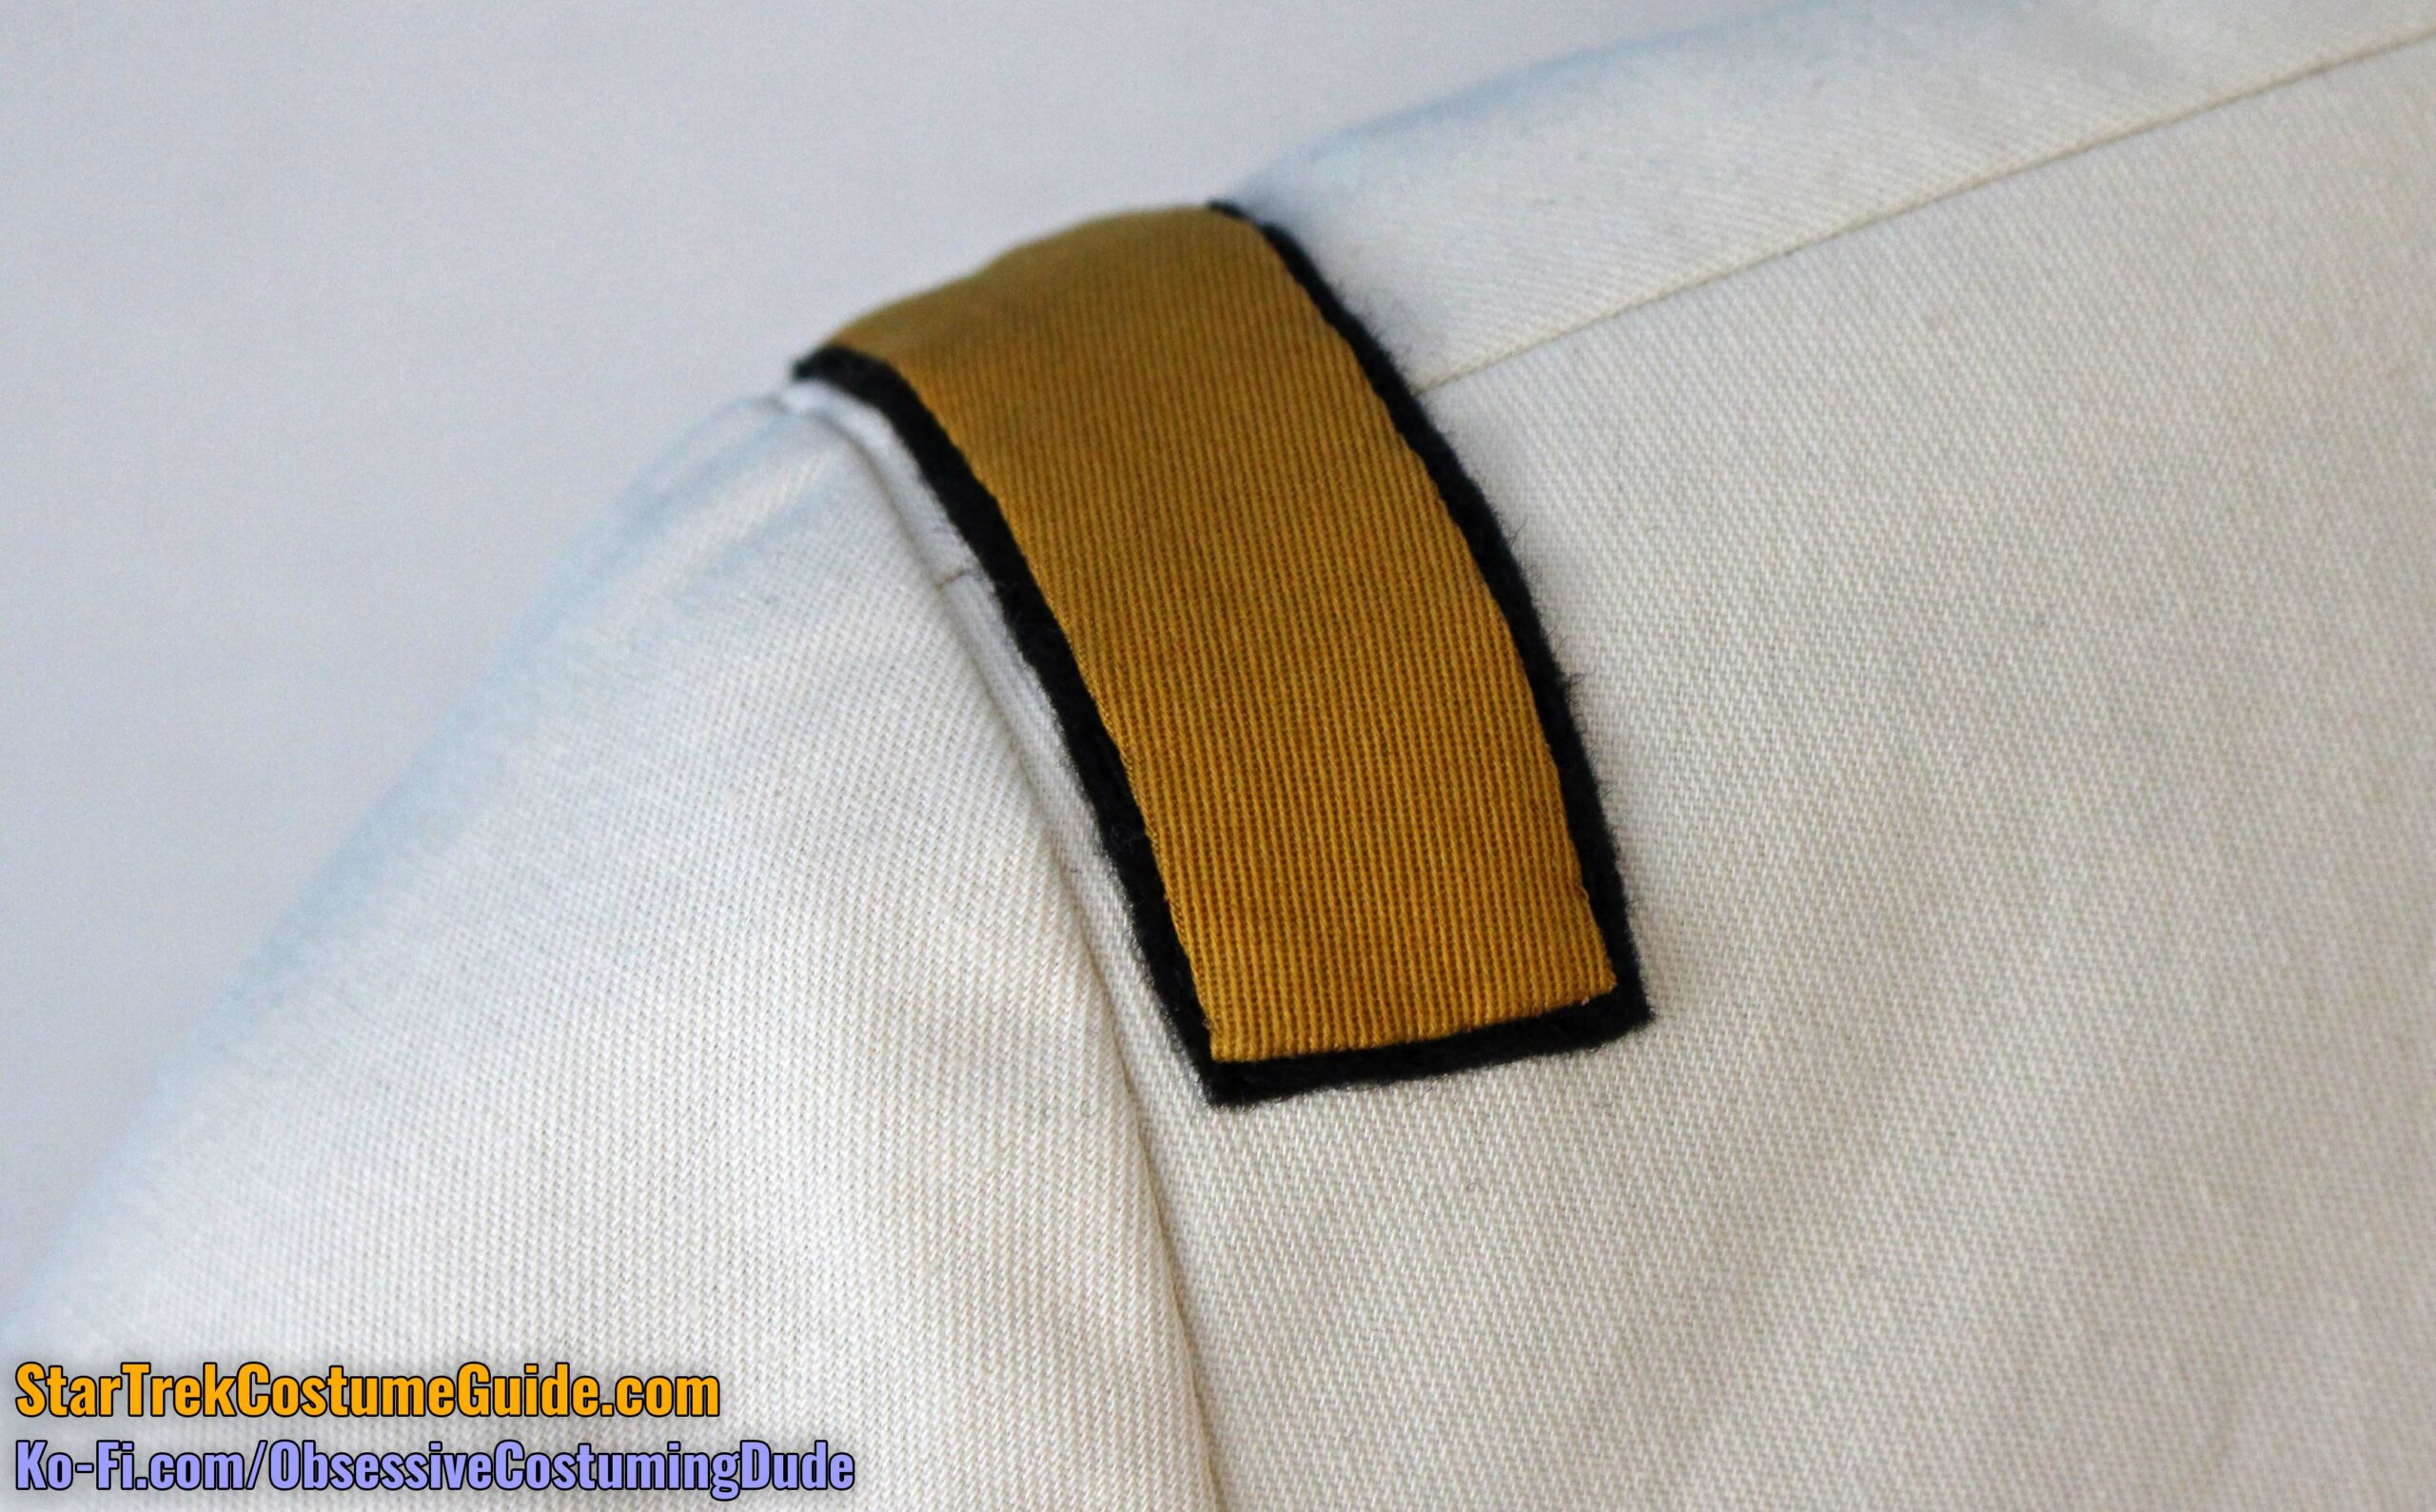
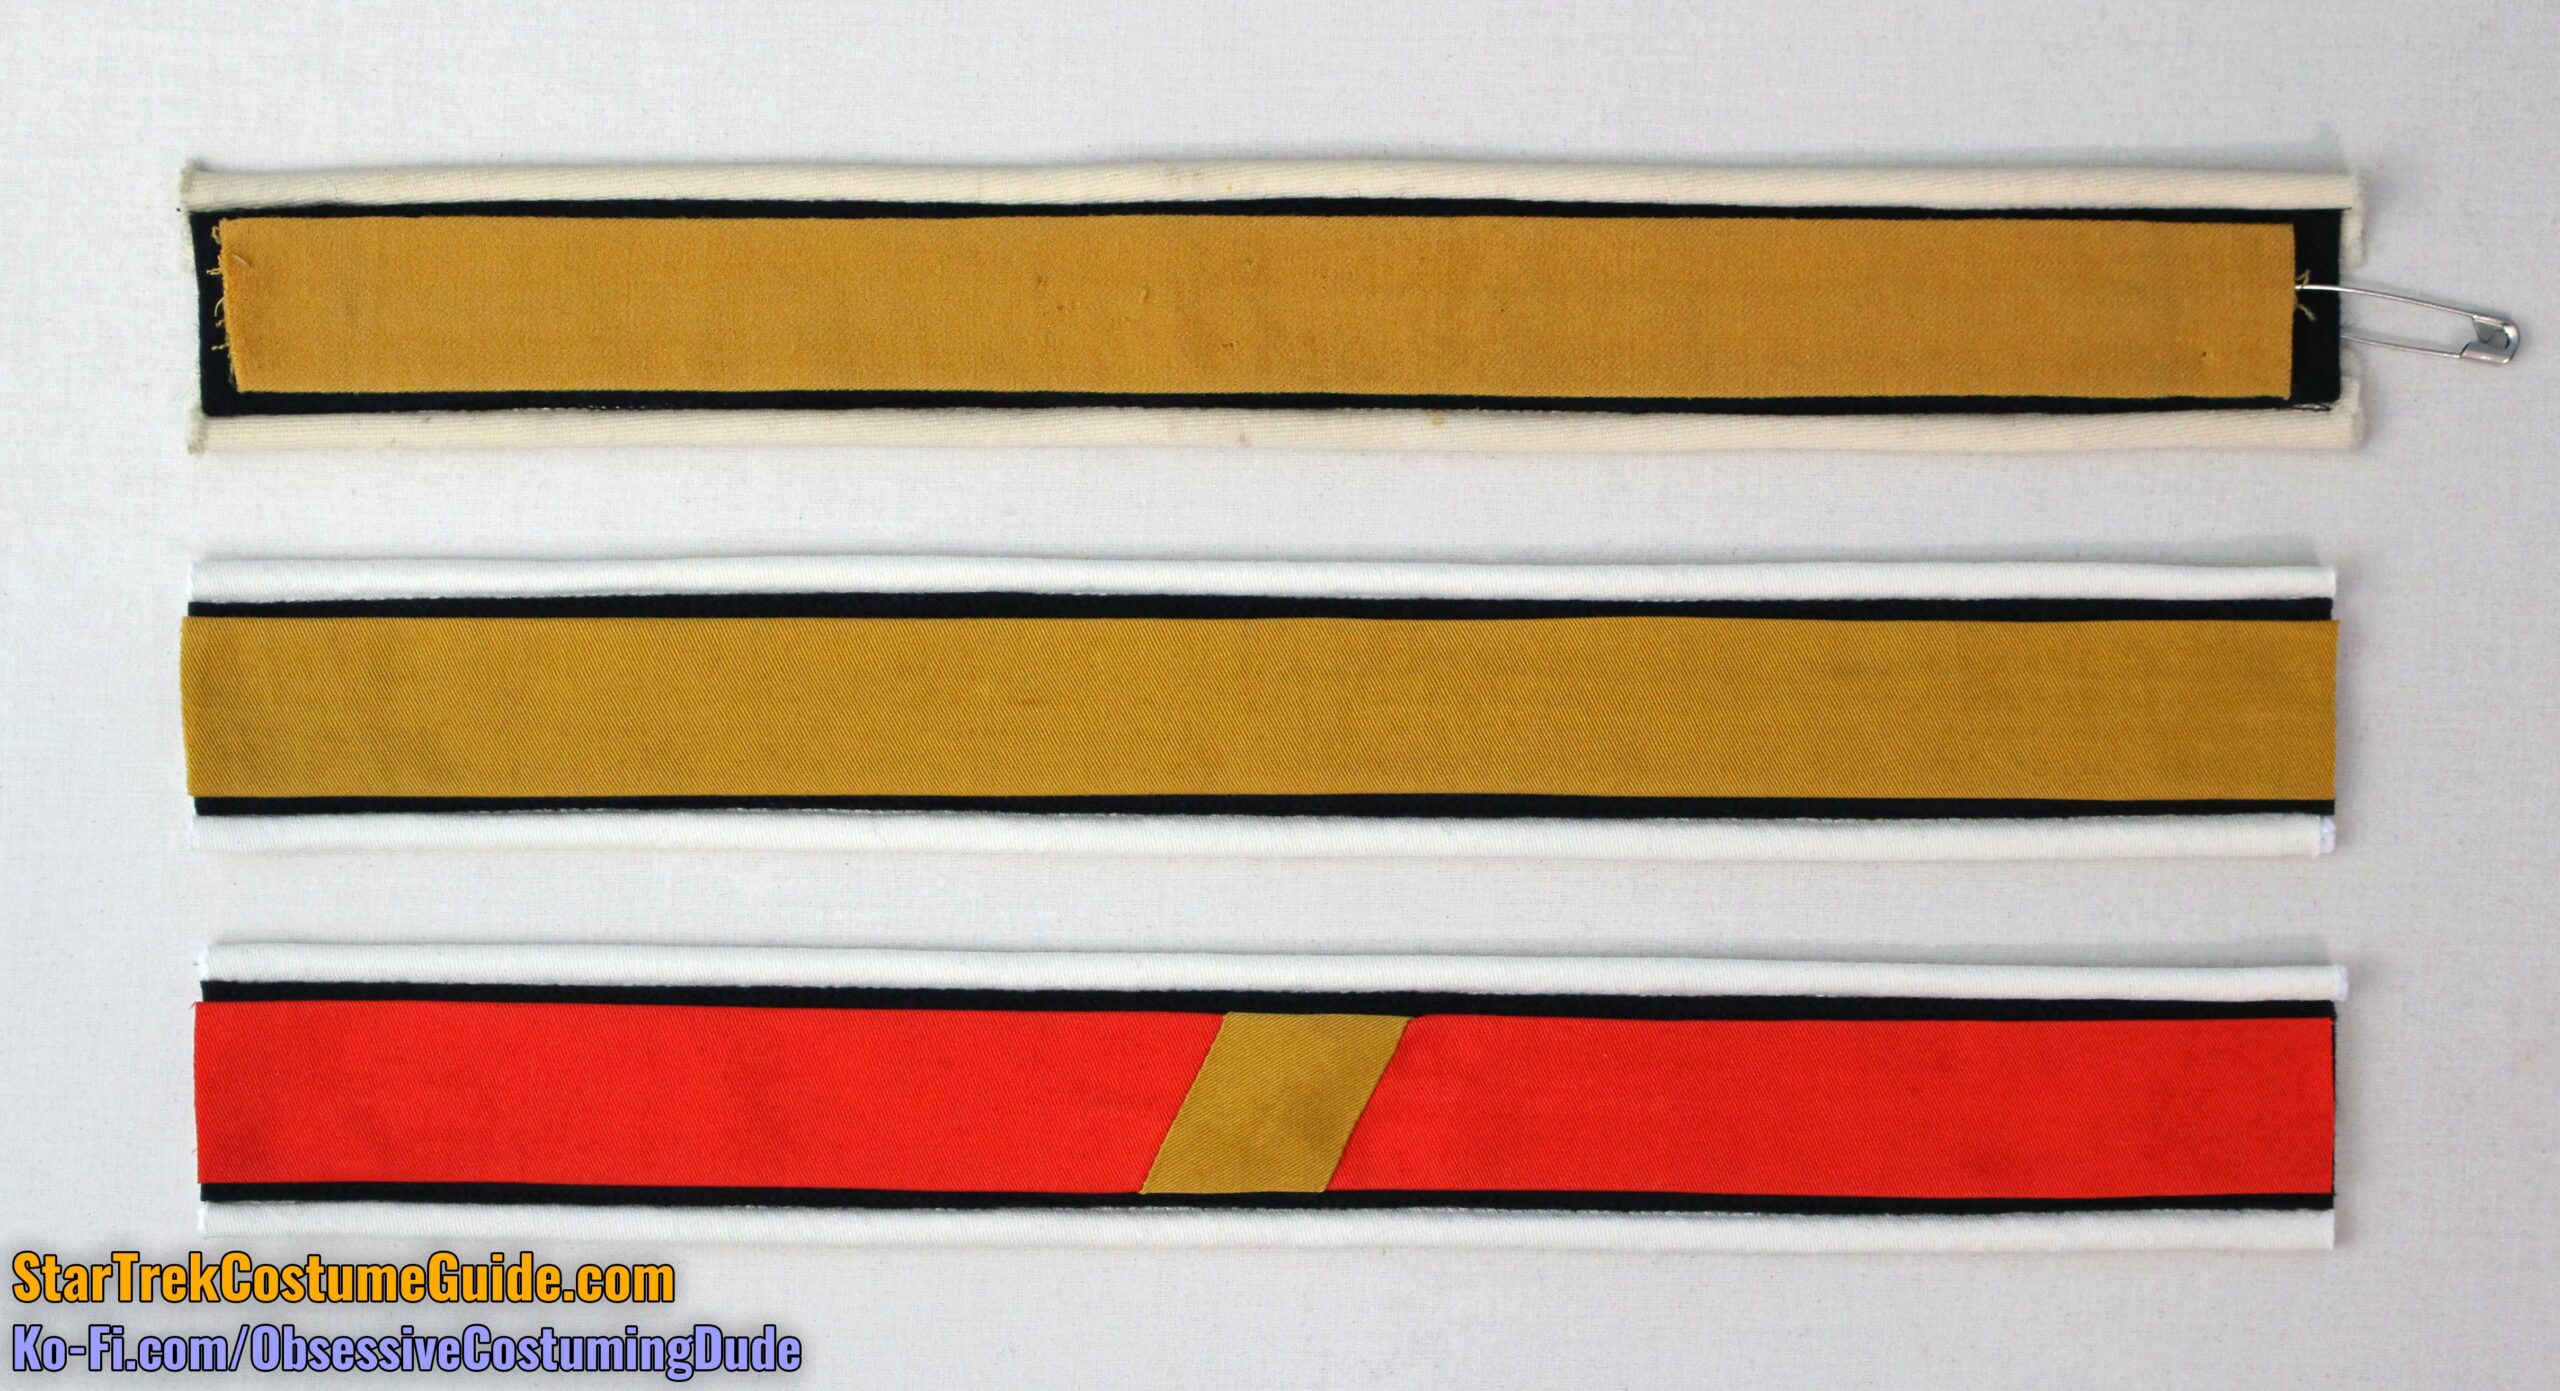
Gold wool gabardine = ¼ yard
This is for the division-colored shoulder tabs and sleeve band on the TWOK-era costumes. Both officers/enlisted personnel and trainees wore gold shoulder tabs.
As a more budget-friendly alternative, I suggest using cotton twill.
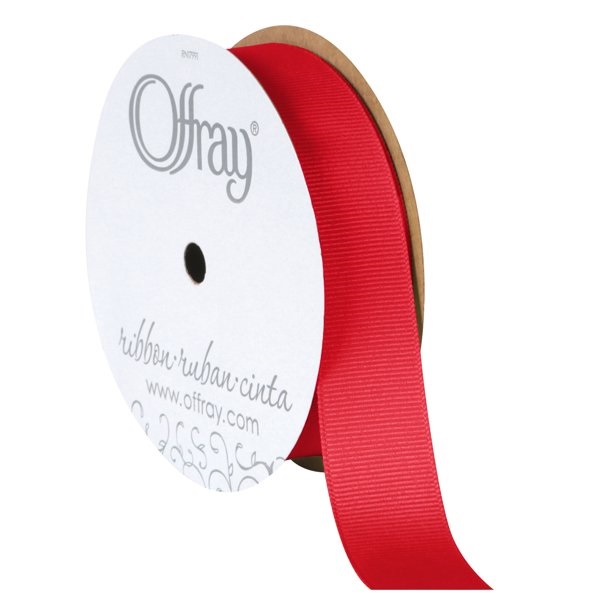
Red wool gabardine = ¼ yard
This is for the TMP-era shoulder tabs and sleeve band on the TWOK-era trainee costumes (see the bottom example to the right).
As a more budget-friendly alternative, I again suggest using cotton twill.
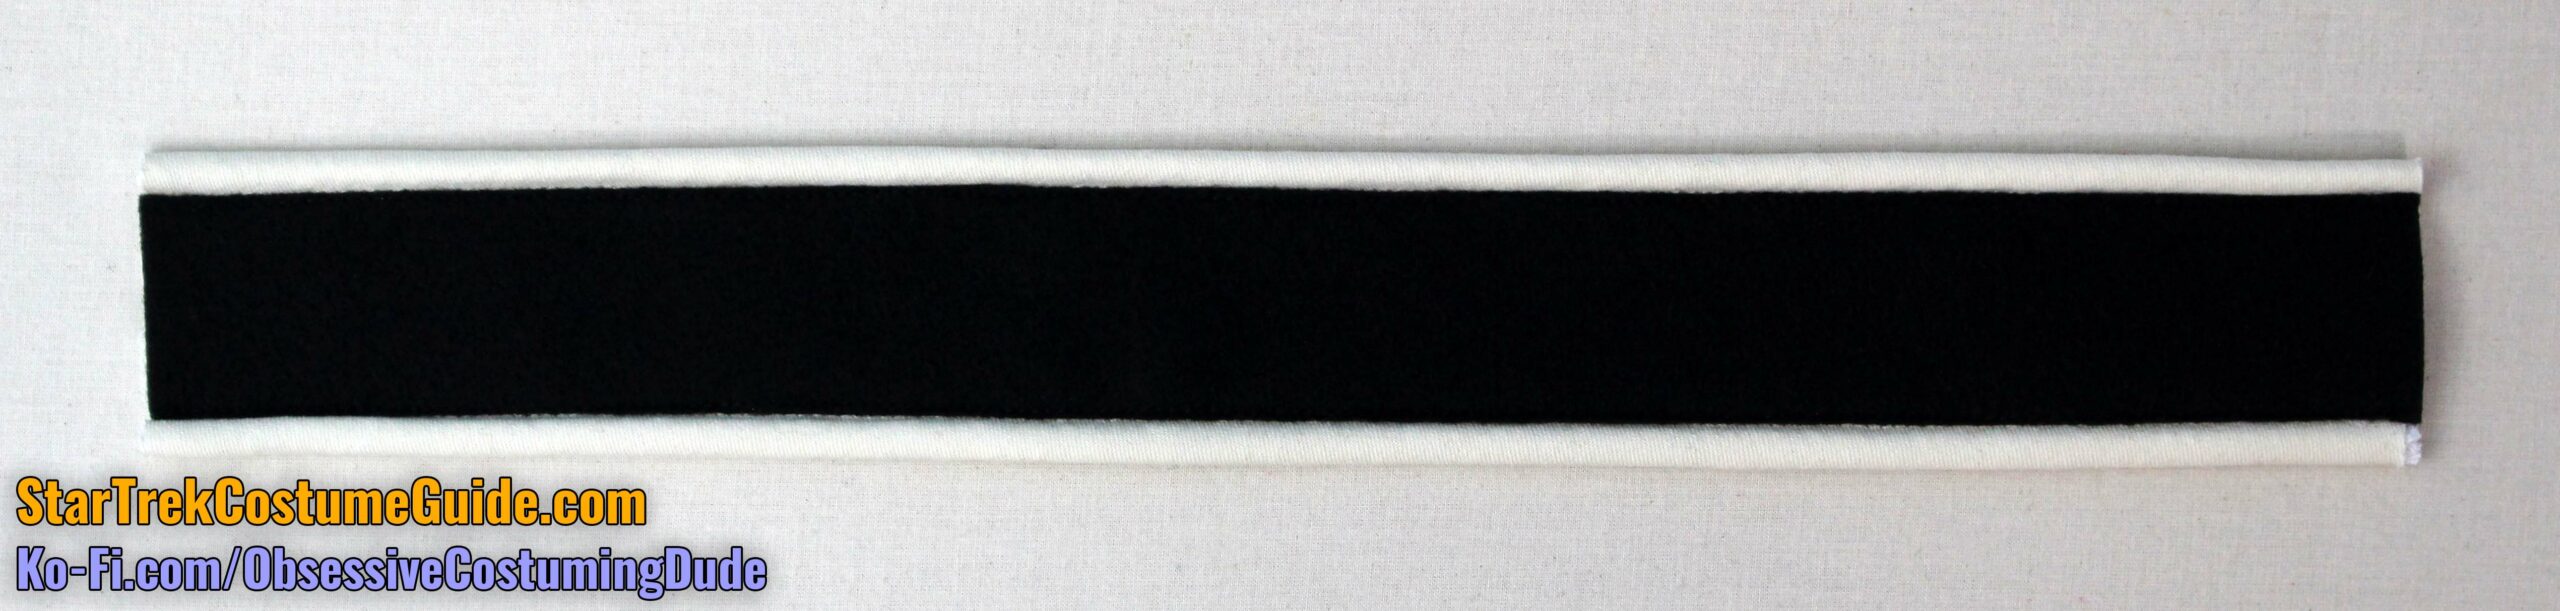
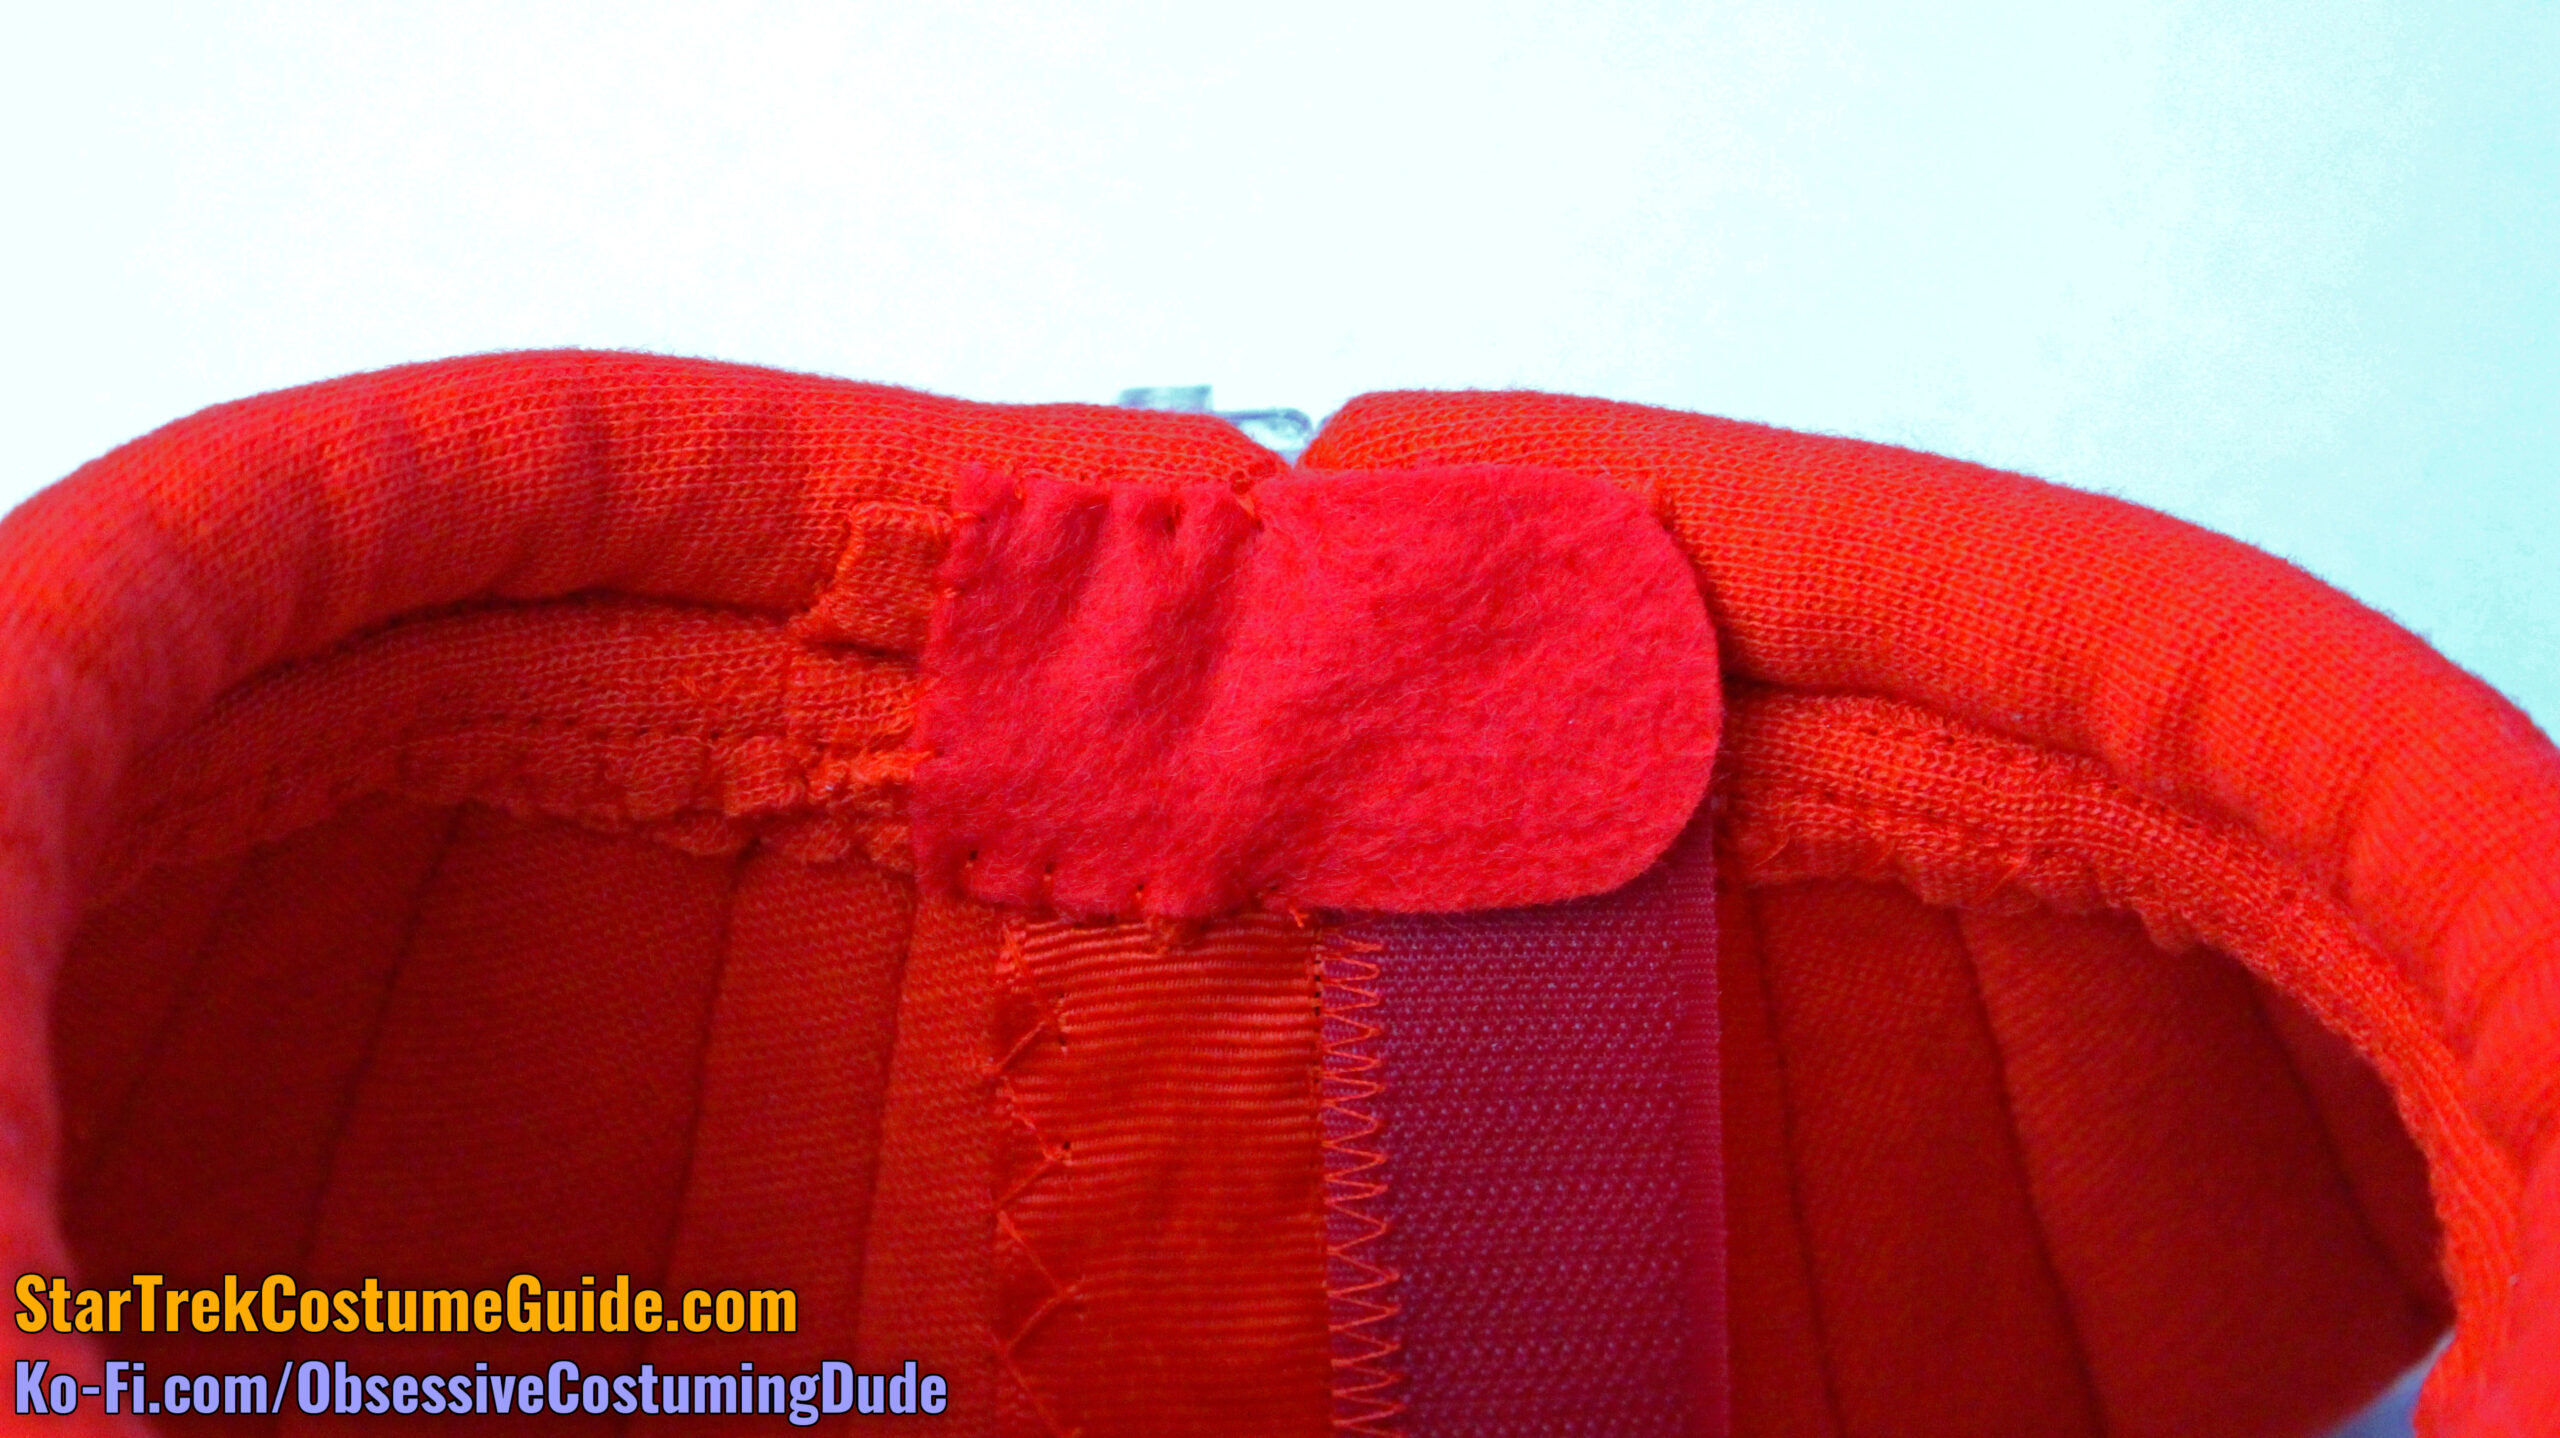
Black felt = ¼ yard
This is for the base layer on the shoulder tabs and sleeve band, as well as the protective flap on the TWOK-era officer/enlisted collars.
It can also be used to back the TWOK-era thigh, left sleeve, and glove panel assemblies, although I’d suggest increasing your purchase to ½ yard.
Off-white felt = ⅛ yard
This is for the back of the hip reflector box, as well as the backing for the left sleeve rank amount.
It can also be used to back the TWOK-era thigh, left sleeve, and glove panel assemblies, although I’d suggest increasing your purchase to ½ yard.
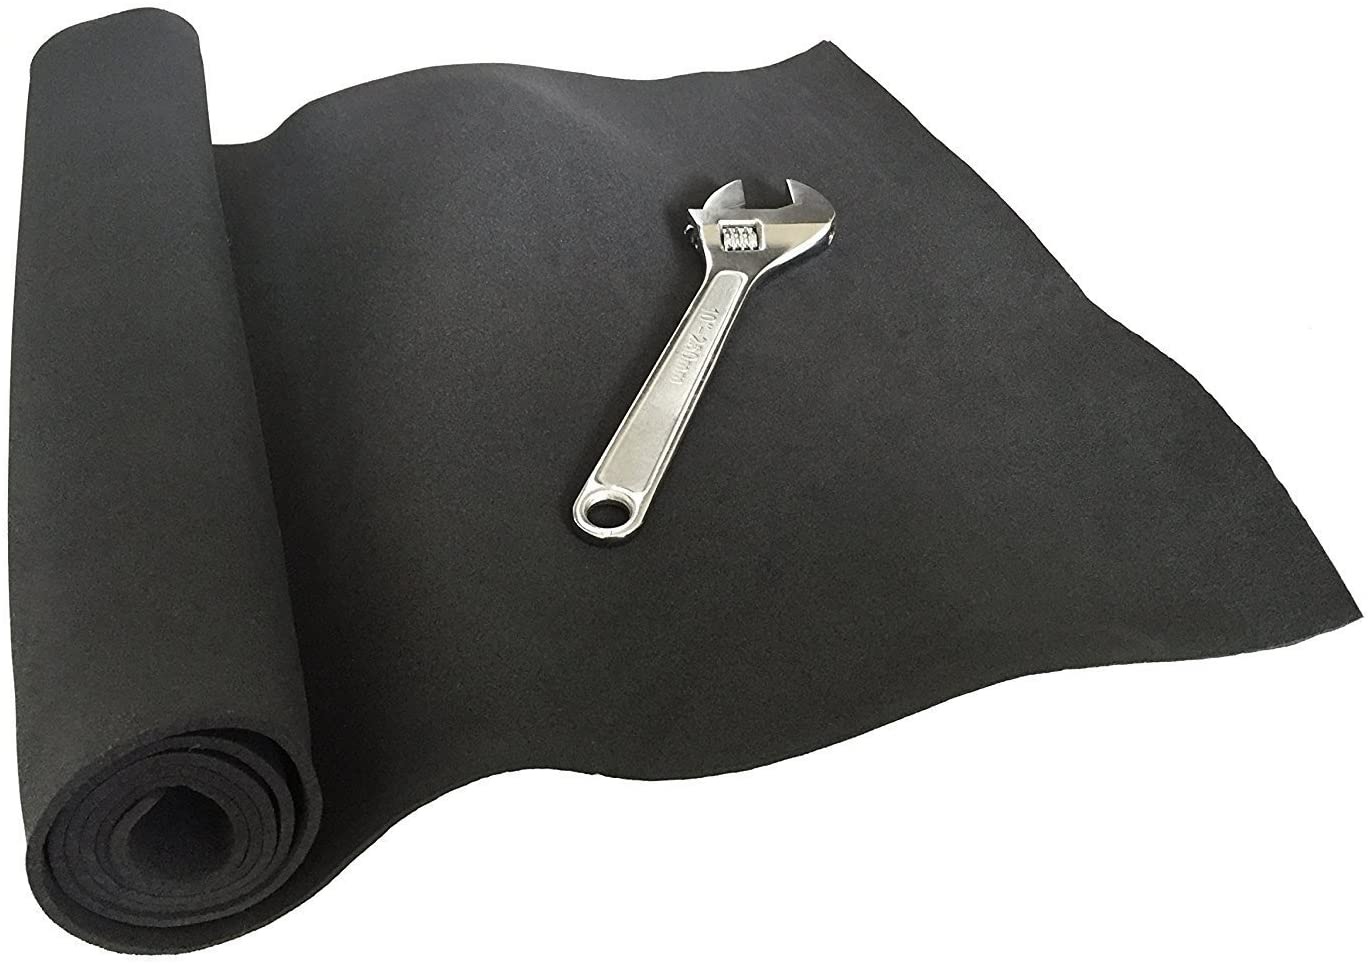
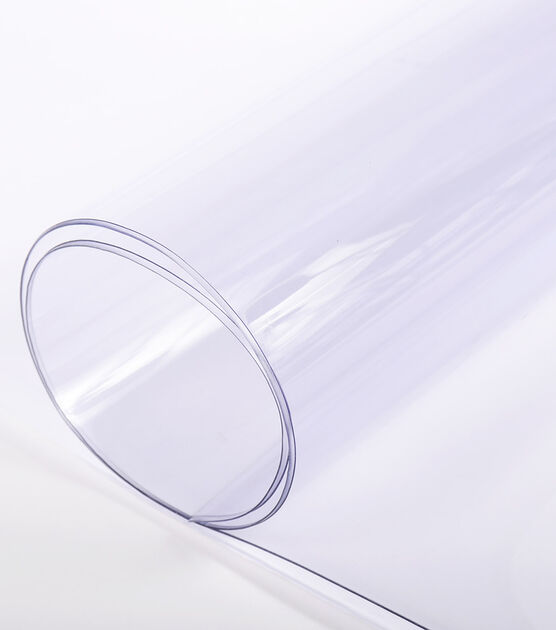
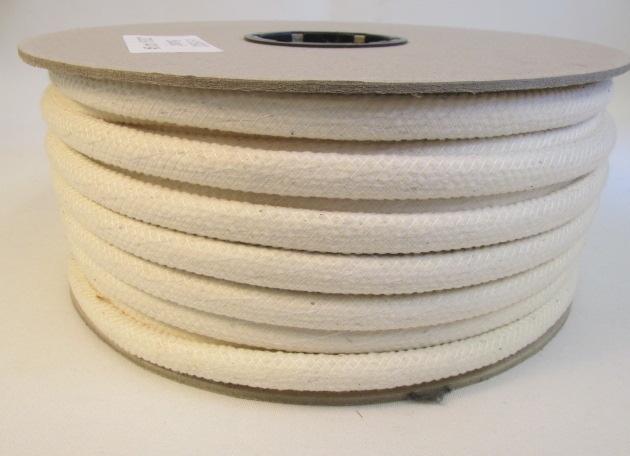
Black ¼” or 6mm neoprene = 14” minimum width, 18” minimum length
This is for the TMP and TWOK-era officer/enlisted collars.
As of the writing of this tutorial, there are many suppliers of neoprene sheets on eBay, which is where I purchased mine.
The sheets are generally predetermined sizes, so just be sure to choose one wide and long enough for your collar, plus several inches for the strips.
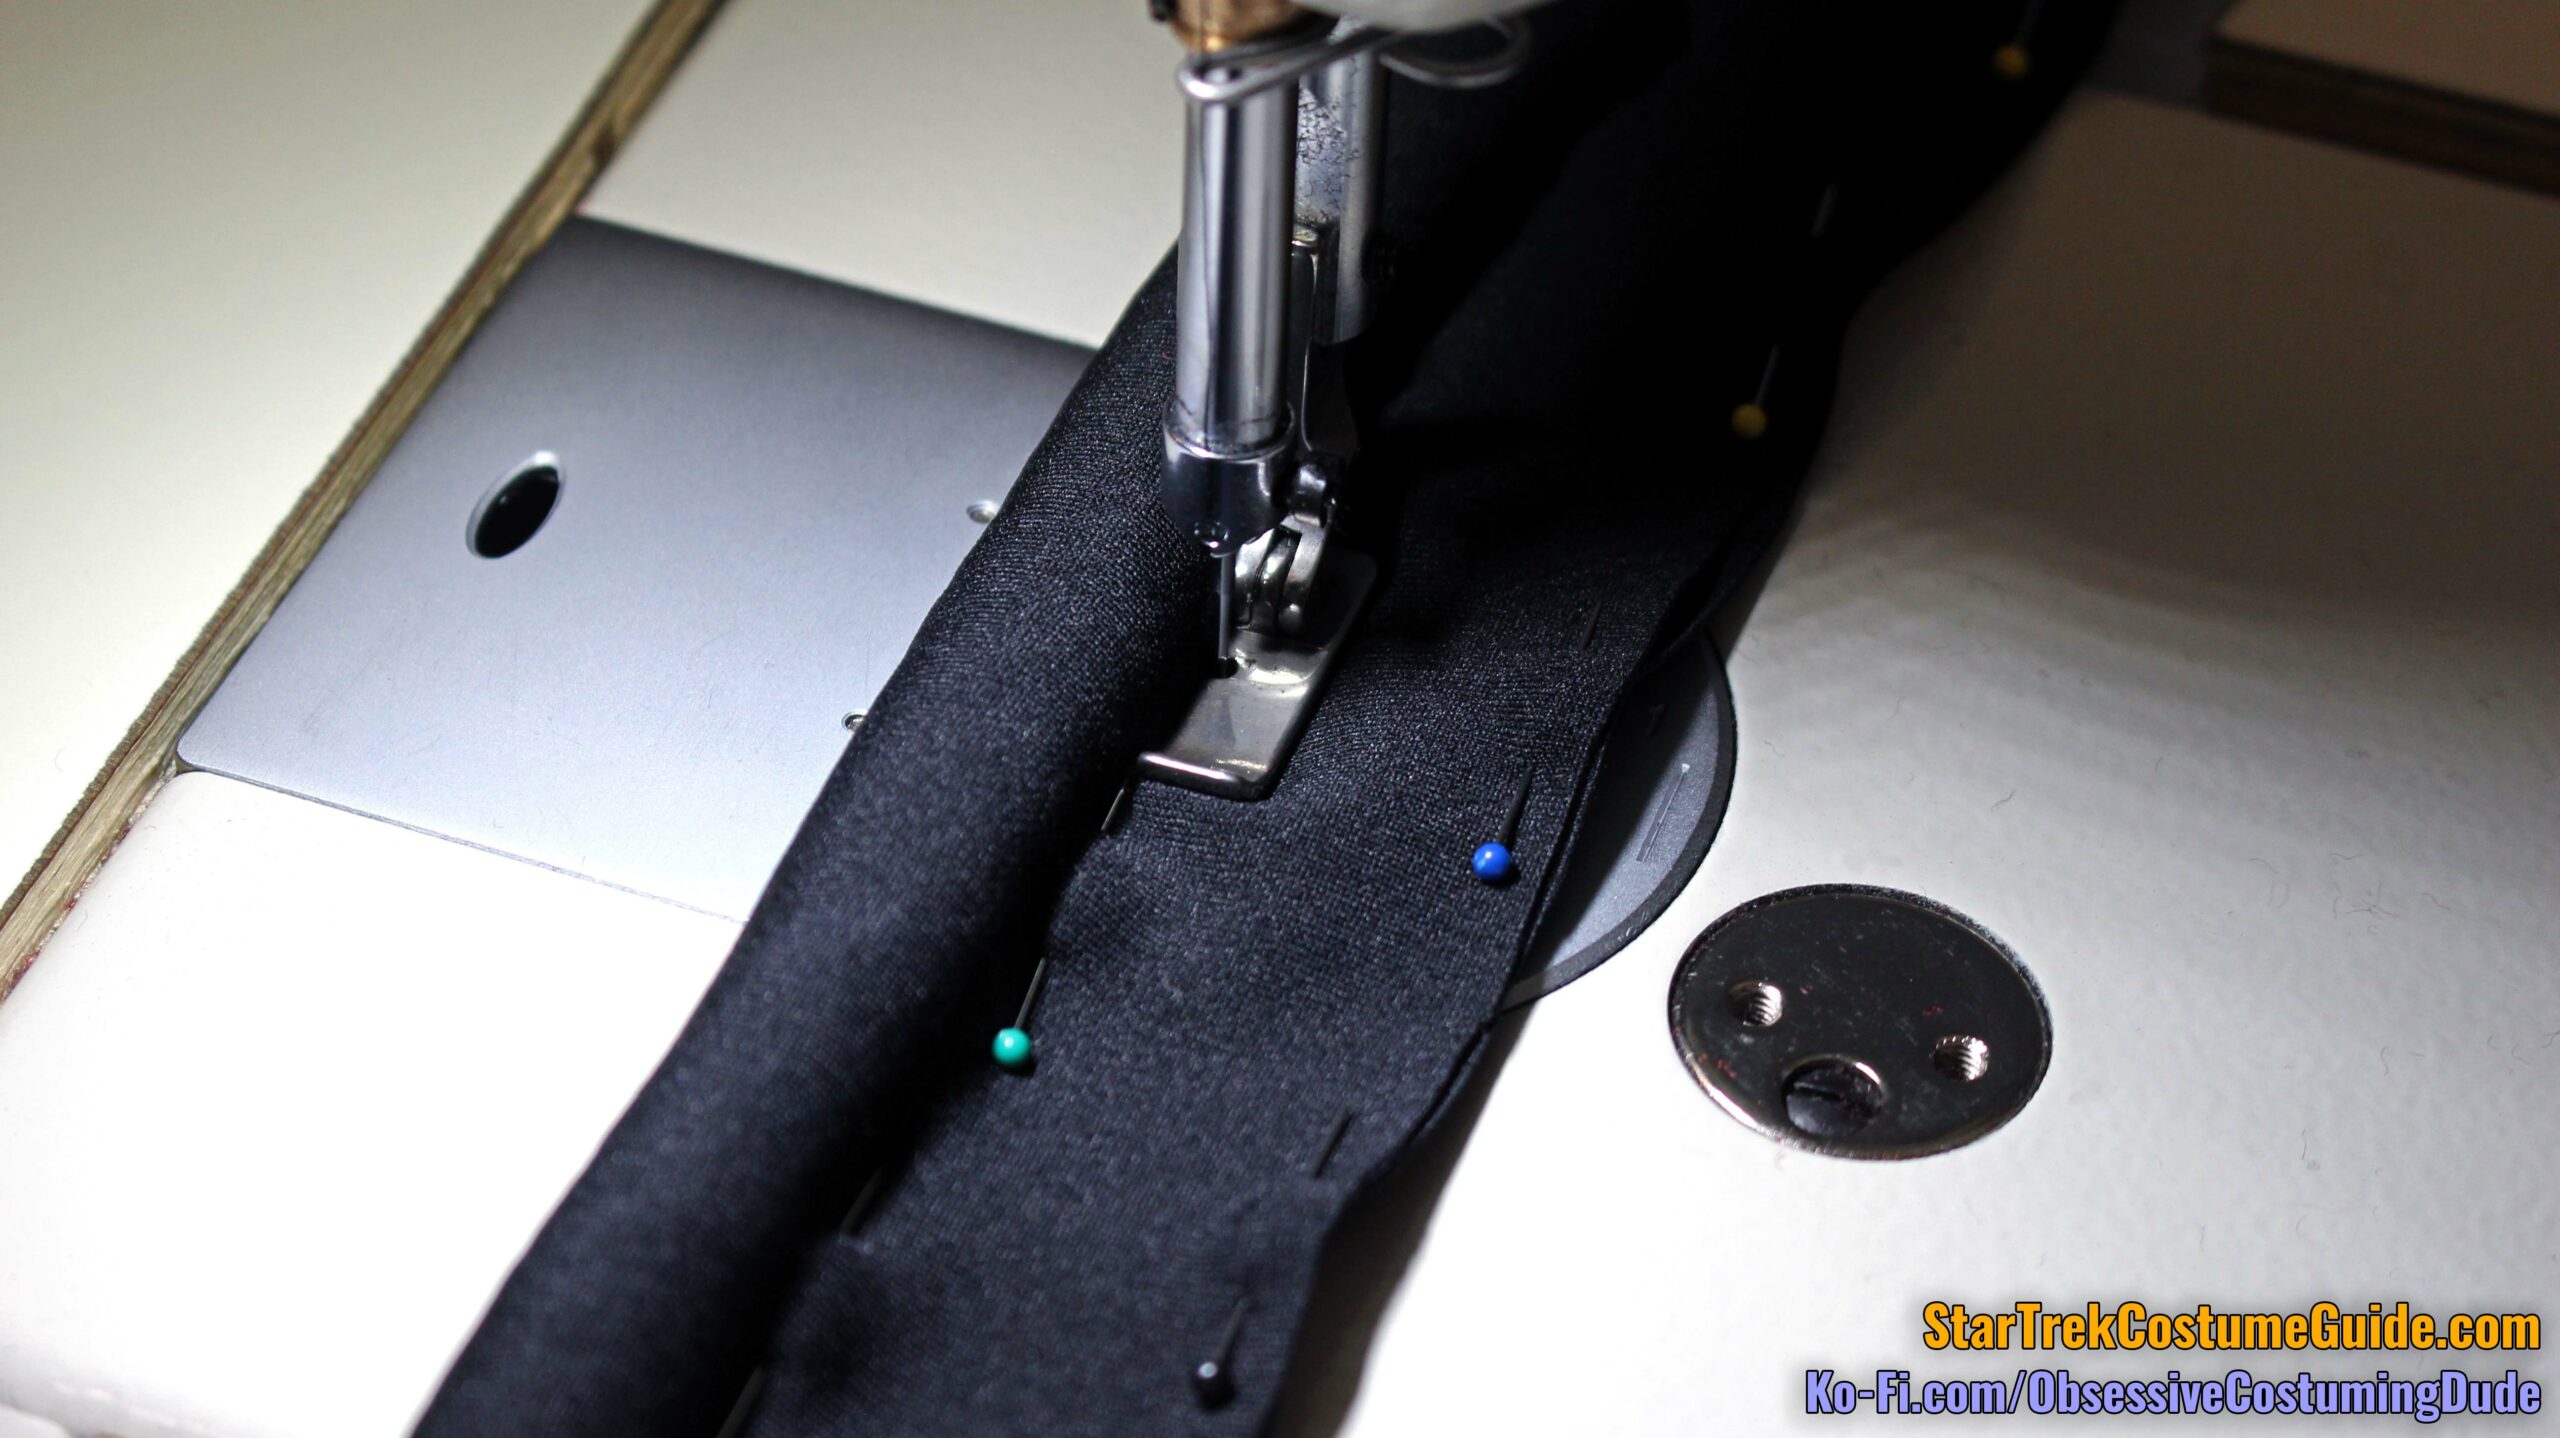
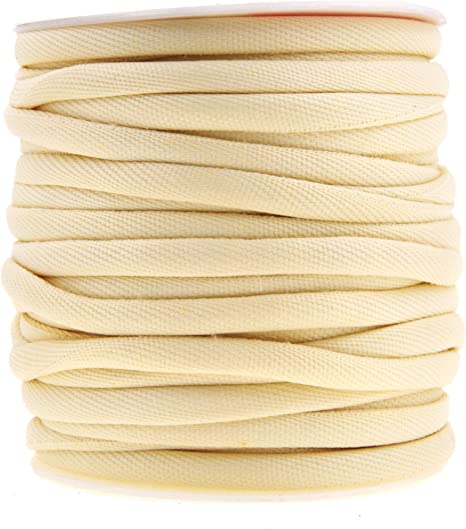
Lightweight black spandex = ¼ yard
This is for the band of neckline piping on the TWOK-era officer/enlisted collars.
“Fire red” knit fabric = 1 yard
This is for the TWOK-era trainee collar.
I’m not sure exactly what fabric the screen-used trainee collars were made with, only that it was a knit fabric instead of neoprene.
I suggest using a heavy, matte knit fabric. (I used a cotton knit fabric and custom-dyed it orange-y “flame red.”)
Fusible interfacing = 1 yard
For the TWOK-era trainee collars, I suggest stabilizing your knit fabric with a lightweight woven fusible interfacing.
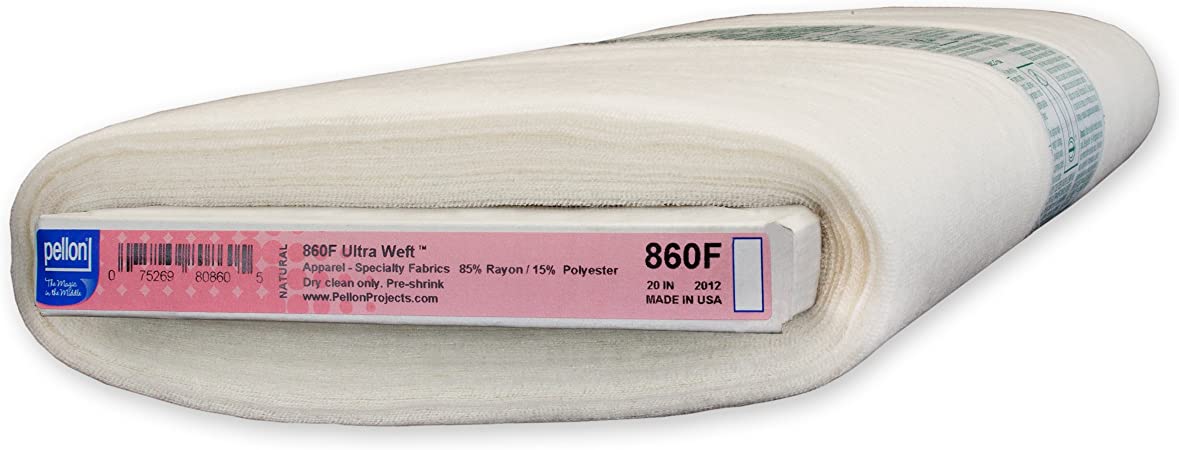
Heavy French canvas = 1 yard
This is for the back of the thigh and left sleeve panel assemblies.
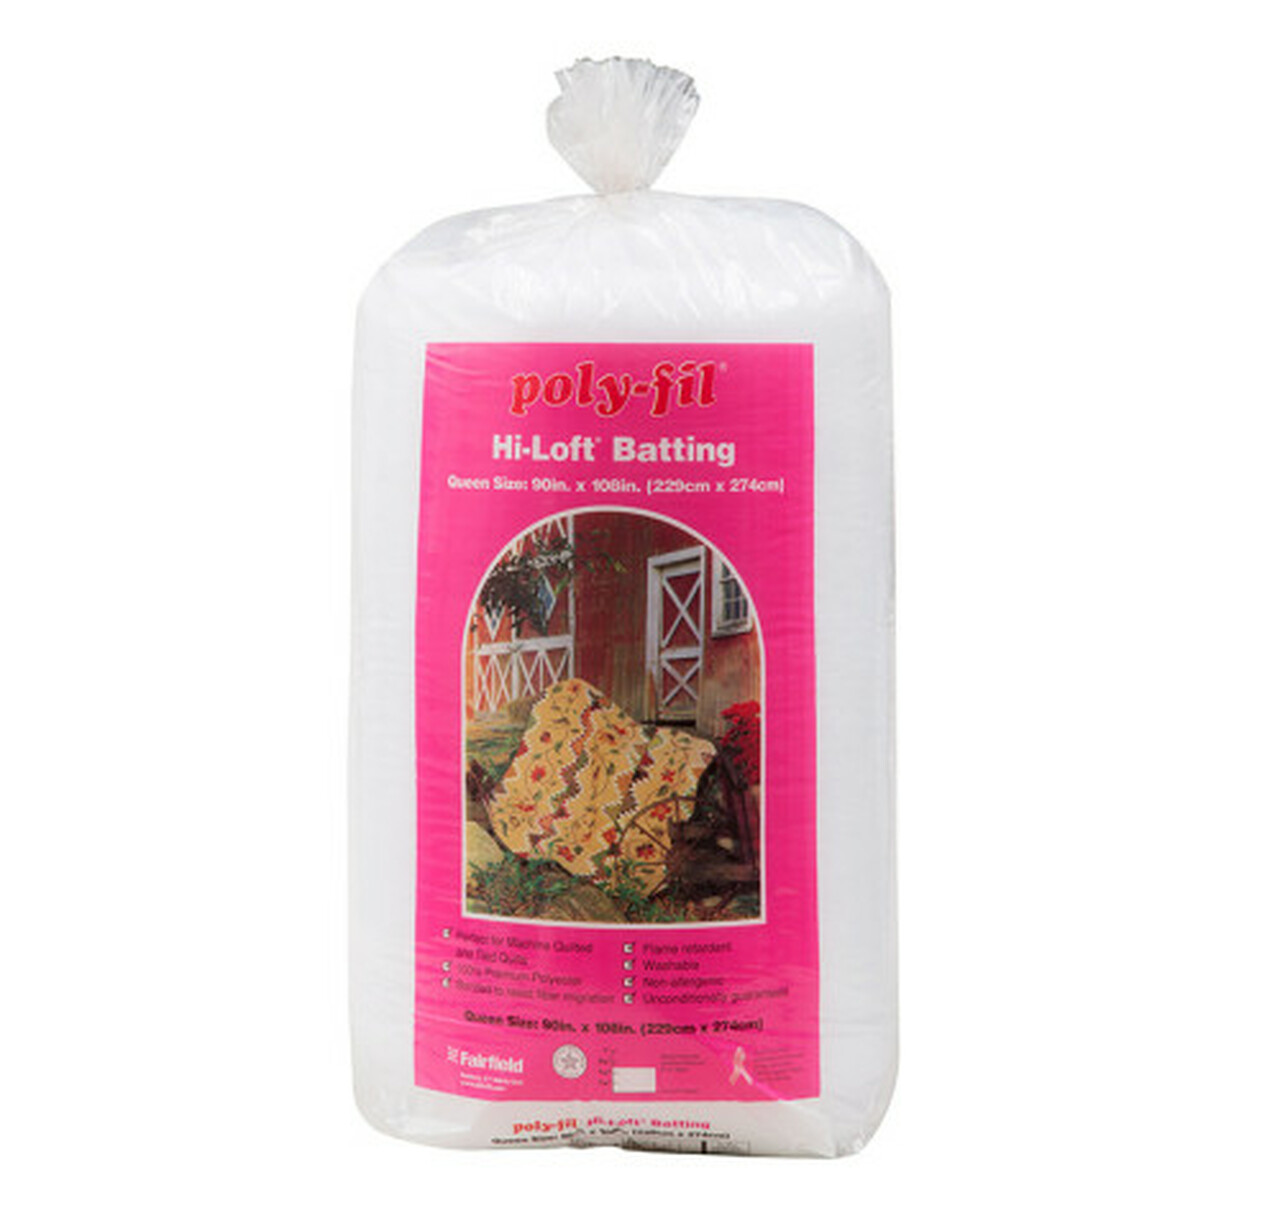
This is for the lower back quilted rectangle on the jumpsuit, as well as for the flared channels on the trainee collar.
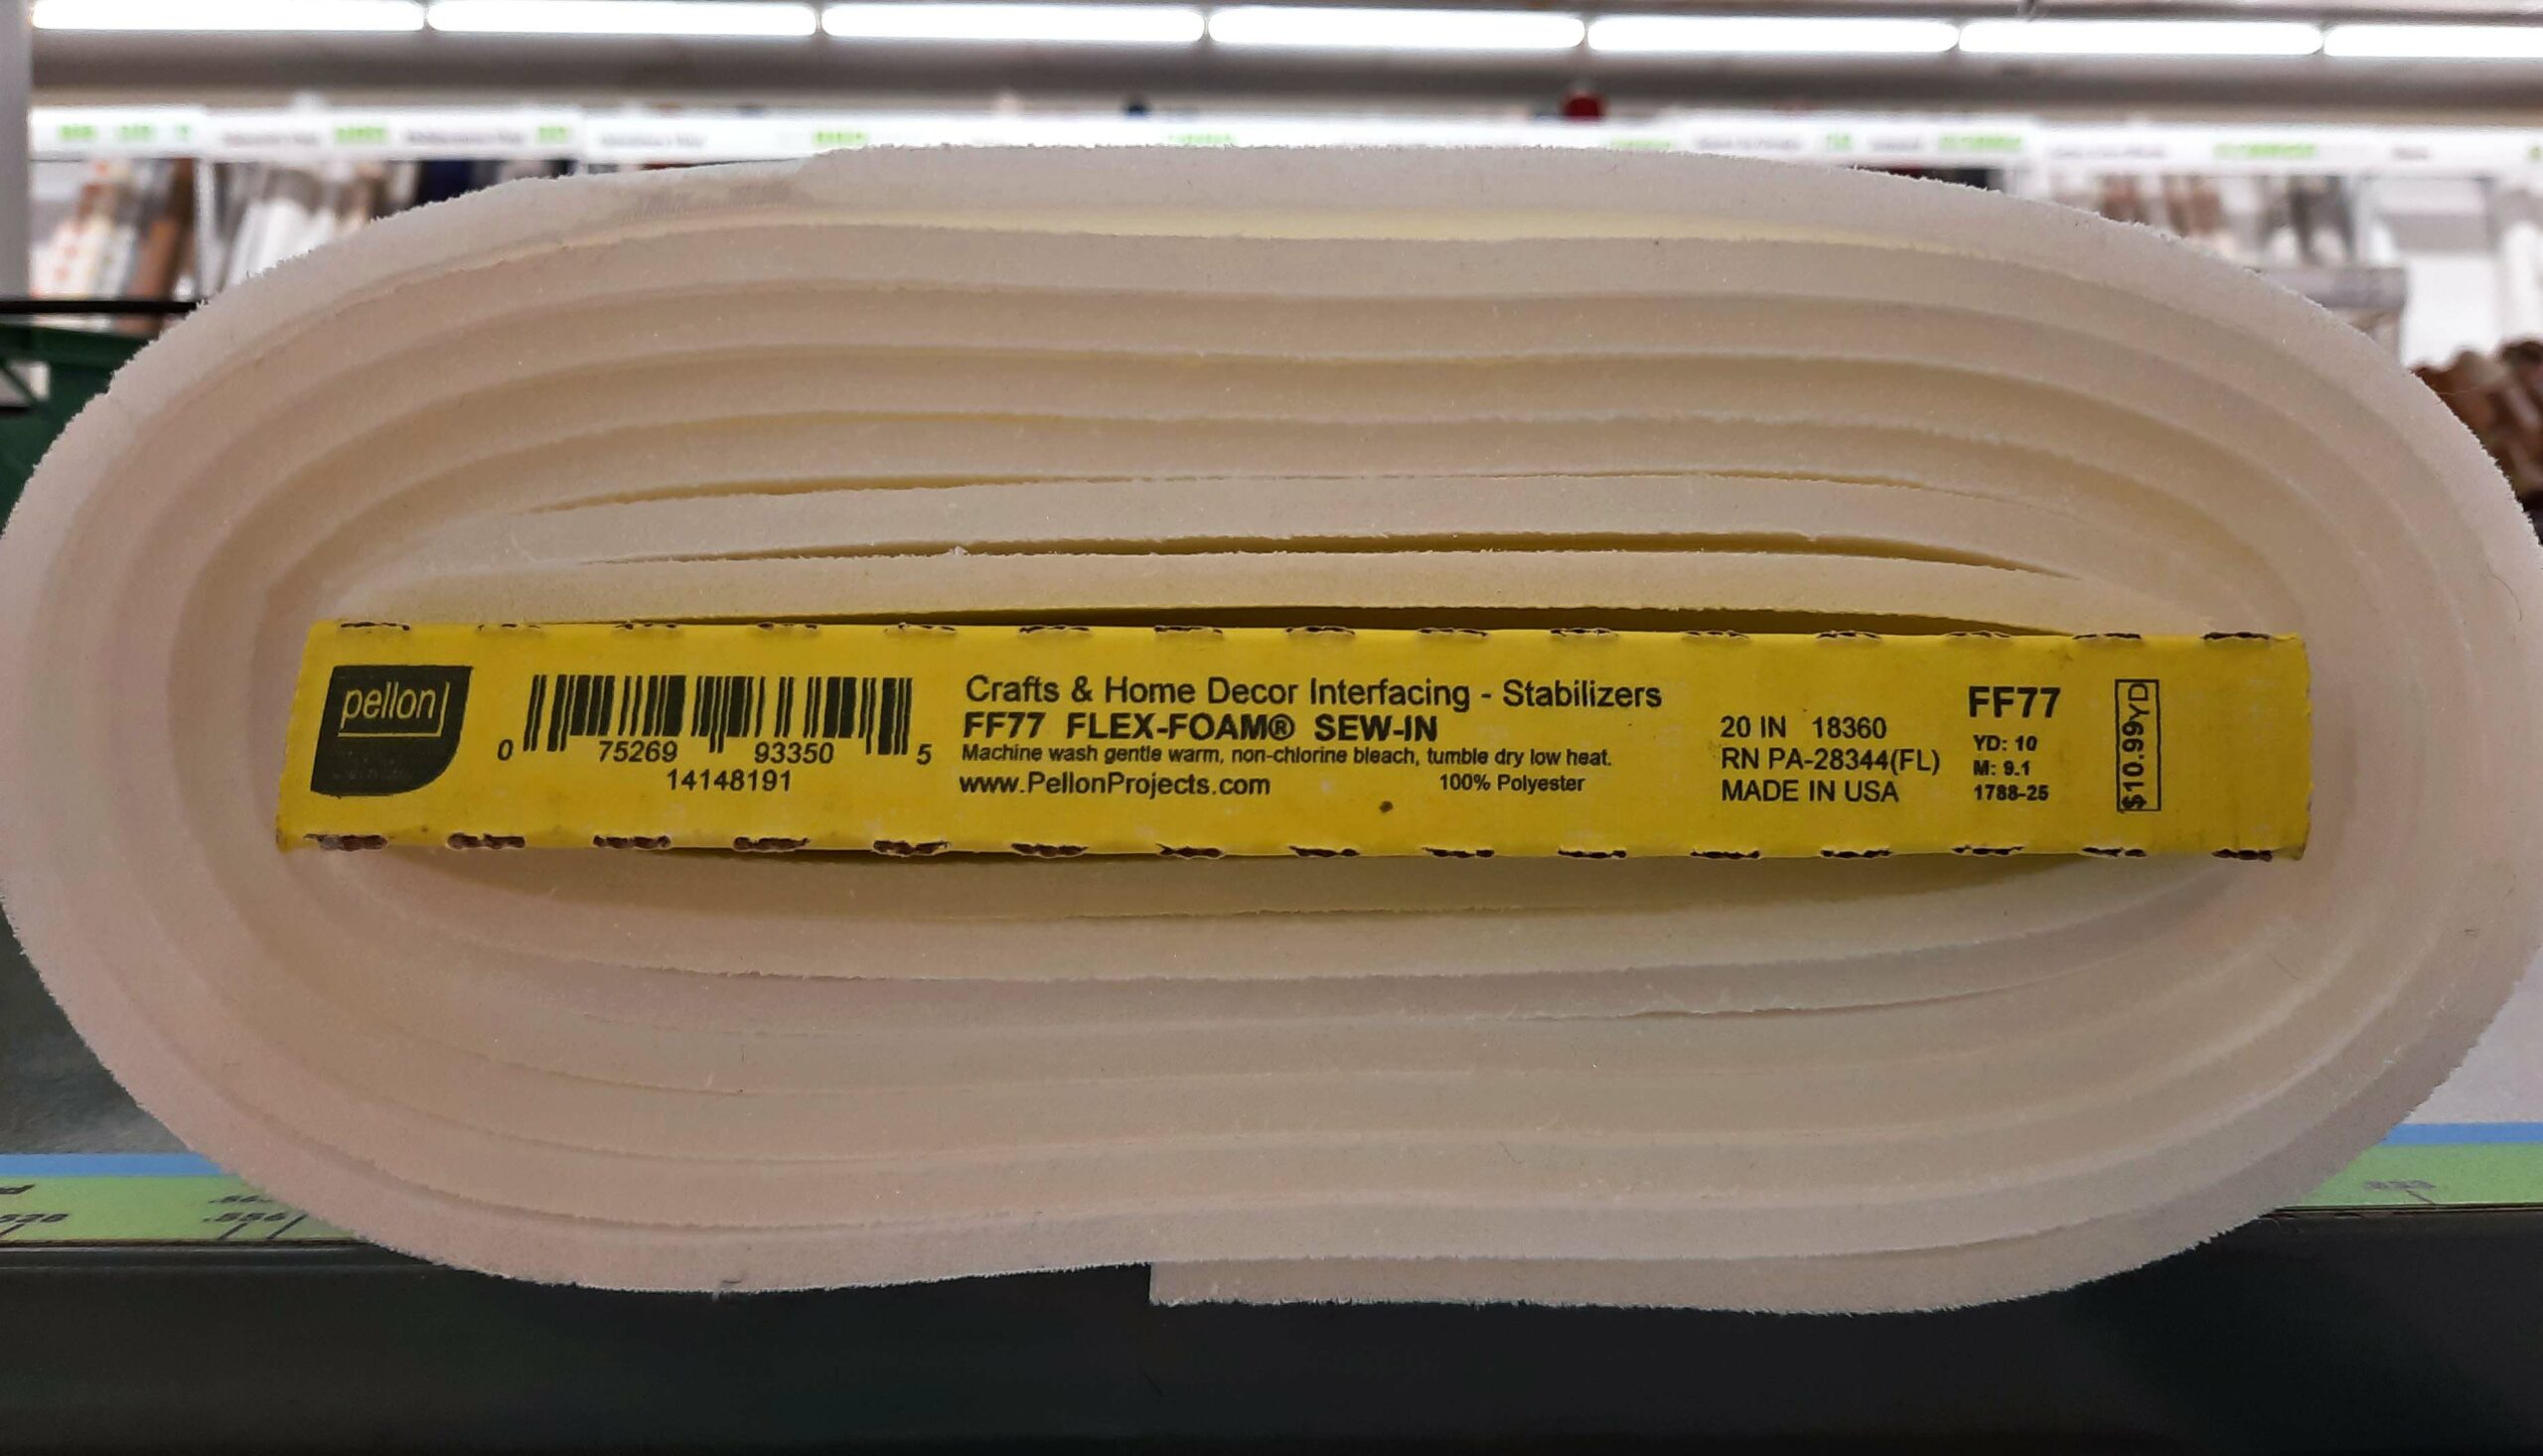
Thick foam interfacing = ¼ yard
I wasn’t entirely satisfied with the trainee collar replica quilted only with the high-loft batting, so I bolstered up the quilted channels afterward with a bit of foam.
Should you wish to duplicate the process, here is the foam interfacing that I used:
Red felt = ⅛ yard
This is for the protective flap on the TWOK-era trainee collars.
NOTIONS
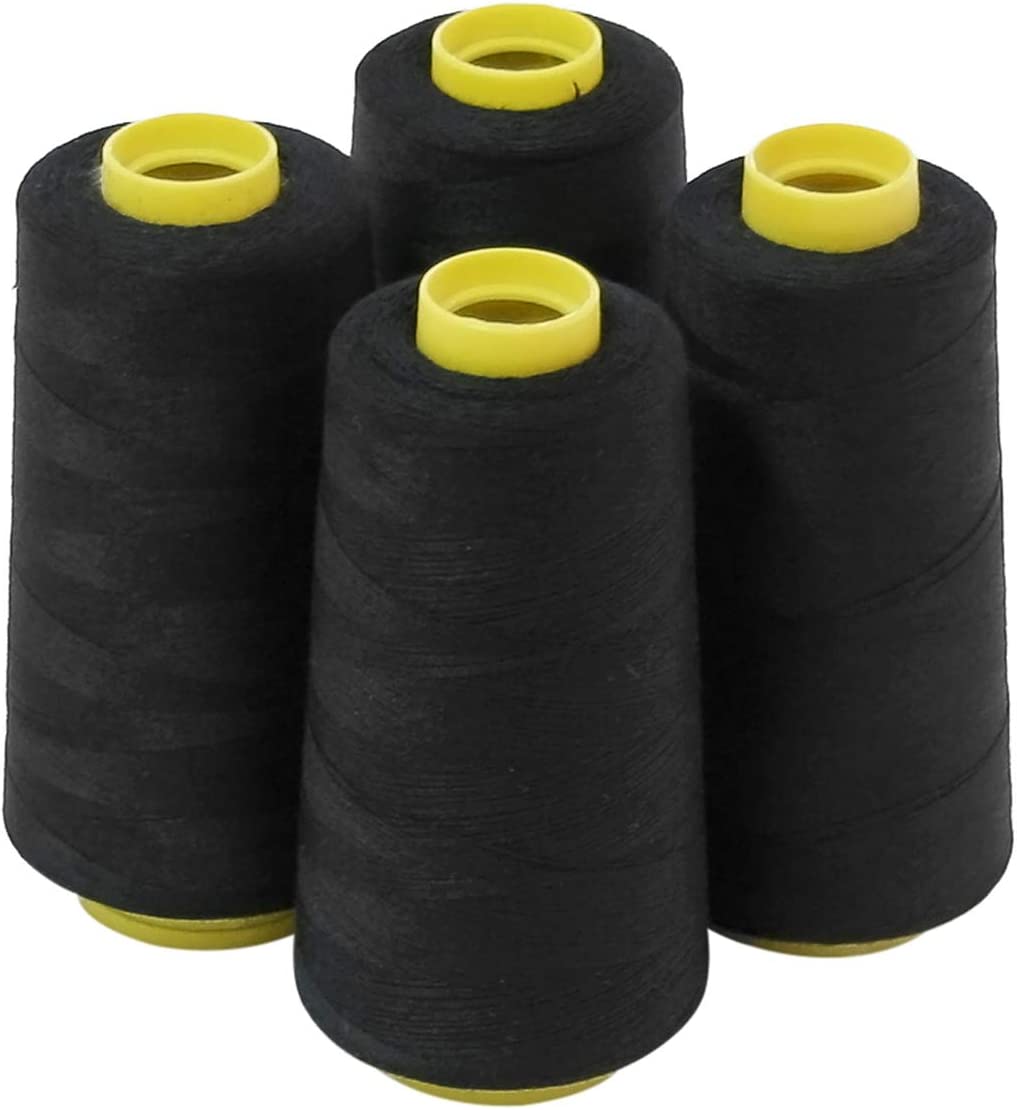
2 spools of off-white thread
This is for the jumpsuit, as well as the glove and boot accents.
There is some visible topstitching on the jumpsuit, so I suggest matching your jumpsuit fabric as closely as possible.
(If you’re making the orange variant, use orange thread instead.)
1 spool of black thread
This is for the neckline piping on the TWOK-era officer/enlisted collar.
1 spool of red thread
This is for the TMP shoulder tabs, as well as the TWOK-era trainee collar and left sleeve band.
1 spool of gold thread
This is for the TWOK-era shoulder tabs and officer/enlisted left sleeve band.
1 spool of gray thread
This is for the TWOK-era thigh, left sleeve and glove panel assemblies. It should closely match your ironing table fabric.
Off-white serger thread
This is for the interior of the jumpsuit, and optional use on the glove and boot attachments.
Gray serger thread
This is for the TWOK-era thigh, left sleeve and glove panel assemblies. It should closely match your ironing table fabric.
Black serger thread
This is for the TWOK-era thigh, left sleeve and glove panel assemblies.
Black serger thread
This is for the TWOK-era thigh, left sleeve and glove panel assemblies.
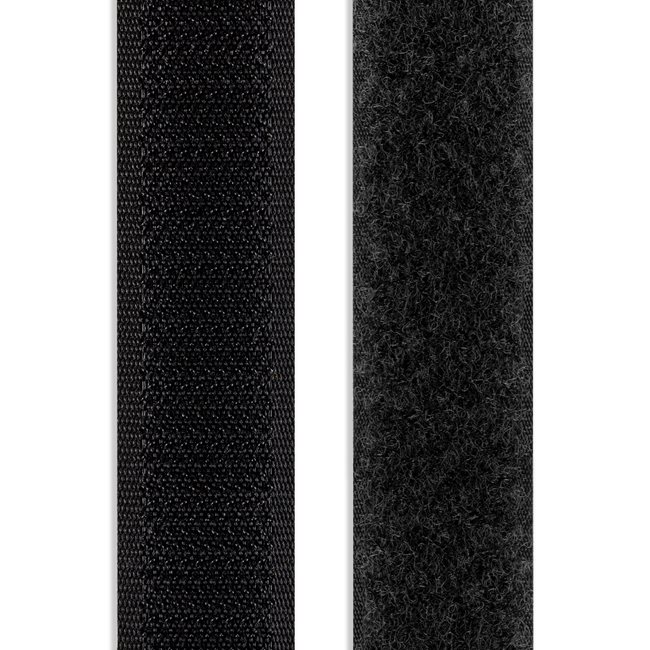
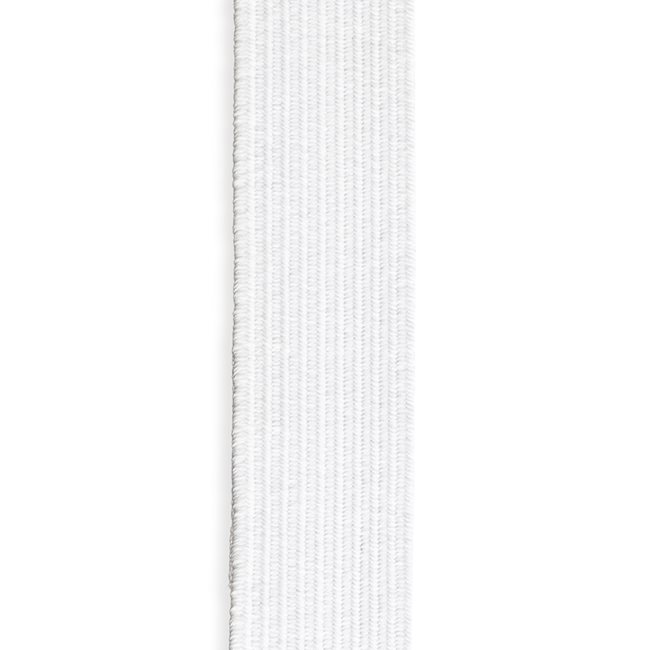
1” black hook-and-loop tape = ½ yard
This is for the closure on the officer/enlisted collars.
You’ll probably also need some longer screws and washers on the underside of the neckline piping, which I’ll mention again in the corresponding section of the tutorial.
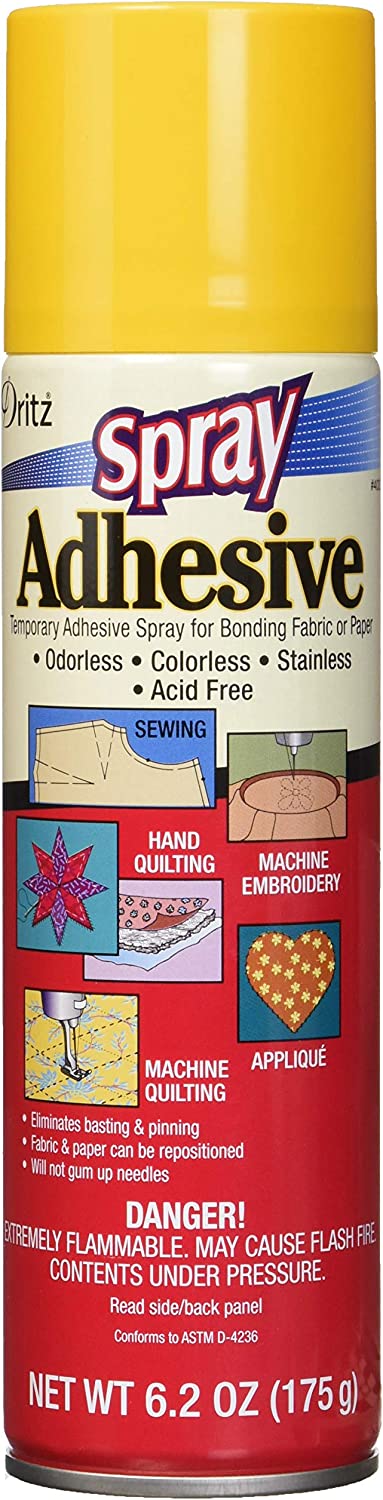
Fabric temporary spray adhesive
This isn’t strictly necessary, but I do find it very helpful for quilting components of this costume like the lower back rectangle and TWOK-era trainee collar.
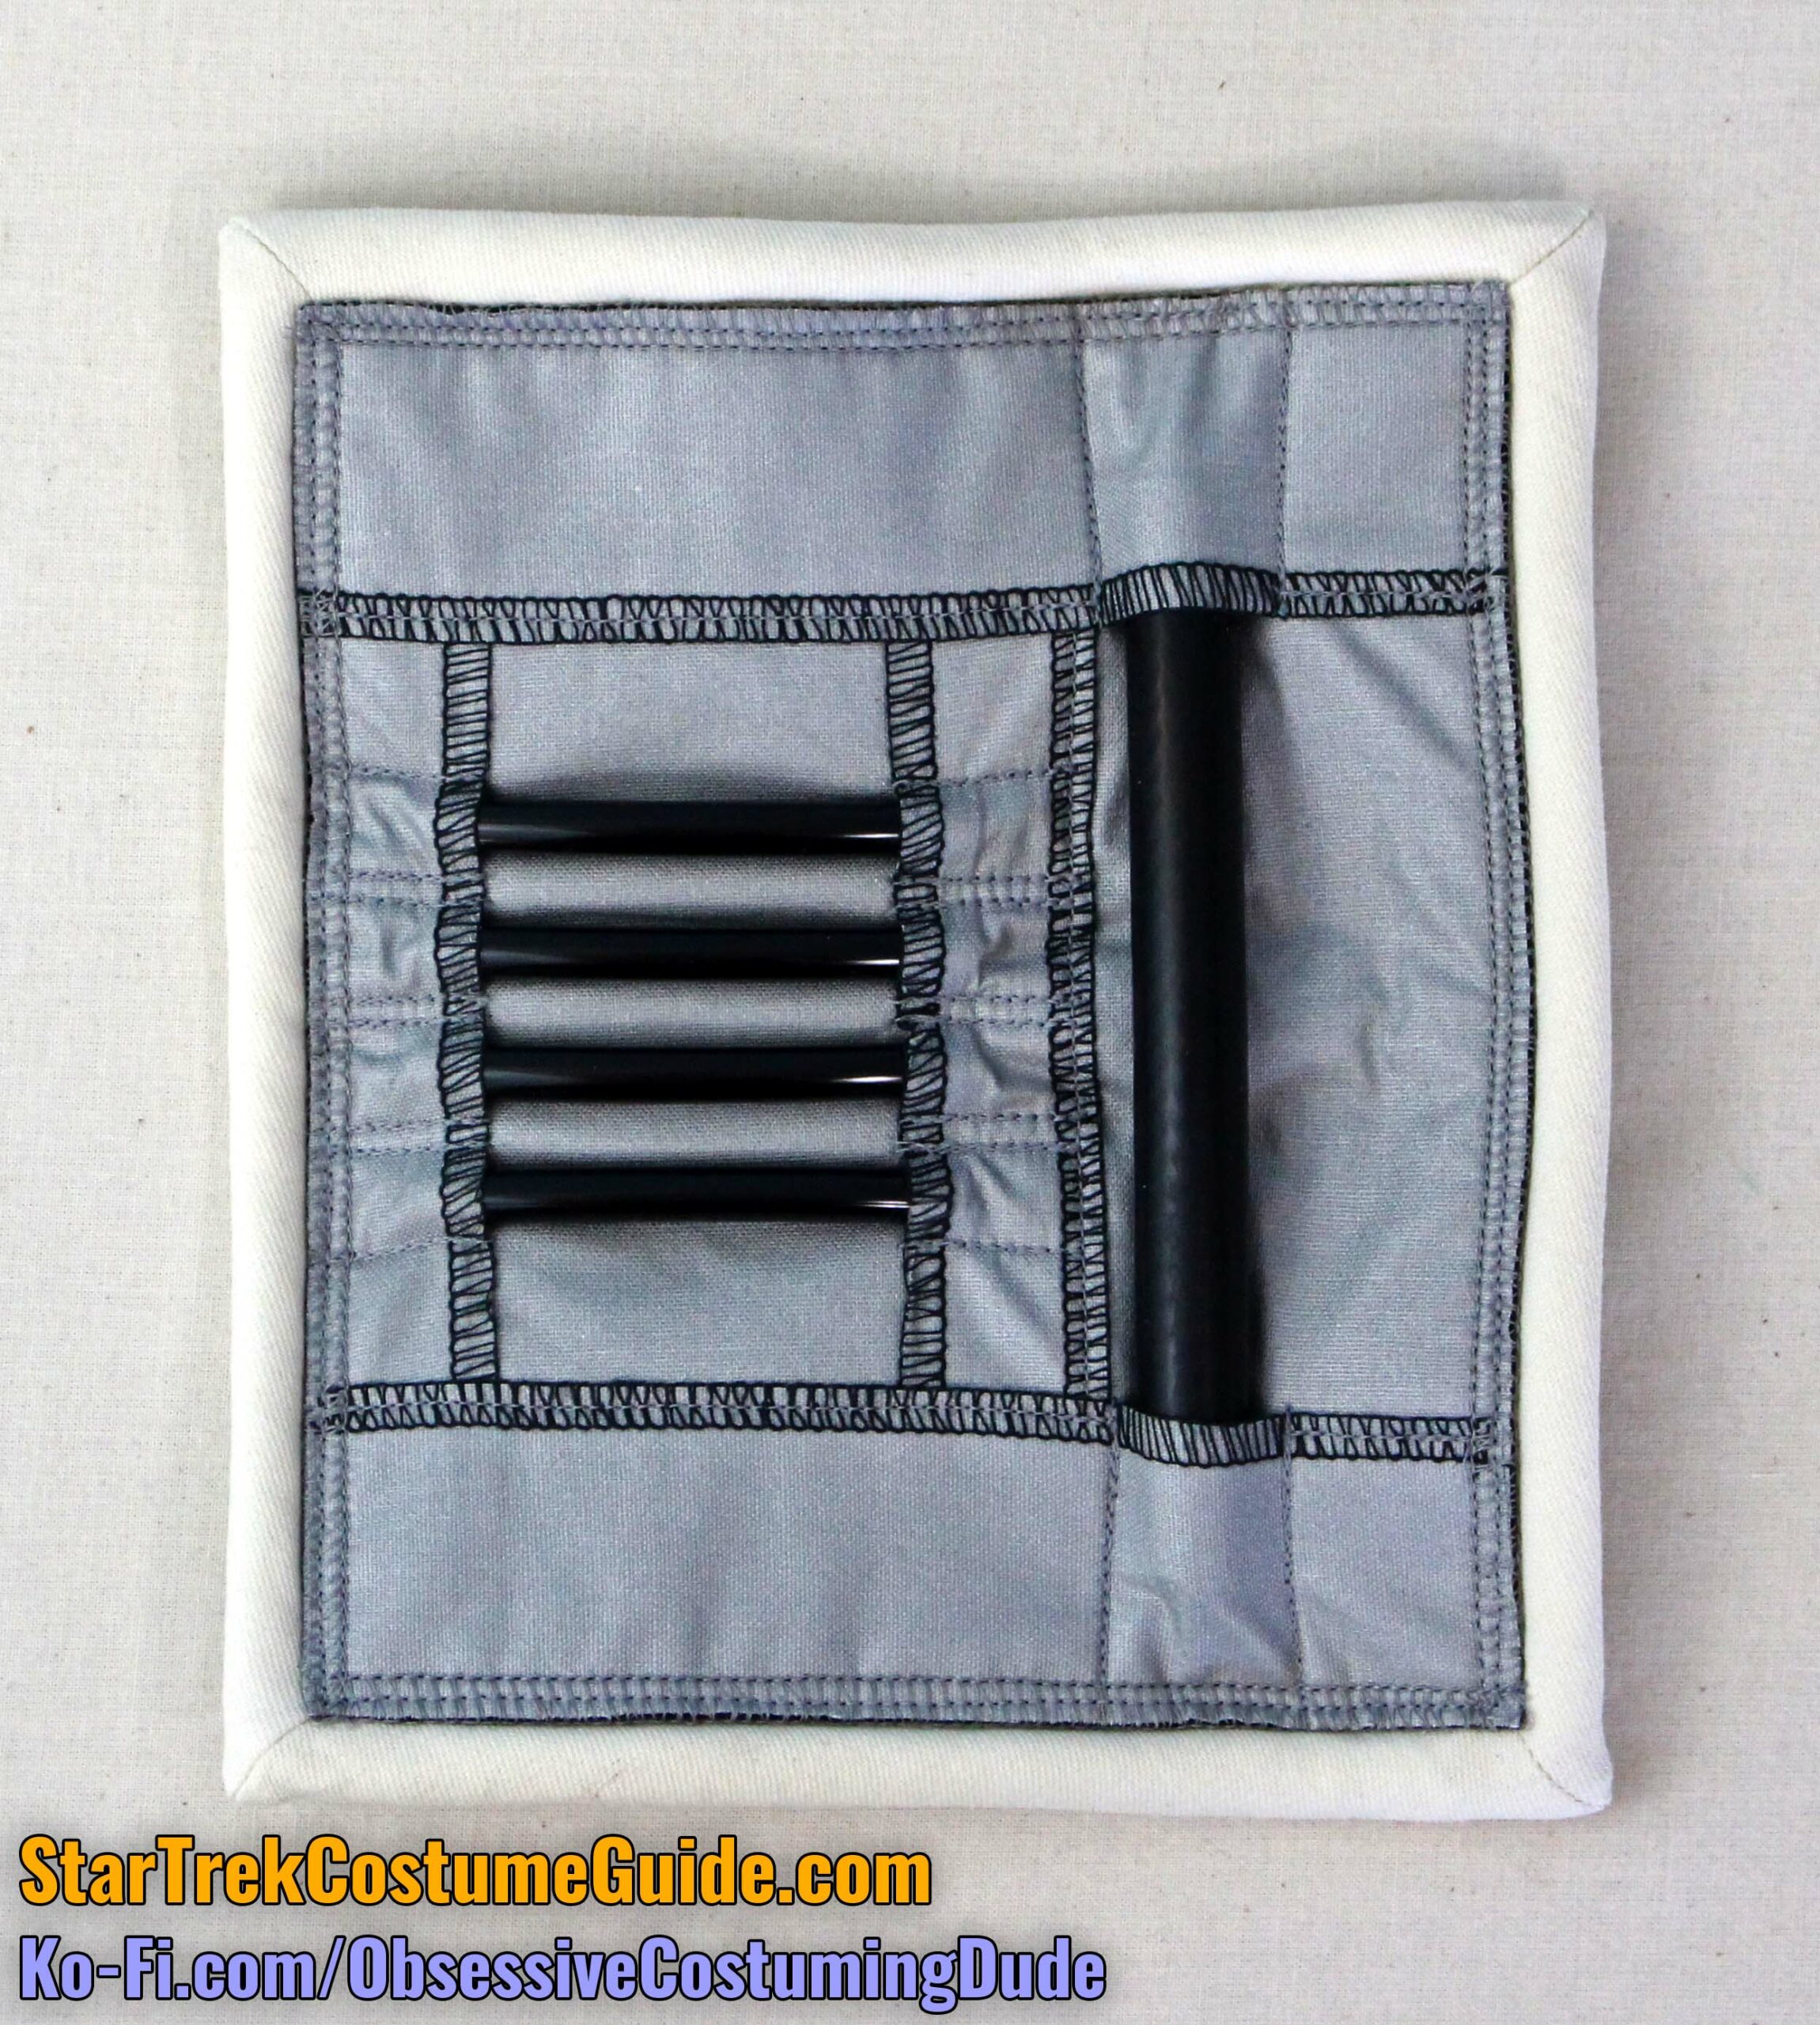
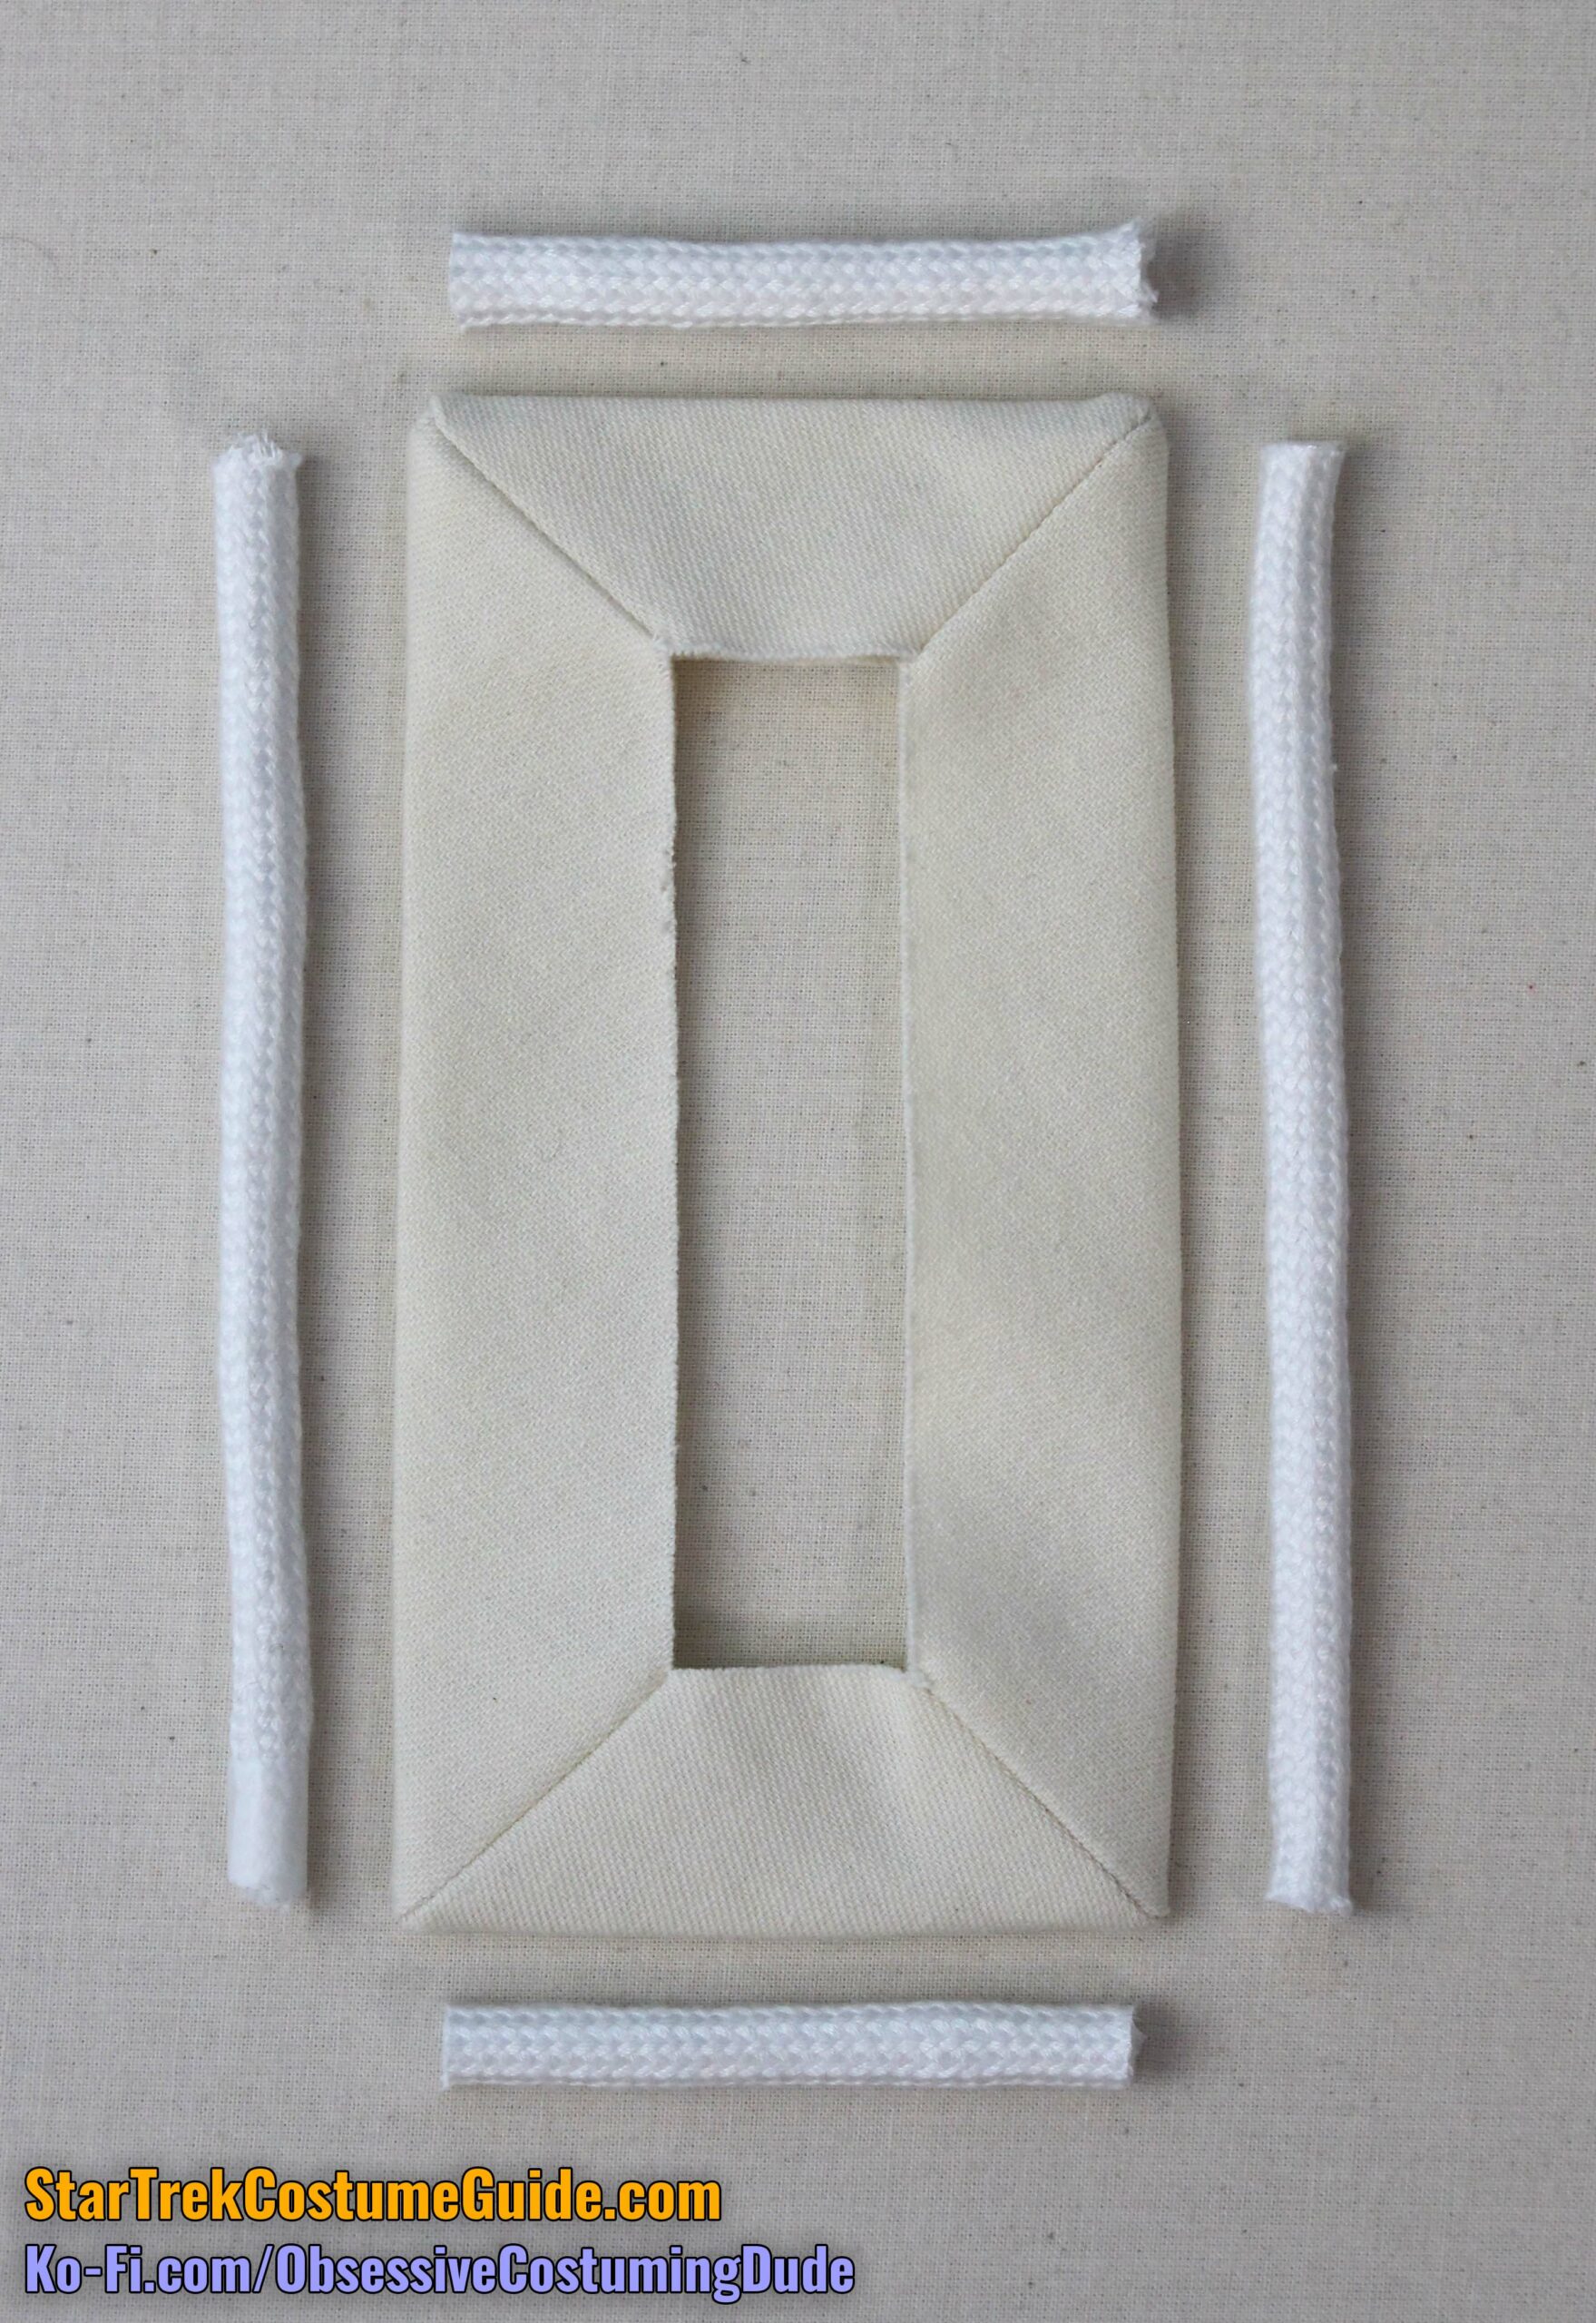
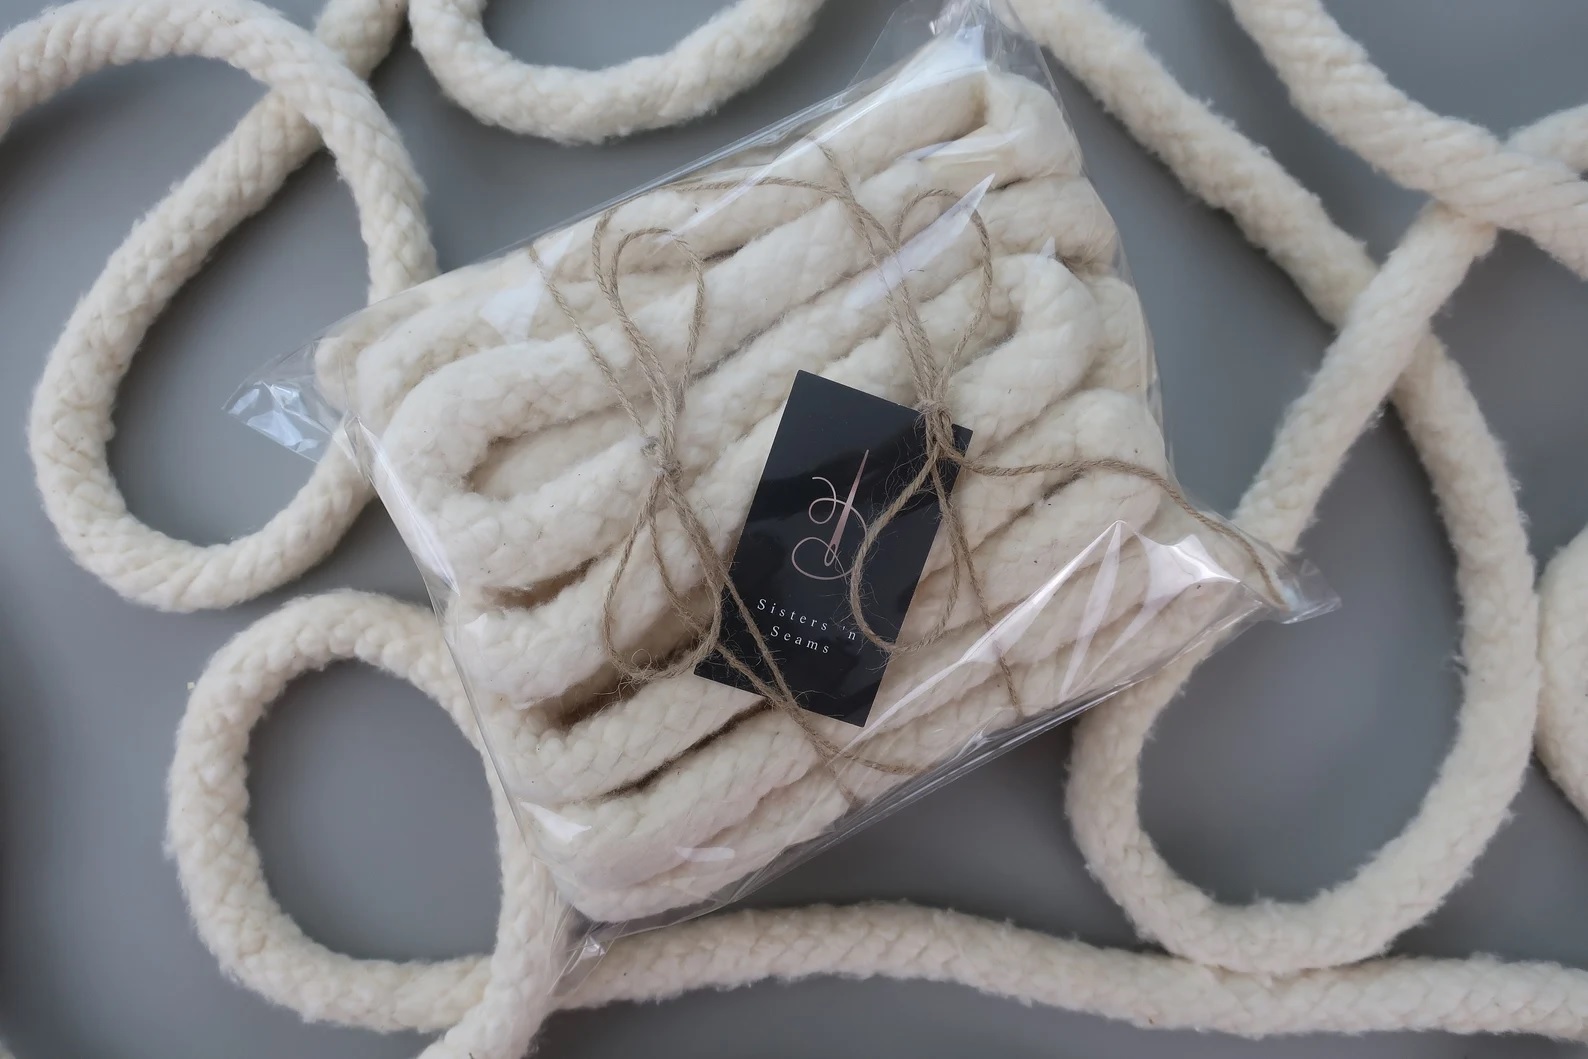
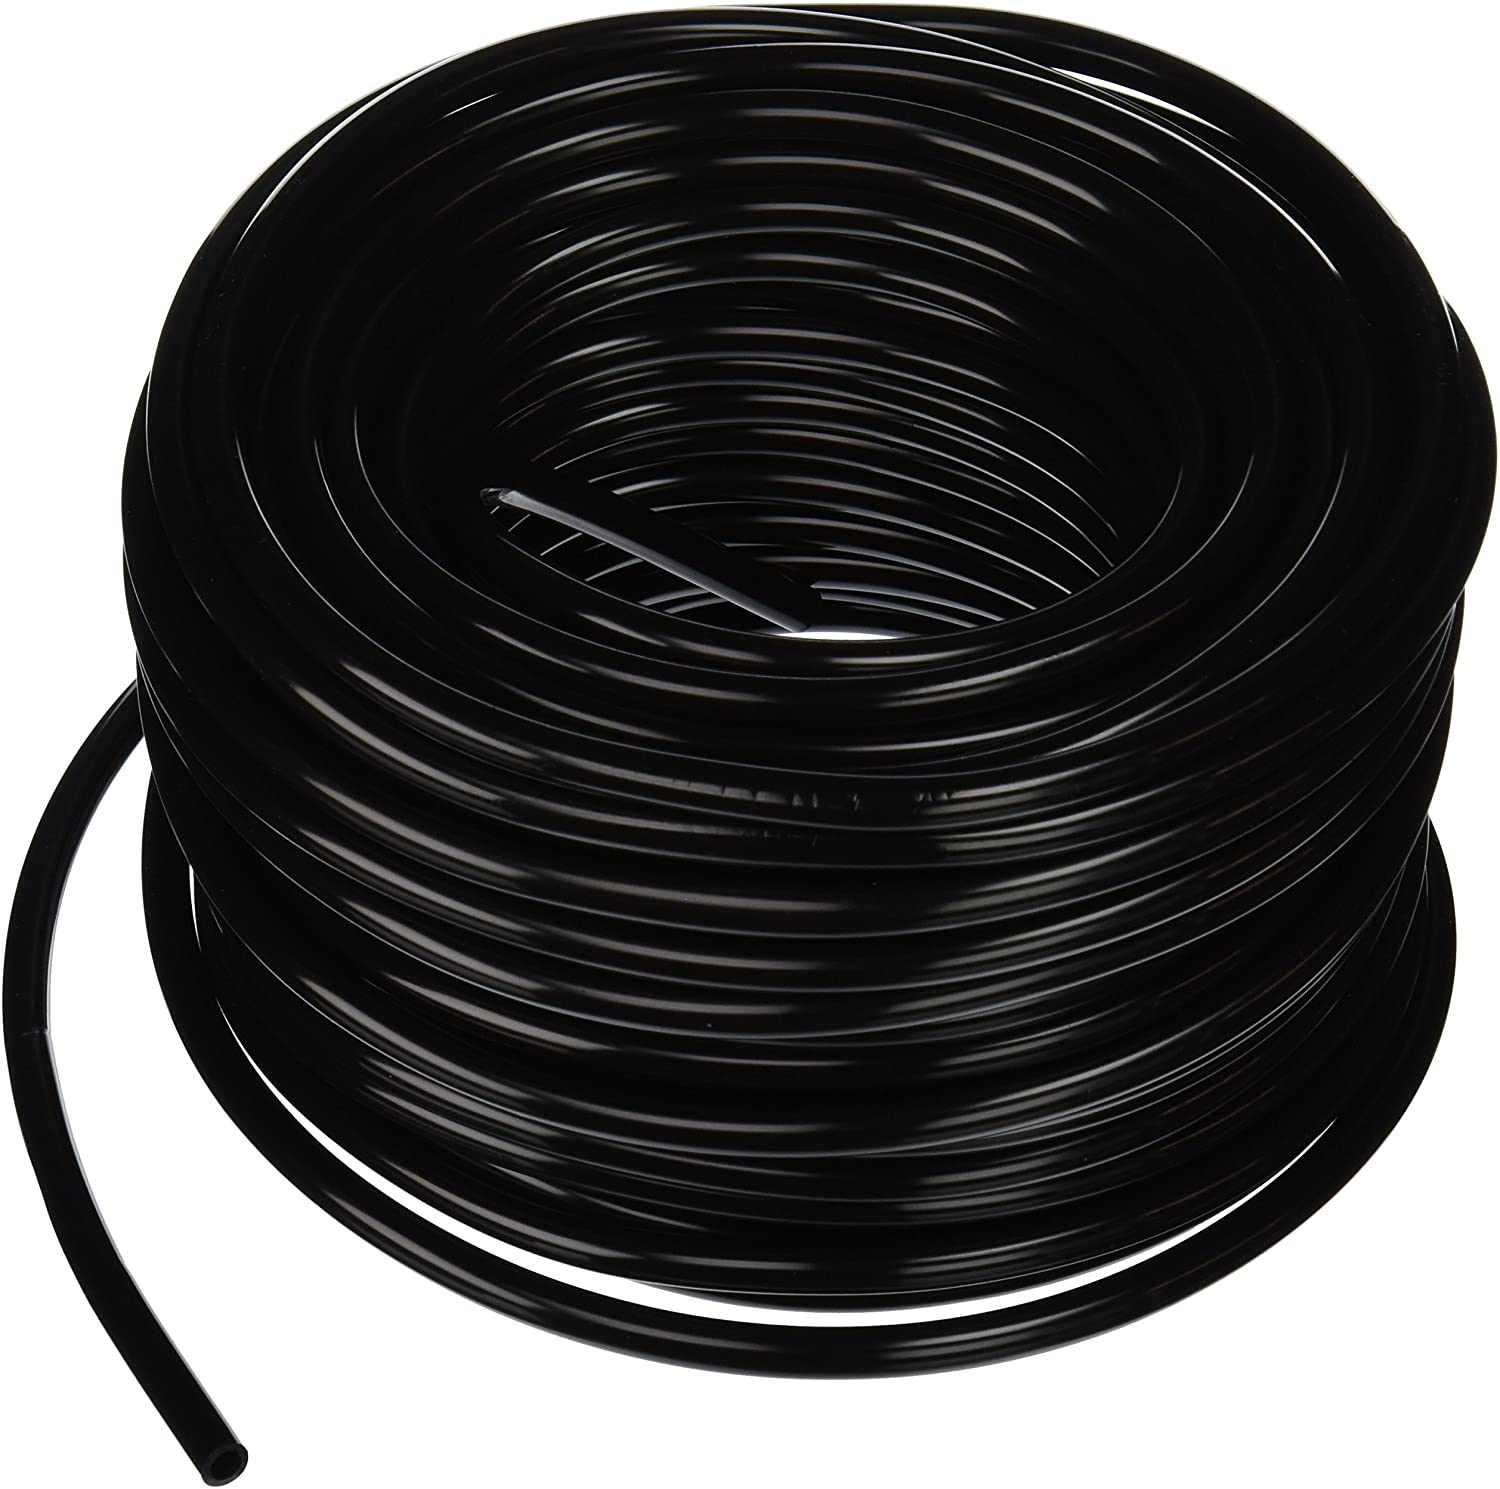
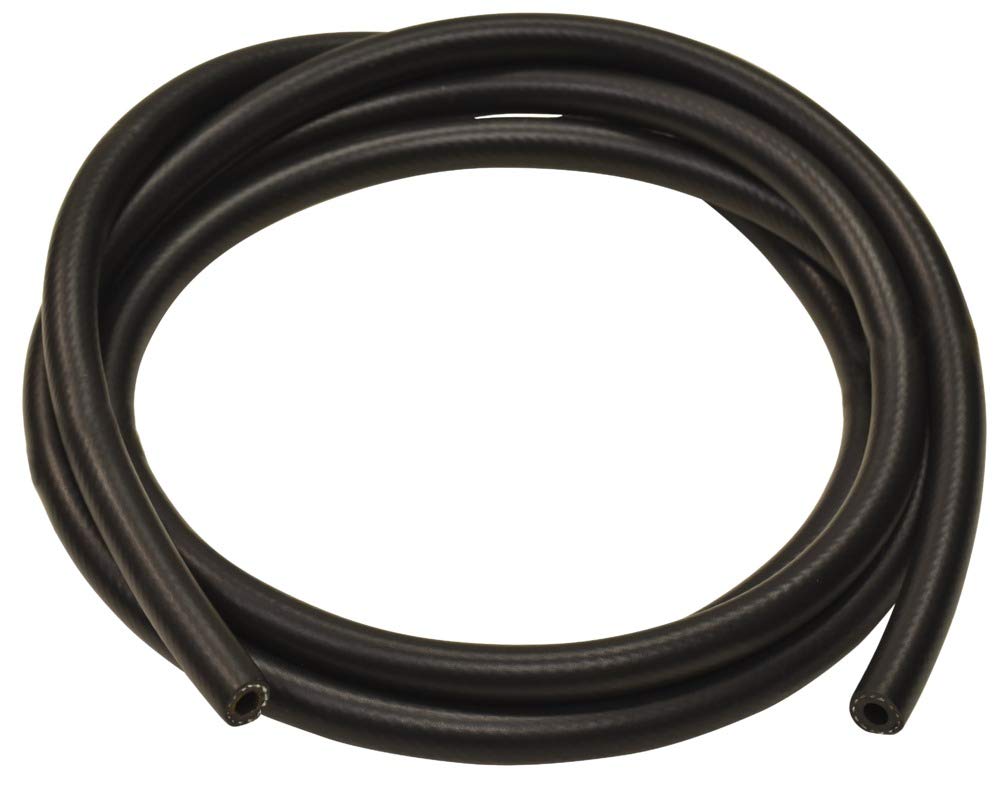
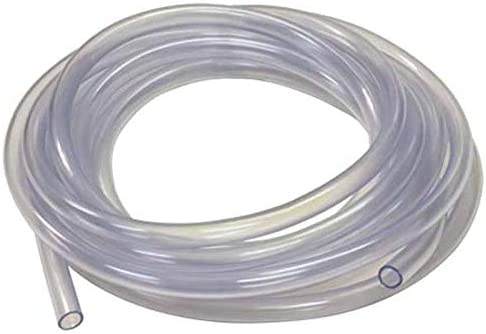
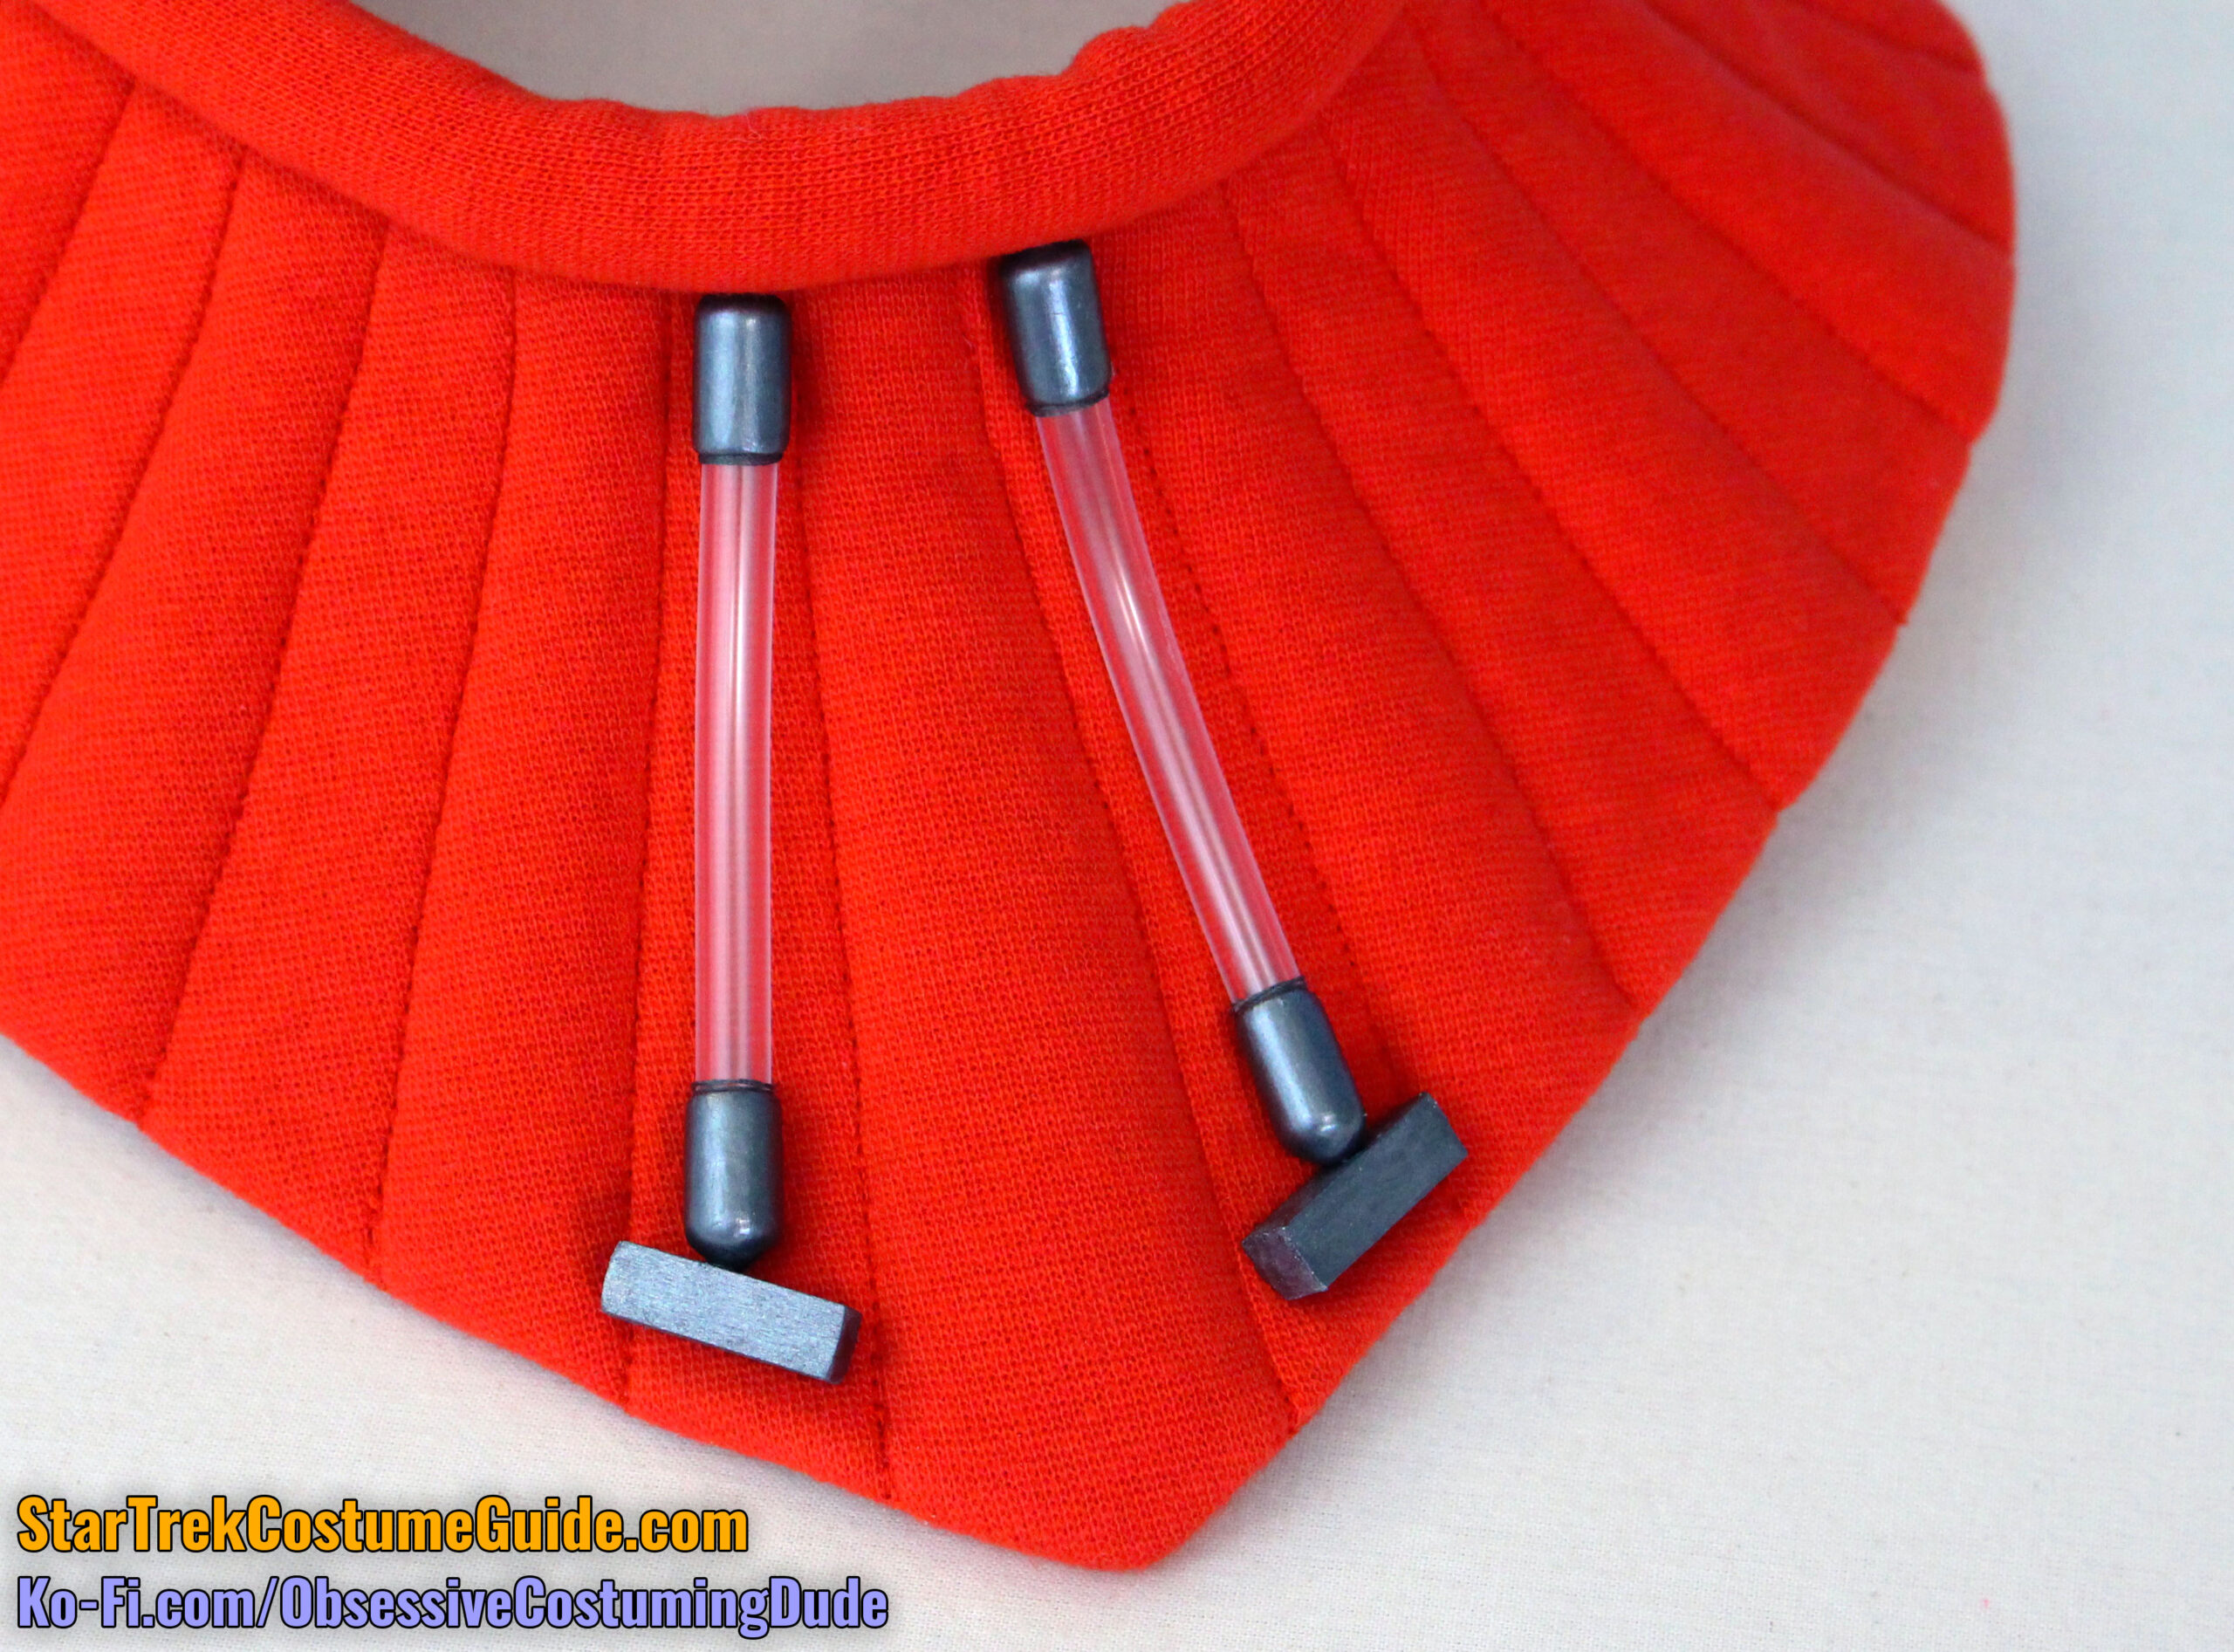
This is for the thin tubing on the TWOK-era trainee thigh, left sleeve, and glove panel assemblies.
½” red drainage tubing OR fuel line
This is for the thick tubing on the TWOK-era trainee thigh panel assemblies.
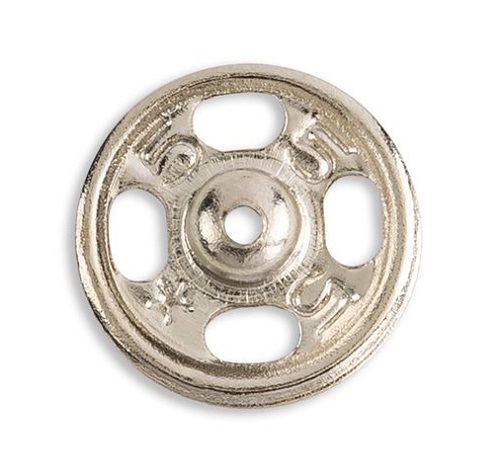
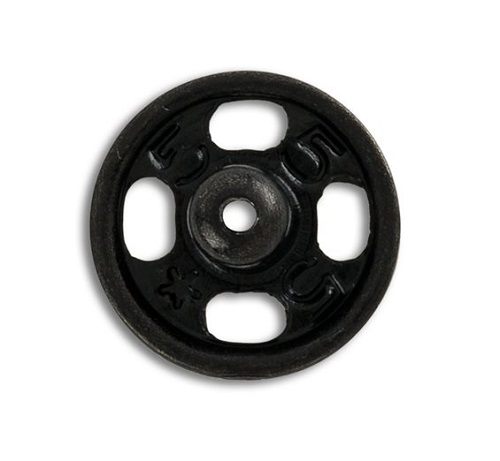
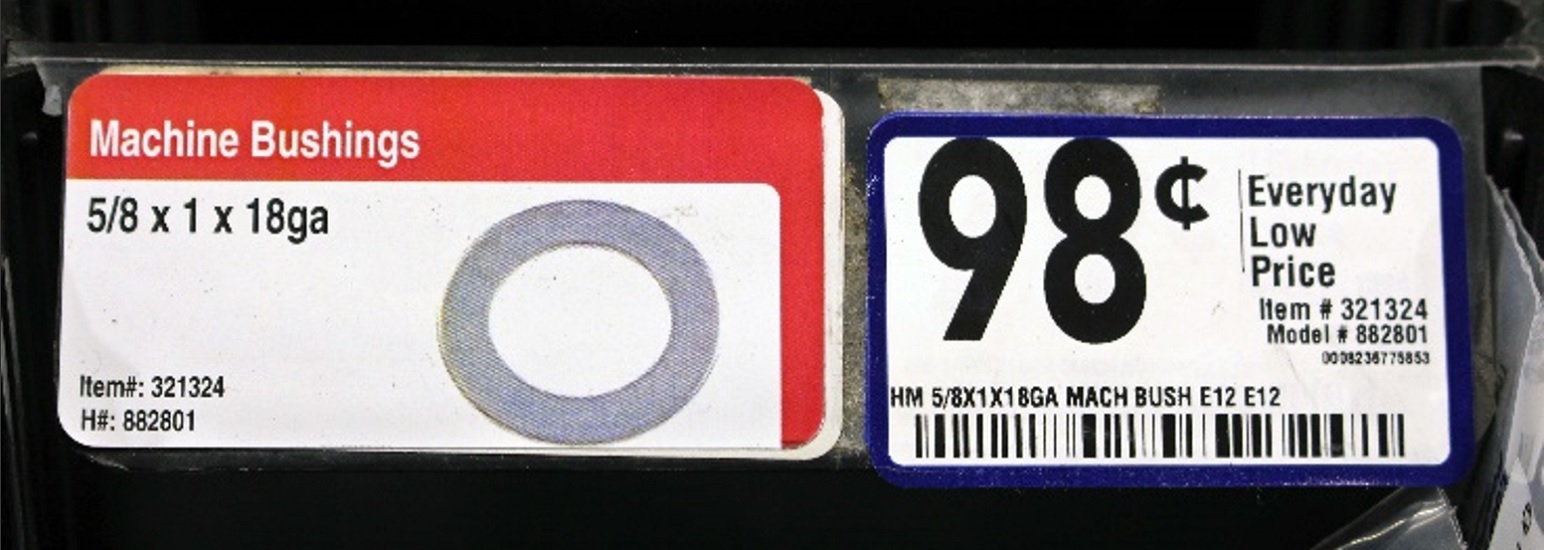
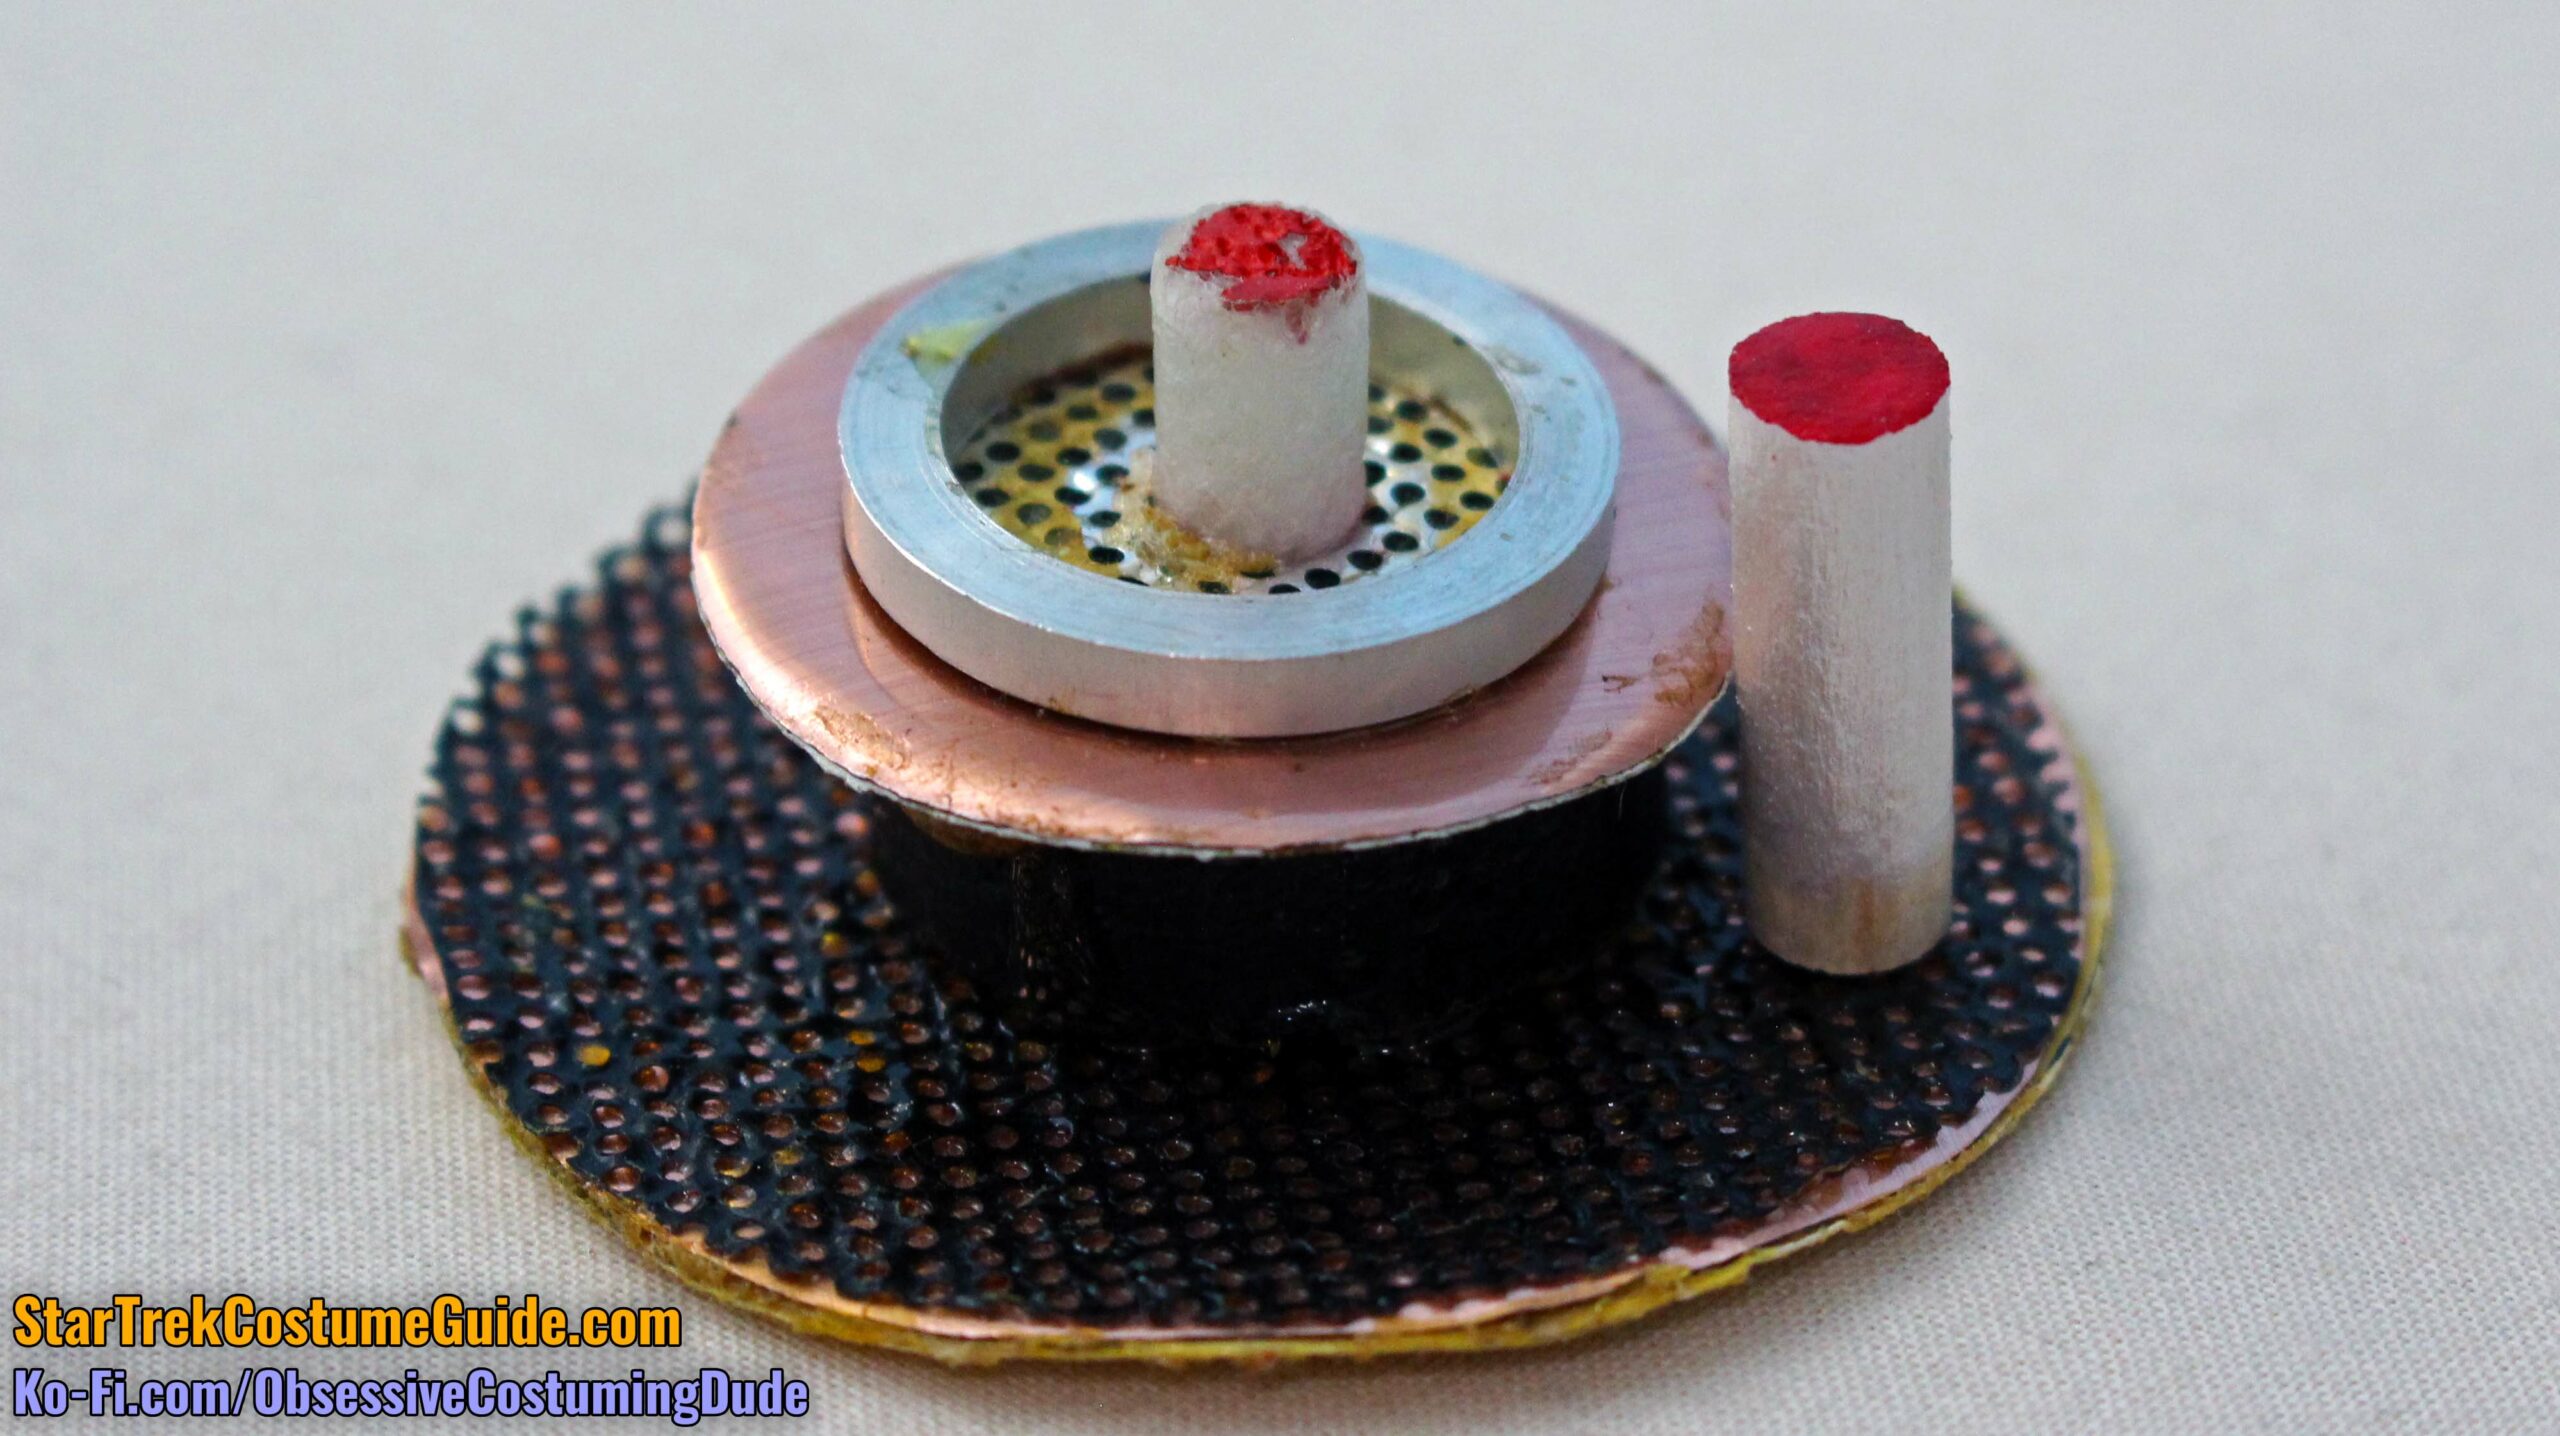
Metal washer
This is for the circular silver accent on the “bullseye” assembly and should be 1” in diameter, ⅛” thick, with a ¾” hole.
This is for the circular silver accent on the “bullseye” assembly and should be 1” in diameter, ⅛” thick, with a ¾” hole.
The closest thing I found to those dimensions at my local hardware store was a “machine bushing,” but it was too flat, so you might consider stacking several of them. For the demonstration assembly in this tutorial, I just made mine out of wood and painted it silver – but more on that later.
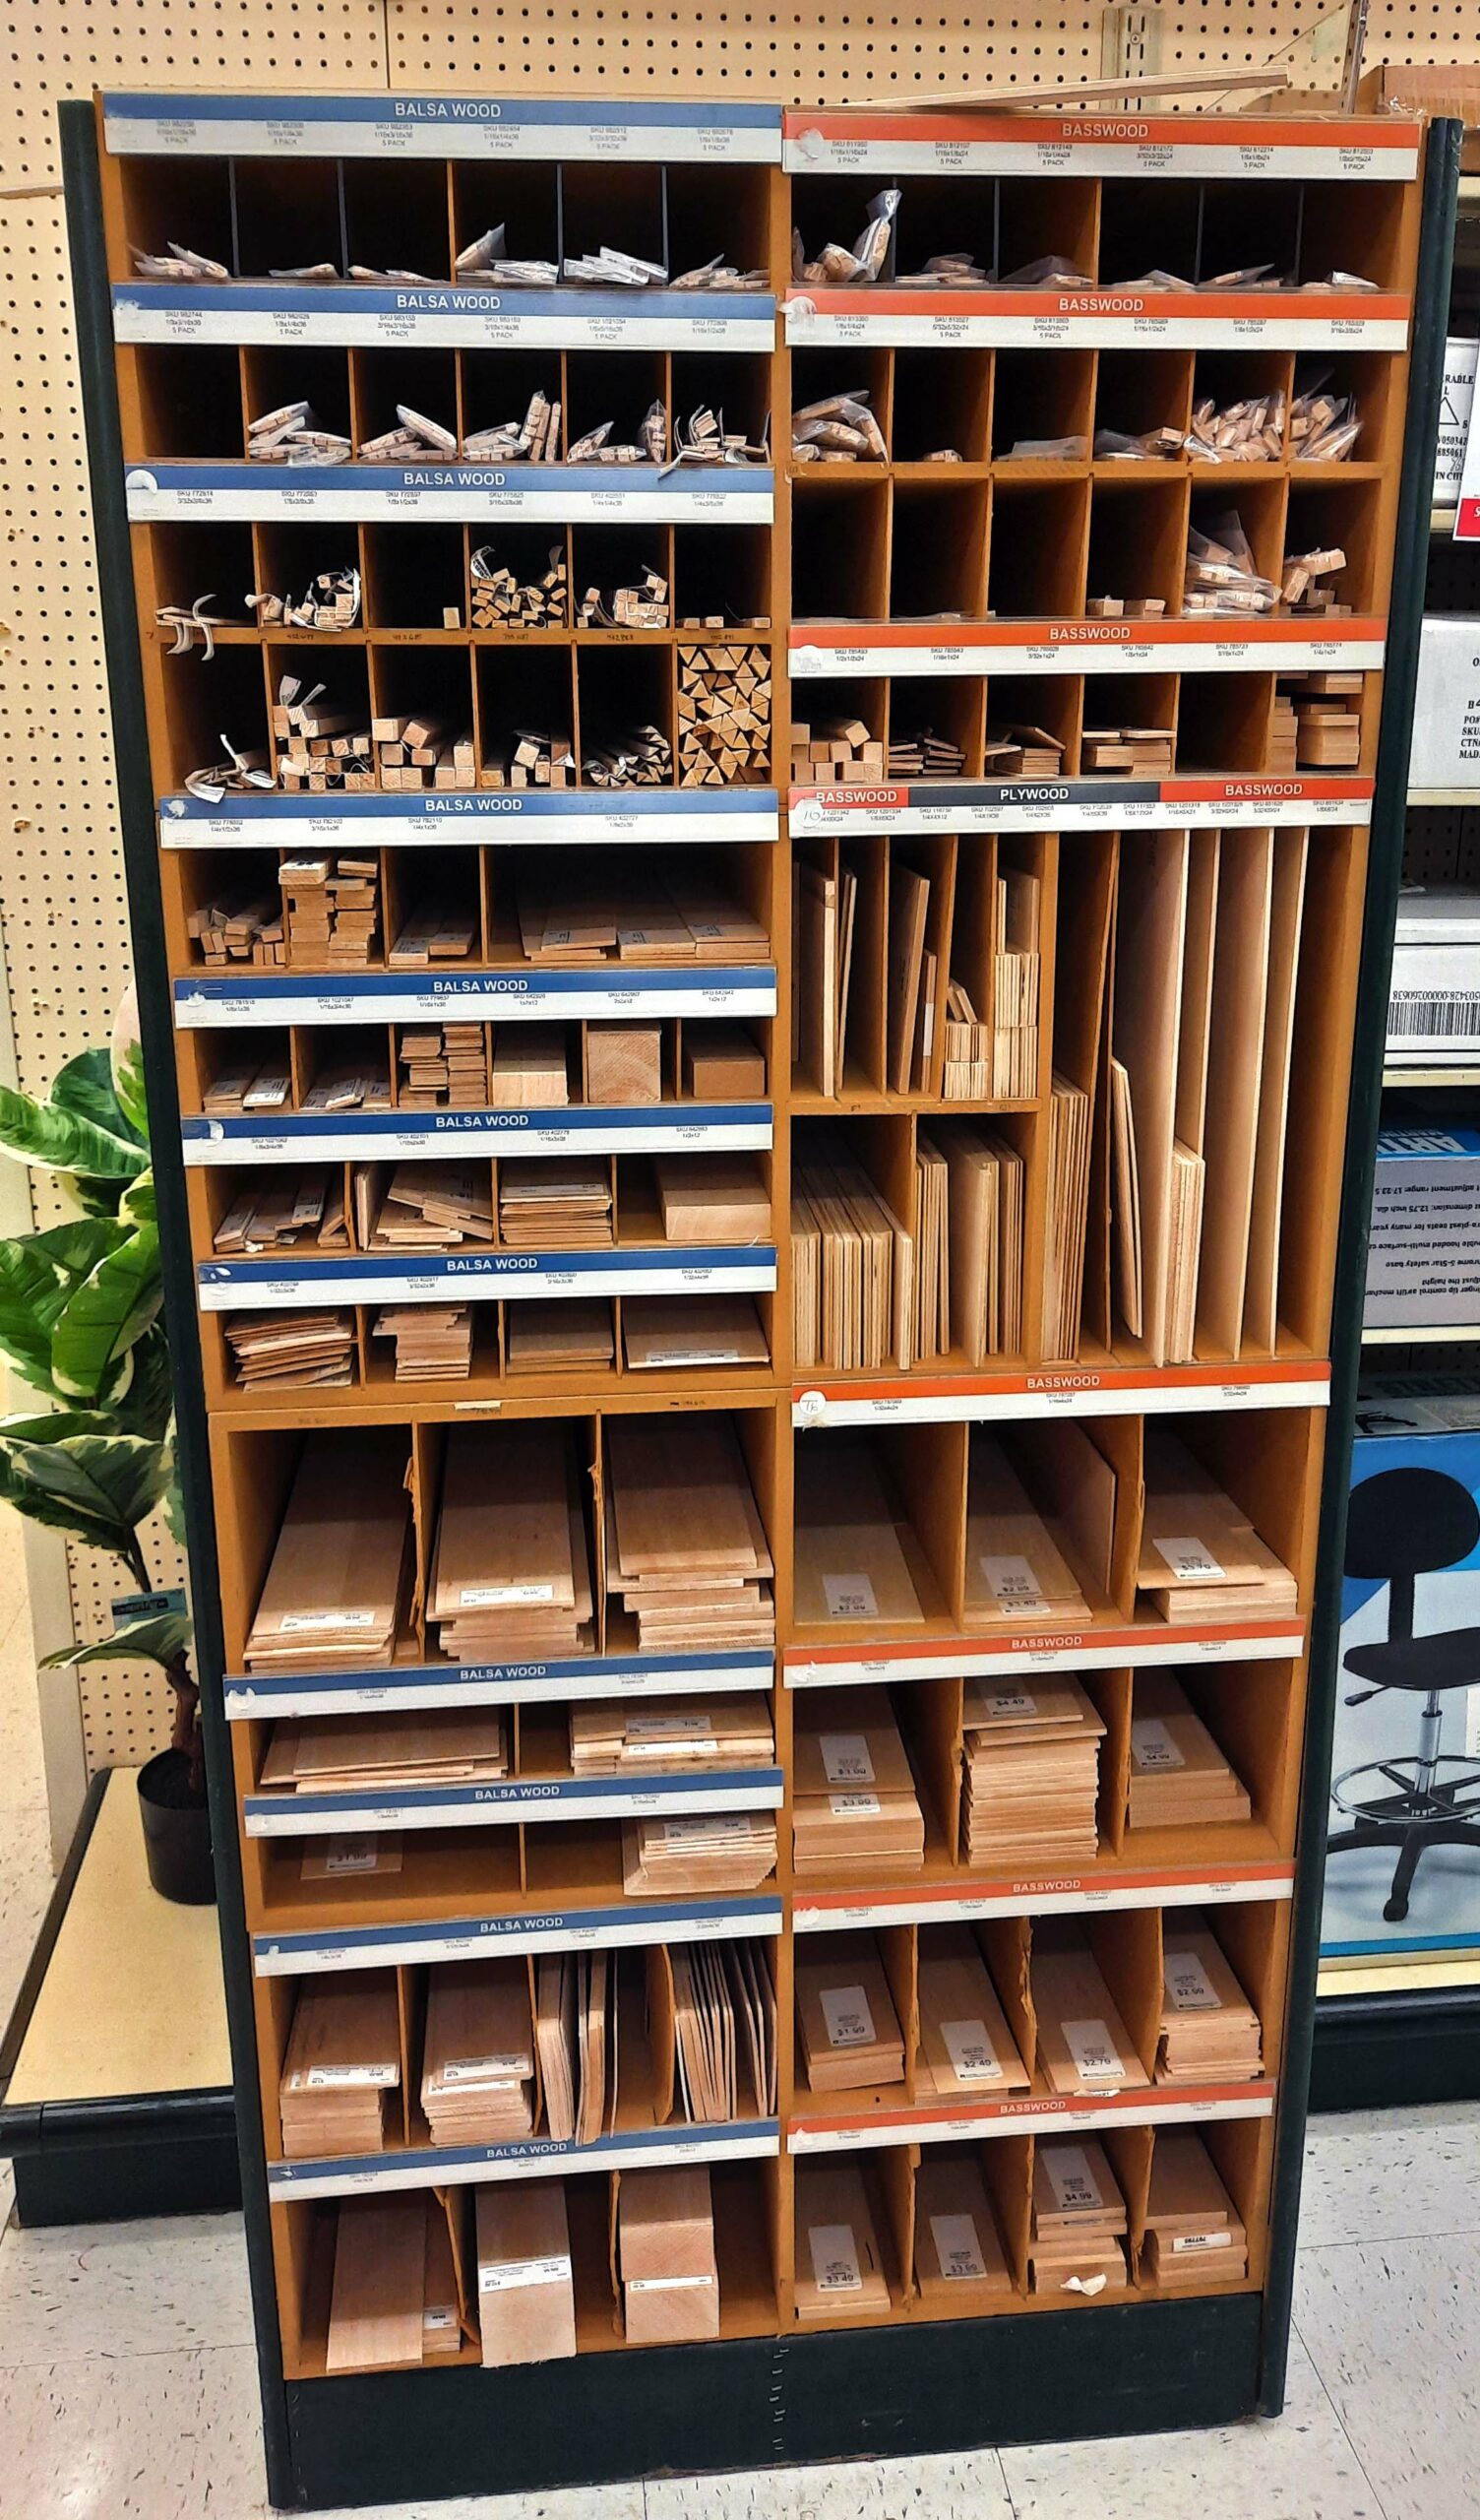
CRAFT WOOD and FOAM
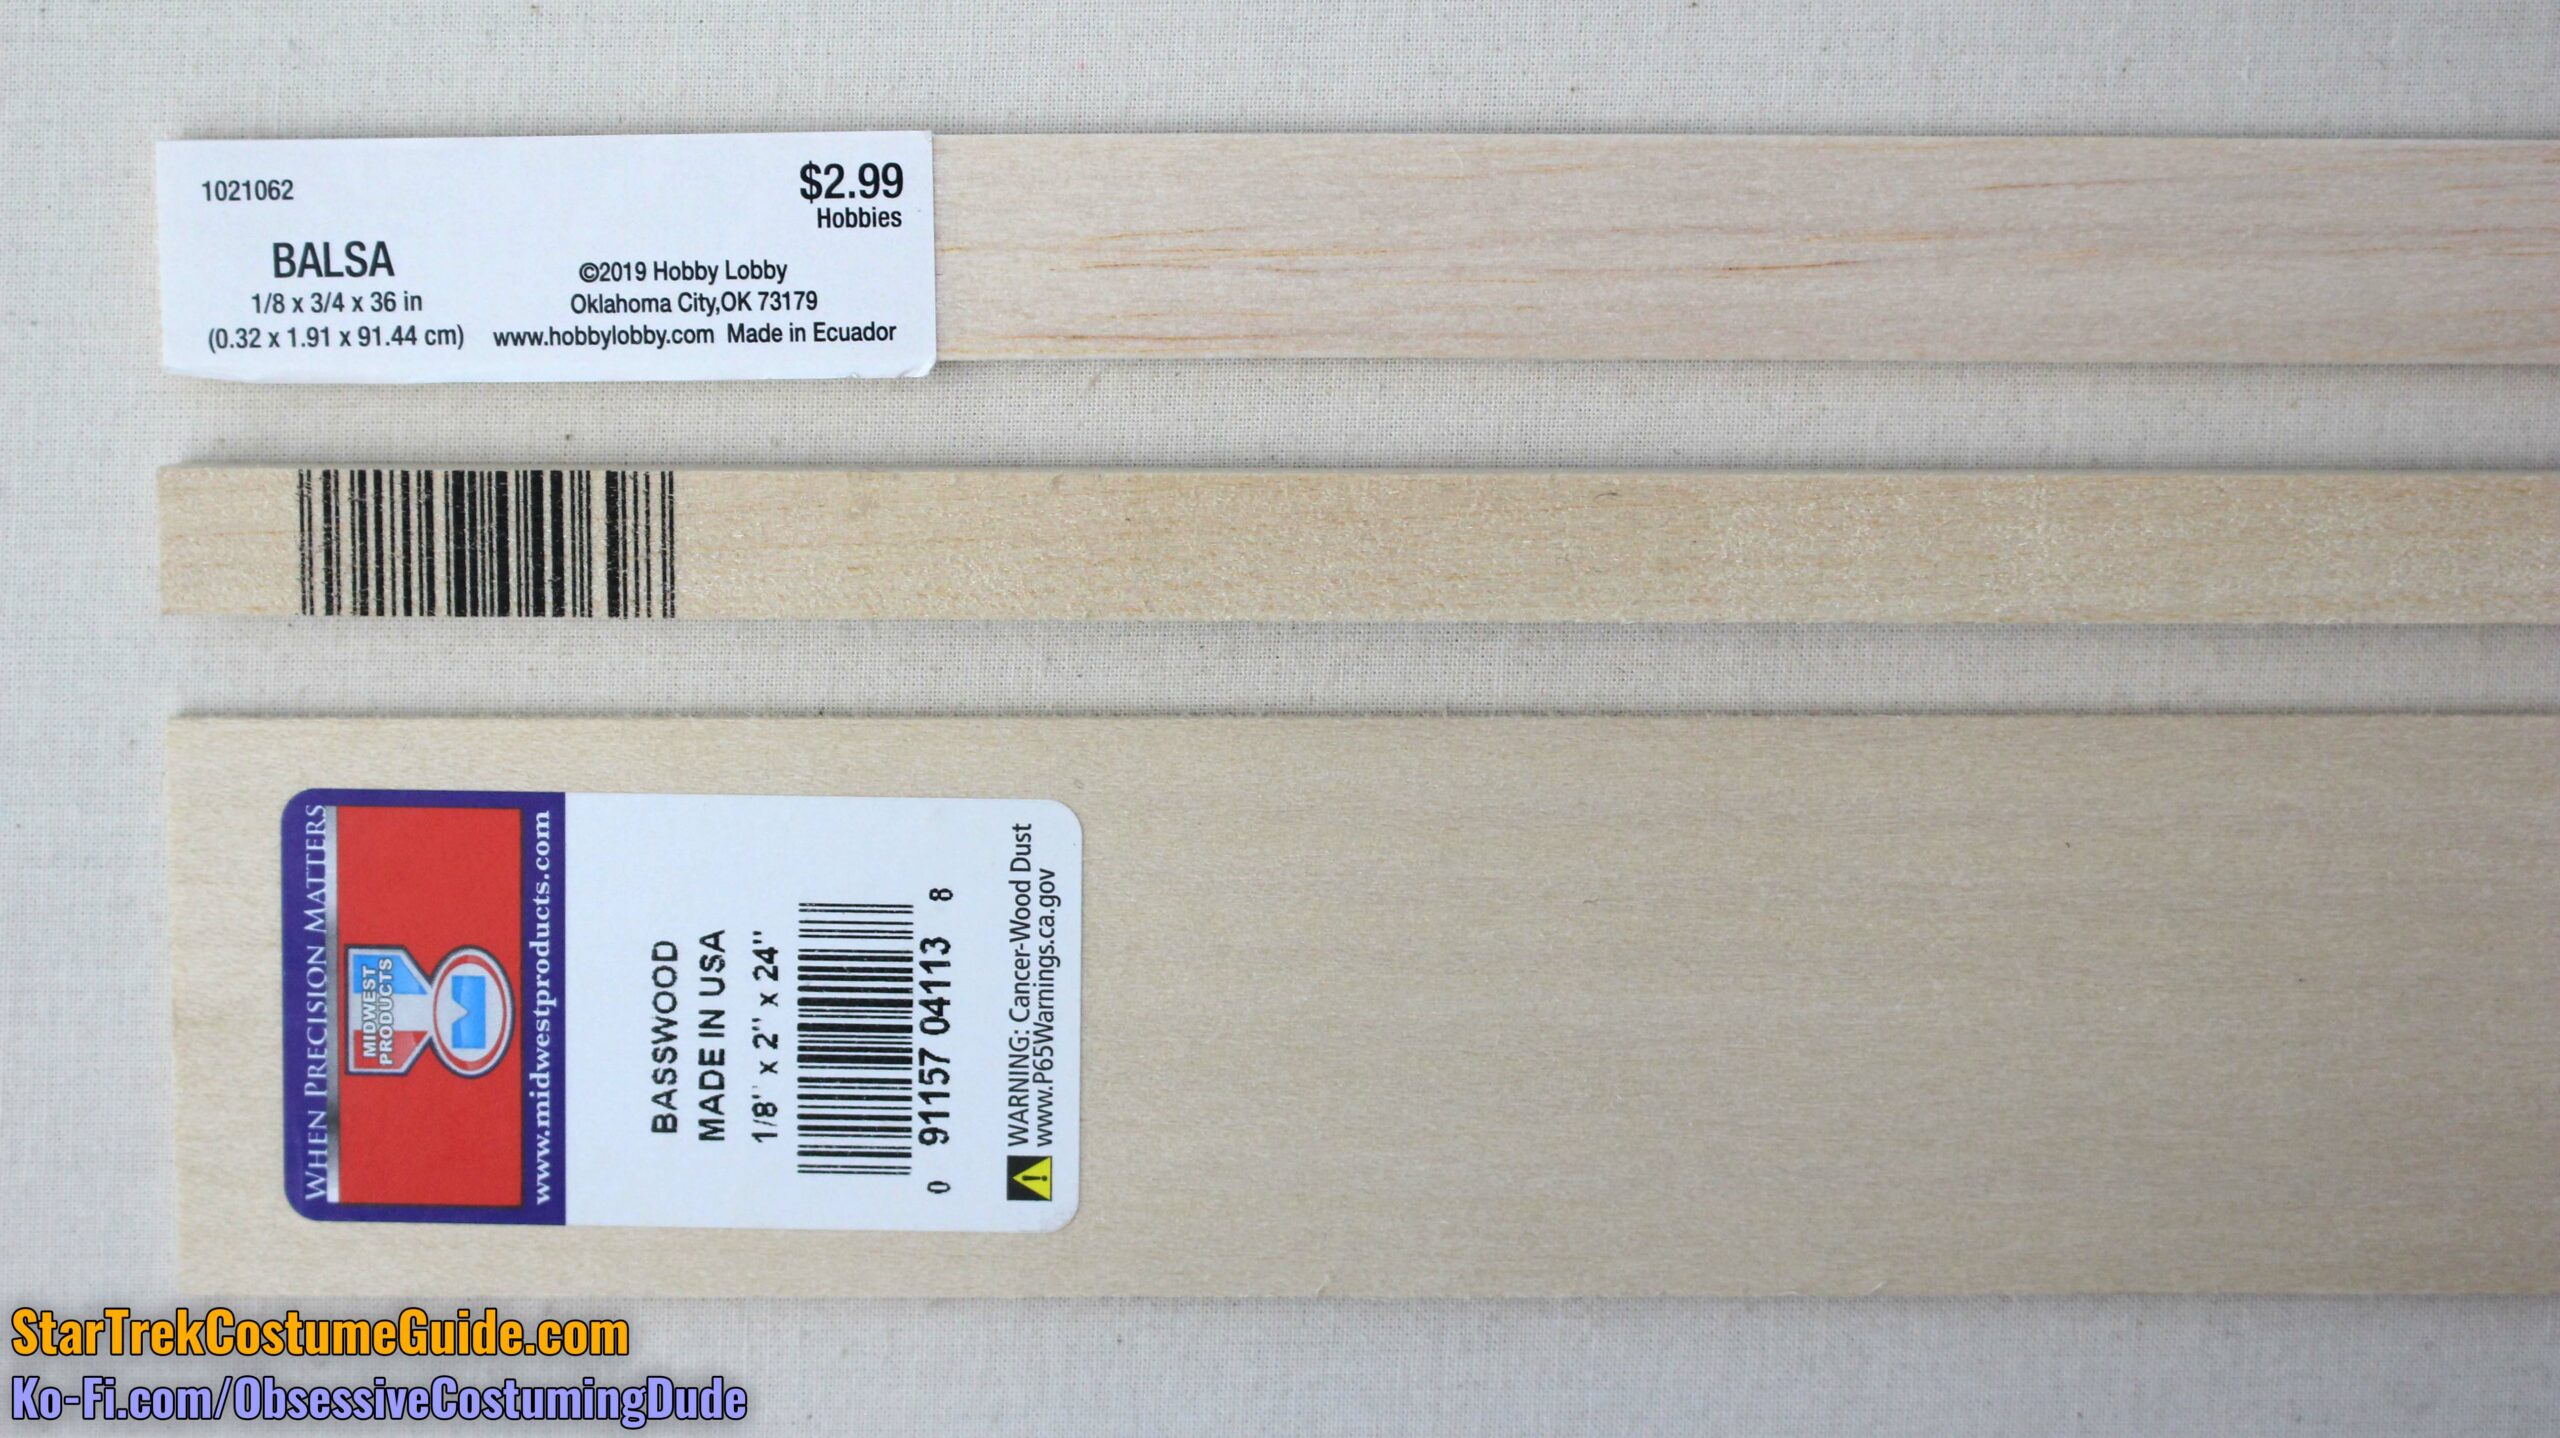
I’m not sure exactly what some of the screen-used components were made with, so I used craft wood.
Standard craft/EVA foam is cheaper and can work for some of the elements, too.
As you might recall from my screen-used engineering radiation suit examination, I believe the left hip accent to have been a reflector box (like one might see on a tractor trailer), but if so, I was unable to find the specific model. In lieu of one of the originals, I made a replica out of wood as well.
For the aforementioned replica hip reflector box, I used a piece of wood 2” wide and ⅛” thick for the base.
I used a piece of wood ¾” wide and ⅛” thick for the “walls.”
I used a piece of wood ⅝” wide and ¼” thick for the interior “strips.”
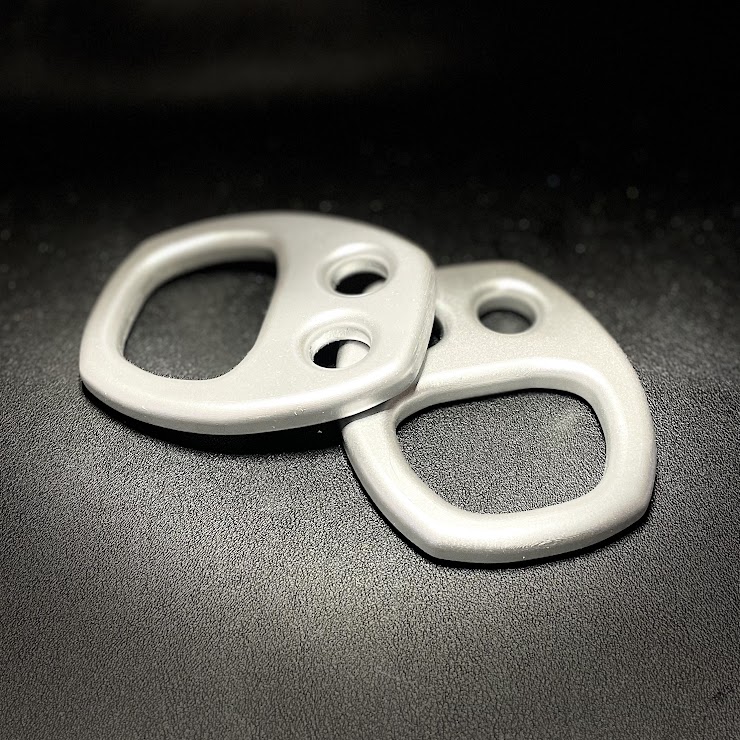
As you might also recall from my screen-used engineering radiation suit examination, the original Edelrid climbing buckles used for the TWOK-era jumpsuits seem to no longer be available, but you have several options for replicating them.
Sell Geek recently began offering replica metal buckles.
As of the writing of this tutorial, I haven’t used either of these or seen them in-person, but they look fantastic.
However, they are somewhat expensive (depending on your project budget)), so if they aren’t viable options for you at the moment, you might consider making your own replicas out of wood or craft foam. (It’s easy to replace the buckles later, if you ever decide you want to upgrade to the 3D printed ones when you have the means to do so.)
When shaped, sanded, and painted well, wood looks much better than craft foam, but obviously you need the appropriate tools (I primarily used a rotary saw and sanding bit) to work with it.
I used a beam of craft wood 3” wide and ⅜” thick.
Foam sheets are cheaper, plus both faster and easier to work with … but in my opinion the final result doesn’t look nearly as good.
Should you decide to use foam, I suggest using some at least 6mm thick.
For both TMP-era buckle styles, though, the 6mm craft foam works great.
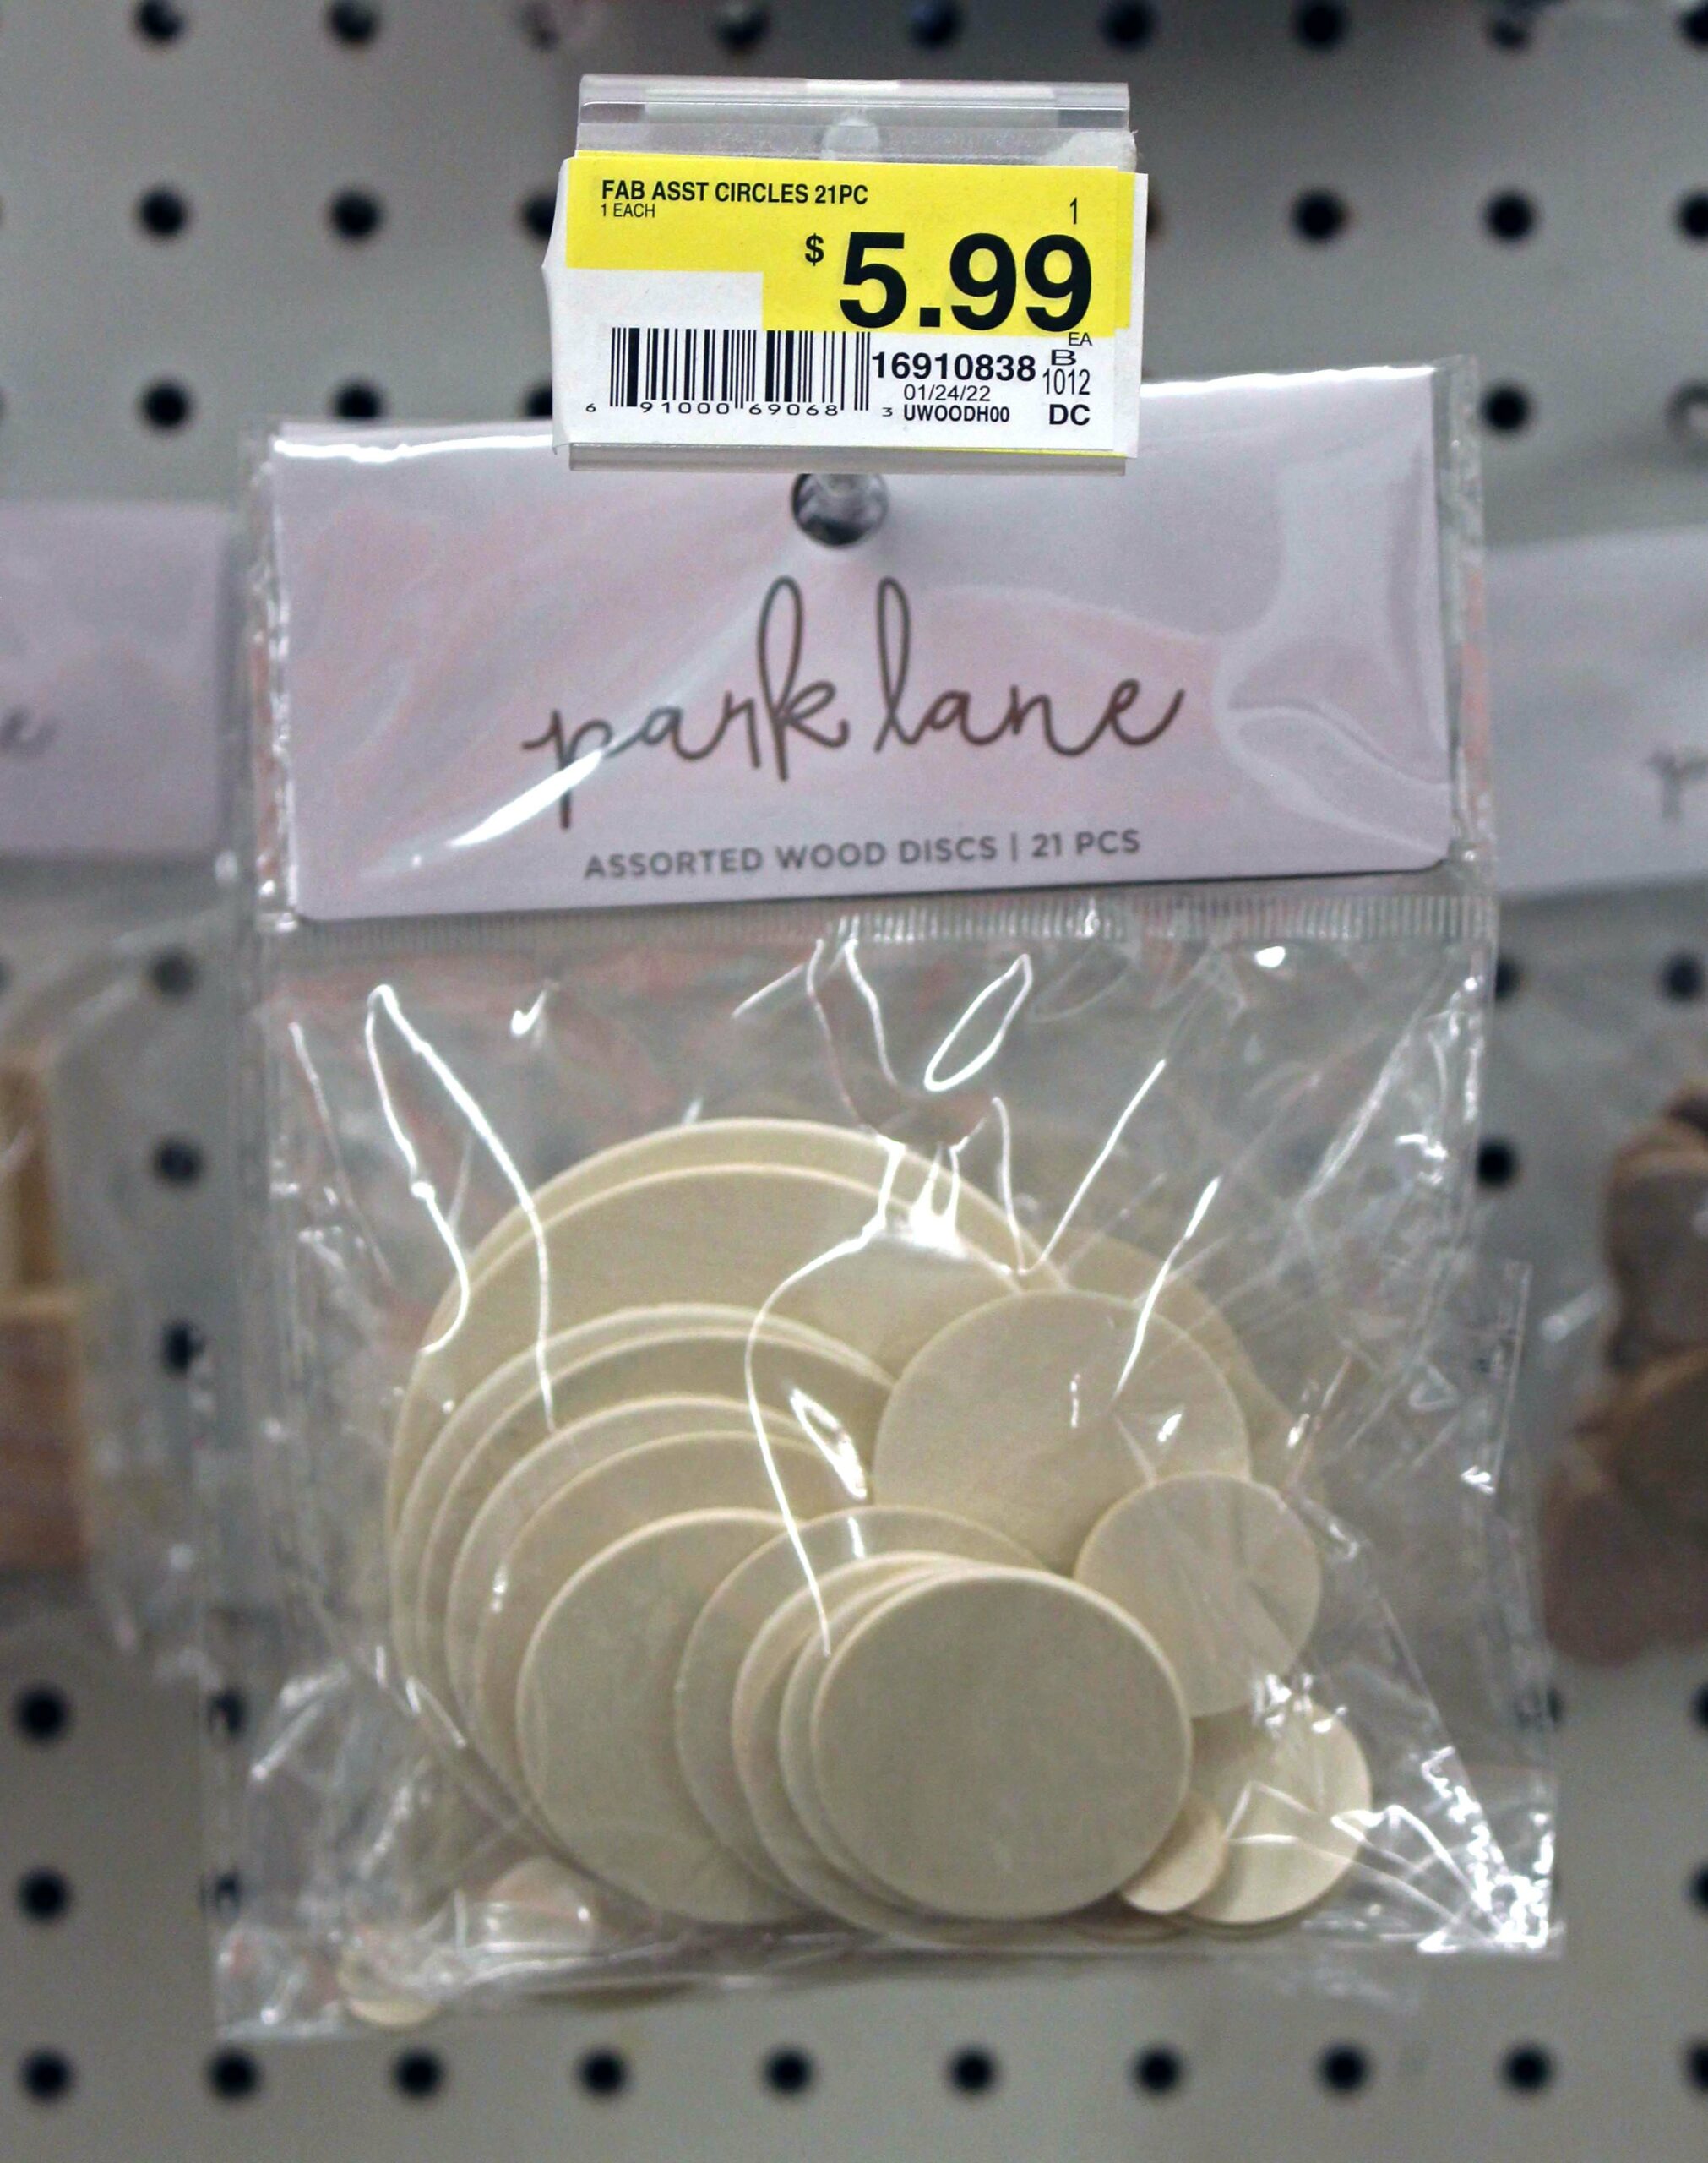
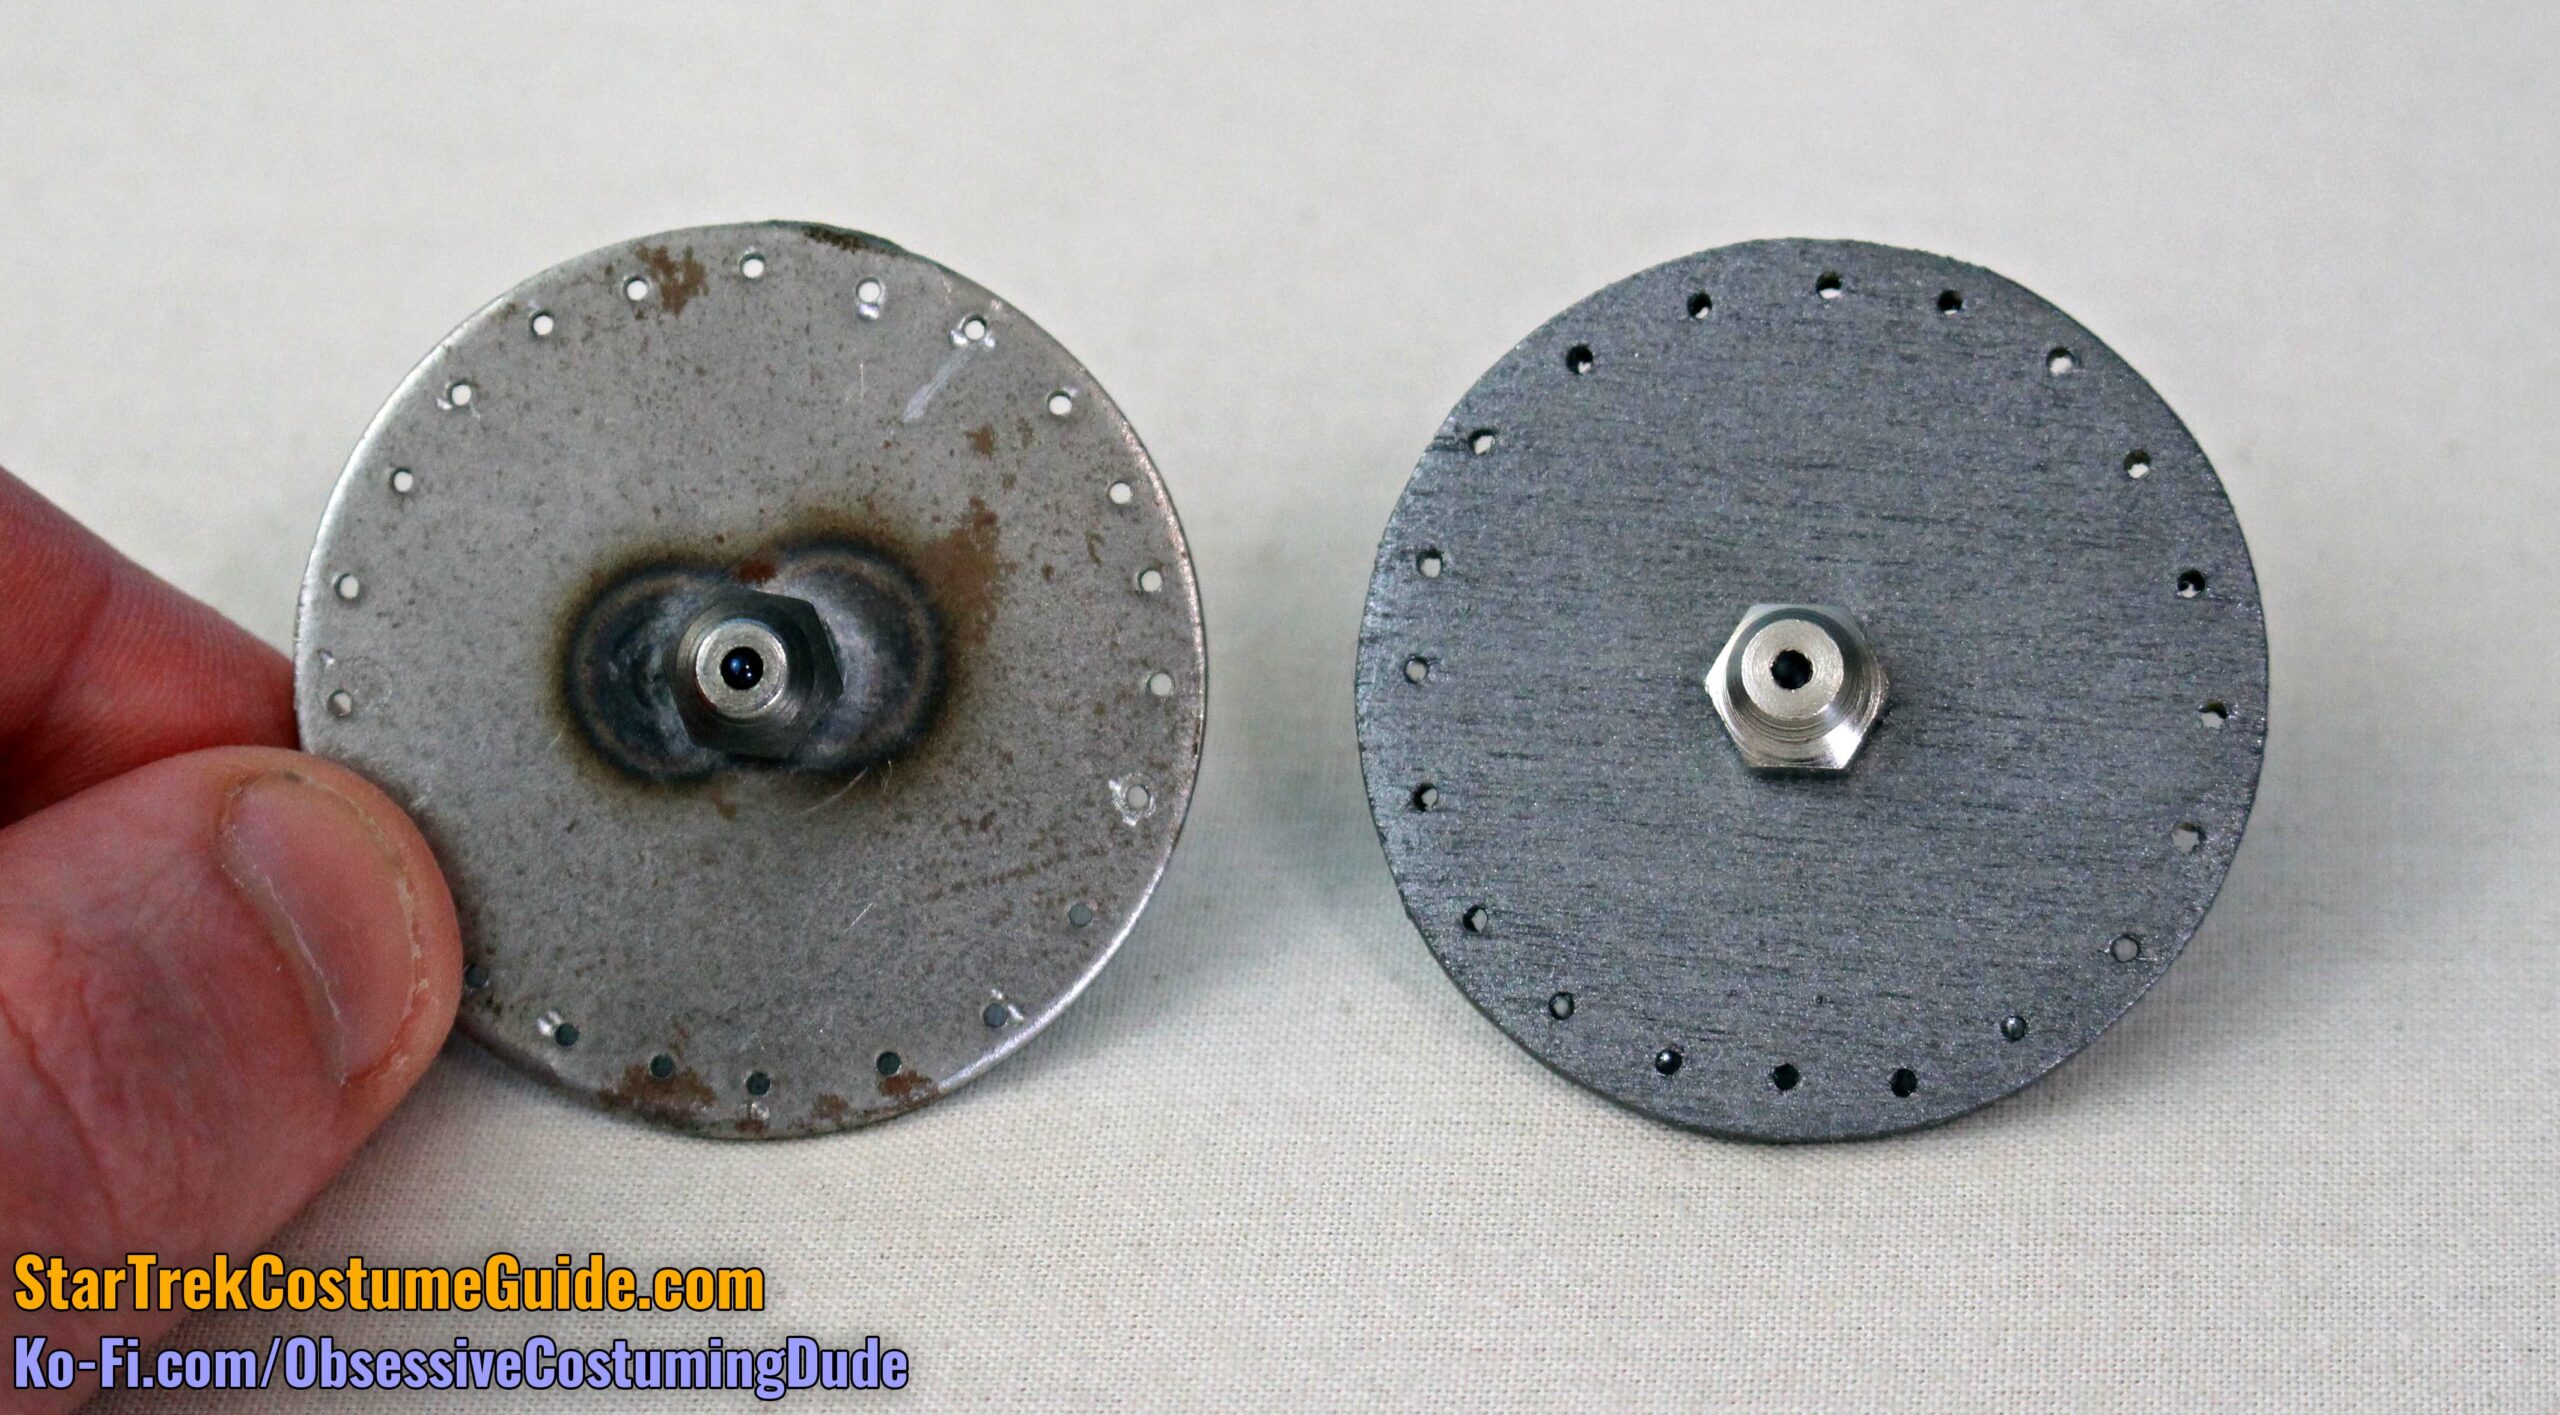
For the circular left chest accent and “bullseye” layers, you’ll need some thin wood, metal, or foam circles.
I recommend using wood, but any of them will work – especially for the “bullseye” layers.
The left chest accent is 1 ¾” in diameter.
The “bullseye” base layer is 2 ¼” in diameter, and the second layer is 1 ⅜” in diameter.
My local JoAnn carries this packaged selection of assorted craft wood circles, including a few which were exactly 1 ¾” in diameter (see right).
Unfortunately, it doesn’t include the two other sizes (2 ¼” and 1 ⅜”), but it does include a couple which are slightly larger (2 ½” and 1 ½”) and can be sanded down to size.
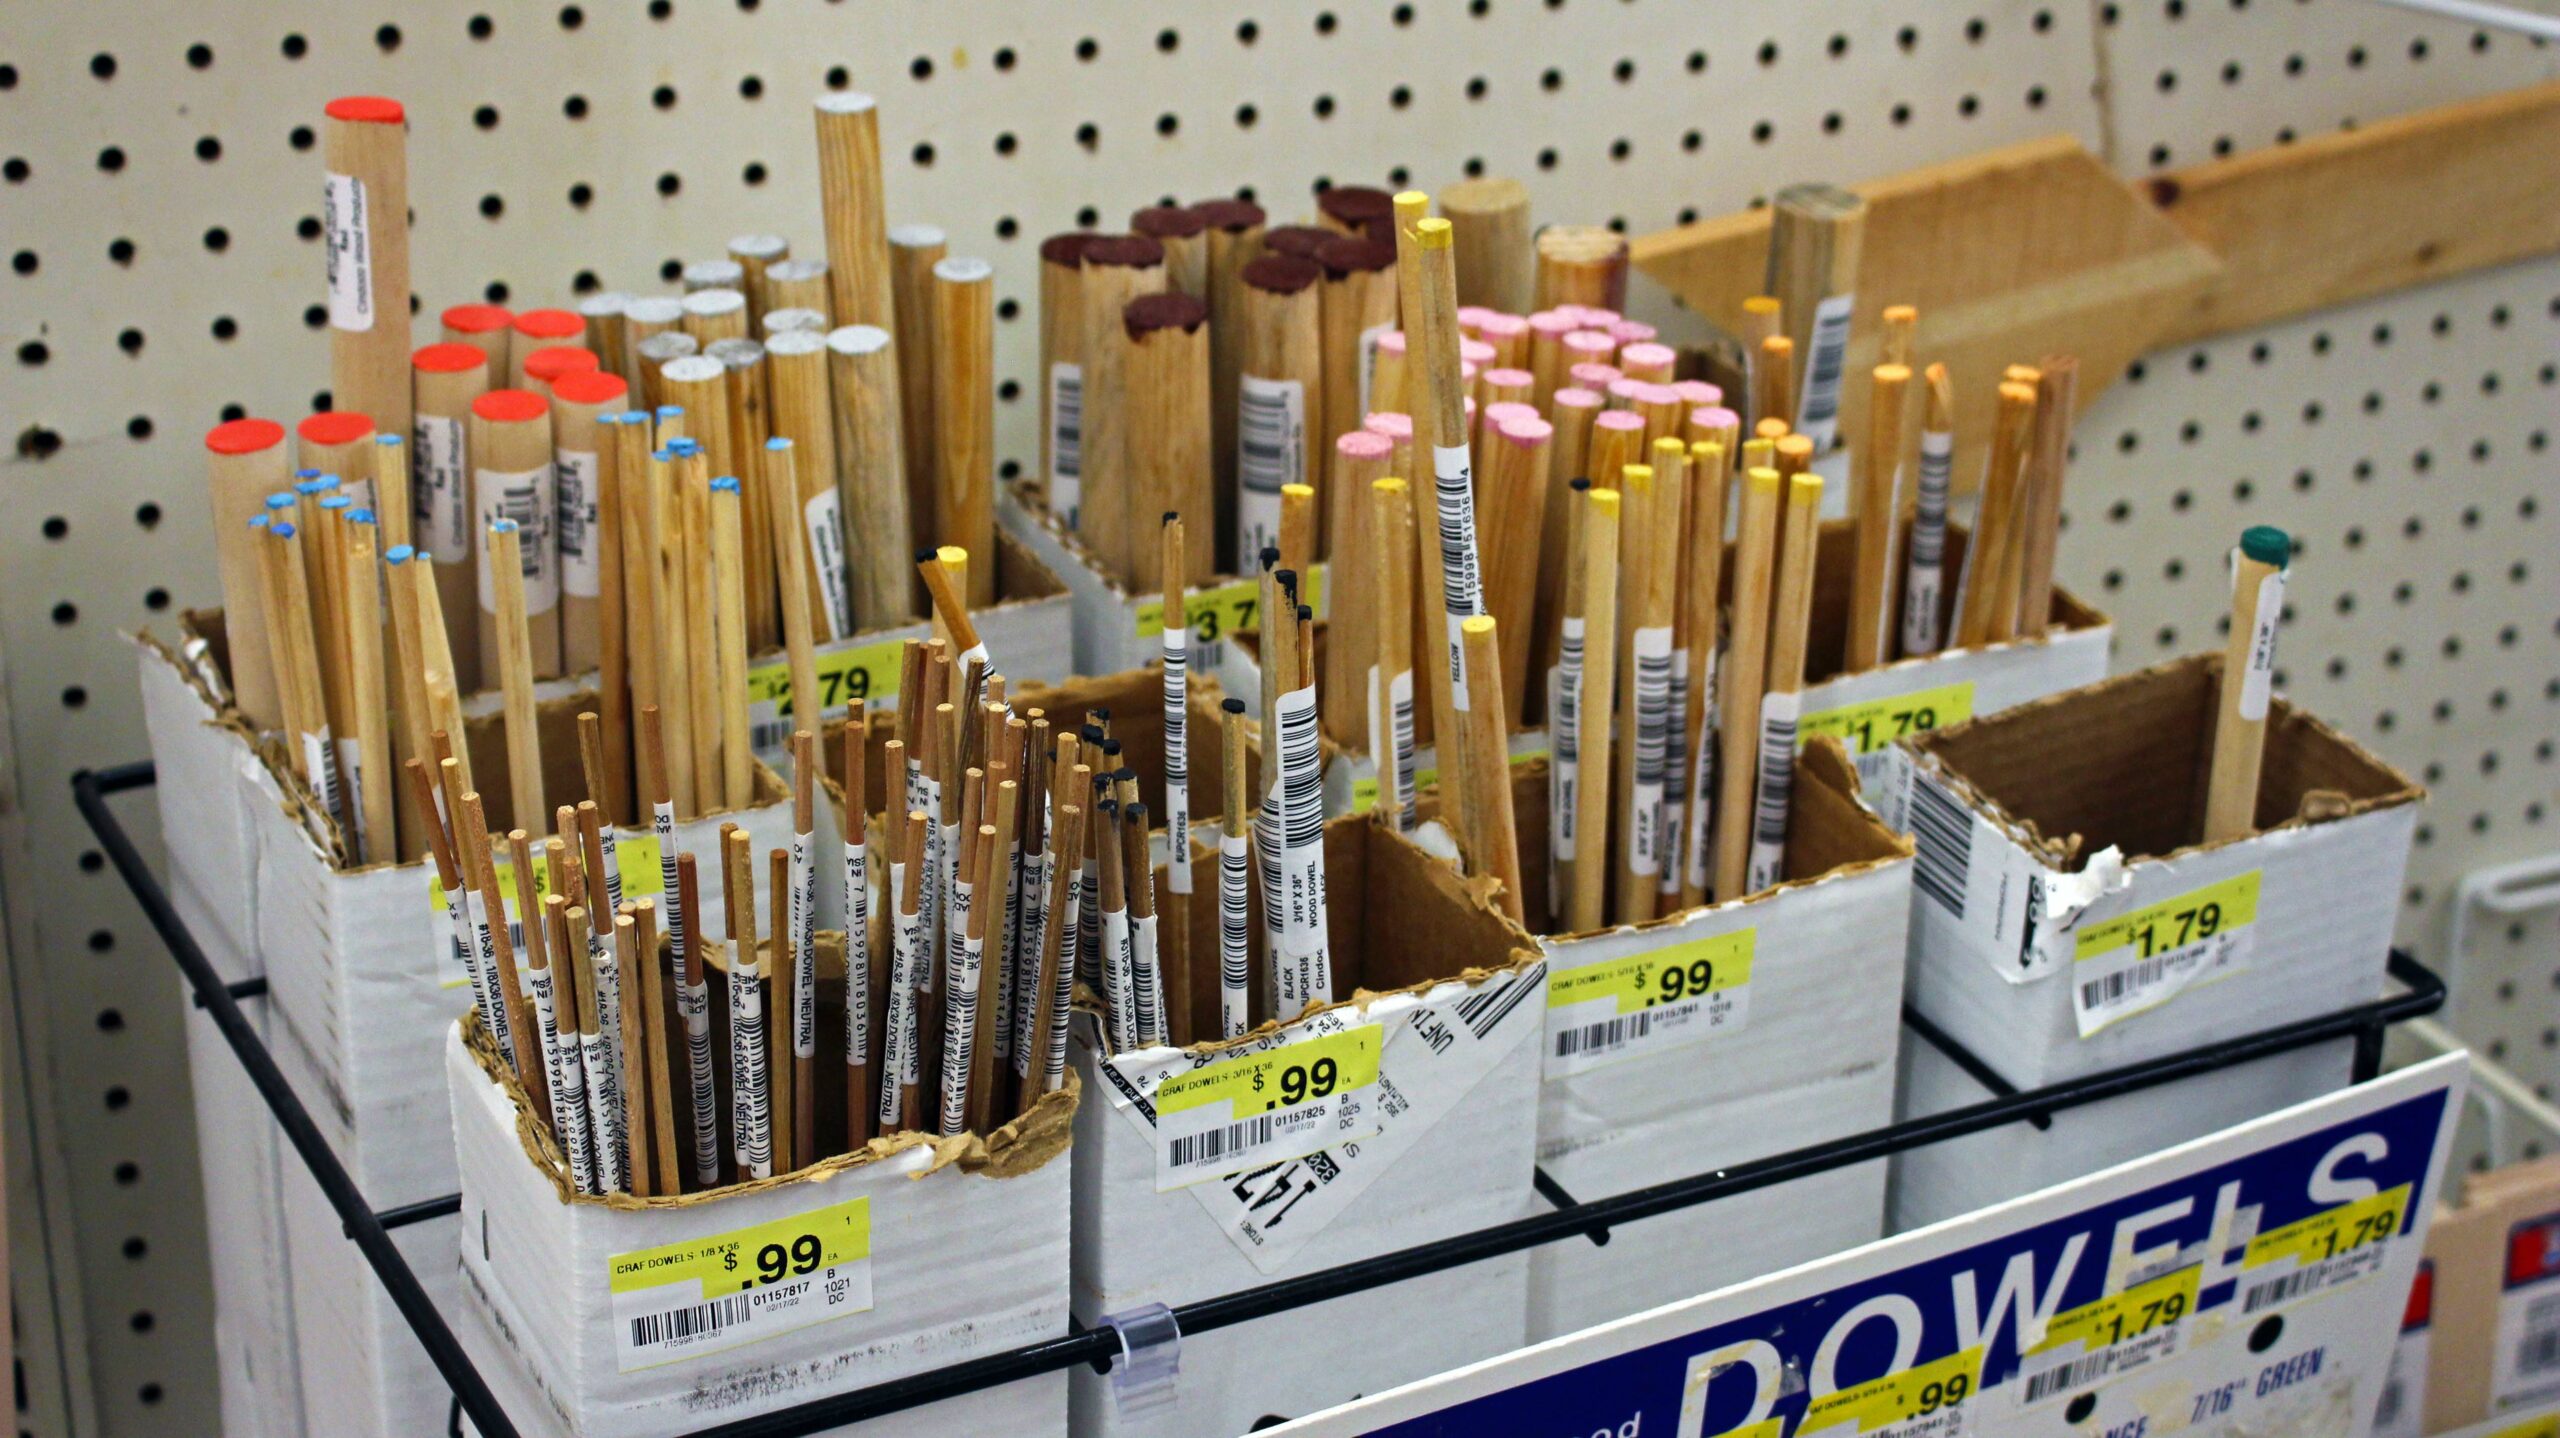
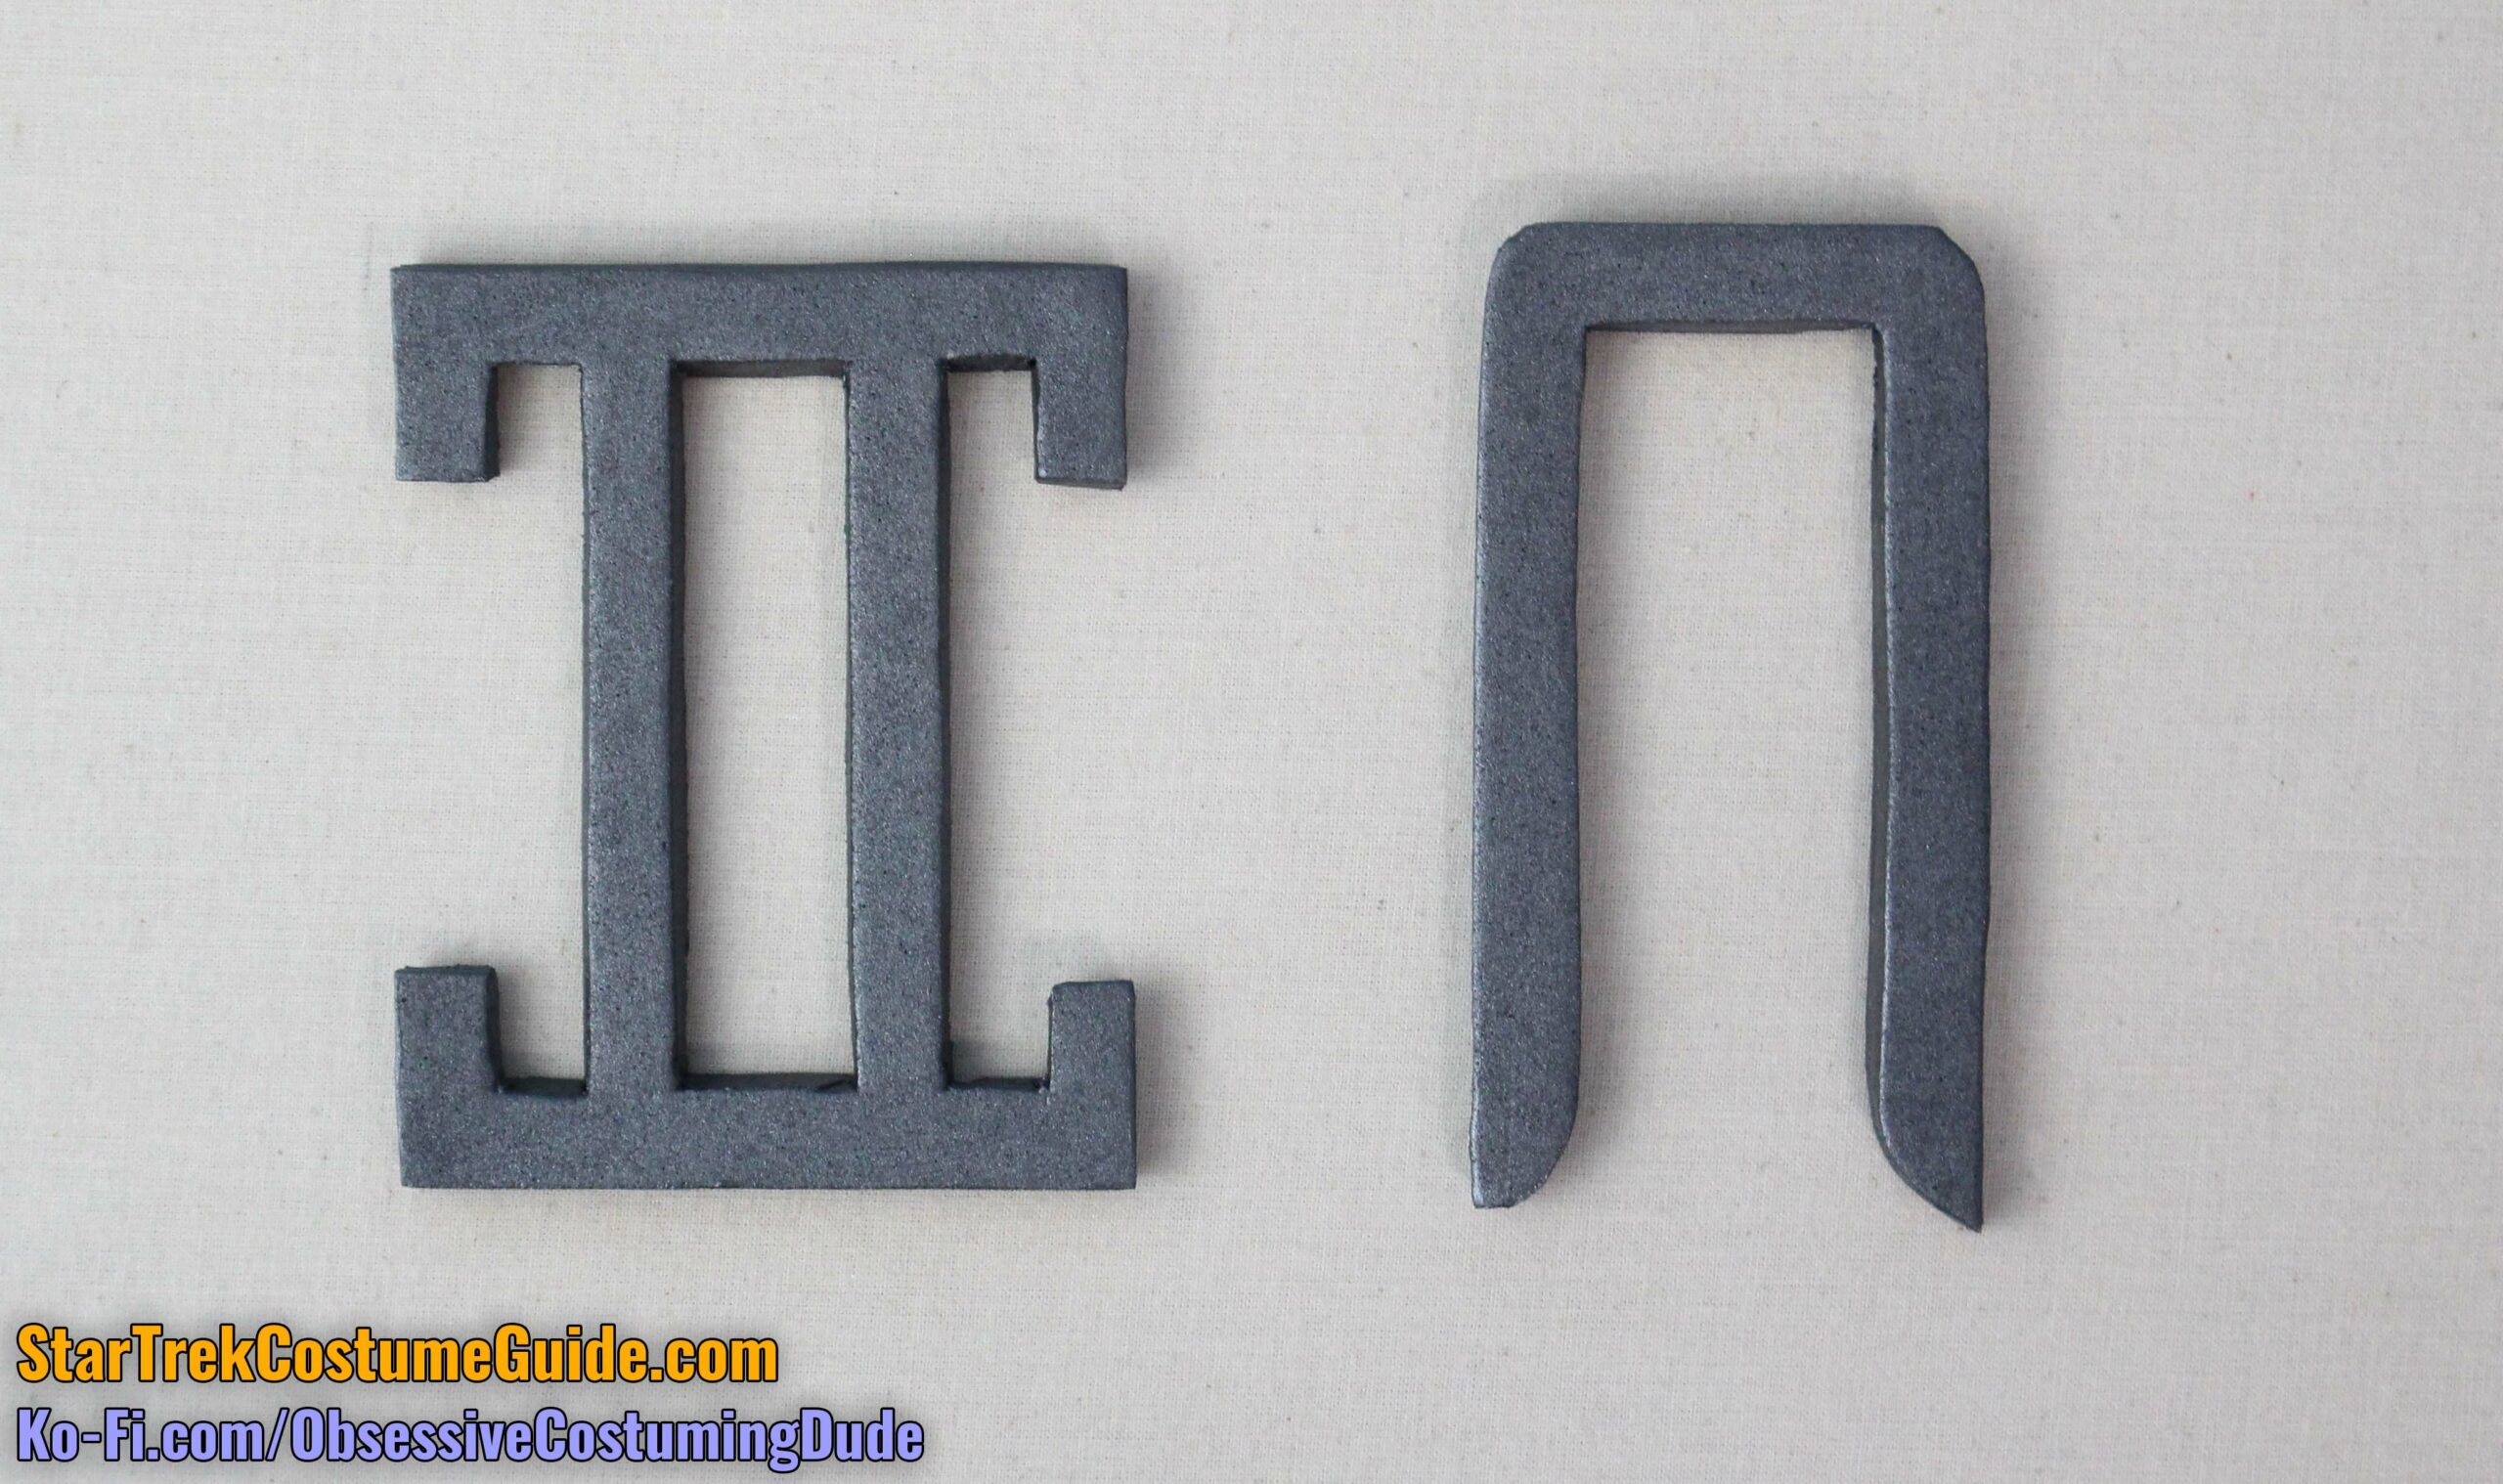
You’ll probably also want a couple thin wooden dowels.
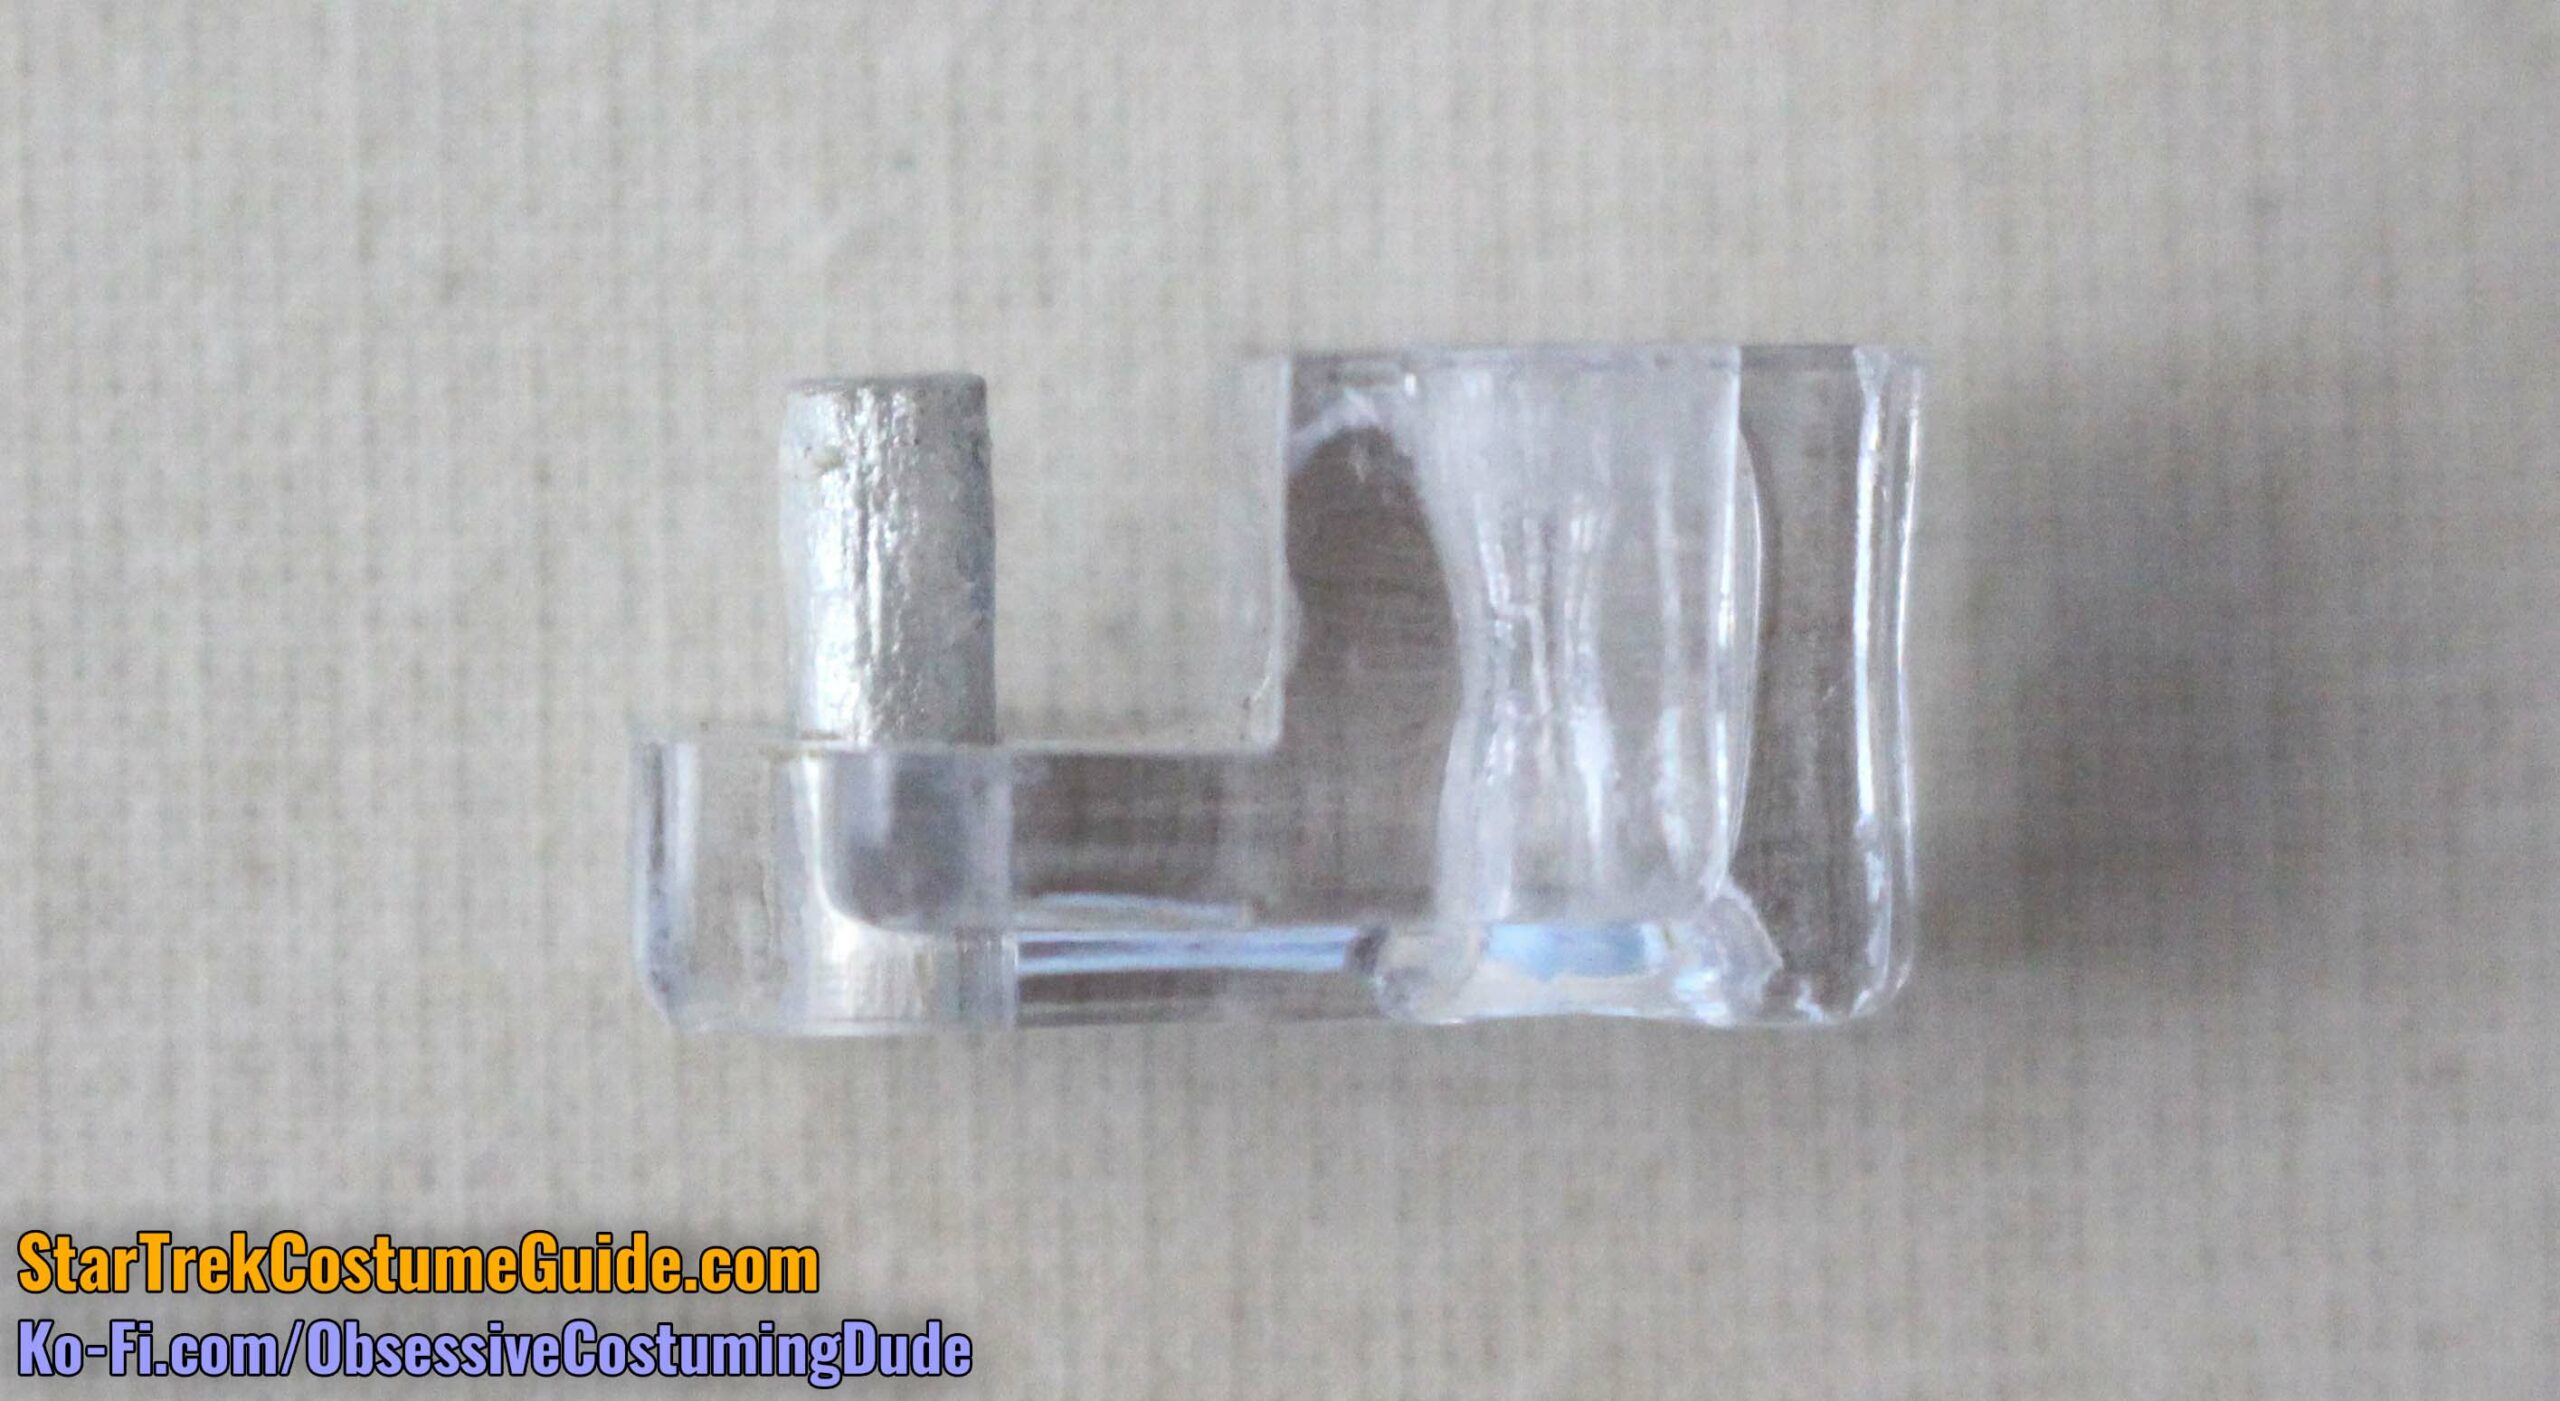
I used a ⅛” circular dowel to form the plastic “closure” on the TWOK-era collars.
I also used a ¼” circular dowel for the center rod of the “bullseye” assembly.
For the TWOK-era trainee collars, I used a ¼” rectangular dowel for the little accents at the bottom of the tubing assemblies.
For the TMP-style thigh and left sleeve panels, I think 6mm craft/EVA foam is a perfect option.
It’s cheap, easy, and looks great to me!
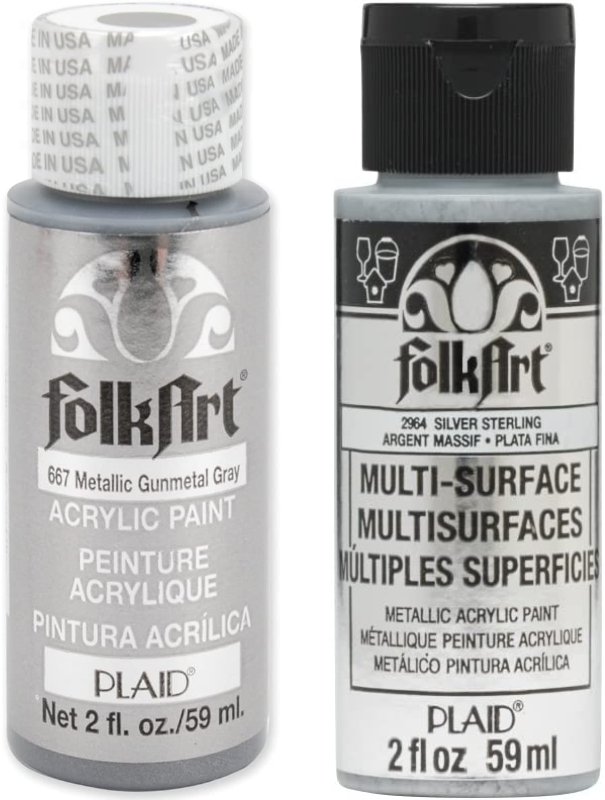
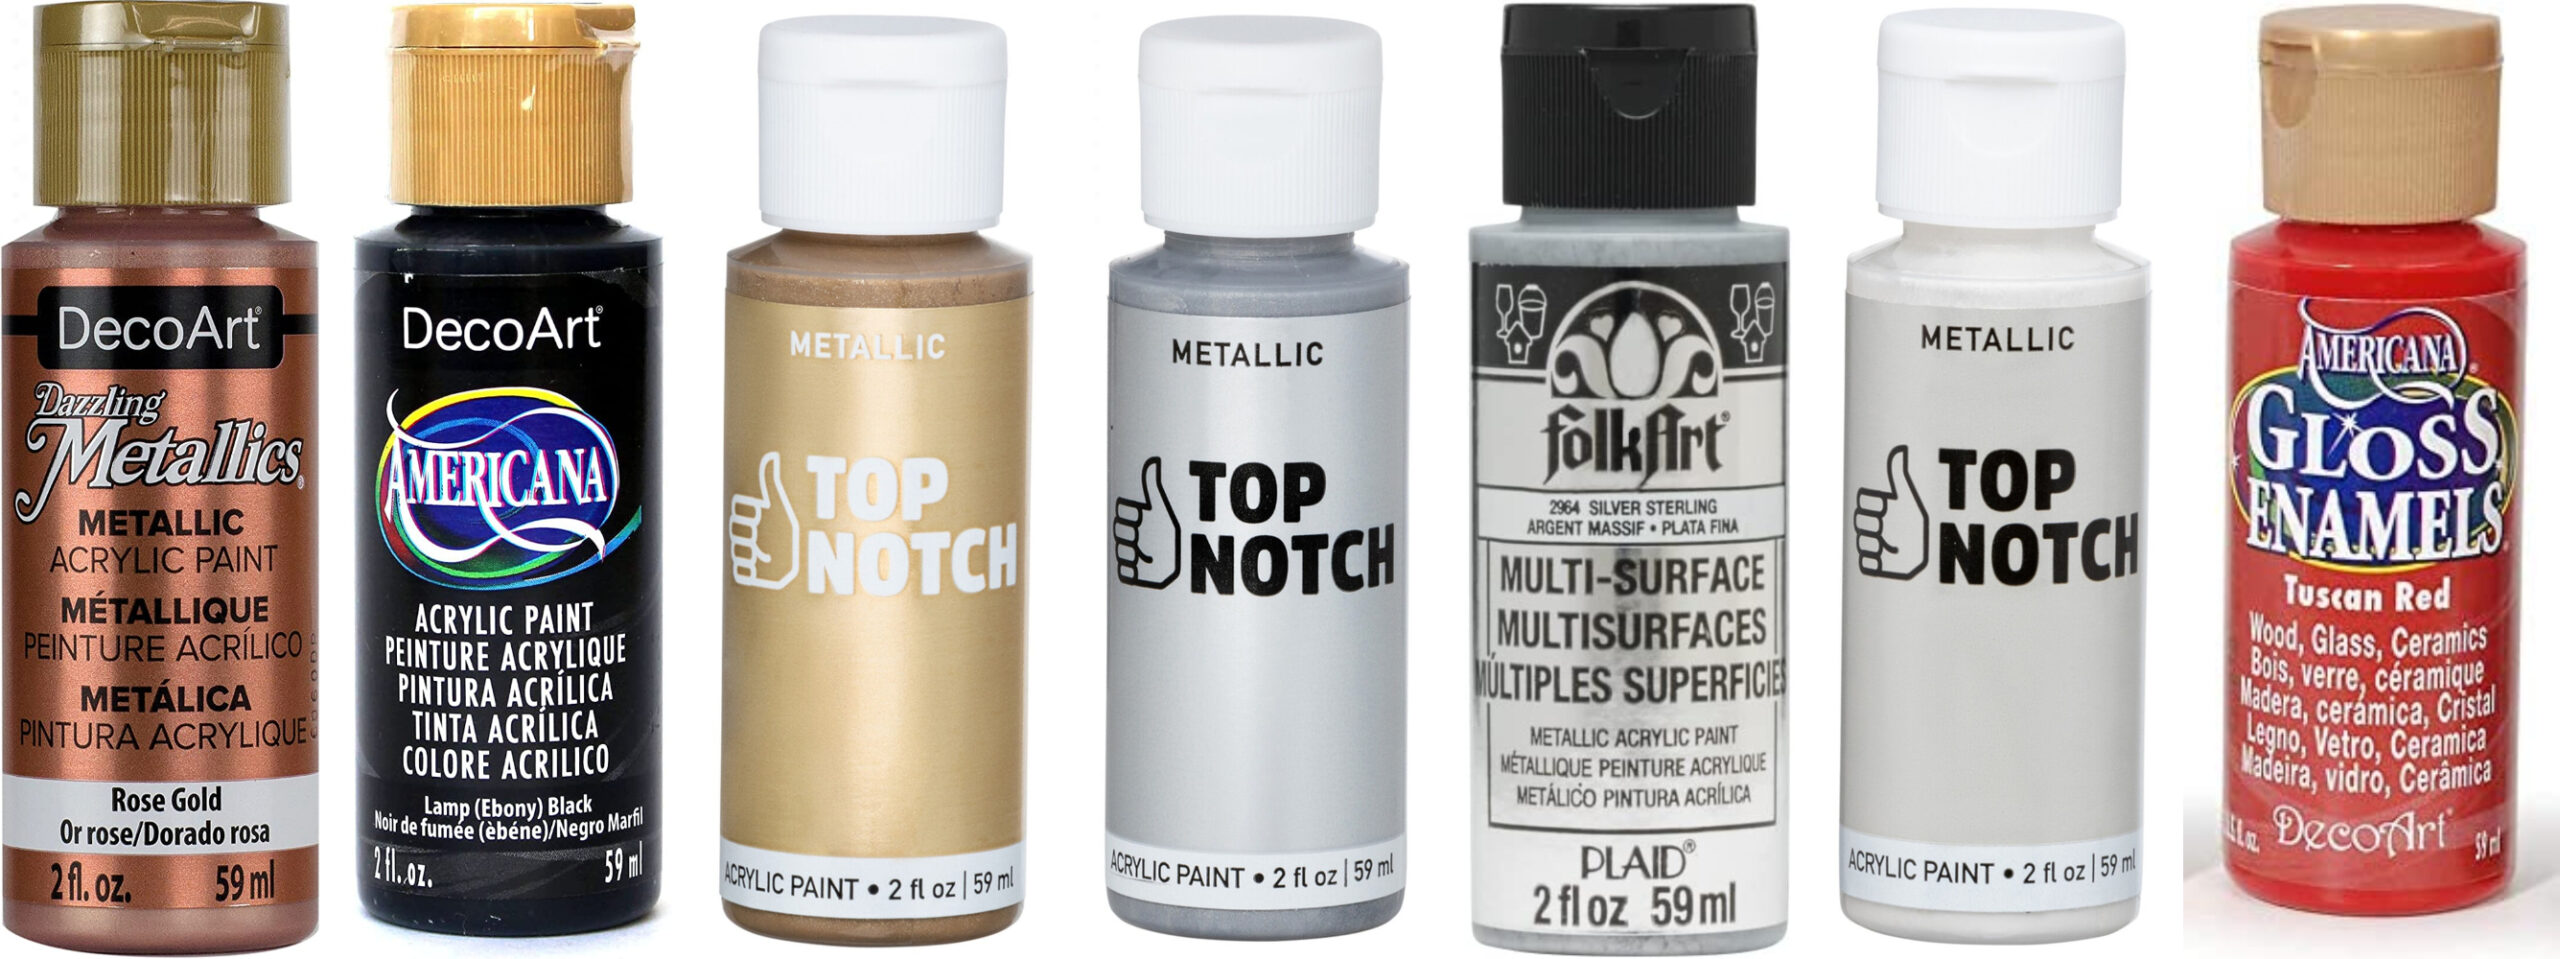
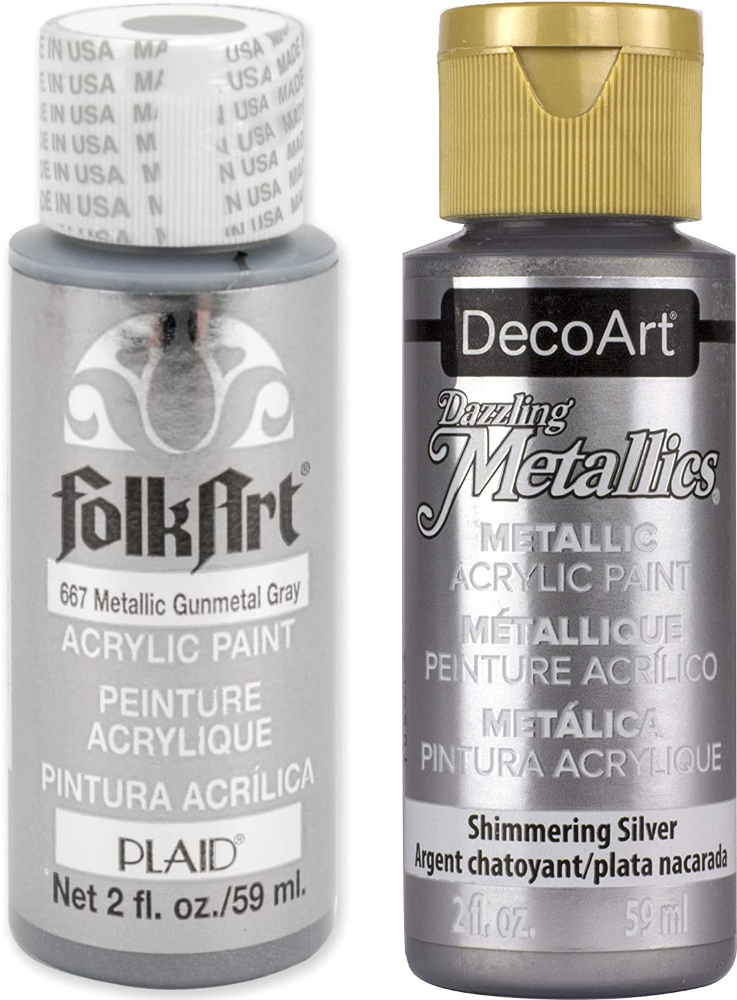
PAINTS
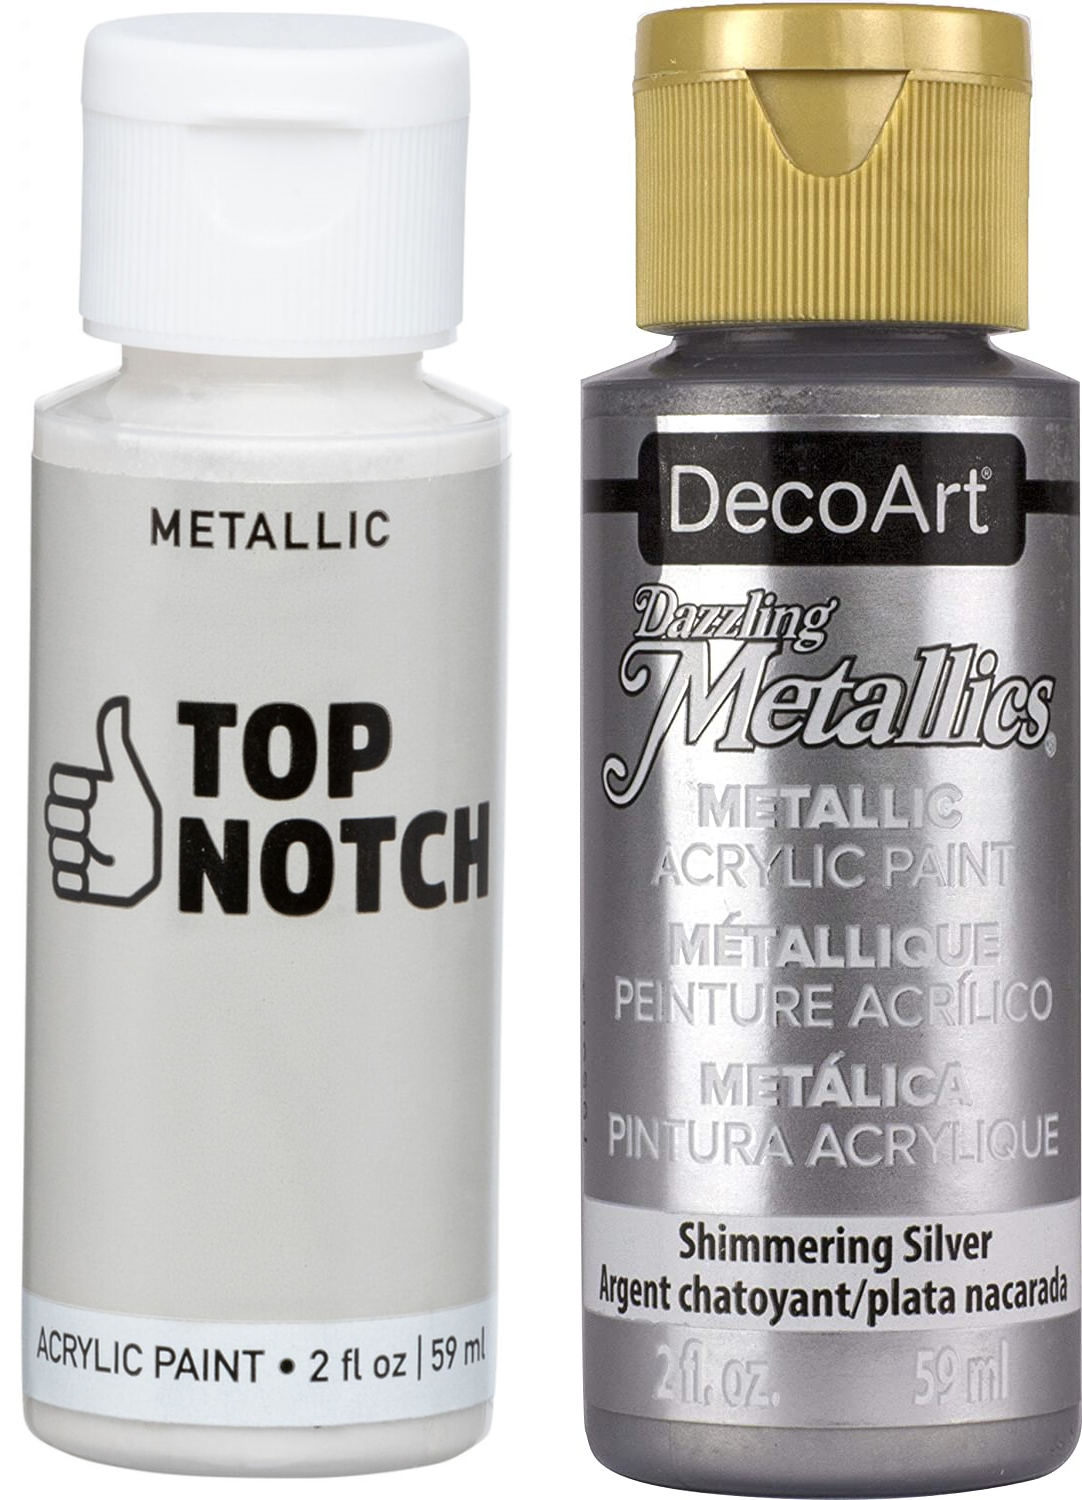
For all of the various painted elements, I used inexpensive retail acrylic paints and used a paintbrush.
(Airbrushing would almost certainly produce superior results, but my airbrush was packed away at the time and I’m a novice at airbrushing, anyway. I also wanted to demonstrate the results one could achieve with limited tools and means.)
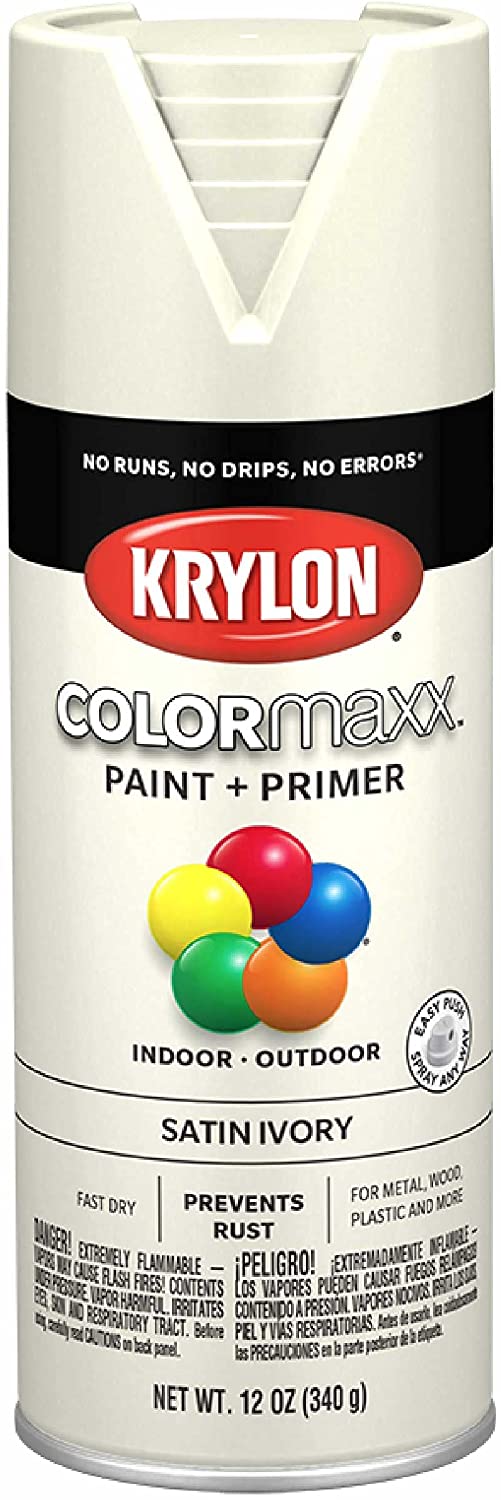
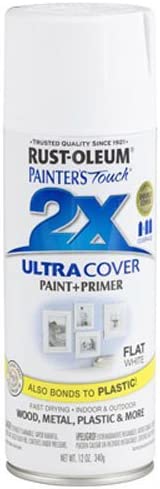
Alternatively, if you’re making your costume bleached white (as opposed to off-white), I used Rust-oleum Painter’s Touch Ultra Cover “Flat White,” which is also a convenient paint + primer in one.
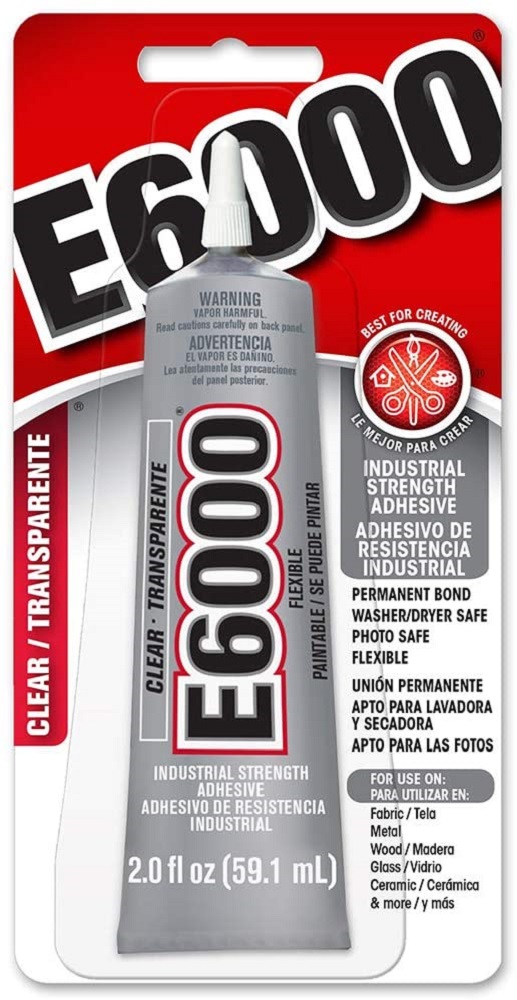
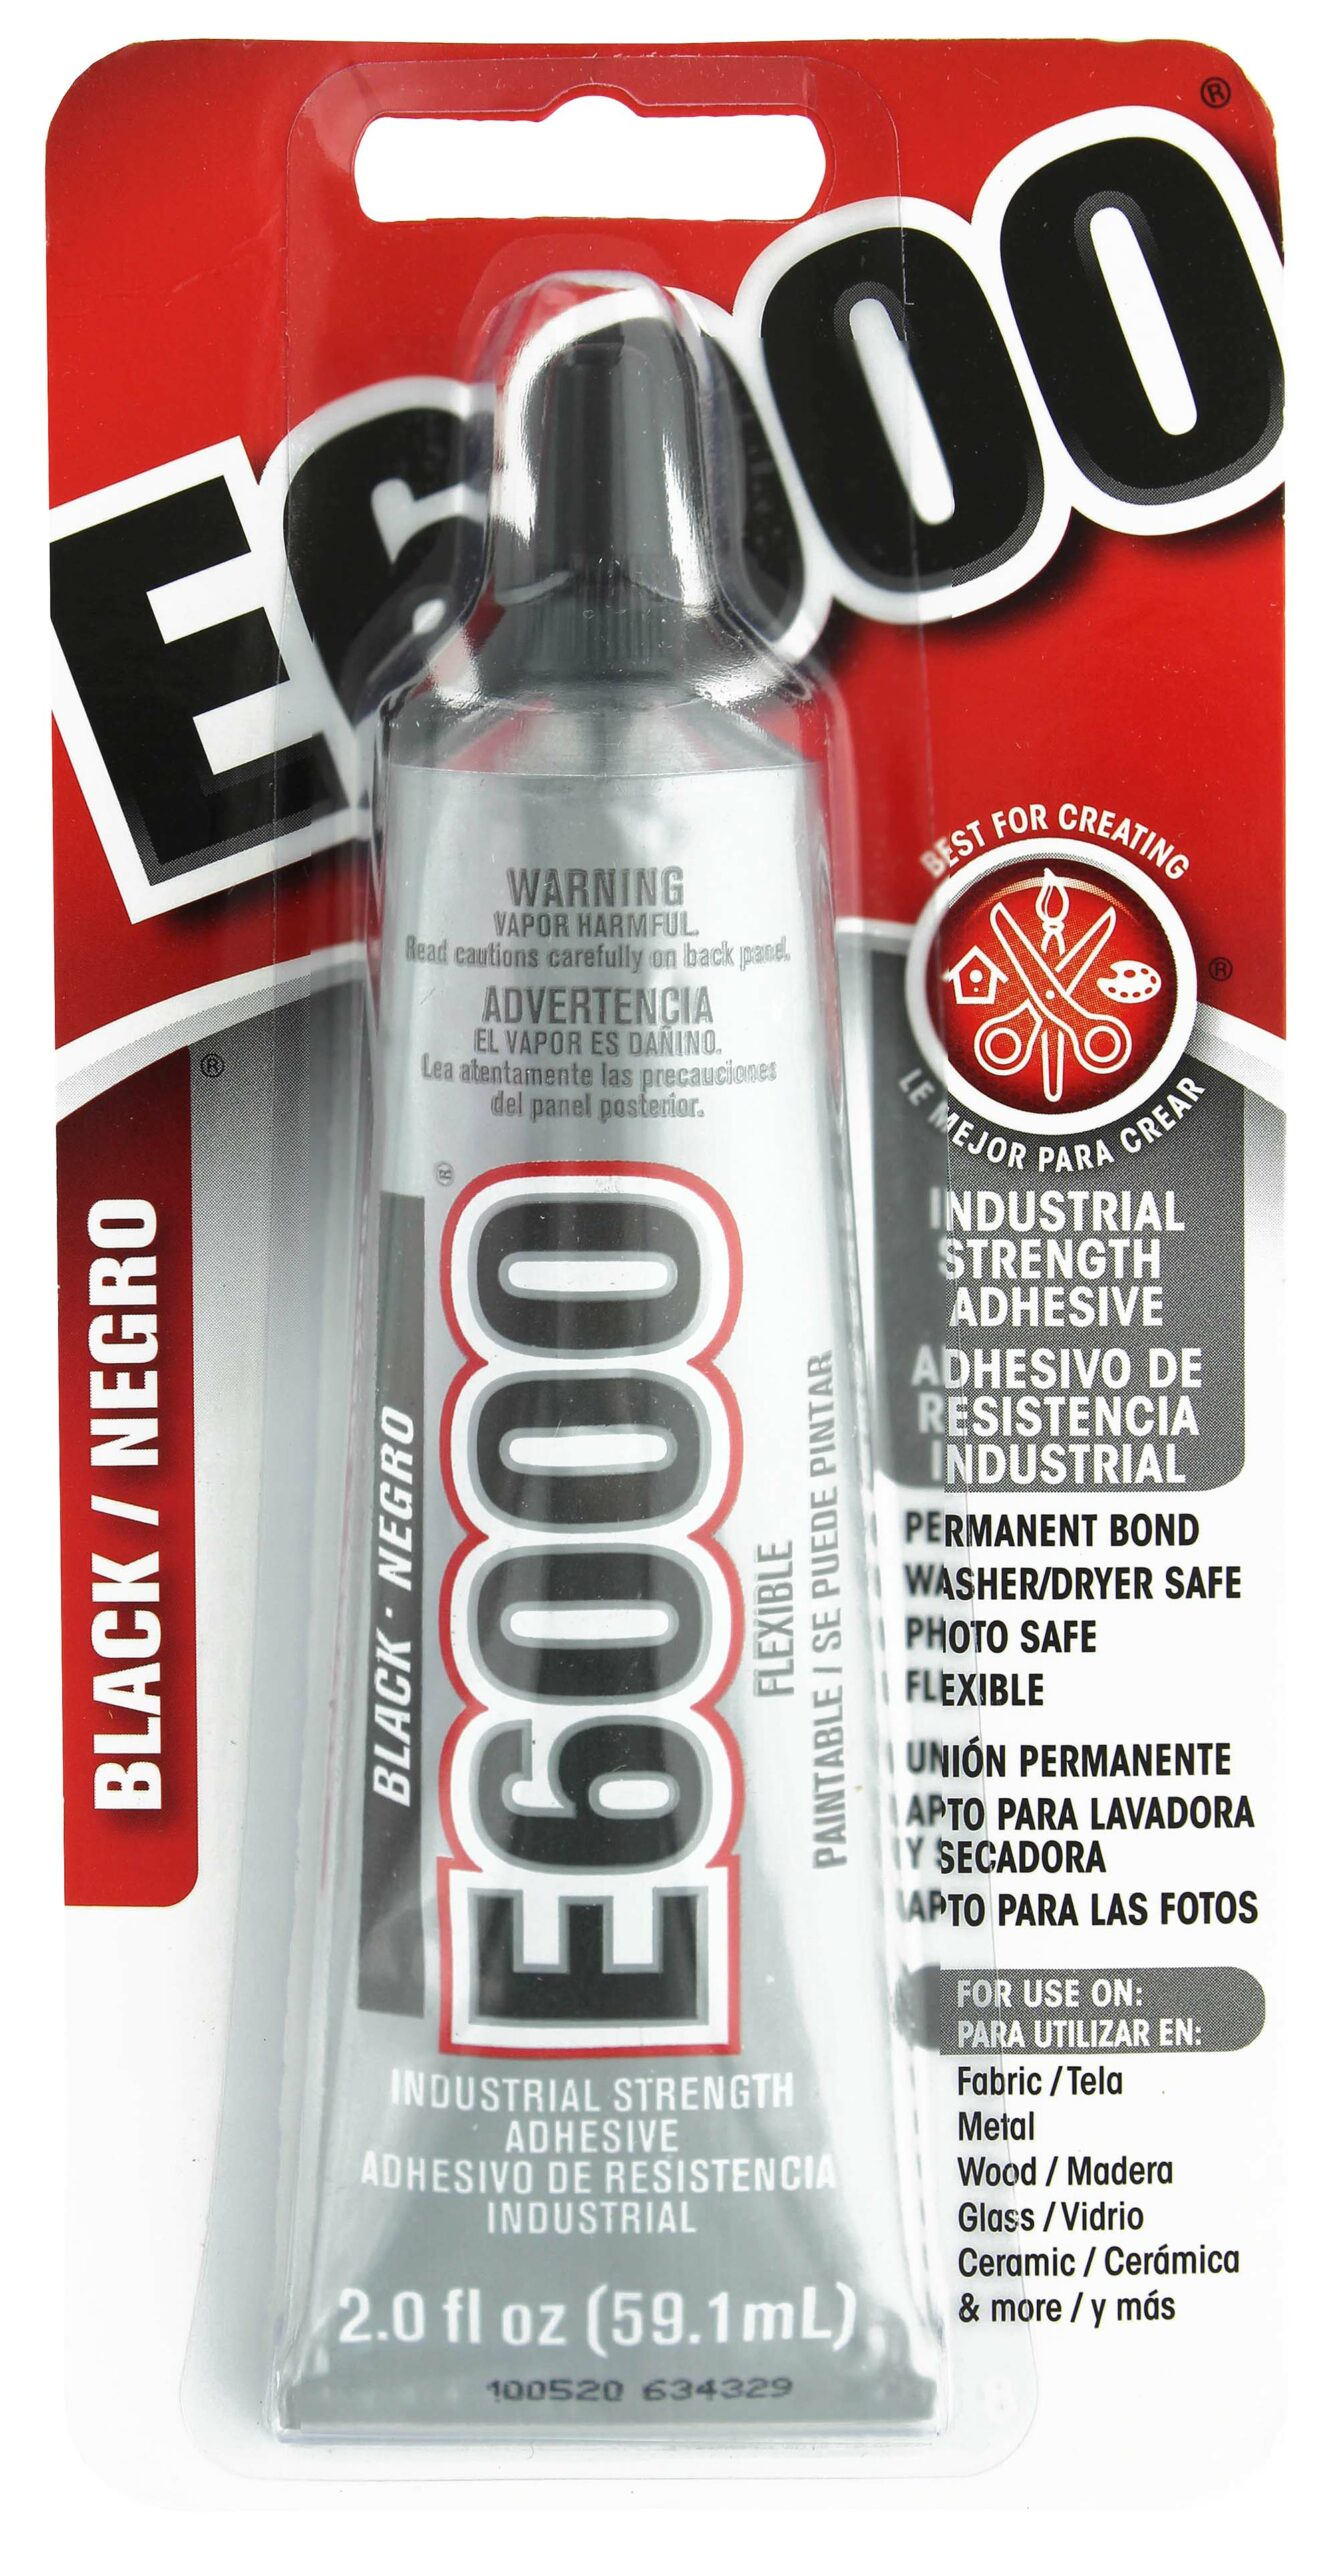
This is used on multiple components of the costume: the “bullseye” assembly, the fabric loops attaching the buckles to the jumpsuit, the hip reflector box, attaching the French canvas to the back of the thigh and left sleeve panels, the gloves, and the boots.
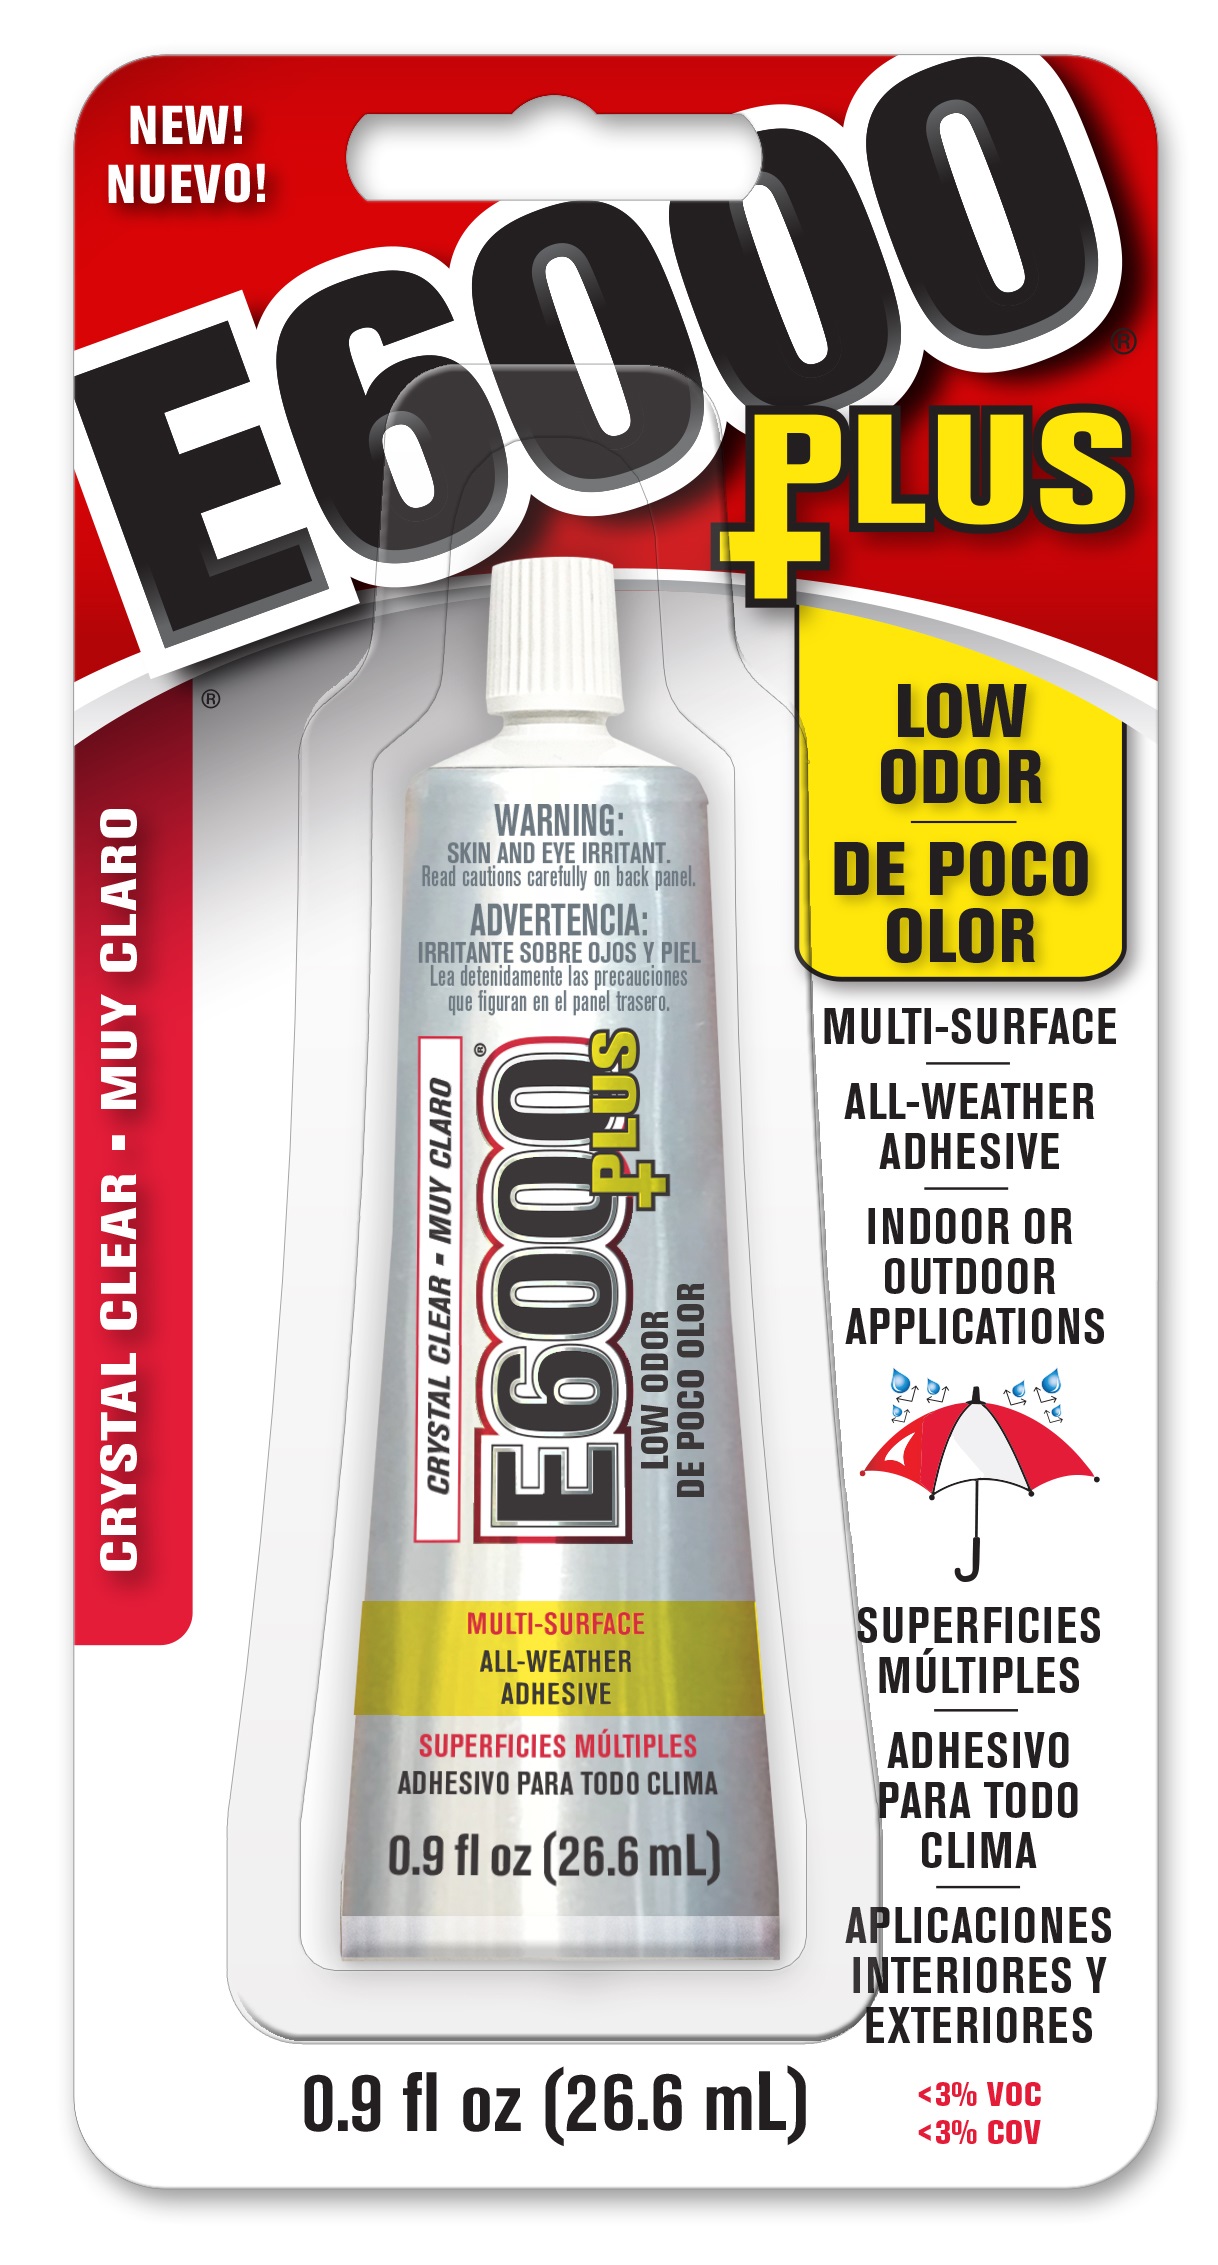
If you have sensitive olfactory sense and/or find sharp chemical smells objectionable, E6000 does make a low-odor version of their glue that may be more to your liking.
However, the tubes are smaller and more expensive, so I suggest getting at least two.
This is for the TMP and TWOK-era officer/enlisted collars.
Ideally, the glue will never be seen on the outside of the collar, so you can theoretically use the aforementioned clear glue … but I prefer to use black, just in case.
E6000 is allegedly effective on wood, but I haven’t actually tried it.
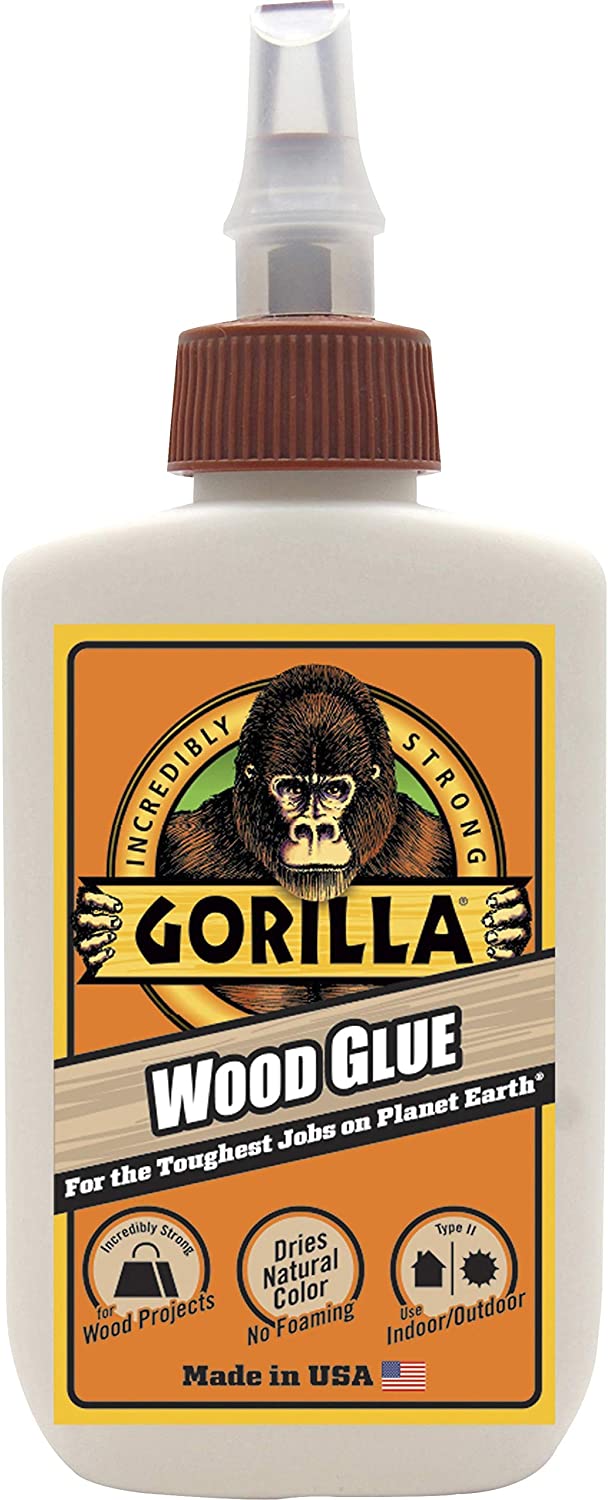
For the “bullseye” assembly and hip reflector box, I used Gorilla Wood Glue because it’s specifically intended for wood, and I’d used it in the past with good experiences.
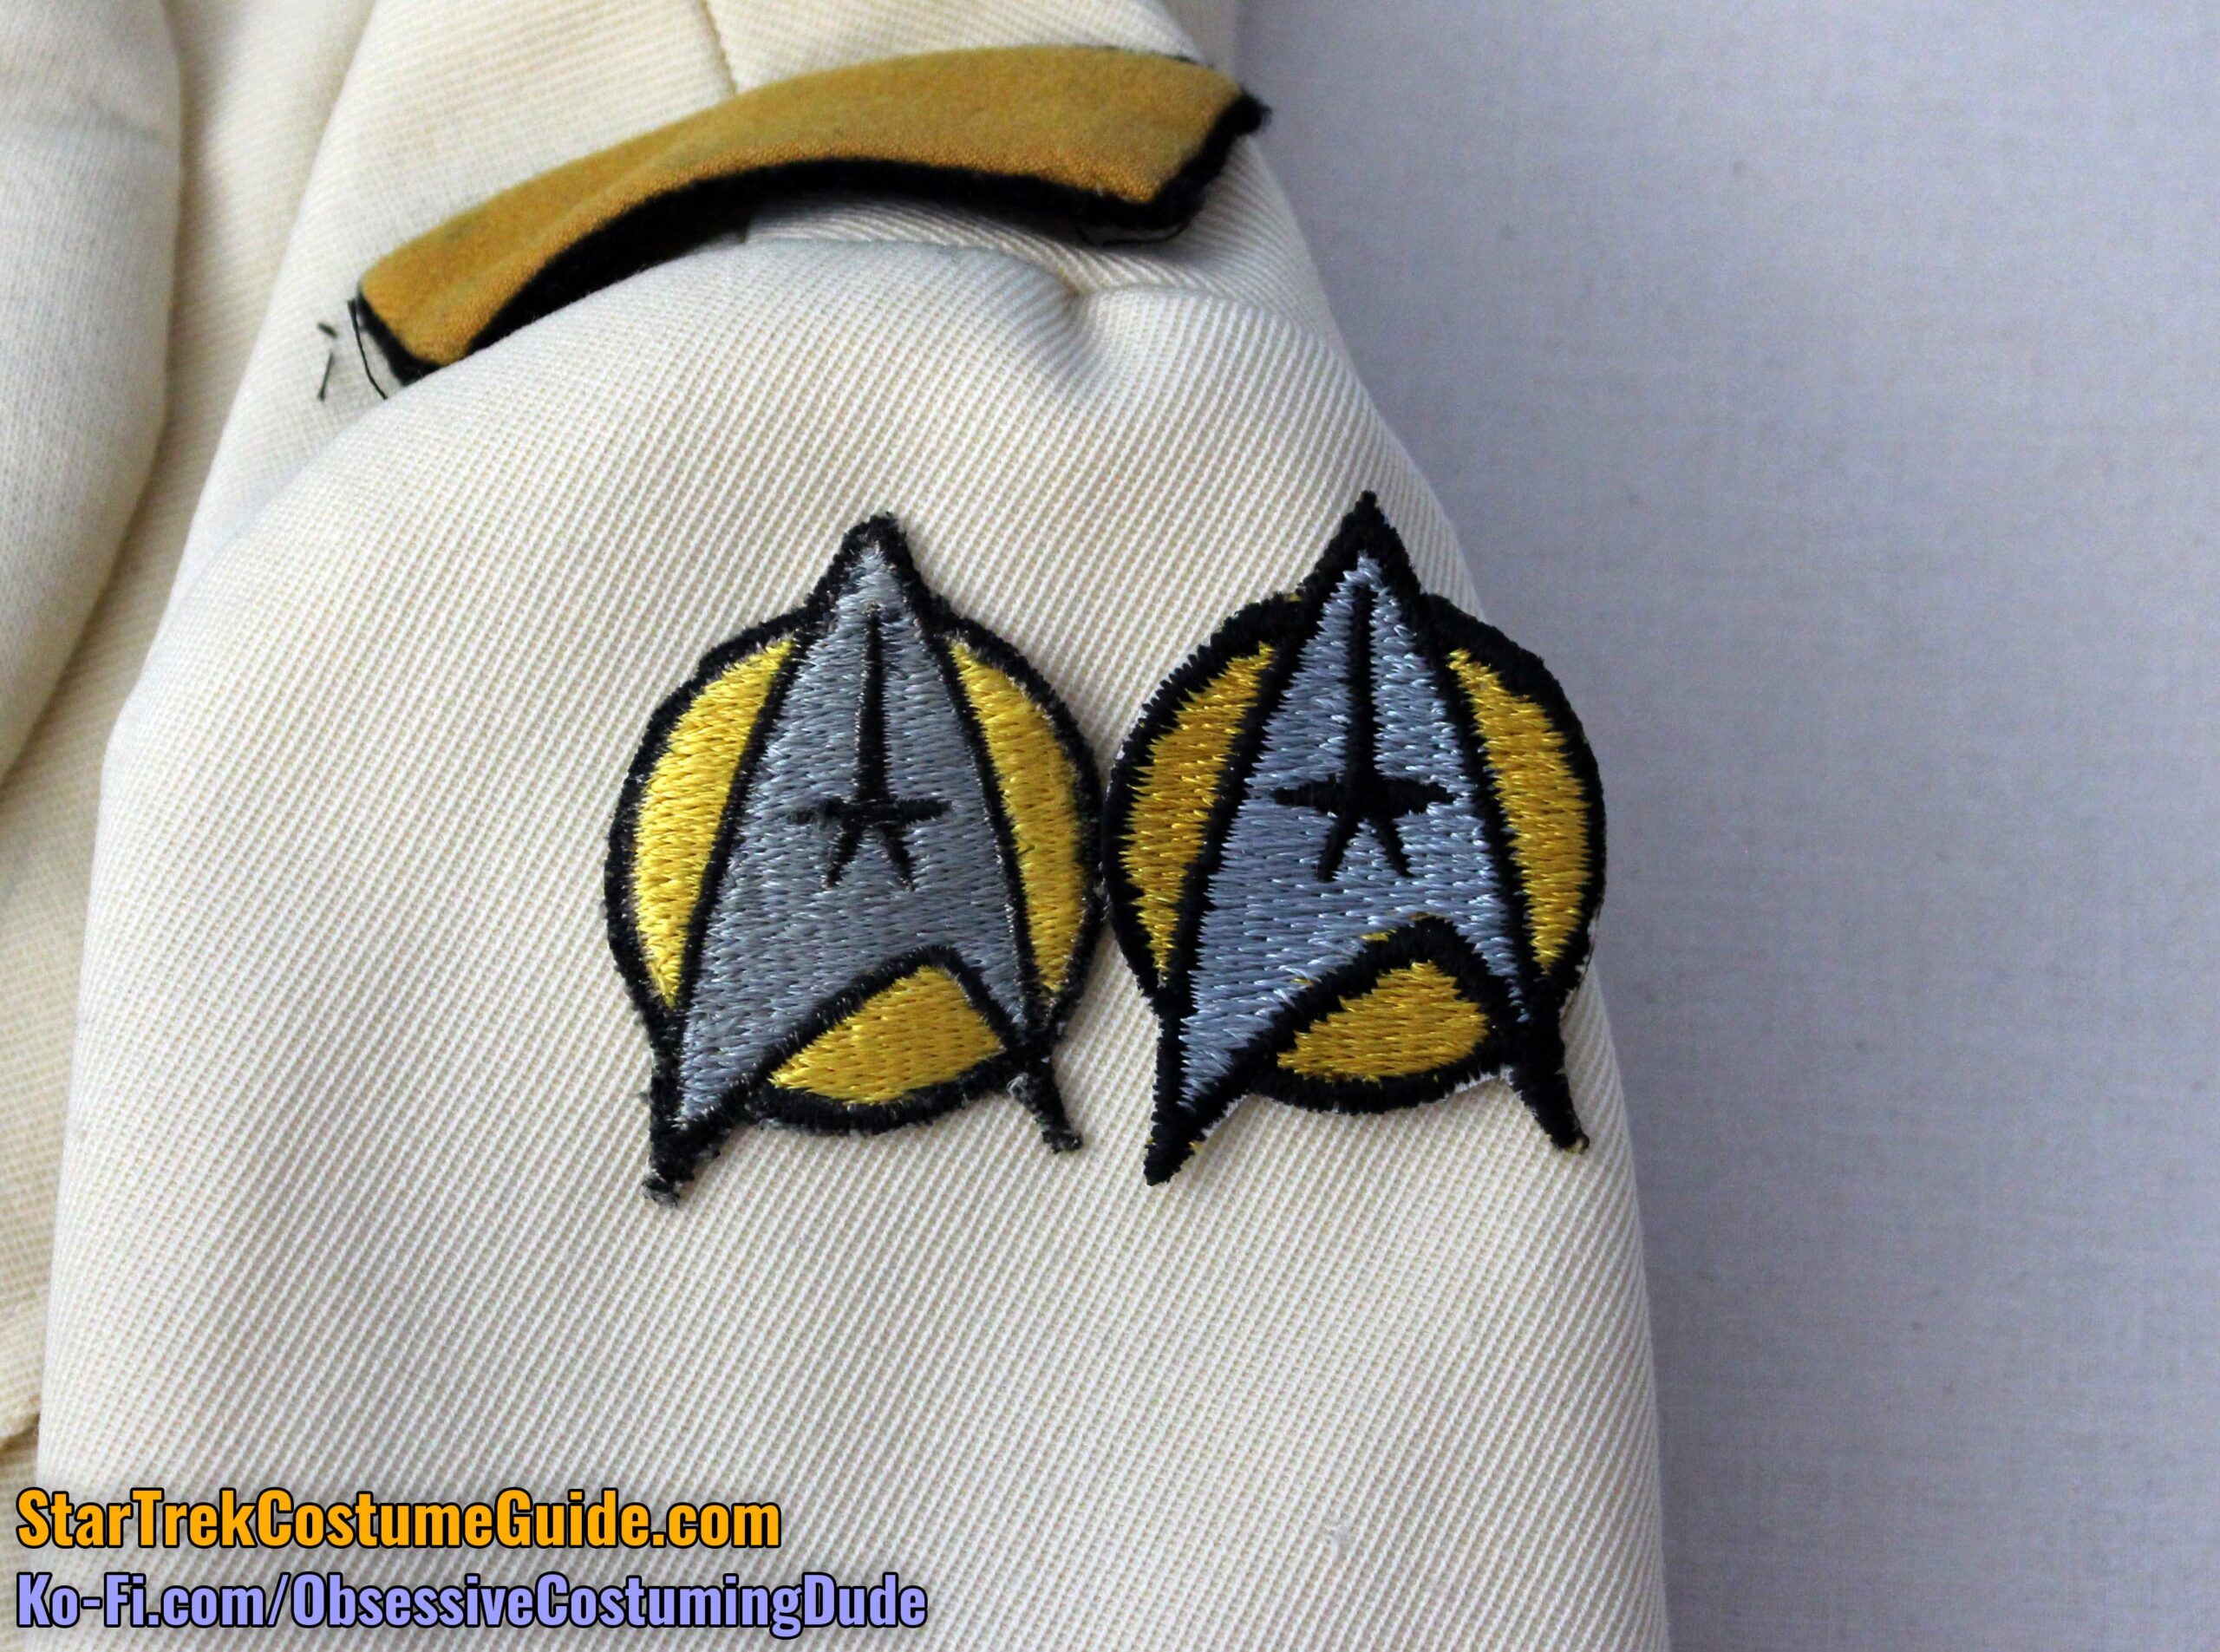
For the TMP-style uniforms, you’ll want an engineering red patch.
As you might recall from my screen-used engineering radiation suit examination, I believe the TMP yellow patches were repurposed for the TWOK-era radiation suits, to complement the updated gold shoulder tabs and sleeve band.
As of the writing of this tutorial, I haven’t compared their TMP red patch to a screen-used so I can’t attest to its accuracy, but it does look great to me in-person.
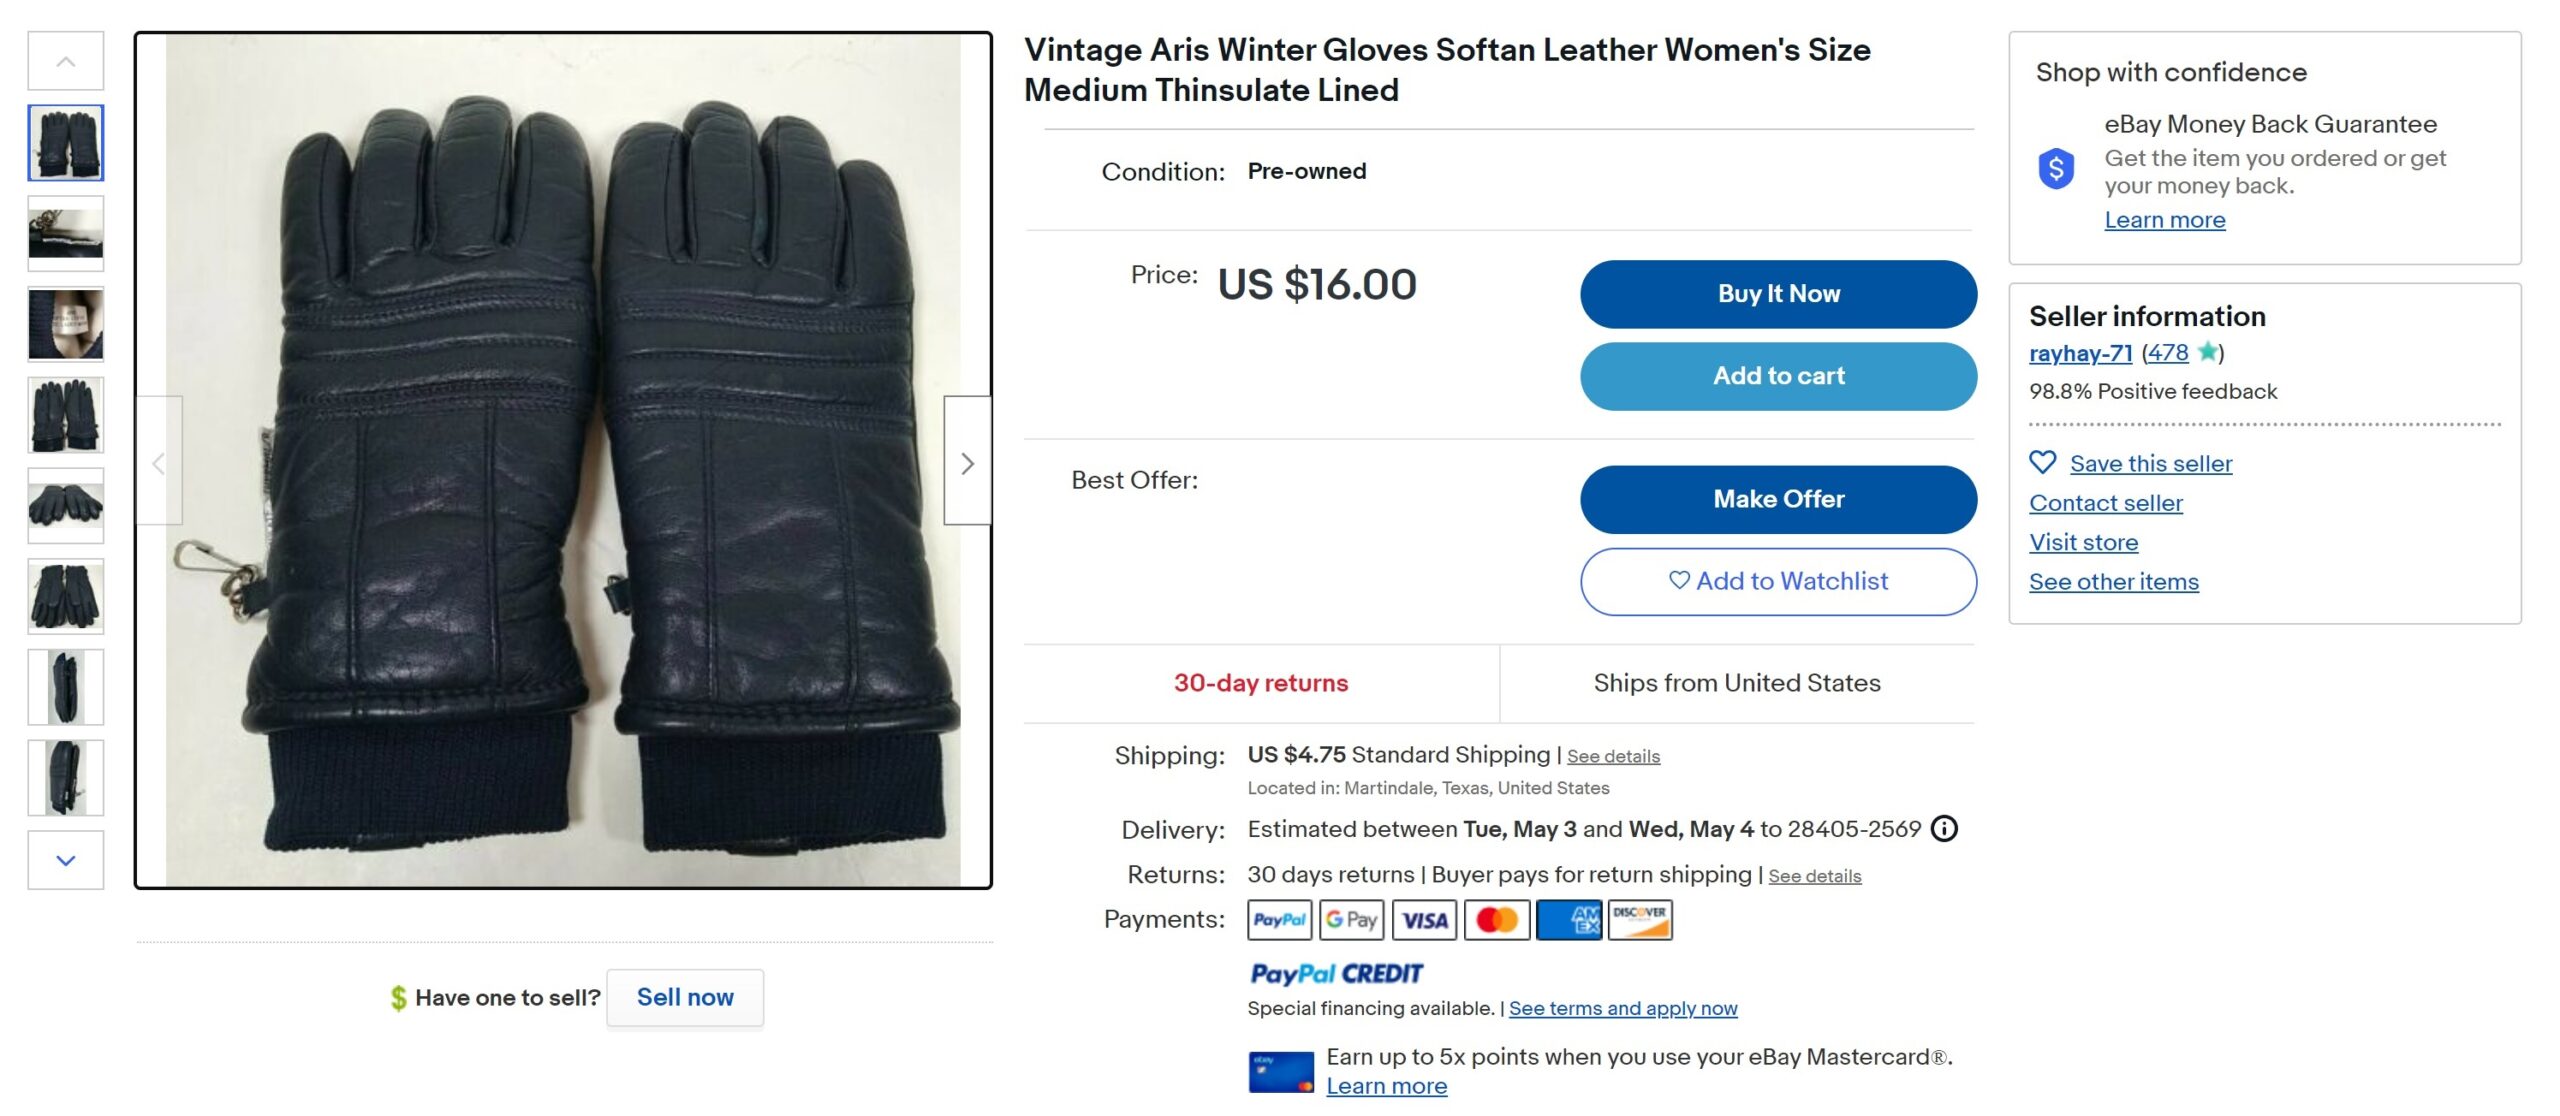
However, at least one pair of vintage gloves has turned up on eBay … which I snagged for one of my demonstration uniforms! 🙂
In lieu of the vintage Aris gloves, almost any poofy gloves should work fine, within reason. And if they’re already white or off-white, then even better!
For my personal gloves (and demonstration purposes), I used a spare pair of black ski gloves I already had stored away and weren’t good for much else anyway.
Once your gloves are painted and the custom accents are added, they should absolutely look the part!
Boots
The screen-used bootsappear to have either been retail boots with every square inch covered with off-white cavalry twill, or they were actually custom-made on top of a retail sole.
In either case, some moderate Google-ing indicates that neither the boots or soles appear to be available anymore.
As someone who’s not at all an expert in footwear – as a wearer, or as a costumer – I believe the most viable option to be to alter an existing pair of boots that you already know fit you well and you don’t mind “sacrificing.”
As with the gloves, once you paint them and add a couple custom accents, they should look great with the finished costume. 🙂