NOTE: The screen-used Dr. Pulaski smock I examined had several curious details and unusual characteristics, some inexplicable and seemingly without function. You may or may not wish to incorporate these into your costume replica, but the purpose of this sewing tutorial is to help you create a replica as authentic to the original as possible.
STEP 1 - Front Assembly
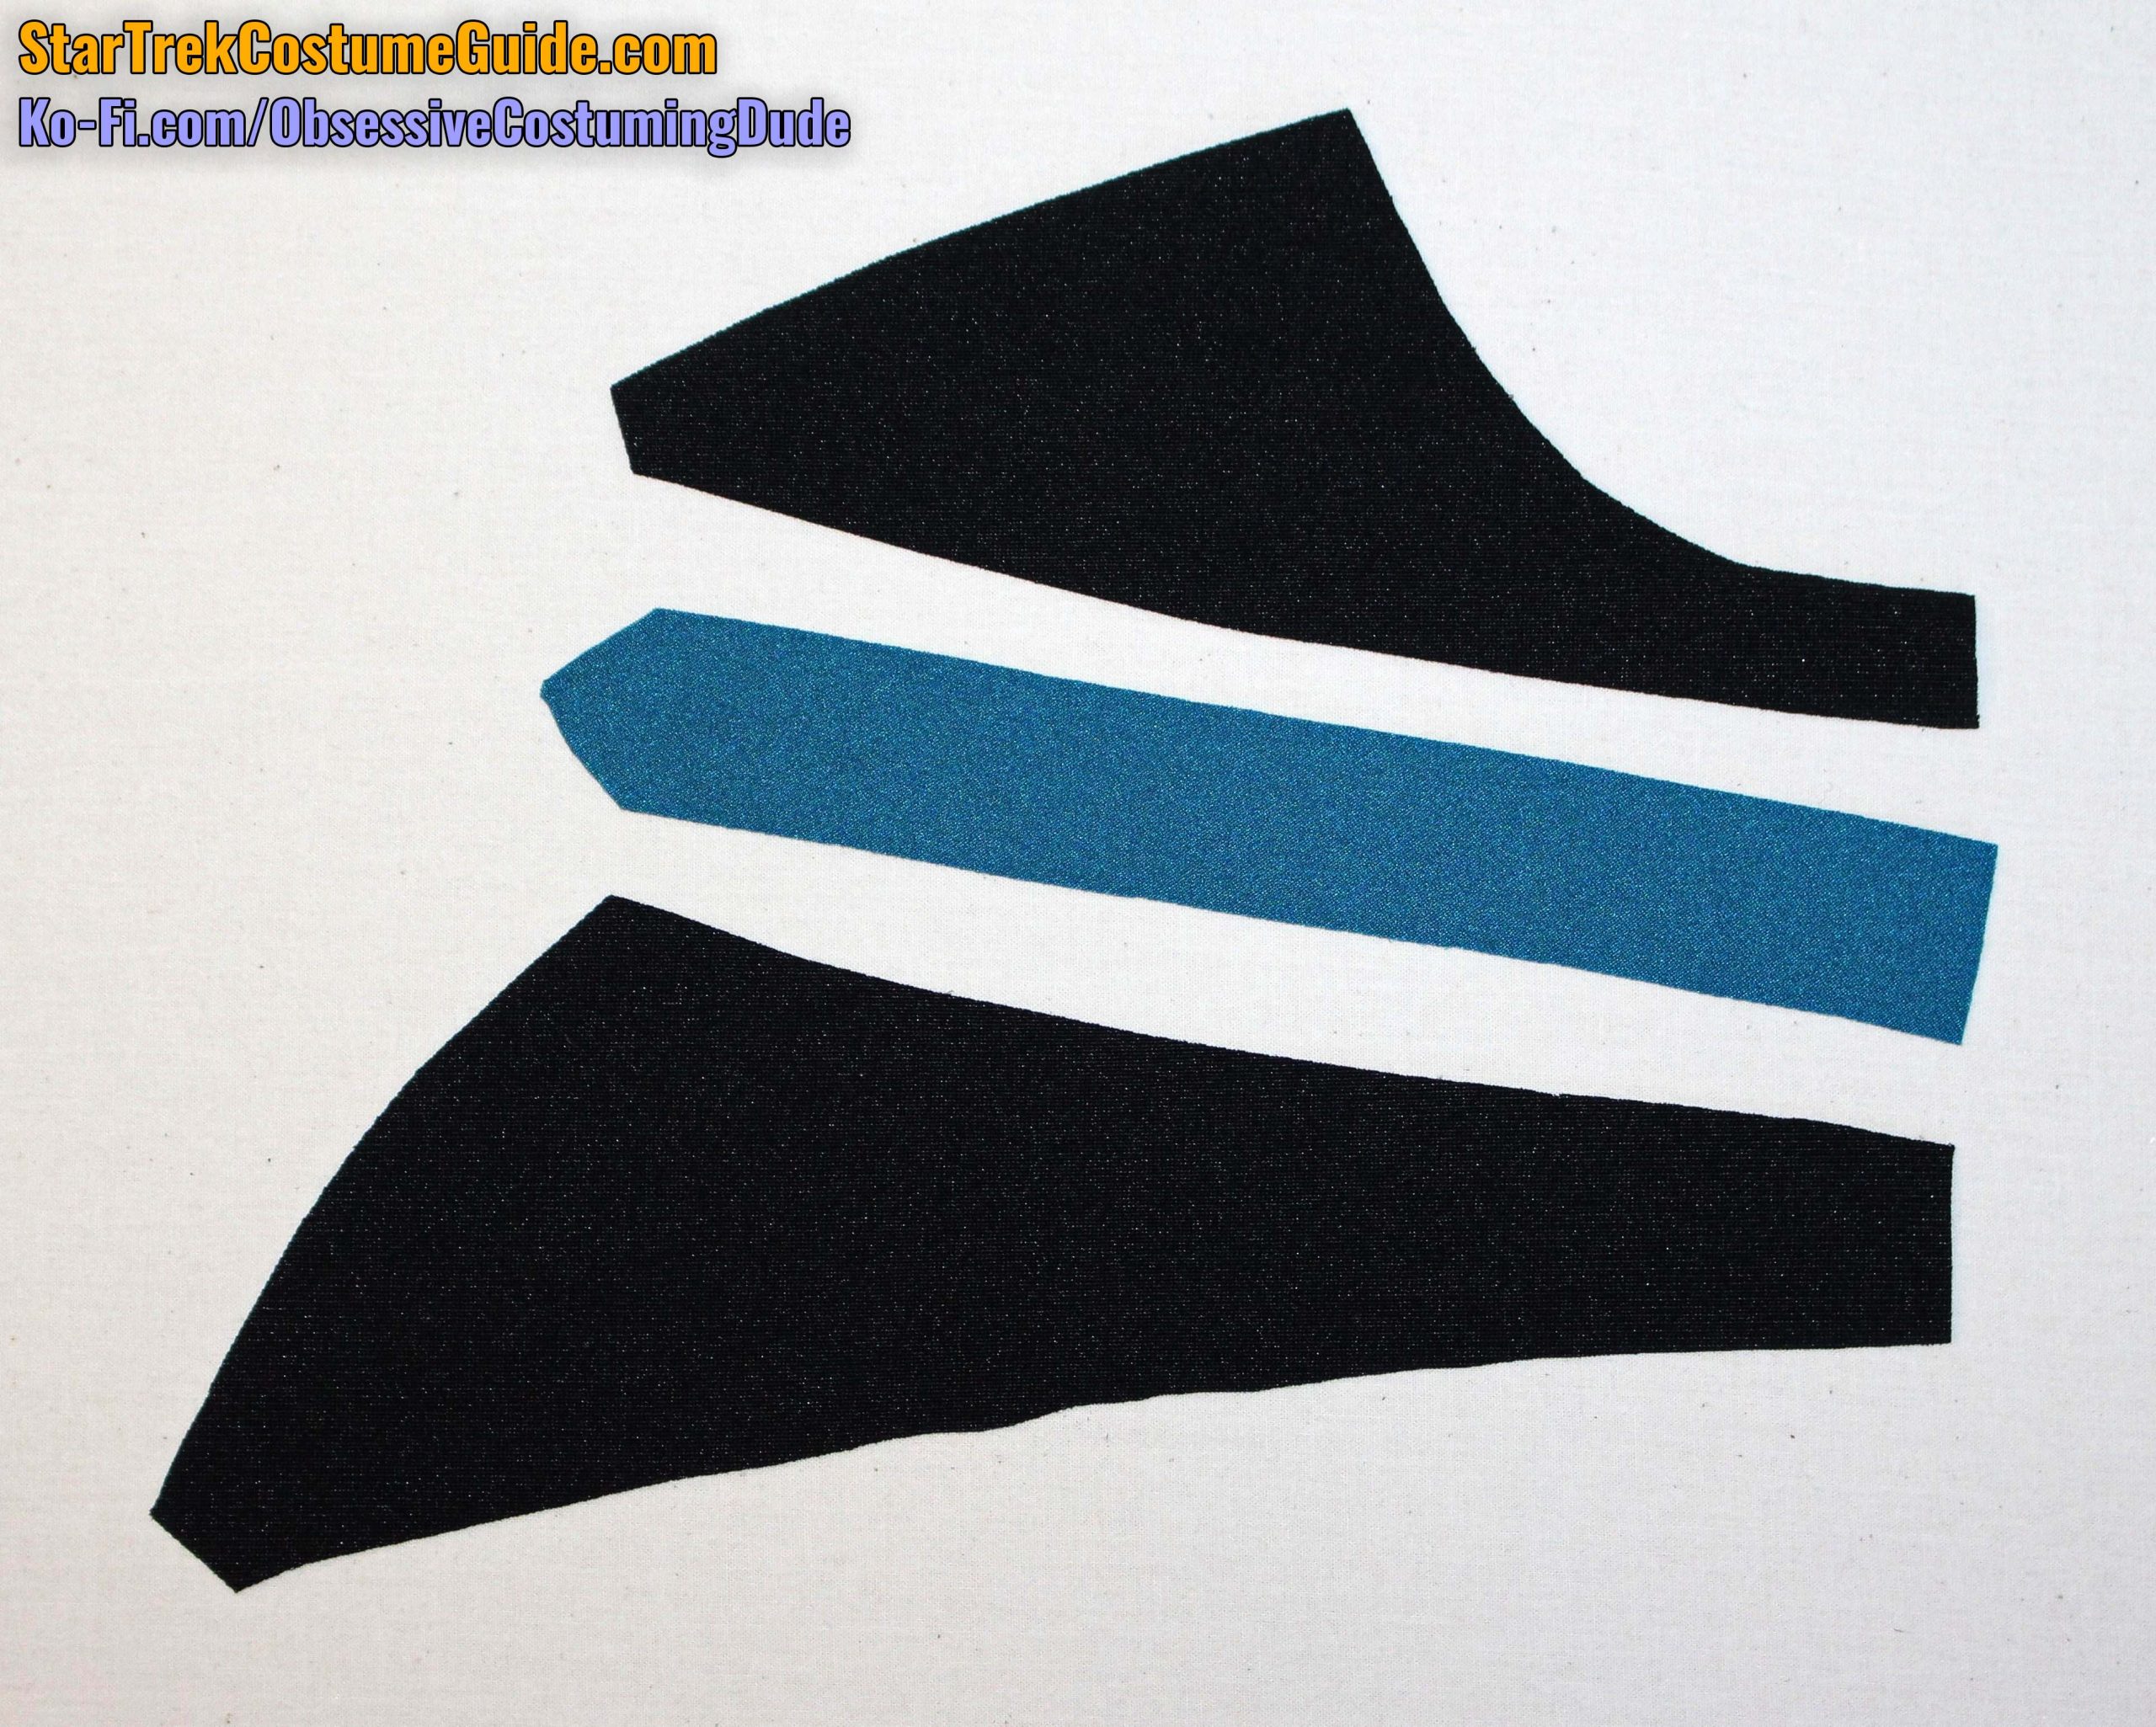
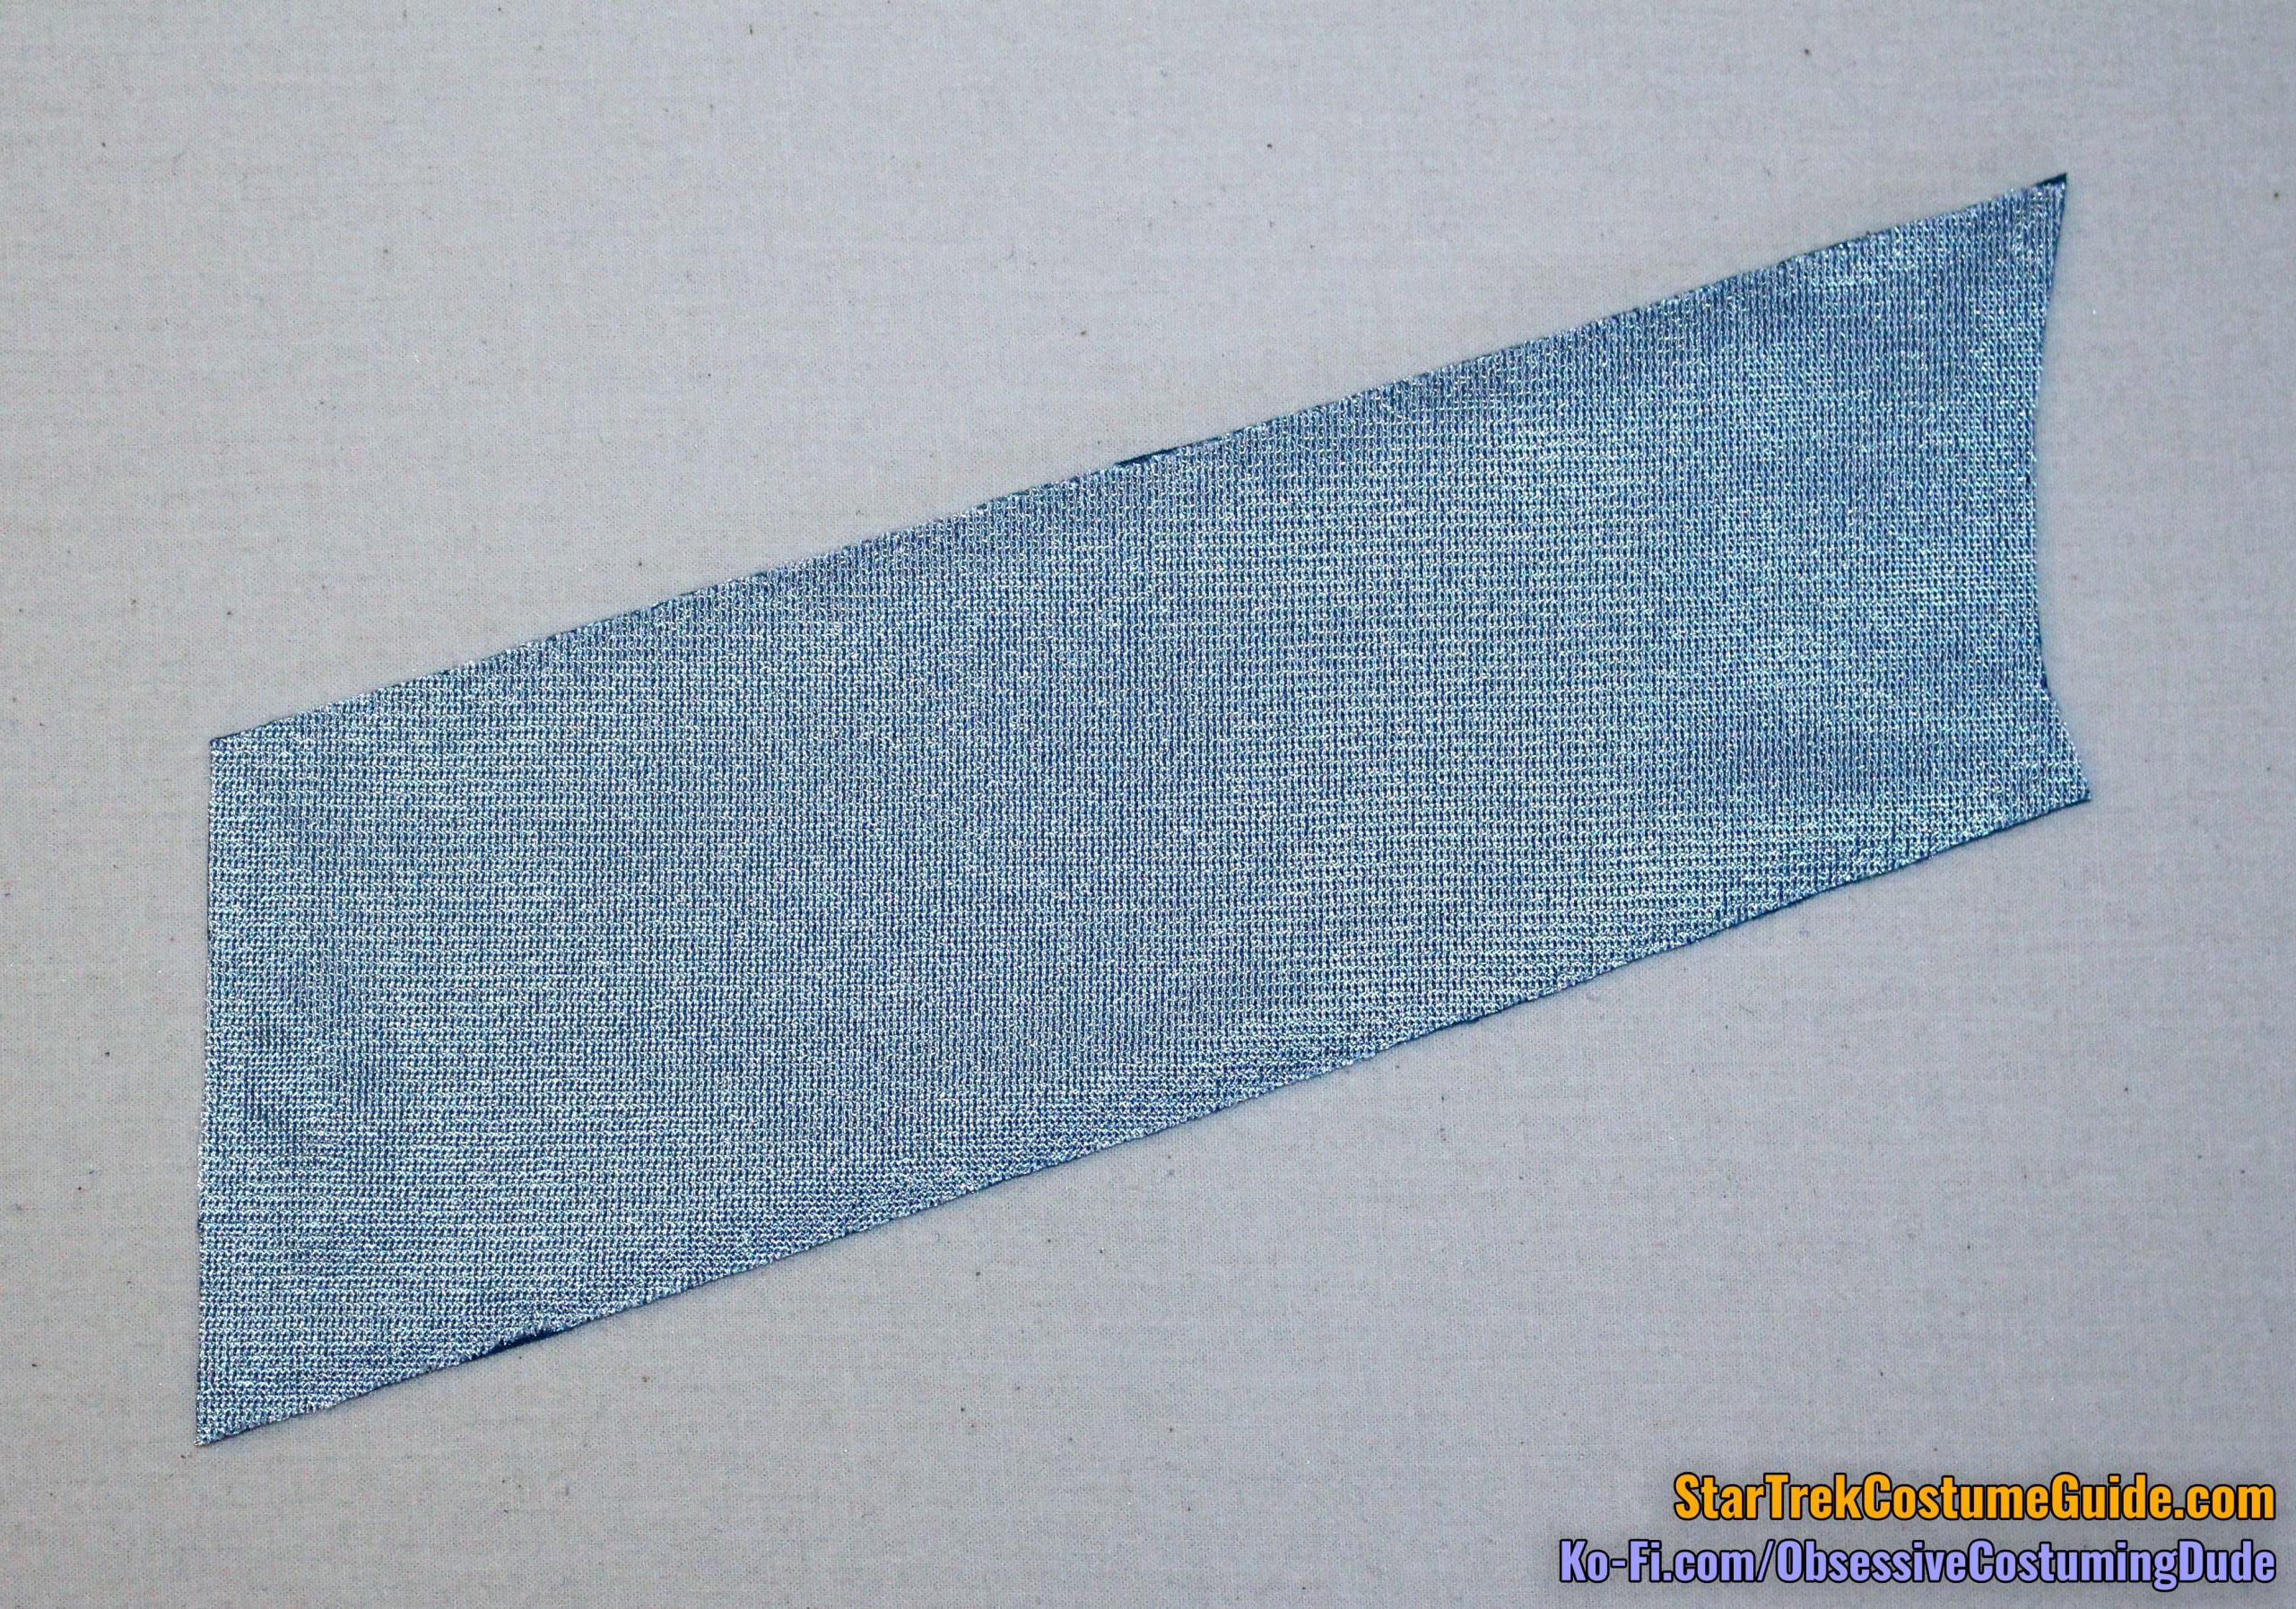
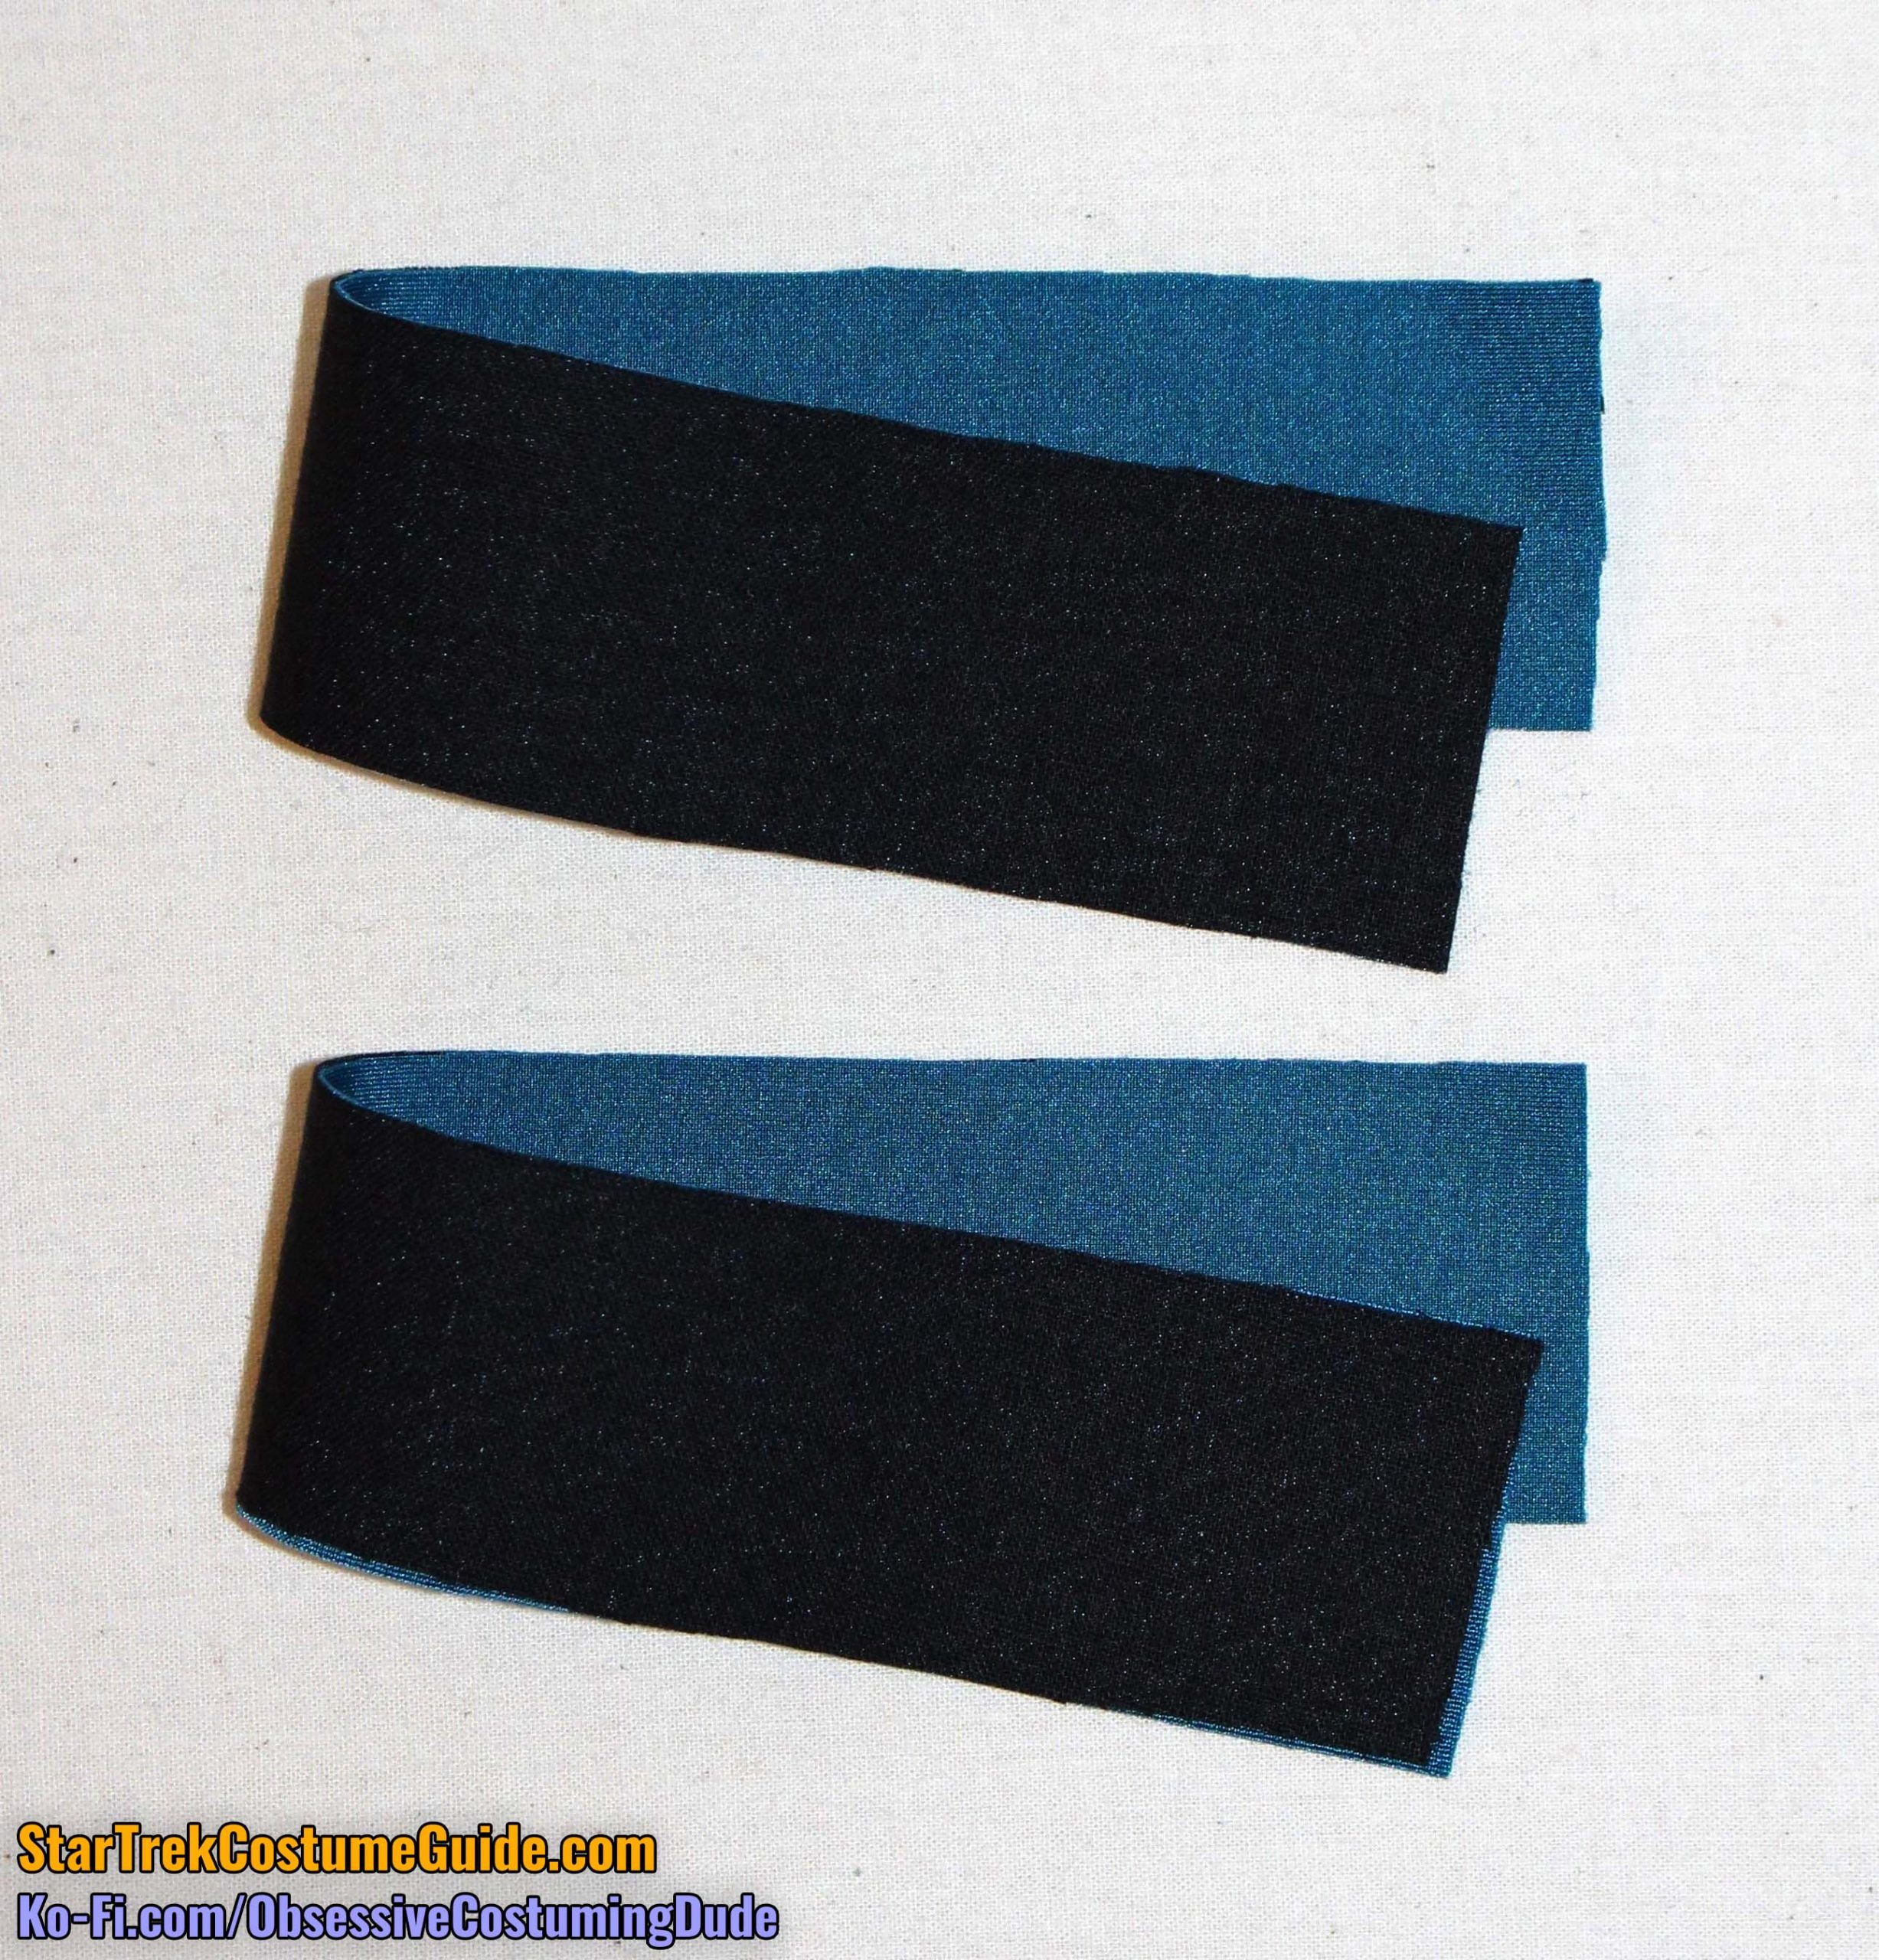
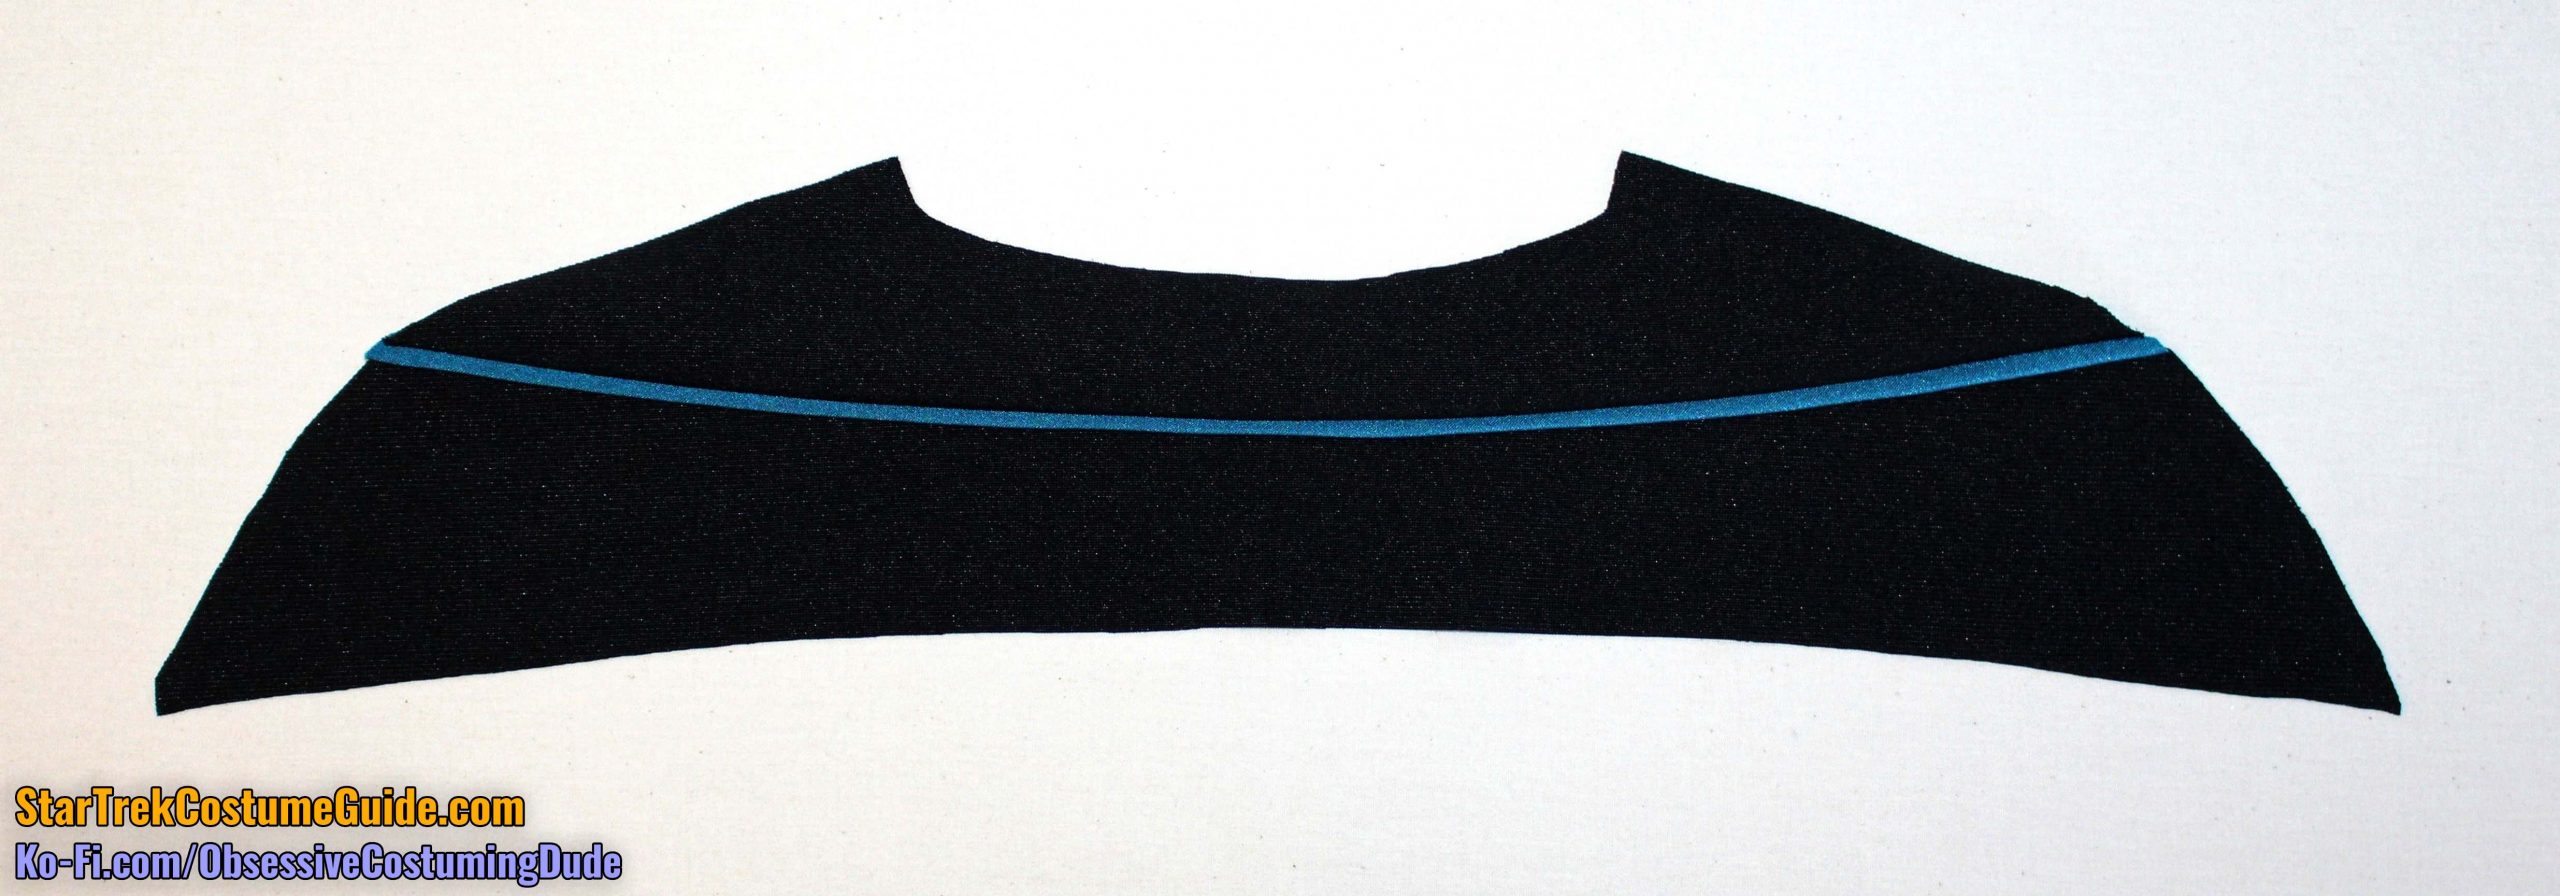
For the front yoke assembly, you’ll need the upper front yoke (piece A), lower front yoke (piece B), and front yoke piping (piece F).
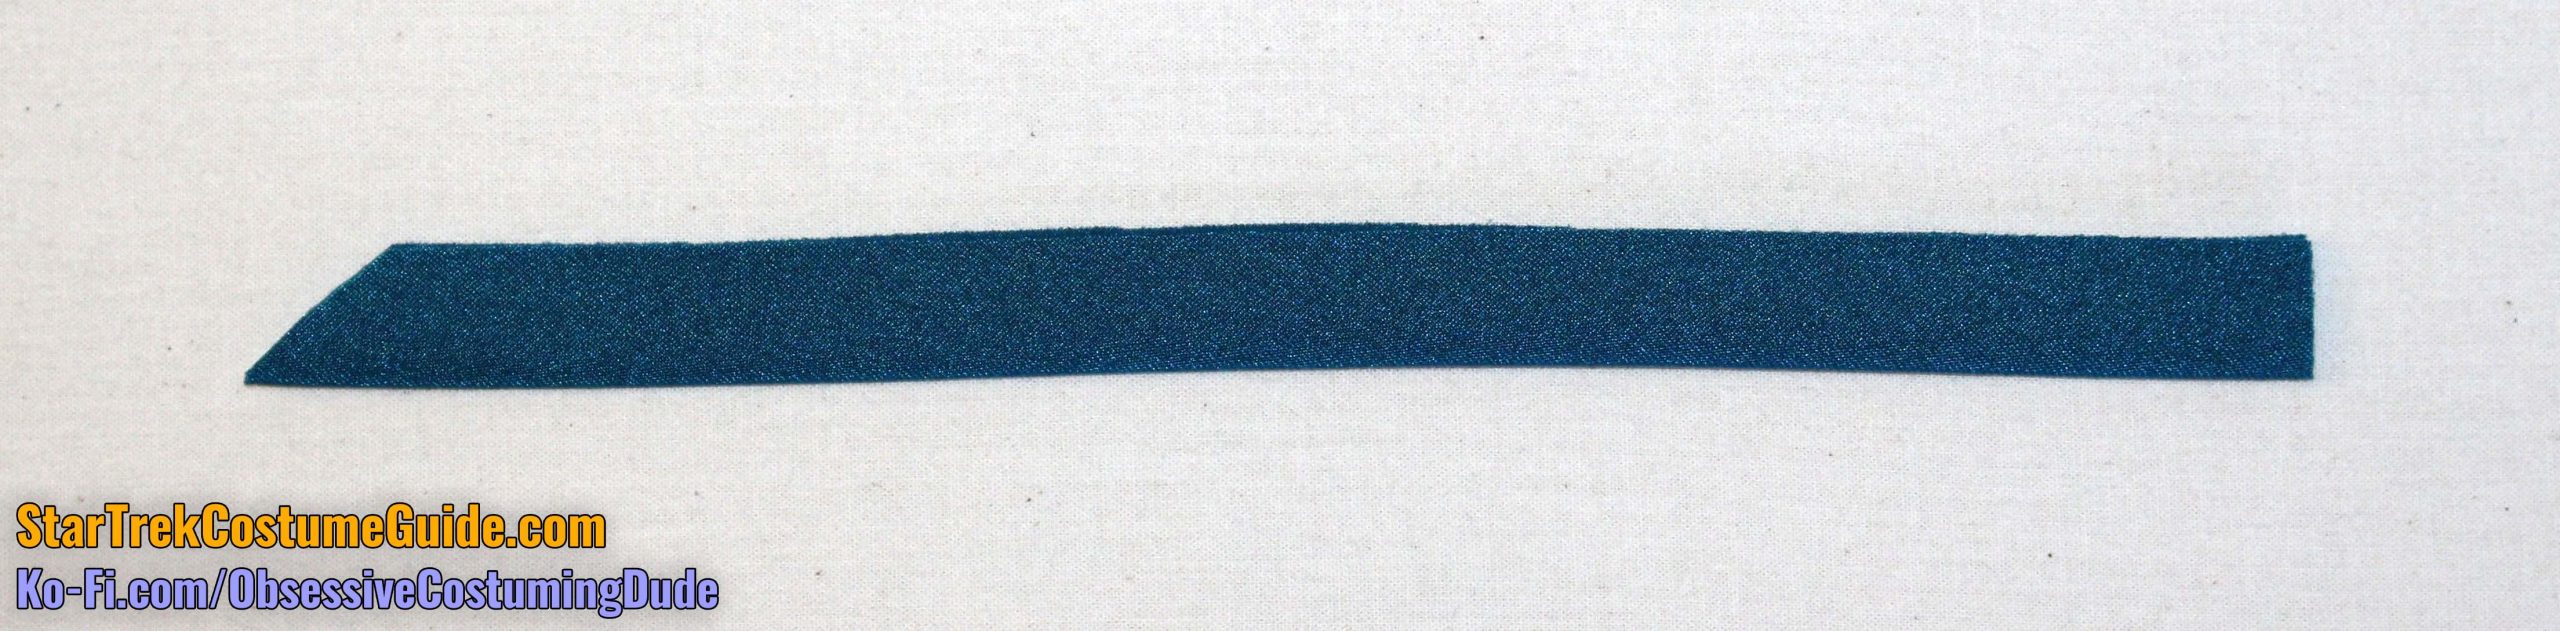
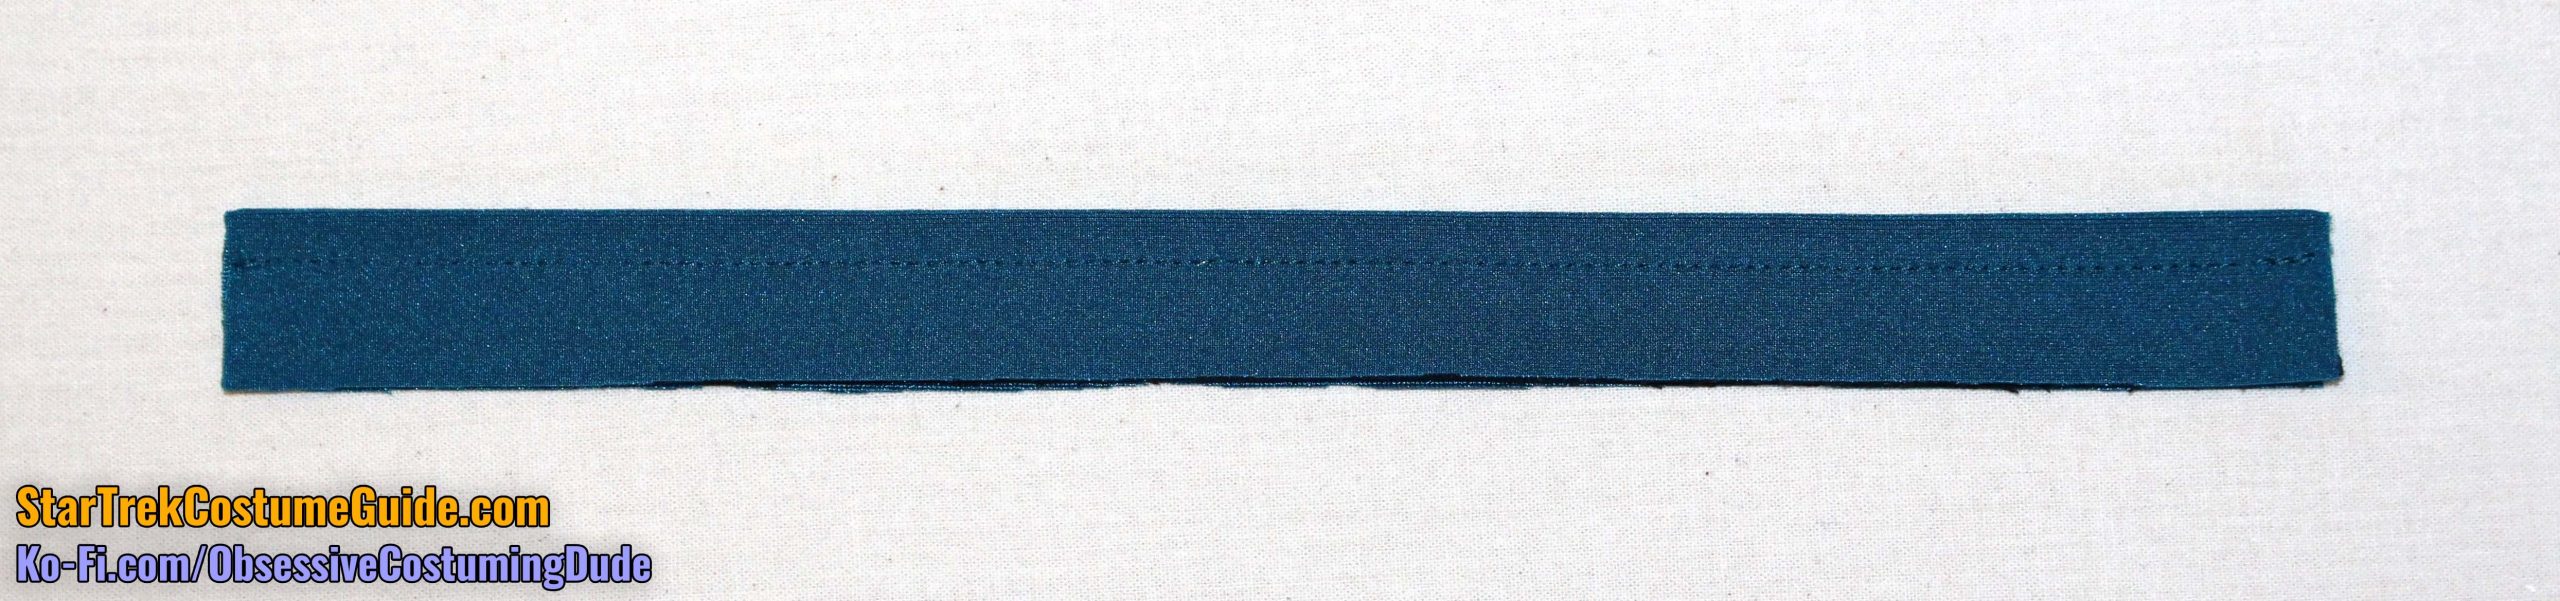
Begin by pressing your front yoke piping in half, lengthwise.
(And if you’re “cheating” and using the same jumbo spandex as the body panels, remember to fold the matte/”dull” sides together so the trim is shiny-sides-out.)
Pin the front yoke piping to the lower front yoke, folded side down, with the upper and centermost edges flush.
Using black thread, sew the front yoke piping to the lower front yoke ⅜” from the upper edge.
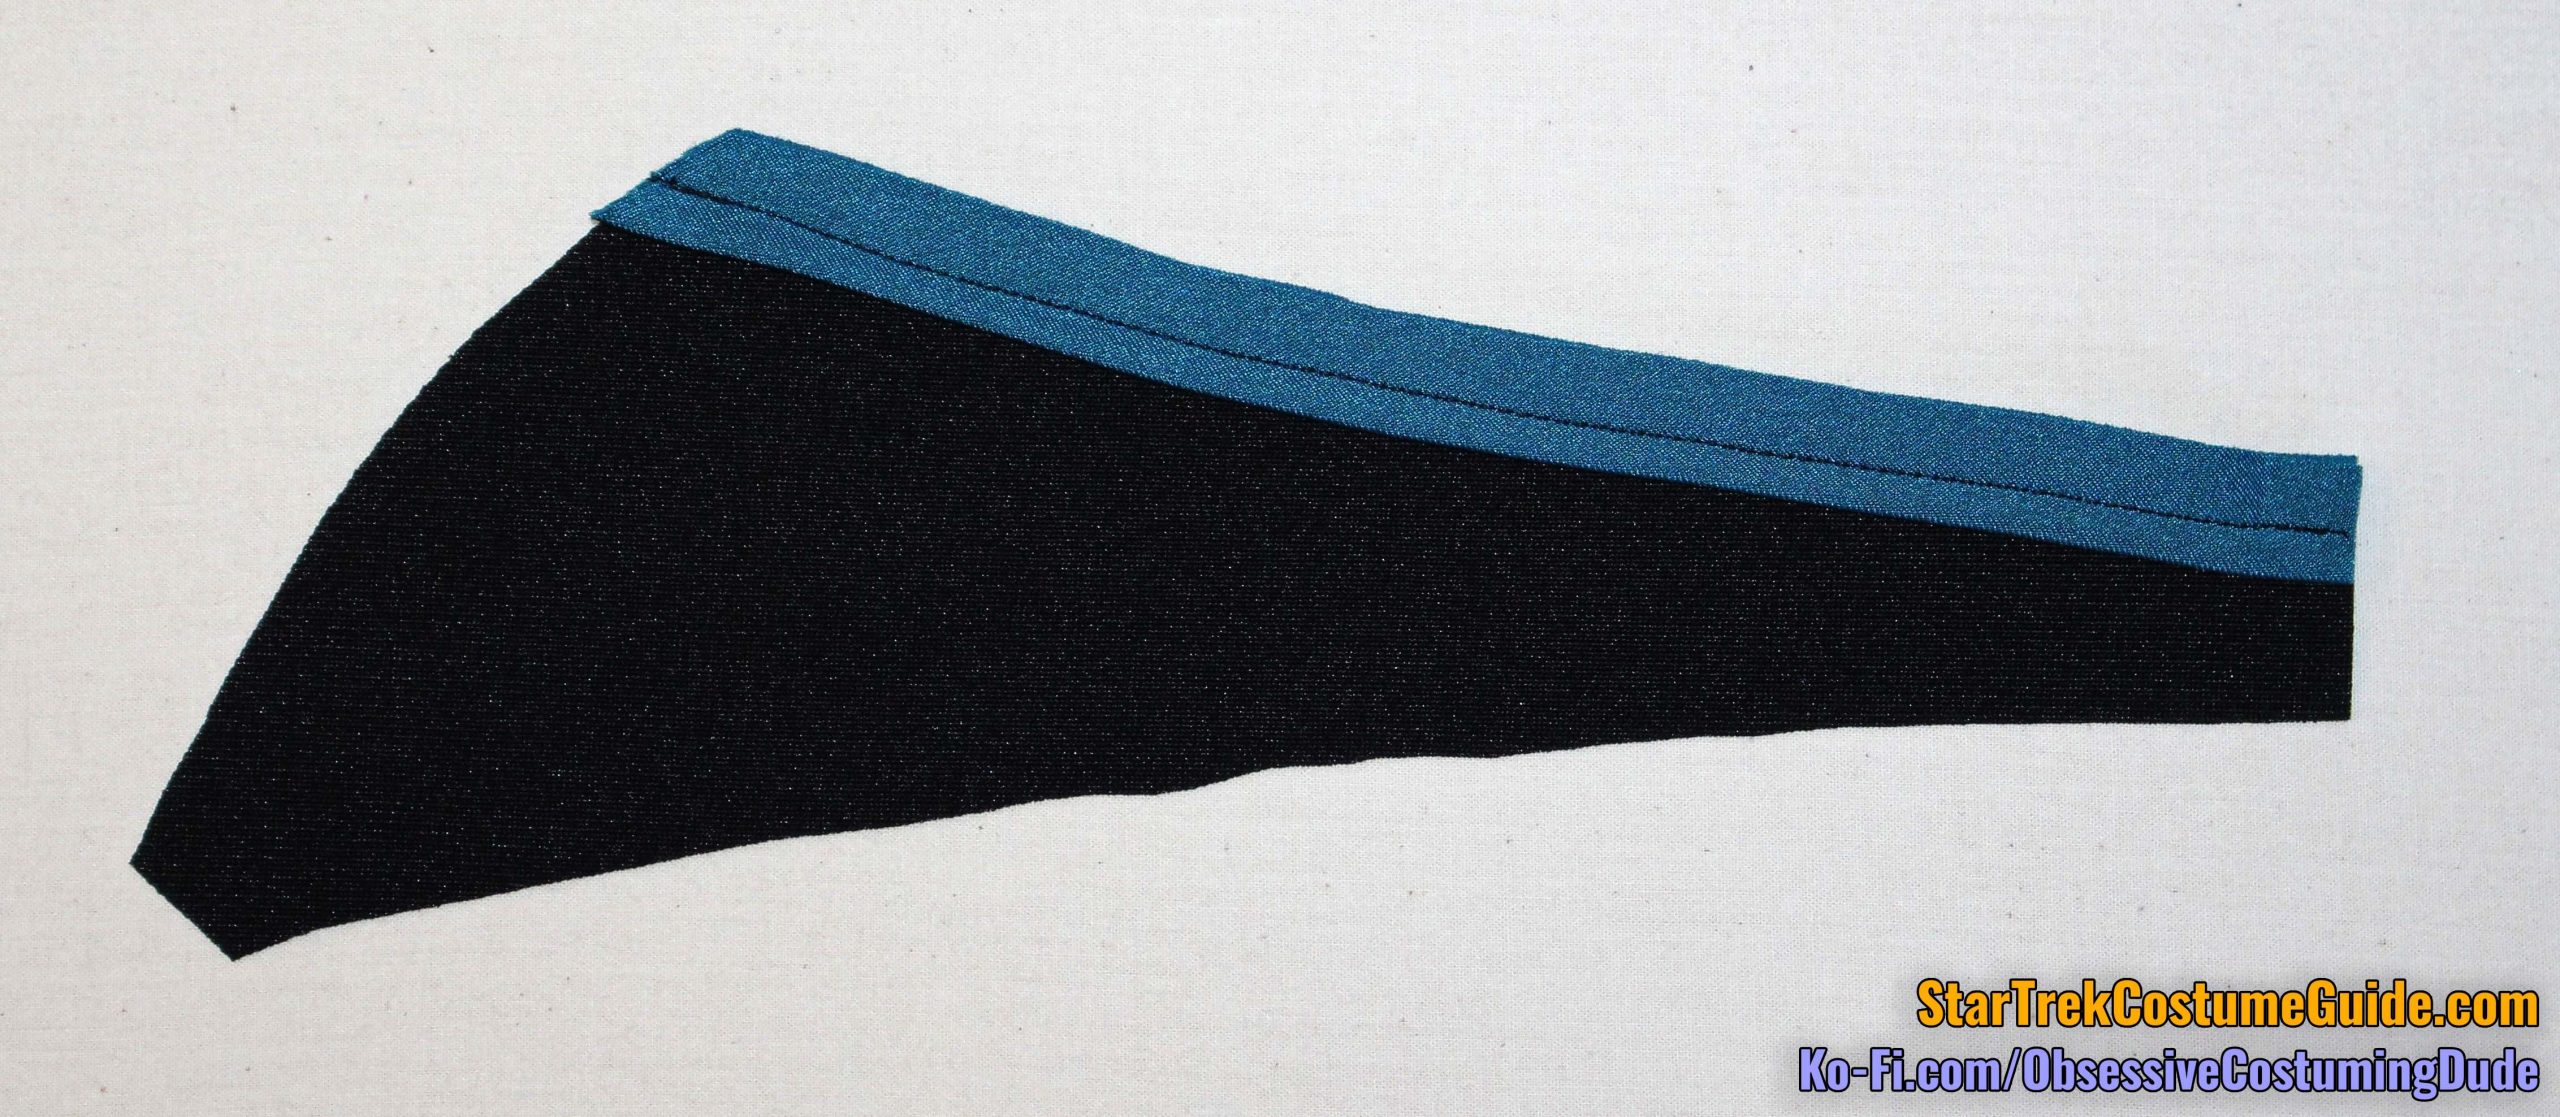
Sew the upper yoke to the lower yoke with ⅜” seam allowance, exactly over the previous stitch line.
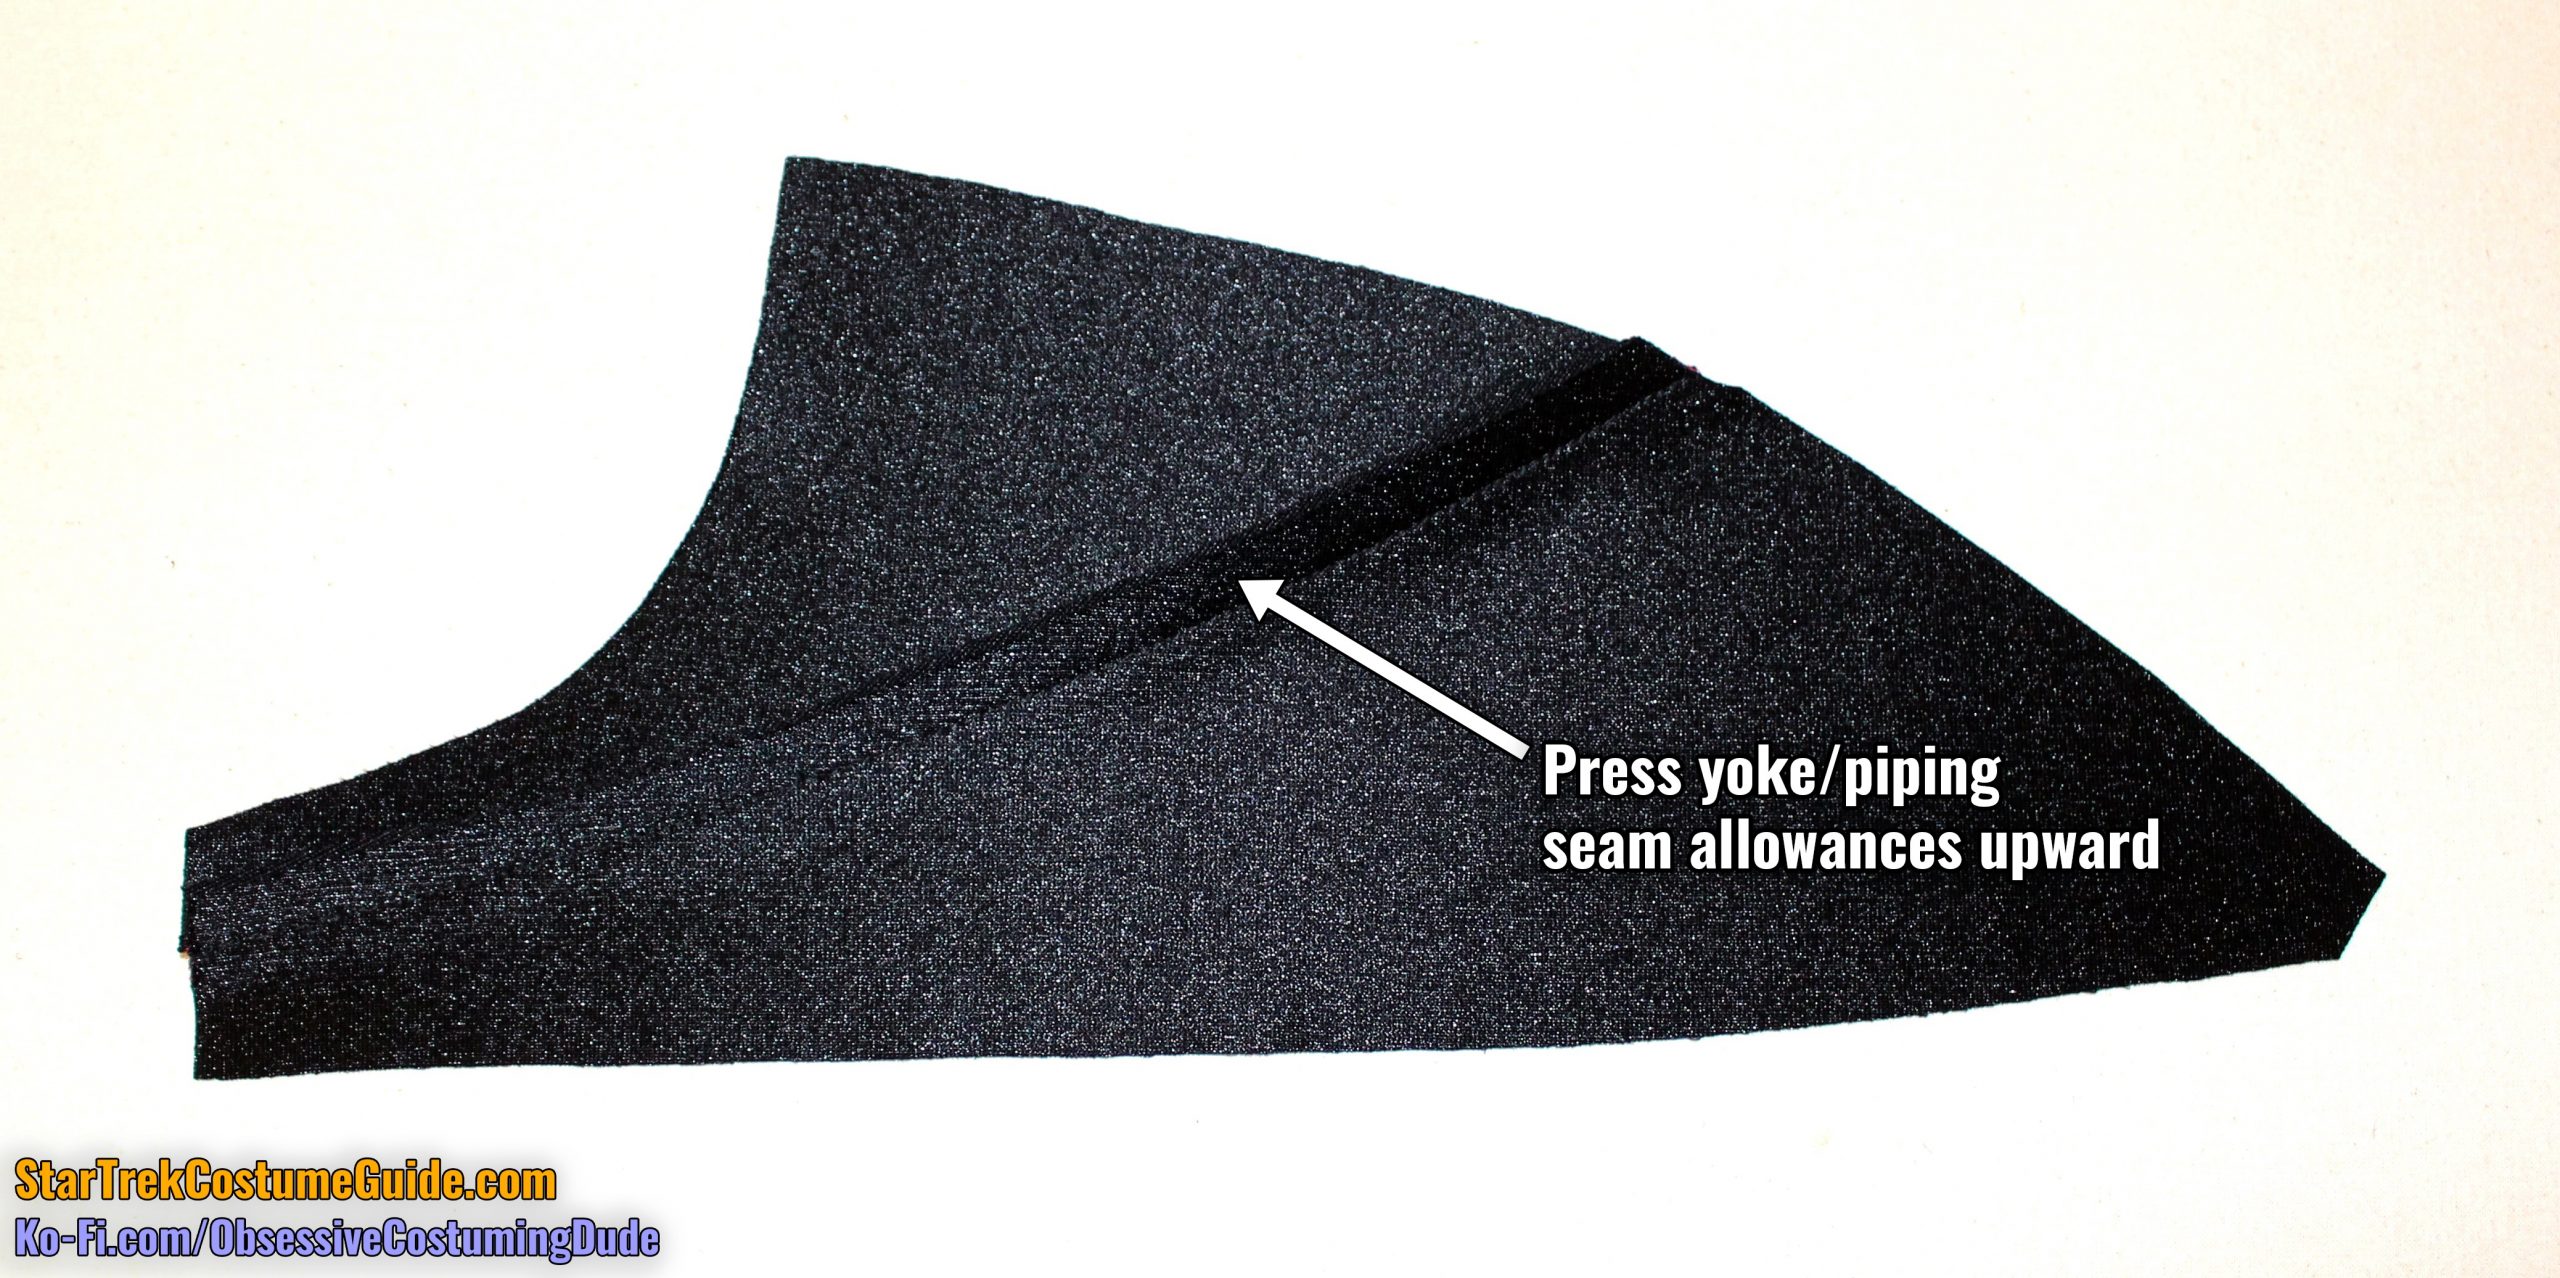
Press the upper yoke and seam allowances upward.
TIP: Use a quilting/walking foot to sew through all those layers, to help prevent undesired stretching and/or sliding.
Pull the yoke seam allowances out of the way, and carefully trim the piping seam allowances down to ⅛”.
Press the seam allowances upward again.
(TNG skant yoke pictured)
Switch to teal thread.
Sew the bust dart closed on the upper front (piece 1A).
Interface your front waistband (piece 1B) with a white, lightweight knit fusible interfacing.
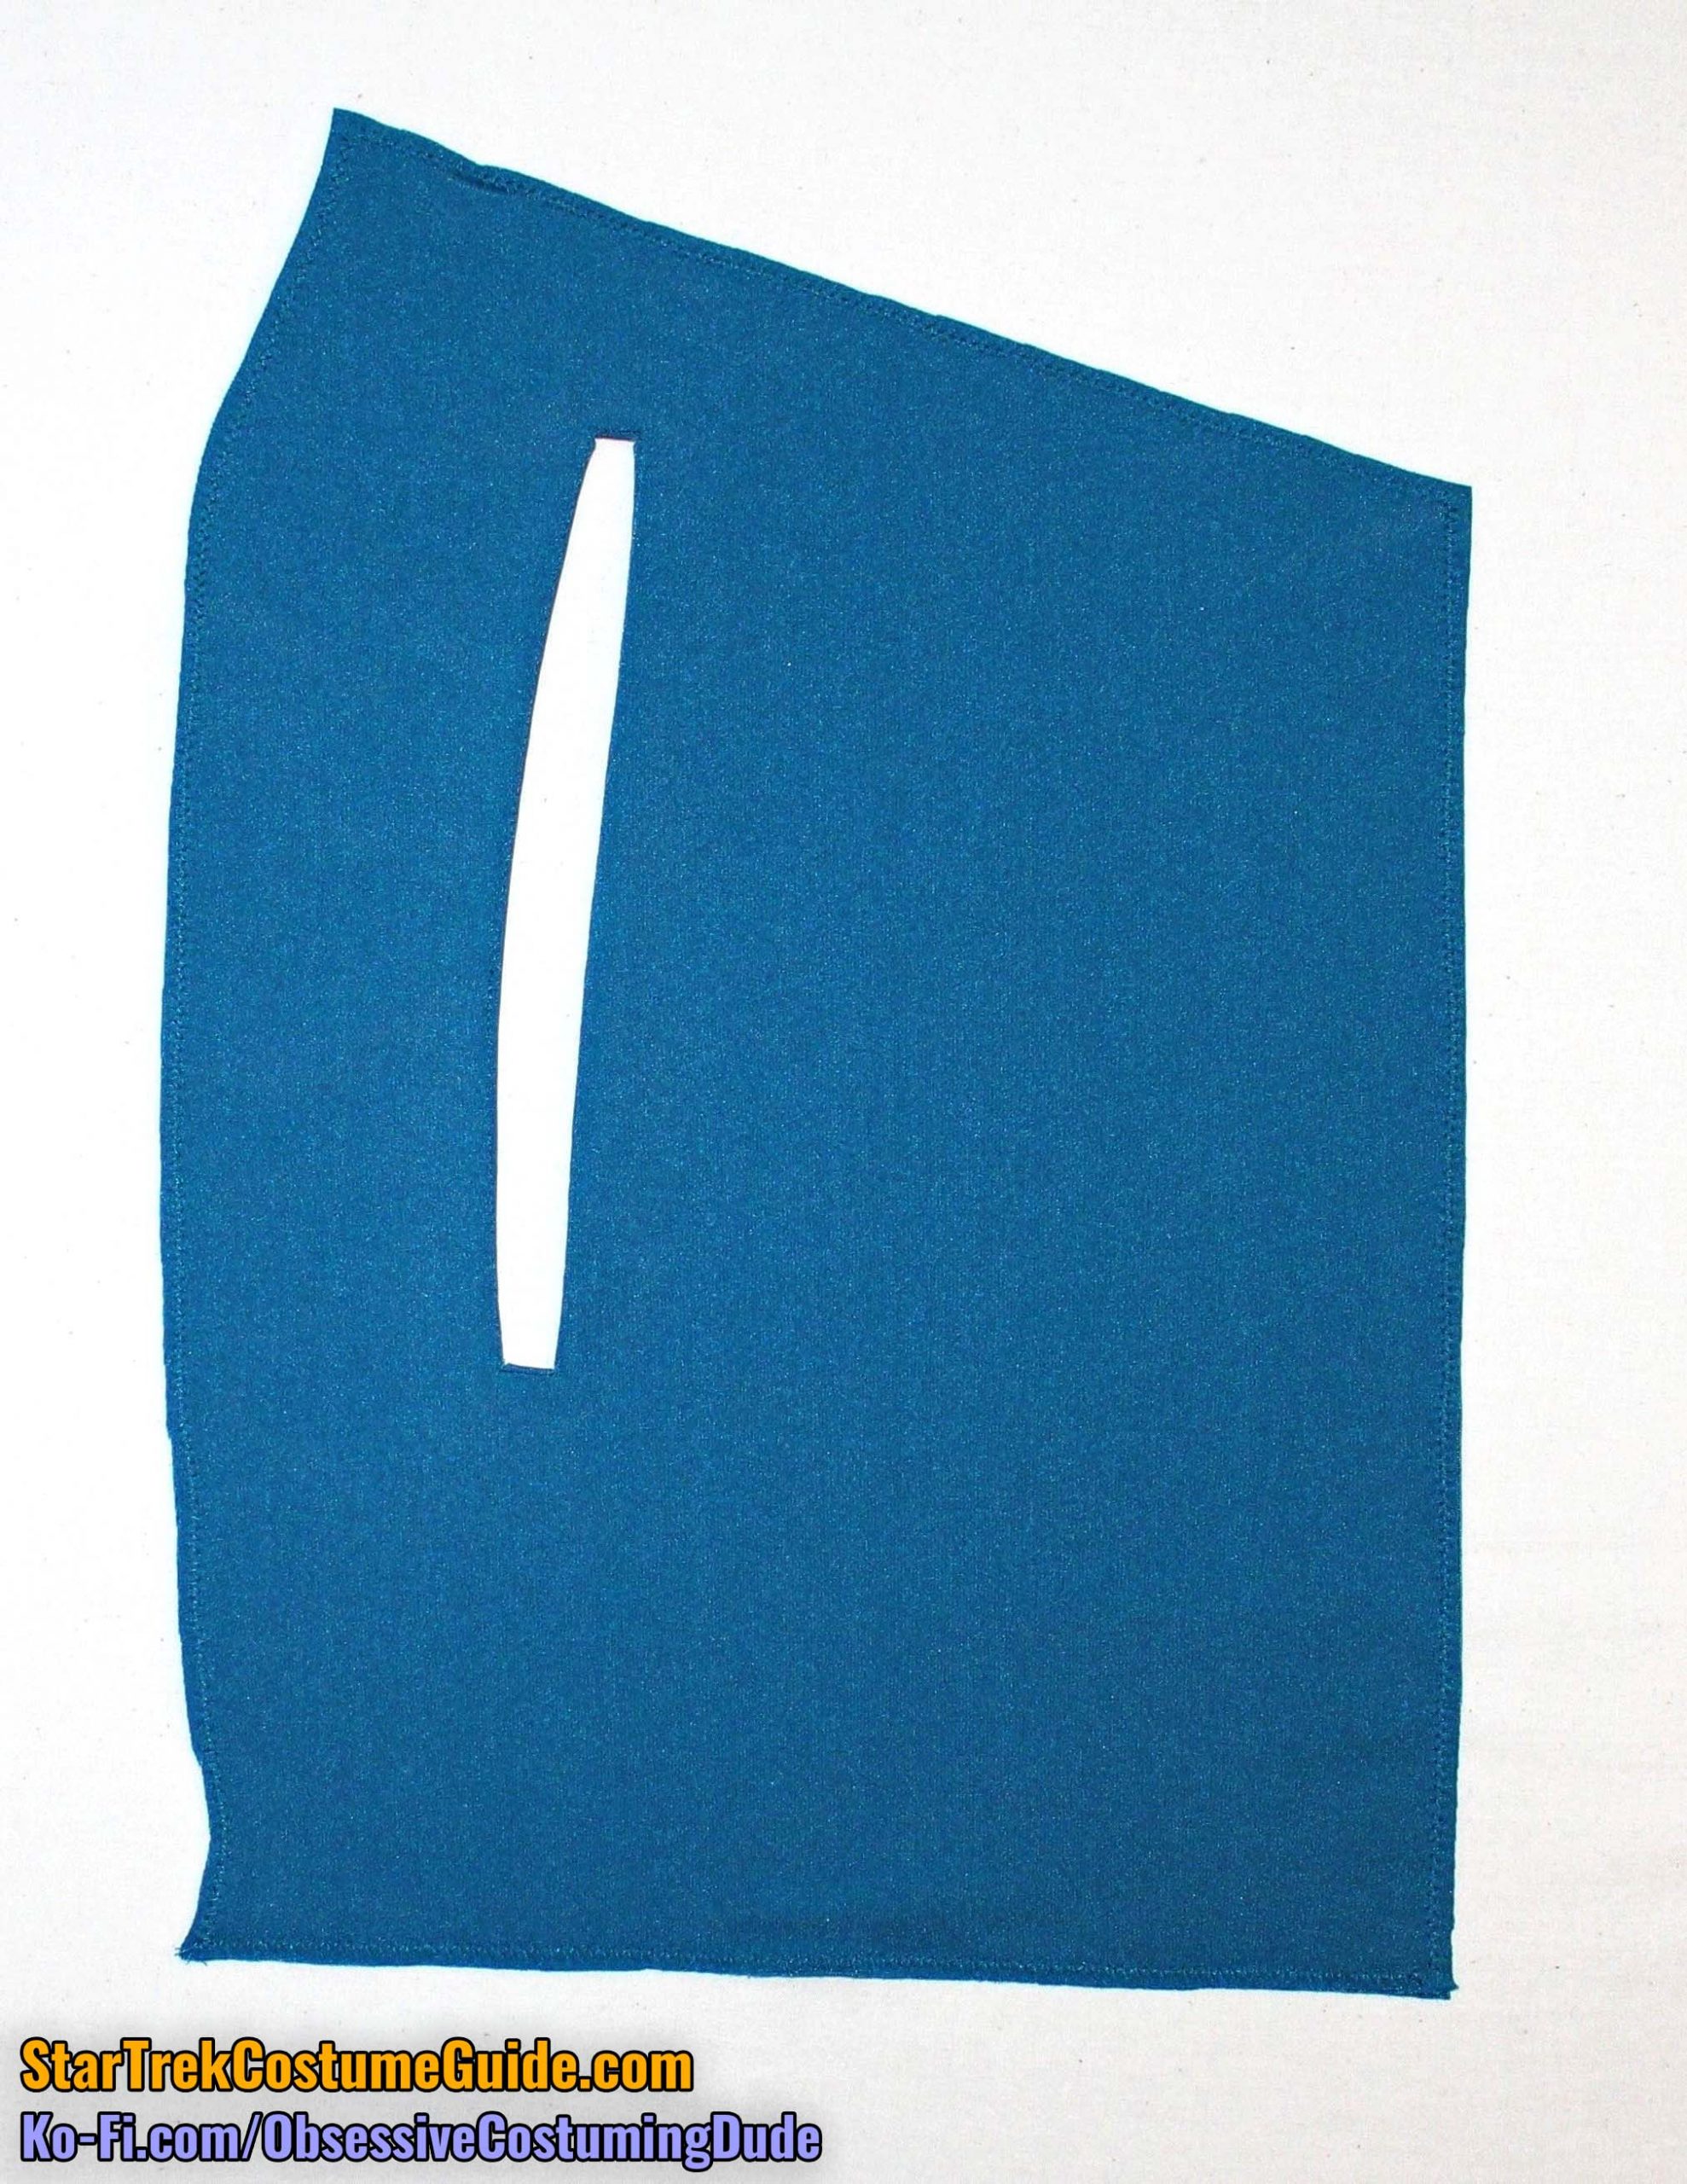
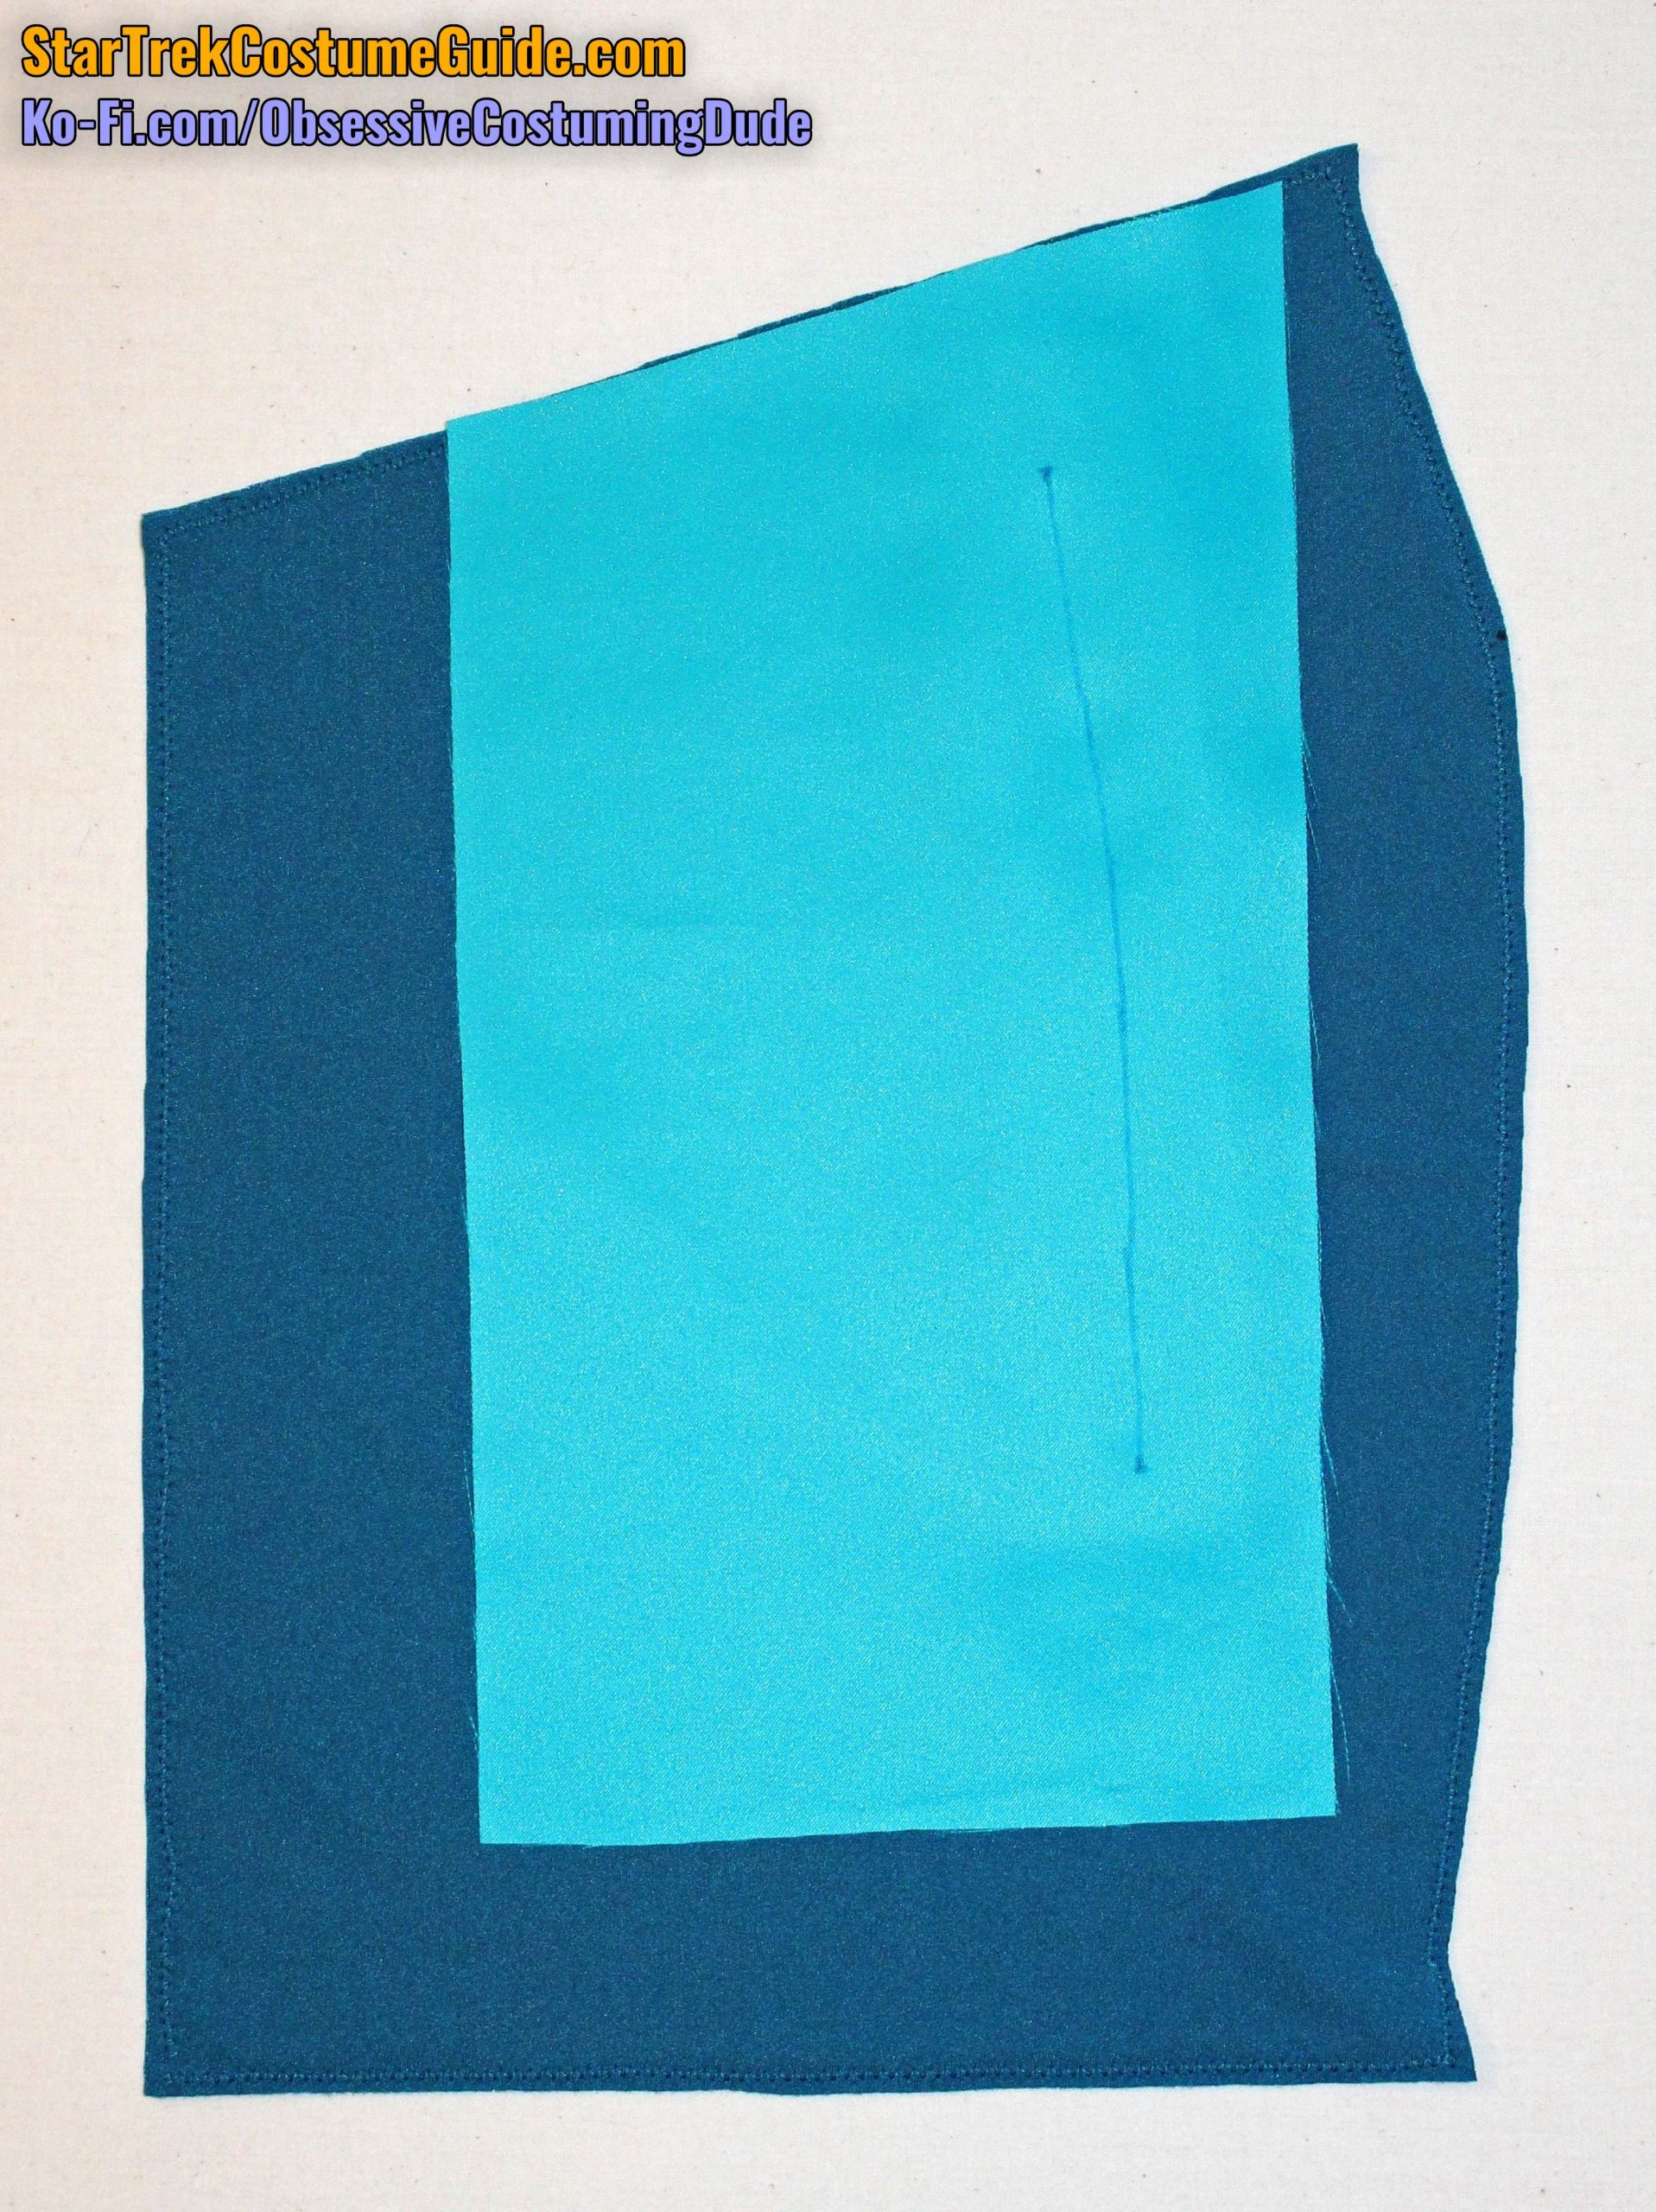
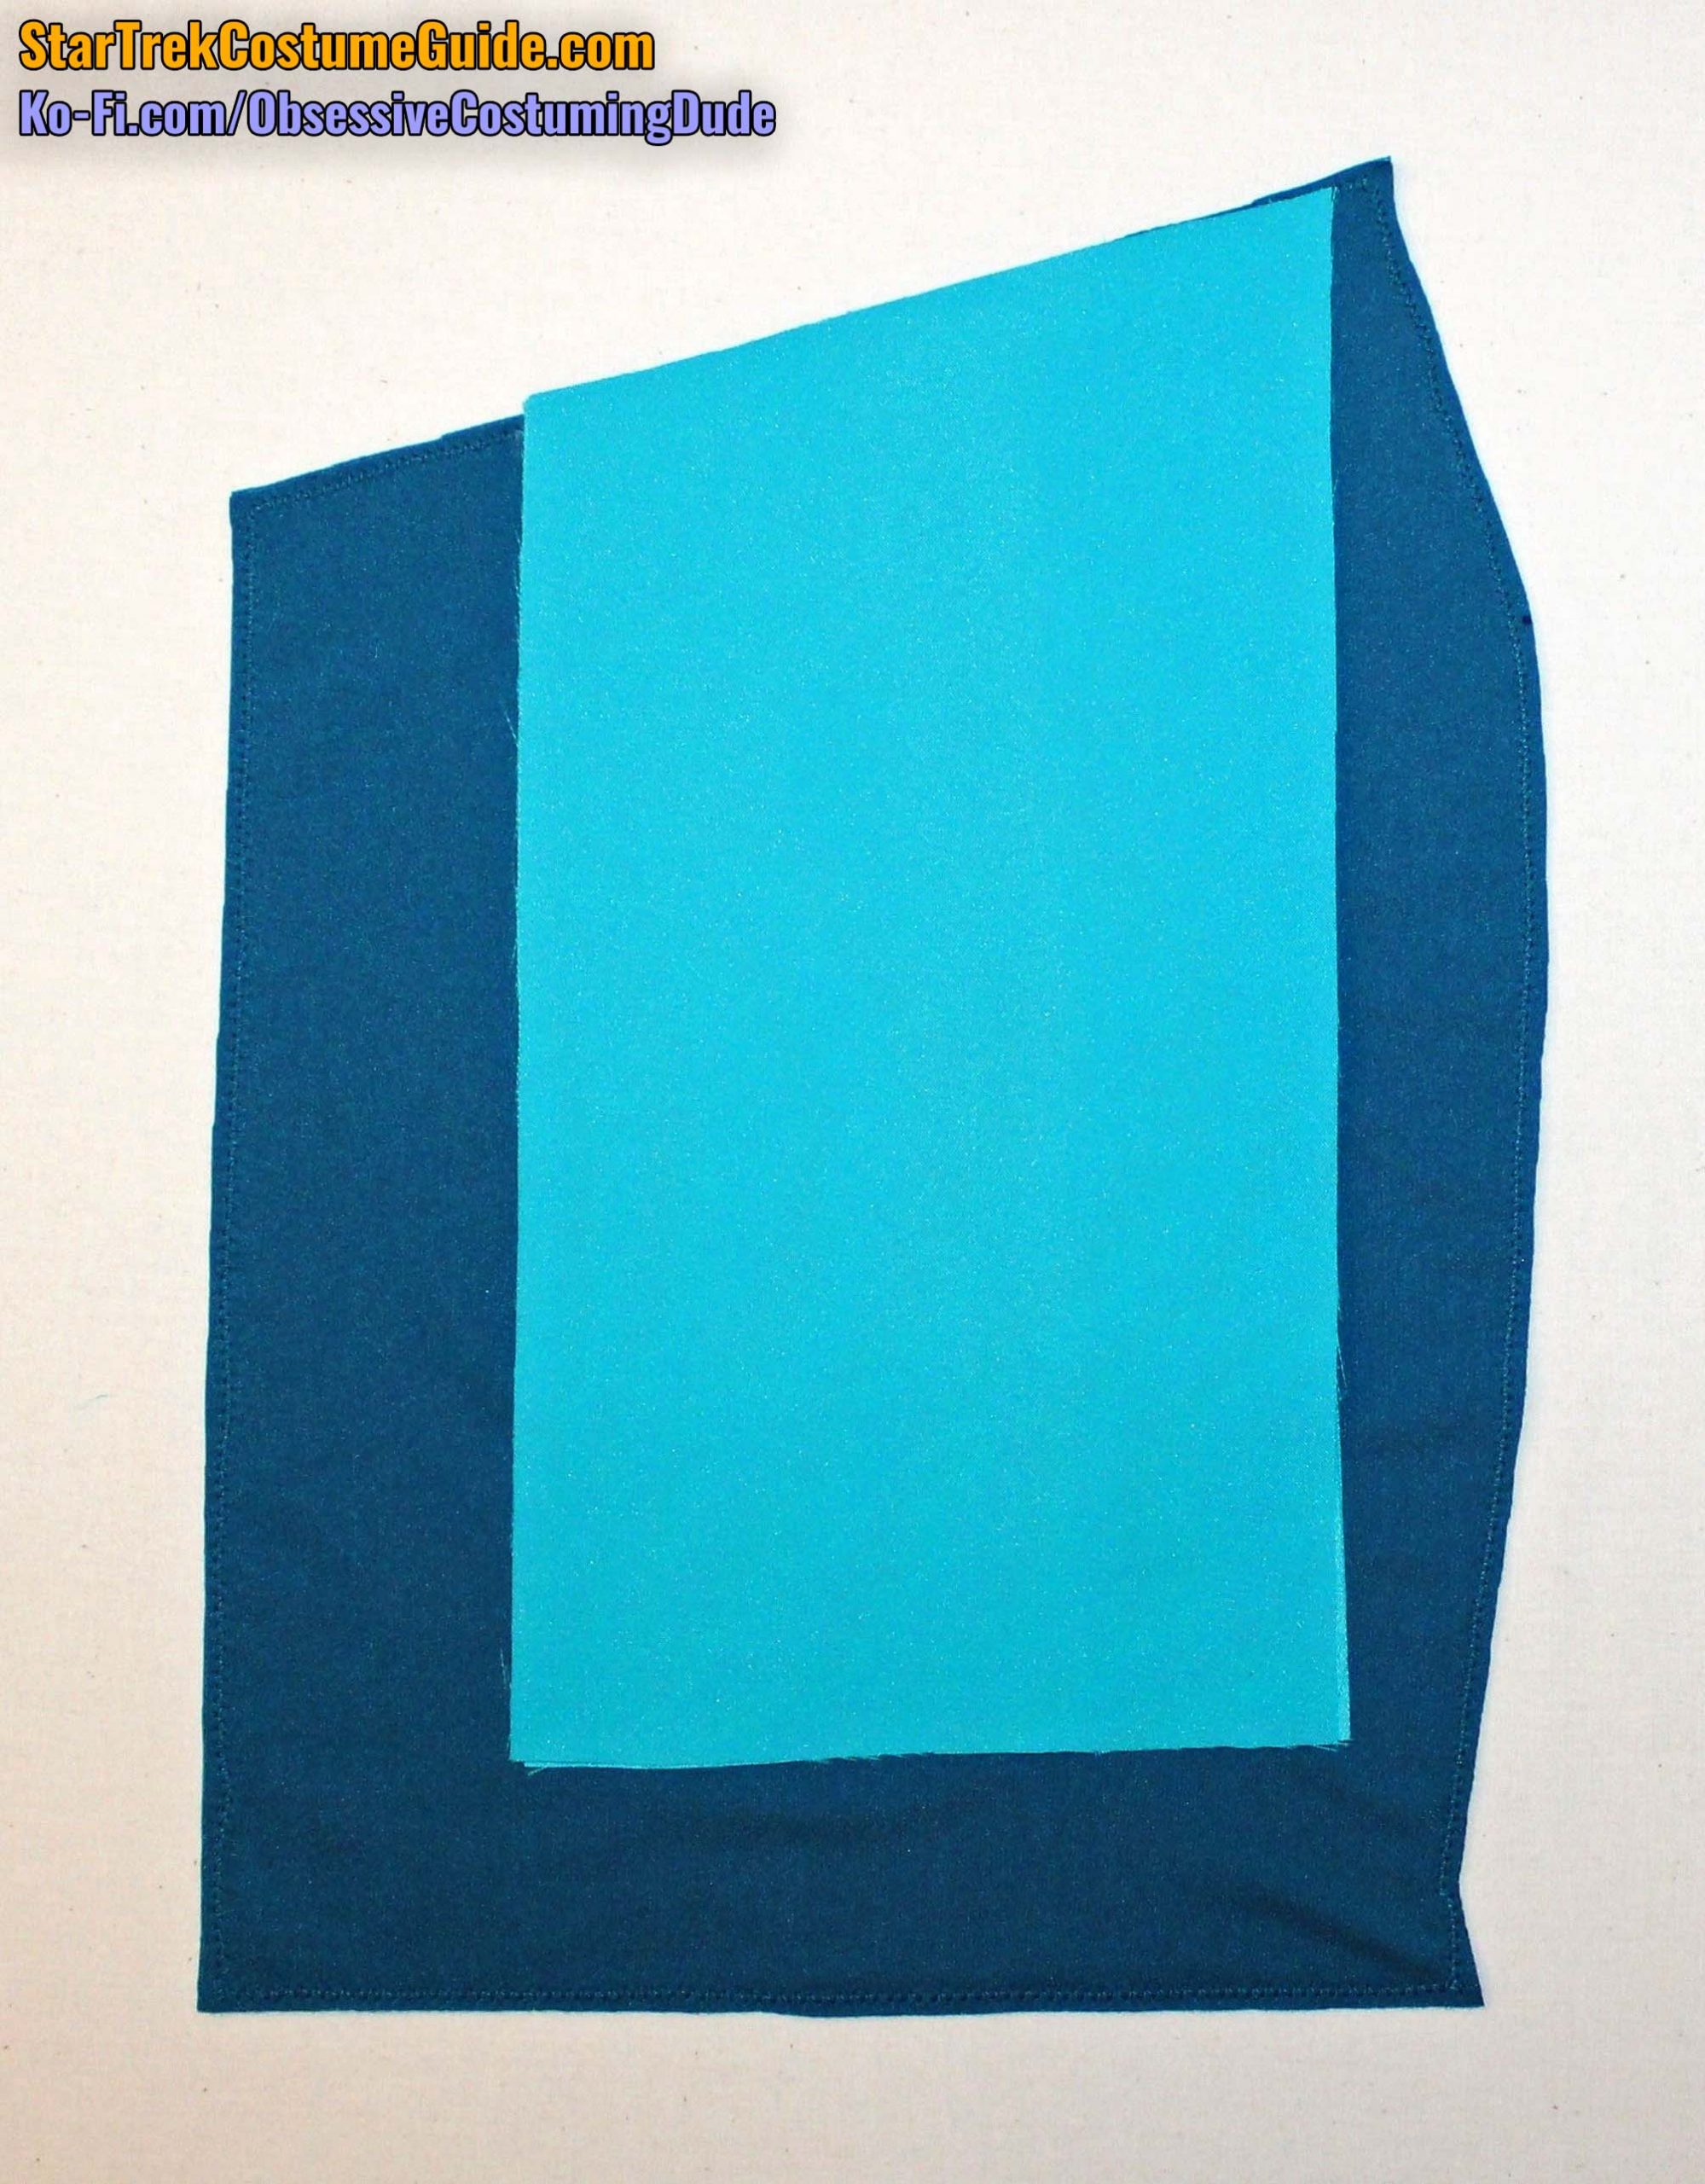
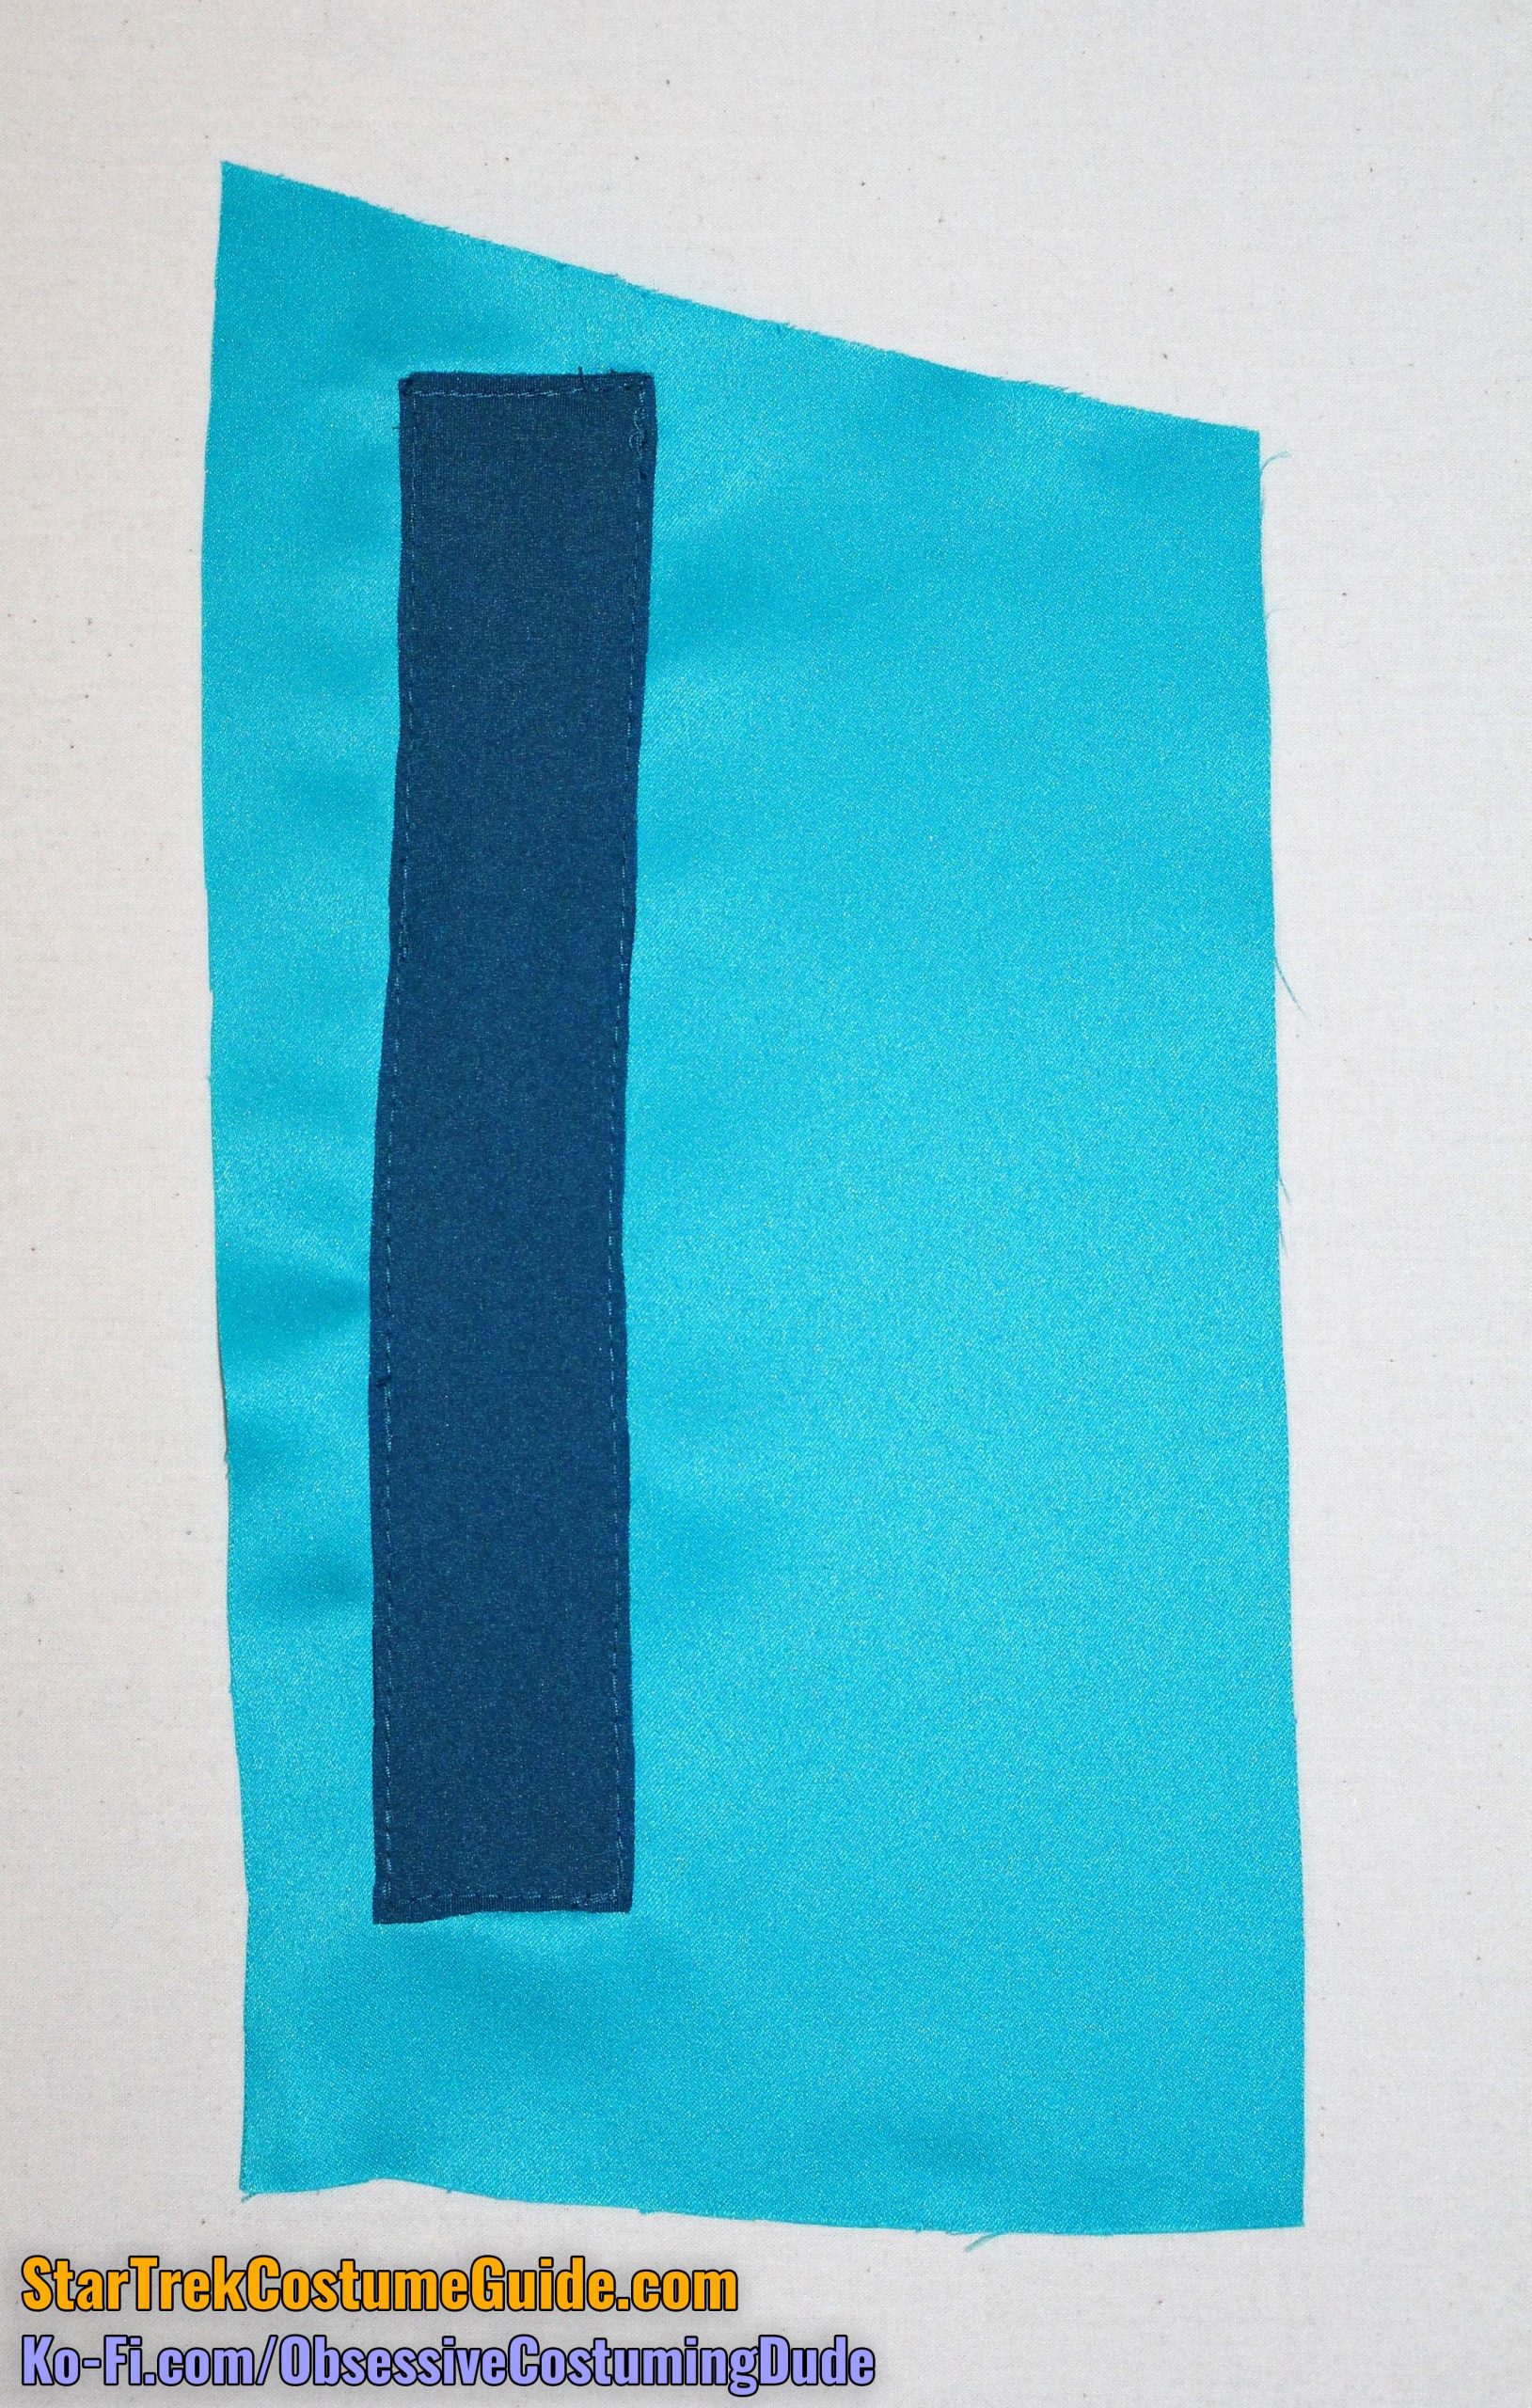
Apply a lightweight fusible interfacing to the pocket area on the wrong side of the lower front (piece 1C).
Also apply a lightweight fusible interfacing to your pocket welts (piece 1I).
Press the pocket welts in half, lengthwise, and stitch them closed ¼” from the folded edges.
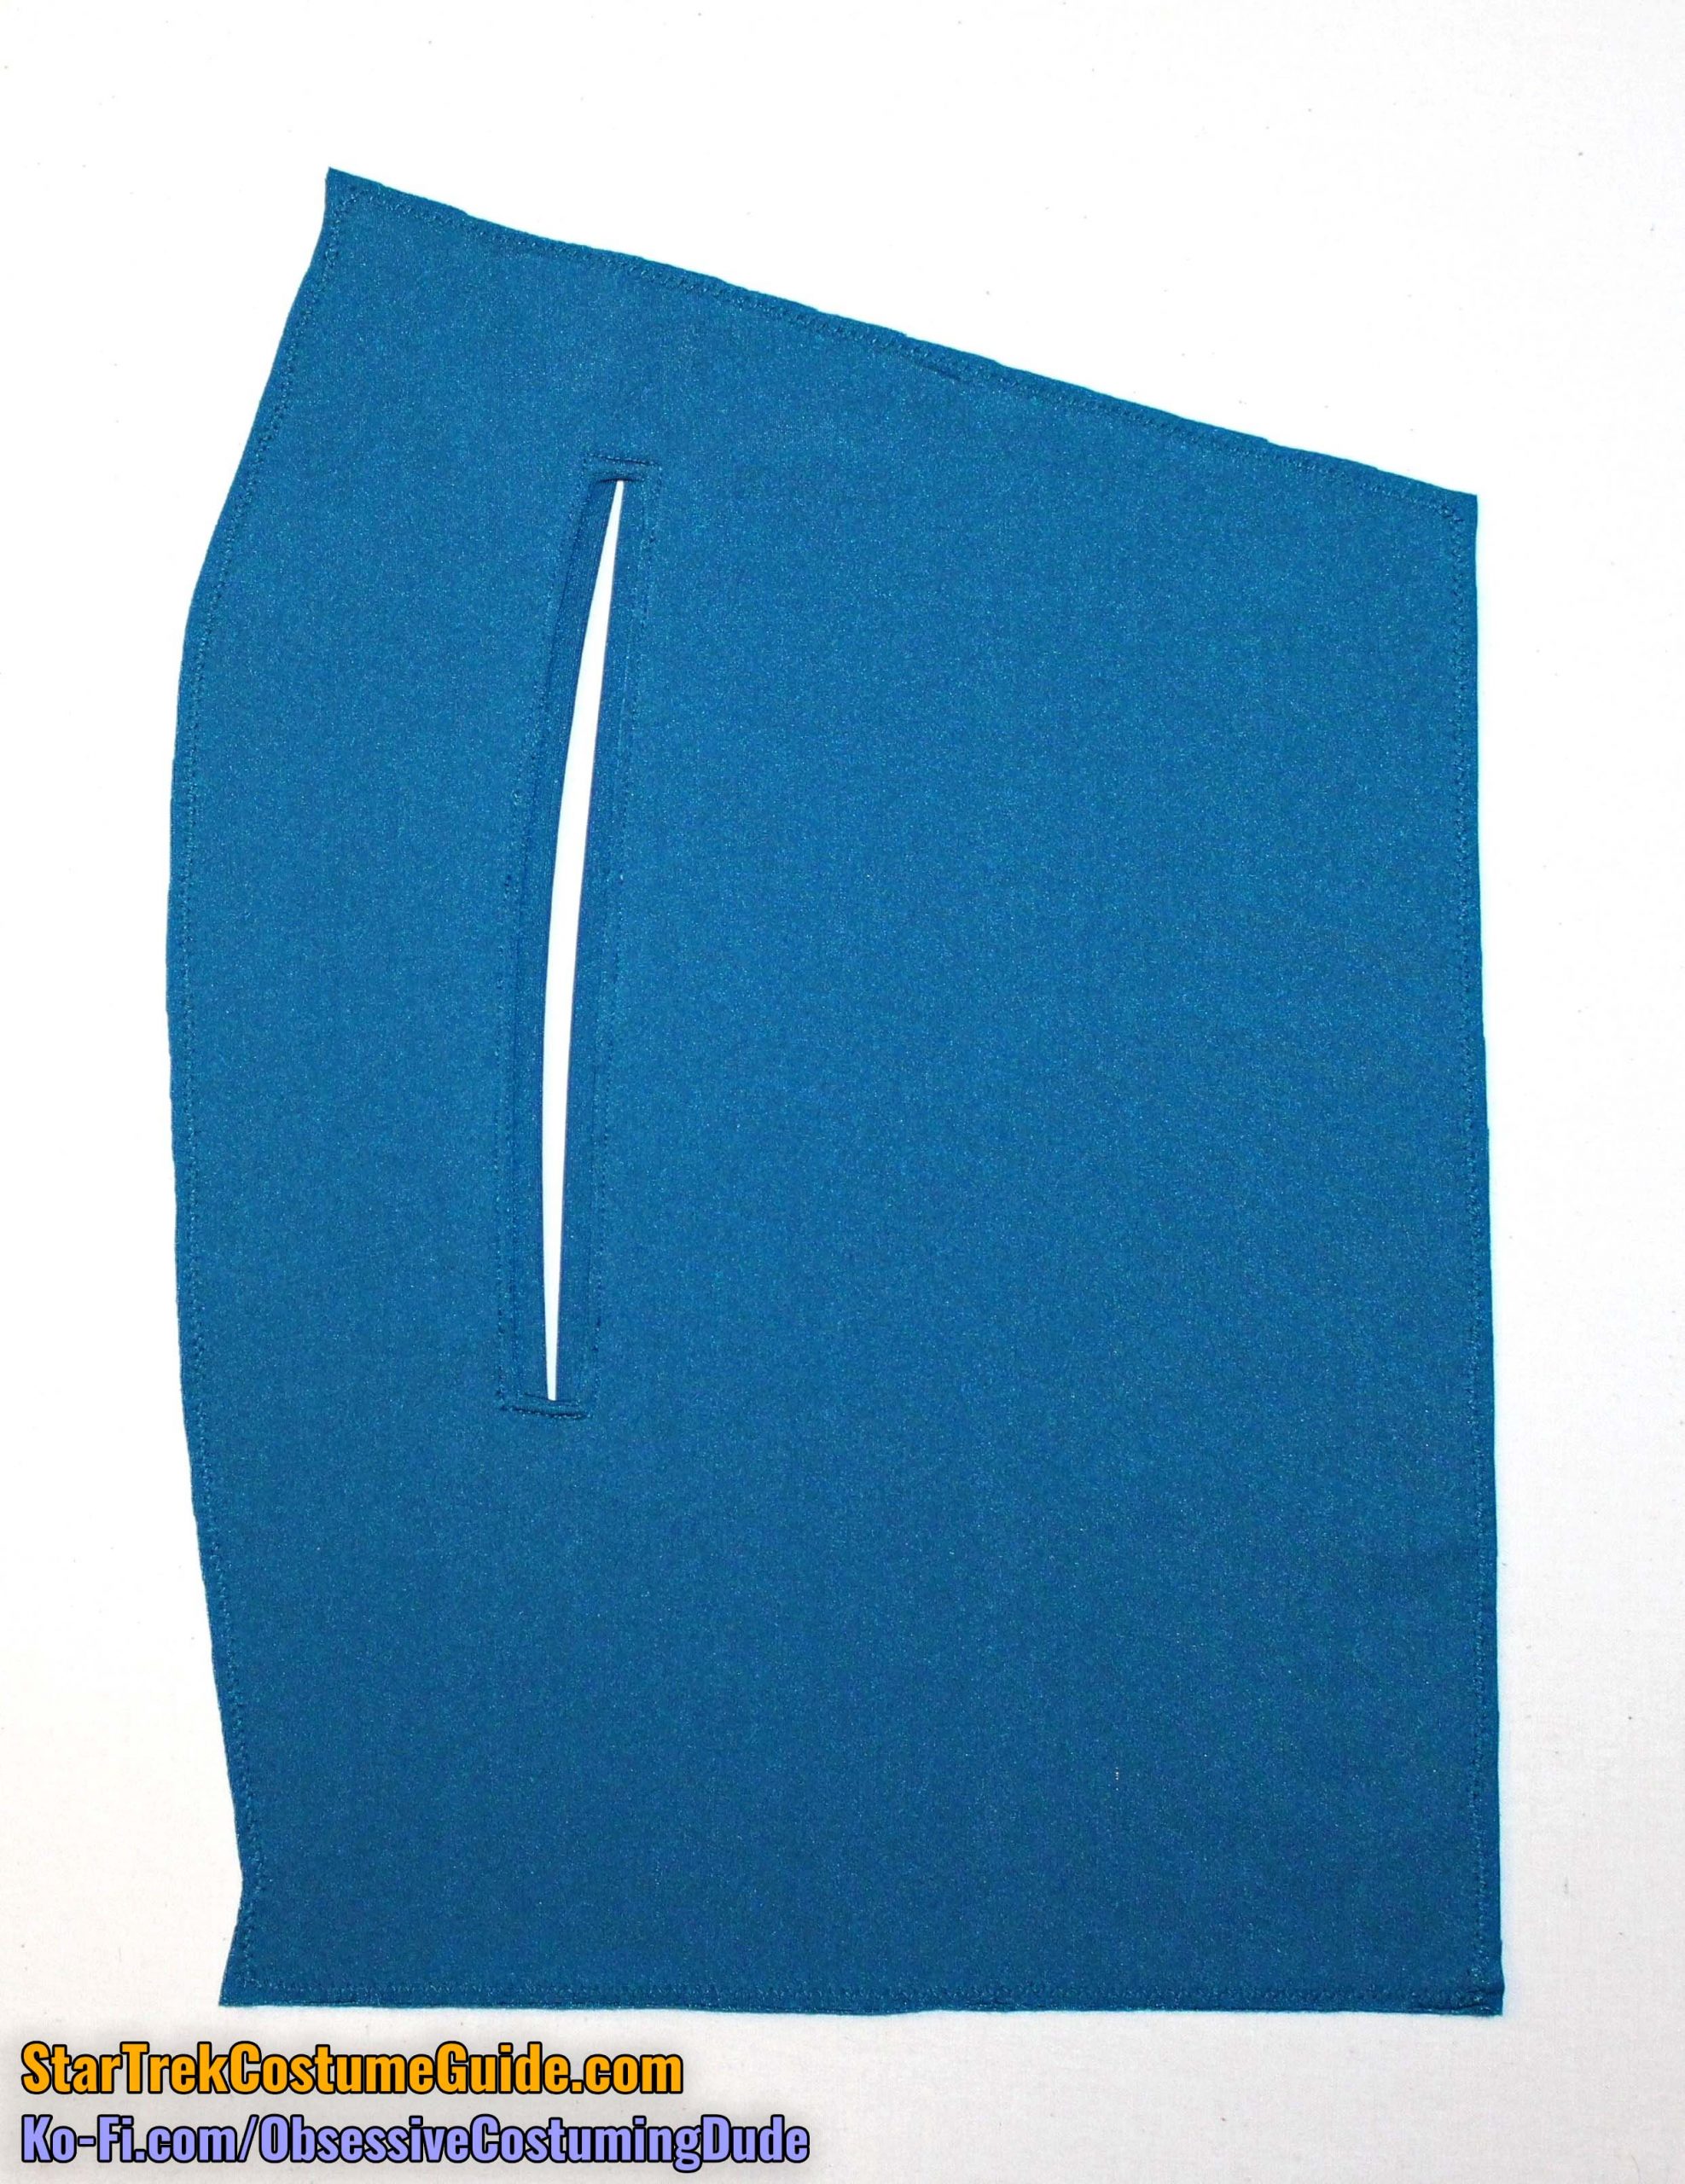
NOTE: The pockets on the screen-used Dr. Pulaski smock I examined were nonfunctional, and the following technique is not how I typically prefer to construct double-welt pockets … but it is how I believe the original pockets were constructed.
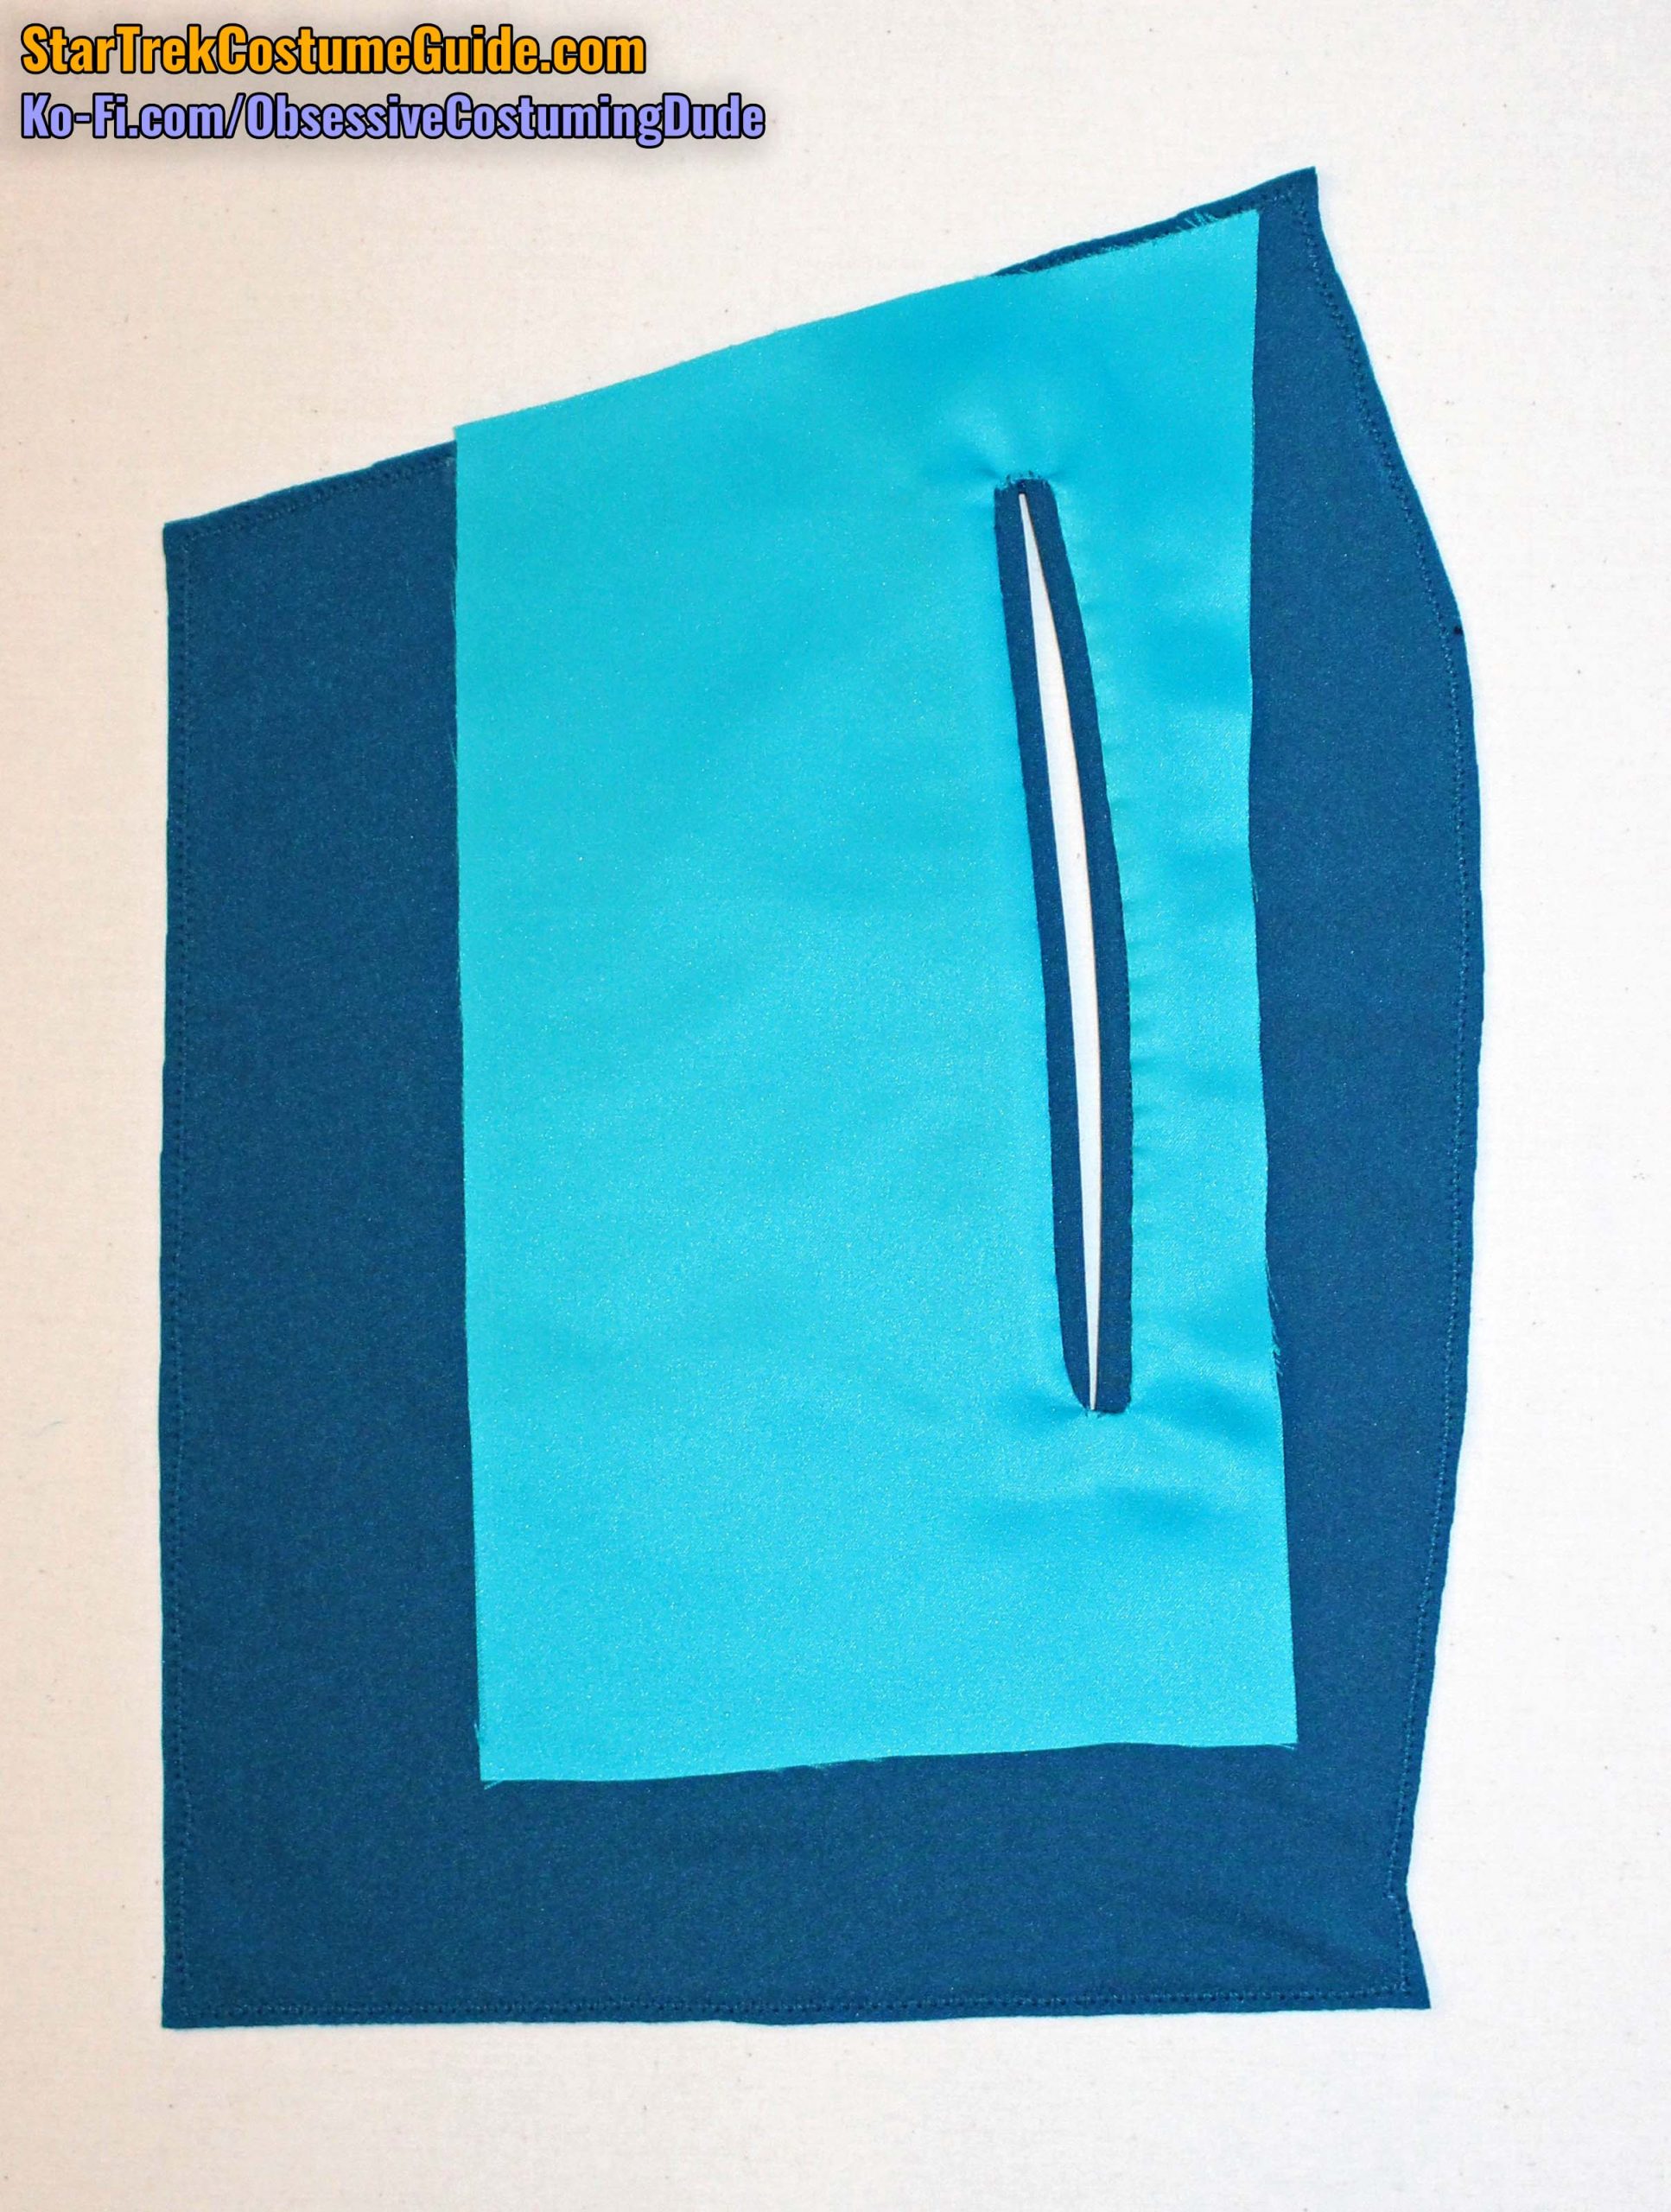
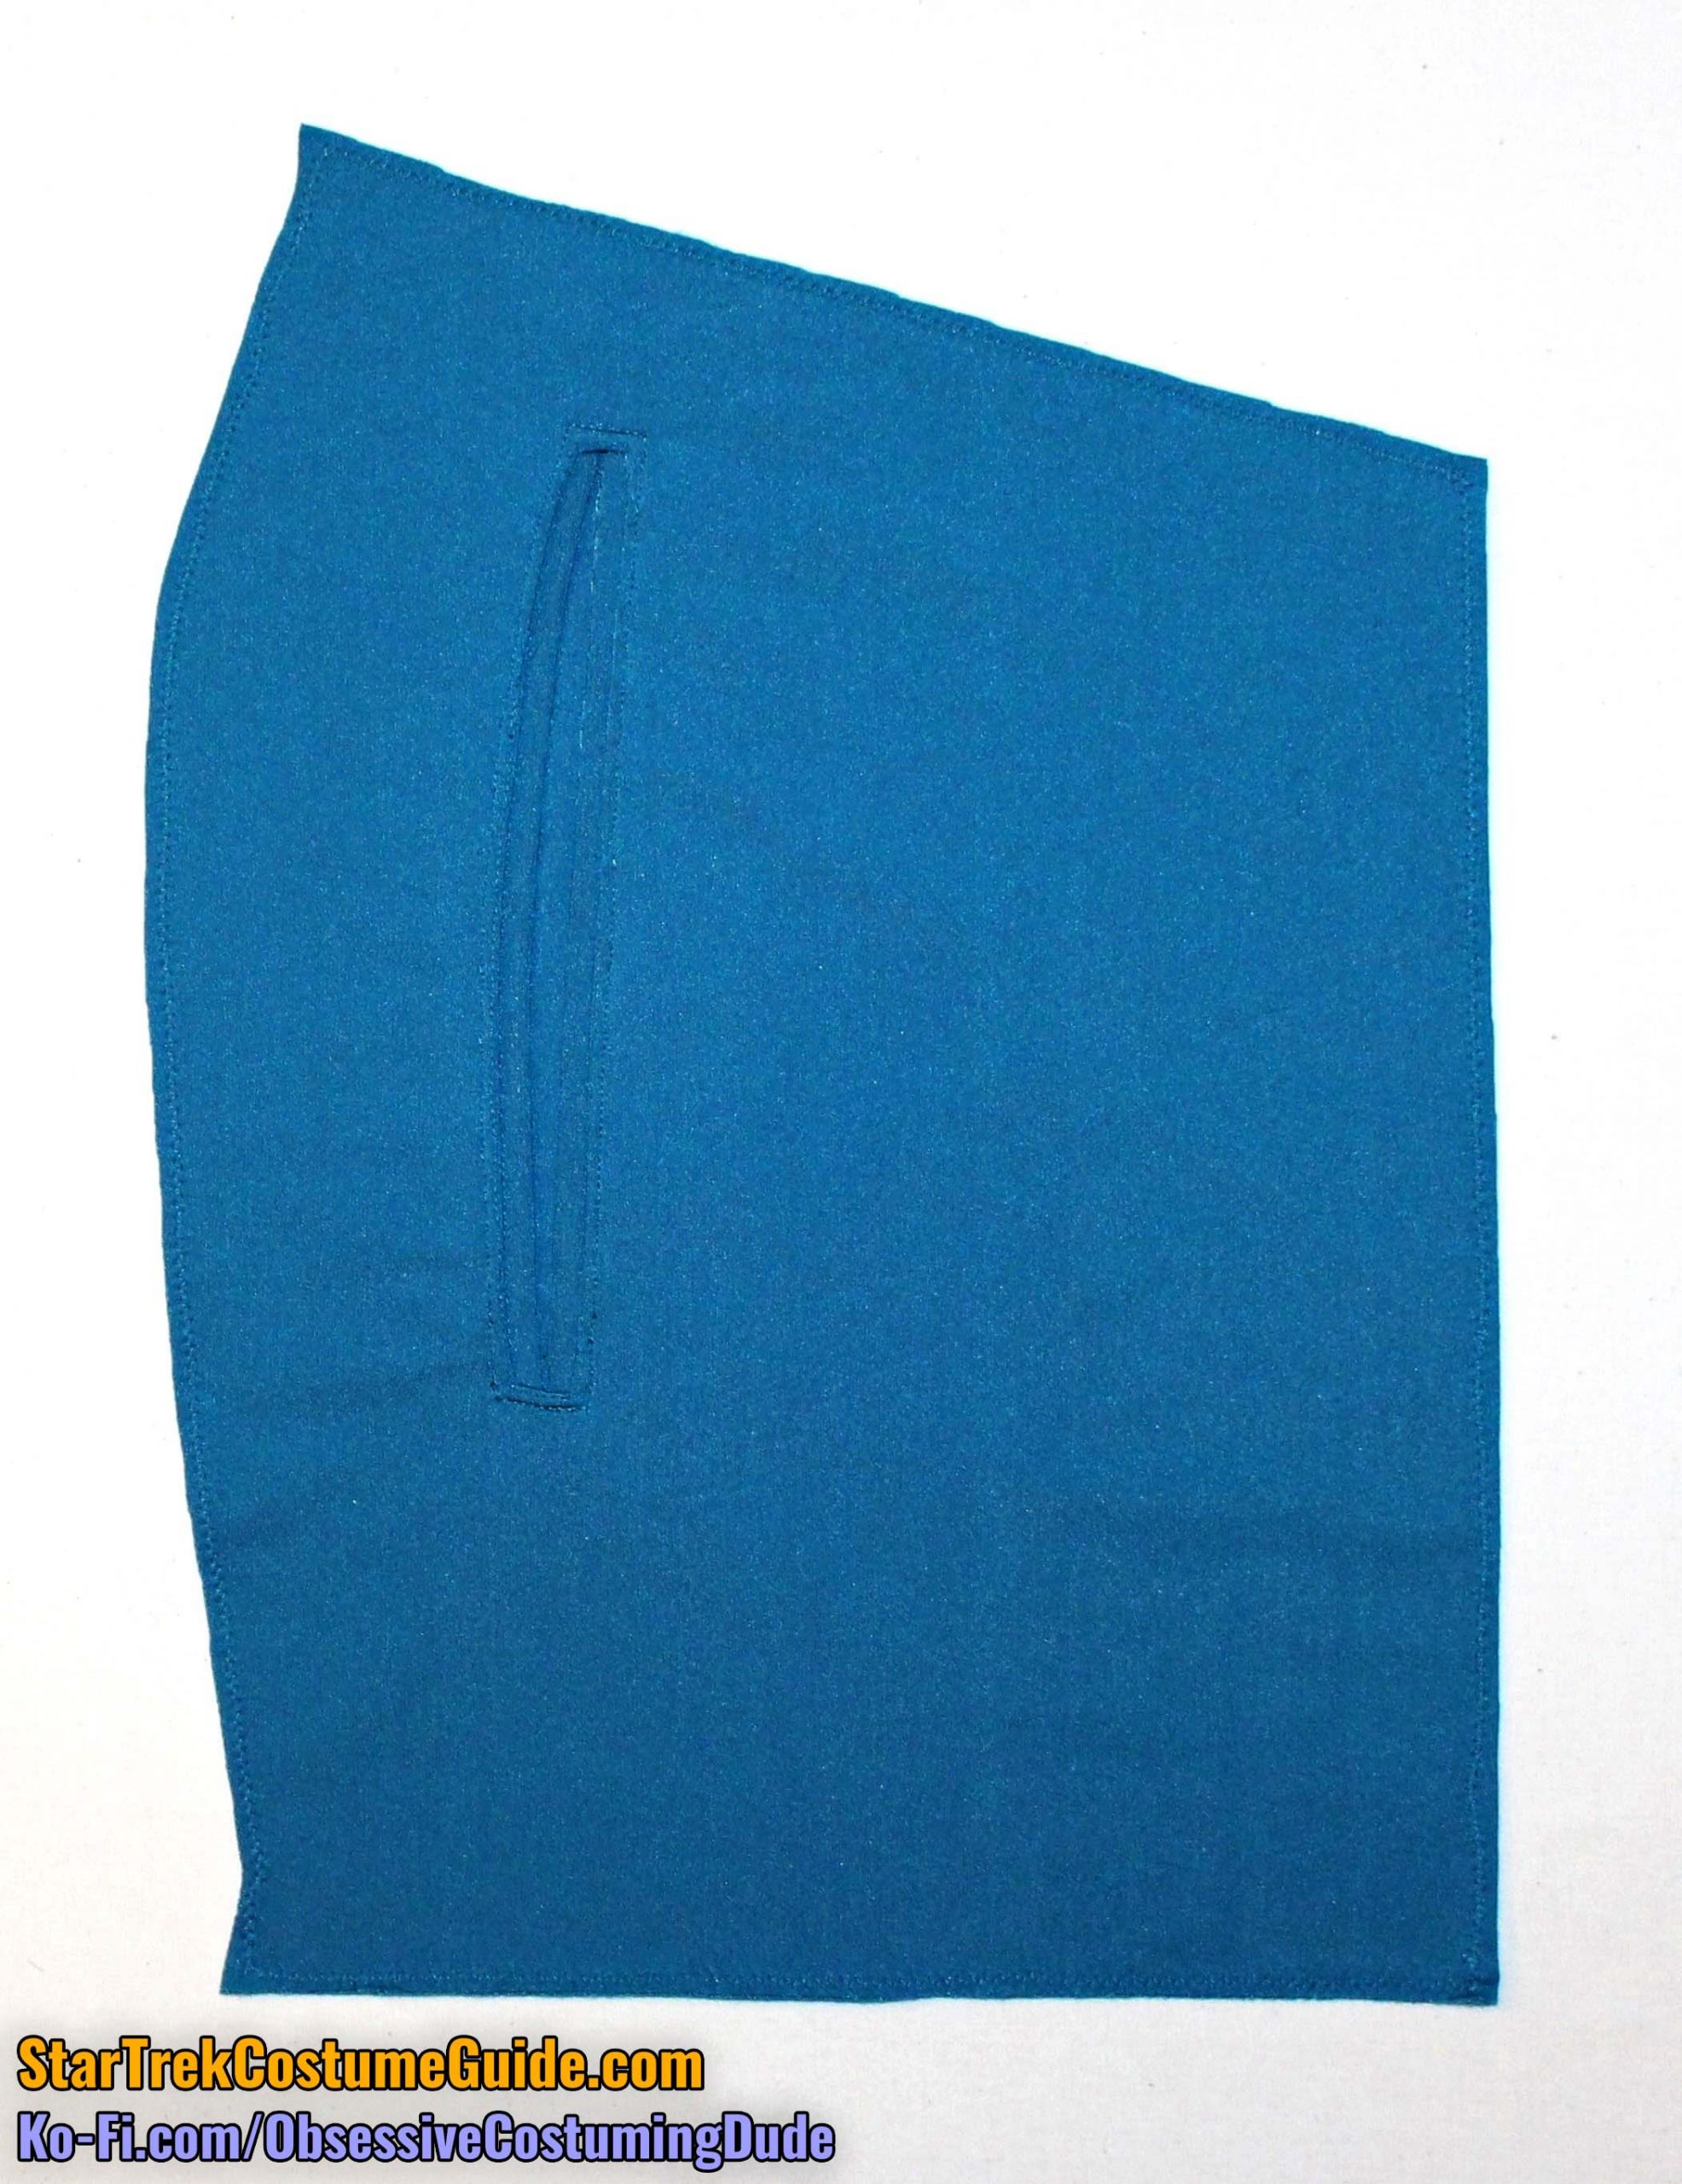
Topstitch around the pocket opening (indicated on the printed pattern).
Slash the pocket opening vertically down the center. Approximately ⅜” from the top and bottom, pivot and clip diagonally toward the corners, clipping exactly to the stitching (but not past it).
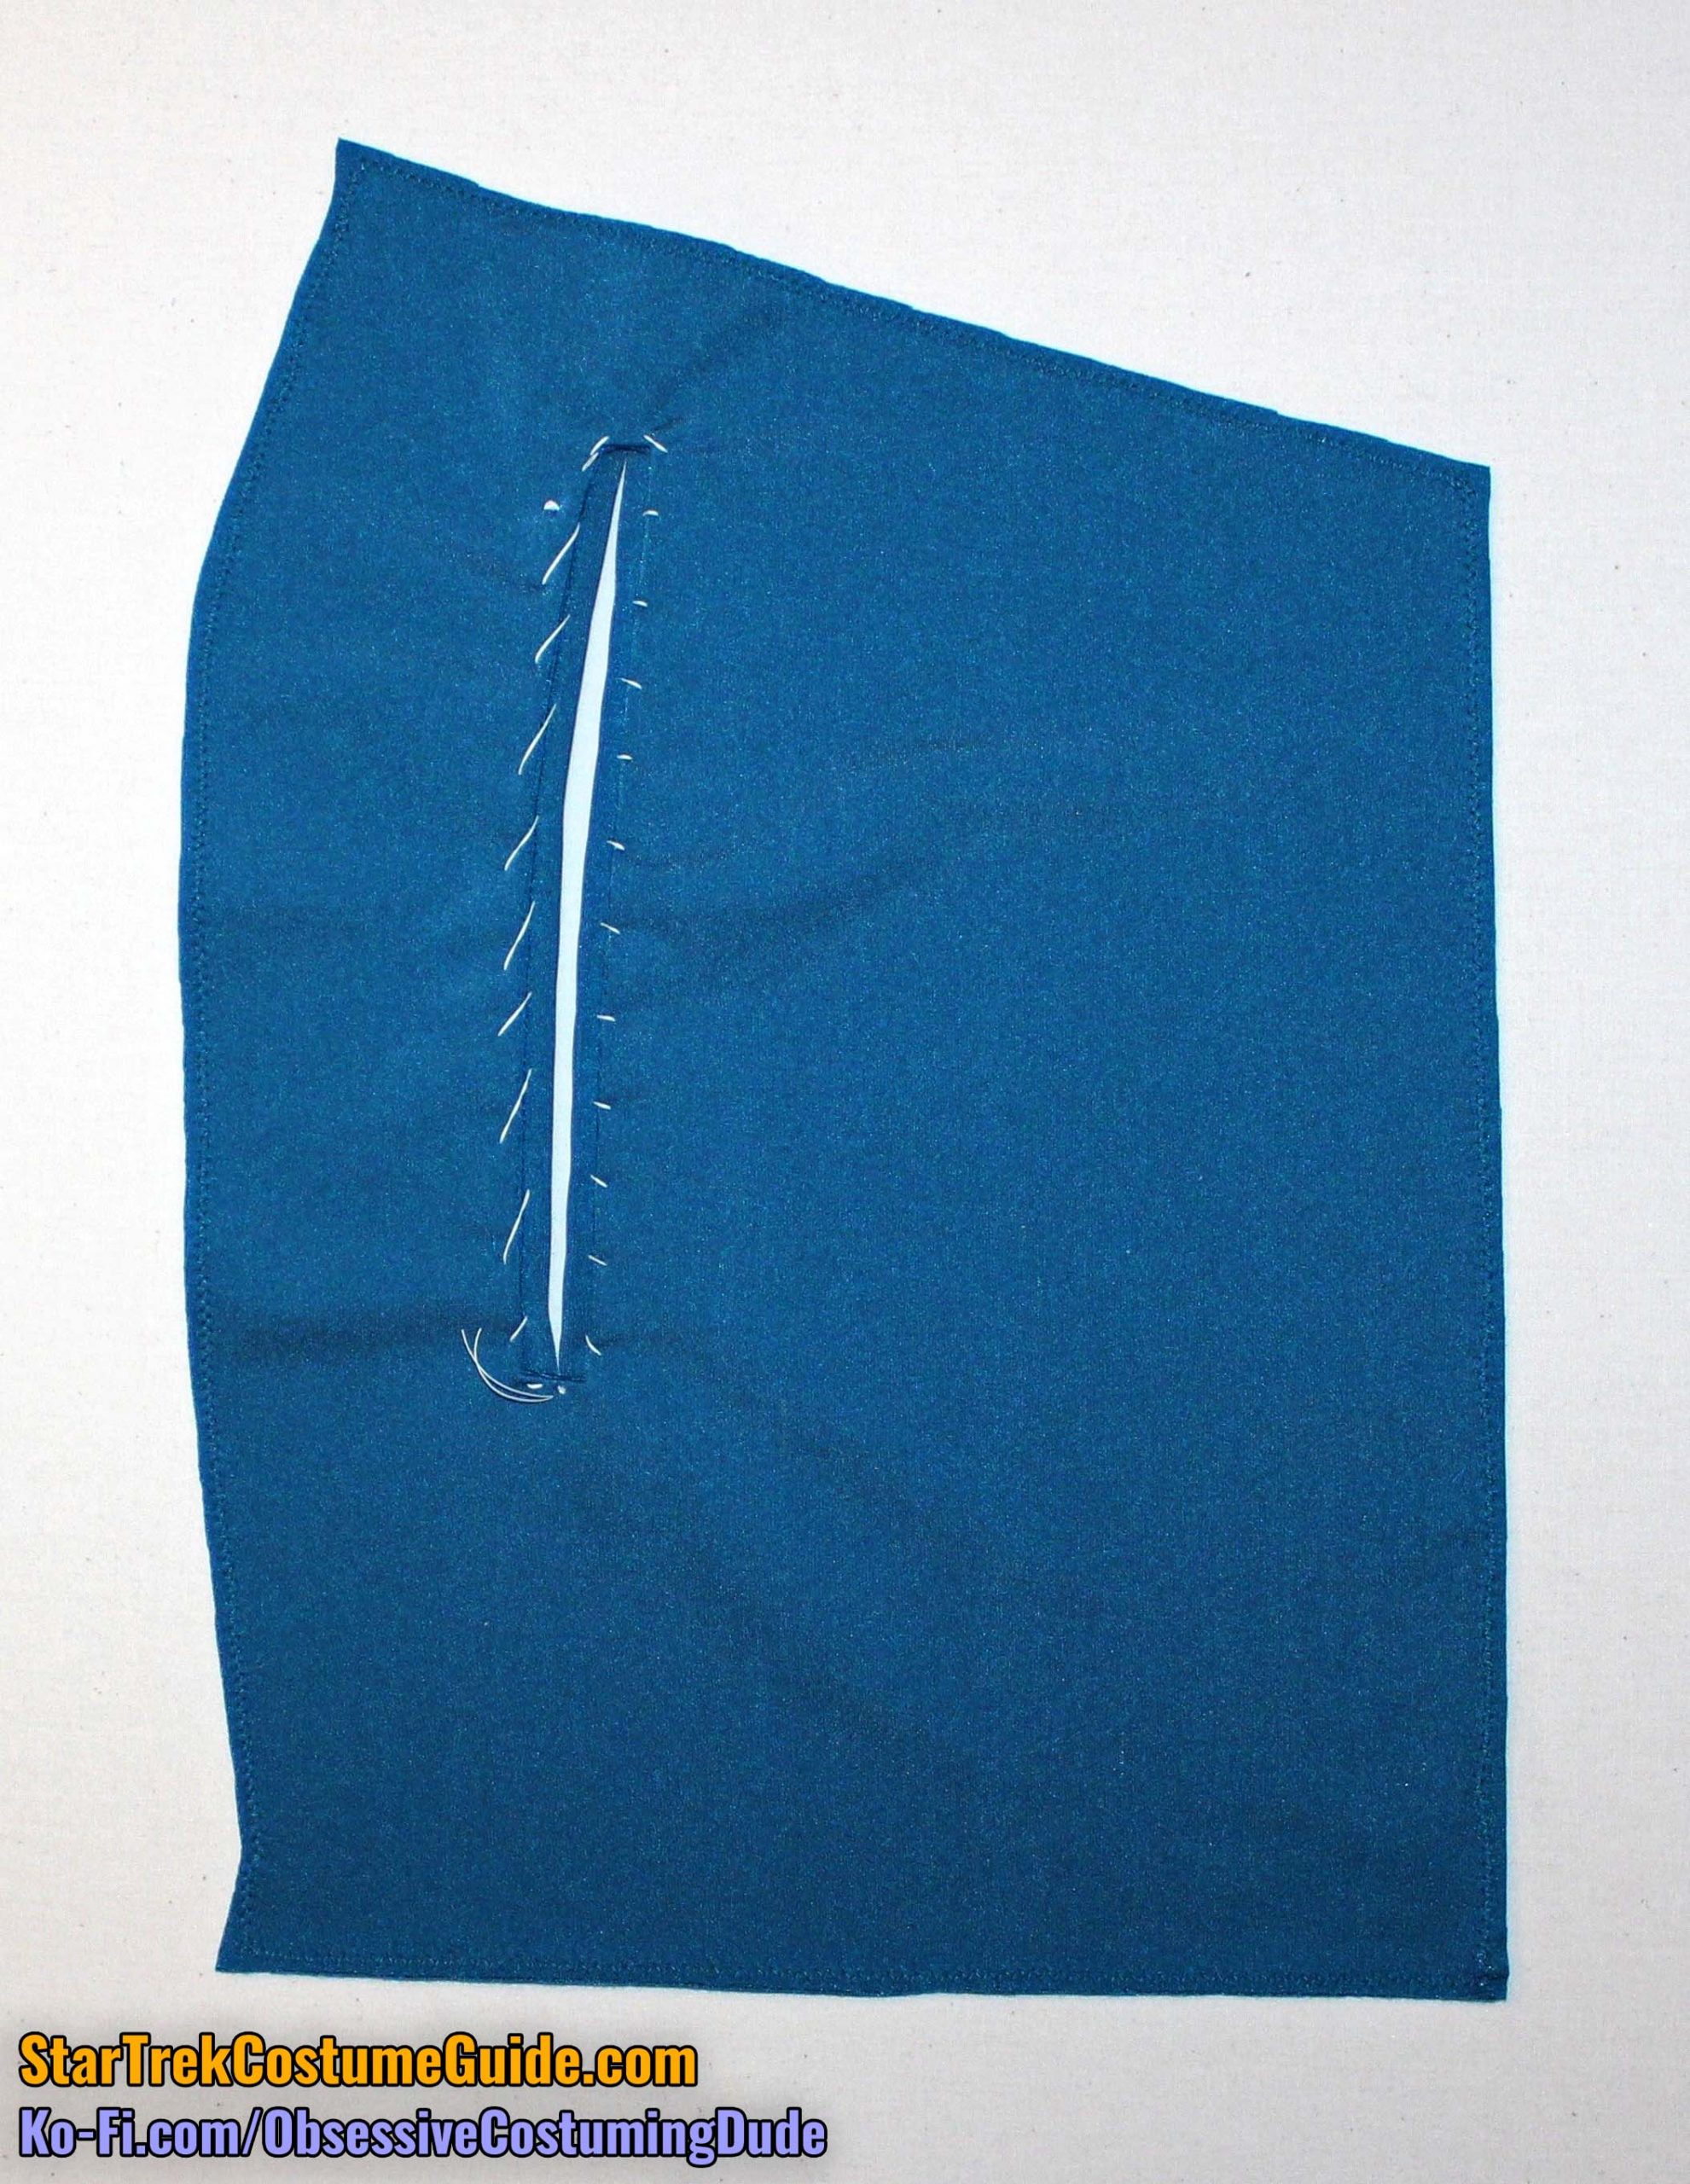
Turn the pocket allowances under along the stitch line and press.
Position the welts on the underside of the pocket opening, with the folded edges extending past the opening and the welt stitch lines matching the edges of the opening.
(The welts will not be flush for most of the pocket opening, because the pocket intentionally “gaps” open toward the middle. The welts will only be flush at the top and bottom of the opening.)
Hand-baste the welts into place.
Edge-stitch through all layers around the pocket opening.
NOTE: There were actual pocket bags on the screen-used Dr. Pulaski smock I examined, even though the pockets were literally sewn closed. The pocket bags served no functional purpose and would never be seen from the outside of the garment, but they were there on the original uniform, so here’s how I believe they were attached. If this is unimportant to you, feel free to skip this step; simply attach the pocket facing to the underside of the welts/opening and call it a day.
On the underside of the lower front, position the pocket bag (piece 1H) over the pocket opening, with the upper edges flush.
Lightly mark the pocket opening with a disappearing ink fabric marker.
Slash the pocket opening on the pocket bag, turn the allowances under, and press everything flat.
Position the pocket bag over the pocket opening again, then slip-stitch or fell-stitch the edges of the pocket bag to the pocket welts along the previous stitch lines.
Position the pocket facing (also piece 1I) over the pocket opening.
Then place the second pocket bag over the first, with the edges flush.
Carefully pin the facing to the second pocket bag and remove the two from the lower front assembly.
Topstitch the pocket facing to the second pocket bag close to the edges.
Position the second pocket bag/facing over the first again, with the edges flush.
Sew the pocket bag closed along the side and lower edges.
Trim the side and lower edges of the pocket bag with pinking shears.
And now the real kicker: hand-sew the pocket closed along the welts and pocket facing.
That feeling after you went to the trouble of making a pocket and then sewed it closed …
In any event, your finished pocket should look like this:
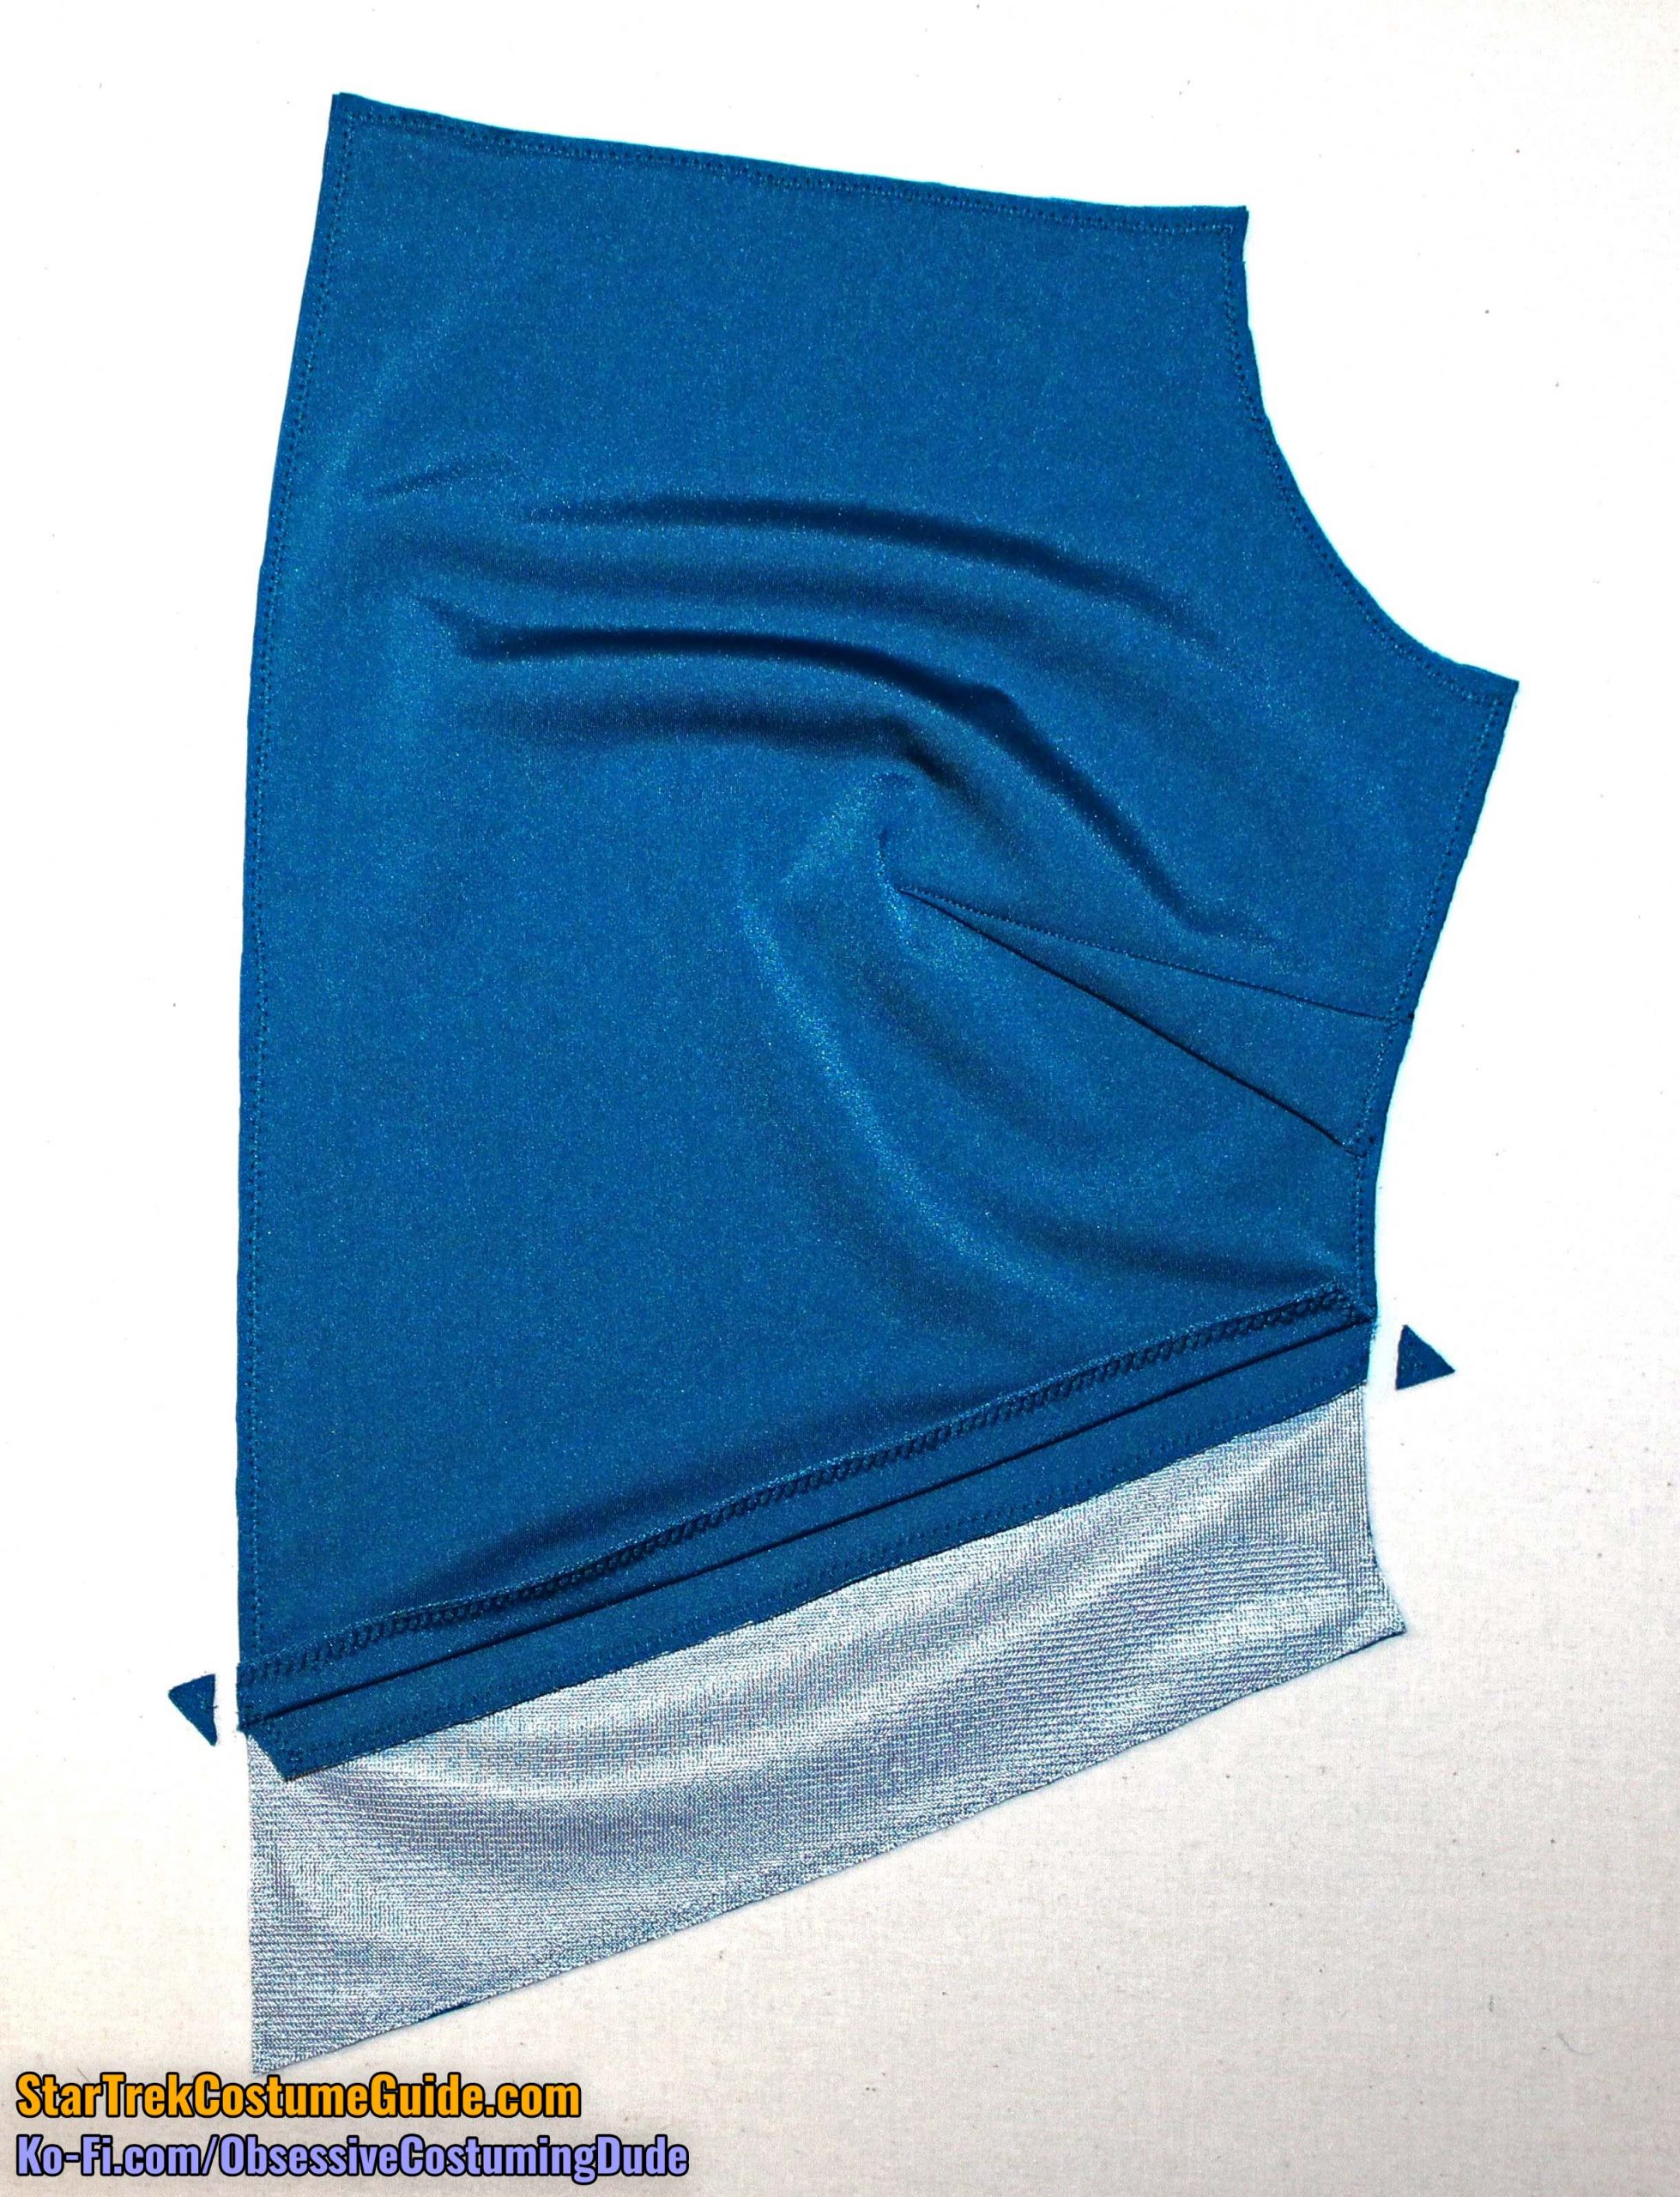
Sew the upper front to the waistband.
Press the seam allowances open.
Trim away the little “triangles” of seam allowance that extend past the front and side edges.
Pull the upper pocket bag out of the way and sew the upper front assembly to the lower front assembly.
Press the seam allowances open.
Again, trim away any little “triangles” of seam allowance that extend past the edges.
Fold the pocket back upward again and sew it to the lower waistband seam allowance.
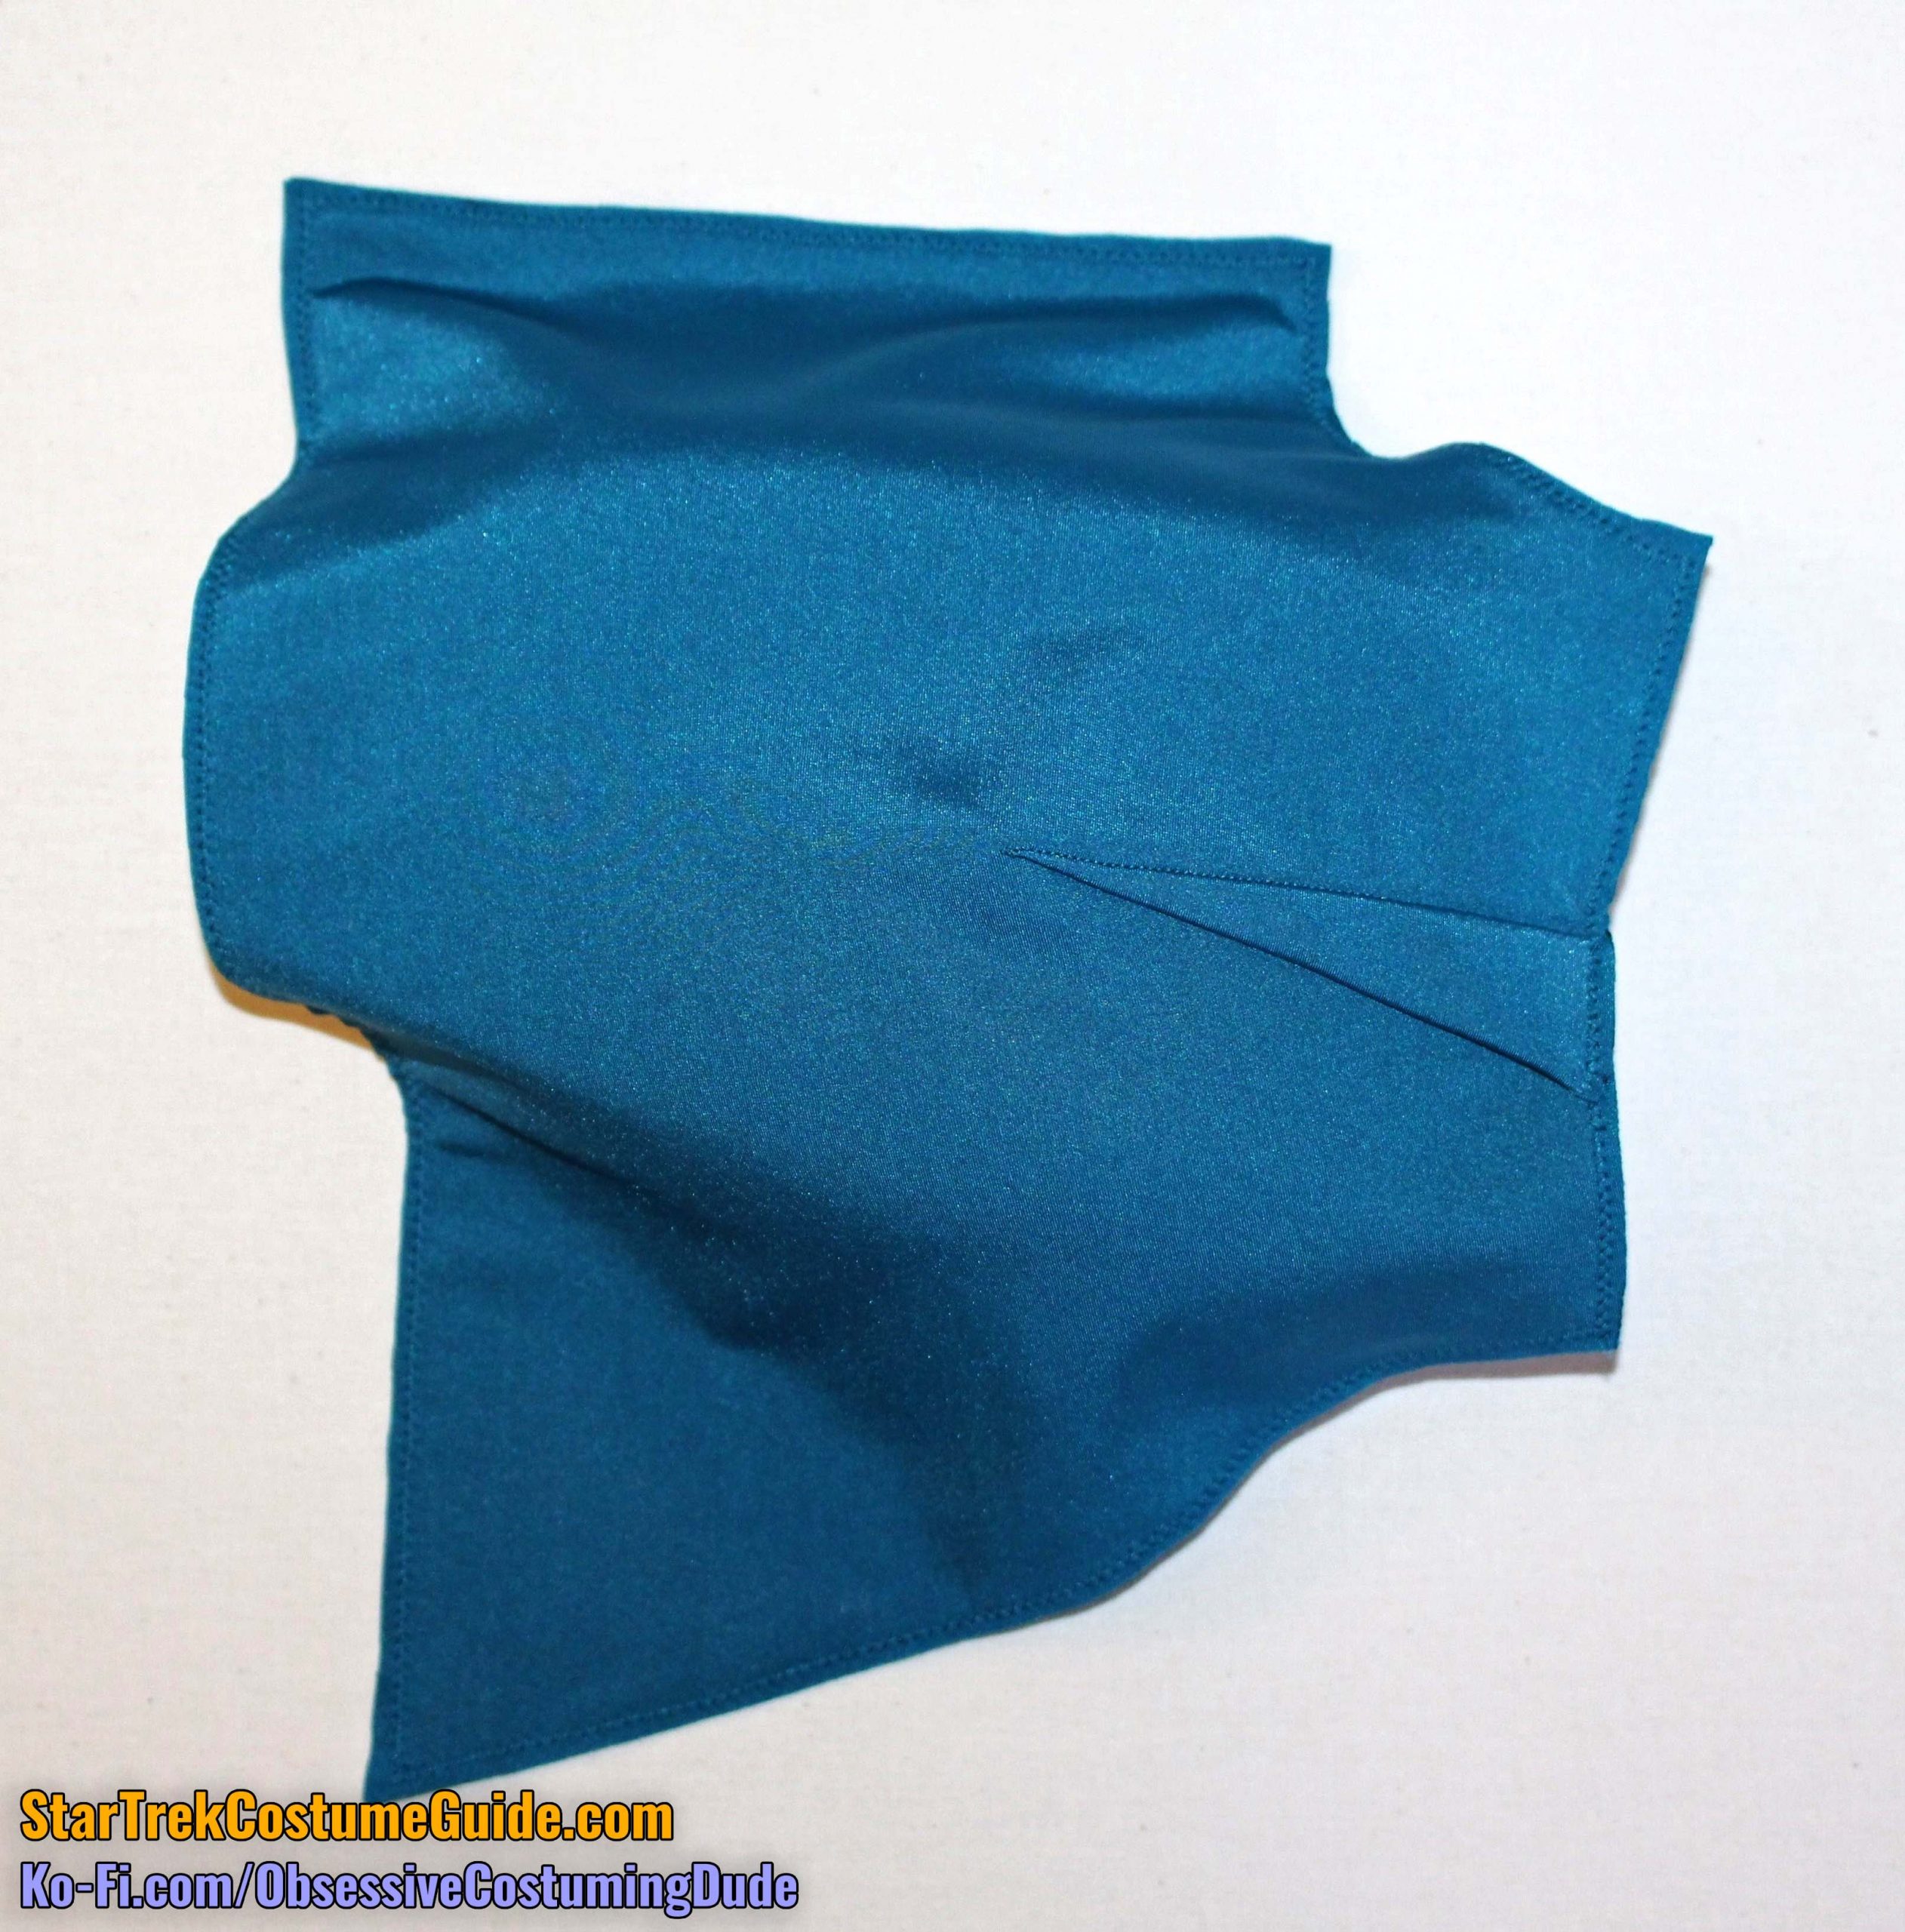
Sew the front sleeve (piece 1F) to the front at the armscye.
Press the sleeve (and seam allowances) away from the front.
Using black thread, sew the front yoke assembly to the upper front body of the smock.
Press the seam allowances open.
Repeat for the other front assembly.
STEP 2 - Back Assembly
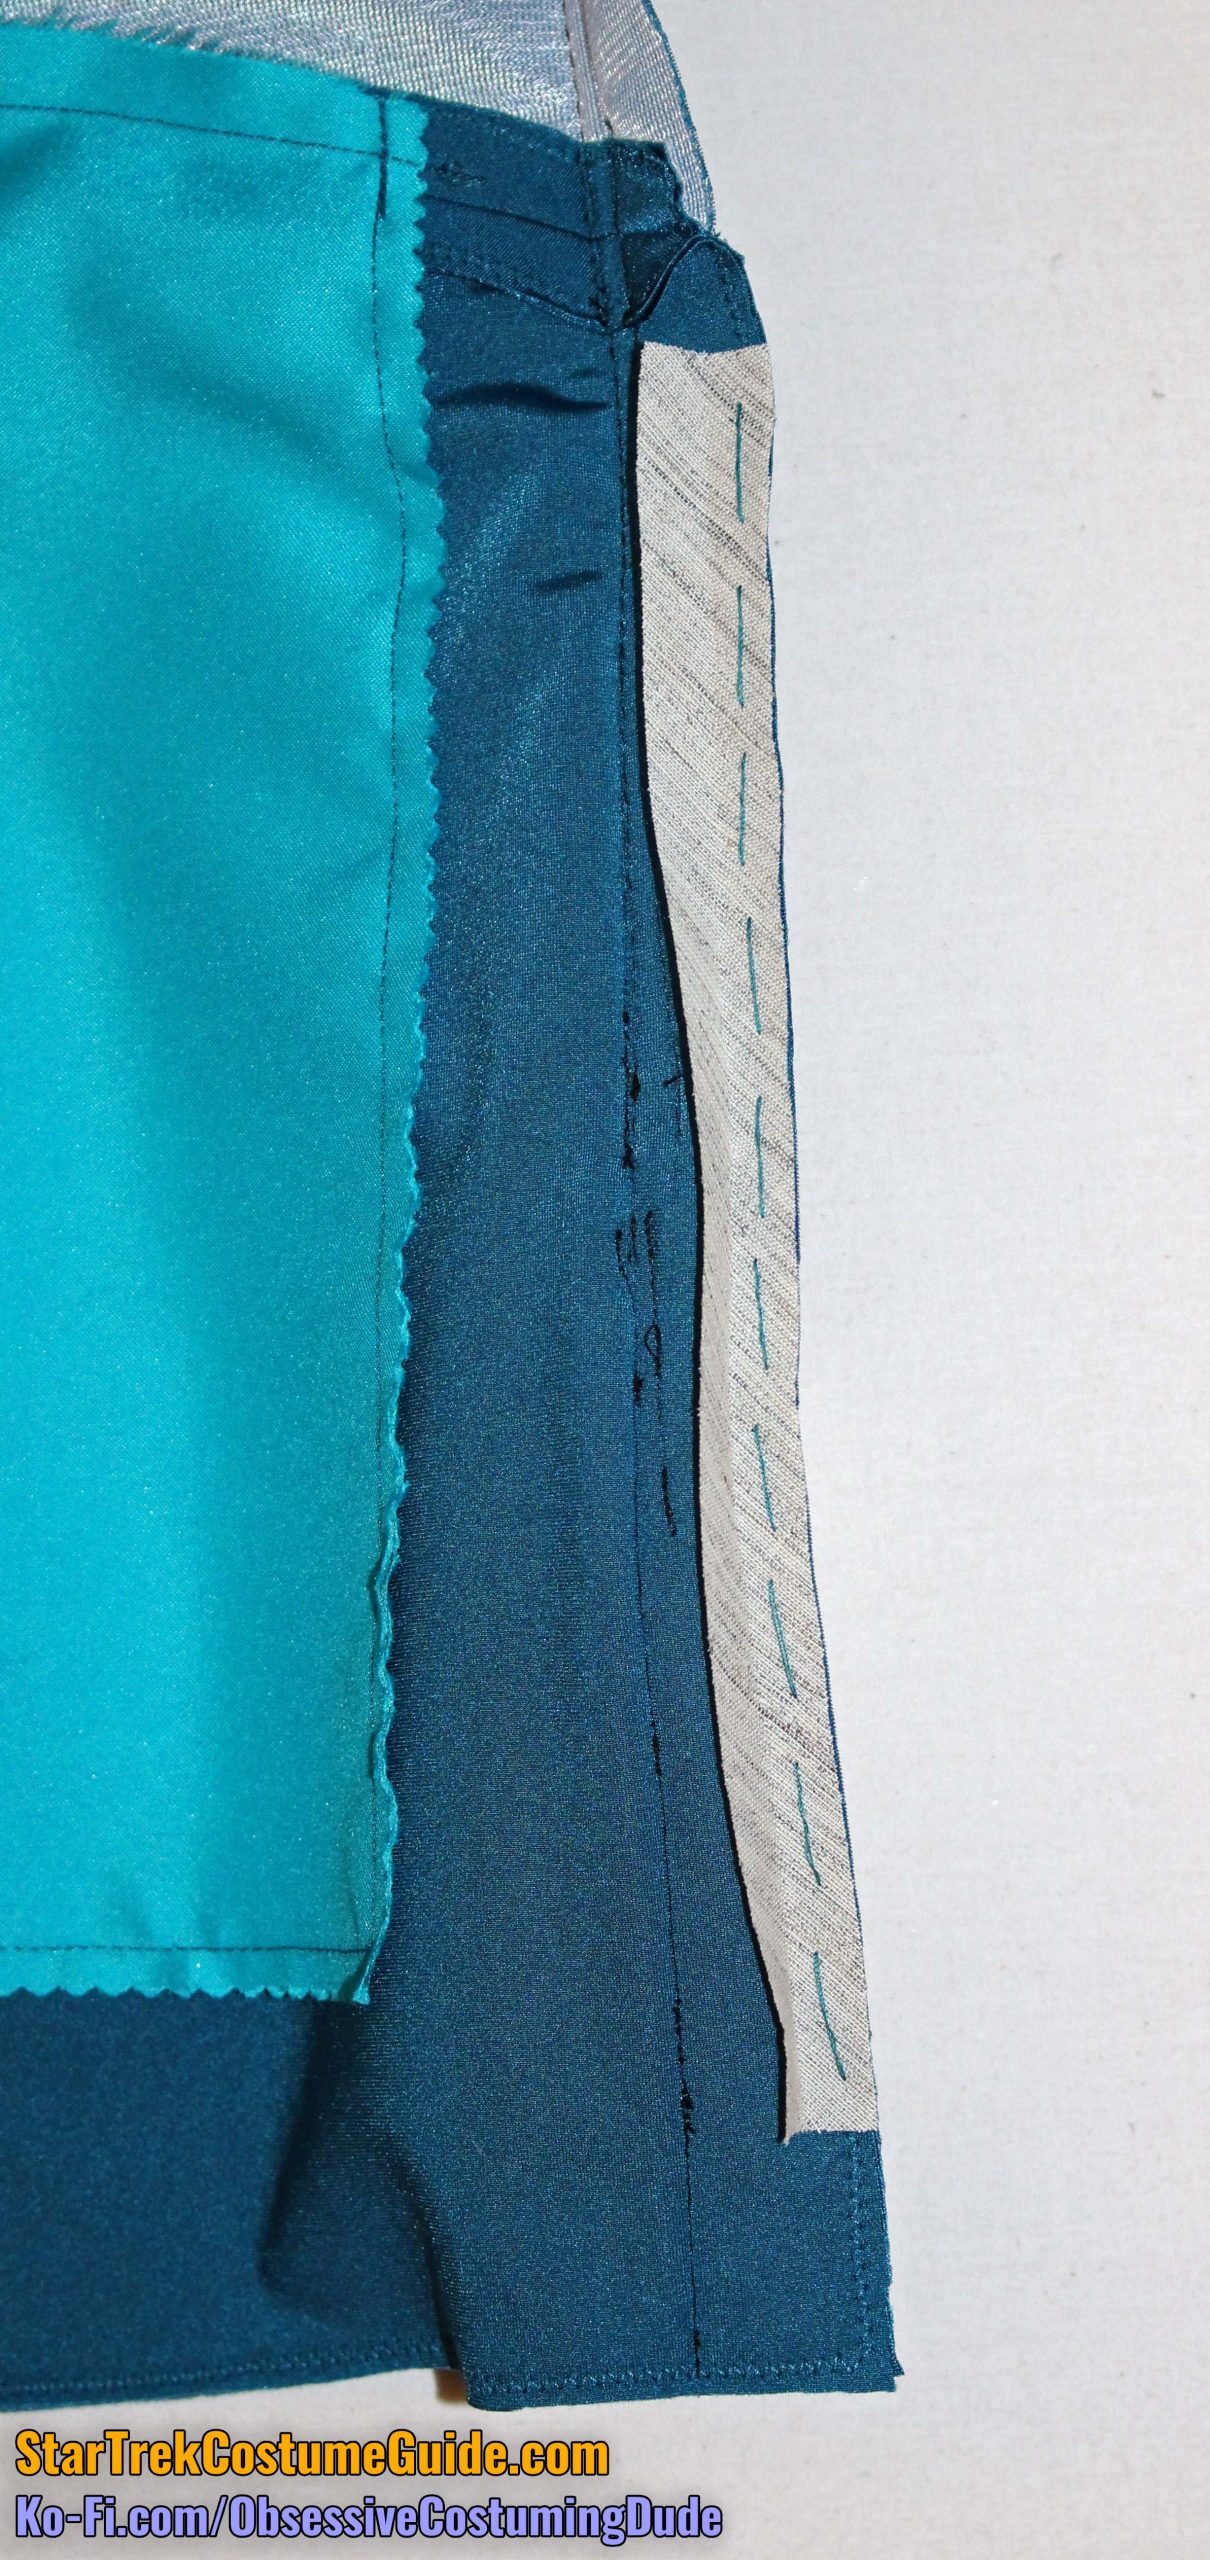
NOTE: On the screen-used Dr. Pulaski smock I examined, there was some extra material in the lower/outer area of the back yoke. I included it in my (Tailors Gone Wild) sewing pattern since it was there on the original, but in my experience it can cause some unwanted bulging in that area on a finished uniform, so I suggest trimming it away for a better fit. Simply make a graceful downward curve from the center back to each lower/outer corner of the lower back yoke (piece D).
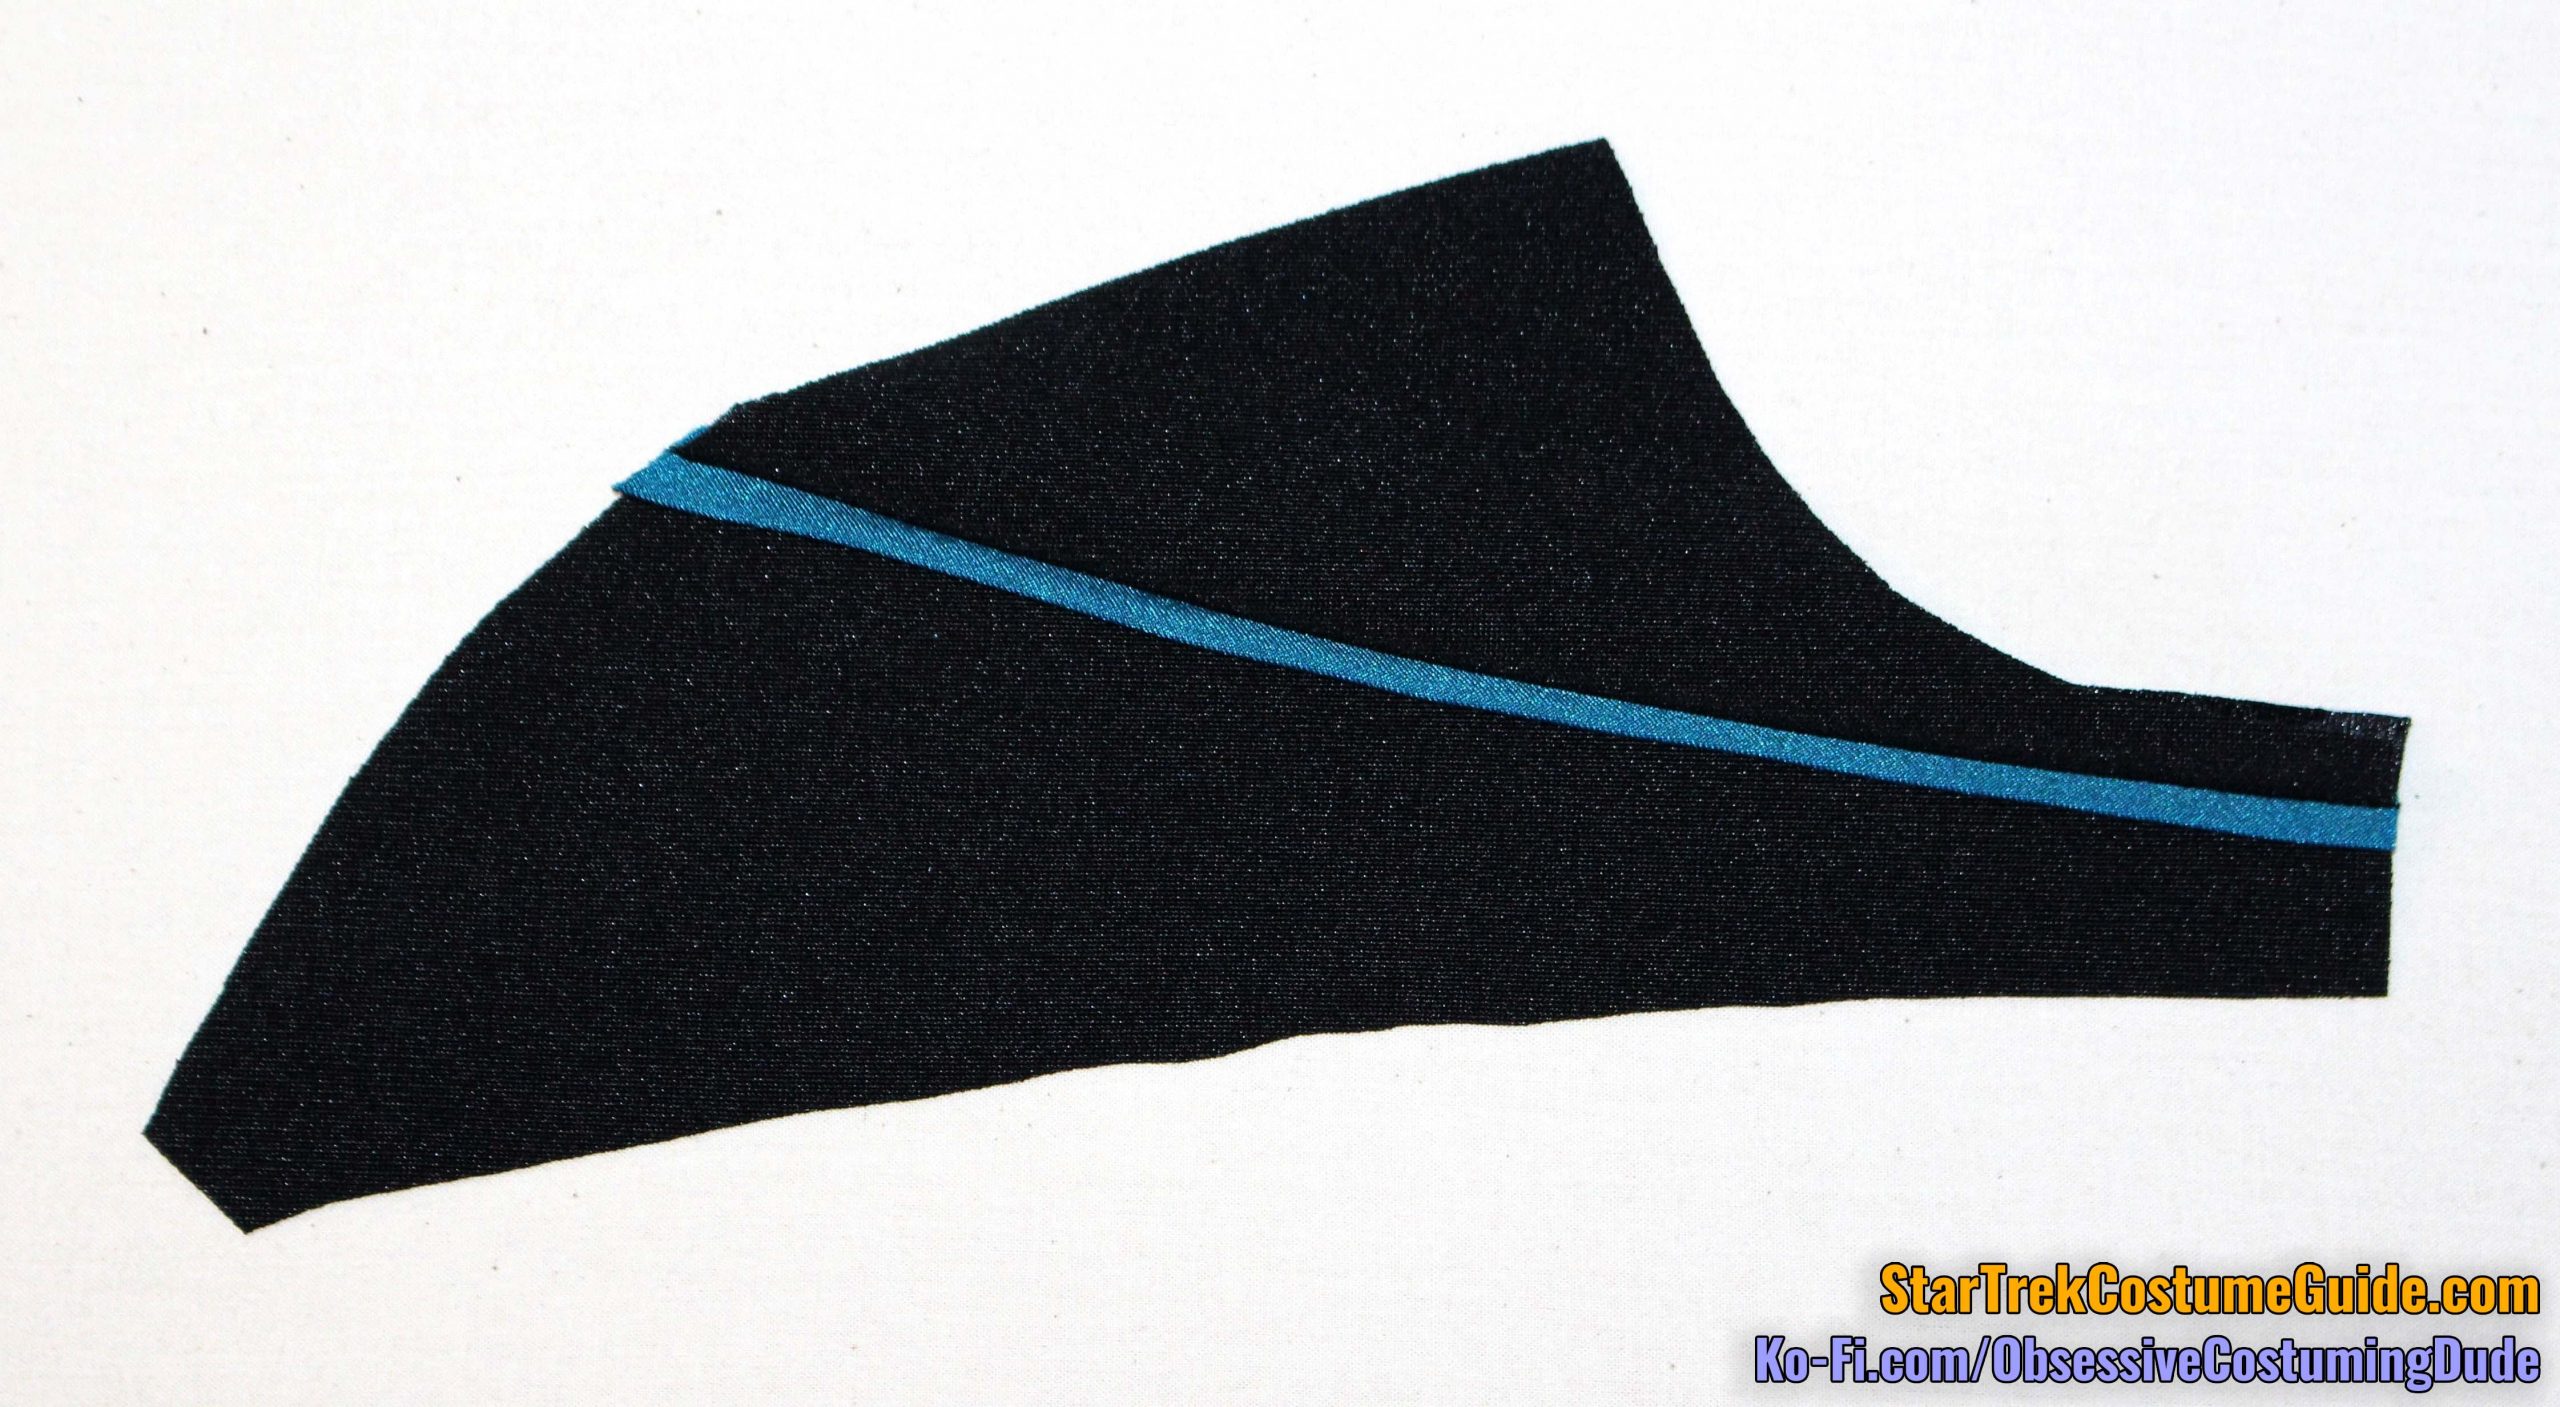
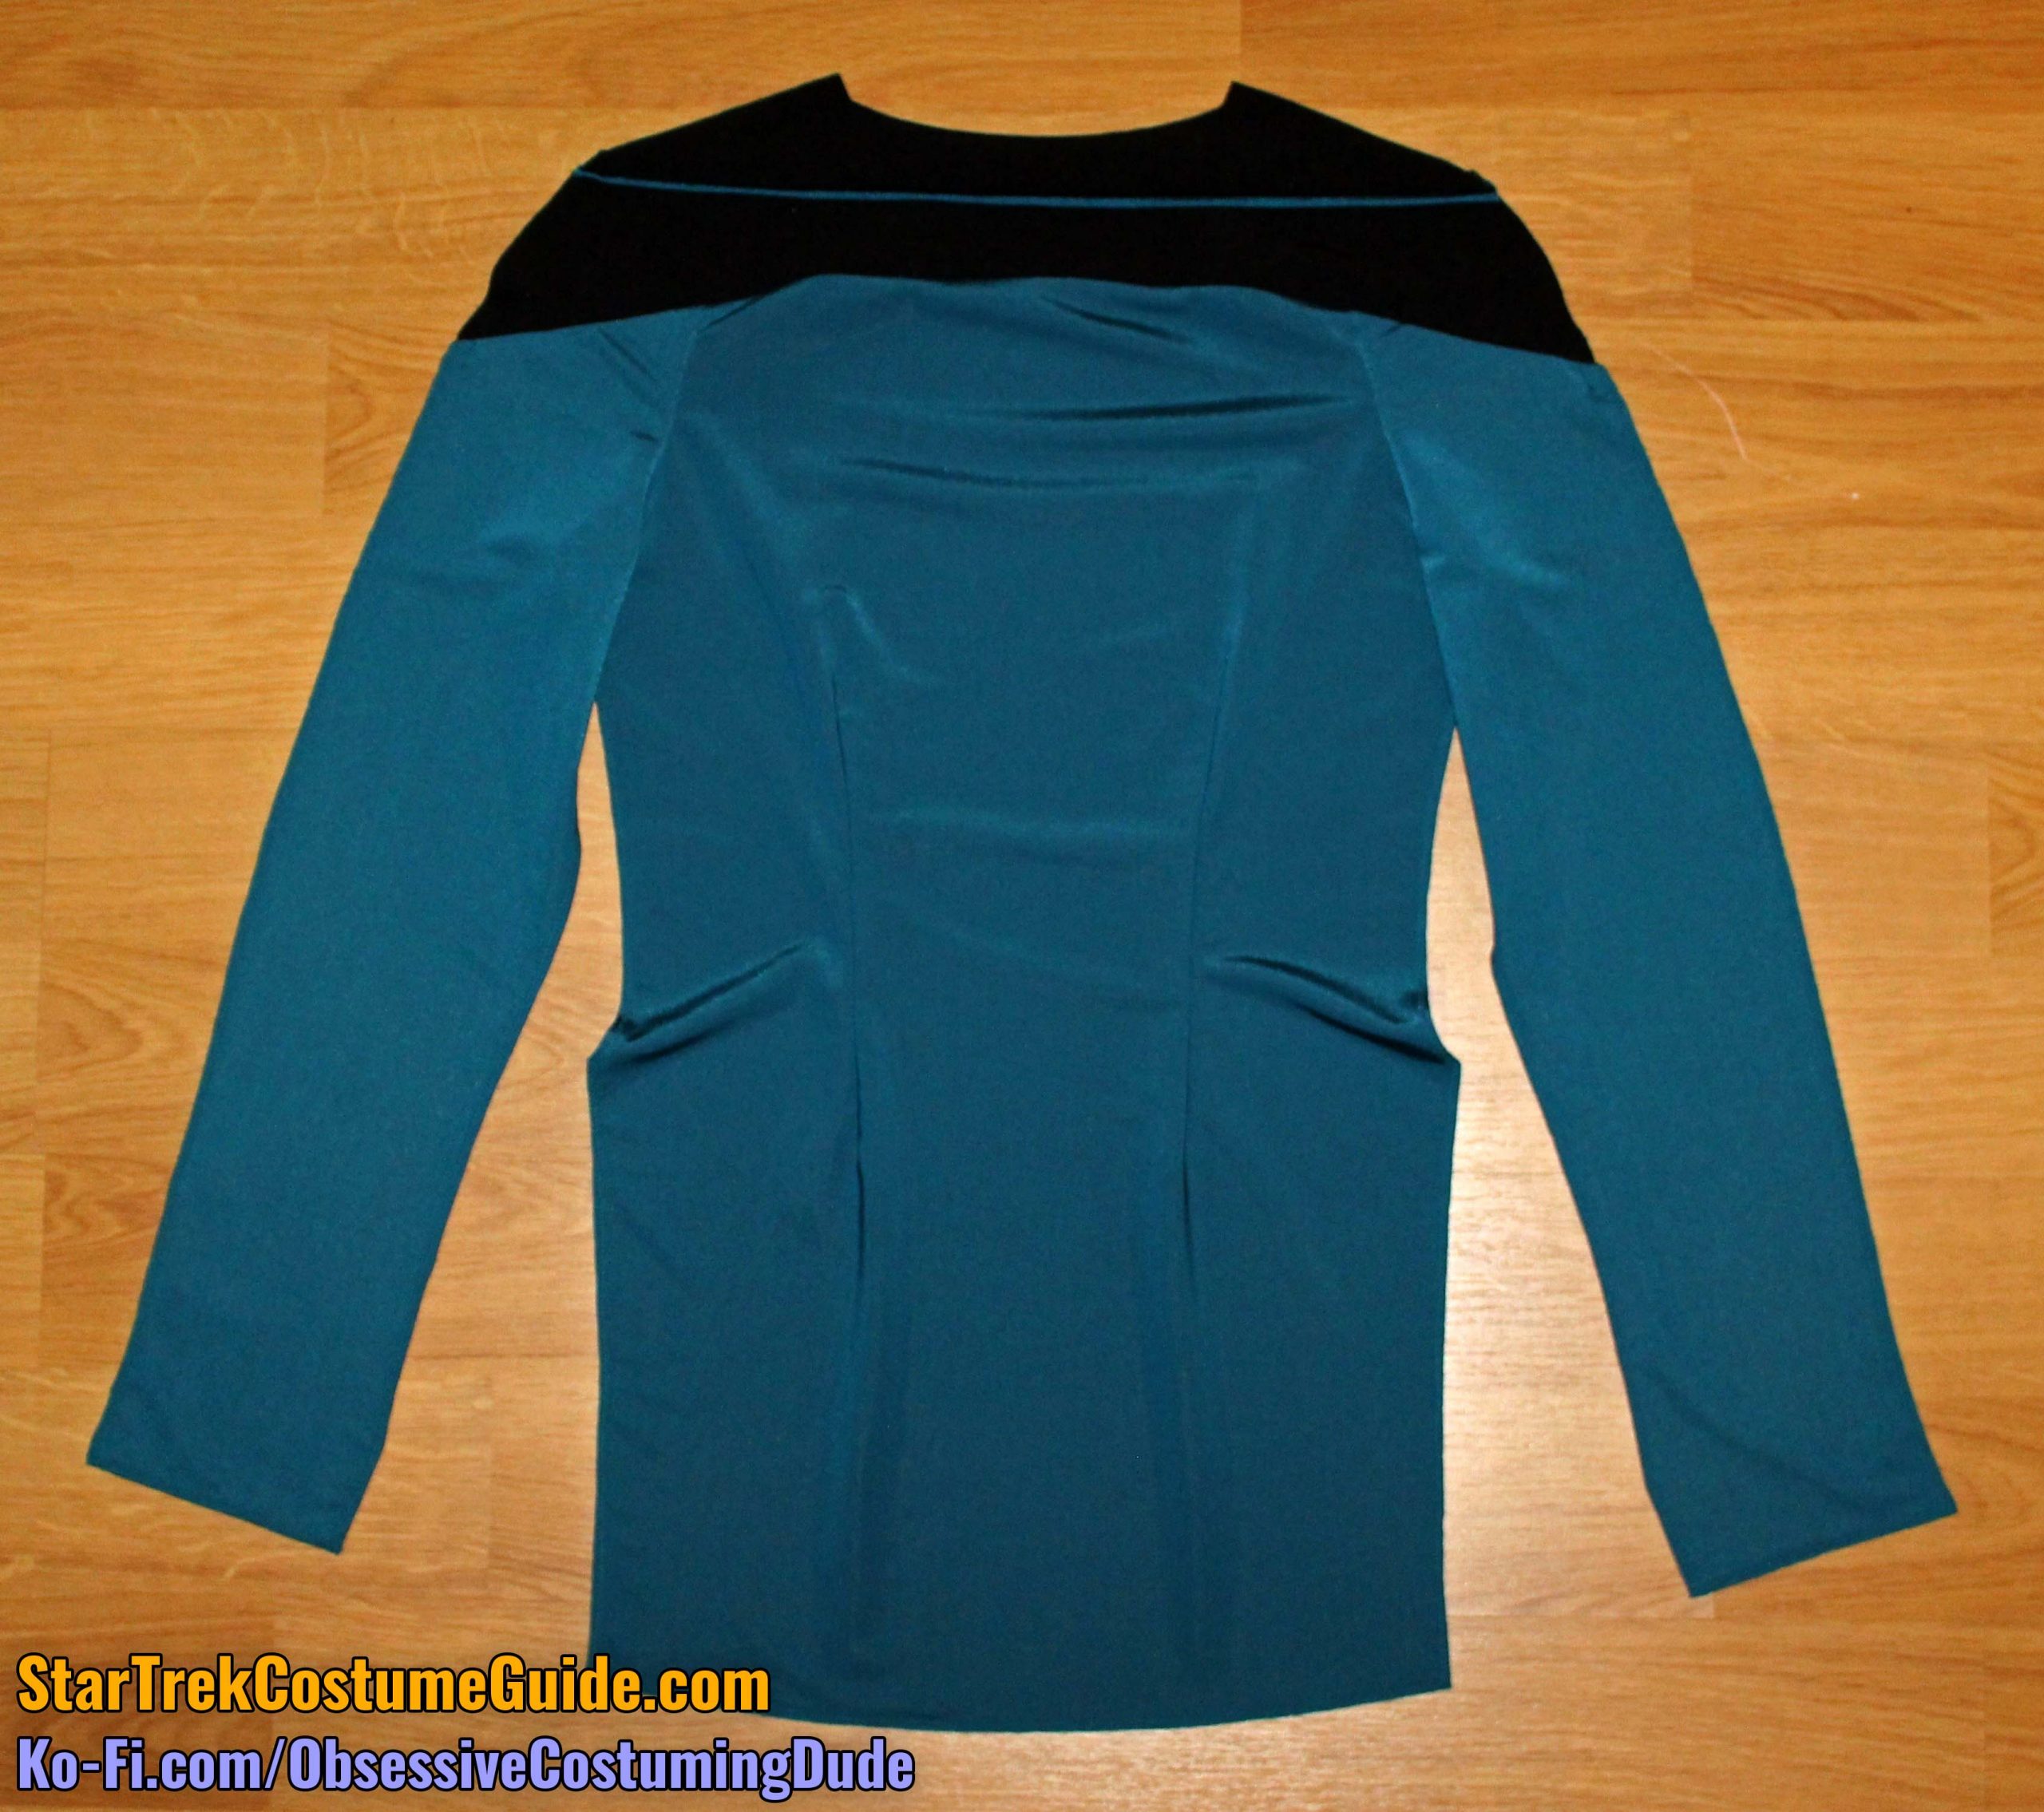
Construct the back yoke assembly as described previously for the front yoke.
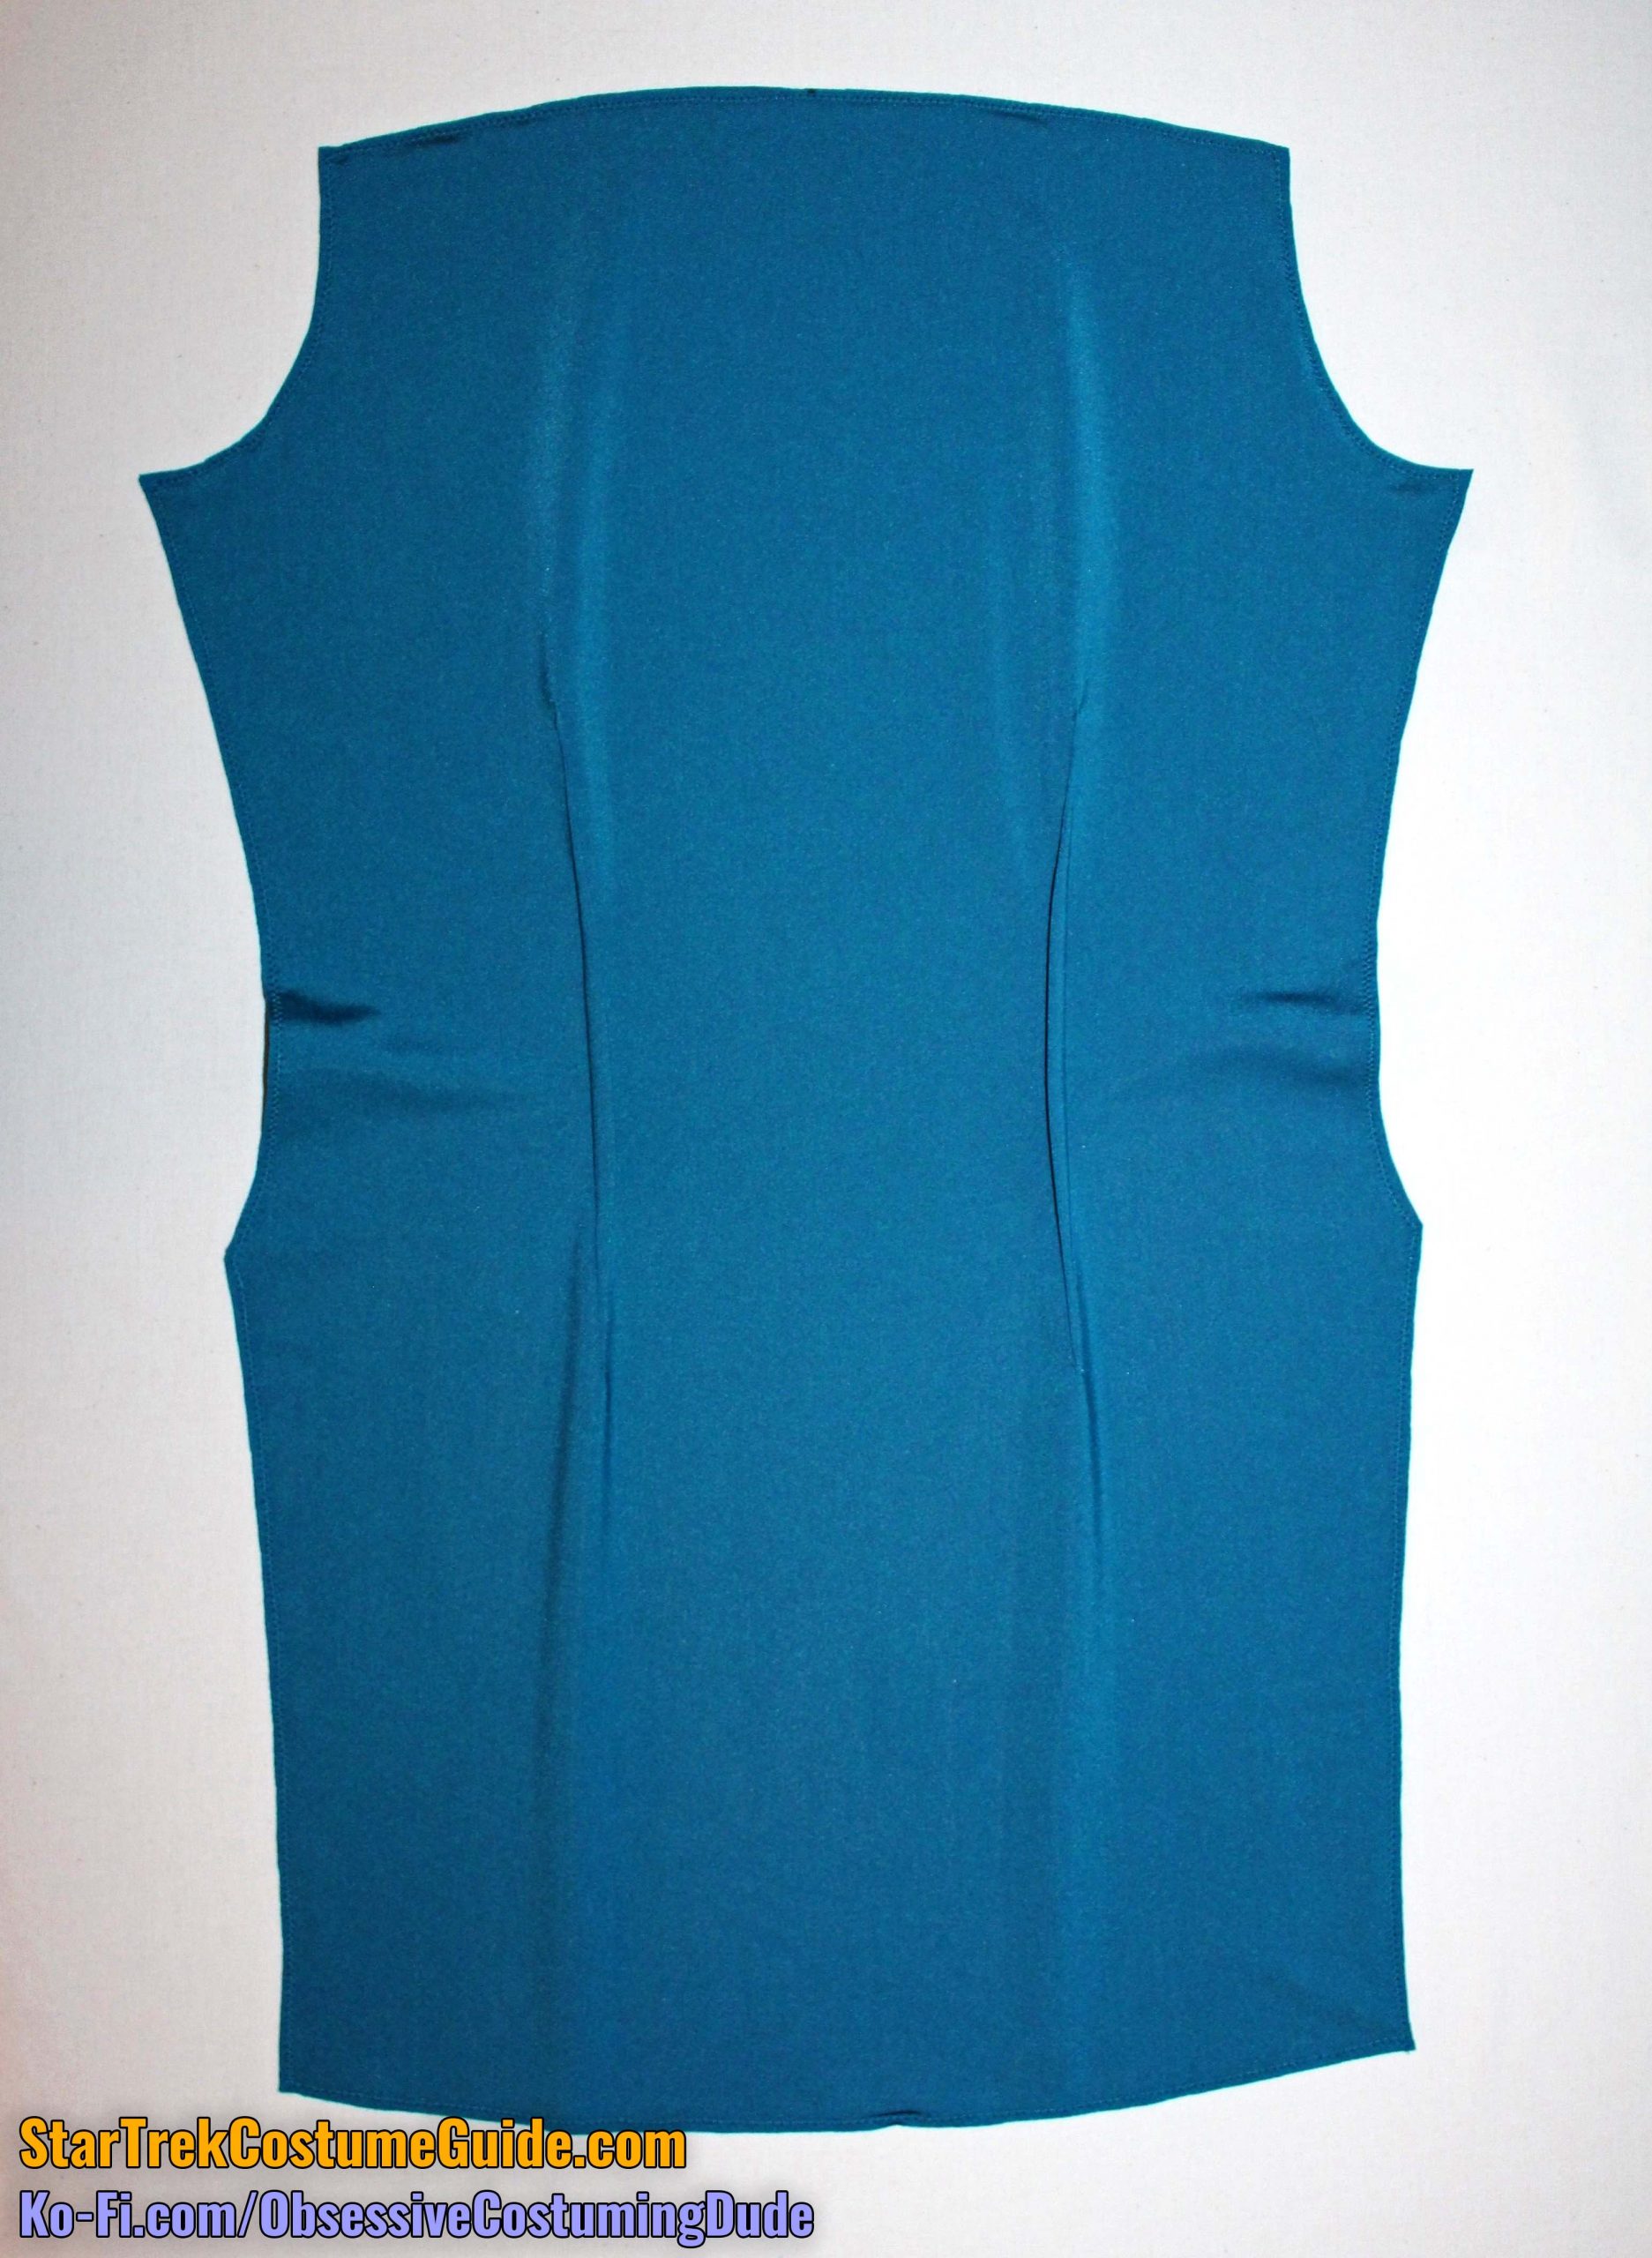
Sew the back darts closed on the back (piece 1D) and press them toward center.
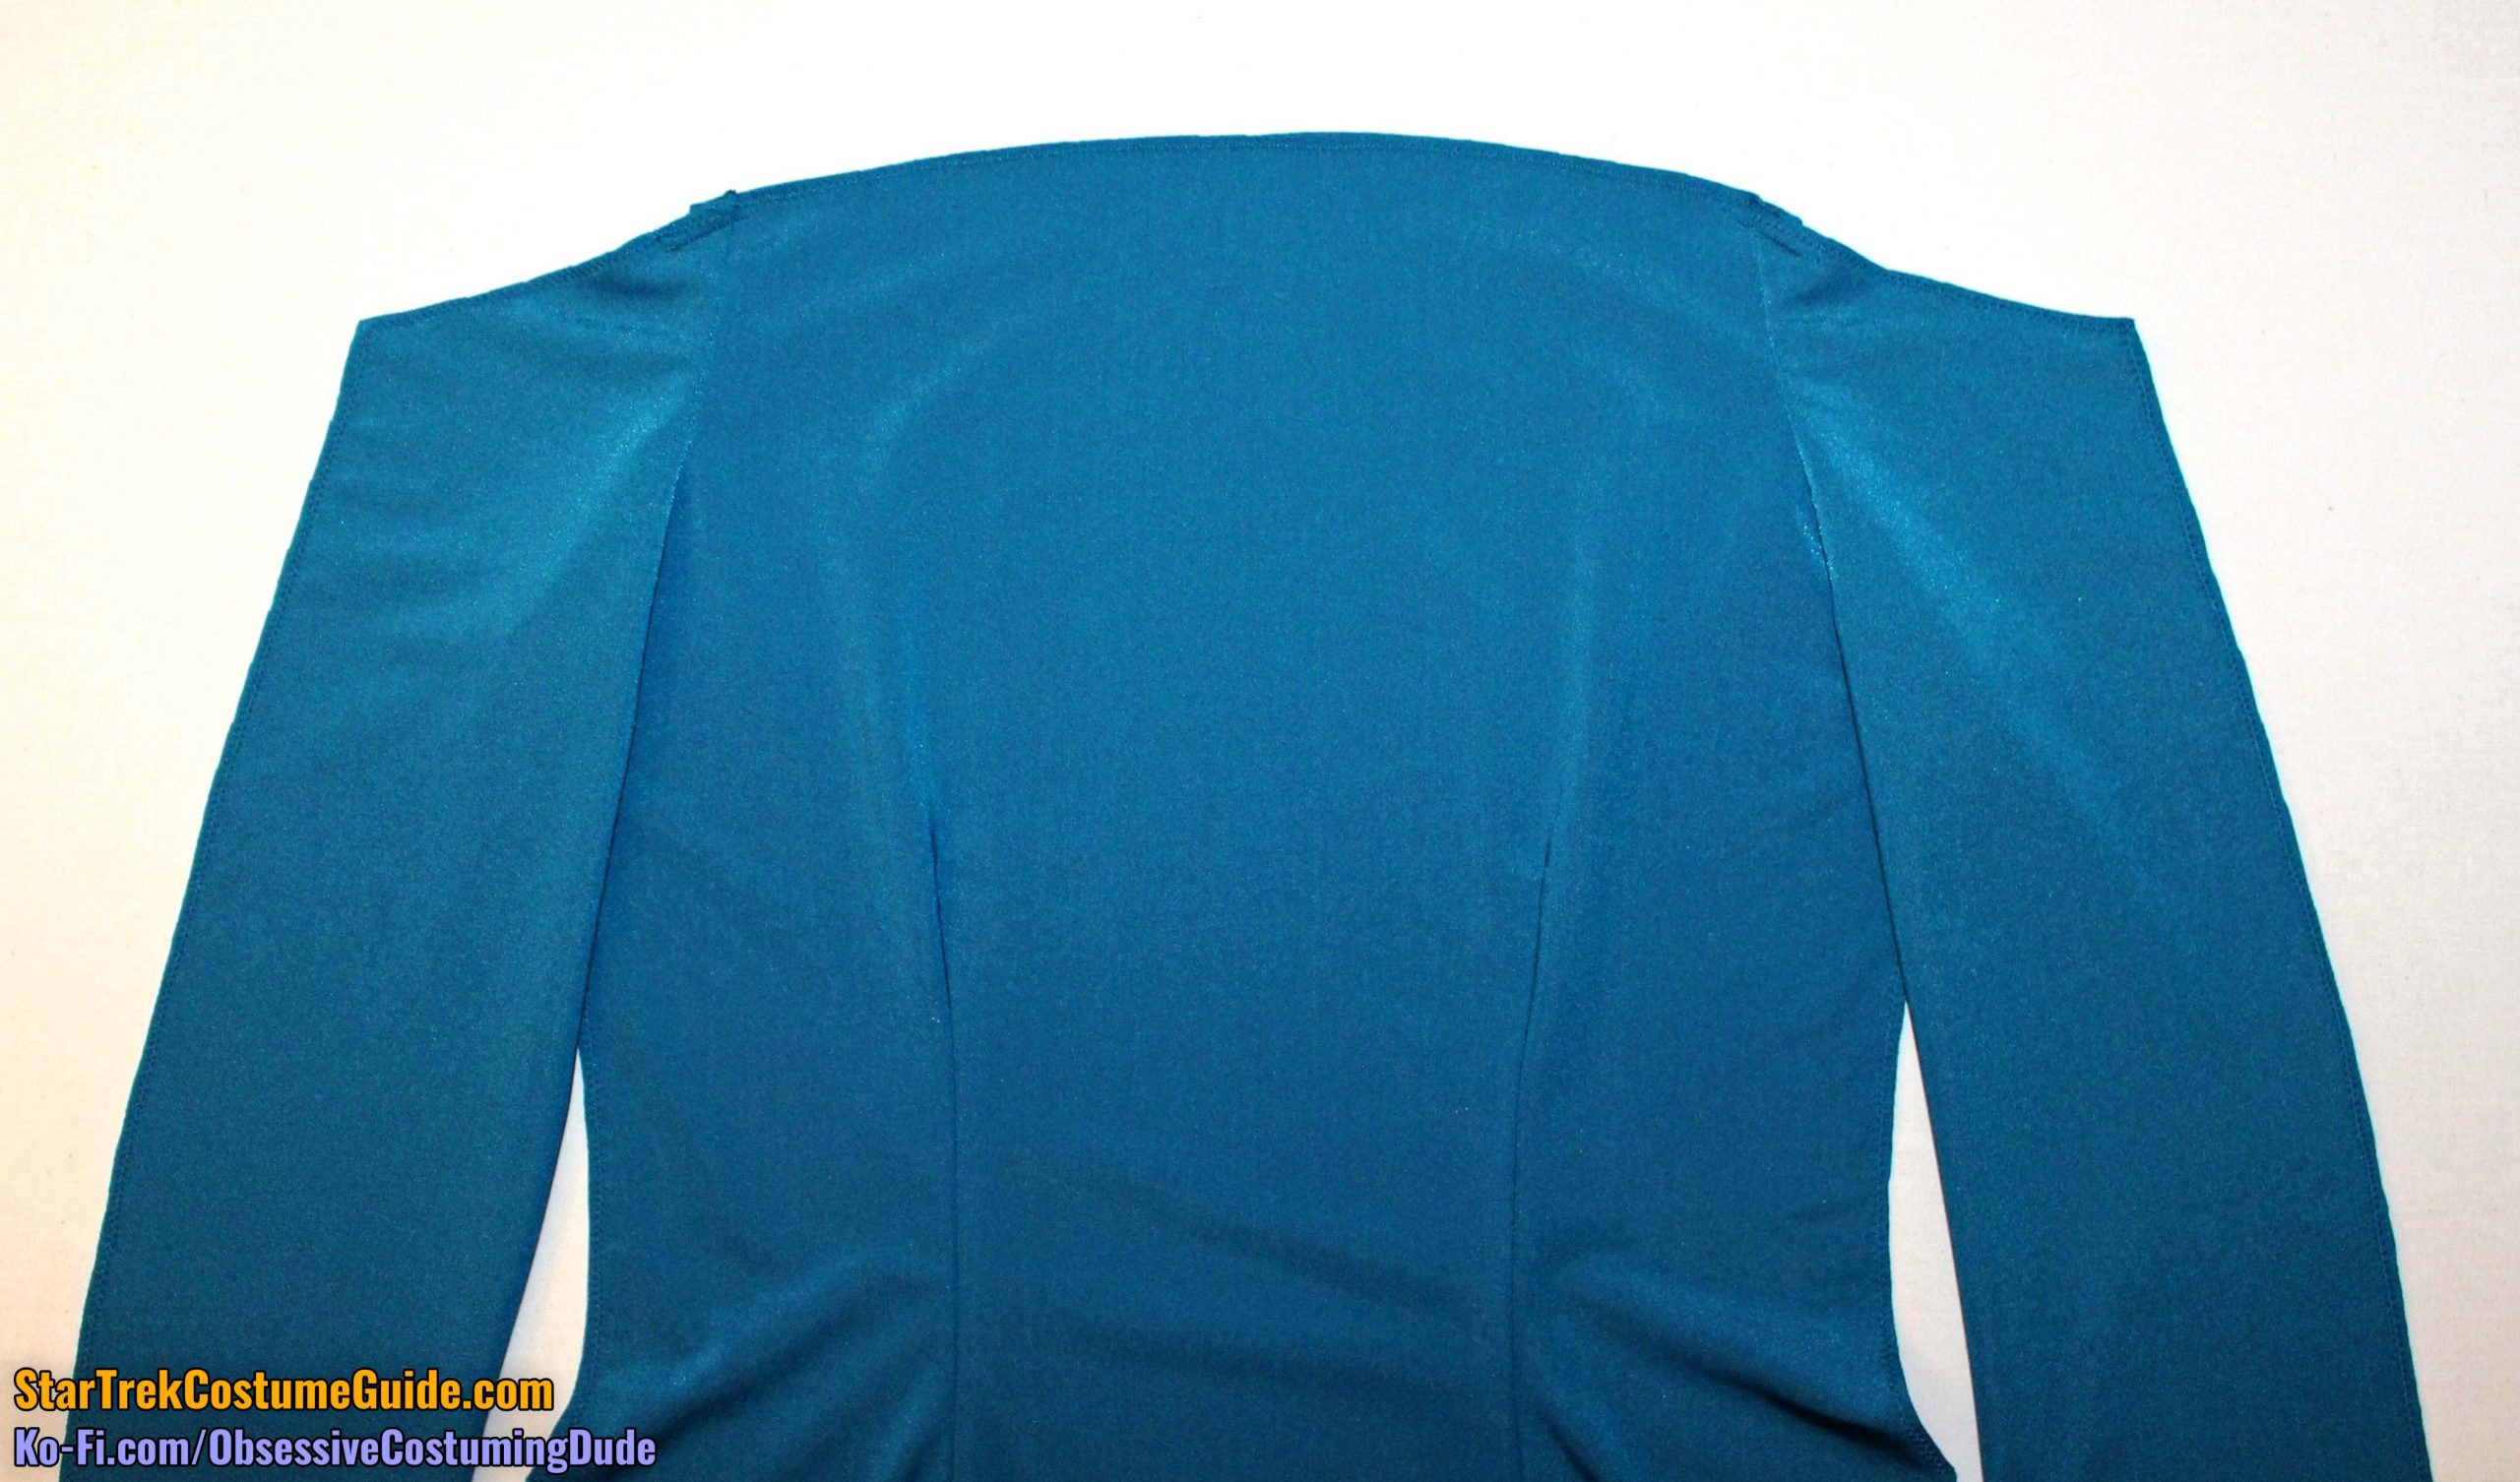
Sew the back sleeves (piece 1G) to the back.
Press the sleeves (and seam allowances) away from center.
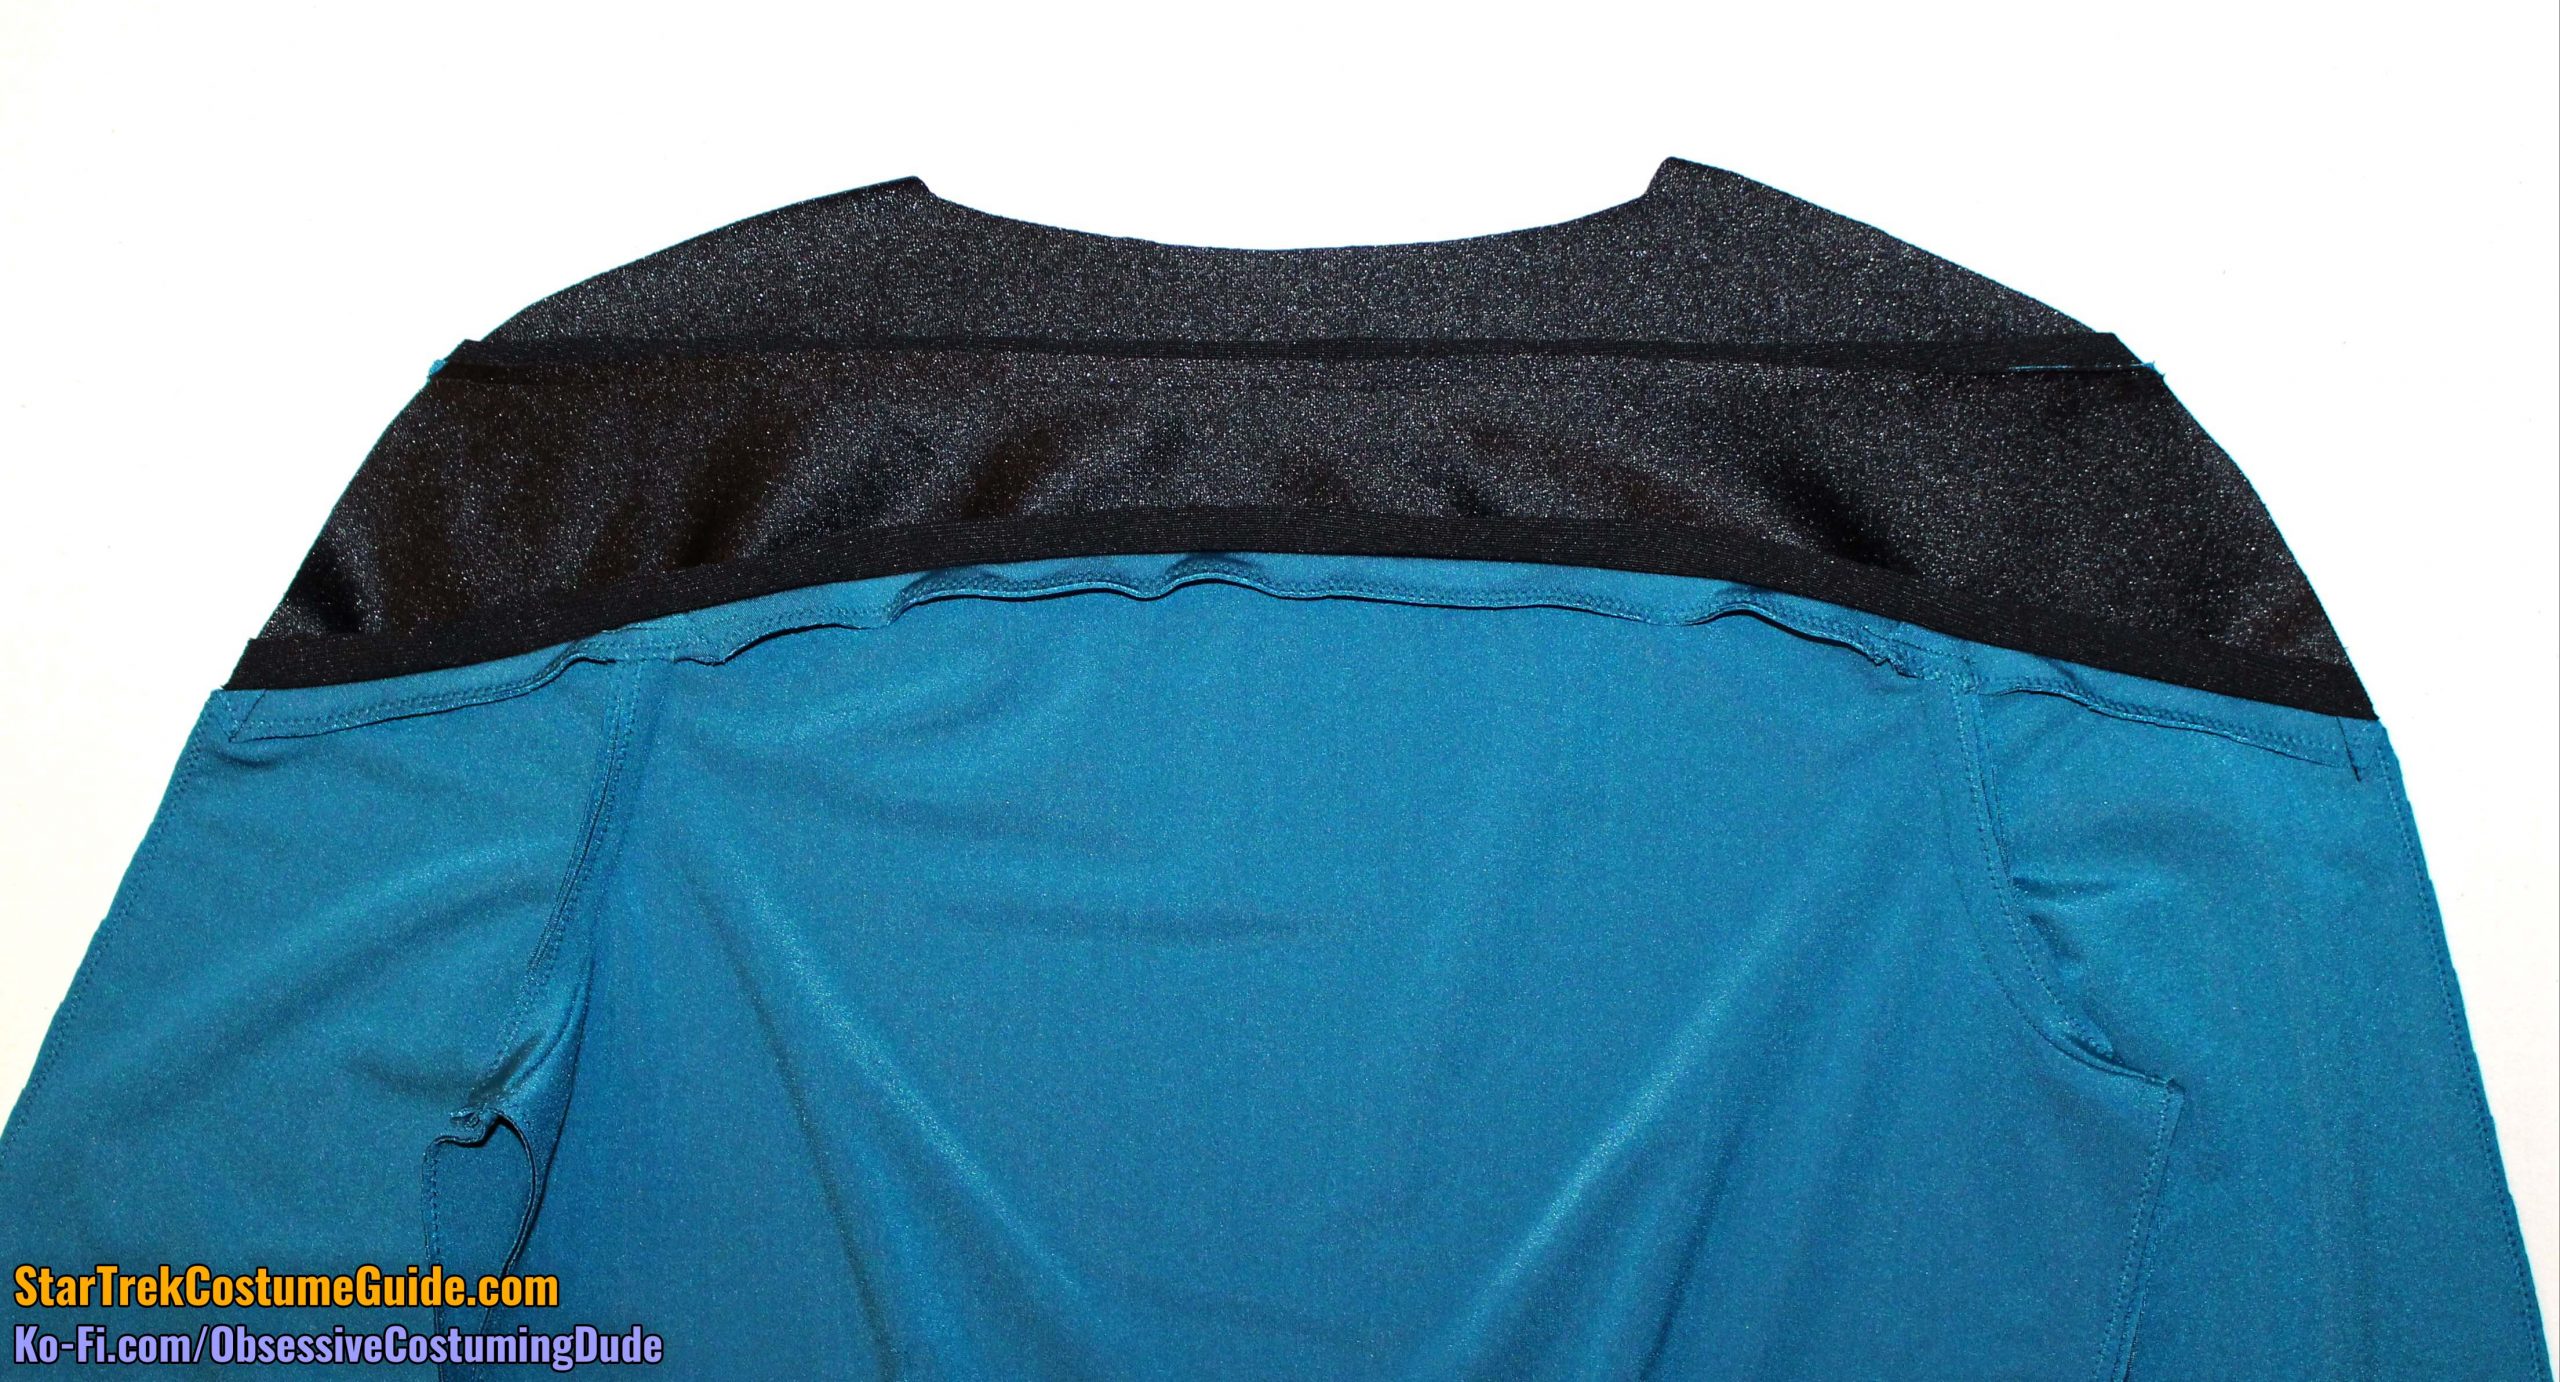
Using black thread, sew the back yoke to the back assembly.
Press the seam allowances open.
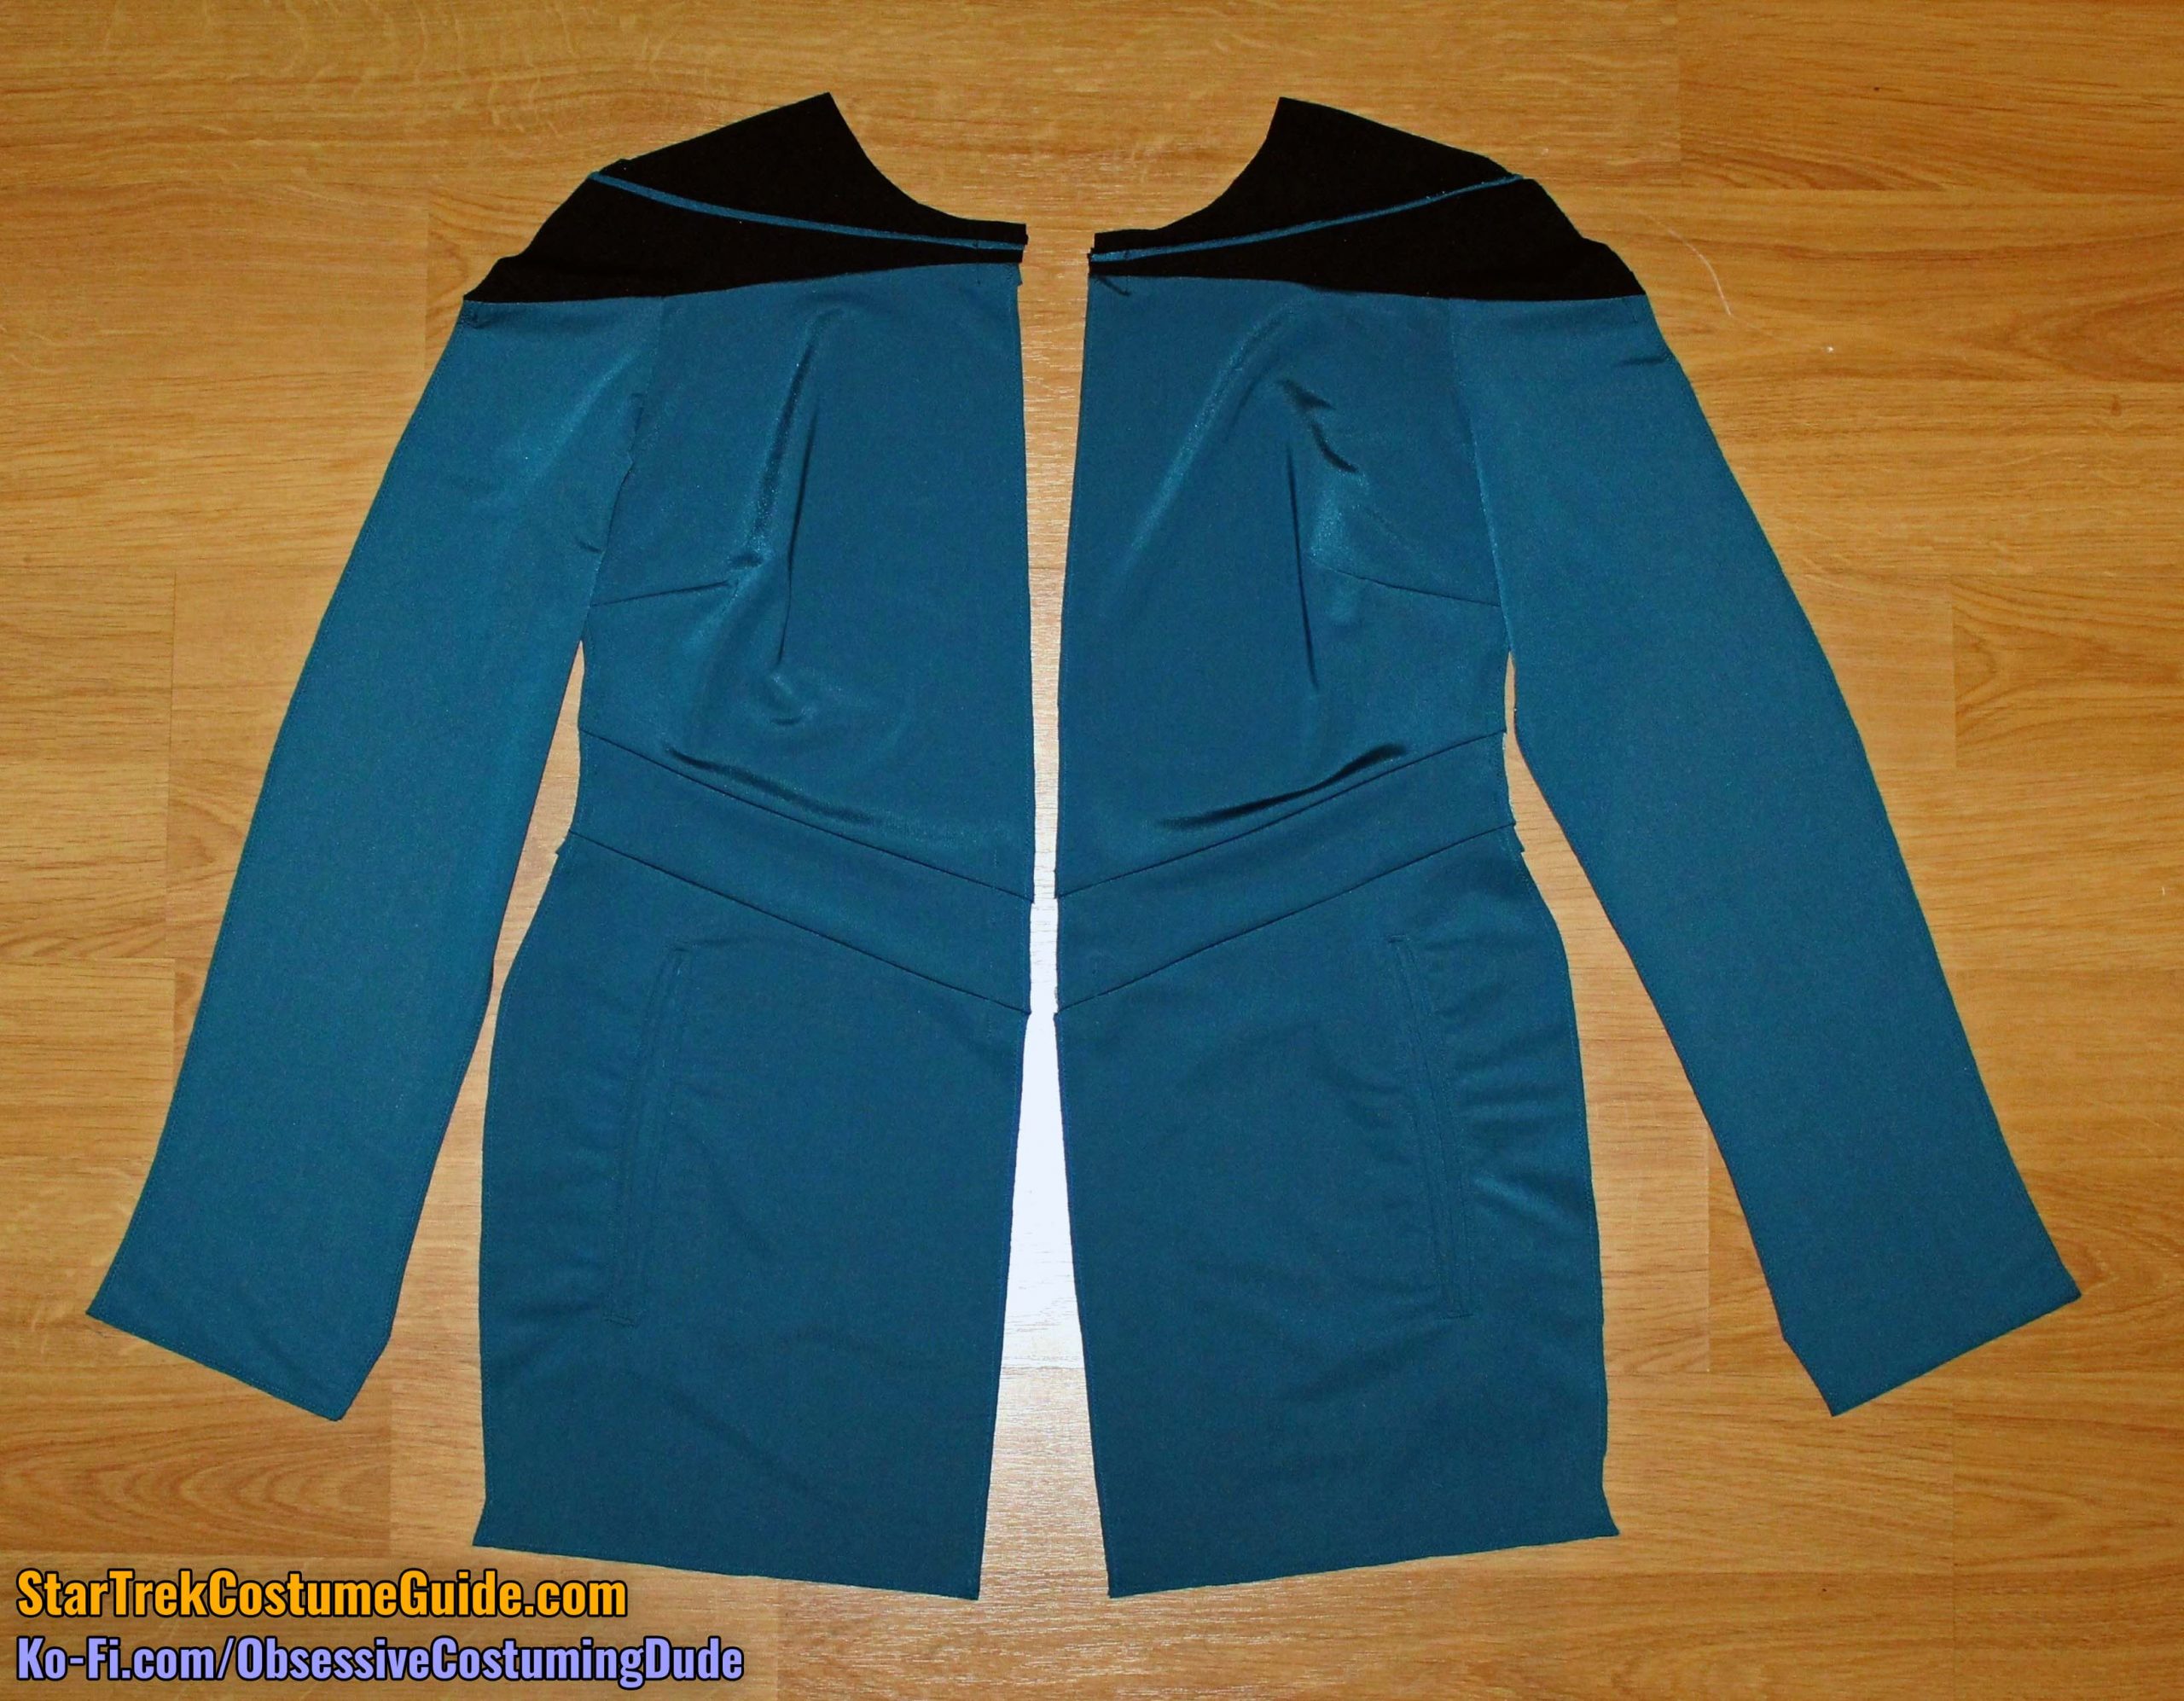
Your back assembly should now look like this:
STEP 3 - Fronts to Back
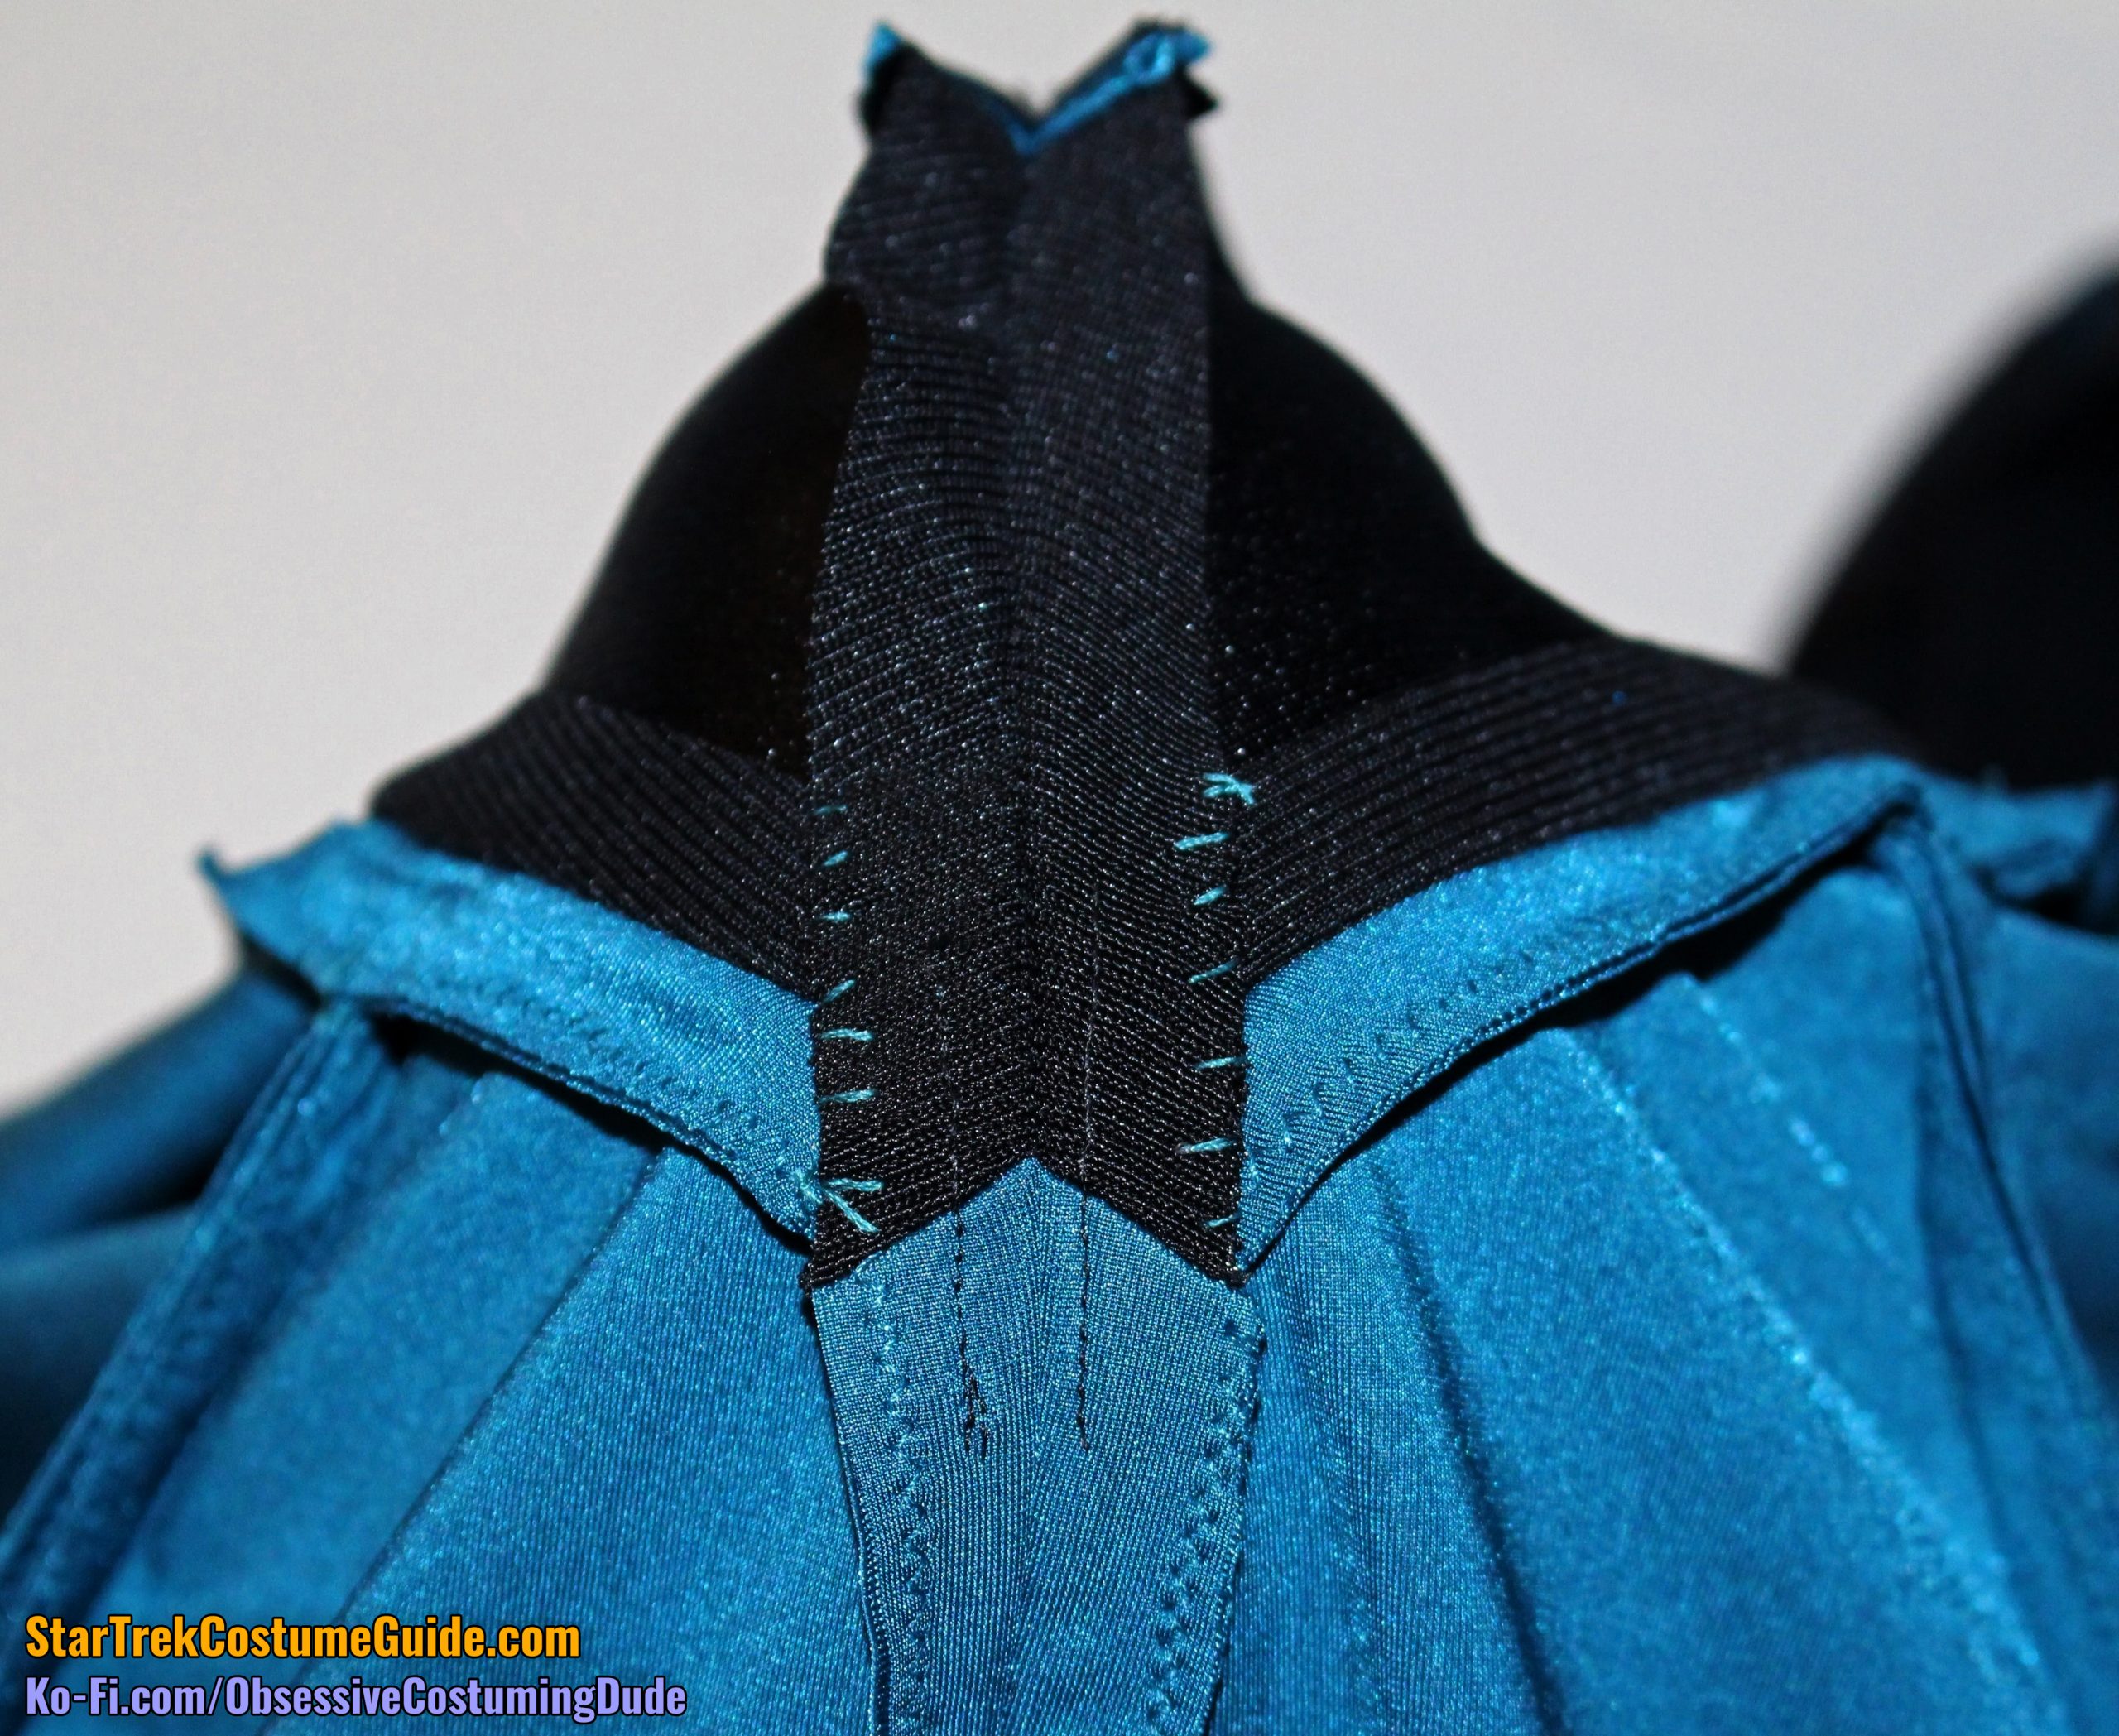
Sew the front and back assemblies together along the yoke/outer sleeve seams, matching yoke piping and seam lines.
TIP: Pin the assemblies together, then baste across the yoke piping and yoke/sleeve seam lines before sewing! Turn the garment right side out, check to make the sure the seams are properly aligned, adjust your basting if necessary, and once satisfied of proper alignment, THEN sew the assemblies together!
TIP: Use a quilting/walking foot to sew across the yoke piping, or even the entire shoulder/outer sleeve seam.
TIP: I like to use black thread for the yoke, and teal thread for the sleeves, simply because I prefer to sew with a matching thread color. If you don’t want to switch for this seam, I suggest using only black.
Press the seam allowances open.
At the lower/outer corners of the yoke, tack the seam allowances open by hand, stitching only through the yoke/body seam allowances (and not onto the outside of the garment).
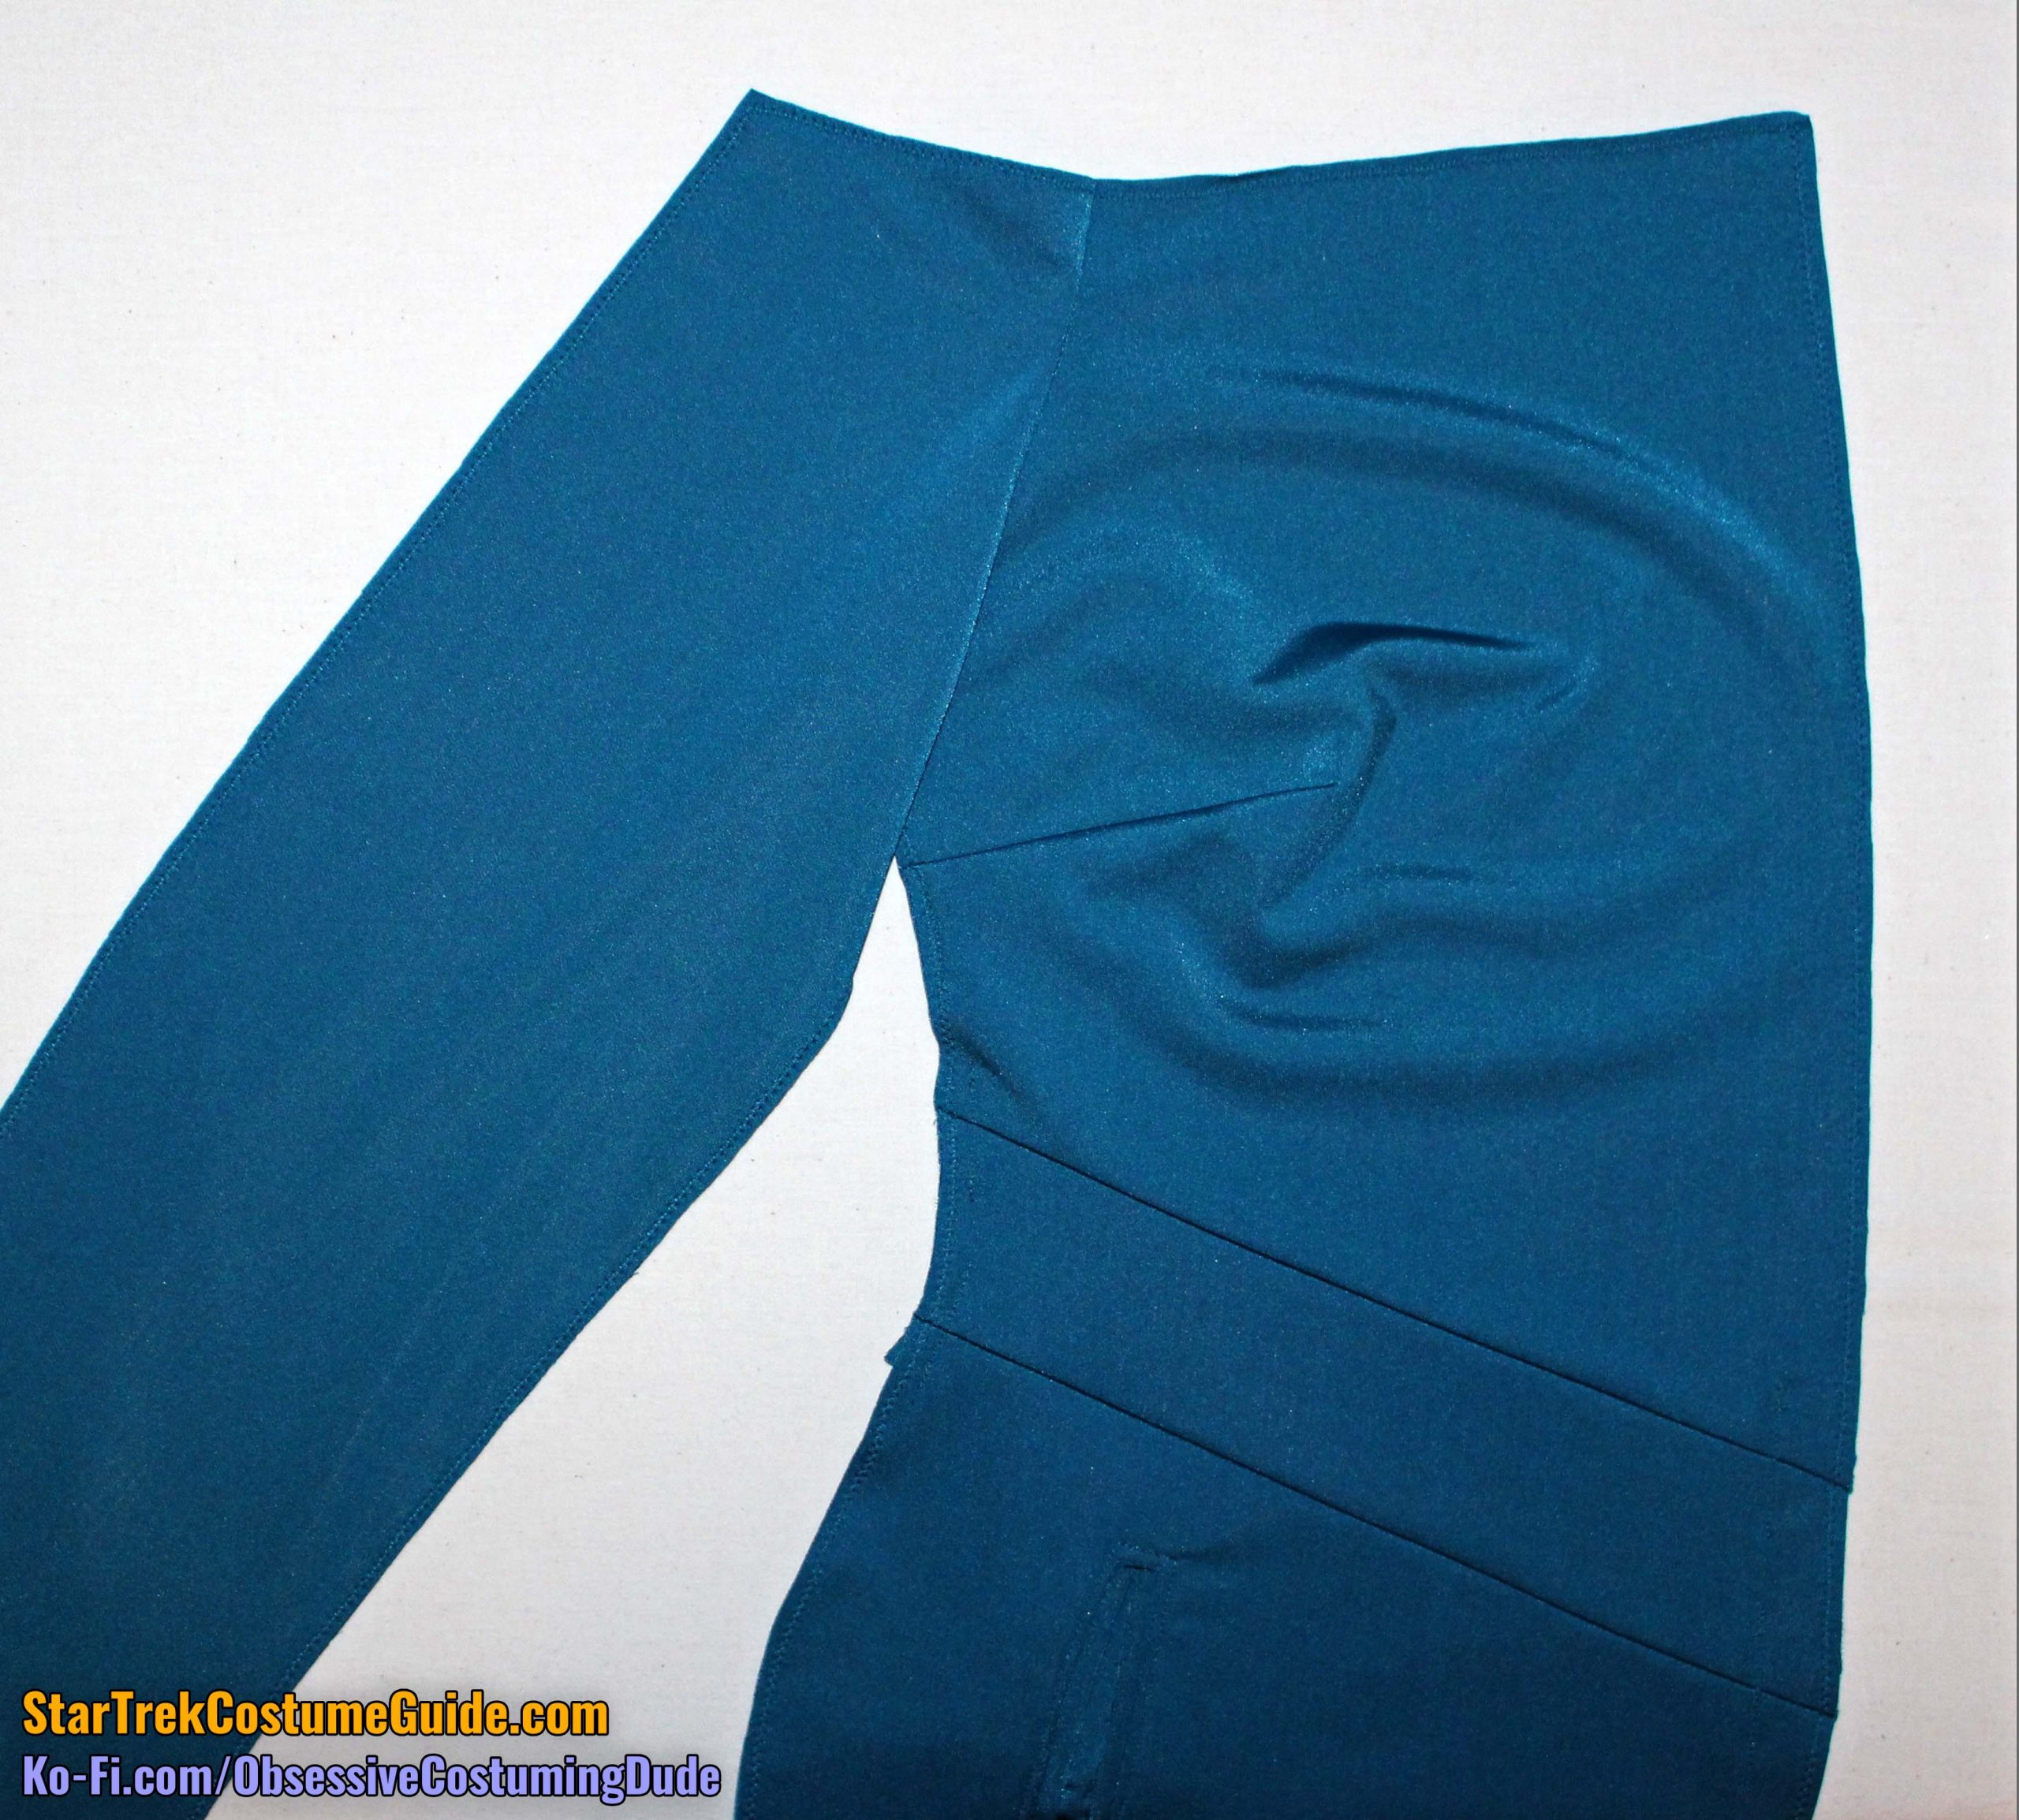
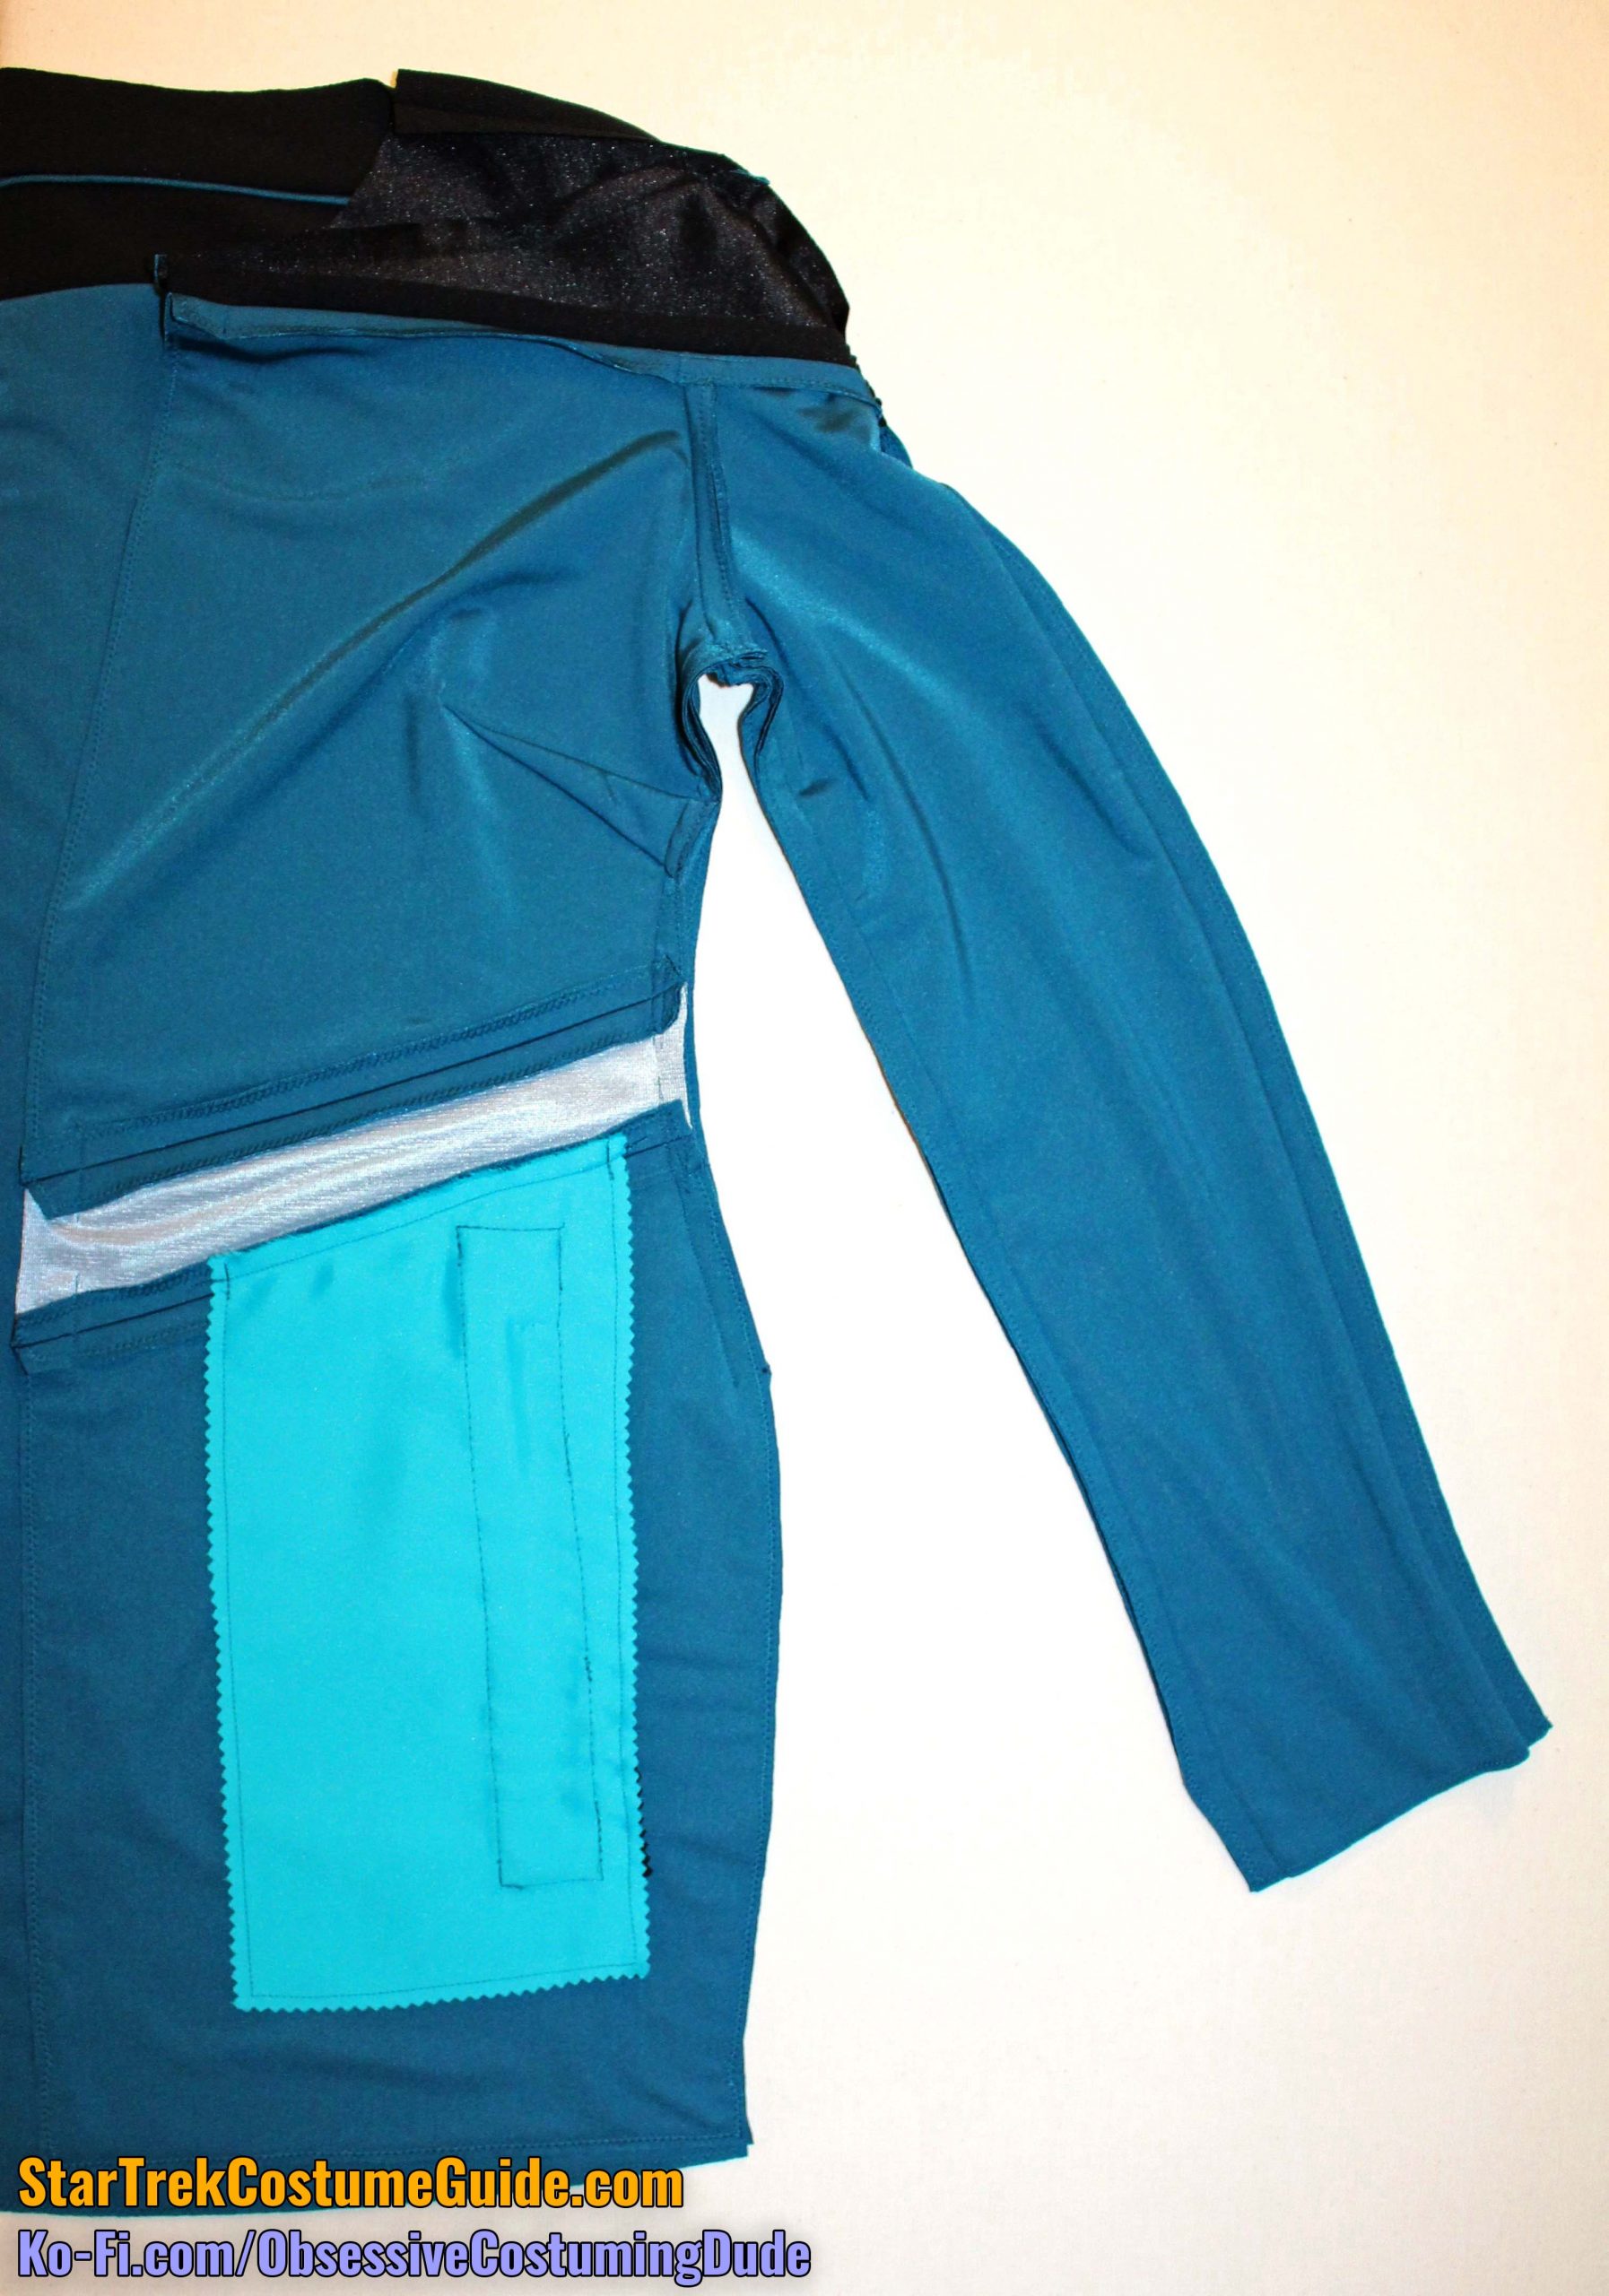
Sew the front and back assemblies along the side/inner sleeve seams, beginning (or ending) your stitching at the lower side dots on the printed pattern. (Do NOT sew the lower sides closed!)
OPTIONAL: As you may recall, the screen-used Dr. Pulaski smock I examined was not hemmed, but simply cut to length. I included an extra inch of hem allowance along the bottom of both body pieces and the side inserts of the sewing pattern, giving you the option to hem properly hem it if you’d like. Personally, I prefer to hem the smock but not the mesh side inserts, so trim away the bottommost 1” of those if you’d like.
Sew the side inserts (piece 1E) to the lower front, beginning or ending your stitching exactly at the dots on the printed pattern.
Then sew the side inserts to the lower back, again beginning or ending your stitching at the dot.
All three stitch lines (side, lower front, lower back) should now meet exactly.
Stitch #1
Stitch #2
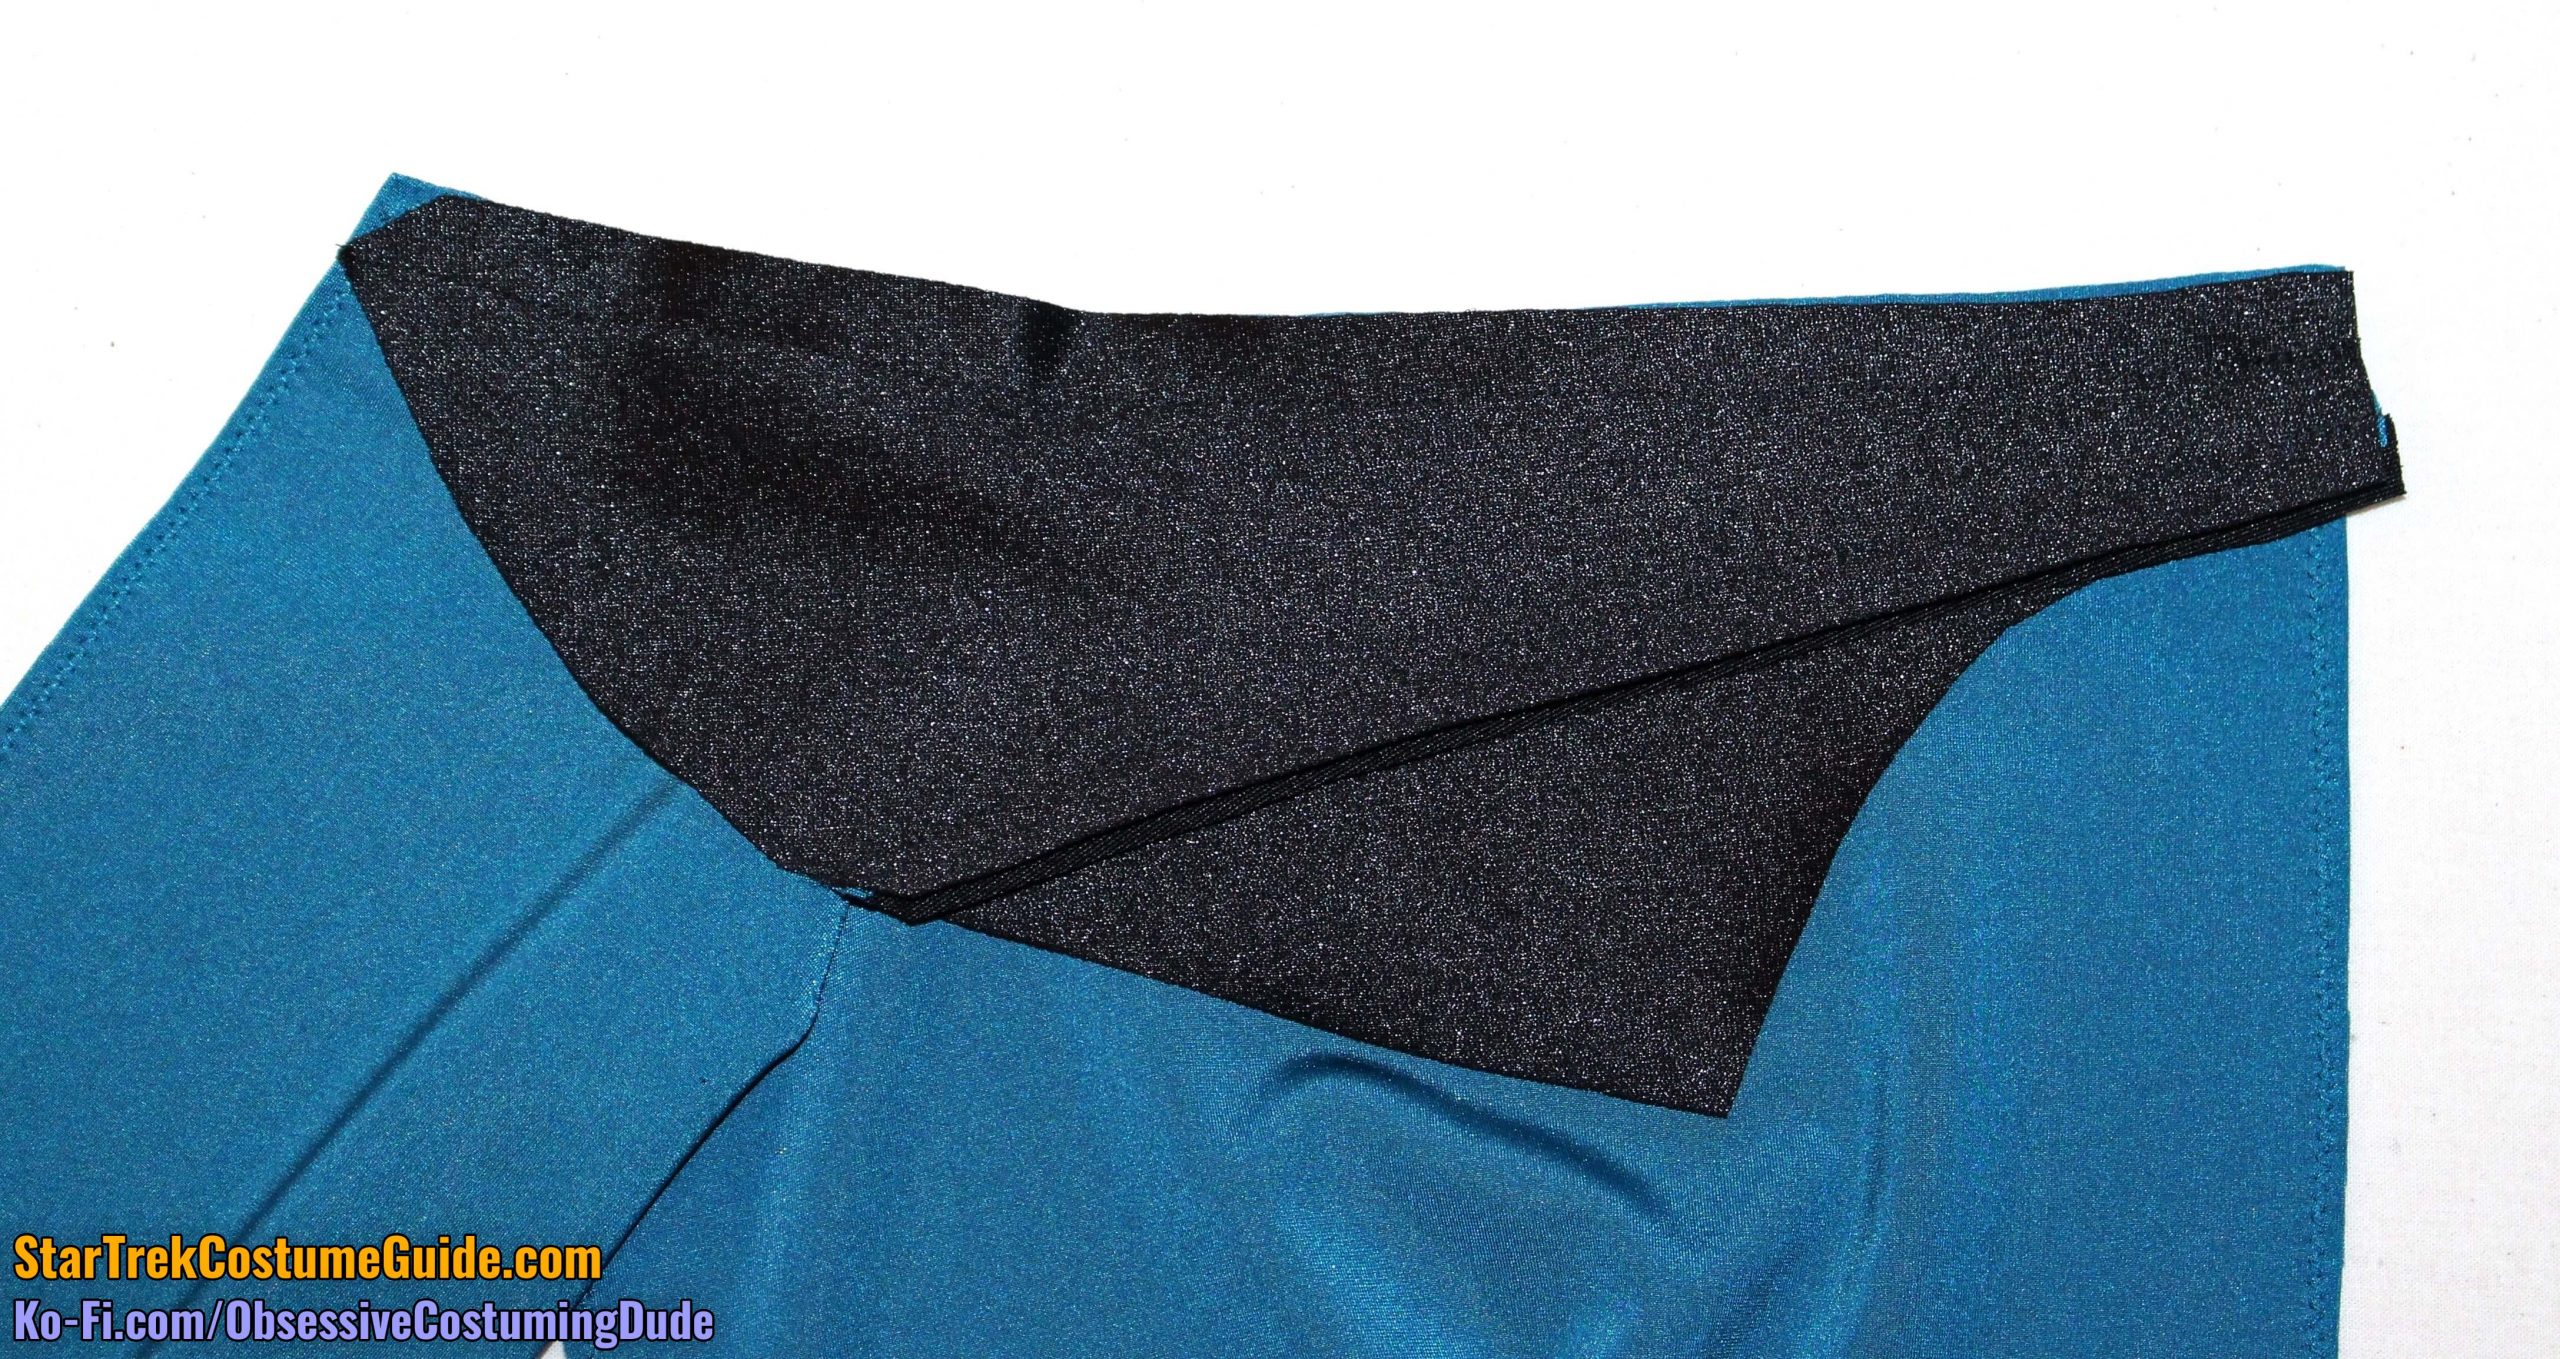
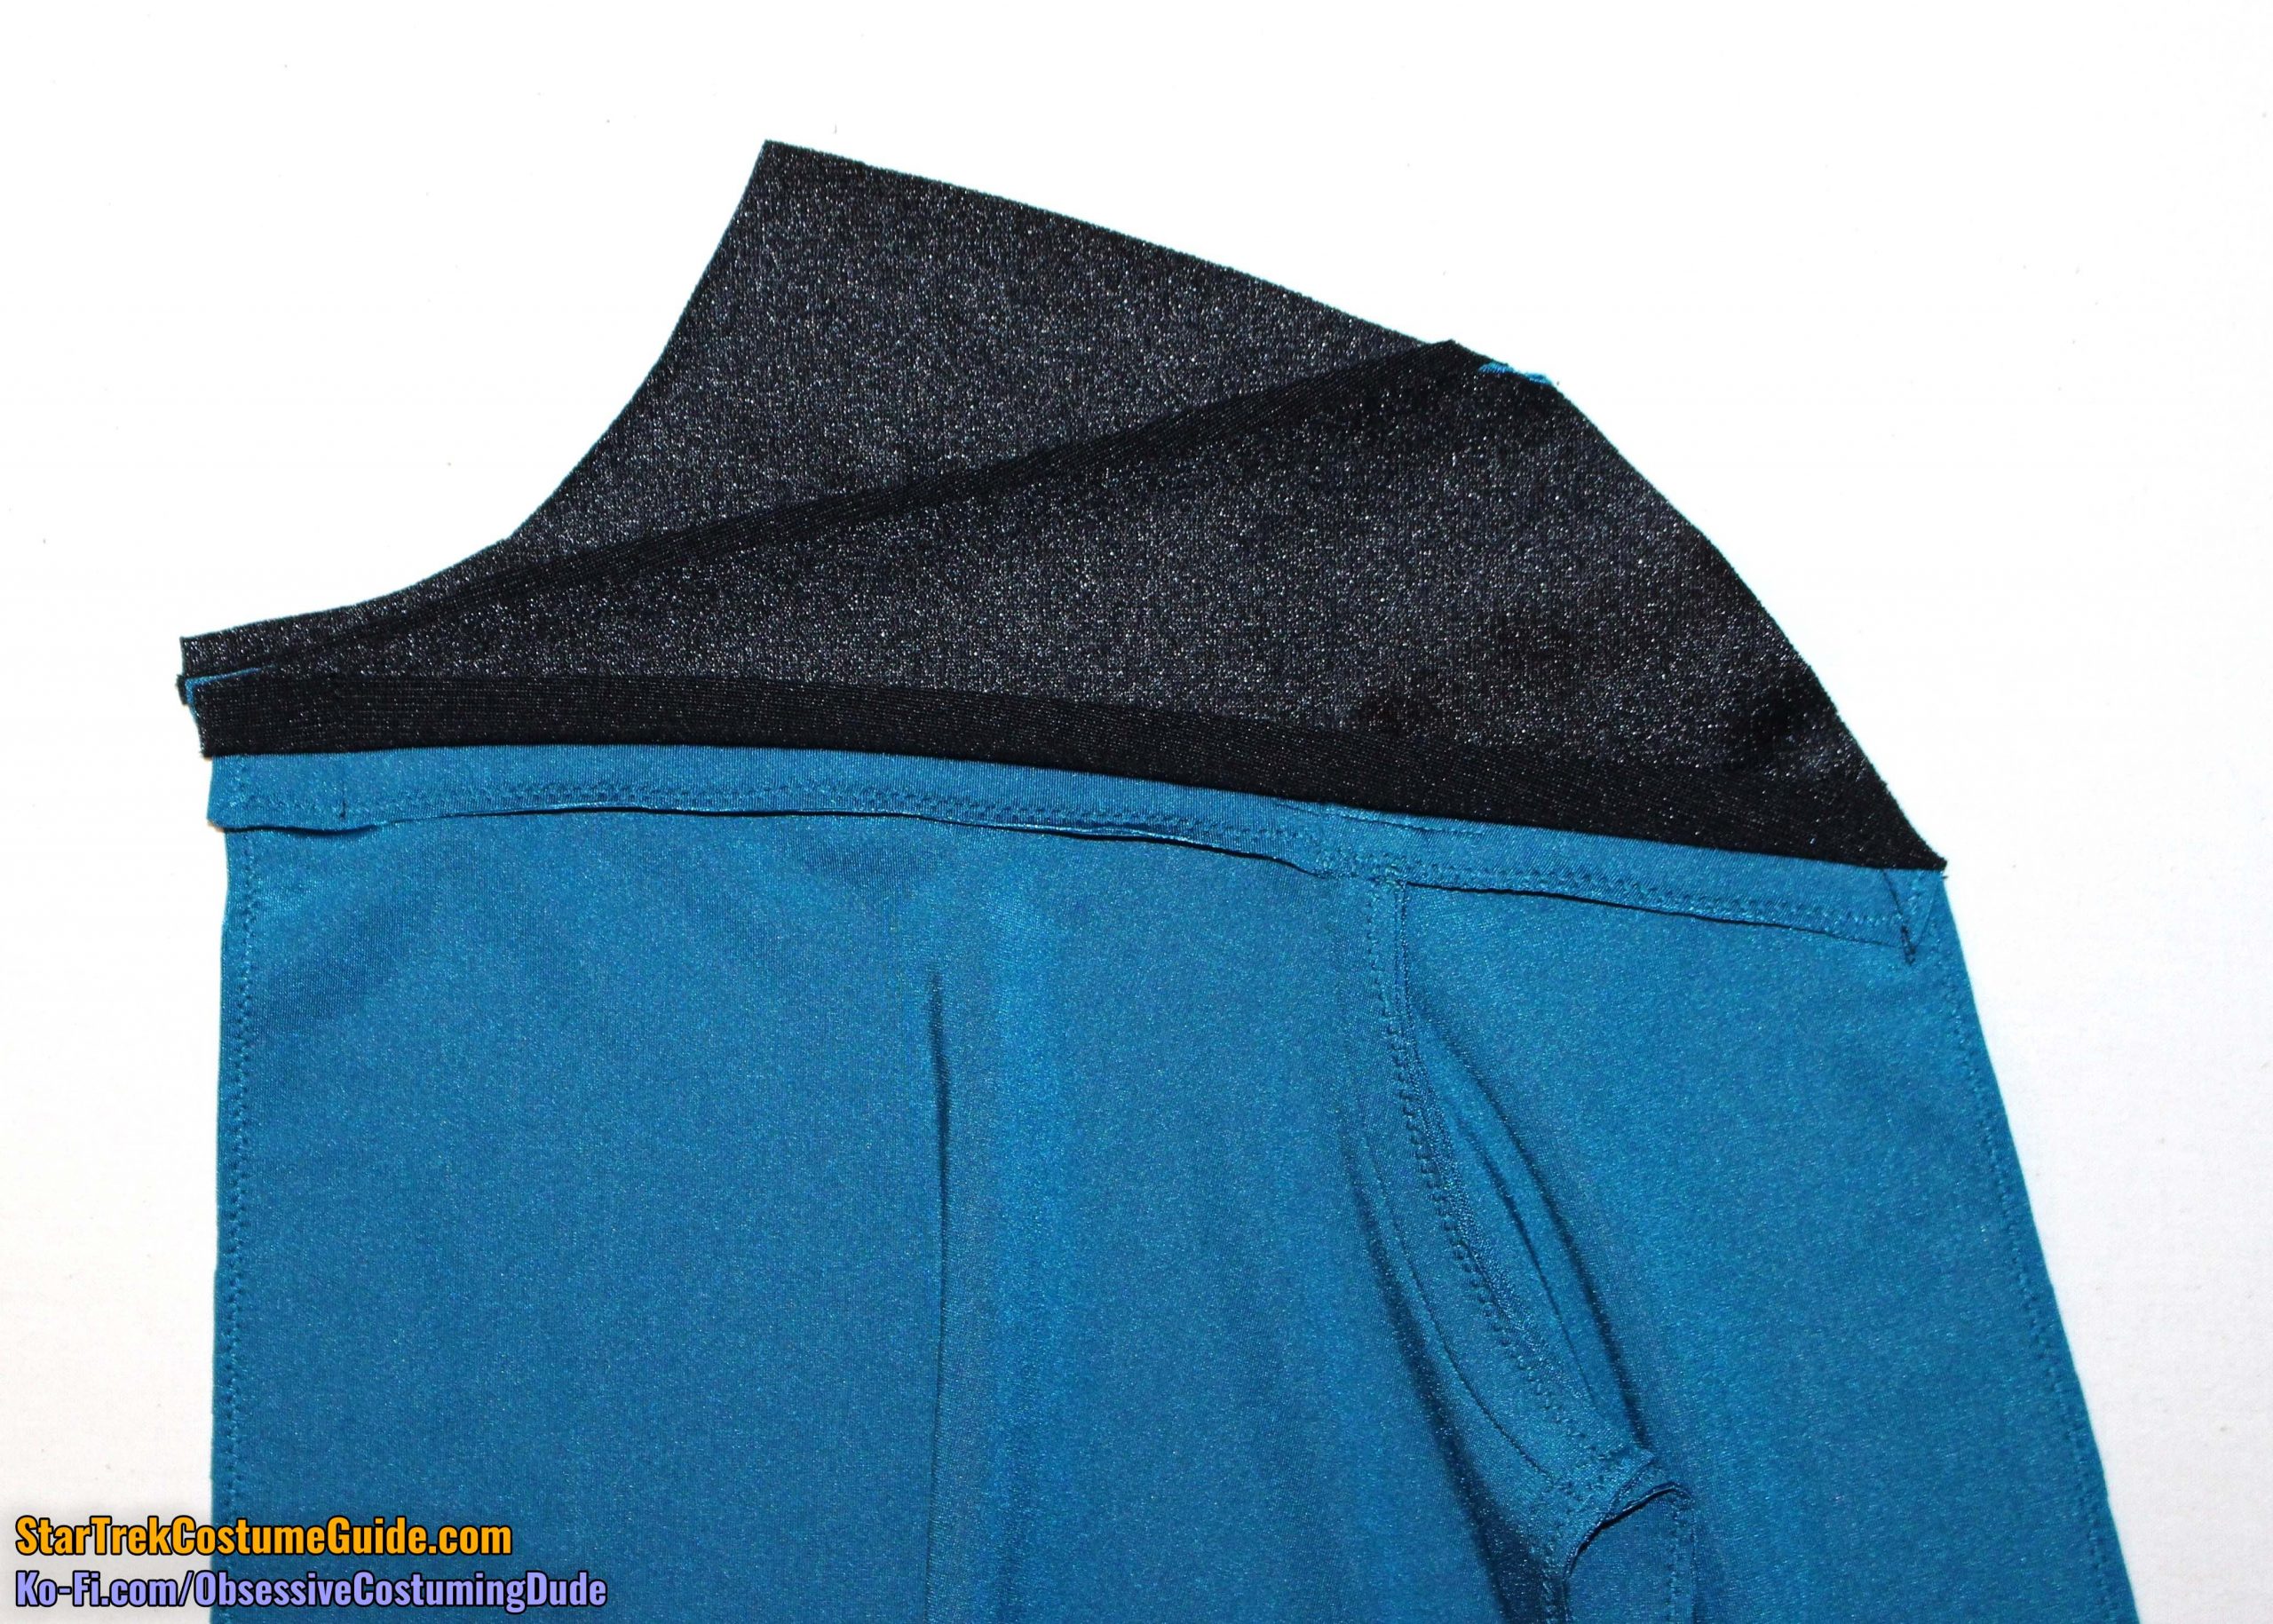
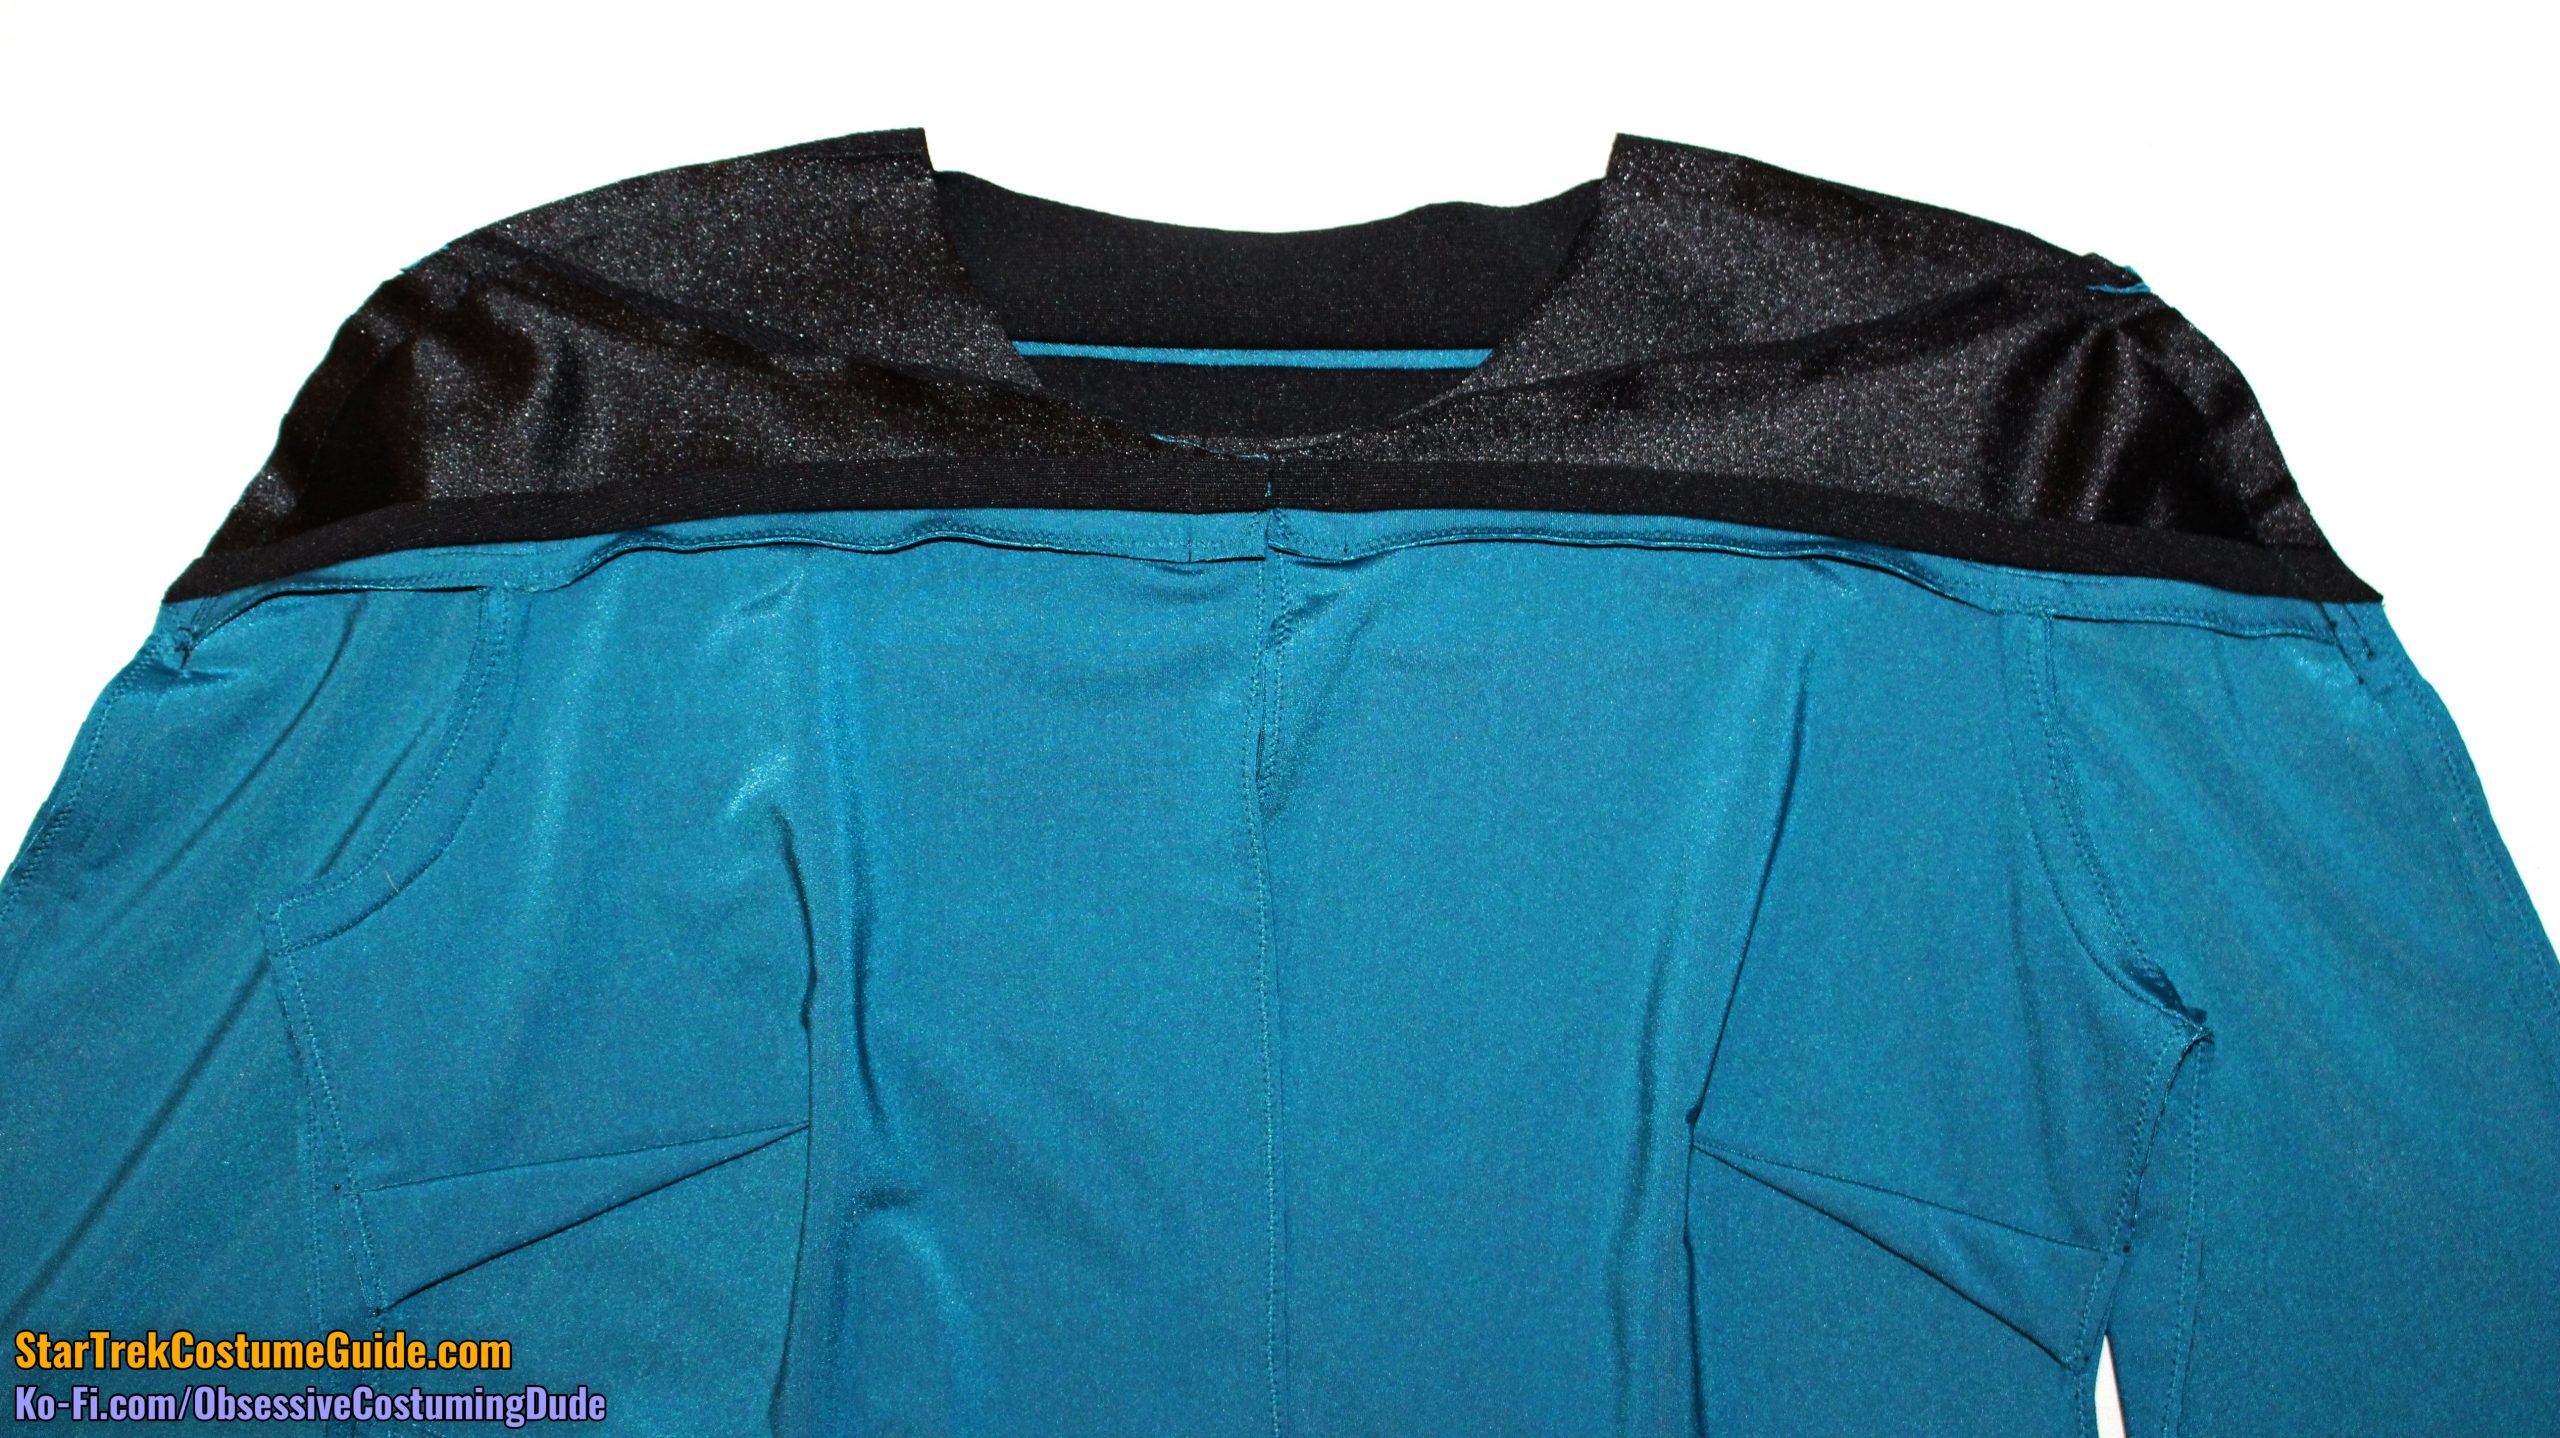
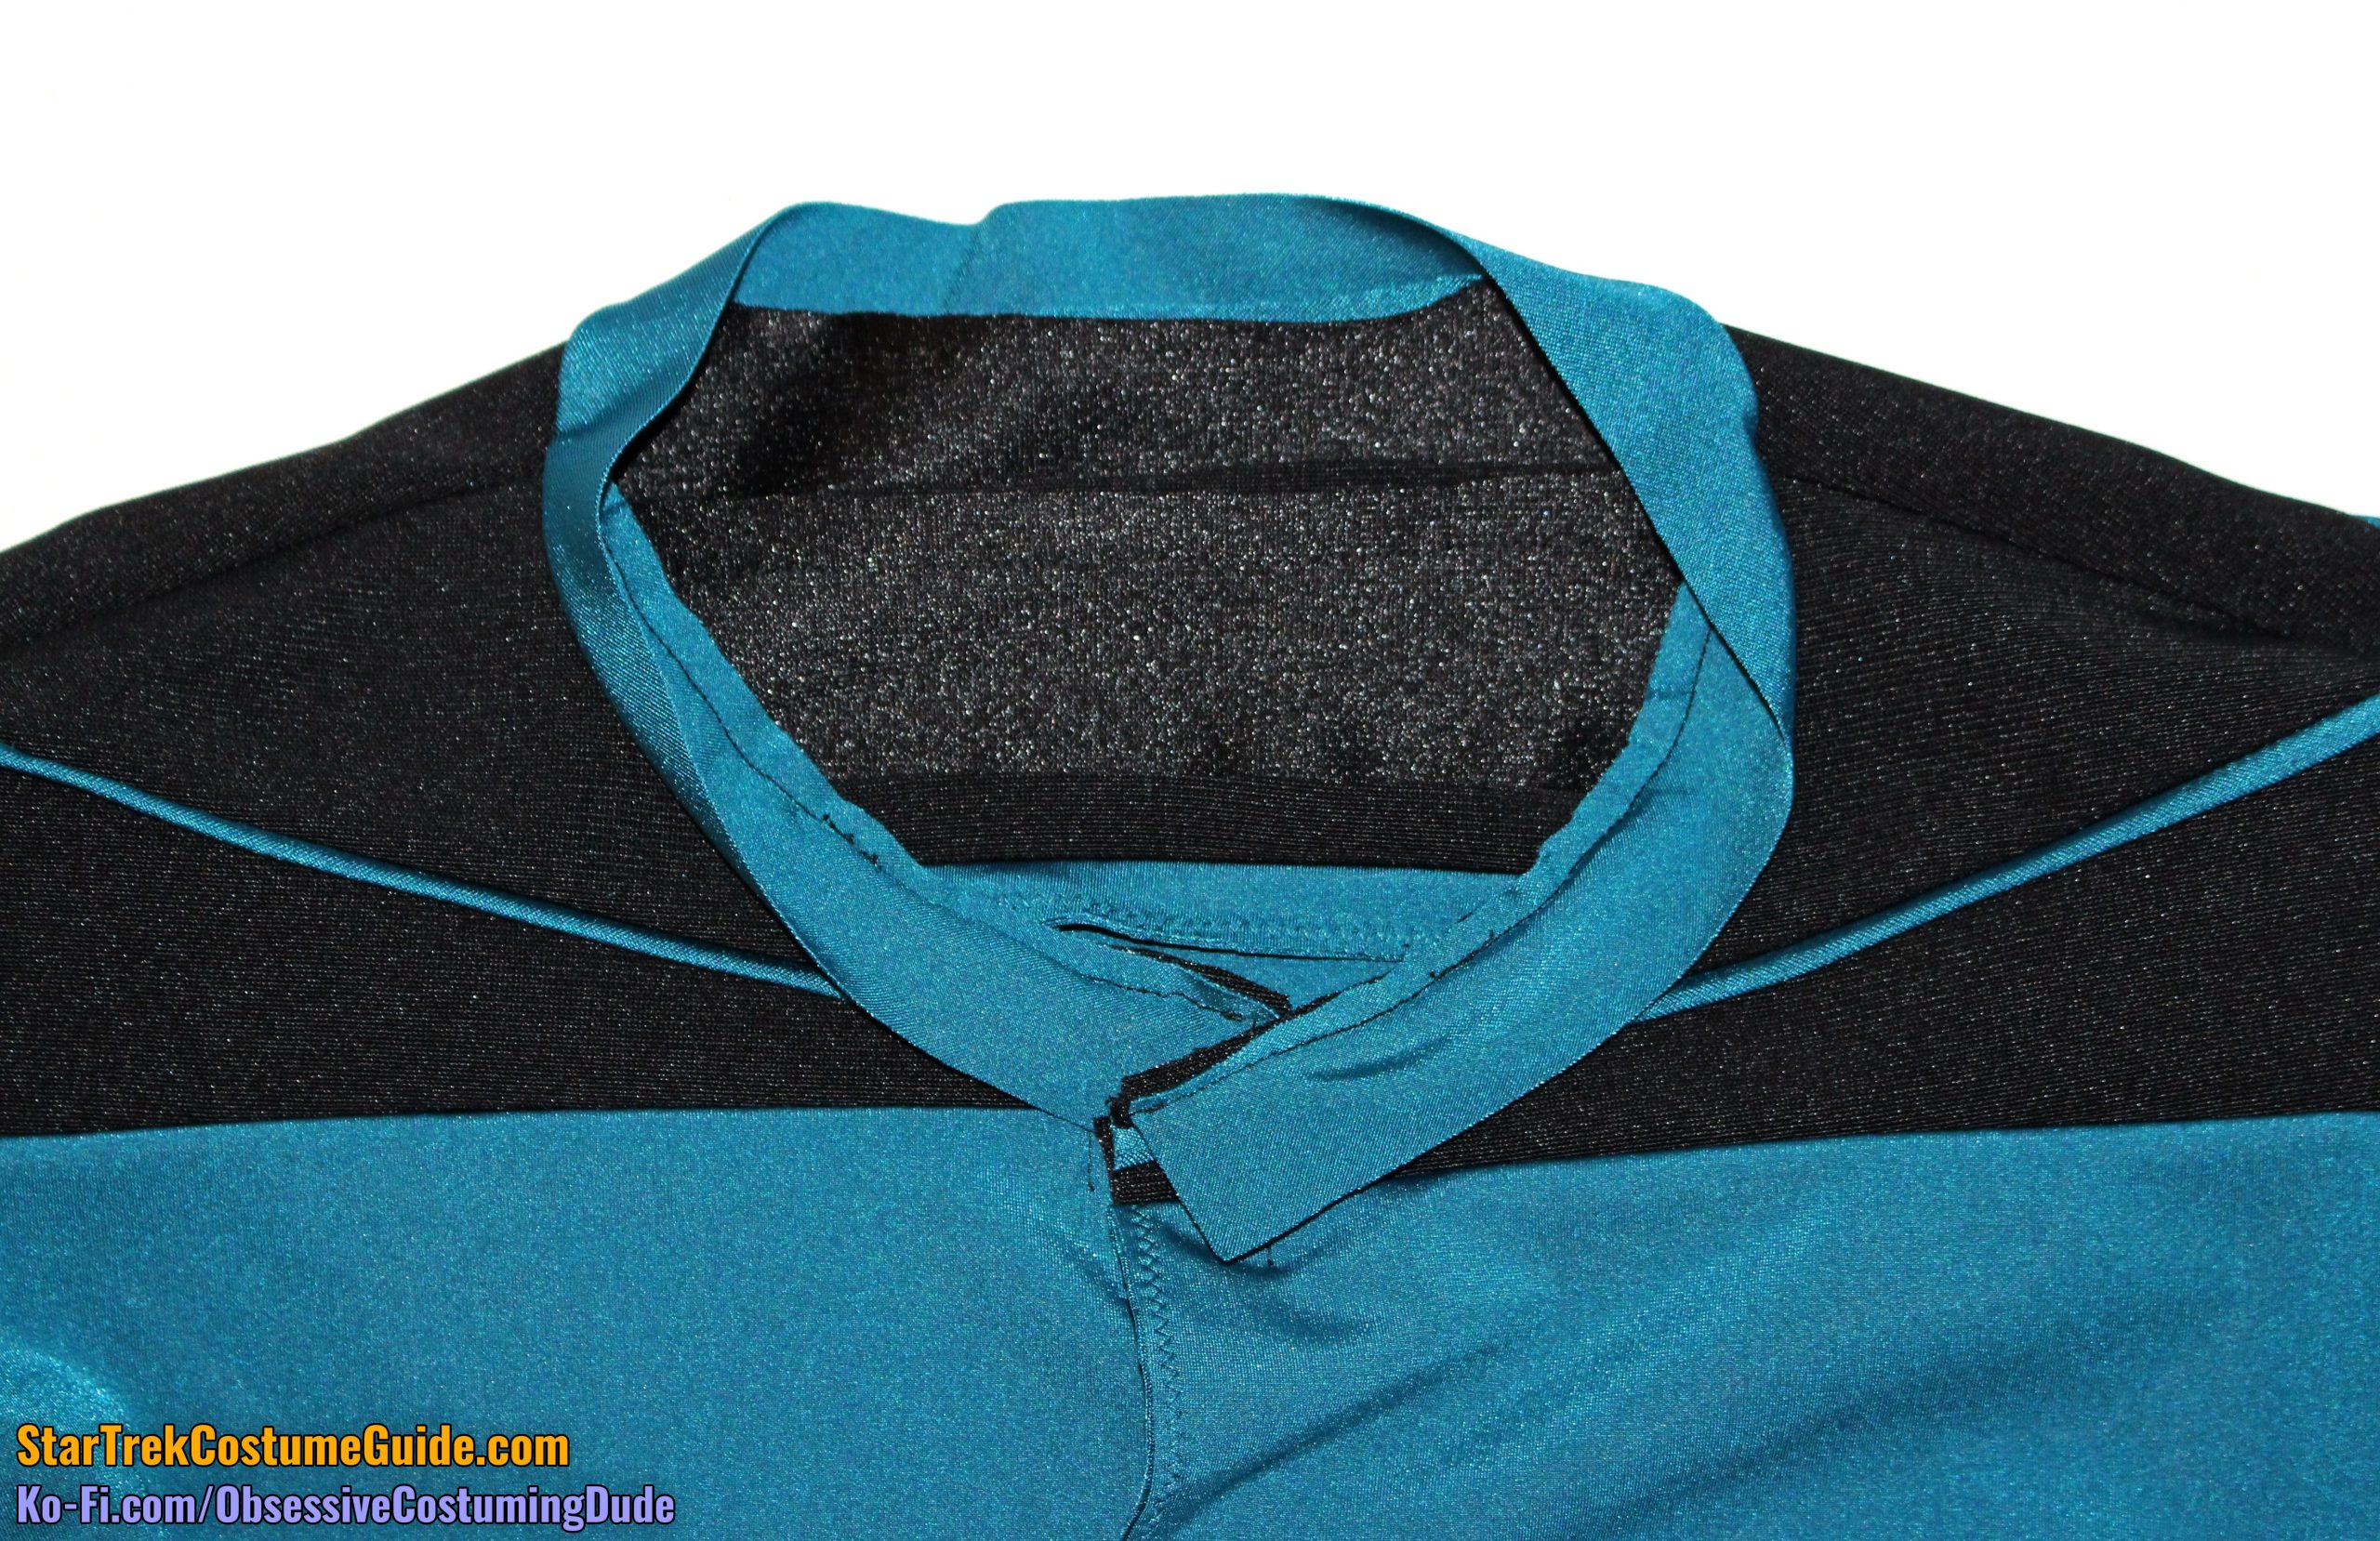
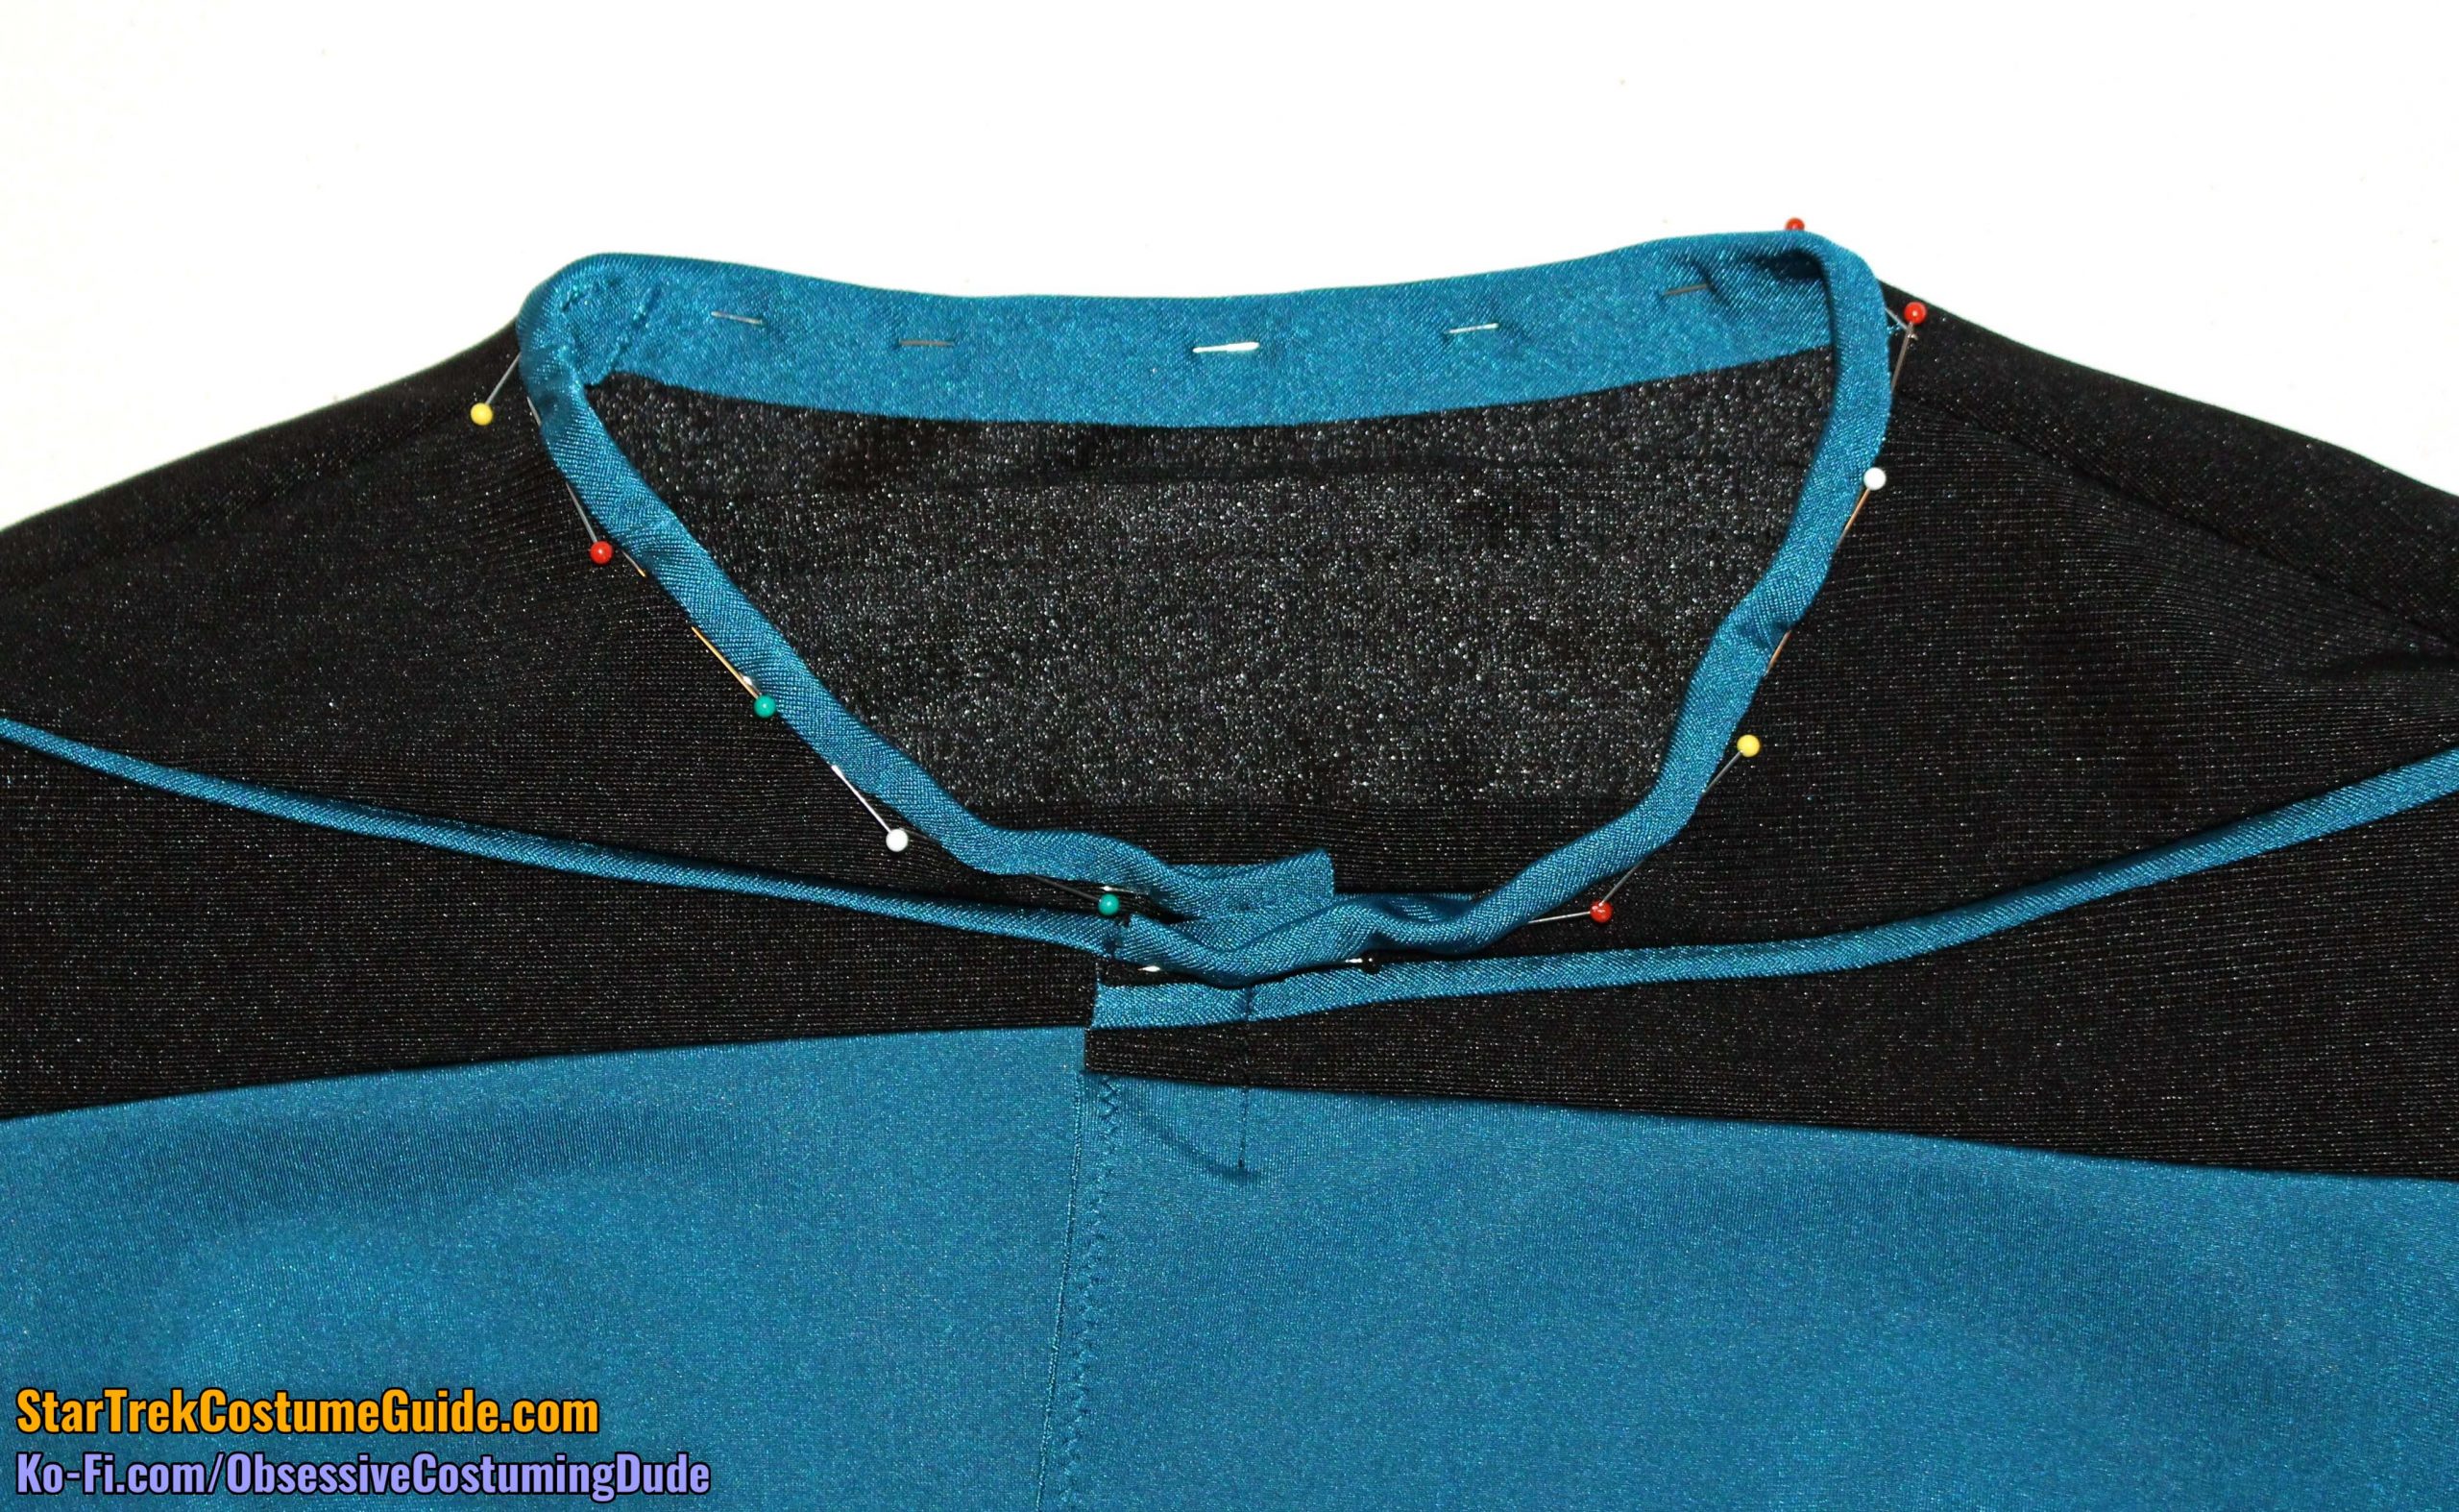
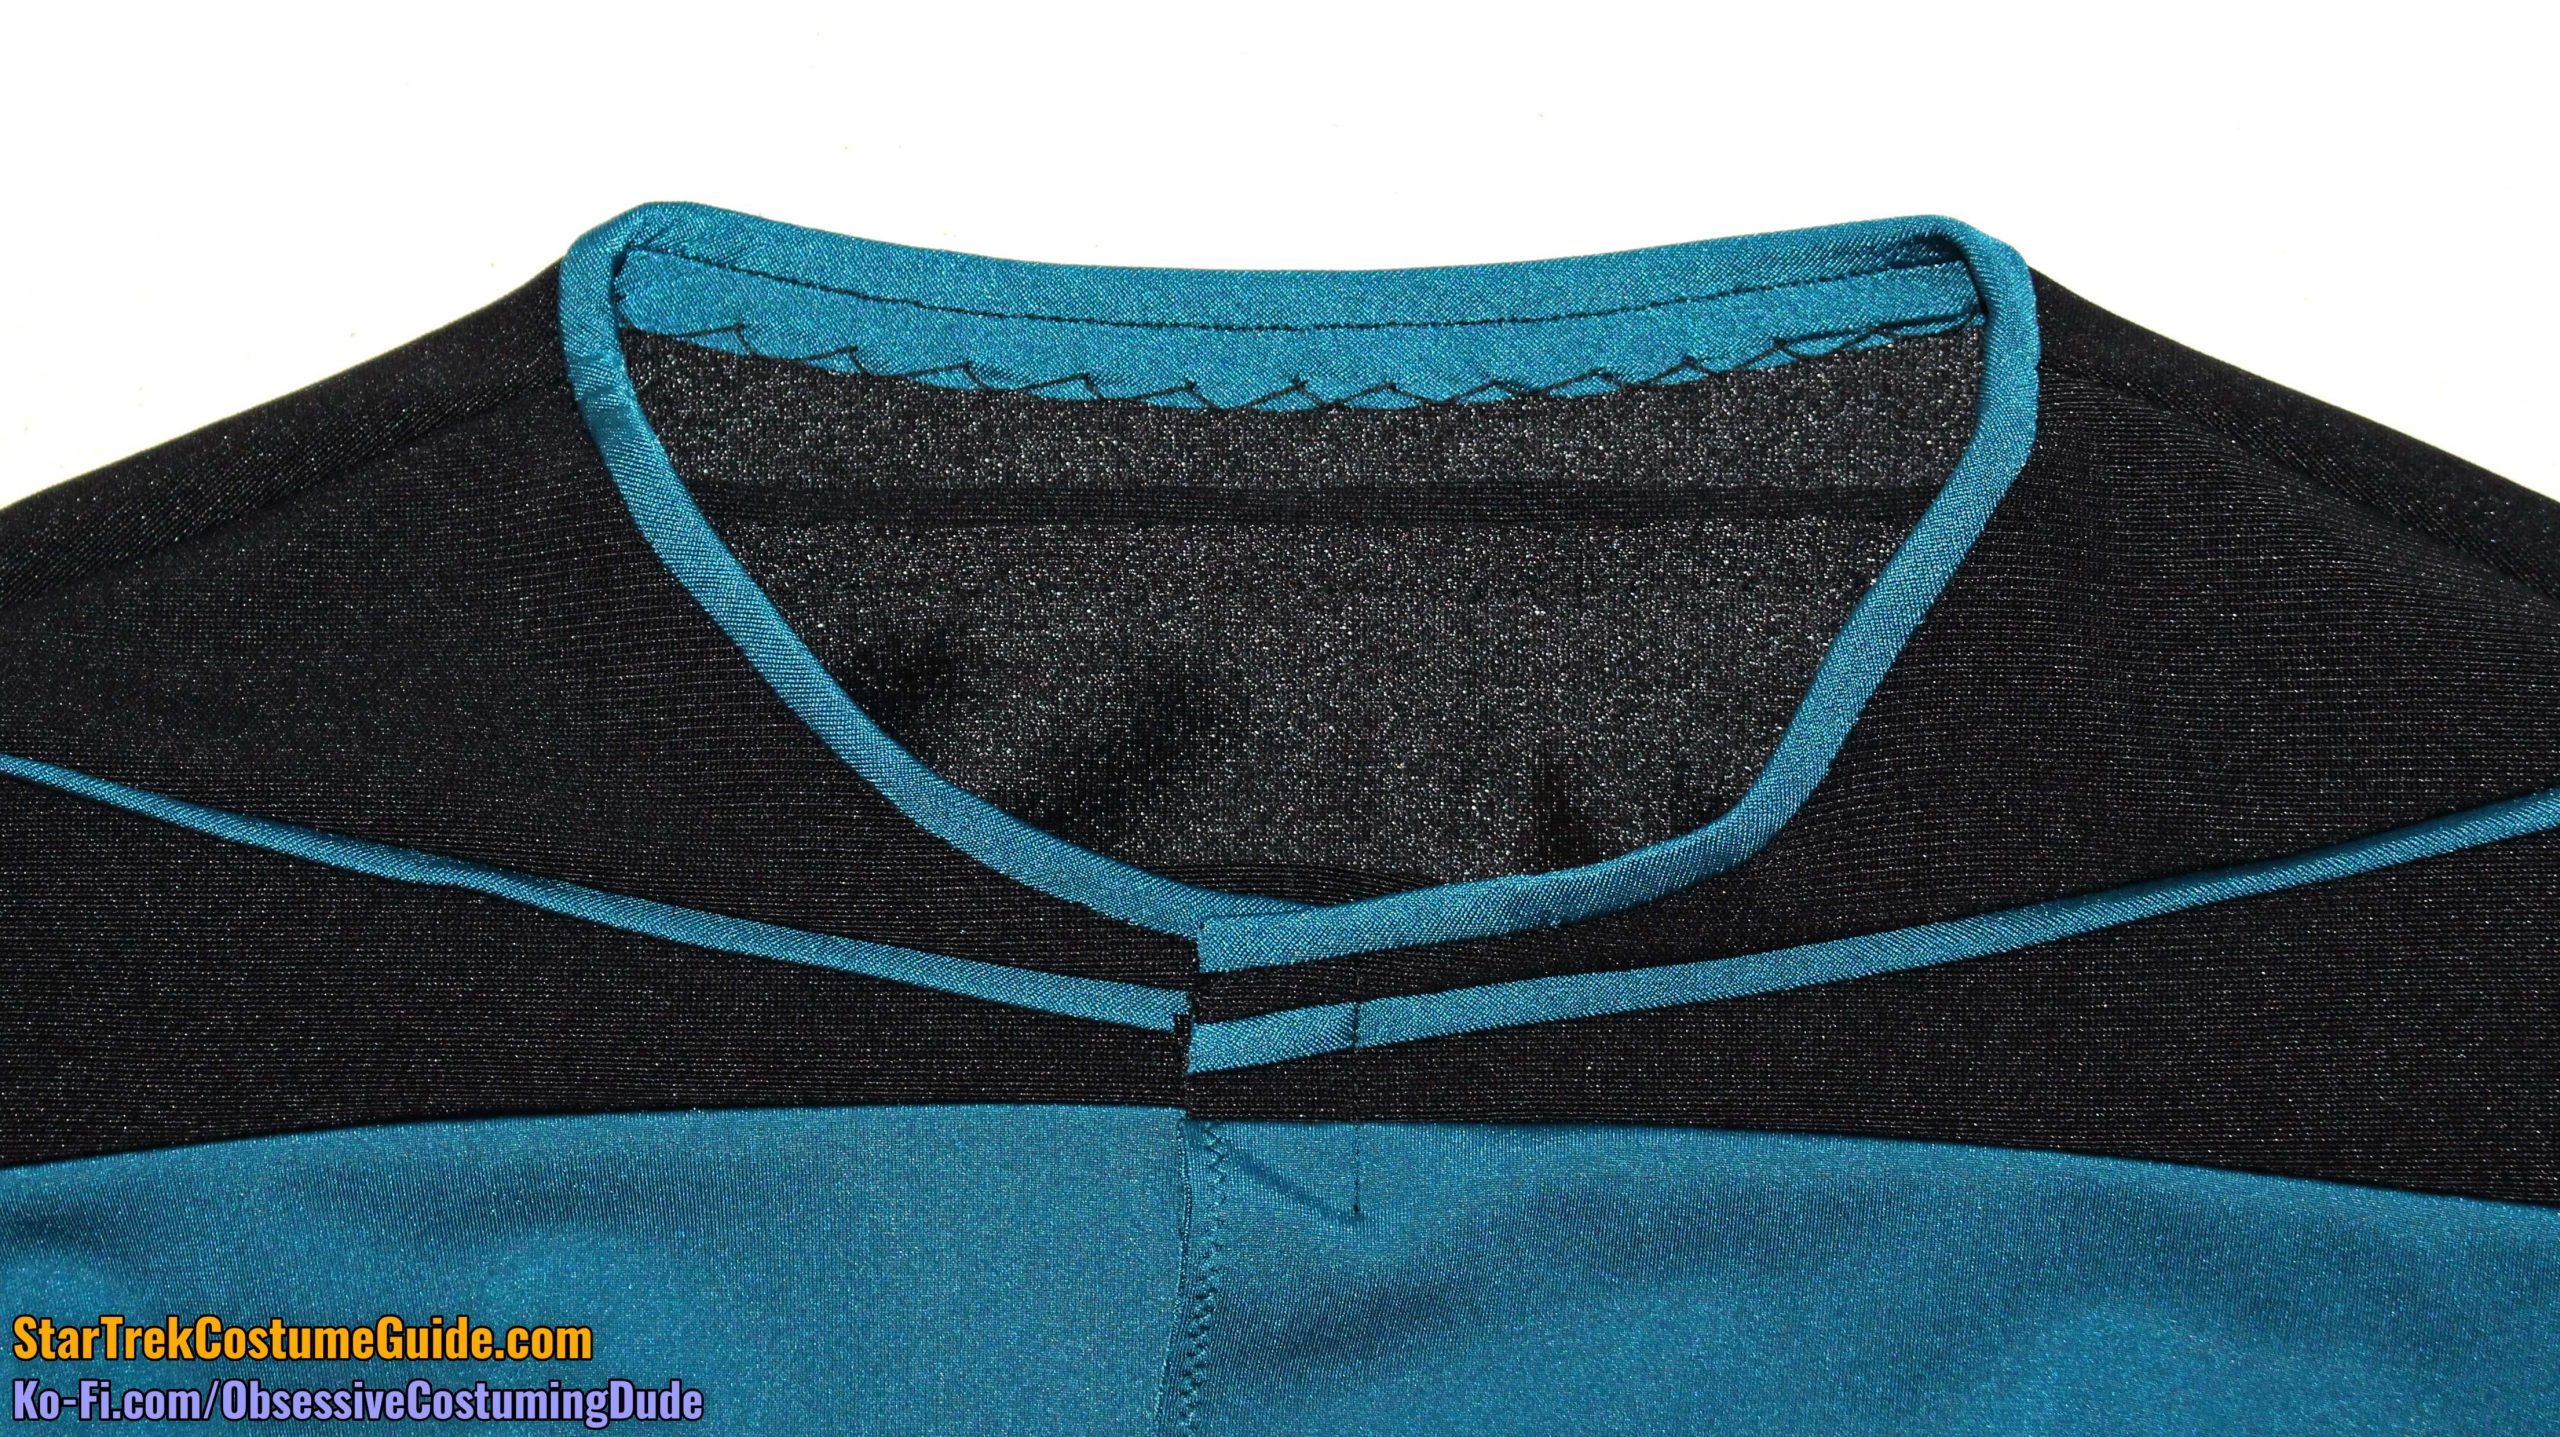
Using black thread, stay-stitch the neckline ¼” from the edge.
As you may recall, the unlike the neckline trim on other TNG-era uniforms, the neckline trim on the screen-used Dr. Pulaski smock I examined was attached as a binding along the edge (as opposed to a trim that extended from underneath).
Pin your neckline trim (piece E) to the yoke along the neckline, edges flush.
Sew your neckline trim to the yoke approximately 3/16” from the edge.
Wrap the neckline trim snugly around the edge and pin the underside of the trim into place.
(I suggest trimming away as much of the upper yoke/lower yoke/piping seam allowance as possible at the center front to reduce bulk and help the underside of the trim sit flatter.)
Again using black thread, “stitch-in-the-ditch” along the lower edge of the neckline trim.
Catch-stitch the seam allowances to the underside of the yoke, catching only a thread of the garment fabric so your stitches won’t show on the right side.
STEP 4 - Zipper
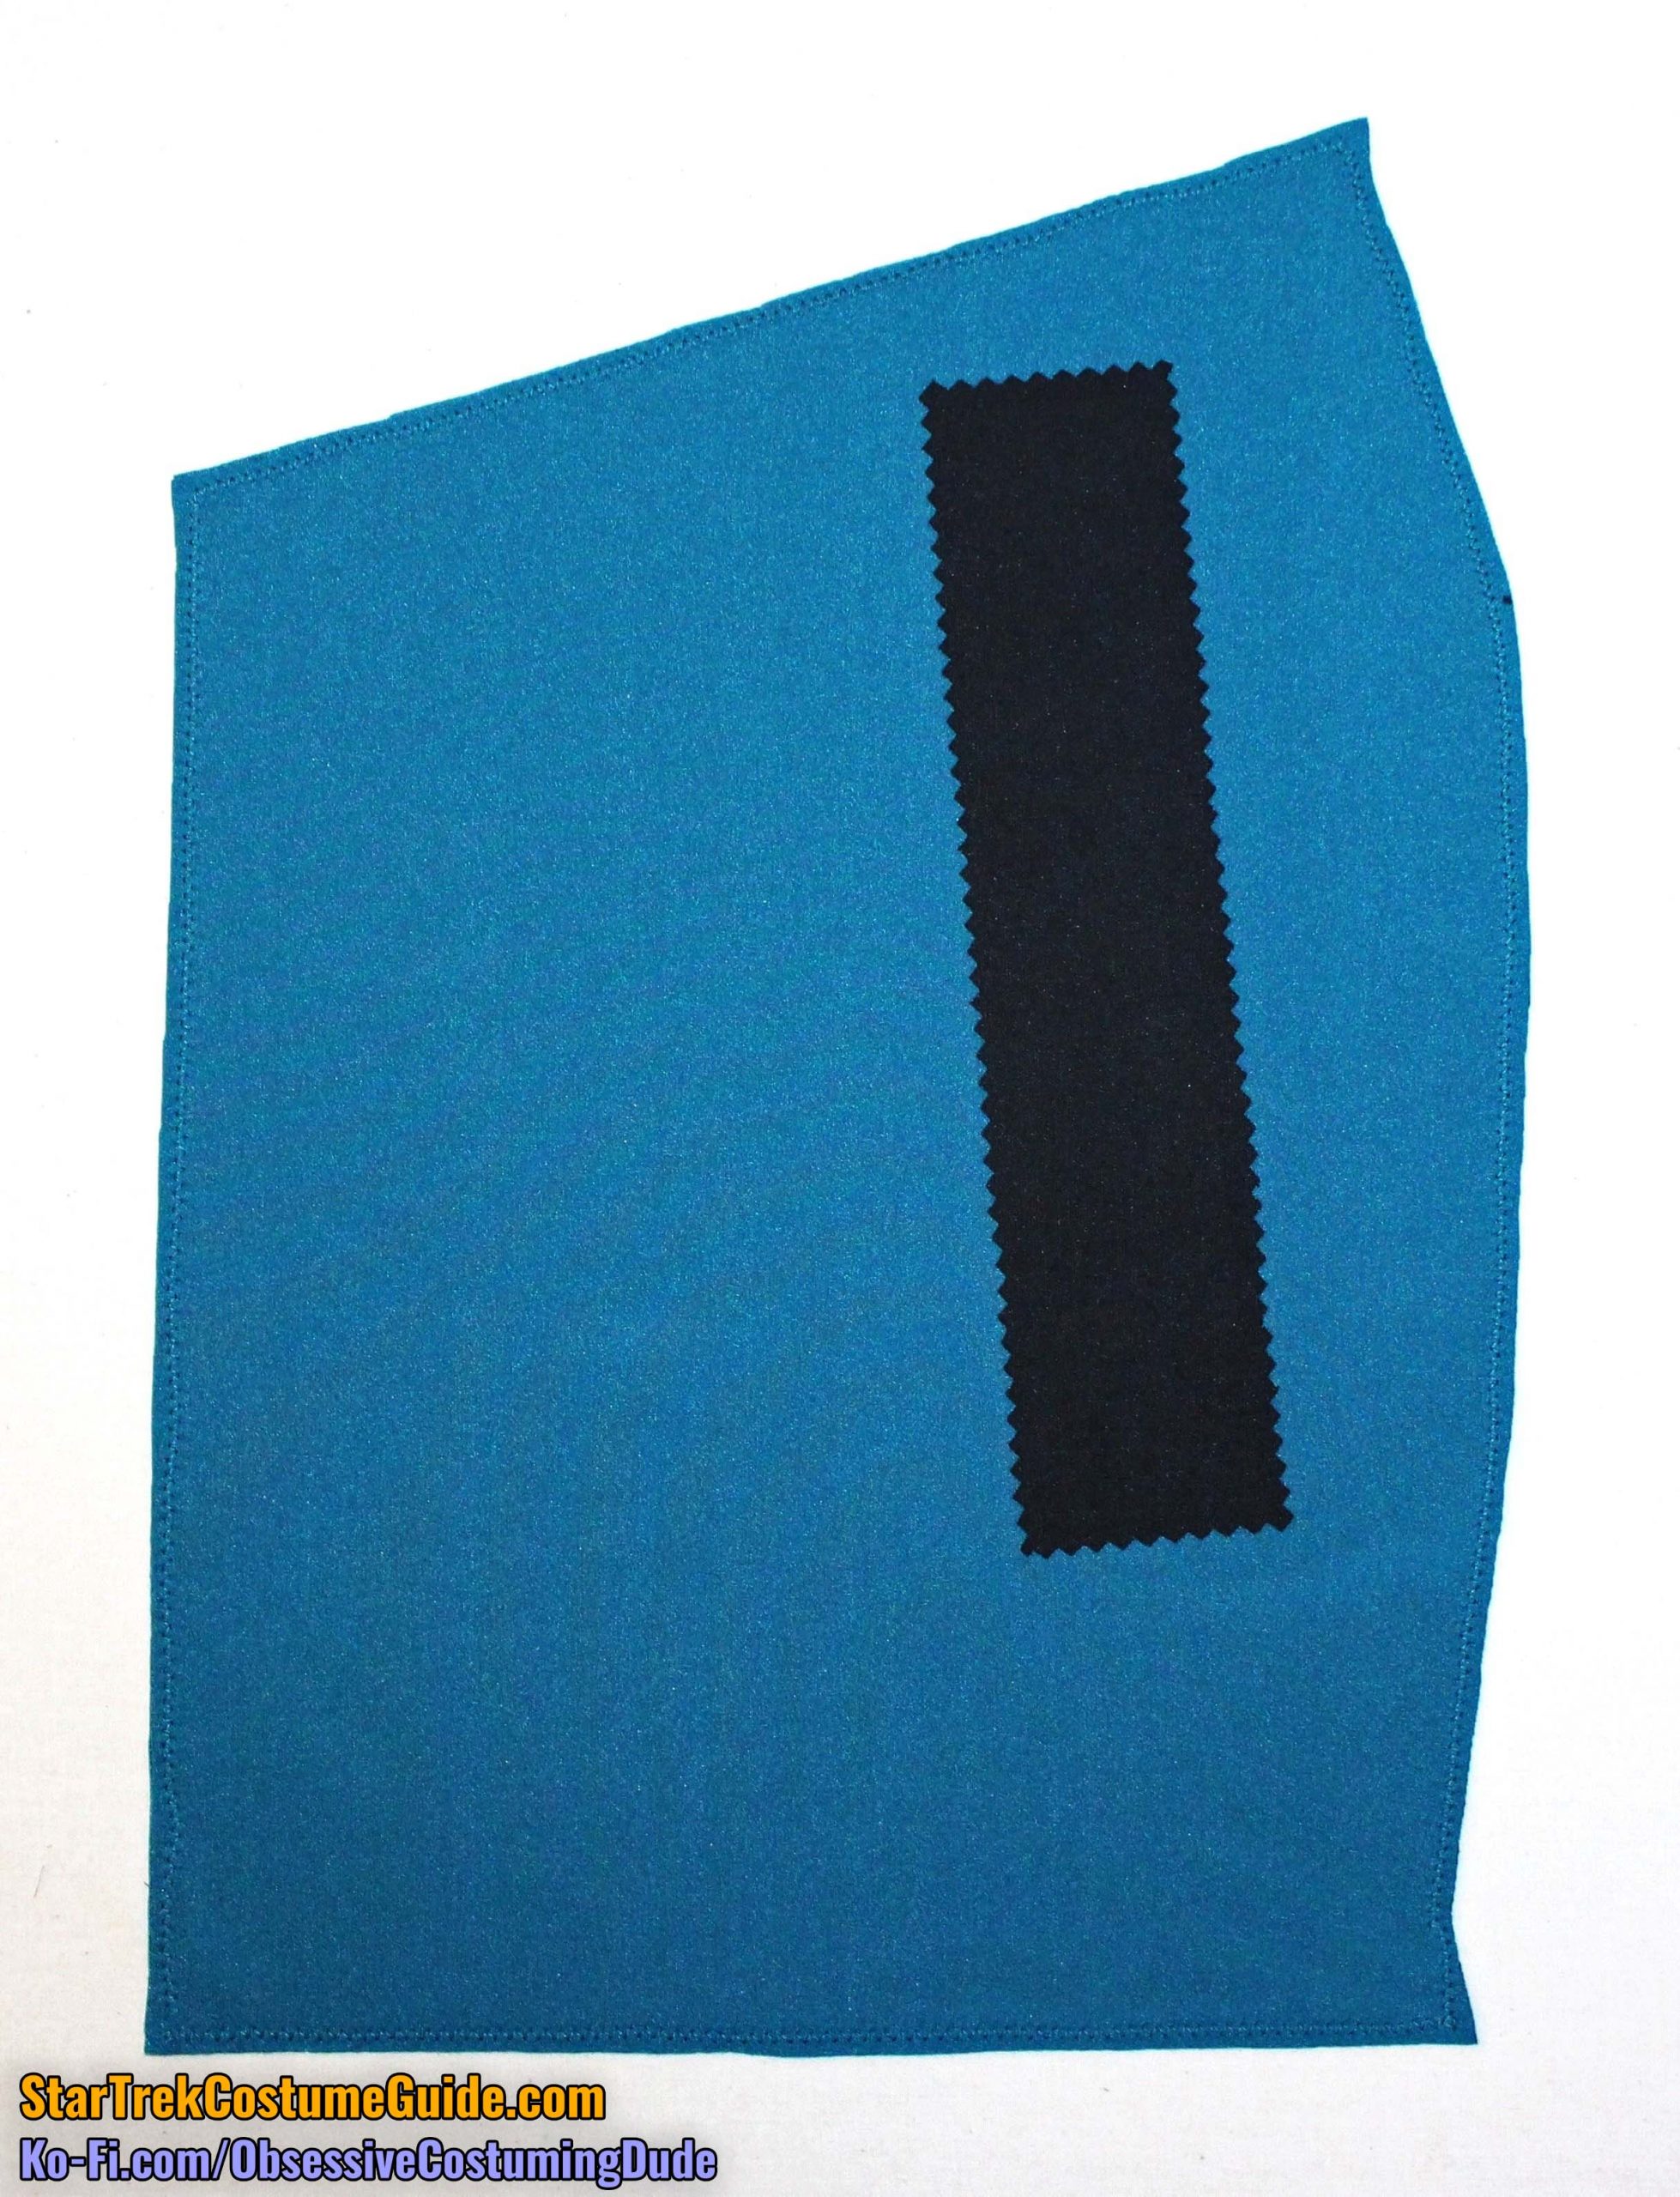
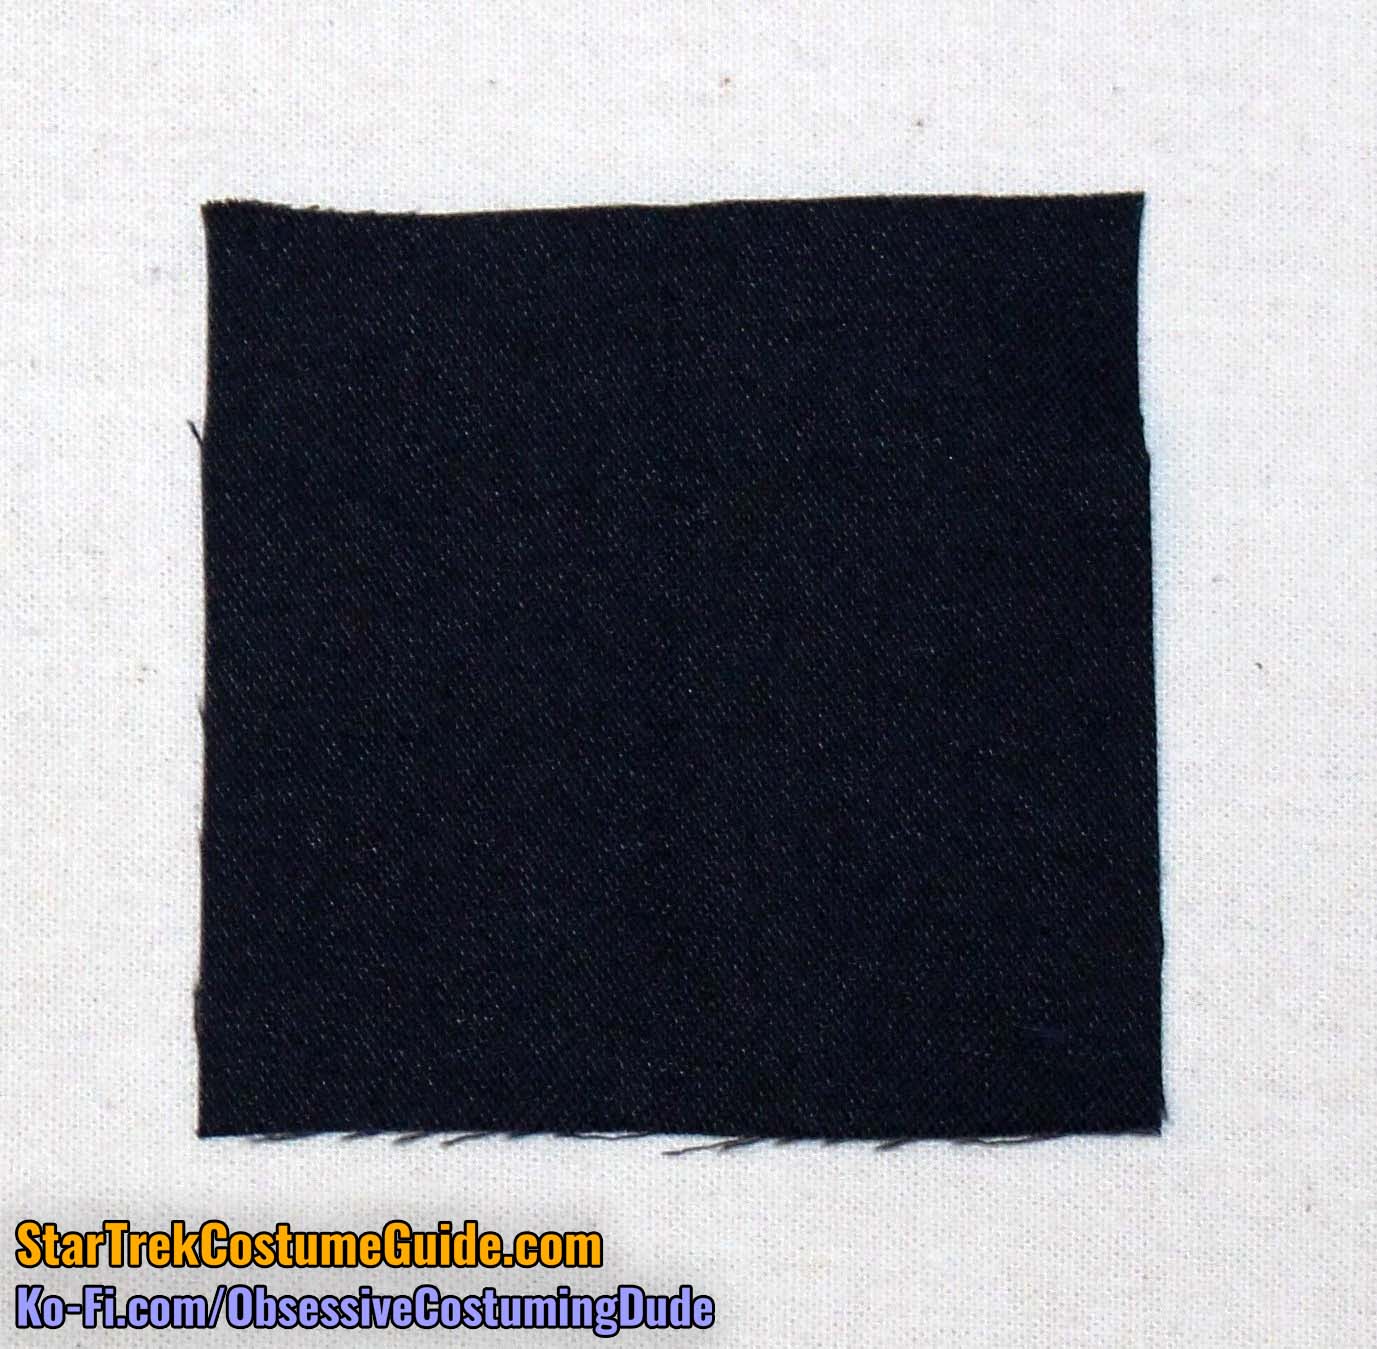
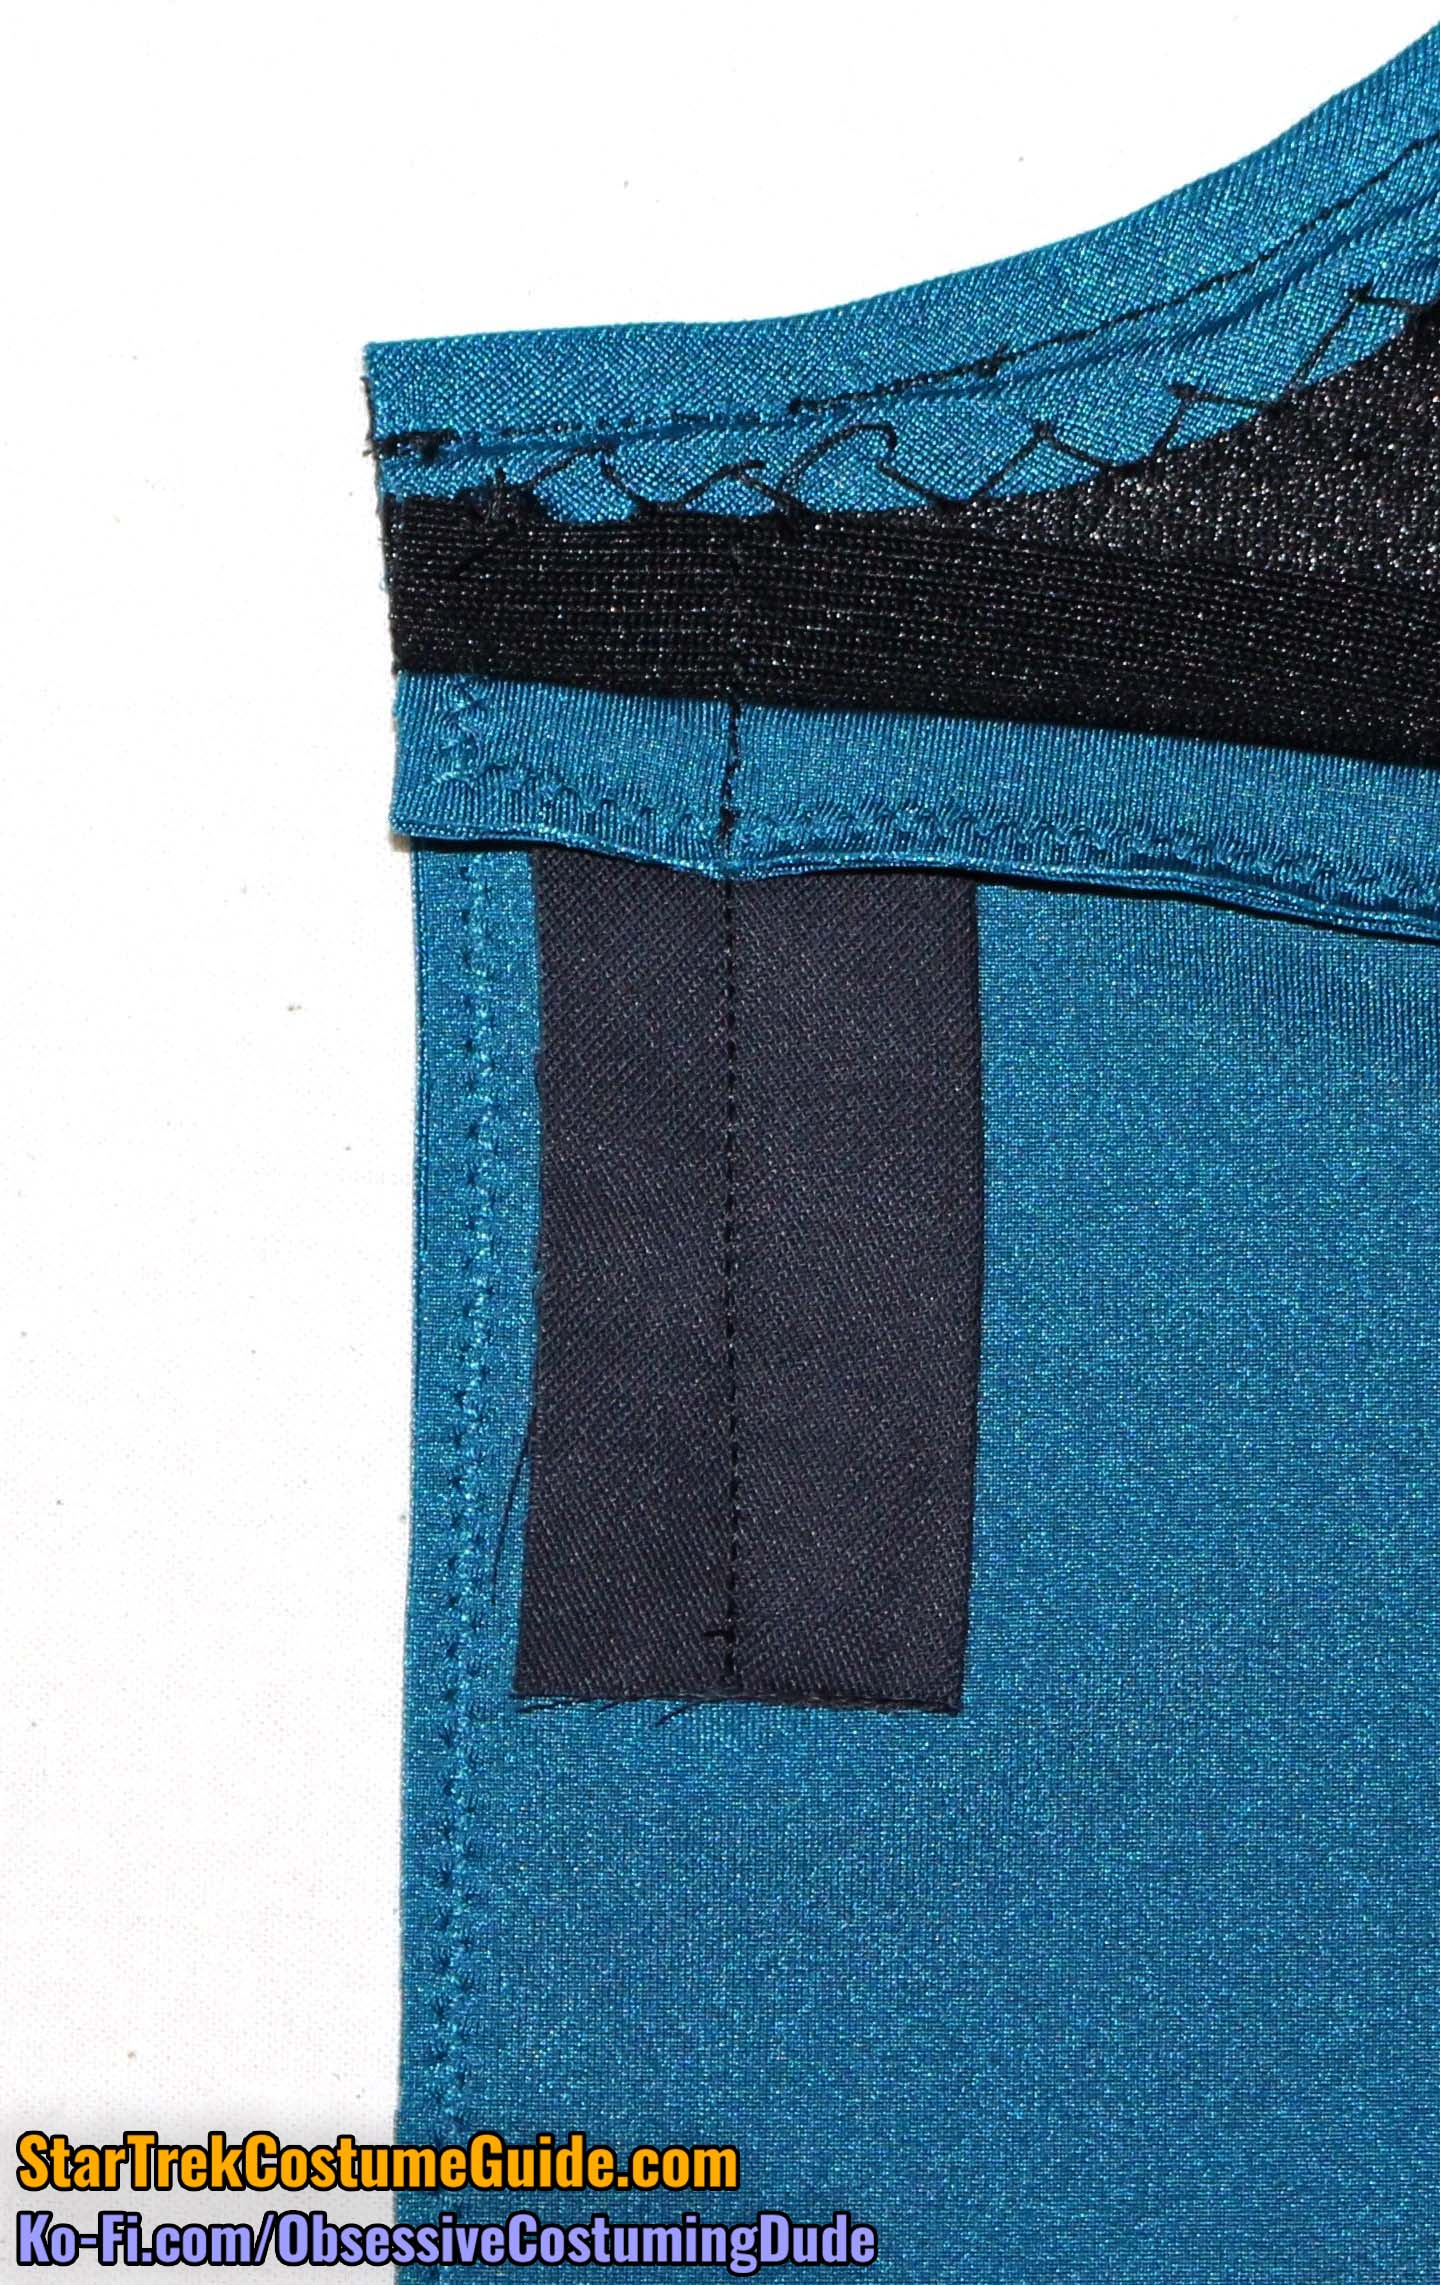
The screen-used Dr. Pulaski smock I examined had a small piece of black, lightweight woven fabric sewn onto each underside of the upper center fronts, presumably to stabilize the area for the zipper installation.
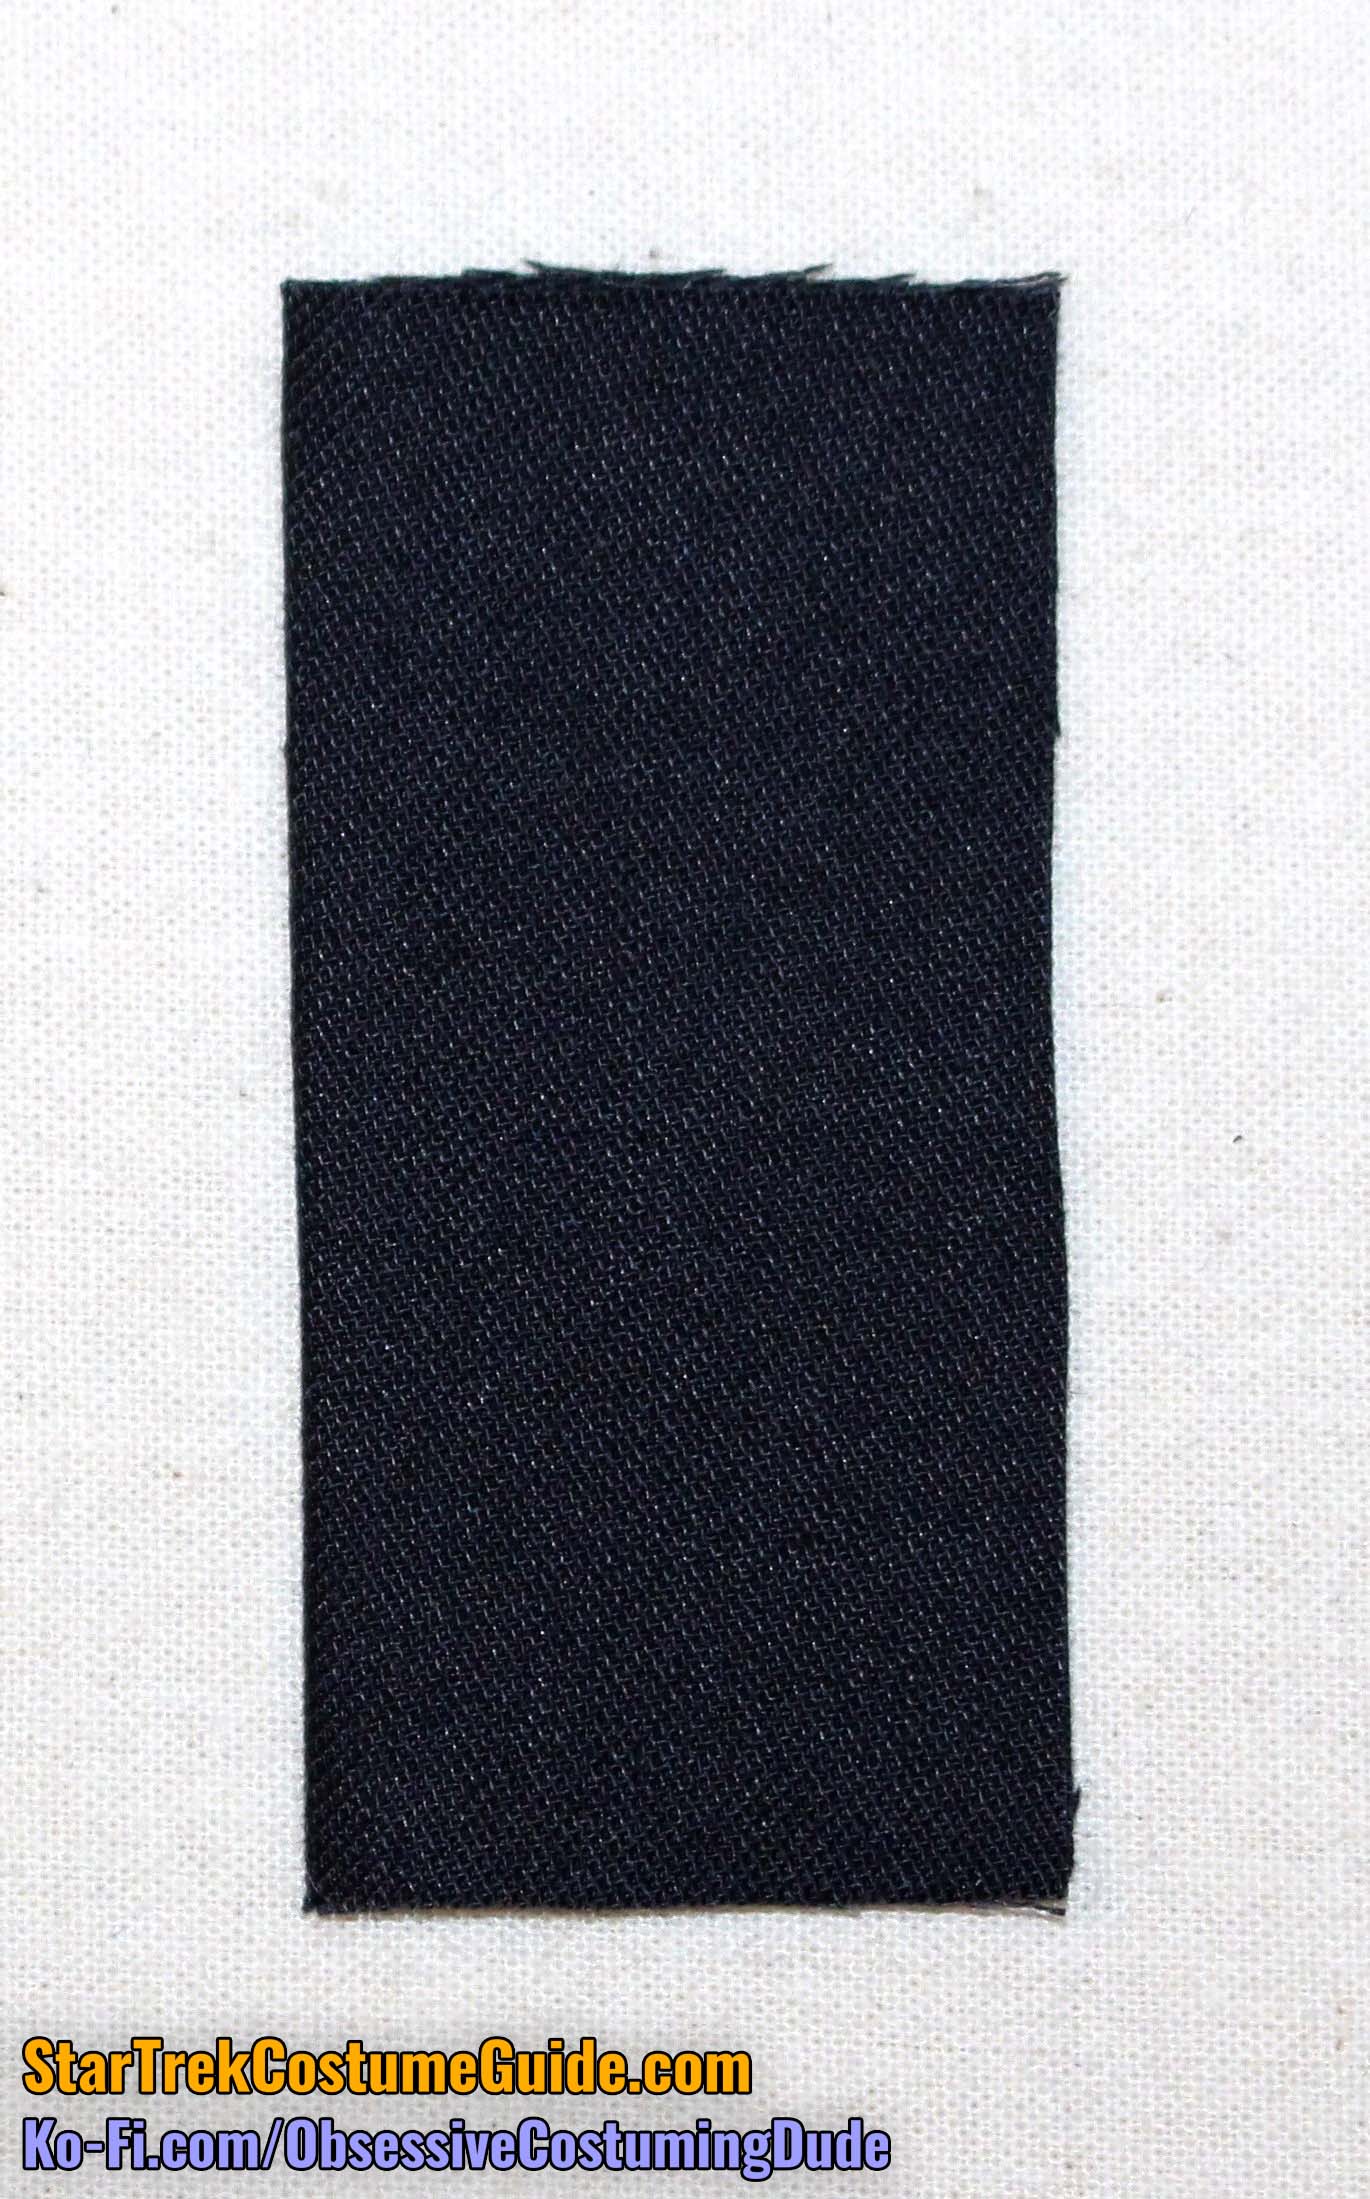
Should you wish to incorporate this into your replica, cut two small squares of black, lightweight woven fabric, approximately 2” x 2”.
Press the square in half.
Position the black fabric rectangle underneath the upper front, with the raw edges toward the center edge and the folded edge outward. The precise horizontal positioning doesn’t really matter, as long as it’s over the front seam line.
Sew the rectangle to the upper front just inside of the seam line – approximately ¾” or ⅞” from the front edge.
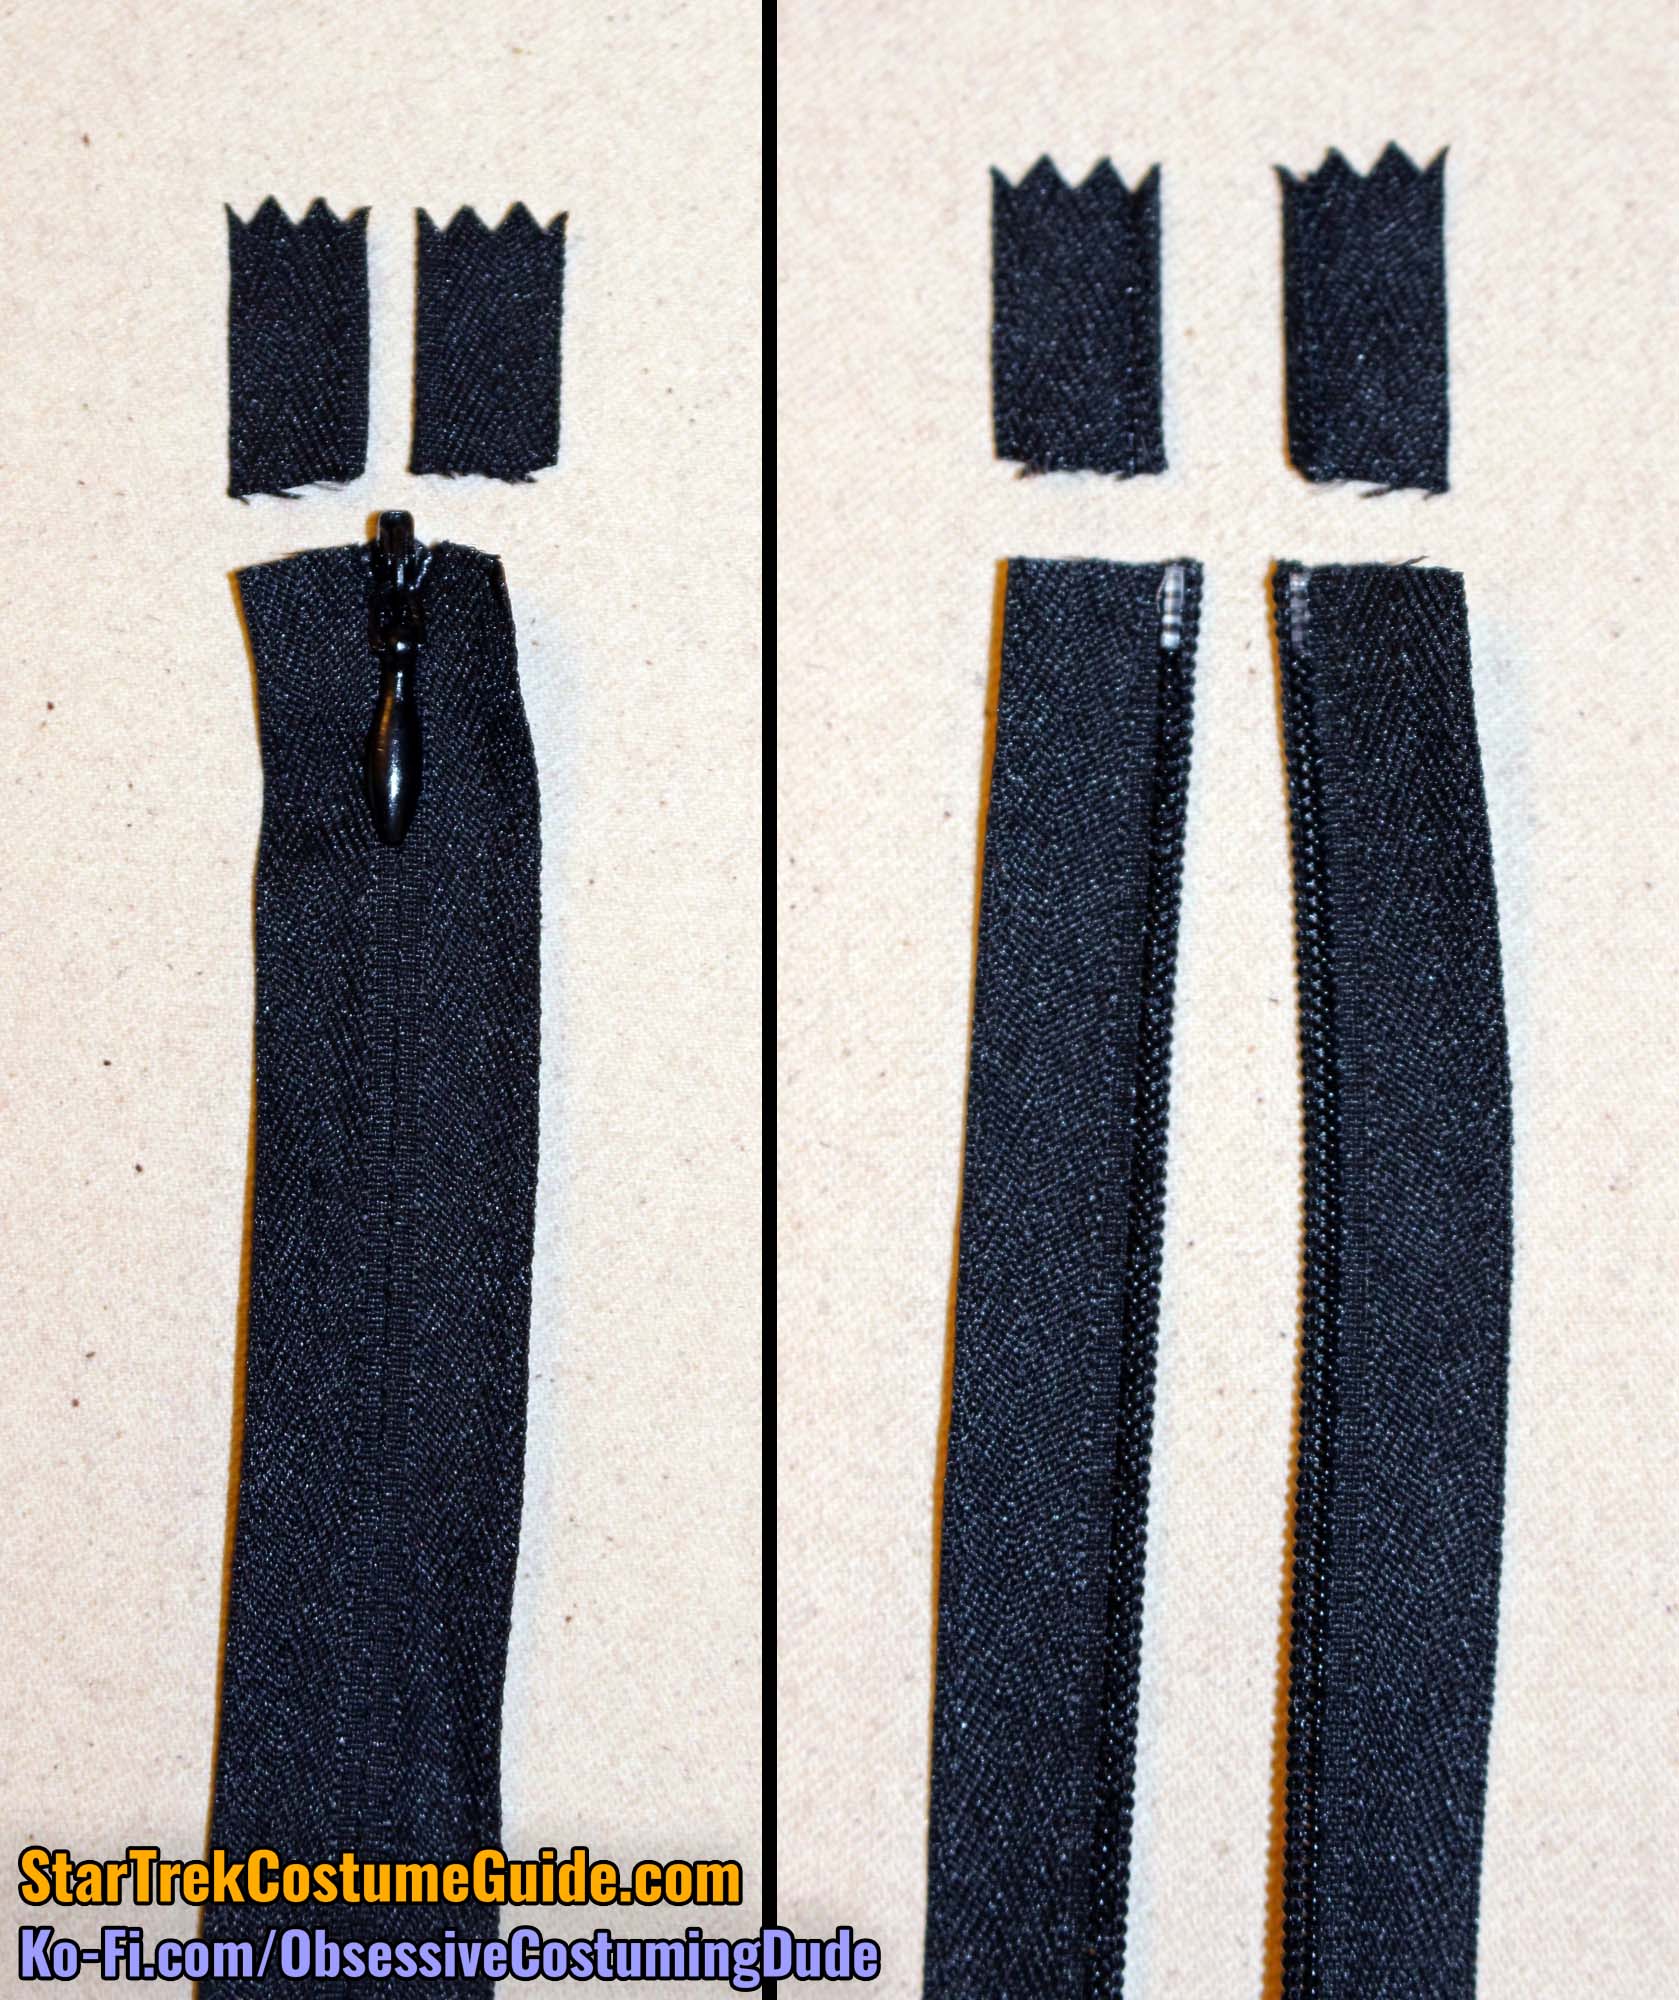
You’re obviously free to do that if you’d like, but I prefer to cut off the excess zipper tape directly above the zipper stop and apply some liquid fray preventer to the new upper edges.
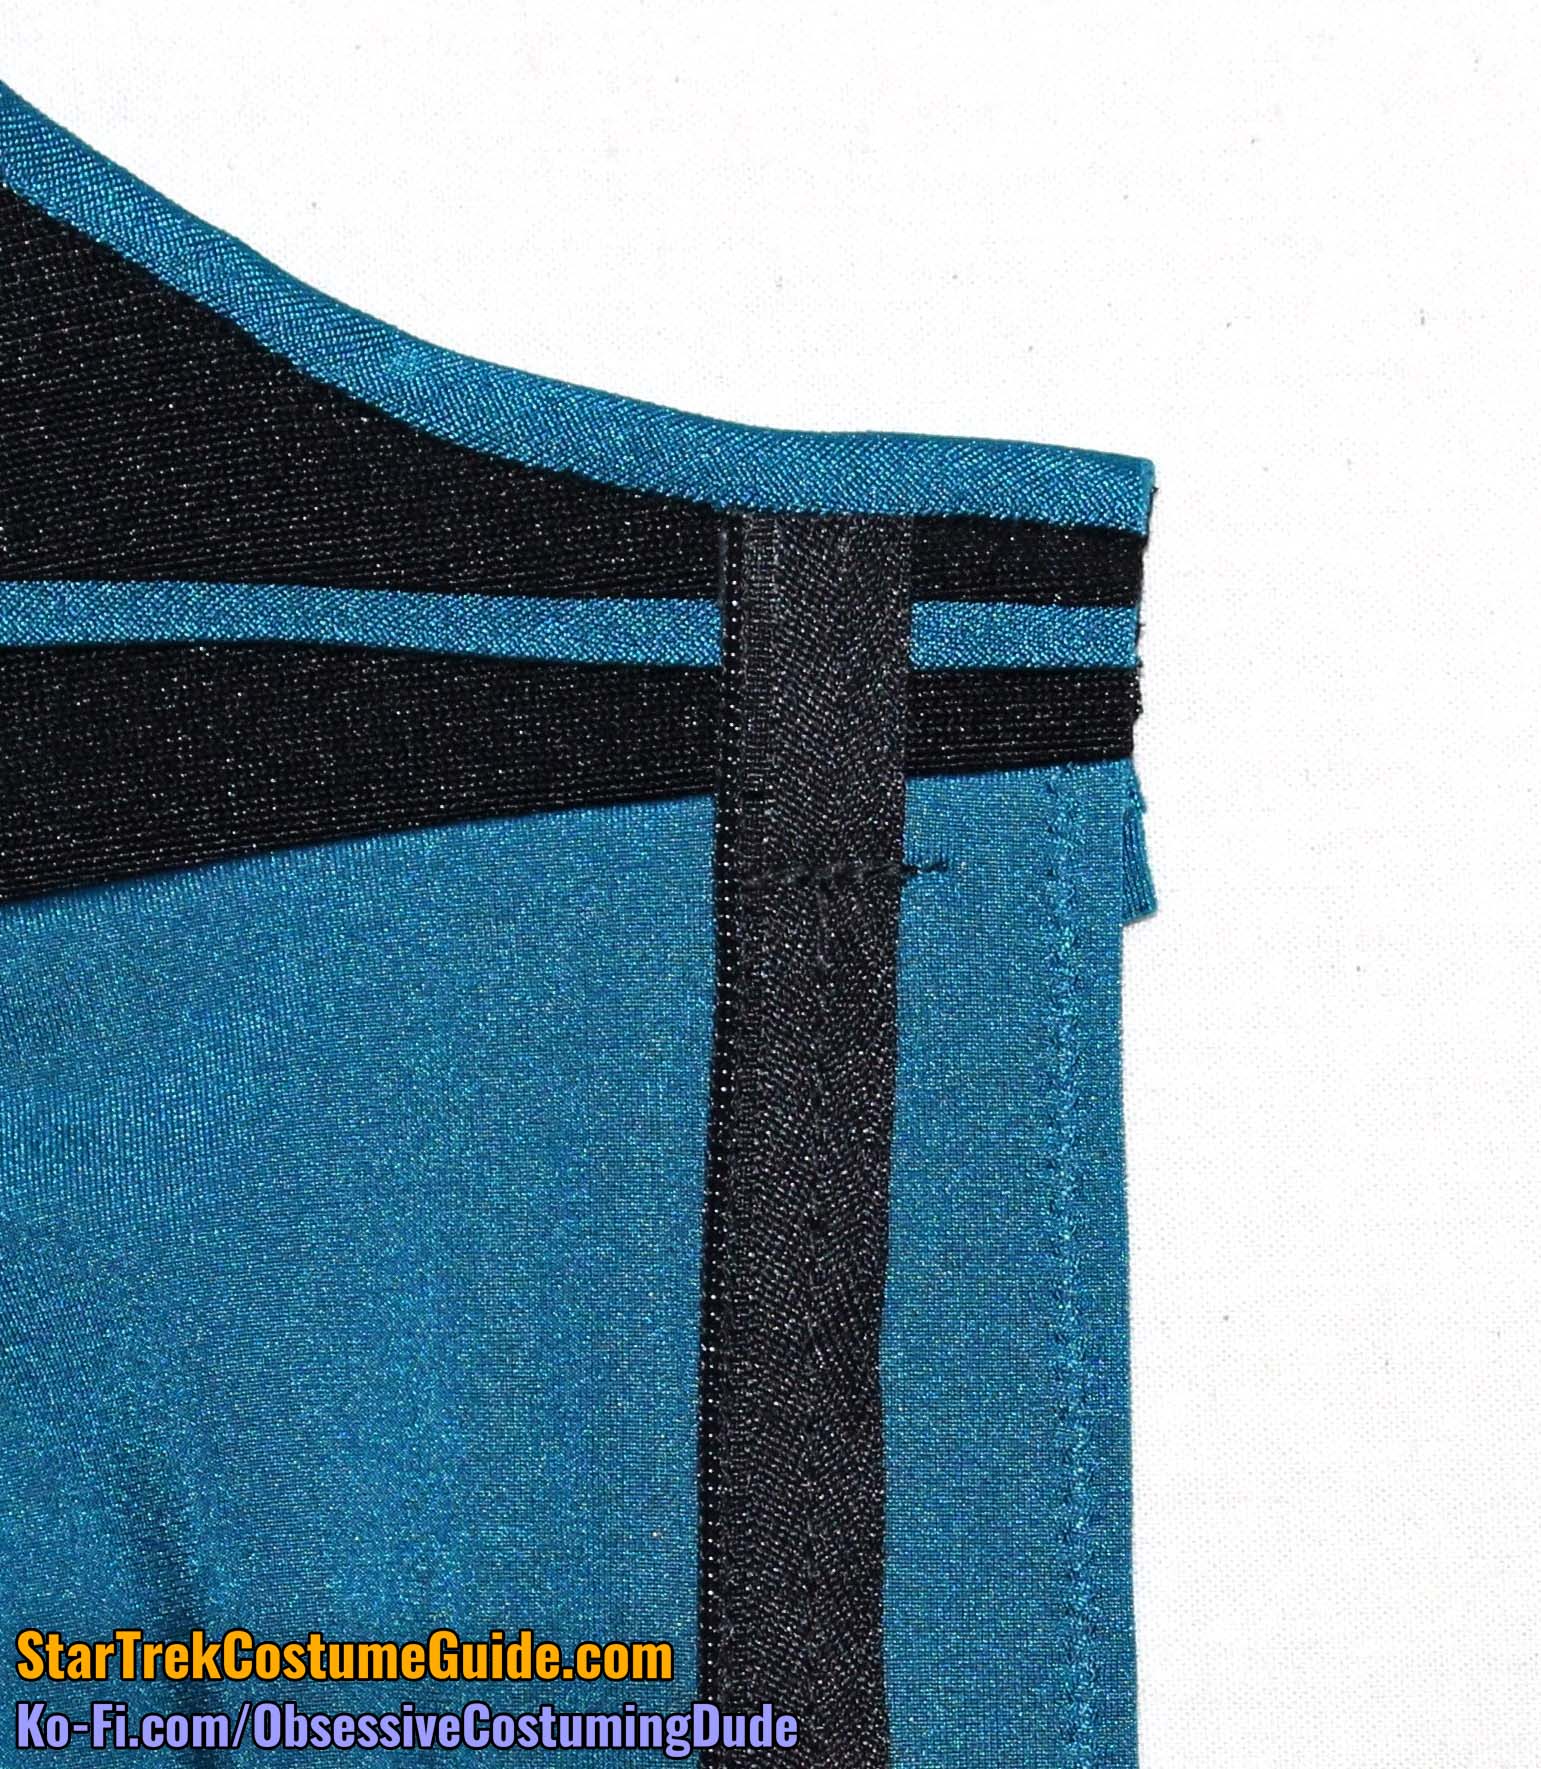
Position your zipper on the front of the smock so it extends upward approximately ¾” above the yoke/body seam line. (The top of the zipper should be flush with the bottom of the neckline trim.)
Using your invisible zipper foot, baste the zipper to the smock with 1” seam allowance, leaving the uppermost 1” of the zipper left hanging free.
Close the zipper to make sure everything is properly aligned. (Keep a sharp eye on the waistband!)
If necessary, remove the basting stitching and adjust as-needed.
Once satisfied of the zipper’s positioning and waistband alignment across the center, sew the zipper to the smock, again leaving the uppermost 1” of the zipper left hanging free.
Then horizontally stitch across the zipper tape several times 1” from the top of the zipper (¼” from the bottom of the yoke) to reinforce it where it was left hanging free.
Stitch the zipper tape to the seam allowance again, approximately ¼” away from the zipper teeth.
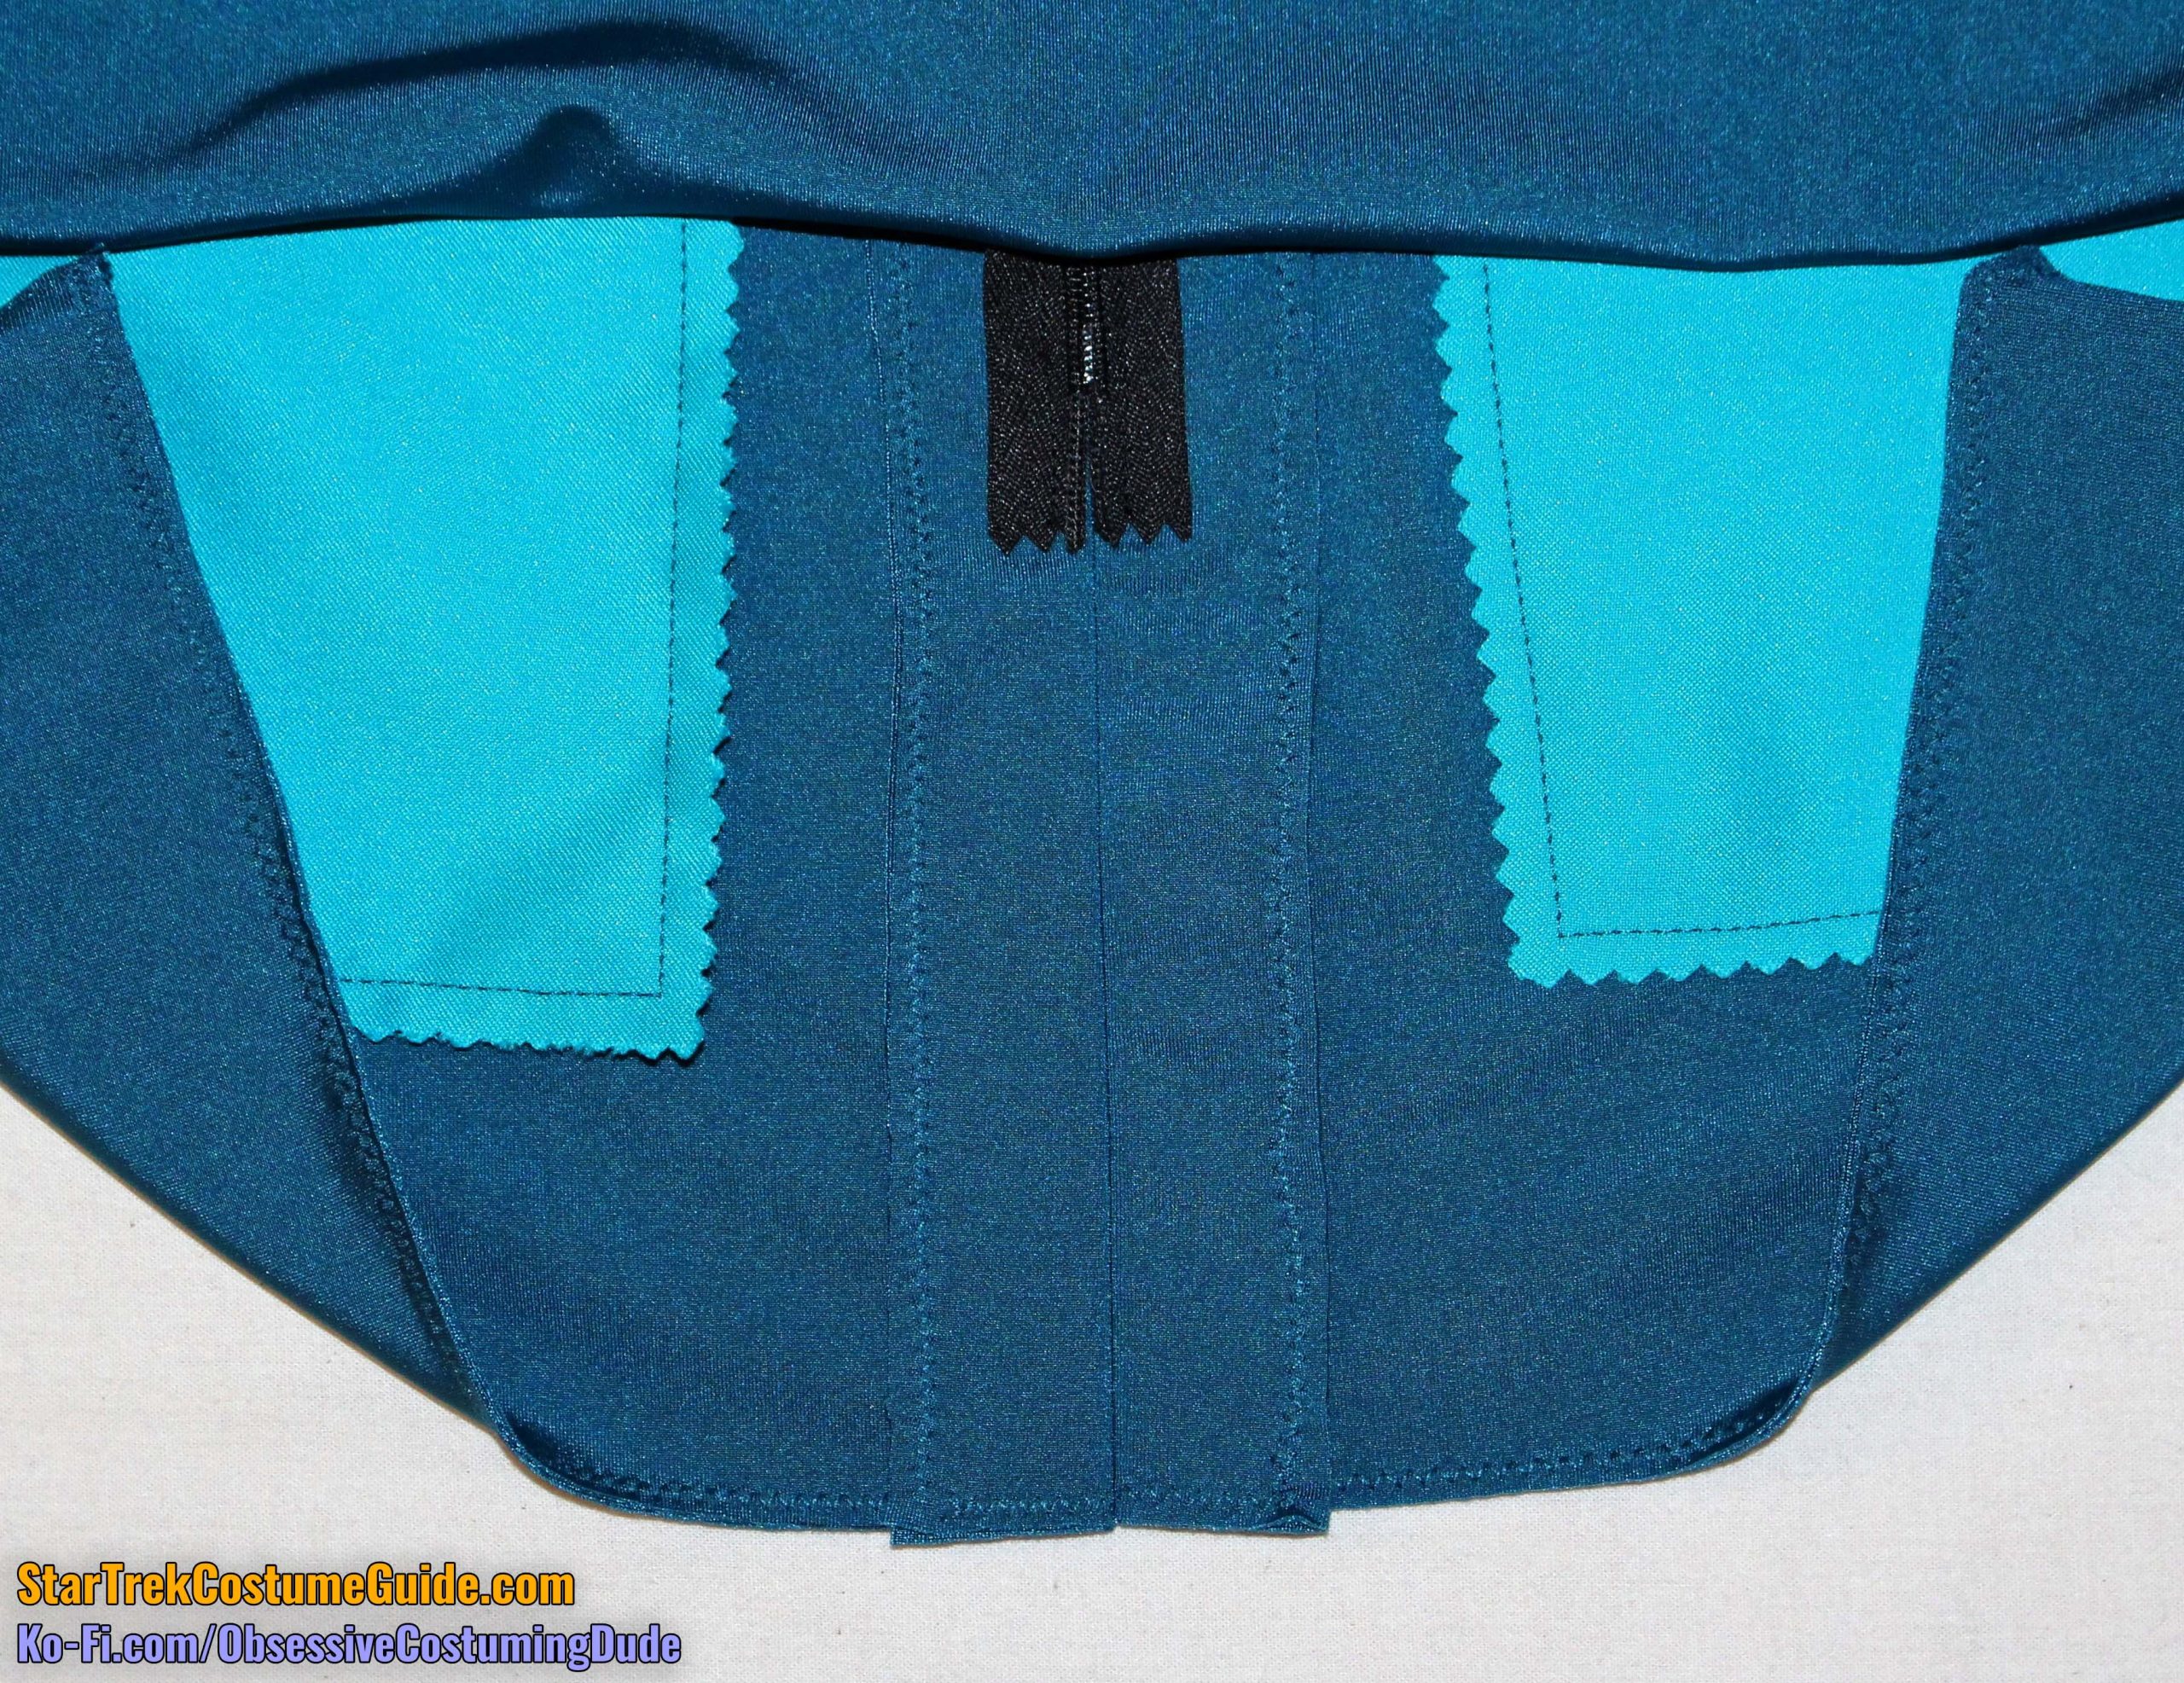
Using teal thread, sew the lower center front closed beneath the zipper (again, with 1” seam allowance).
Press the seam allowances open.
NOTE: As you may recall, the screen-used Dr. Pulaski smock I examined had some bias strips of hair canvas hand-sewn onto the underside of the lower front seam allowances, which served no apparent purpose. Nevertheless, they were there on the original, so they’re here in the tutorial too.
Cut two bias strips of hair canvas, ¾” wide and about 9” long.
Press them in half, vertically.
Open the canvas strips and position them underneath the lower front seam allowance beneath the waistband, with the raw edges flush and folded/creased edge toward center.
Hand-sew the strips to the lower front seam allowance with a simple running stitch. (See right.)
Then fold the canvas strips in half again.
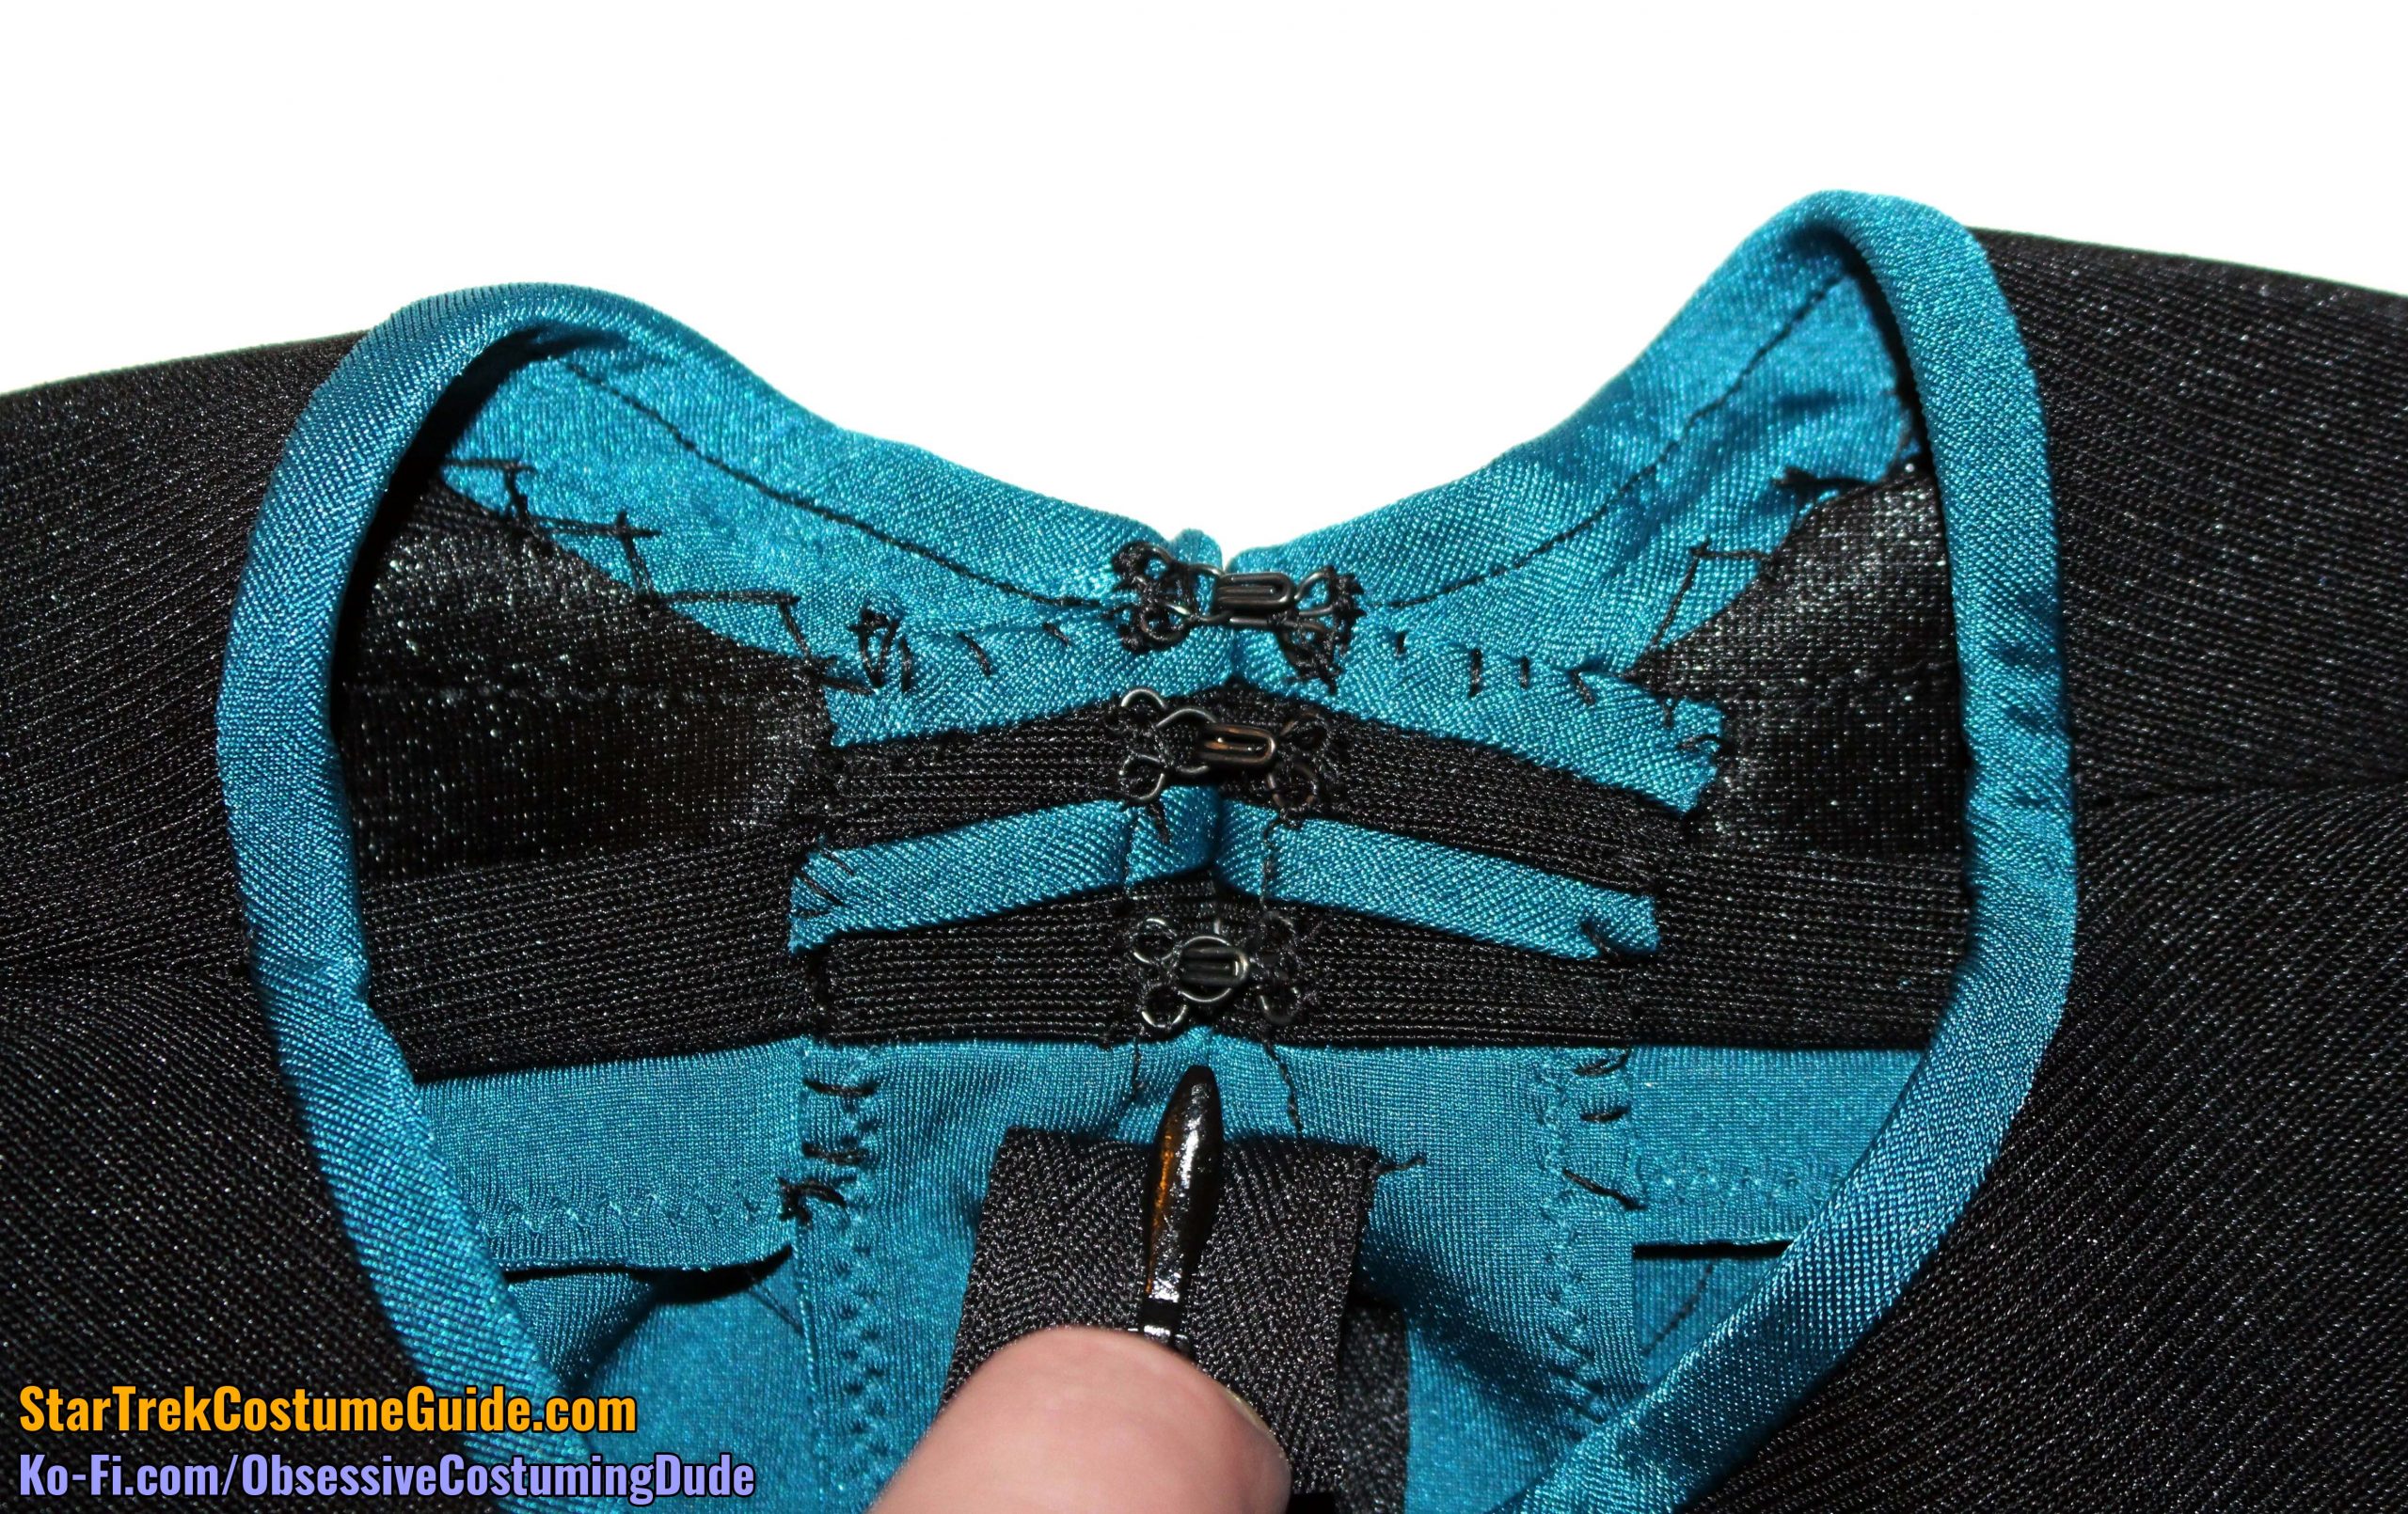
Turn the upper front seam allowances under and tack them into place by hand, taking care that your stitches don’t show through on the right side of the garment.
Hand-sew three hook-and-eye closures to the seam allowances, again making sure your stitches don’t show on the right side.
STEP 5 - Finishing
Although the screen-used Dr. Pulaski smock I examined did not include shoulder pads, there were snaps inside the shoulder seam allowances, implying that pads existed and were used during production.
I believe these pads to have been the same style of custom-made shoulder pads as those on the screen-used TNG skant I examined (and other TNG-era uniforms).
You can use regular, store-bought raglan shoulder pads if you want, but I’m not aware of any as large as the originals and I don’t think the end result looks as good.
Should you wish to make a pair of replica shoulder pads (more akin to those on the screen-used TNG skants and TNG jumpsuits), here’s how. 🙂
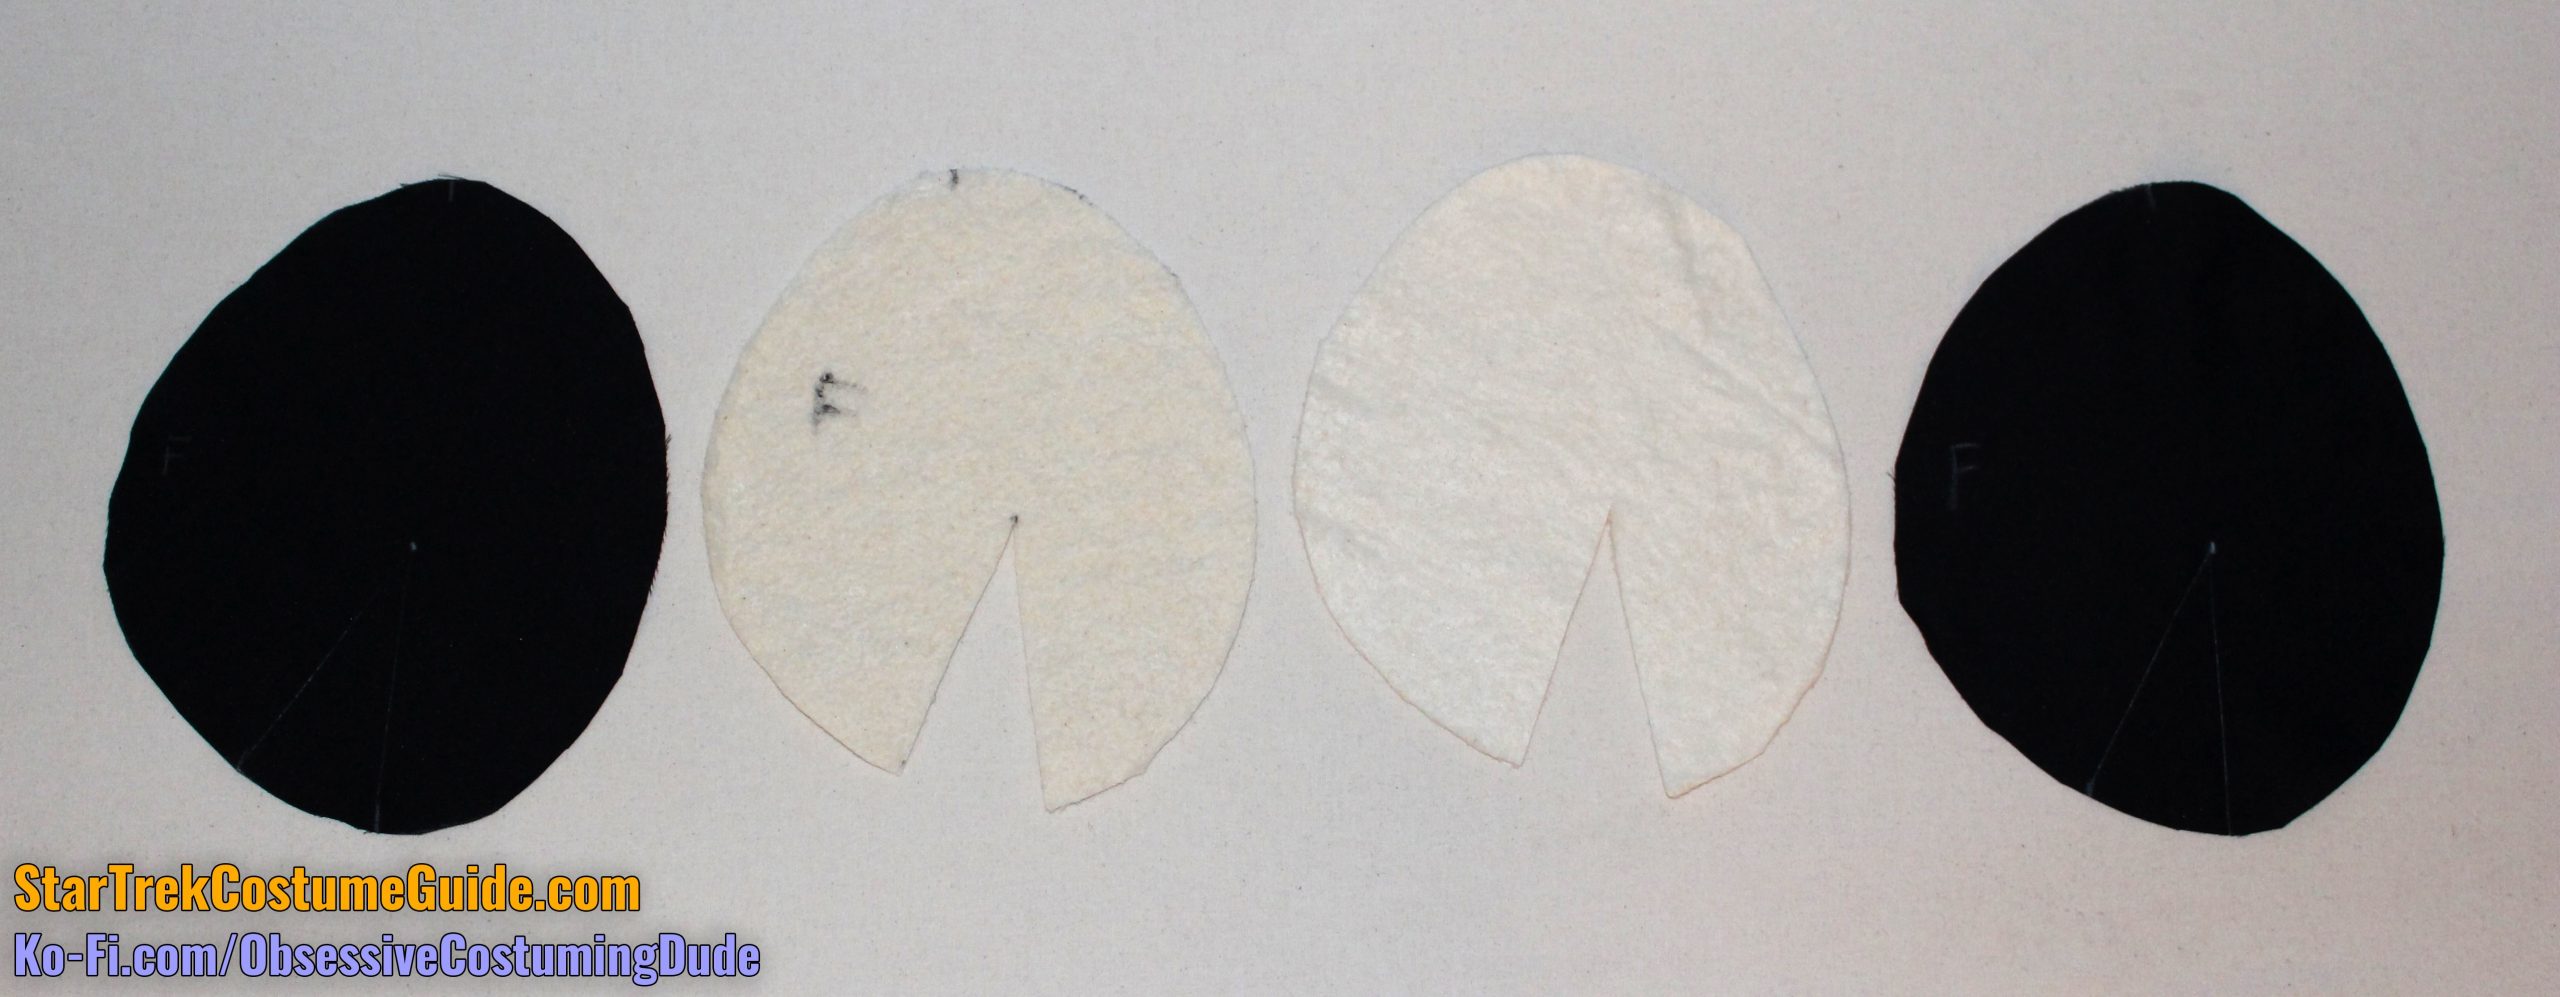
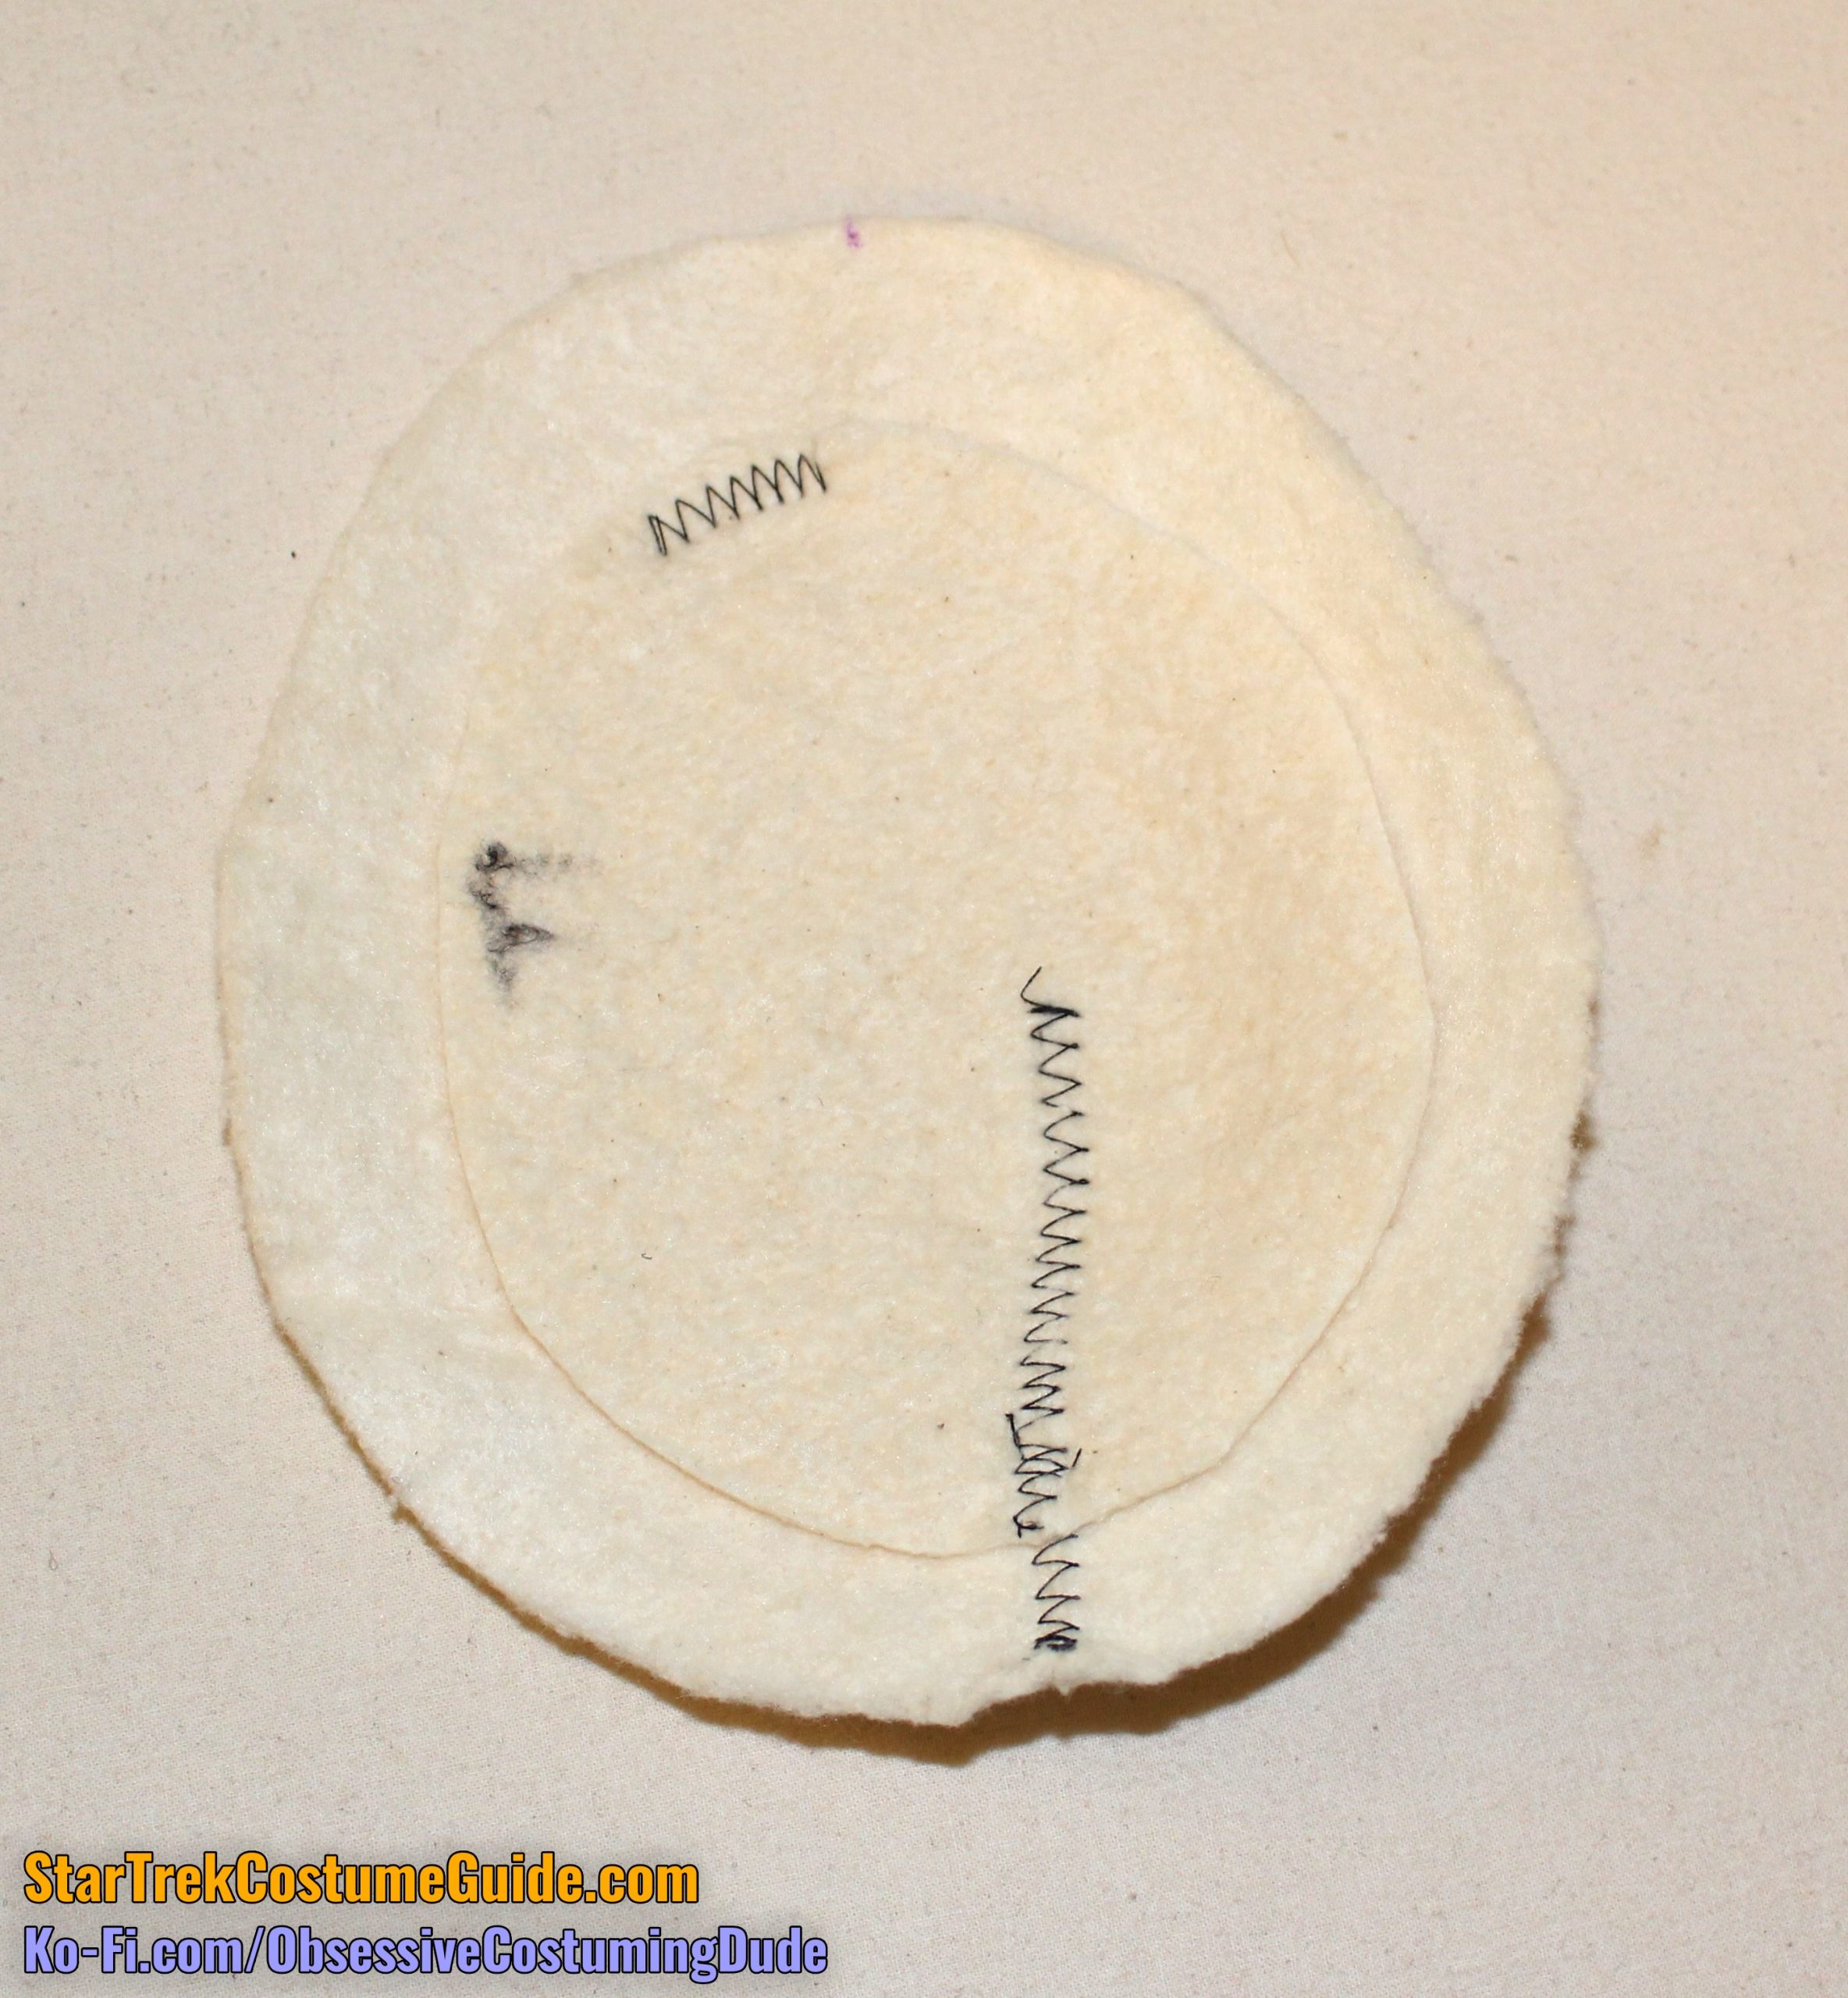
First, cut two pieces of lining and however much padding you want, using the shoulder pad pattern (piece N).
(I like to use lightweight cotton batting for the padding.)
For “normal” shoulder slopes, a mere two layers of padding both looks good and is fairly analogous to the loft of the original pads.
Cut out the darts in the padding, pull the cut edges together flush, and join them with a zig-zag stitch.
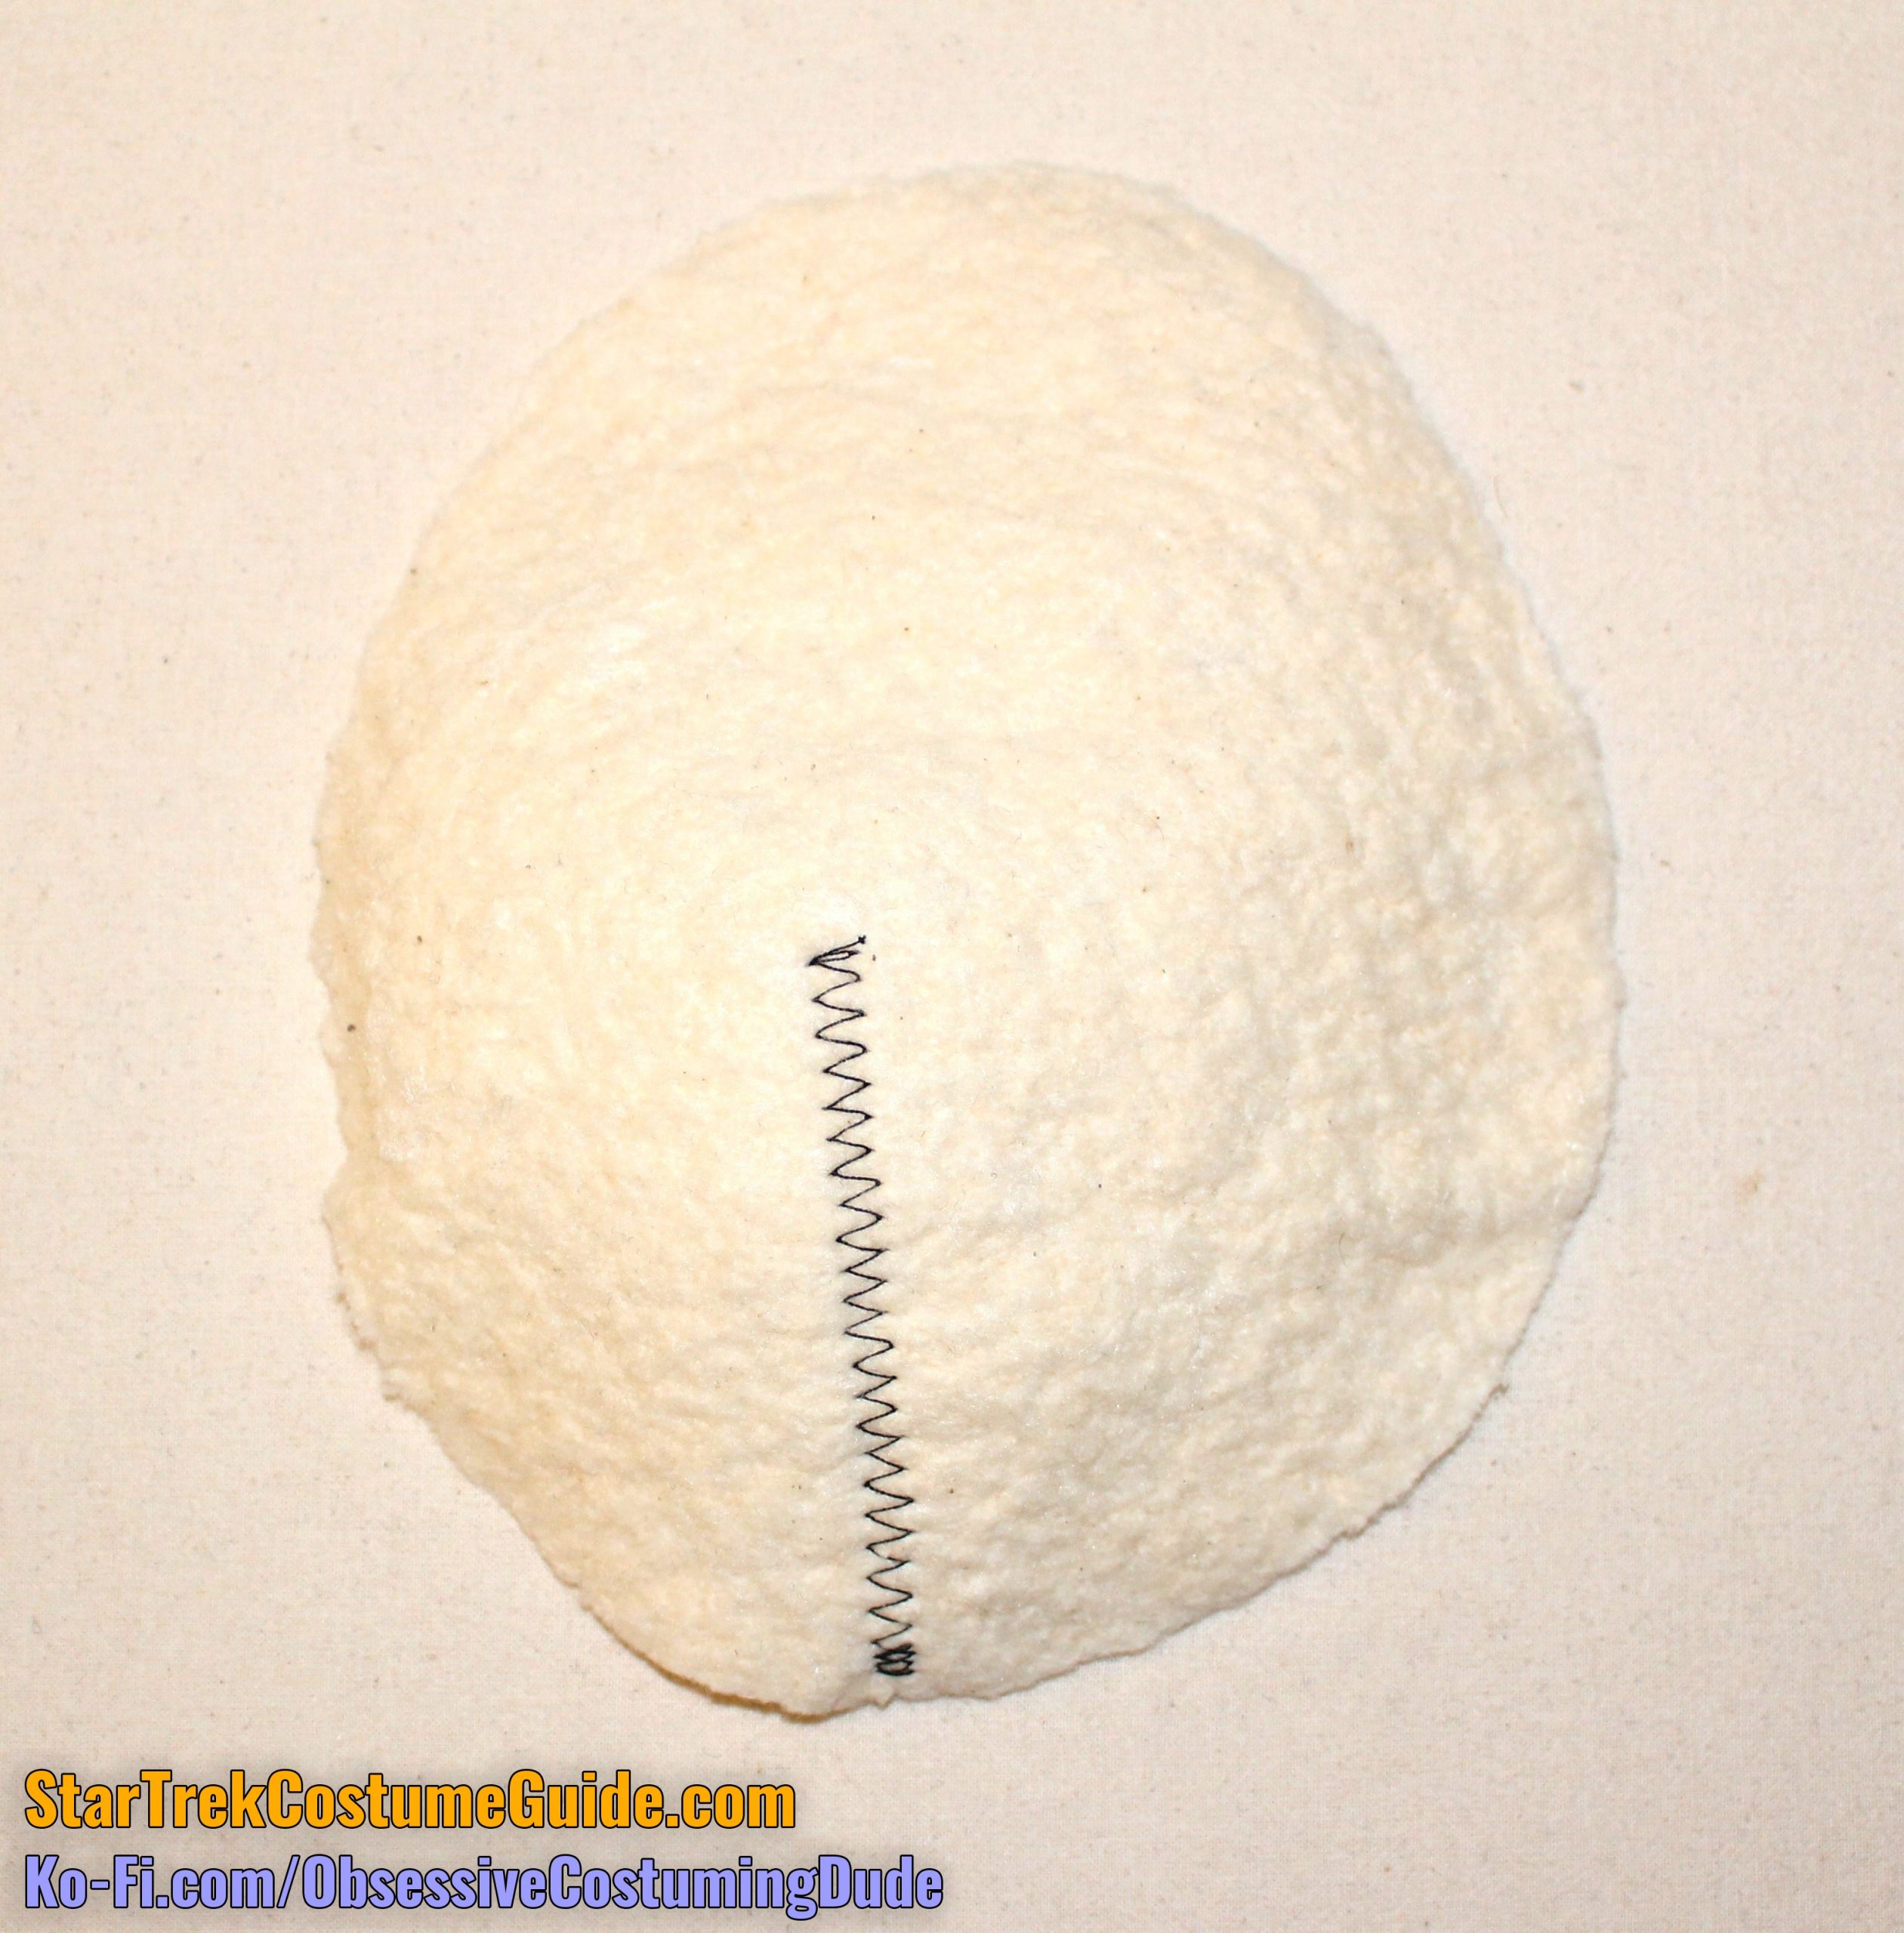
Trim the additional layer(s) of padding smaller about ¾” around the edges.
Place the smaller layer(s) of padding underneath the full-size one and anchor them together. (I usually just do a quick stitch at the “top” and “bottom” of the smaller pad.)
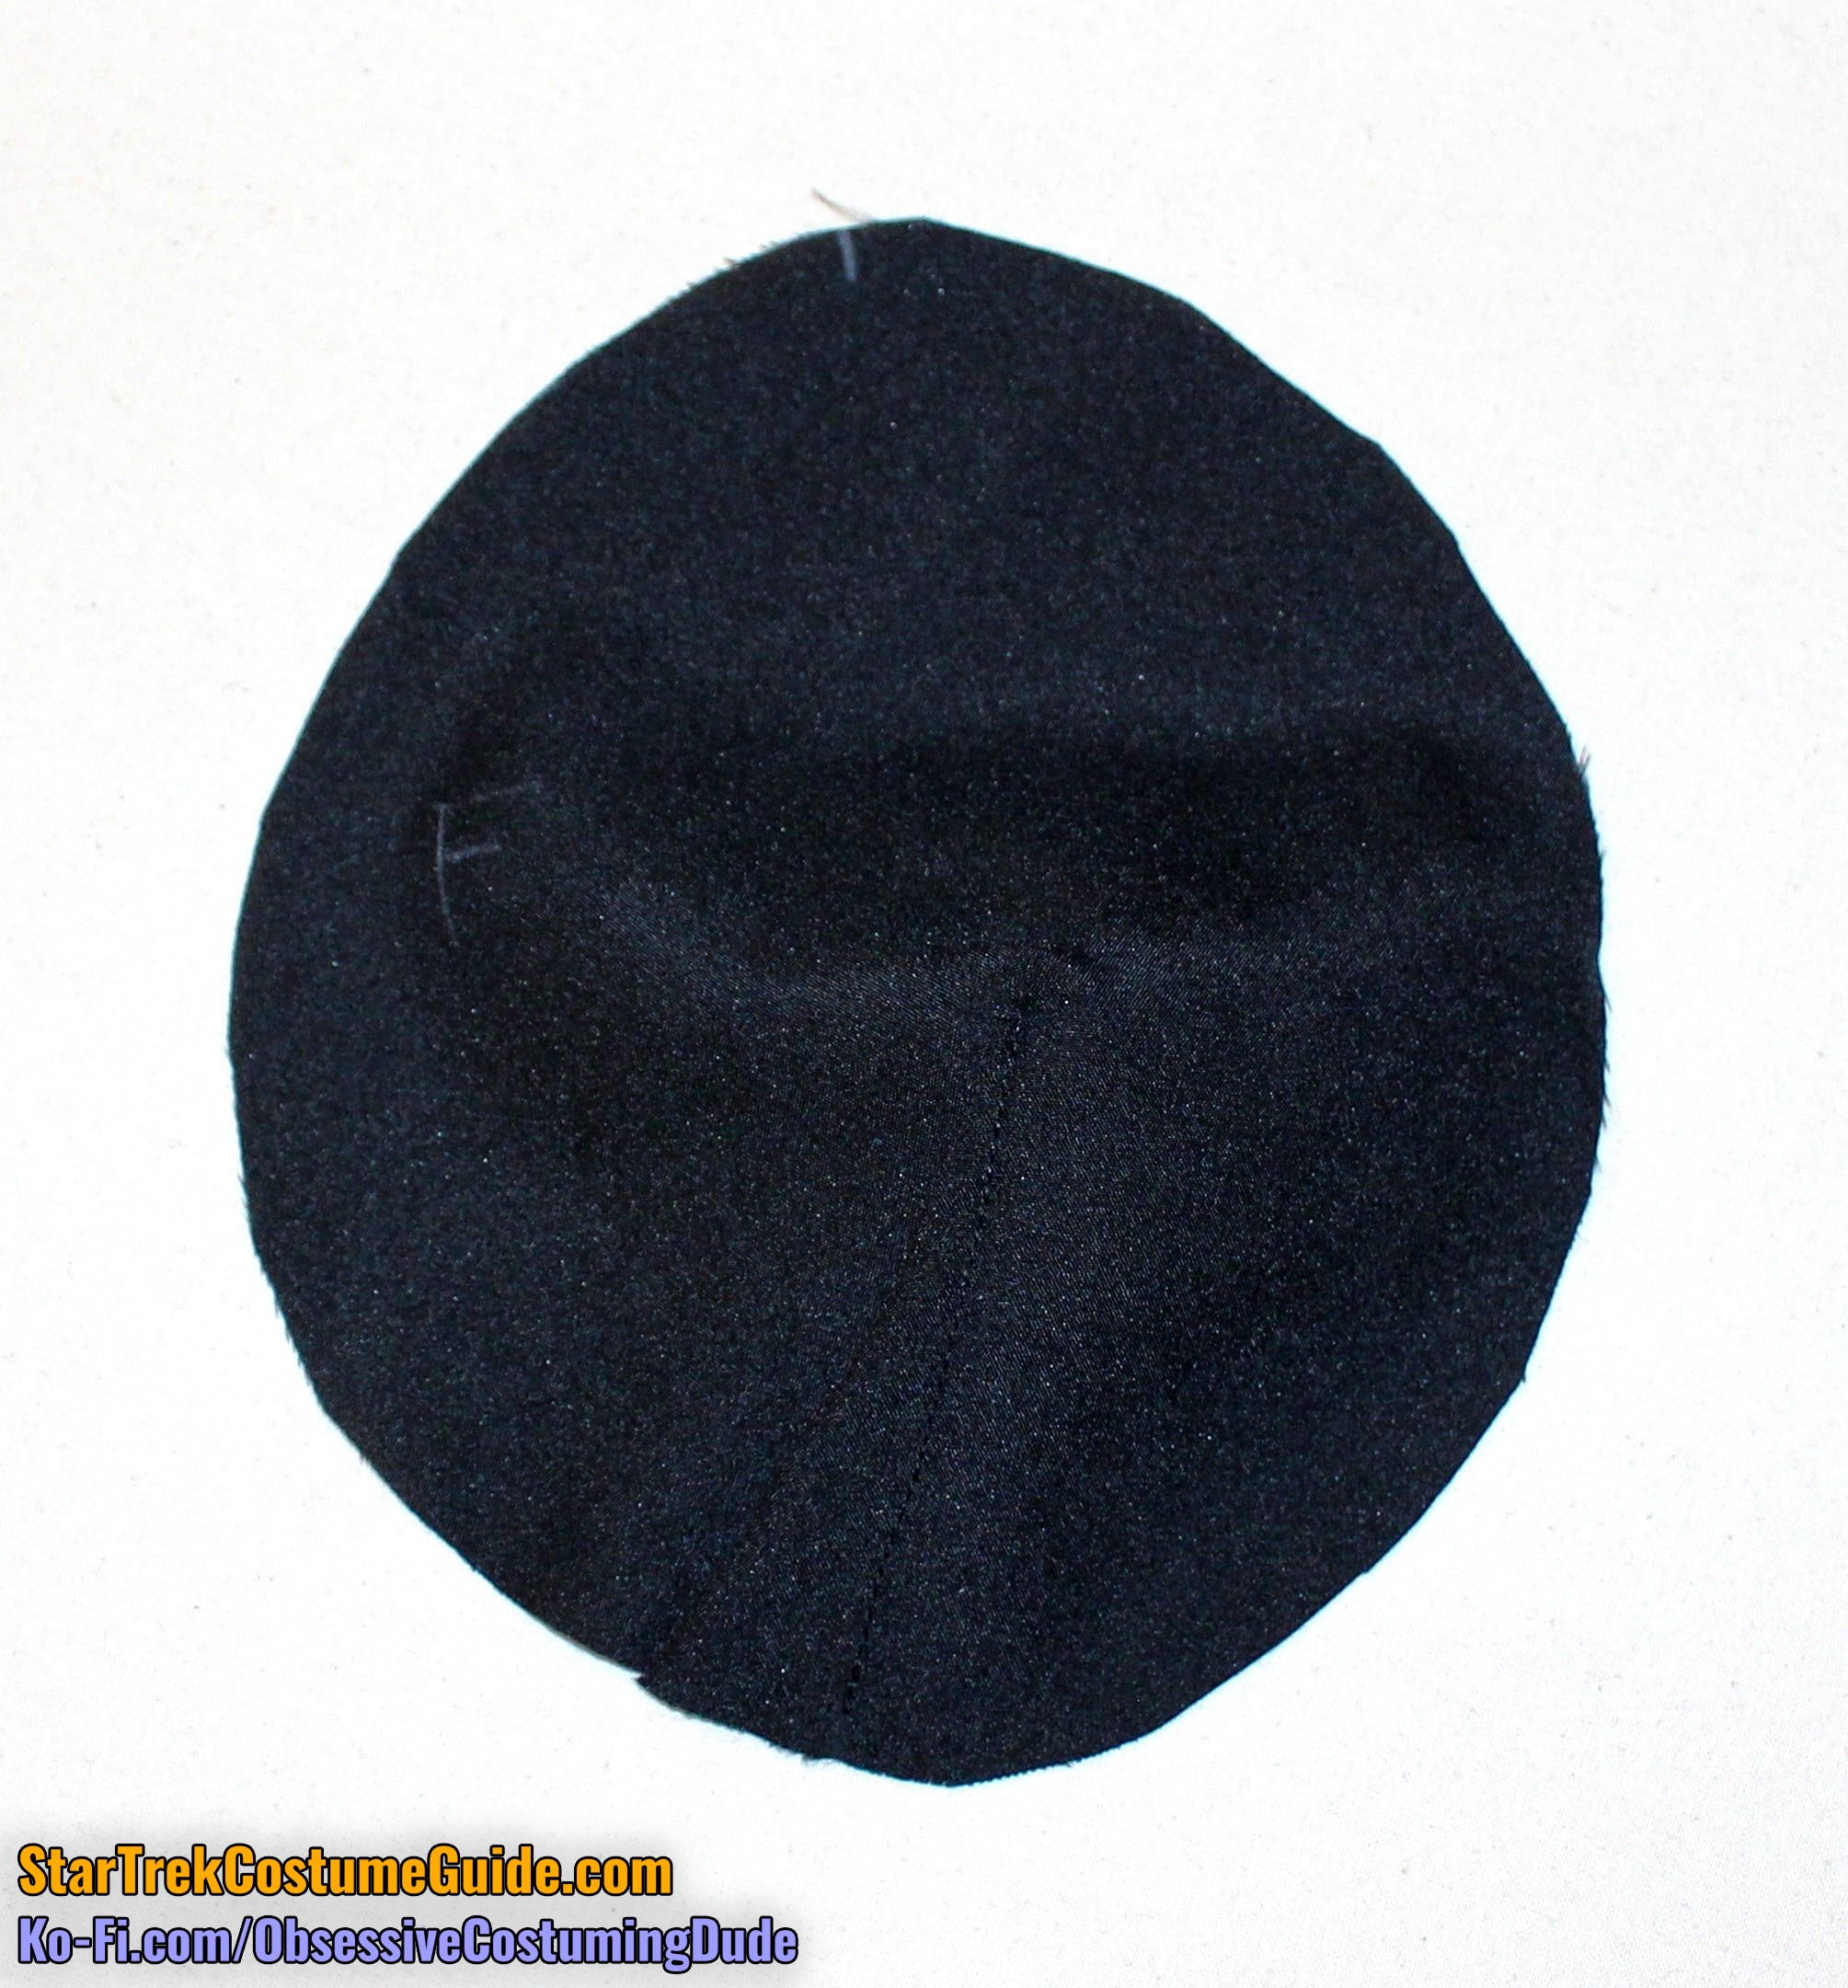
Sew the darts in the lining pieces, and press the darts toward the front.
Position the padding between the two layers of lining, edges flush, and pin the layers together.
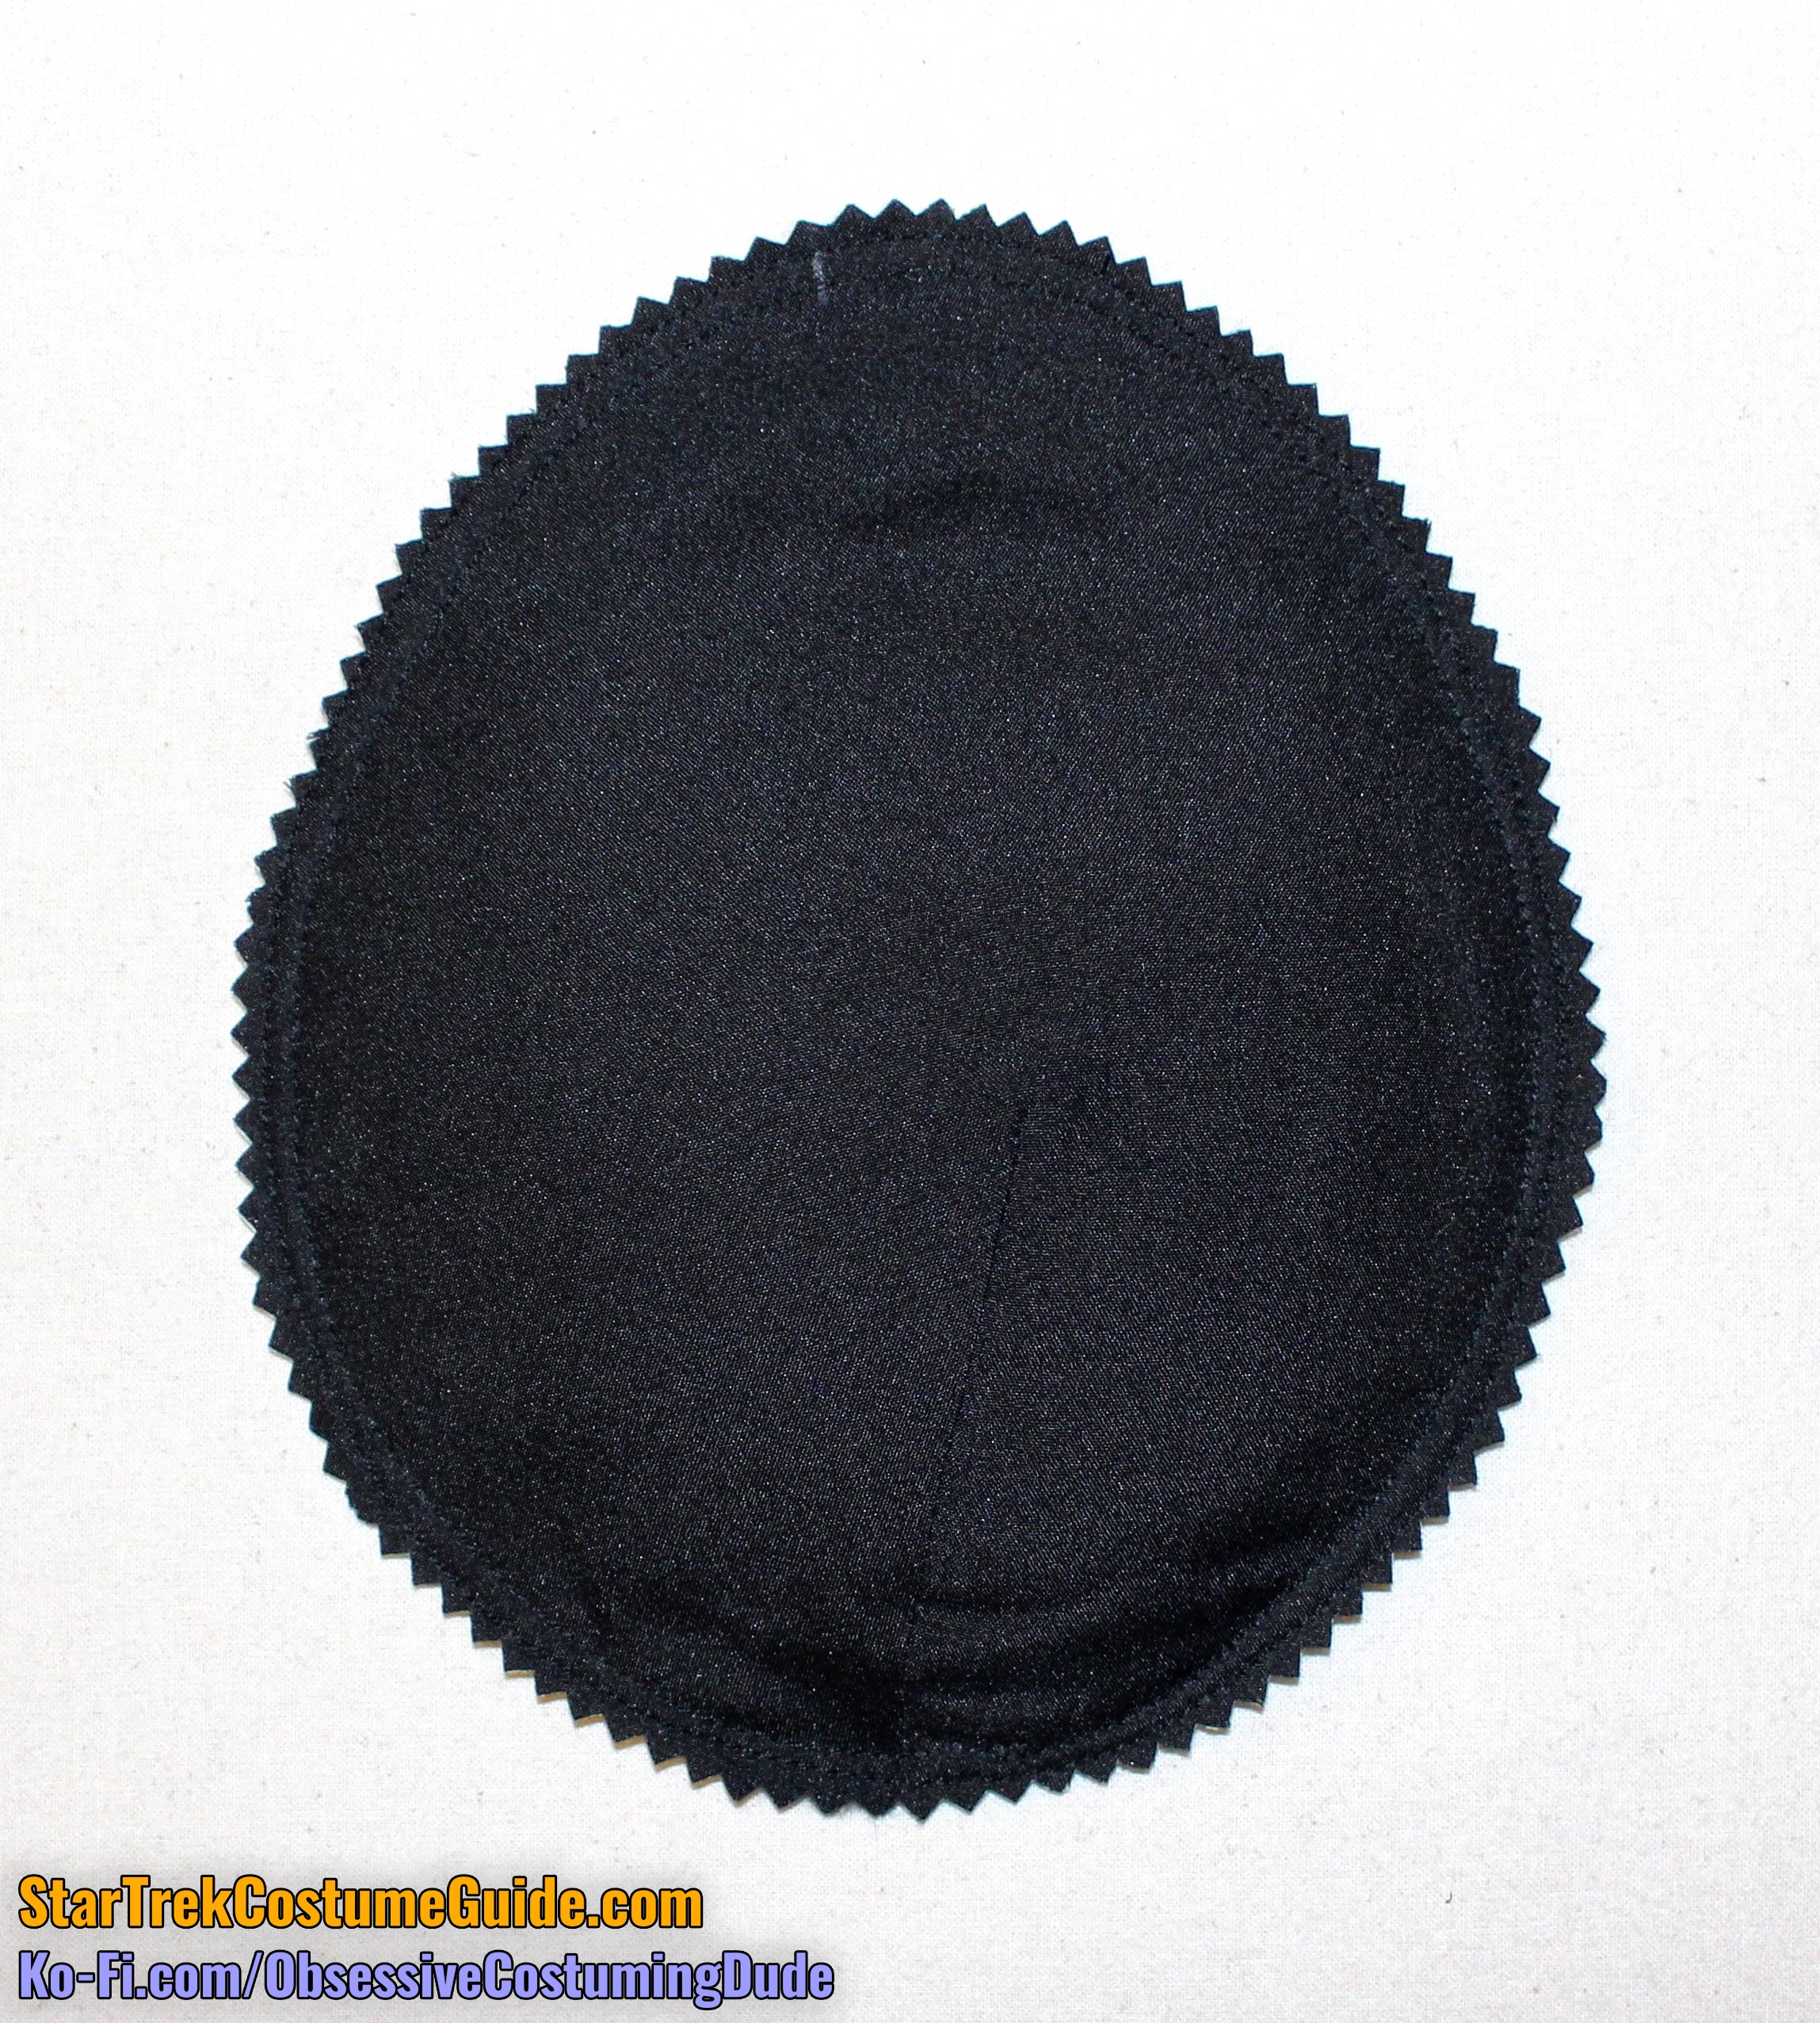
Sew the layers together around the perimeter of the pad ⅜” from the edge, then again ¼” from the edge.
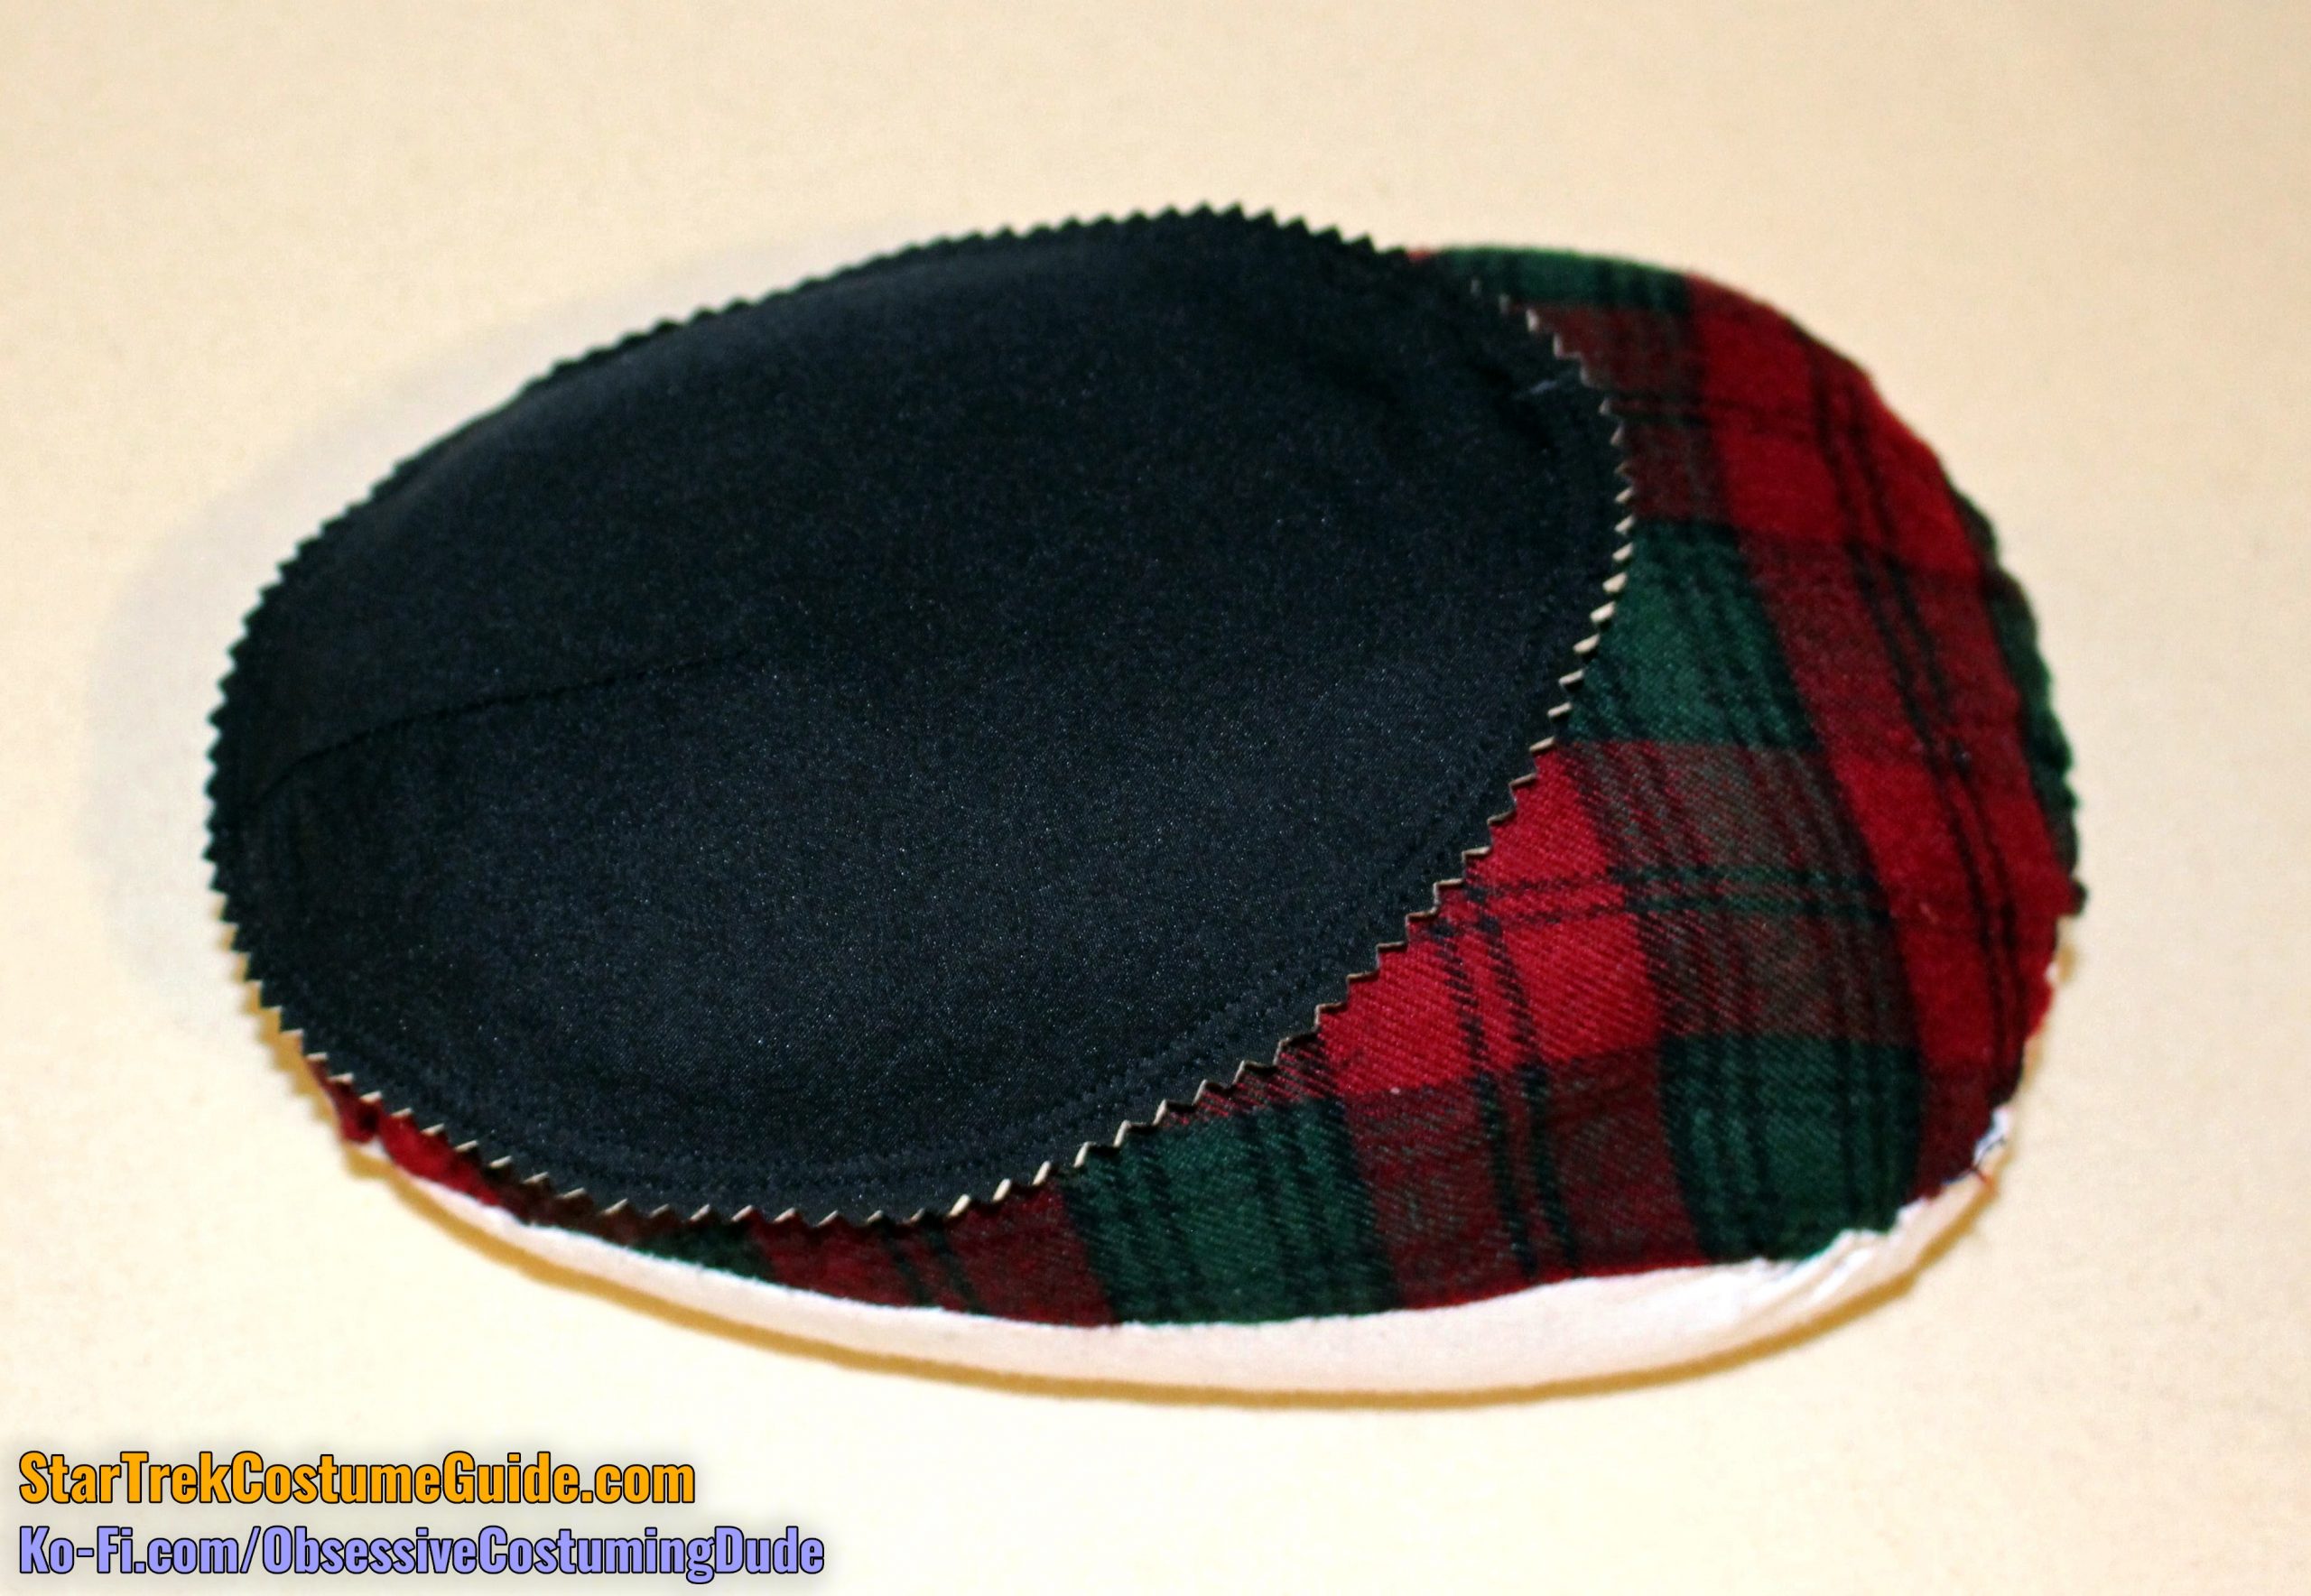
Trim the outer edge of the pad with pinking shears.
Press the pad into its gently-rounded shape over a tailor’s ham.
Repeat for the other pad.
Hand-sew the shoulder pads to the shoulder seam allowances, leaving the outermost 3” to 3 ½” free.
(Alternatively, attach a pair of snaps to each pad and the corresponding seam allowances, if you want your pads to be removable.)
Press the sleeve hem allowance upward and hand-sew the hem allowance into place, catching only a thread of the fabric’s underside so your hem stitching doesn’t show through to the right side of the sleeve.
If you chose to include the hem allowance in your replica smock, press the lower hem upward and hem it as well. (Or just trim 1” off the bottom and leave the lower edge as-is, the way the original was.)
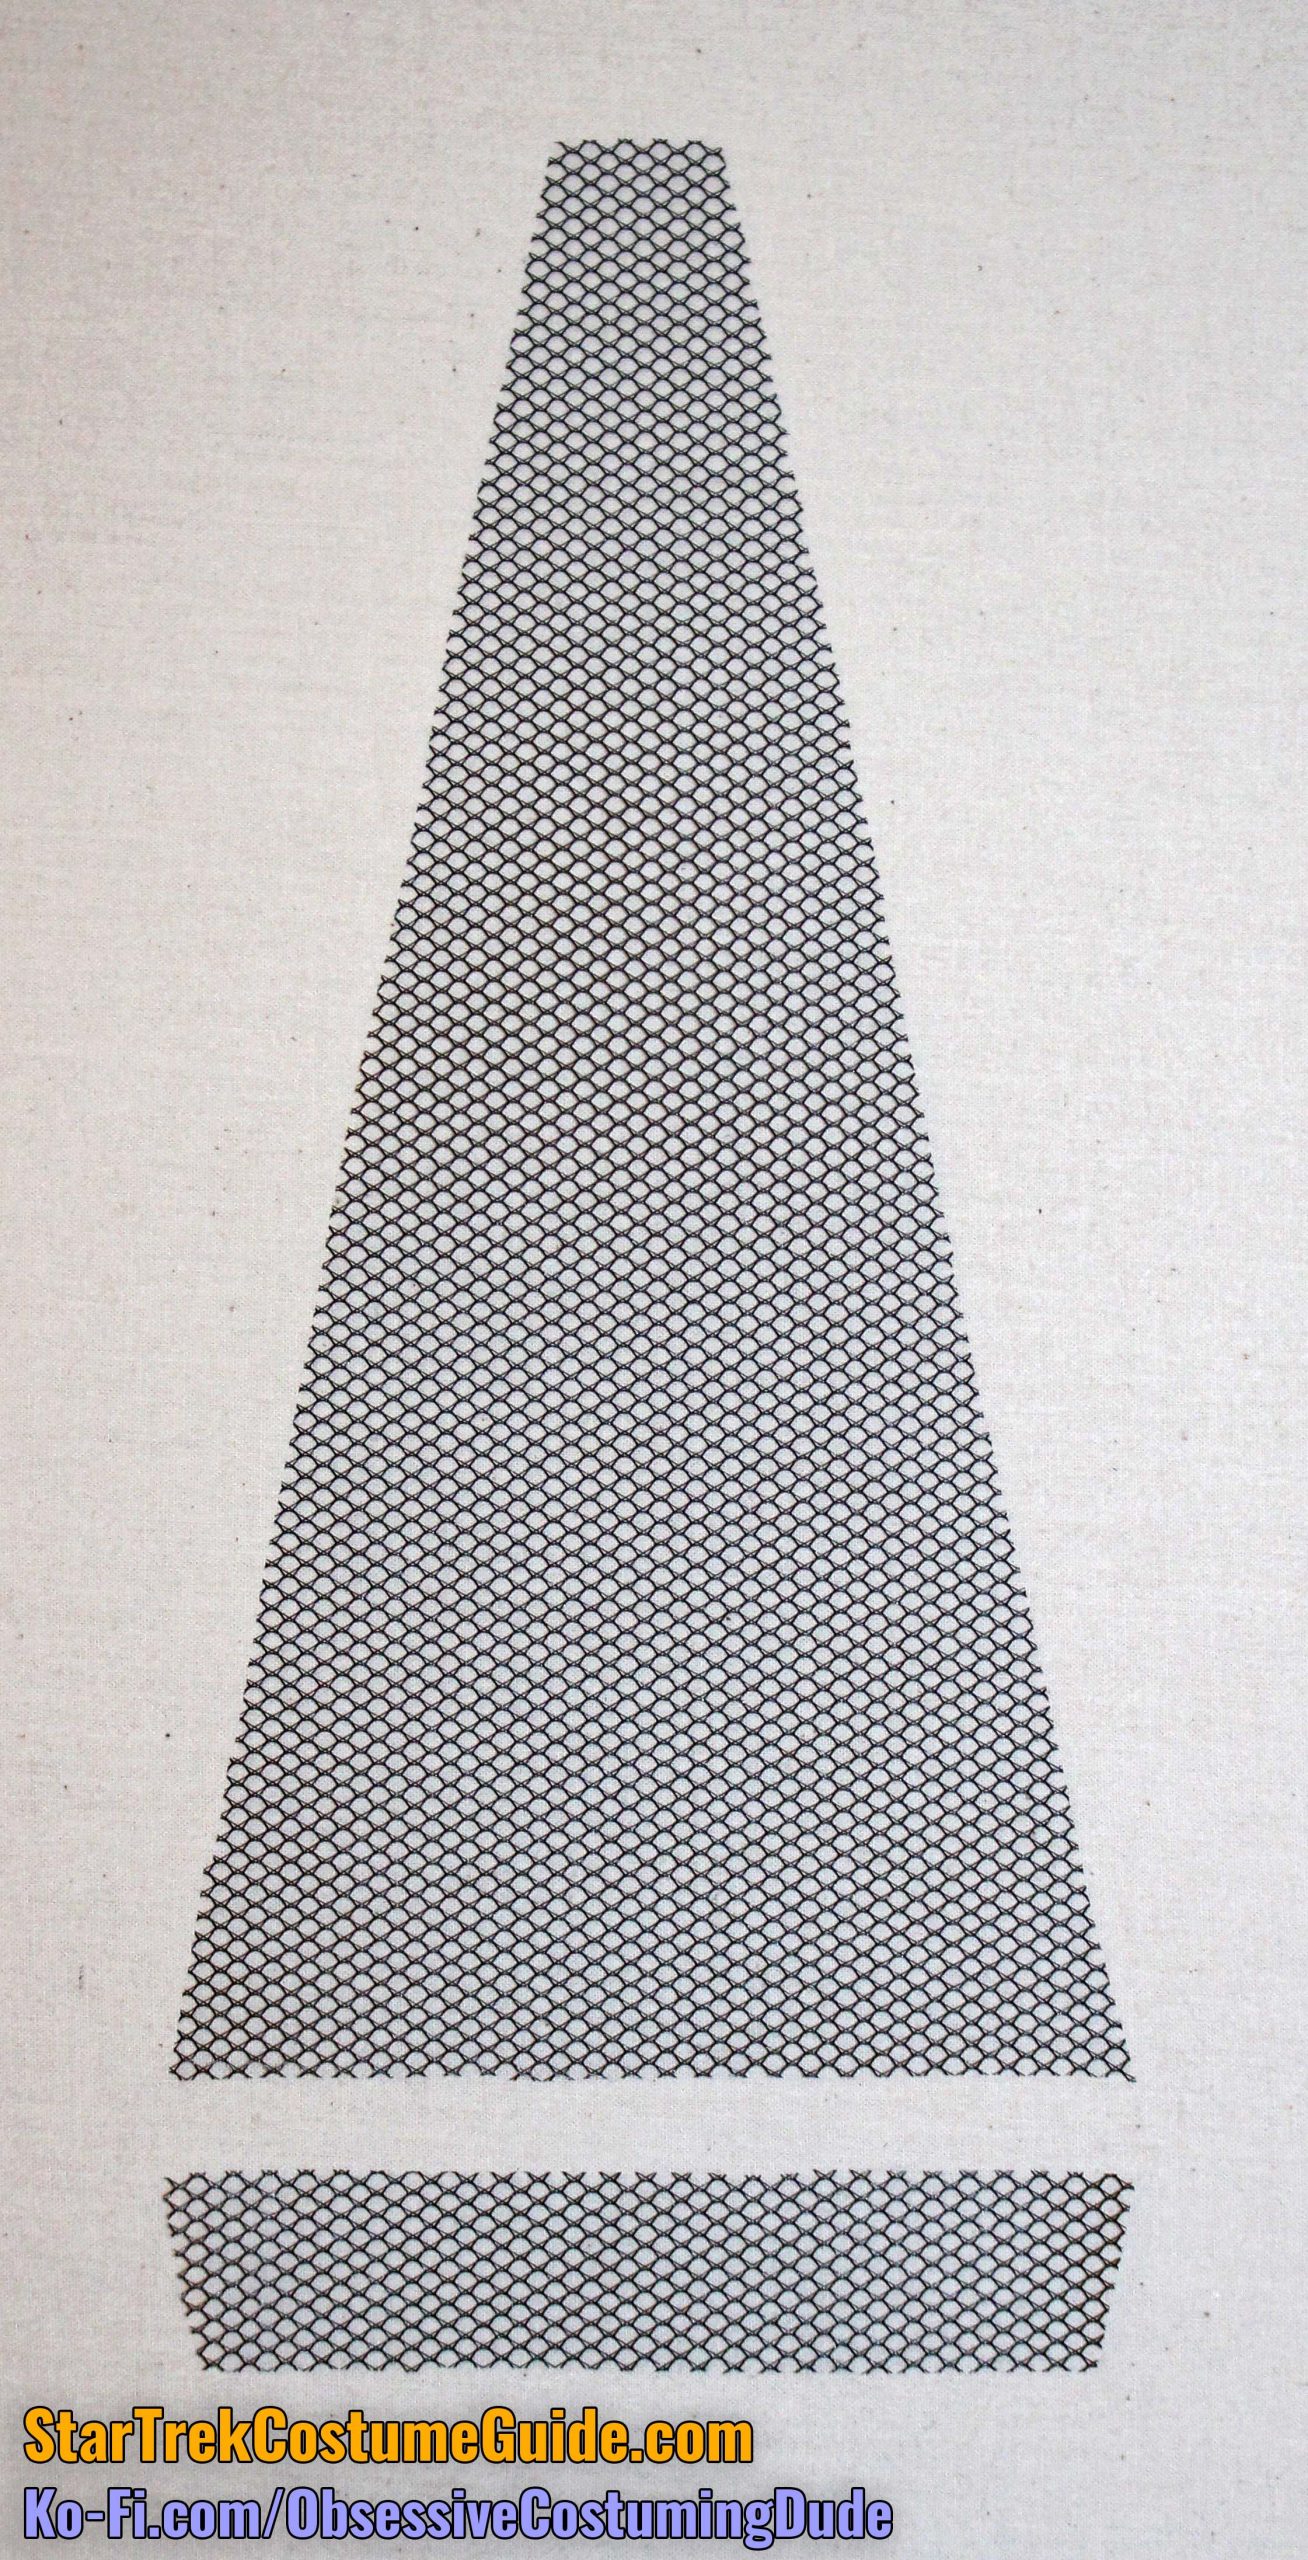
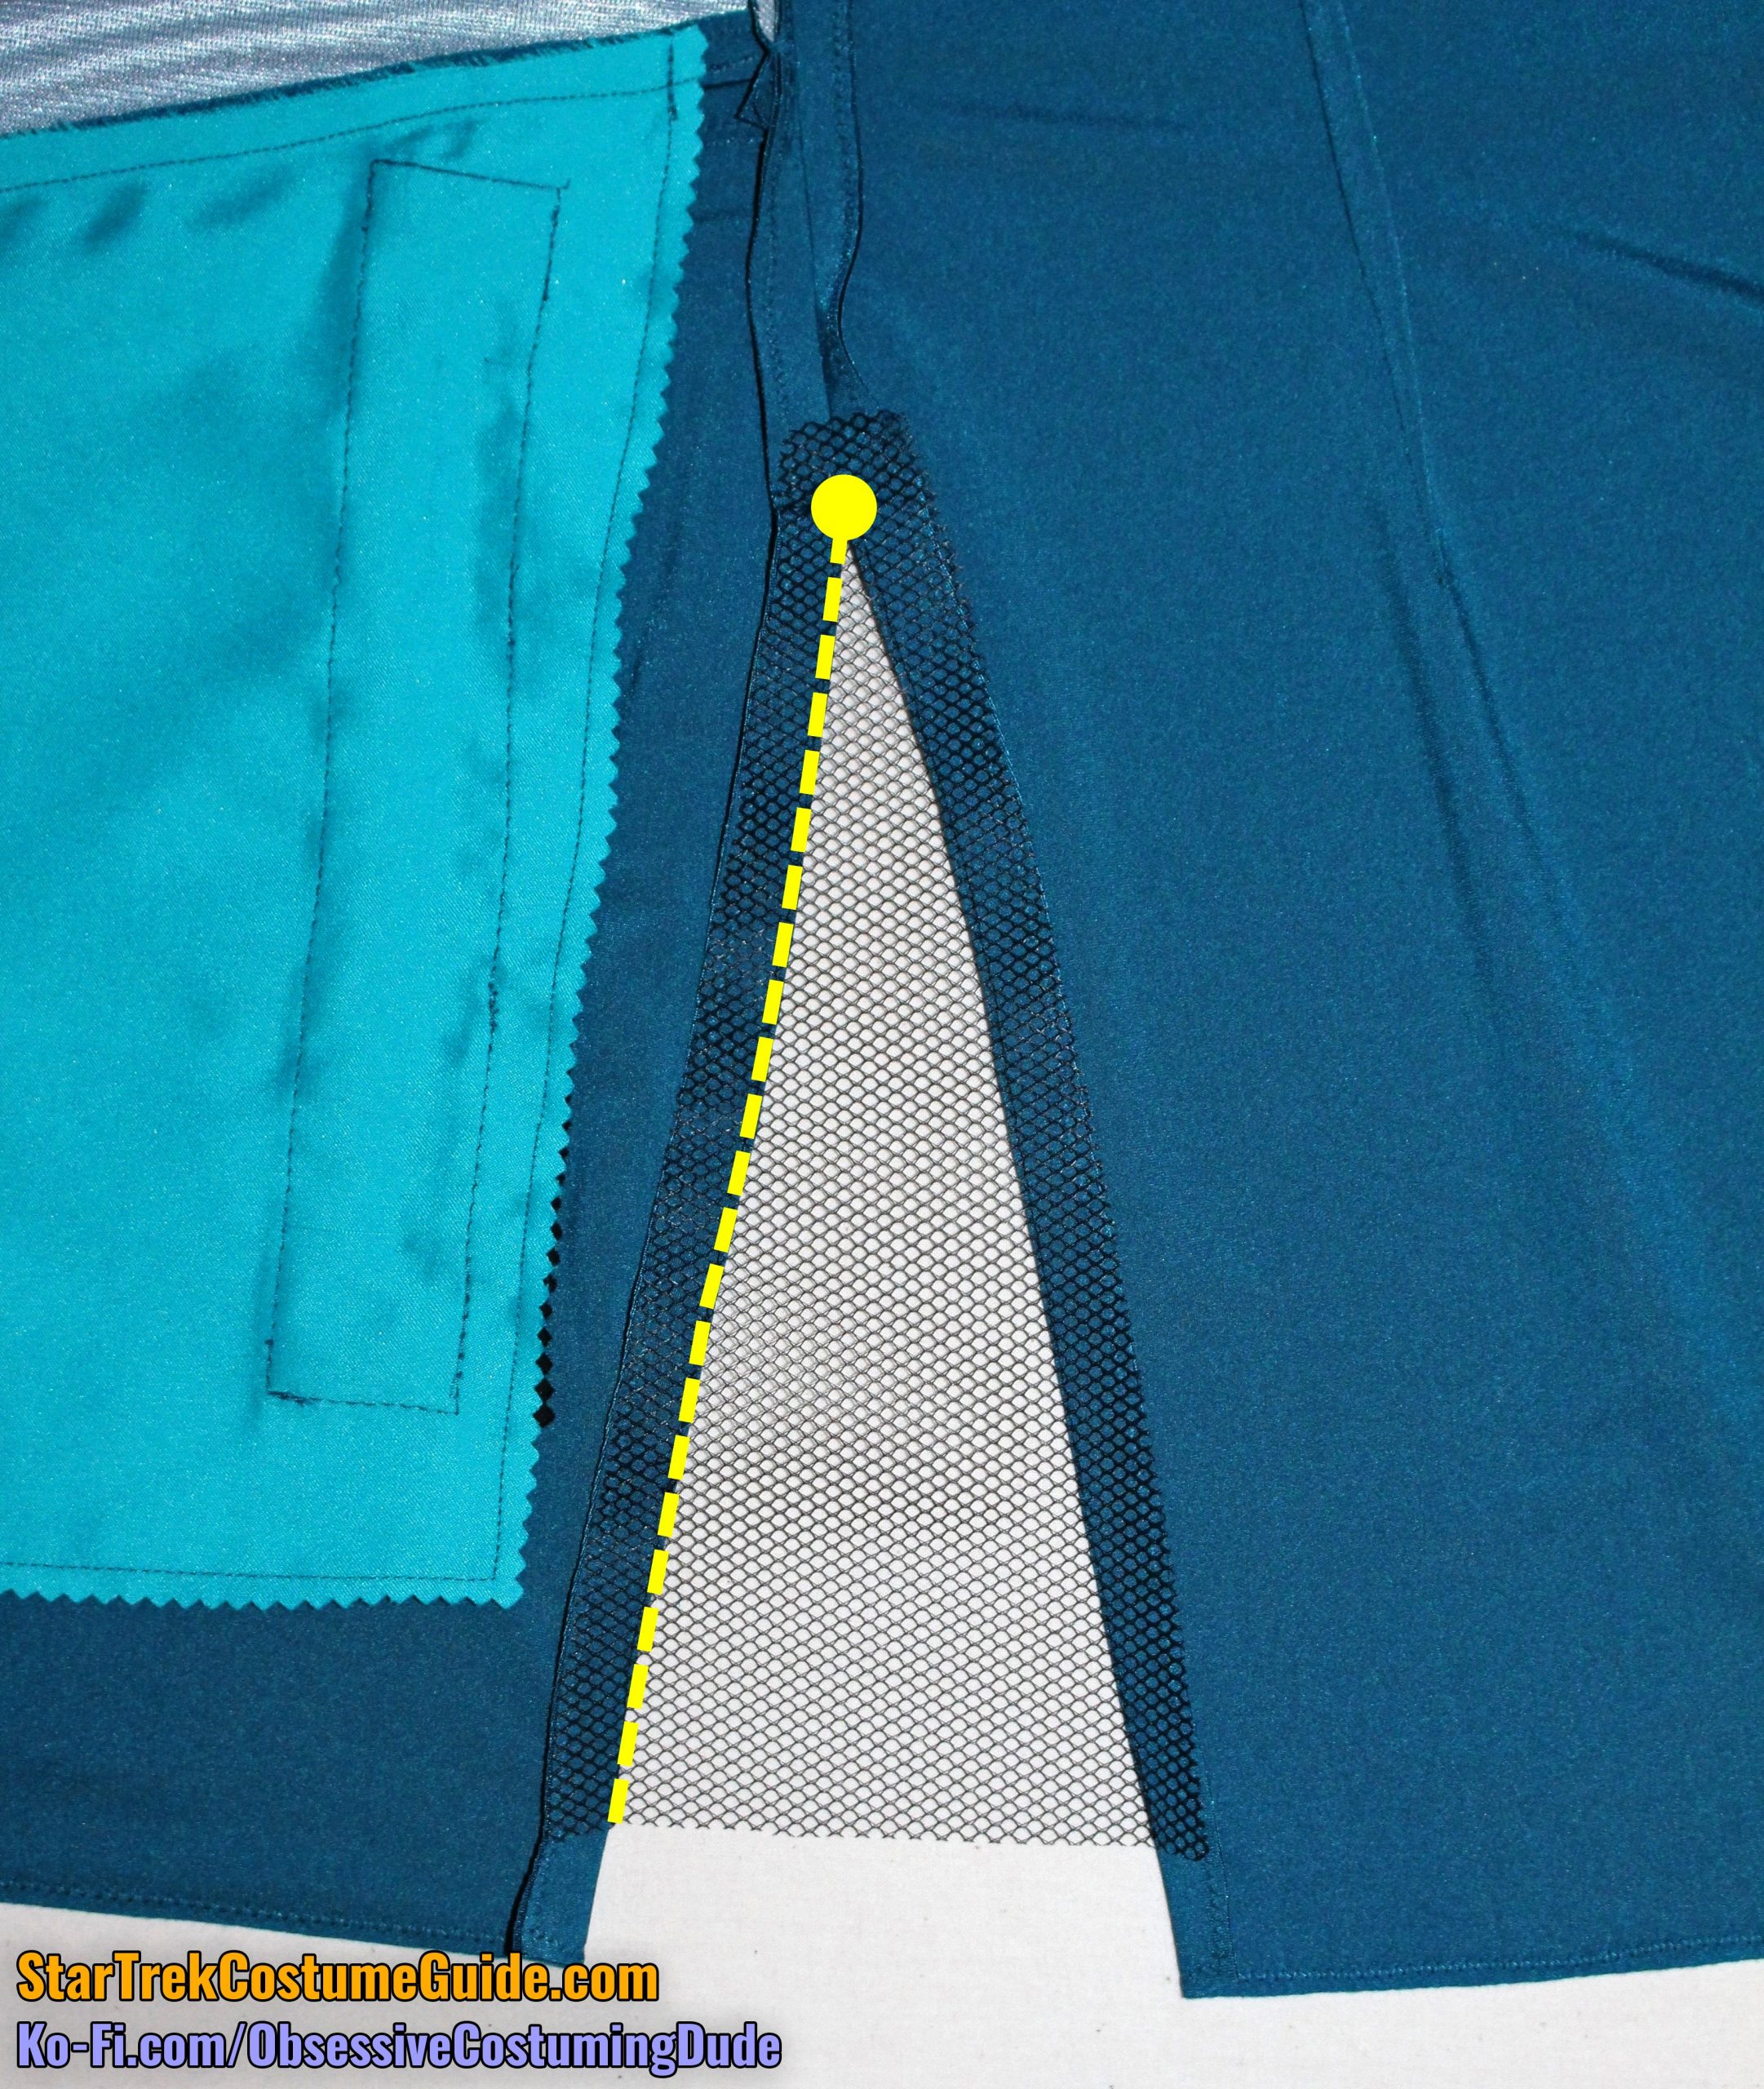
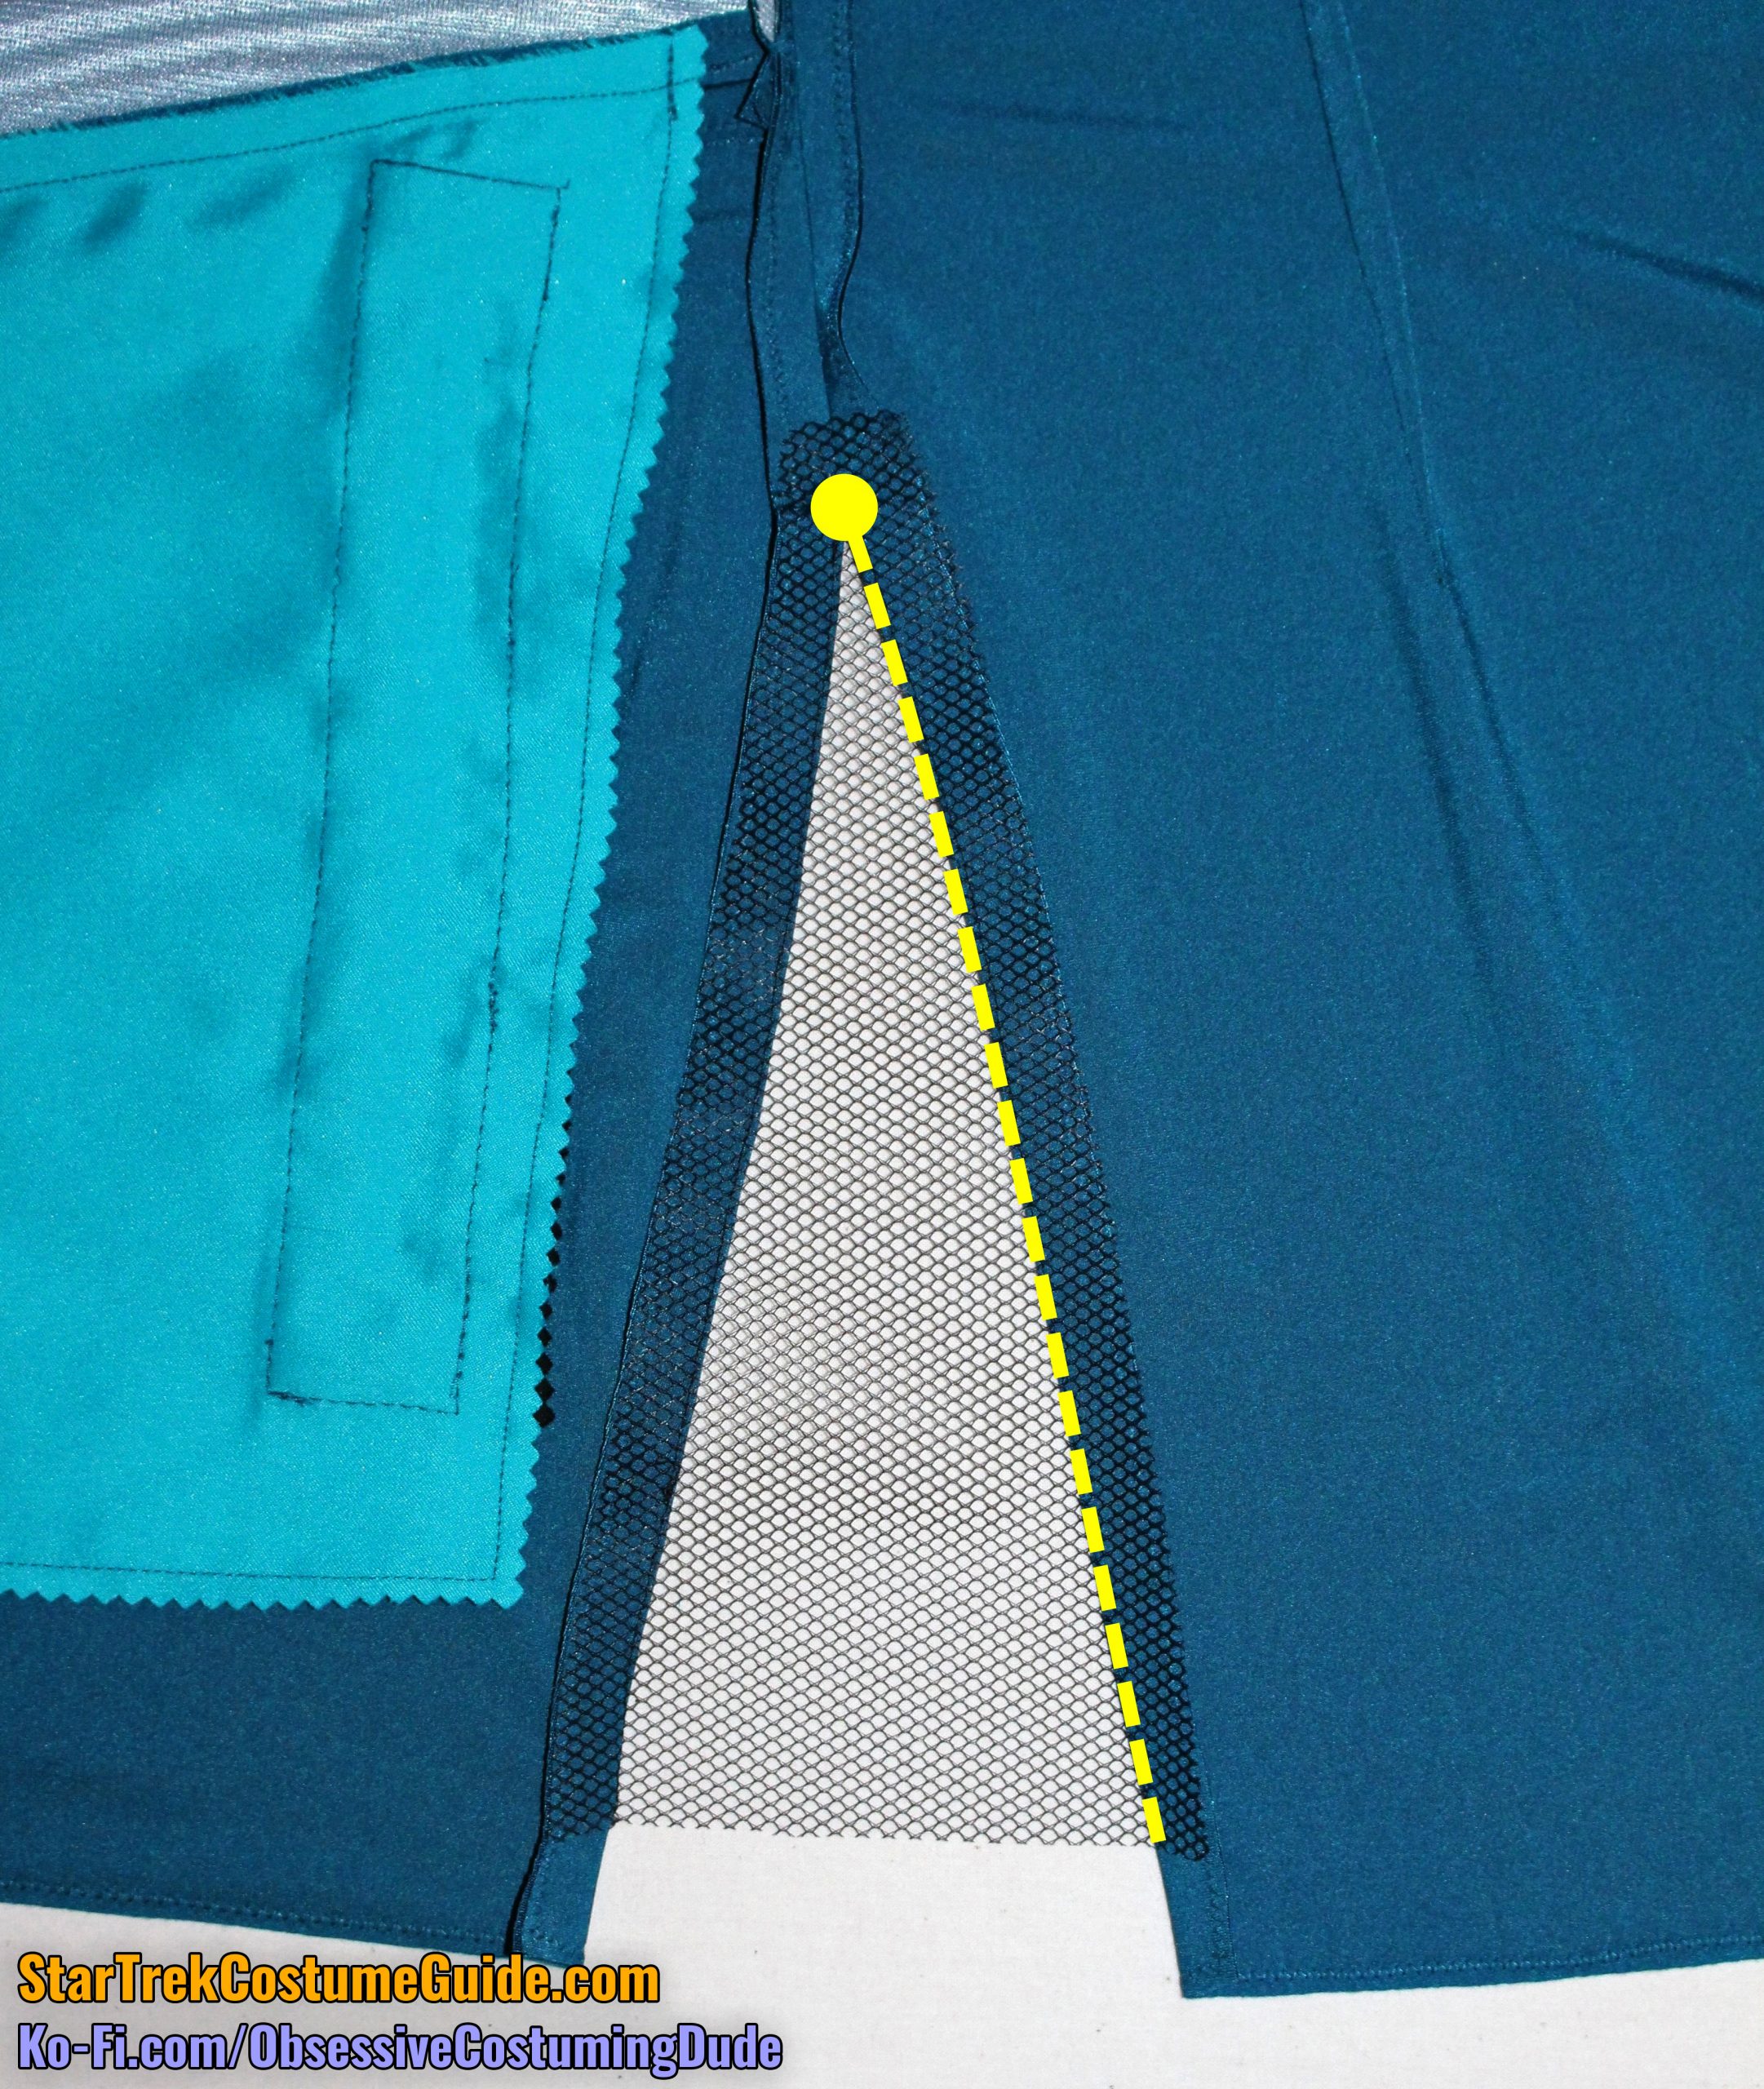
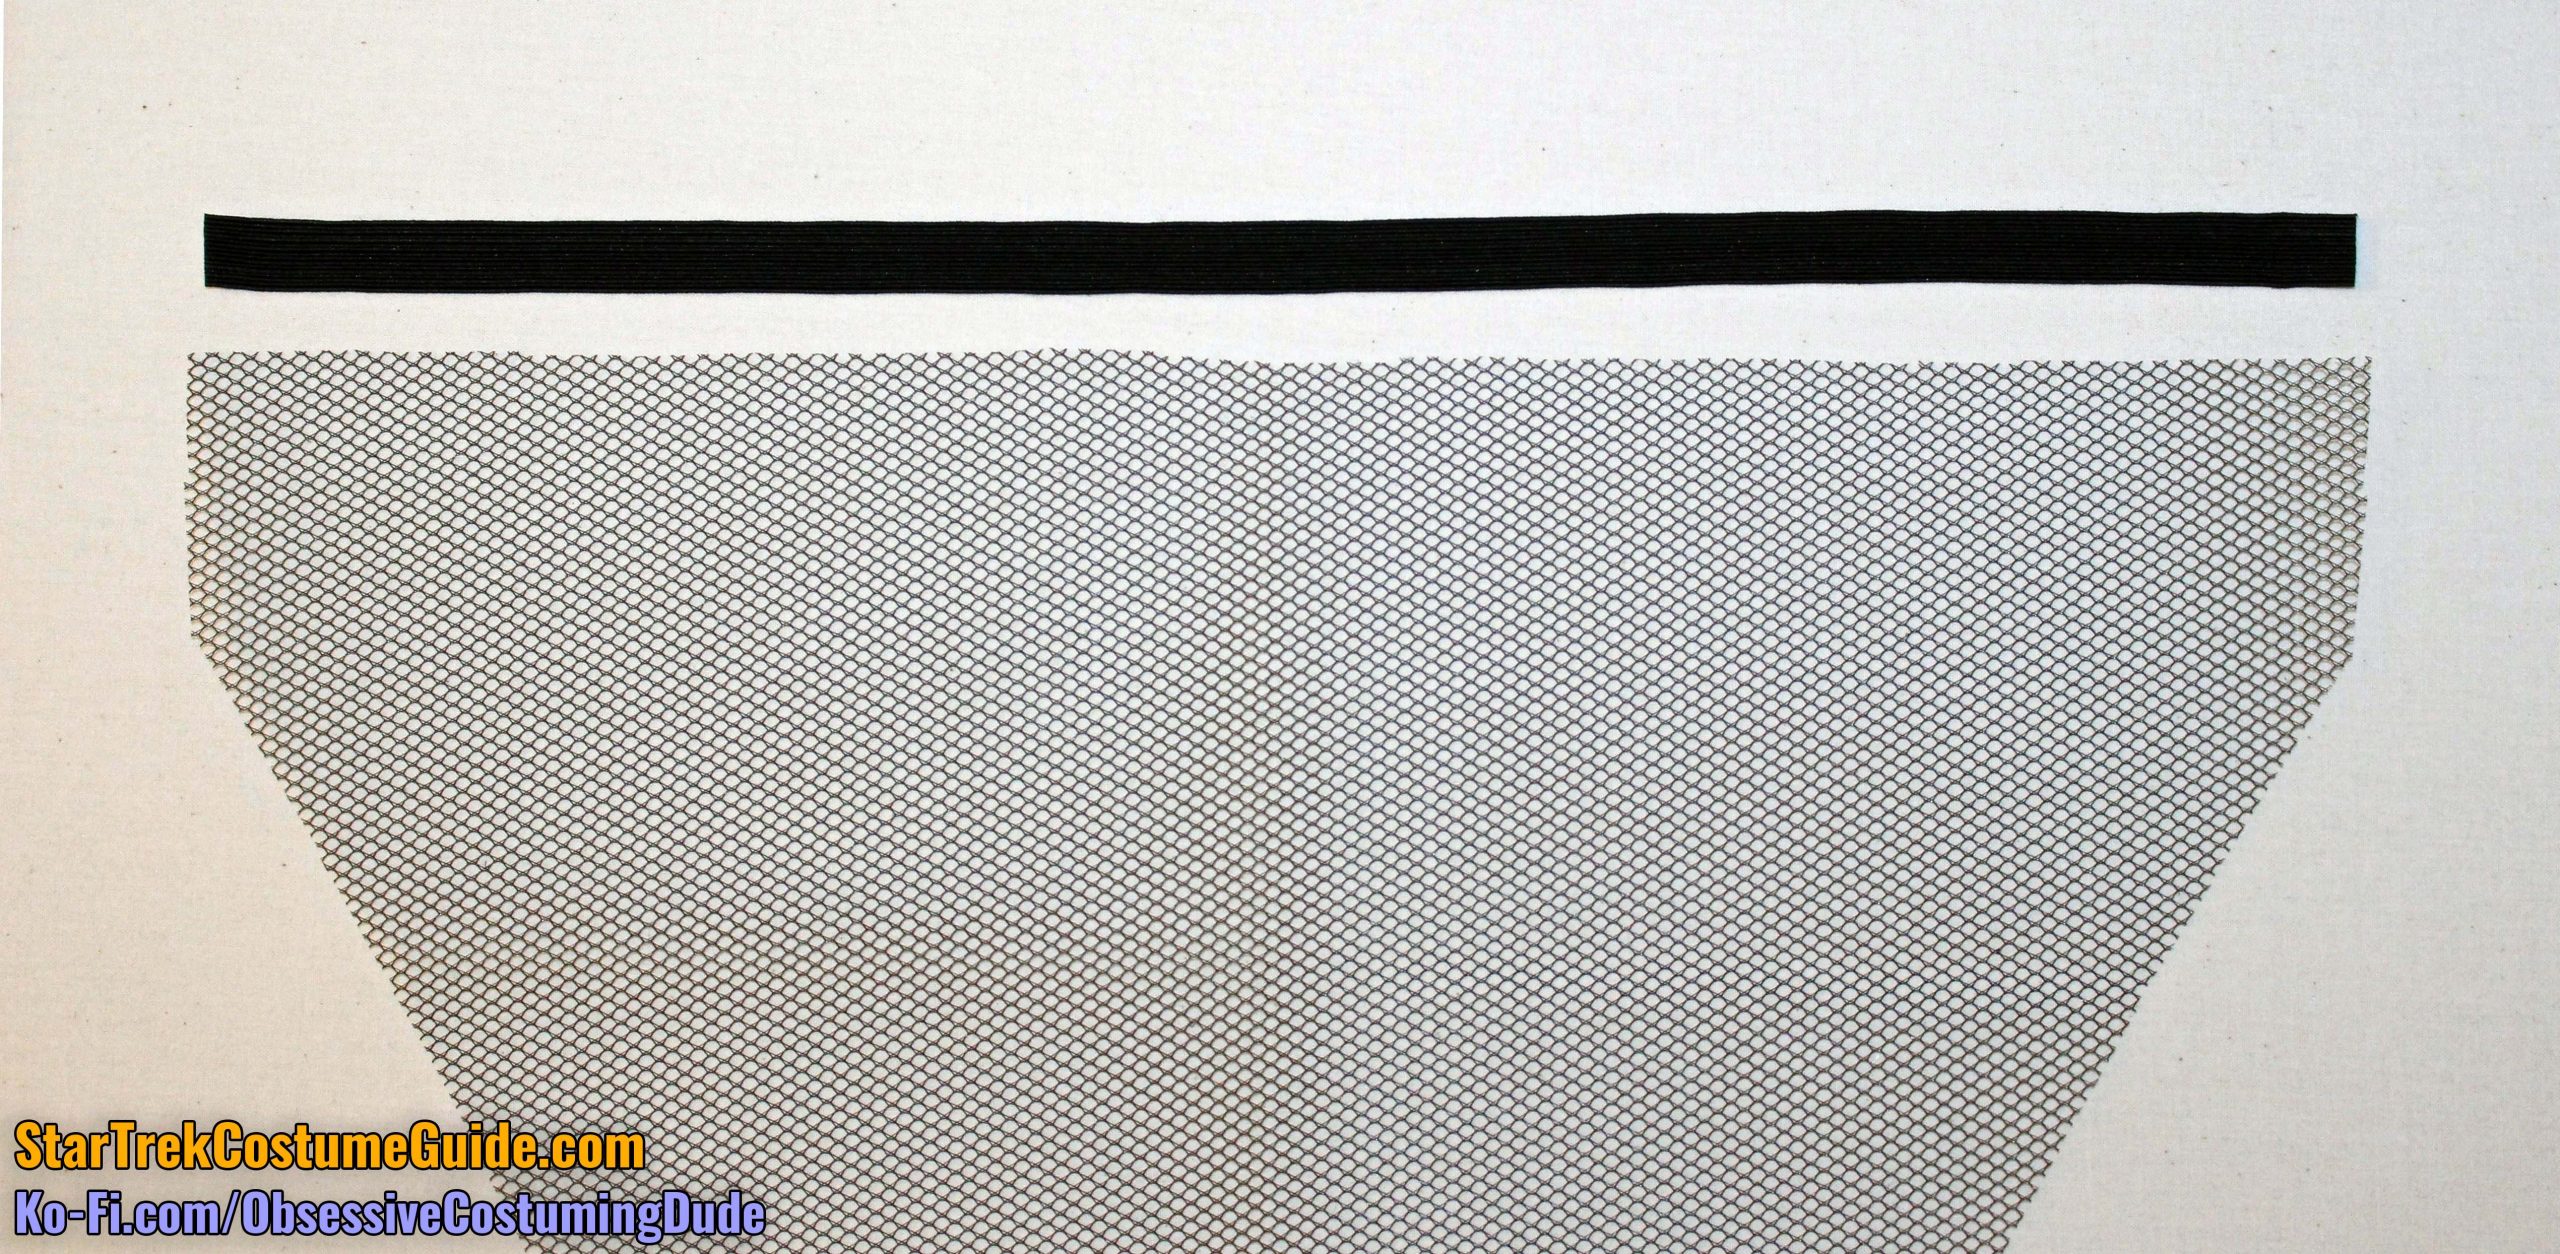
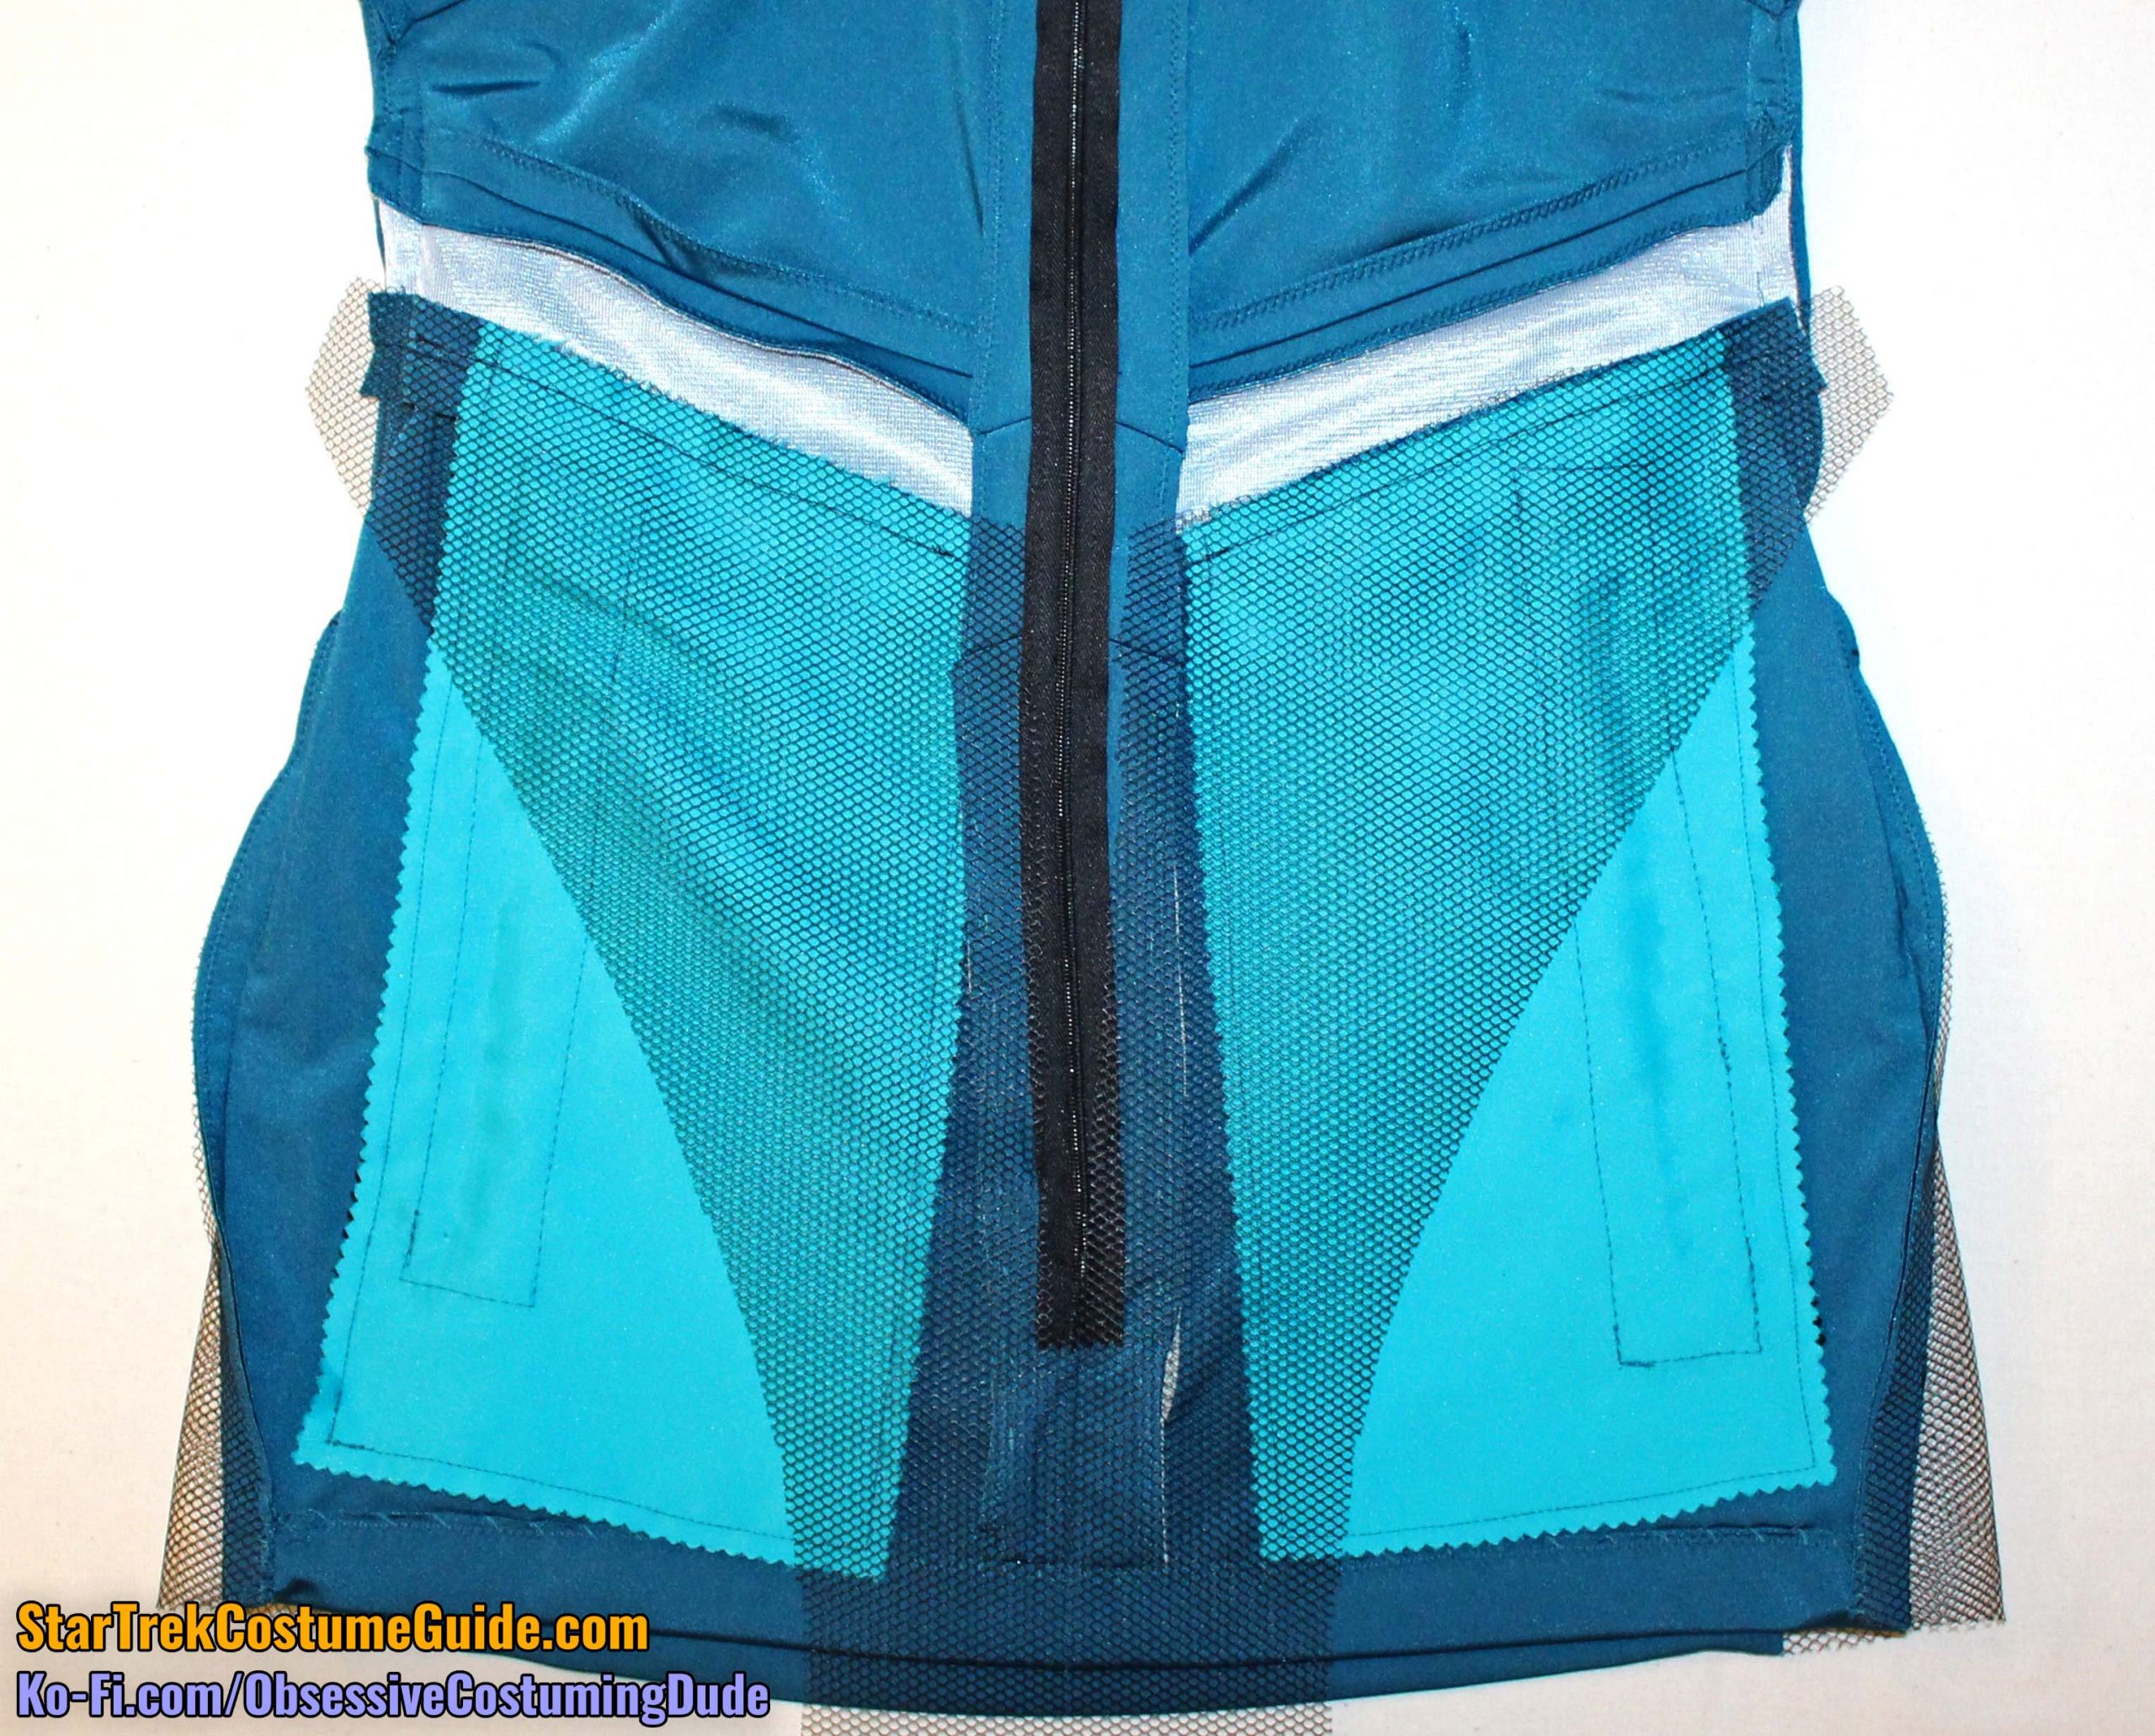
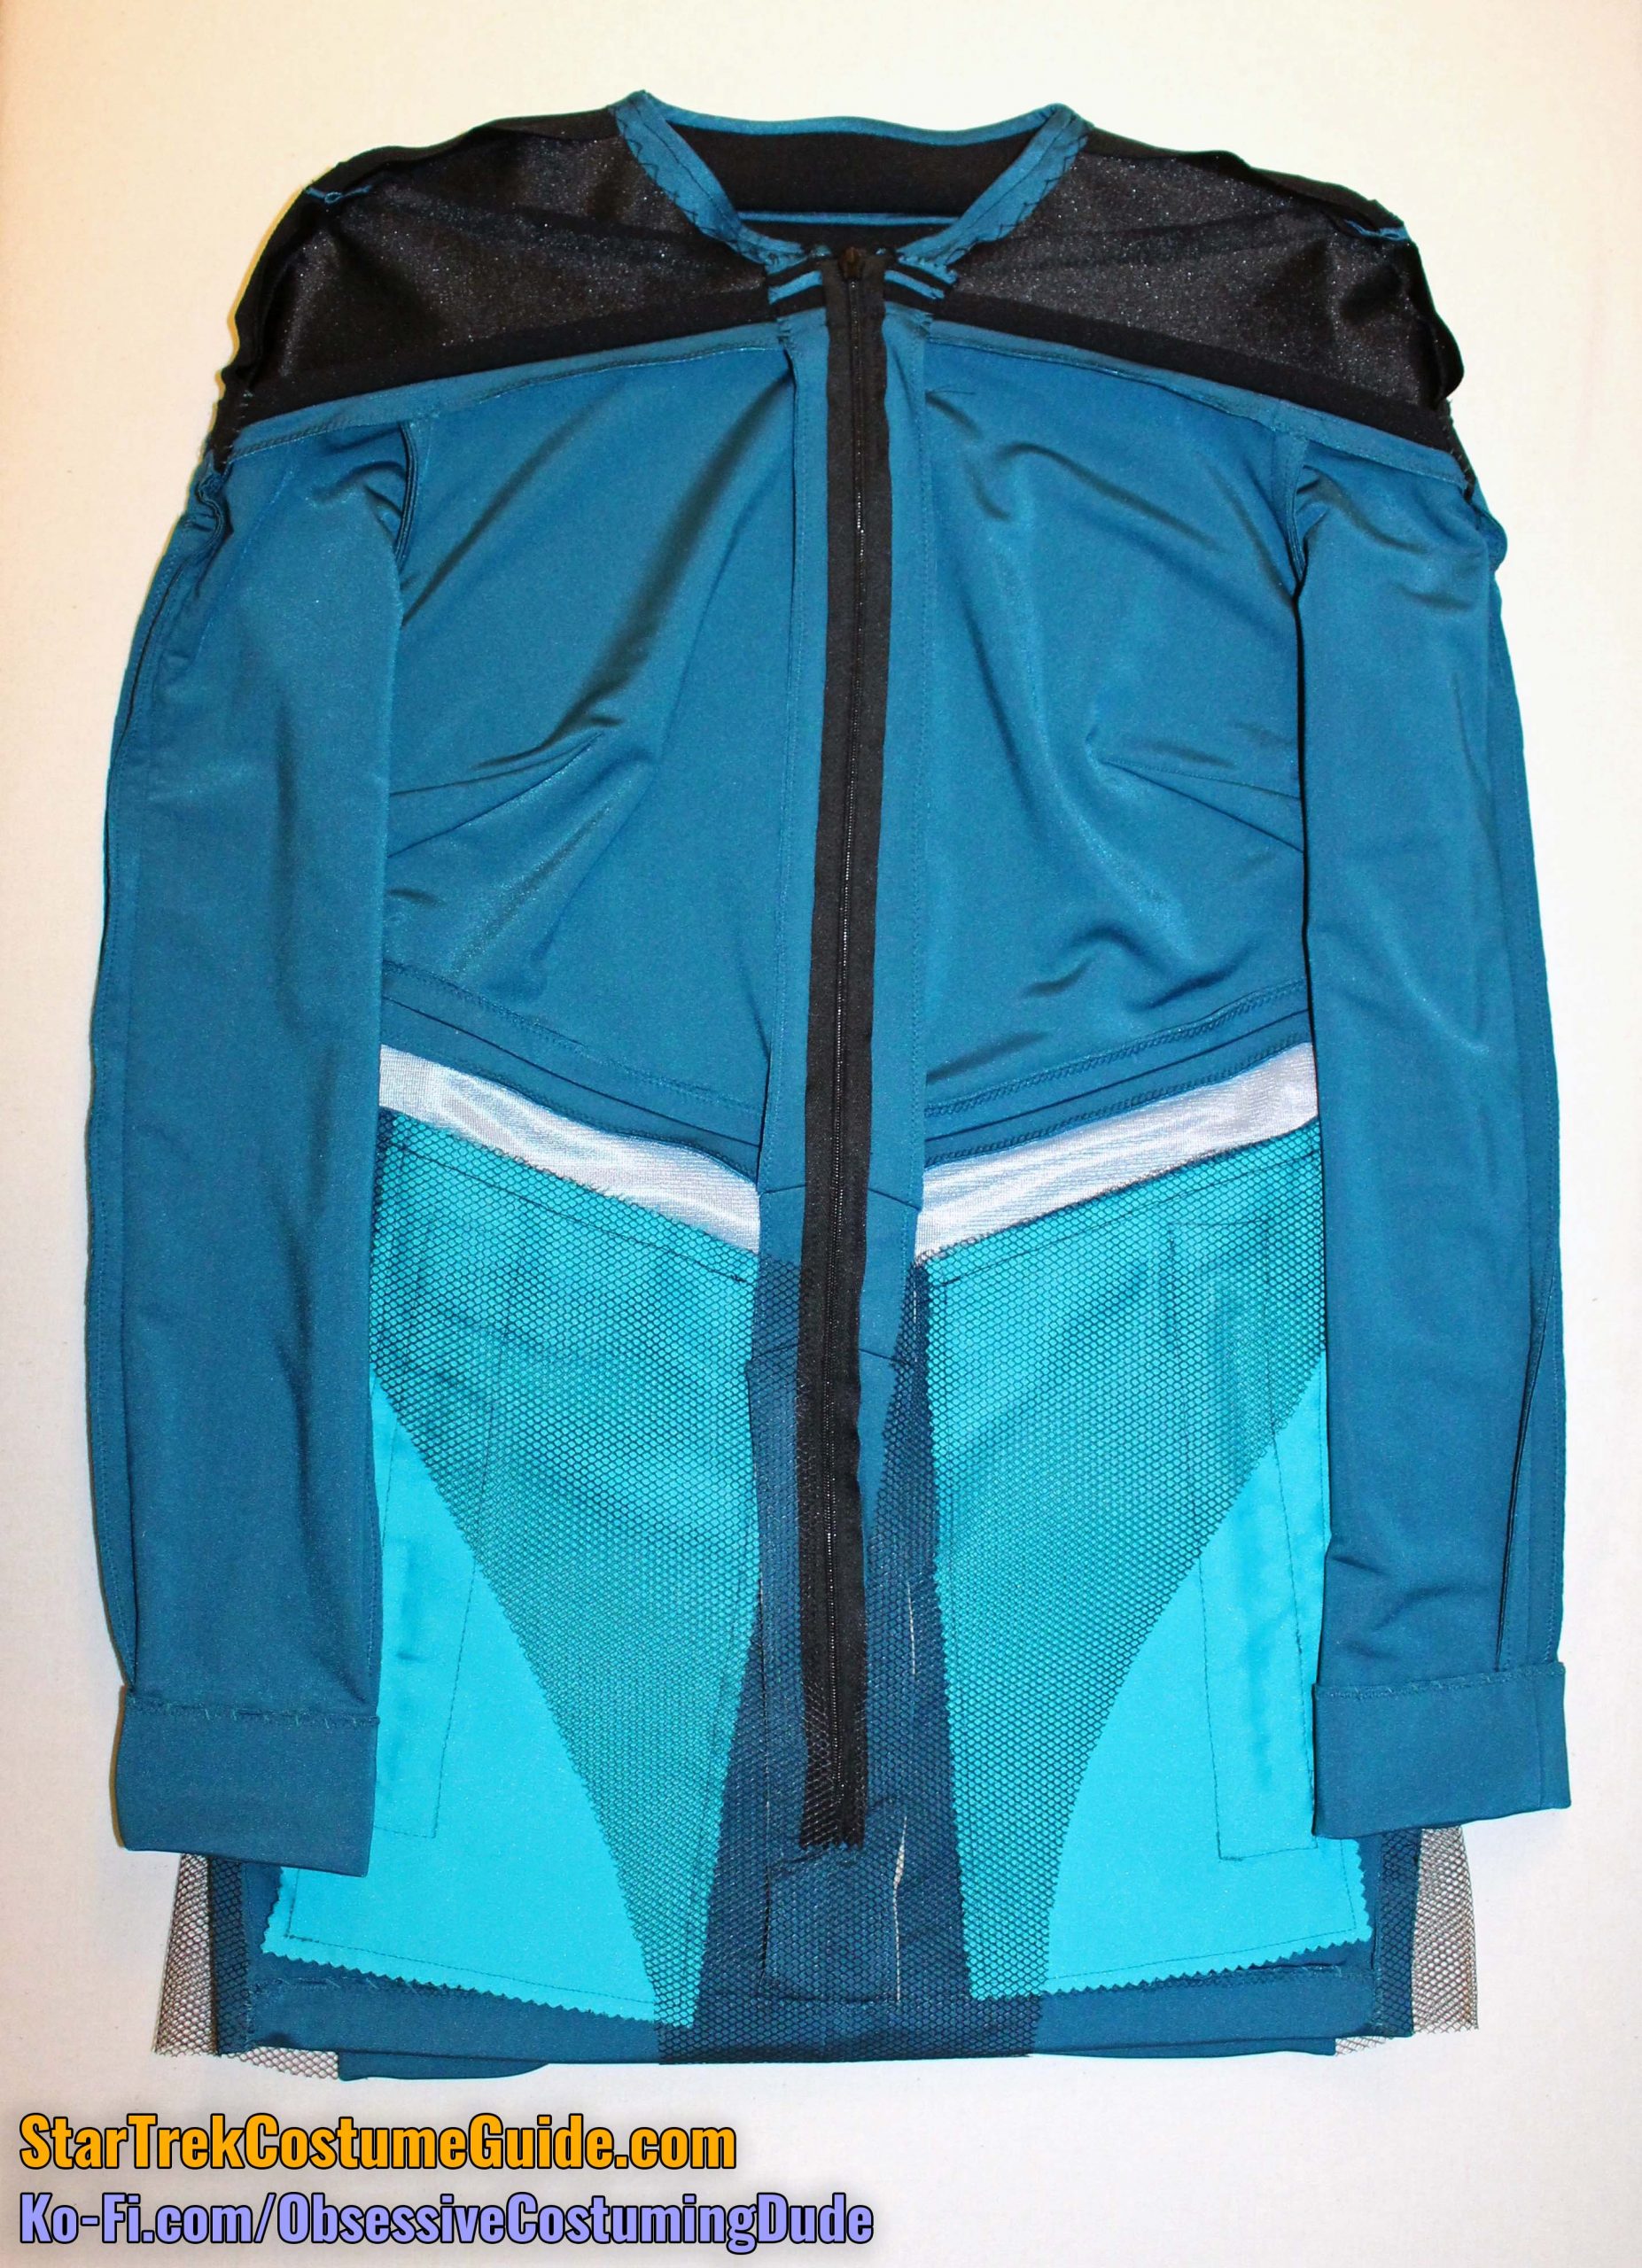
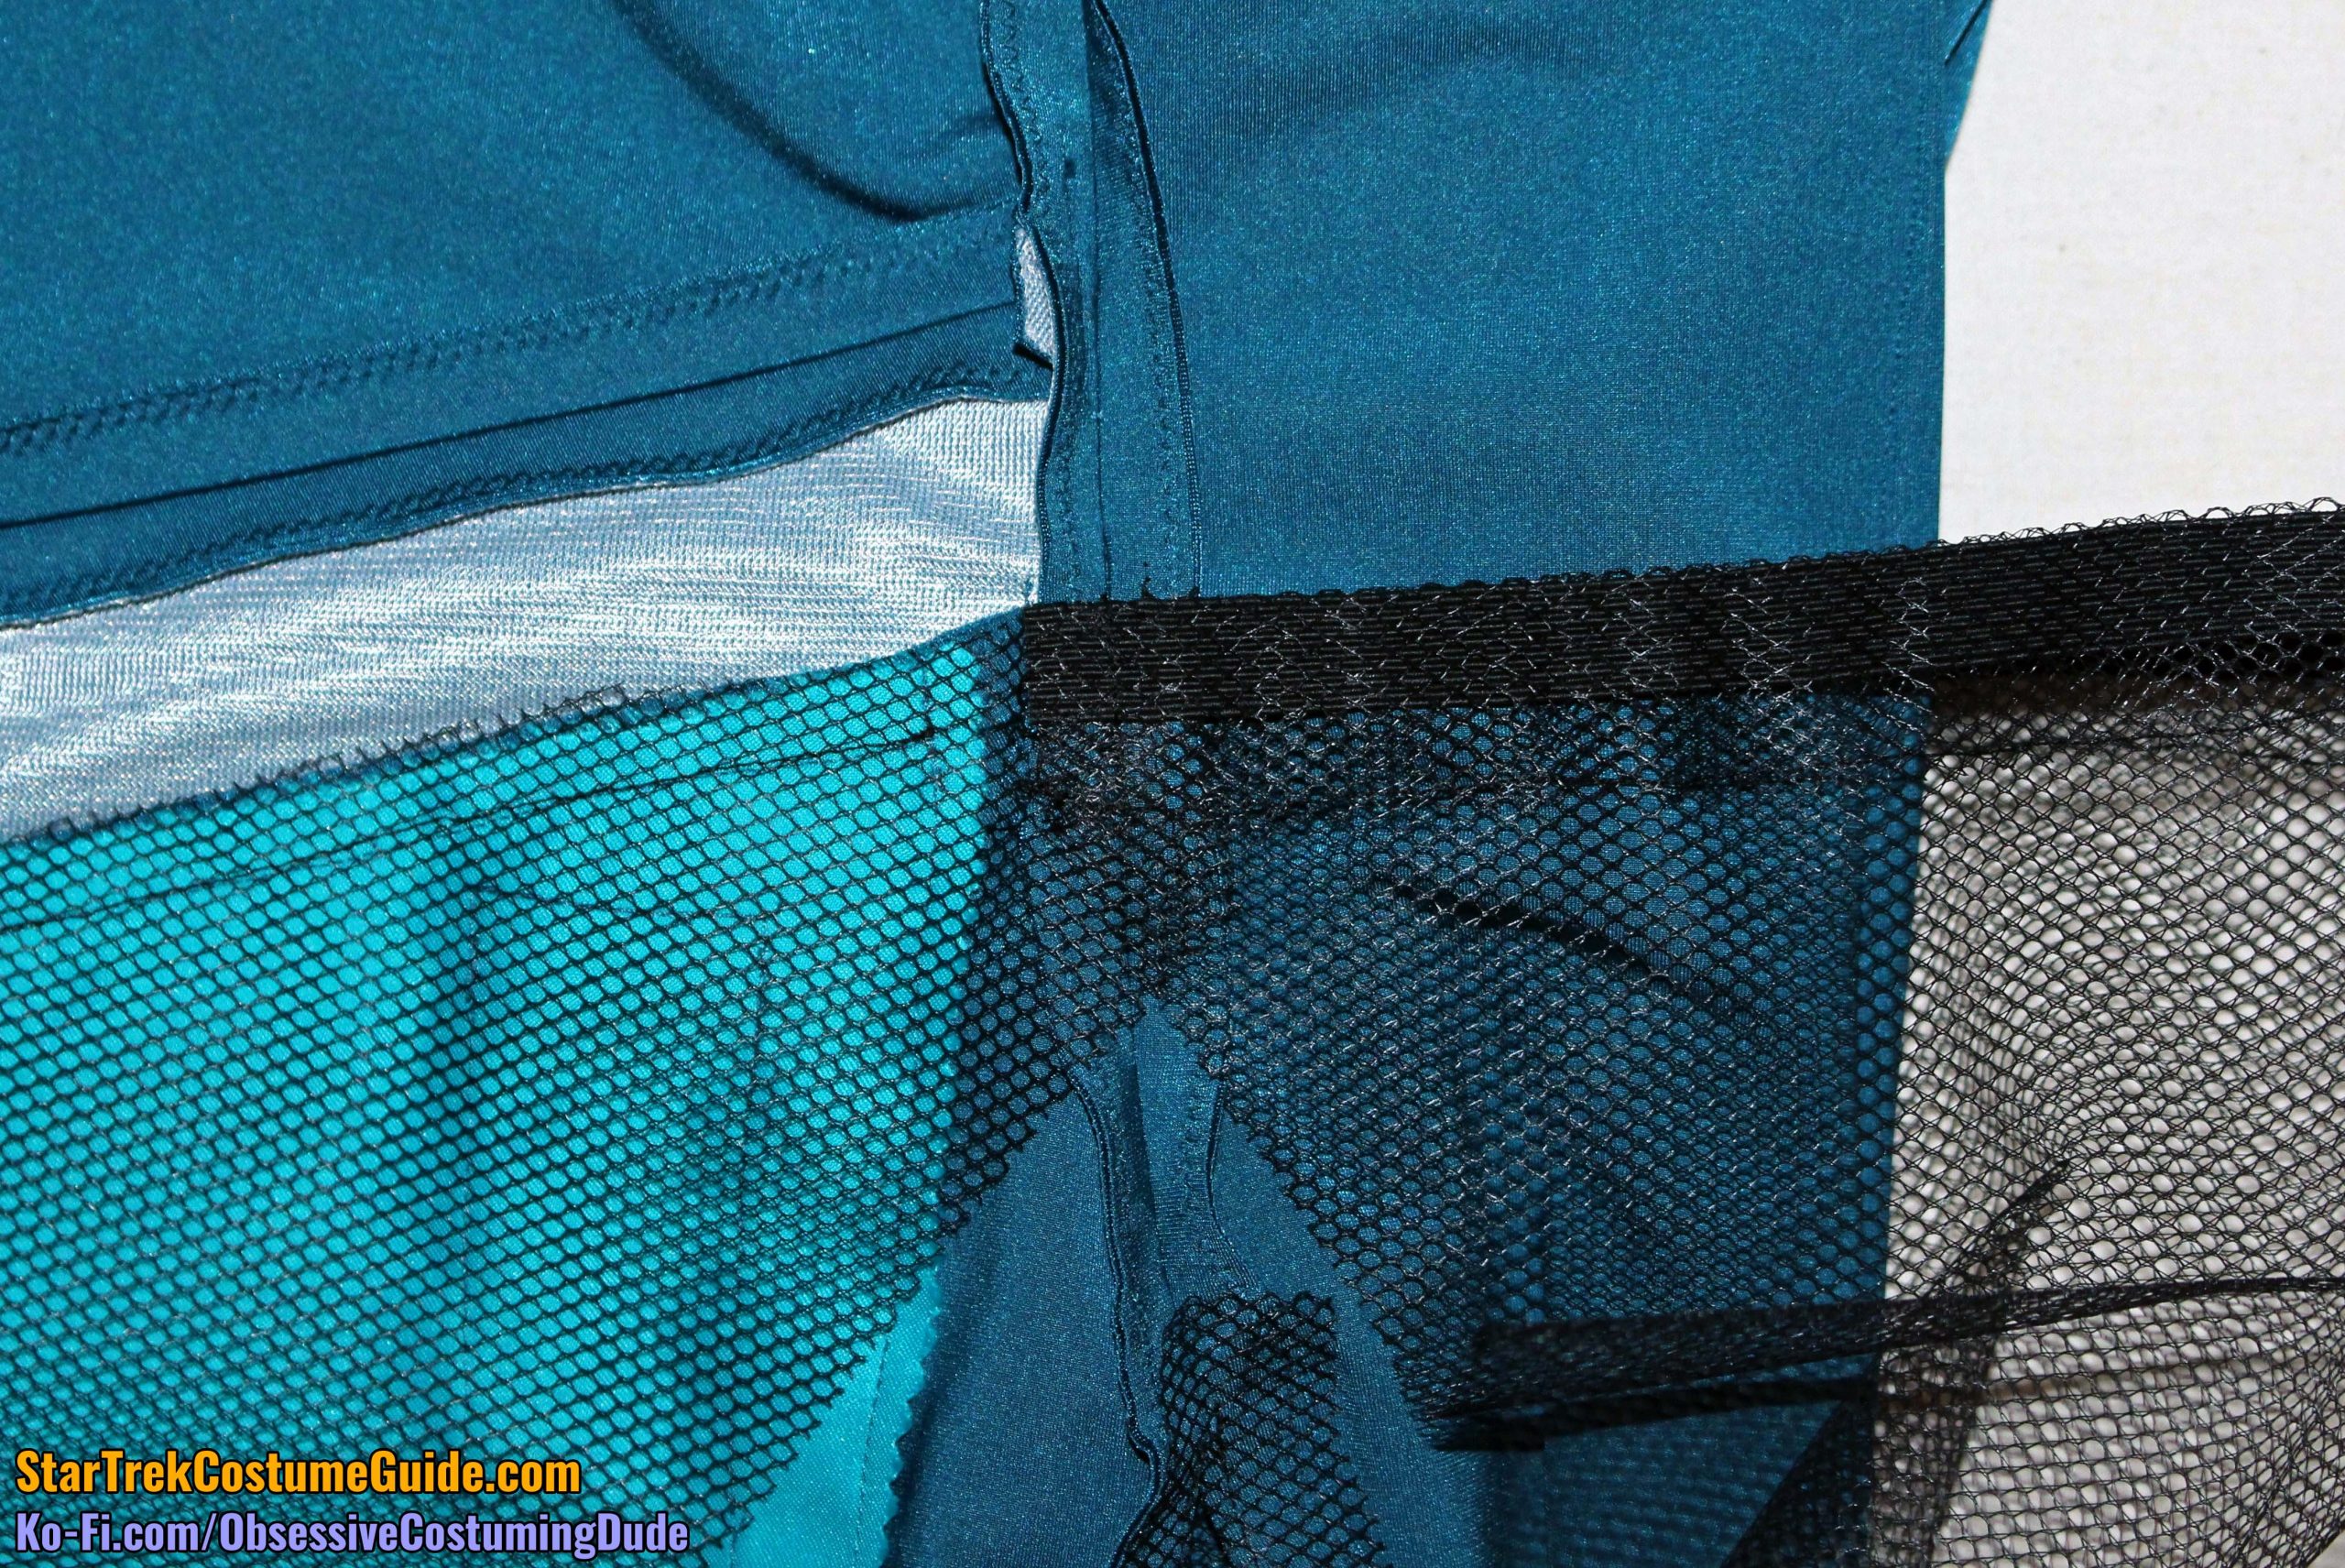
And finally, you may recall that the screen-used Dr. Pulaski smock I examined had a mesh “panty attachment” sewn onto the interior of the smock, presumably to help hold it in place while actress Diana Muldaur moved around.
If you wish to incorporate this feature into your replica, begin by cutting the “panty attachment” (piece I) out of black mesh – the same material you used for the side inserts is fine.
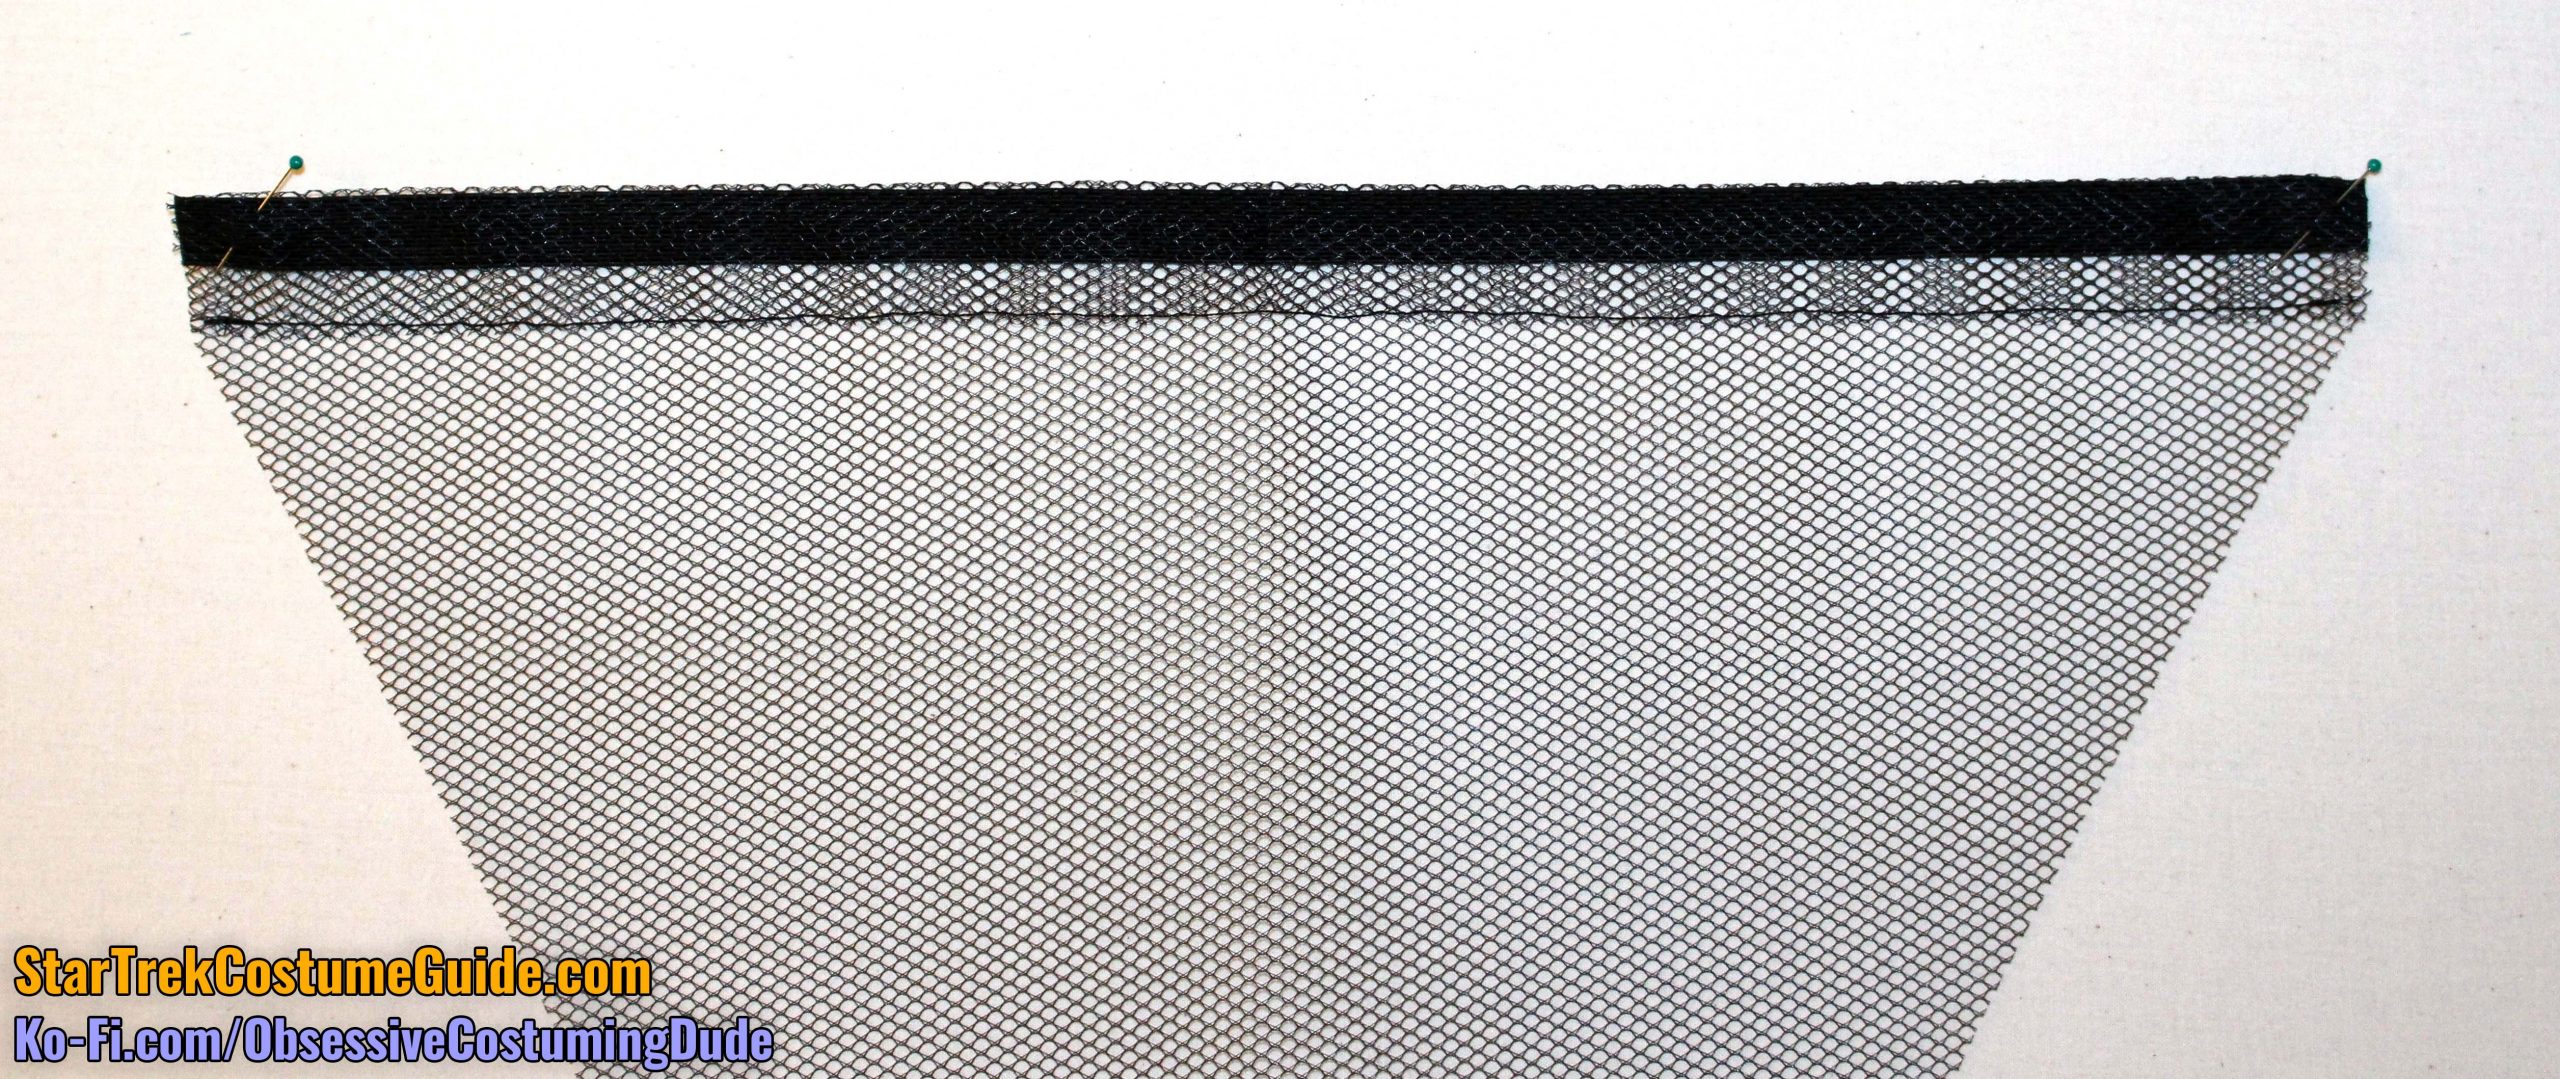
Also cut a length of ½” black elastic, the same width as the upper back edge of the “panty attachment.”
Position the elastic 1” from the top of the “panty attachment.”
Turn the uppermost inch of the “panty attachment” under and pin the ends of the elastic into place.
Sew the upper back edge of the “panty attachment” down – basically, just hem the upper back with 1” allowance, forming a small channel with the elastic inside.
Sew one end of the elastic down, then cinch it a little bit tighter by pulling the other end about an inch past the end of the channel and sew it down as well.
On the front, sew the upper edges of the “panty attachment” to the waistband’s lower seam allowances, beginning and ending your stitching about 1” from the front and side seams.
Cut a vertical slit (or even a slight wedge) in the “panty attachment” at the center front for the zipper.
Wrap the “panty attachment” underneath the smock and around to the back.
Sew the side edges of the “panty attachment” to the side seam allowances.
(The original edges were hand-sewn, but you can just machine-sew them to save time if you want.)
OPTIONAL: Although the “panty attachment” was permanently anchored onto the side seams on the original uniform, this can make it a hassle to put on and take off; one has to step into the “pant legs” of the smock and pull it upward before pulling one’s arms through and closing it. For more casual wear (at events, etc.), I suggest taking a minor liberty for the sake of convenience: machine-sew the back of the “panty attachment” to the side seam allowances, but use some detachable snaps to close the front. That way one can put the smock on like a pullover, reach under and pull the “panty attachment” forward, and snap it into place inside – more like a “onesie.”