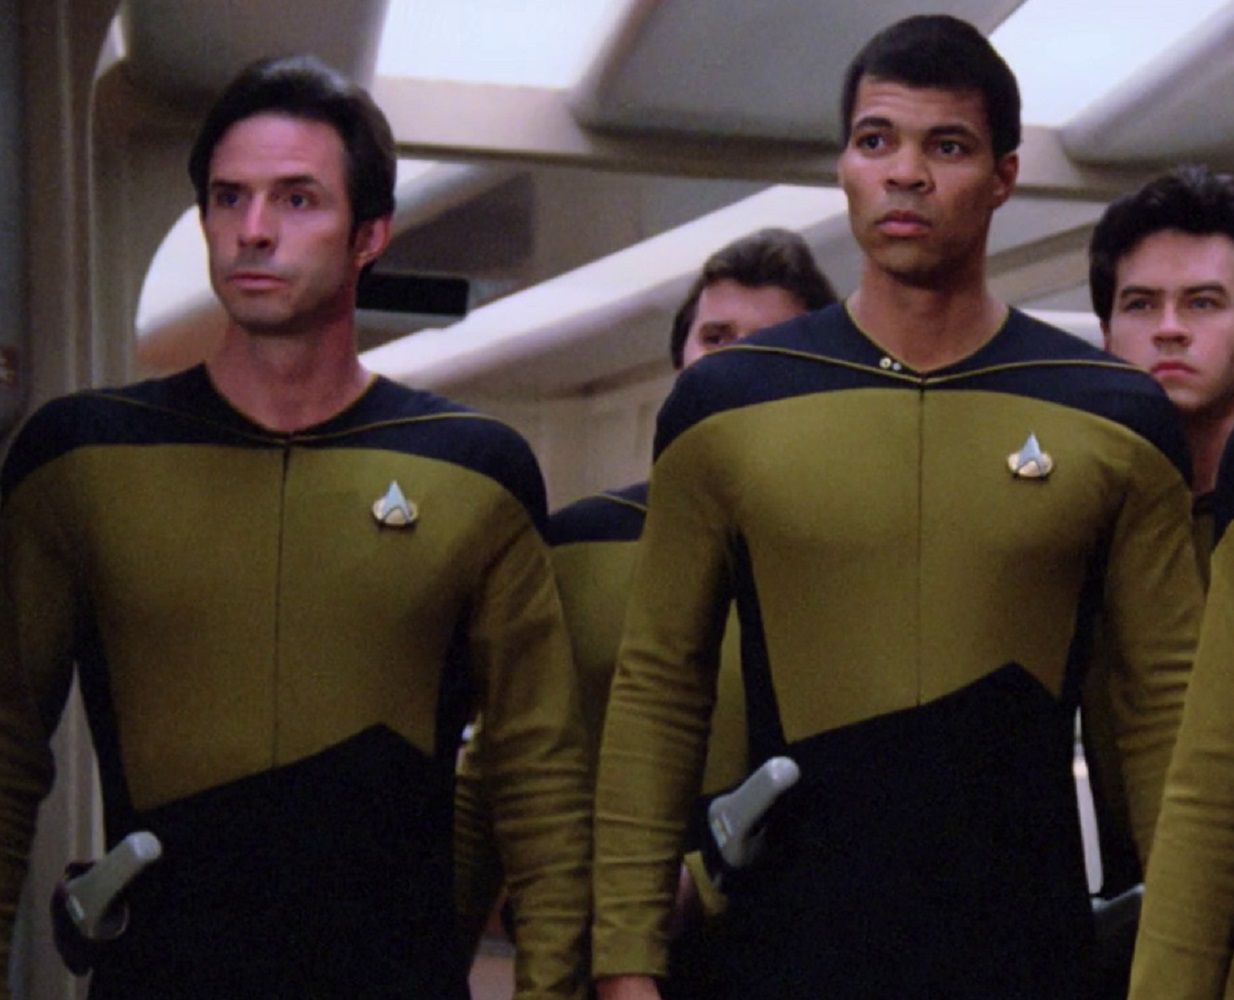
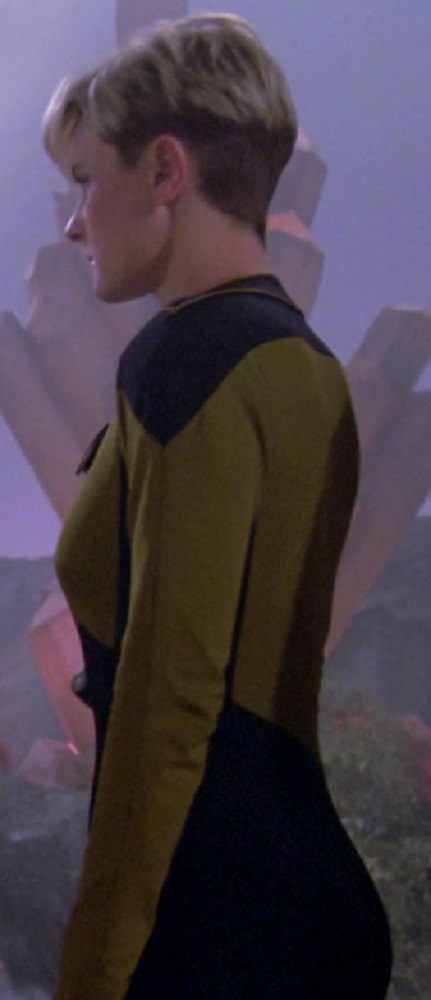
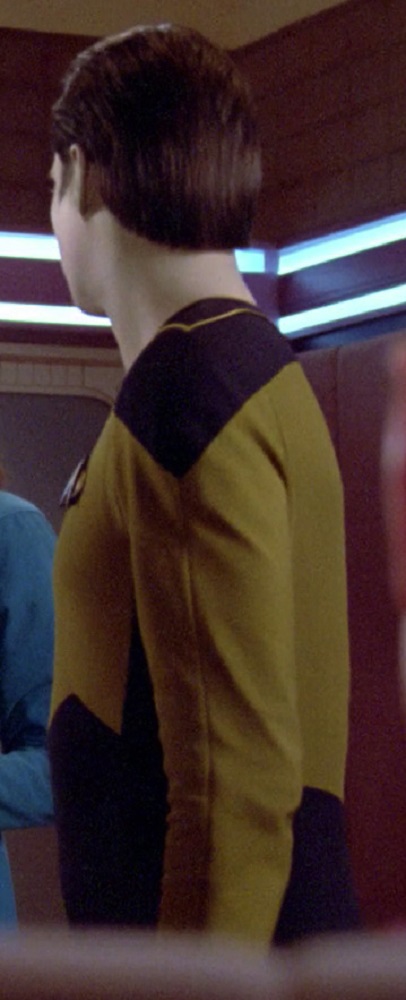
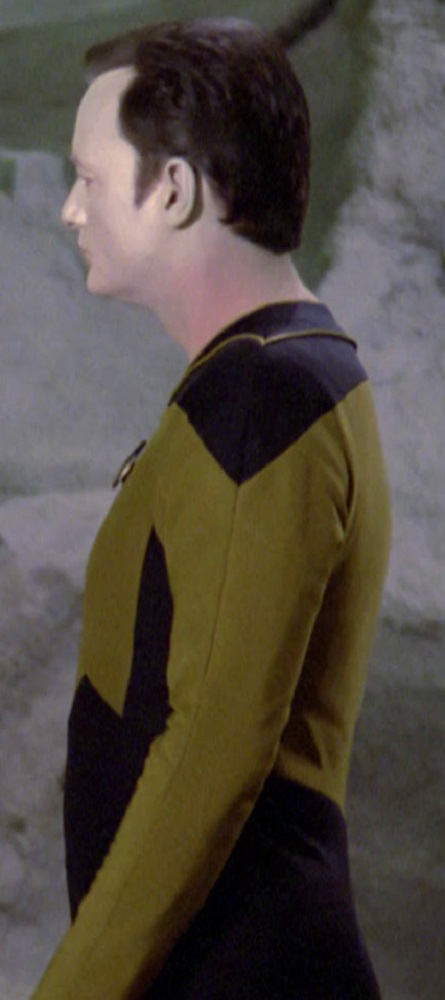
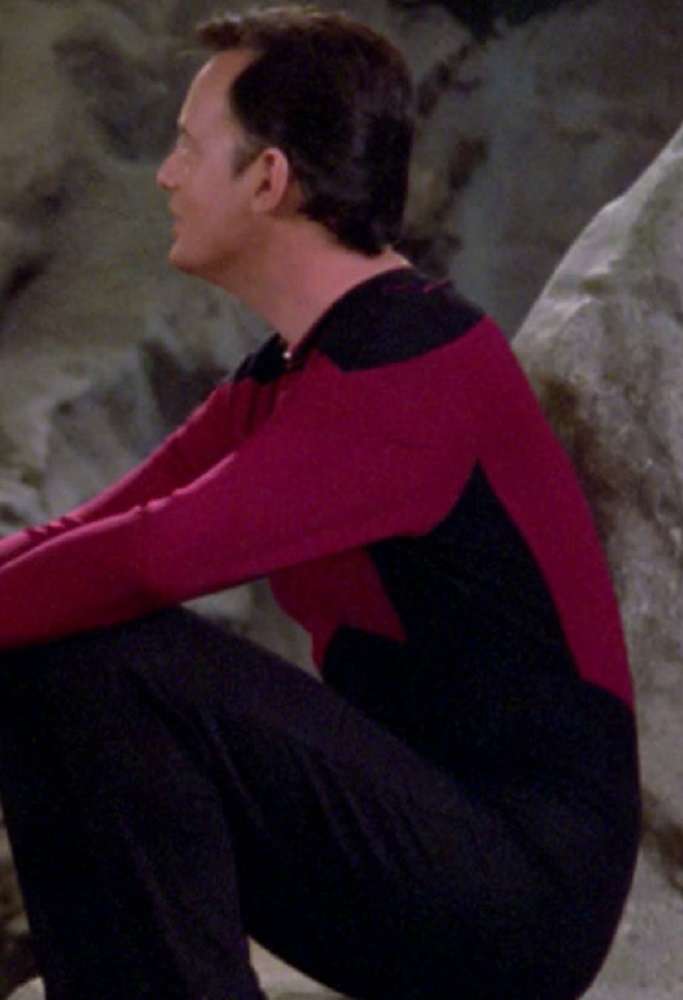
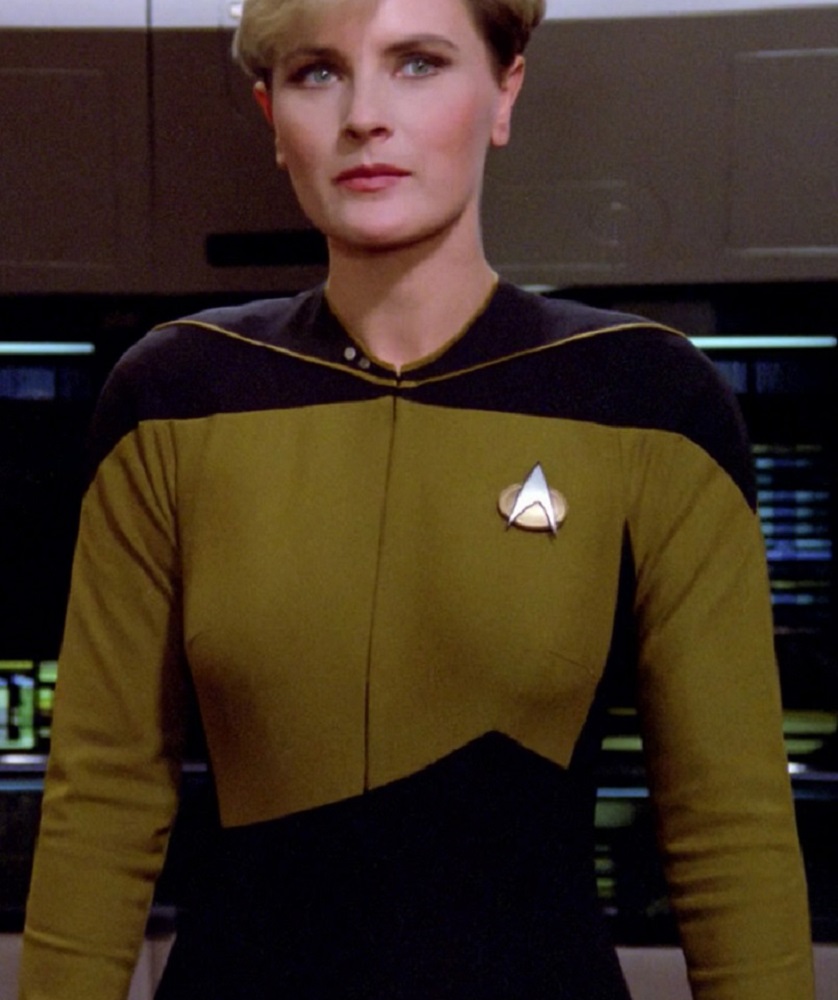
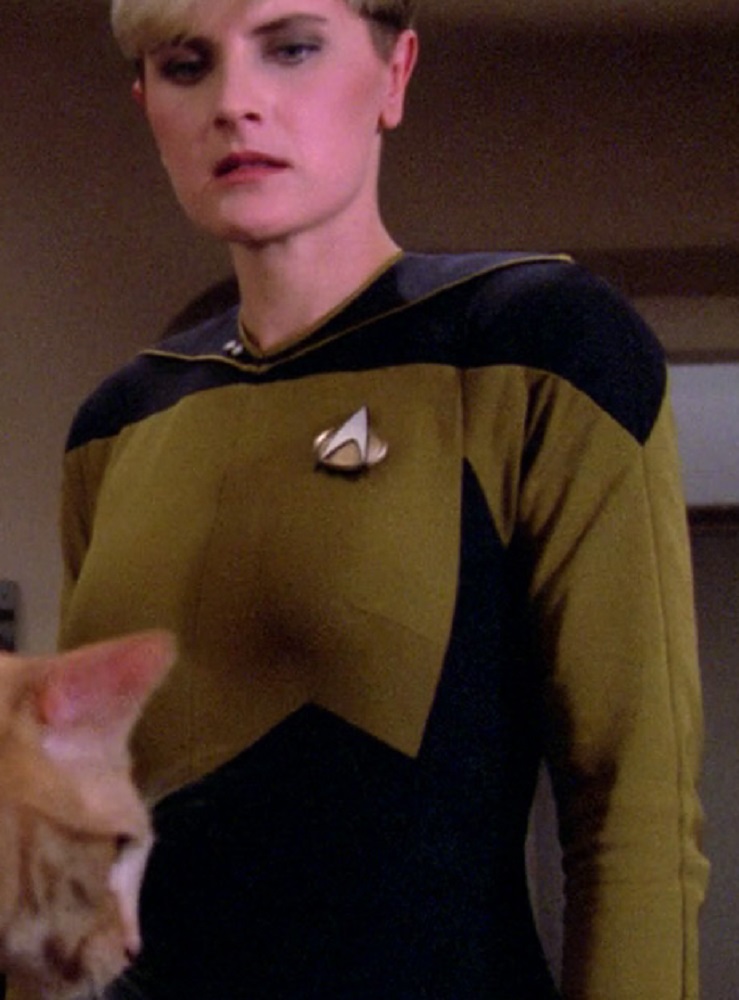
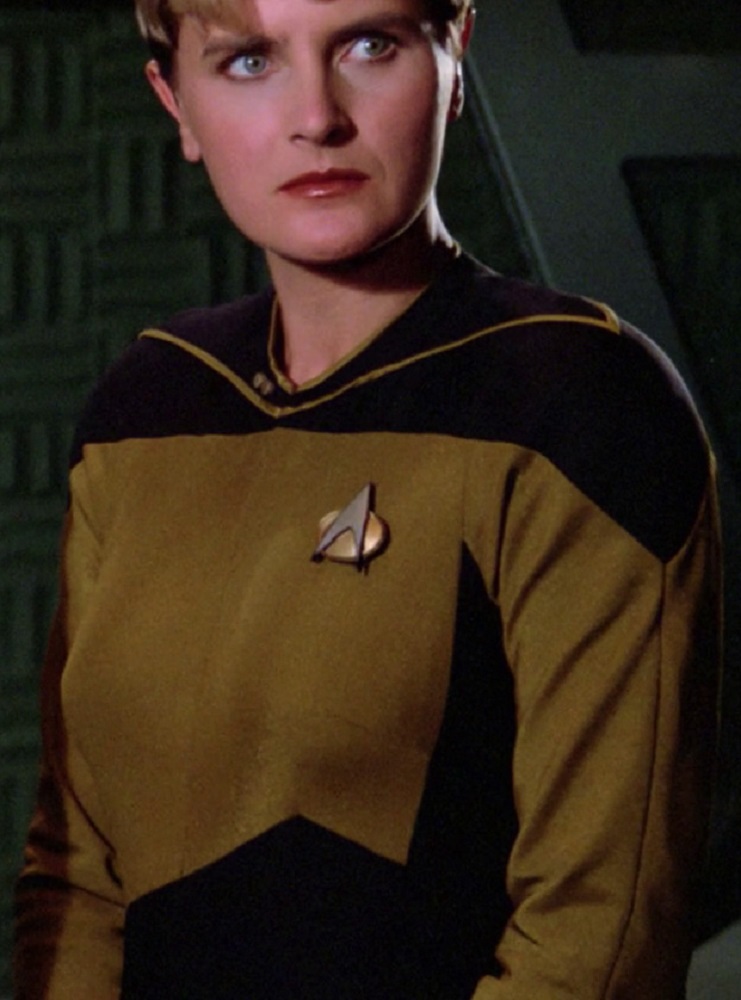
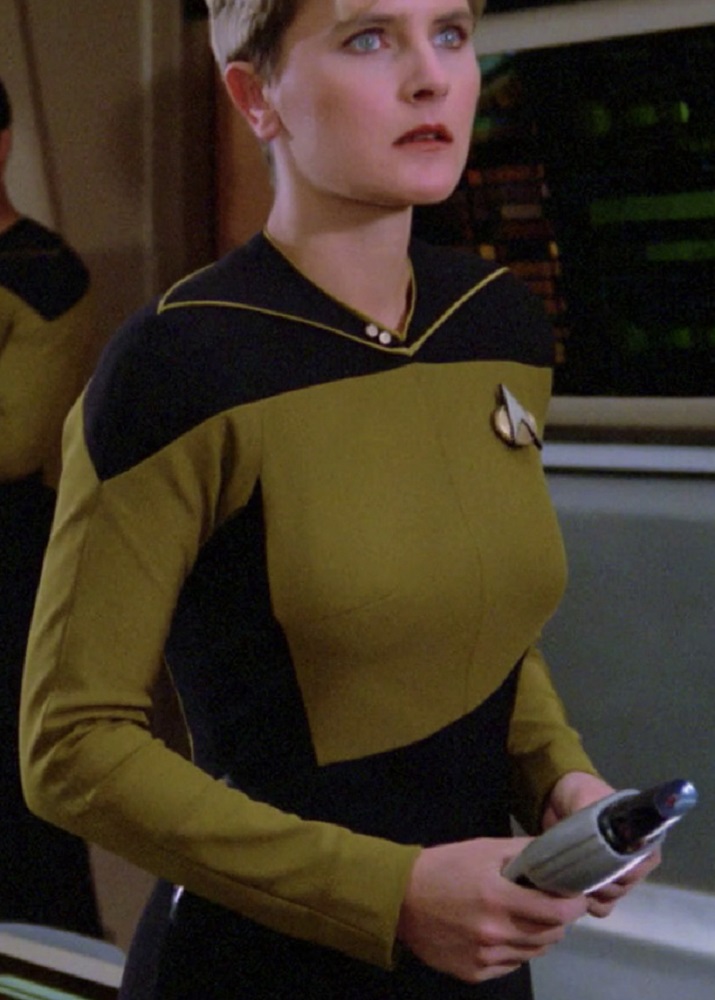
Most of the upper torso on the TNG jumpsuits was division-colored, making it very easy to quickly determine the wearer’s division.
But perhaps the most iconic element of William Ware Theiss’ TNG-era uniforms was the asymmetrical front waist paneling, beneath the division-colored torso.
I believe this may have been inspired, at least in part, by the lower portion of the Starfleet “delta” symbol.
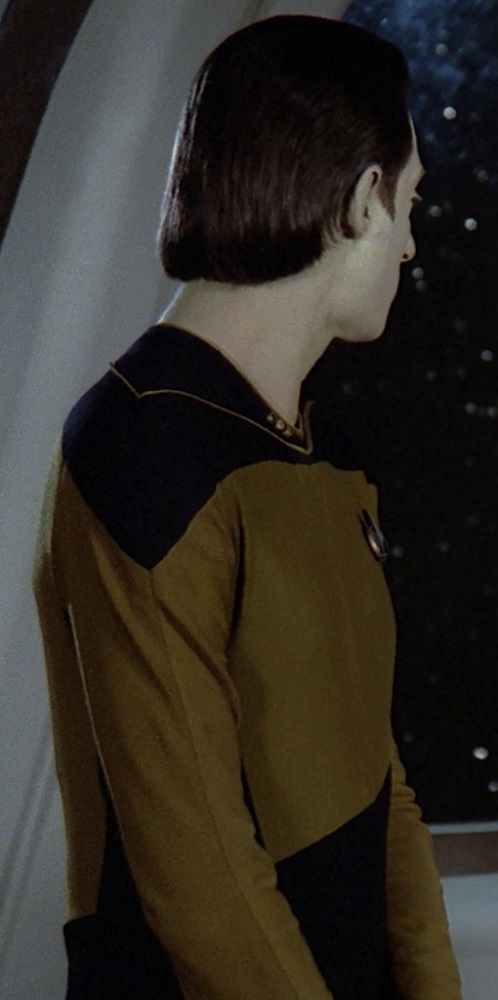
TNG, 1x1 “Encounter at Farpoint” (right)
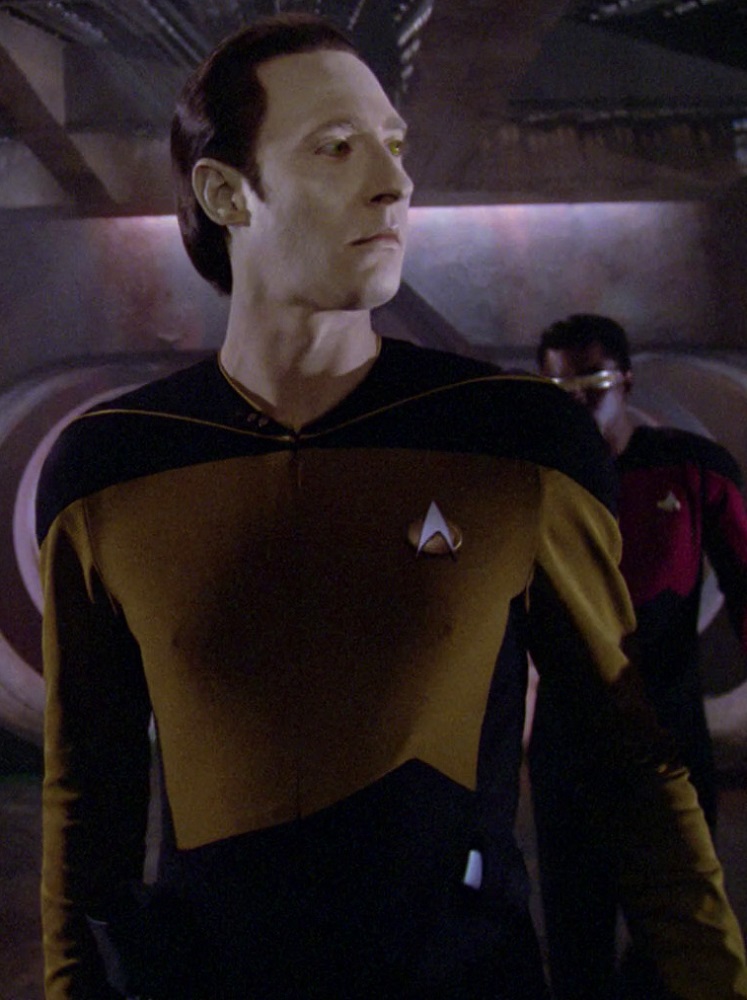
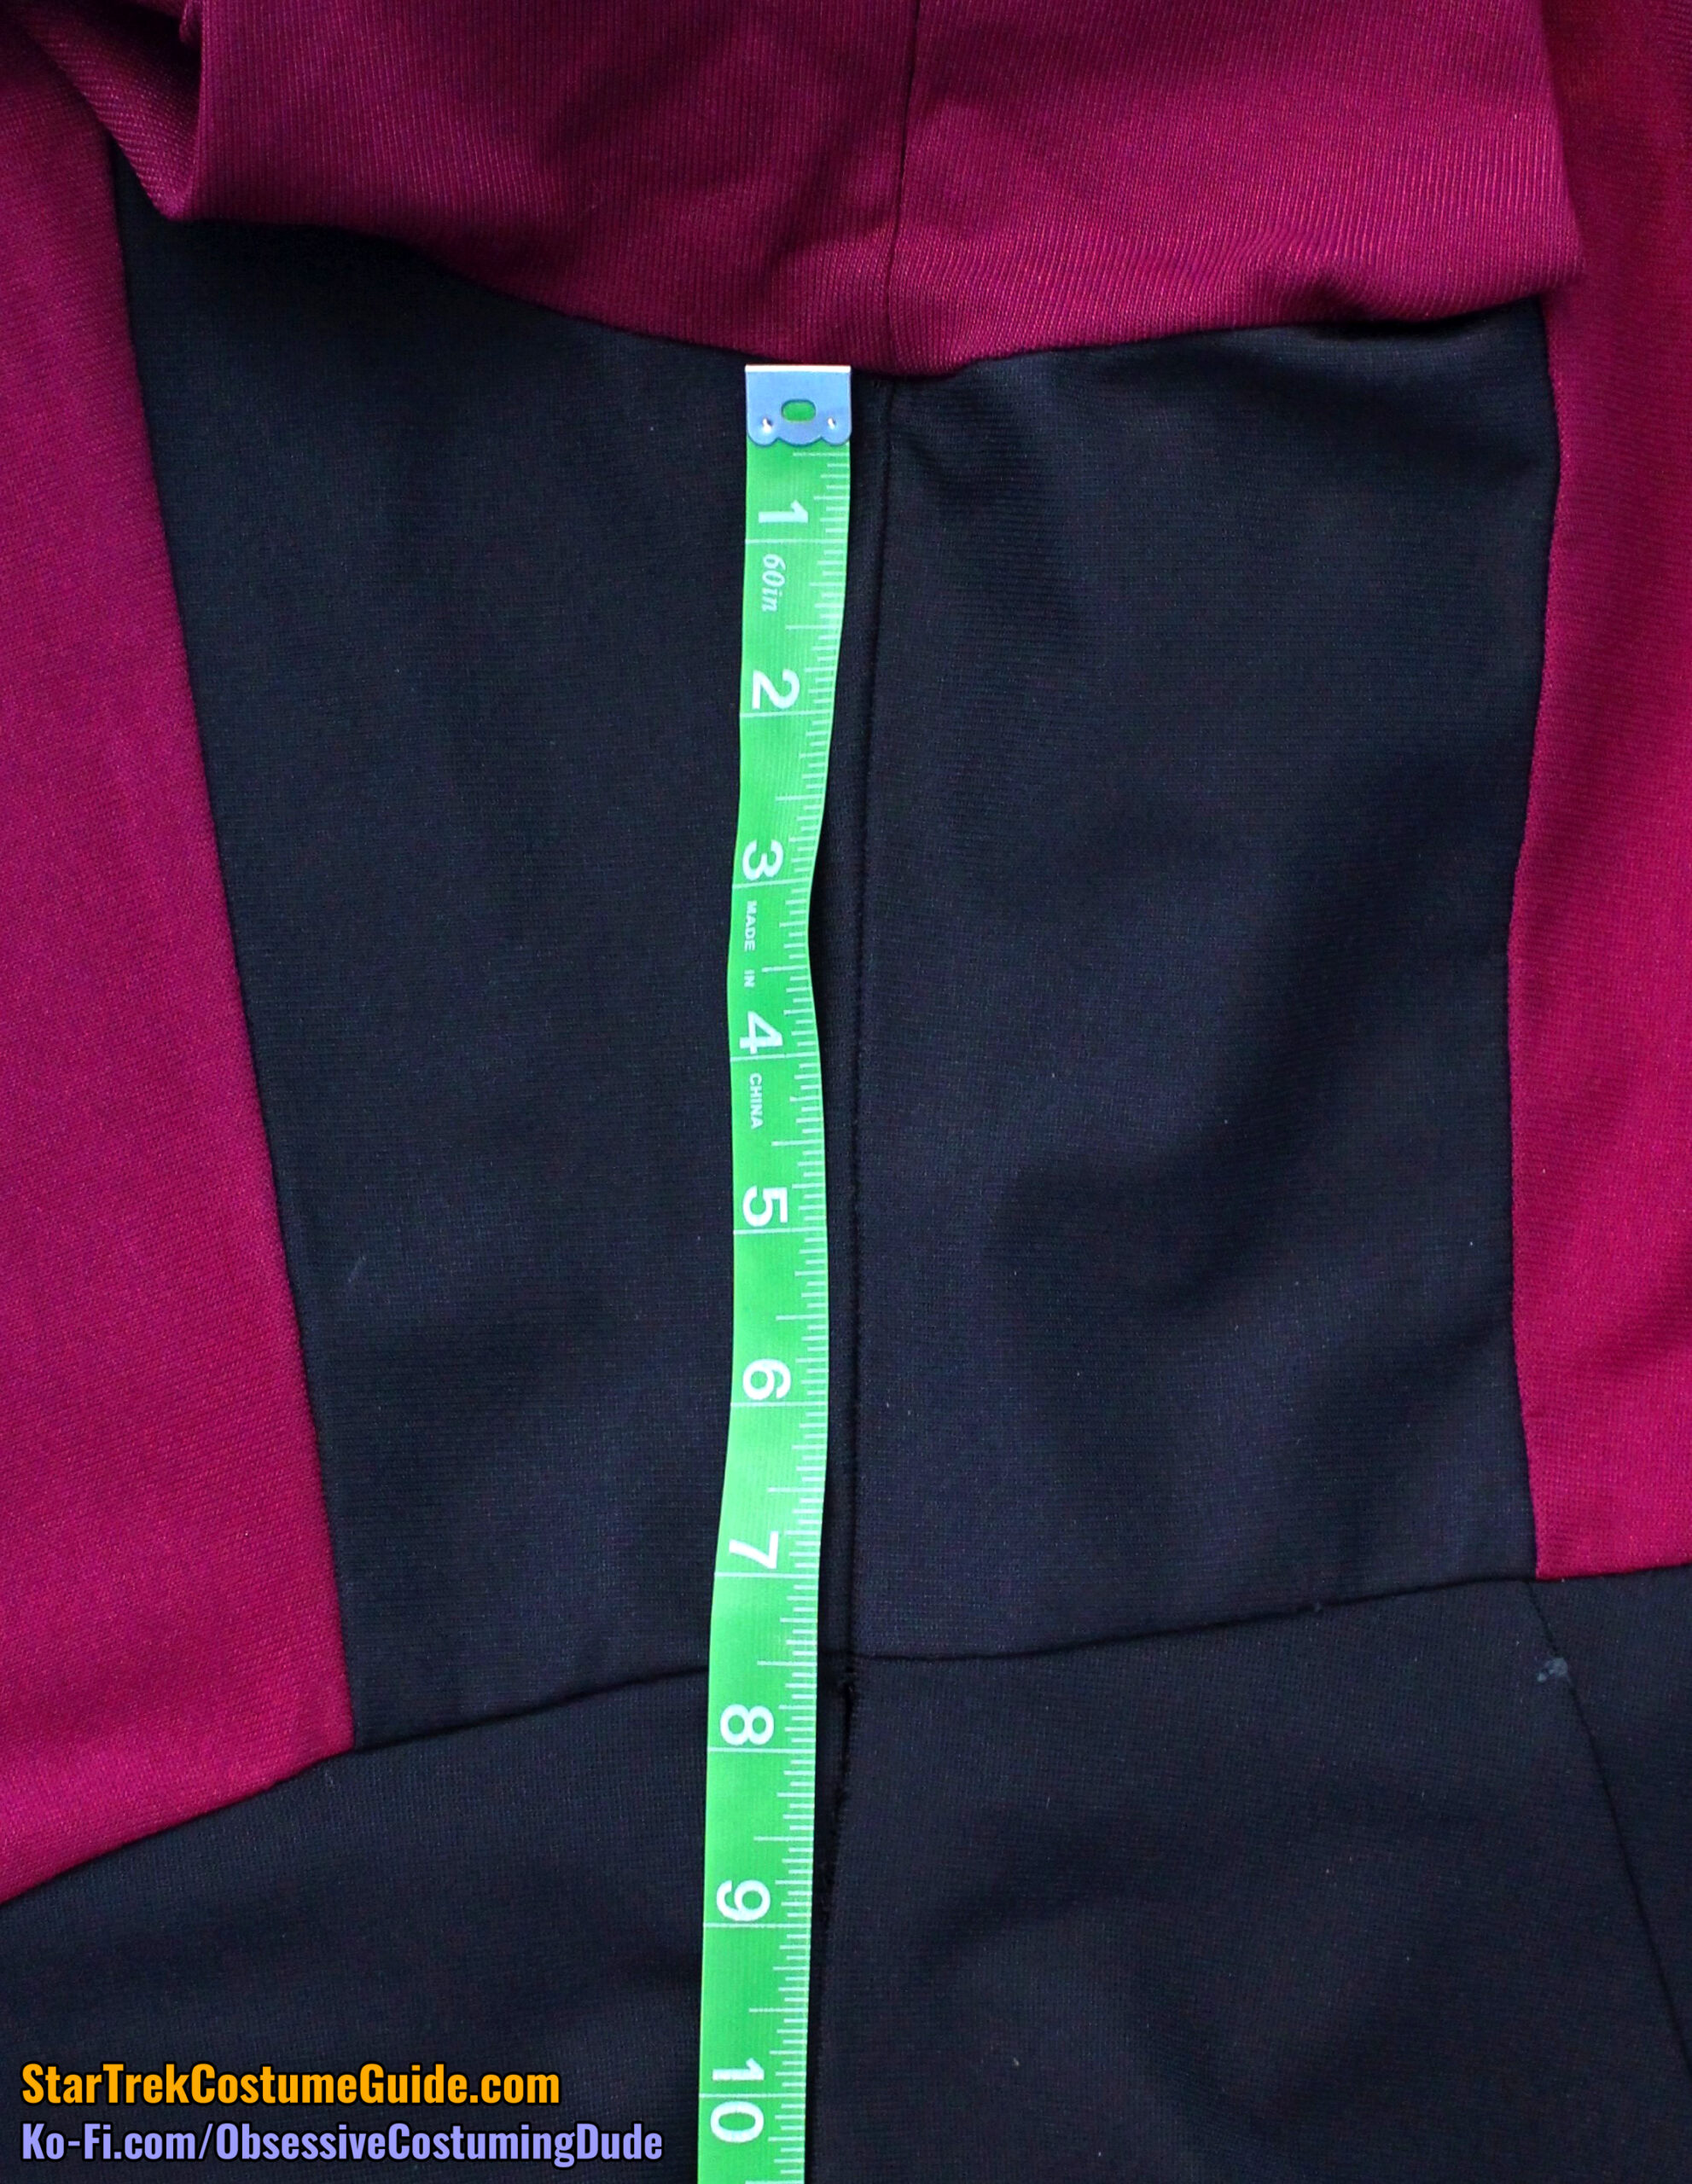
On all three of the screen-used early TNG jumpsuits I studied (all from season 1), the apex was horizontally positioned 3/5 (or 60%) across the lower left front, measured horizontally from the lower front left seam intersection to the center front.
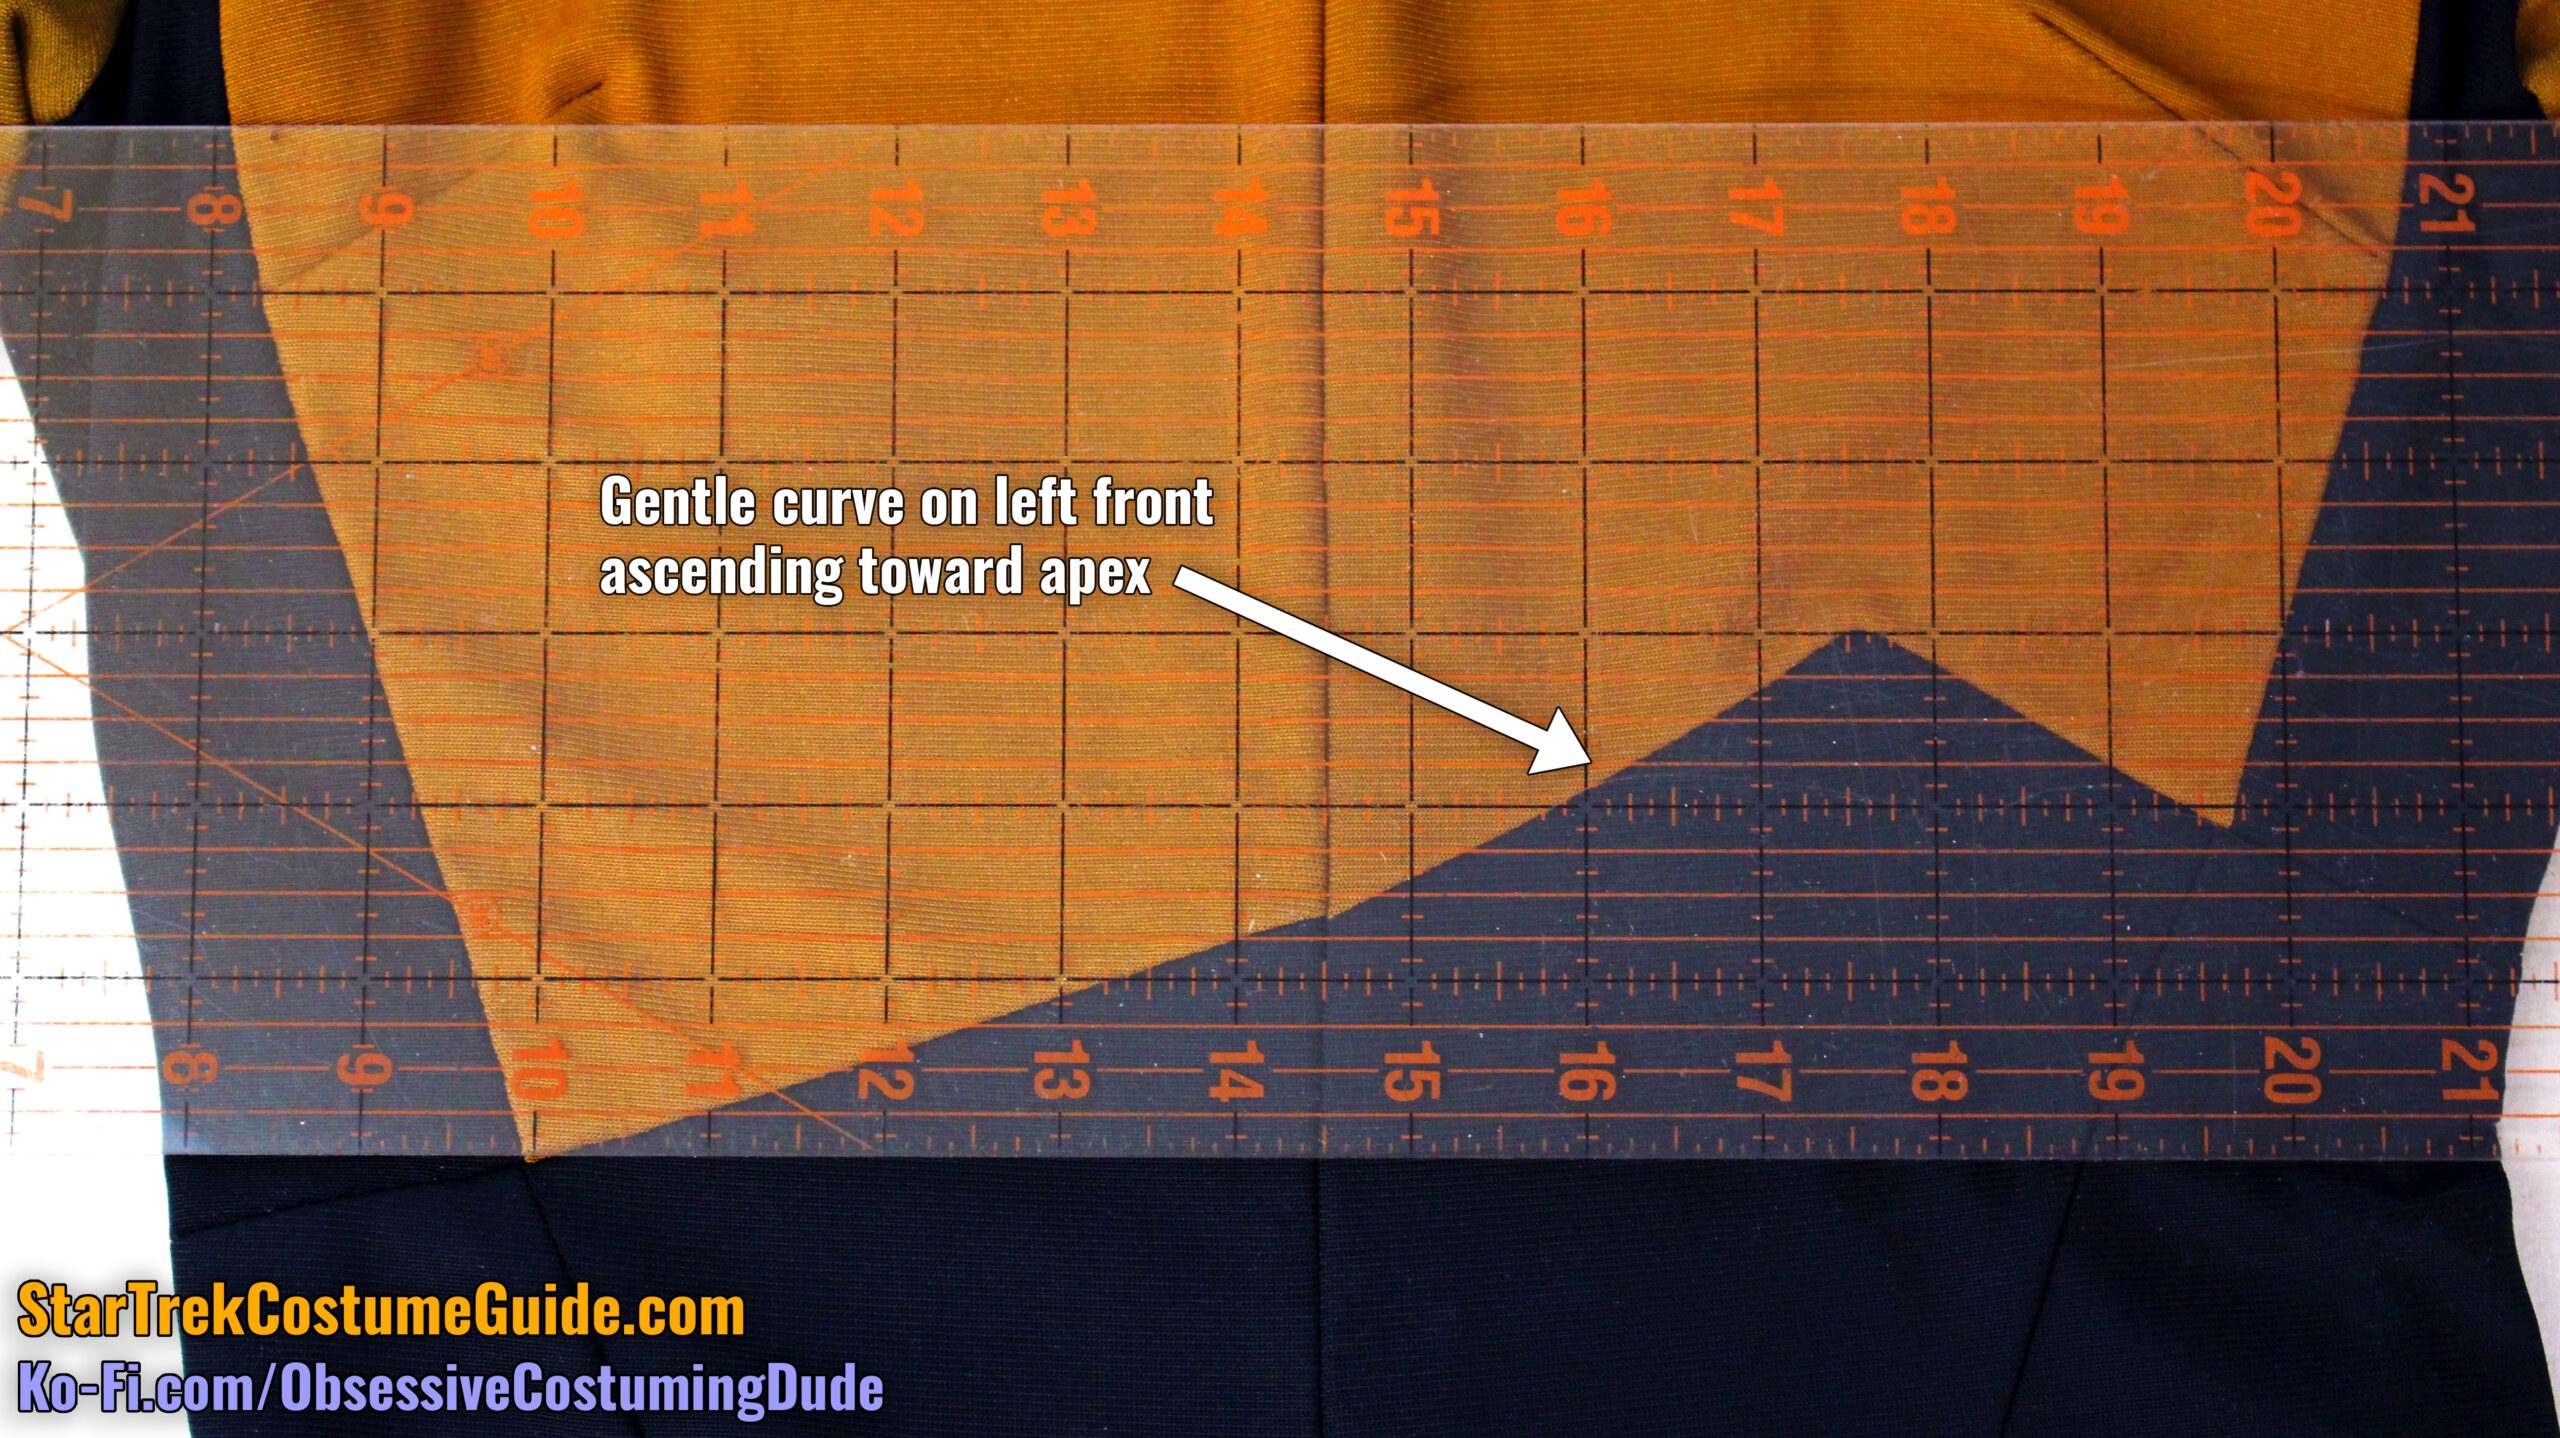
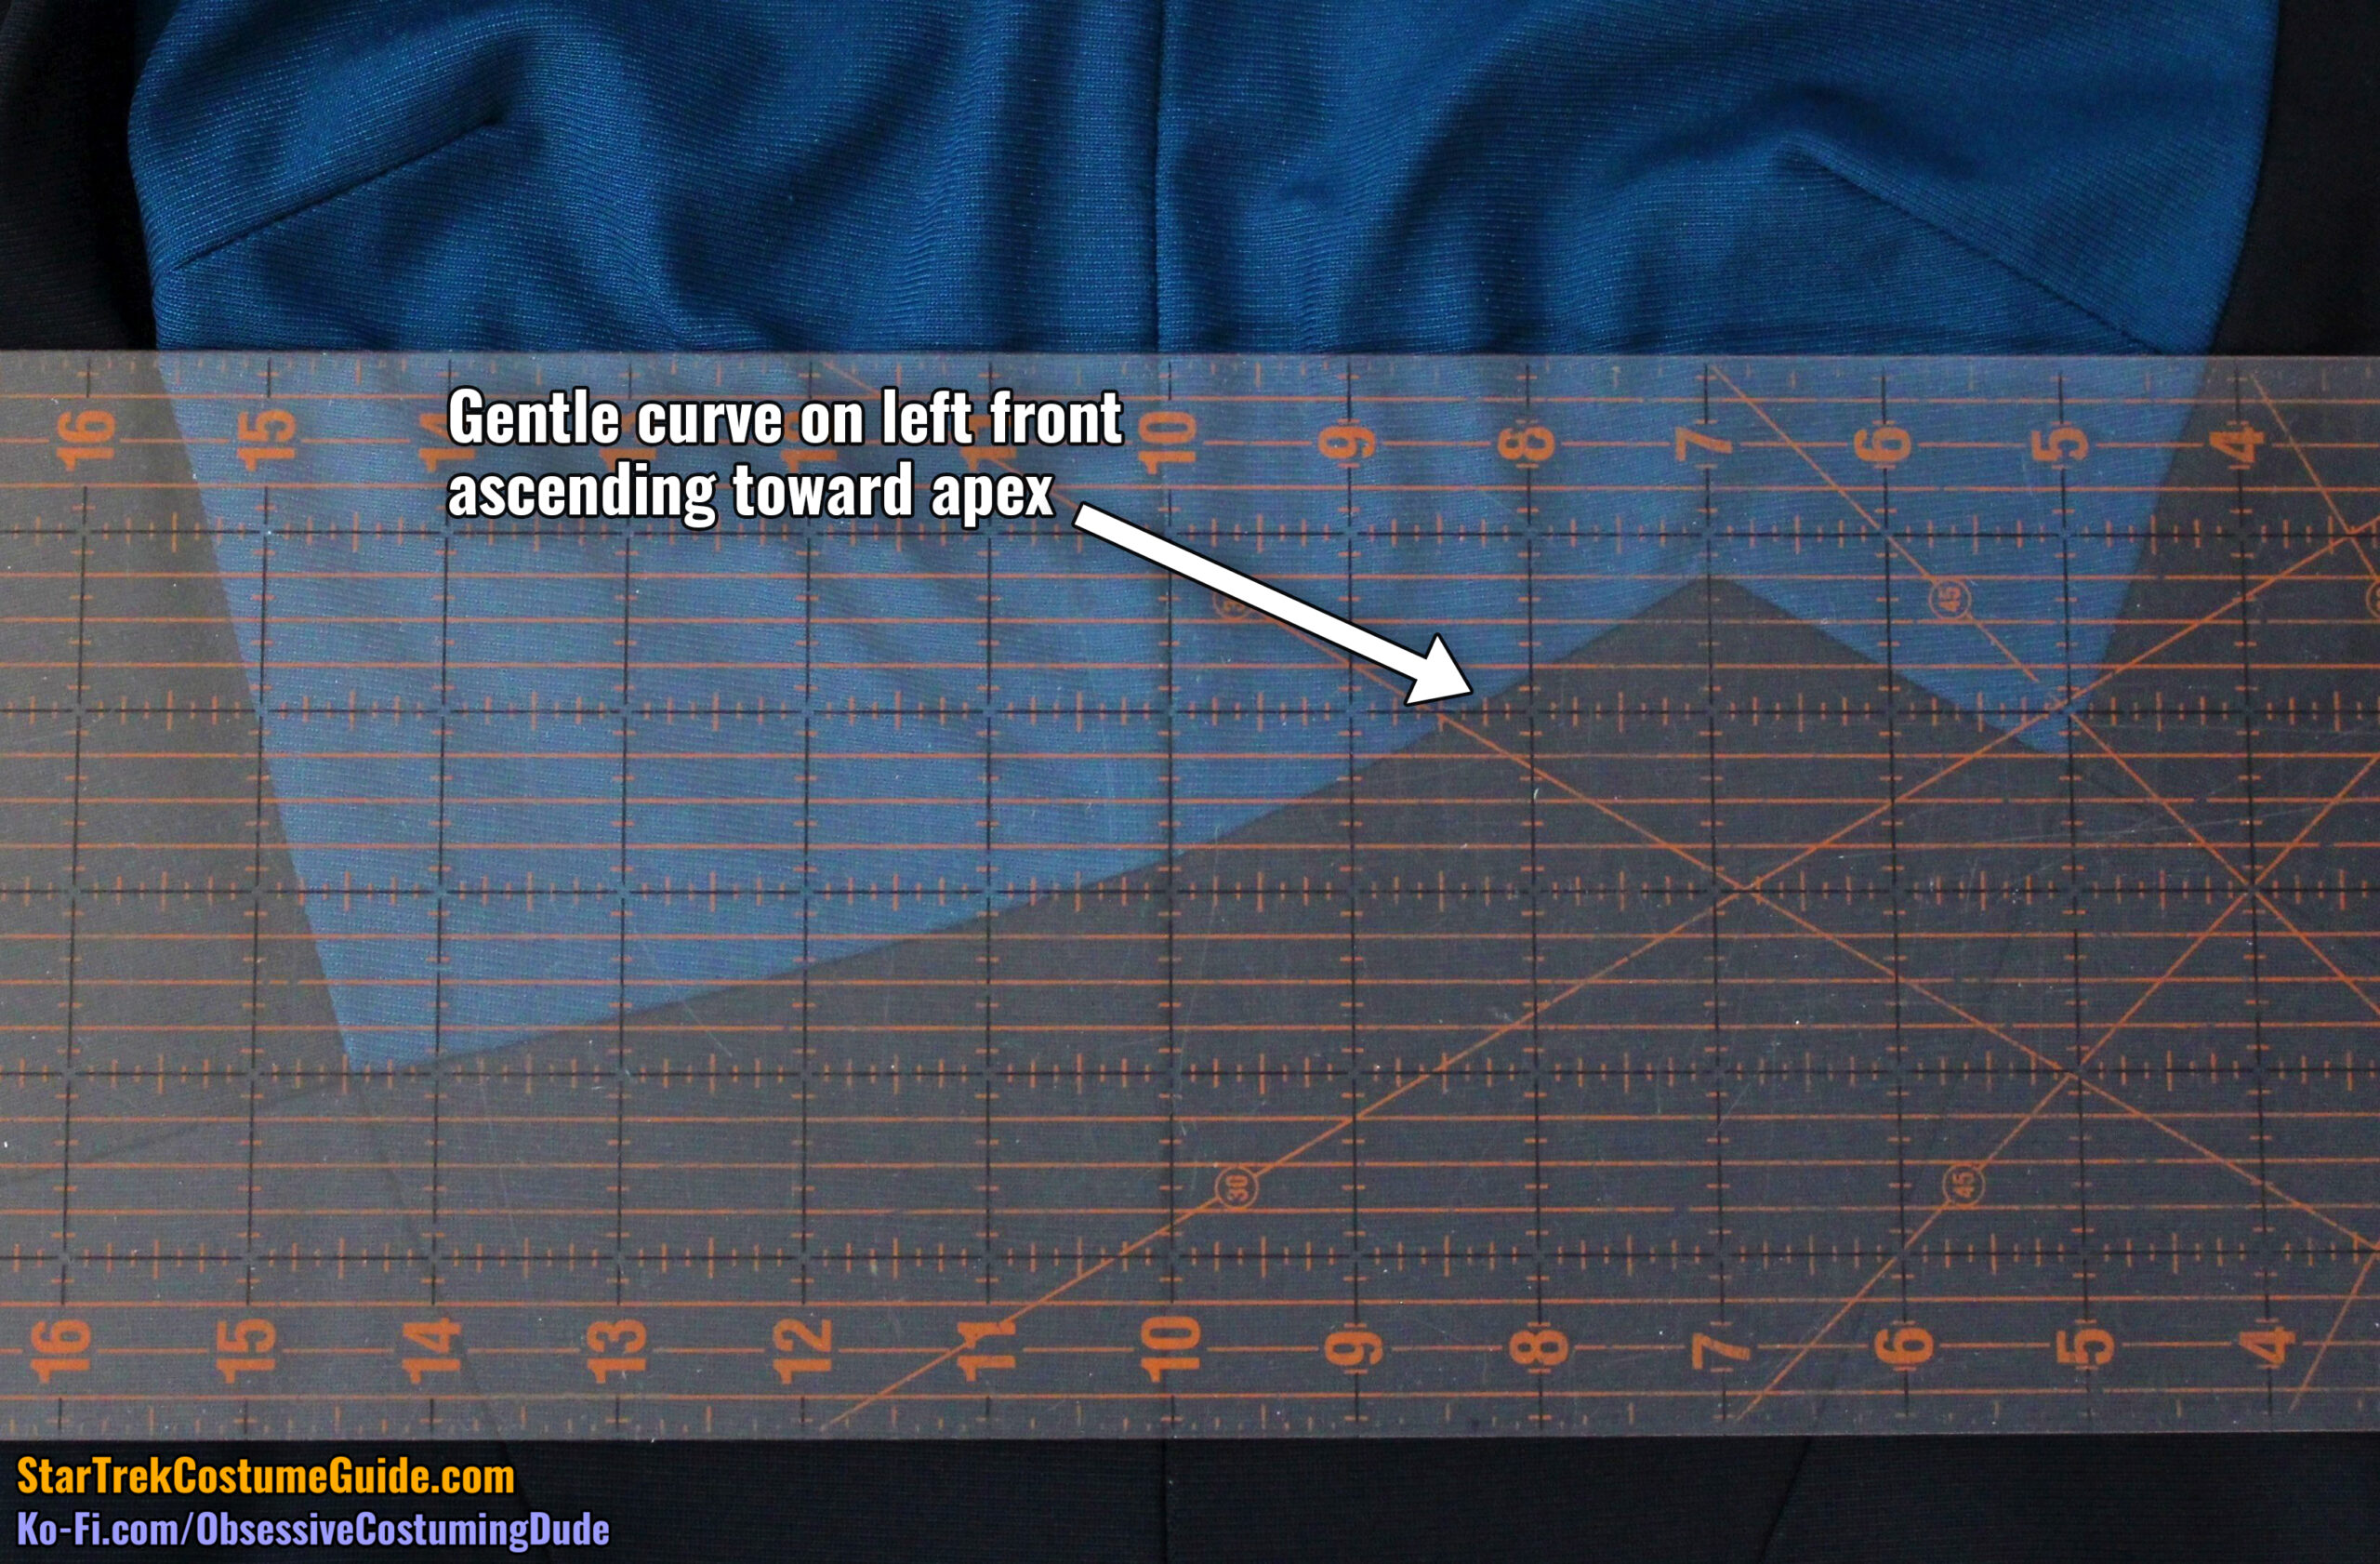
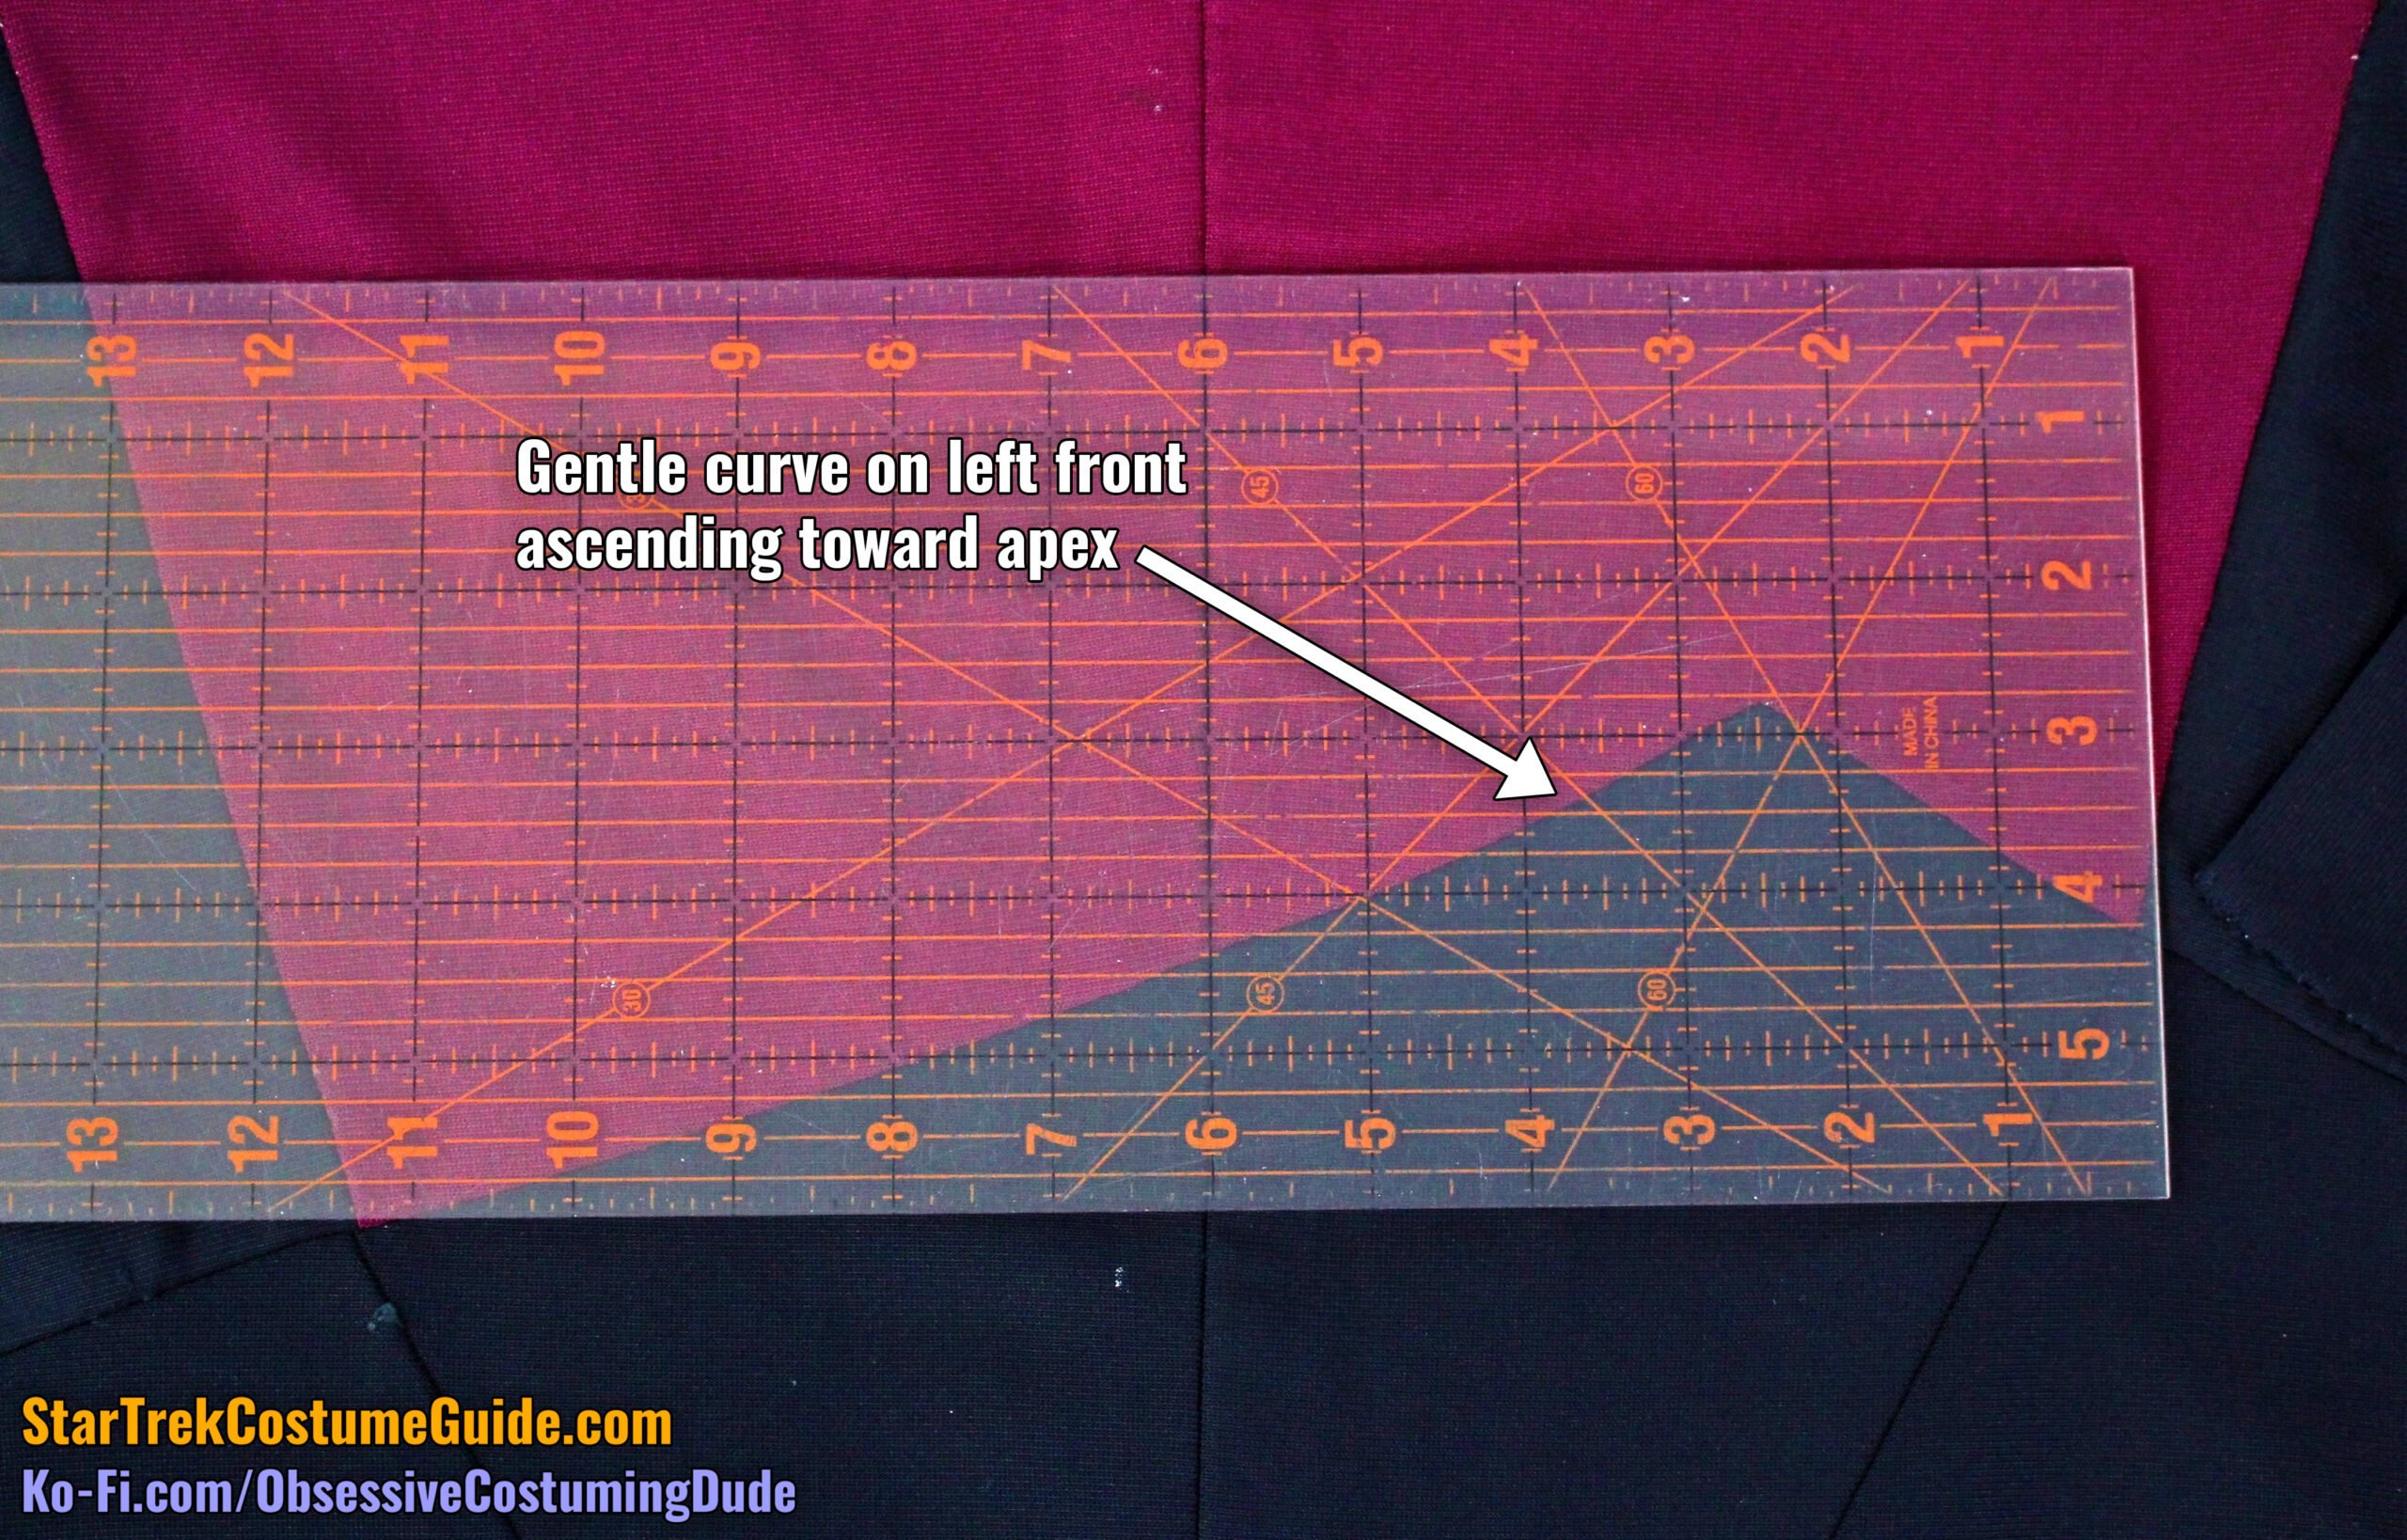
And even though these asymmetrical waist seams often appeared to be completely straight, there was actually a slight upward curve on the left toward the apex, giving it a little bit of “flair” toward the upper corner.
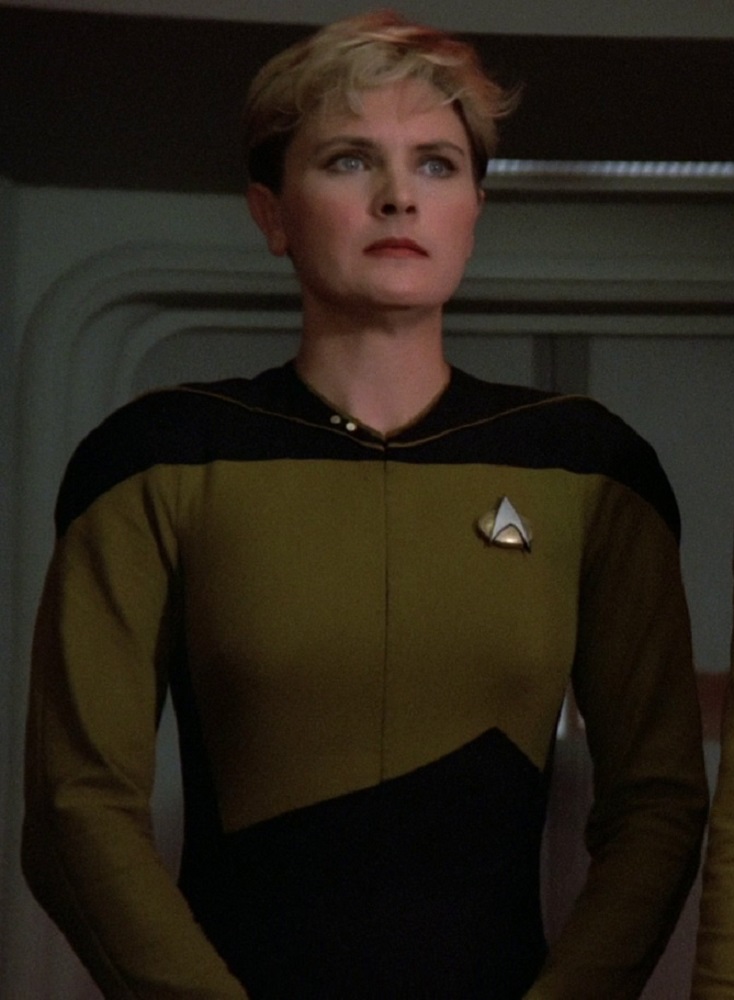
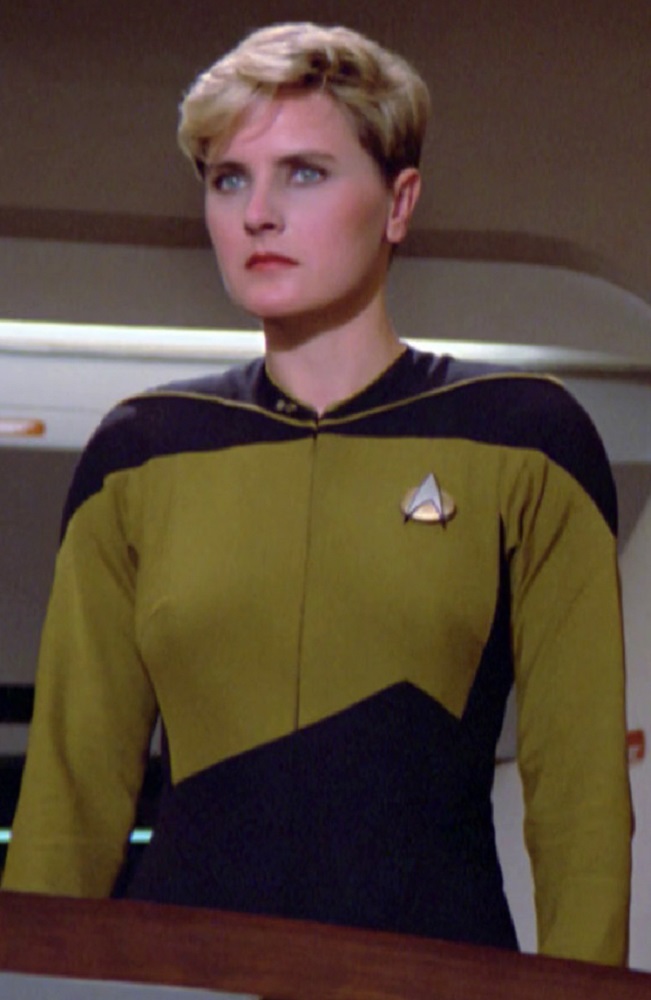
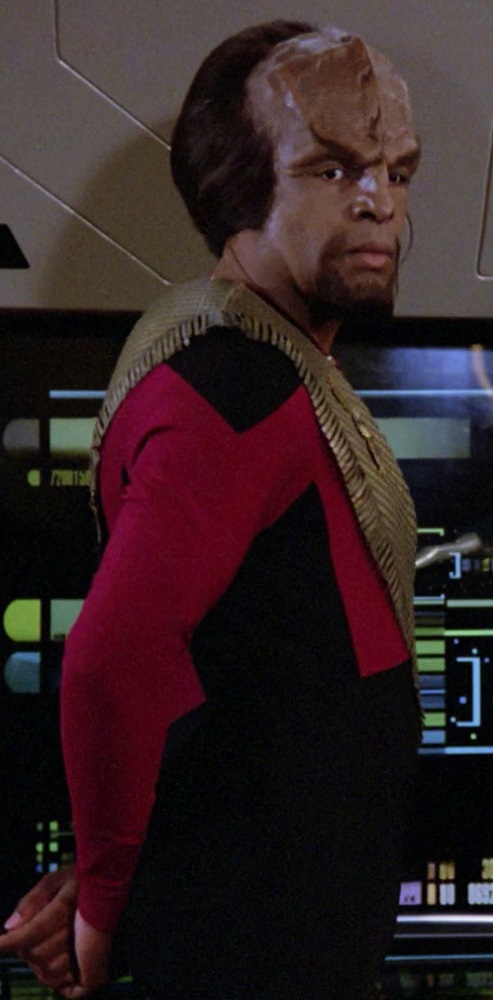
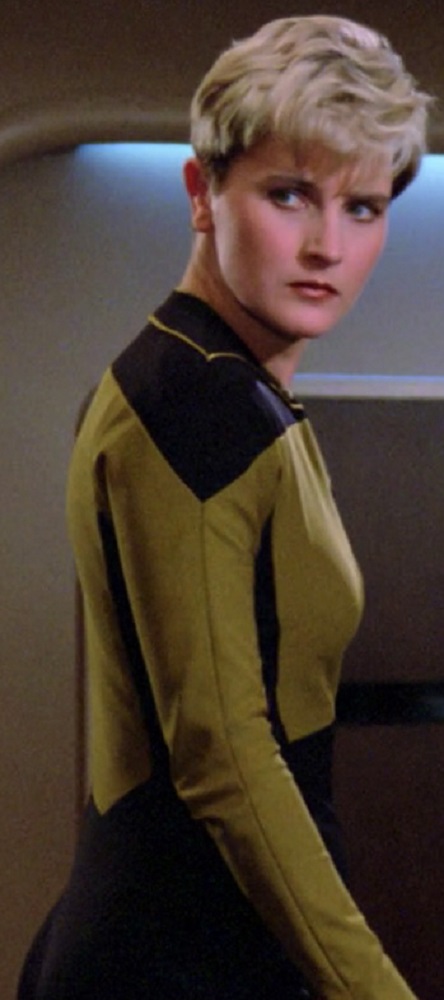
Screen-used Tasha Yar TNG jumpsuit
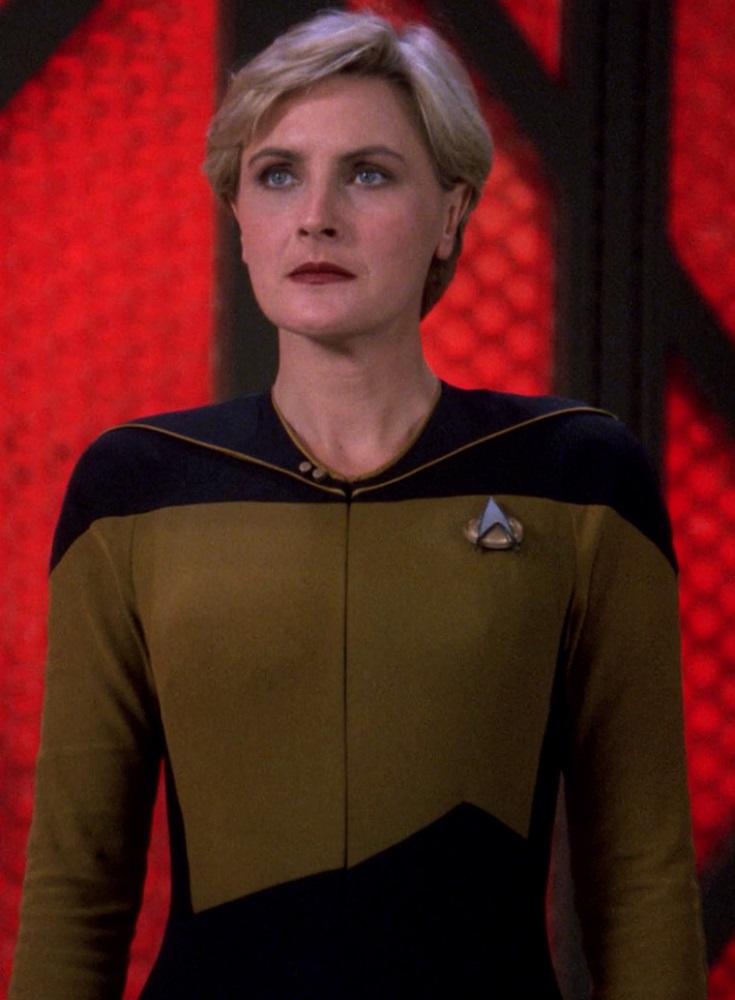
Screen-used Dr. Crusher TNG jumpsuit
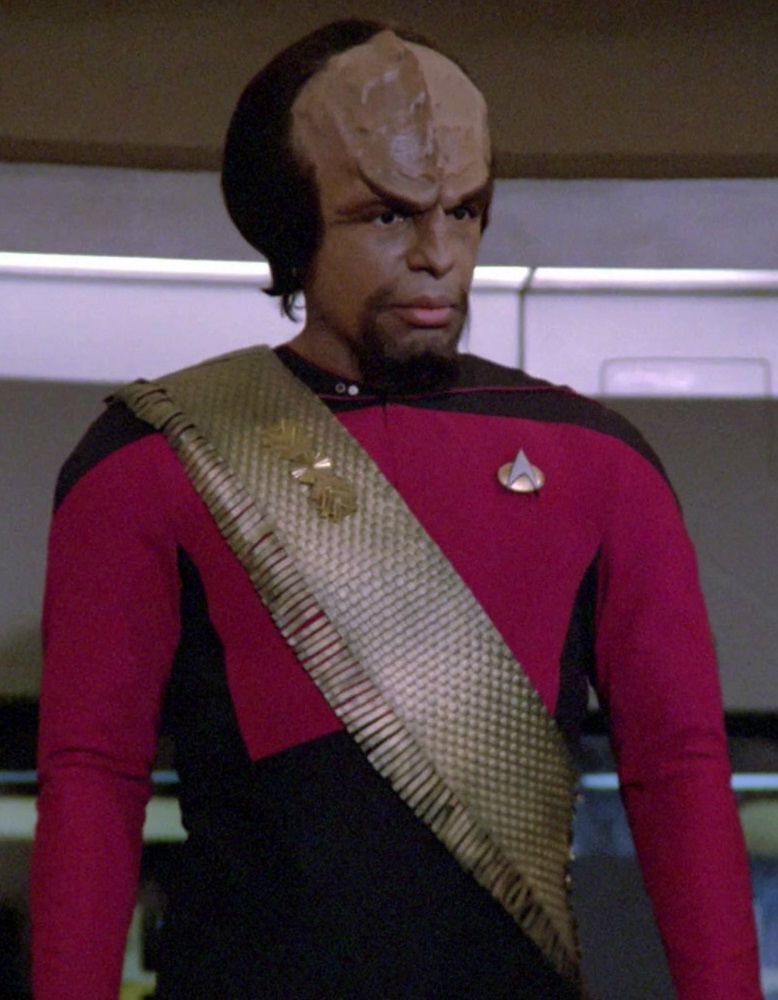
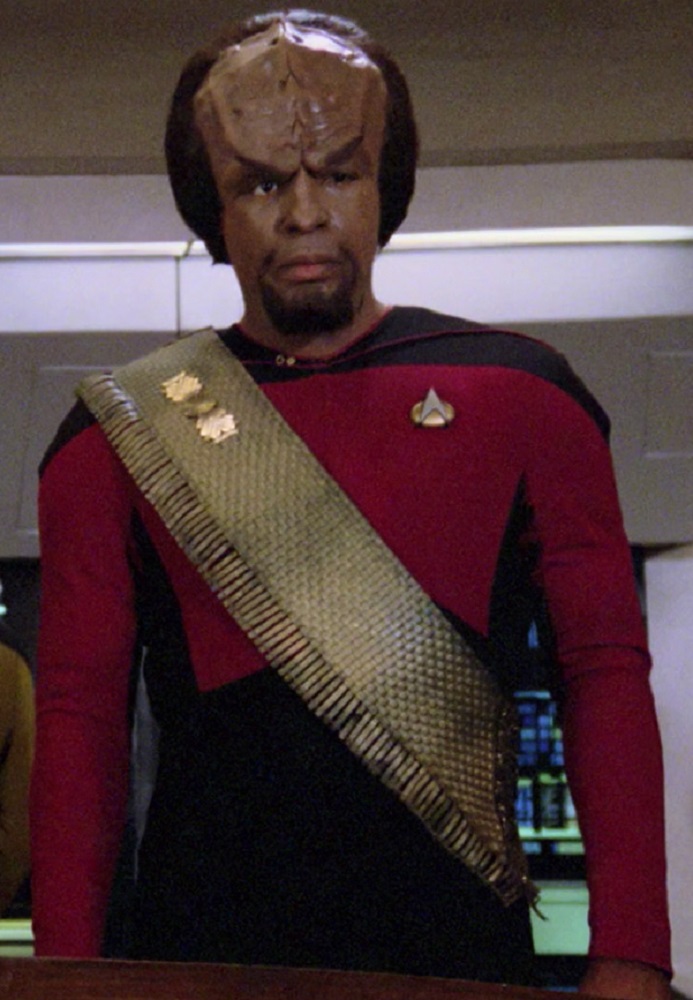
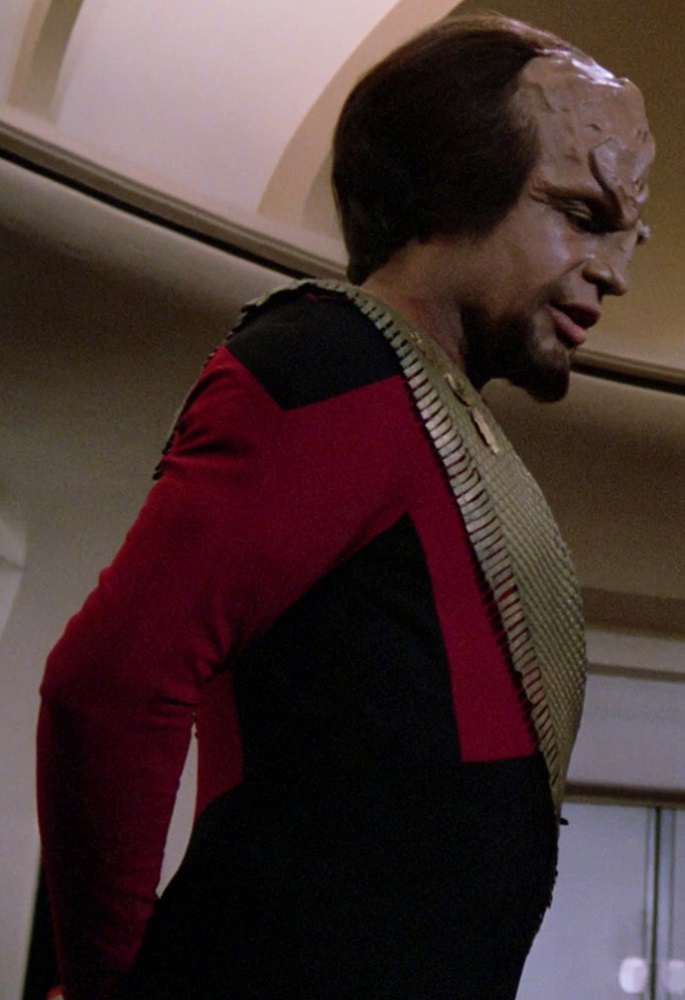
Screen-used Worf TNG jumpsuit
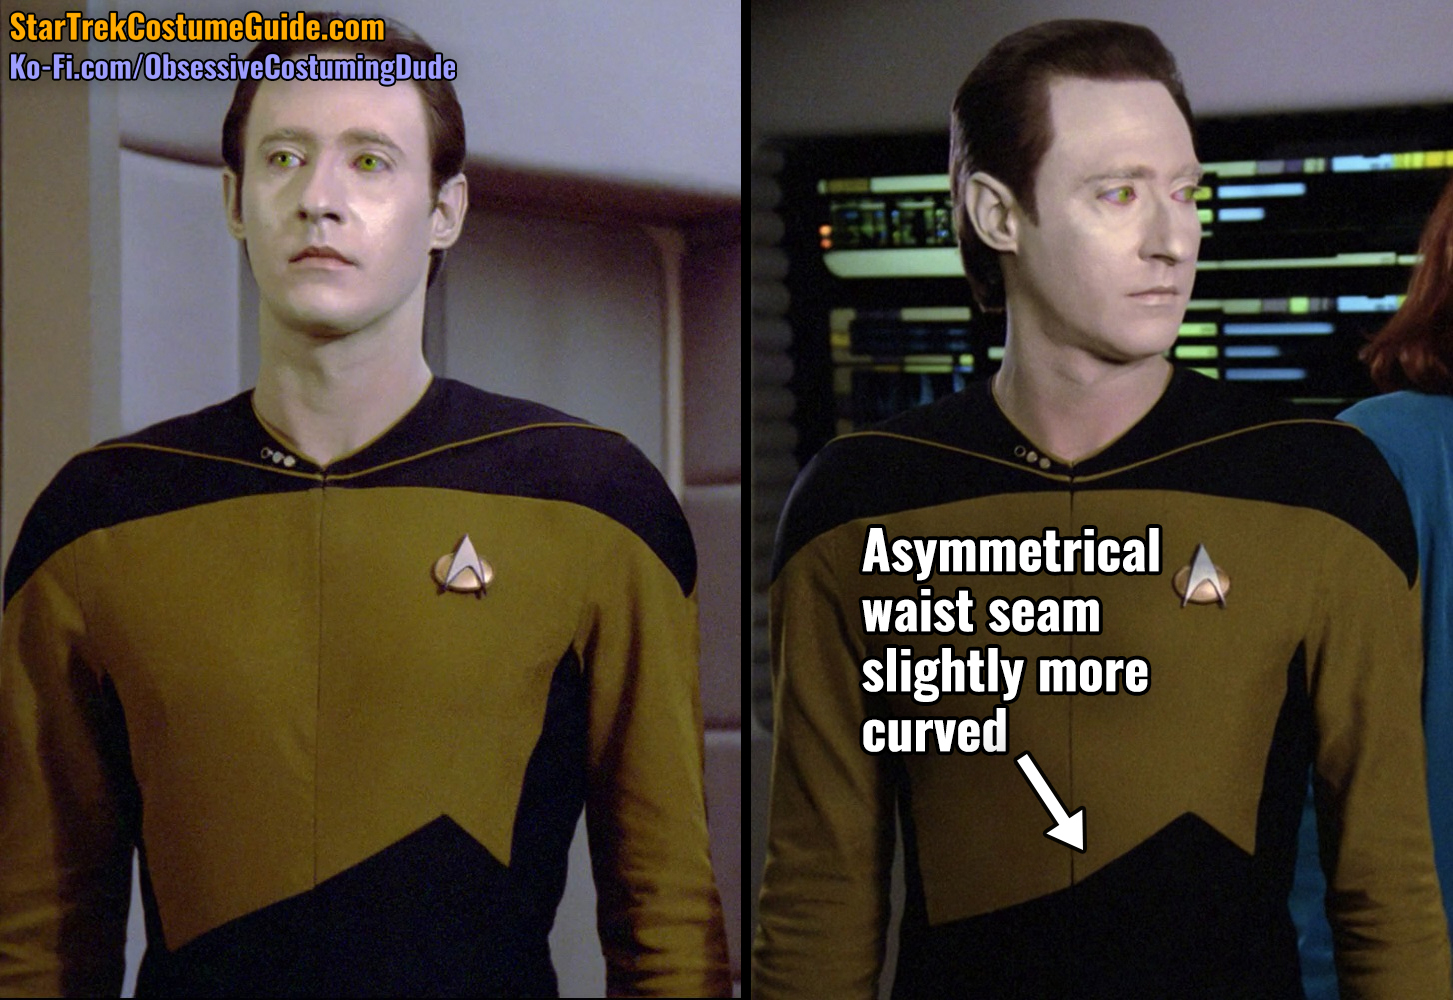
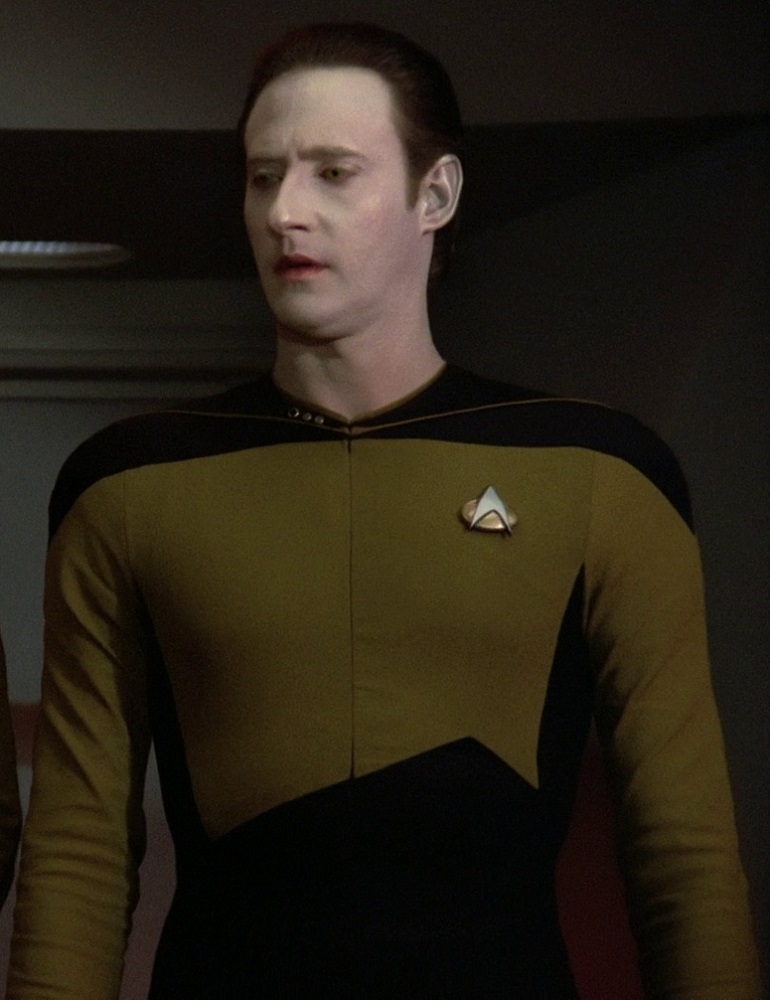
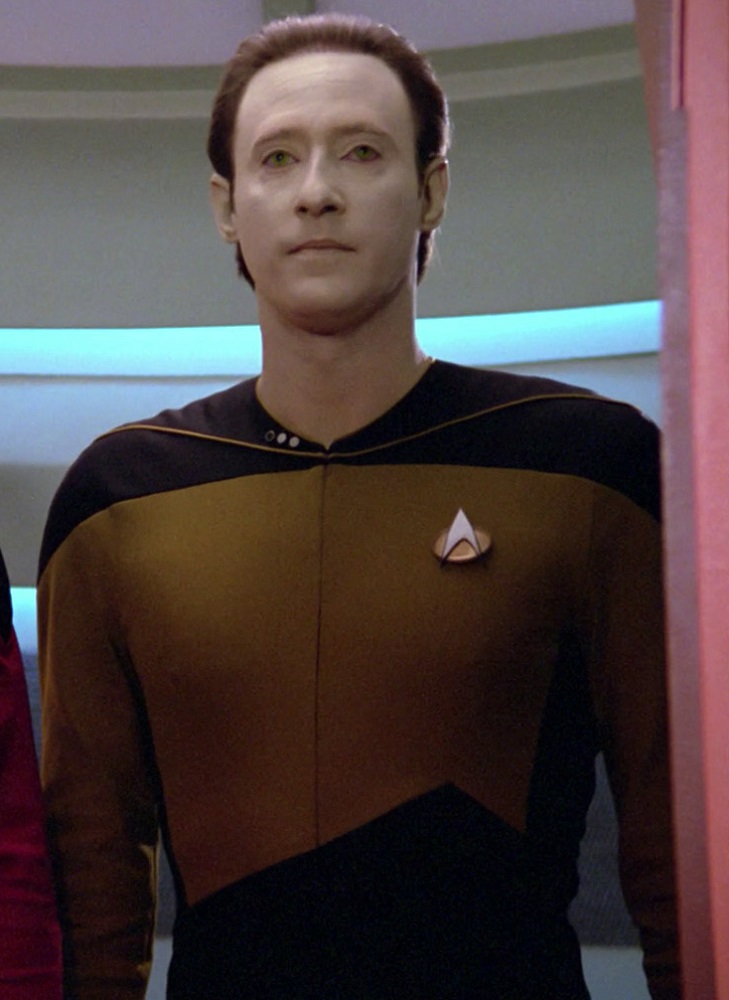
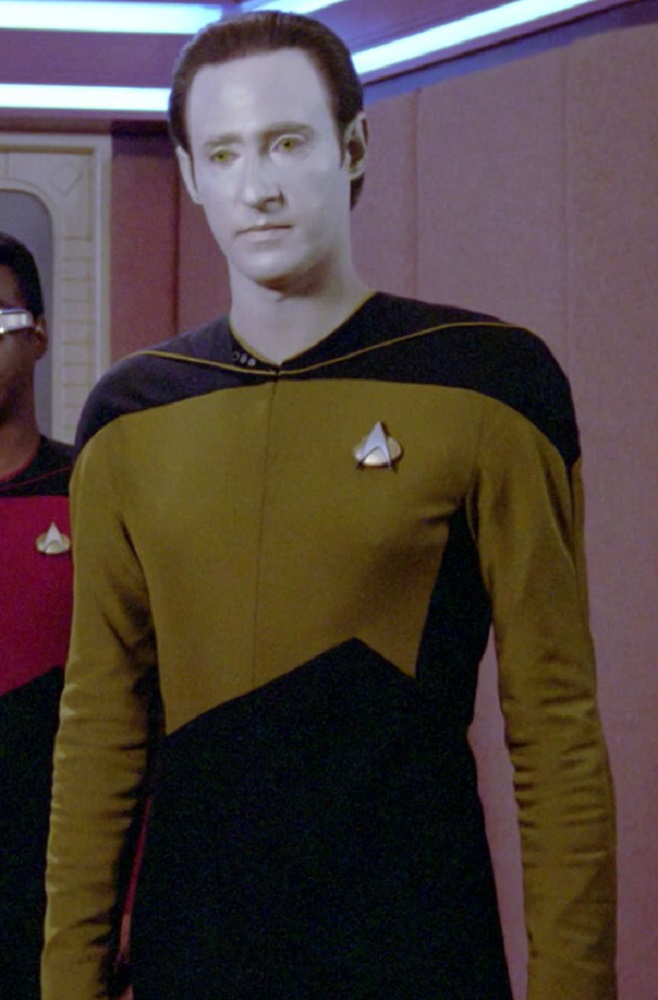
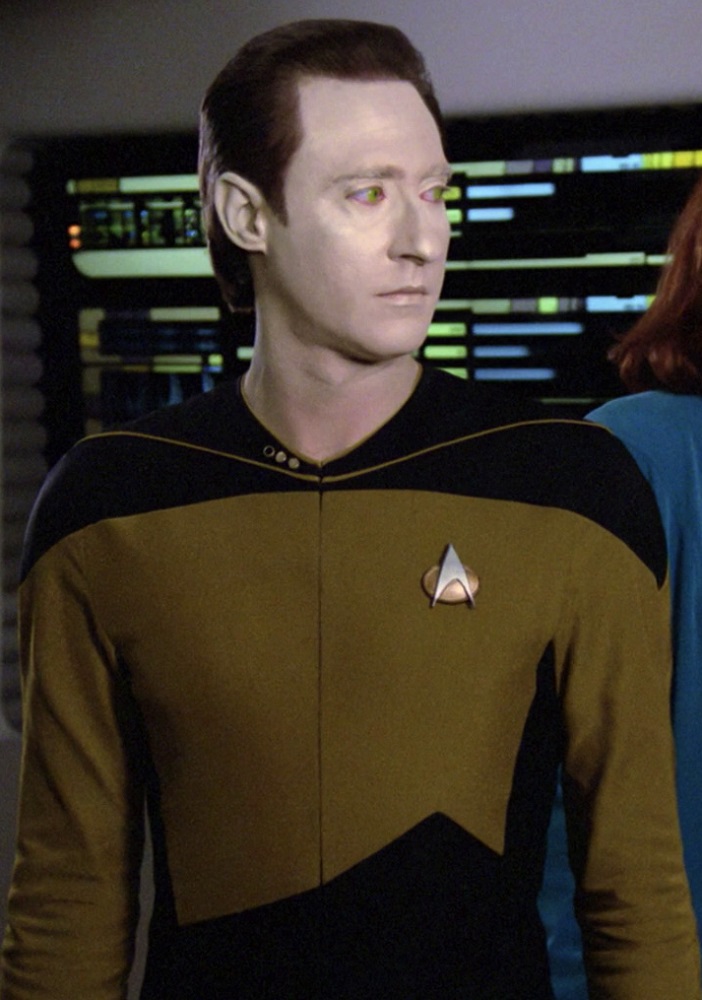
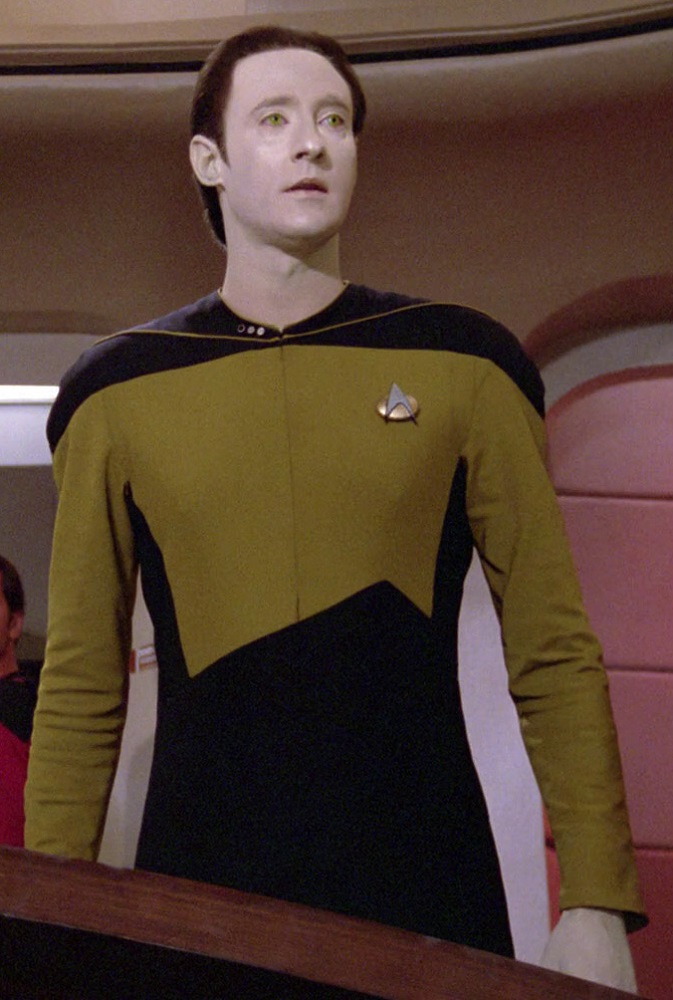
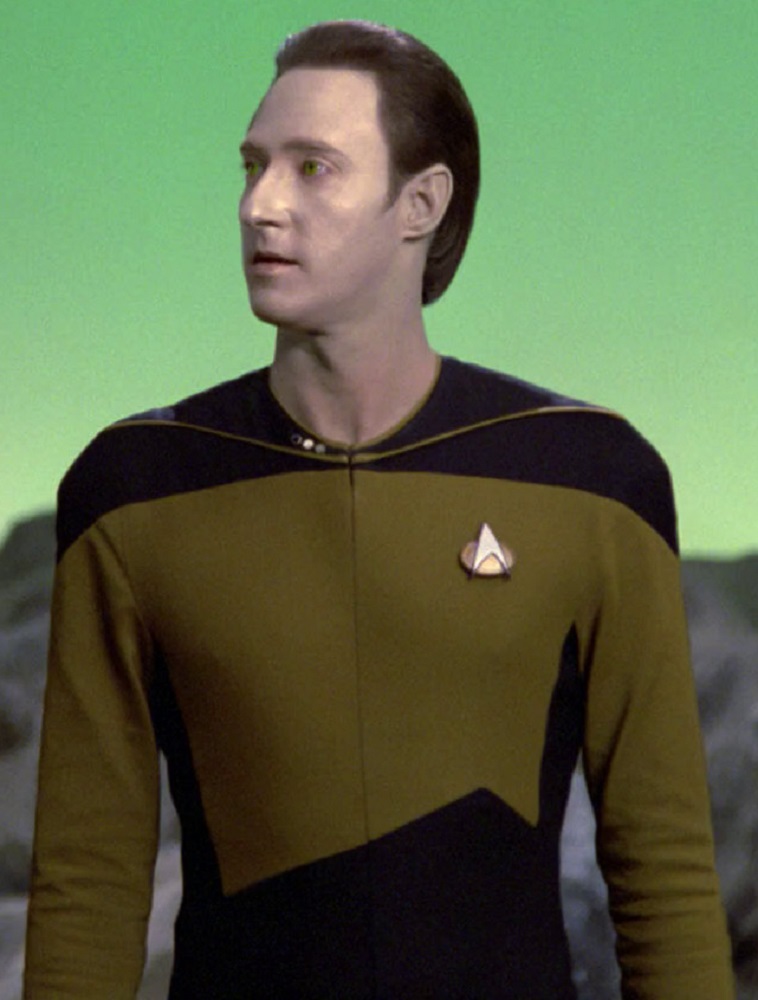
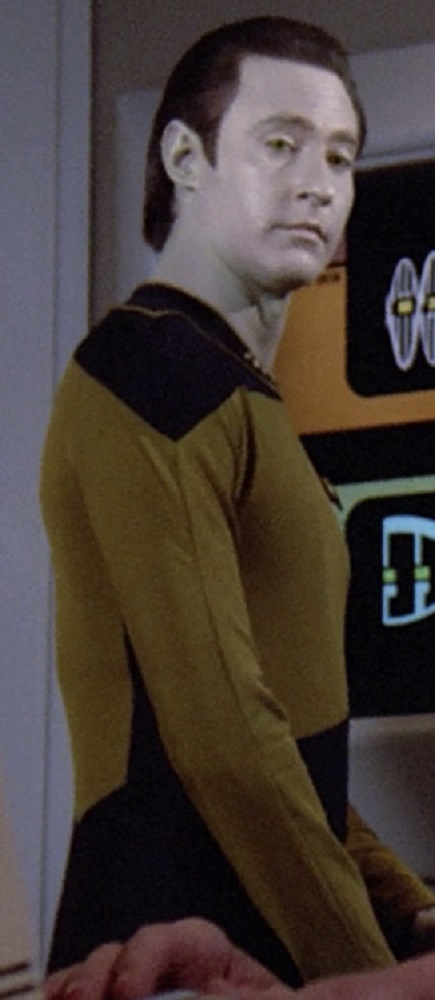
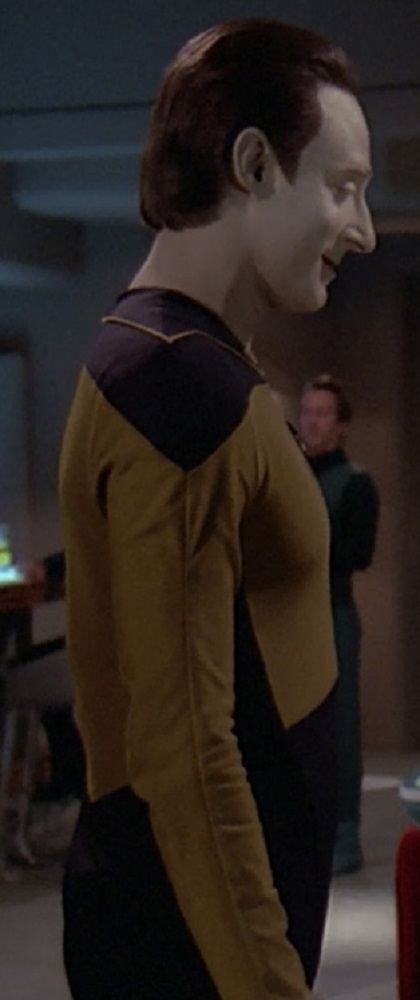
This subtle “flair” may have been slightly more pronounced on some uniforms than others; below are two examples of Data’s uniforms, the left one appearing straighter but the right one with a more obvious curve.
TNG, 1x10 “Hide and Q” (left) and 1x26 “The Neutral Zone” (right)
This subtle “flair” may have been slightly more pronounced on some uniforms than others; below are two examples of Data’s uniforms, the left one appearing straighter but the right one with a more obvious curve.
TNG, 1x1 “Encounter at Farpoint”
TNG, 1x8 “Justice”
TNG, 1x10 “Hide and Q”
TNG, 1x13 “Datalore”
TNG, 1x14 “Angel One”
TNG, 1x15 “11001001”
TNG, 1x16 “Too Short a Season”
TNG, 1x18 “Home Soil”
TNG, 1x23 “Skin of Evil”
TNG, 1x24 “We’ll Always Have Paris”
TNG, 1x26 “The Neutral Zone”
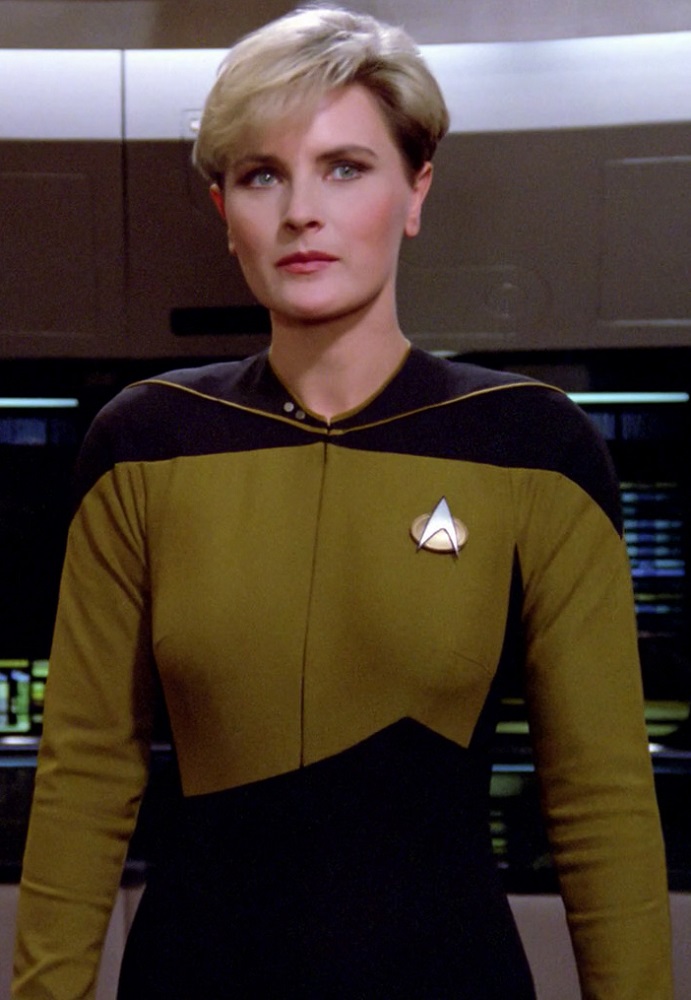
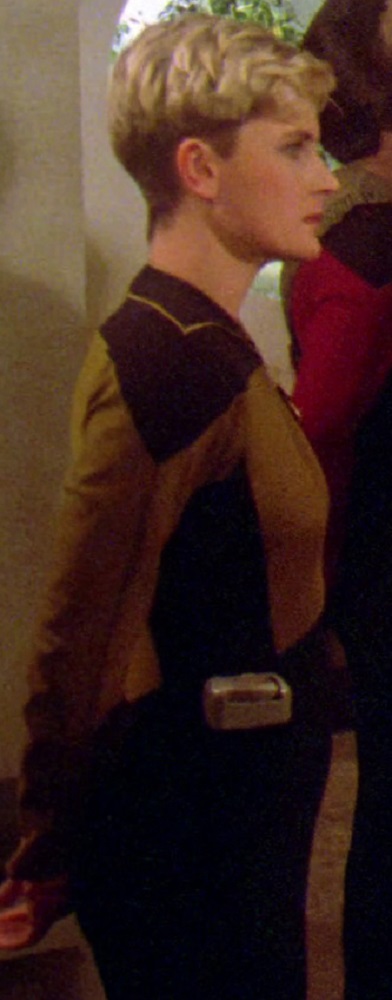
Tasha’s uniforms also appear to have been consistent in this regard.
TNG, 1x1 “Encounter at Farpoint”
TNG, 1x3 “The Naked Now”
TNG, 1x6 “Where No One Has Gone Before”
TNG, 1x7 “Lonely Among Us”
TNG, 1x10 “Hide and Q”
TNG, 1x20 “Heart of Glory”
TNG, 7x25 “All Good Things …”
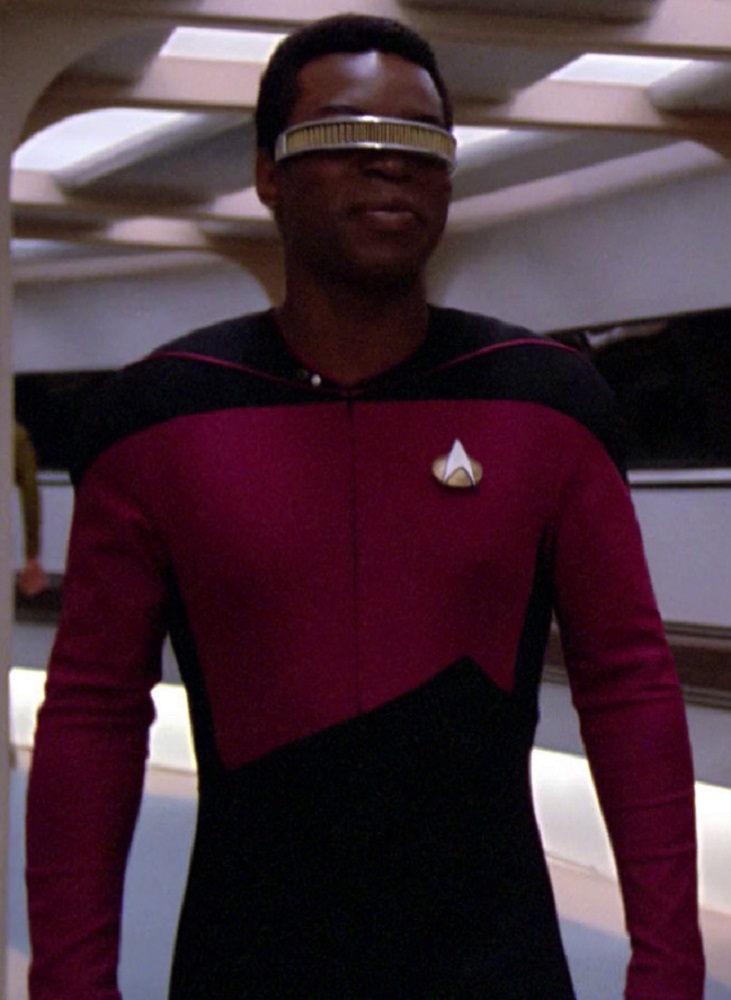
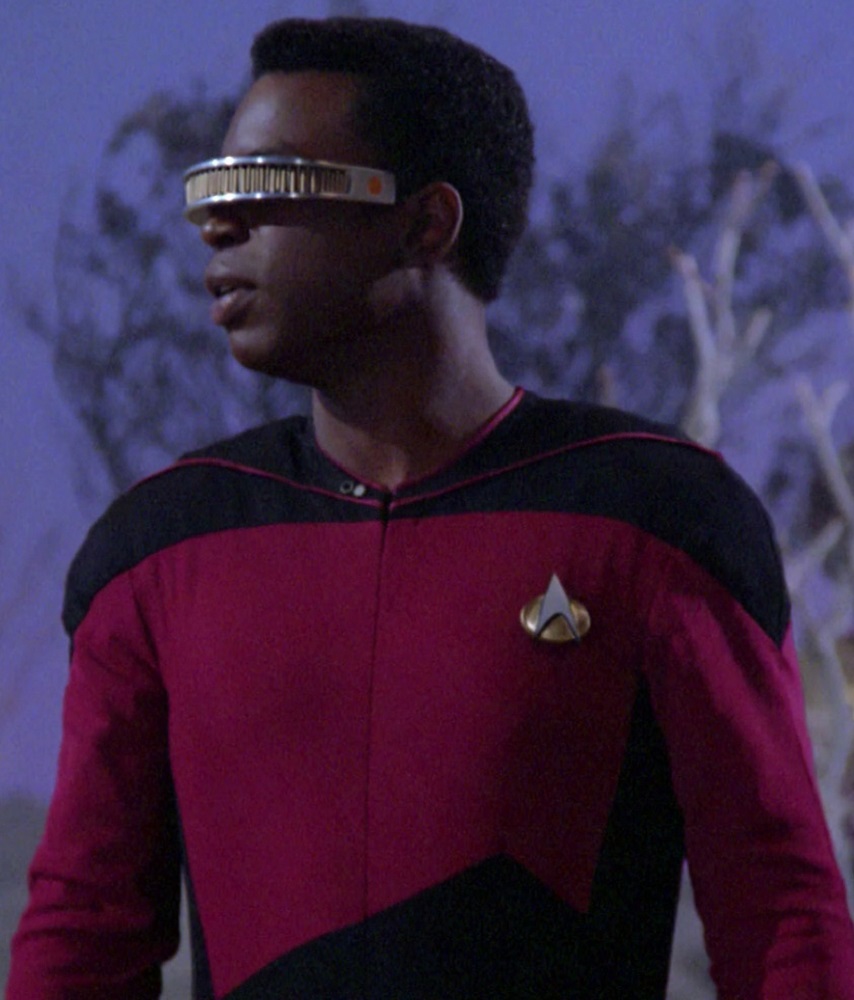
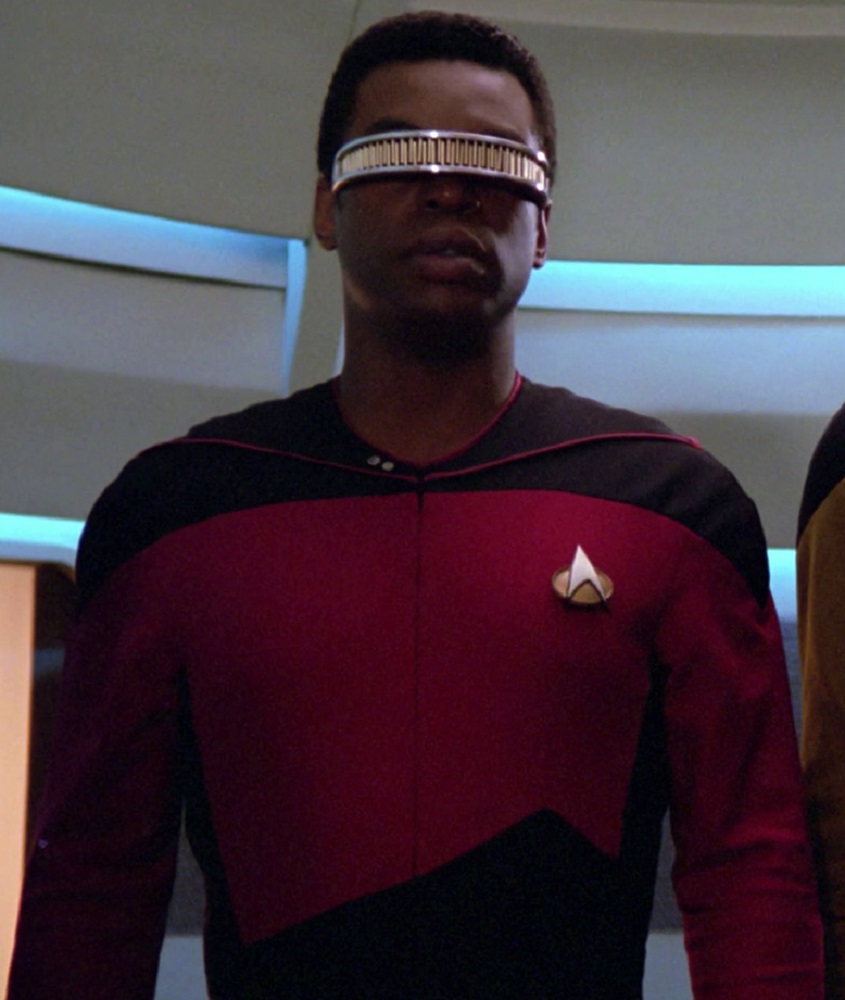
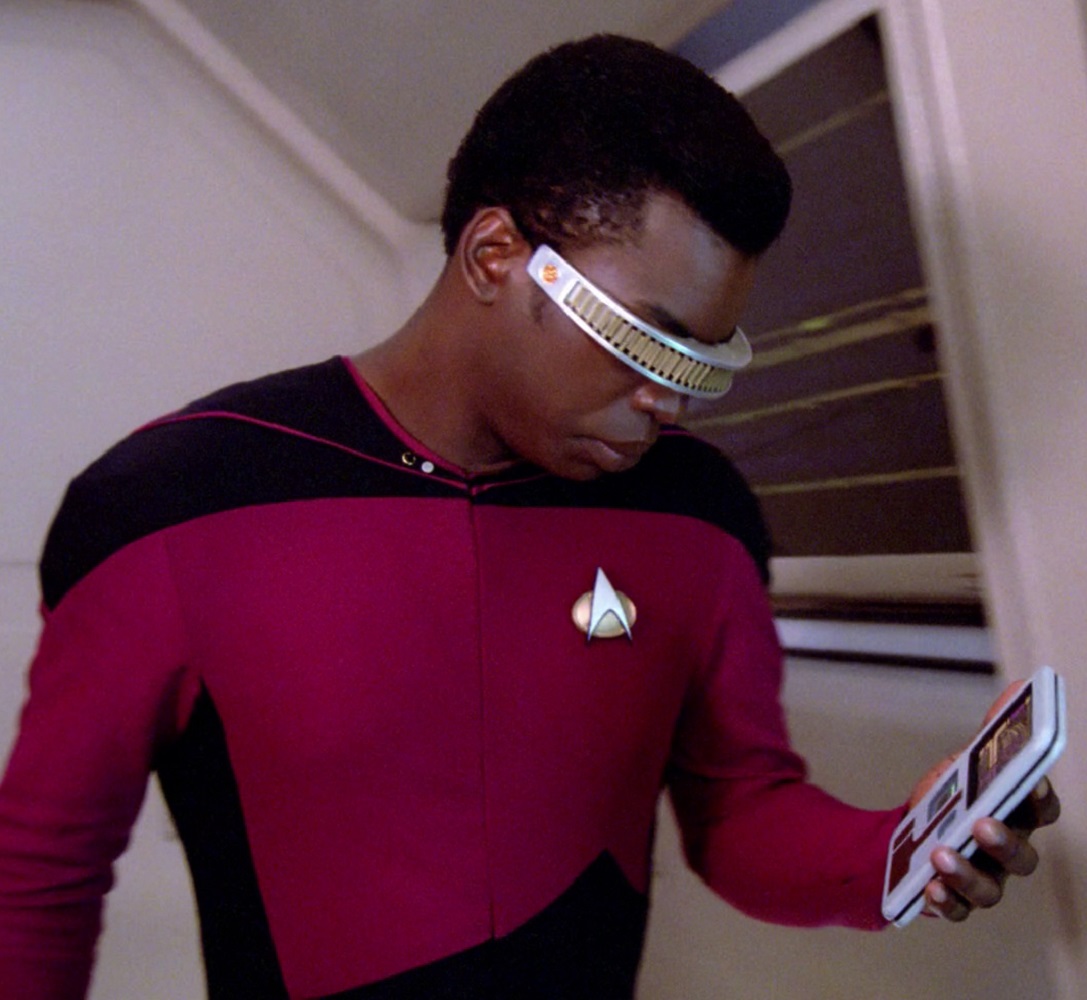
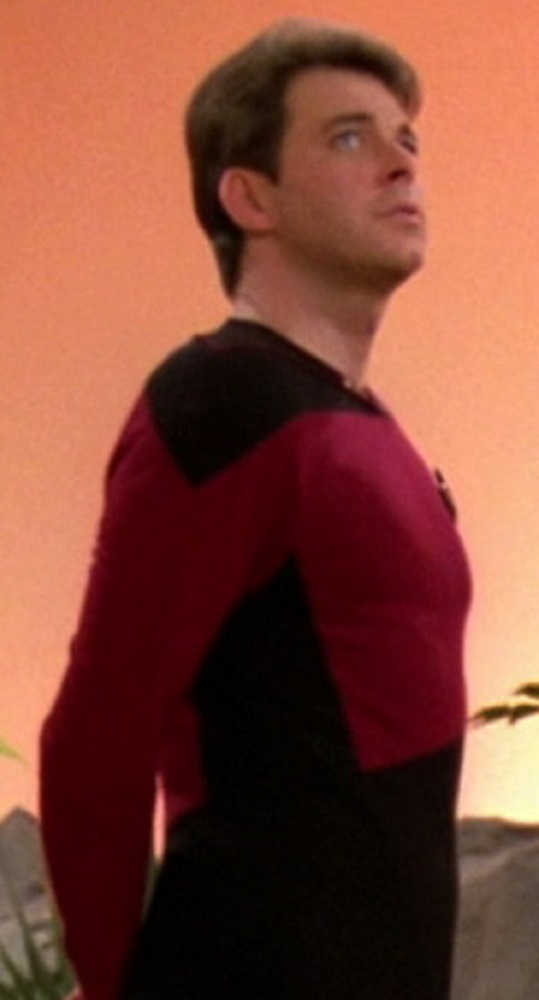
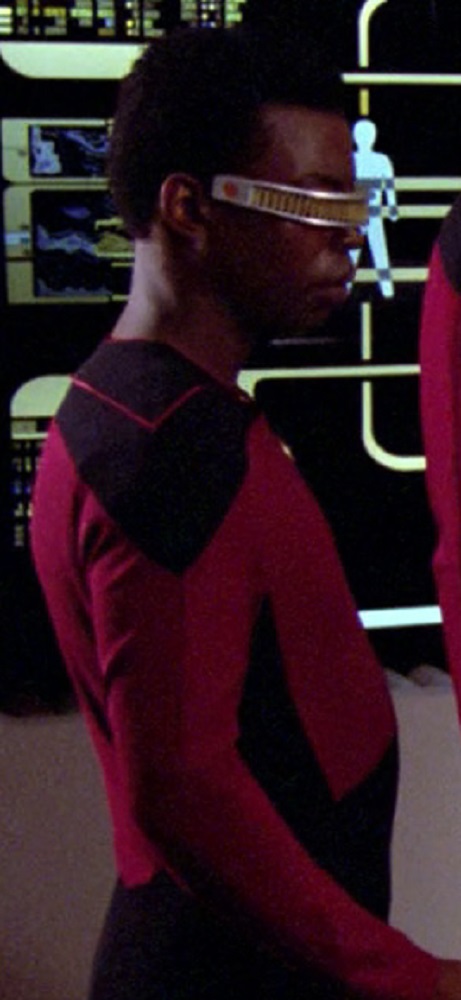
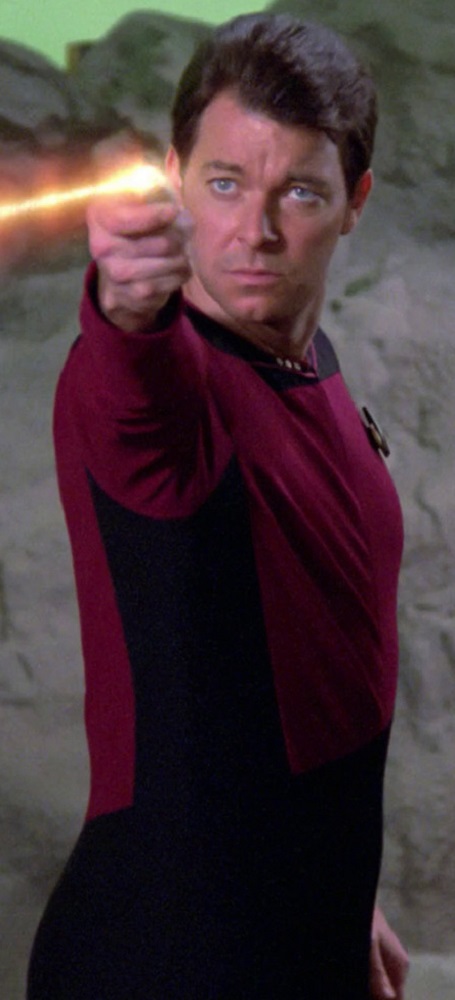
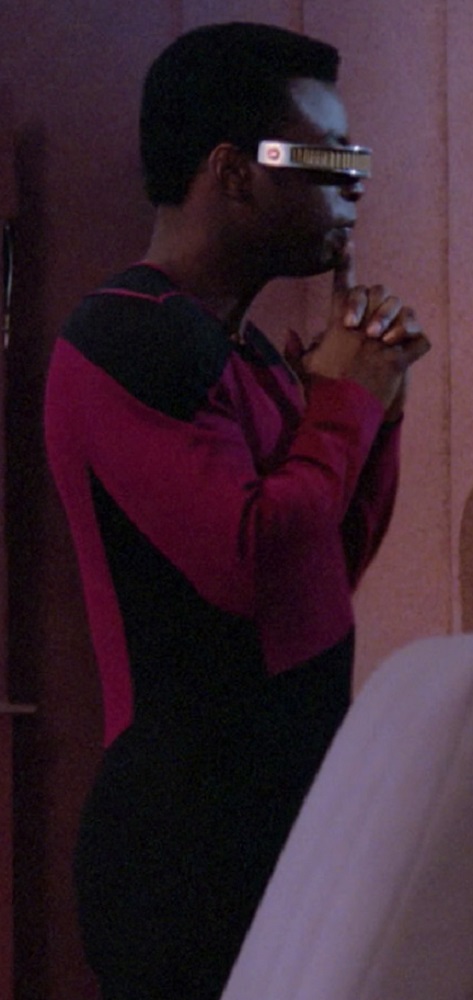
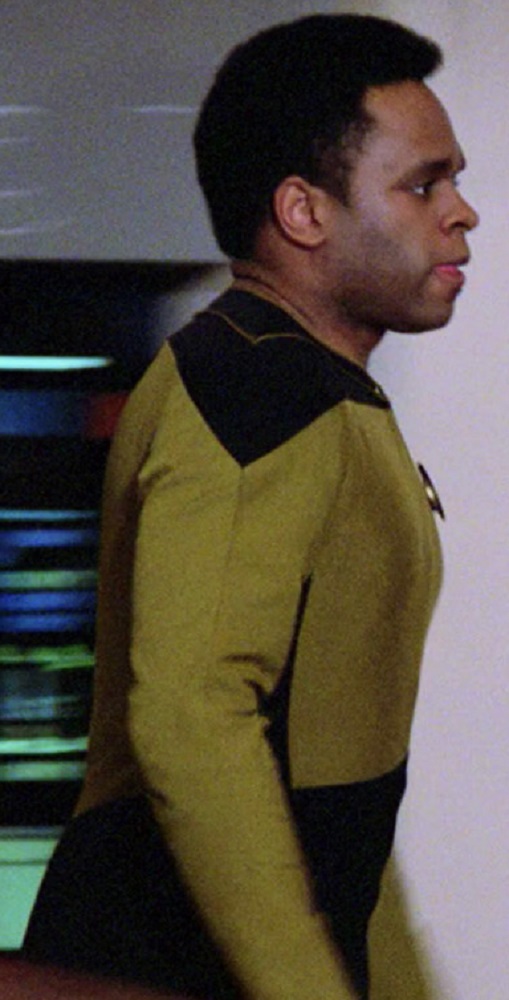
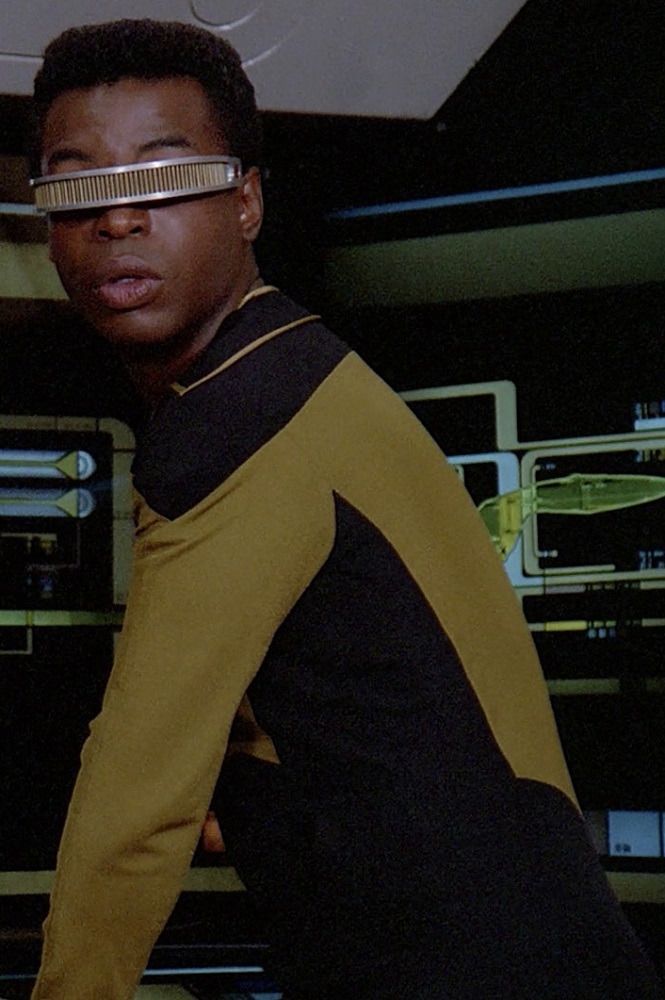
Geordi’s did, as well.
TNG, 1x1 “Encounter at Farpoint”
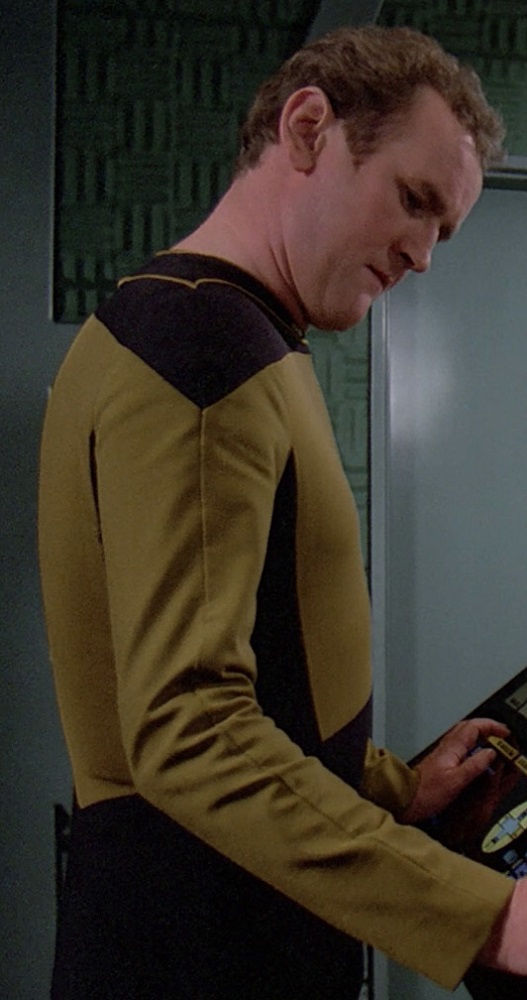
TNG, 1x10 “Hide and Q”
TNG, 1x12 “The Big Goodbye”
TNG, 1x13 “Datalore”
TNG, 1x15 “11001001”
TNG, 1x20 “Heart of Glory”
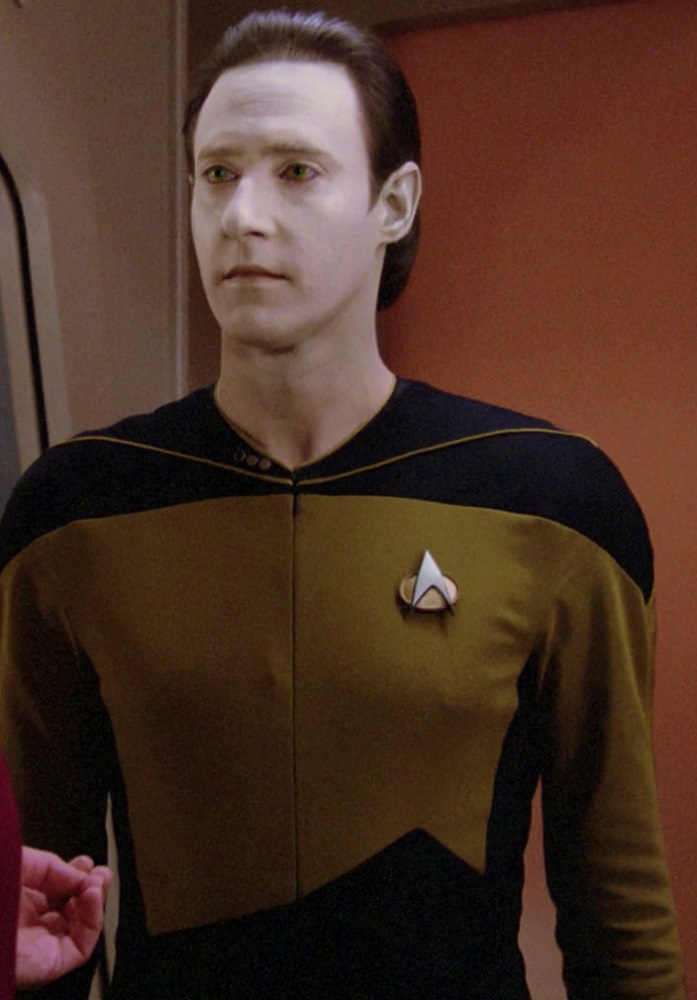
It is this specific style of front paneling/proportions that I will subsequently refer to as the “season 1 front,” although a more accurate term might be “season 1a front.”
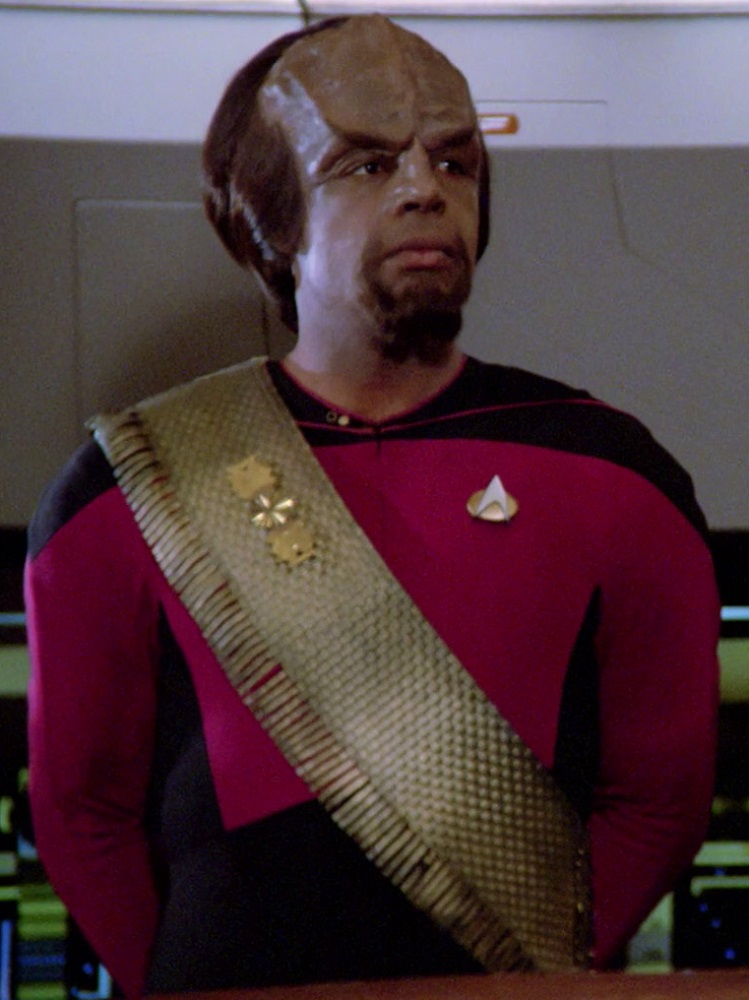
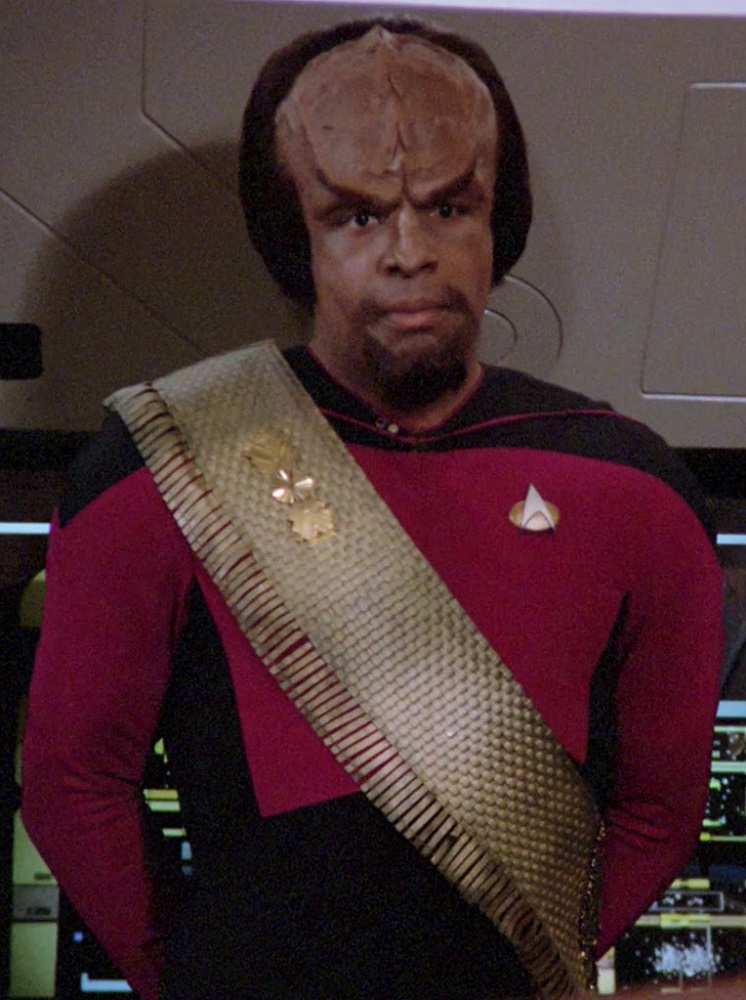
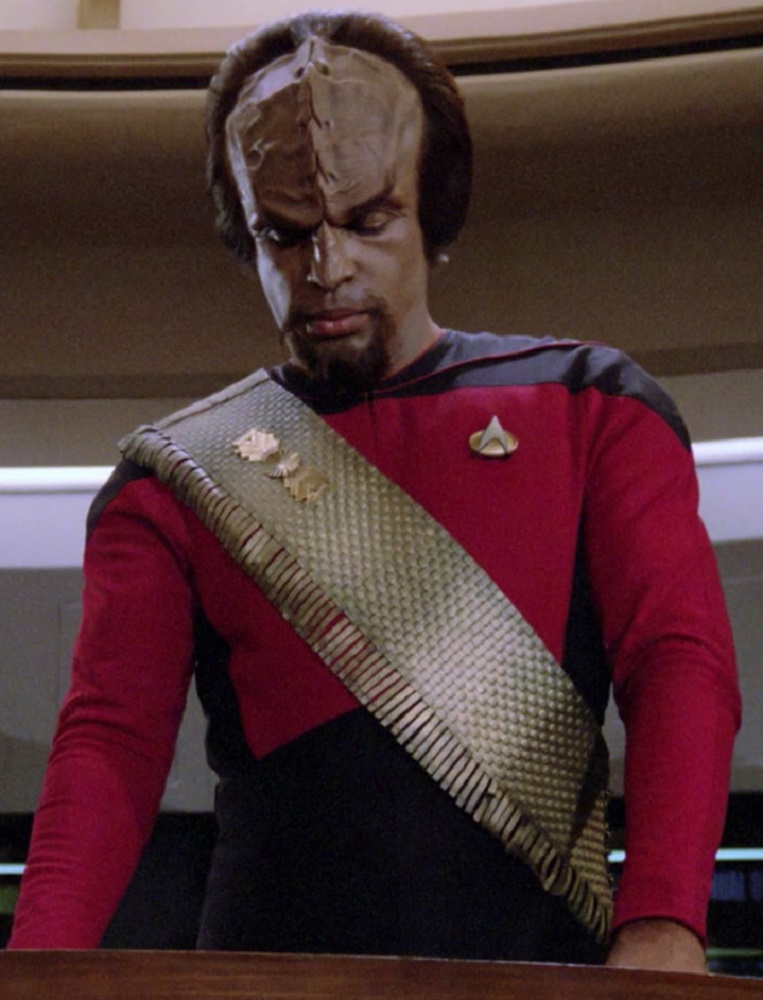
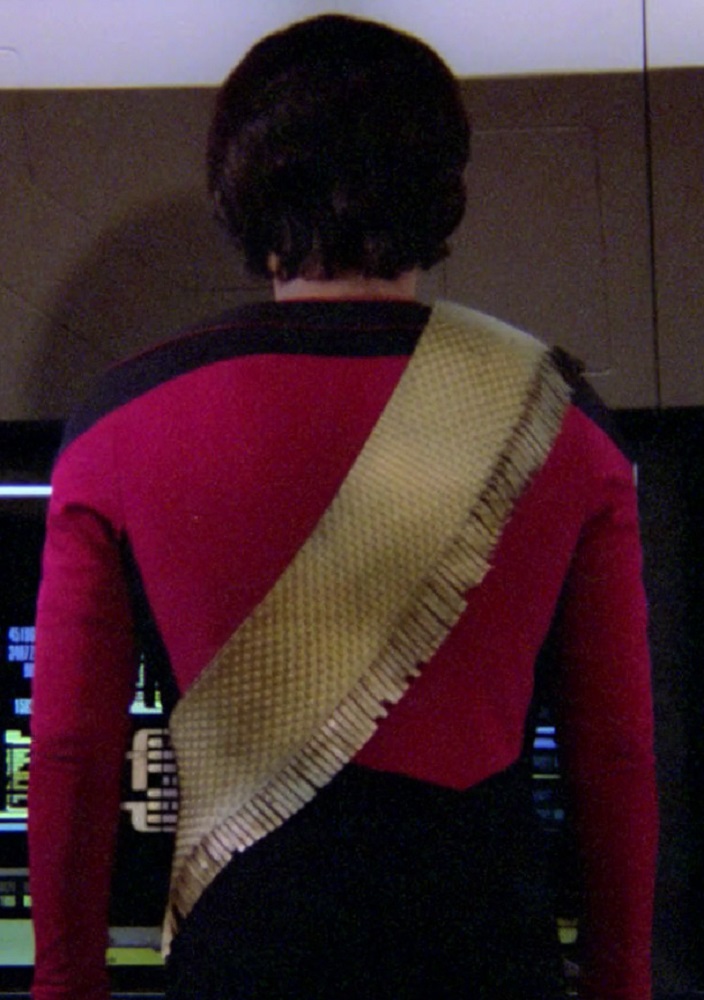
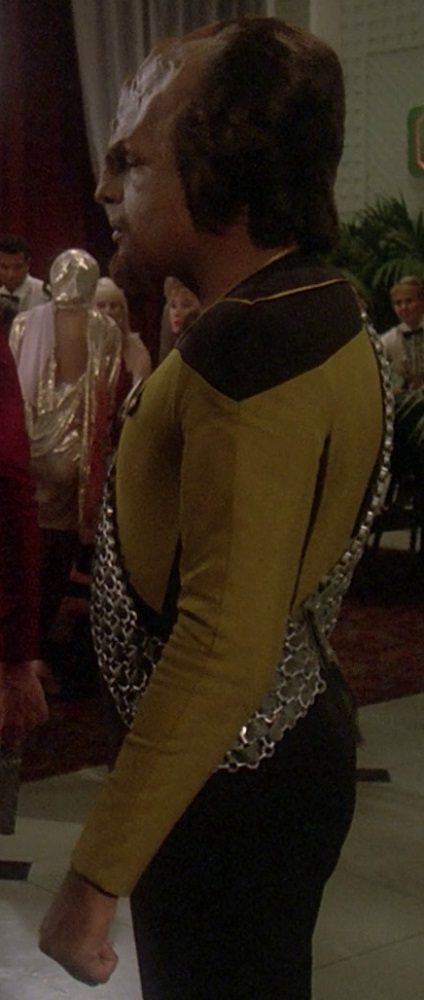
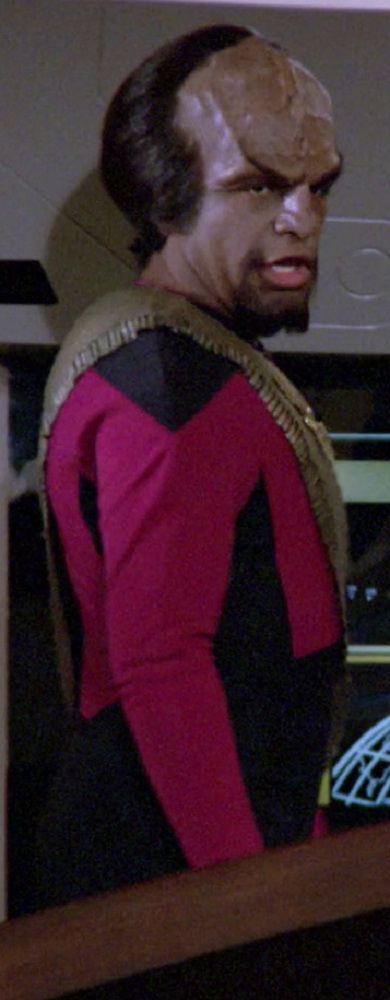
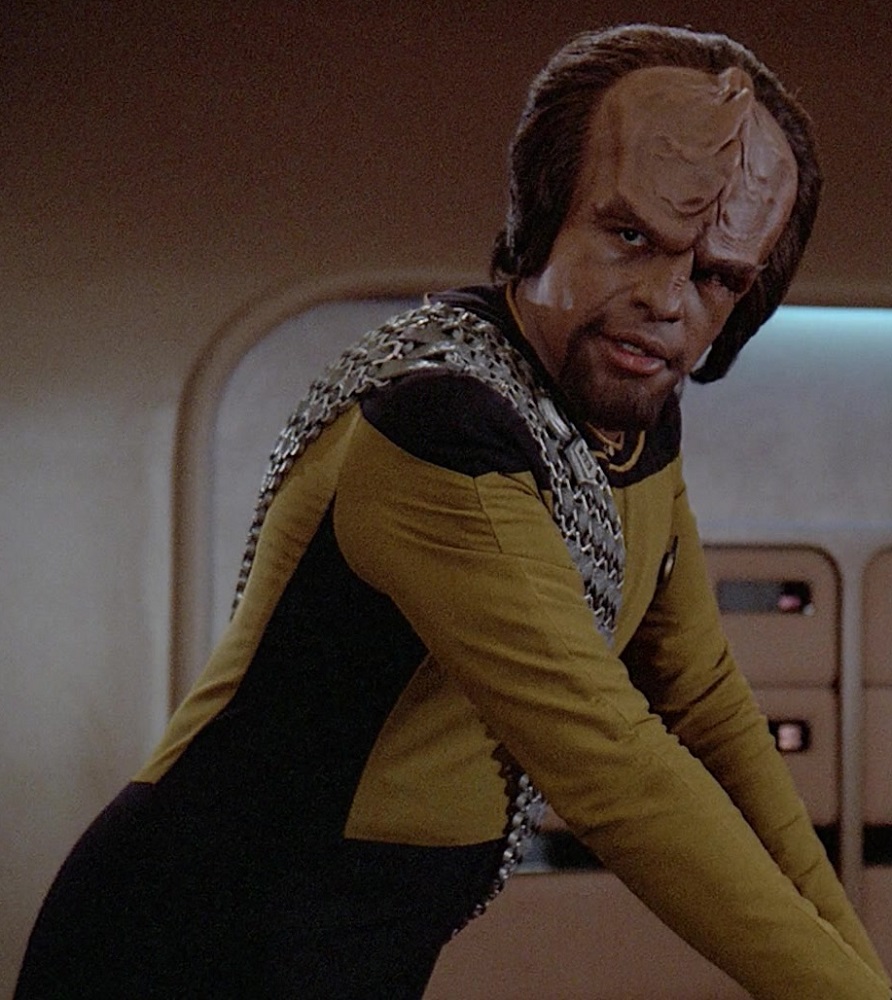
It’s tough to say for sure since his baldric covered most of the left front waist area (including the apex), but it looks like Worf’s uniforms had consistent waist styling through the end of the season.
TNG, 1x17 “When the Bough Breaks”
TNG, 1x18 “Home Soil”
TNG, 1x20 “Heart of Glory”
TNG, 1x21 “The Arsenal of Freedom”
TNG, 1x23 “Skin of Evil”
TNG, 1x26 “The Neutral Zone”
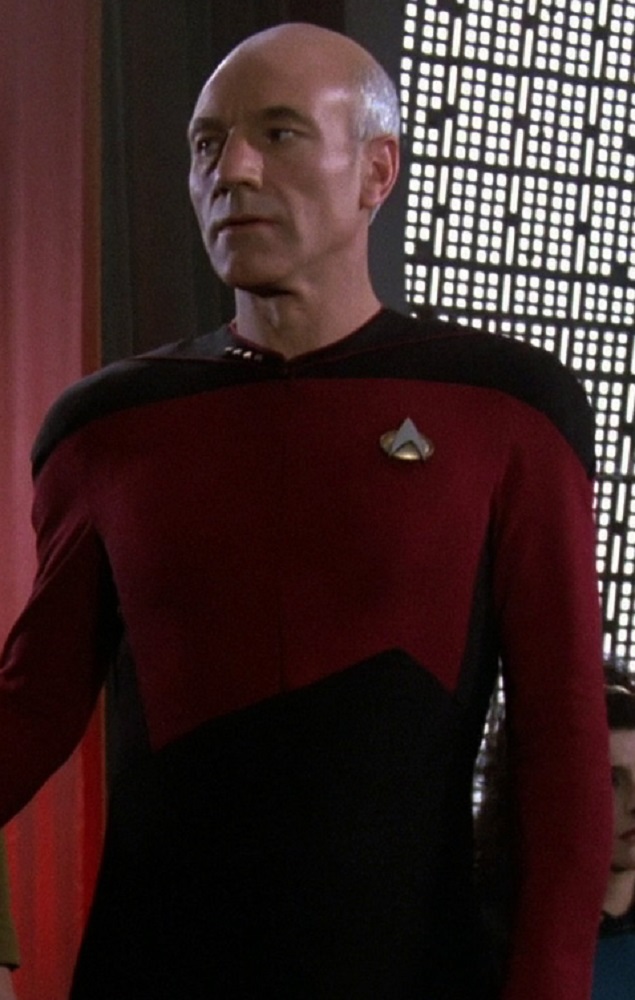
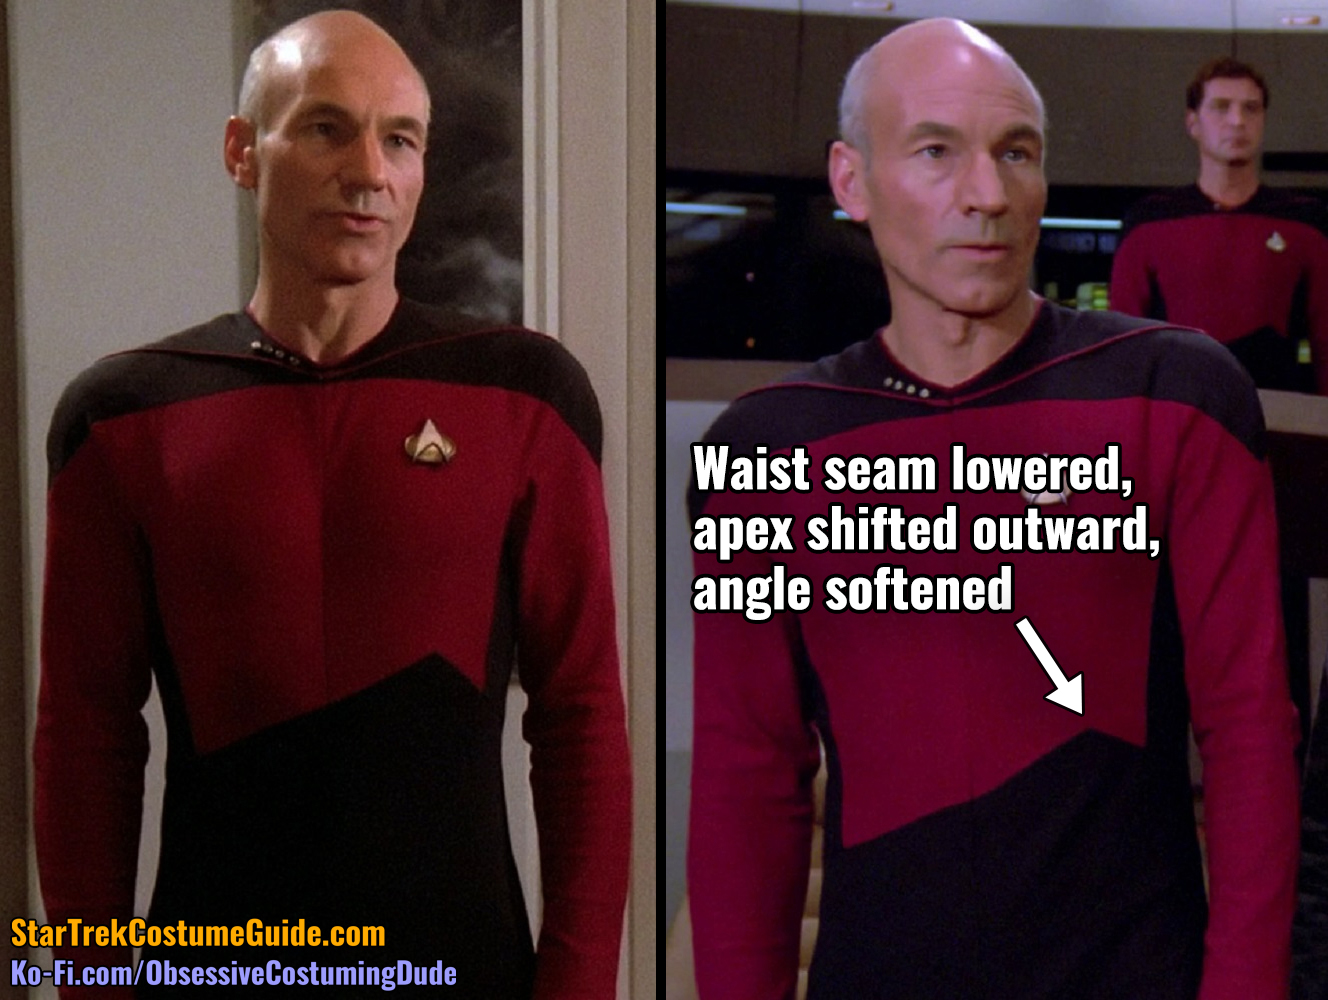
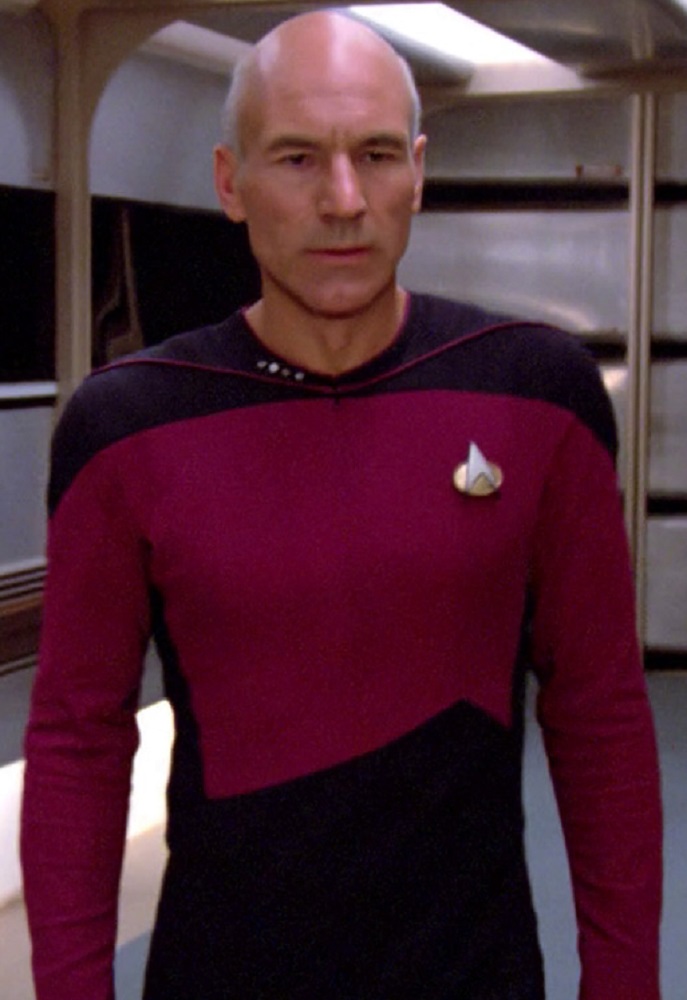
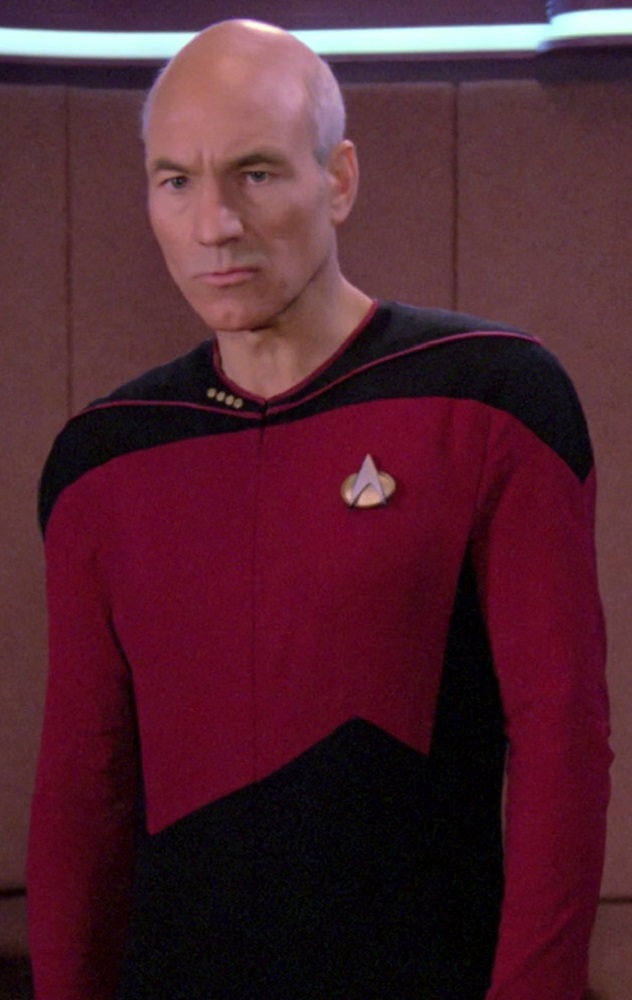
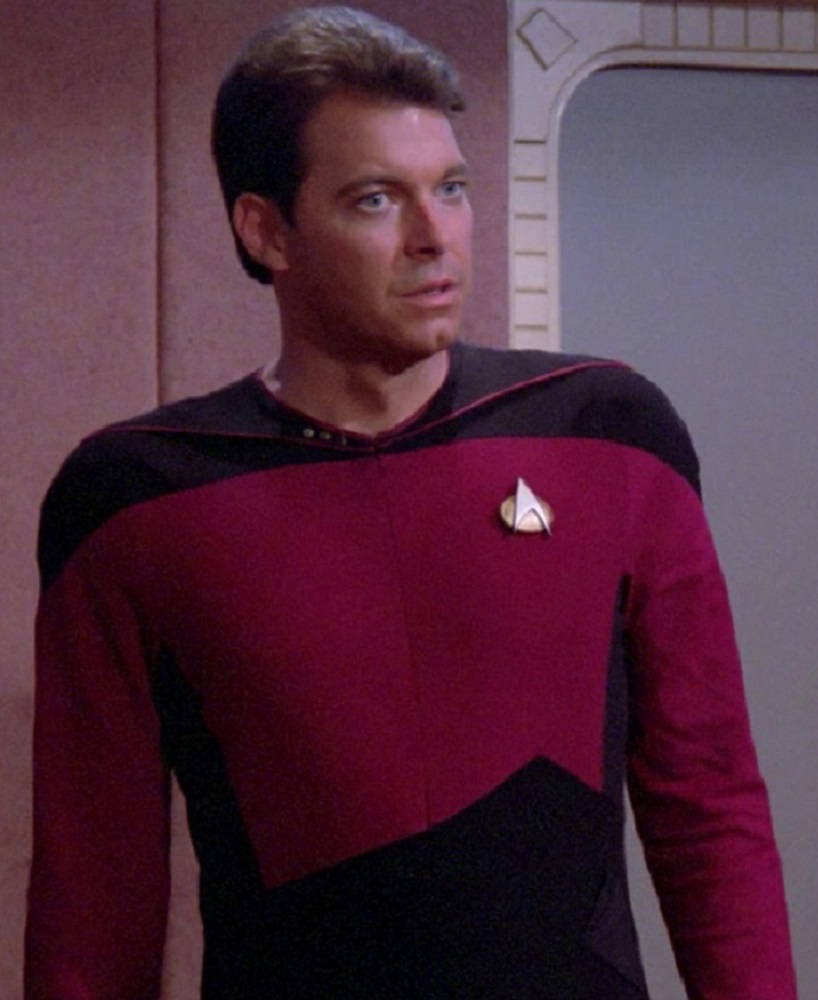
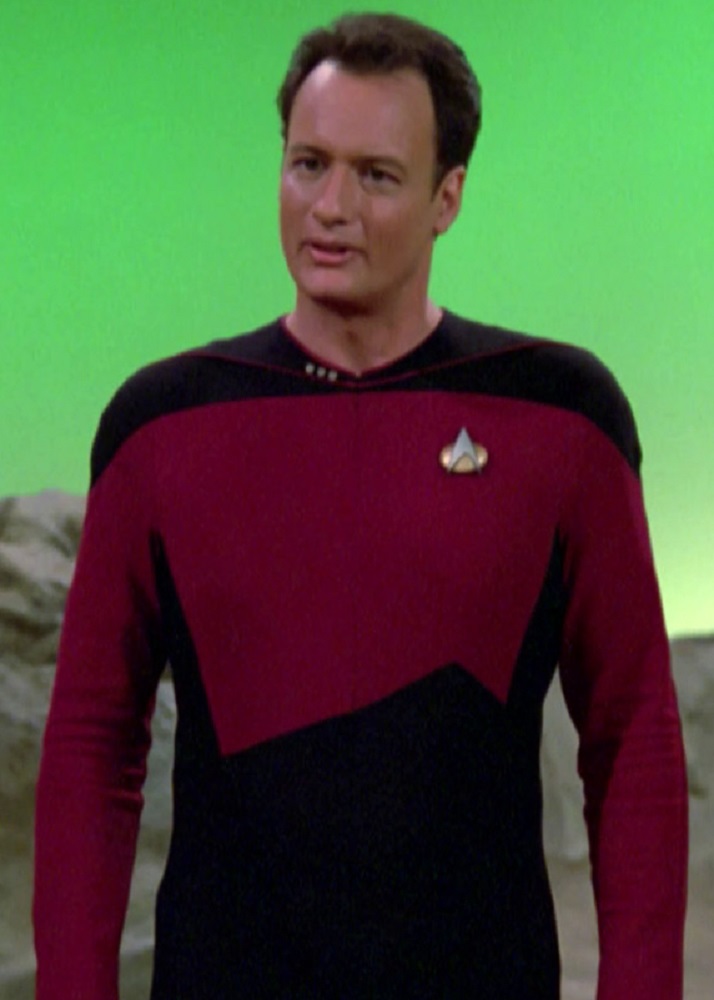
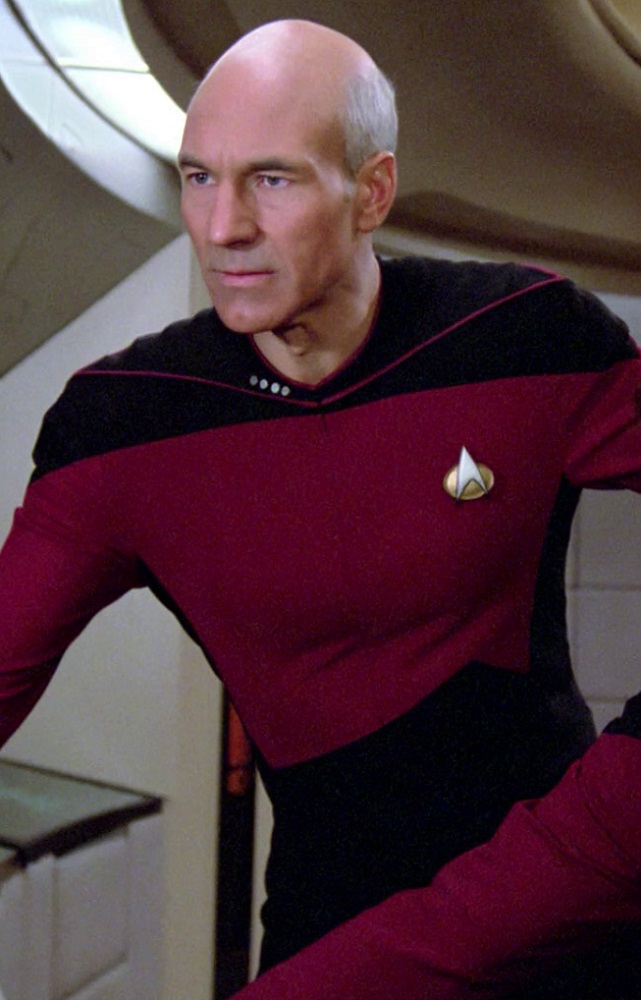
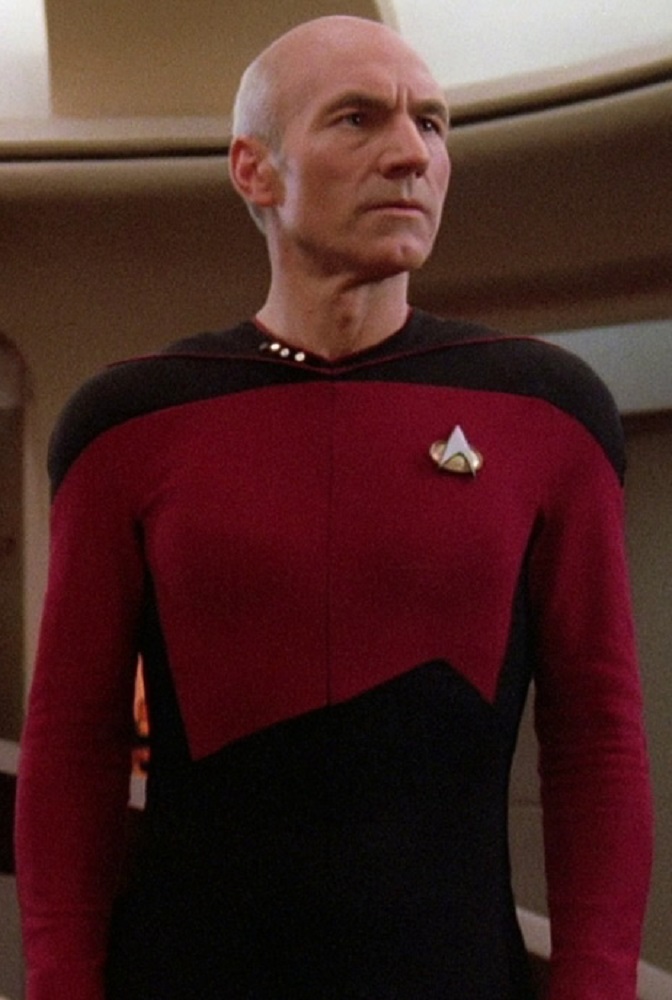
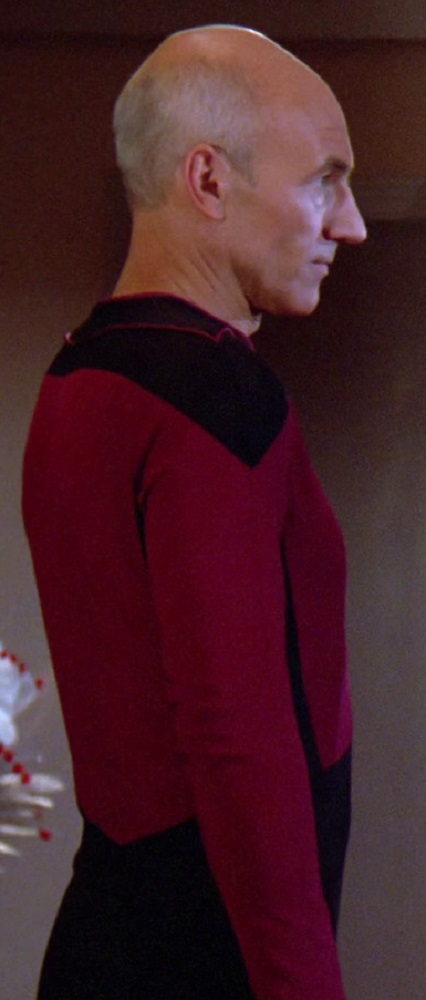
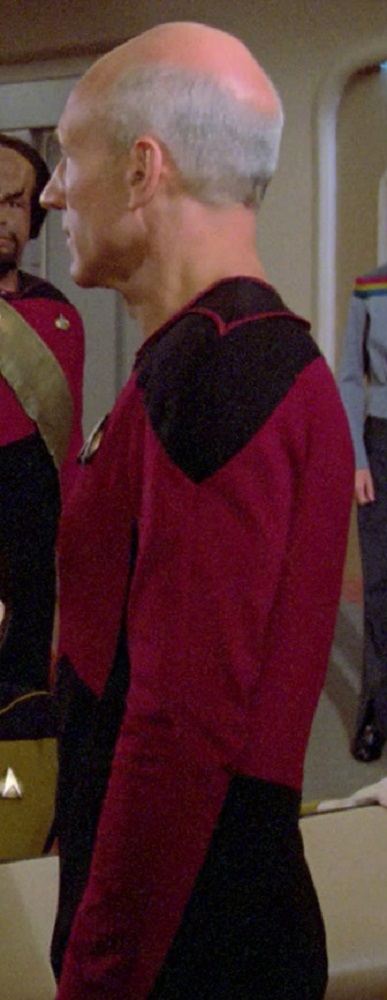
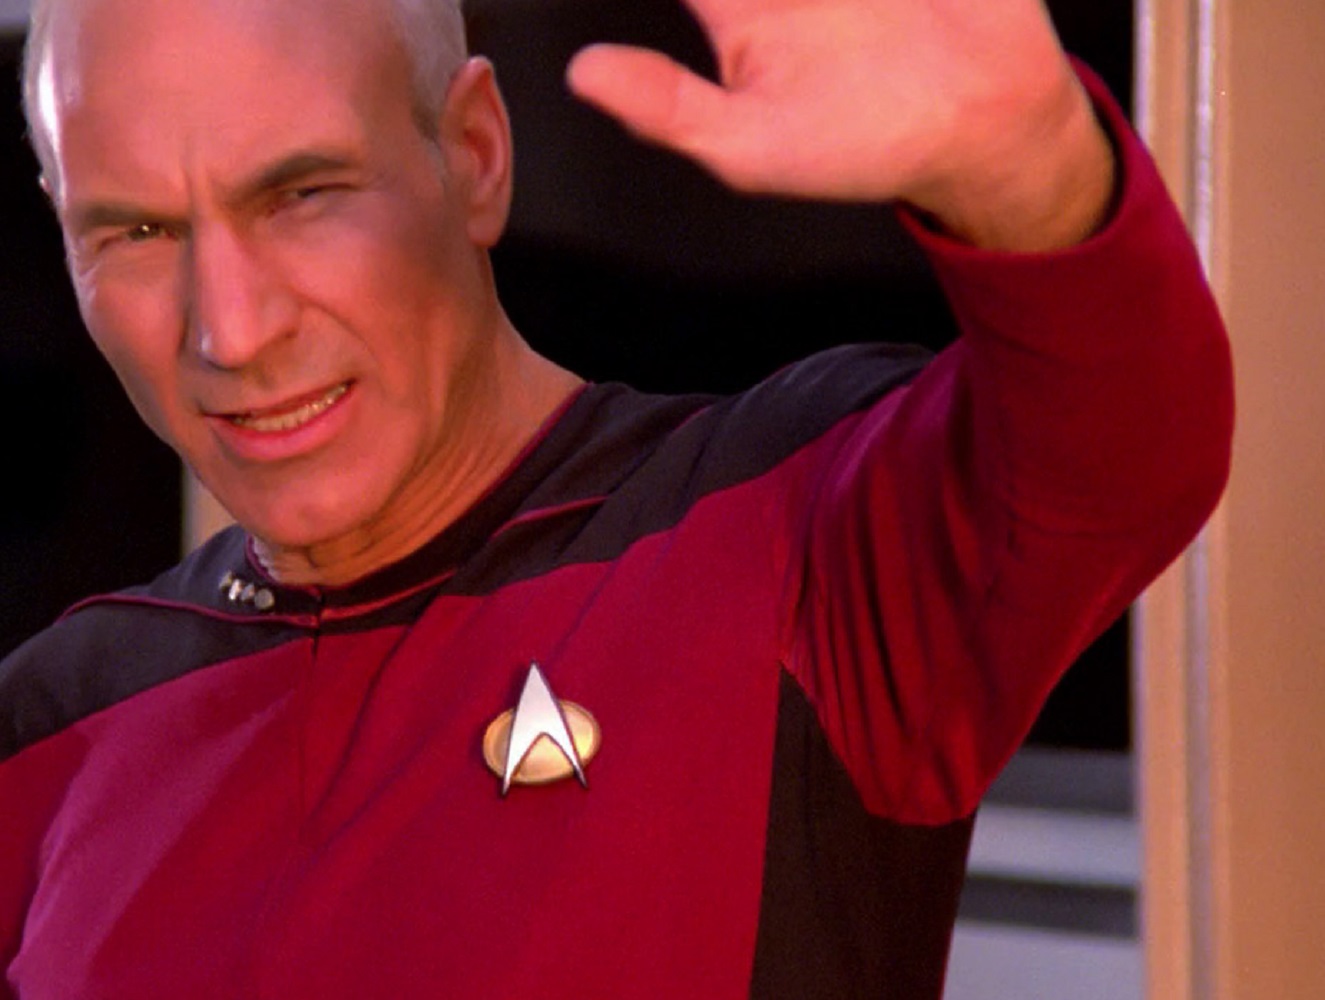
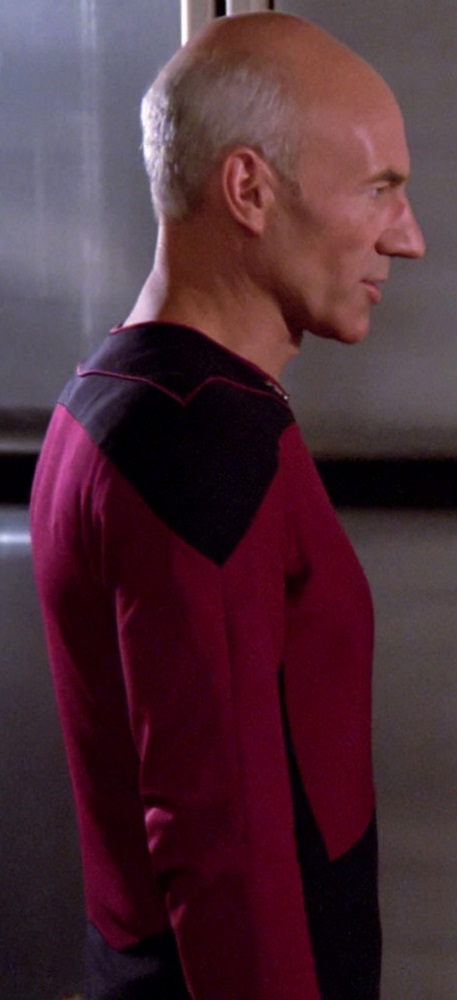
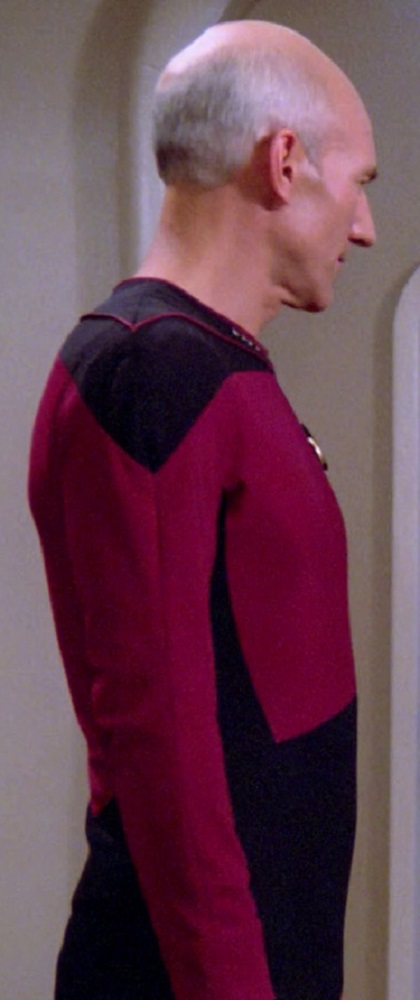
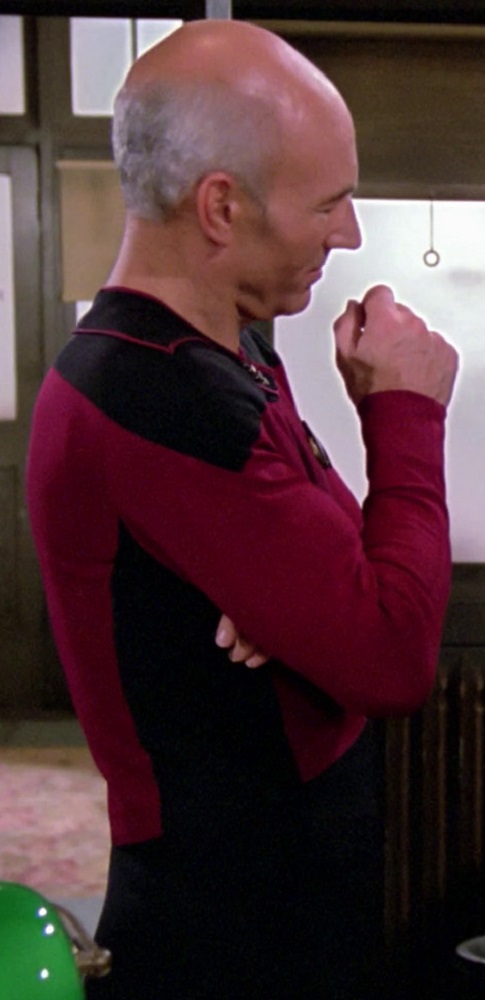
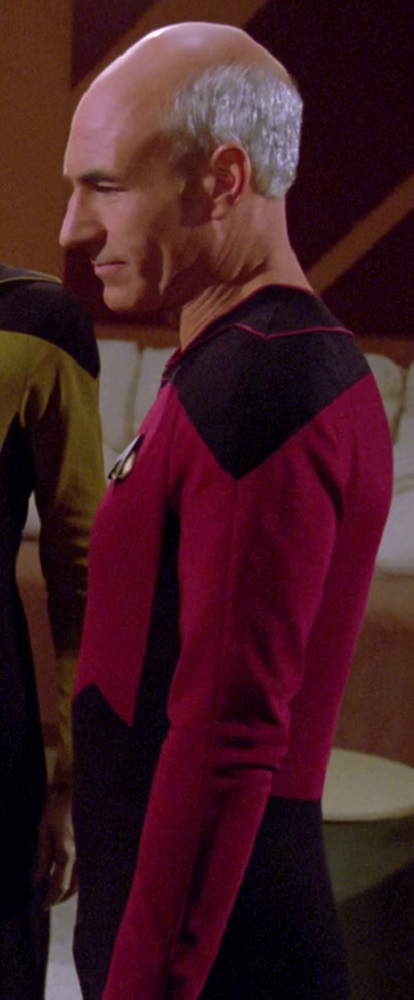
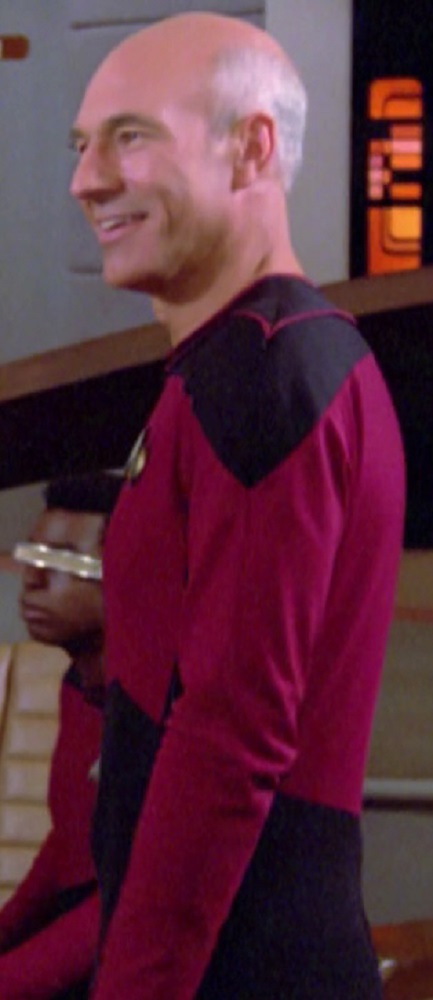
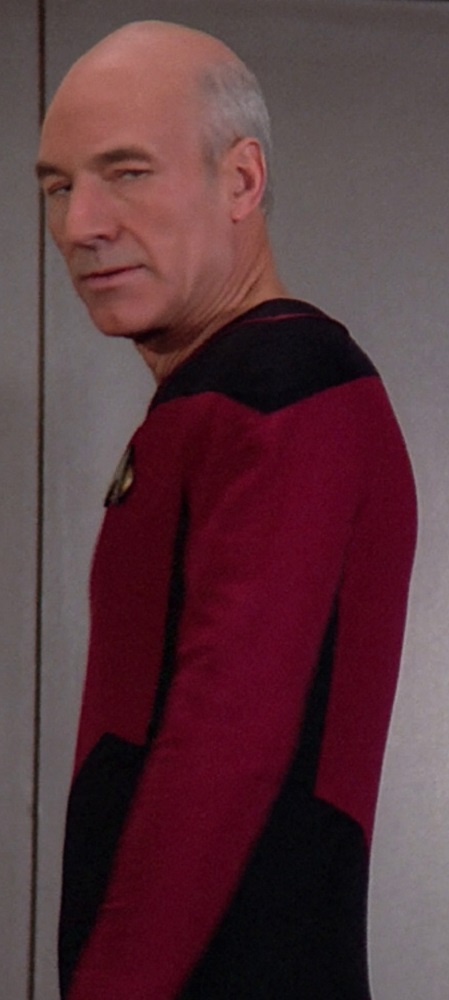
Captain Picard’s asymmetrical waist seam was similarly styled for the first couple episodes:
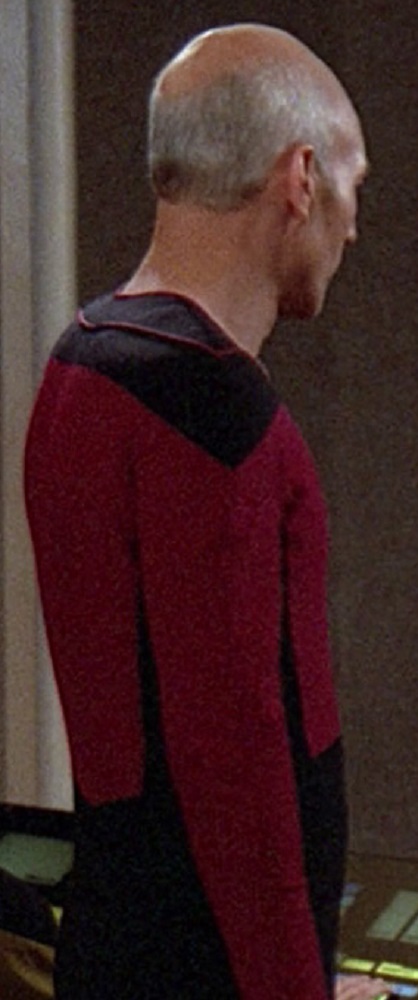
TNG, 1x1 “Encounter at Farpoint”
TNG, 1x3 “The Naked Now”
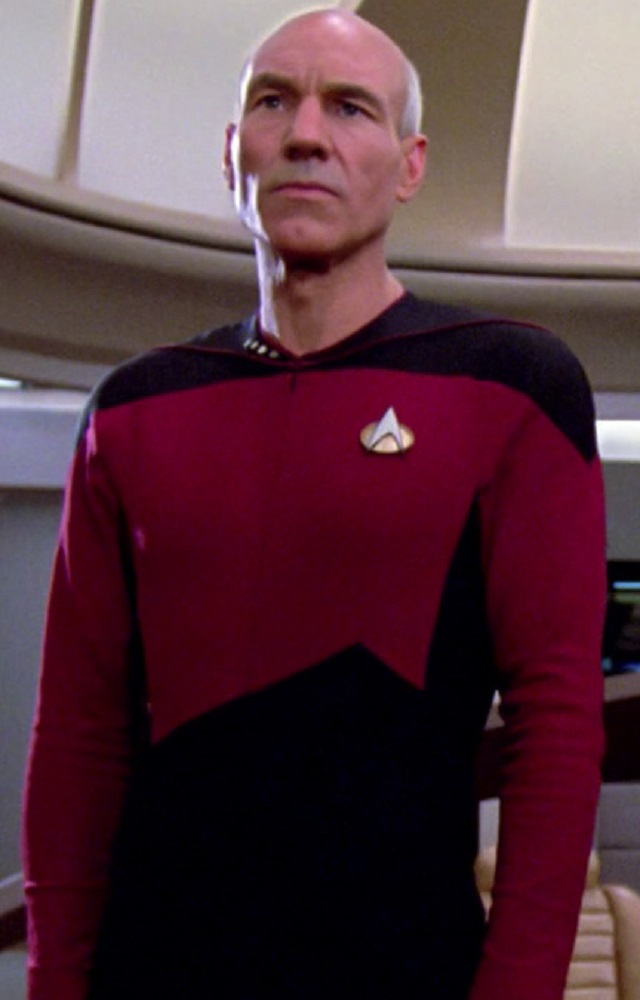
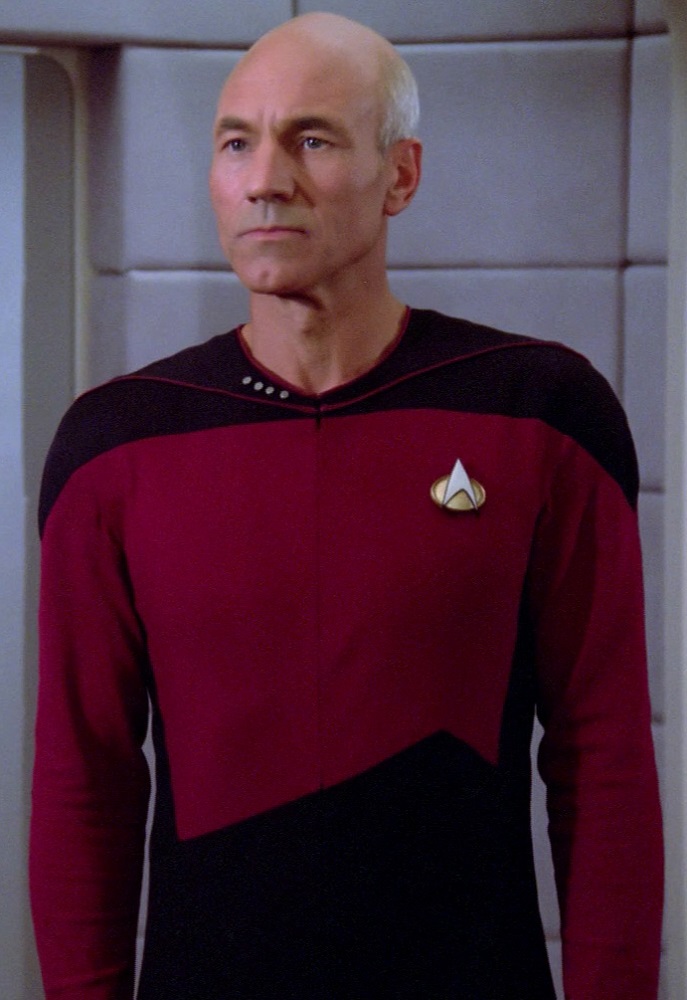
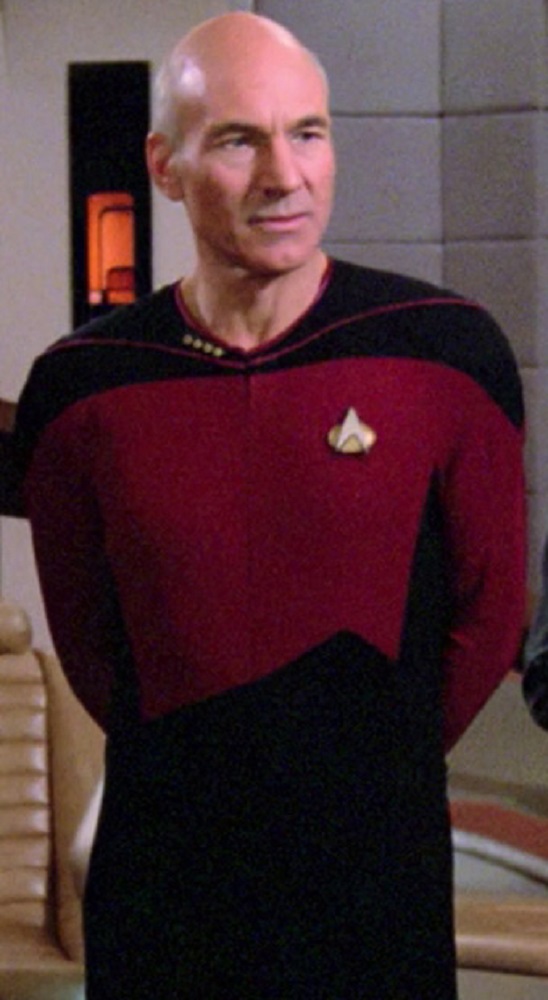
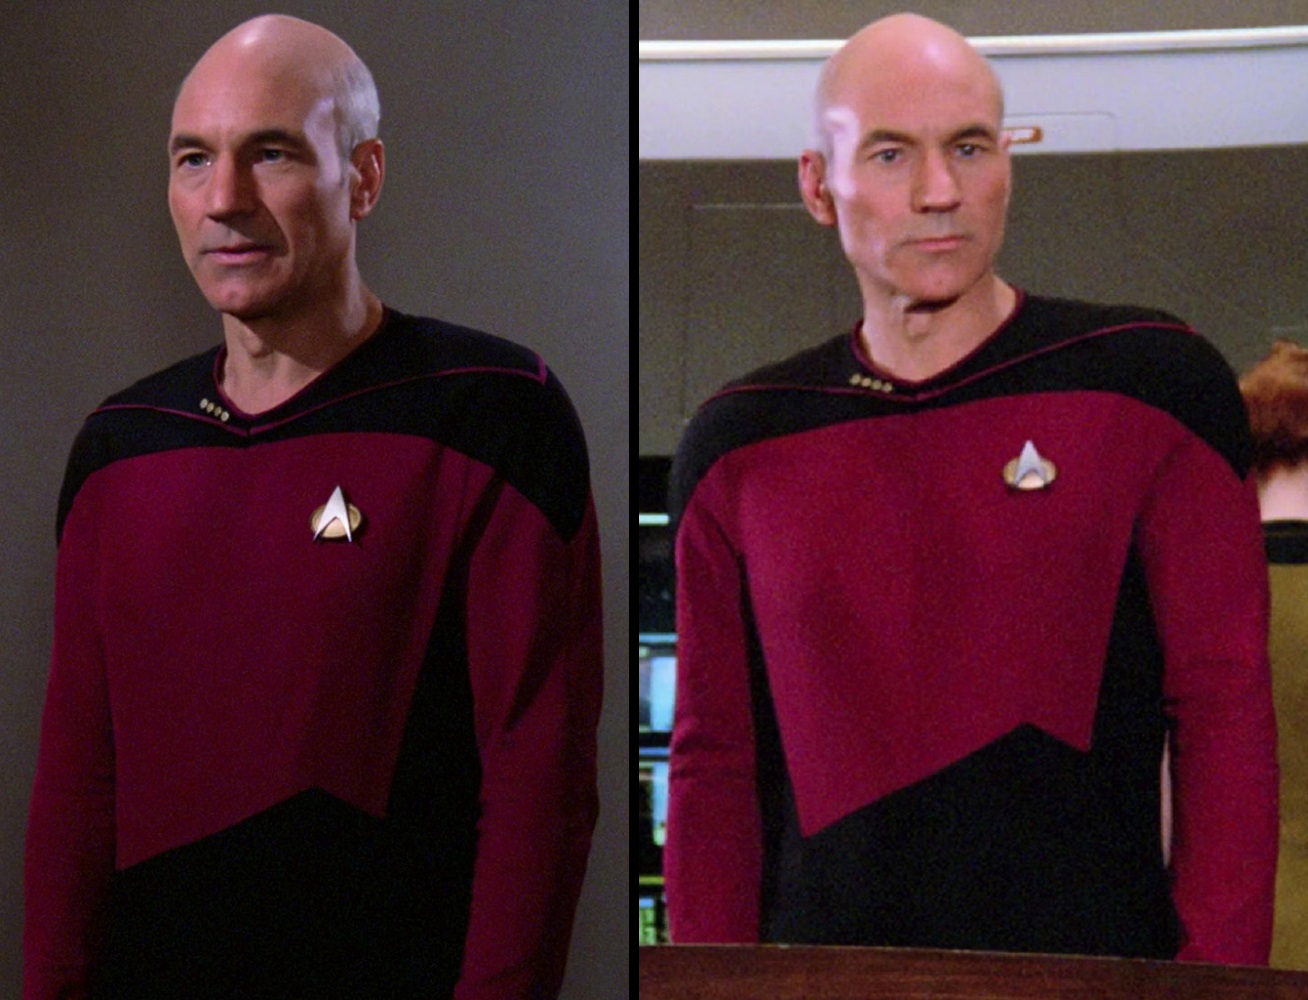
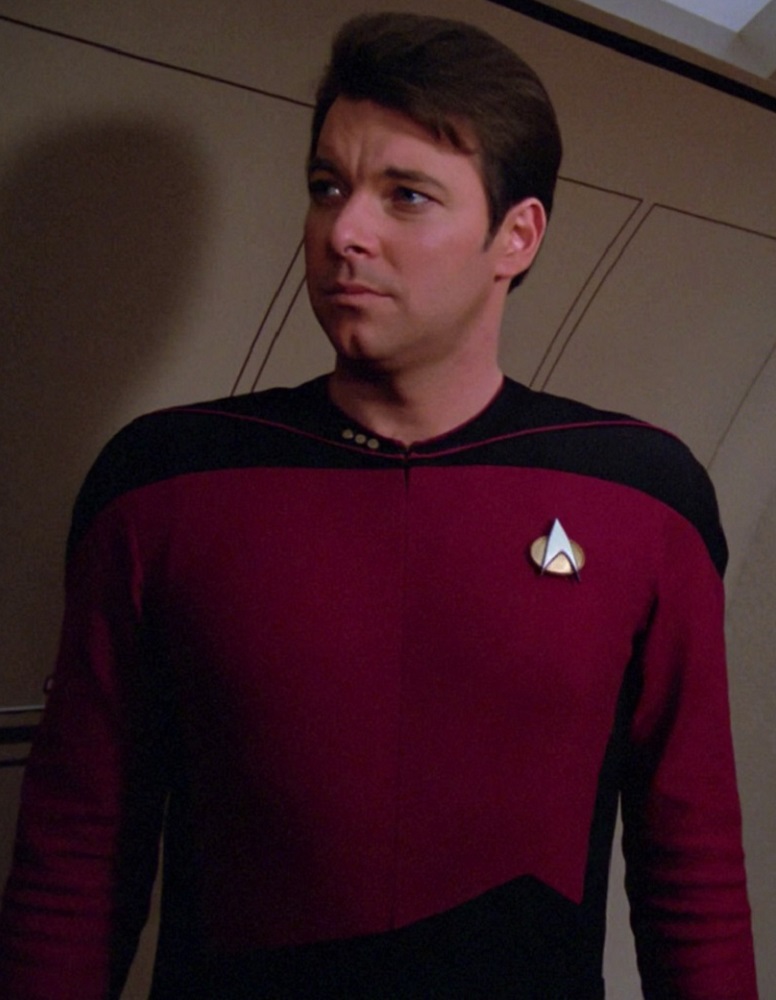
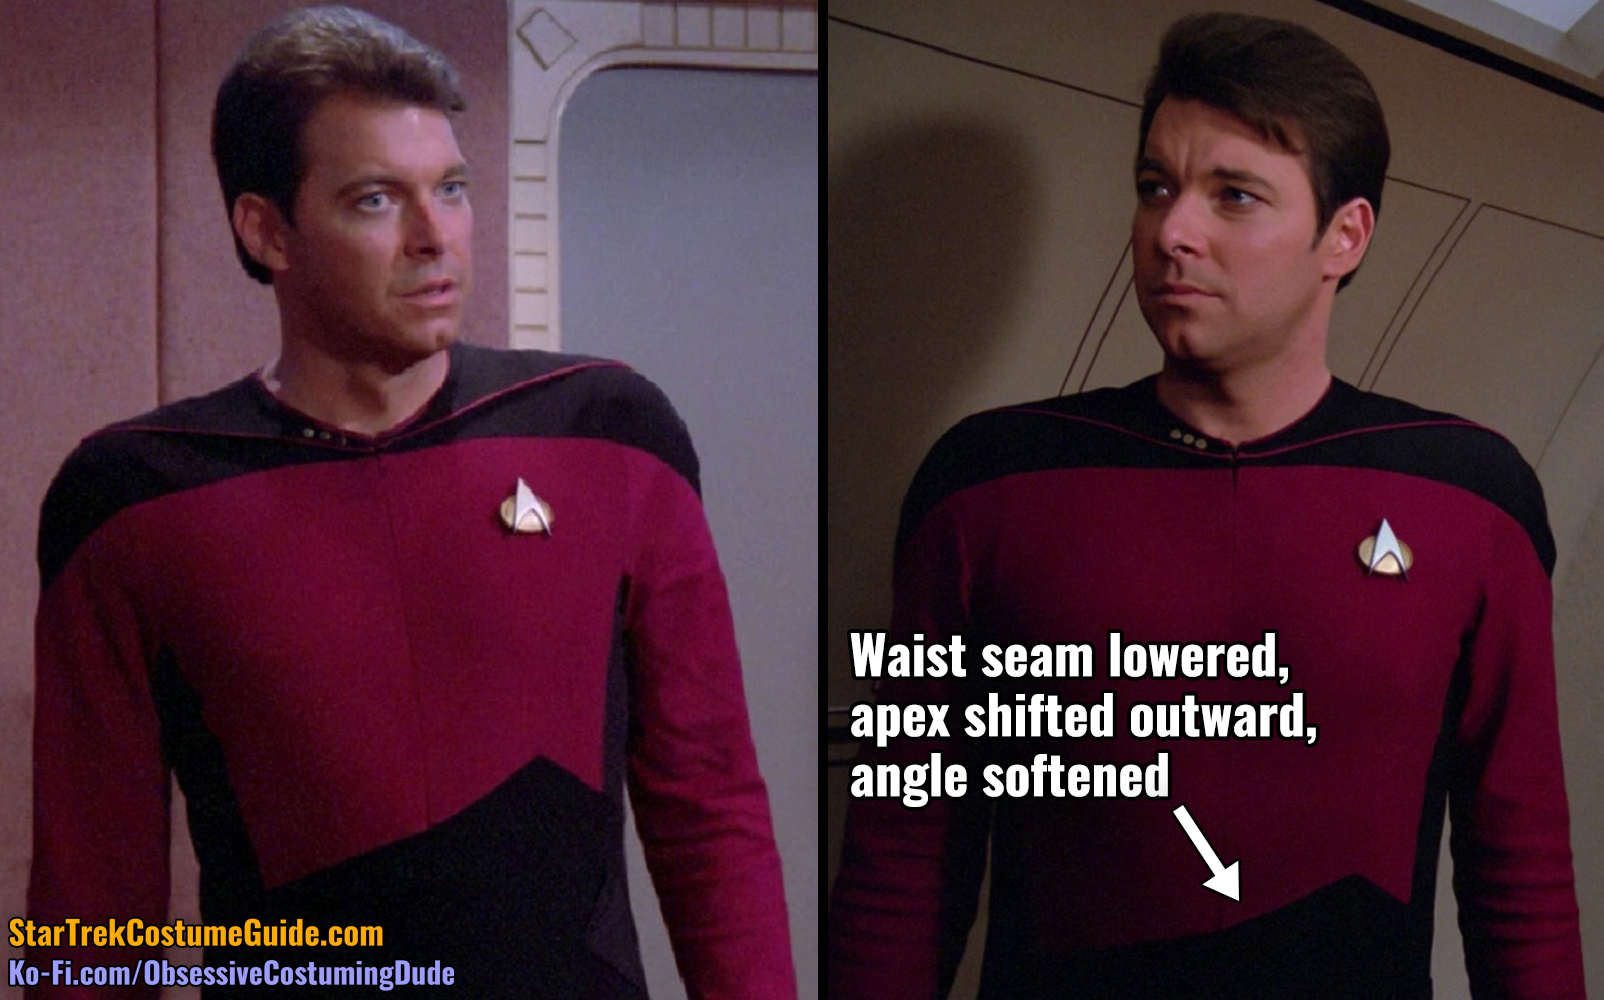
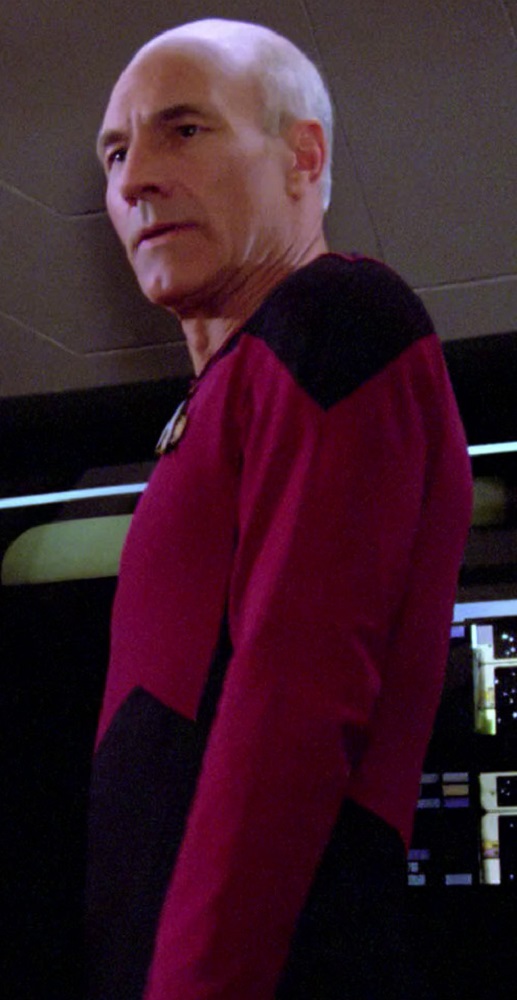
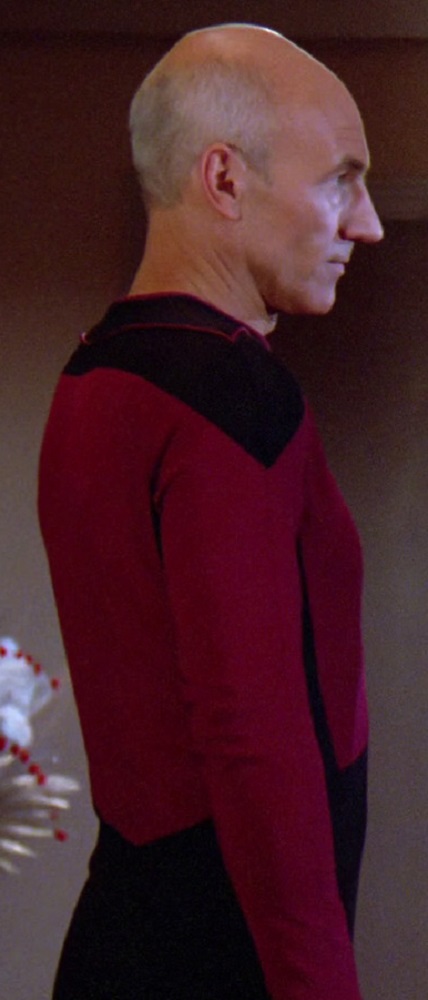
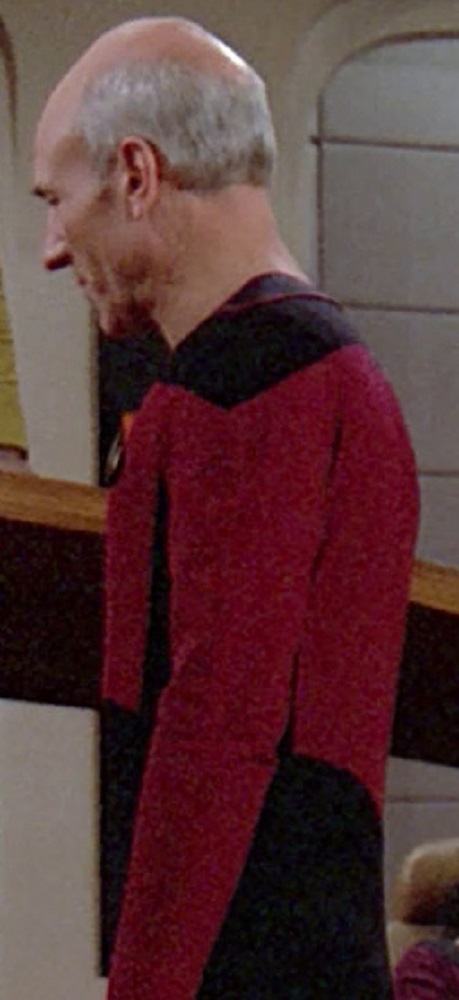
However, a few episodes into the show, Captain Picard’s asymmetrical waist seam was lowered, the apex shifted outward slightly, and the angle softened.
TNG, 1x1 “Encounter at Farpoint” (left) and 1x4 “Code of Honor” (right)
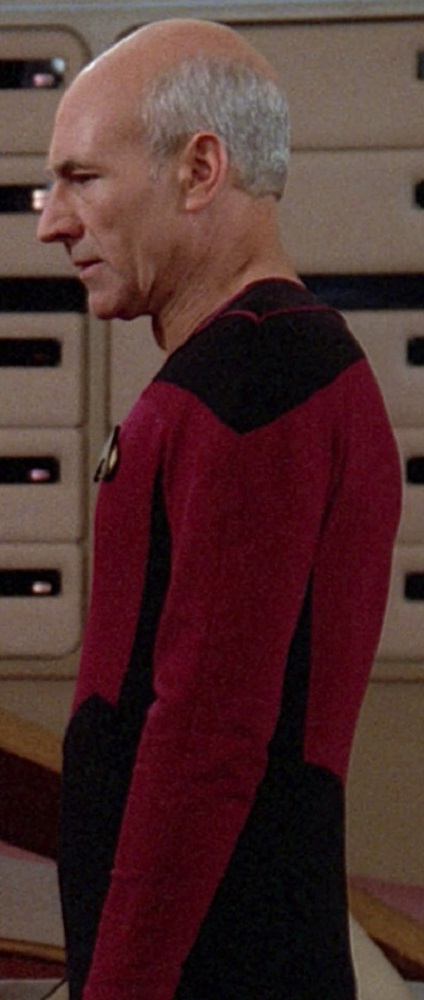
It was this second style that he wore most often (but not exclusively) for the rest of the first season.
TNG, 1x6 “Where No One Has Gone Before”
TNG, 1x7 “Lonely Among Us”
TNG, 1x11 “Haven”
TNG, 1x23 “Skin of Evil”
TNG, x24 “We’ll Always Have Paris”
TNG, 1x25 “Conspiracy”
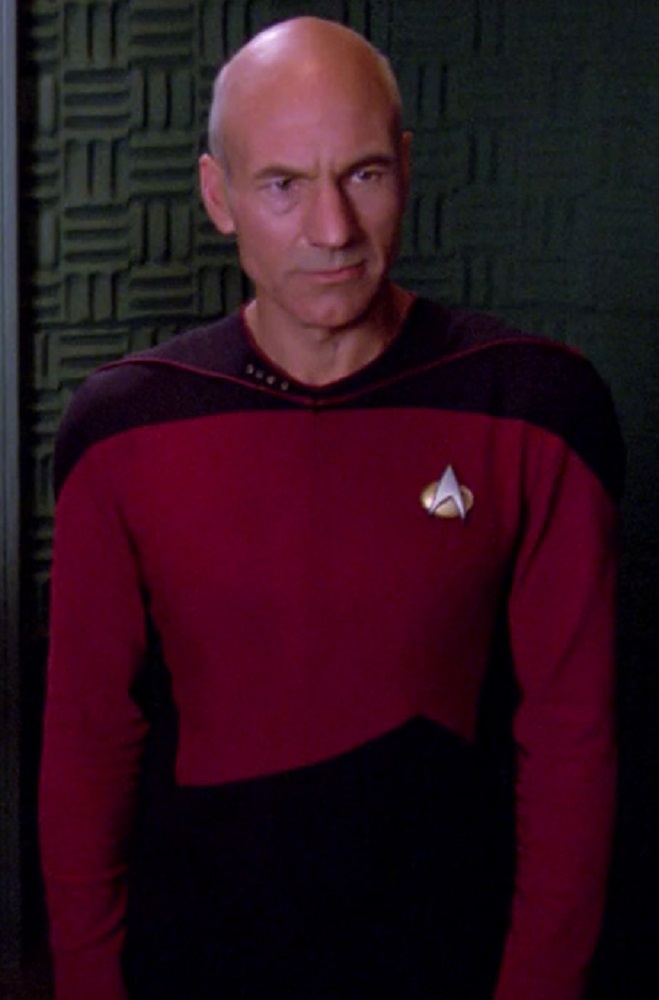
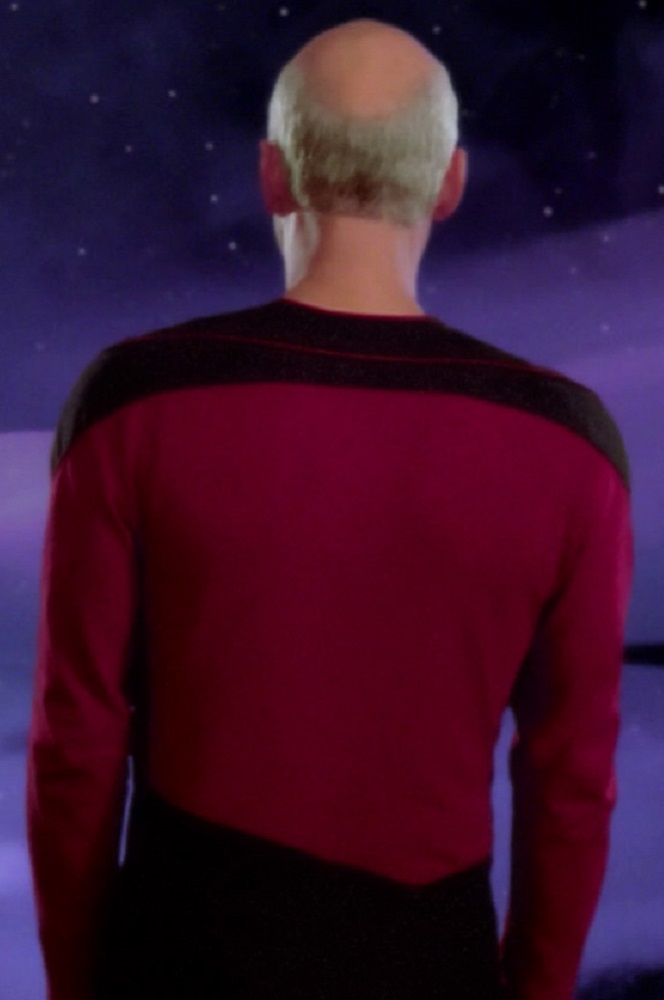
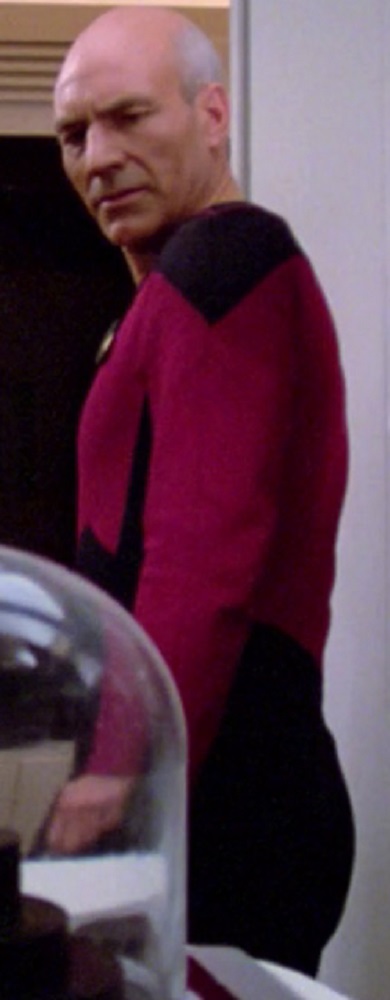
Toward the end of the season, it looks like his waist seam was lowered even more.
TNG, 1x26 “The Neutral Zone”
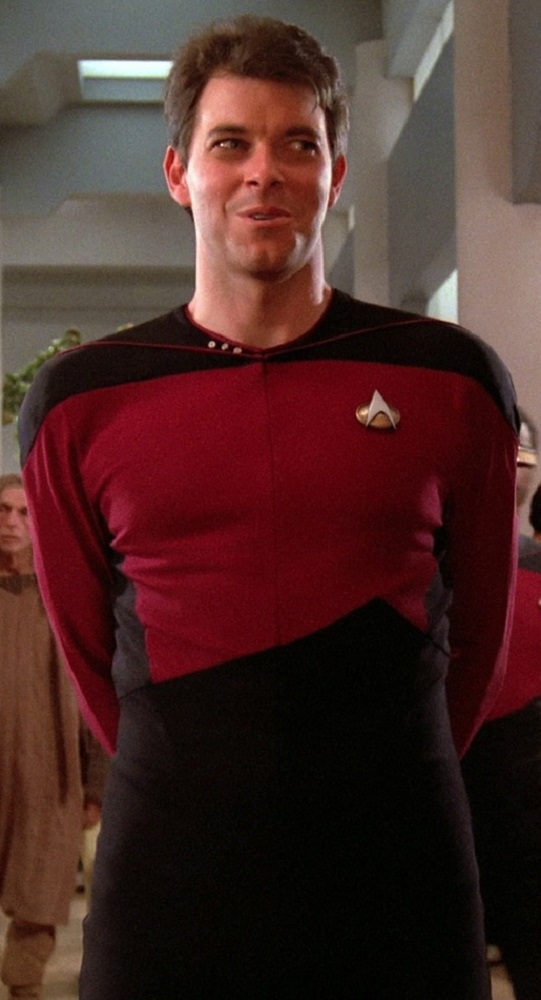
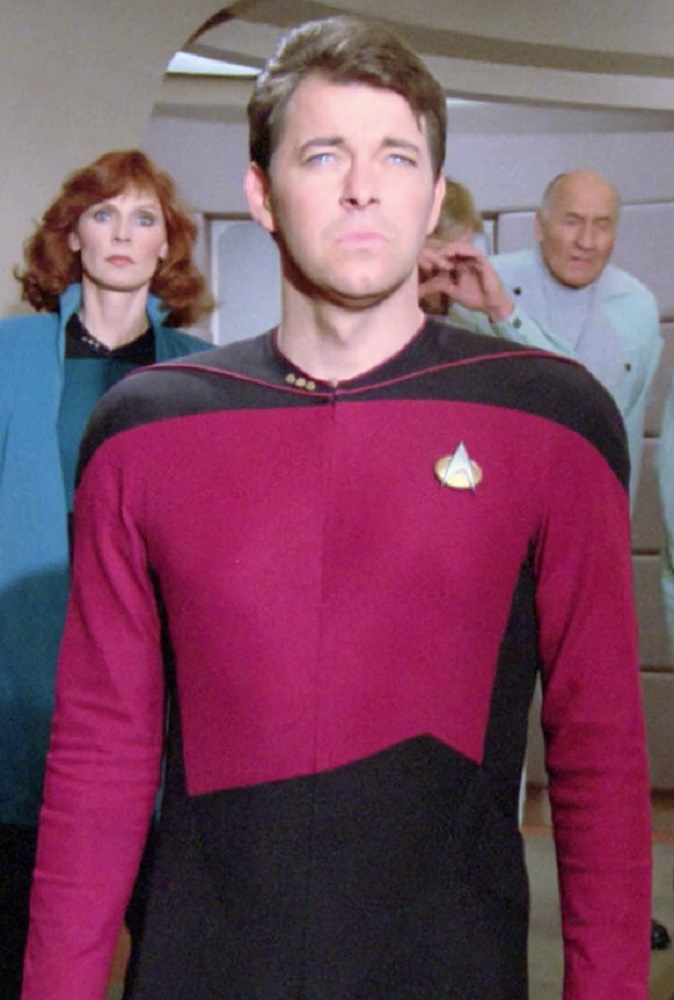
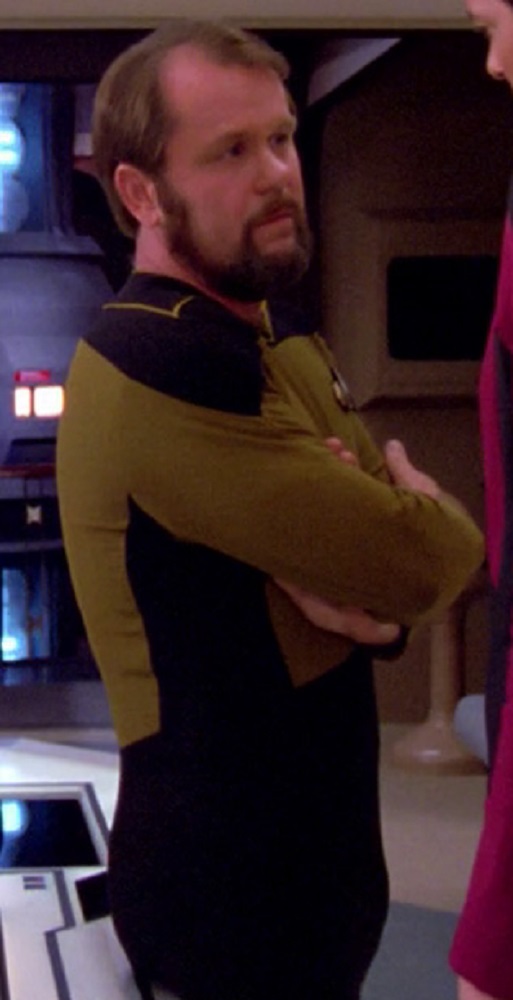
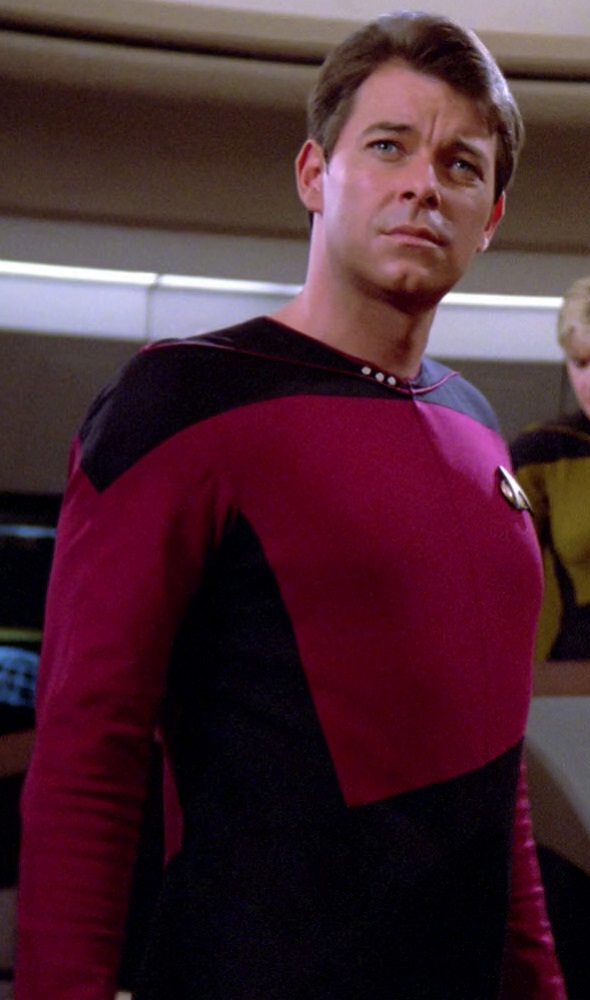
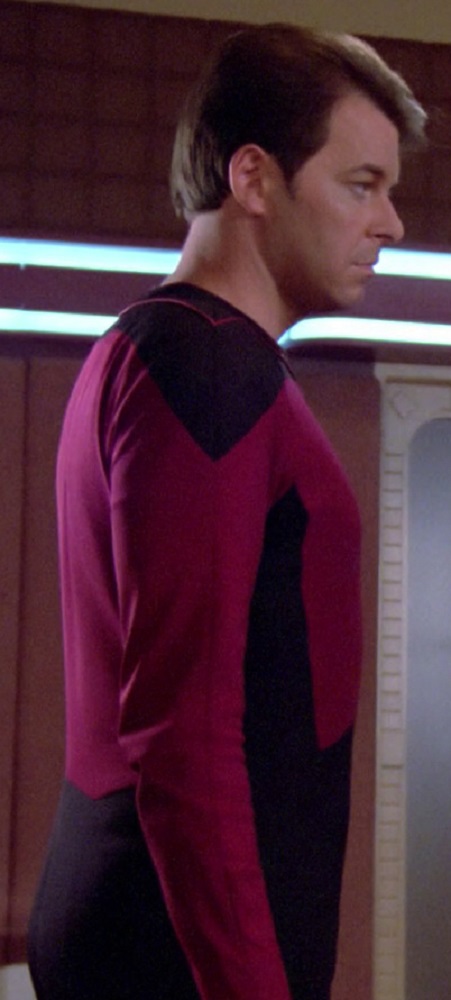
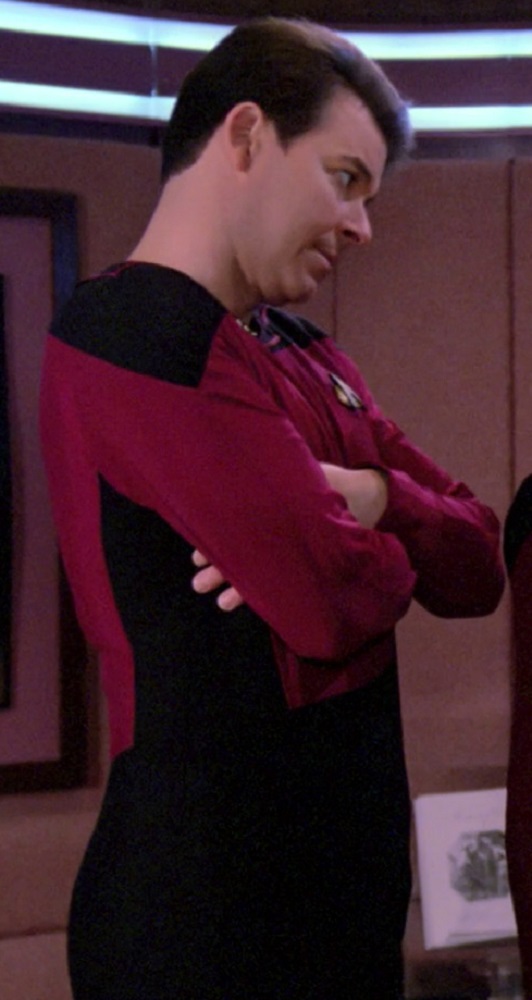
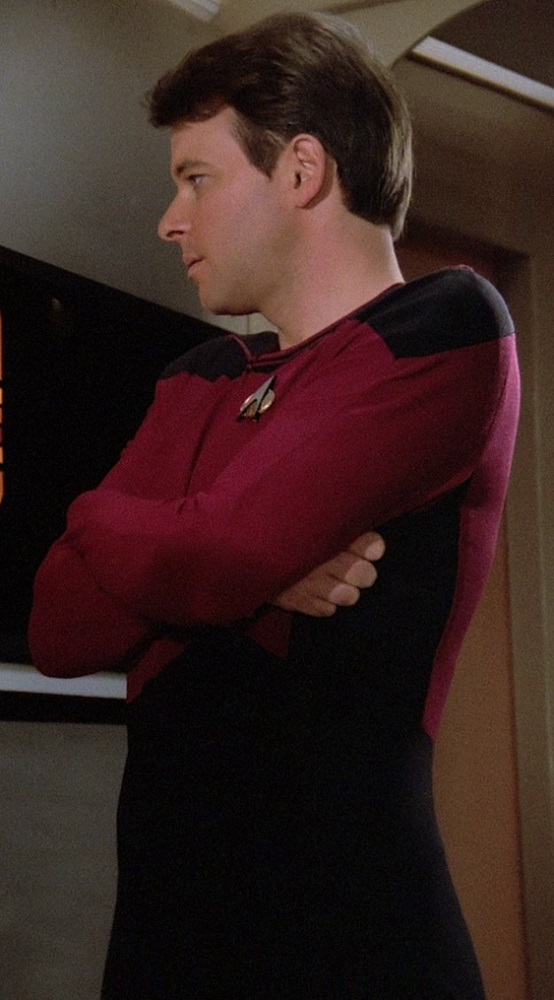
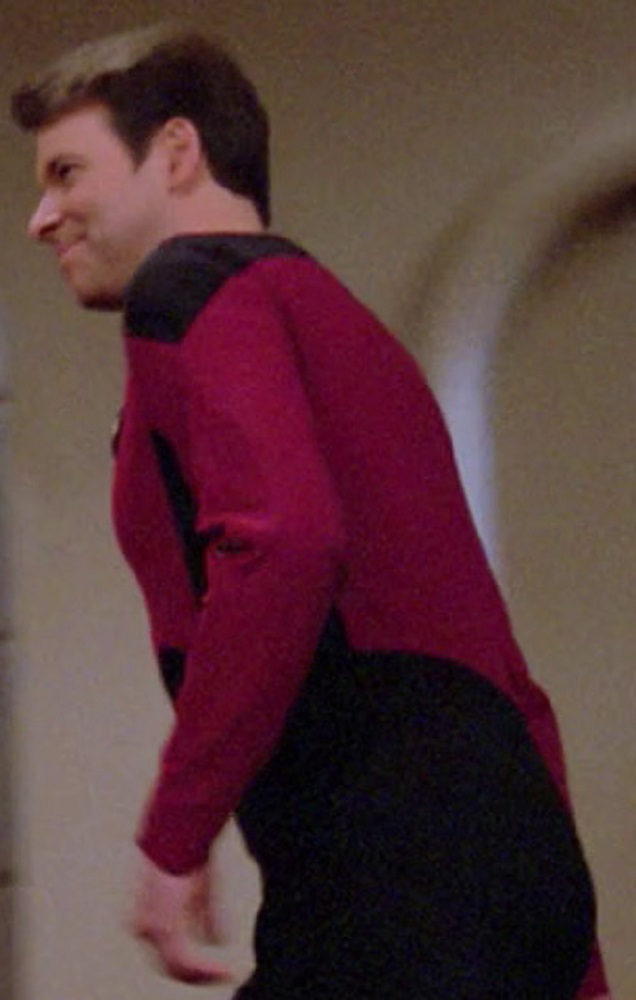
Commander Riker’s uniforms were also consistent with the others for the first half or so of the season.
TNG, 1x1 “Encounter at Farpoint”
TNG, 1x11 “Haven”
About halfway through the season, though, his uniforms switched to Picard’s (second) style.
TNG, 1x15 “11001001”
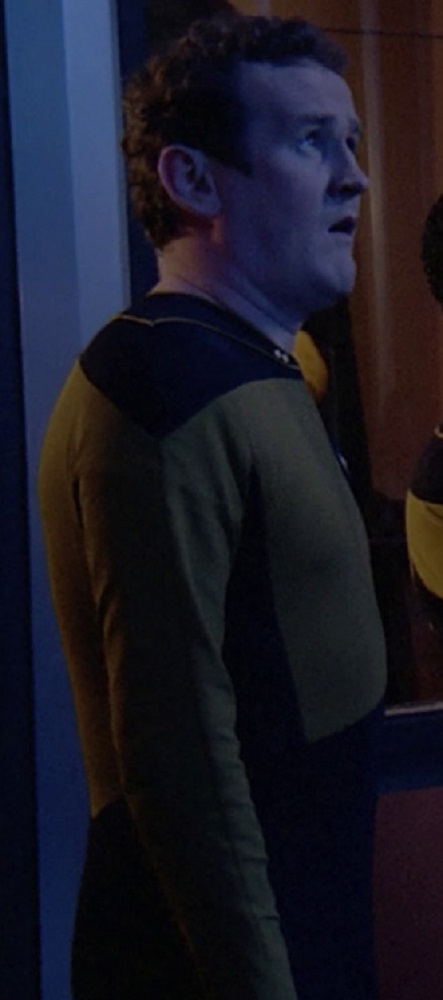
TNG, 1x18 “Home Soil”
Here’s a side-by-side comparison of Commander Riker’s early and later waist seams:
TNG, 1x11 “Haven” (left) and 1x15 “11001001” (right)
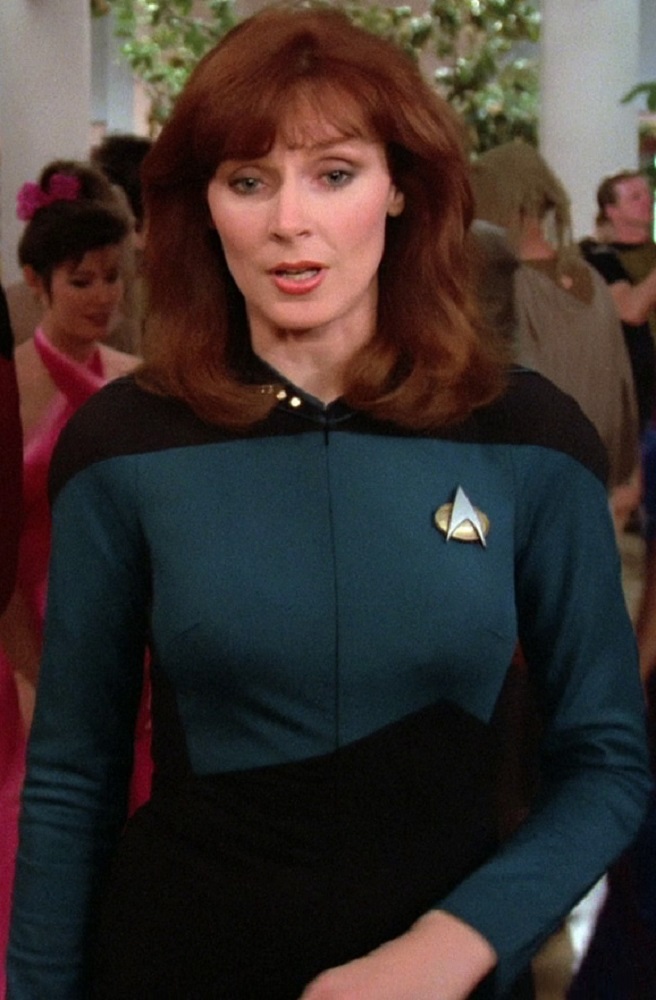
Dr. Crusher’s uniforms were also initially consistent with the others.
TNG, 1x1 “Encounter at Farpoint”
TNG, 1x4 “Code of Honor”
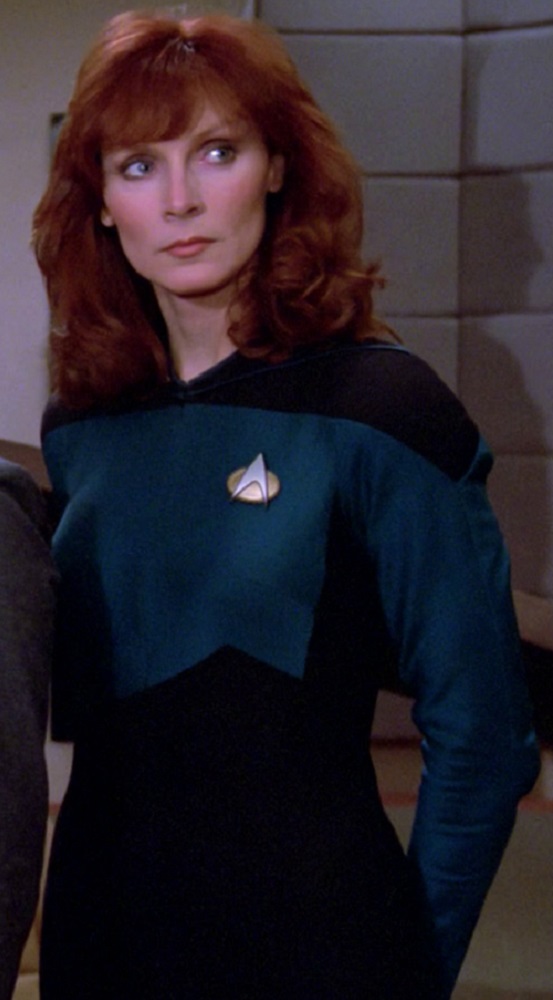
At some point partway through the season, though, her asymmetrical waistline was also lowered and softened similarly to Captain Picard’s and Commander Riker’s.
(I wasn’t able to determine exactly when, because her lab coat usually obscured the jumpsuit’s front paneling.)
TNG, 1x22 “Symbiosis”
TNG, 1x23 “Skin of Evil”
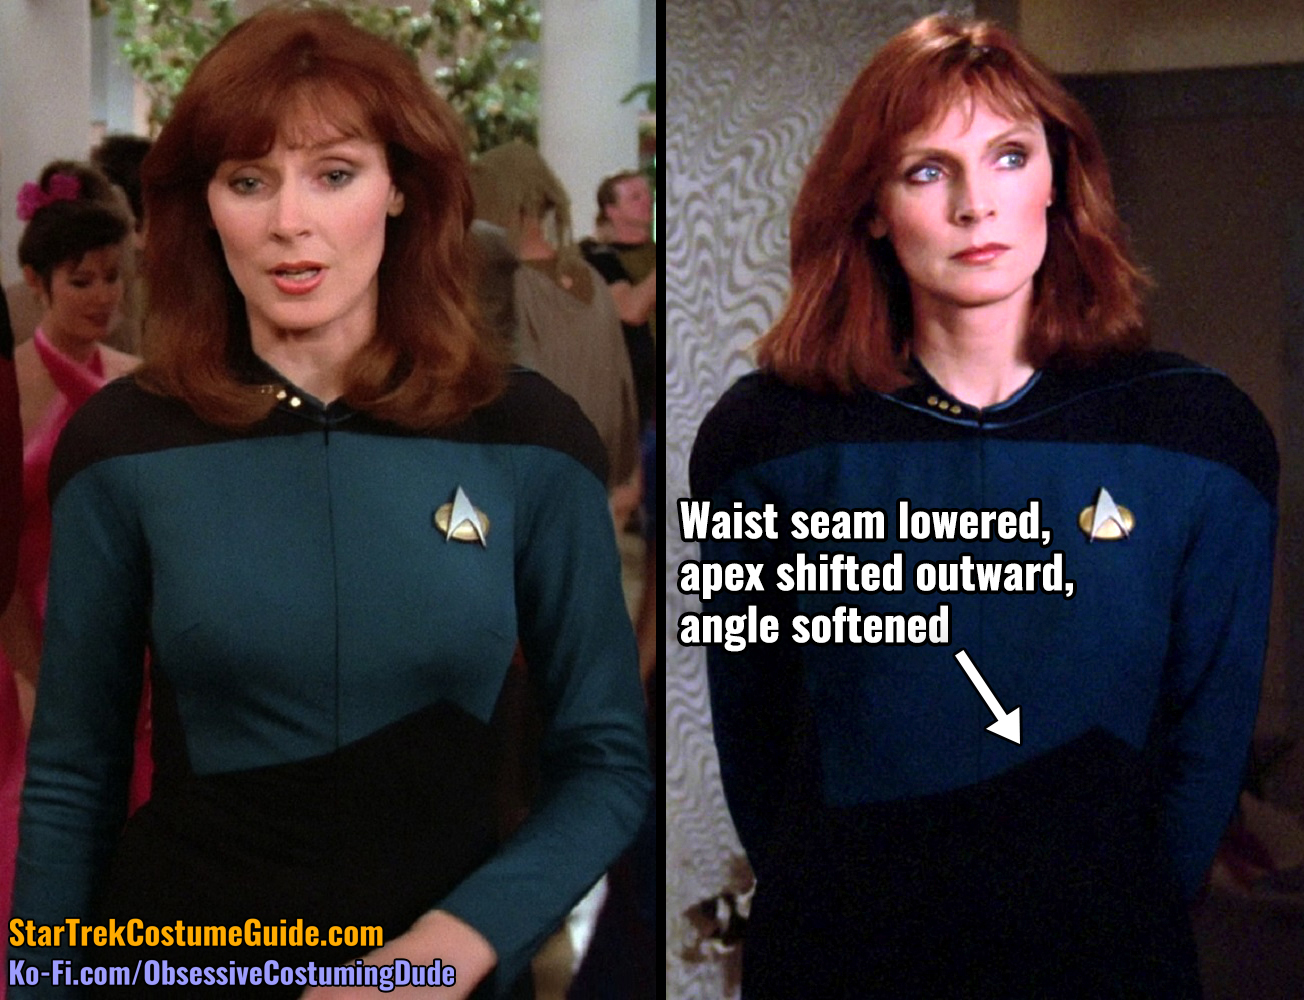
Here’s a side-by-side comparison of Dr. Crusher’s early and later waist seams:
TNG, 1x1 “Encounter at Farpoint” (left) and 1x22 “Symbiosis (right, brightened)
Q’s uniforms were consistent with the earlier style for both his appearances, as were most of the extras’ uniforms.
TNG, 1x1 “Encounter at Farpoint”
TNG, 1x10 “Hide and Q”
TNG, 1x20 “Heart of Glory”
Again, it this earlier style of front paneling/proportions that I’ll be referring to as the “season 1 front” later throughout this analysis.
Should I make the distinction between “season 1a front” and “season 1b front,” the latter will be in reference to the altered Picard/Riker/Crusher waist proportions.
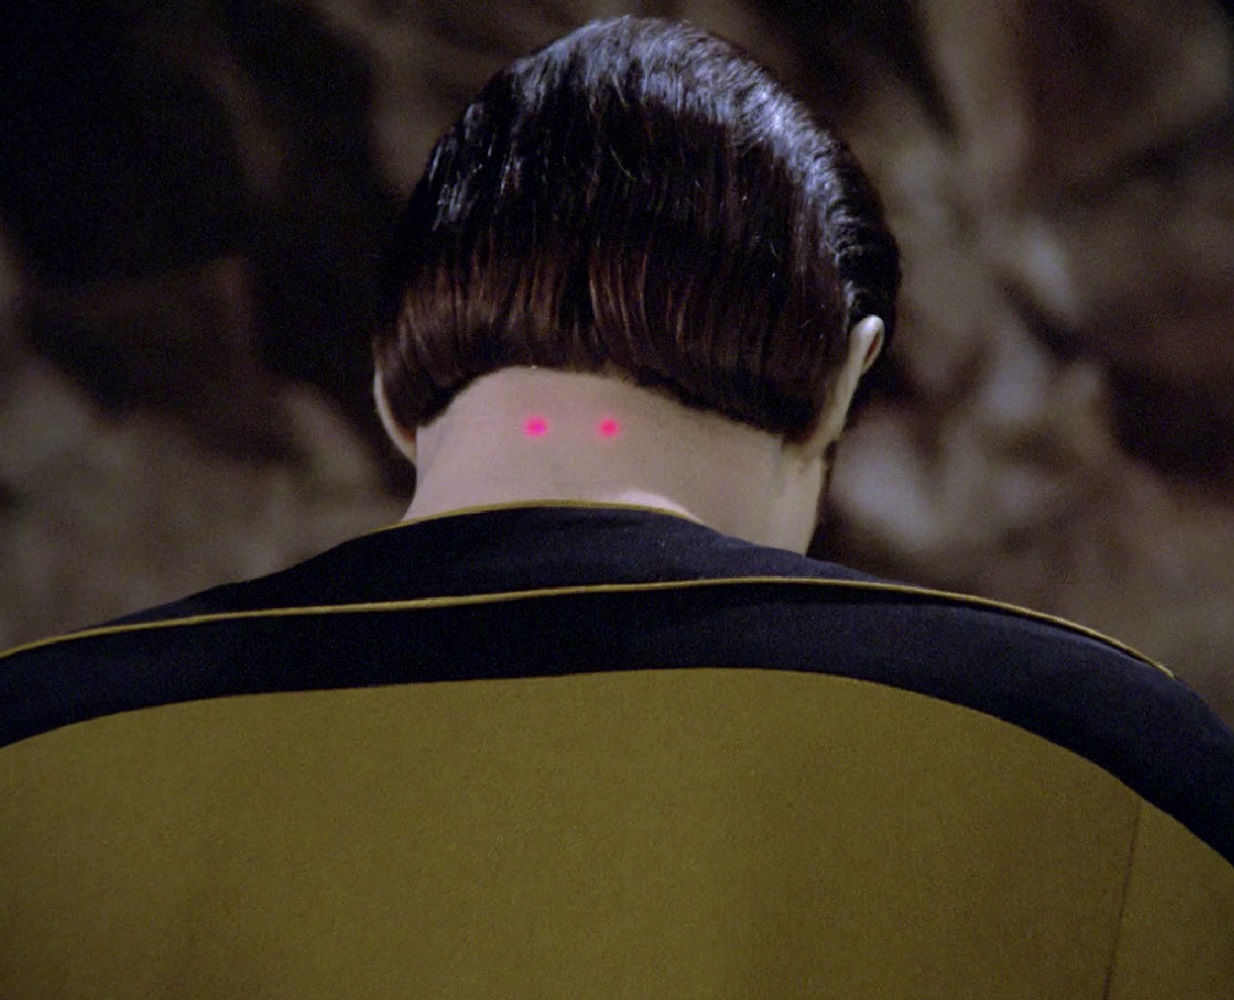
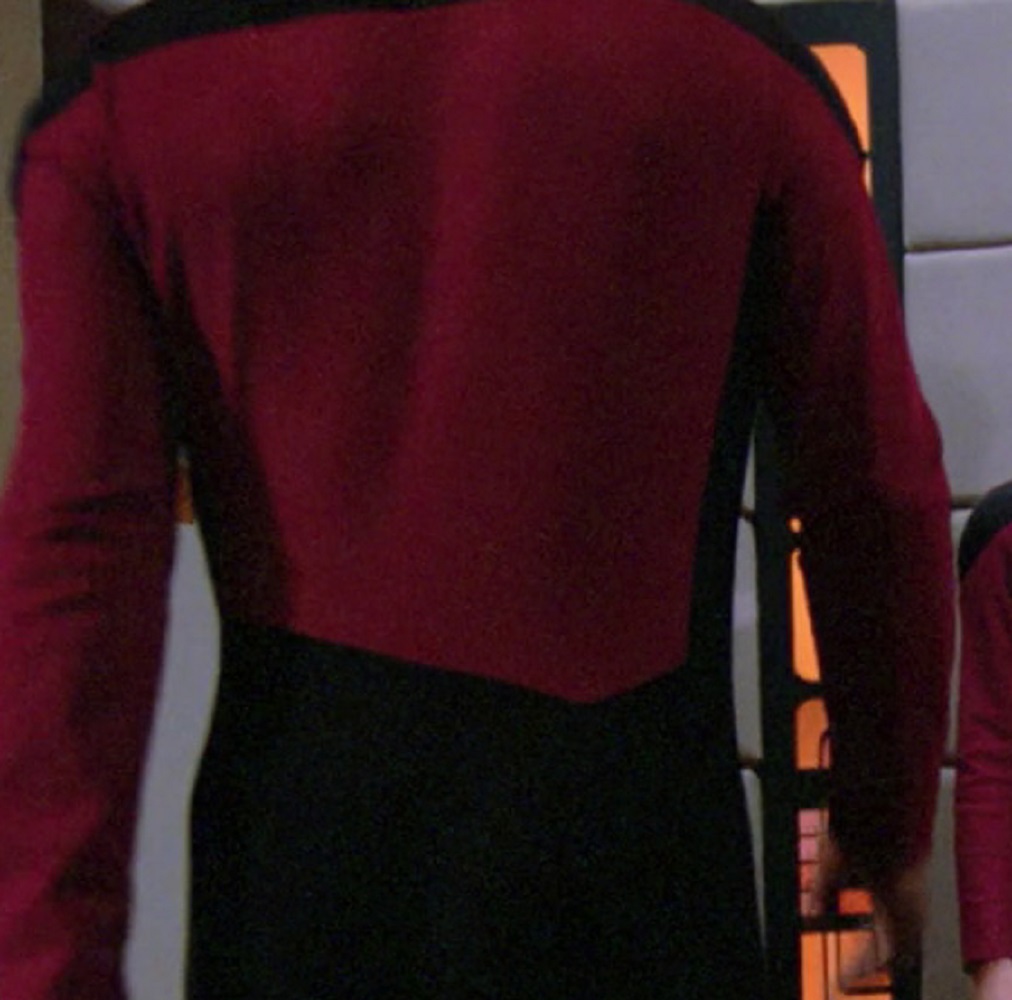
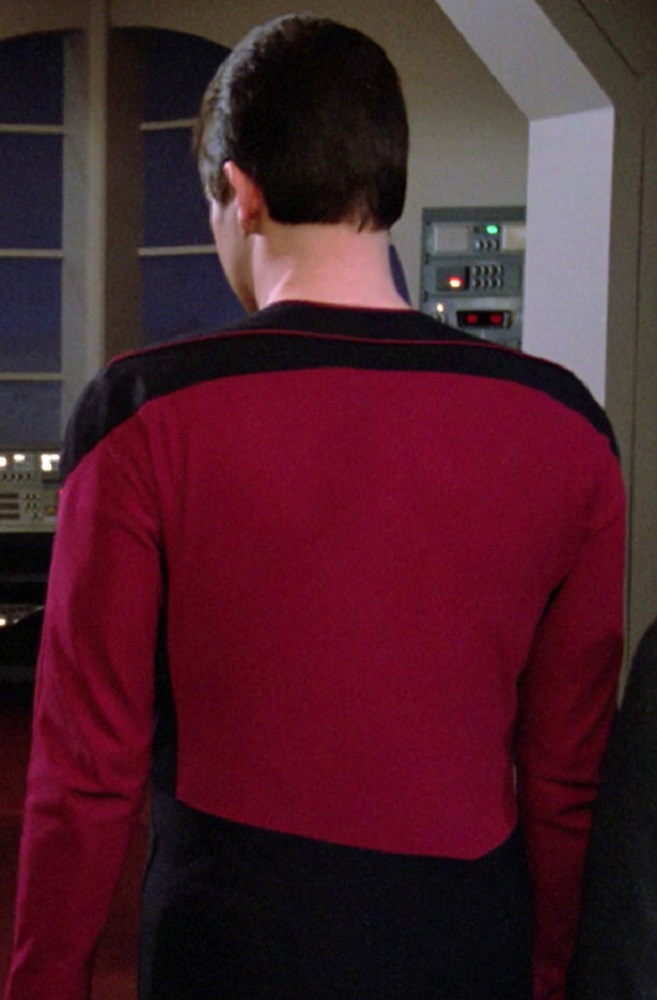
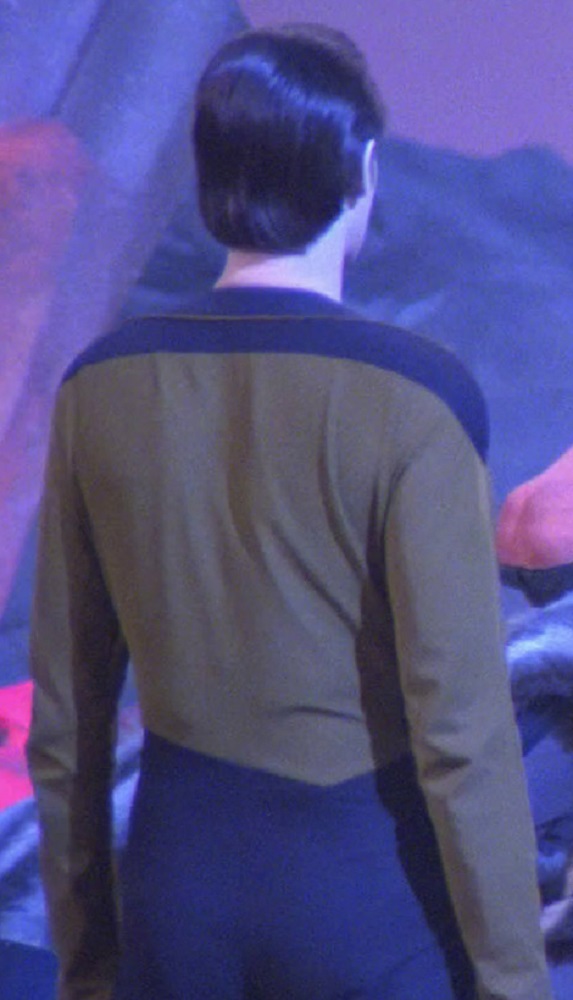
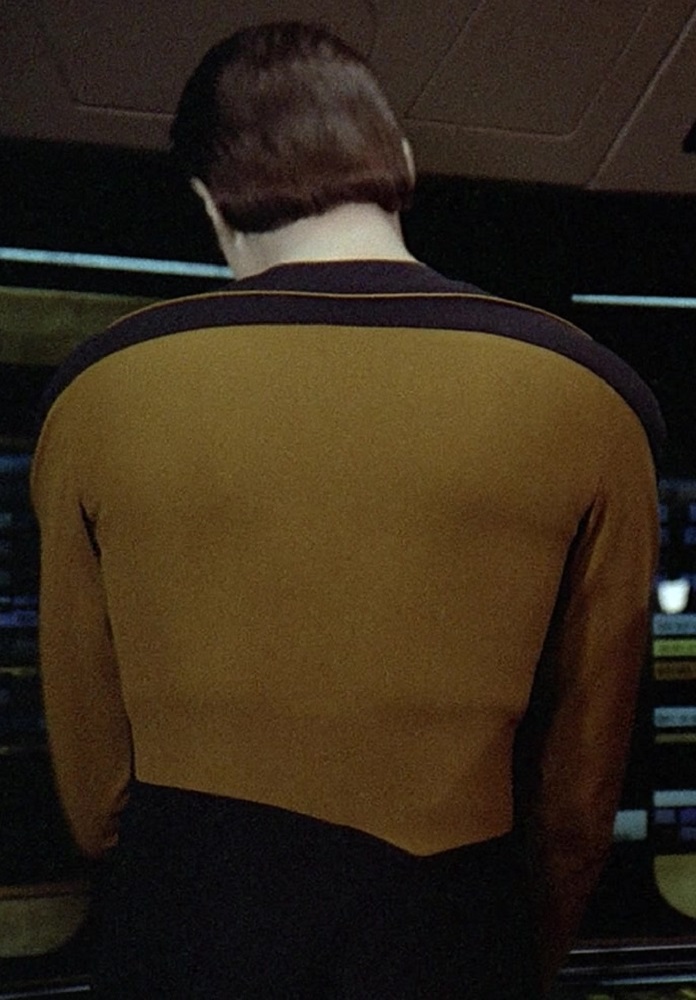
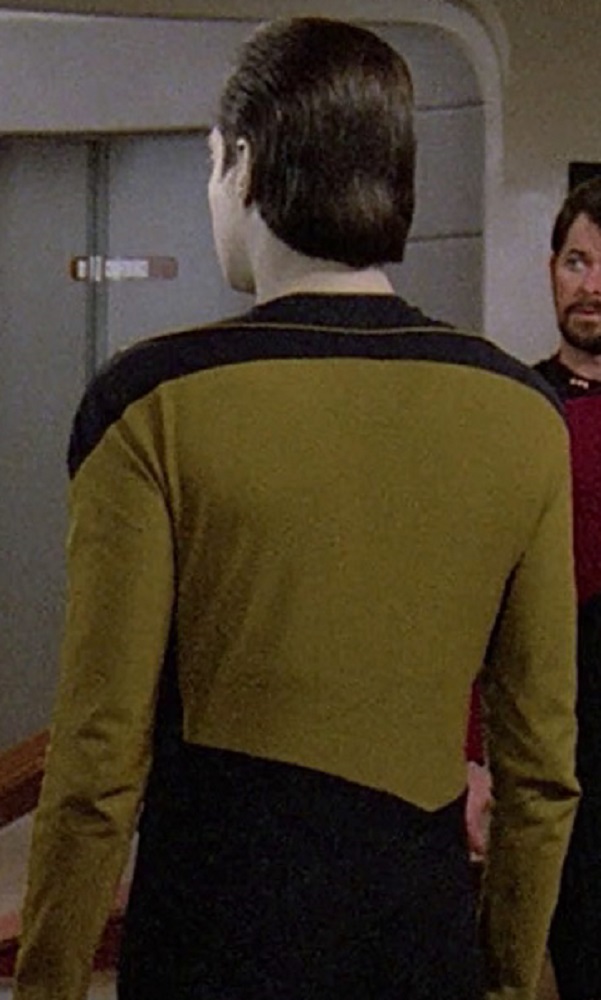
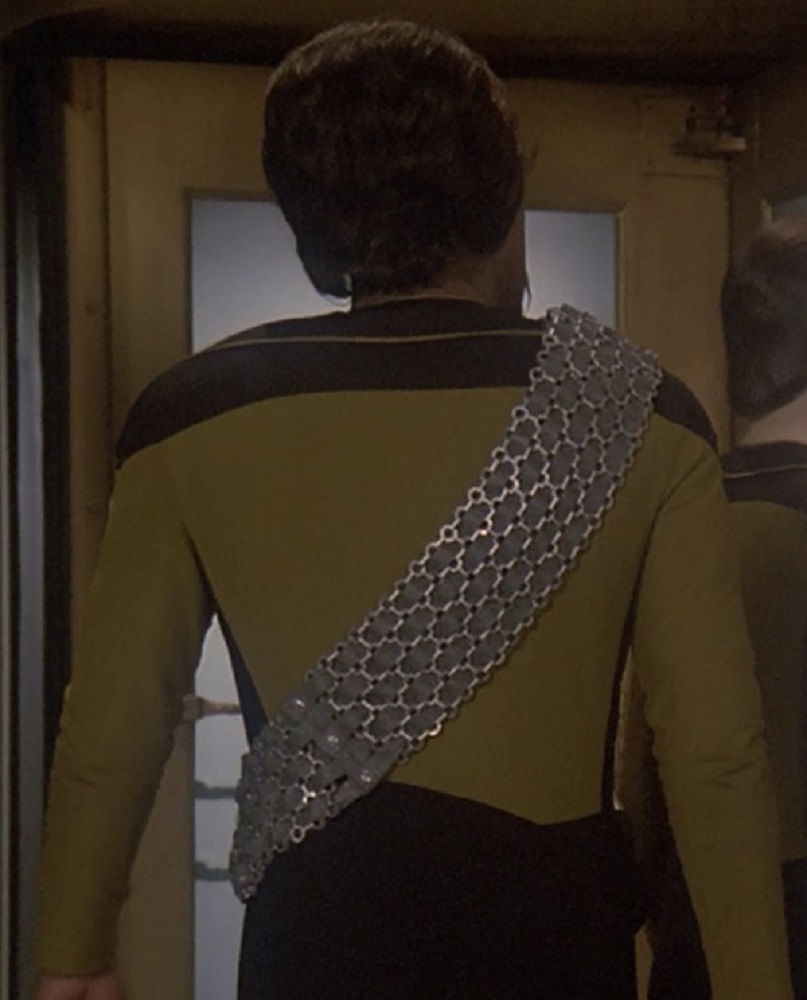
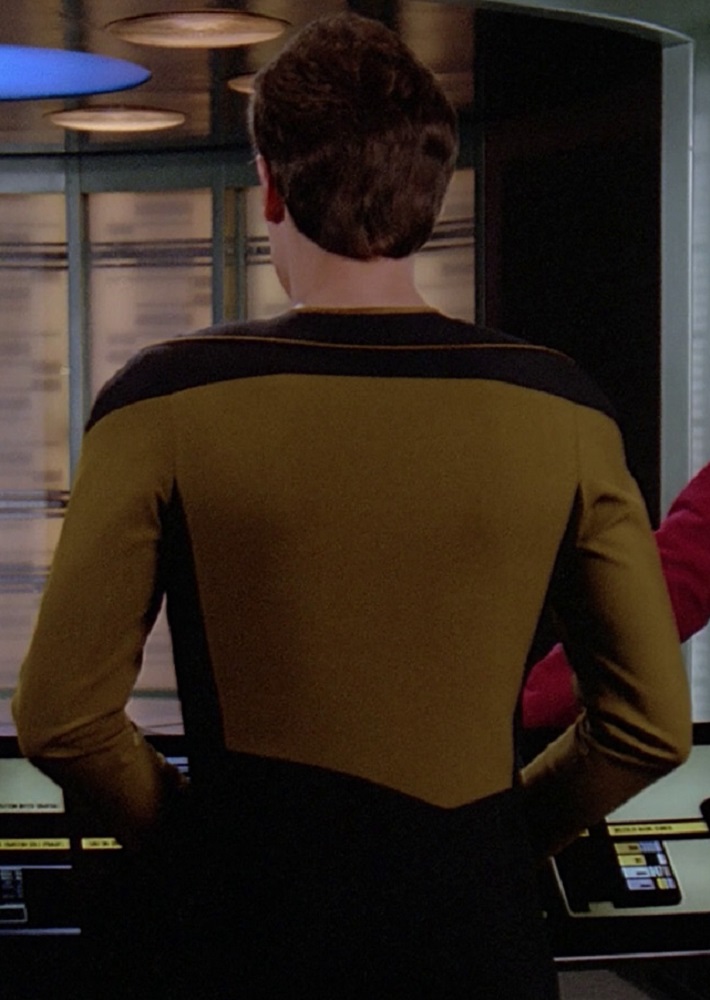
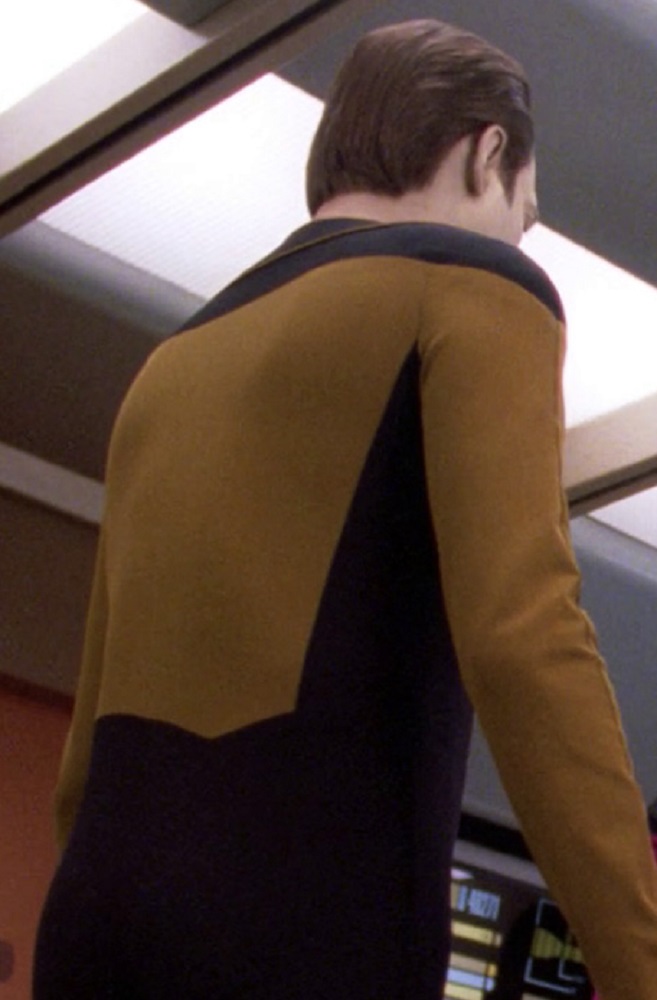
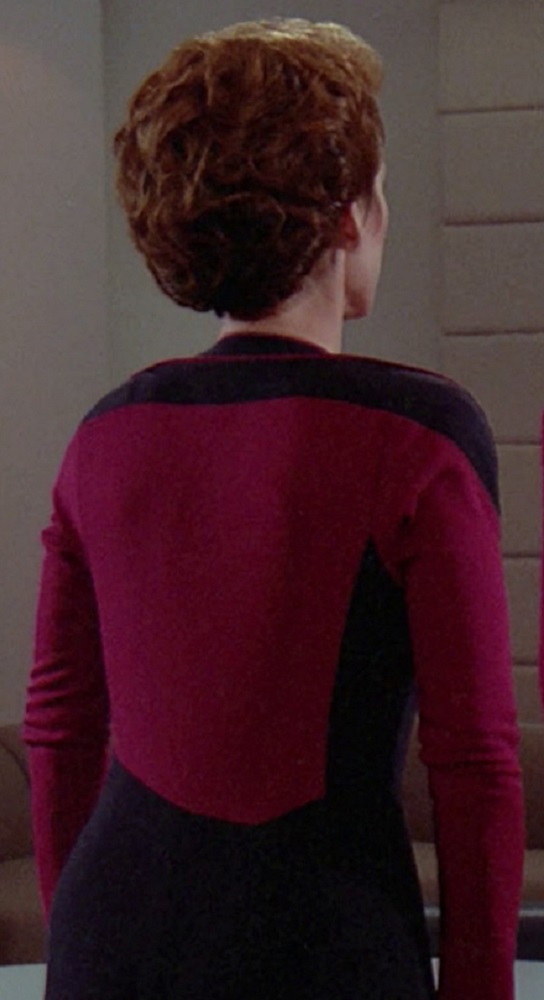
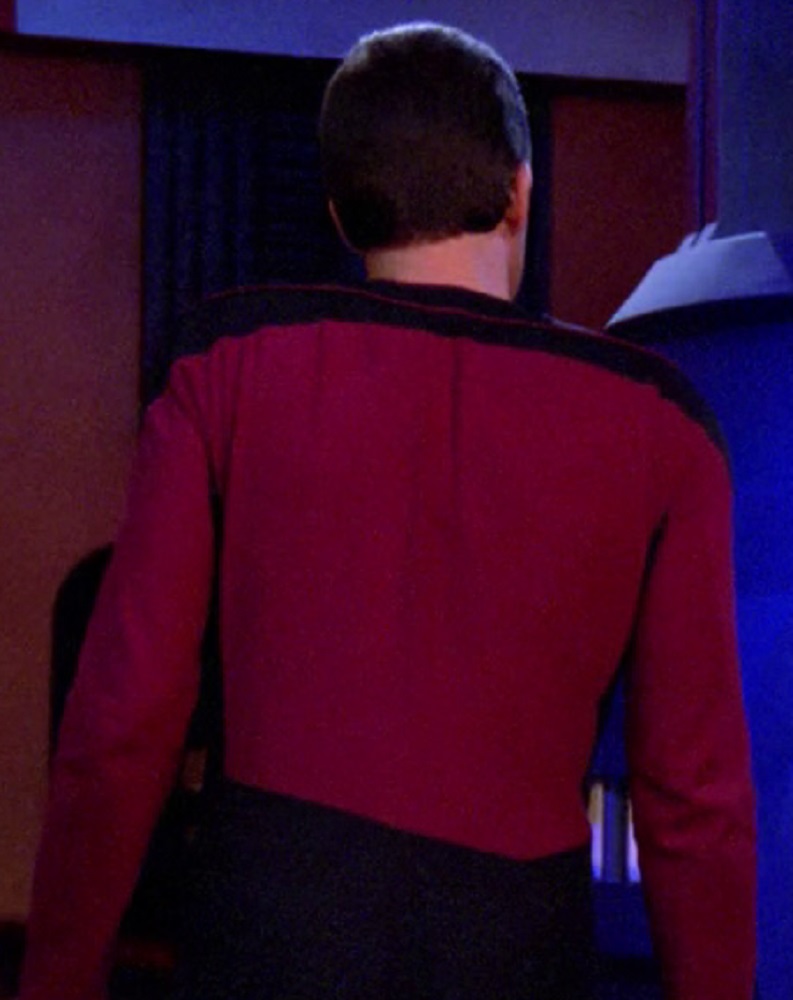
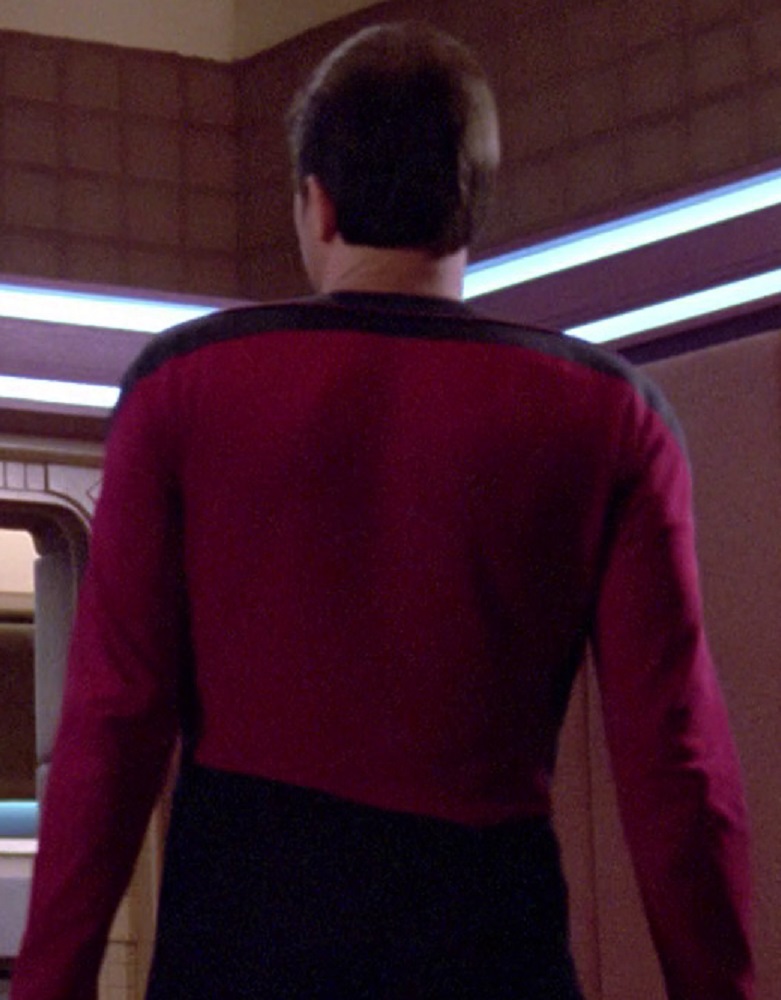
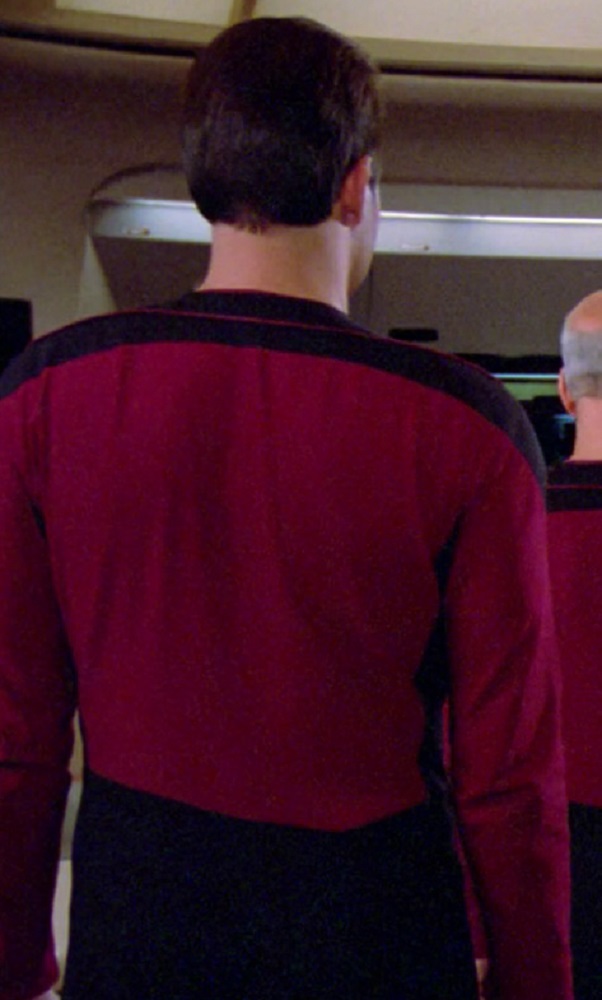
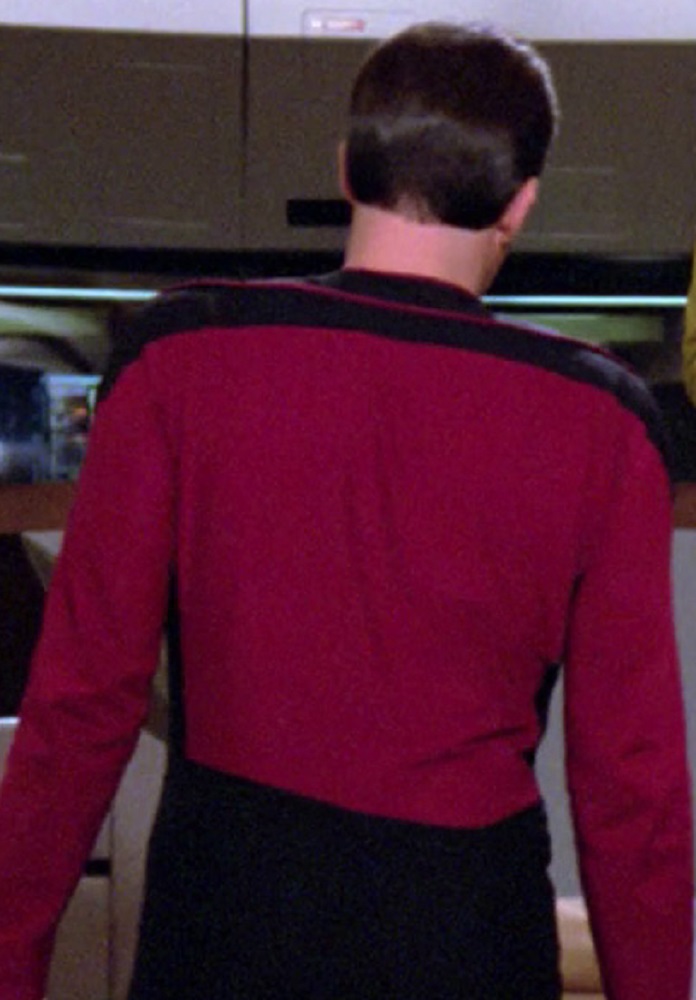
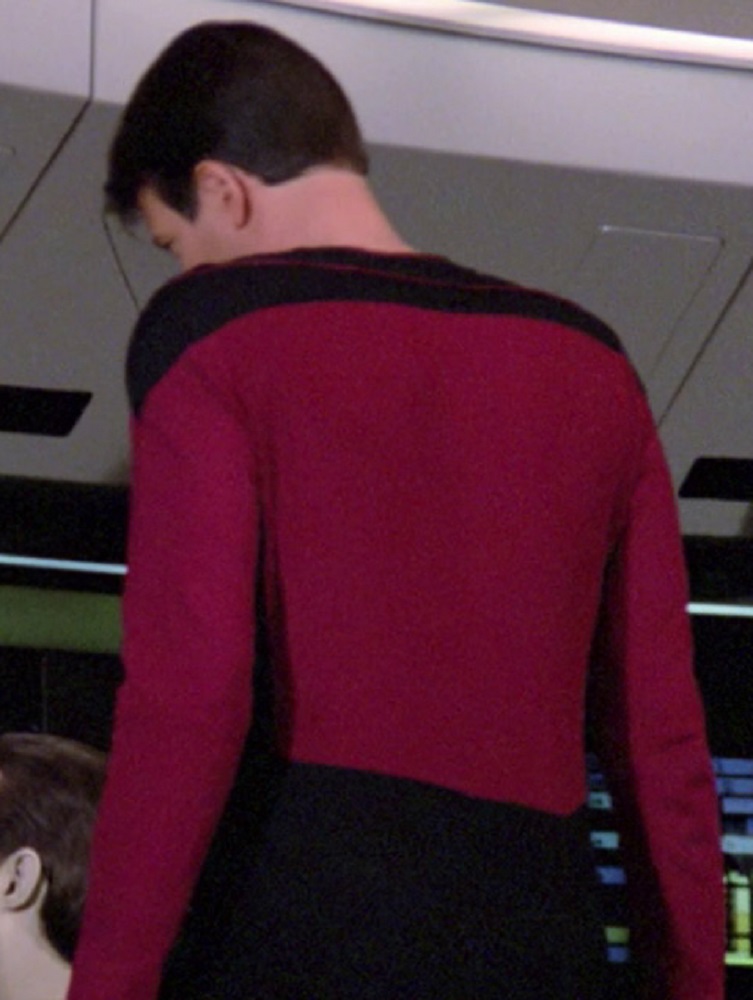
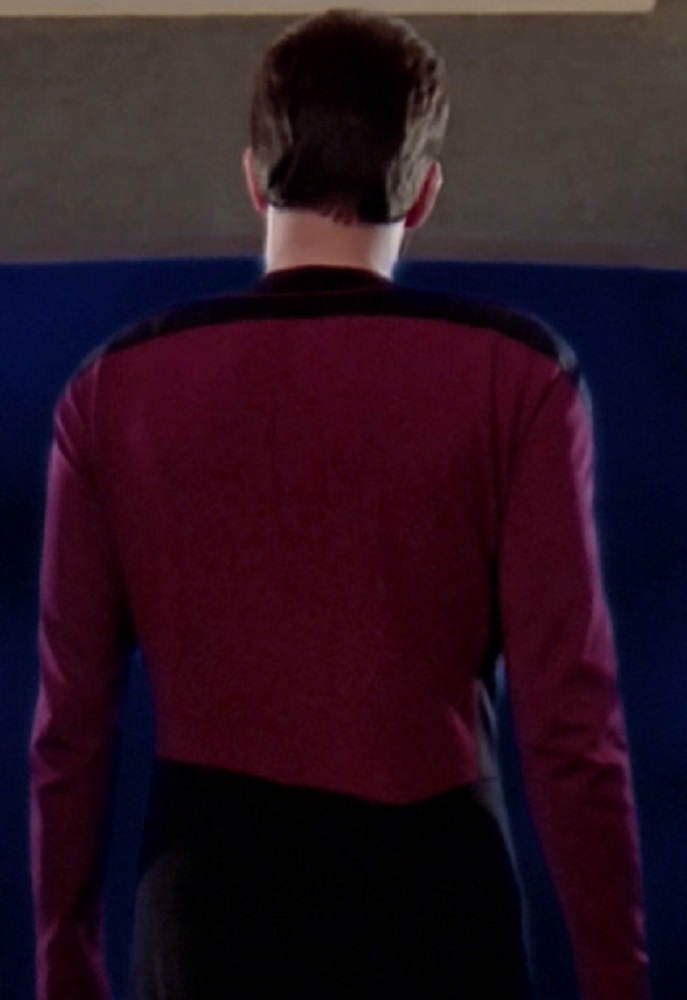
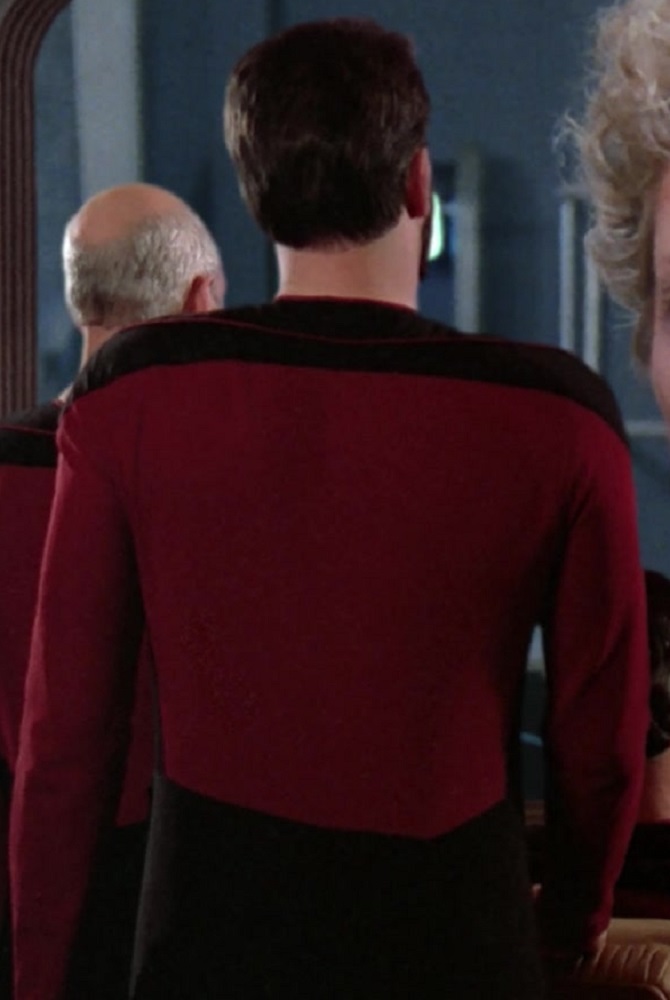
Upper Back
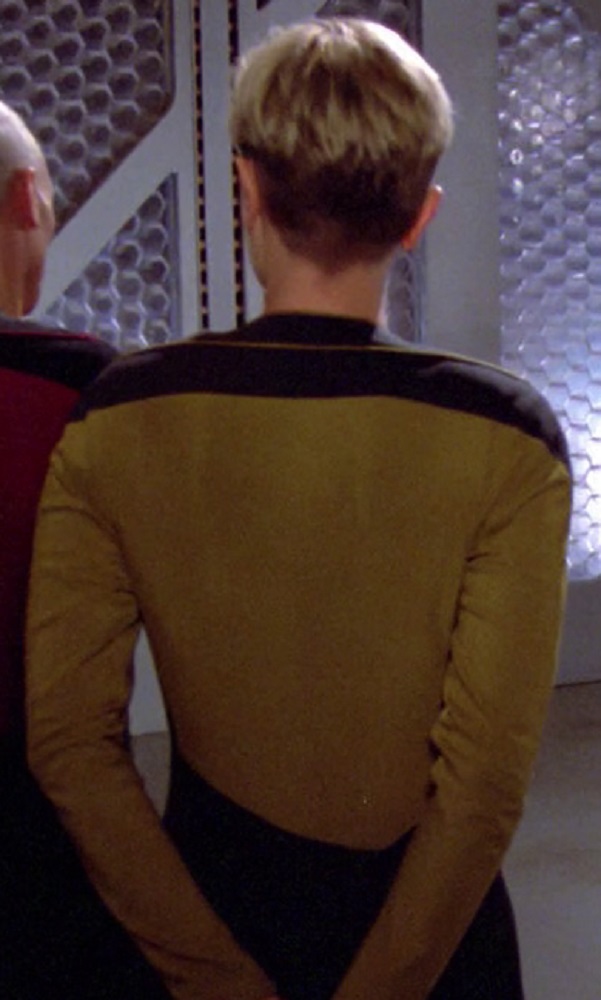
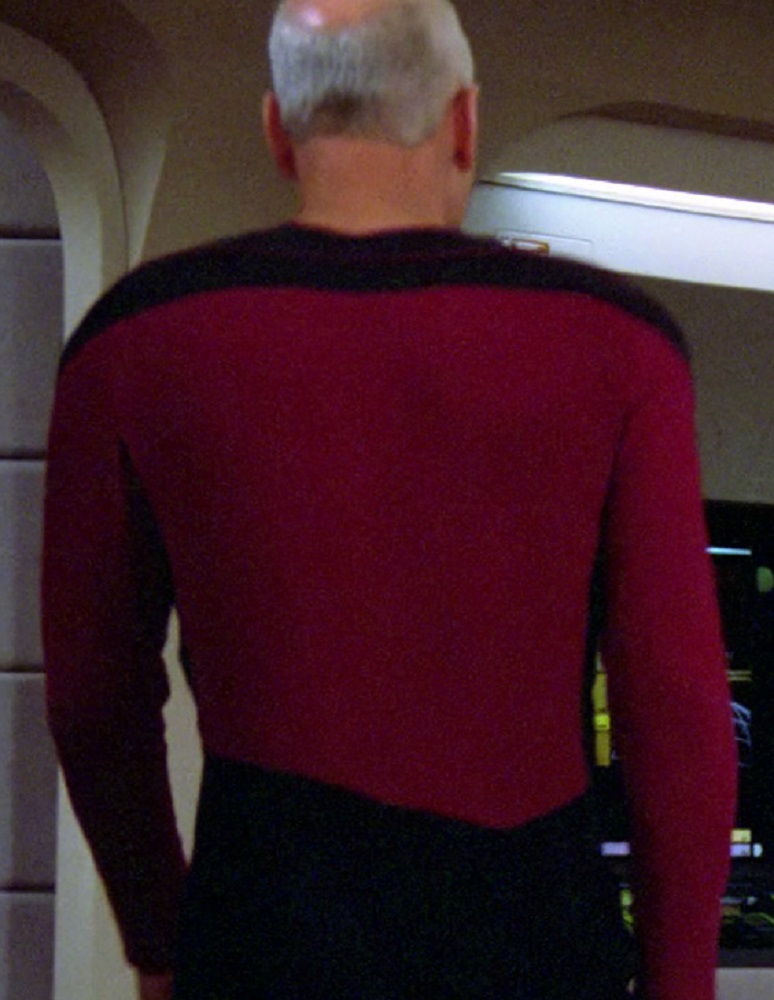
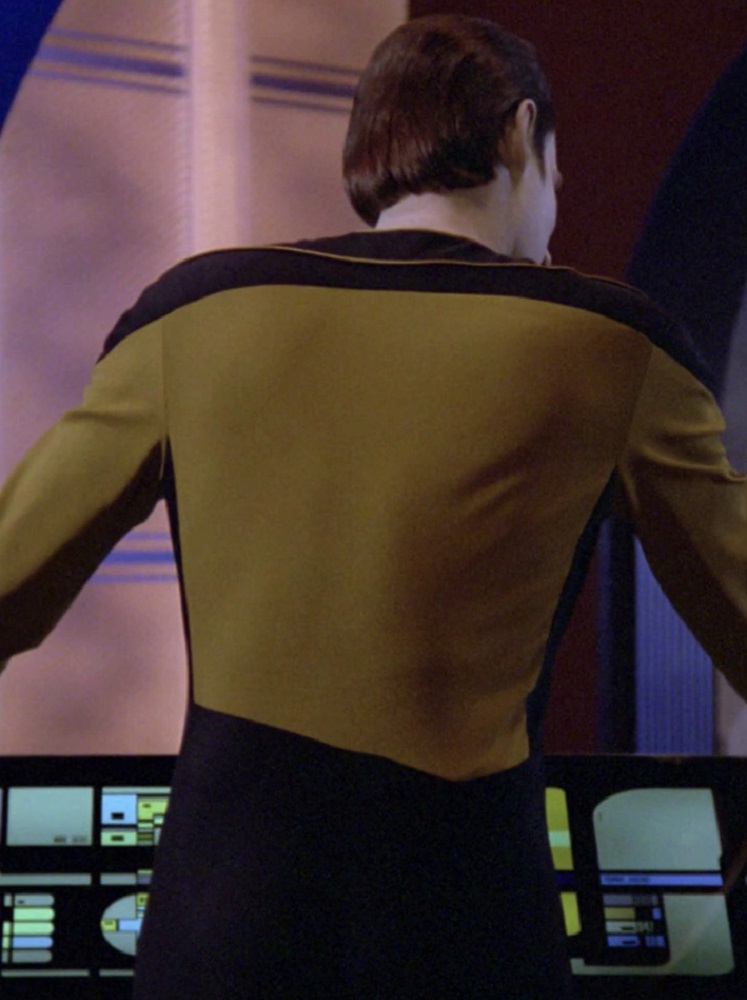
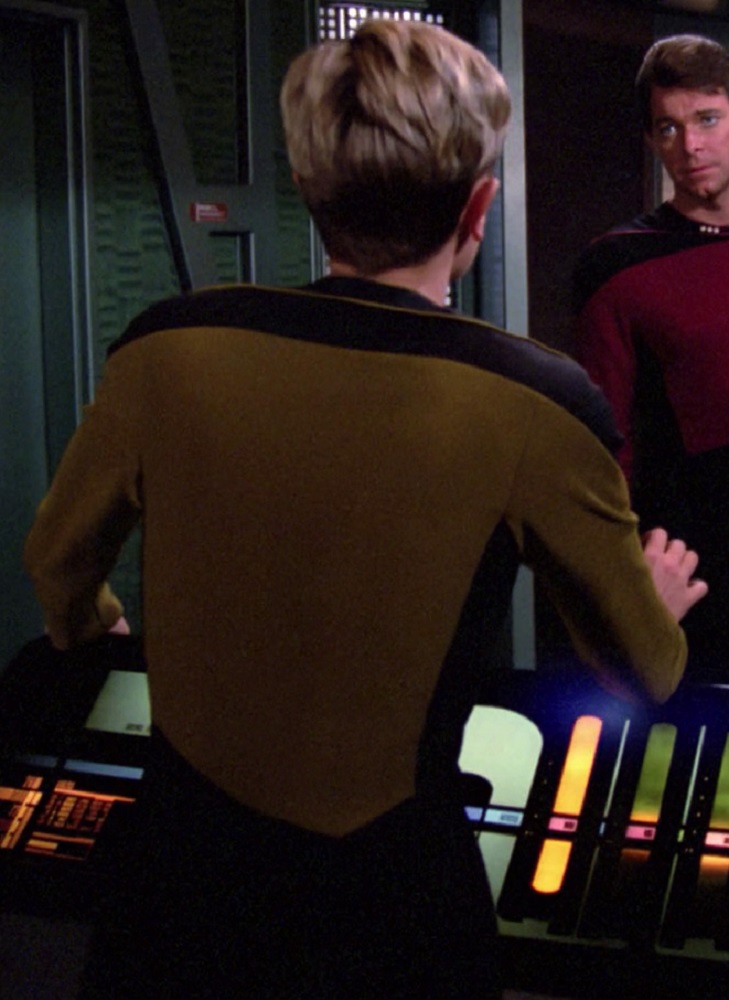
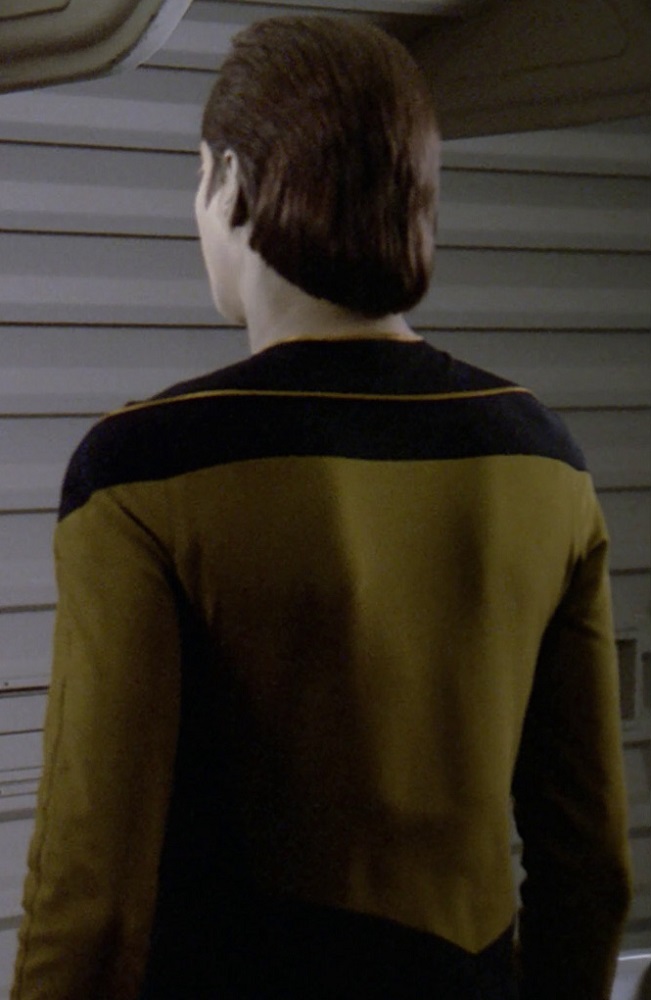
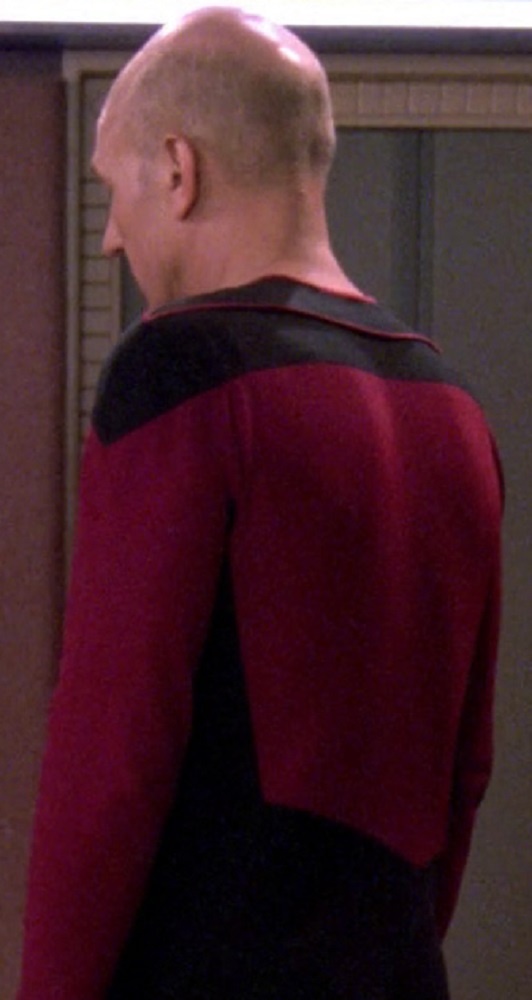
The upper back of the TNG jumpsuit was one large panel, without a center back seam.
TNG, 1x18 “Home Soil”
TNG, 1x12 “The Big Goodbye”
TNG, 1x4 “Code of Honor”
TNG, 2x7 “Unnatural Selection”
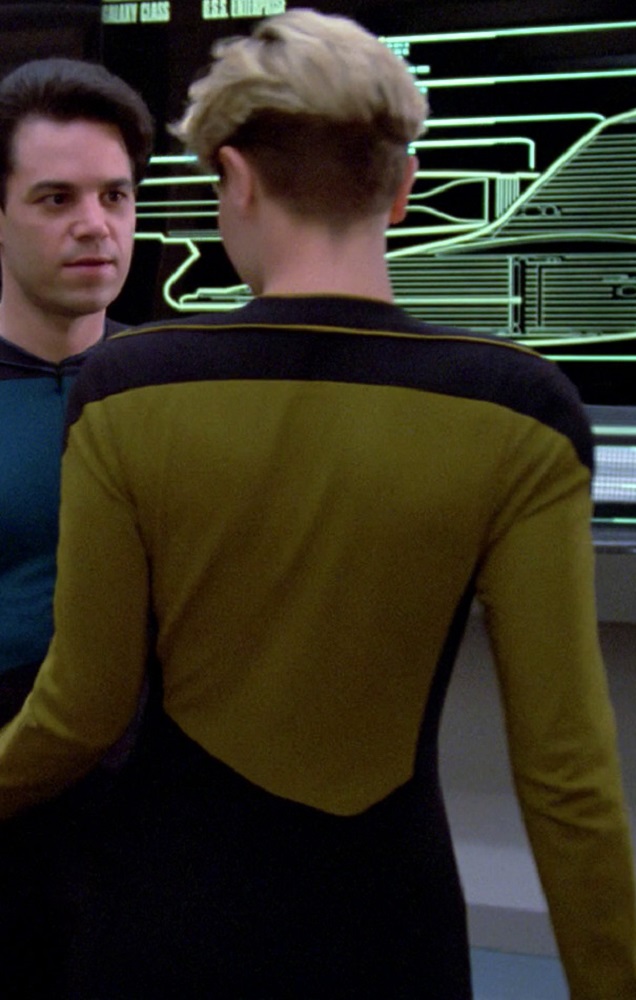
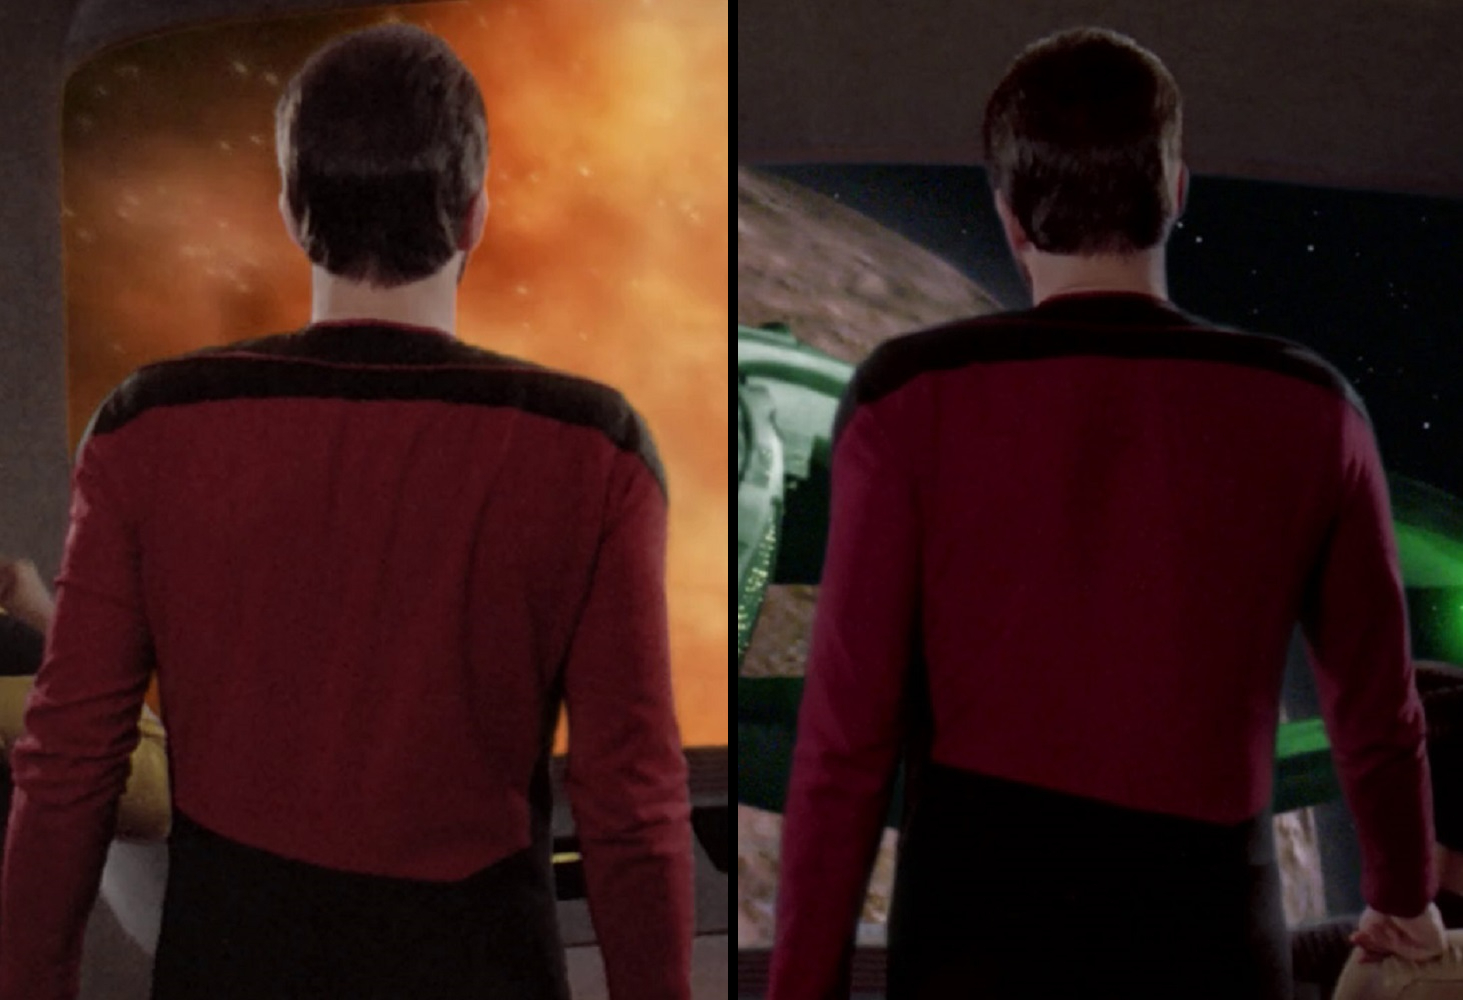
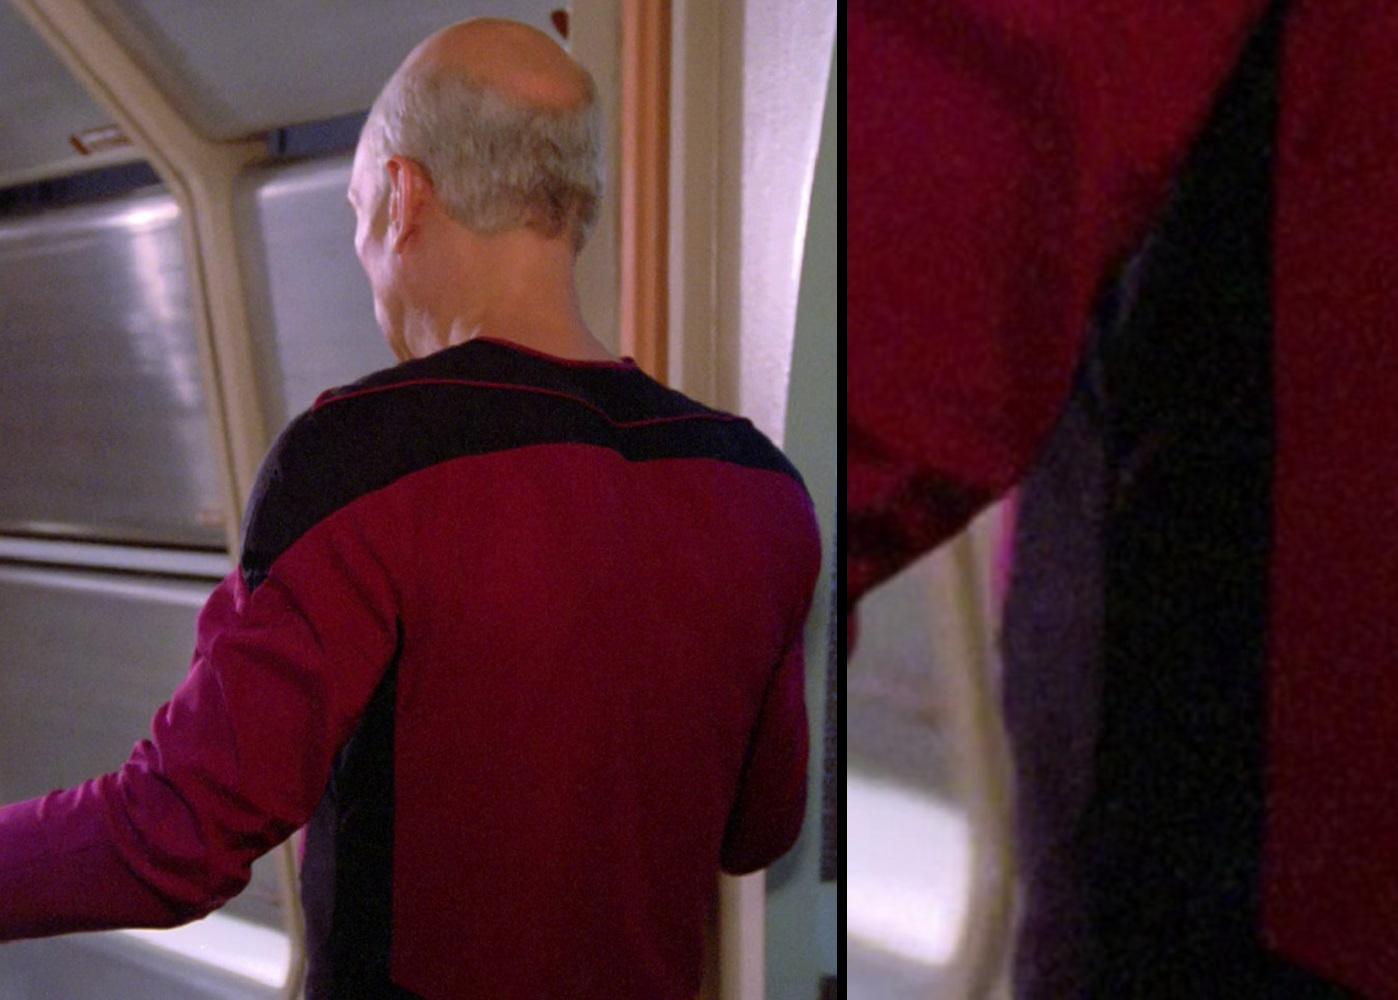
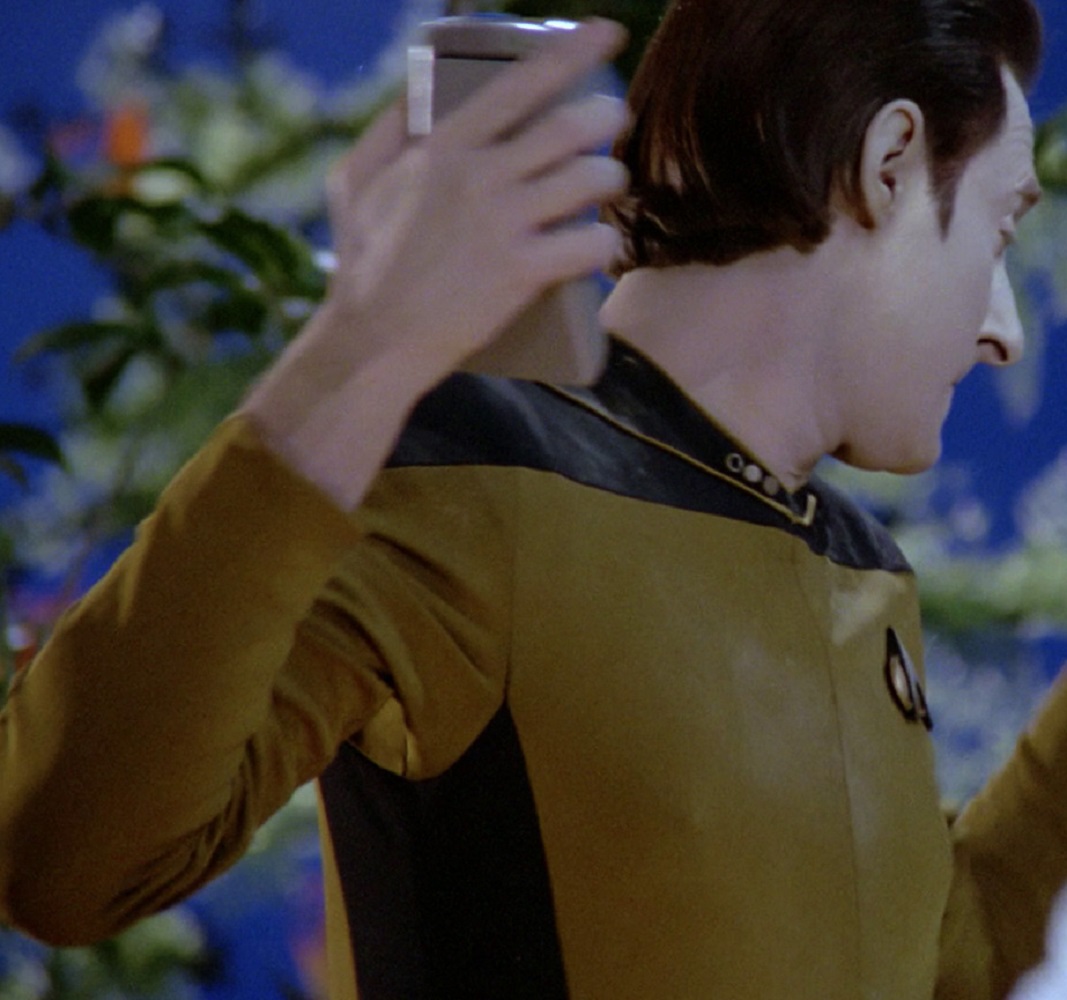
The back of the TNG jumpsuit also featured an asymmetrical waist, approximately mirrored and inverted from the front (i.e. upside-down and backwards).
TNG, 1x5 “The Last Outpost”
TNG, 1x11 “Haven”
TNG, 1x13 “Datalore”
TNG, 1x22 “Symbiosis”
TNG, 1x20 “Heart of Glory”
TNG, 1x7 “Lonely Among Us”
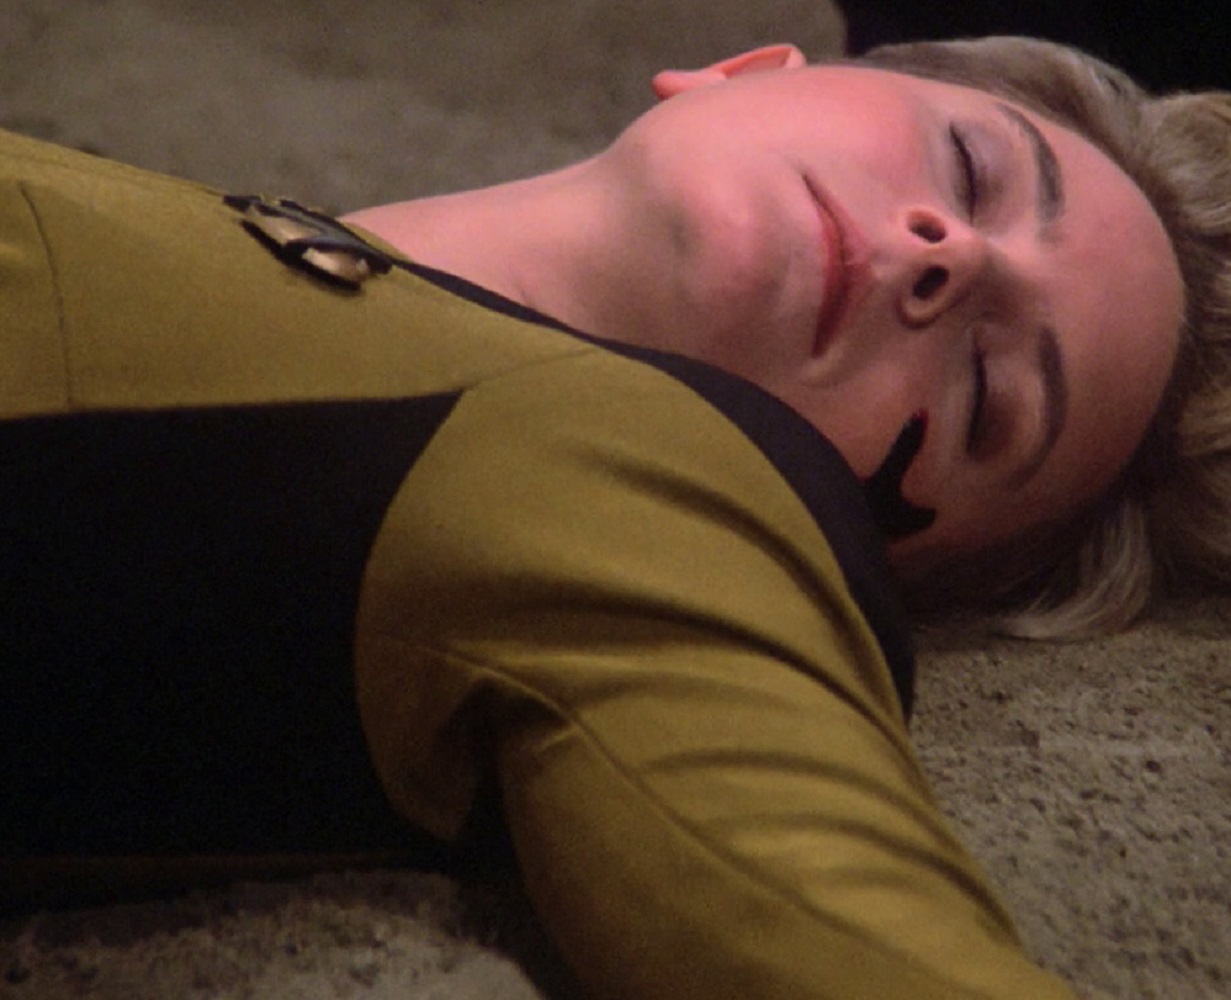
Like the front, these asymmetrical back waist seams often looked straight …
TNG, 1x7 “Lonely Among Us”
TNG, 1x18 “Home Soil”
TNG, 1x5 “The Last Outpost”
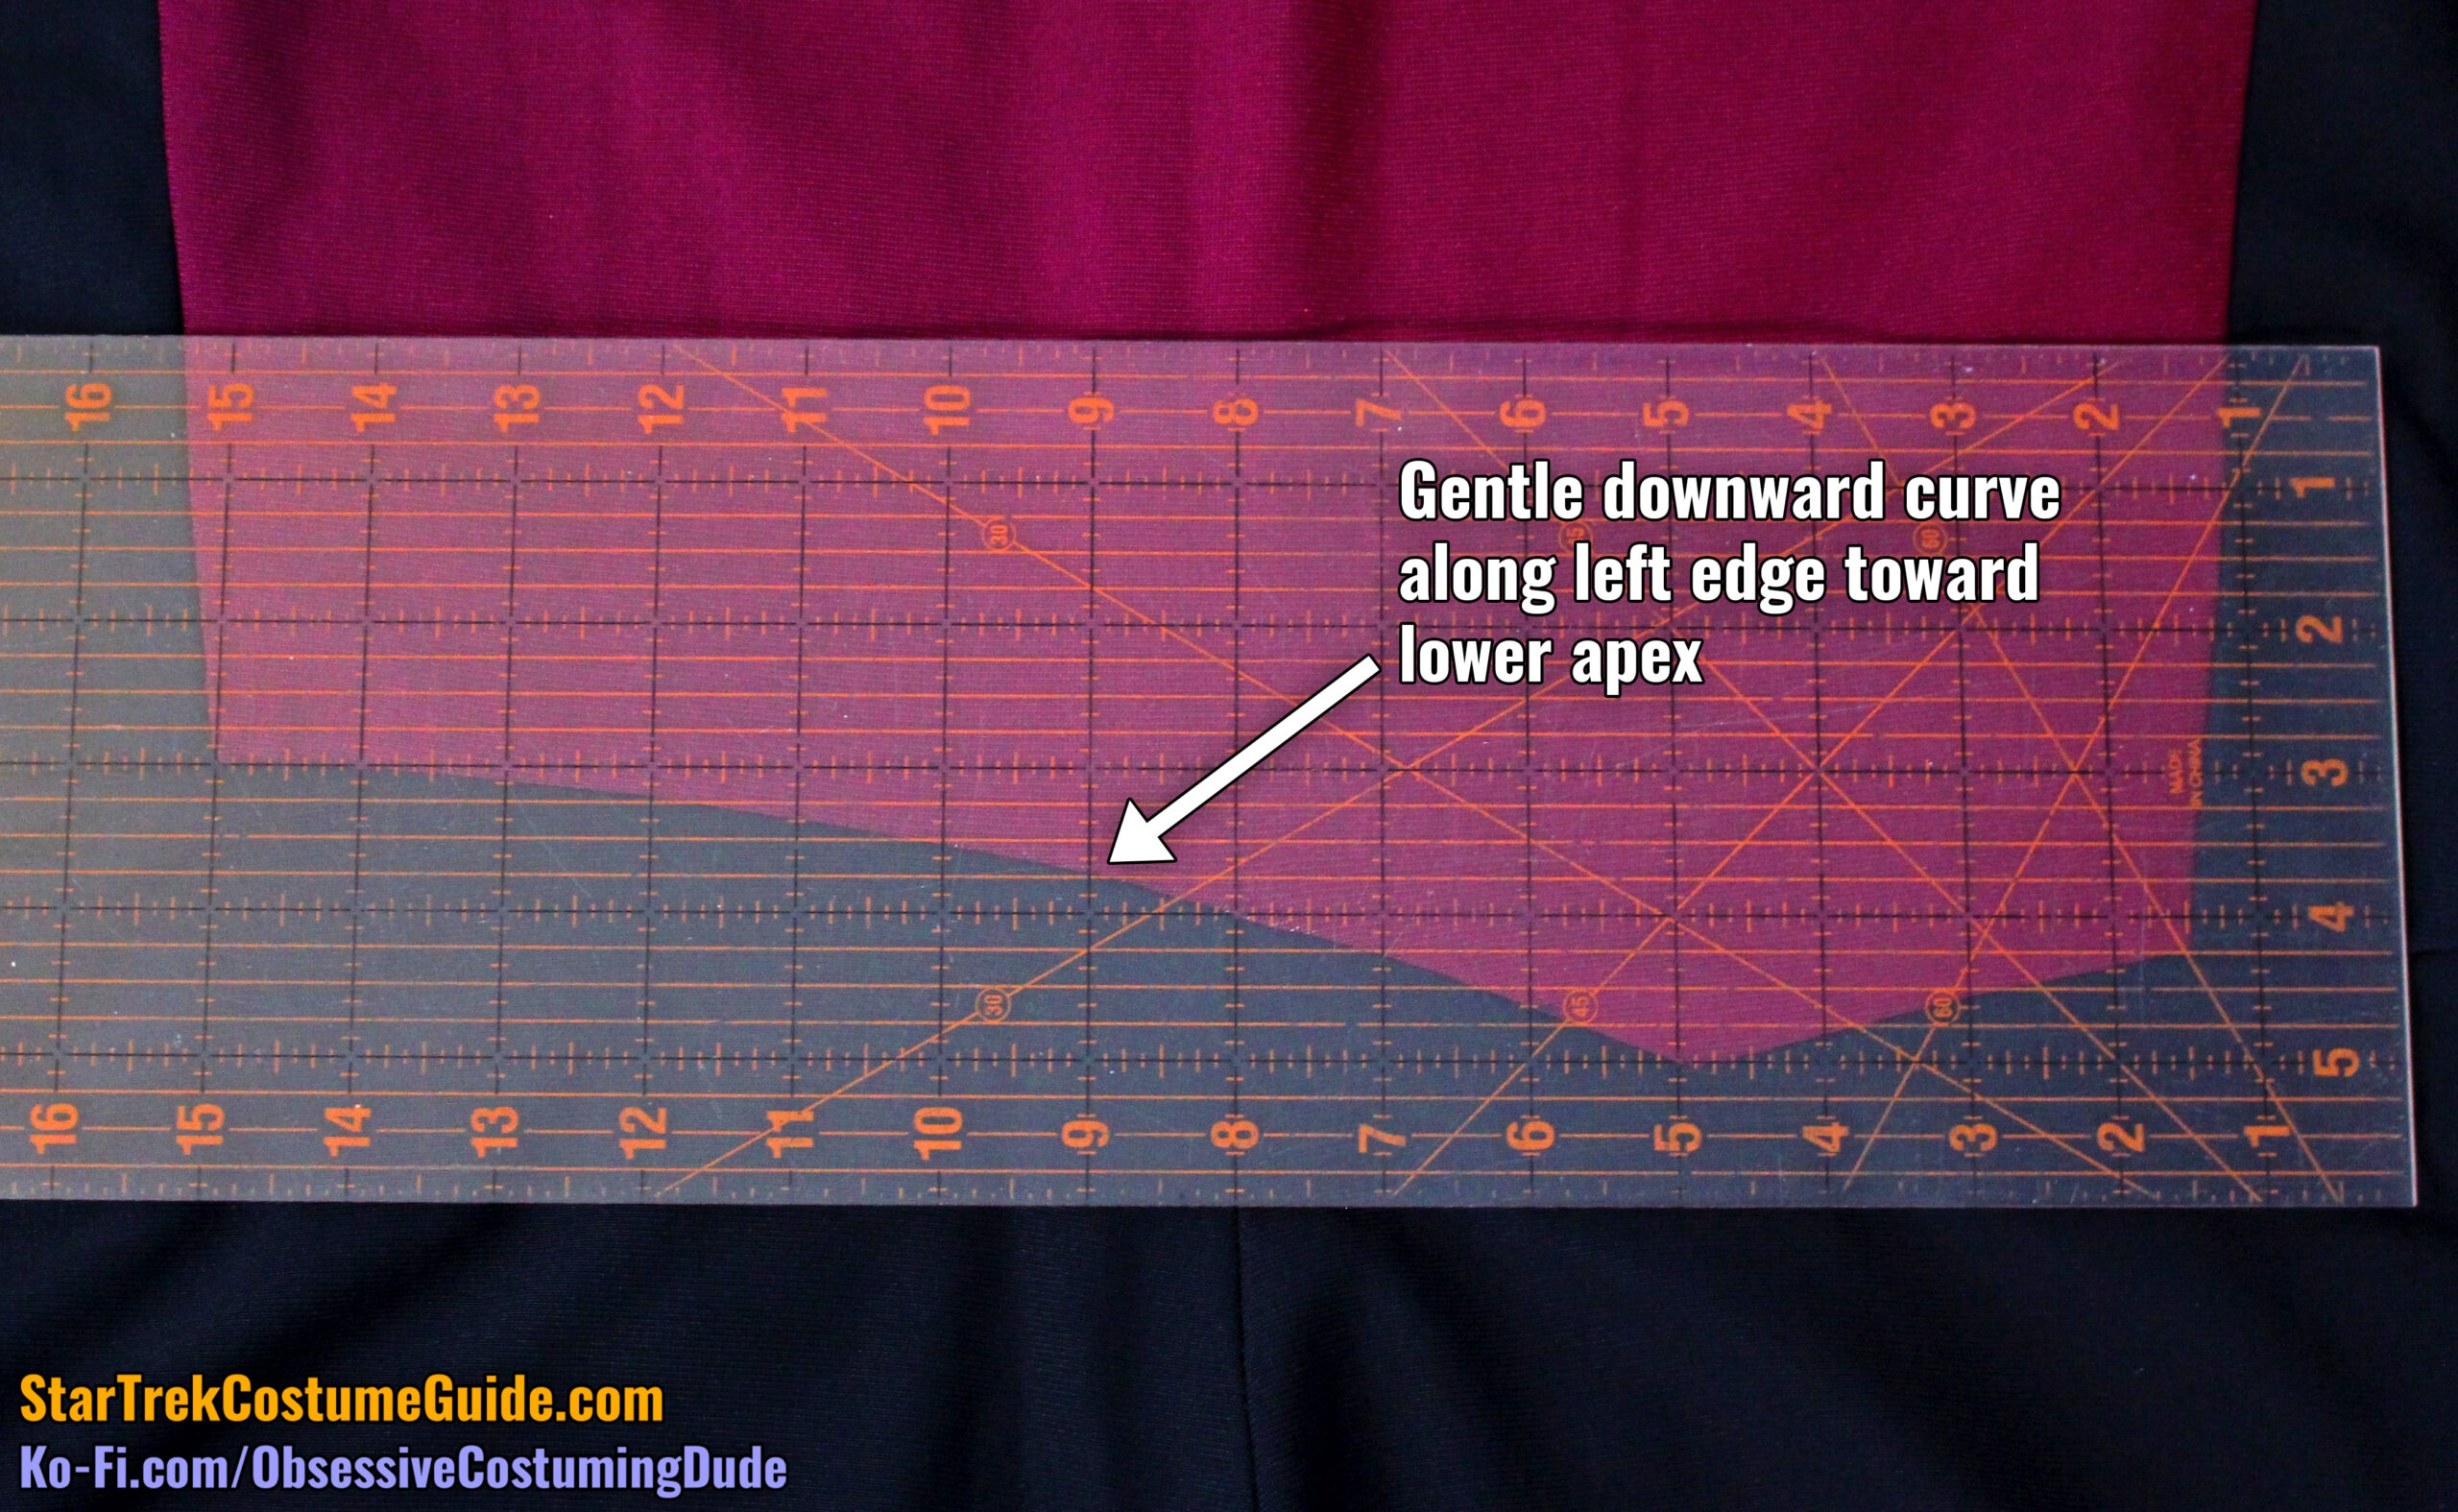
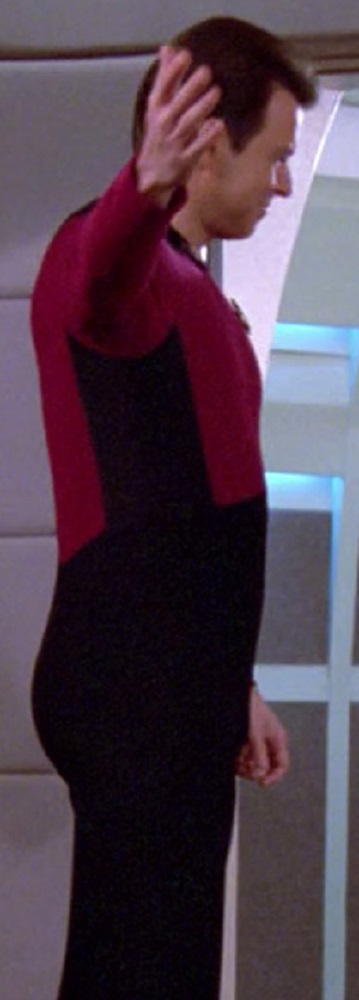
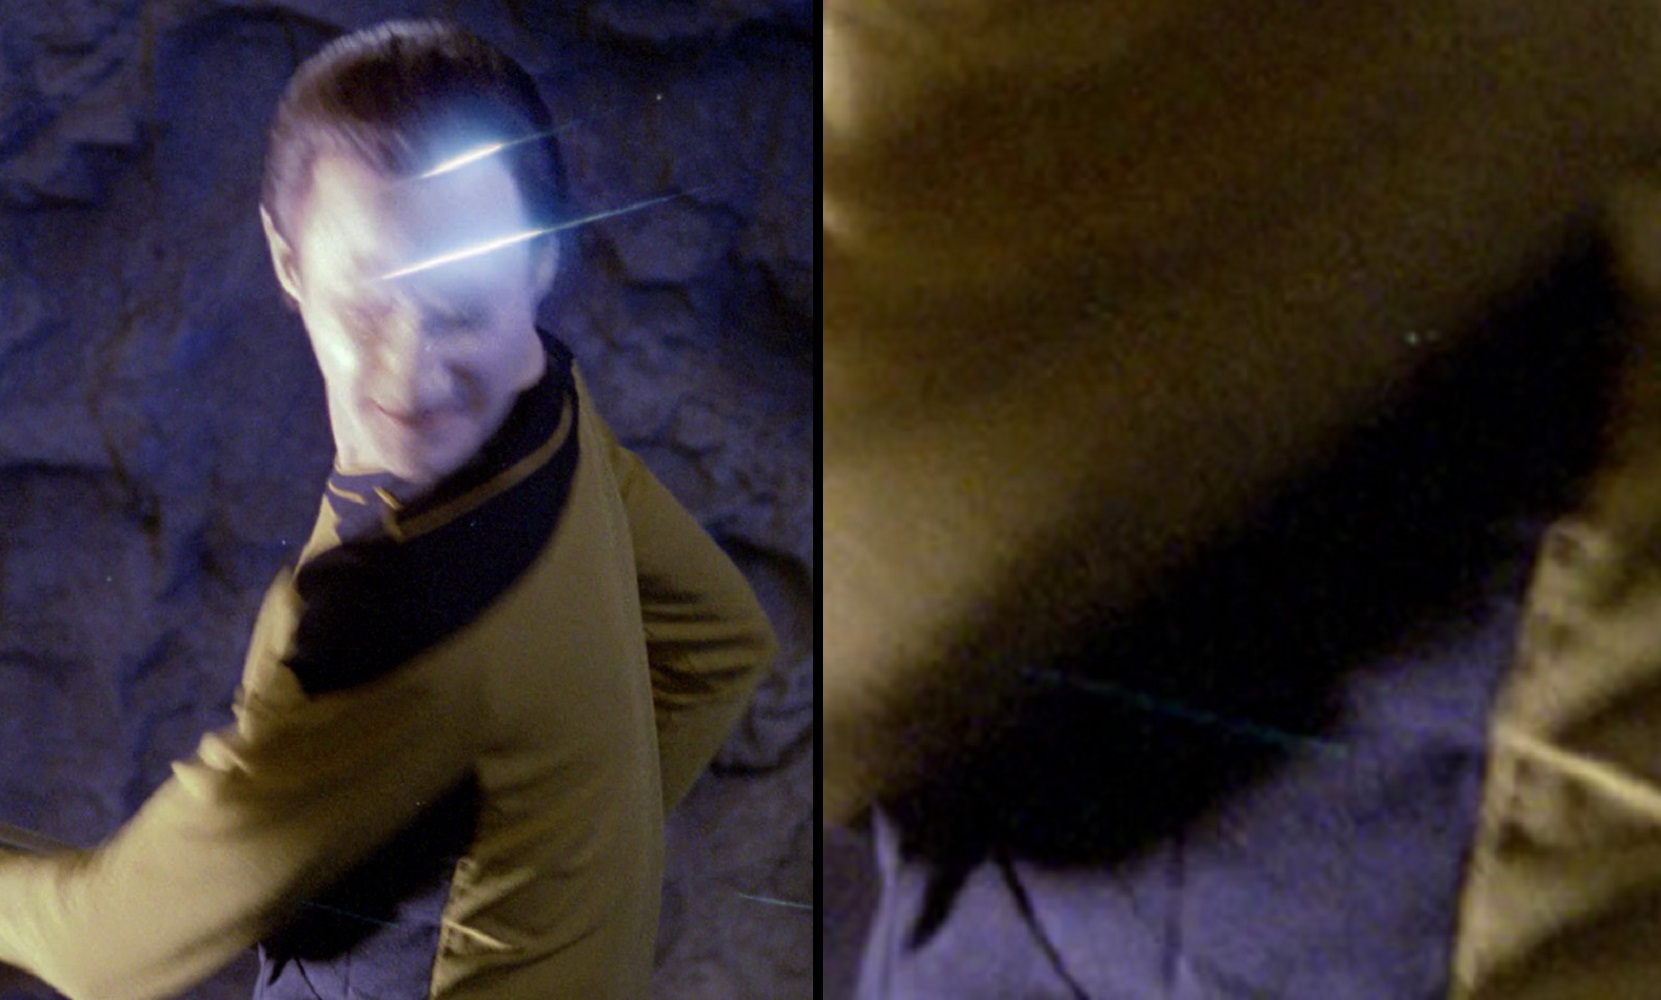
However, also like the front, at least some of the uniforms had a slight downward curve toward the lower apex.
Screen-used Worf TNG jumpsuit
The curve was subtle (and often pulled into a straighter line on the wearer), but it was actually visible sometimes in the show.
TNG, 2x2 “Where Silence Has Lease”
TNG, 2x5 “Loud as a Whisper”
TNG, 2x7 “Unnatural Selection”
TNG, 2x9 “The Measure of a Man”
TNG, 2x12 “The Royale”
TNG, 2x14 “The Icarus Factor”
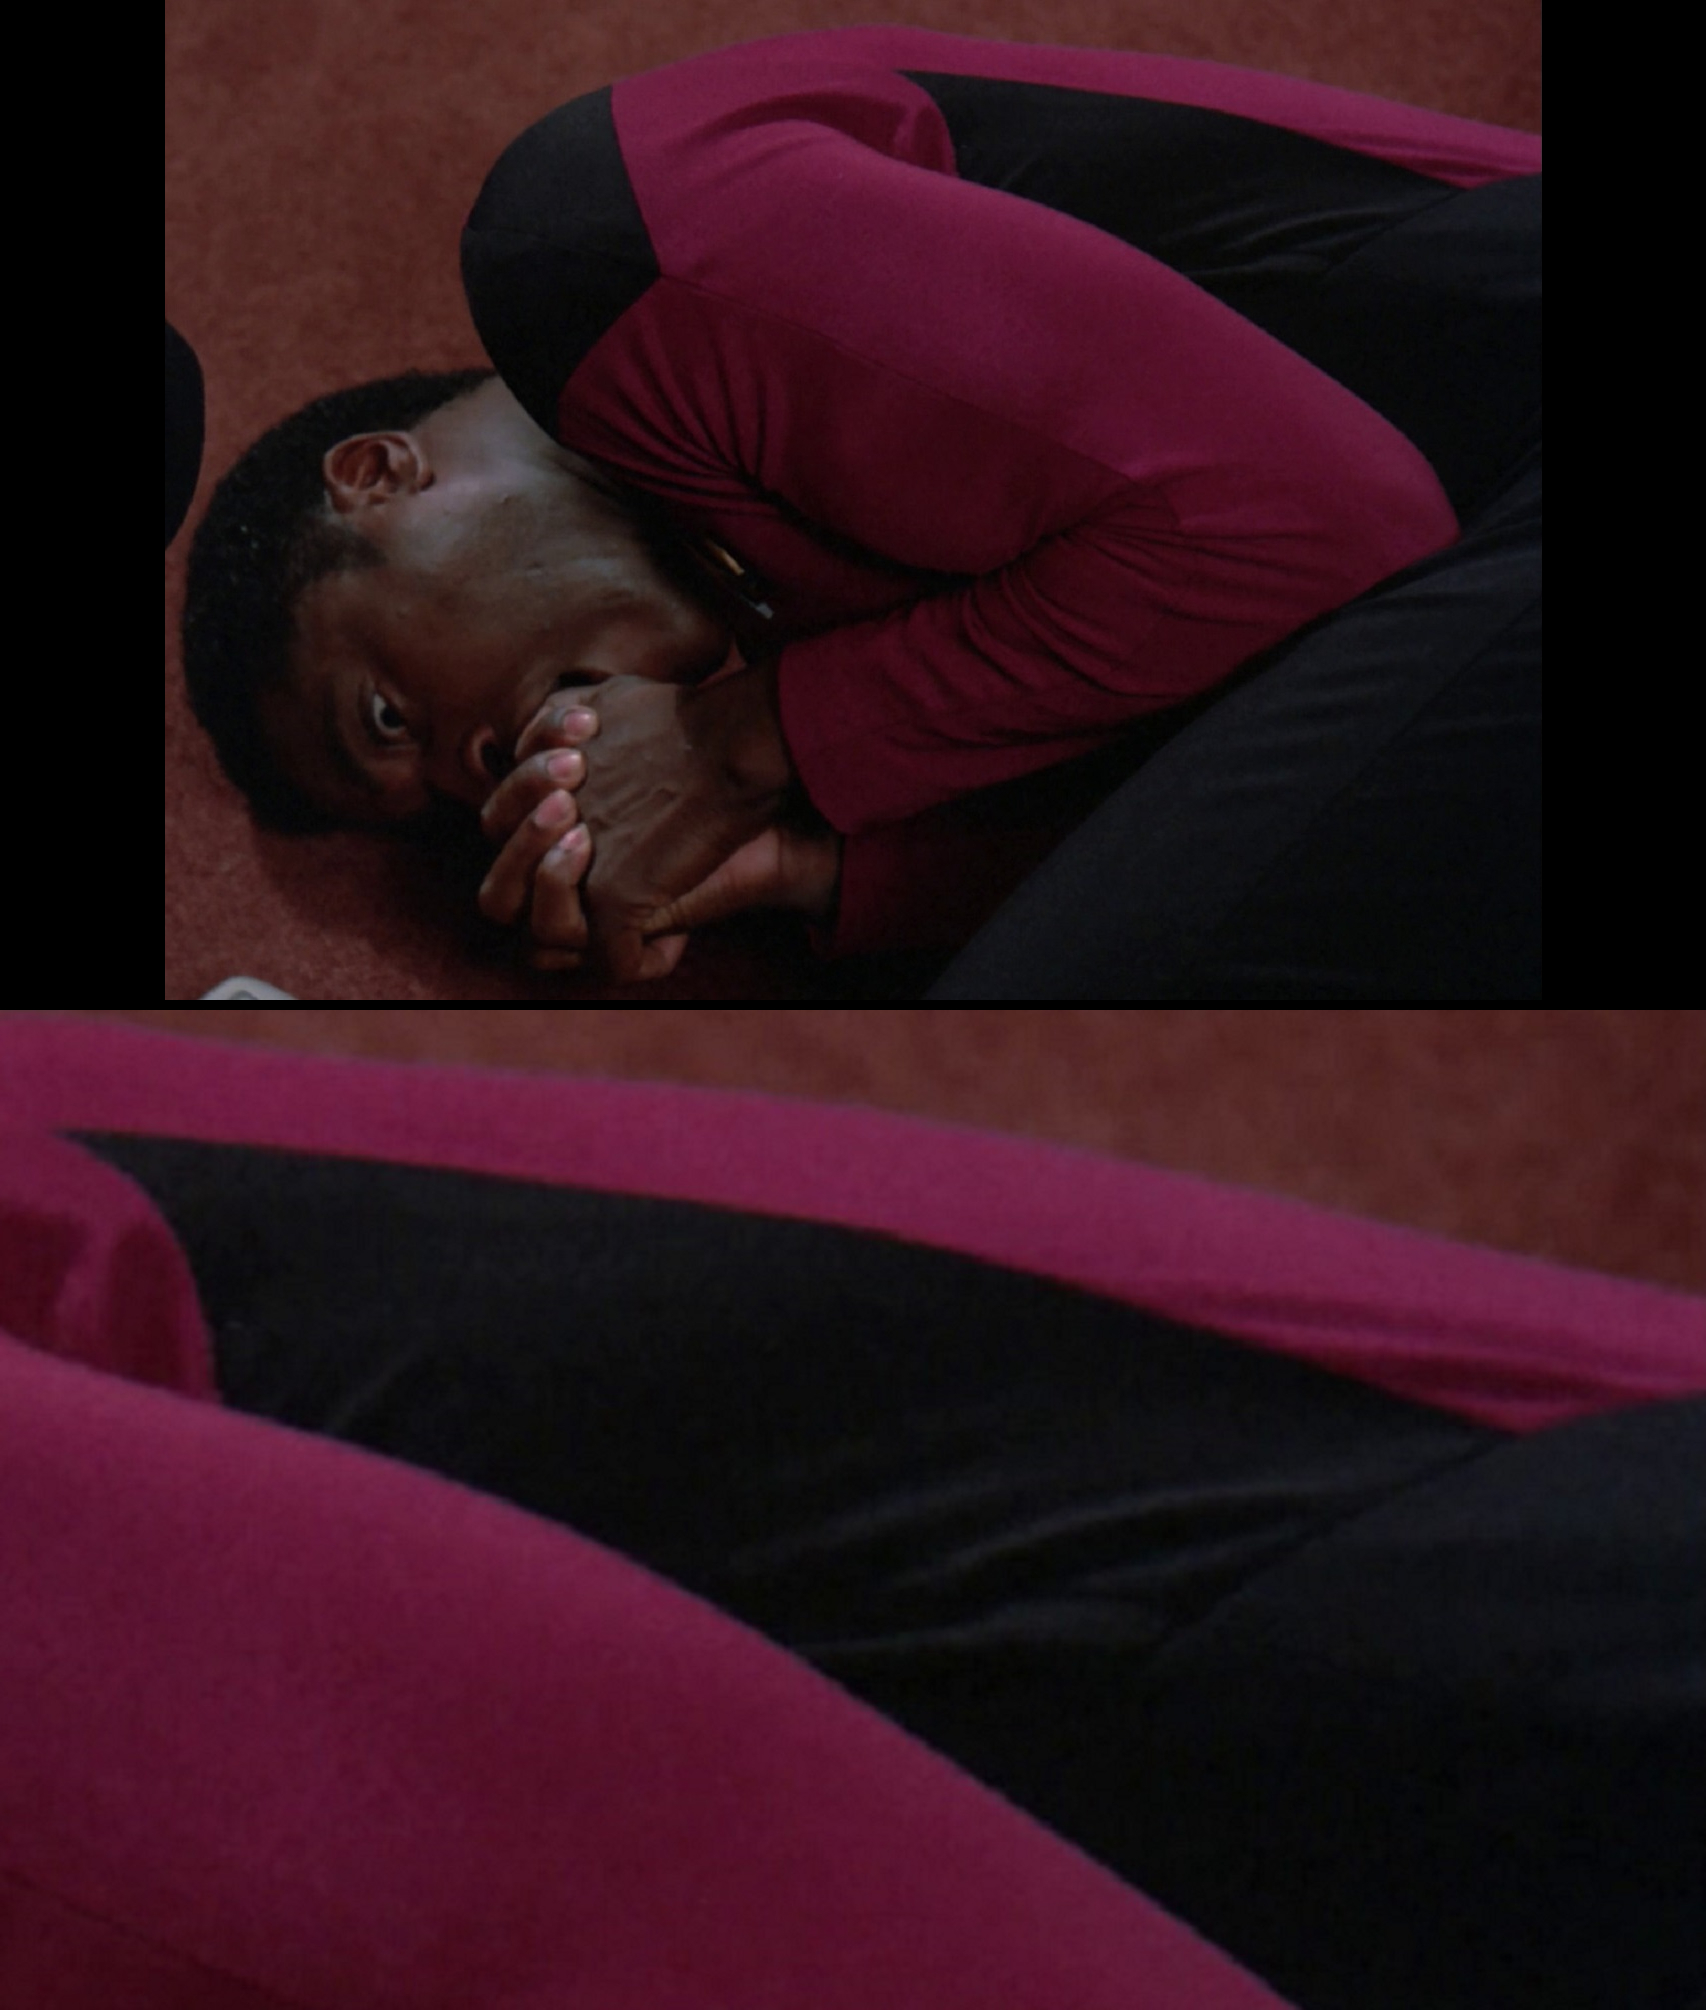
The gentle downward curve was usually easiest to see when a character was standing at a slight angle away from the camera.
TNG, 1x9 “The Battle”
TNG, 2x2 “Where Silence Has Lease”
TNG, 2x9 “The Measure of a Man”
TNG, 2x21 “Peak Performance”
TNG, 7x25 “All Good Things …”
TNG, 7x25 “All Good Things …”
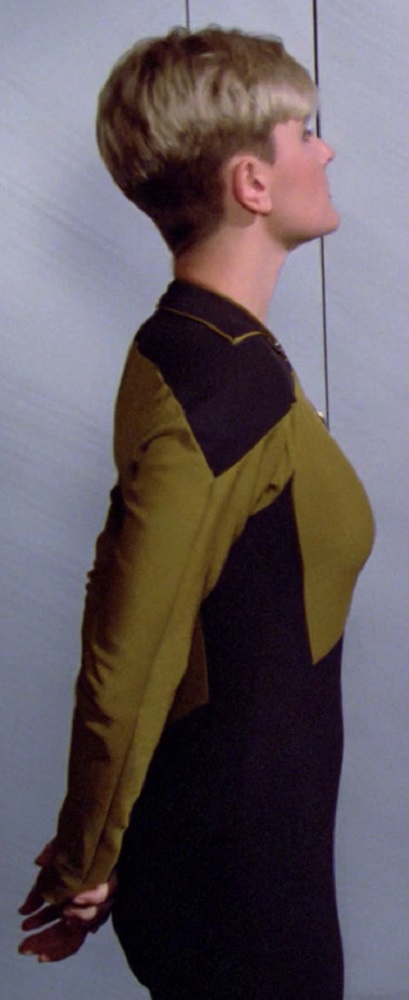
On the two screen-used women’s TNG jumpsuits I studied, the curve was so subtle the seam did almost look straight – partially because it was a gentler curve, but I think also because the shape of the pant legs also pulled the upper back in the opposite direction.
Screen-used Tasha Yar TNG jumpsuit
Screen-used Dr. Crusher TNG jumpsuit
Indeed, the tapered upper center back seam of the pant legs sometimes pulled the upper back body panel so far down as to produce an opposite curve.
TNG, 1x3 “The Naked Now”
TNG, 2x9 “The Measure of a Man”
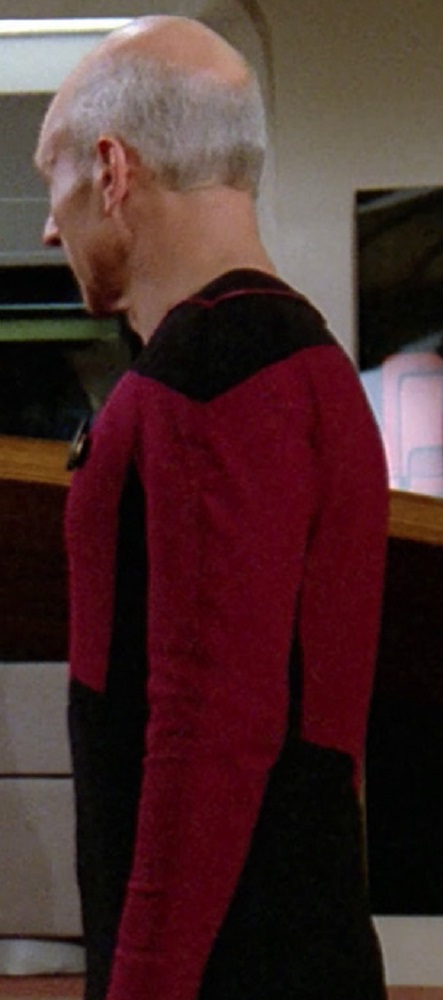
That aside, the asymmetrical back waists appear to have been generally consistent across the cast – except for Commander Riker’s, whose seam was (or at least looked) more gently angled than the others’.
TNG, 1x5 “The Last Outpost”
TNG, 1x9 “The Battle”
TNG, 1x10 “Hide and Q”
TNG, 1x12 “The Big Goodbye”
TNG, 1x18 “Home Soil”
TNG, 1x21 “The Arsenal of Freedom”
TNG, 1x25 “Conspiracy”
TNG, 2x2 “Where Silence Has Lease"
TNG, 2x7 “Unnatural Selection”
TNG, 2x11 “Contagion”
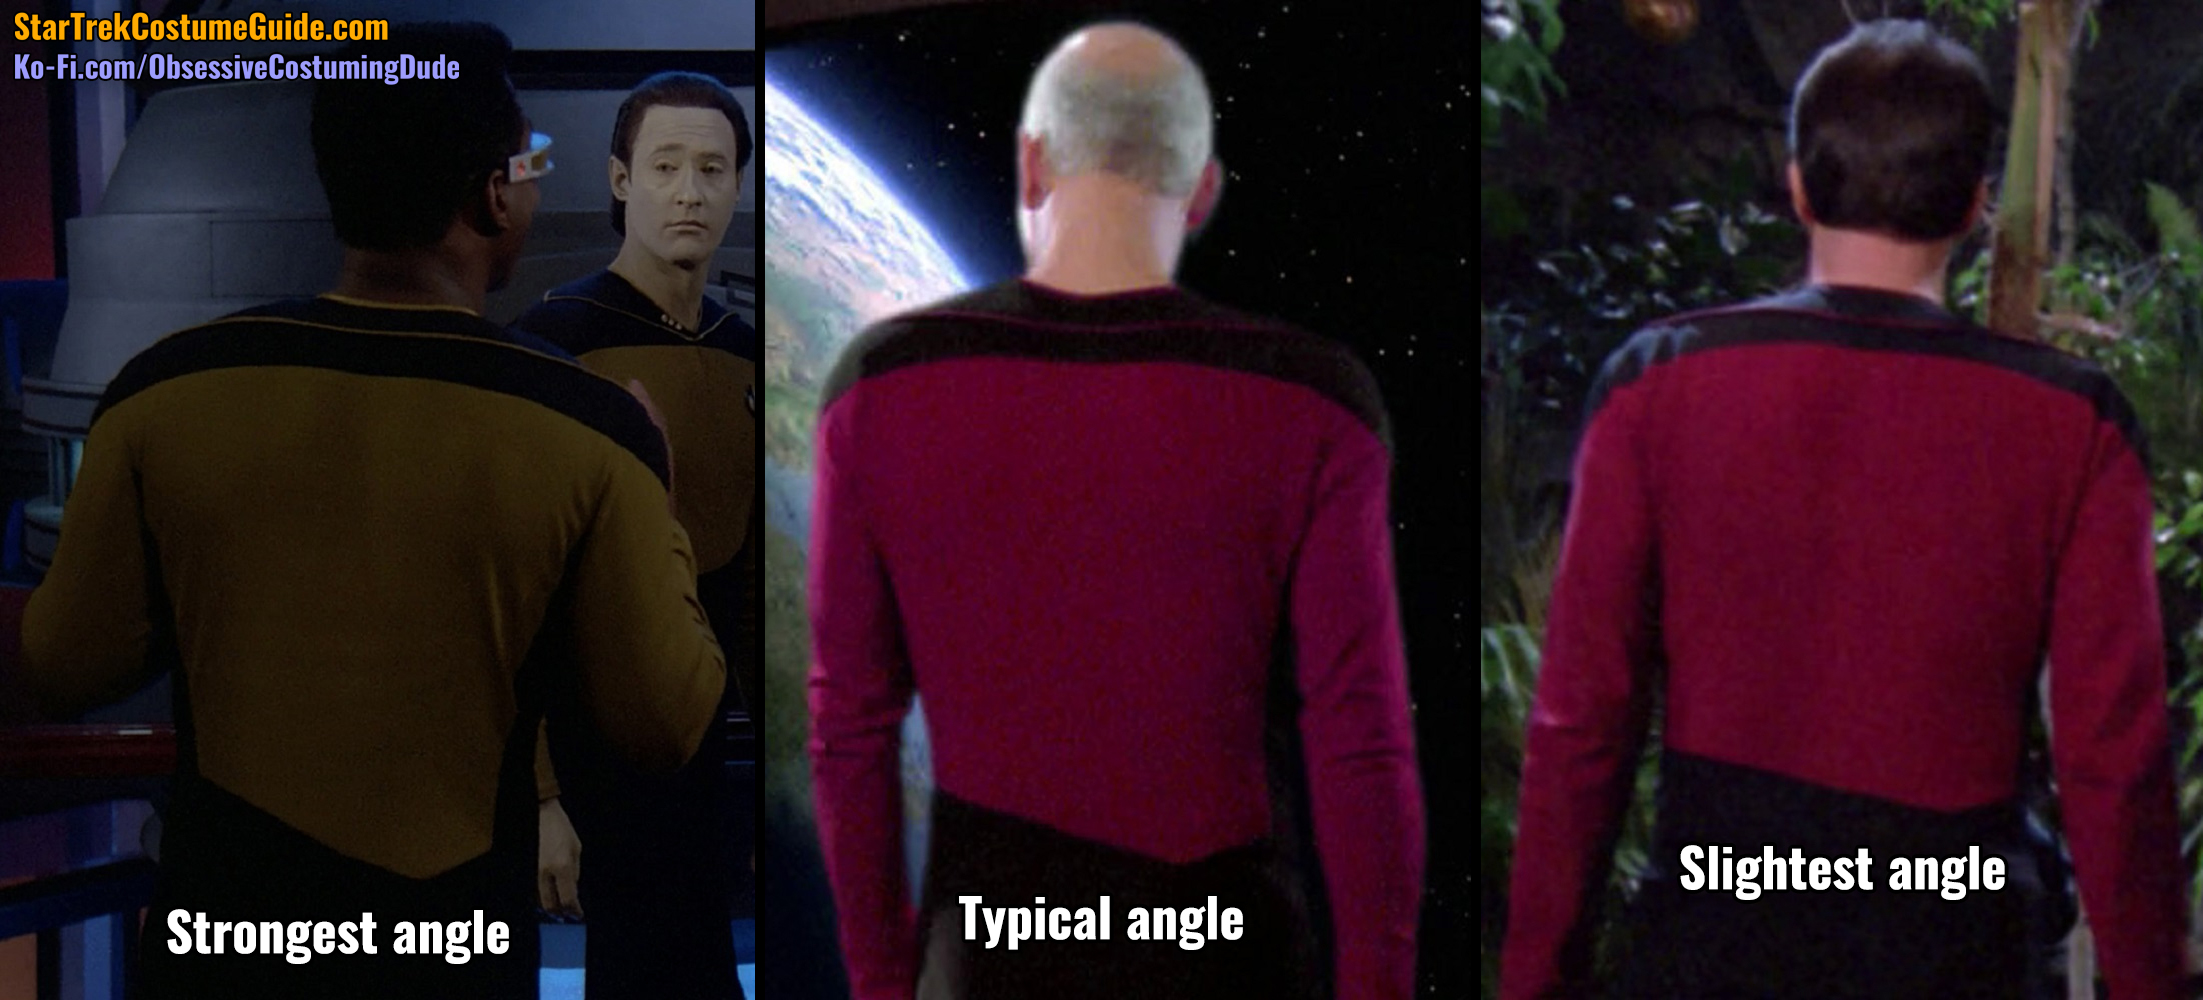
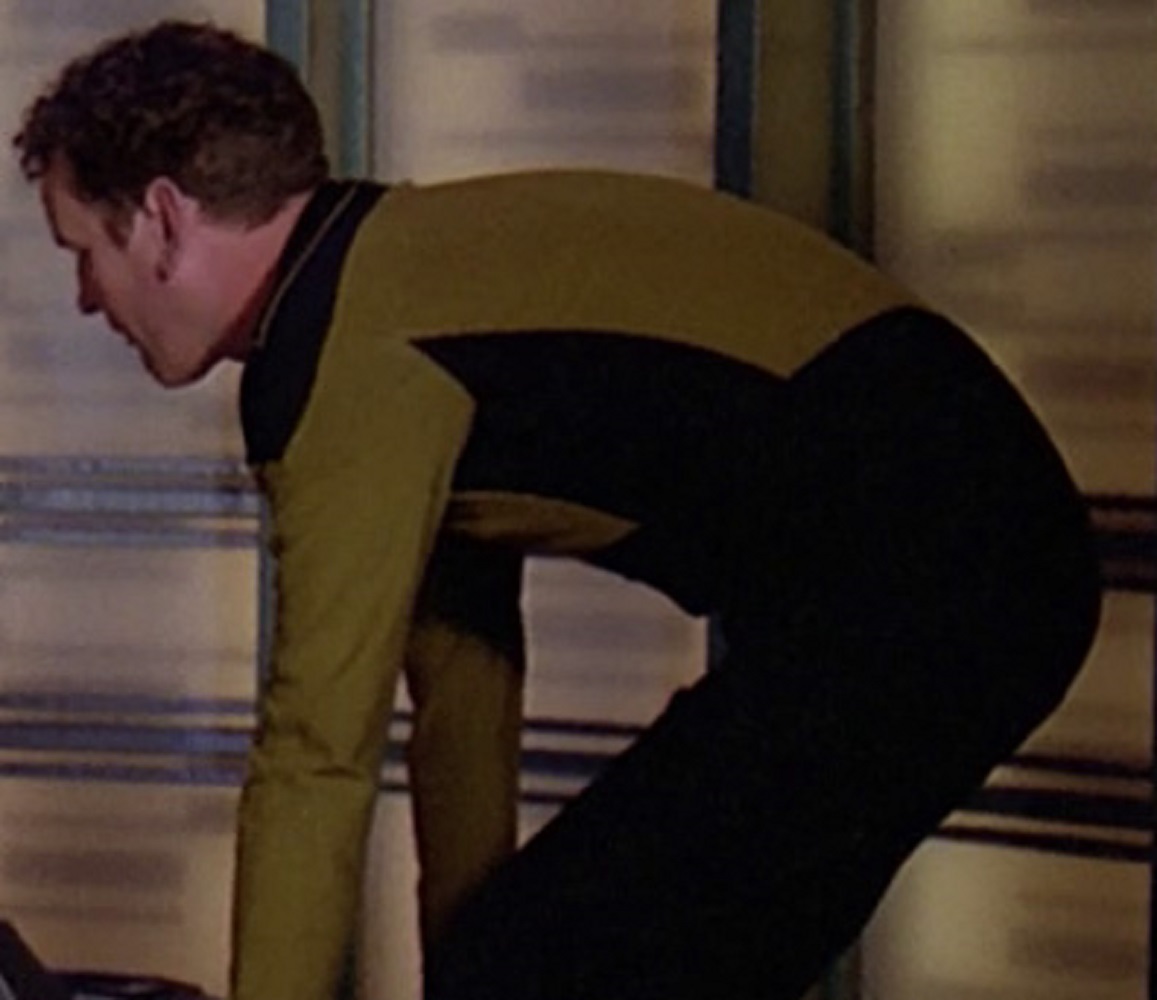
To better highlight the overall range of back waist seam angles, here’s a side-by-side comparison between the most-slanted back waist (Geordi’s from season two), Picard’s as a typical example, and Riker’s as the least-slanted.
TNG, 2x14 “The Icarus Factor” (left), 1x8 “Justice” (middle), and 1x21 “The Arsenal of Freedom” (right)
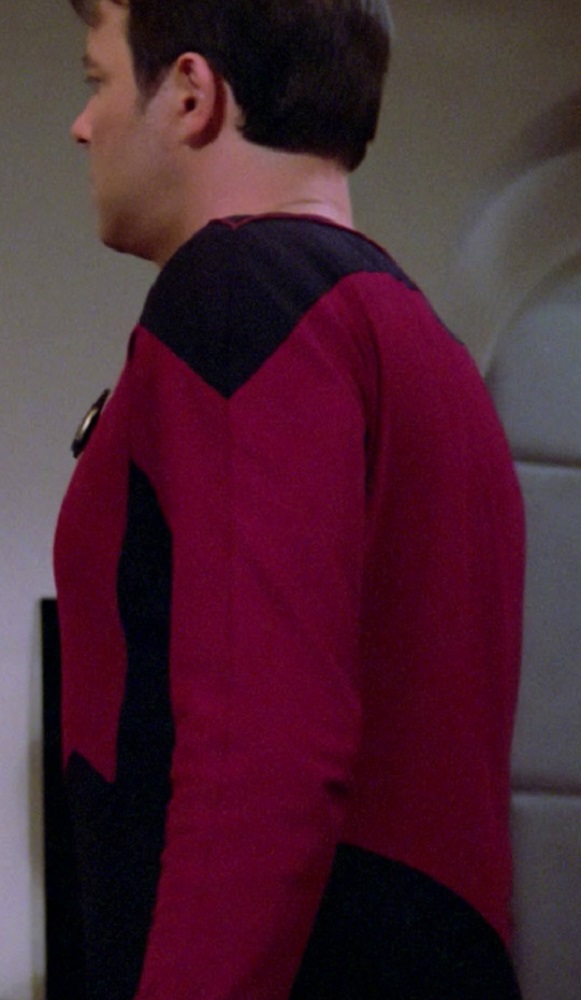
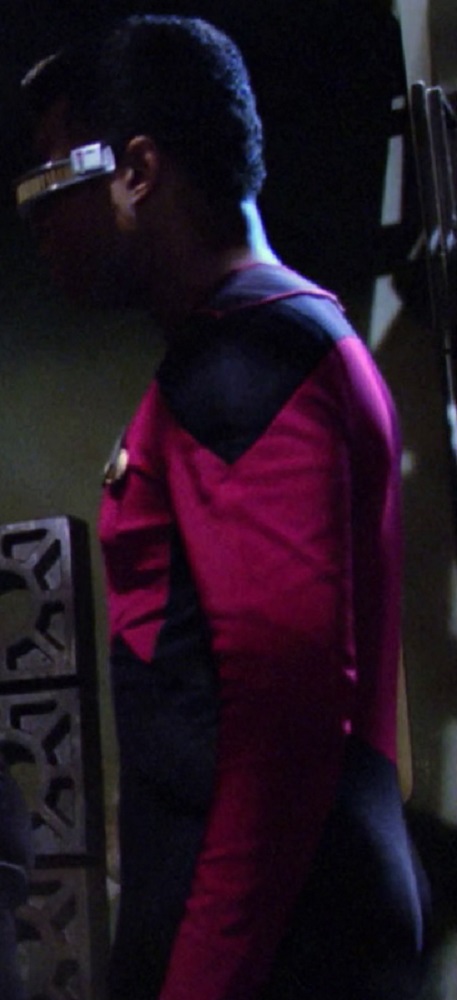
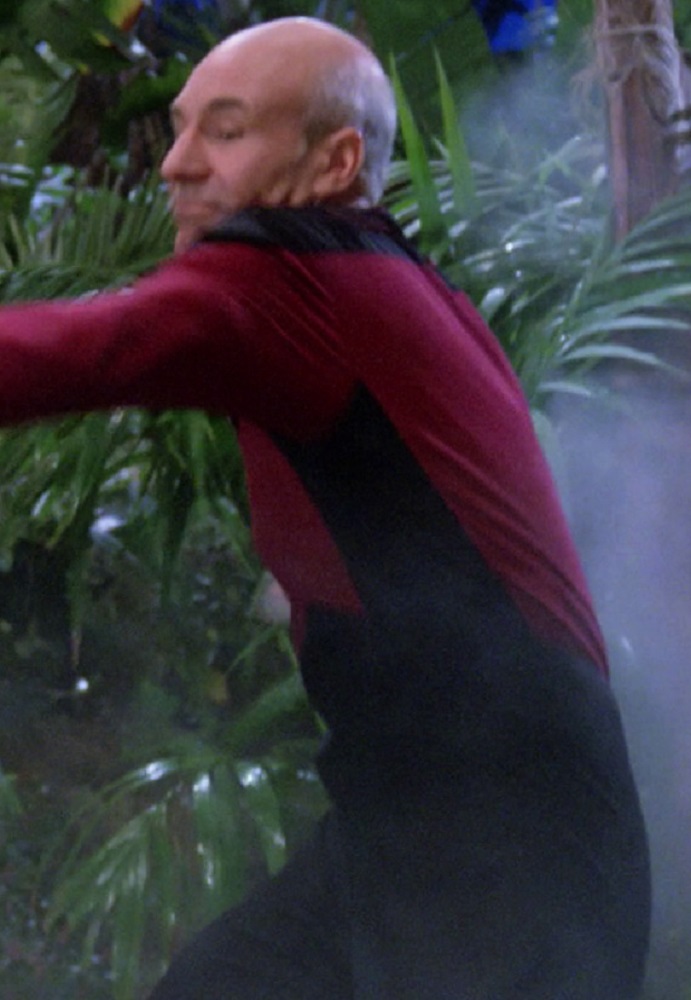
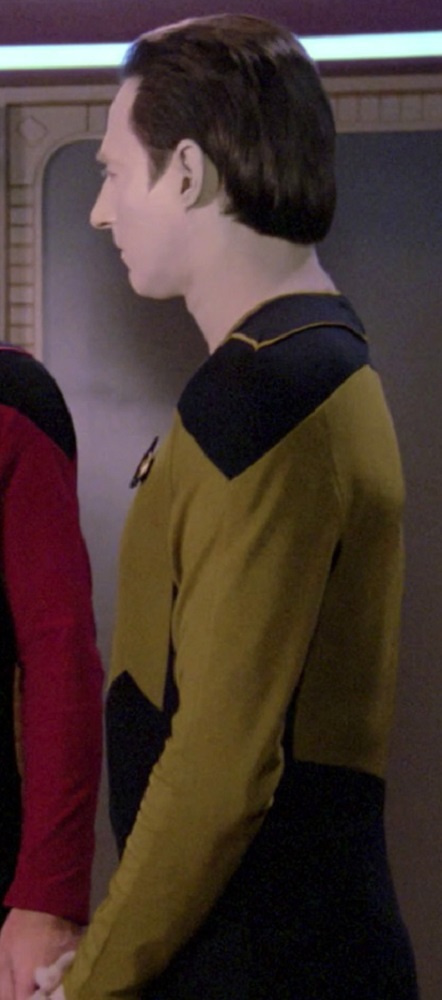
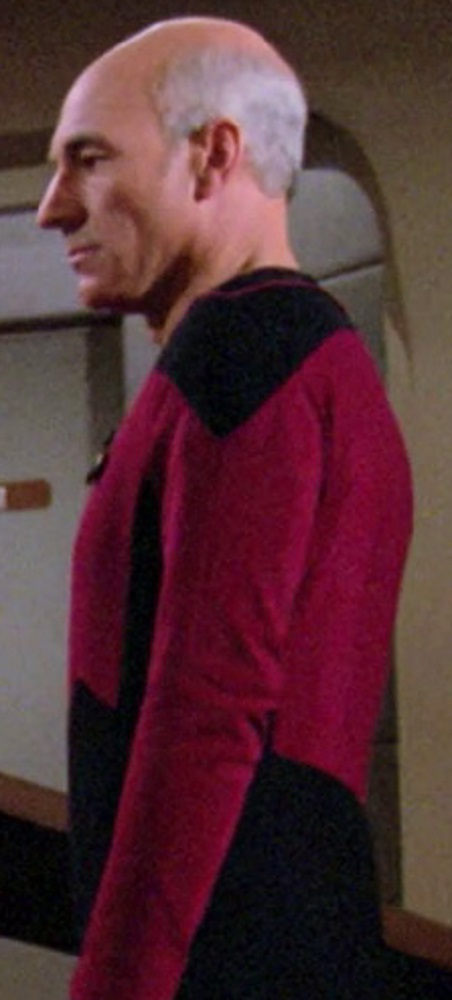
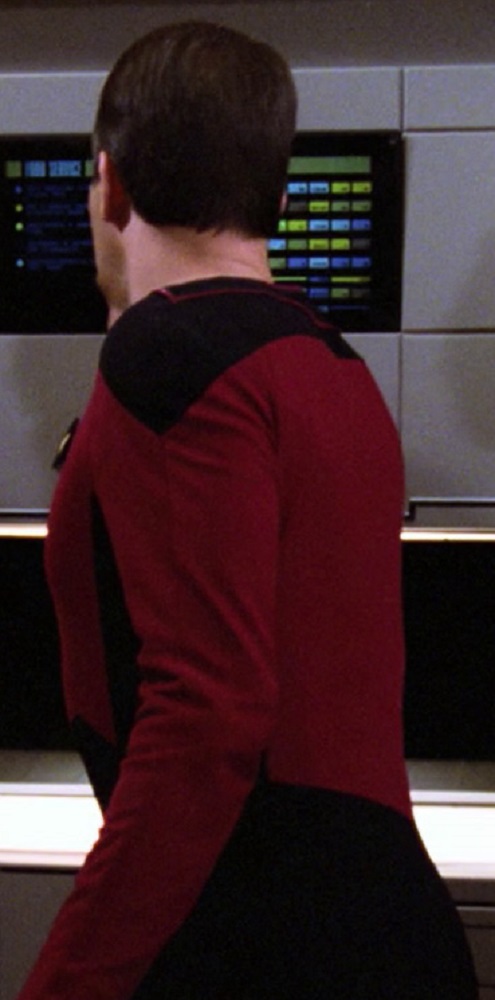
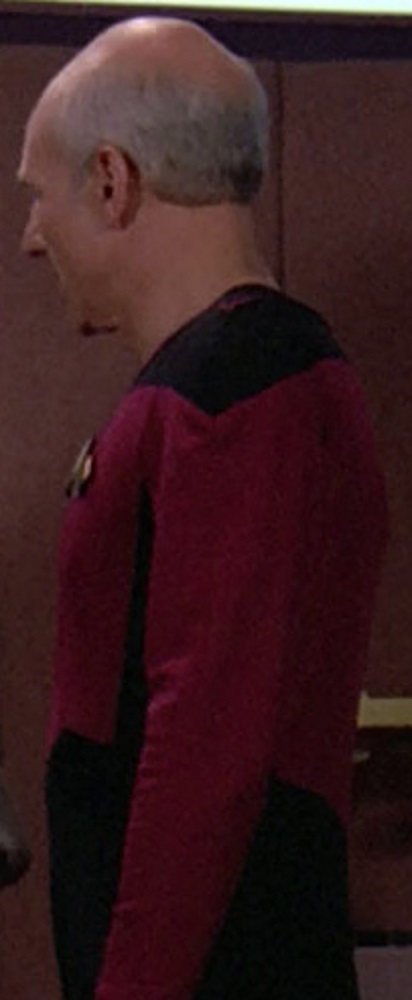
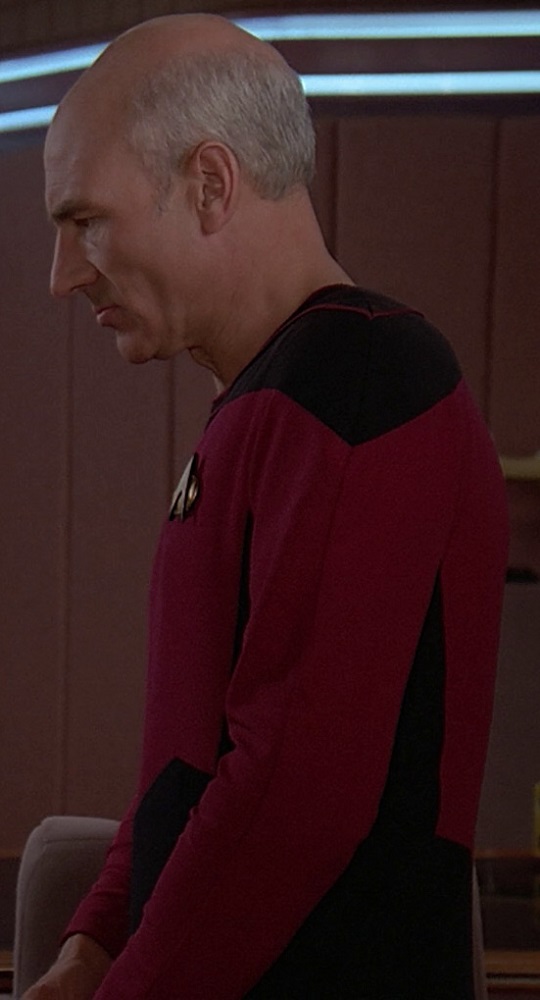
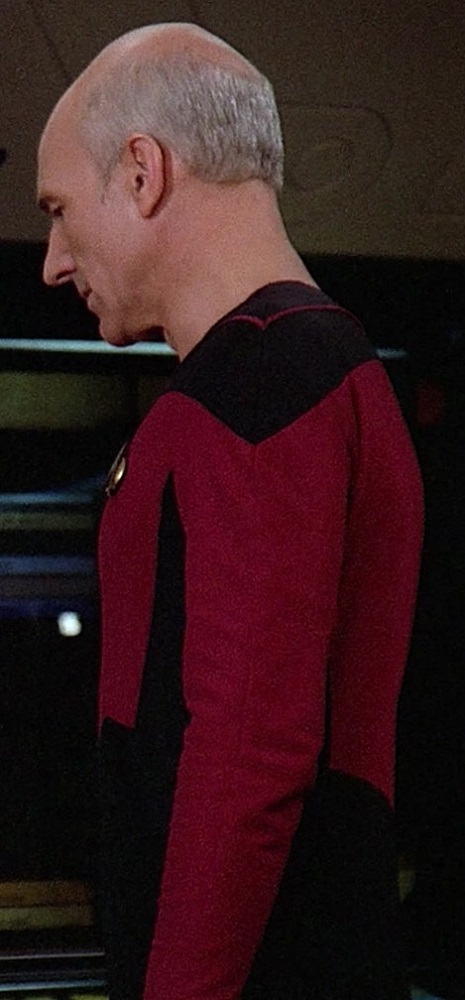
Side Panels
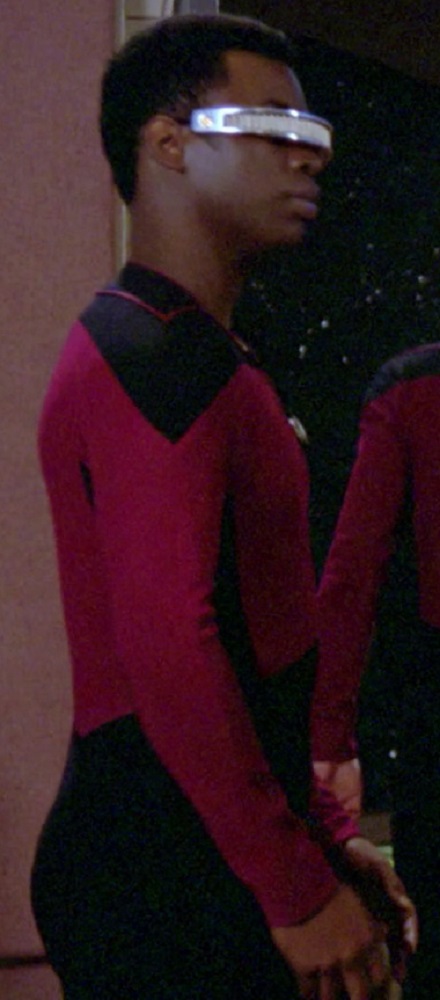
The entire TNG jumpsuit torso wasn’t division-colored; underneath each arm were black side panels.
TNG, 1x15 “11001001”
TNG, 1x4 “Code of Honor”
TNG, 1x4 “Code of Honor”
TNG, 1x10 “Hide and Q”
TNG, 1x23 “Skin of Evil”
TNG, 1x6 “Where No One Has Gone Before”
These black side panels provided a nice contrast to the rest of the torso, and they also had a slimming effect on the wearer – subtly emphasizing the “heroically” rounded shoulders by color association while simultaneously making the wearer appear more slender around the waist.
TNG, 1x15 “11001001”
TNG, 1x7 “Lonely Among Us”
TNG, 1x6 “Where No One Has Gone Before”TNG, 1x13 “Datalore”
From the front, only a sliver of the black side panels was usually visible; their effect was indeed subtle.
TNG, 1x1 “Encounter at Farpoint”
TNG, 1x10 “Hide and Q”
TNG, 1x6 “Where No One Has Gone Before”
From the back, the effect was even more subtle; the black side panels were barely visible at all.
TNG, 1x5 “The Last Outpost”
TNG, 1x13 “Datalore”
When viewed from the sides, the wearer’s arms almost entirely covered the side panels, almost making them appear to simply be shadows.
TNG, 1x7 “Lonely Among Us”
TNG, 1x8 “Justice”
TNG, 1x10 “Hide and Q”
TNG, 1x11 “Haven”
TNG, 1x24 “We’ll Always Have Paris”
TNG, 1x18 “Home Soil”
TNG, 2x12 “The Royale”
TNG, 1x13 “Datalore”
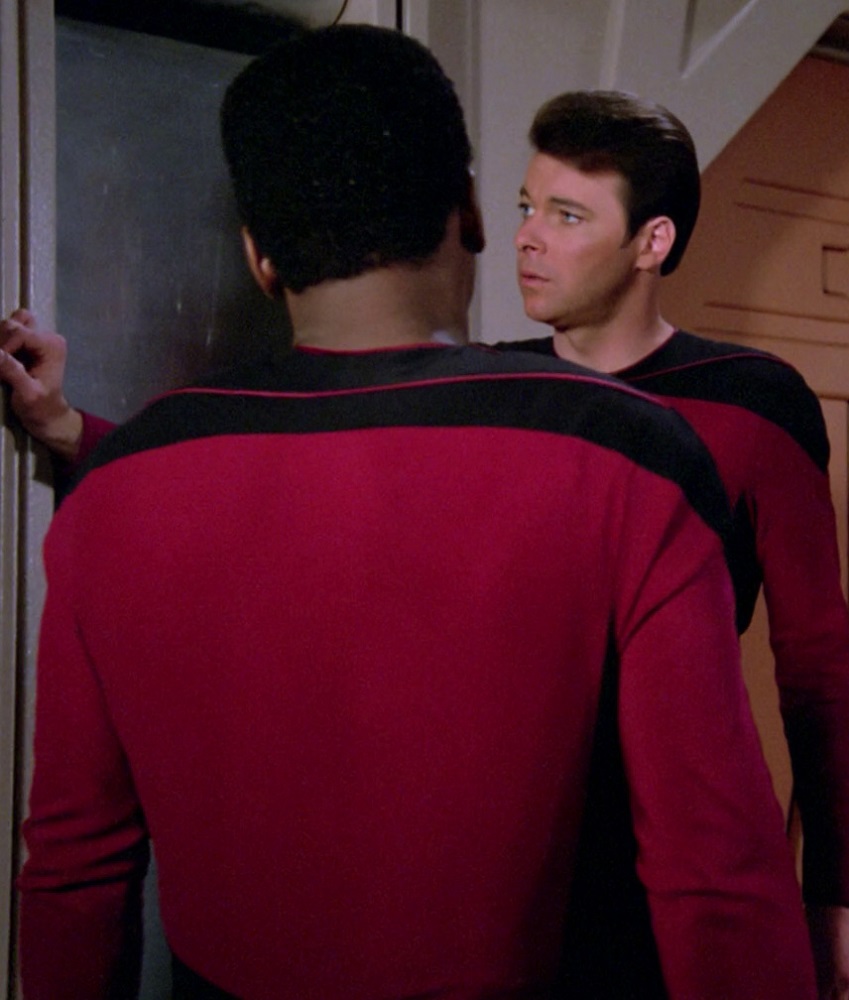
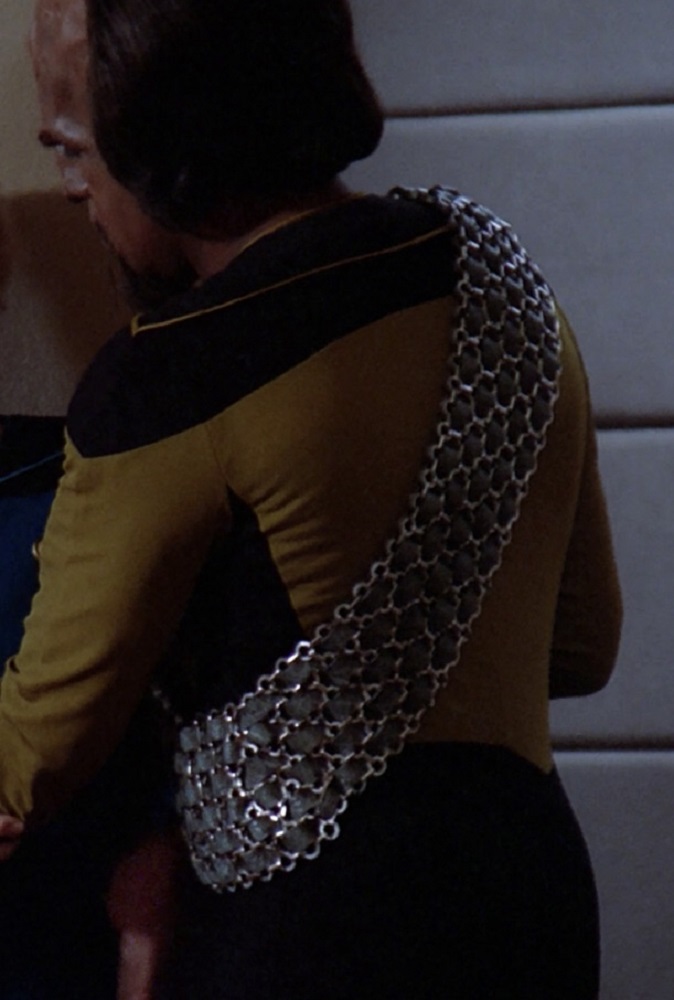
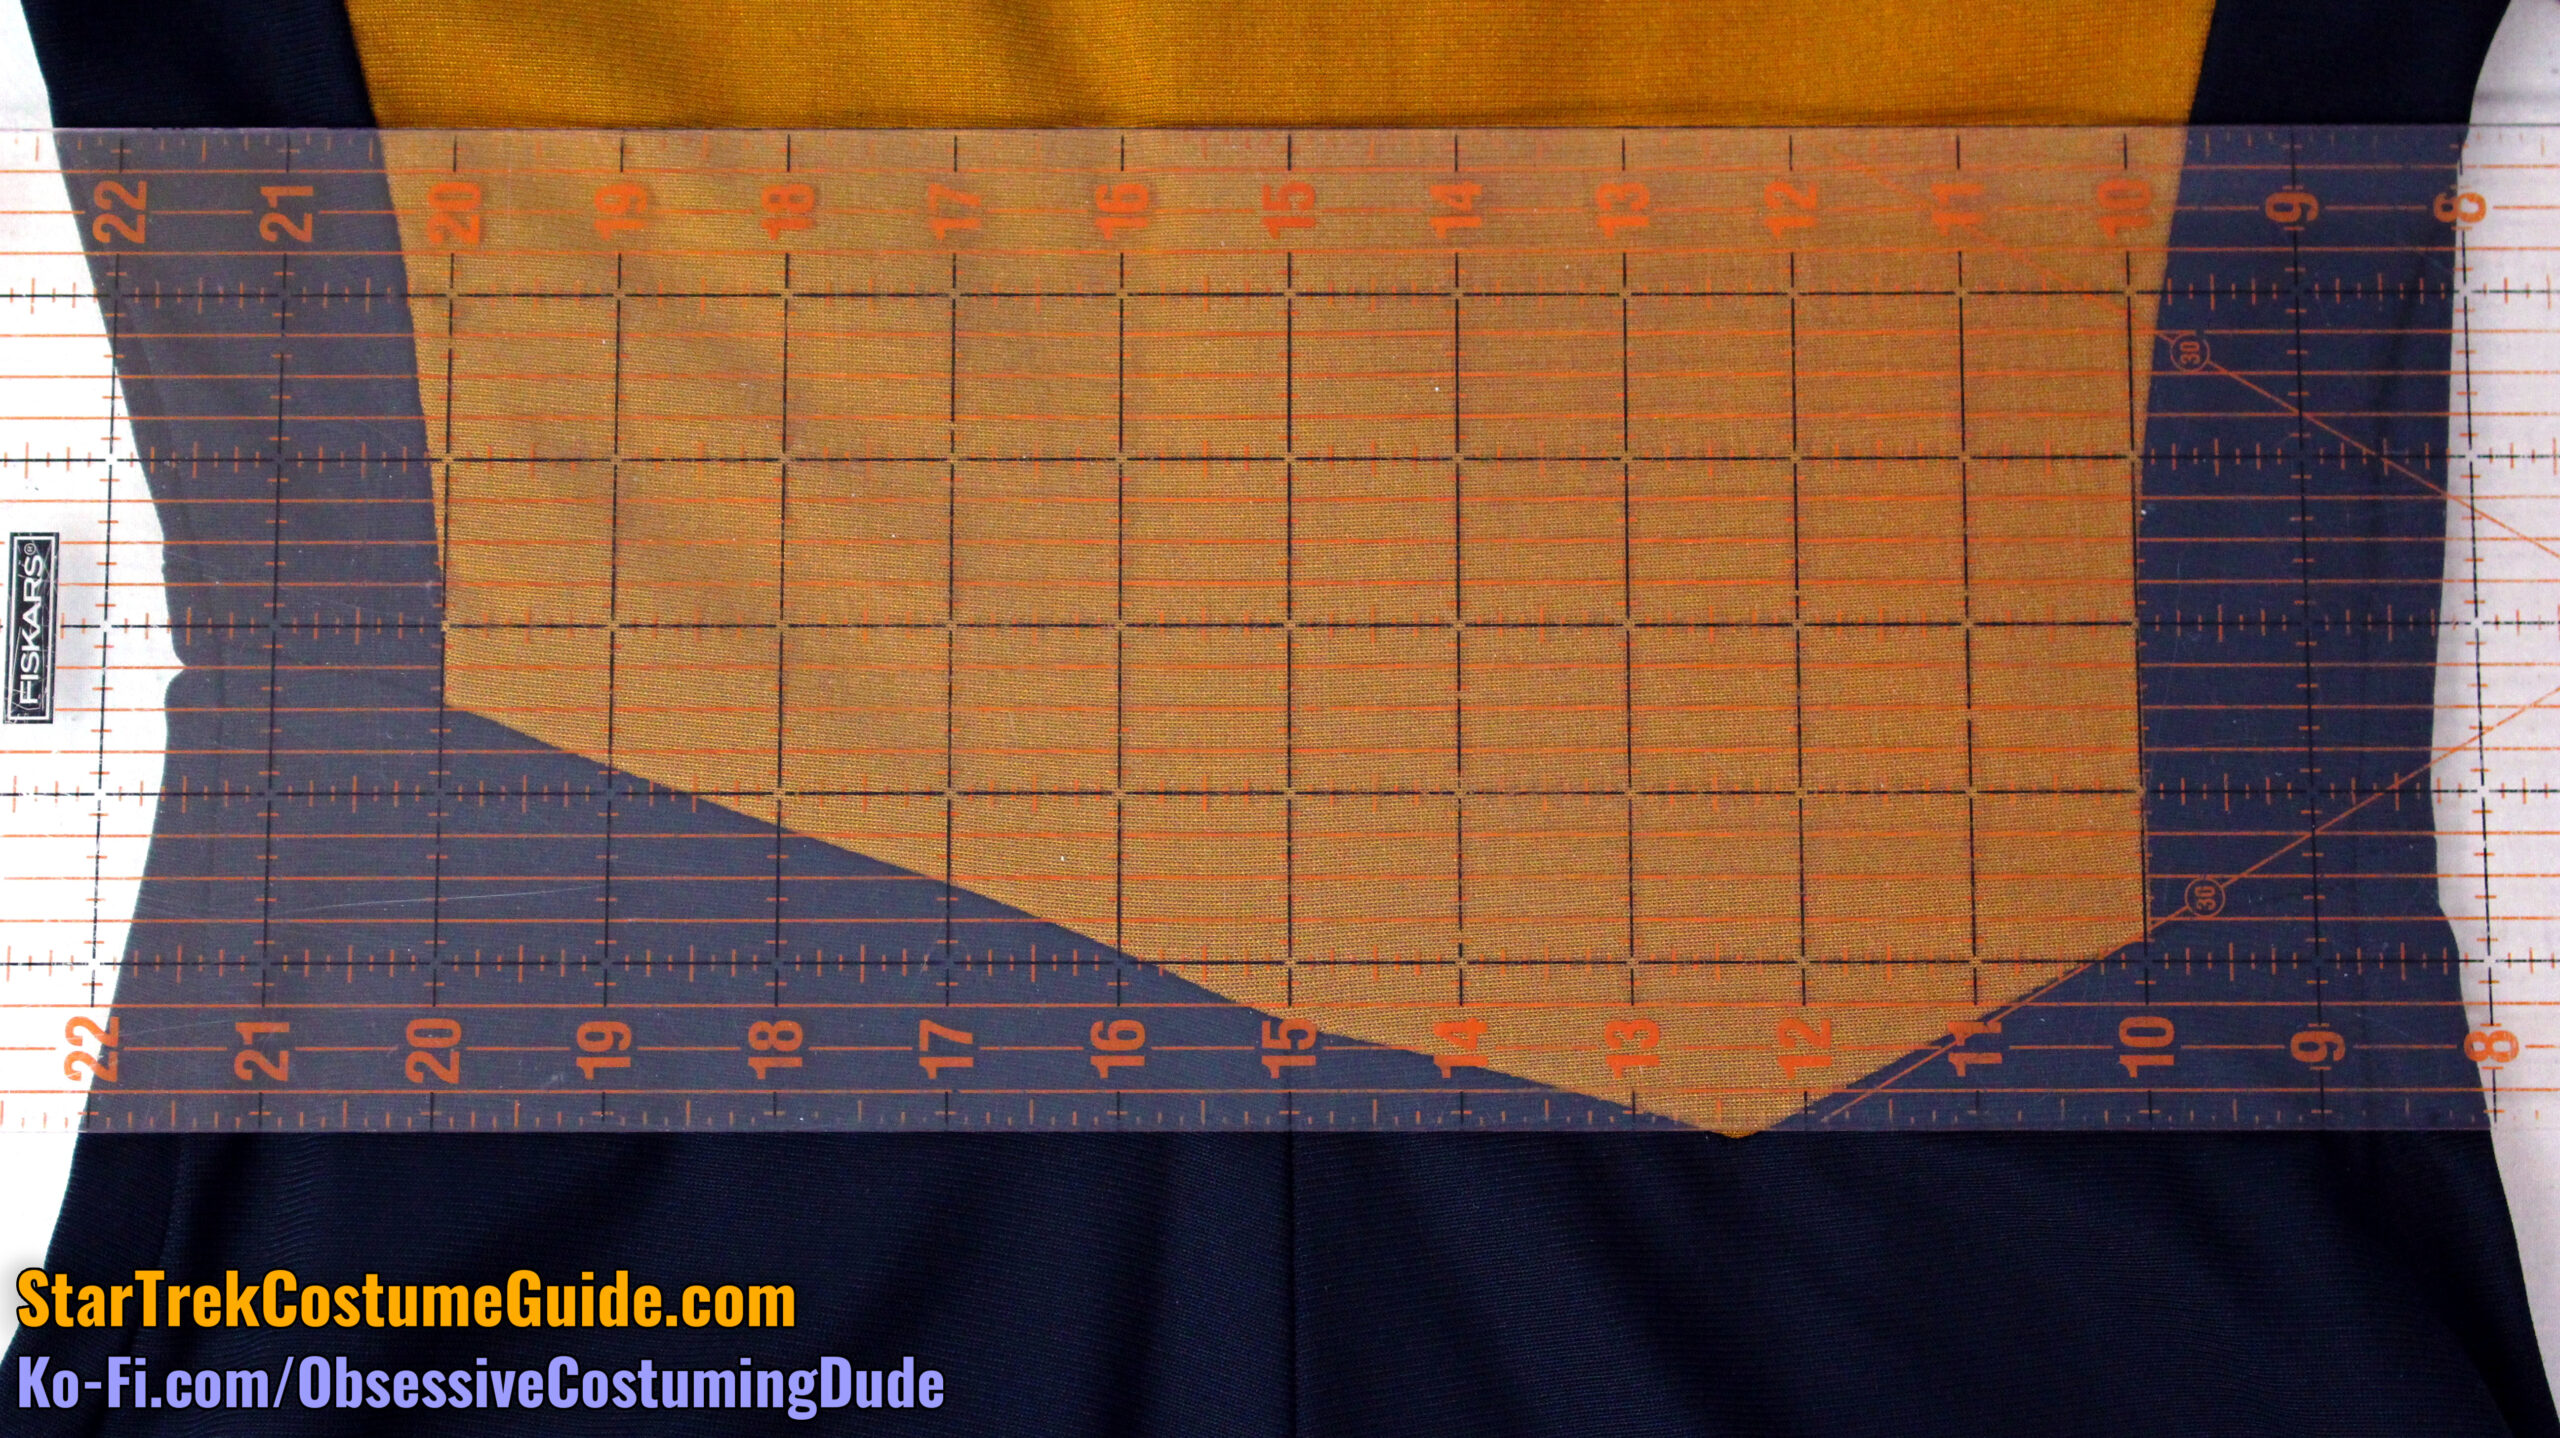
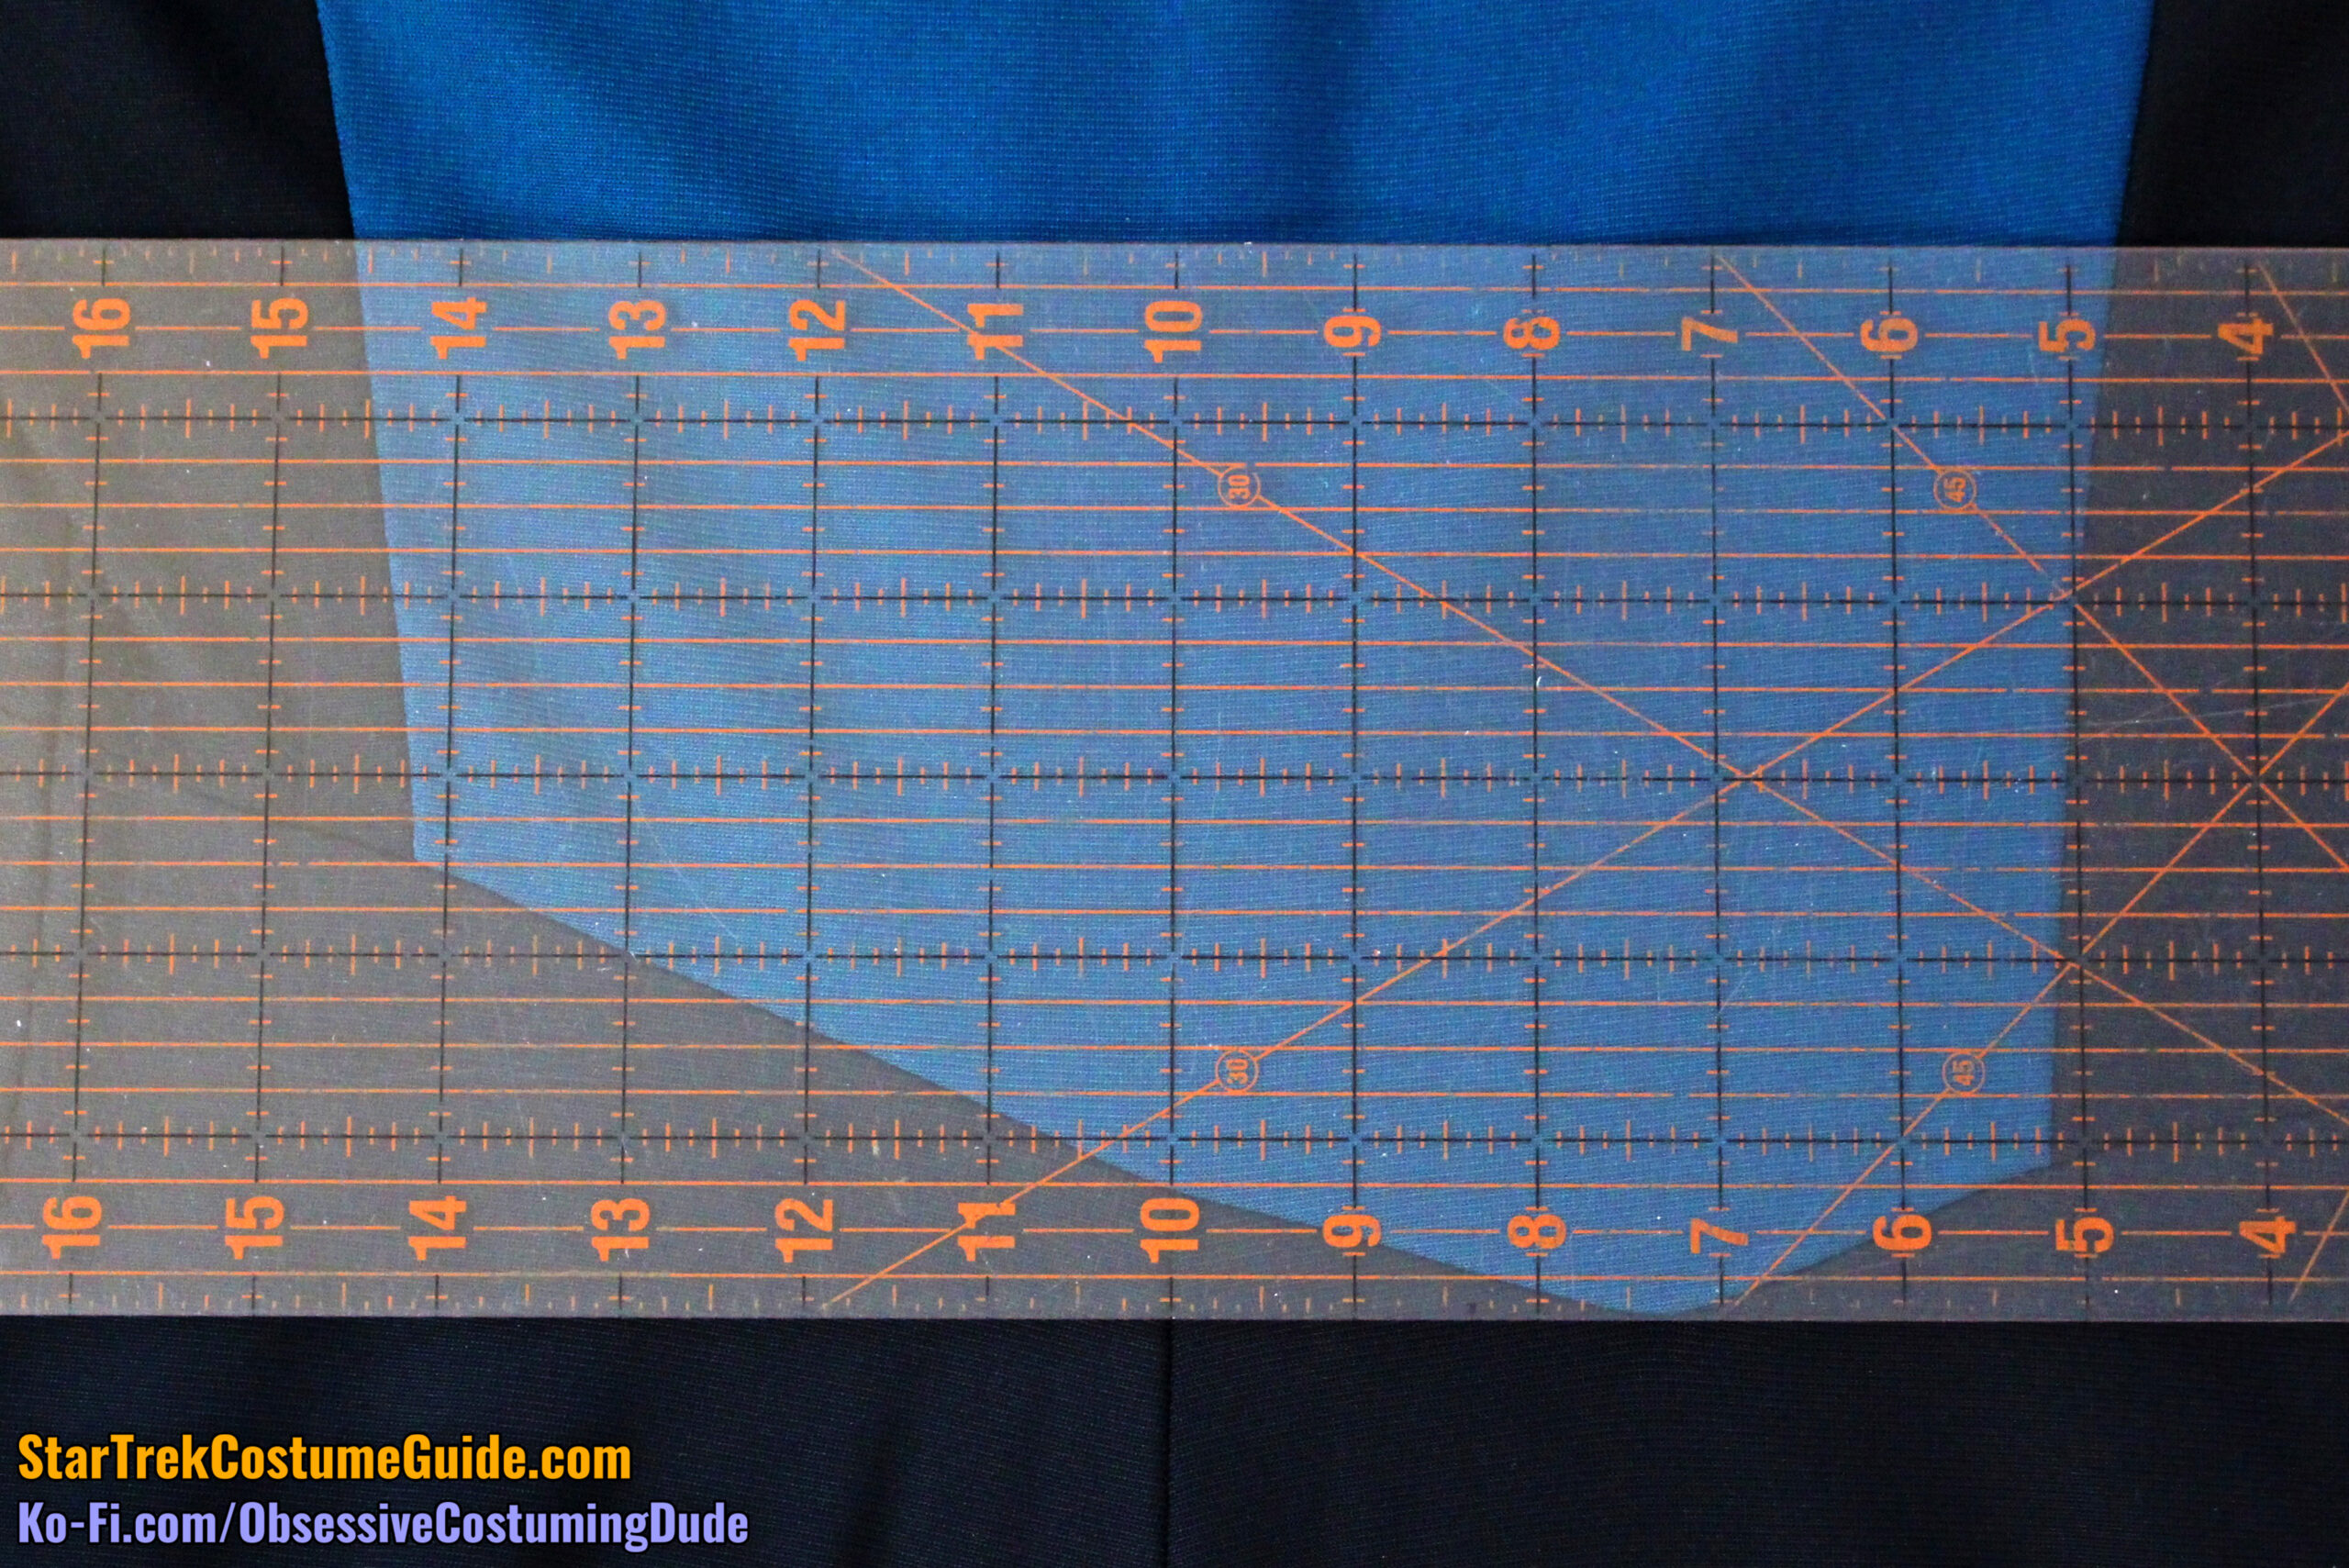
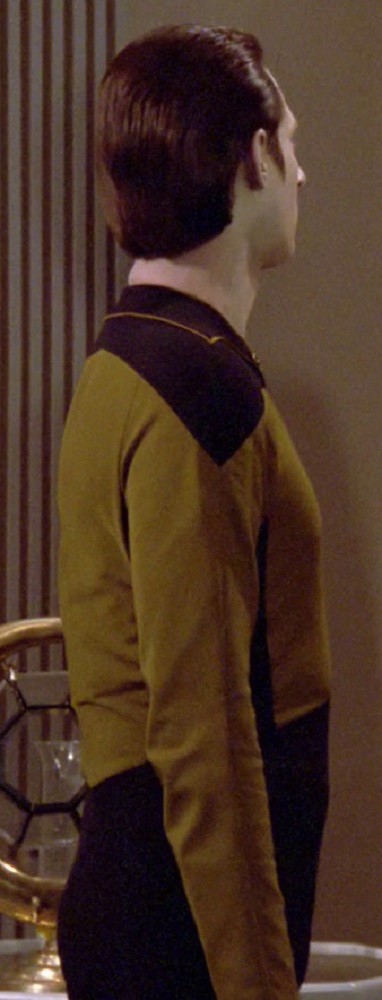
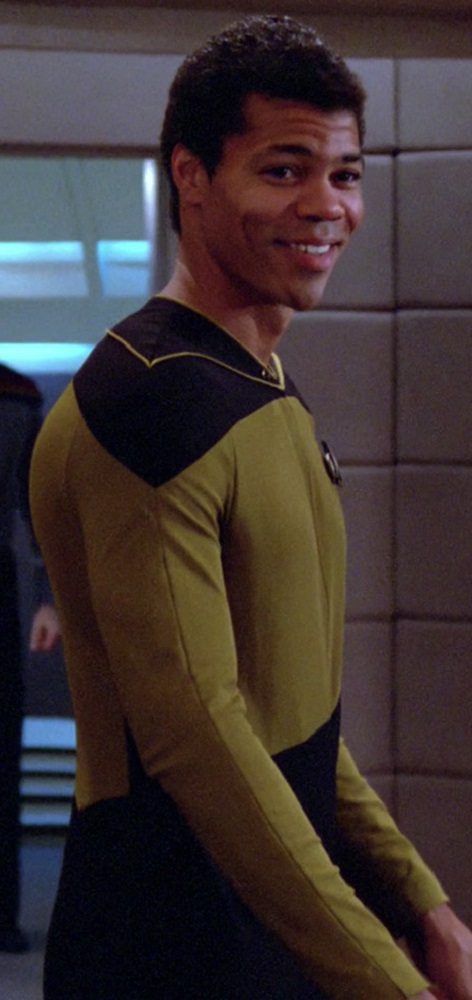
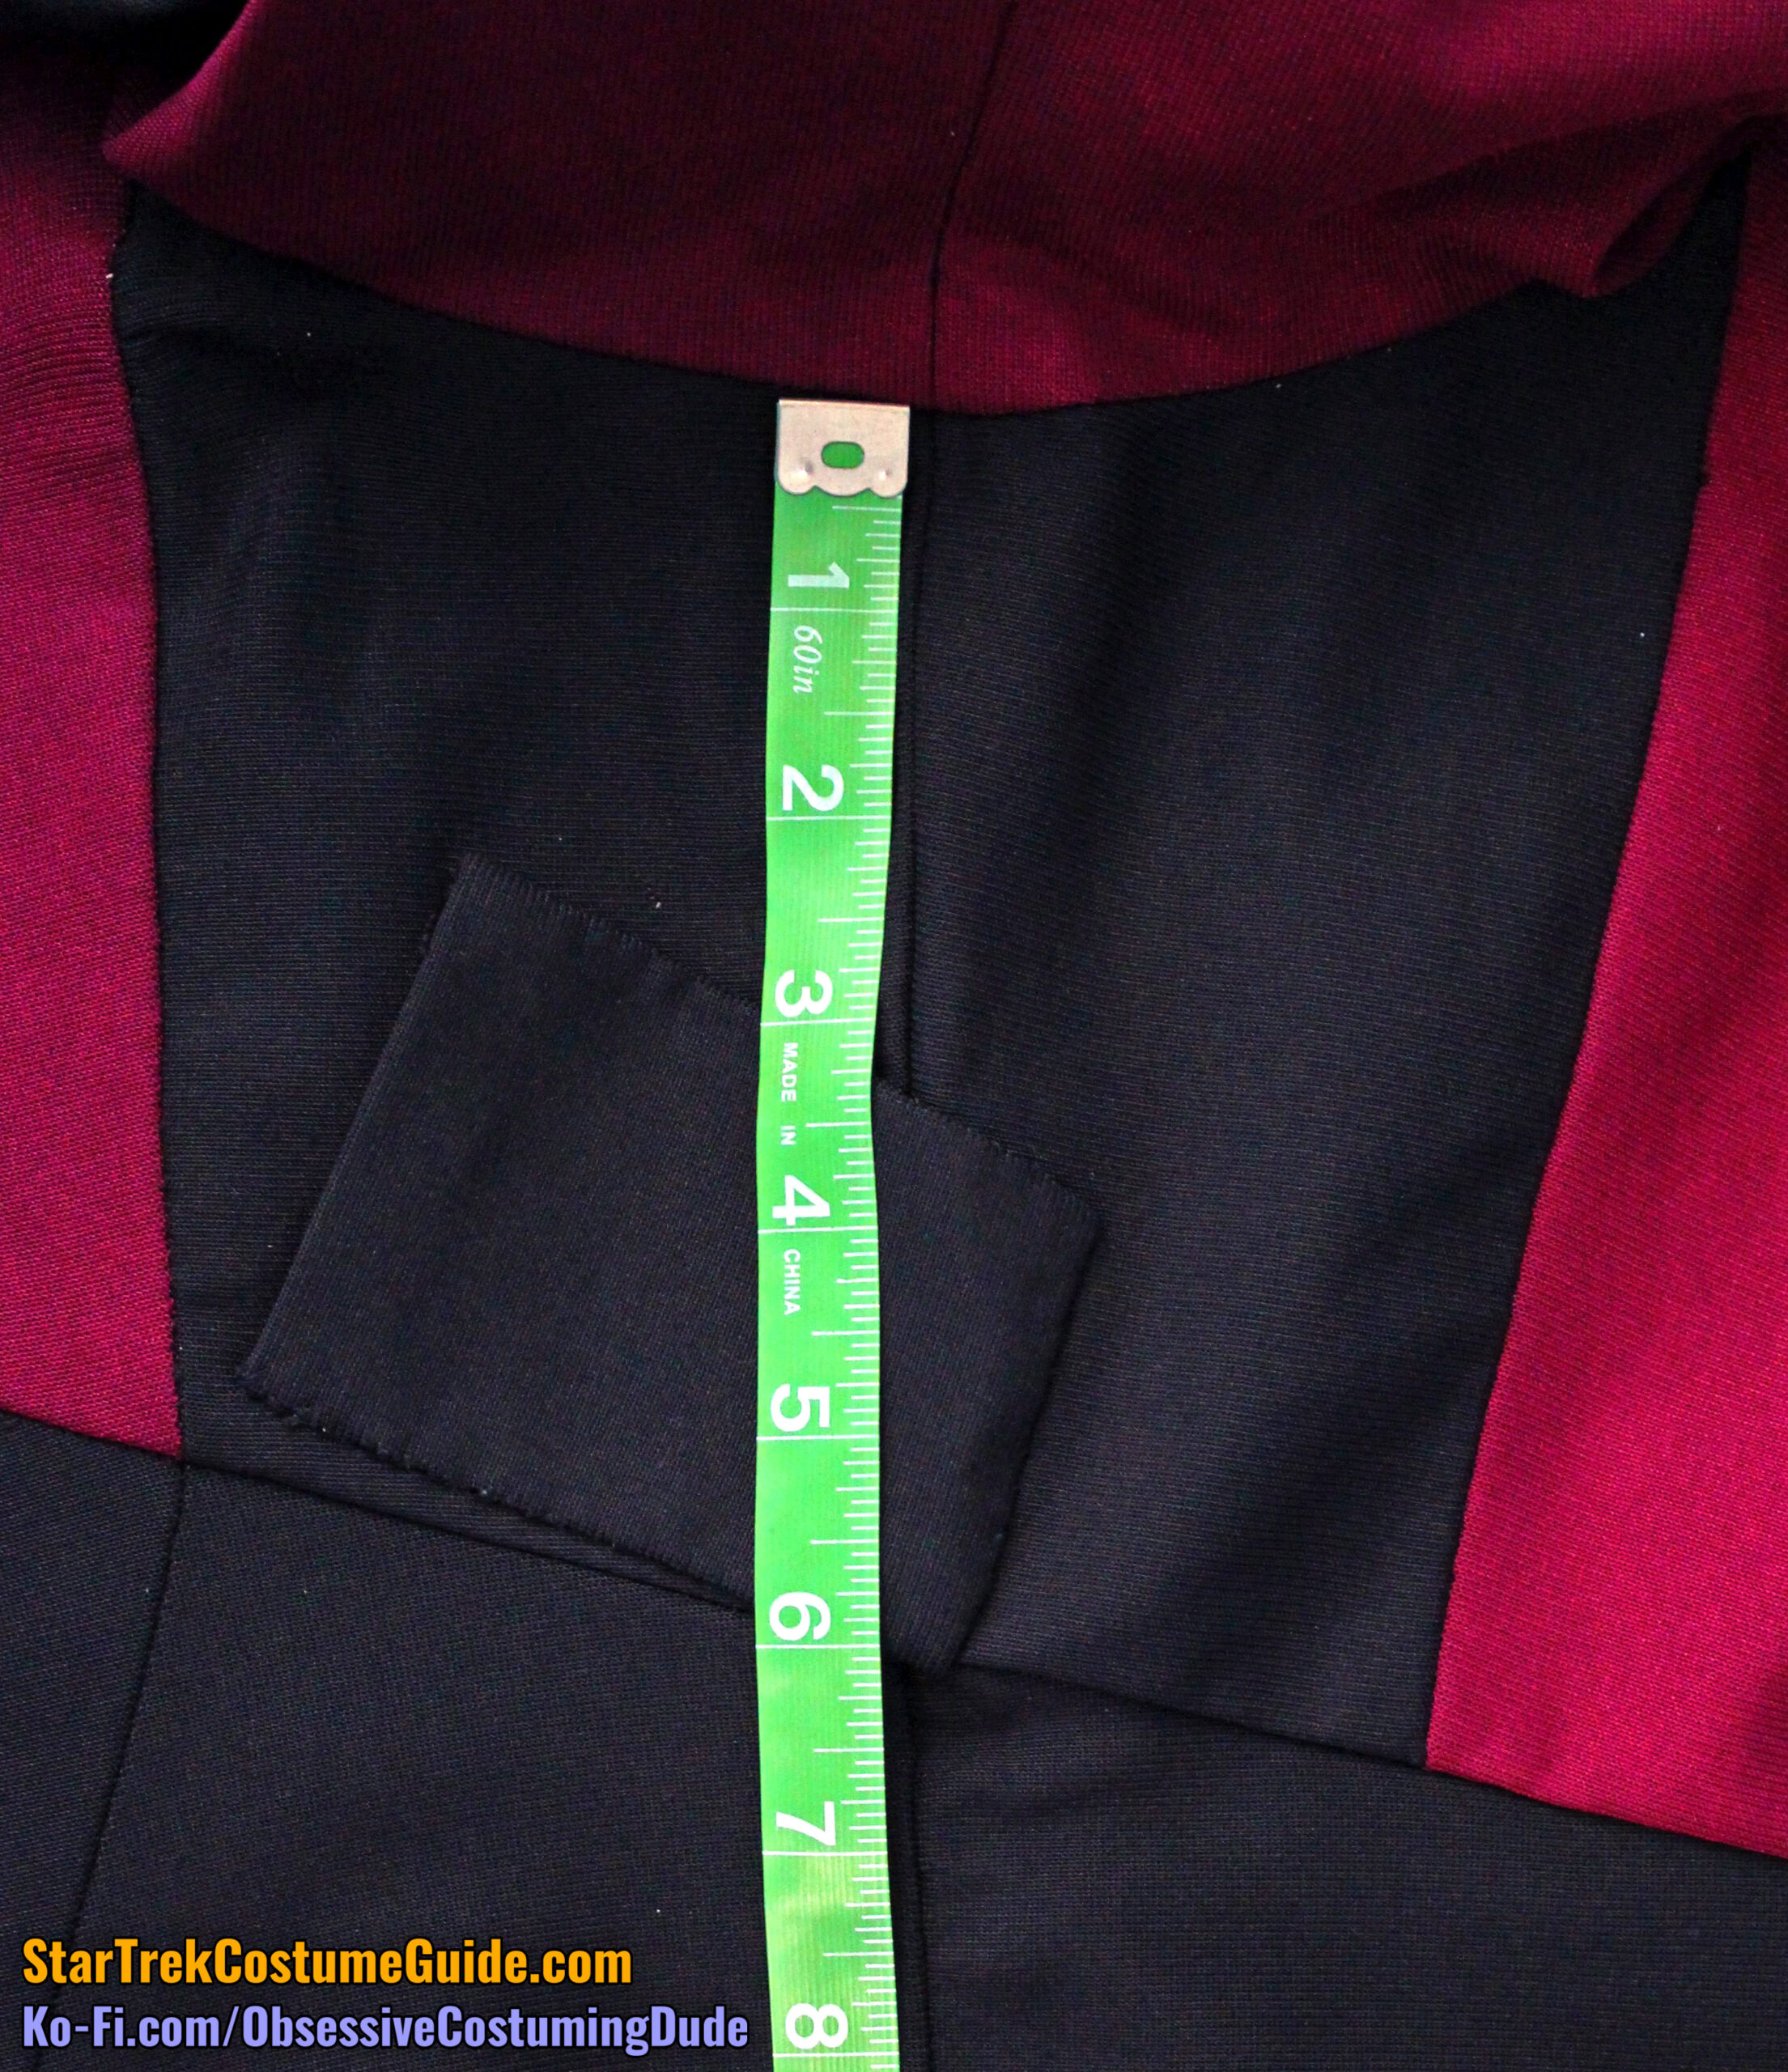
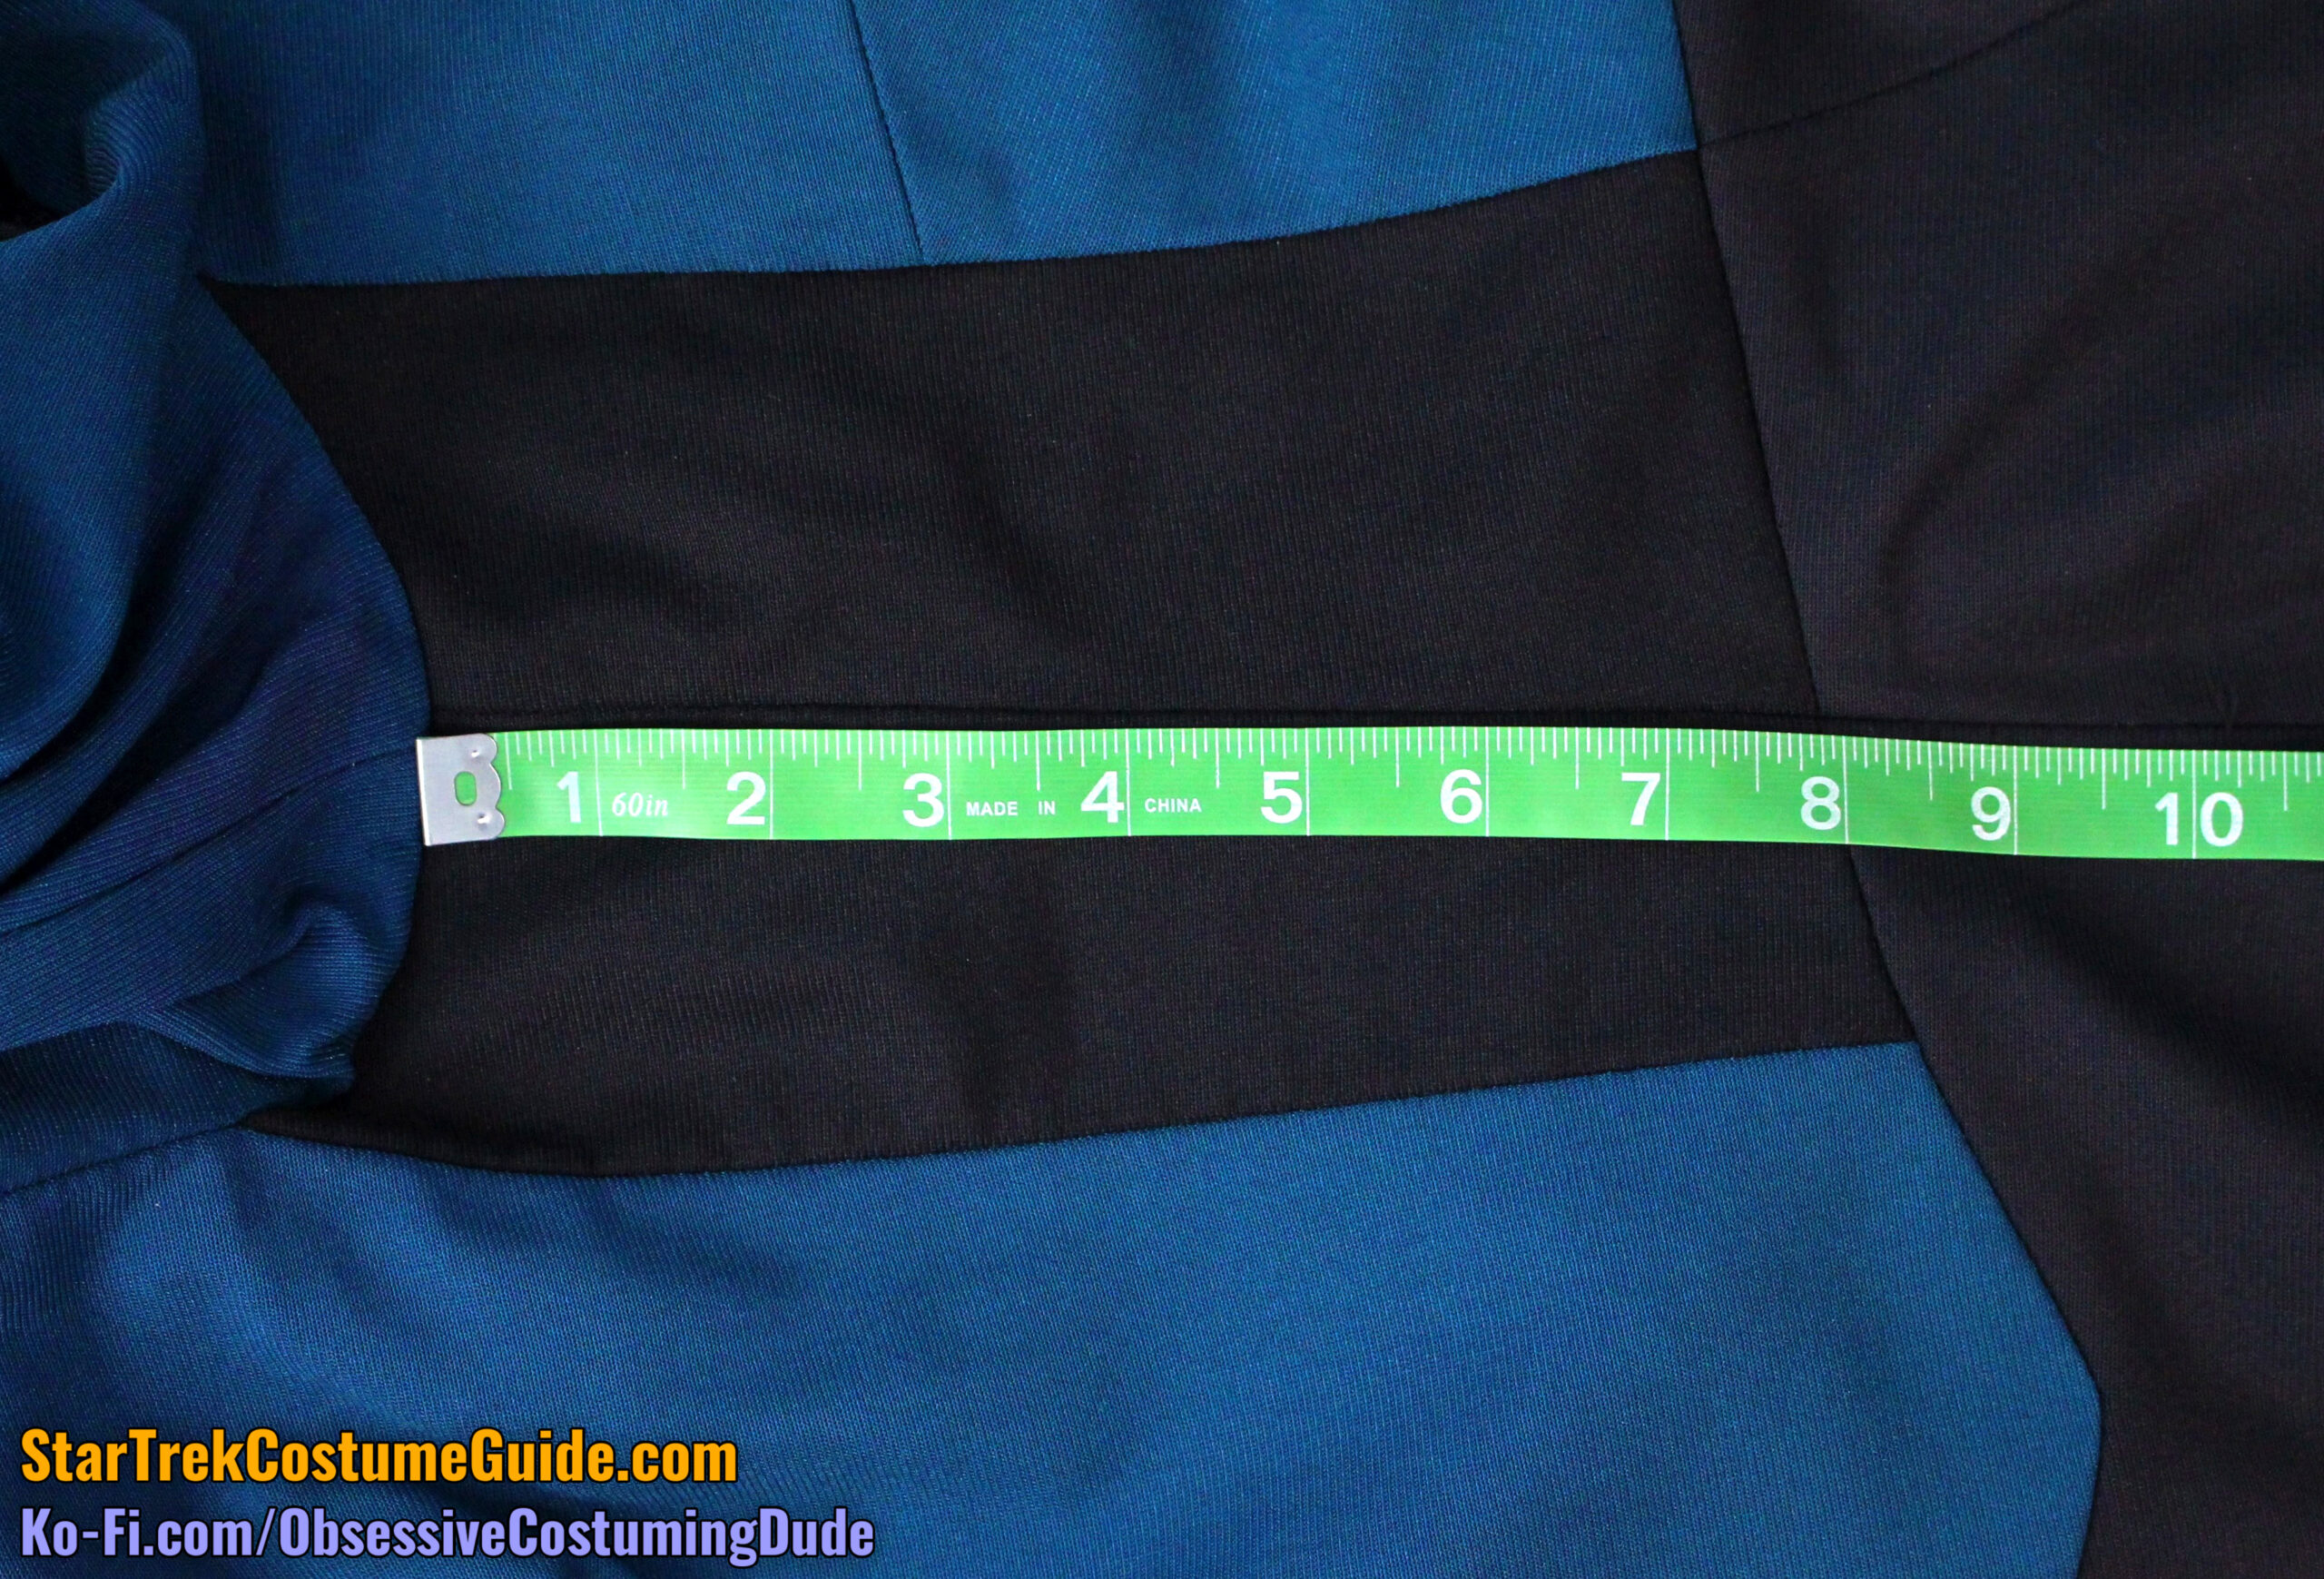
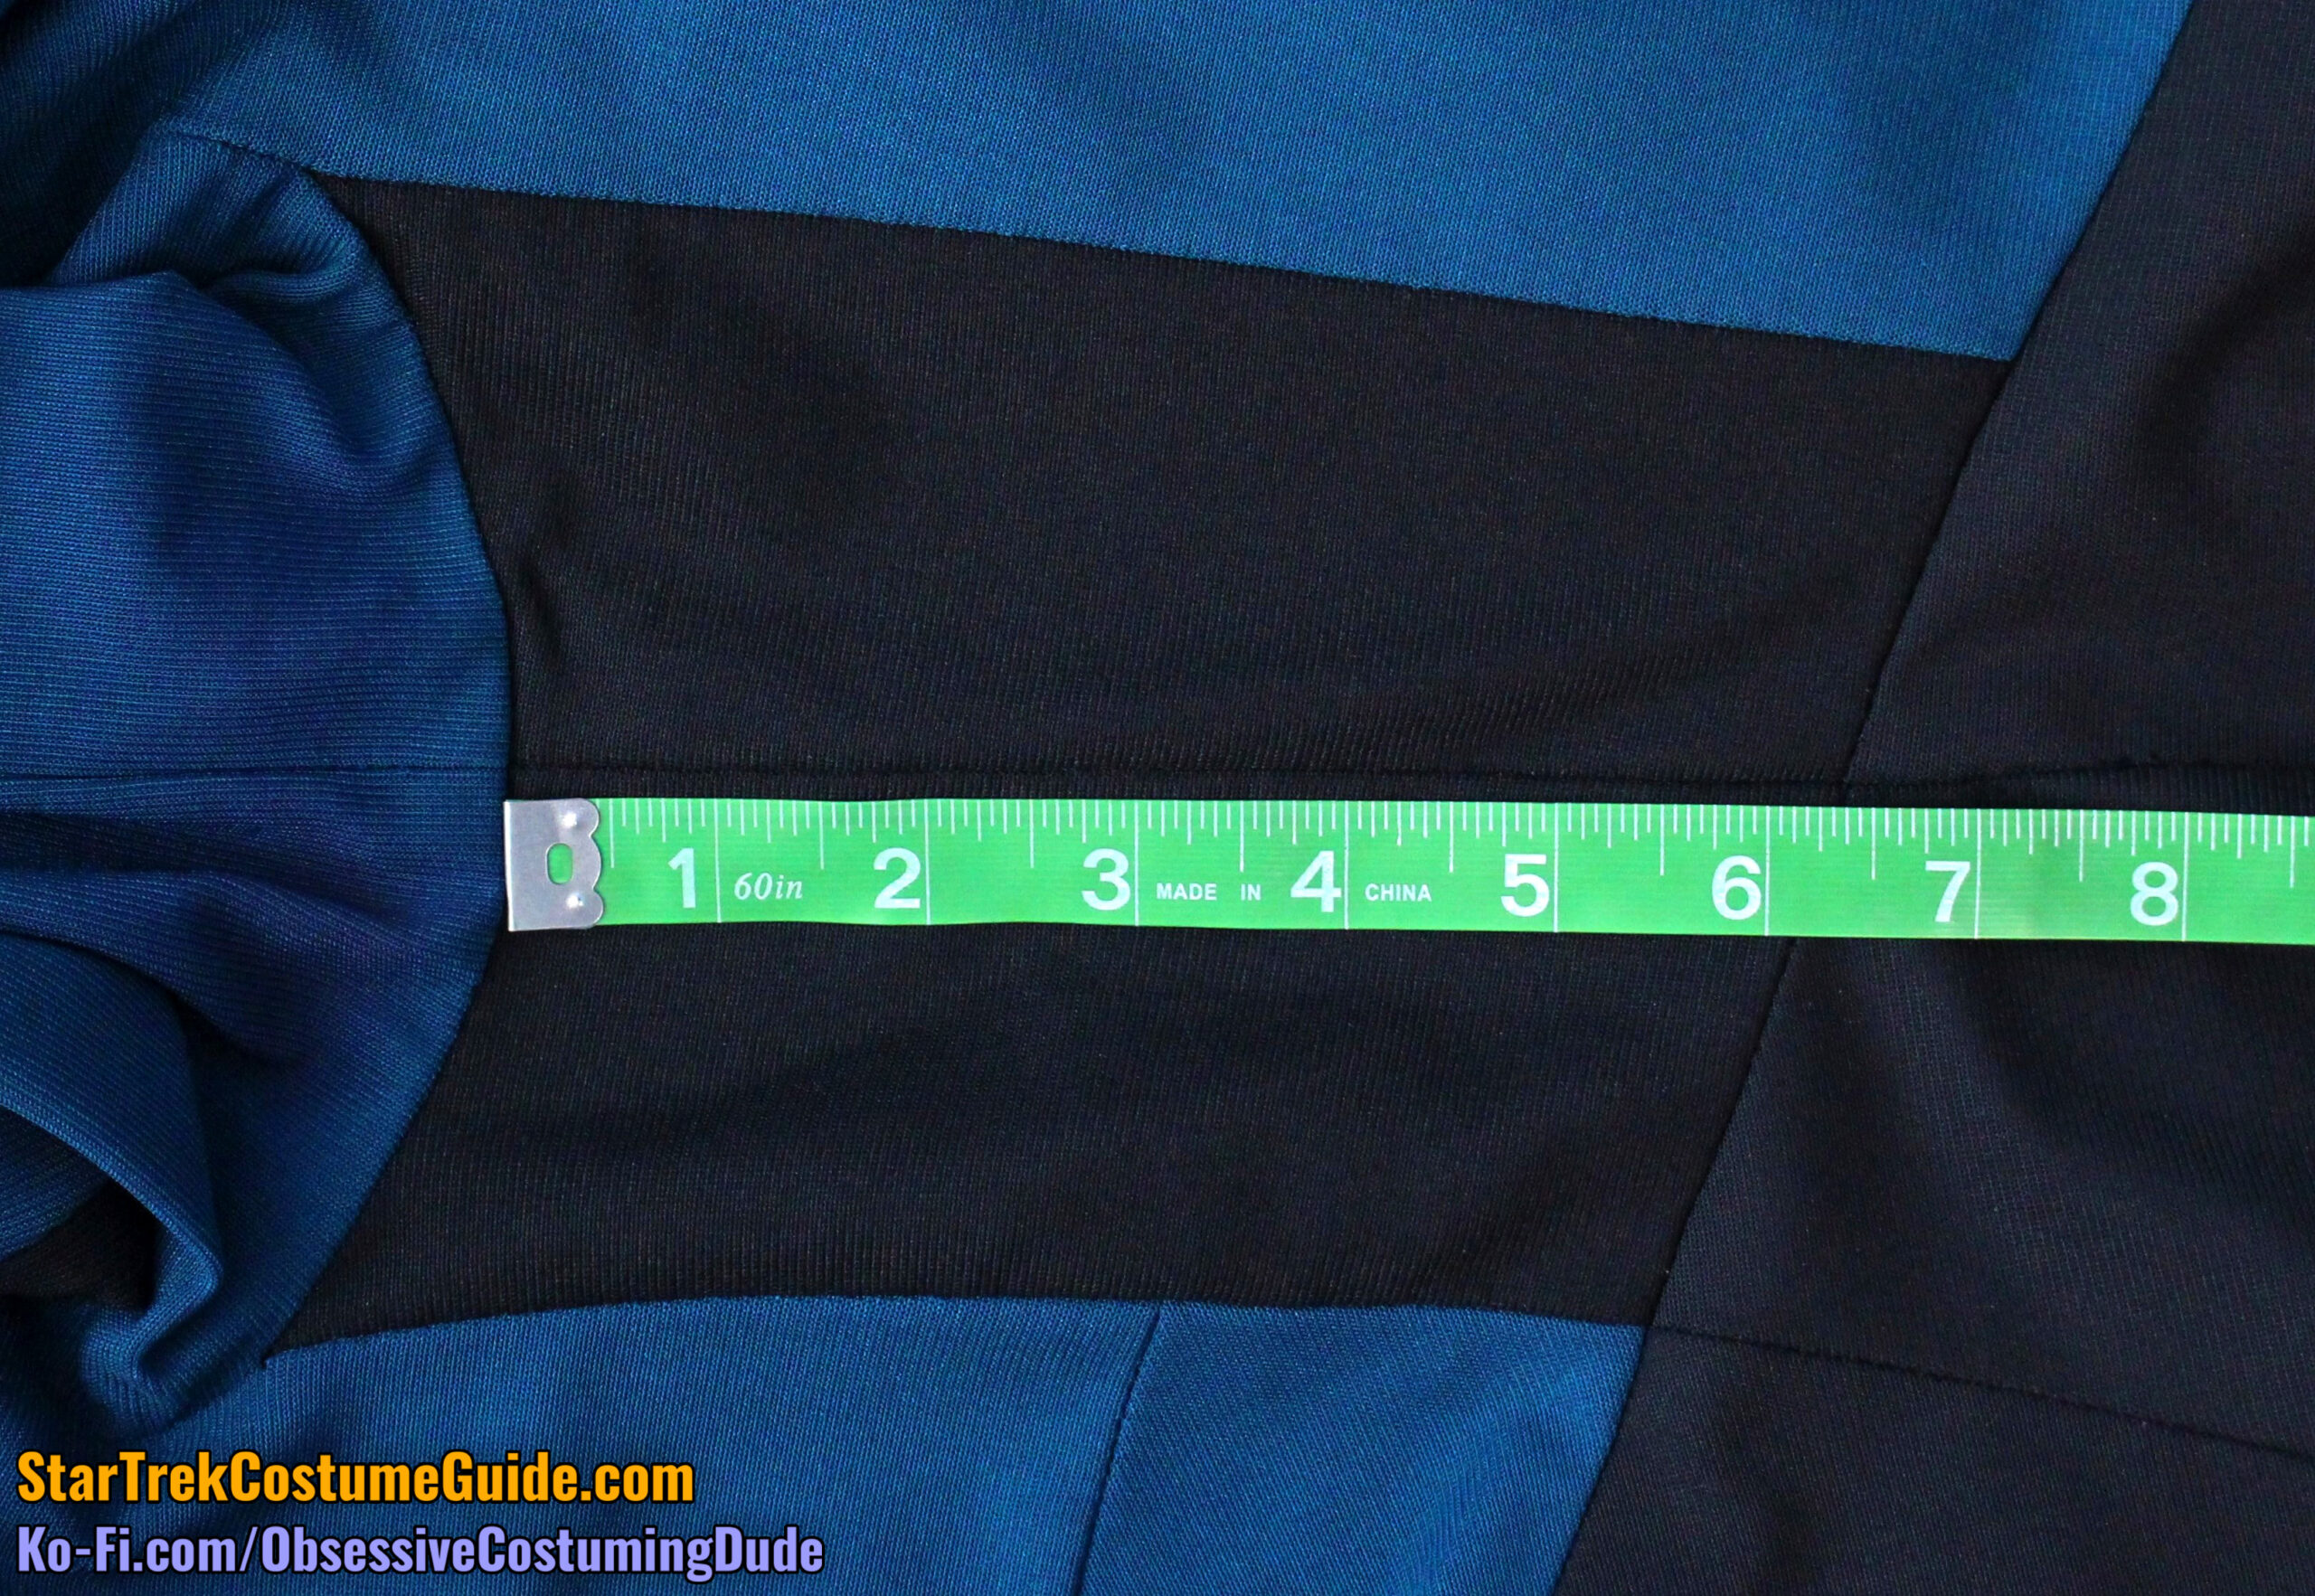
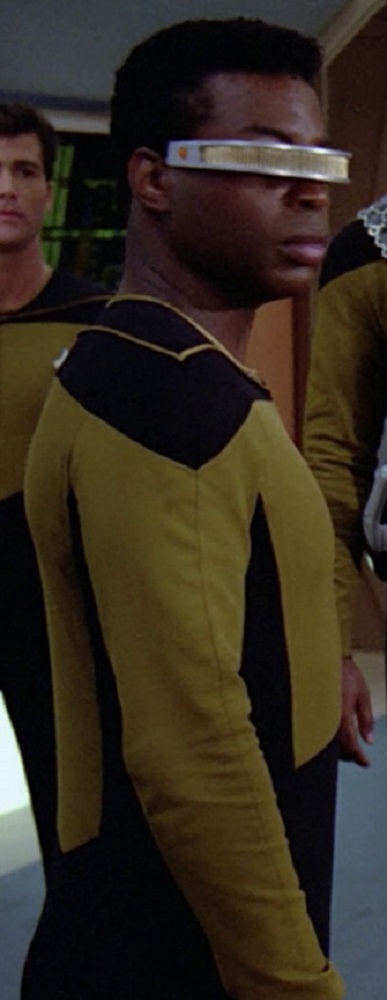
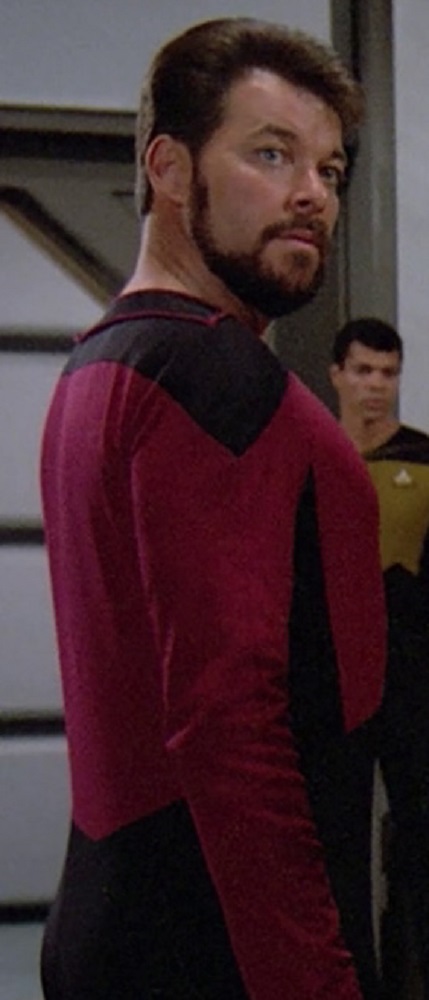
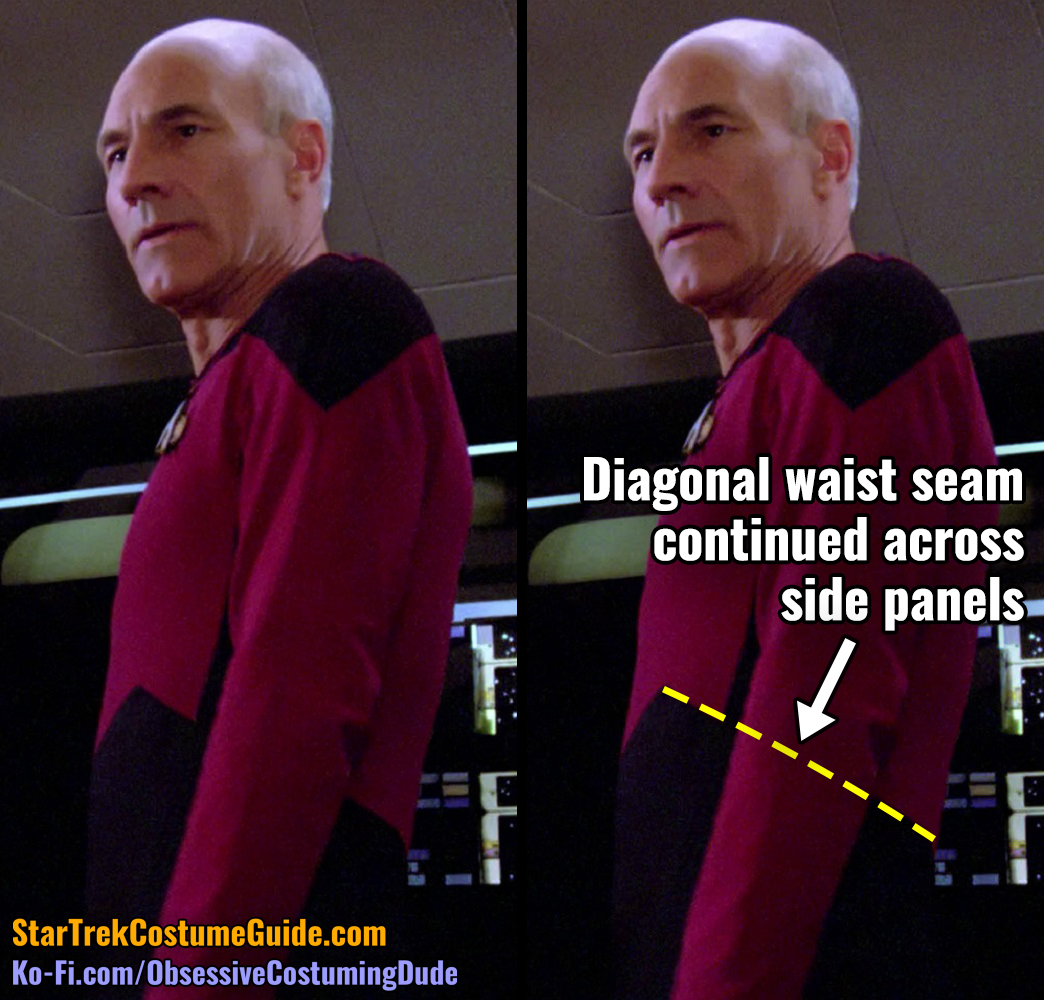
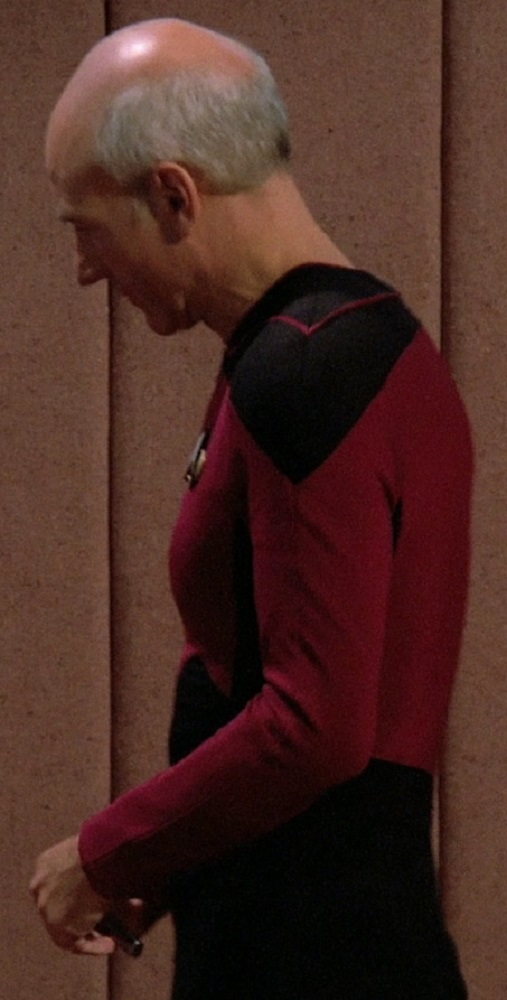
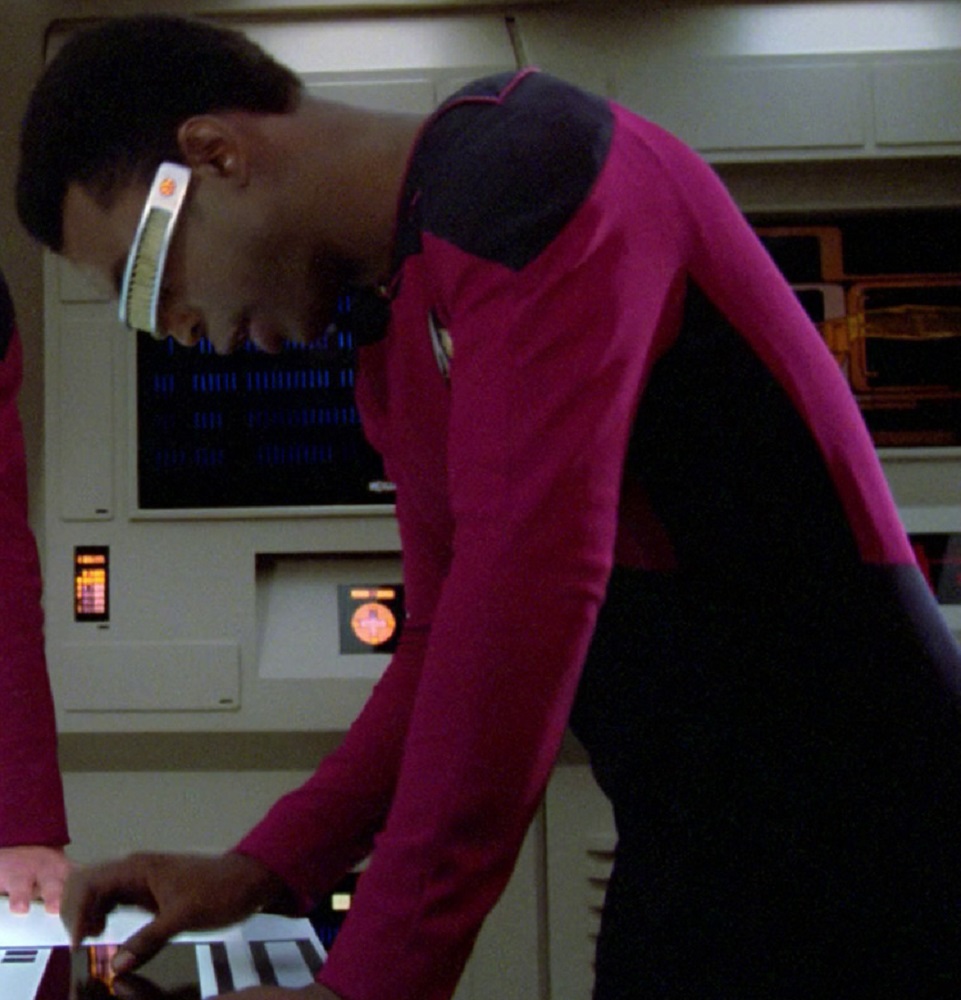
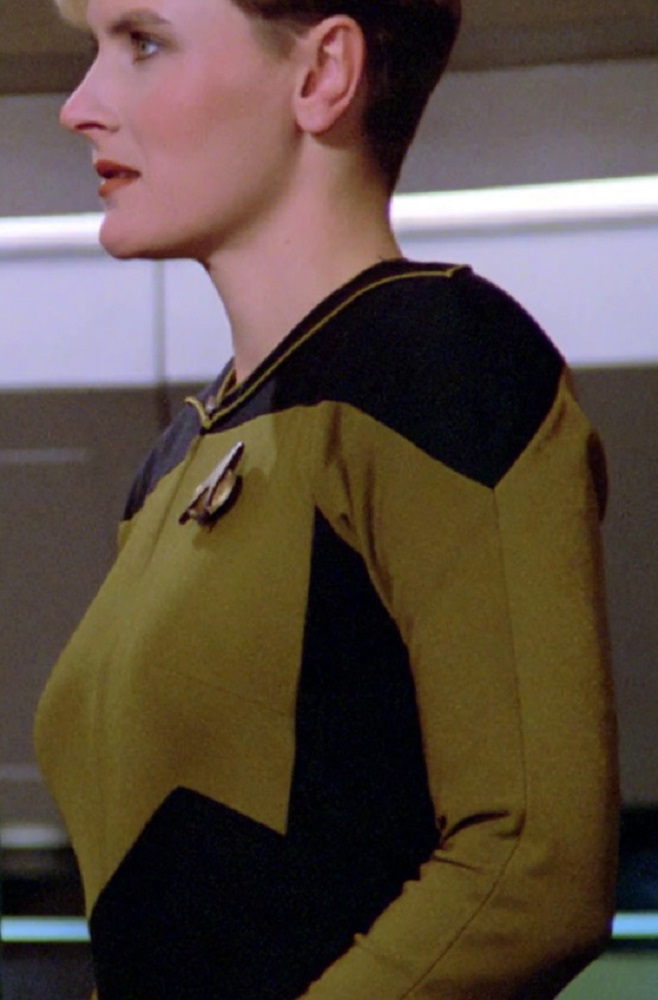
The black sides of the jumpsuit were actually comprised of two separate panels (side front and side back), closed with a side seam.
(The measuring tape in the photos above is irrelevant to my point about the side panel proportions.)
These side panels extended up to the lower armscye (underarm), where the sleeves were joined to the body.
TNG, 1x6 “Where No One Has Gone Before”
TNG, 1x21 “The Arsenal of Freedom”
TNG, 1x23 “Skin of Evil”
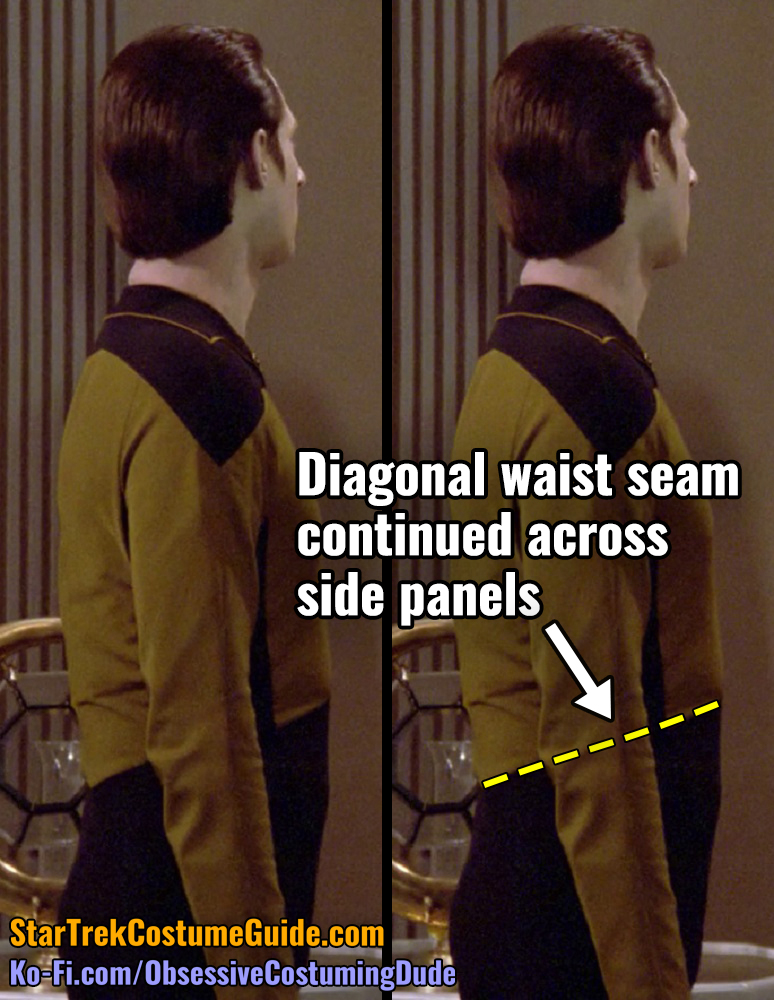
The side panels weren’t direct extensions of the pant legs; they were joined to the lower body via diagonal seams at the waist.
TNG, 2x2 “Where Silence Has Lease”
A particularly nice characteristic of the TNG jumpsuits was that the diagonal slope of the front and back waist seams continued across the side panels, forming continuous lines across the sides.
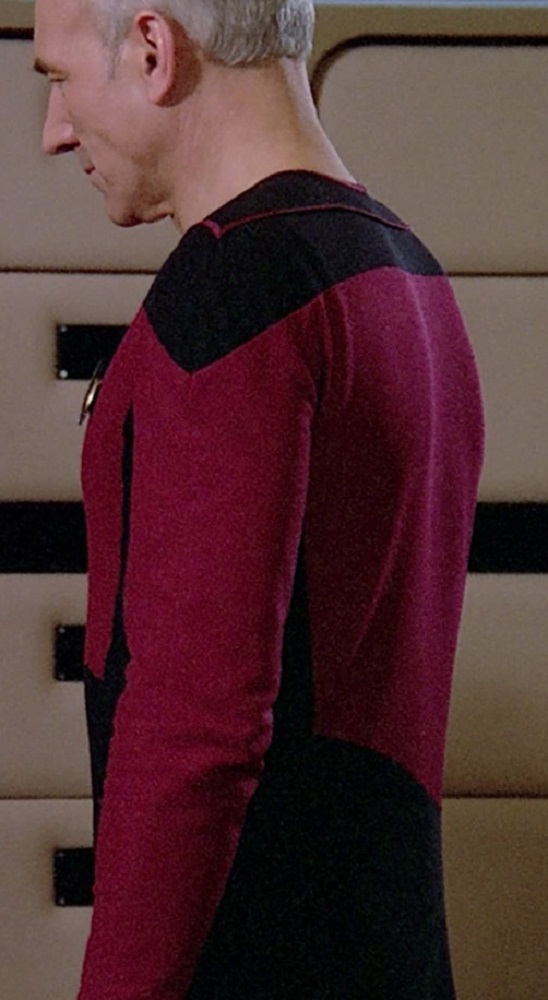
Here’s a look at the right side of the jumpsuit:
TNG, 1x11 “Haven”
TNG, 1x1 “Encounter at Farpoint”
TNG, 1x1 “Encounter at Farpoint”
TNG, 1x3 “The Naked Now”
TNG, 1x4 “Code of Honor”
TNG, 1x1 “Encounter at Farpoint”
TNG, 1x6 “Where No One Has Gone Before”
TNG, 1x7 “Lonely Among Us”
TNG, 1x7 “Lonely Among Us”
TNG, 1x8 “Justice”
TNG, 1x8 “Justice”
TNG, 1x9 “The Battle”
TNG, 1x10 “Hide and Q”
TNG, 1x10 “Hide and Q”
TNG, 1x12 “The Big Goodbye”
TNG, 1x13 “Datalore”
TNG, 1x18 “Home Soil”
TNG, 1x18 “Home Soil”
TNG, 1x20 “Heart of Glory”
TNG, 1x21 “The Arsenal of Freedom”
TNG, 1x22 “Symbiosis”
TNG, 1x24 “We’ll Always Have Paris”
TNG, 1x26 “The Neutral Zone”
TNG, 2x1 “The Child”
TNG, 2x6 “The Schizoid Man”
TNG, 2x8 “A Matter of Honor”
TNG, 2x12 “The Royale”
TNG, 2x12 “The Royale”
TNG, 2x12 “The Royale”
TNG, 2x14 “The Icarus Factor”
TNG, 2x16 “Q Who”
TNG, 2x18 “Up the Long Ladder”
And the left side:
TNG, 1x7 “Lonely Among Us”
TNG, 1x1 “Encounter at Farpoint”
TNG, 1x1 “Encounter at Farpoint”
TNG, 1x4 “Code of Honor”
TNG, 1x4 “Code of Honor”
TNG, 1x5 “The Last Outpost”
TNG, 1x5 “The Last Outpost”
TNG, 1x9 “The Battle”
TNG, 1x9 “The Battle”
TNG, 1x10 “Hide and Q”
TNG, 1x10 “Hide and Q”
TNG, 1x10 “Hide and Q”
TNG, 1x17 “When the Bough Breaks”
TNG, 1x18 “Home Soil”
TNG, 1x18 “Home Soil”
TNG, 1x20 “Heart of Glory”
TNG, 1x20 “Heart of Glory”
TNG, 1x24 “We’ll Always Have Paris”
TNG, 1x24 “We’ll Always Have Paris”
TNG, 1x26 “The Neutral Zone”
TNG, 2x4 “The Outrageous Okuna”
TNG, 2x5 “Loud as a Whisper”
TNG, 2x7 “Unnatural Selection”
TNG, 2x9 “The Measure of a Man”
TNG, 2x10 “The Dauphin”
TNG, 2x12 “The Royale”
TNG, 2x12 “The Royale”
TNG, 2x13 “Time Squared”
TNG, 2x21 “Peak Performance”
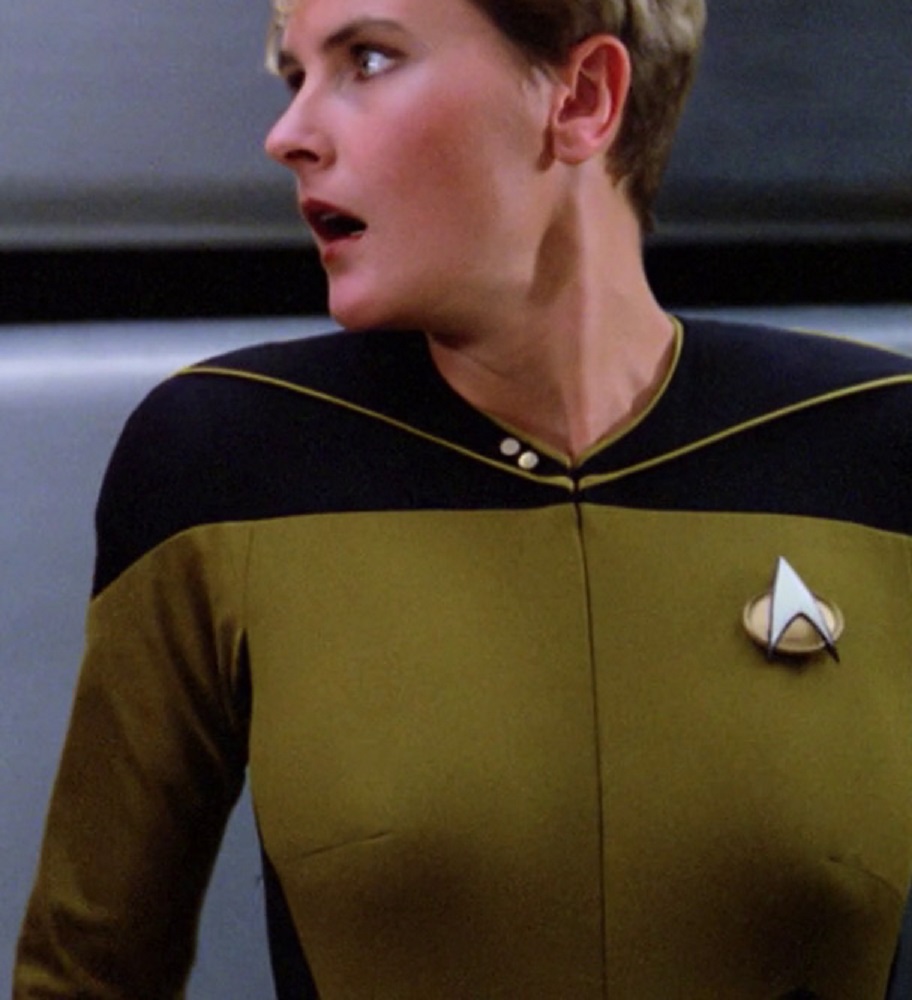
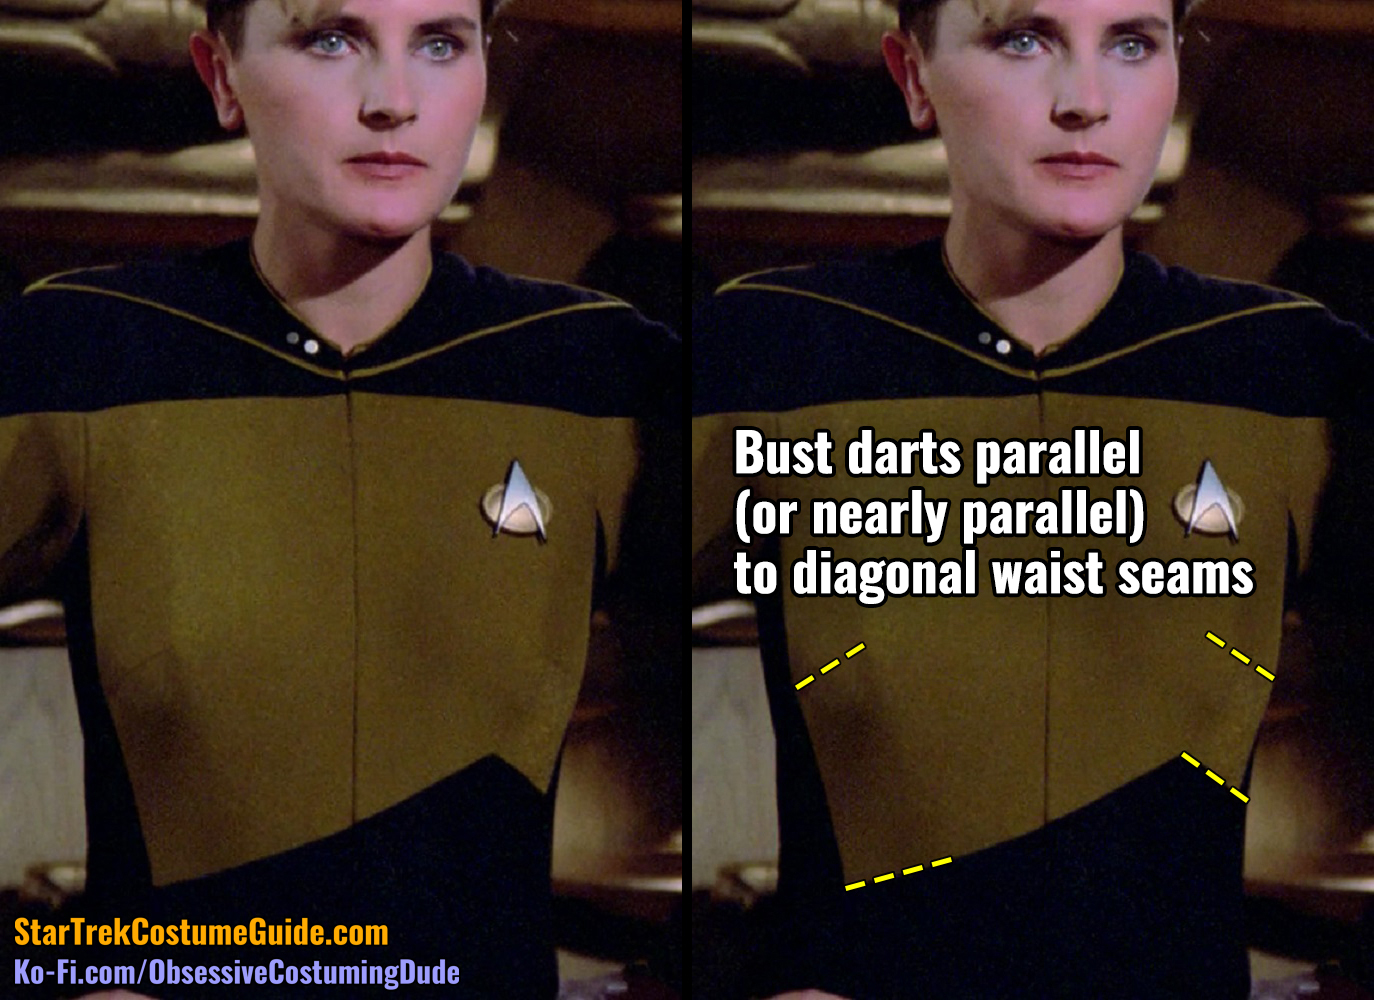
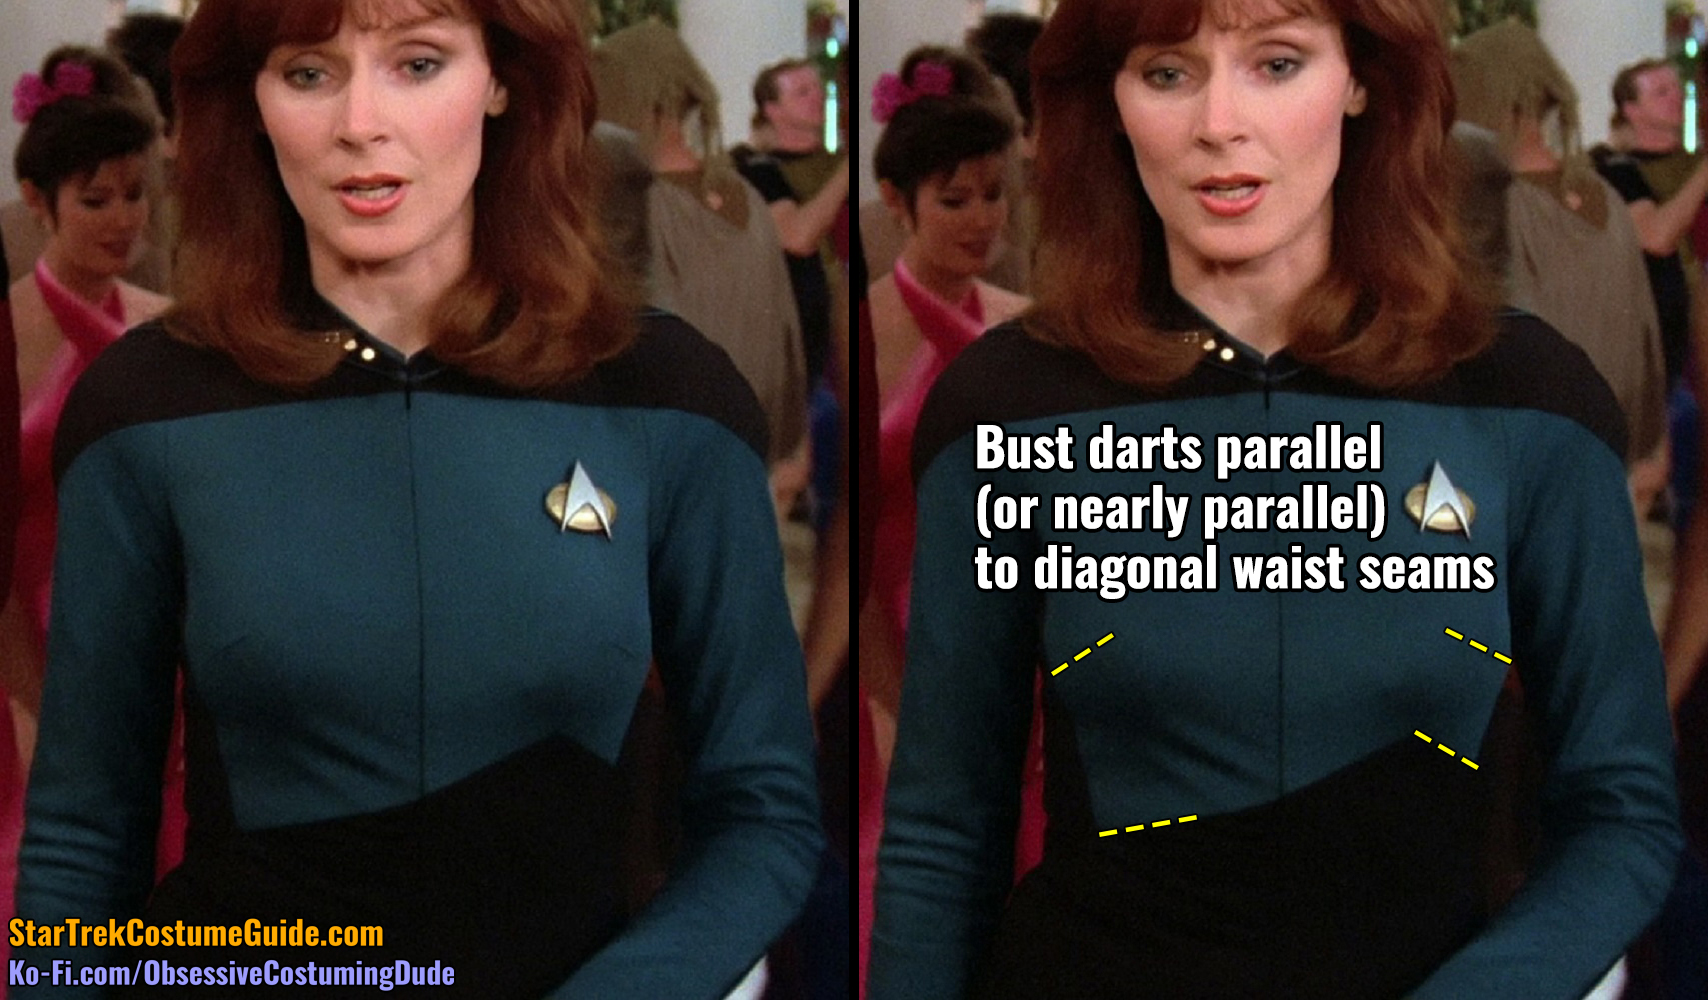
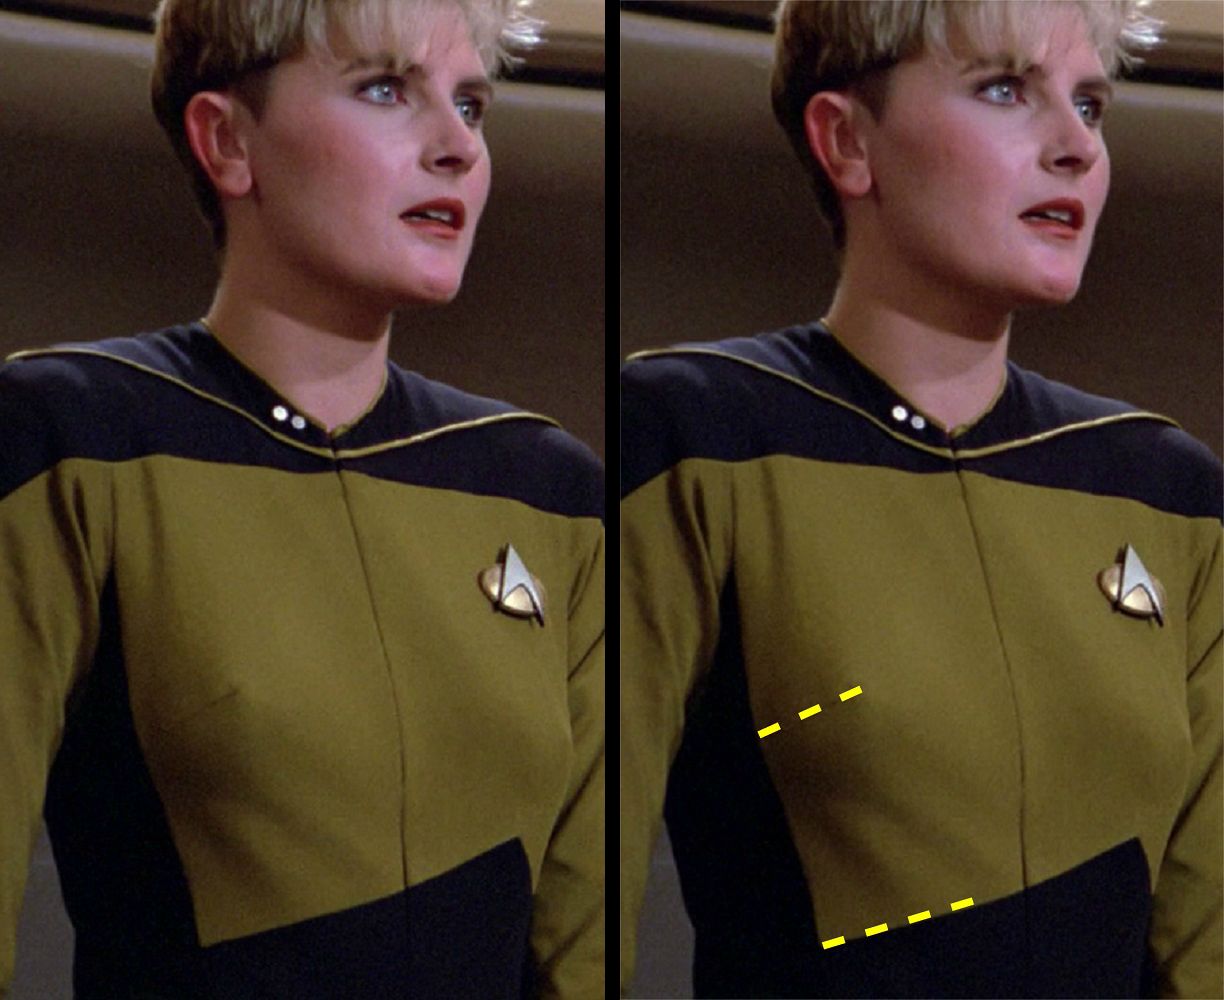
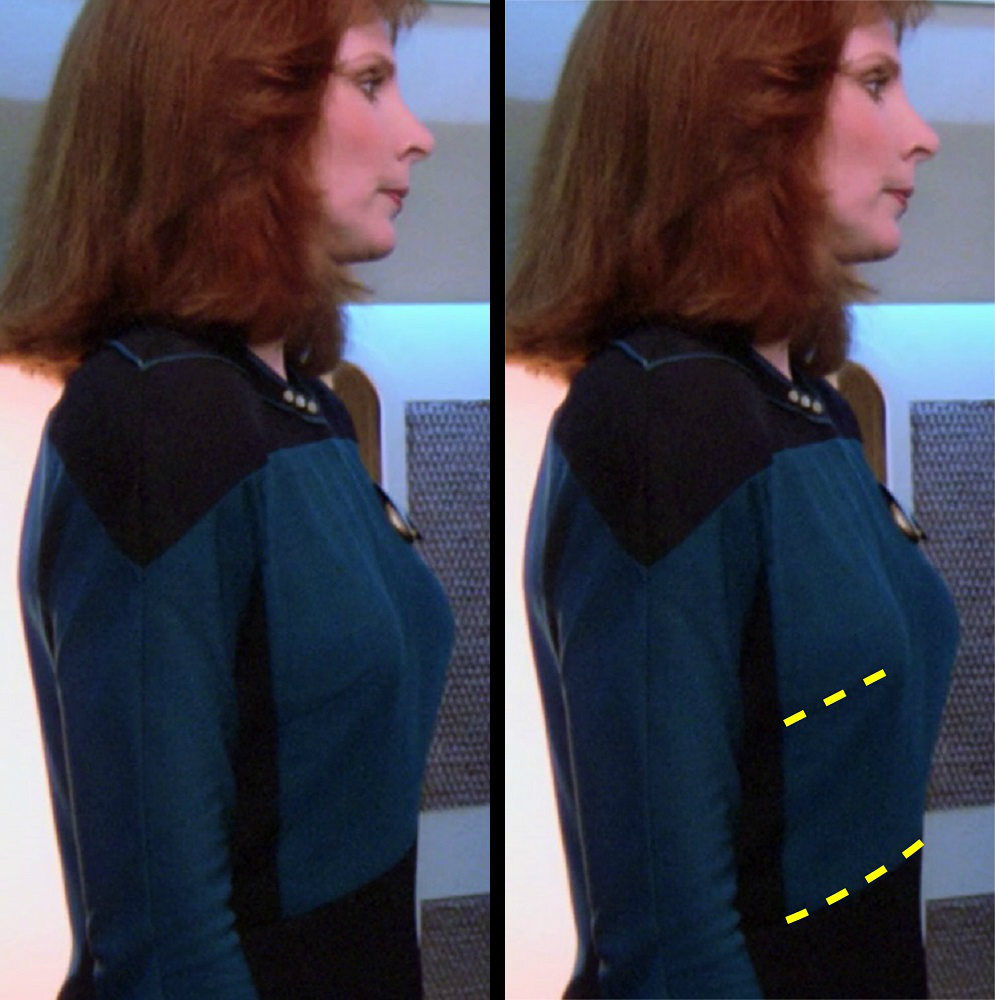
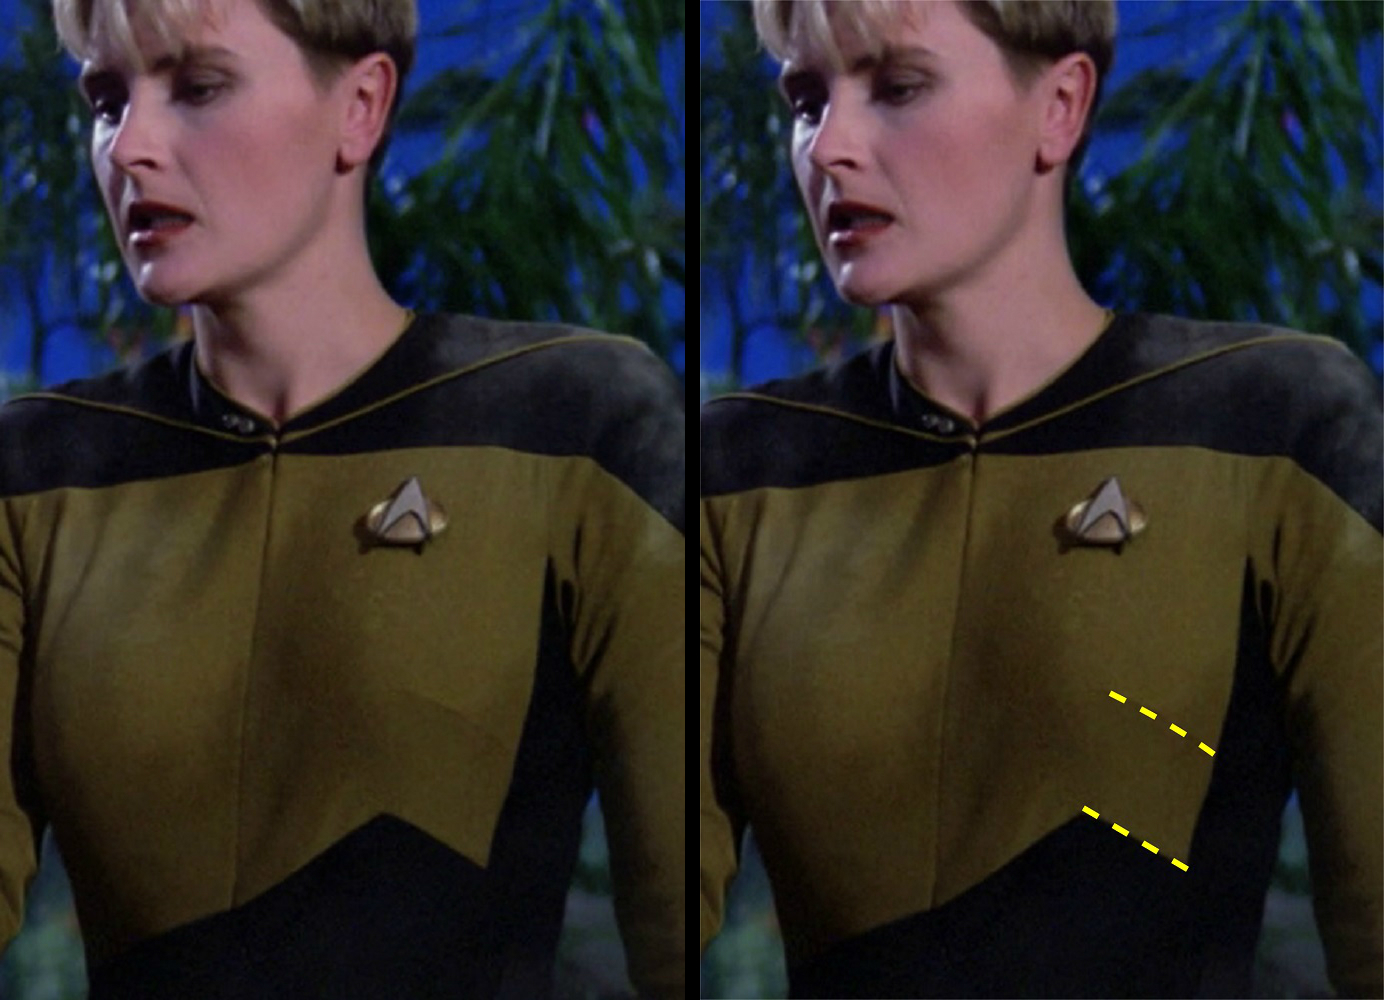
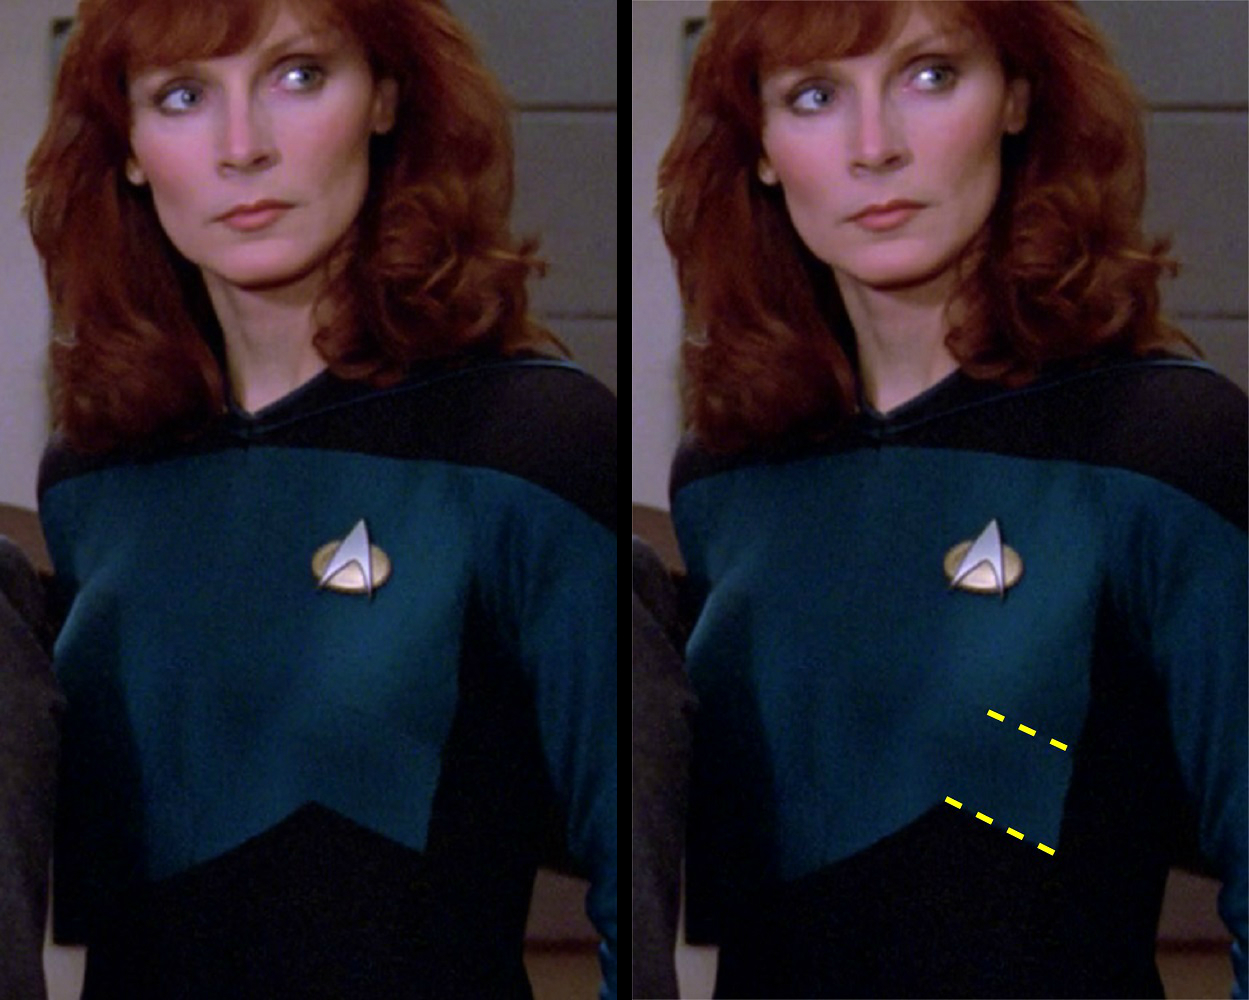
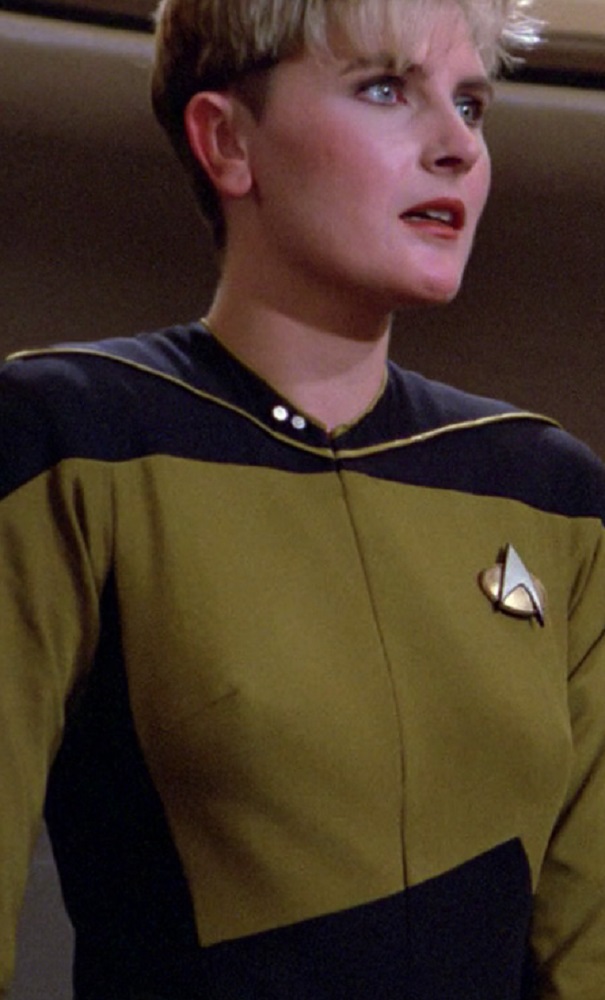
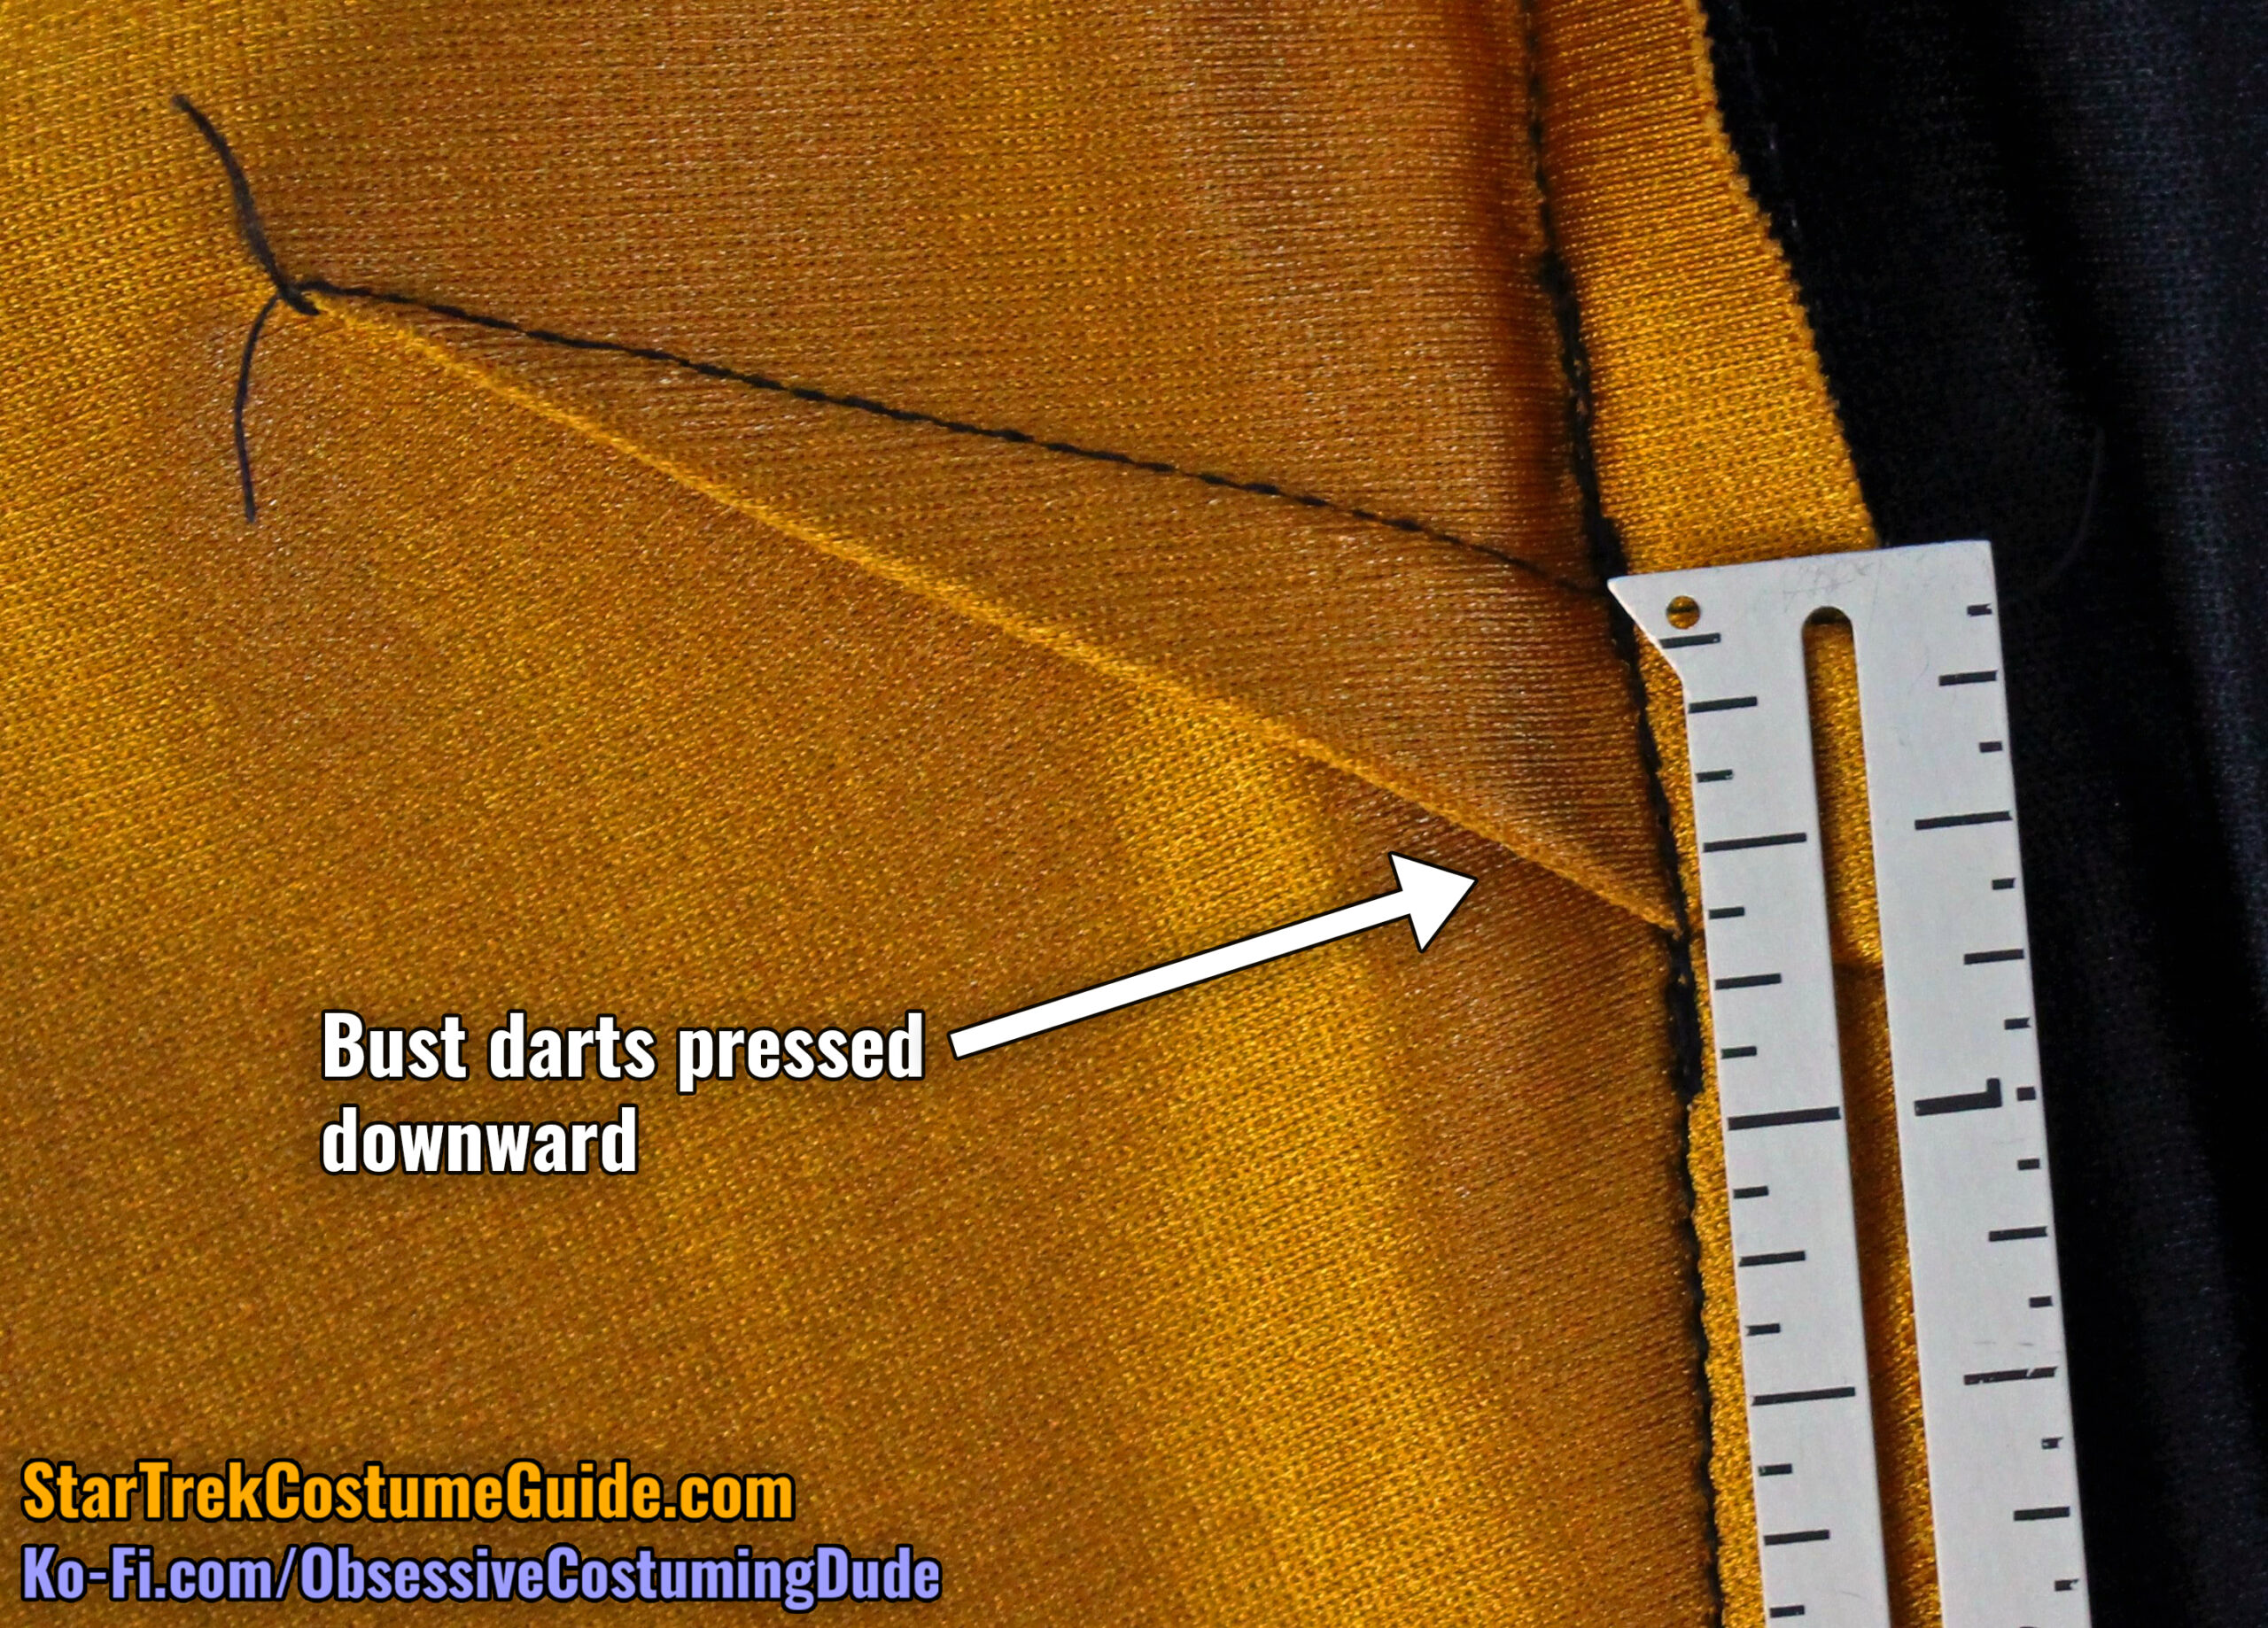
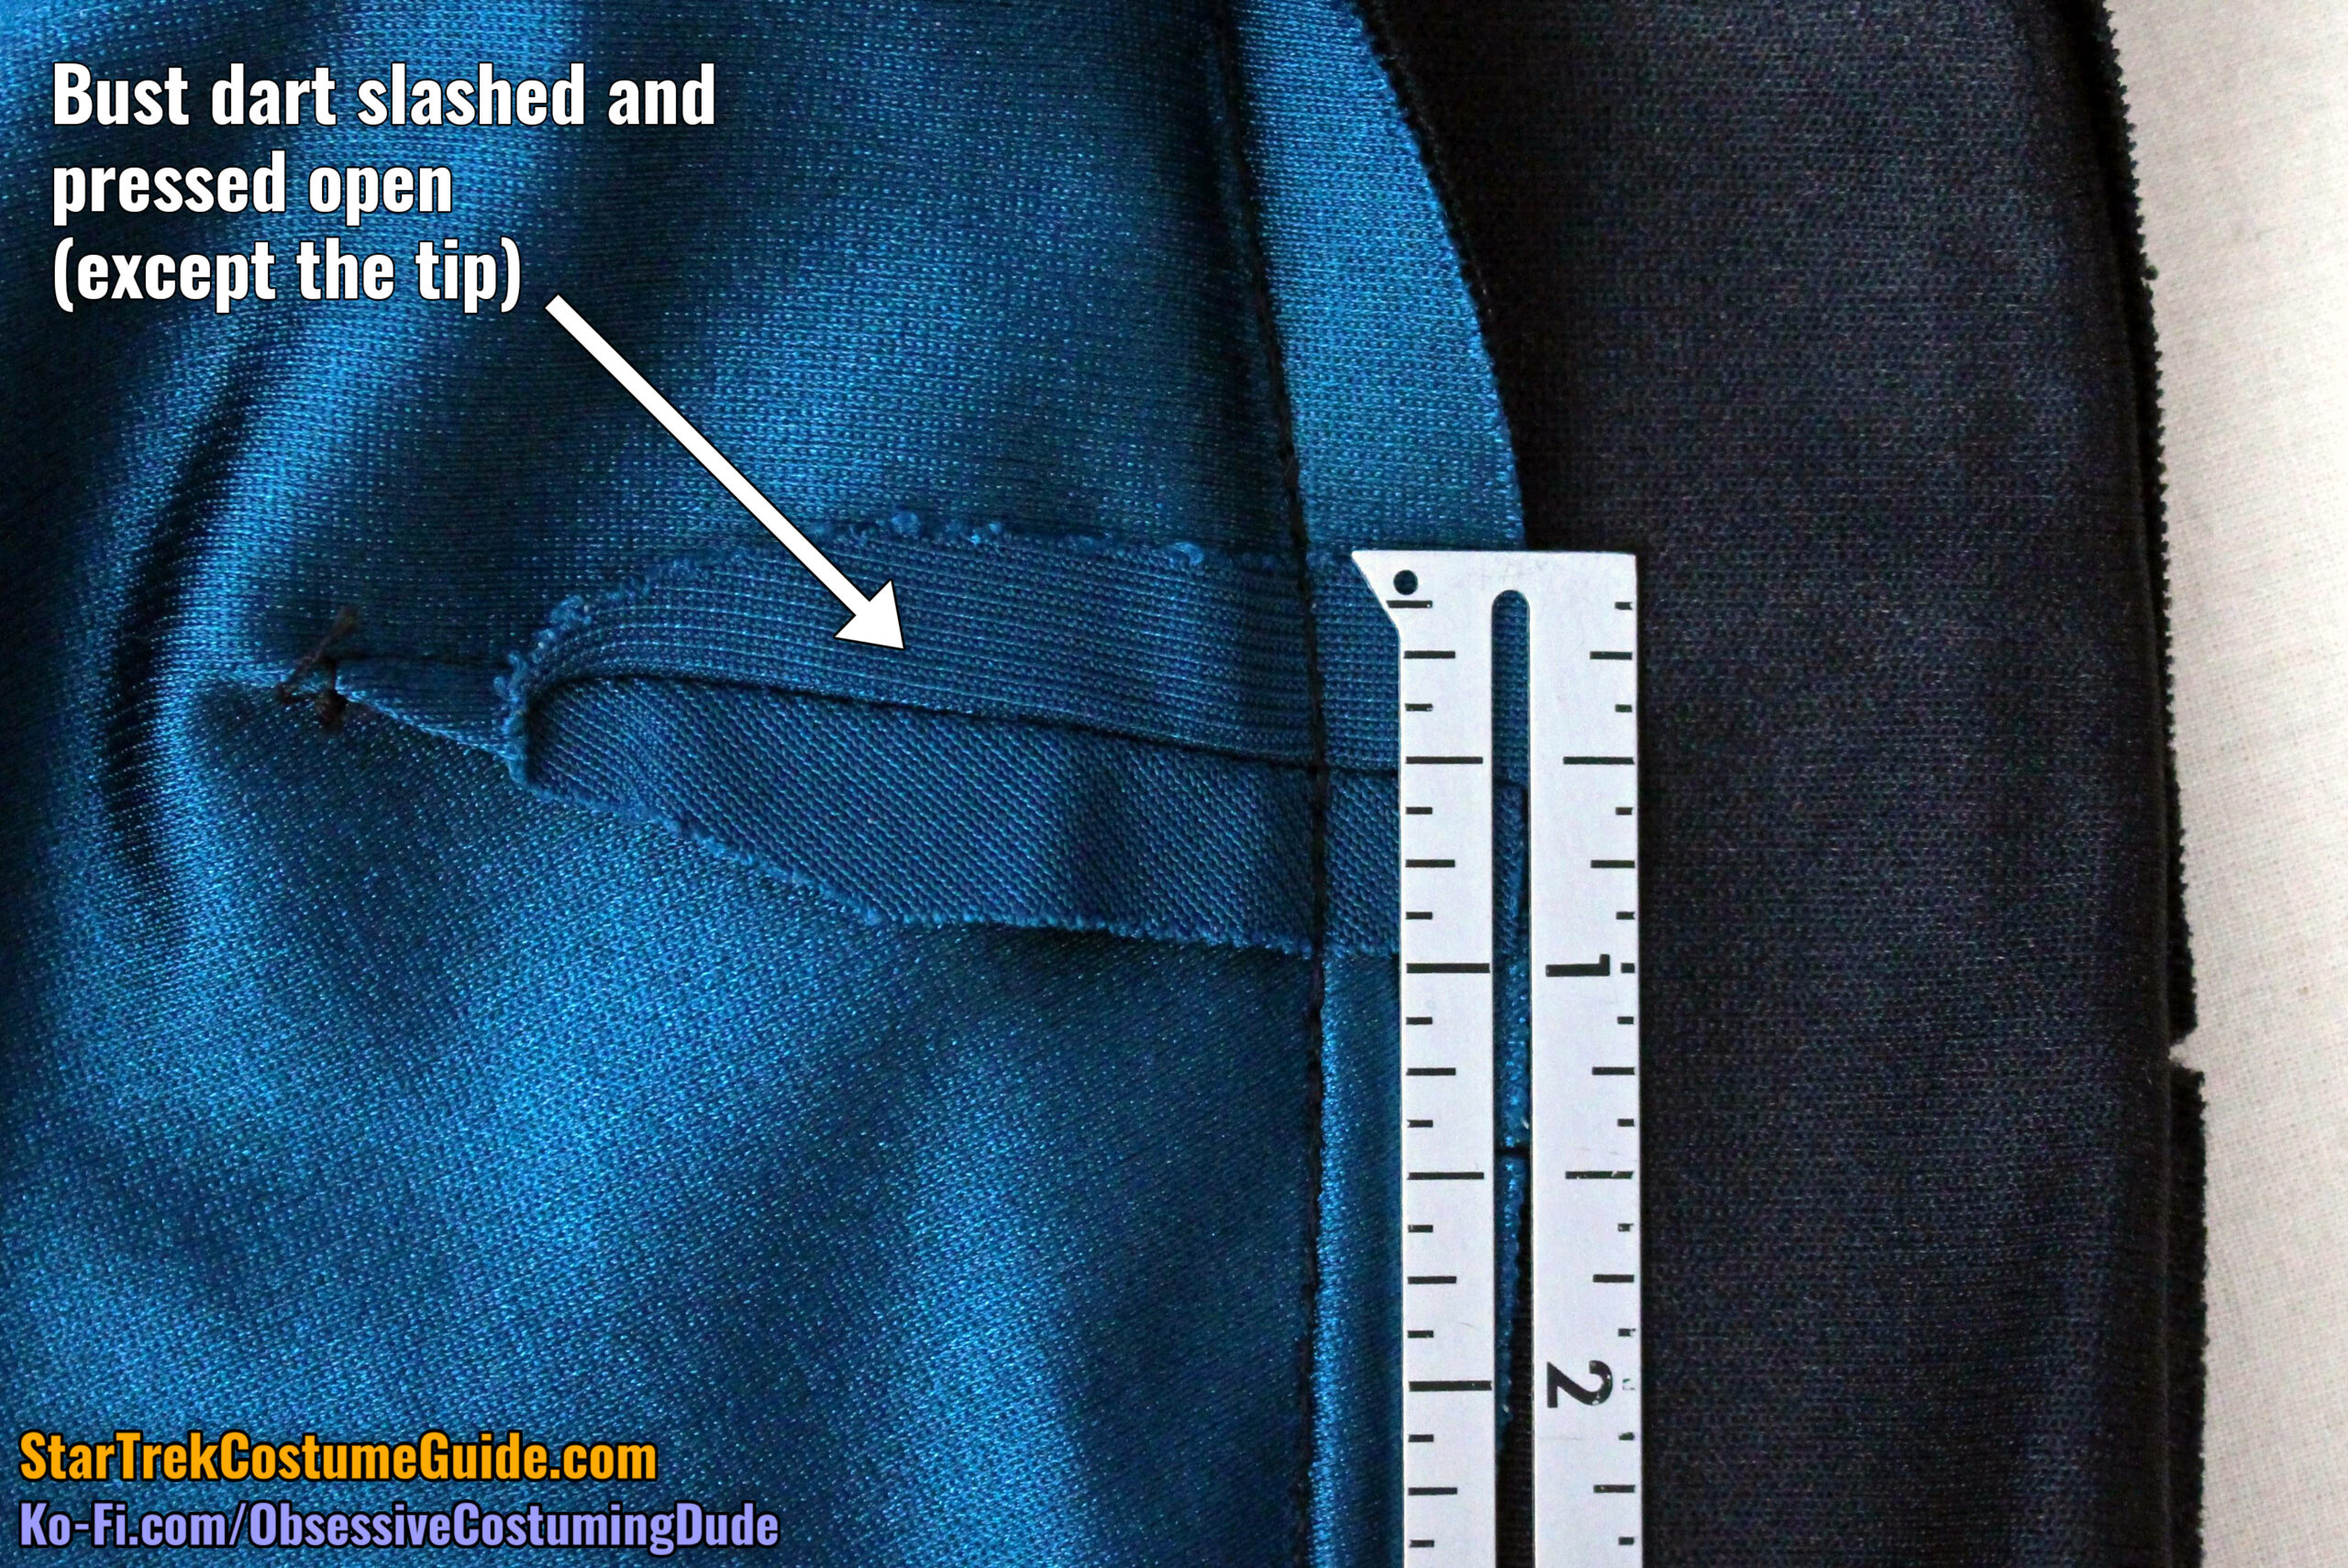
Bust Darts
The women’s TNG jumpsuits had bust darts – but only on the division-colored front panels. The darts did not extend onto the black side panels.
TNG, 1x20 “Heart of Glory”
TNG, 1x22 “Symbiosis”
TNG, 1x23 “Skin of Evil”
The precise spacing and length of the bust darts varied depending on the wearer’s physique.
However, another nice characteristic of these early TNG jumpsuits was that the bust darts were consistently angled to be parallel (or nearly parallel) to the diagonal waist seam lines.
TNG, 1x7 “Lonely Among Us”
TNG, 1x1 “Encounter at Farpoint”
The bust darts themselves were symmetrically angled, but the diagonal waist seam was asymmetrically angled, resulting in right bust darts that were close to parallel, but not quite …
TNG, 1x13 "Datalore"
TNG, 1x22 "Symbiosis"
The left bust darts tended to actually be parallel, or at least closer to parallel than the right ones.
TNG, 1x21 "The Arsenal of Freedom"
TNG, 1x4 "Code of Honor"
The women’s early TNG jumpsuits were consistently patterned this way.