
As a supplement to my engineering radiation suit tutorial, I wanted to offer some tips for keeping your costume budget under control while making one of these elaborate costumes.

Nearly all the required materials and supplies for this costume are fairly inexpensive, but the sheer number of them has a cumulative “snowball effect” on the project expenses.
This is really the ultimate “nickel-and-dime you to death” costume project if you’re not careful.
Fortunately, with the shopping list I’ve compiled for you and the following cost-saving tips, it should be much easier for you to keep your project expenses under control!
None of these individual tips offer massive savings – mostly only a few dollars here and there – but the accumulated savings can help greatly reduce the total cost. 🙂
And if you find these budgeting tips helpful, please use some of the money you save to support my costume research on Ko-Fi. 😉
TIP #1 - Use What You Already Have
I realize this first tip is perhaps a bit obvious and potentially unhelpful for some.
However, I do want to mention that you might be able to reduce your project expenses by using some of the stuff you already have sitting around.
Two major examples are the gloves and the boots; for my personal gloves, I just used a spare pair of ski gloves that I had stored away. One of the fingertips had a hole and the other glove had a small tear, so they weren’t as good for skiing anymore … but they made for excellent gloves to modify for this costume!
Here’s a comparison with the screen-used gloves (left) and my old, converted ski gloves (right):
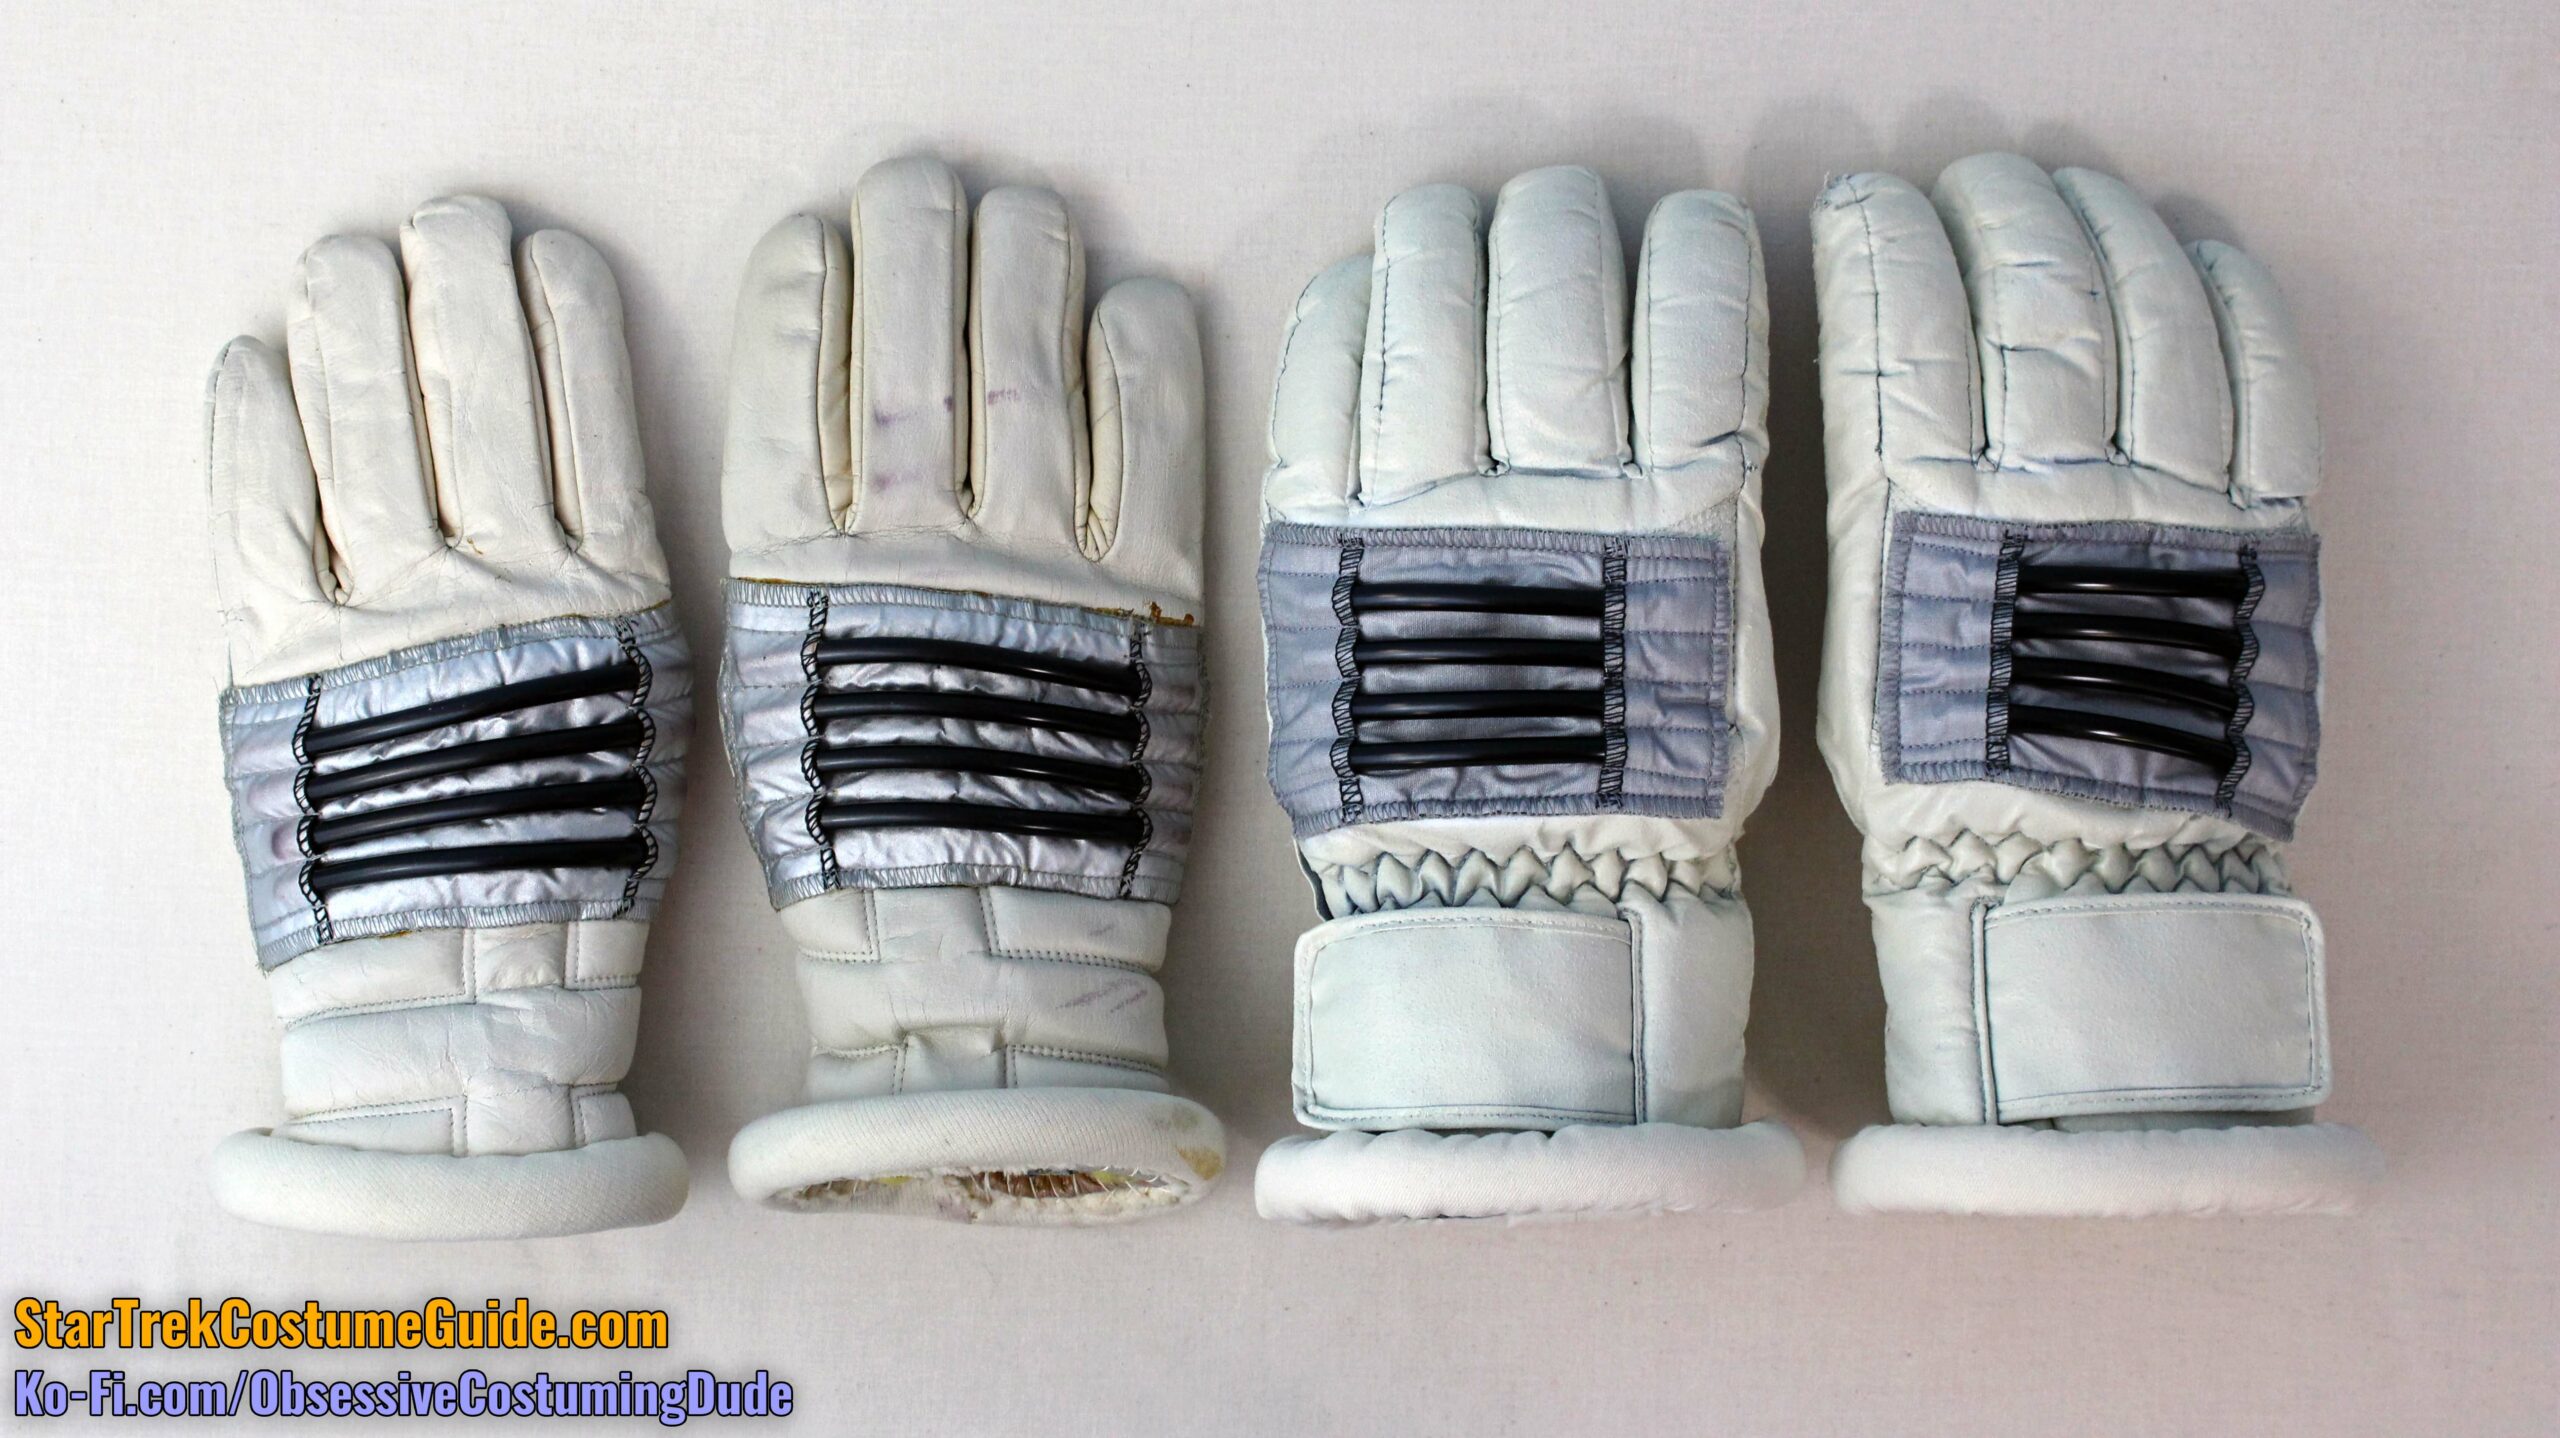
The same goes for the boots; if you have a spare pair you’d be willing to “sacrifice” for this project, you’ll save money and gain convenience.
If you’re at least a semi-active costumer/cosplayer, you probably have a fabric stash … and if you have any of the fabrics for this costume already – not just the body fabric, but maybe the muslin backing, the black felt, the quilt batting, some interfacing – obviously you have a head start there!
You may also already have some of the standard sewing and craft supplies like threads, serger threads, and fabric glues. If so, then even better!
And if you’ve been interested in the movie-era uniforms for a while, you might already have some of the components like the rank insignia, “pips and squeaks,” or division patch.
All I’m saying is, odds are that you probably don’t have to start entirely from scratch with this costume. 🙂
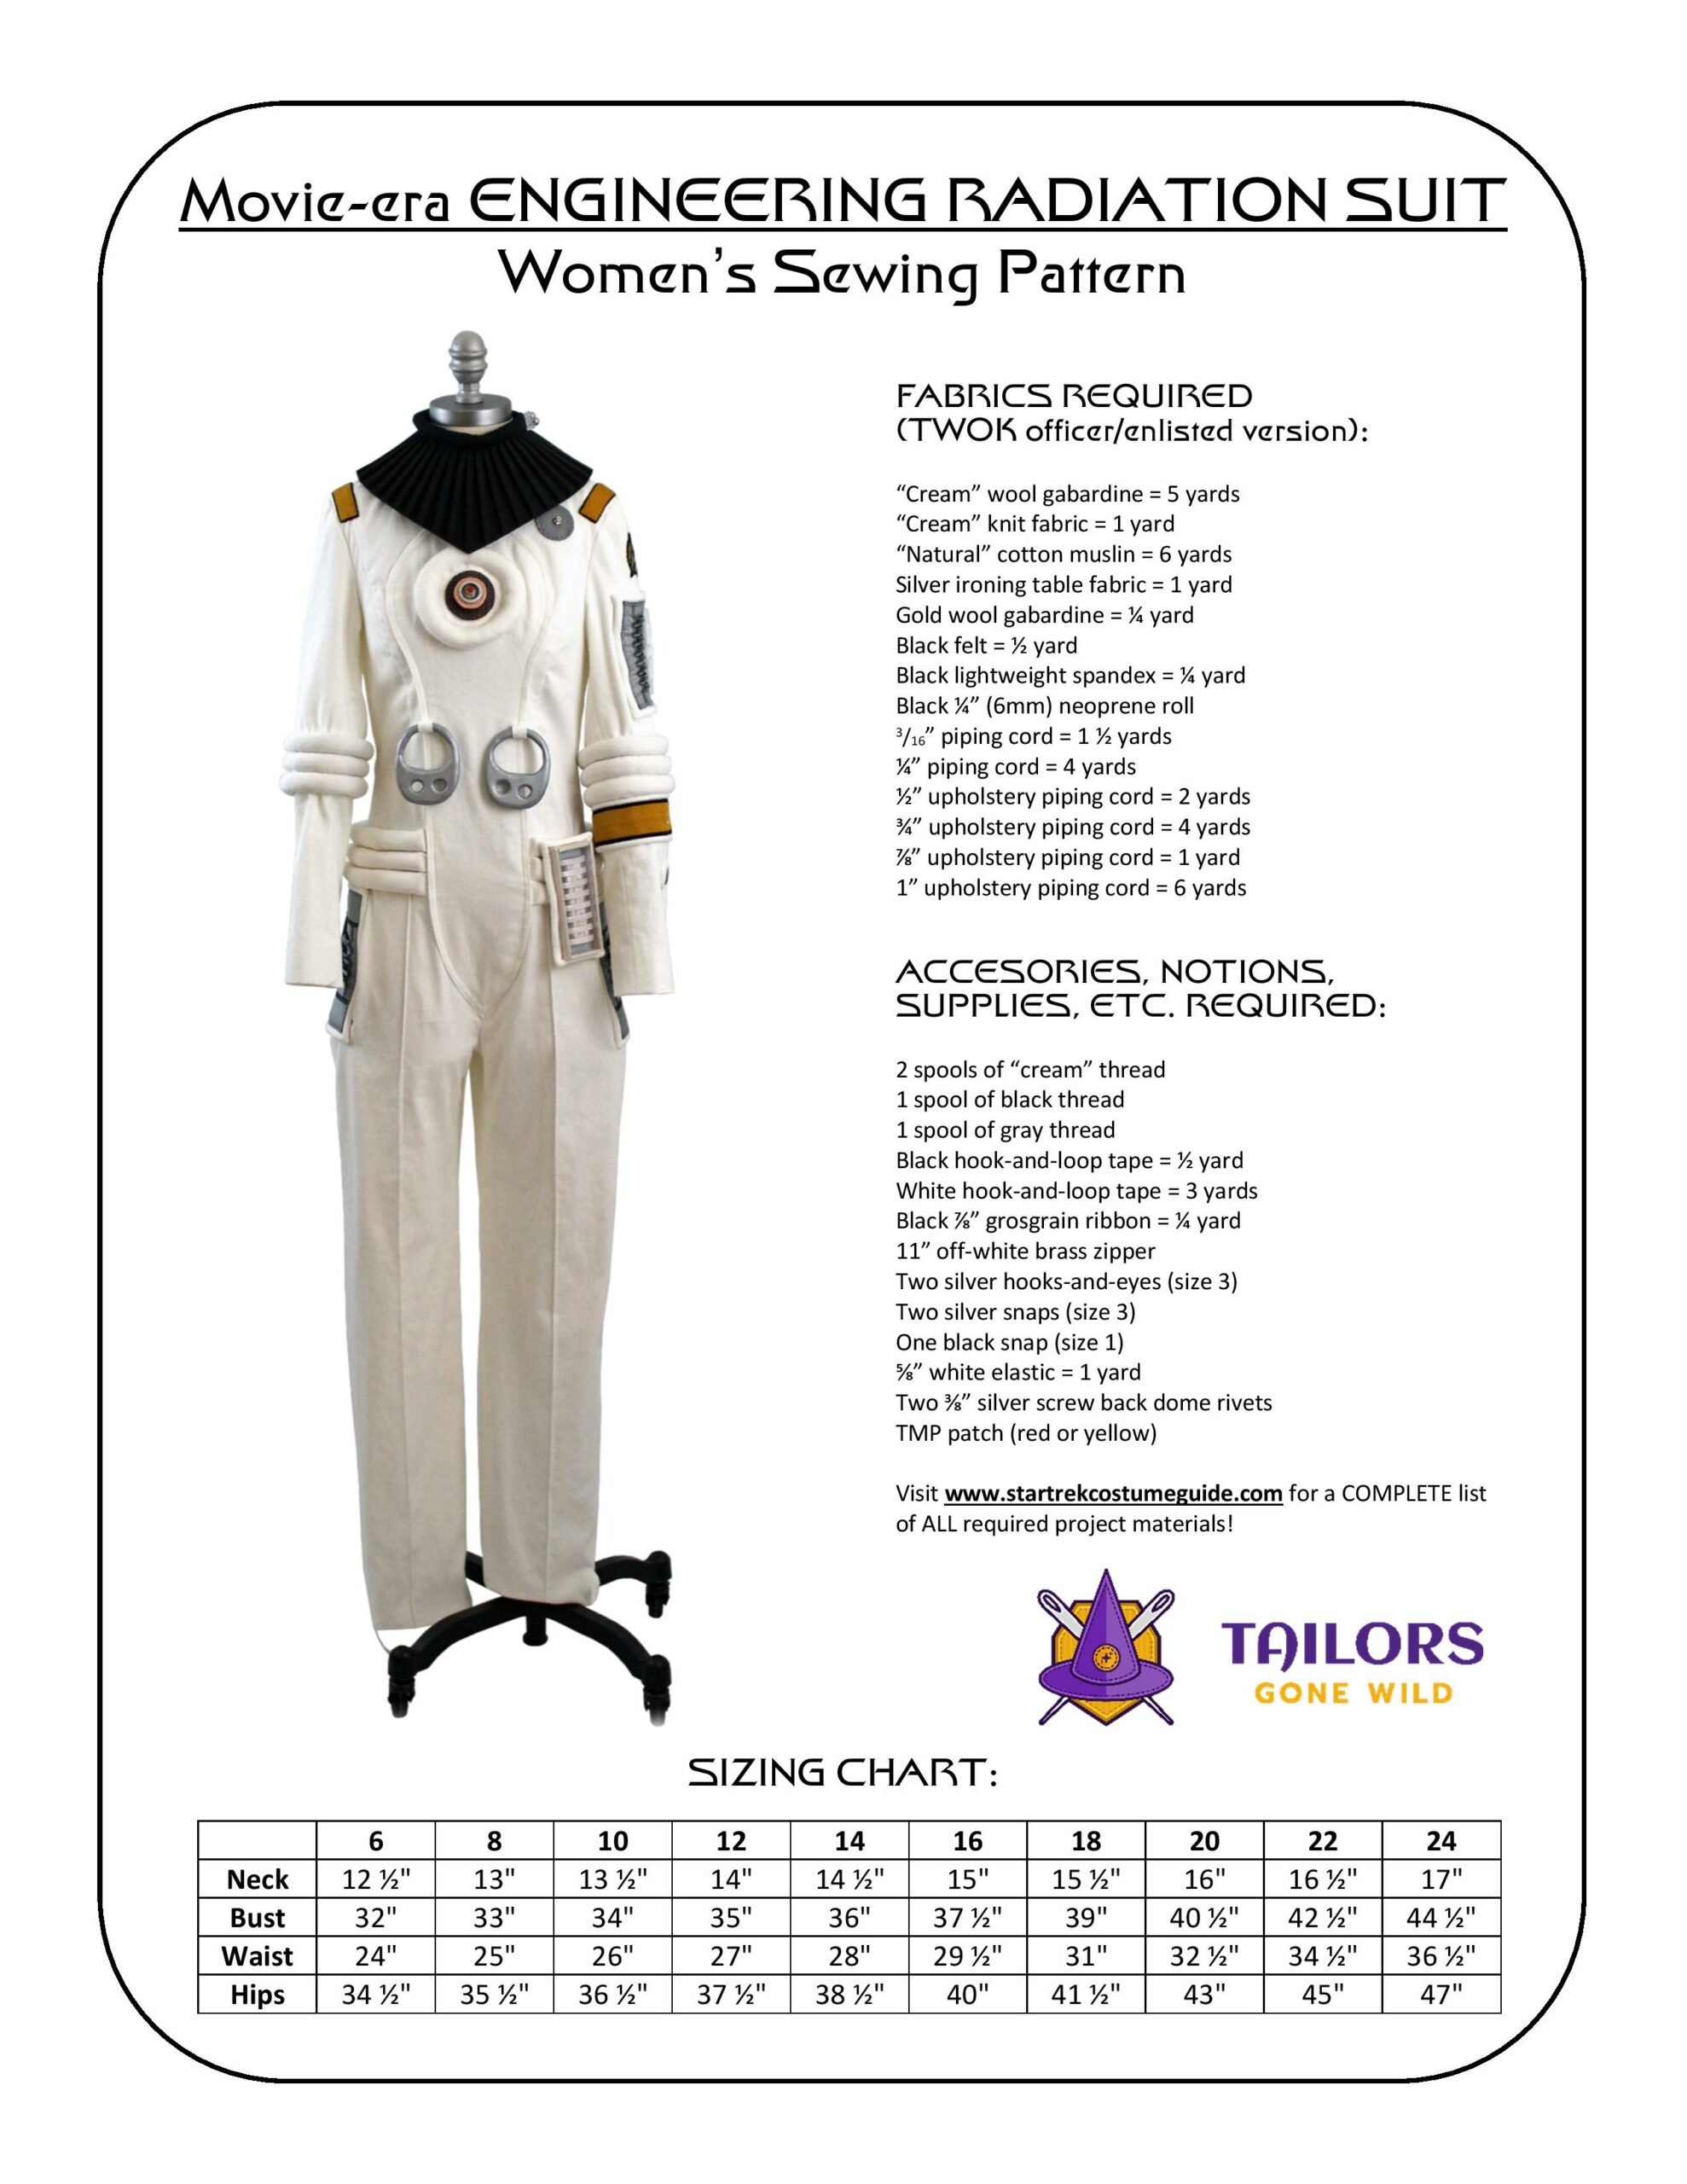
TIP #2 - Purchase a Digital Pattern Download
Depending on where you live, you can save anywhere from $20 to $50 by ordering only the digital, downloadable version of my Tailors Gone Wild movie-era engineering radiation suit sewing patterns.

Not only are the digital pattern downloads cheaper than the physical copies, but you save even more by avoiding shipping costs – a major advantage for those outside of the United States.
This also allows you to get started right away, without having to wait for your pattern to arrive. 🙂

TIP #3 - Aggressive Couponing
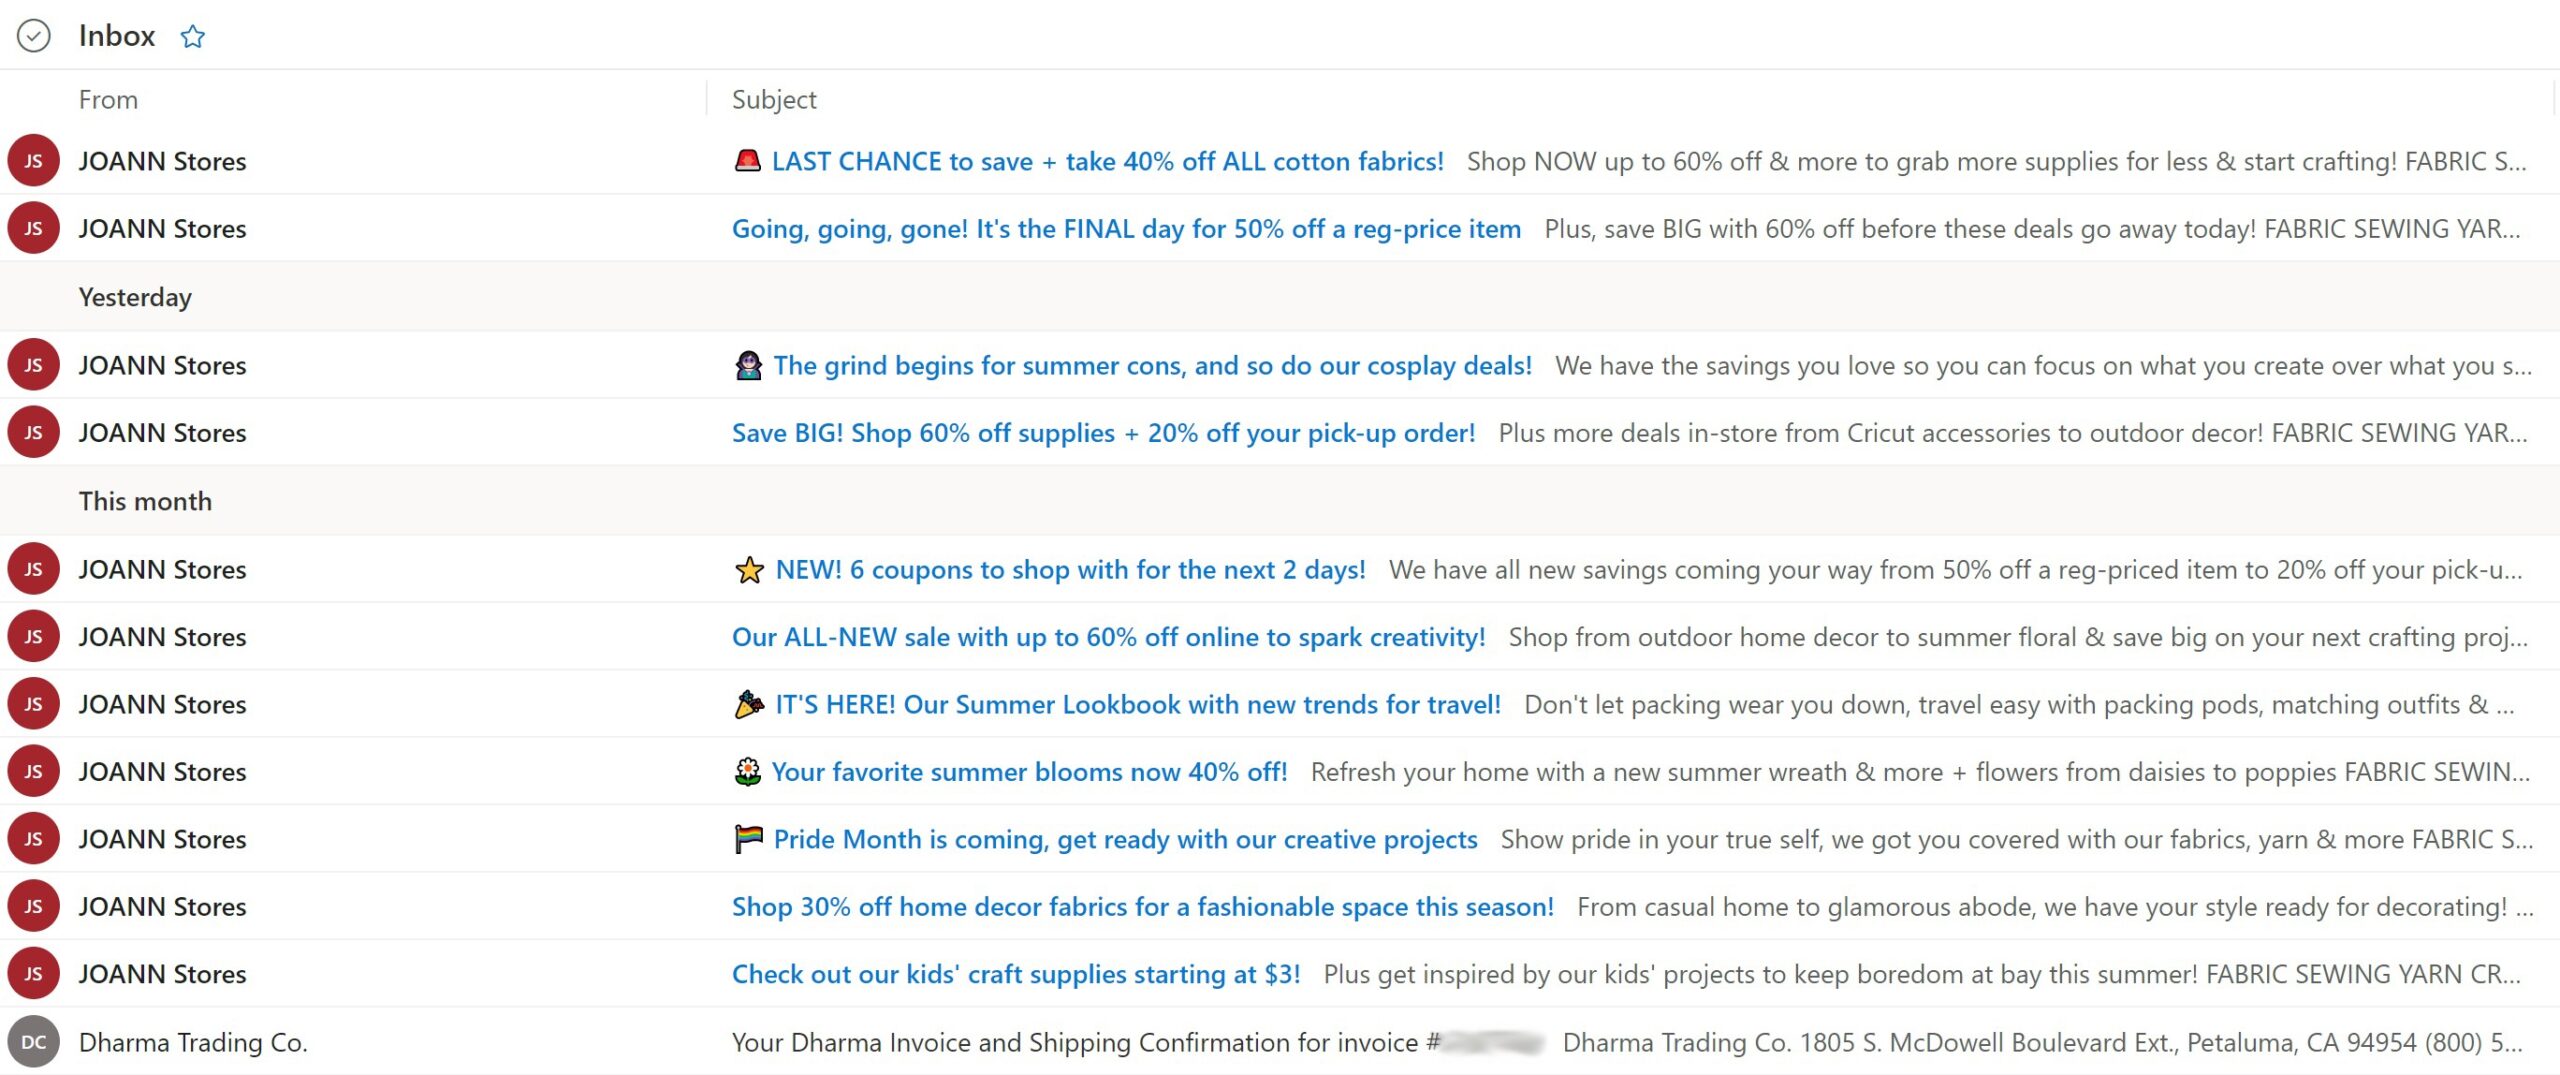
For those of you who live near a JoAnn, you can acquire many of the materials and supplies for this costume directly from there.
They run regular sales on various items and categories, allowing you to save off the standard retail pricing.
But even more helpful for a project with as many required materials as this one, they’re also generous with their coupons – especially if you subscribe to their e-mail newsletter.
Not all of them are combinable or apply to items already on sale, but if you plan ahead to make multiple shopping trips during ideal sales/couponing windows, you can save a LOT of money … potentially reducing your fabric/craft-related project expenses by up to 50%.

TIP #4 - Order Online
Even with retail sales and coupons, sometimes it’s simply cheaper to order online.
The trade-off is that you have to wait for whatever you ordered to arrive, and there’s always the minor risk that they’ll send you the wrong item – both of which can leave you stuck dead in the water with your project.
But if you’re on a tight budget and reducing expenses is your priority, then ordering some things online may well be your best option. (And not all the required materials may be locally available, anyway.)
Amazon, Etsy, eBay, and WAWAK are all great places to hunt for many of these required materials at competitive prices.
And you can save a bit on shipping, too, if you consolidate your orders – order as many things as possible from as few sellers as possible. Sellers may offer combined shipping rates and volume discounts, but if nothing else, there will be fewer packages that need to be shipped.
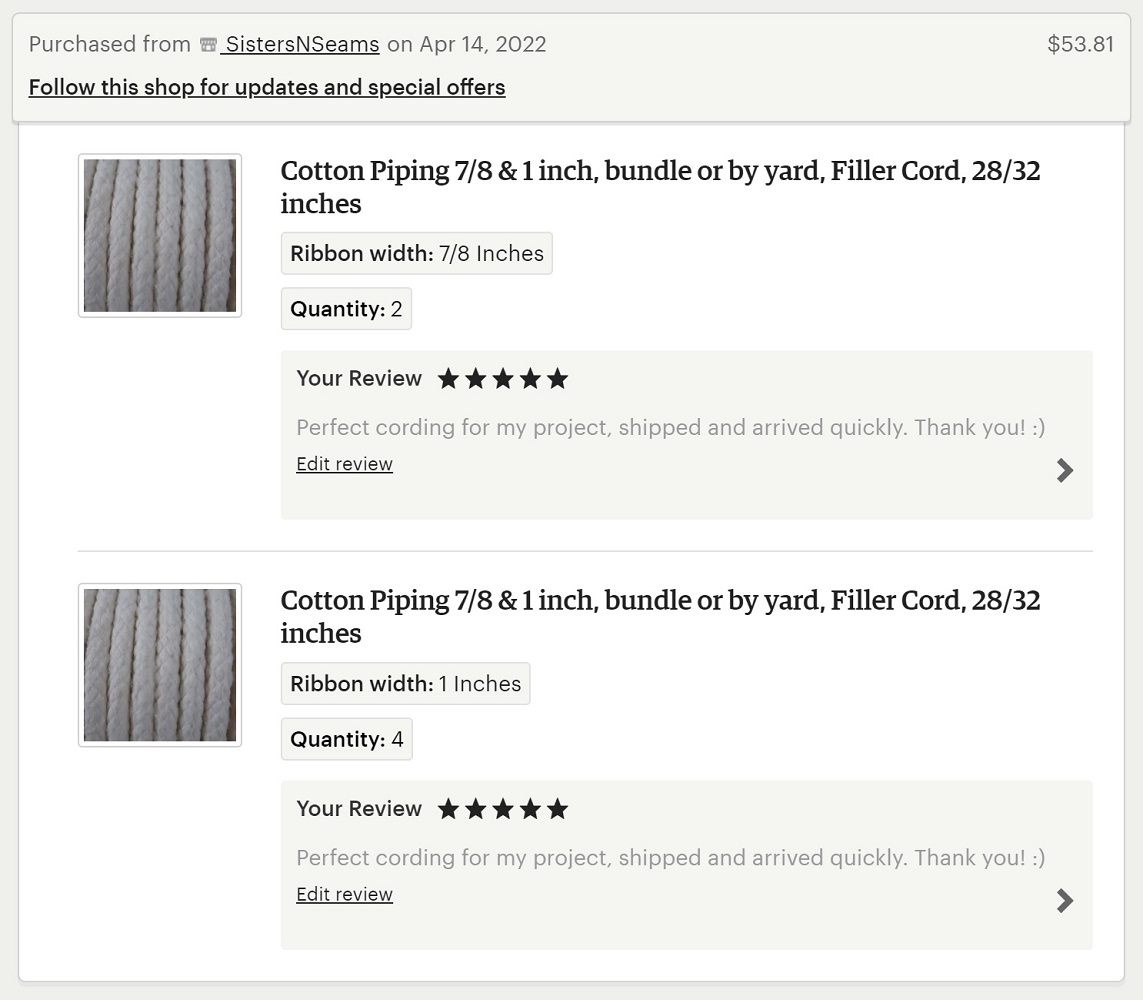
For example, you might order all your upholstery cording widths from the same Etsy seller, all your sewing notions (e.g. hook-and-loop tape, snaps, etc.) from WAWAK, and all your uniform accents (division patch, rank insignia, and “pips and squeaks”) from the same vendor.

TIP #5 - Use Cotton Fabric Instead of Wool
As you may recall from my screen-used engineering radiation suit examination, the original engineering radiation suits were made out of a heavy wool gabardine.
Although it’s durable and resists wrinkling, wool fabrics do tend to be on the upper range of fabric pricing.
As an alternative to the wool gabardine, I suggest using cotton bull denim.
Bull denim is tough and durable like the wool gabardine, but it’s usually much cheaper. The primary compromise is that it doesn’t resist wrinkling quite as well.
You could also use cotton twill, but in my opinion bull denim is an overall better option.
Polyester gabardine is perhaps the cheapest fabric option (within reason), but even though it resists wrinkling, I wouldn’t recommend it because in my experience it has a lifeless drape and doesn’t breathe well.
In my opinion, cotton bull denim is the best overall option for costuming/cosplay purposes.
TIP #6 - Use Retail Fabrics for Division Colors
If you’re considering custom-dyeing your division-colored wool gabardine or hiring a professional to custom-dye some for you (using my dye recipes or any other color mix of your choosing), you can save some time and money by simply using whatever “close enough” retail fabric you can find.
As a substitute for the fine/superfine wool gabardine on the screen-used costumes, you could use a coarser wool gabardine (which is usually less expensive) or cotton twill.
Or, when it comes right down to it, it’s your costume, so you can use practically any fabric you like for the division-colored accents! Please don’t feel like you’re obligated to use the exact same materials in the exact same colors as the originals.
This is most likely a hobby project for you, and it should be fun. 🙂

TIP #7 - Omit the Muslin Underlining
You can perhaps save $10-20 by omitting the muslin underlining on the jumpsuit and just using the heavy wool gabardine or cotton bull denim.
I don’t actually recommend doing this, especially if you’re using cotton twill or a thinner fabric; the muslin helps bolster up the costume, better light-blocks everything, and (in my opinion) is generally more comfortable against the skin than the underside of the gabardine or denim.
But if you’re on a tight budget, you can save a bit here, so I wanted to mention this as an option.
You will need a shorter length of muslin (about one yard) for the center front panel, regardless.
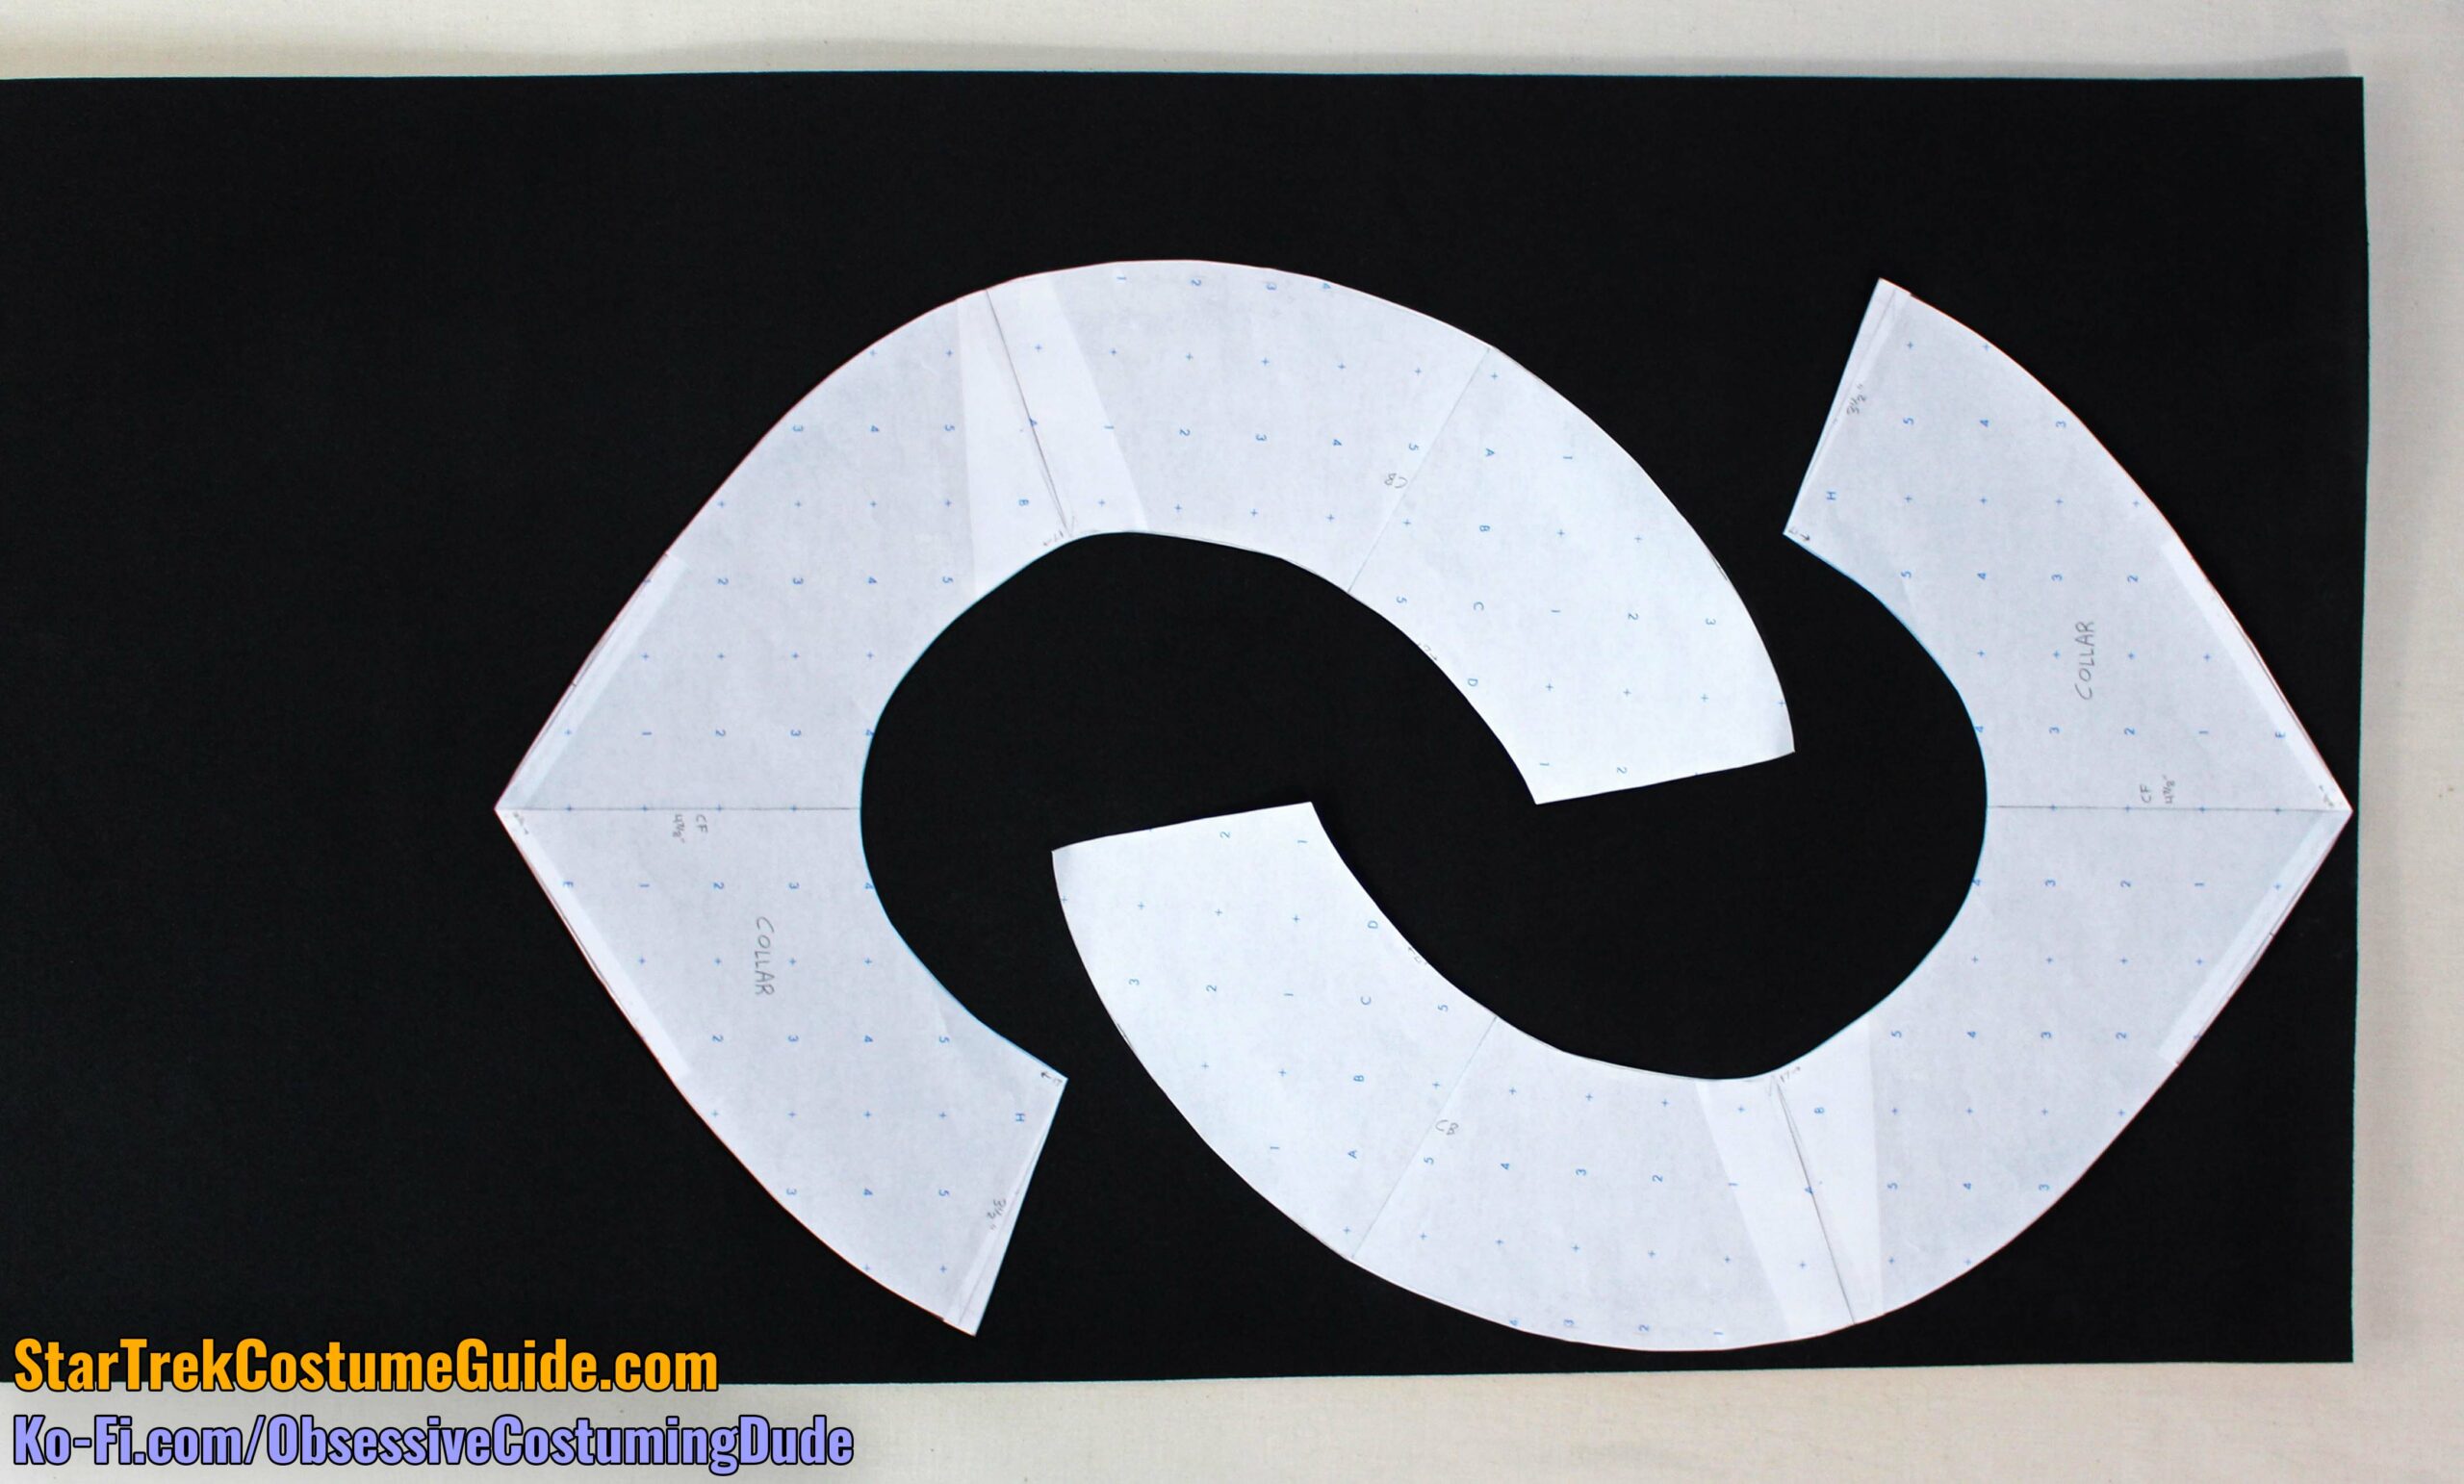
TIP #8 - Use a Smaller Neoprene Sheet OR Use Craft/EVA Foam Instead
I used an extra-large neoprene sheet which was 17” wide and 72” long, but I was making multiple collars for patterning and demonstration purposes. (This one sheet yielded five full TMP/officer/enlisted collars.)
However, your sheet only needs to be as wide and long as your collar, plus a few more inches for all the strips.
The women’s collars are approximately 14” wide and 17” long, and the men’s collars are approximately 15” wide and 18” long. As long as your neoprene sheet is slightly larger than your collar, you should be fine.
Narrower sheets of neoprene are significantly cheaper; you may be able to find one that’s enough for a collar or two, but for half the price of a larger sheet.
Alternatively, you could use craft/EVA foam to make the collar; a large sheet of name-brand 6mm foam at my local store was several dollars cheaper than a comparably-sized sheet of neoprene.
I only recommend this if you’re on a shoestring budget, though; the neoprene collars are already stiff and somewhat uncomfortable to wear, but the foam collars are even less flexible. They might work fine for a static costume display, but wearing them almost feels like wearing wood.
I don’t believe the compromise to be worth the savings in this case, but I wanted to mention it as a potential option to save a few more dollars.
And since the collar is an entirely separate component of the costume, you can always upgrade or replace it later.
TIP #9 - Use Stiff Upholstery Fabric Instead of French Canvas
French canvas isn’t a cheap interfacing.
Heavy Weight Cotton Collar Interfacing is nearly as good as the heavy French canvas for our purposes, but about a third of the price.
However, neither are typically available in mainstream retail fabric stores, so ordering them online means having to pay shipping, making them even more expensive.
While there’s really no substitute for quality interfacings with tailoring projects, for this particular costume the canvas is exclusively used to stiffen (rather than sculpt) certain panels and areas.
You can avoid shipping costs altogether by simply using a stiff upholstery fabric of your choice (the worse the drape, the better) from your local fabric store.
TIP #10 - Use Off-Brand Hook-and-Loop Tape ("Velcro")
Velcro makes great products, but off-brand hook-and-loop tape tends to be far cheaper than Velcro’s actual name-brand products.
You can save a few dollars by using off-brand hook-and-loop tape; in my experience, they’ve all worked fine.
TIP #11 - Gradually Acquire Materials as Budget Permits
Unless you’re in a rush to make this costume for an event (or just excited to get started), there’s no need to purchase all the required materials all at once.
Like many hobby projects, you can gradually acquire all the materials and supplies as your budget permits.
One convenient thing about this particular project requiring so many little items is that you’re not stuck in an all-or-nothing, all-at-once situation. You can pick up a few things here and there until you have everything you need.
In fact, since the costume ensemble is comprised of several entirely separate elements (collar, jumpsuit, attachments, gloves, and boots), you can focus on one specific component at a time.
This may be friendlier on your wallet and help prevent any feeling of overwhelm.
TIP #12 - Partner With Someone Else To Split Material Costs
Many of the required materials and supplies for this costume ensemble are only available in pairs, sets, or other increments far beyond the needs for a single costume.
As a few examples …
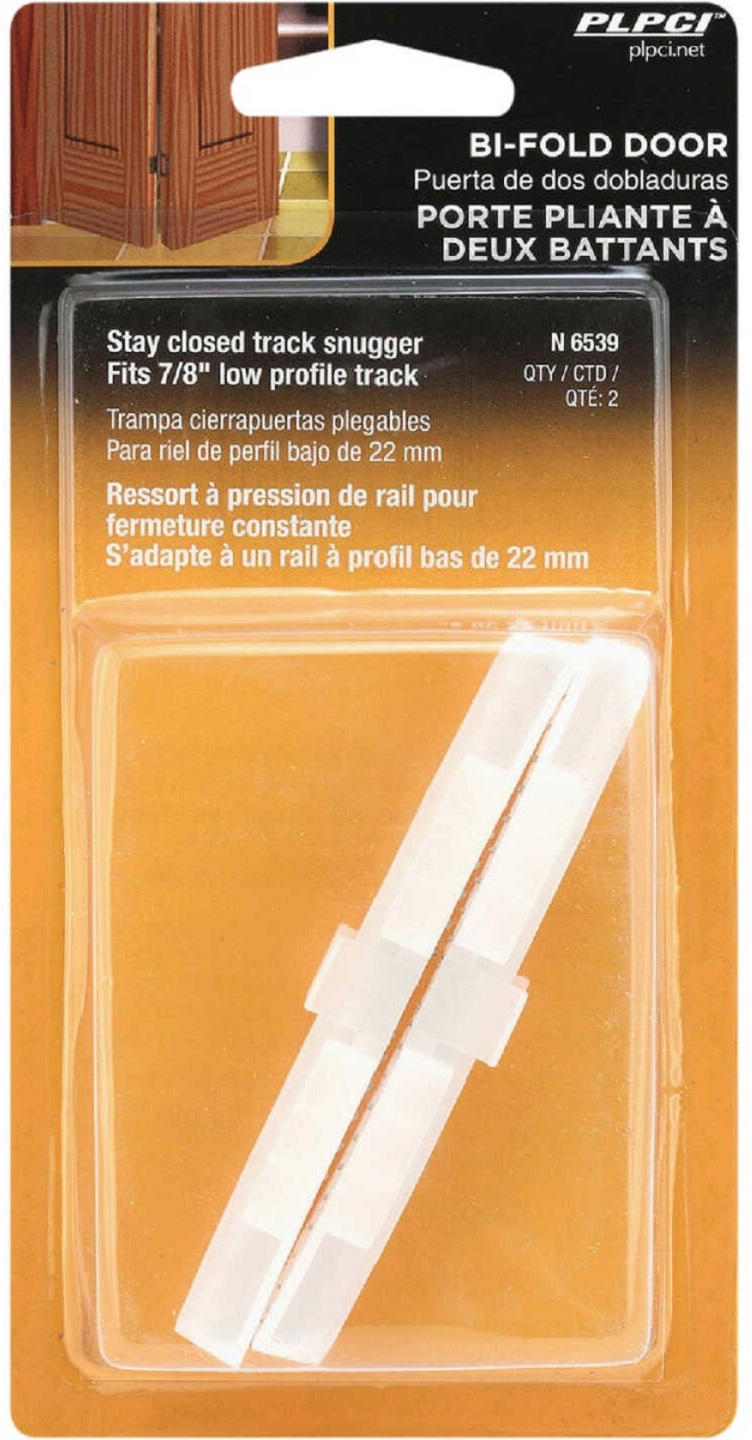
The bi-folding door guides come in pairs, but you only need one for a costume.
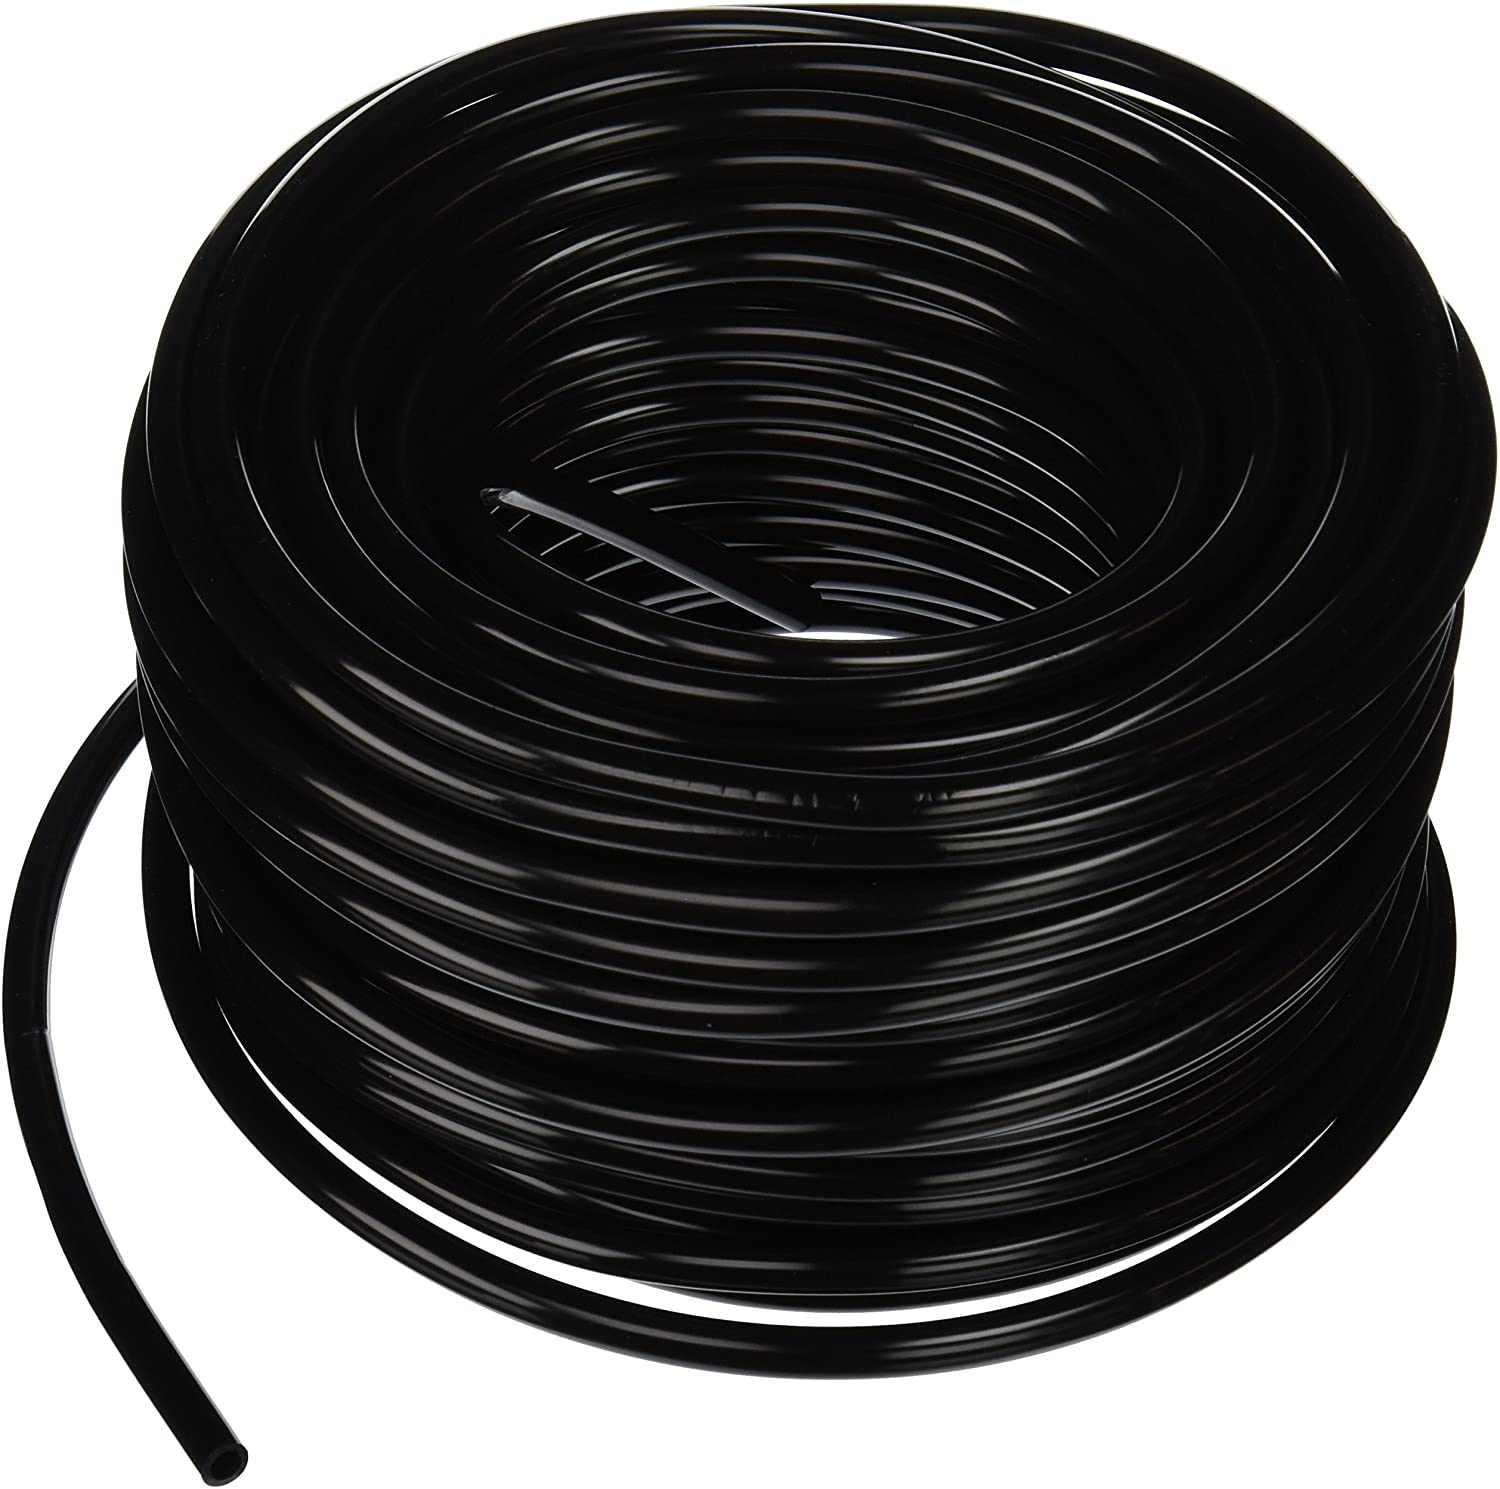
The black tubing typically comes in lengths of up to 100 feet, but even one roll is enough for about ten (!) full costumes. A single costume only needs about 8 feet of the thin ¼” tubing and less than a foot of the thick ½” tubing.
As I mentioned earlier, one extra large sheet of neoprene yielded five full collars.
The screw-back dome rivets on the collar came in sets of ten from the Etsy seller I bought mine from, but one only needs two for a collar.
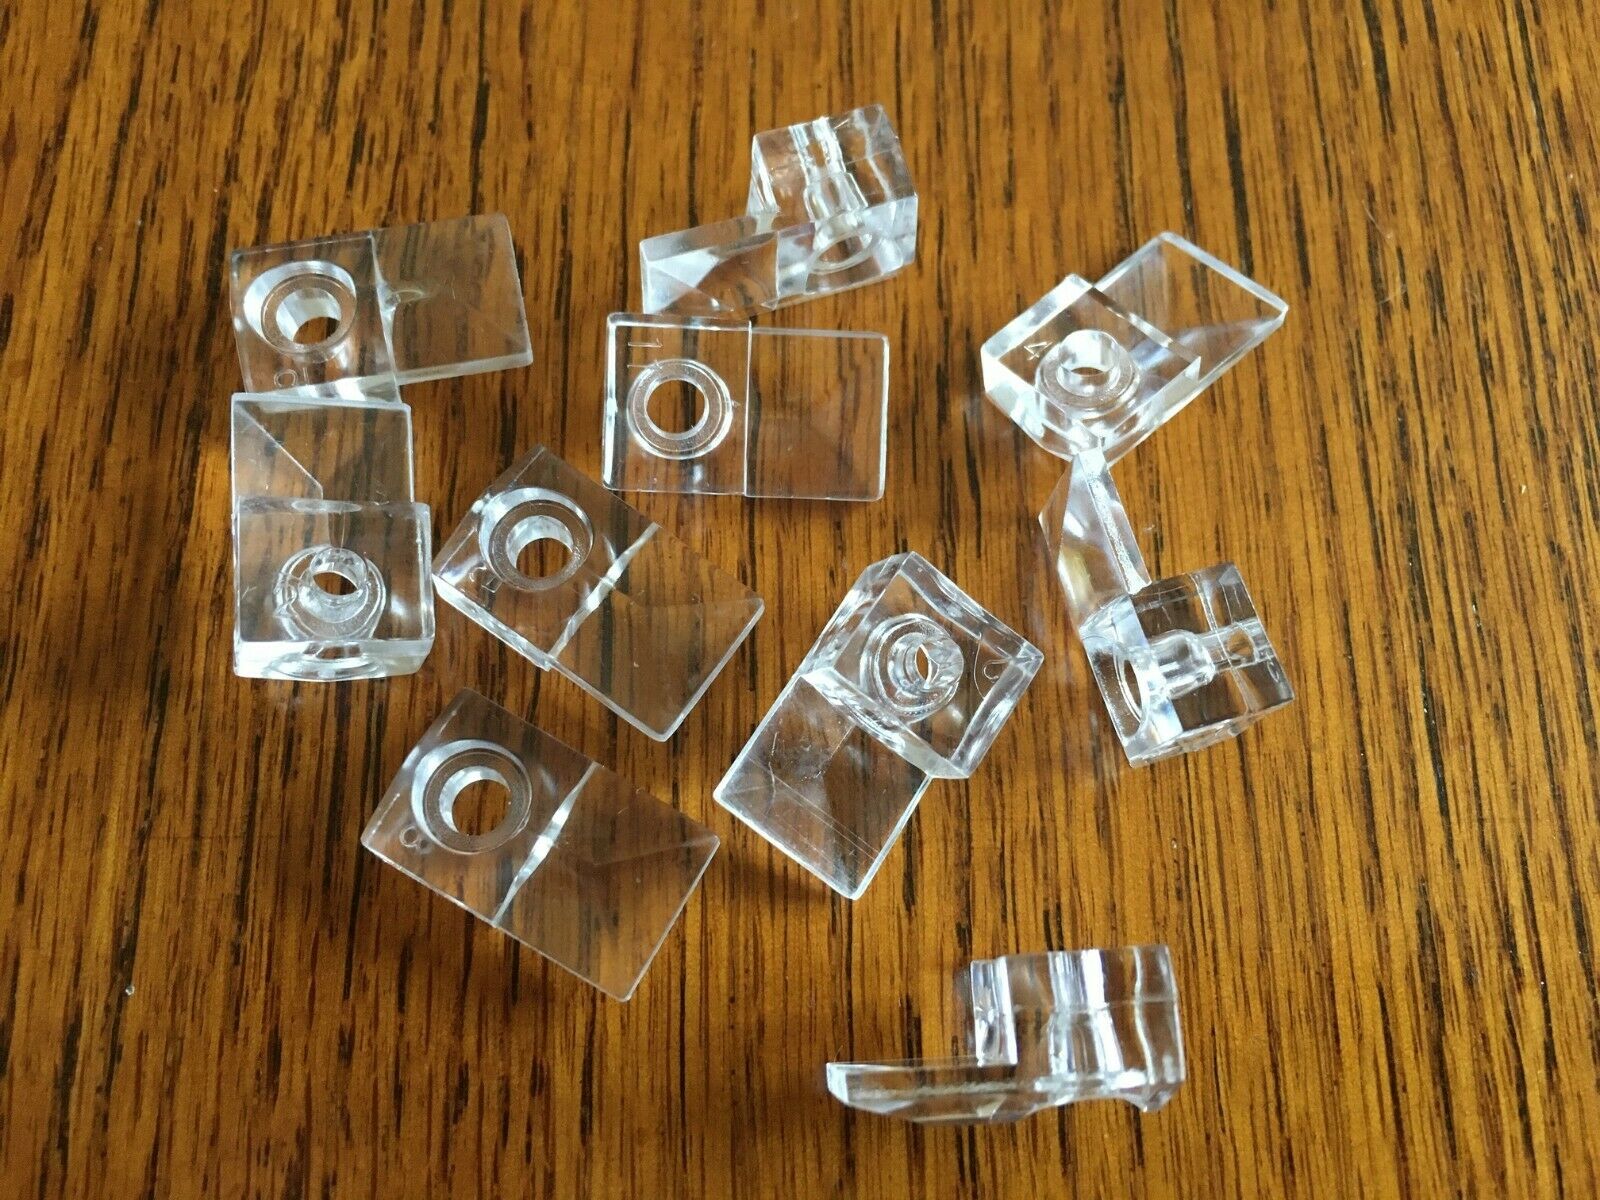
Likewise, the clear plastic mirror mounts used to accent the collar closure typically come in sets of four to ten, but one only needs two for a collar.
The end caps I used on the trainee collar tubing assembly came in sets of a hundred, but one only needs four.

Some of the screws, washers, and nuts that I used for this costume come in packages of a dozen or more, but one only needs a couple for a single costume.
The snaps and hook-and-eye closures are currently less than $10 for a set of 144, but one only needs a few for a costume.
The round wooden dowels typically come in lengths of 36”, but one only needs a single inch for a costume (or about two inches of a small rectangular dowel for a trainee collar).
One only needs a few square inches of black mesh fabric/screen, but even a tiny purchase of ⅛ yard is enough for dozens of costumes.
I suggest partnering with someone else who’s planning to make this costume, to split project expenses and share all the redundant loot.
I, for one, have no further use for most of my “project leftovers” – the remaining 90 feet or so of black tubing, dozens of small tubing end caps, a long thin strip of black mesh fabric, etc., etc.
And if I weren’t actively making costumes on a near-constant basis, I probably wouldn’t have any need for all the leftover upholstery cording yardage (I bought more than I needed), the remaining yardage of high-loft quilt batting, etc.
Rather than multiple costumers/cosplayers having up to order up to ten times more stuff than they actually need but have no further use for – and all paying for the redundant shipping – partnering with others may create a win/win situation.

I suggest checking in and/or making a group interest post in the “Star Trek Costume Group” on Facebook:
There’s also a Facebook group specifically focused on movie-era costumes, where you can check for interest:
If you found these budgeting tips helpful, please support my costume research on Ko-Fi with some of the money you saved. 🙂
Every bar of gold-pressed latinum goes toward producing more sewing/costuming resources like this, for everyone interested in Star Trek costumes. 🙂


