As you’re aware, my Tailors Gone Wild Movie-era jumpsuit sewing patterns include ten graded sizing options, and ideally, one of them should be a perfect match to your body measurements.
However, while some costumers may find a perfect fit in one of the “default” pattern sizes (and I sincerely hope you do!), it is somewhat unlikely due to variations in height, weight, build, posture, musculature, and general physique.
Basically, people come in all shapes and sizes, and it’s impossible to make a pattern for something that will perfectly fit everyone – hence this portion of the tutorial, in which I’ll provide you with some fitting tips!
Ideally, fitting issues are addressed at the patterning stage – hence the importance of one or more mockup garments to establish a good fit.
And since our purposes are primarily personal and recreational (e.g. cosplay) rather than professional for a major production, most of us probably have the luxury of being able to test and tweak the pattern if we need to.
Most necessary pattern alterations can be achieved by using either of the following techniques, or a combination of the two.
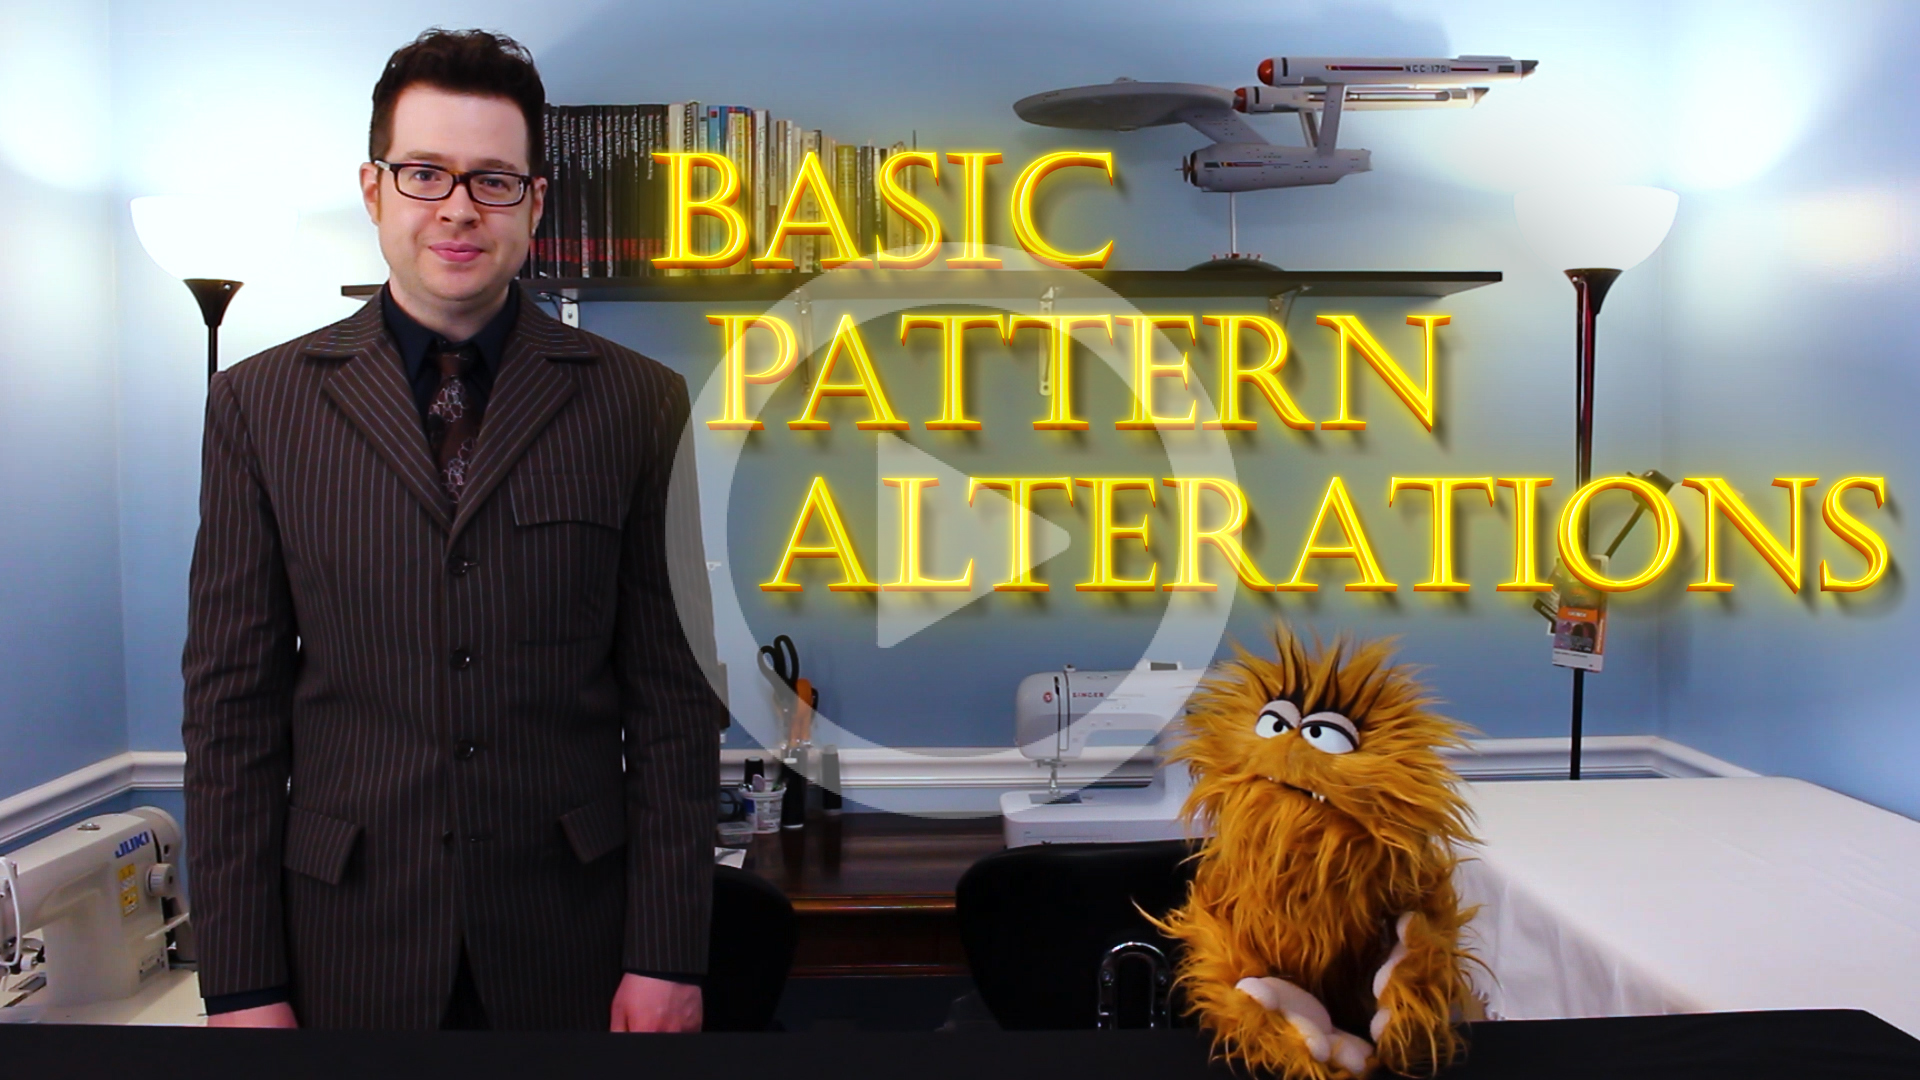
You may also find this free sewing lesson helpful, in which I discuss the two most common fitting issues and how to adjust for them. 🙂
Entire books have been written on the subject of pattern altering, fitting issues, and garment alterations, so I’ll only cover some of the most common fitting issues and how to adjust your sewing pattern for them if needed.
Most necessary alterations can be achieved using either of the following techniques, or a combination of the two.
Horizontal Fitting
The first technique is making use of different pattern sizes in different areas of the body.
The primary areas in which this is likely to be most relevant are the chest/bust, waist, and hips.
If one of your body measurements closely matches that of one pattern size, but another part of your body closely matches a different size, an ideal fit could probably be achieved by simply “combining” the two sizes.
This is accomplished by beginning at one point in the size desired and tapering the edge of the pattern piece into the second size desired.
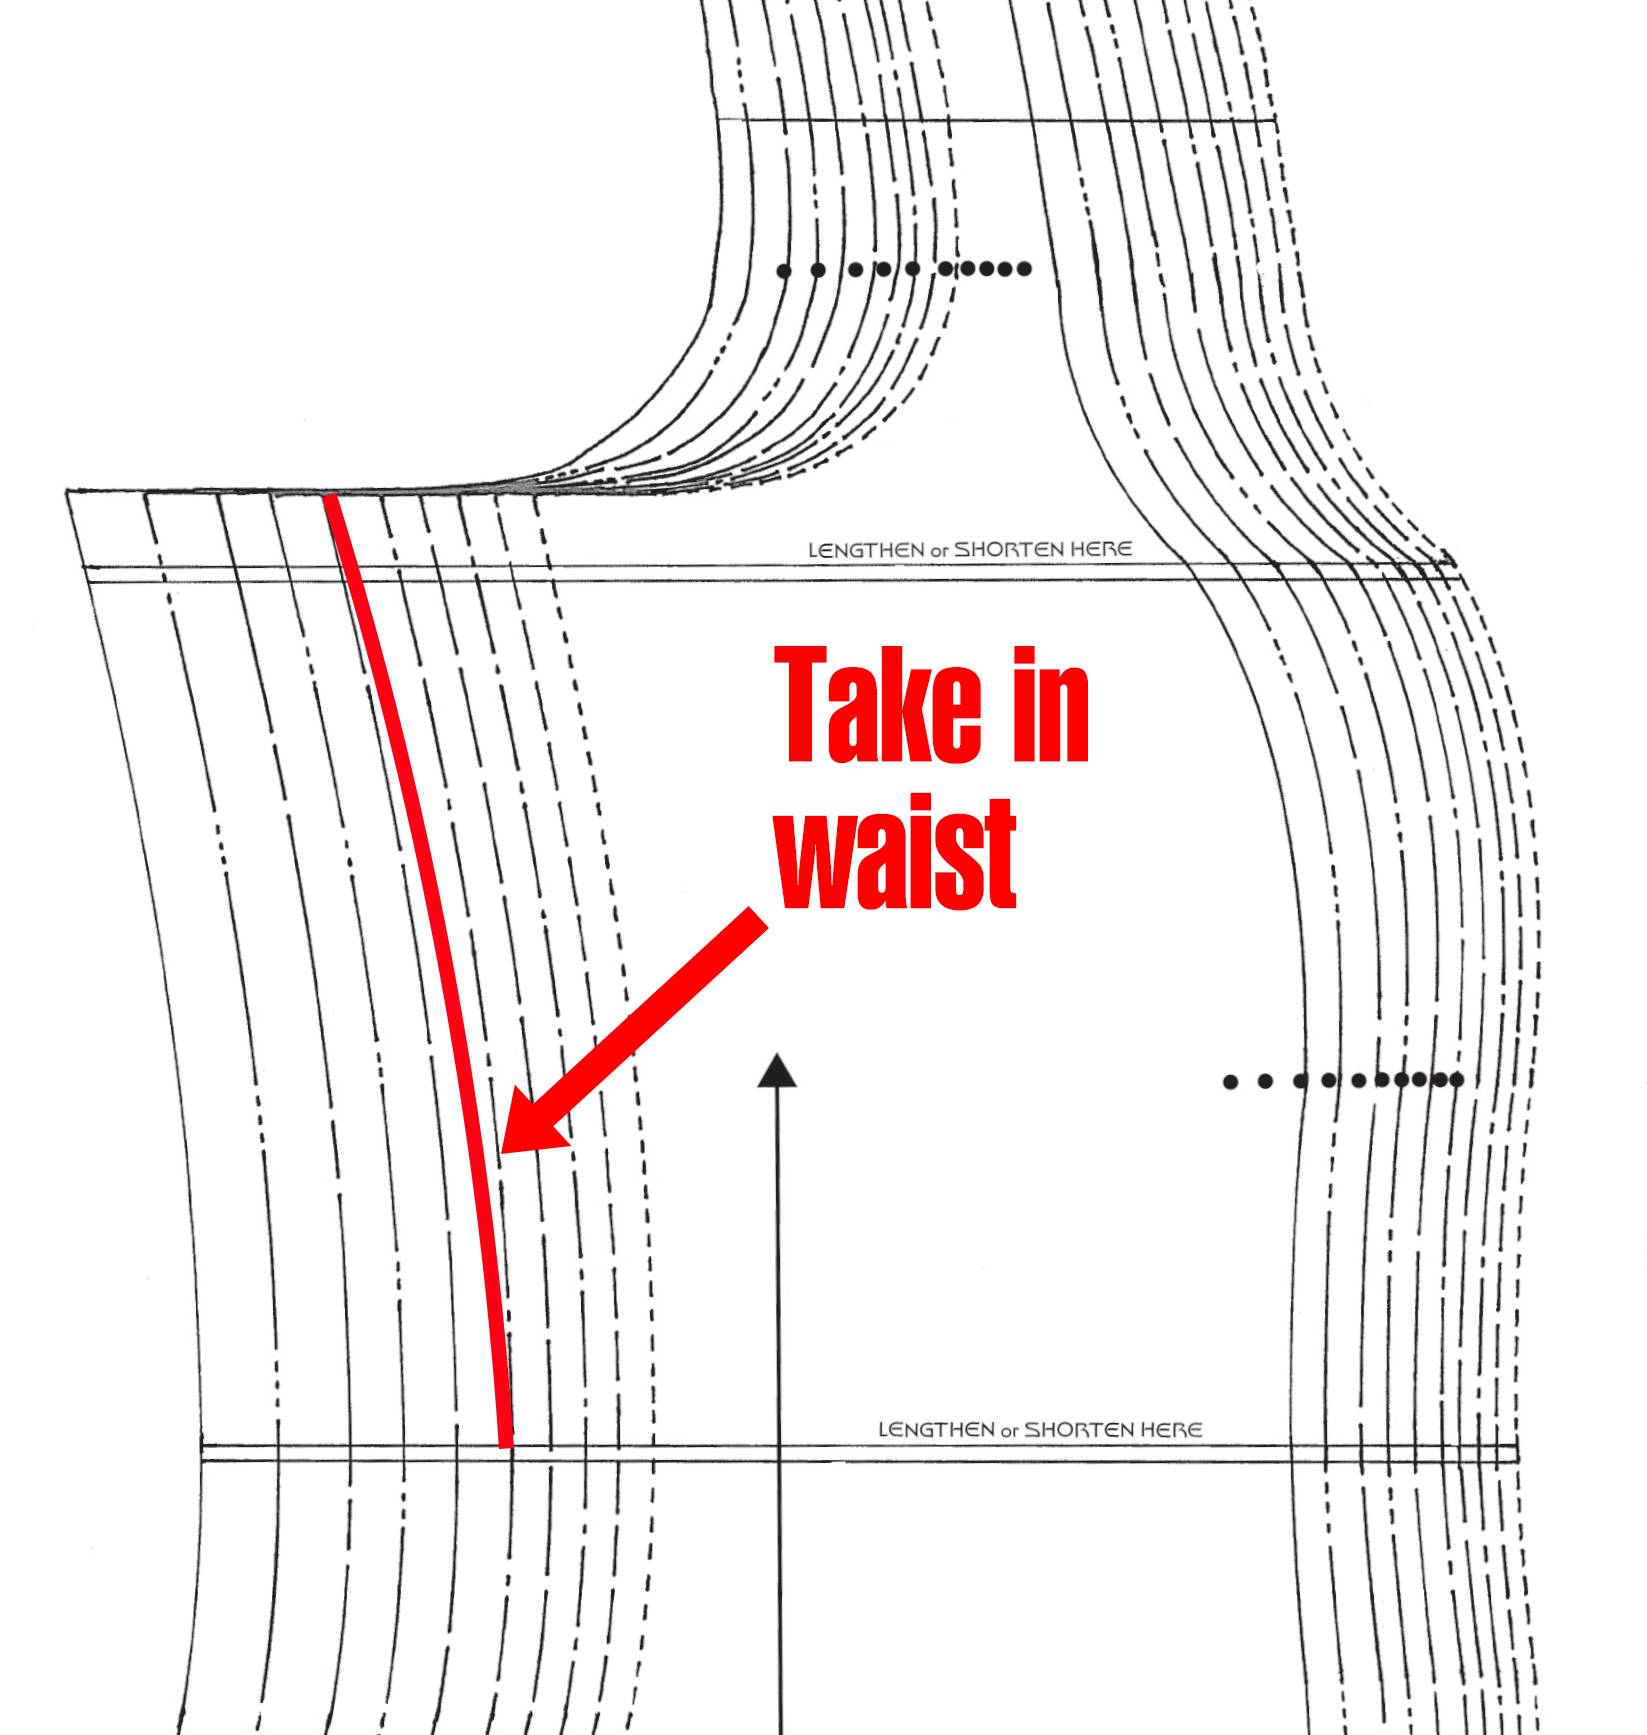
In this case, I suggest working exclusively with the side panels if you’re able to do so.
If the chest is a good fit but the waist is too loose, start with the appropriate chest size in the upper side corner of the side panels (under the arm), then taper down to the waist, subtracting ¼ of the total necessary alteration.
For example, if the jumpsuit waist is 1” too loose, subtract ¼” from the waist on each jumpsuit side panel.
Alternatively, you can use the numeric sizing as a reference; for instance, if a size 44 is a good fit in the chest but the waist is too loose, you could taper down to a size 42 at the waist.
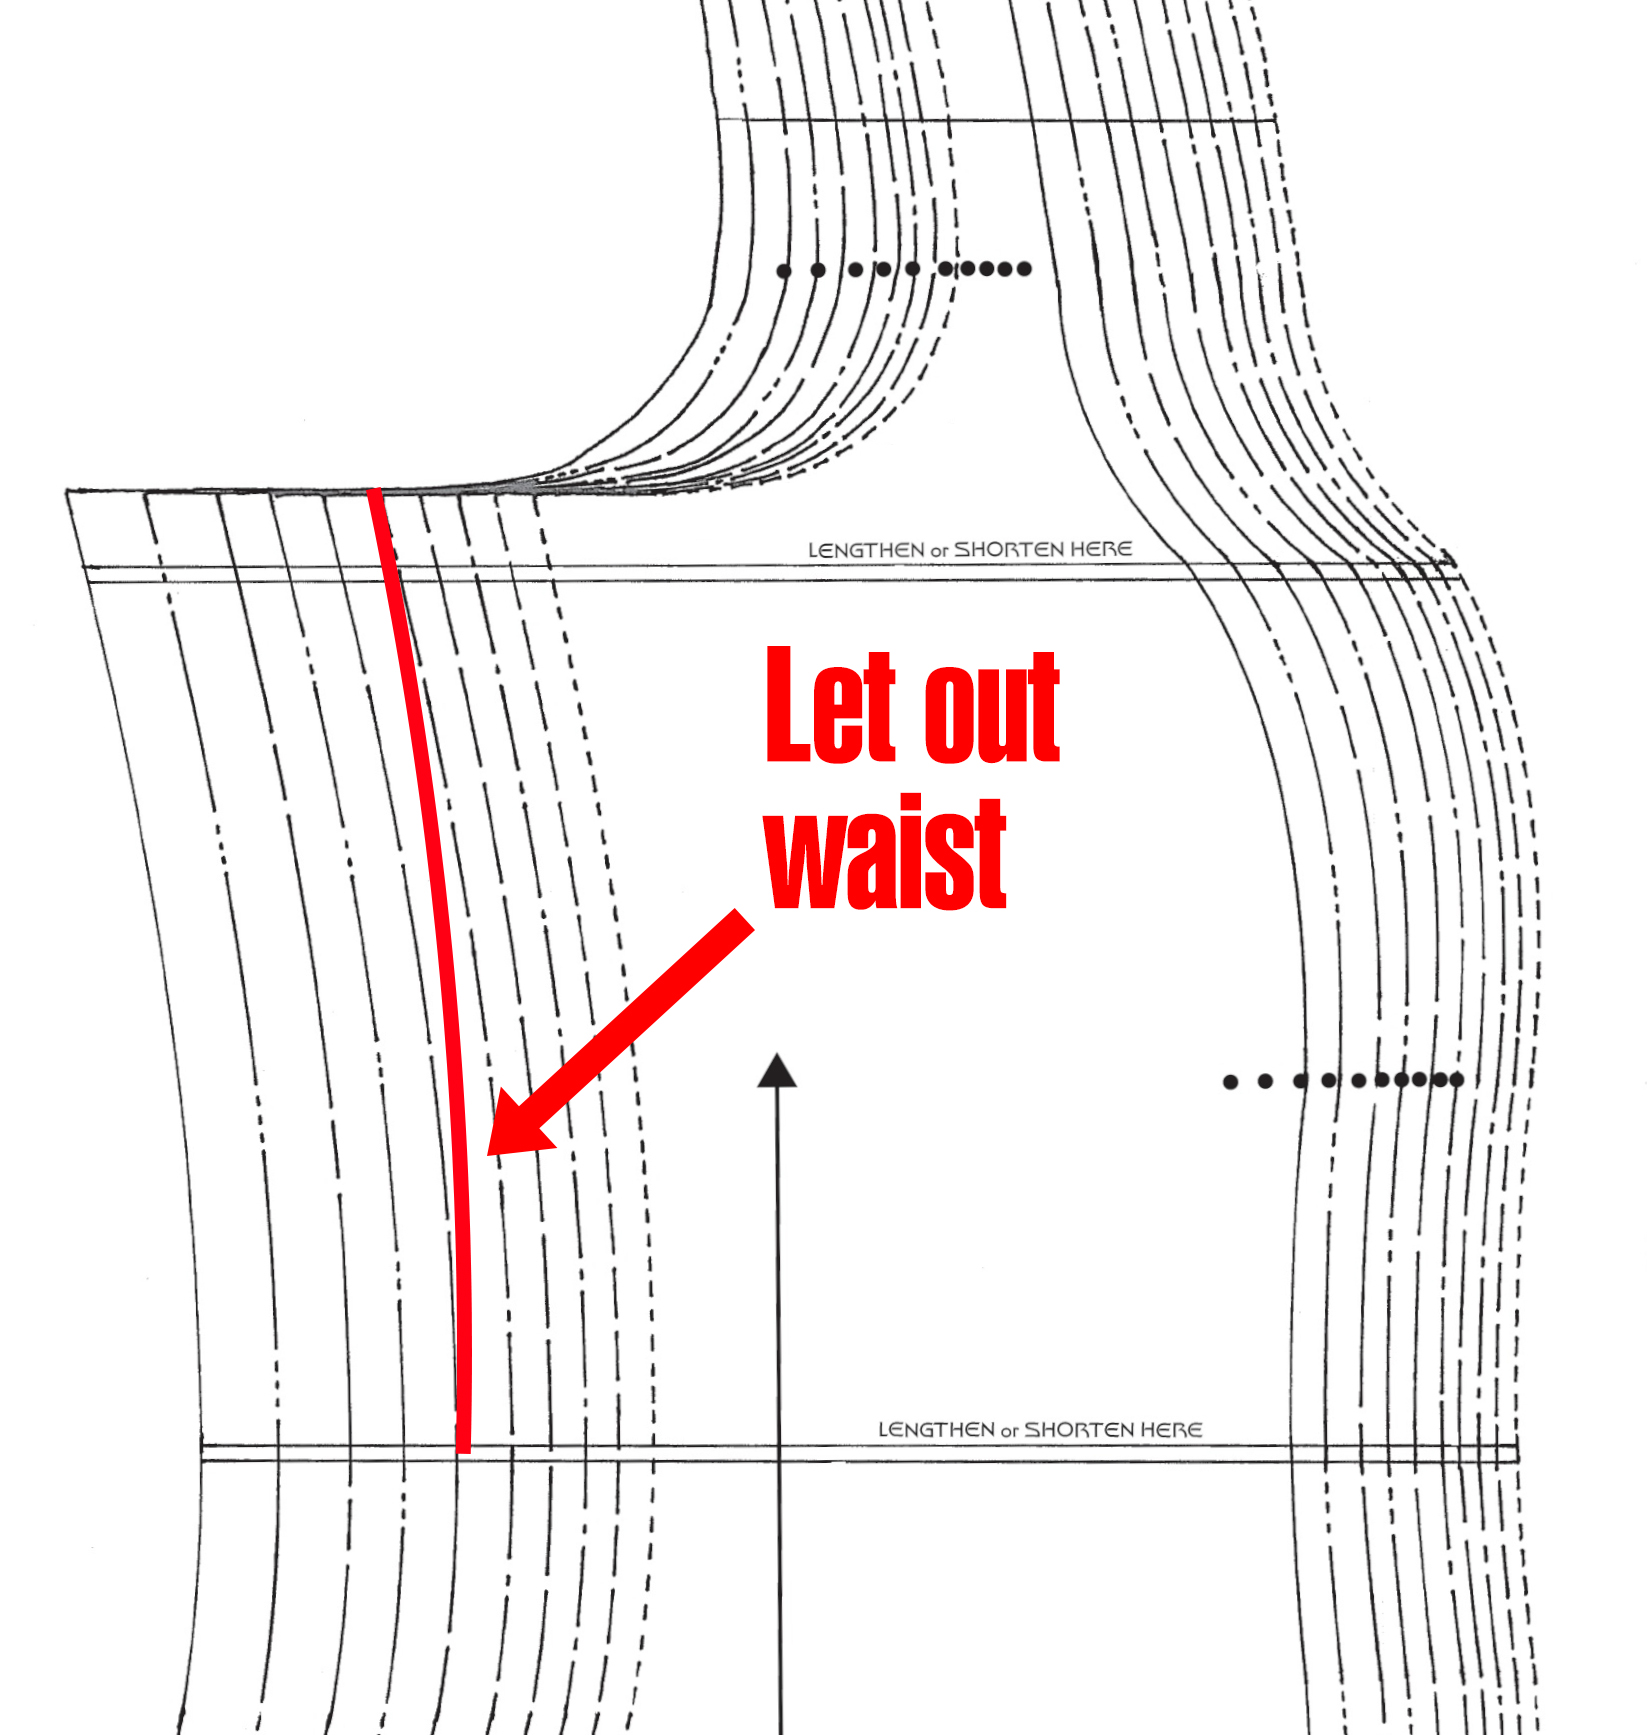
If, on the other hand, the waist needs to be let out, simply do the opposite; begin with the appropriate chest size in the upper side corner of the side panel, then taper down to the waist, adding ¼ of the total alteration needed.
Or again, simply use the numeric sizes as a reference.
For example, if a size 42 fits well around the chest but the waist is too tight, you could taper to a size 44 waist.
When making chest/bust adjustments from the underarm area, remember to adjust the sleeves accordingly.
When making chest-to-waist adjustments, be sure to alter all four side panels (right side front, right side back, left side front, and left side back) in the same manner!
Segueing from the waist to the hips, or the hips to the knees, is essentially the same process.
Using this technique, one could theoretically make a custom jumpsuit that’s a combination of three different pattern sizes: one size for the chest, another for the waist, and another for the hips!
When making these adjustments, be sure to alter all of the side panels in the same manner, unless you specifically only need to do the side front or side back panels for some reason.
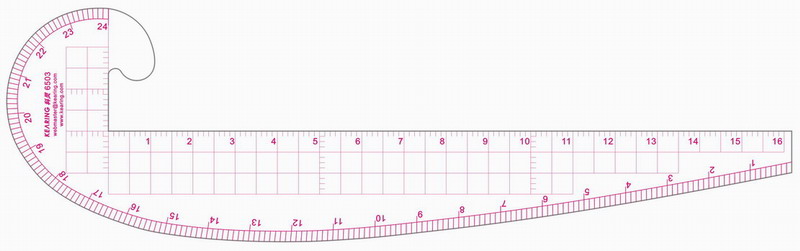
TIP: When redrawing the edges of the pattern, a “hip curve” ruler is extremely helpful!
Remember that for the TMP version of the jumpsuit, you may want to take in the lower pant legs some along the side seams and inseam; my (Tailors Gone Wild) patterns are primarily intended for the TWOK-era enlisted jumpsuits, which had the fuller “bloused” pant legs.
Vertical Fitting
The second fitting technique is in regard to vertical adjustments, rather than horizontal ones – i.e. adjusting for the height of the wearer, and/or the length of the wearer’s torso.
This involves making use of the lengthen/shorten lines on the printed pattern.
There are five sets of lengthen/shorten lines on my Tailors Gone Wild Movie-era jumpsuit sewing patterns: at the chest, the natural waist, the hips, the knees, and on the sleeves.
Naturally, some people will be taller while others are shorter; however, the additional height (or lack thereof) may be primarily located in different areas.
For example, even though two people might be the same height and taller than average, one might have longer legs, while the other has a longer torso. The pattern would need to be adjusted differently for each of these individuals.
Common fitting issues might include:
- The position of the waist may need to be raised or lowered to more closely match that of the wearer.
- The hips may need to be heightened or shortened, depending on the wearer’s pelvis.
- The torso may need to be shortened (either at the waist or hips) because the crotch hangs too low.
- The torso may need to be lengthened (either at the waist or hips) because the crotch rides up.
- The sleeves may need to be lengthened or shortened, depending on the length of the wearer’s arms.
- The pant legs may need to be lengthened or shortened, depending on the length of the wearer’s legs.
Note that there are no waist-level lengthen/shorten lines on the upper center front (piece H) or lower center front (piece I) because the seam itself is waist-level. If lengthening or shortening the pattern at the waist, you’ll need to “manually” reposition the seam by extending or retracting from each piece.
To shorten the garment, simply fold the pattern paper upward at the lengthen/shorten lines, then back down again the appropriate distance away, or simply cut along the horizontal lines and overlap the two (upper and lower) portions however much is necessary. Straighten, curve, or taper the edges if needed.
To lengthen the garment, cut the pattern piece along one of the horizontal lines so it becomes two separate pieces.
Draw two parallel lines on a separate sheet of paper, however far apart the garment needs to be lengthened.
Insert the paper underneath the pattern pieces, cut edges flush with the two lines you drew, and tape the pieces together.
Using a ruler and pencil/pen, connect the upper and lower edges of the pattern piece across the insert. Cut along these lines to form your new, lengthened pattern piece.
Obviously, the same adjustment needs to be made on all the appropriate pattern pieces for the jumpsuit to go together properly!
For demonstrations of the processes I just described, check out the aforementioned free sewing lesson on basic pattern alterations. 🙂
CONGRATULATIONS!
YOU'RE FINISHED!

If you found this sewing tutorial helpful, please support my costume research on Ko-Fi!
Every bar of gold-pressed latinum helps me produce more sewing/costuming resources like this. 🙂
